I acquired two 5.5' wide red oak cabinets from a house that just had their kitchen remodeled. They are only 12" deep and make them ideal storage for a garage shop as you don't have to sacrifice a lot of shop space to create a lot of surface.
I wanted to add whiteboard space to my shop for a host of reasons, but didn't want to sacrifice open wall space, so I came up with a quick and easy solution to repurpose these shelves as new whiteboard space. Check out how I did it here:
If you don't have old cabinets, you'll have to go the old tried and true DIY method of actually building some shelves - this can work to your advantage as you can make them more bespoke to your space, add storage, and add whiteboard space.
My cabinets have sliding doors. If you don't have cabinets that have these types of doors and you don't need to make new ones, you can also look into whiteboard paint!
MATERIALS (Assuming you already have shelves)
1 x 4' x 8' x 1/8" White Hardboard (about $13 at Lowes / Home Depot)
Shallow cabinets (can be made from 3/4" plywood!)
TOOLS
Sawstop
SAWSTOP Contractors 30” Saw: https://amzn.to/2Luh91q
RYOBI
8 Piece Forsner Bit Set: http://amzn.to/2u7zAzk
Power Drill: http://amzn.to/2q1l5wn
You can just as easily get away with a circular saw for this project instead of a table saw - it's just that simple.

My cabinets were red oak - which I find pretty ugly - so I painted them. One coat of primer, two coats of paint I used on my kitchen remodel. Above is a photo of me pretending to paint.
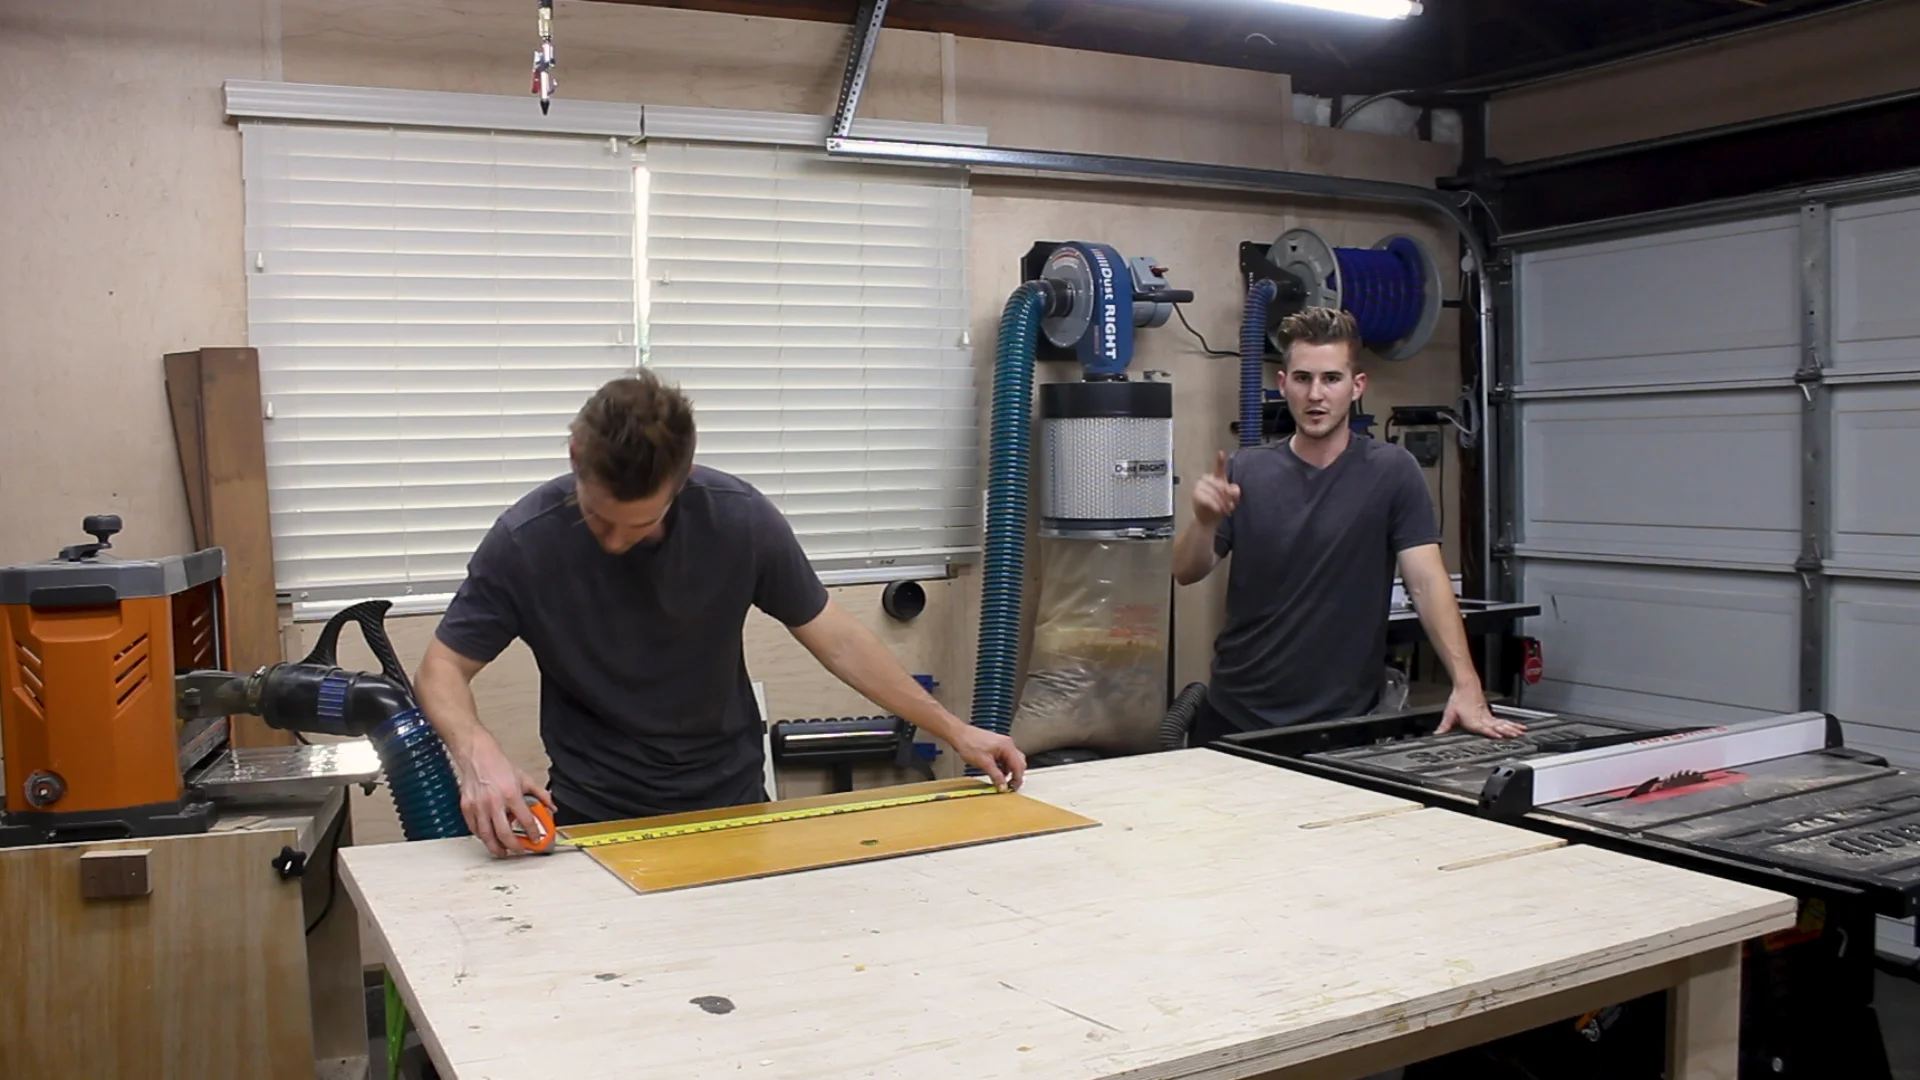
Remove your cabinet doors (probably do this before painting) and measure their length and width - grab assistant for this if needed.

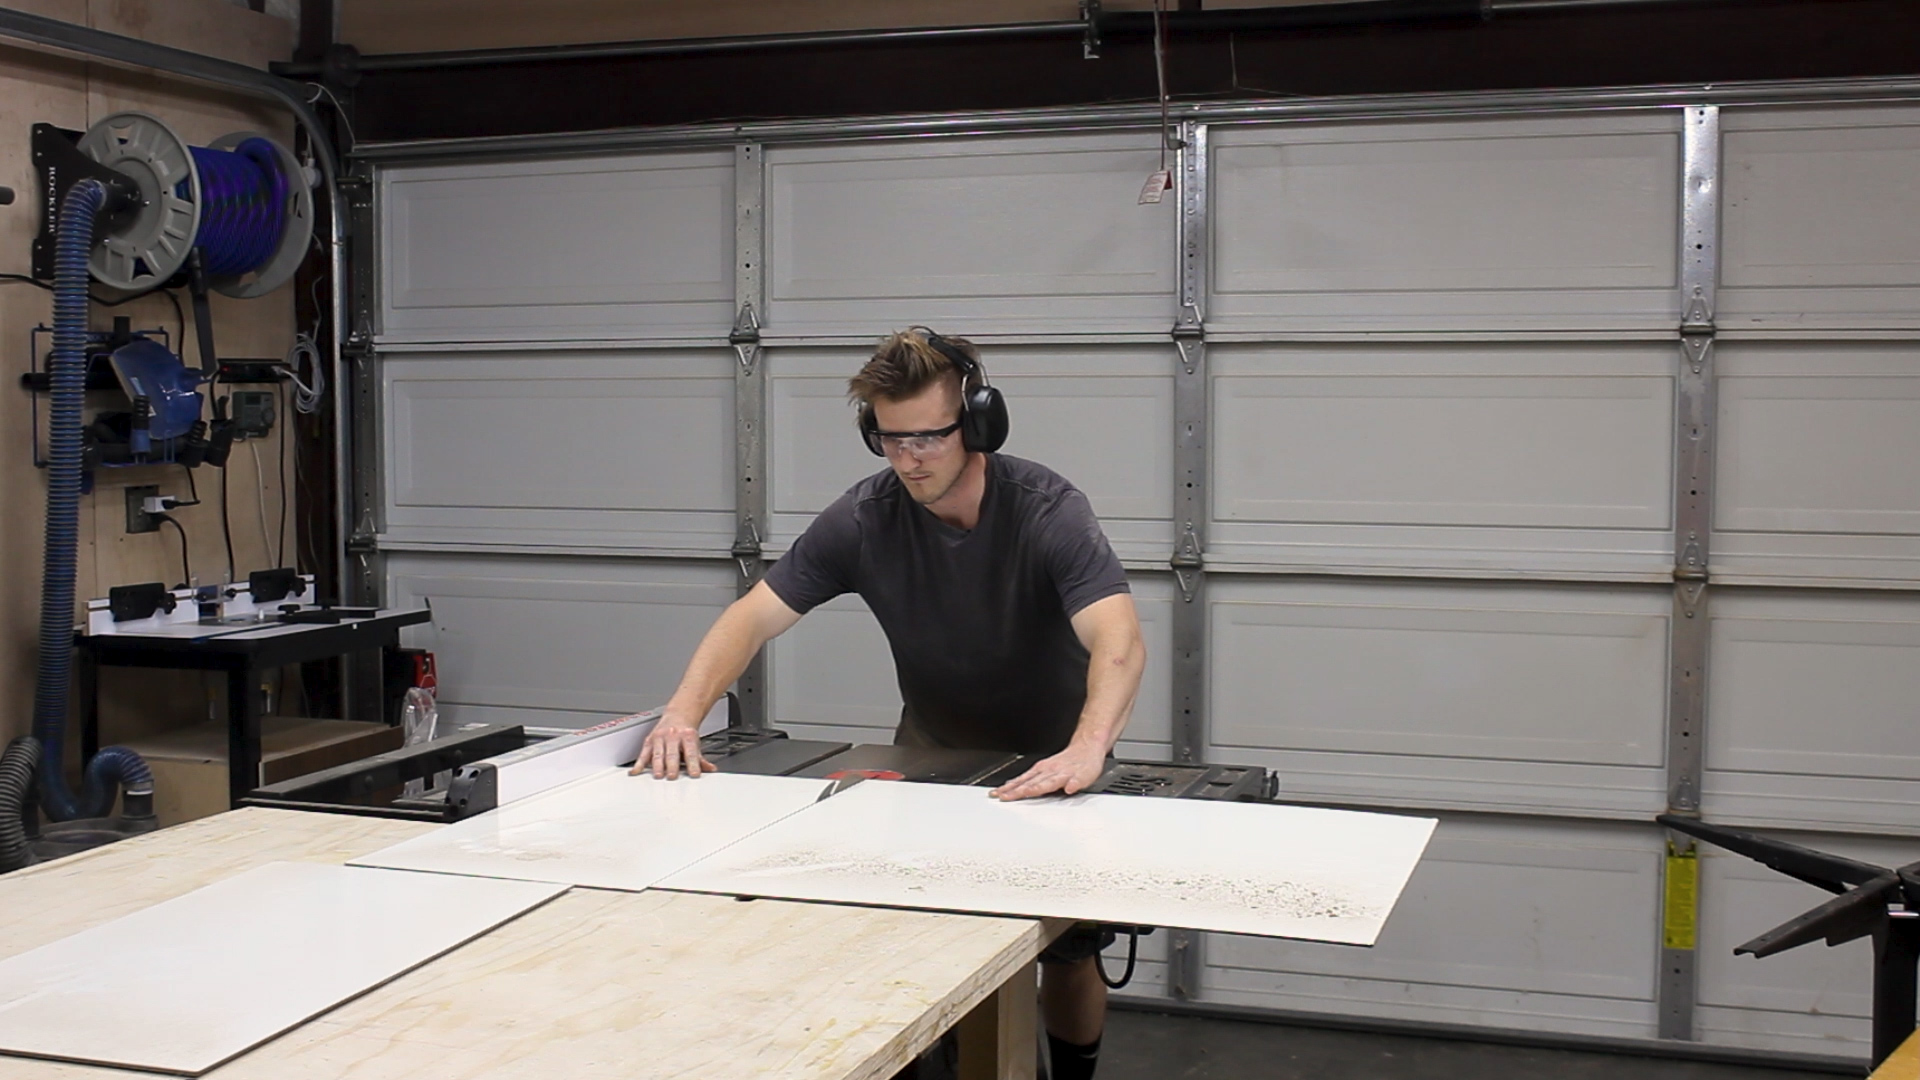
Using a table saw, circular saw with a straight edge, or a track saw, cut down your white hard board to proper dimensions. I have a table saw so this took about 3 minutes total - white hardboard cuts very easily but is very strong. Test to make sure your cuts fit (and crack a smile!).
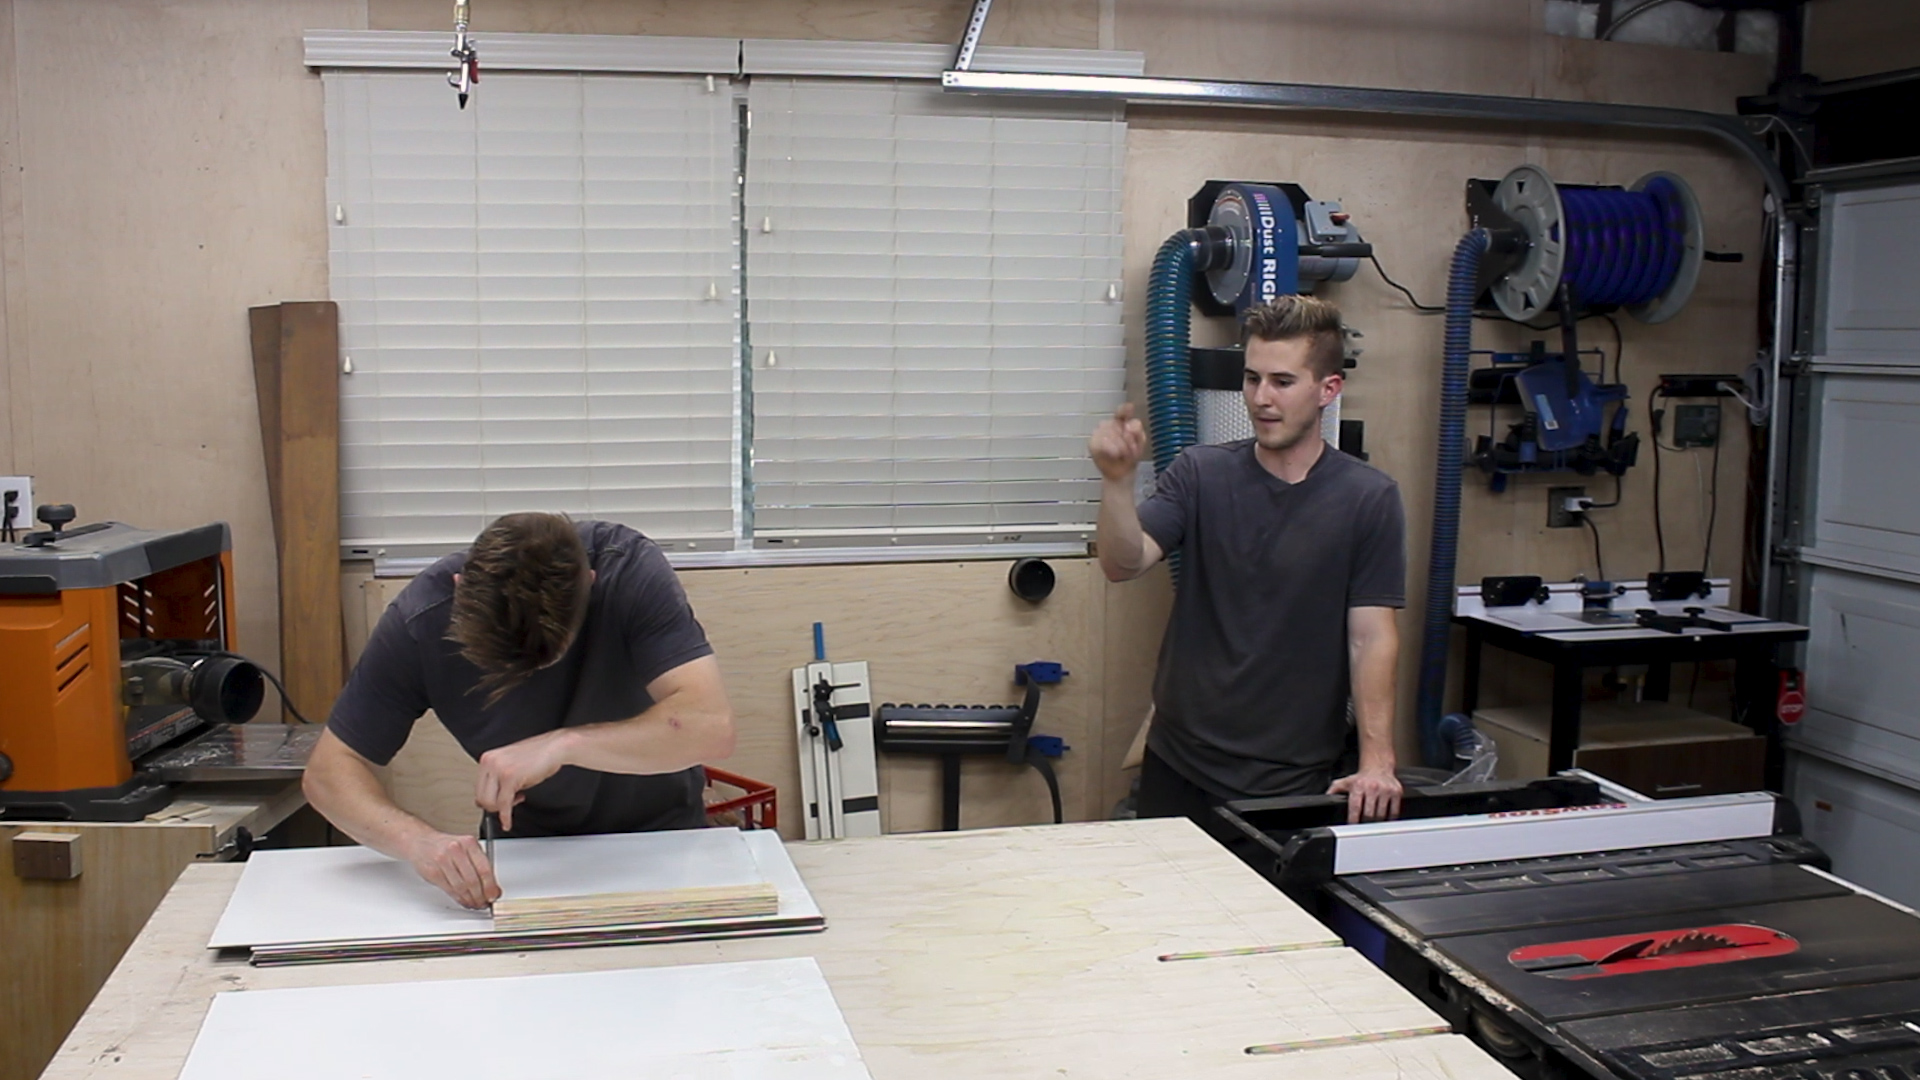
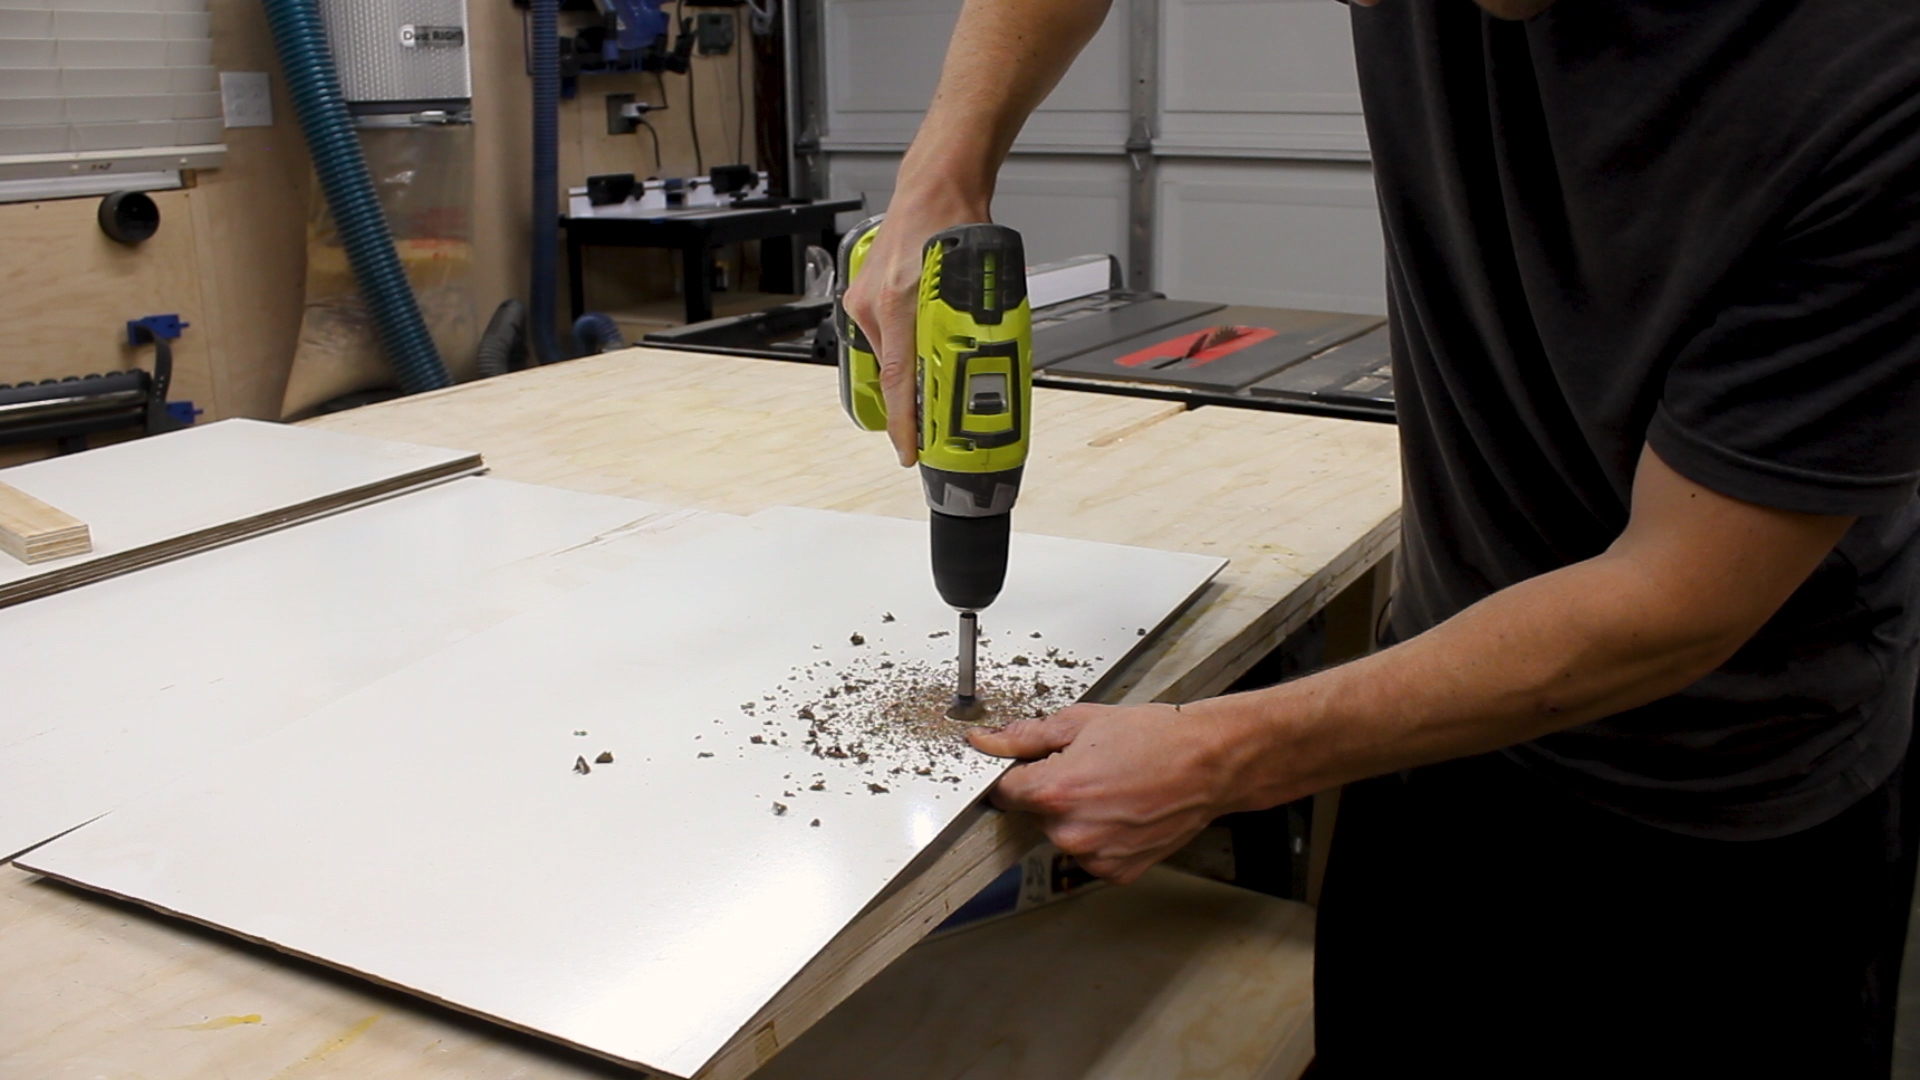
You'll need holes in each door to insert your finger to slide open. I used a scrap piece of plywood to mark and measure a hole the exact same distance inward from the bottom and side and used my punch to mark a hole. I then repeated this process but on the opposite side for the sister cabinet.
My cabinets were divided into four sections, each with two sliders, so your holes should be in the same position but mirrored so they both end up on the outside. Then I used a 3/4" forsner bit to drill out holes - again this drills very easily.

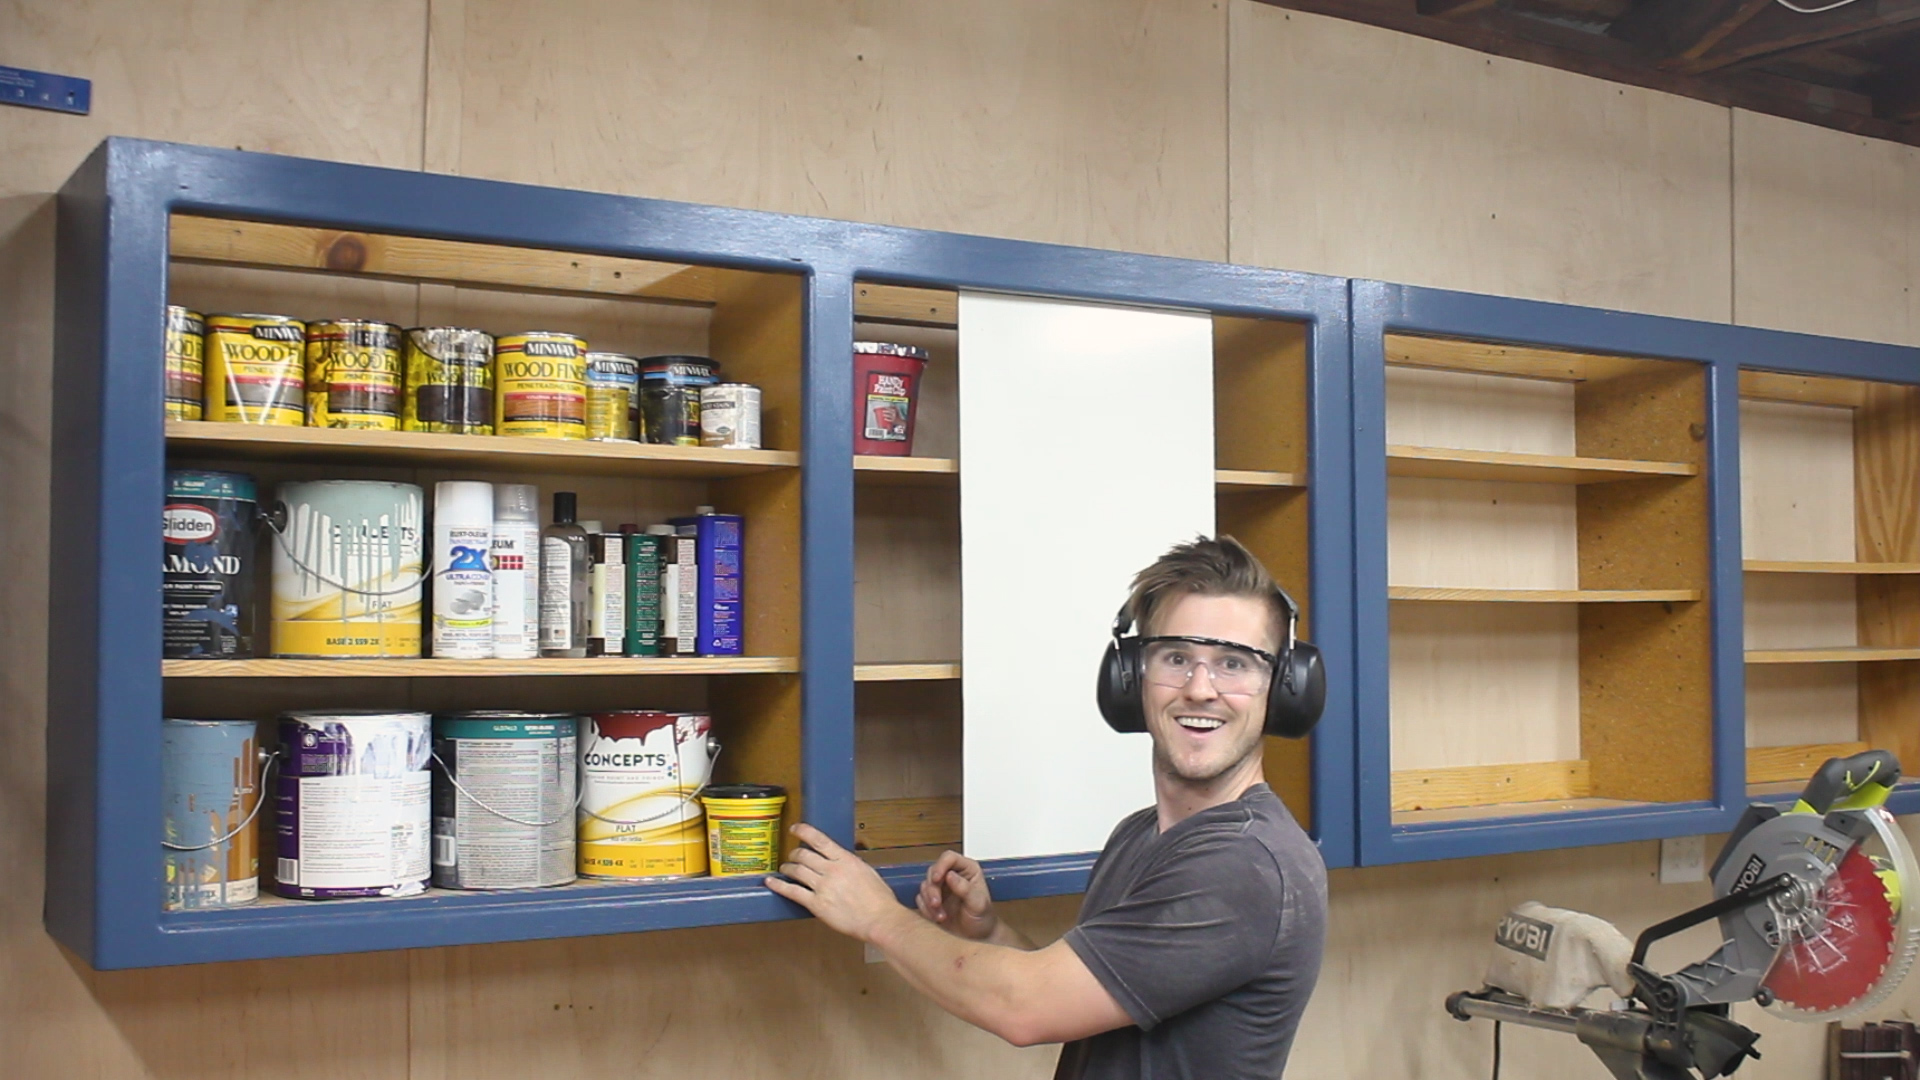
Now you can just mount your new sliders and have a ton of whiteboard space!
I love these - it is SOOOO simple in design but so practical in function. It took me a few days to come to this solution, so I hope sharing it with you on this website helps spark some ideas on how to make your shop more efficient.
So far, I've used the panels to list out future projects, steps for projects mid-build, and then post production needs on my videos.
Thanks for reading - make sure you check out the video in the first step on my YT channel!
See you around!
Zach