THANKS FOR CHECKING OUT THE FULL ARTICLE!
PLEASE SUBSCRIBE TO OUR YOUTUBE CHANNEL BY CLICKING HERE.
My full video of the build is below, followed by detailed instructions with tools, materials, and measurements!
This project is pure experimentation - I wasn't sure how it'd come out.
Spoiler - it was a decent success. It was my second concrete project ever, and it was a step forward in advancing my maker skill set. I guess you could chalk it up to wanting to try mixing resources with the fact that I already had most of the materials on hand.
MATERIALS
Quikrete 5000 (~1/5th of a bag) - I also recommend Quikrete Countertop Mix
Melamine (for molding)
Scrap MDF (for Log Planer sled - not necessary if you have a band saw!)
Black Silicone Sealant: http://amzn.to/2zEOLHG
Minwax Fast Drying Spray On Poly: http://amzn.to/2heLF1z
Paste Wax (Any type)
Mineral Spirits (Any type)
Screws
Masking Tape: http://amzn.to/2pygofL
Container for Mixing Concrete (Use a big bucket!)
TOOLS
RIDGID 13” Thickness Planer: http://amzn.to/2u7YrmK
RYOBI Circular Saw: http://amzn.to/2q1l5wn
RYOBI Power Drill: http://amzn.to/2q1l5wn with Drill Bits
RYOBI 10 in. Sliding Compound Miter Saw: http://amzn.to/2q1klHw
RYOBI Miter Saw Stand: http://amzn.to/2p1072e
RYOBI Stationary Bench Sander: http://amzn.to/2q1Cq8k
RYOBI Glue Gun: http://amzn.to/2uLJt7V
Silcone Caulking Gun
Cake Fondant: http://amzn.to/2haxI4R
Any tools to vibrate the concrete: http://amzn.to/2q1l5wn
BESSEY Clamps: http://amzn.to/2oIJGVy
Hand Sanding Sponges: http://amzn.to/2oHa6pP
Level (24”): http://amzn.to/2phF3Cj
12” Speed Square: http://amzn.to/2phZUIt
FILM / EDIT EQUIPMENT:
Canon Rebel EOS T2i: http://amzn.to/2pwwlDI
Main Lens: Canon EF 50mm f/1.8 STM Lens: http://amzn.to/2zt0jKR
Secondary Lens: Canon EF-S 18-55mm f/3.5-5.6 IS II Lens:http://amzn.to/2pwmuhi
USCAMEL Tripod: http://amzn.to/2hbbVdg
Studio Lighting Equipment: http://amzn.to/2rtrkg0
Rode Microphone: http://amzn.to/2oIExg3
Blue Snowball Mic (VO Recording): http://amzn.to/2hd92sF
I found this old piece of firewood (Alder?) that was many years old and very dry and destined to be burned (Pics 1-2). I couldn't let that happen. Time for a fun live edge project (a first for me).
I used some scrap MDF and some wood screws to work up the simplest sled possible so that I could feed the log through my planer to start flattening (Pics 3-4). This was by no means the most efficient way to do this, but I don't have a band saw to mill lumber so this was my best option. Other options would be to just buy a small live edge slab, use a table saw jig of some type, or use a band saw if you have access to one.
I made many passes through my planer with the log in one position (I'd say 25-30) in Pic 1 to get to a nice clean flat surface in Pic 2. Then, I could flip the log over and over again, making incremental passes (Pic 3) until I was happy with the thickness of the piece, which was roughly half an inch. I wanted both sides to be very clean so I could later pick which side I liked best to be featured. Then I squared up both sides carefully (Pic 4) on the miter saw and was left with a perfect small live edge slab.
I wet and dry sanded down my piece up to 220 grit (Pic 1) and then applied a few coats of fast drying spray on Poly to my log (Pics 2-3) and sanded down to a smooth final surface. This was to water proof the slab so it wouldn't be damaged against the wet concrete. It is food safe once it dries.
Next, I pre-drilled (Pic 4) six holes, then inserted a few small screws (Pic 5), leaving me with a log that had screws in it Pic 6. These screws would serve the purpose of anchoring the log into the concrete so it was secured once the concrete cured.
I had scrap pieces of walnut from a previous build that I wanted to use as the legs (Pic 1). I routed a chamfer on the edge (Pic 2), which wasn't very clean, so I cleaned it up on the belt sander (Pic 3). Easy enough.
I then cut my pieces to length in Pic 4, a length that was based on the overall size of my molding. It is purely subjective to how you do this step. I cleaned up the sides in Pic 5 on the disk sander to create perfectly even lengths, and then applied the same poly sealant like I did to the live edge slab in Pic 6.
I then did the same anchor screw method in Pics 7-8, leaving me with two ready-legs in Pic 9. I think they look pretty cool!
Using the final size of my live edge slab (totally unique to your situation), I then cut a base and four sides for the base out of melamine to fit the slab (Pics 1-2).
Then, using hot glue (Pic 3), I built the molding. You can use screws here if you want to reuse the mold, but i find hot glue to be quicker, just as secure, and I didn't plan to reuse the mold.
Once you build your mold, take paste wax (any brand) and spread it around all of the corners of your mold (Pics 1). Then, using a caulk gun, spread black silicone sealant around all of the edges and corners of your mold (Pic 2). Using a simple cake fondant tool (Pic 3 - link to this product in Step 2), you can run the small circular end over all of your edges leaving you with really nice, rounded edges (Pic 4).
Once the sealant cures after about 30 min, you can go back and peal off all of the excess that it created (Pic 5). You are able to do this very easily due to the paste wax you spread out earlier. Once you've pulled off all the excess, go back with mineral spirits (I had a small amount in a water bottle - Pic 6) and wipe off all excess paste and clean up the mold.
Now you're ready to cast!
I used my Speed Square (Pic 1) to measure 1.25" from the bottom to serve as an indicator of how high I should pour my concrete (again, totally subjective to your own build). I also checked to make sure the ground I was working on was level (Pic 2). It wasn't, so I later shimmed my mold.
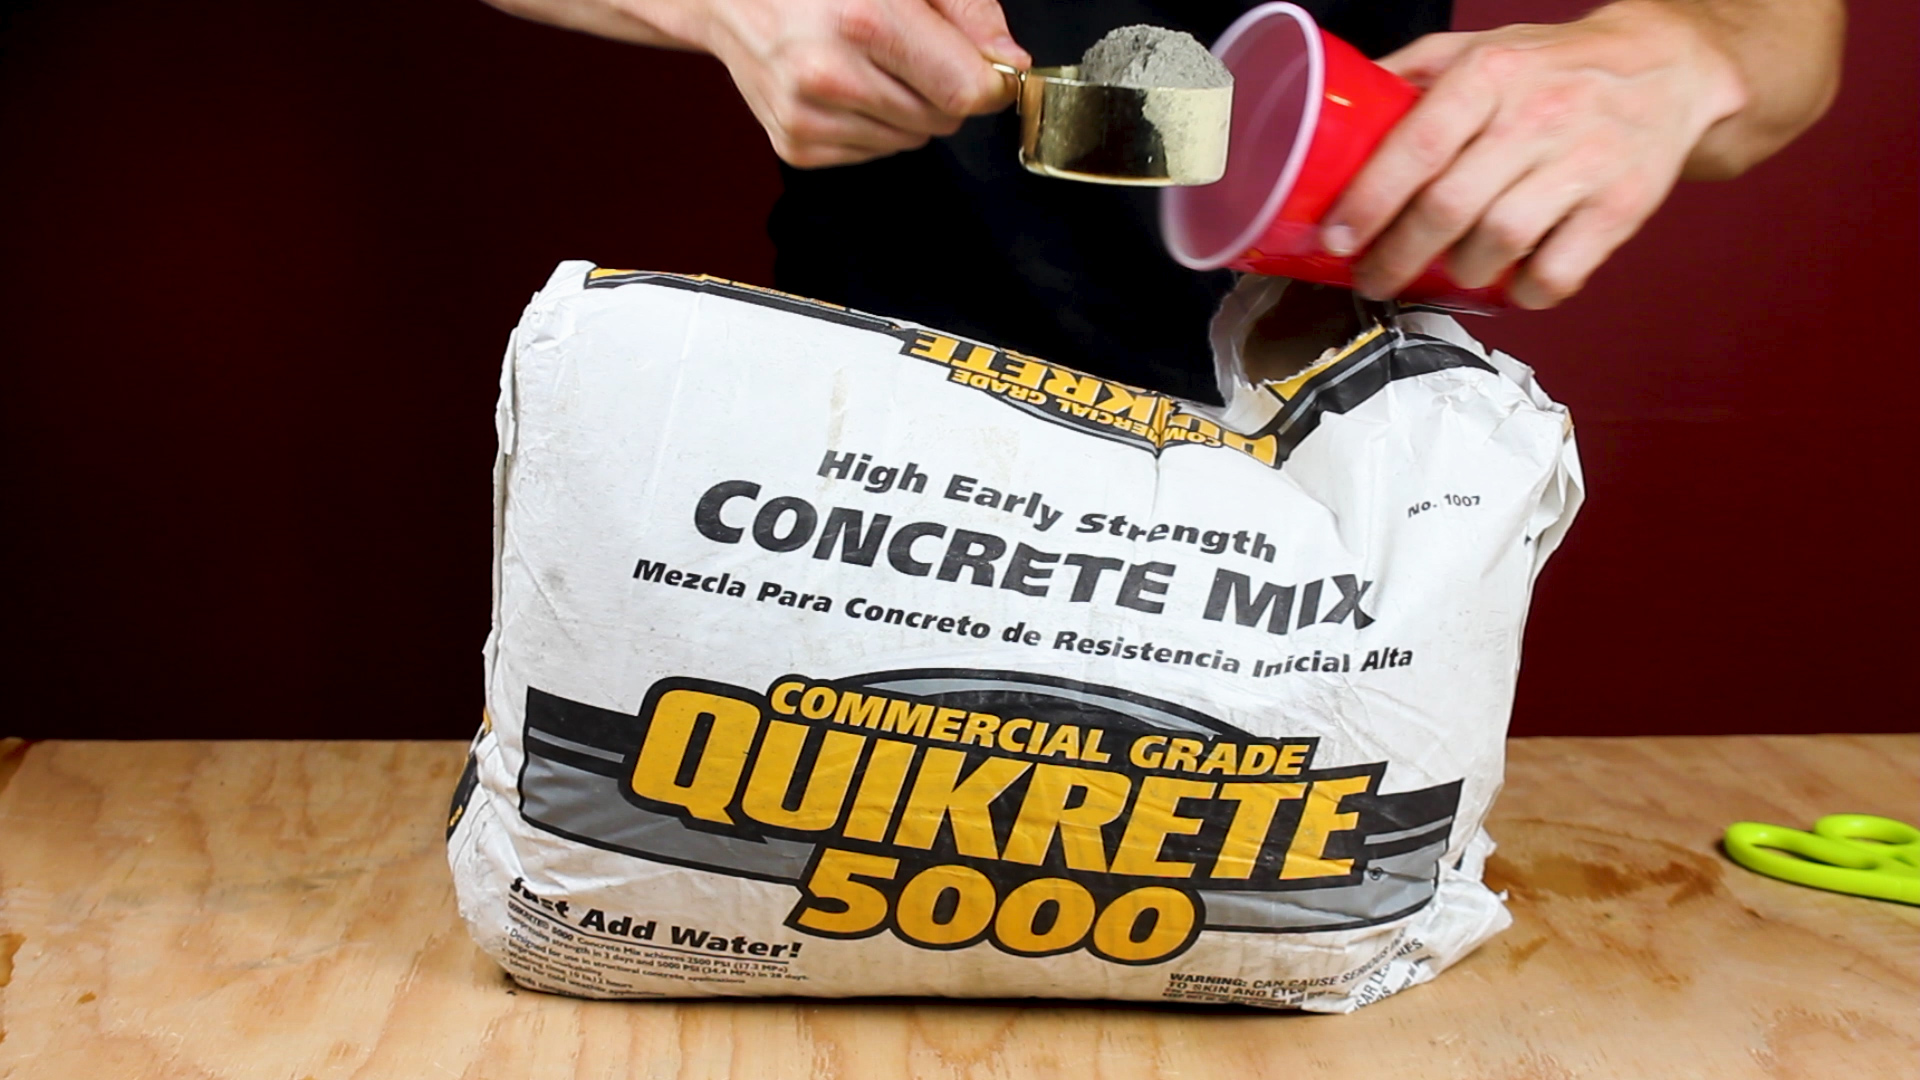
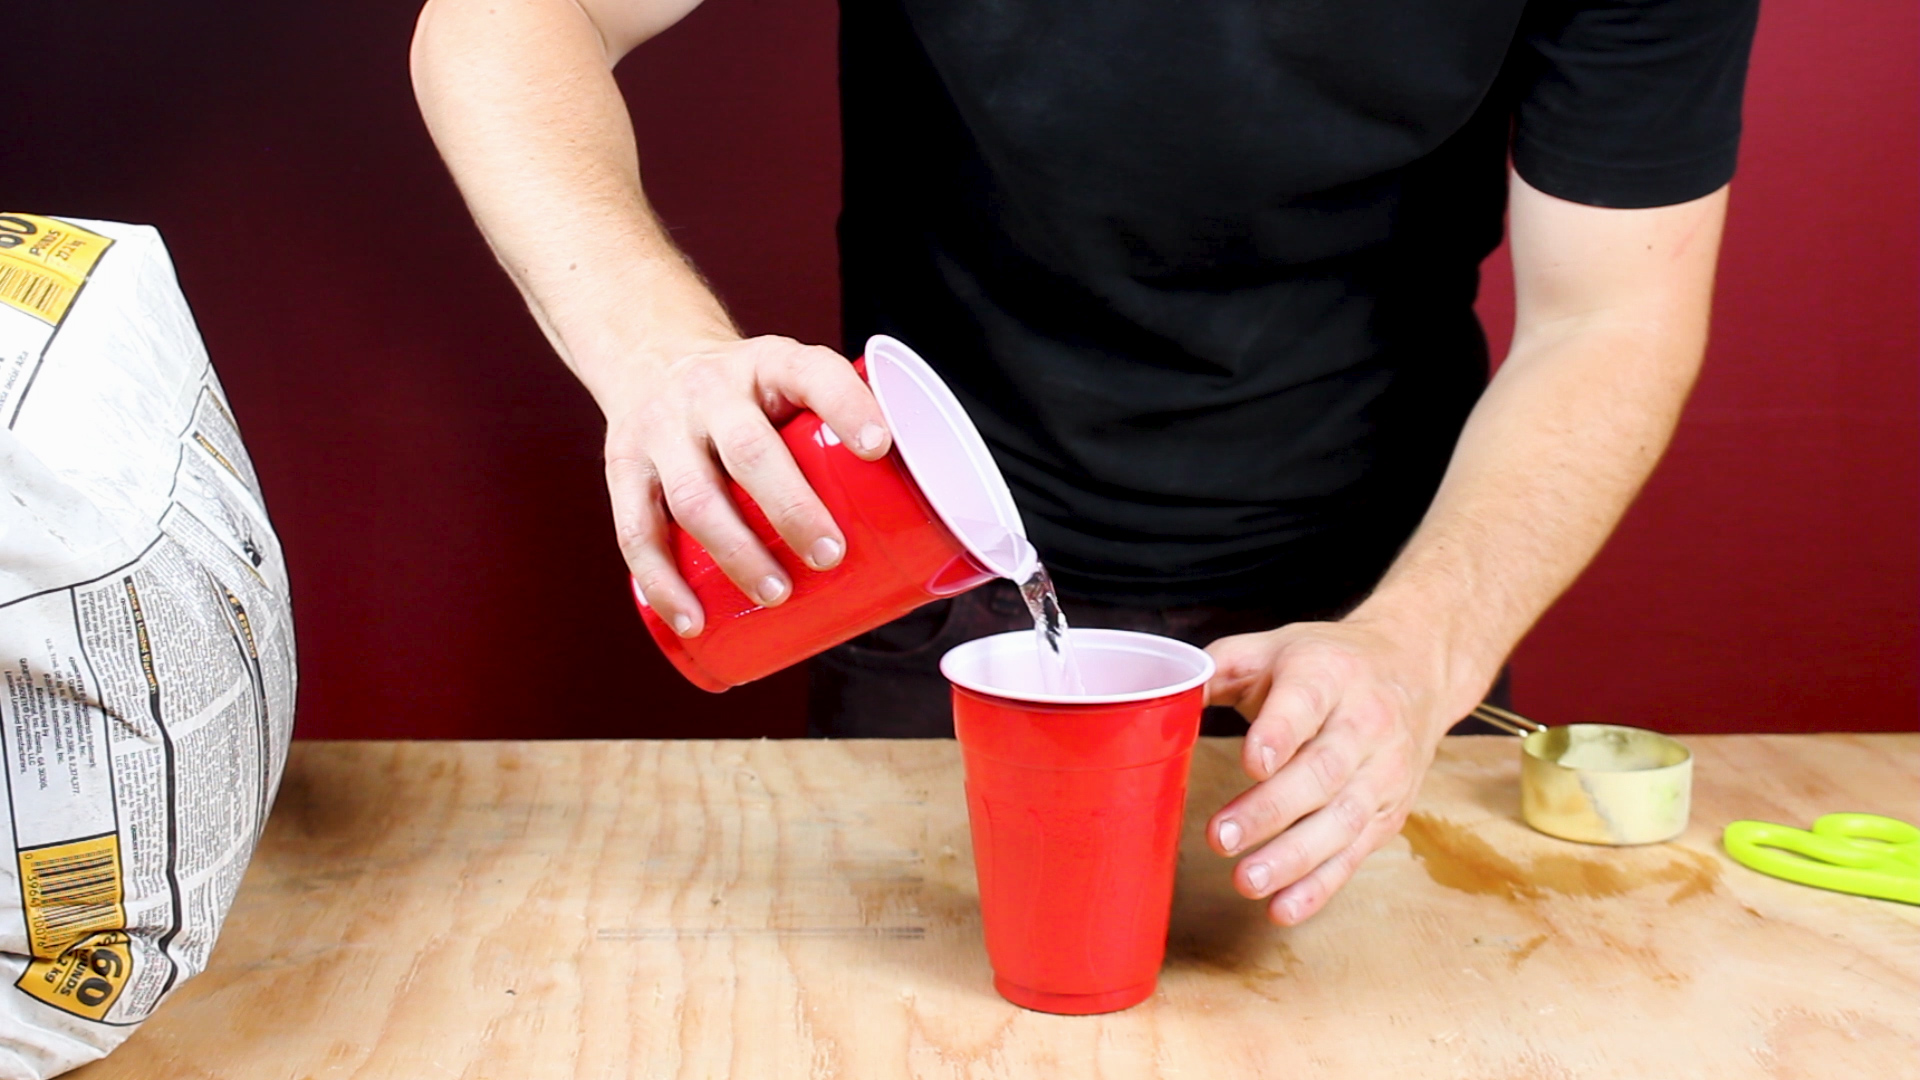
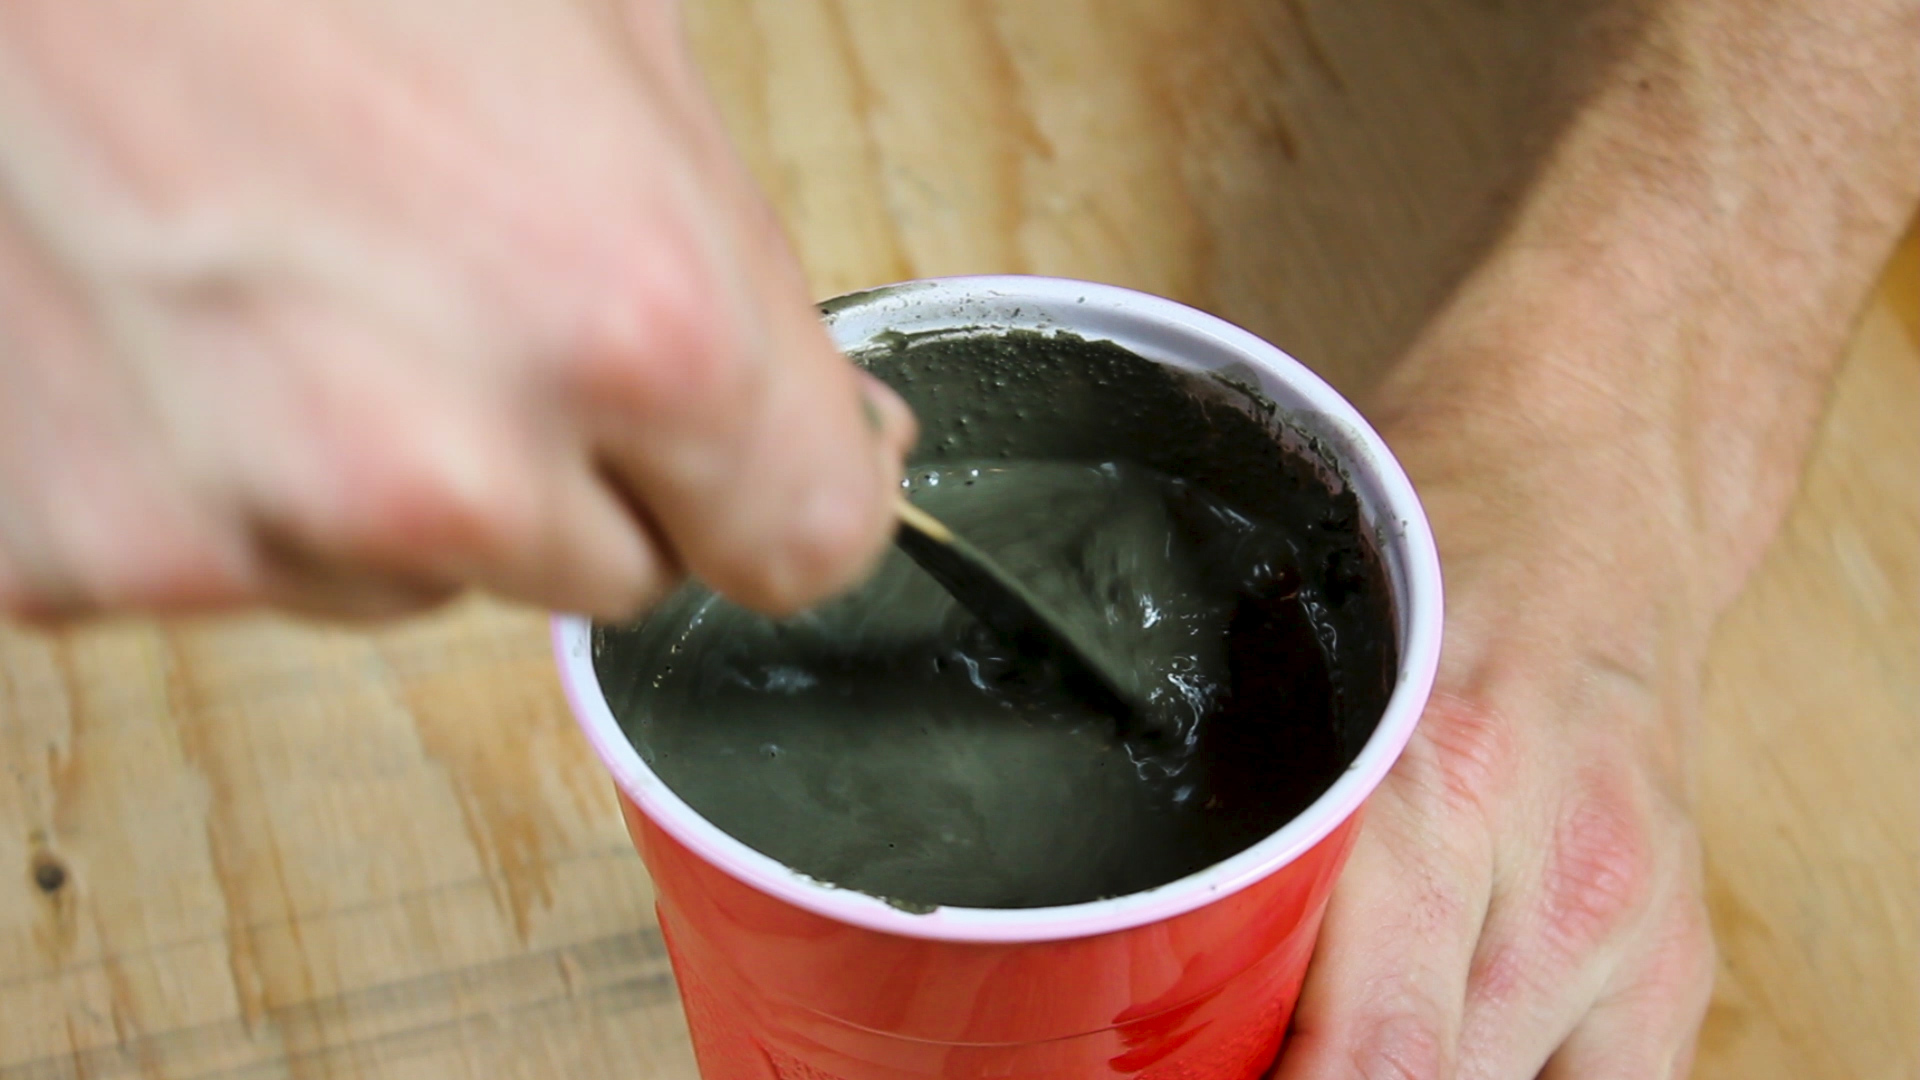
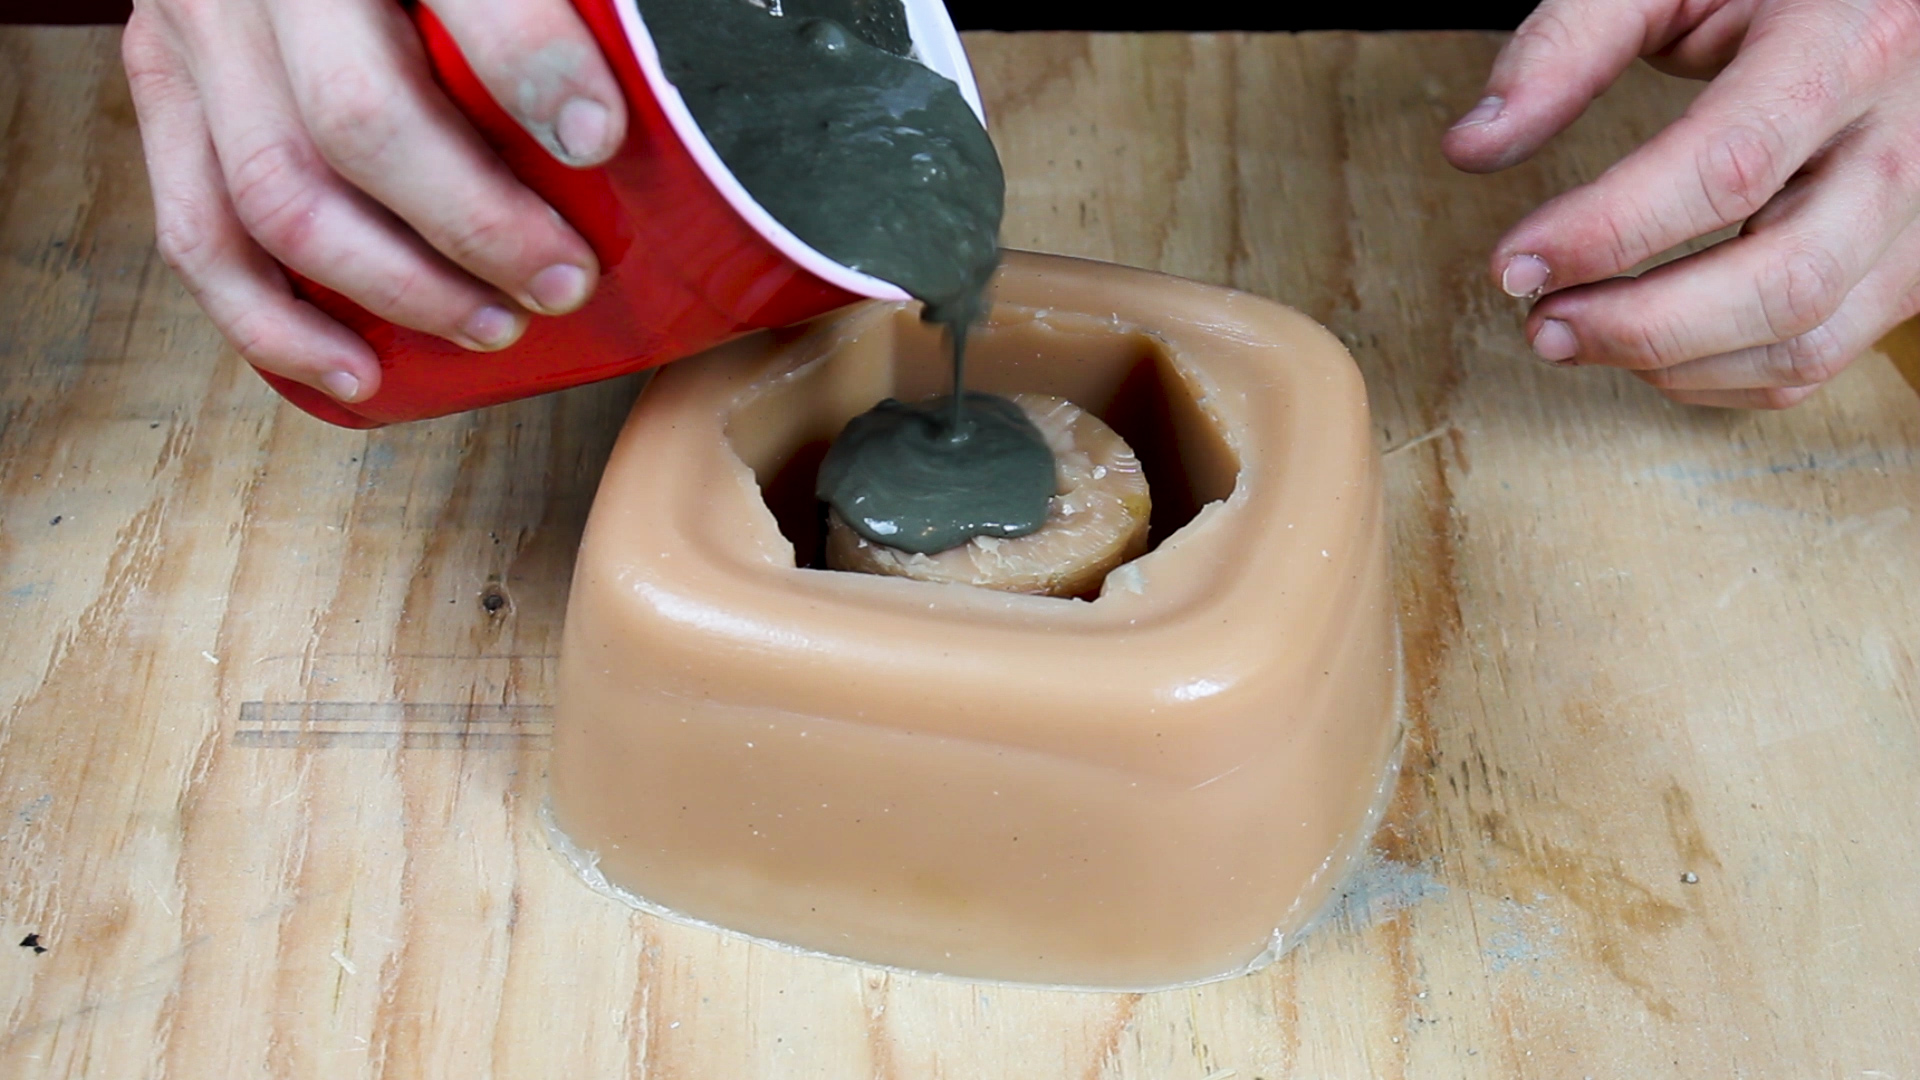
Off camera, I also covered the TOP of my slab in painters tape. That way, the concrete couldn't get on the mold incase some got underneath (Pic 3). I also gathered all my materials to cash. I mixed Quikrete 500, water, and stirred up the mix in an hold laundry detergent container (Pics 4-5) and then poured in my mold (Pic 6).
OPTIONAL Tape down your slab to the bottom of the mold using double sided tape.
TIP 1 Use a large bucket to mix concrete all at once - I had to do this 4 times to fill my mold entirely - and I know for a fact that each pour had different consistencies in the concrete.
TIP 2 If you're looking for a very fine concrete, you should look to get Quikrete Countertop mix or use a sifter to filter out the larger rocks of the mix. I wish I had done this, but it was a learning experience nonetheless.
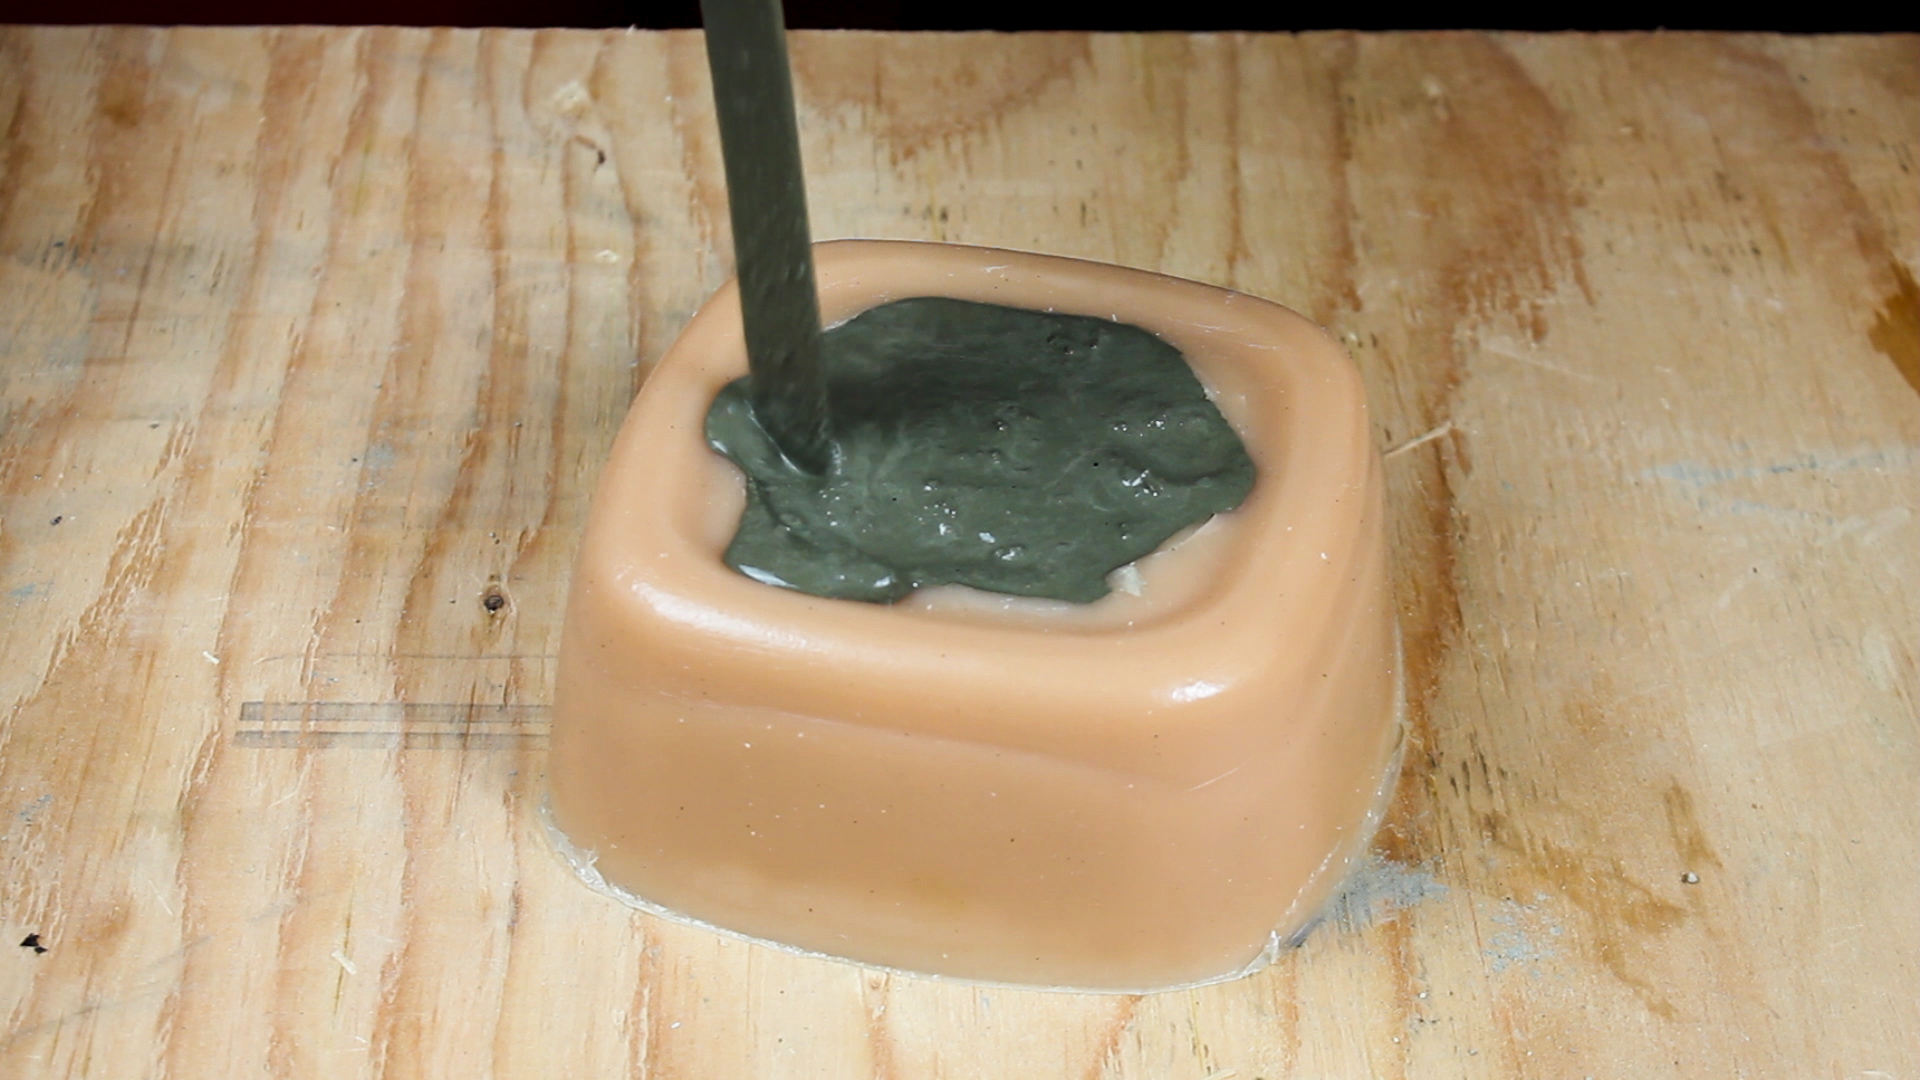
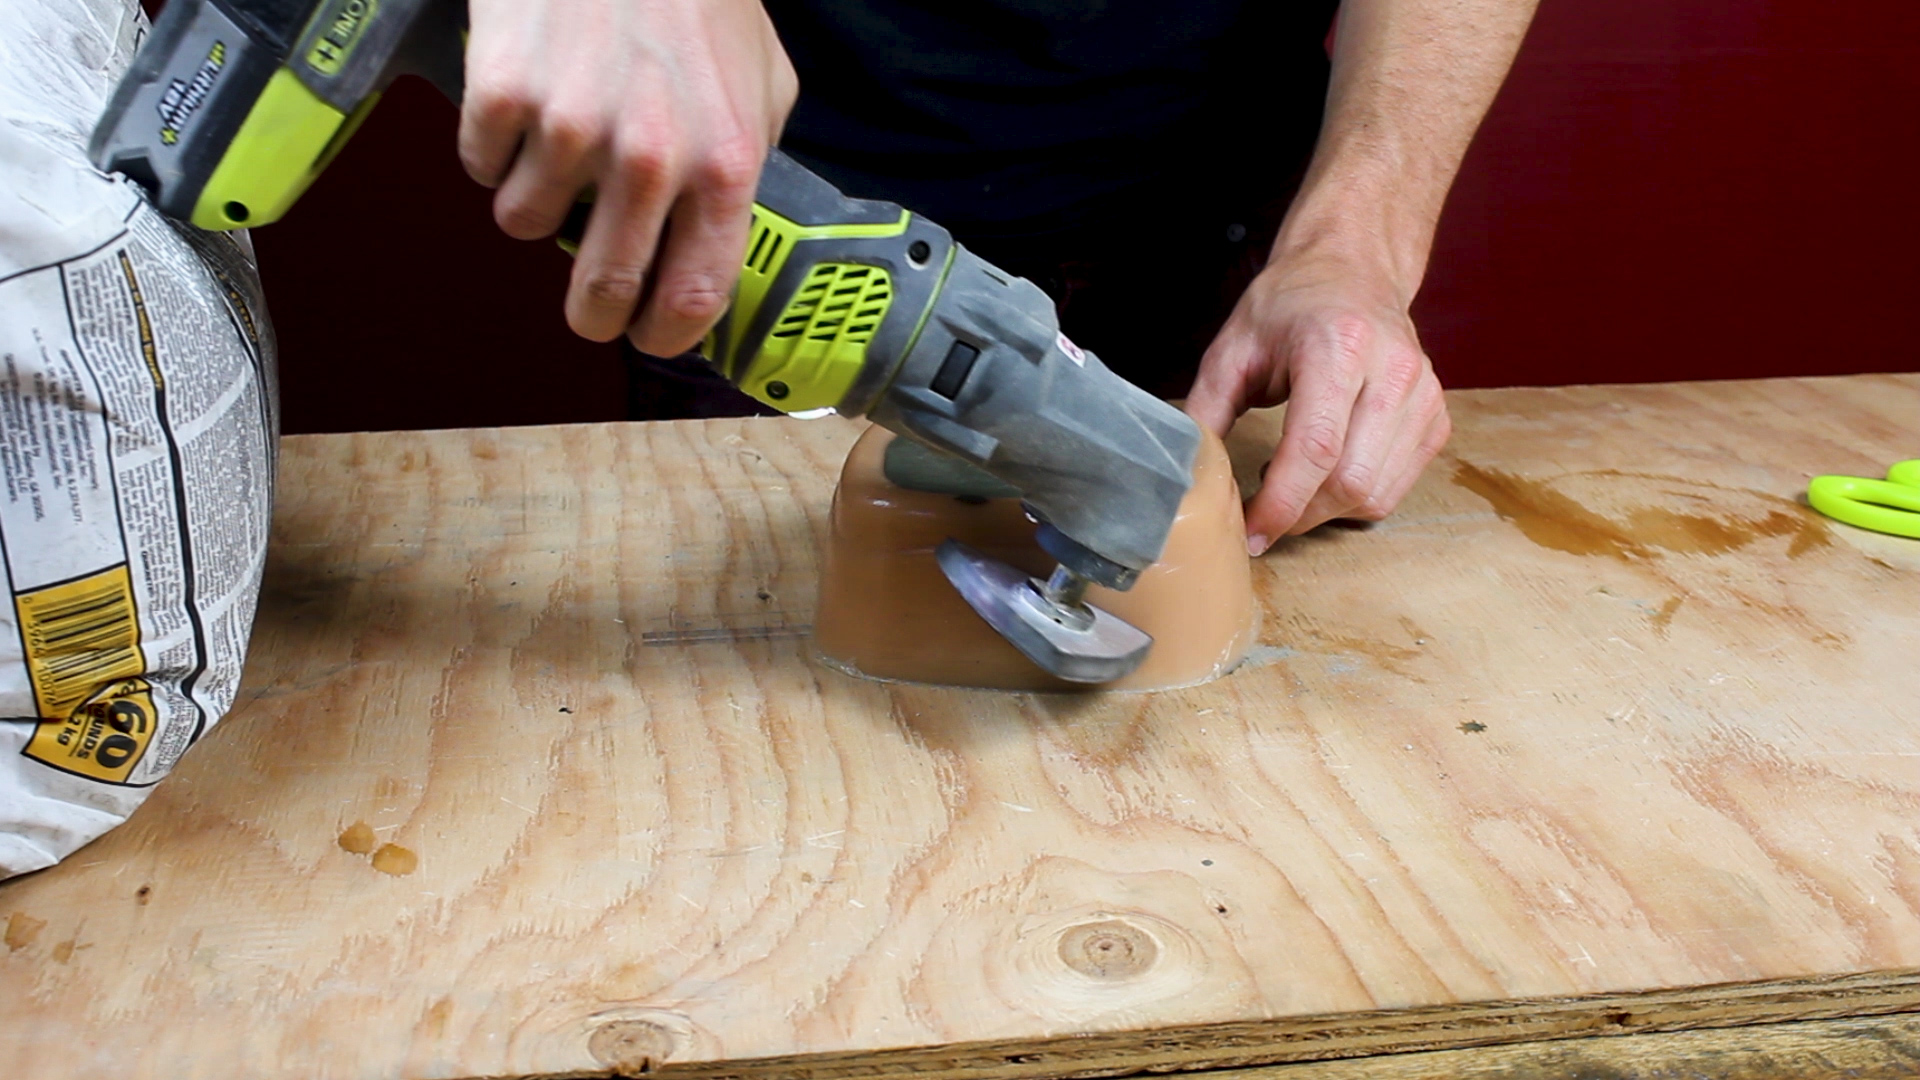
Once I poured my mold, I shook the mold back and forth quickly to spread things out and used a tool to vibrate the bubbles (Pic 1) - you can use anything you have for this - a sander, a multi tool, etc.
Having checked before that the ground was not level, I knew to shim up my mold 1/8" on one side to keep it level (Pic 2).
I worked up a little contraption in Pic 3 that allowed me to suspend my two legs into the concrete while it cured. Just scrap wood and hot glue - and I was very careful to check that everything was even and square. I had put in a lot of work at this point - no need to mess up now! I checked for evenness in Pic 4.
PRO TIP Your molding tops might not be level - MINE WERE NOT. You can see in Pic 4 how the right side has two pieces of foam to prop up the contraption. If your molding is not even like mine, your legs will not sit level in the mold and will cure at a slope, So check for this levelness ahead of time.
I let the concrete cure for a full two days.
Once it did, it was rather easy to break apart the mold and pull the casting out of the concrete (Pic 1). I then pealed away the tape eagerly to reveal a very clean live edge top (Pic 2).
I realized after casting that I should have taped off the sides too, but was able to clean up the sides really easily with a chisel in Pic 3. I then used some wet sand paper at 220 grit to sand down all of the surfaces and edges in Pic 4. I took my sweet time with this. The concrete wasn't fully cured, but was perfect for sanding down.
You can see in the close up of the pictures that there were bubbles and other imperfections. Three things would help prevent this:
- Better bubble vibration to get rid of air pockets
- Using a finder concrete mix
- Mixing concrete all at once in a big container
Here are various photos of the final product - both overall and in detail. Many ways to improve, and I intend to do so soon!
As always, thank you for reading! I would be so grateful if you could please subscribe to my Youtube Channel for future projects. I put out videos every few weeks.
Cheers!
Zach


