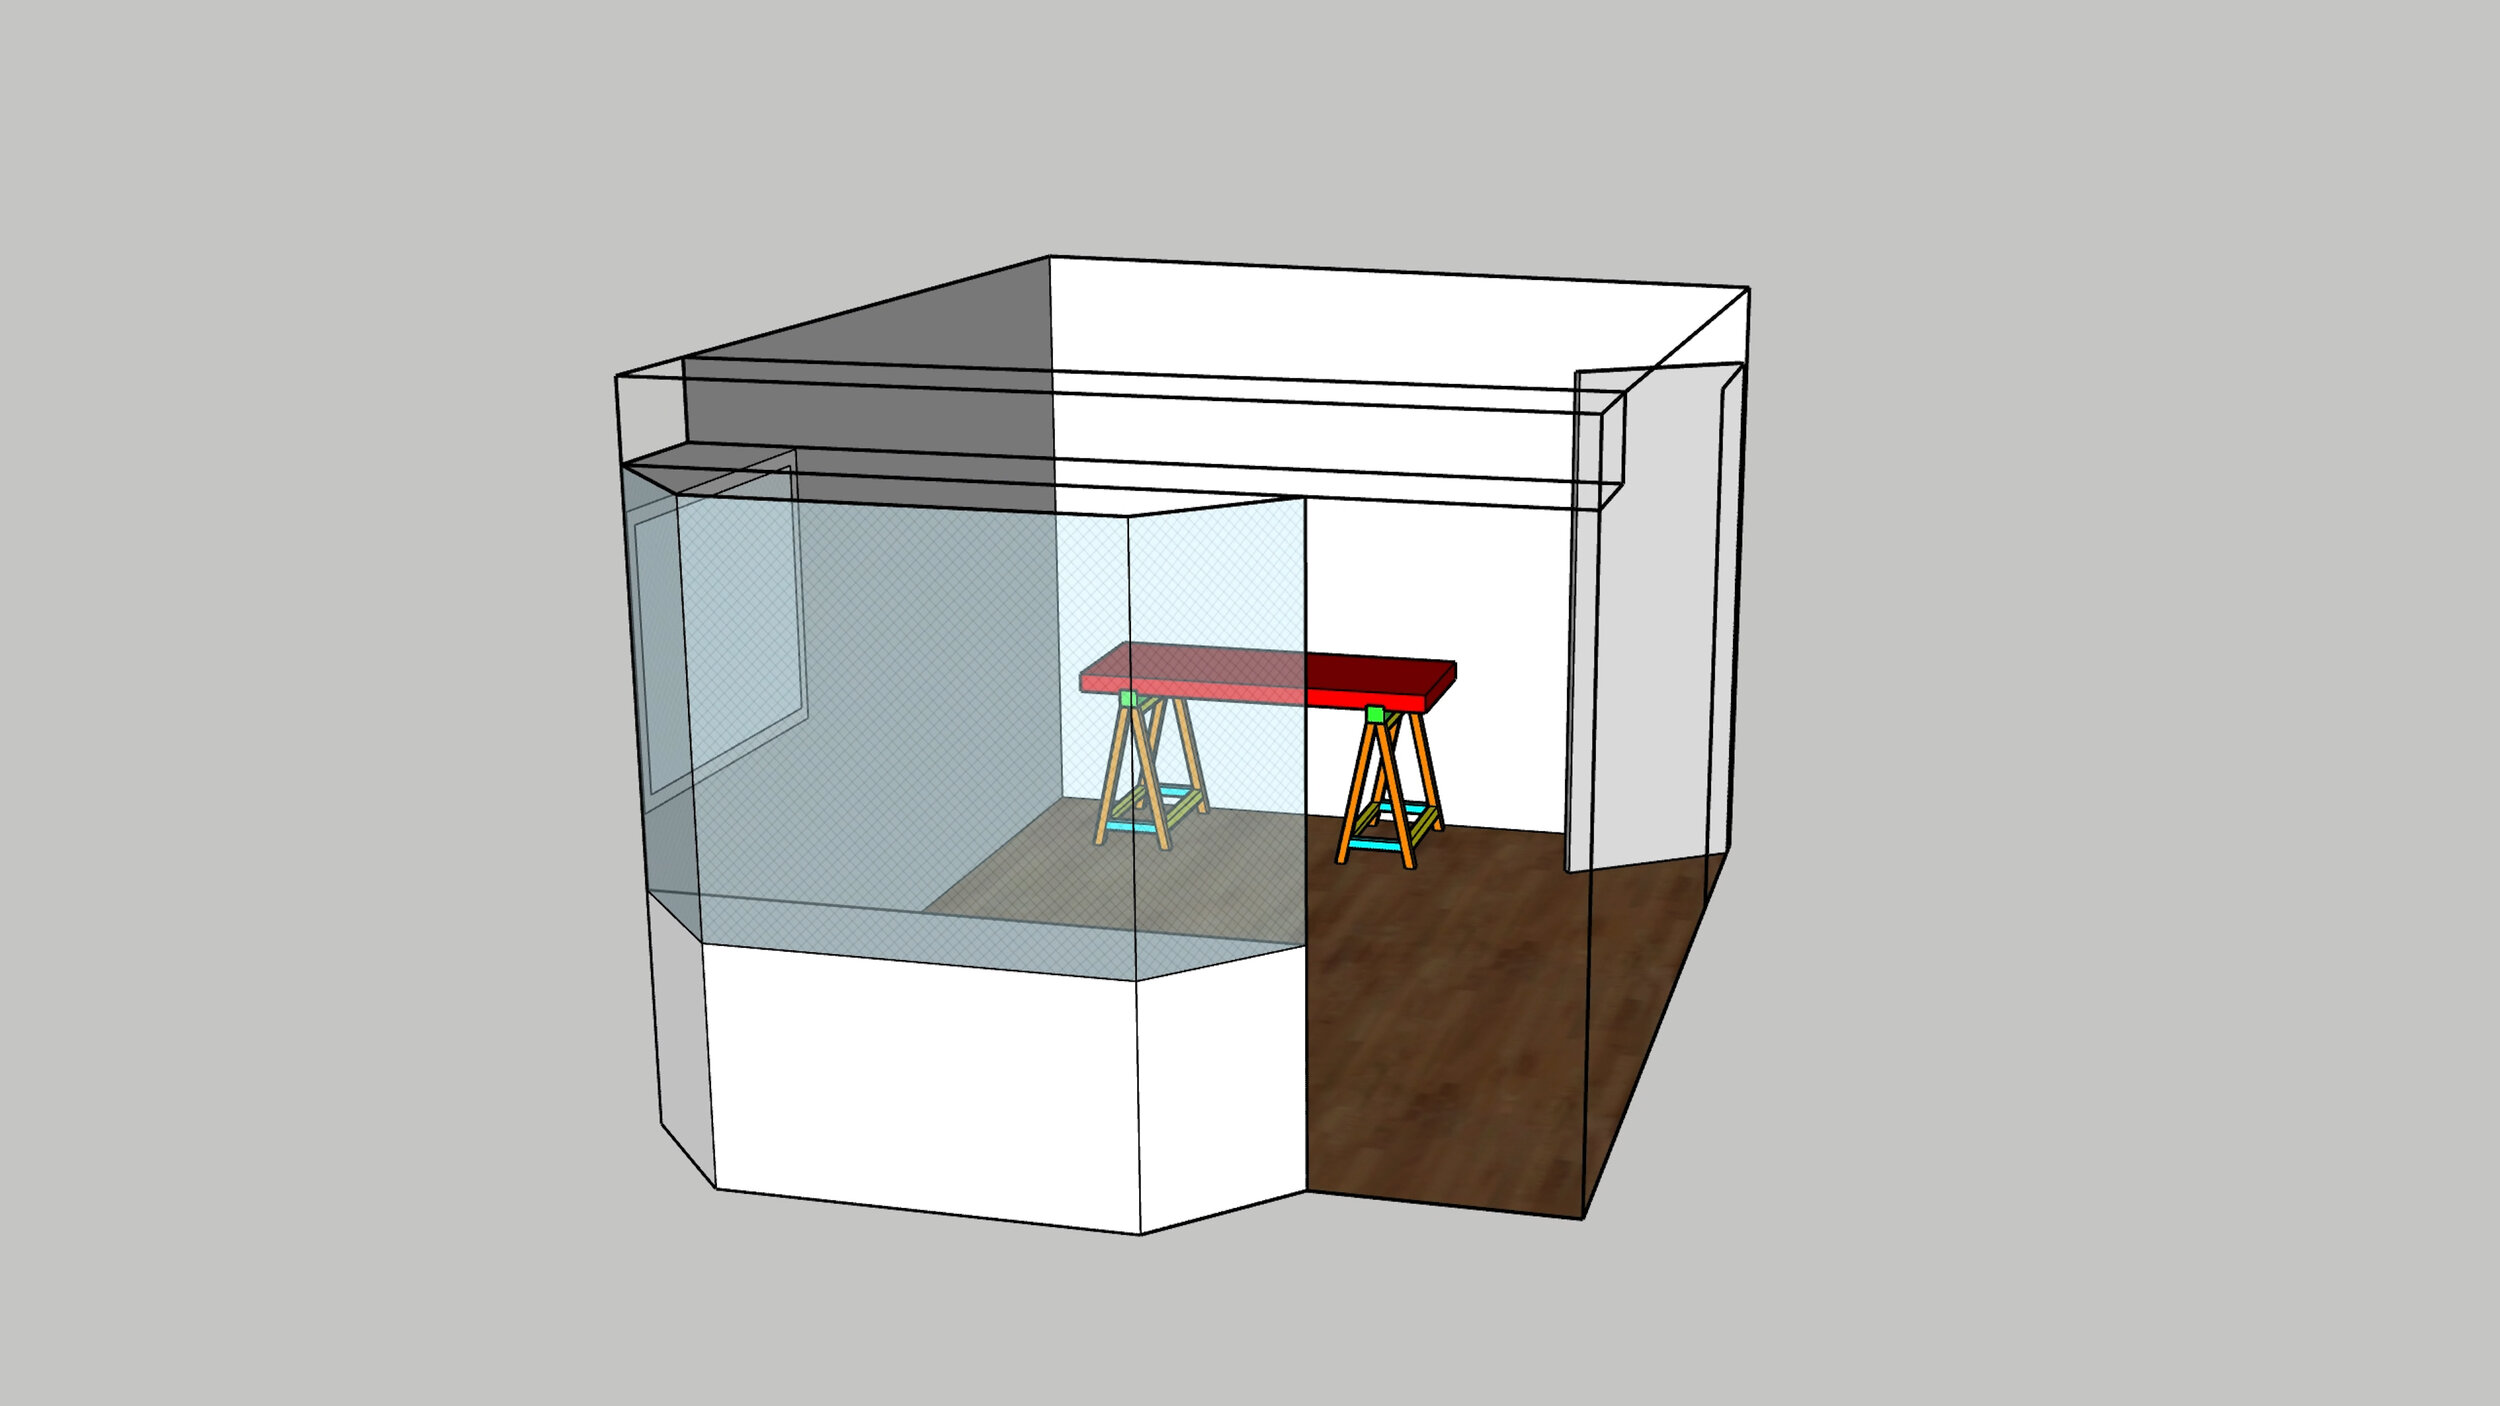
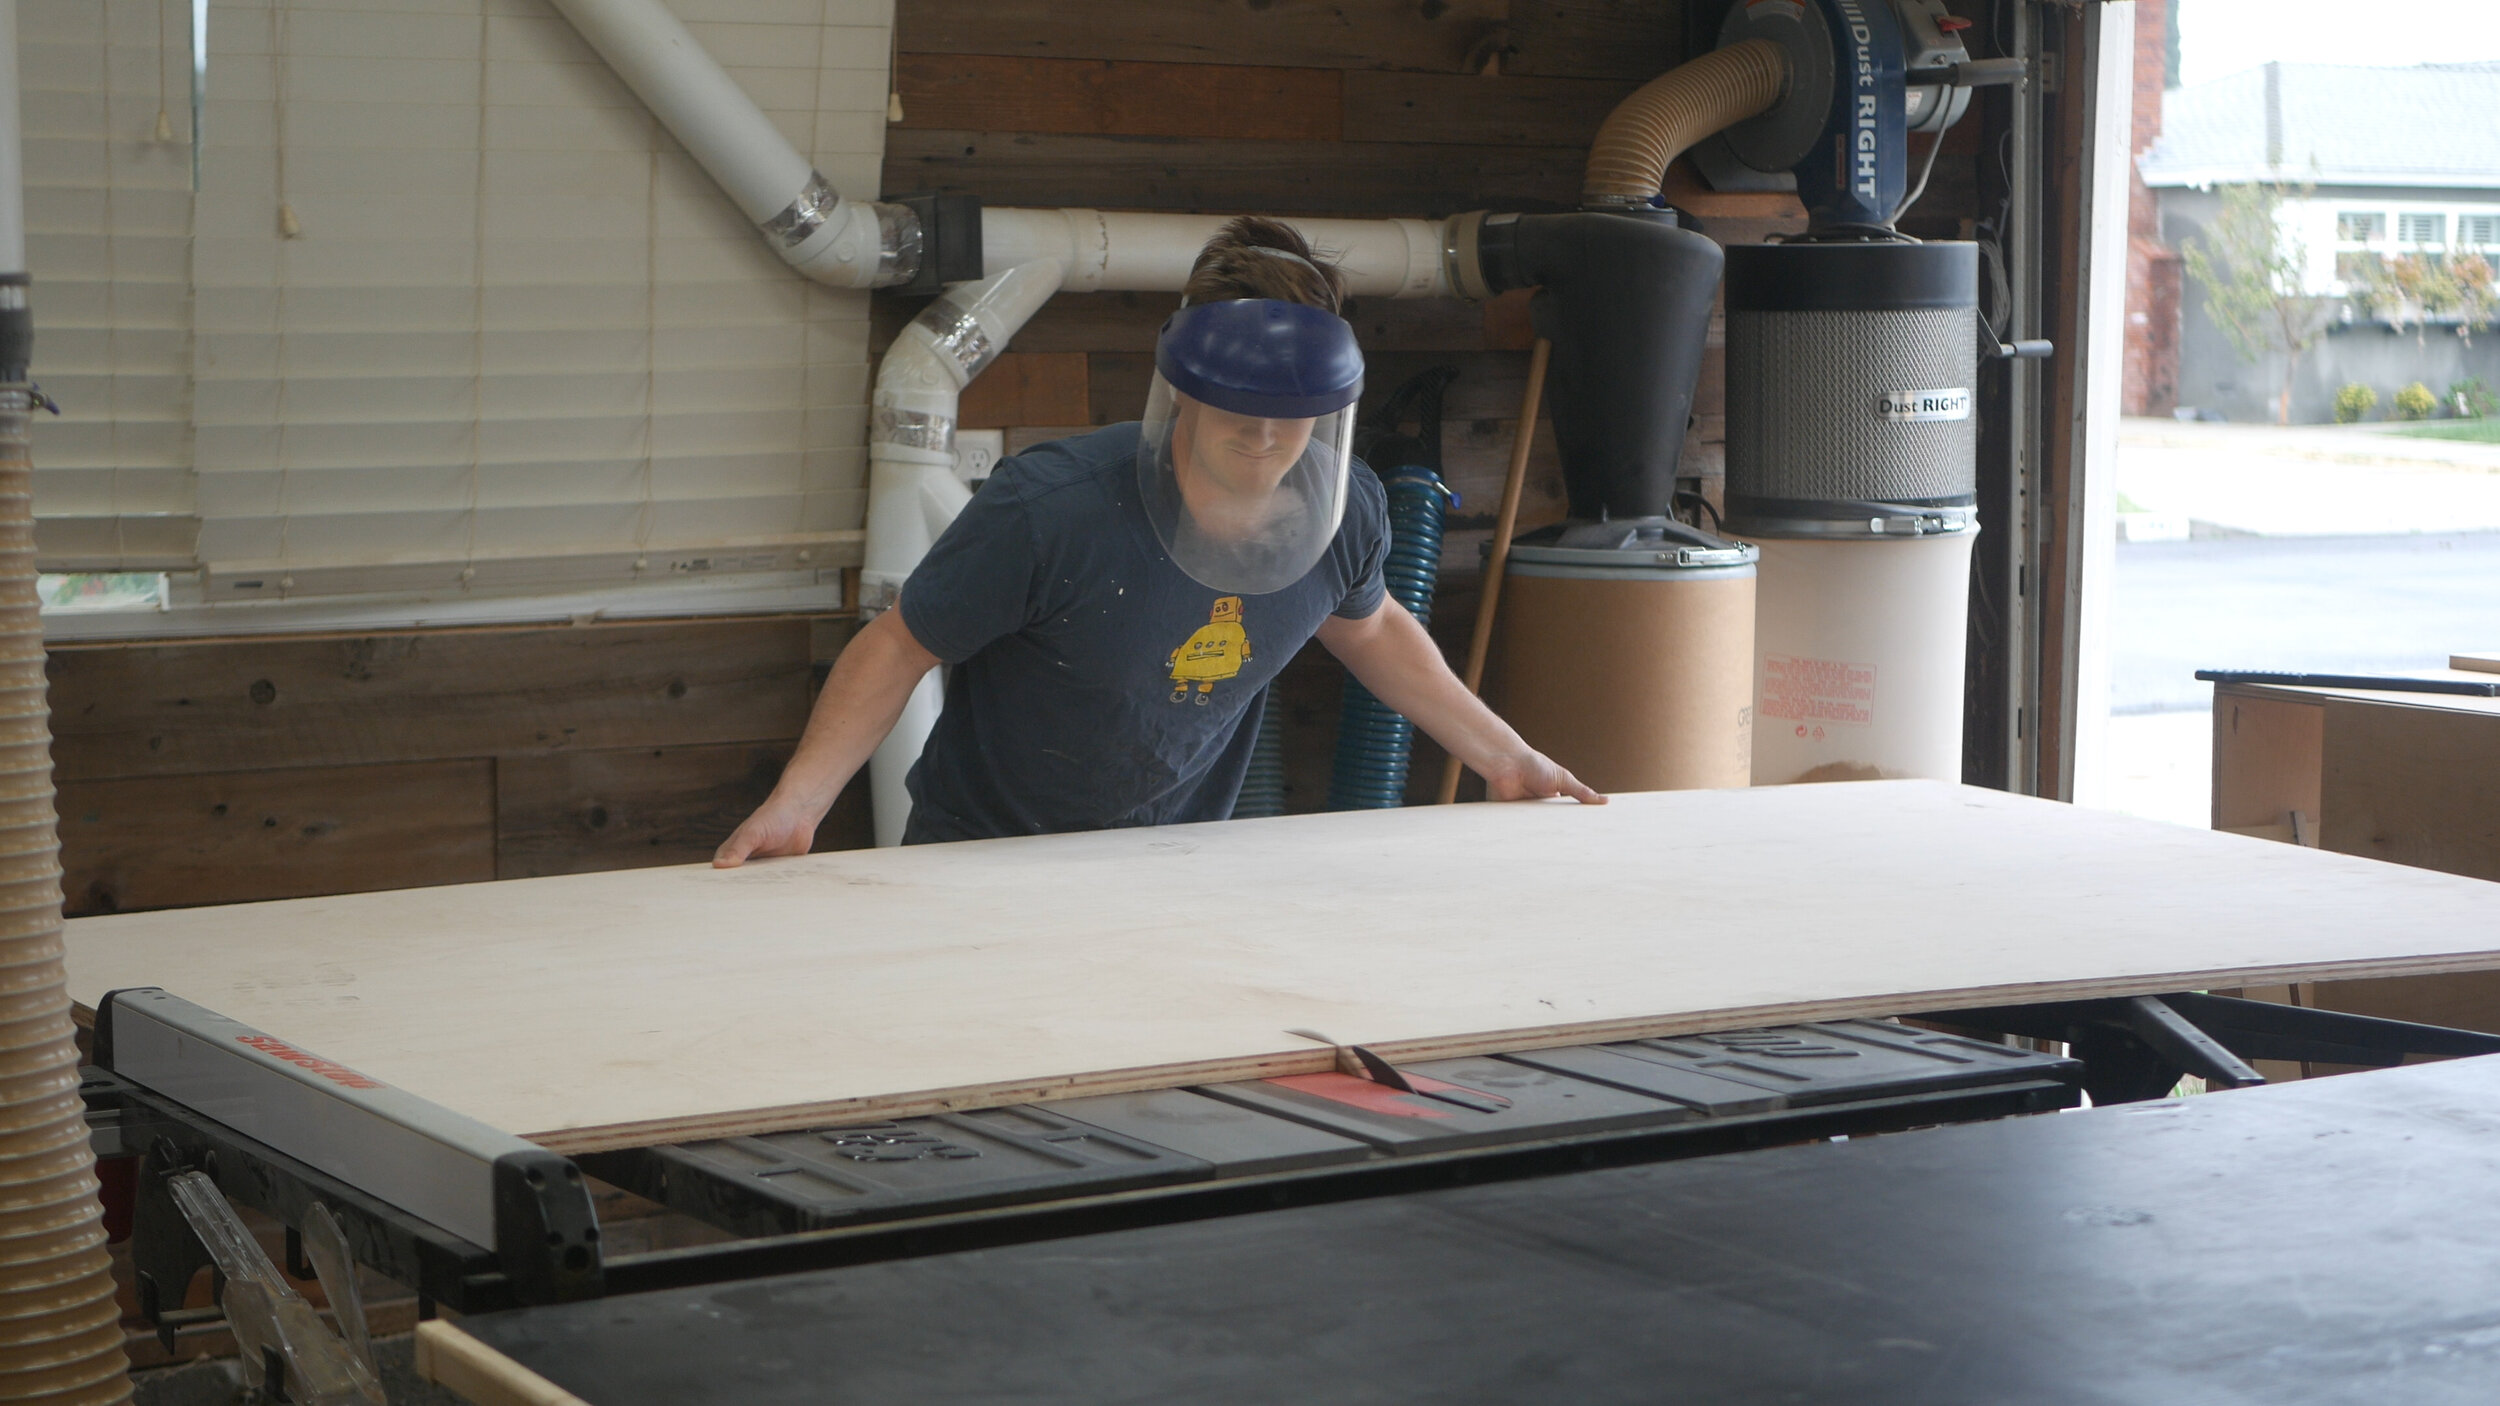
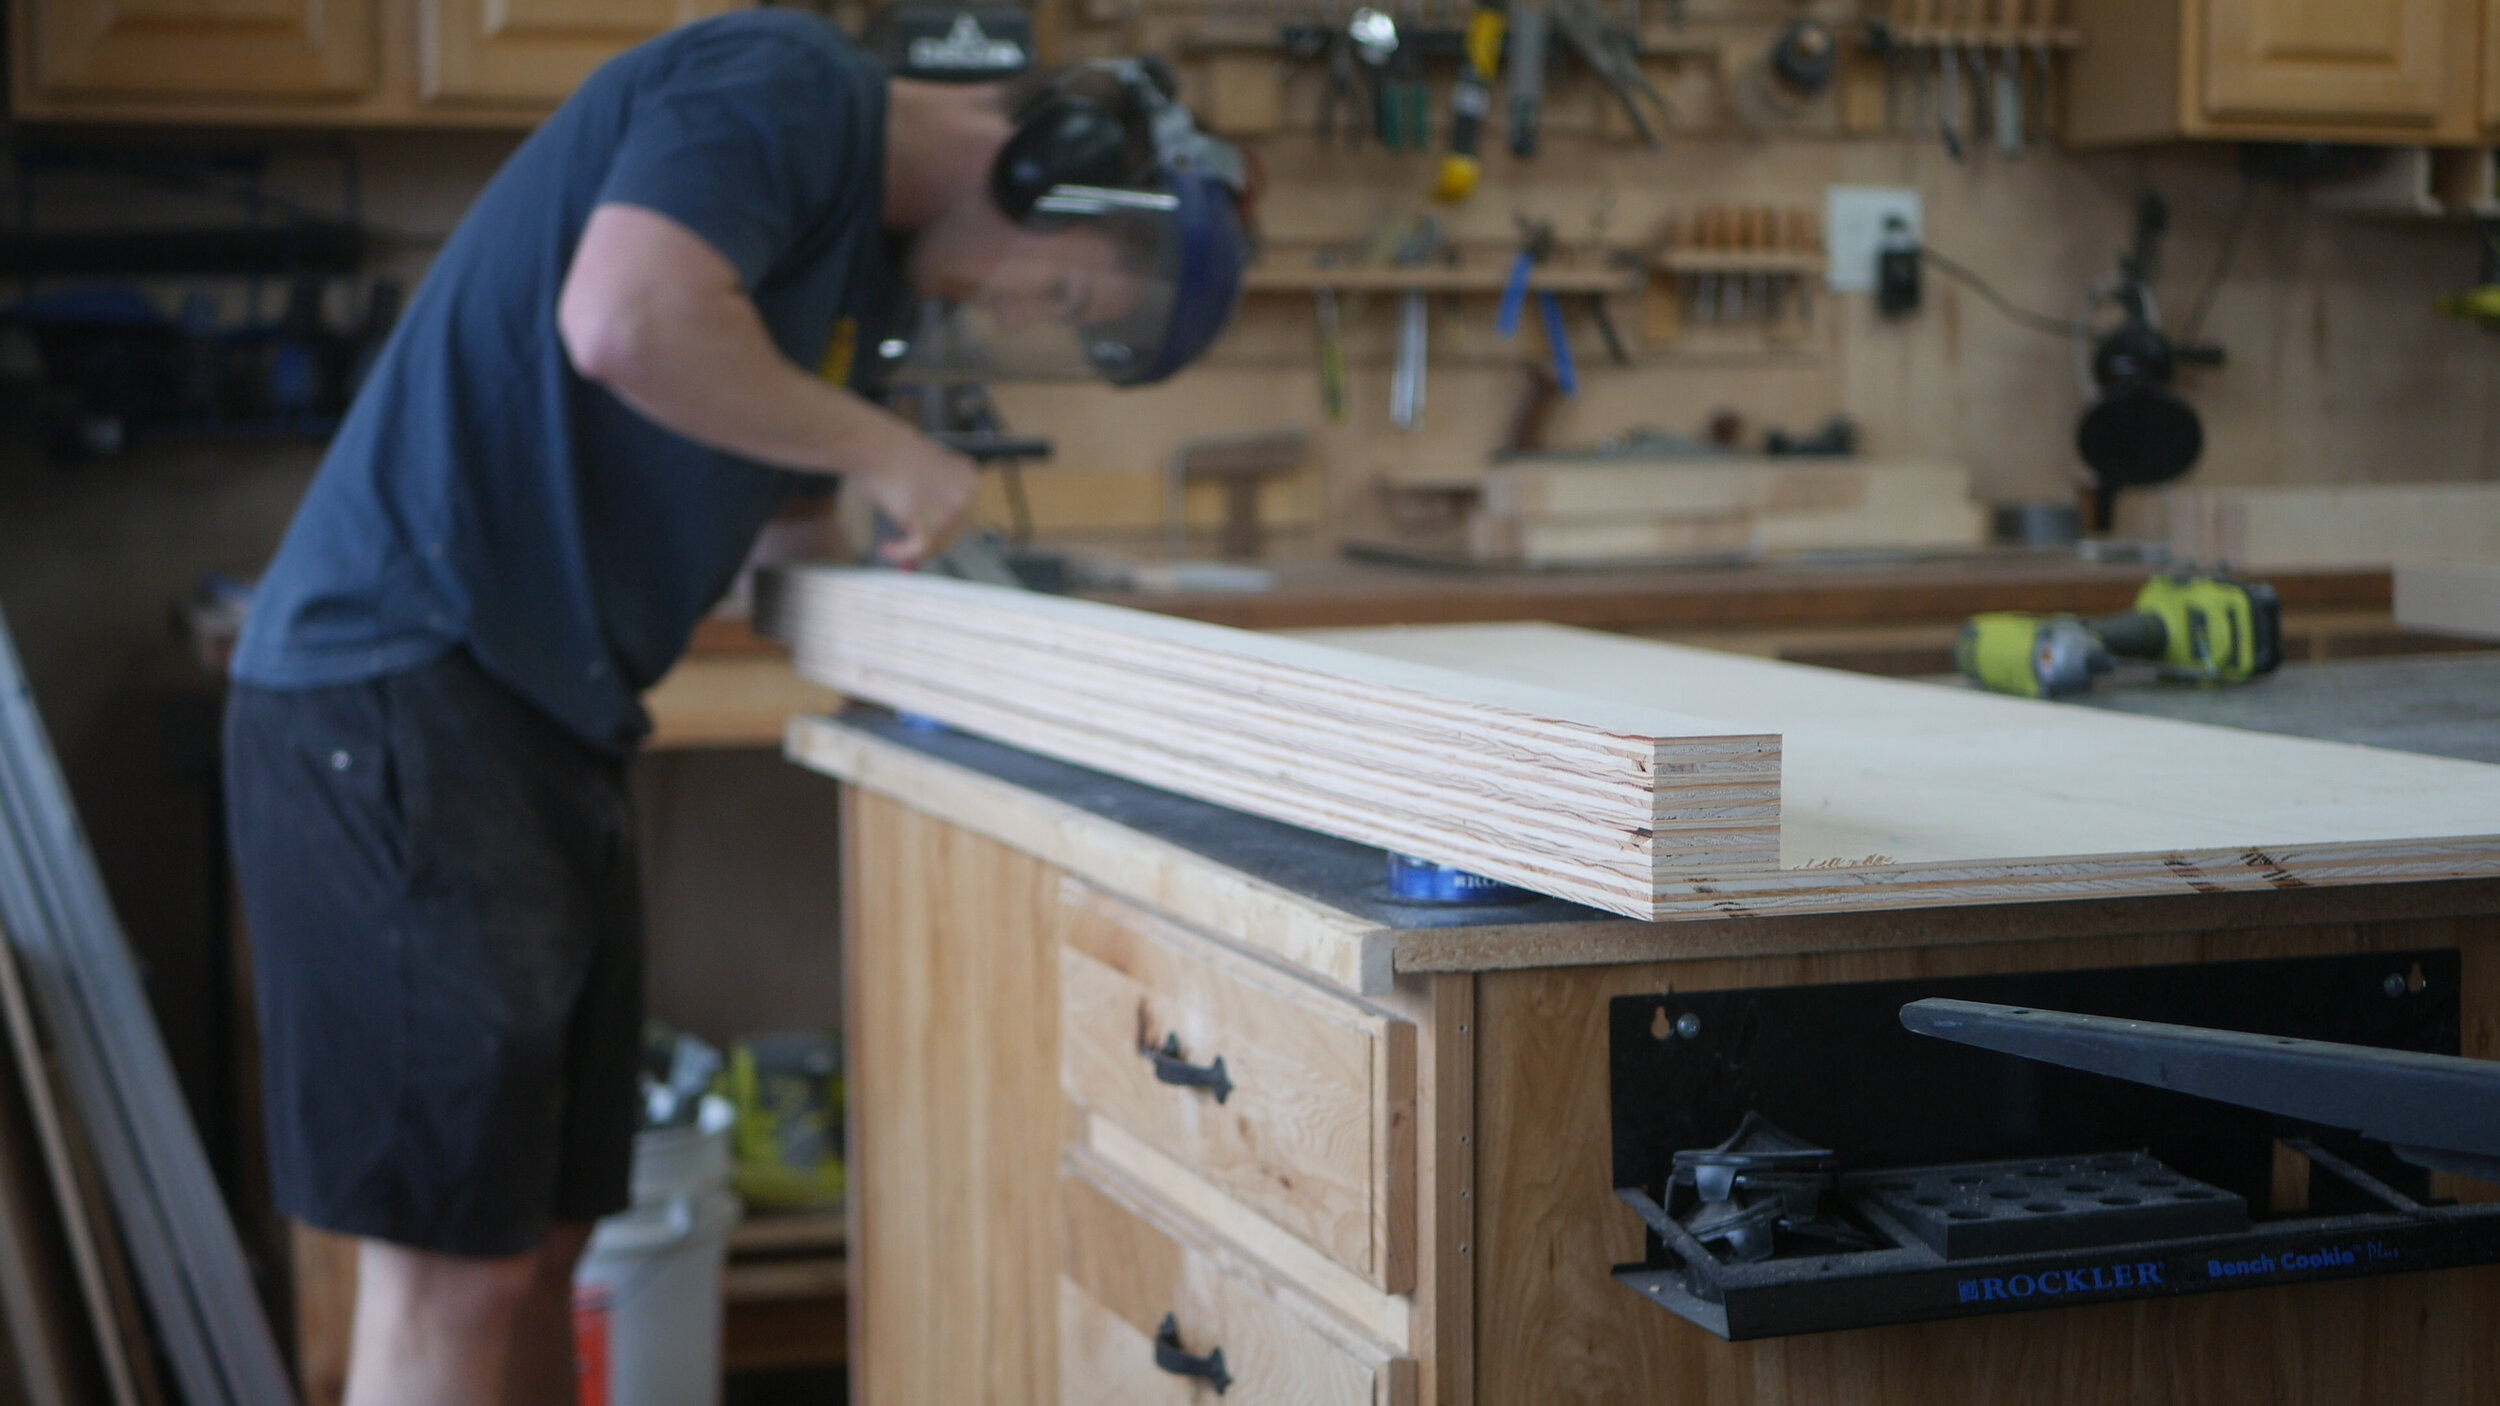
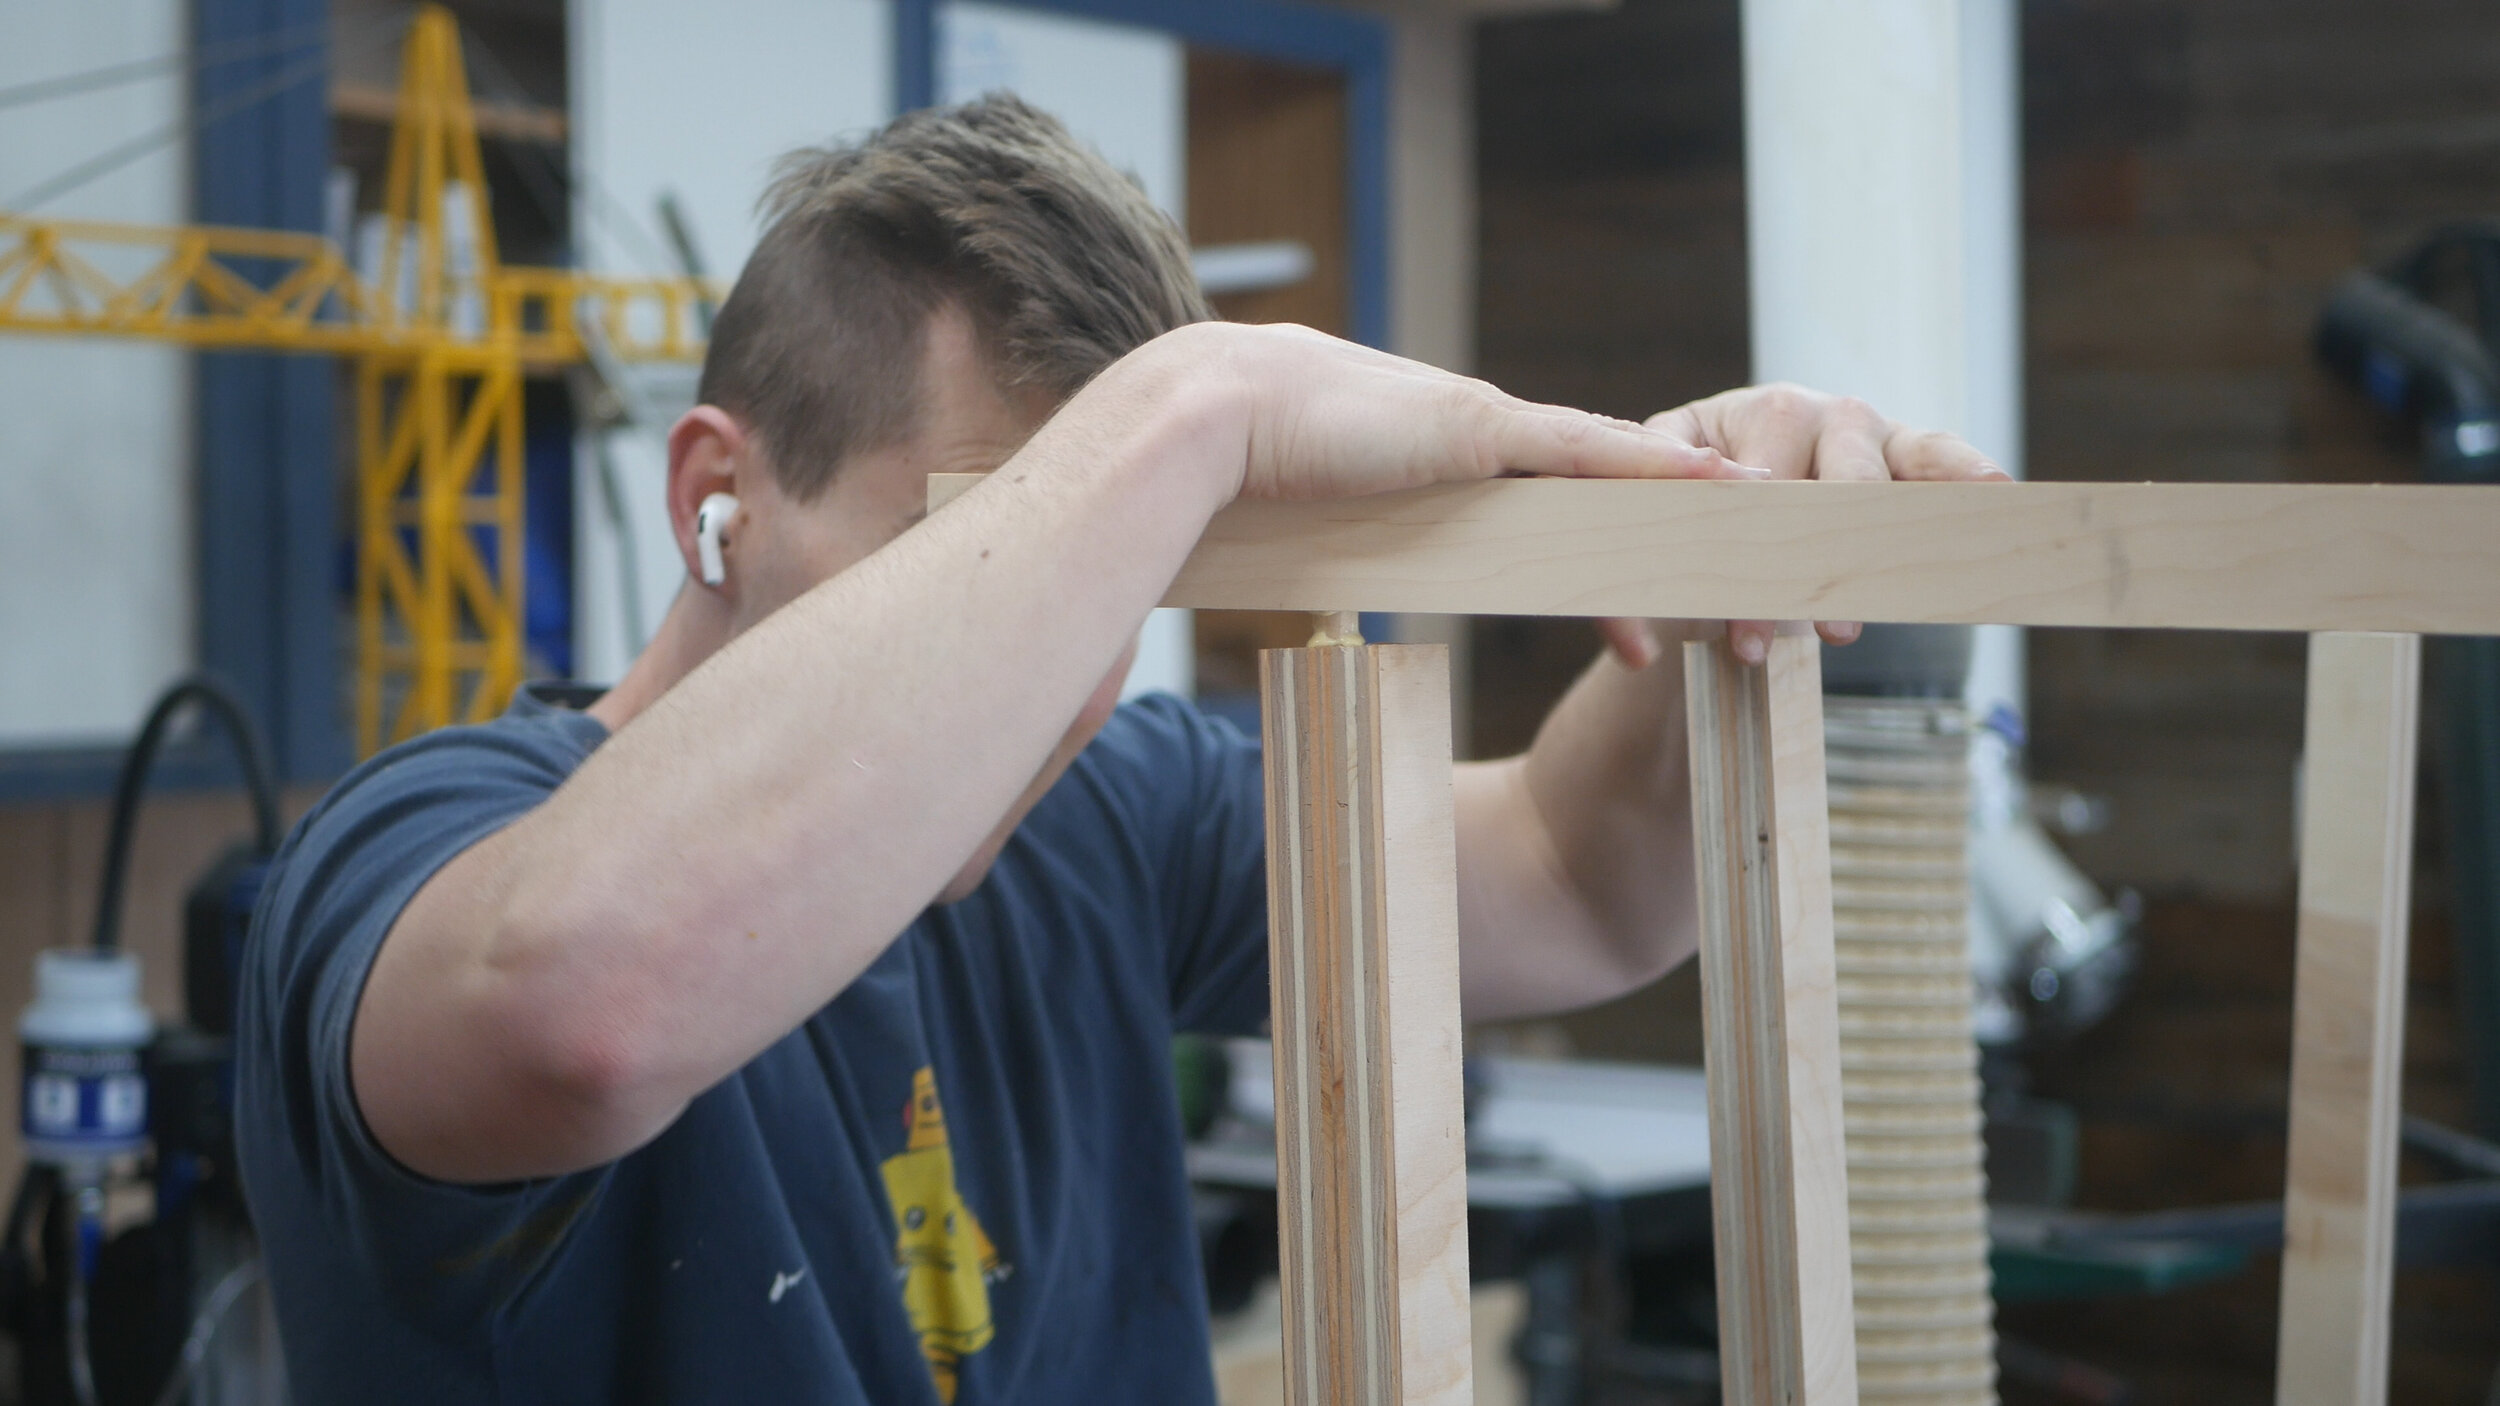
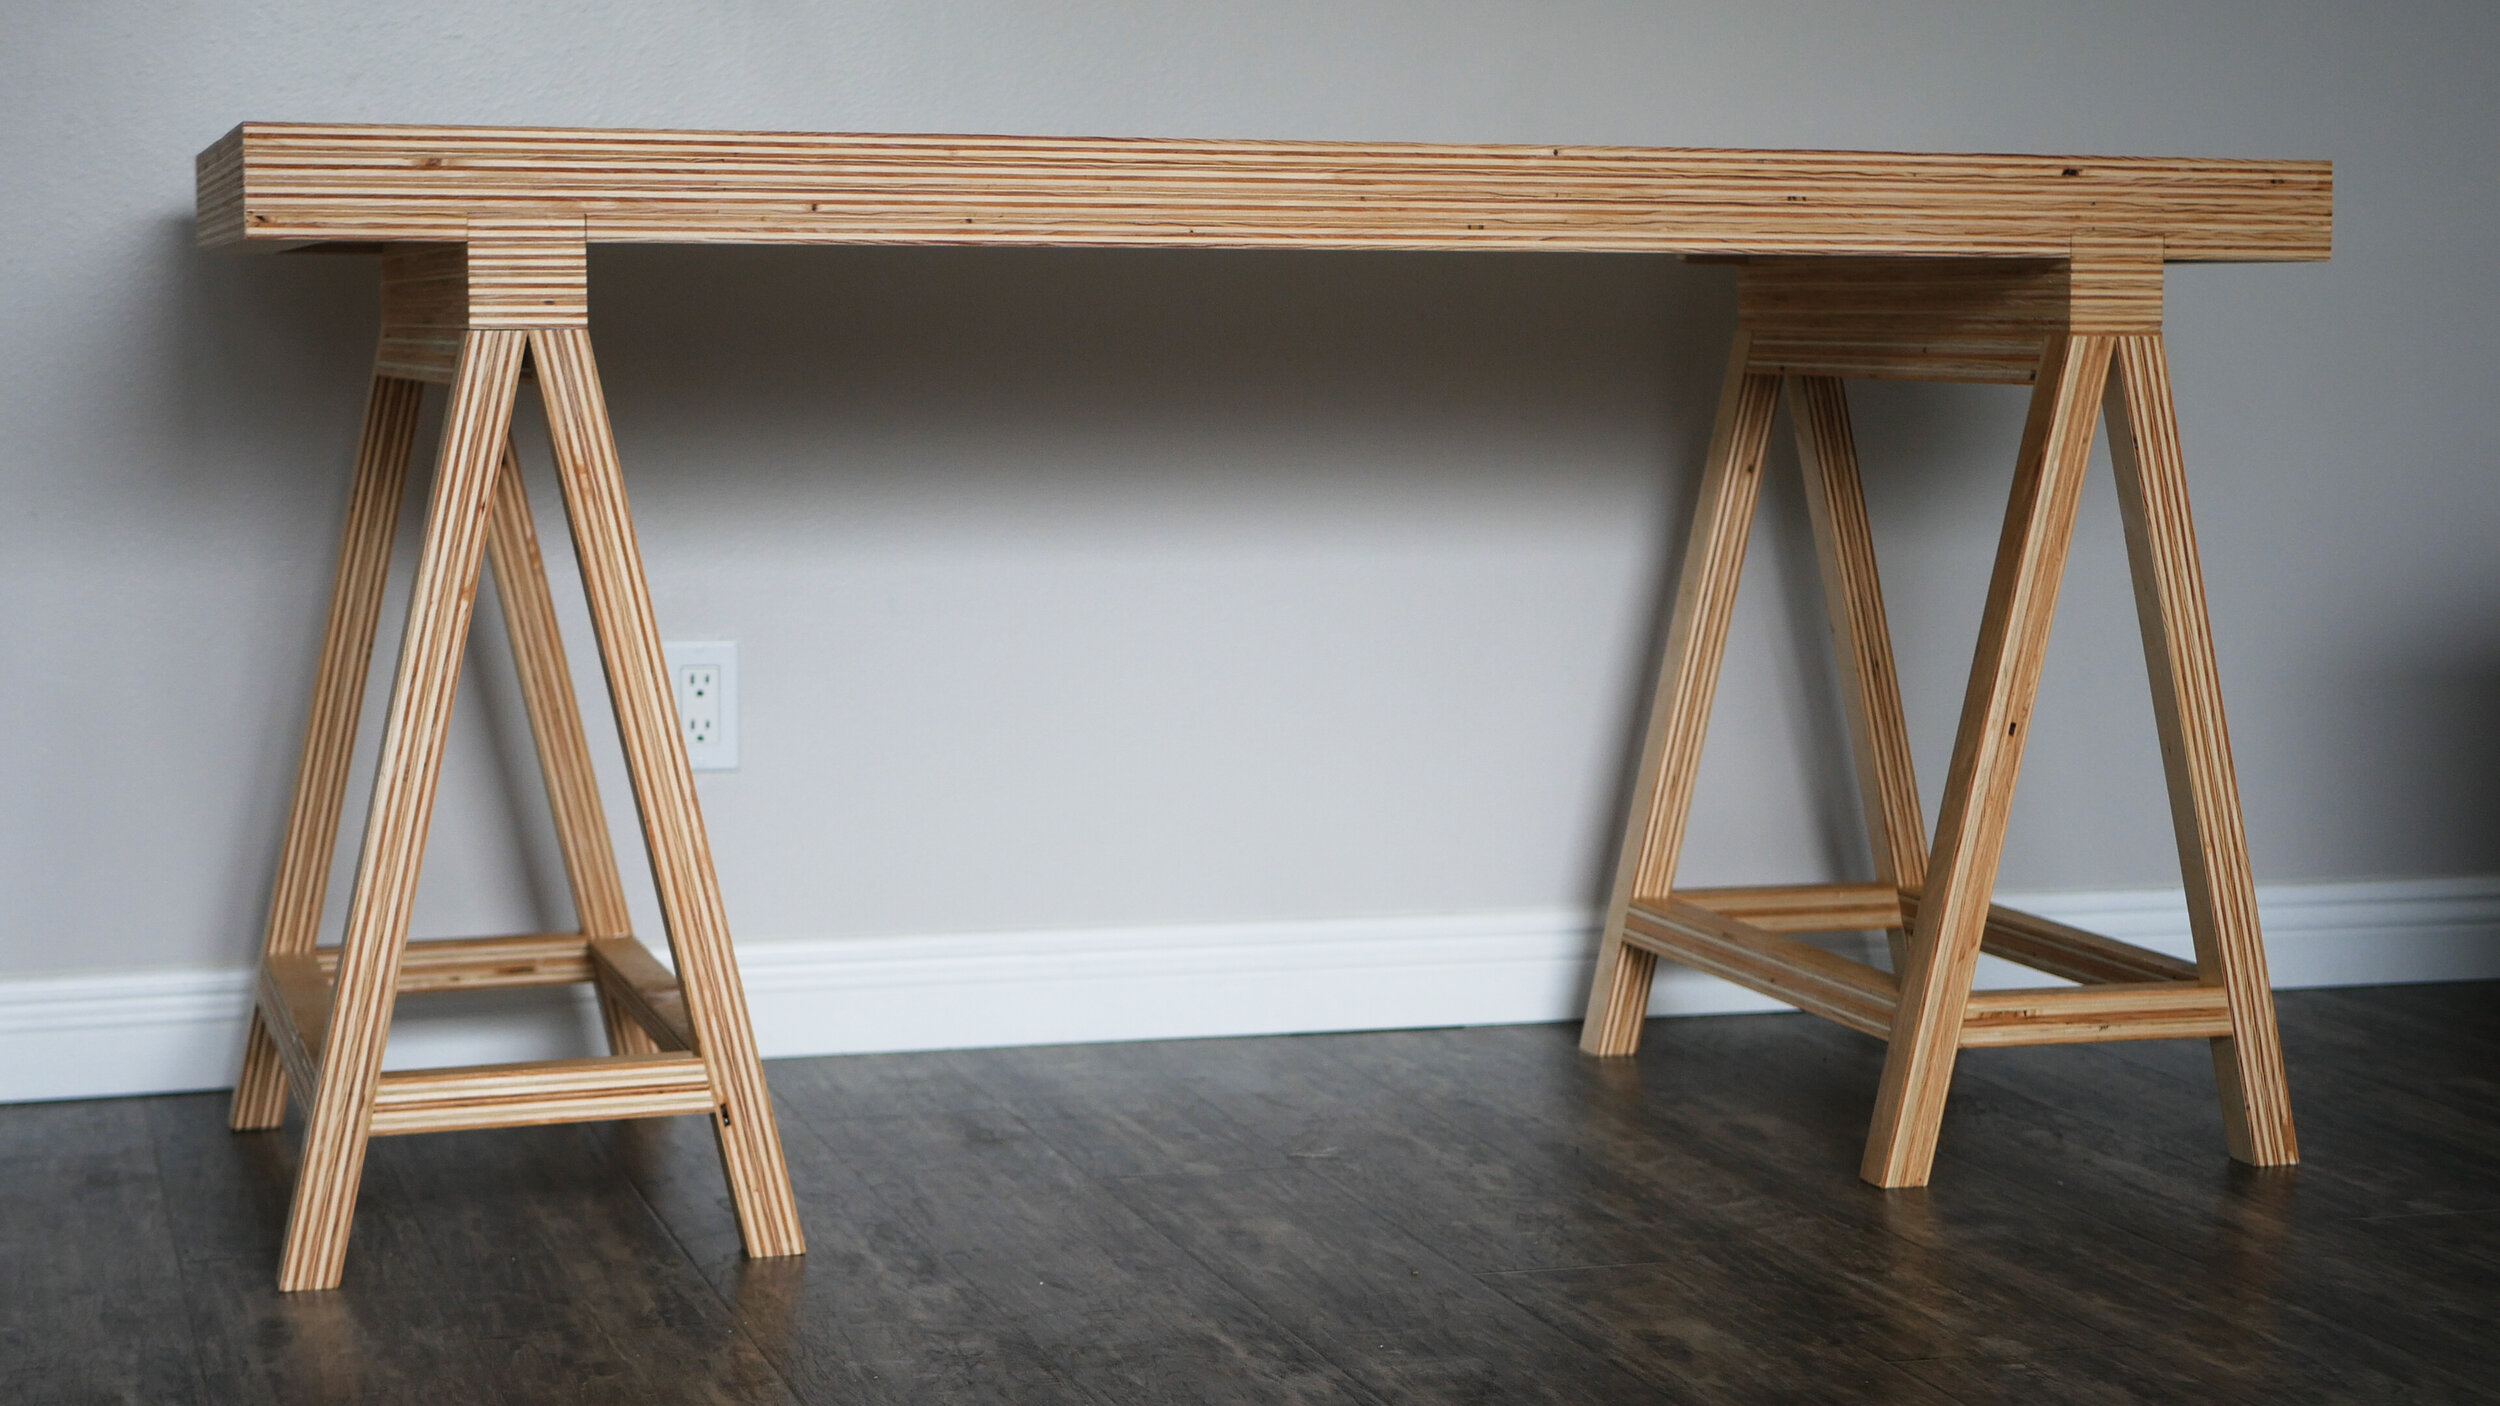
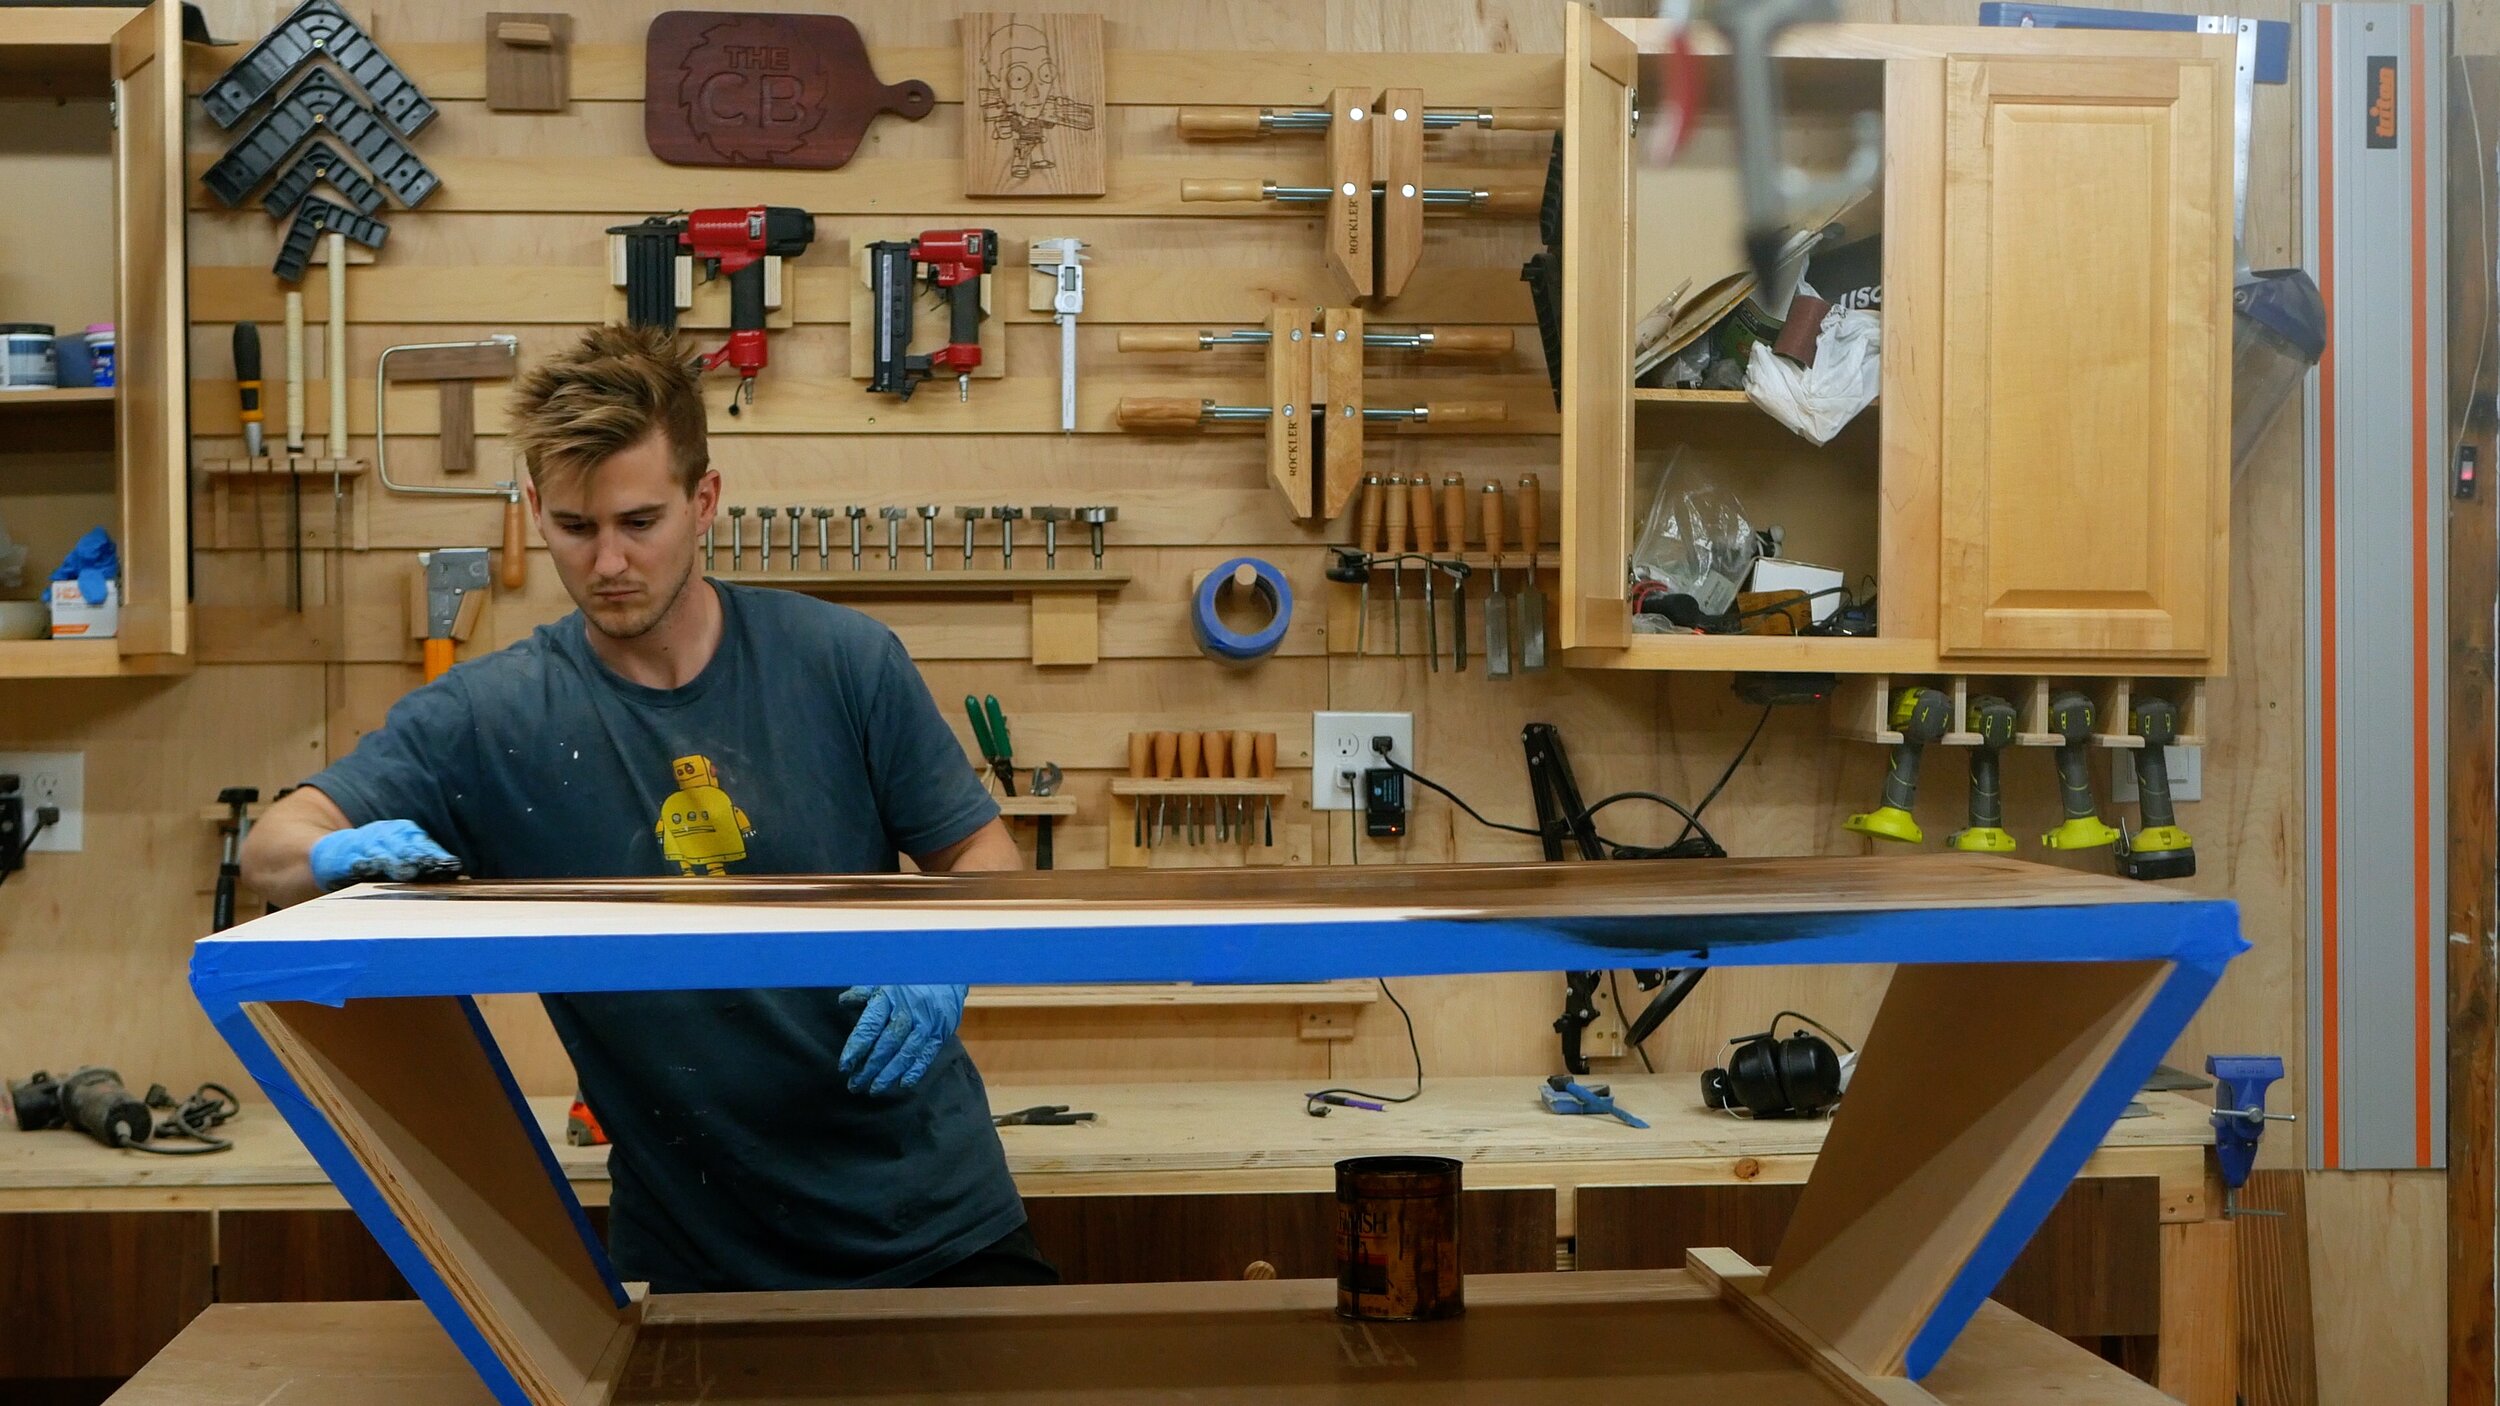
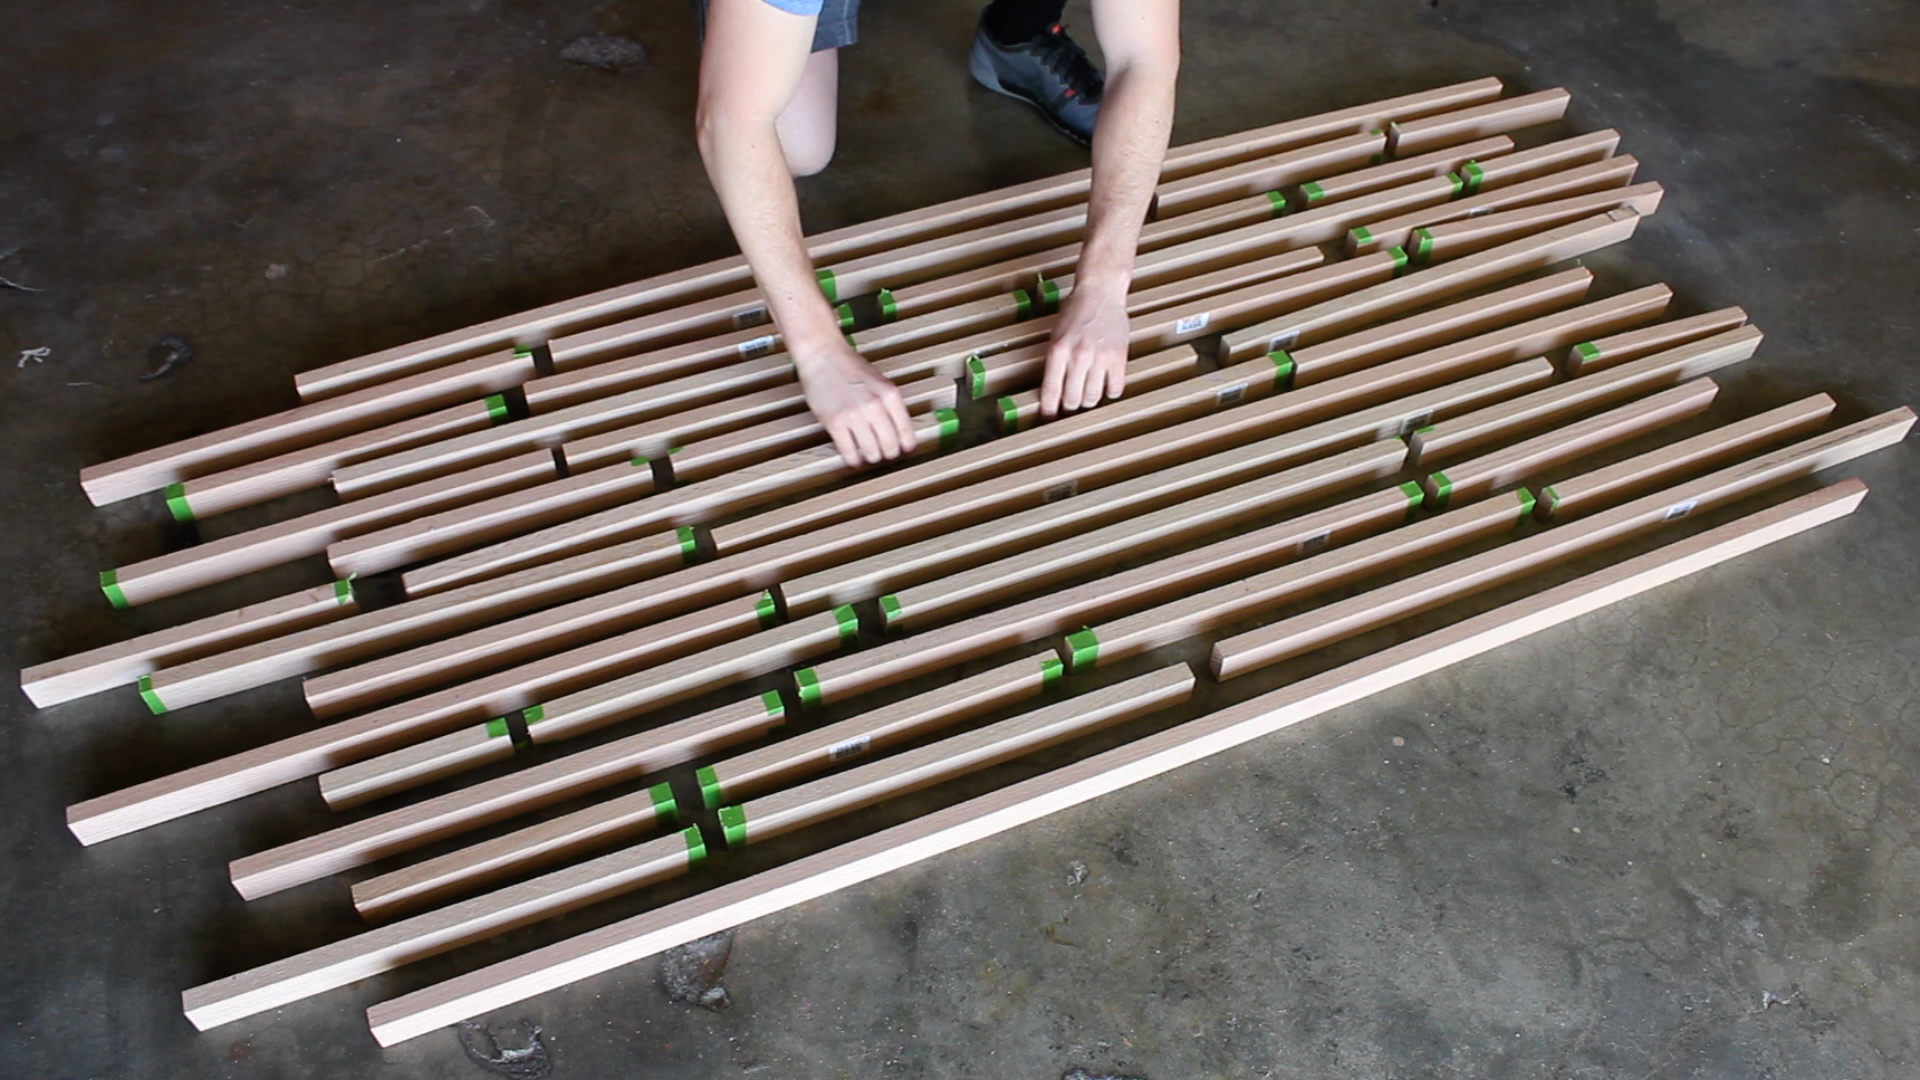
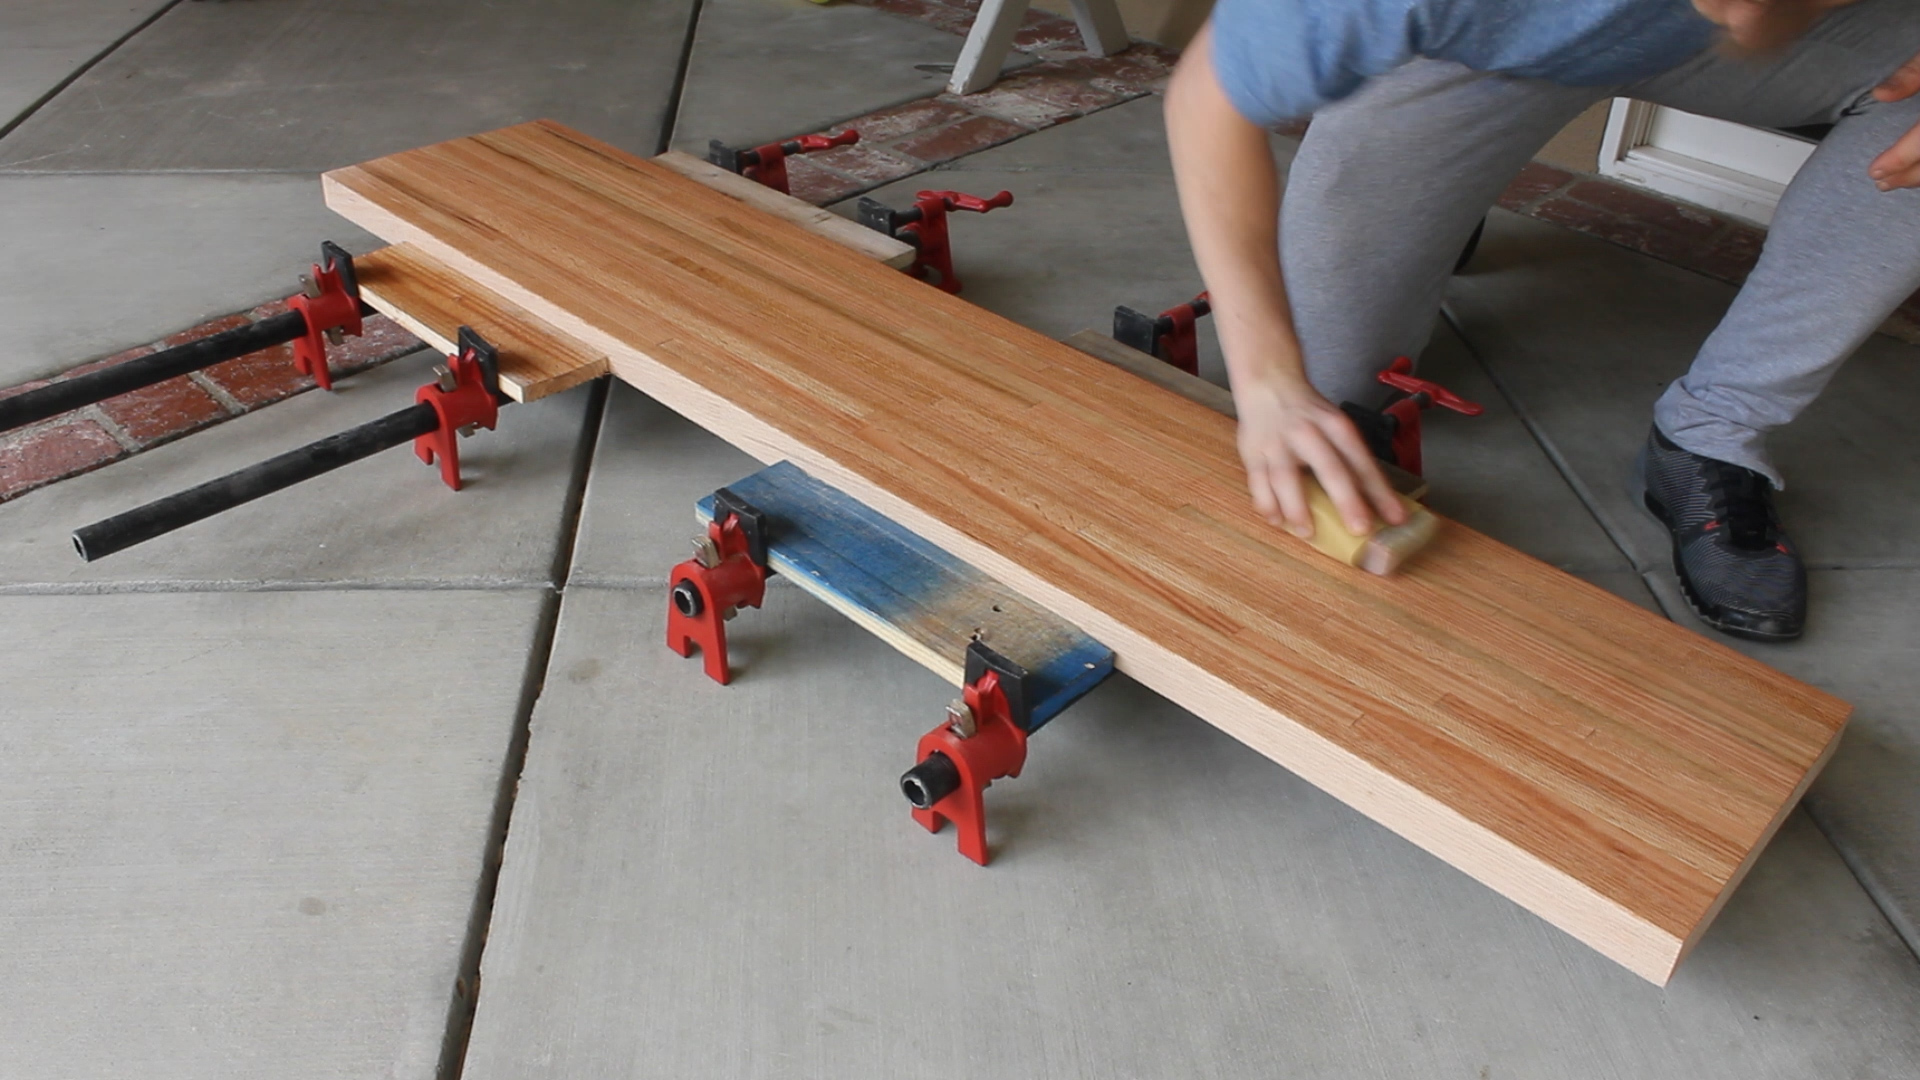
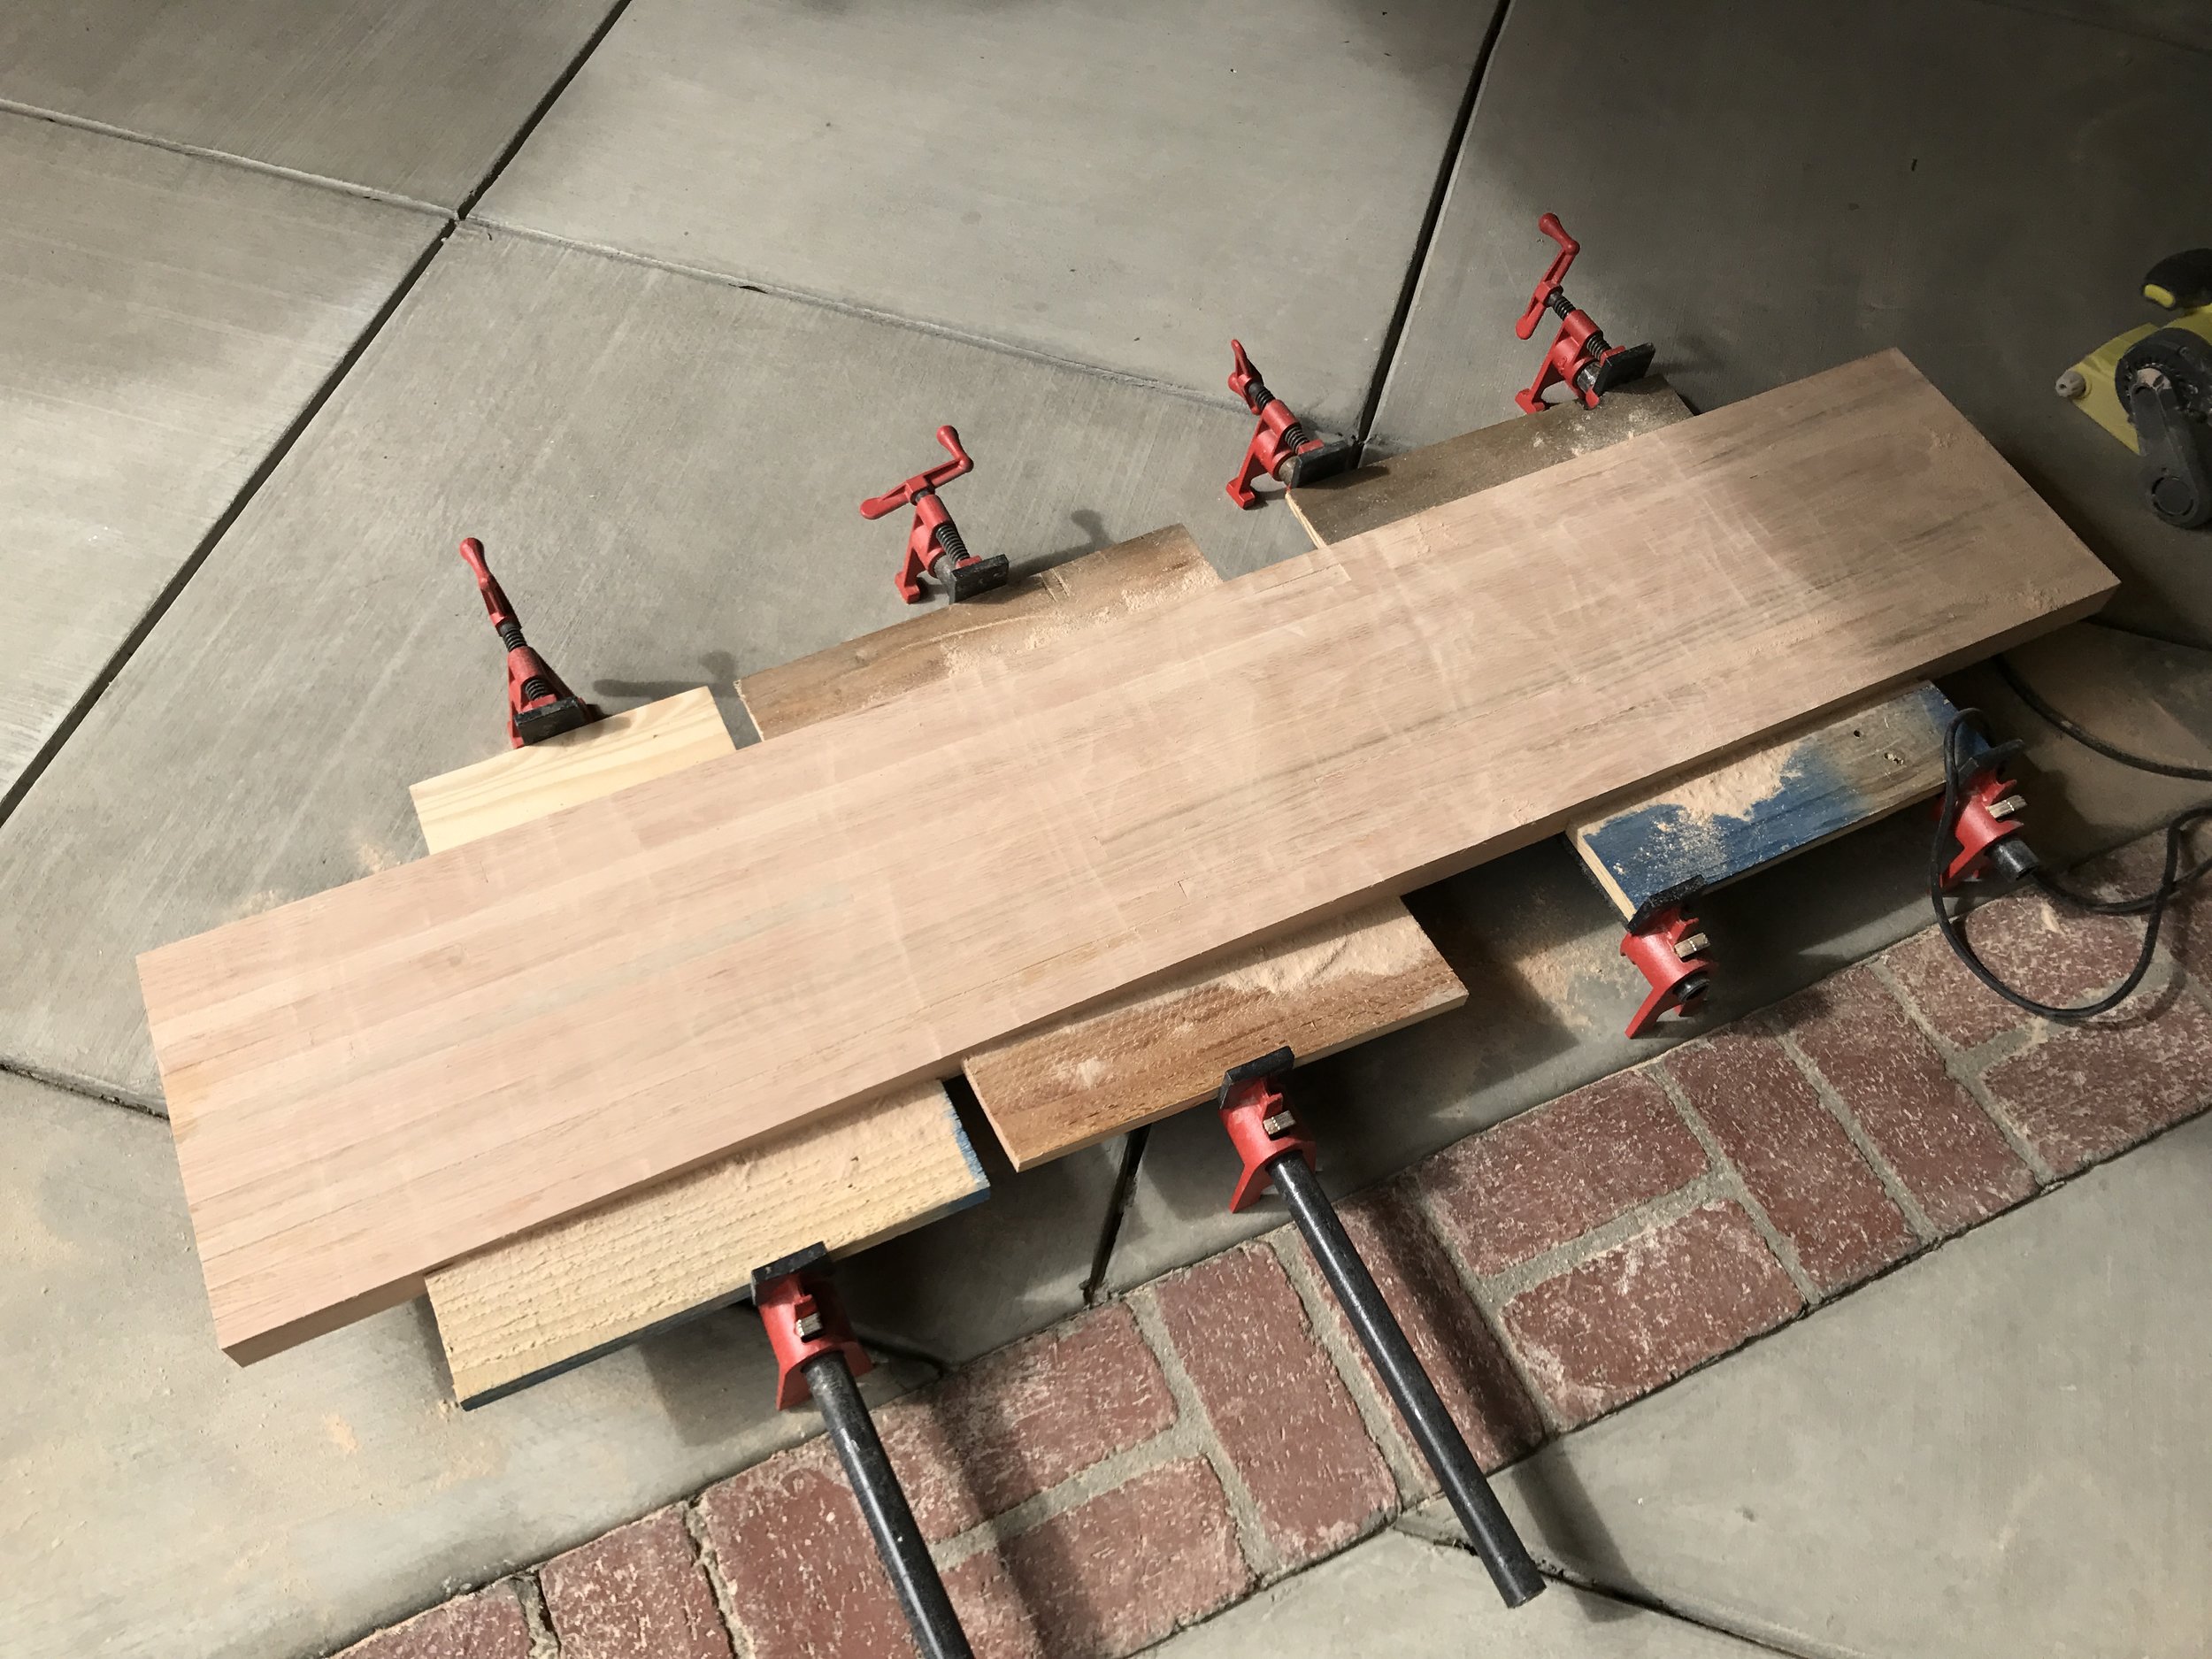
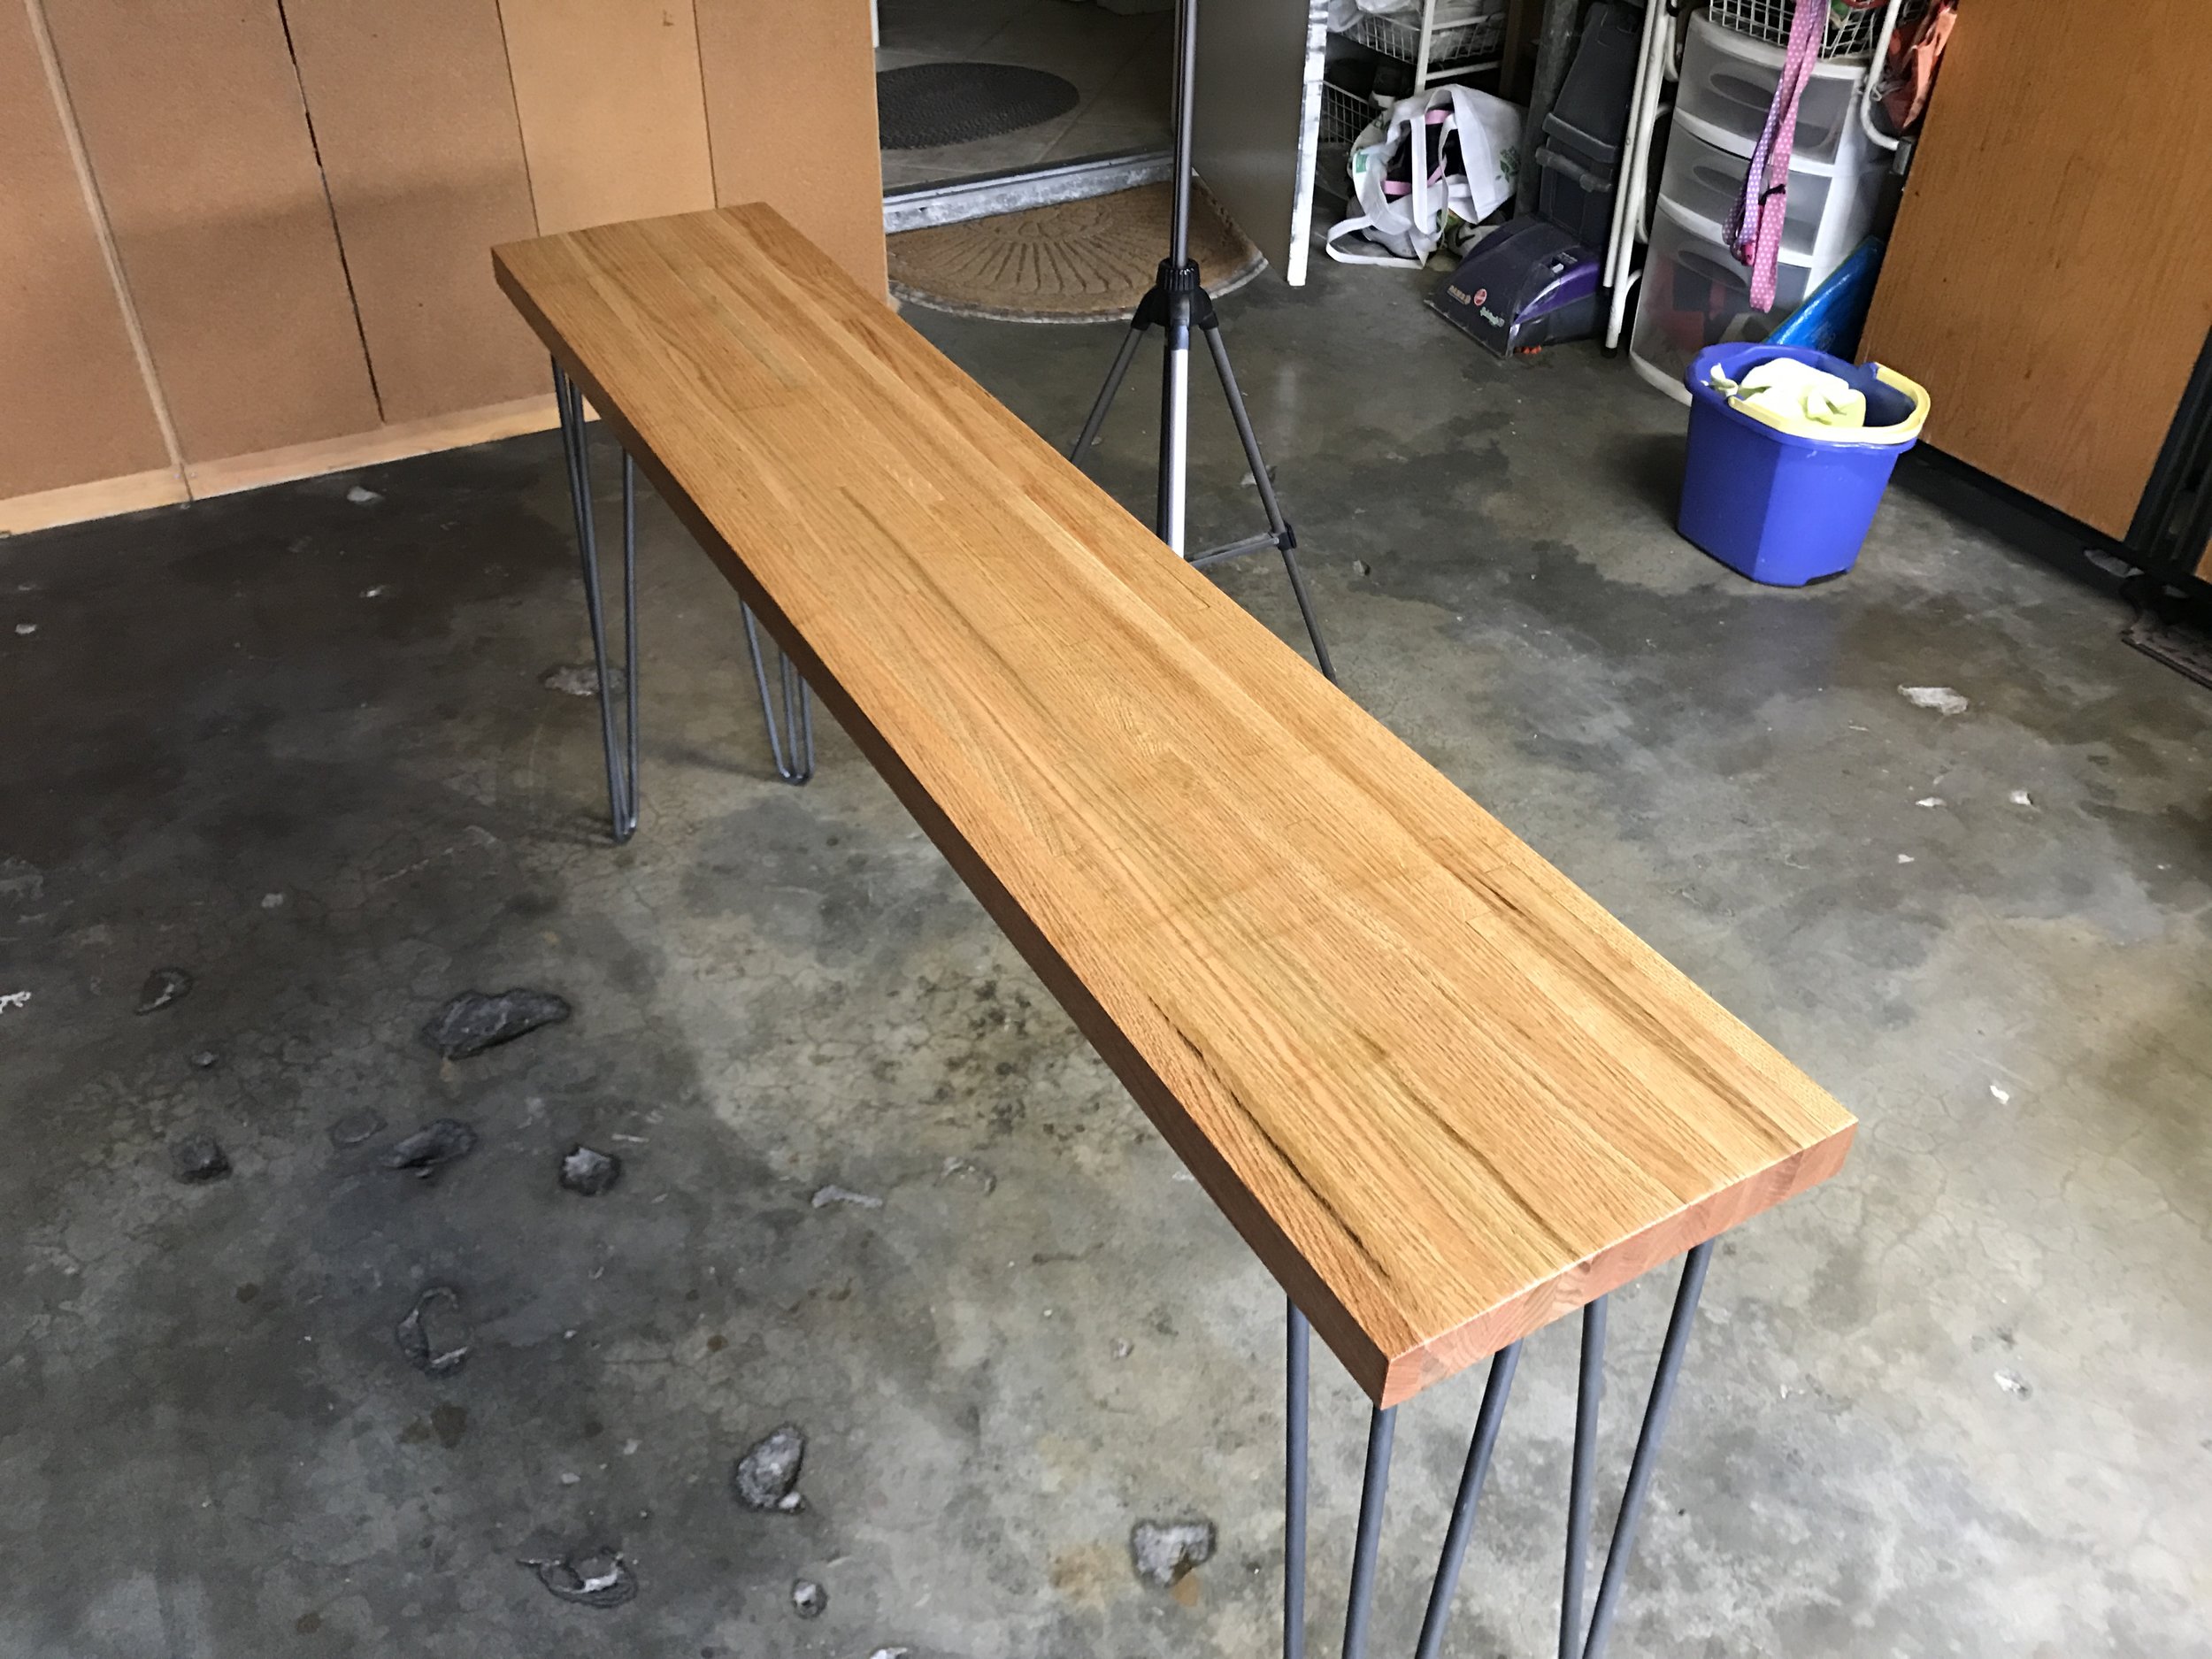
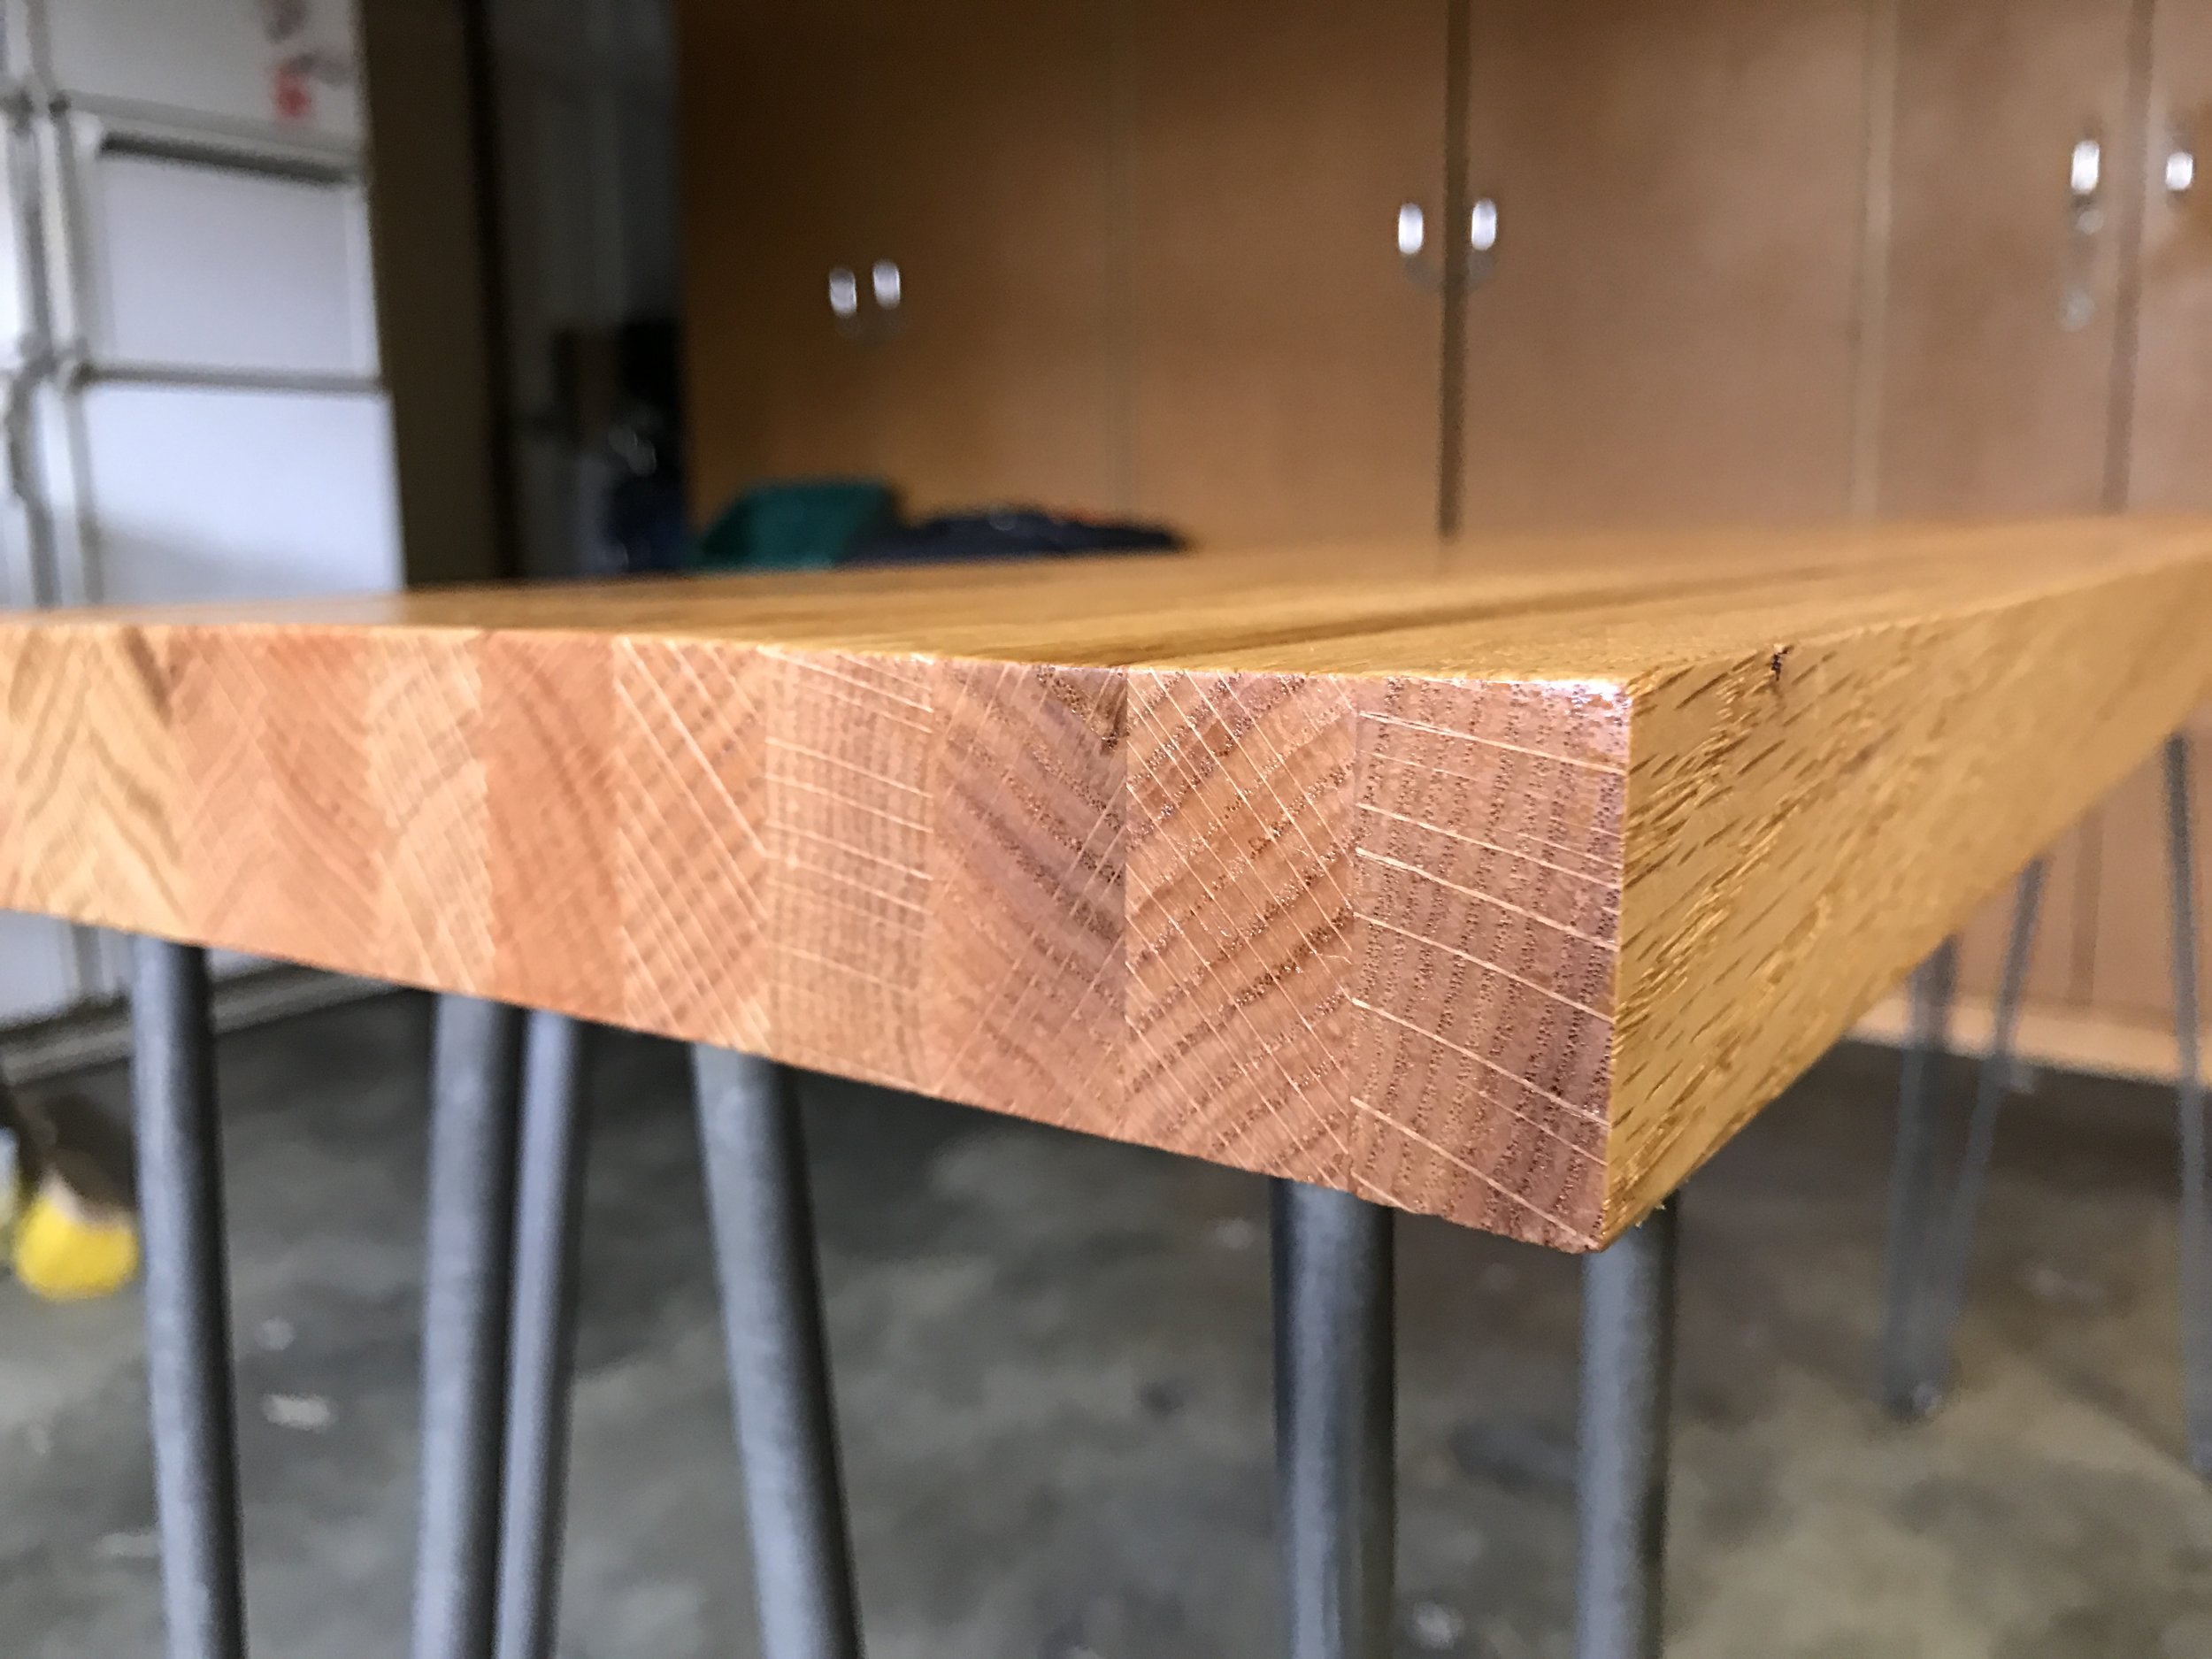
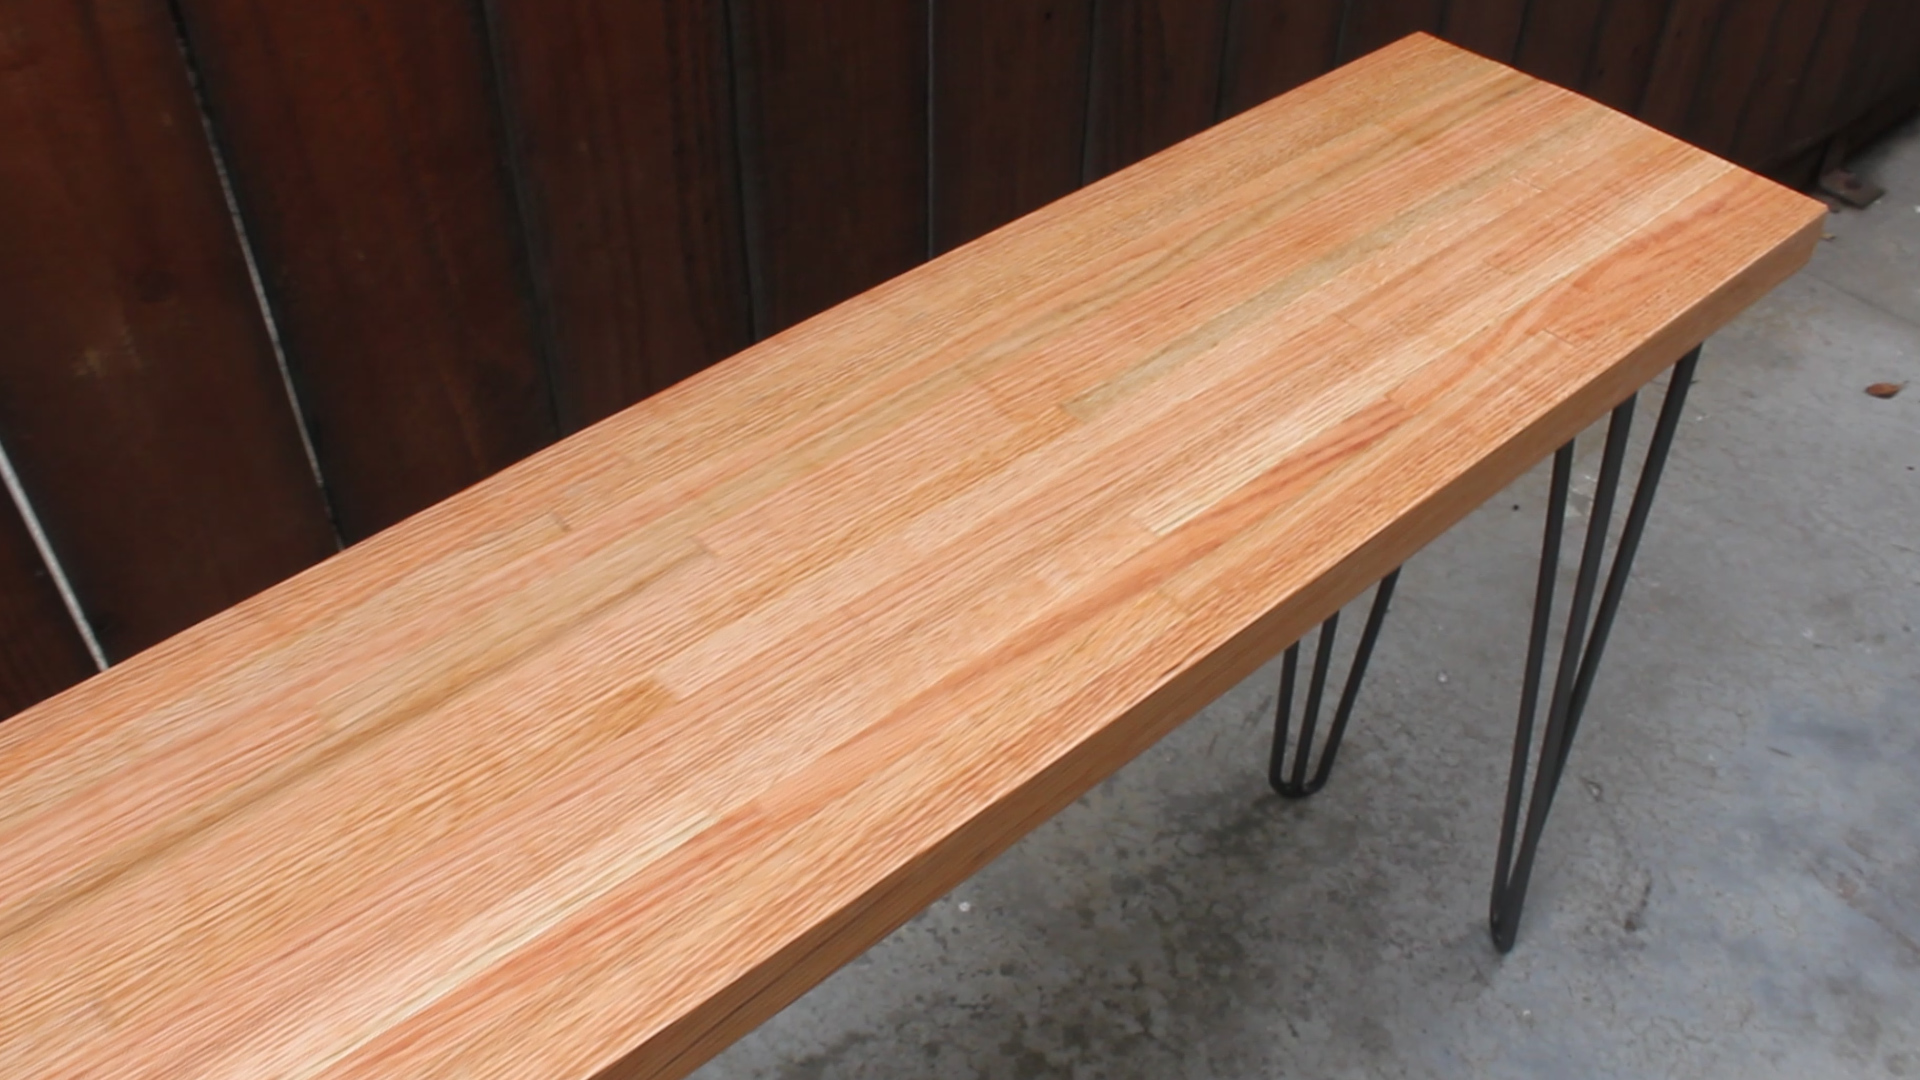
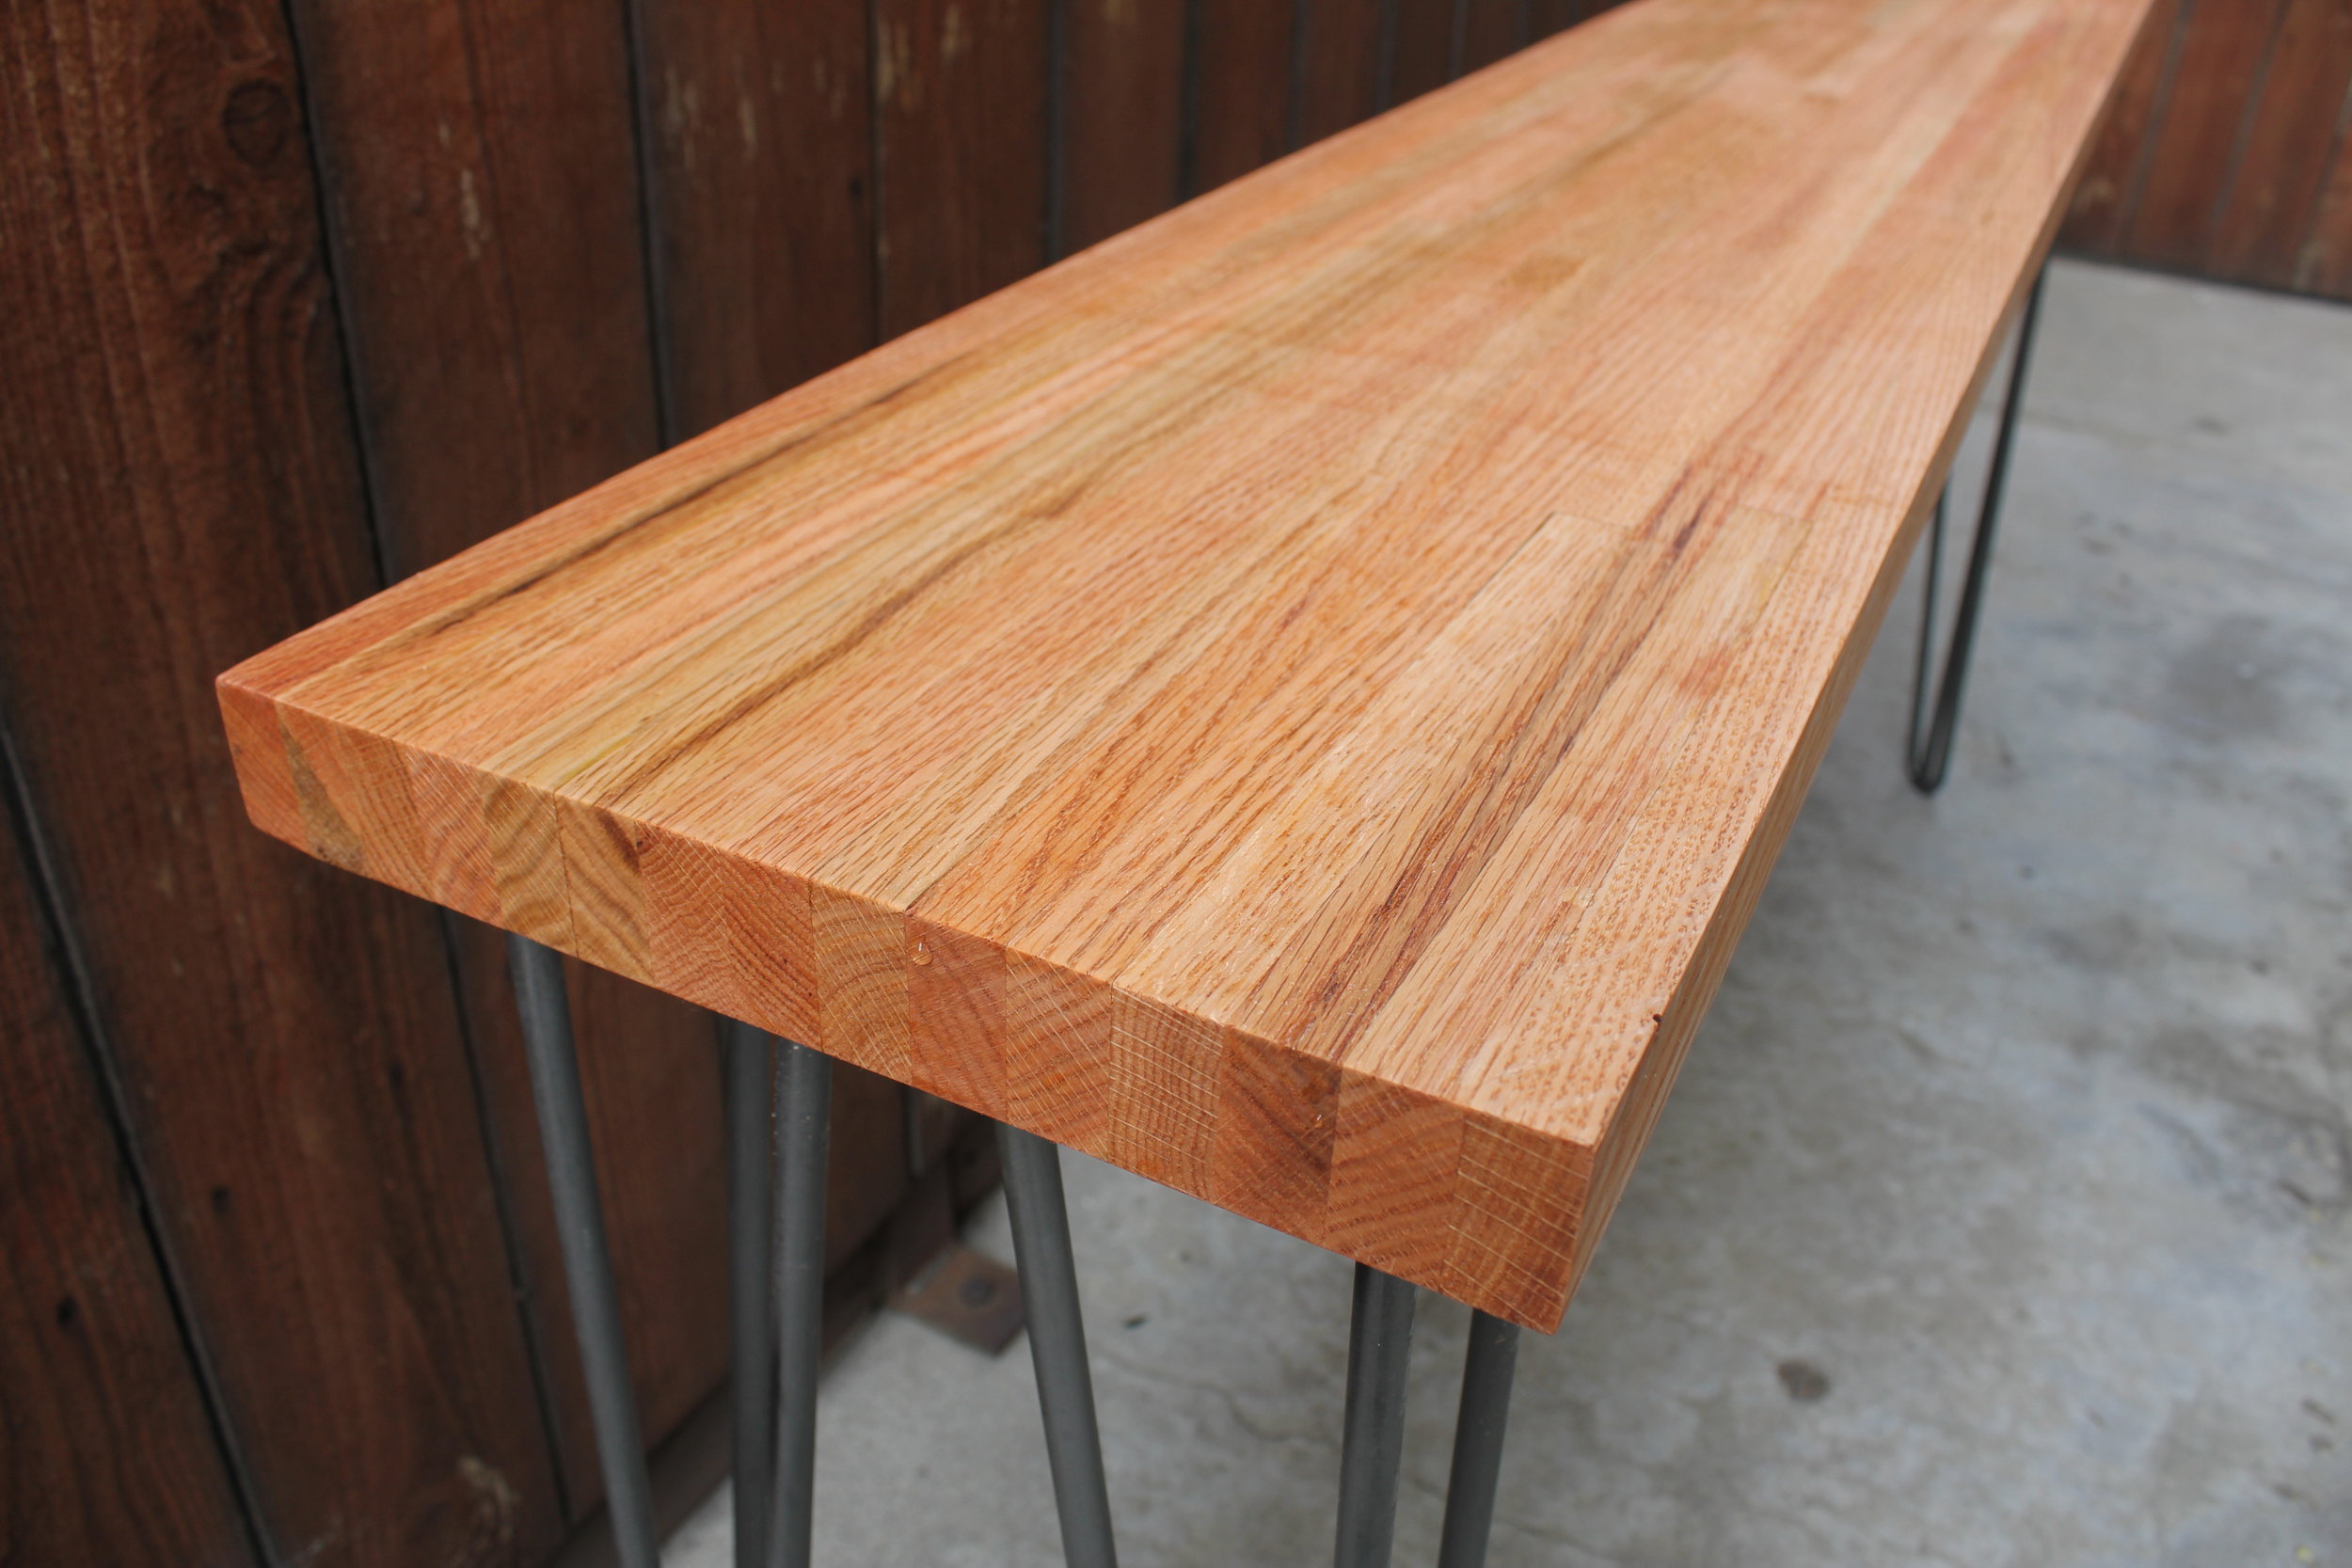
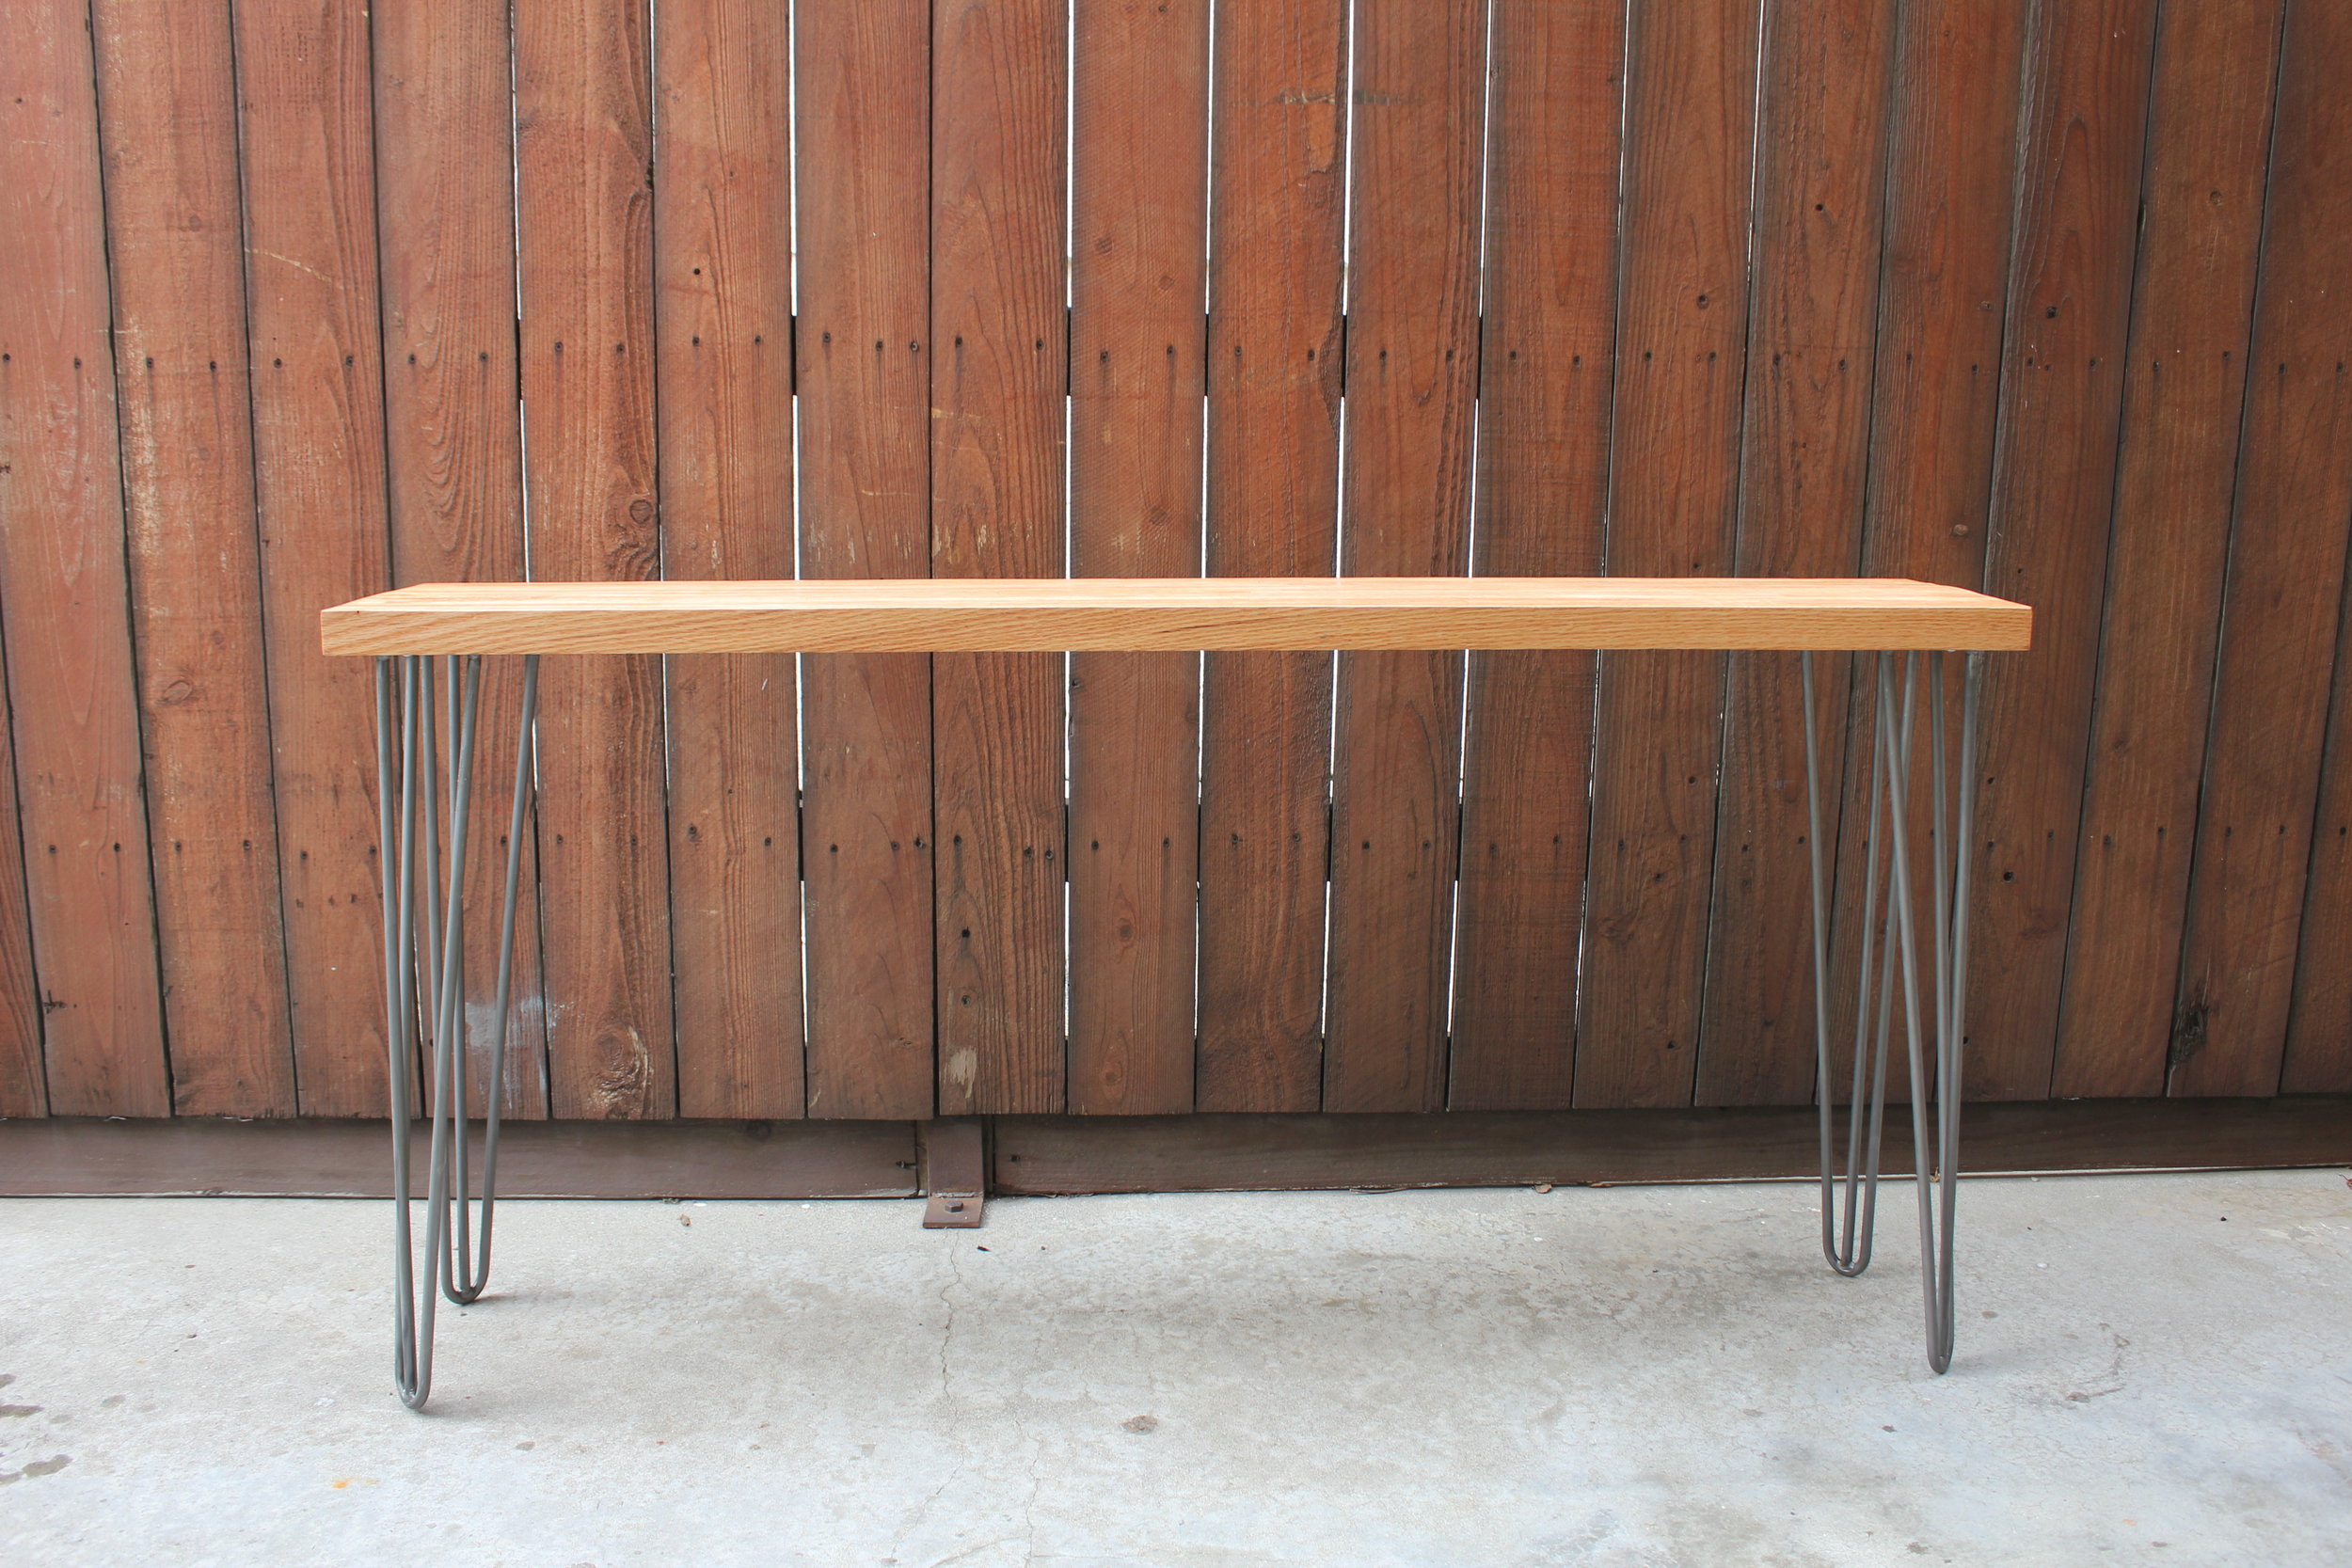
Similar to my previous farmhouse table build, my friend wanted a modern looking farmhouse table. This time, with a higher budget, I built the entire thing from solid oak and finished with Rubio Monocoat in Walnut, and again made a matching oak.
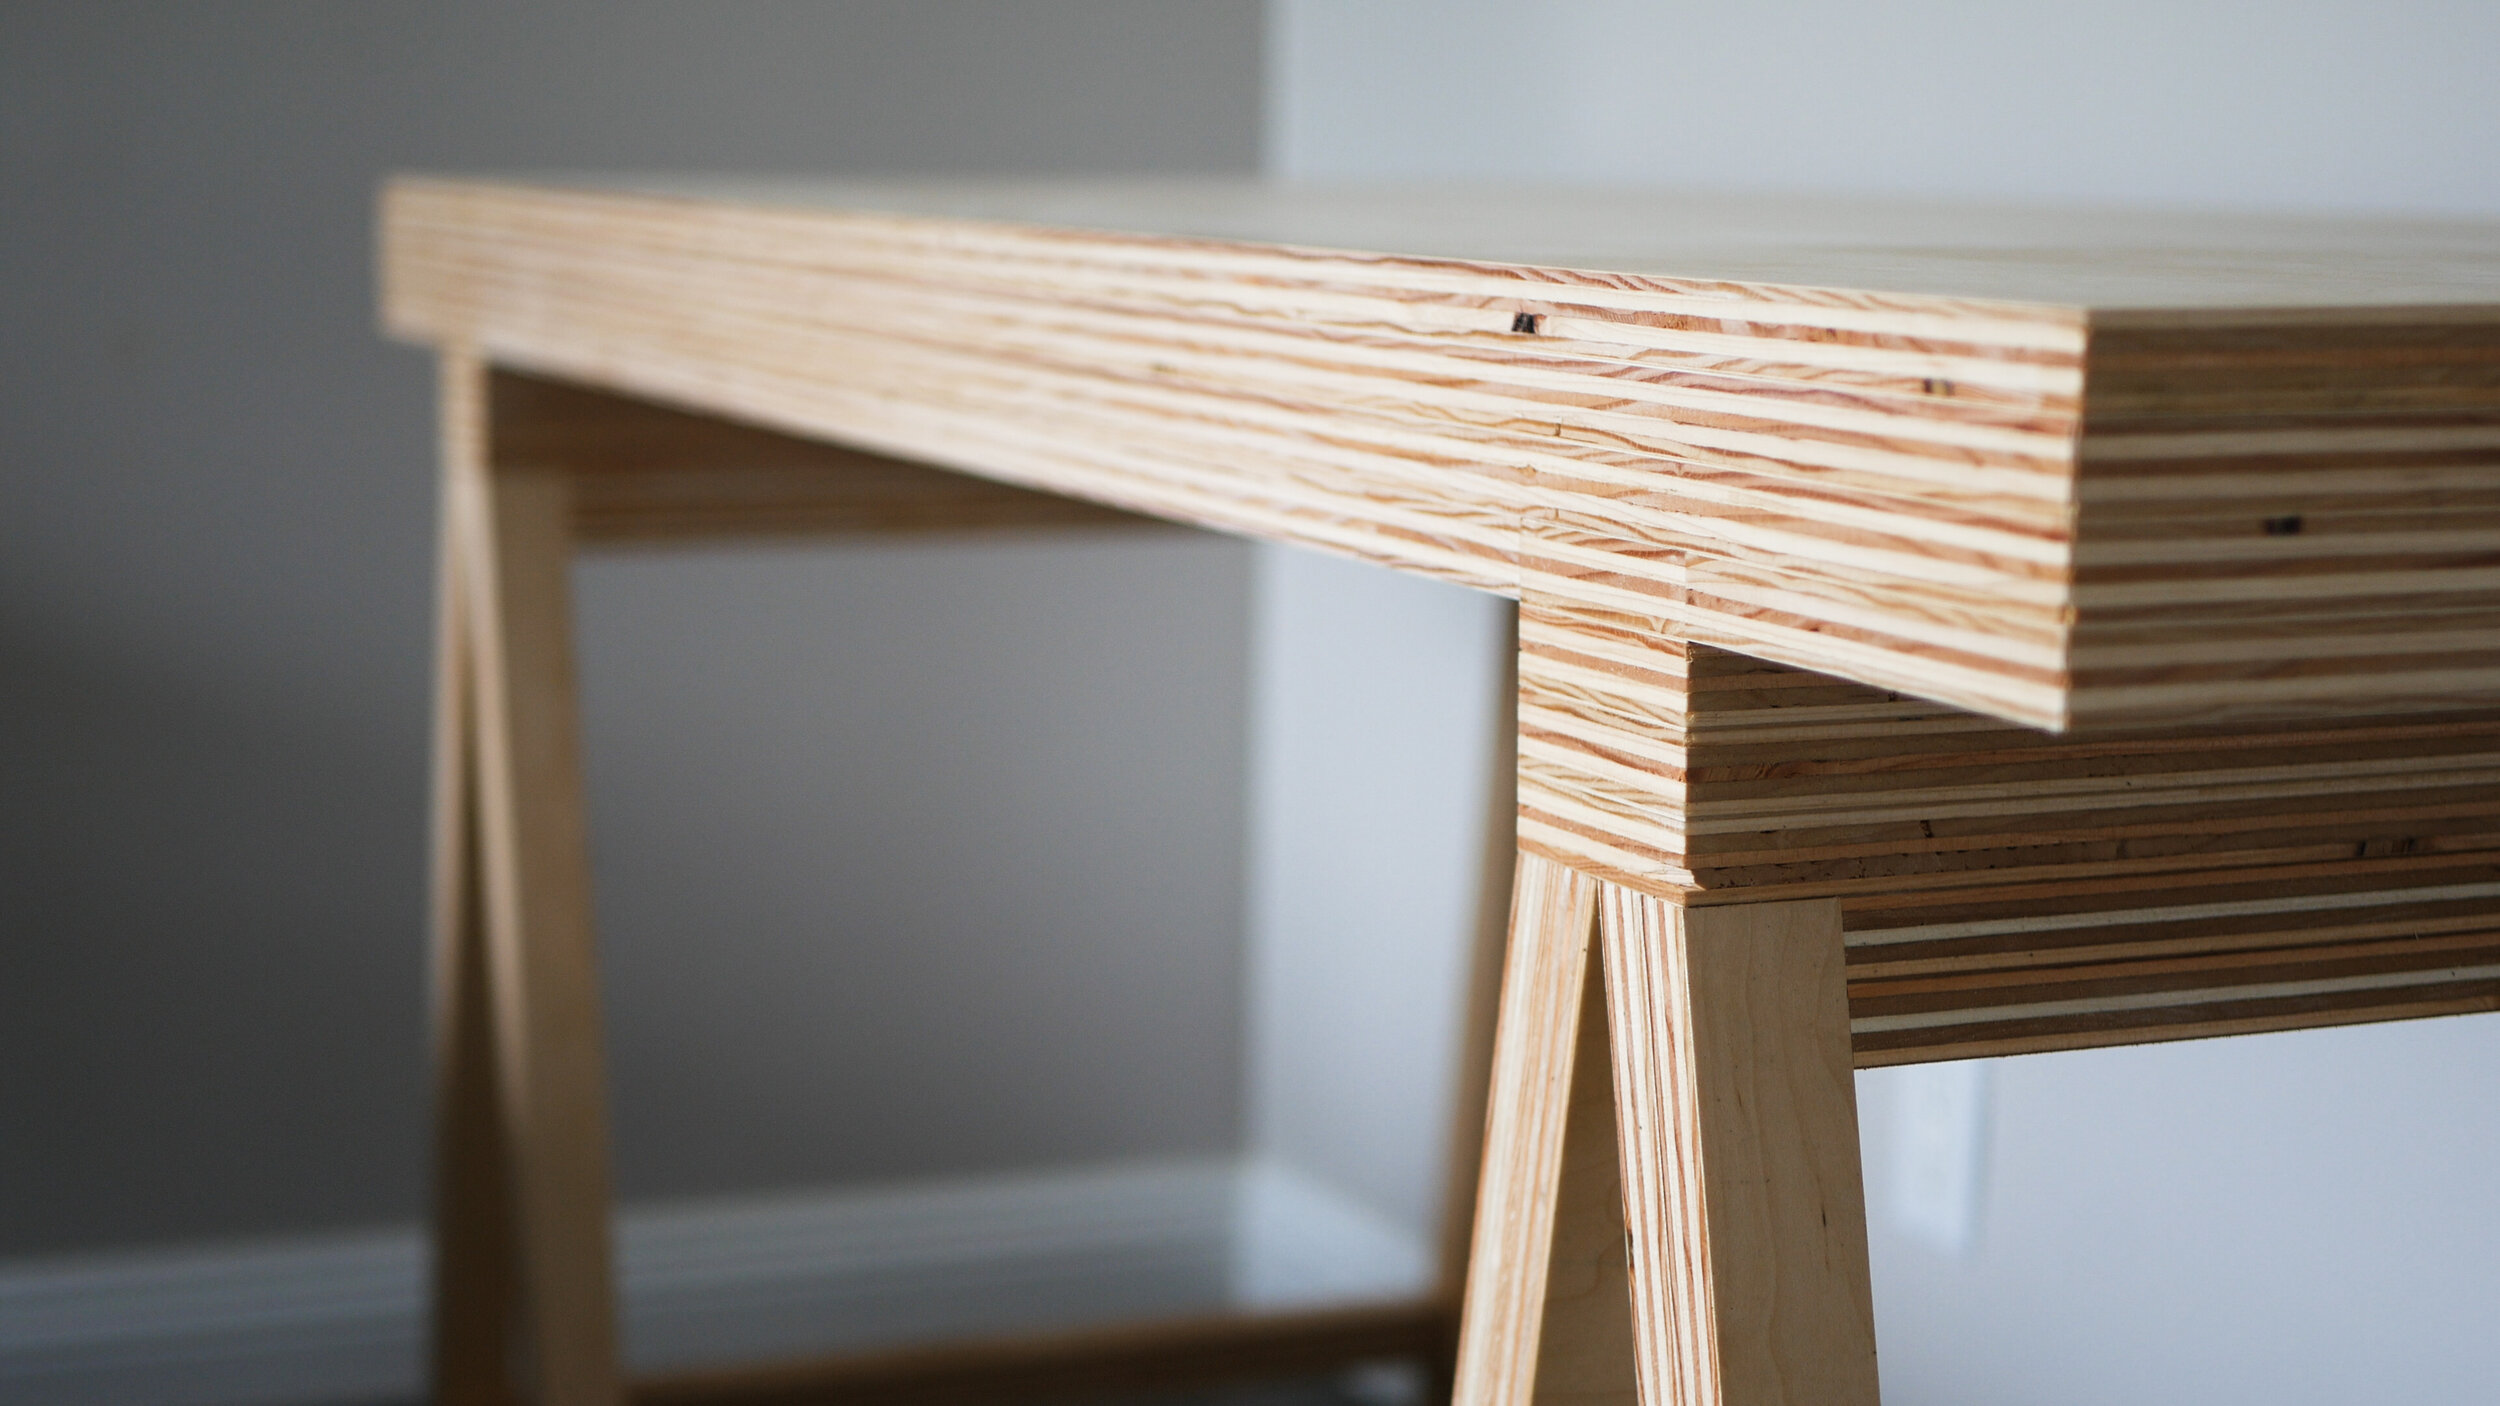
Although it was smaller in size, the final outcome of this beautiful table was a testament to how far my building skills have come. It was definitely the nicest table I have built so far and I’d love to make another!
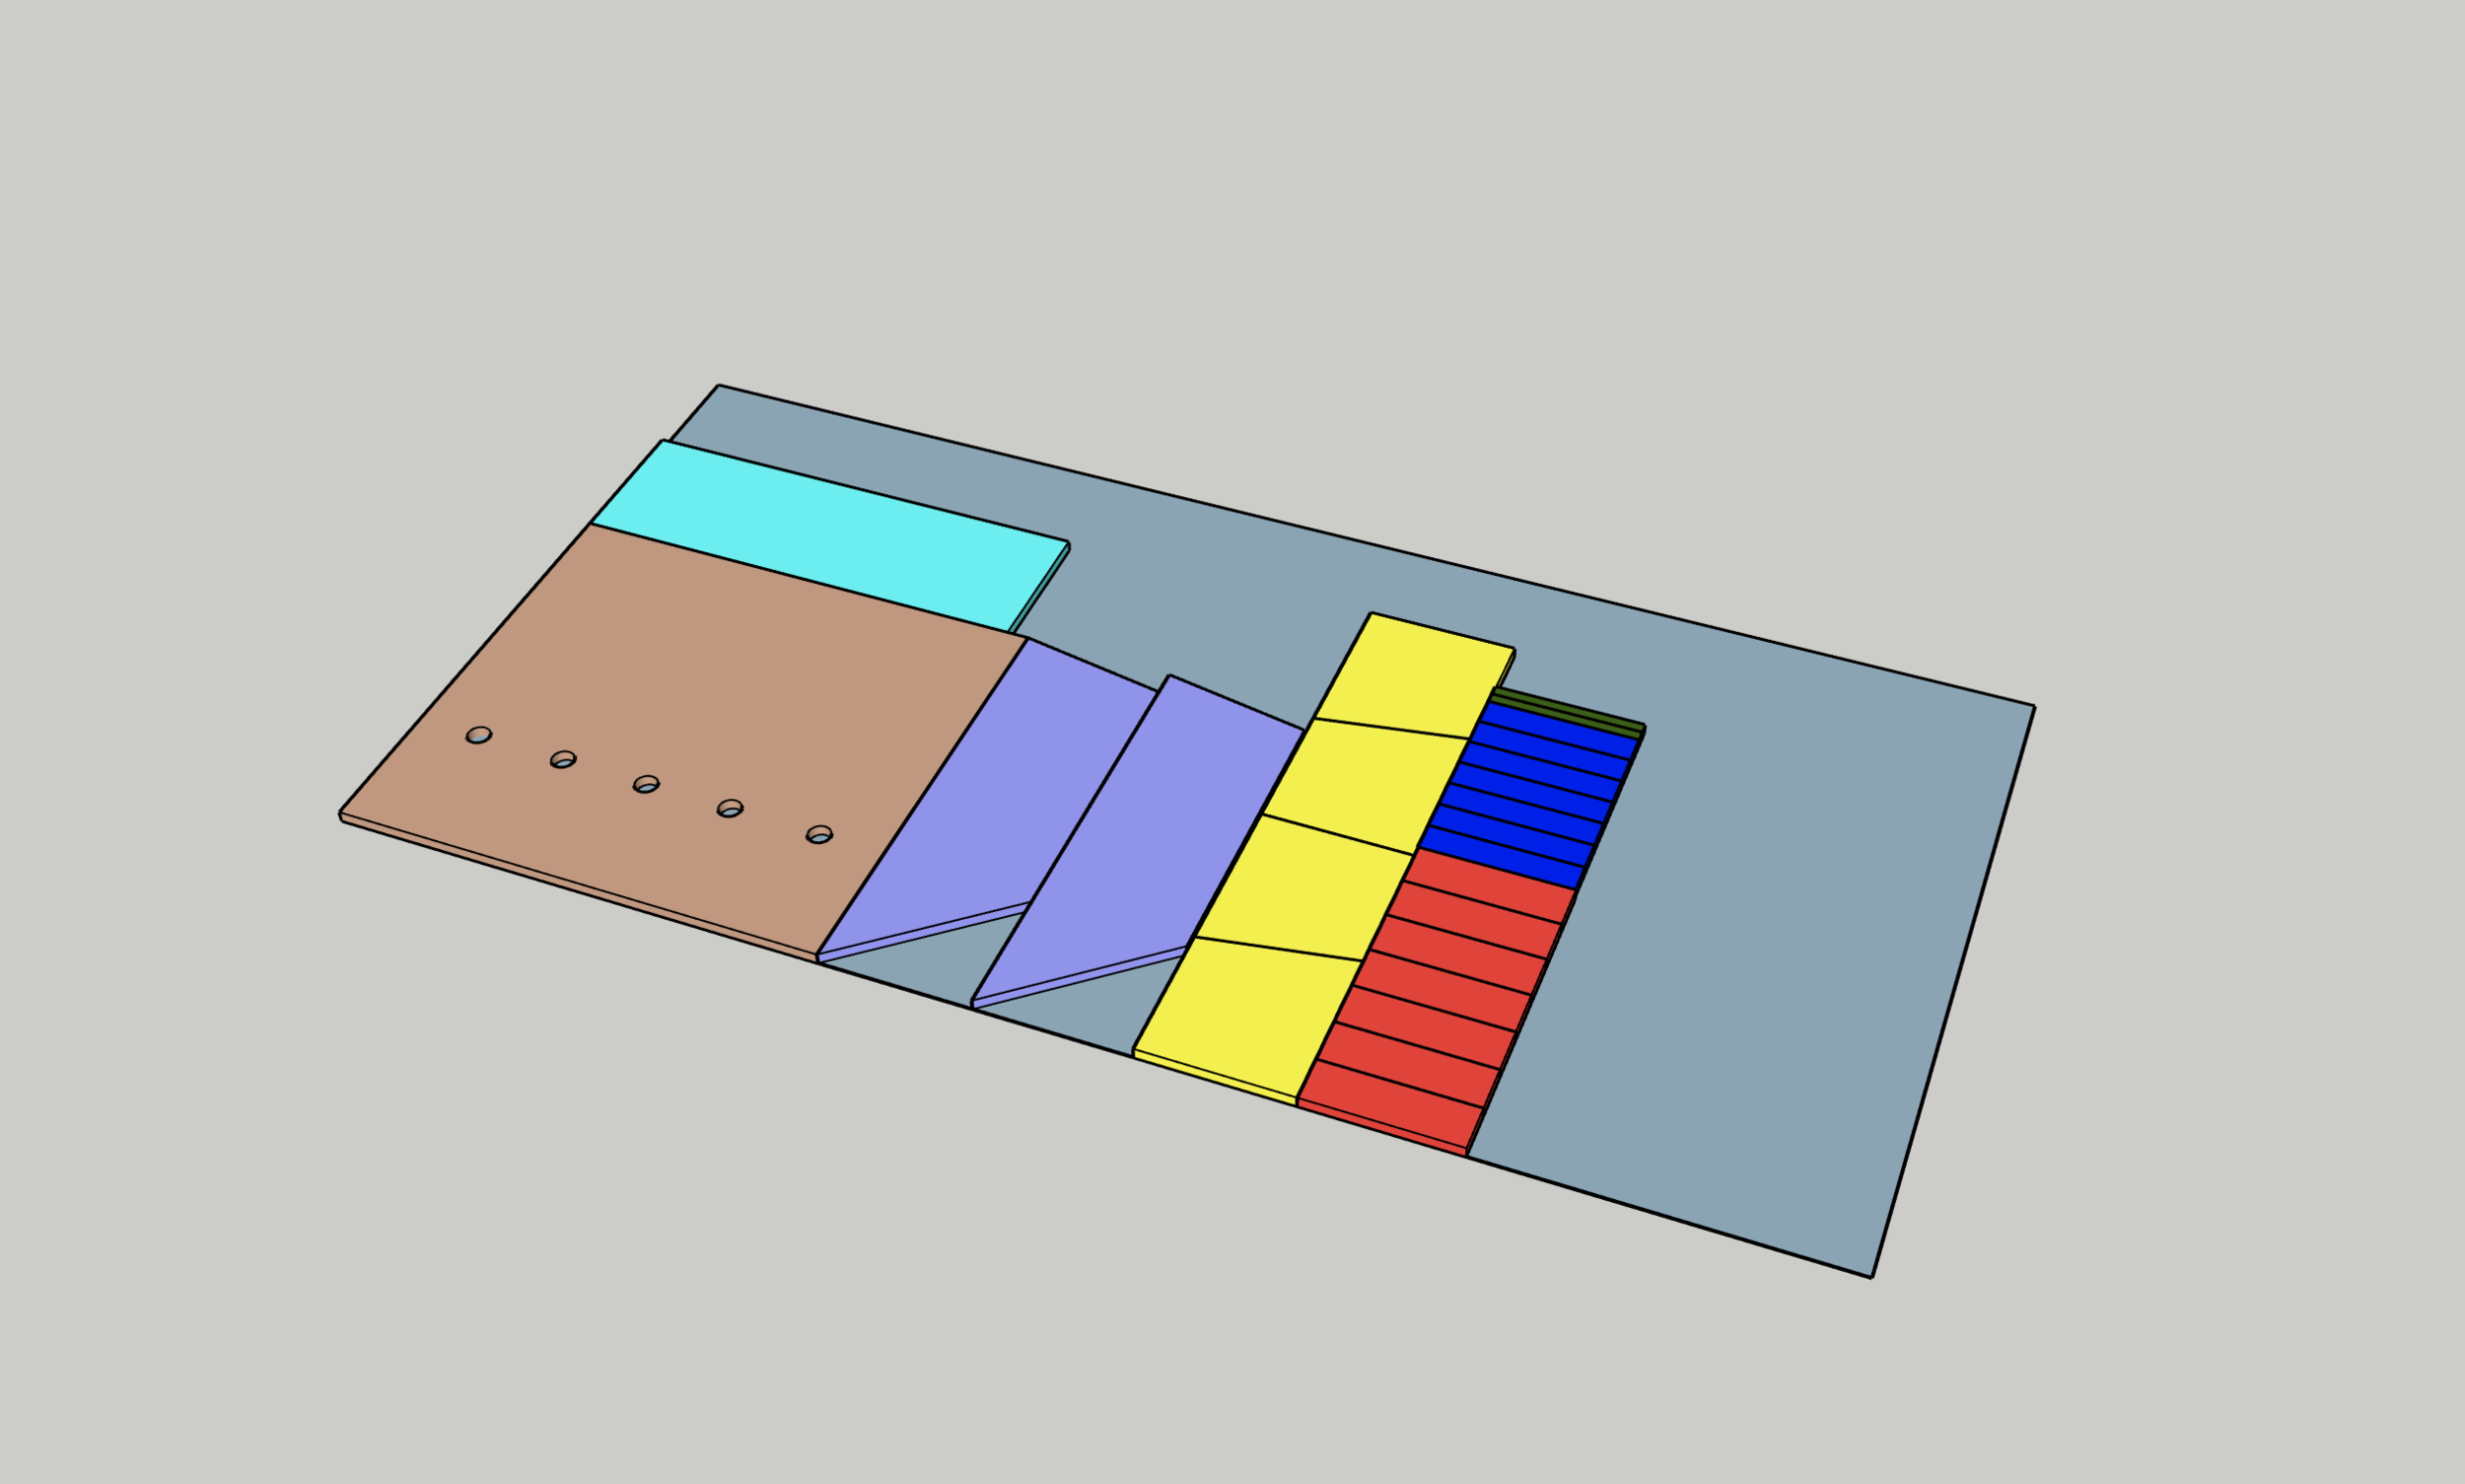
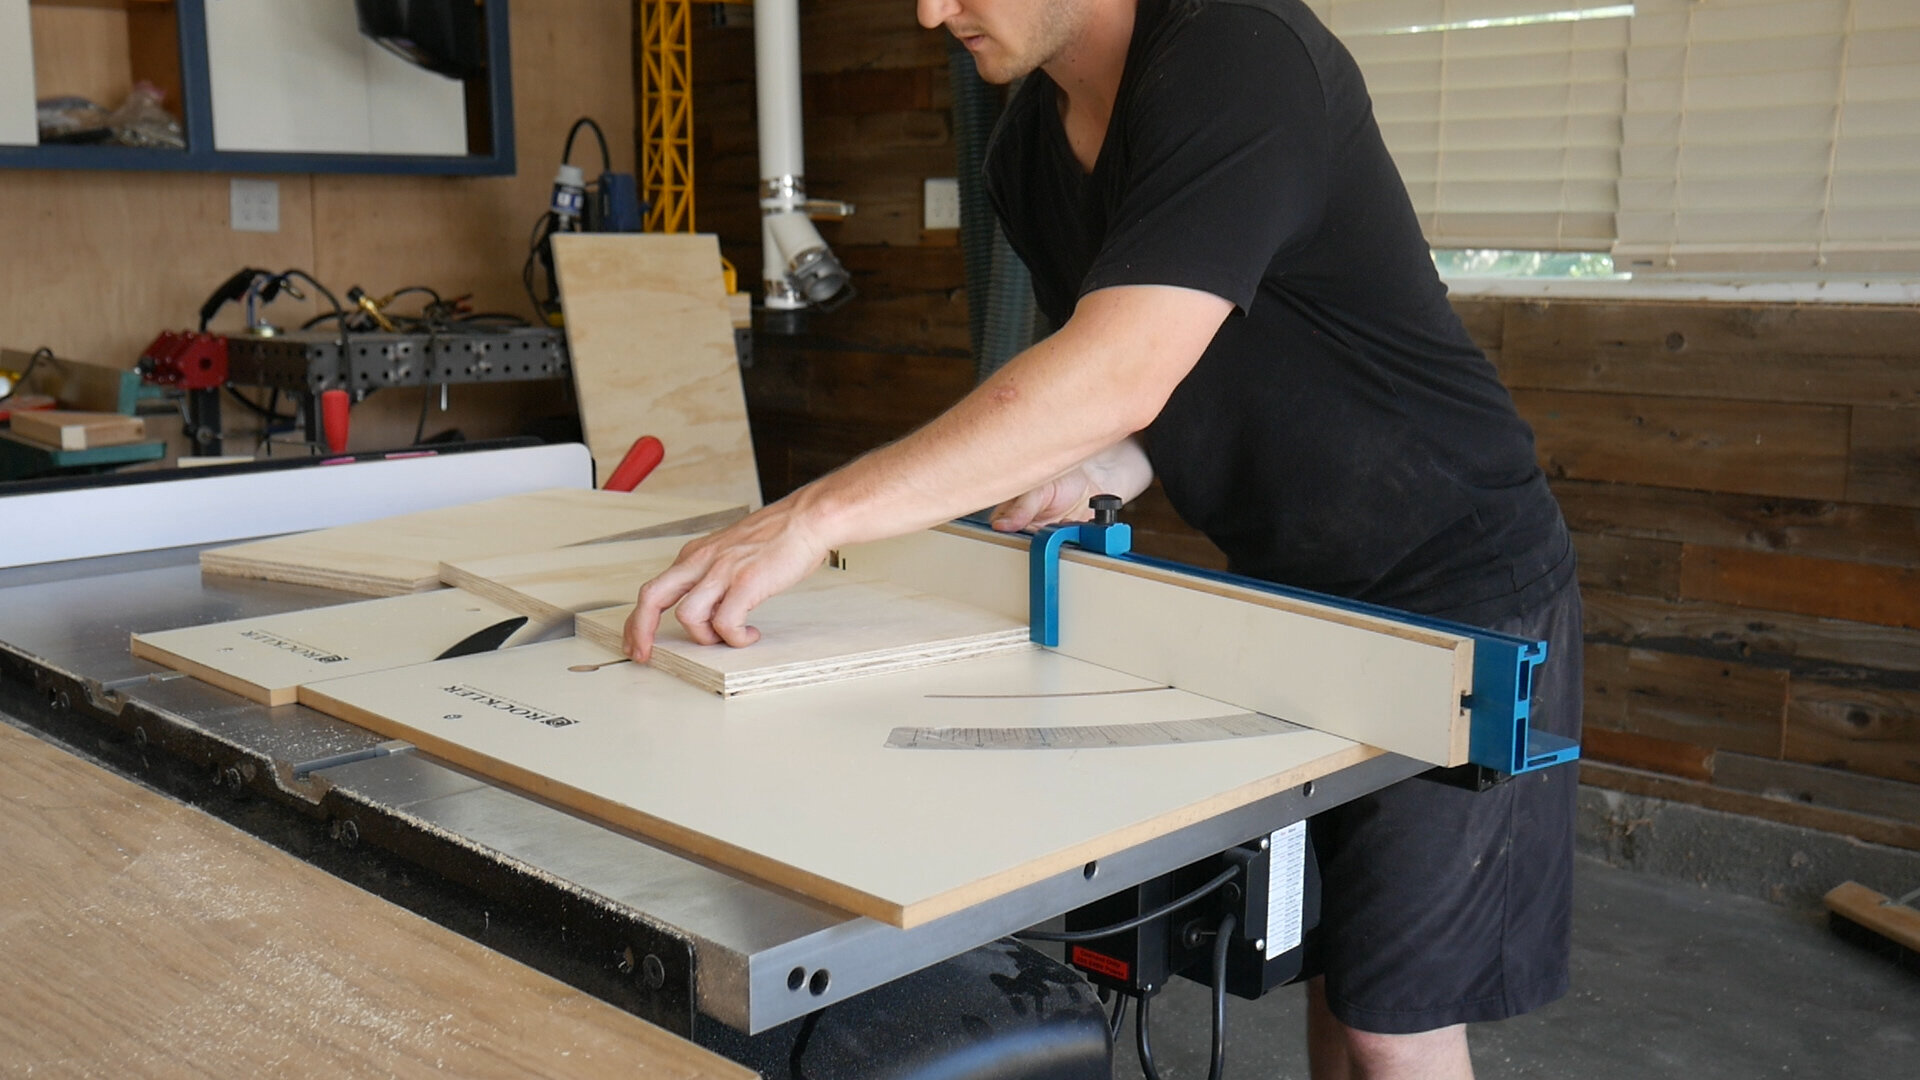
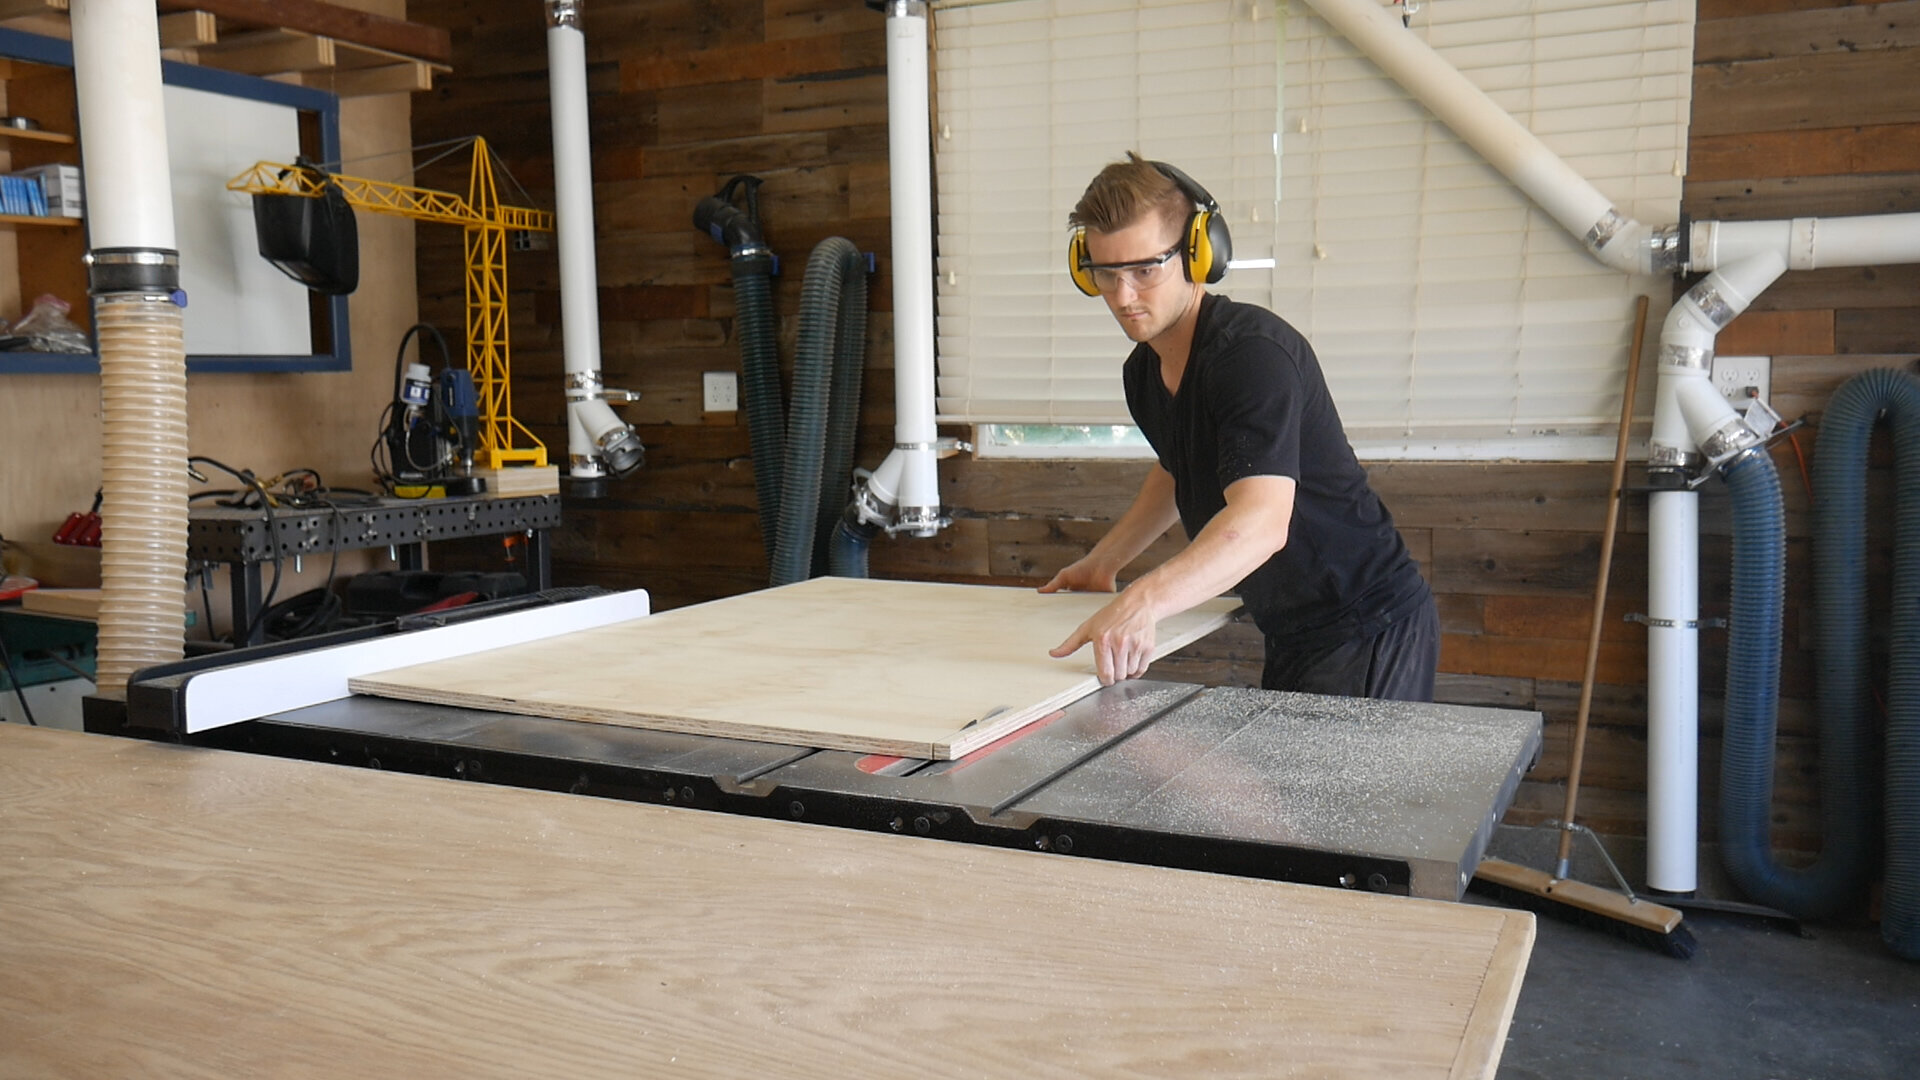
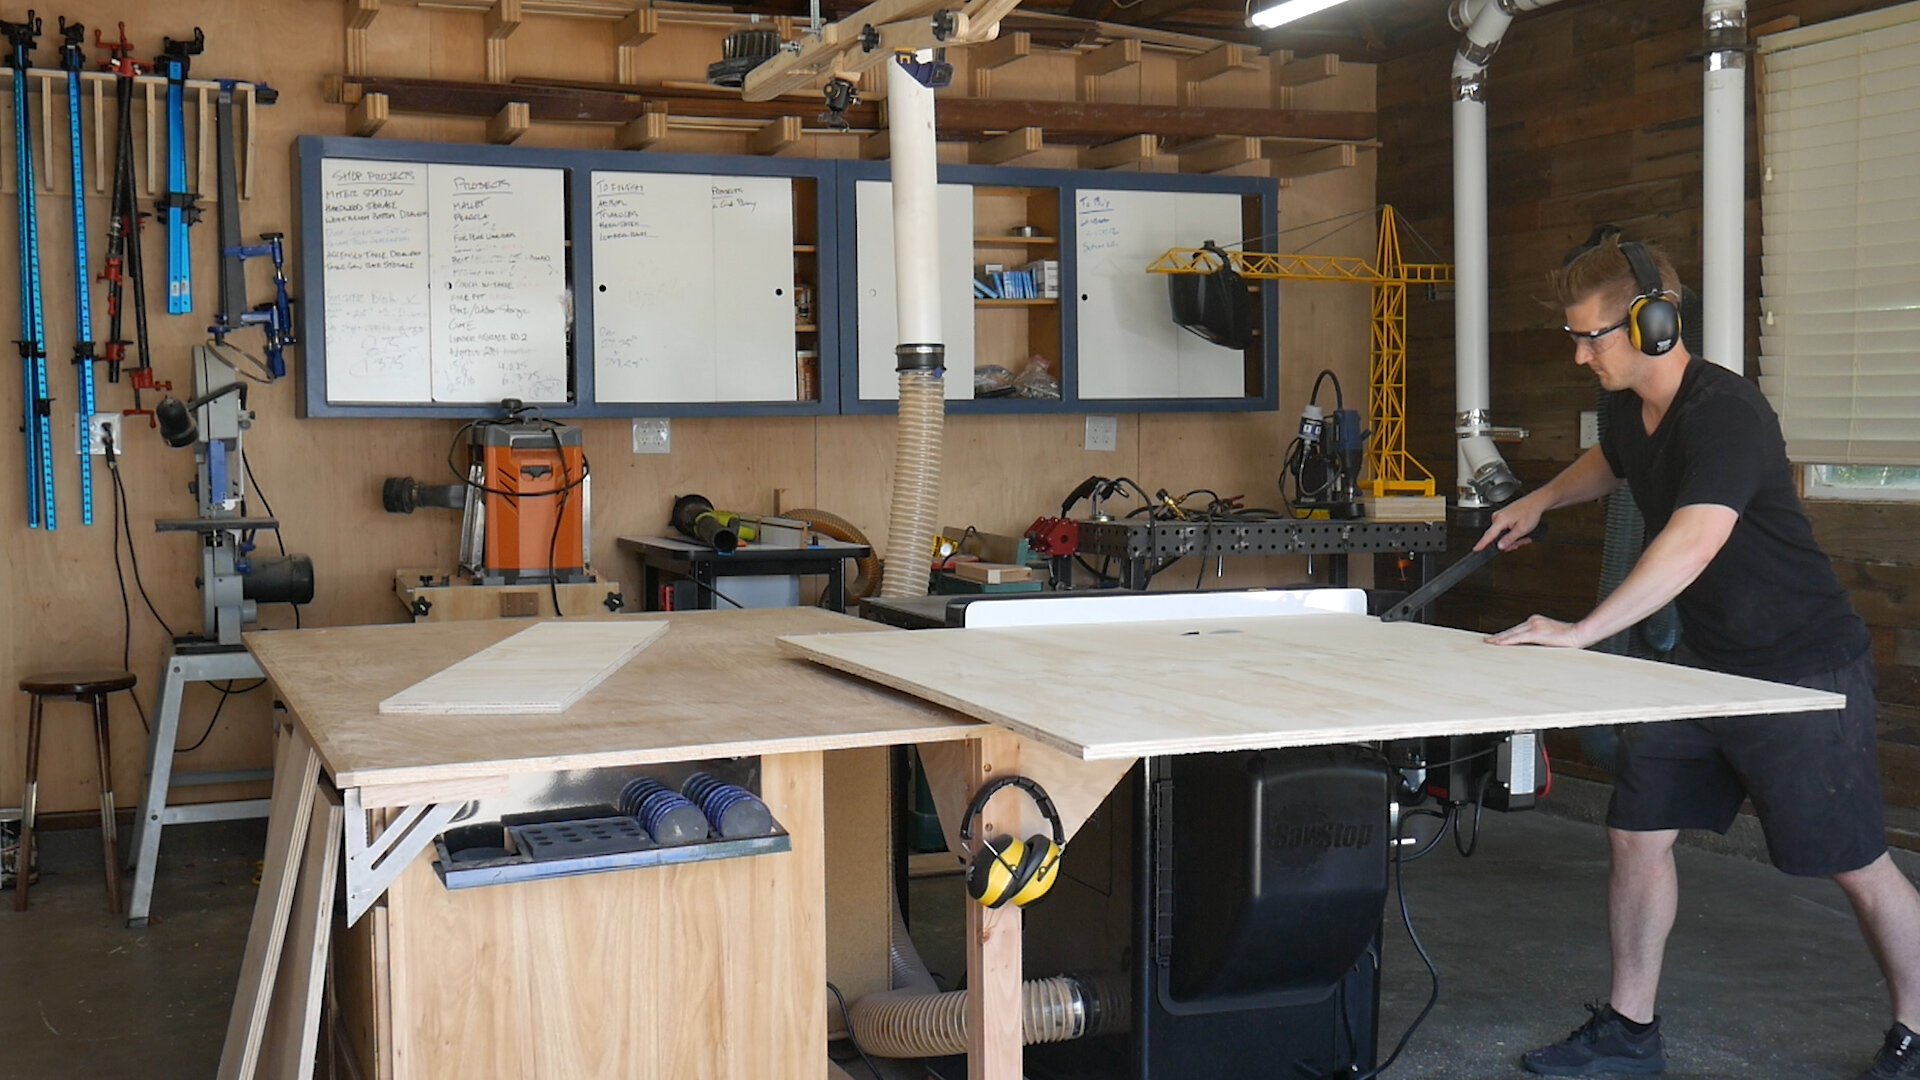
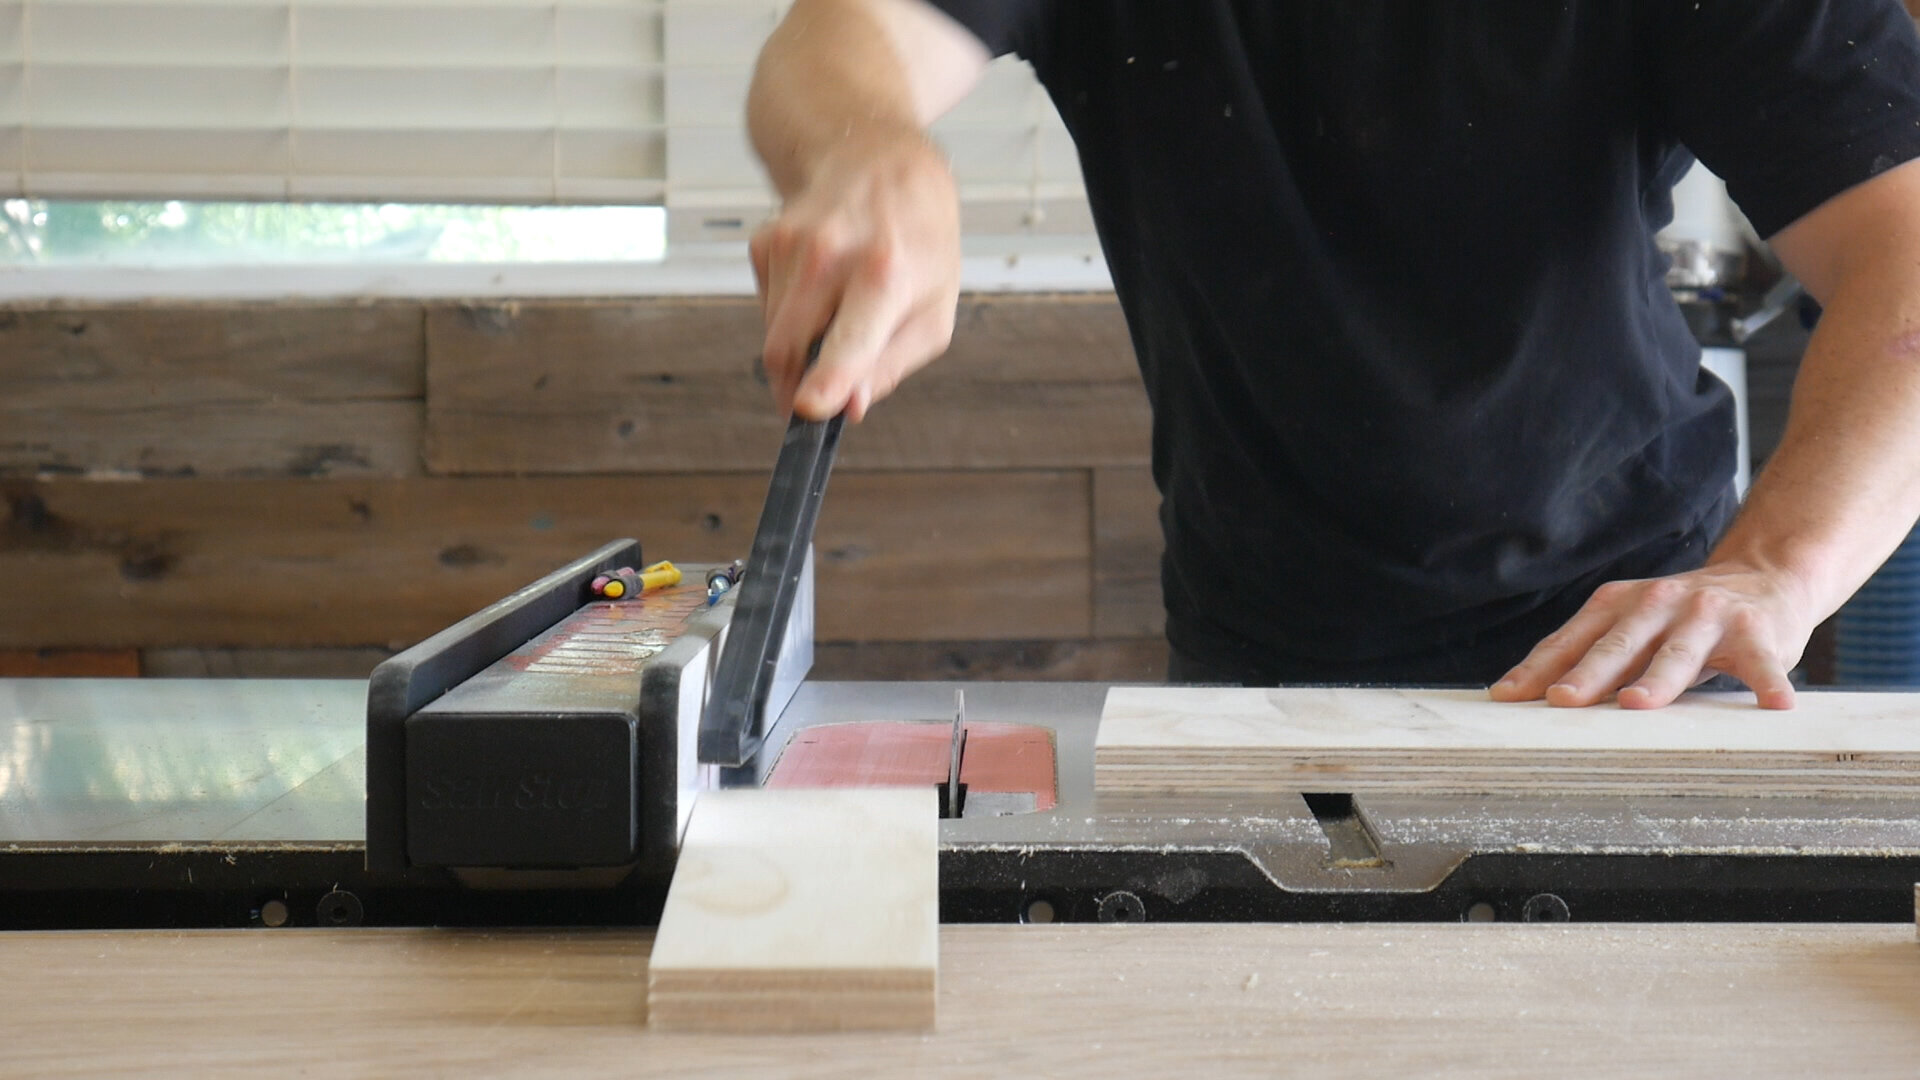
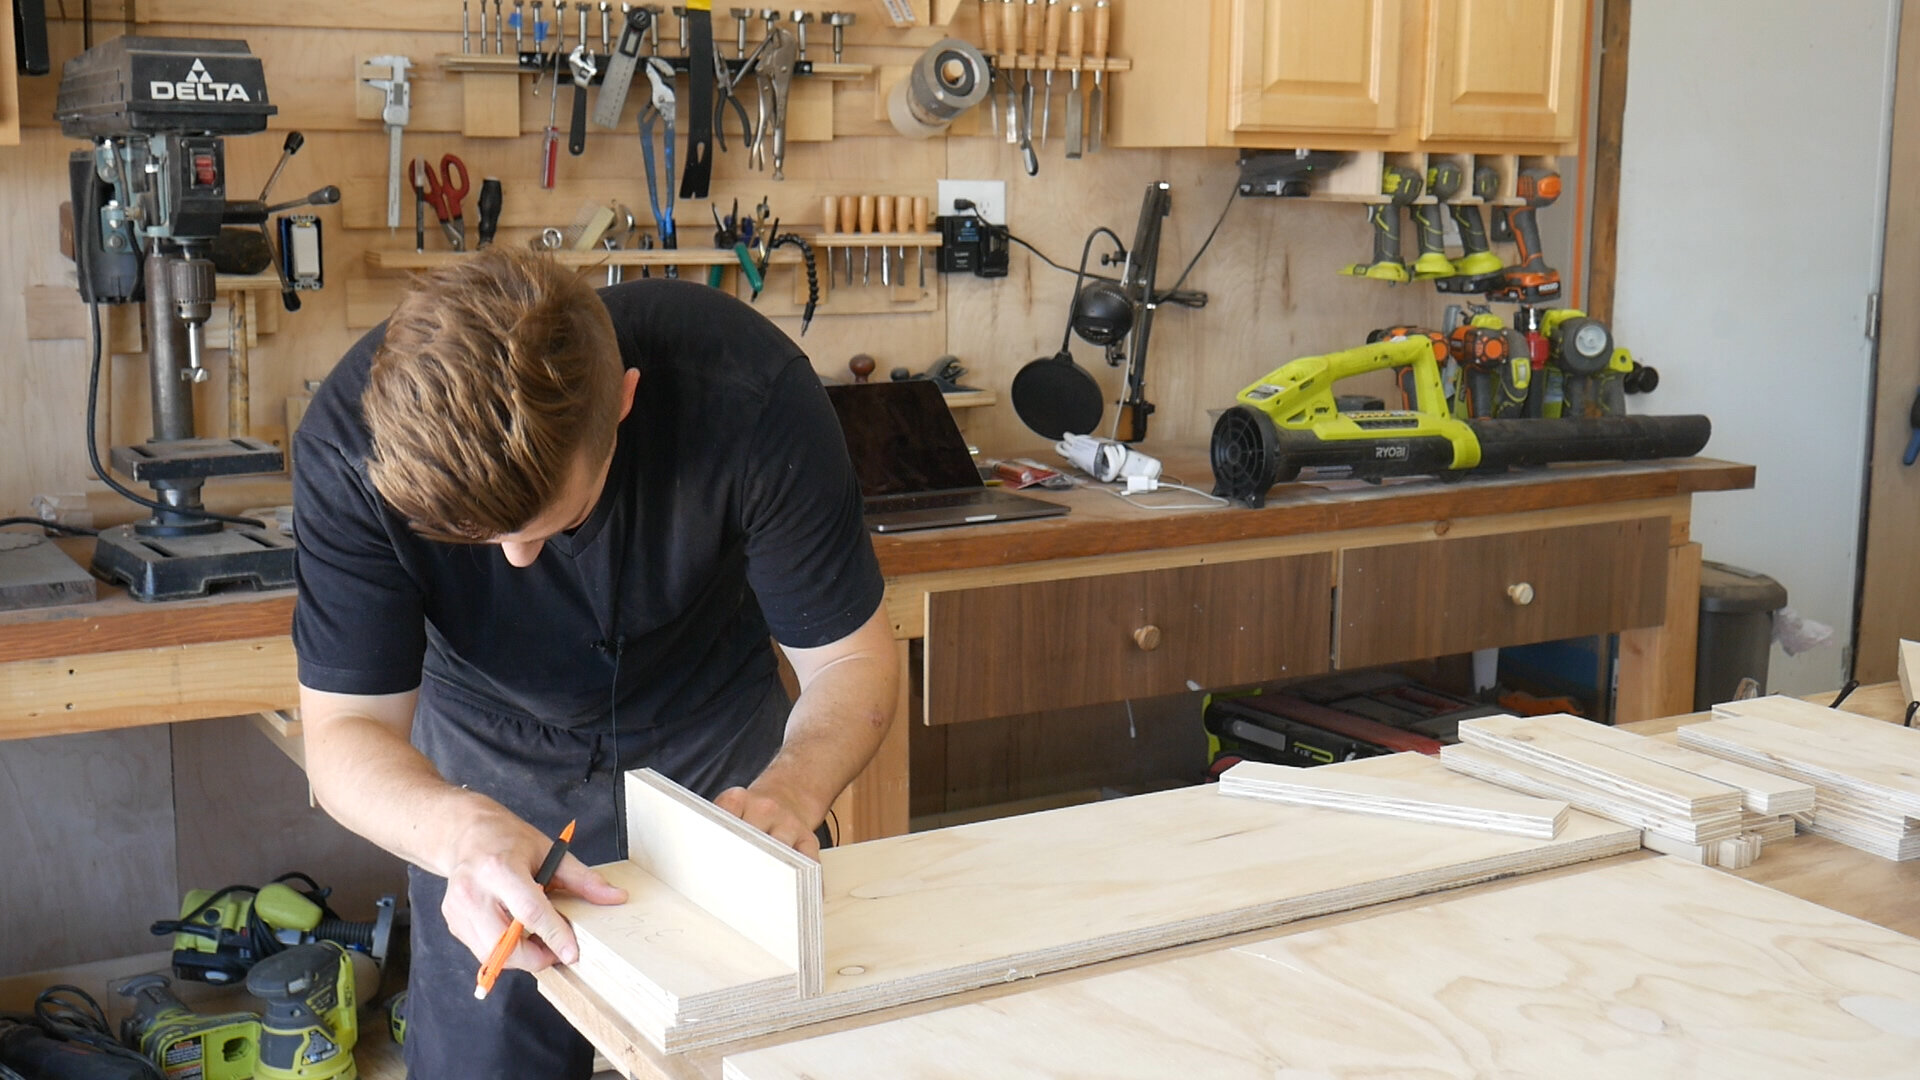
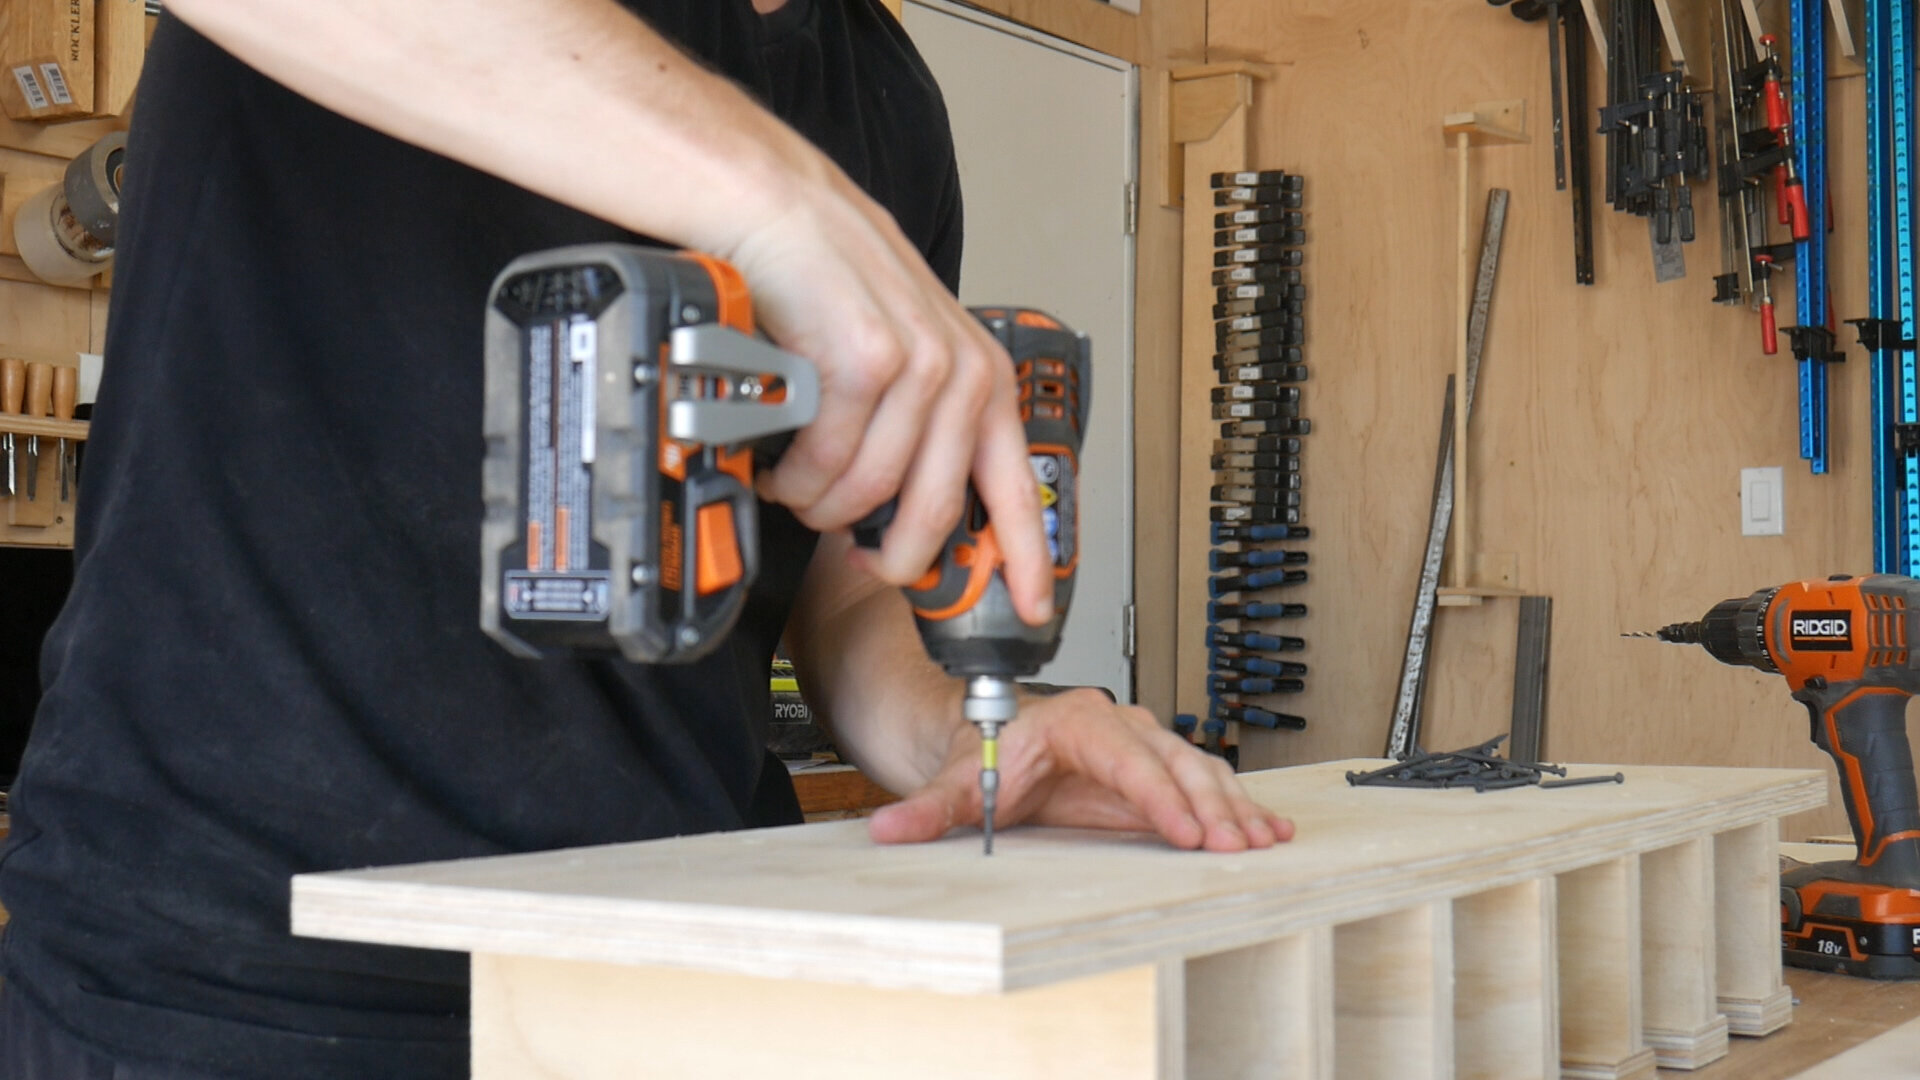
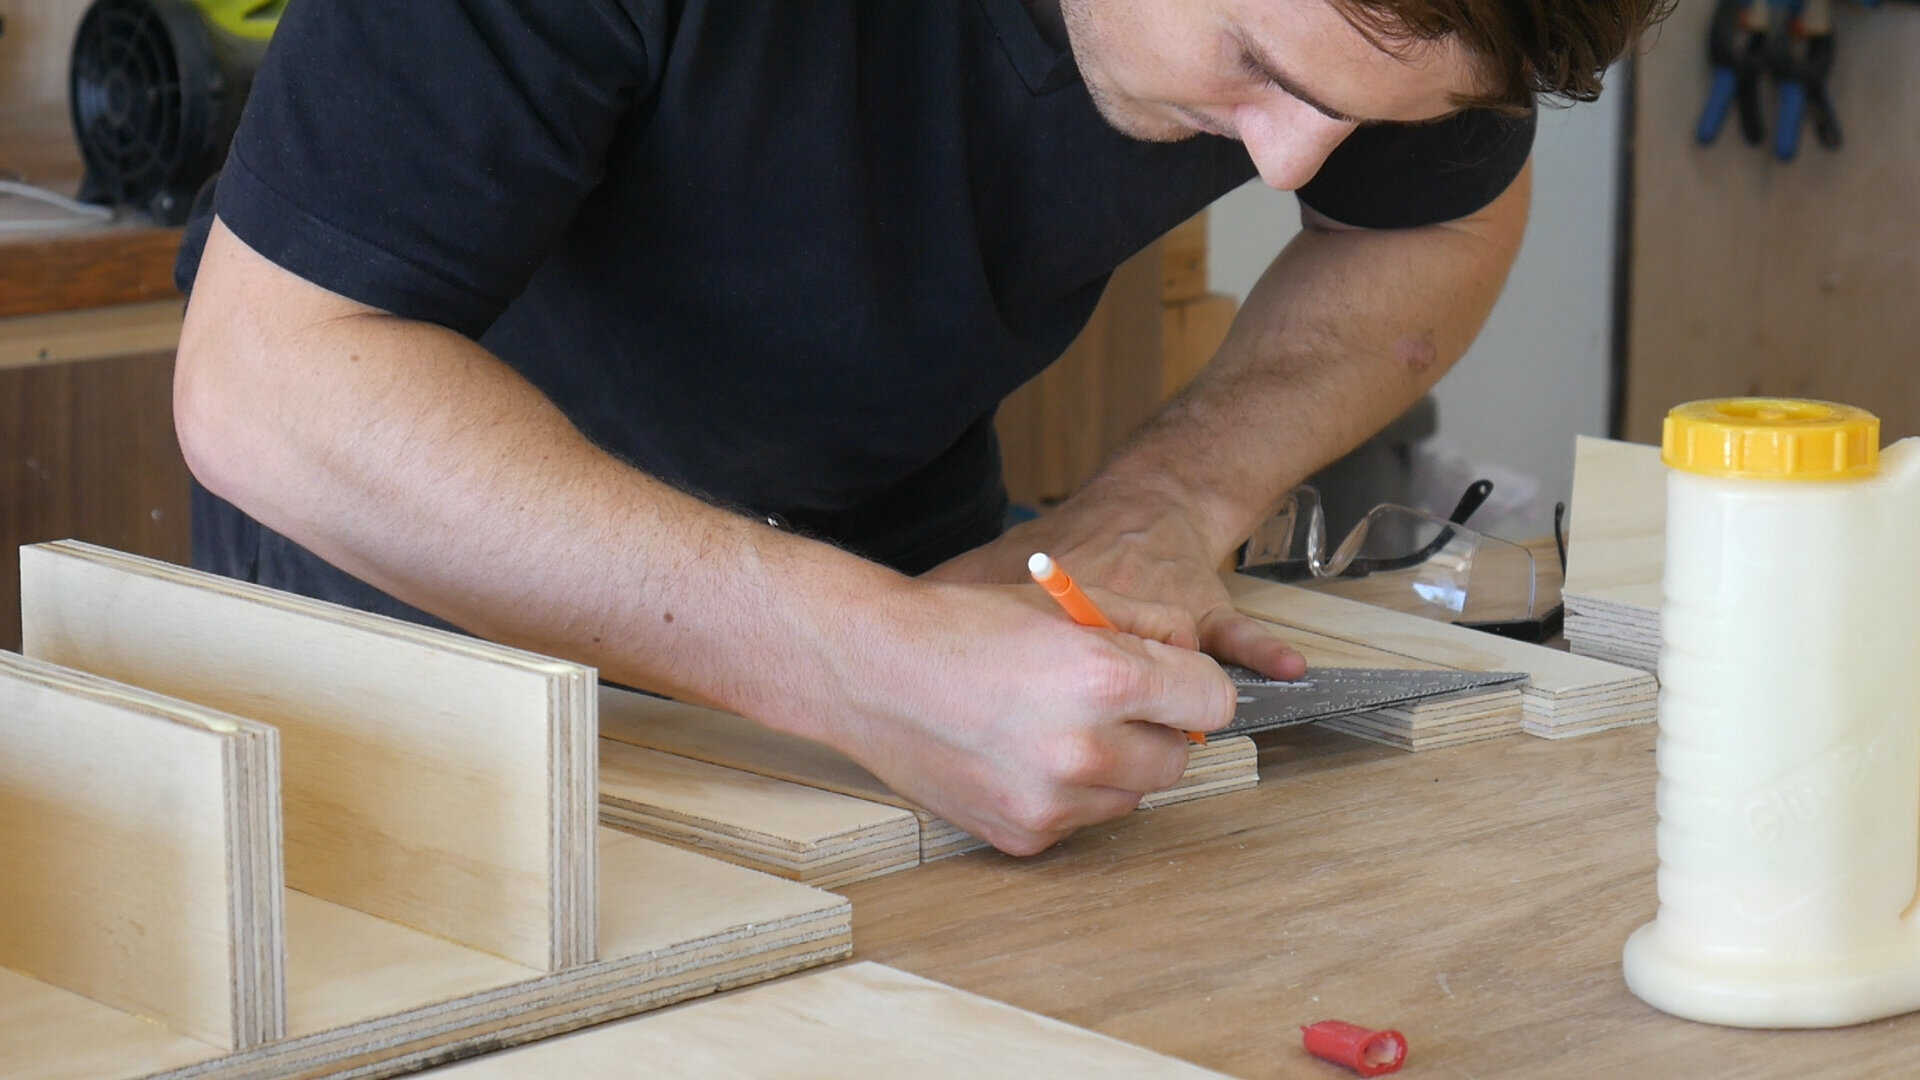
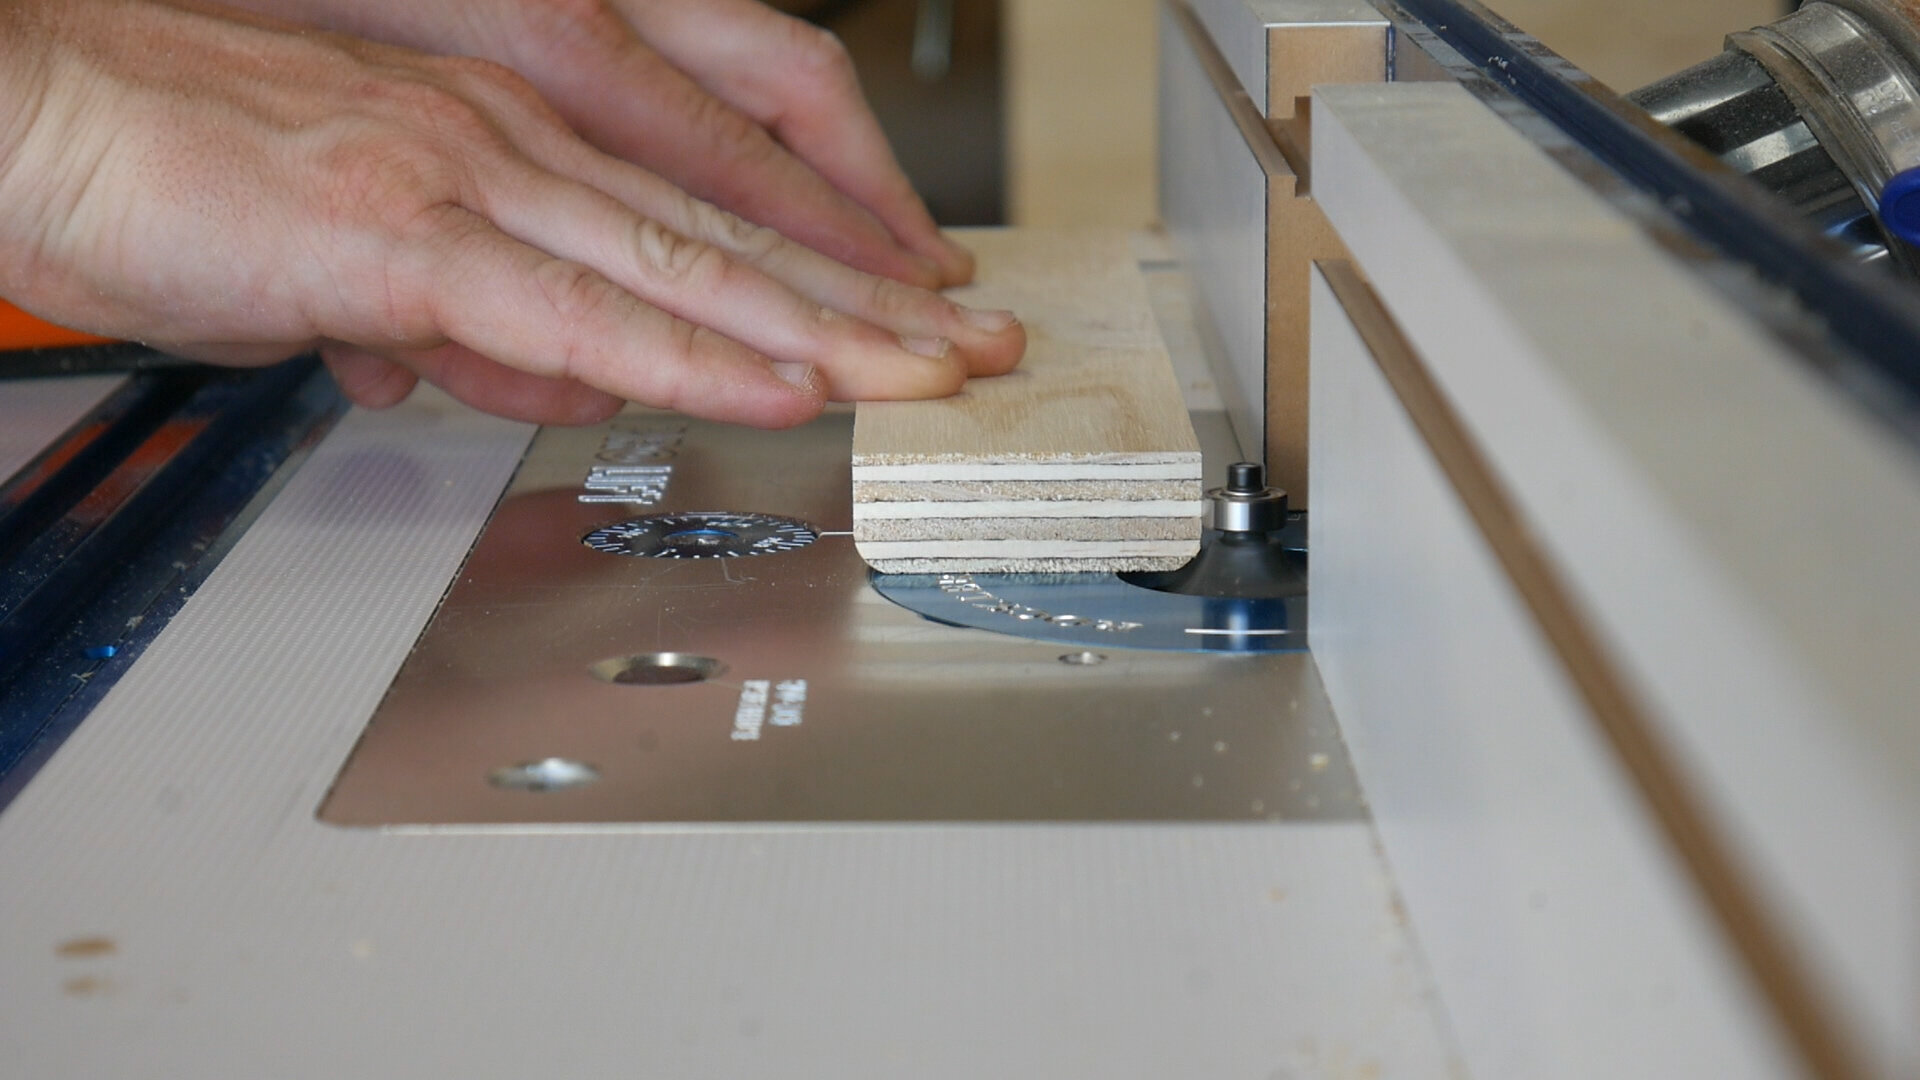
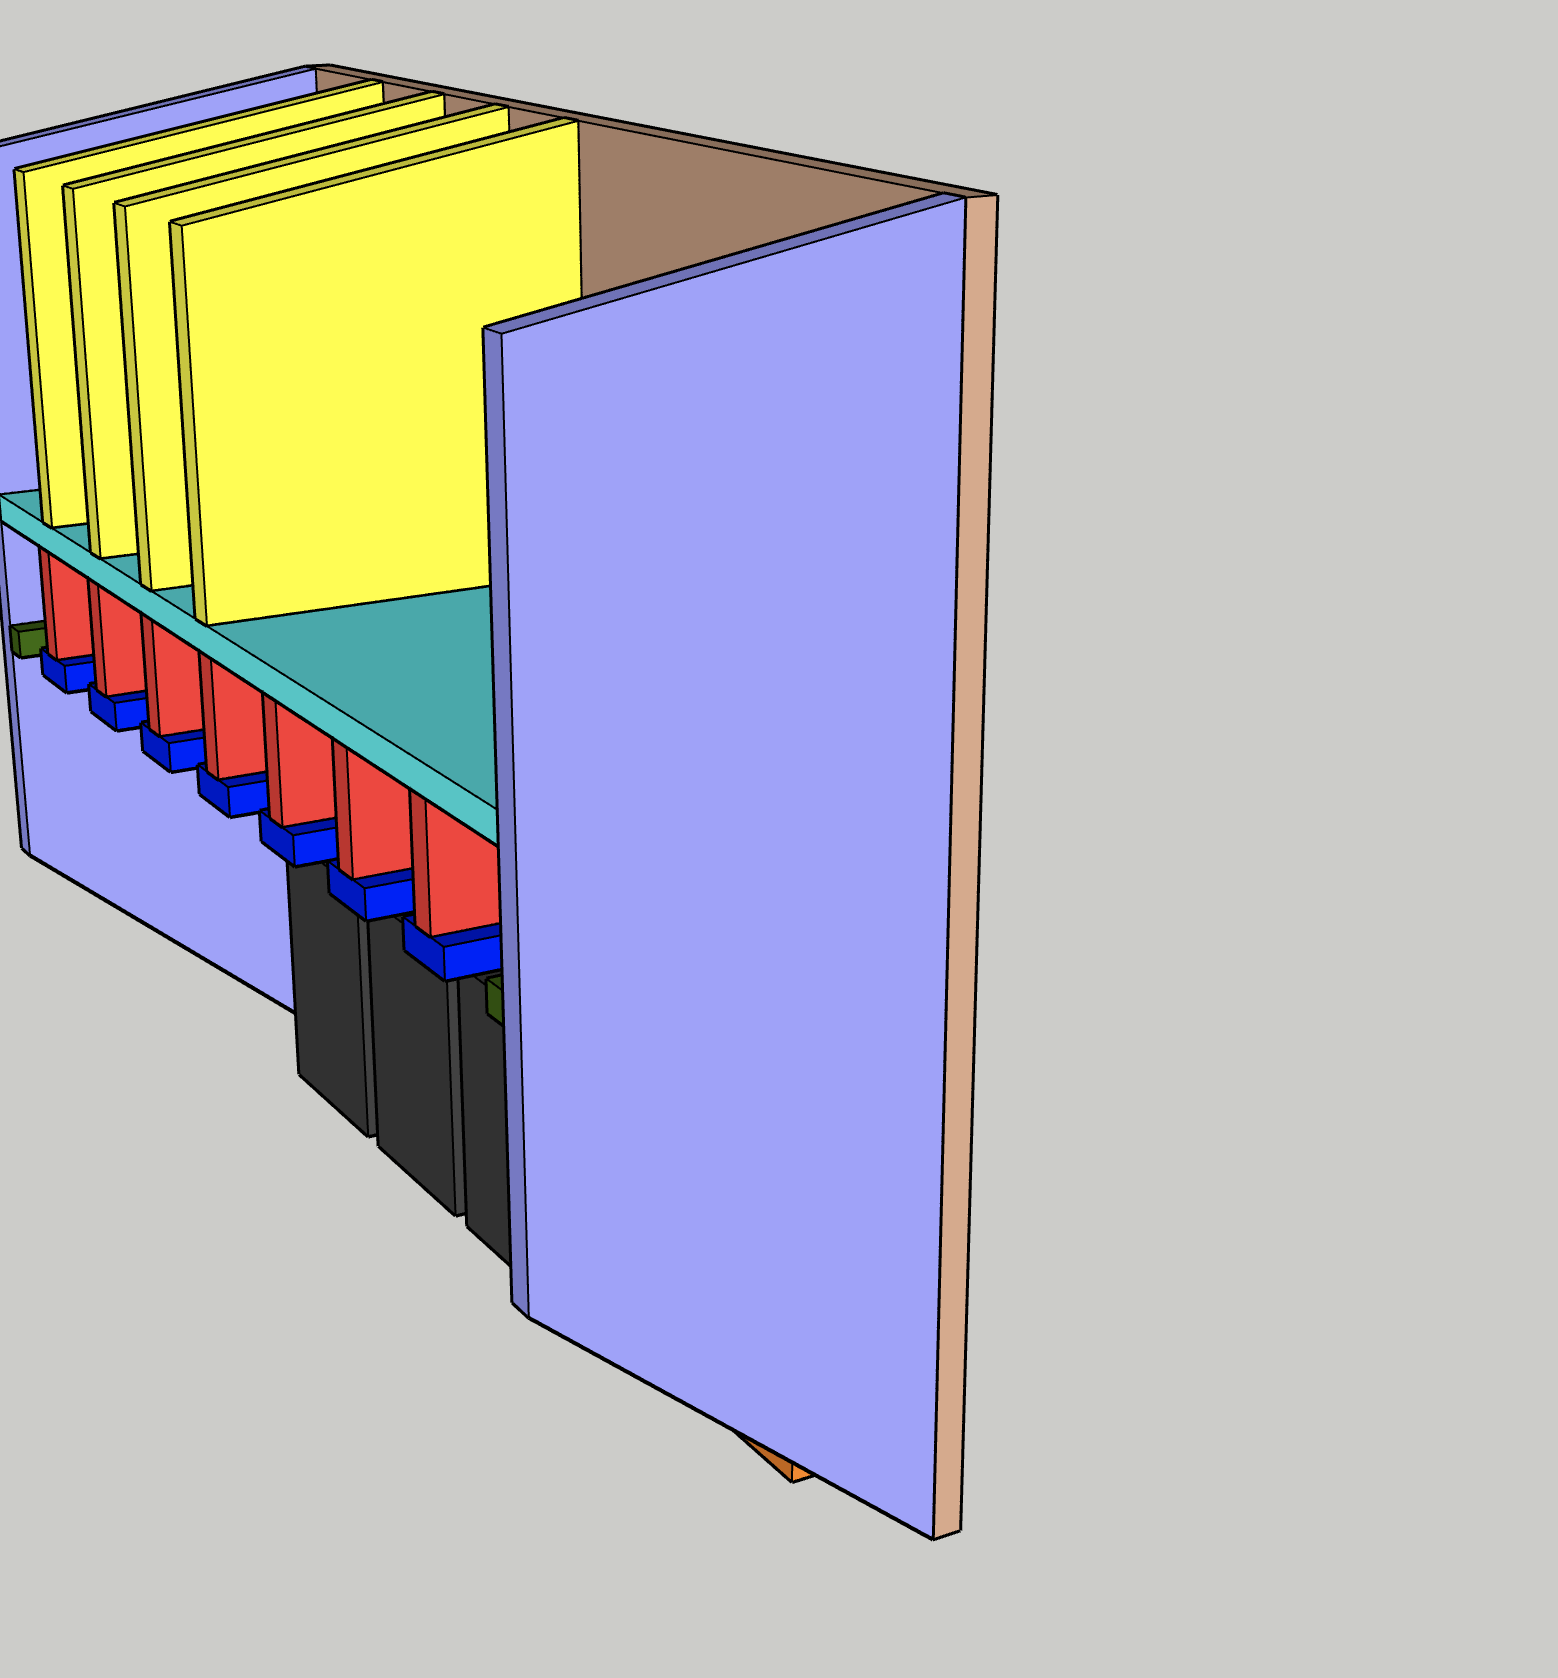
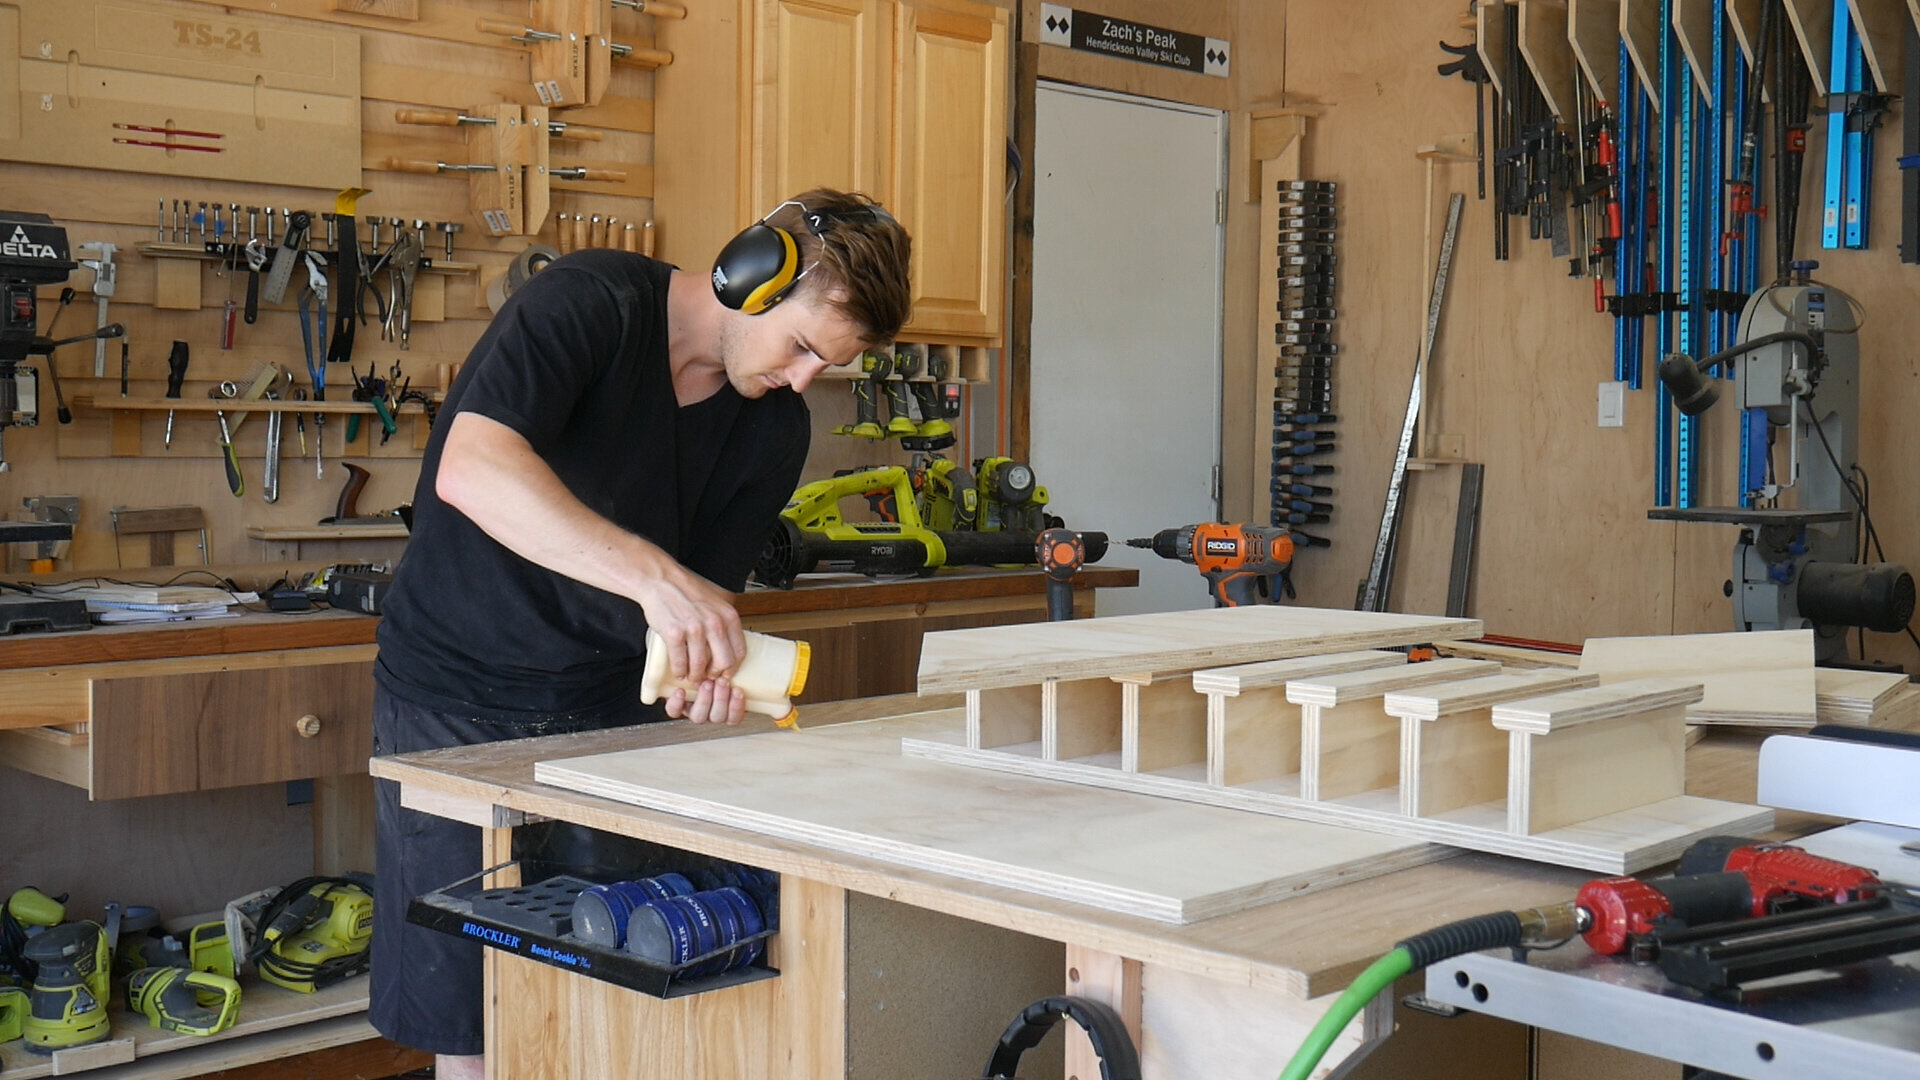
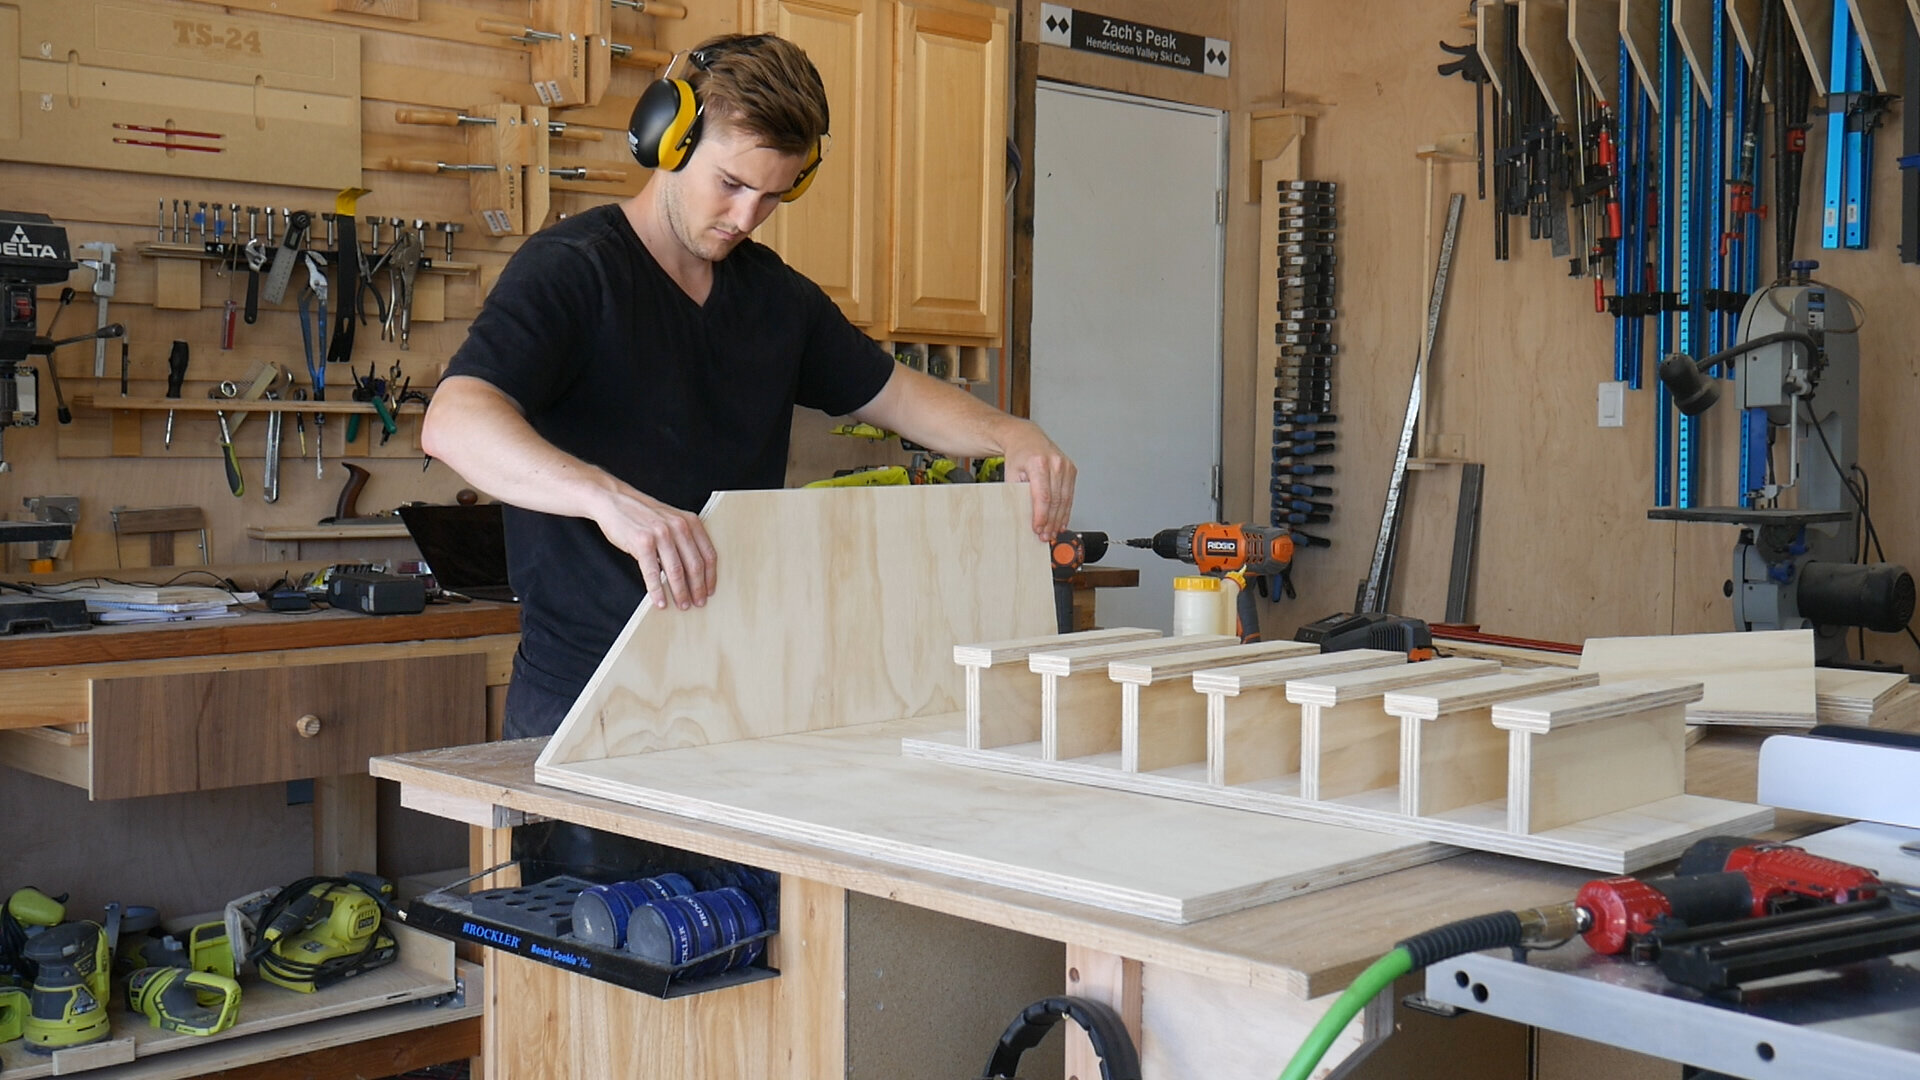
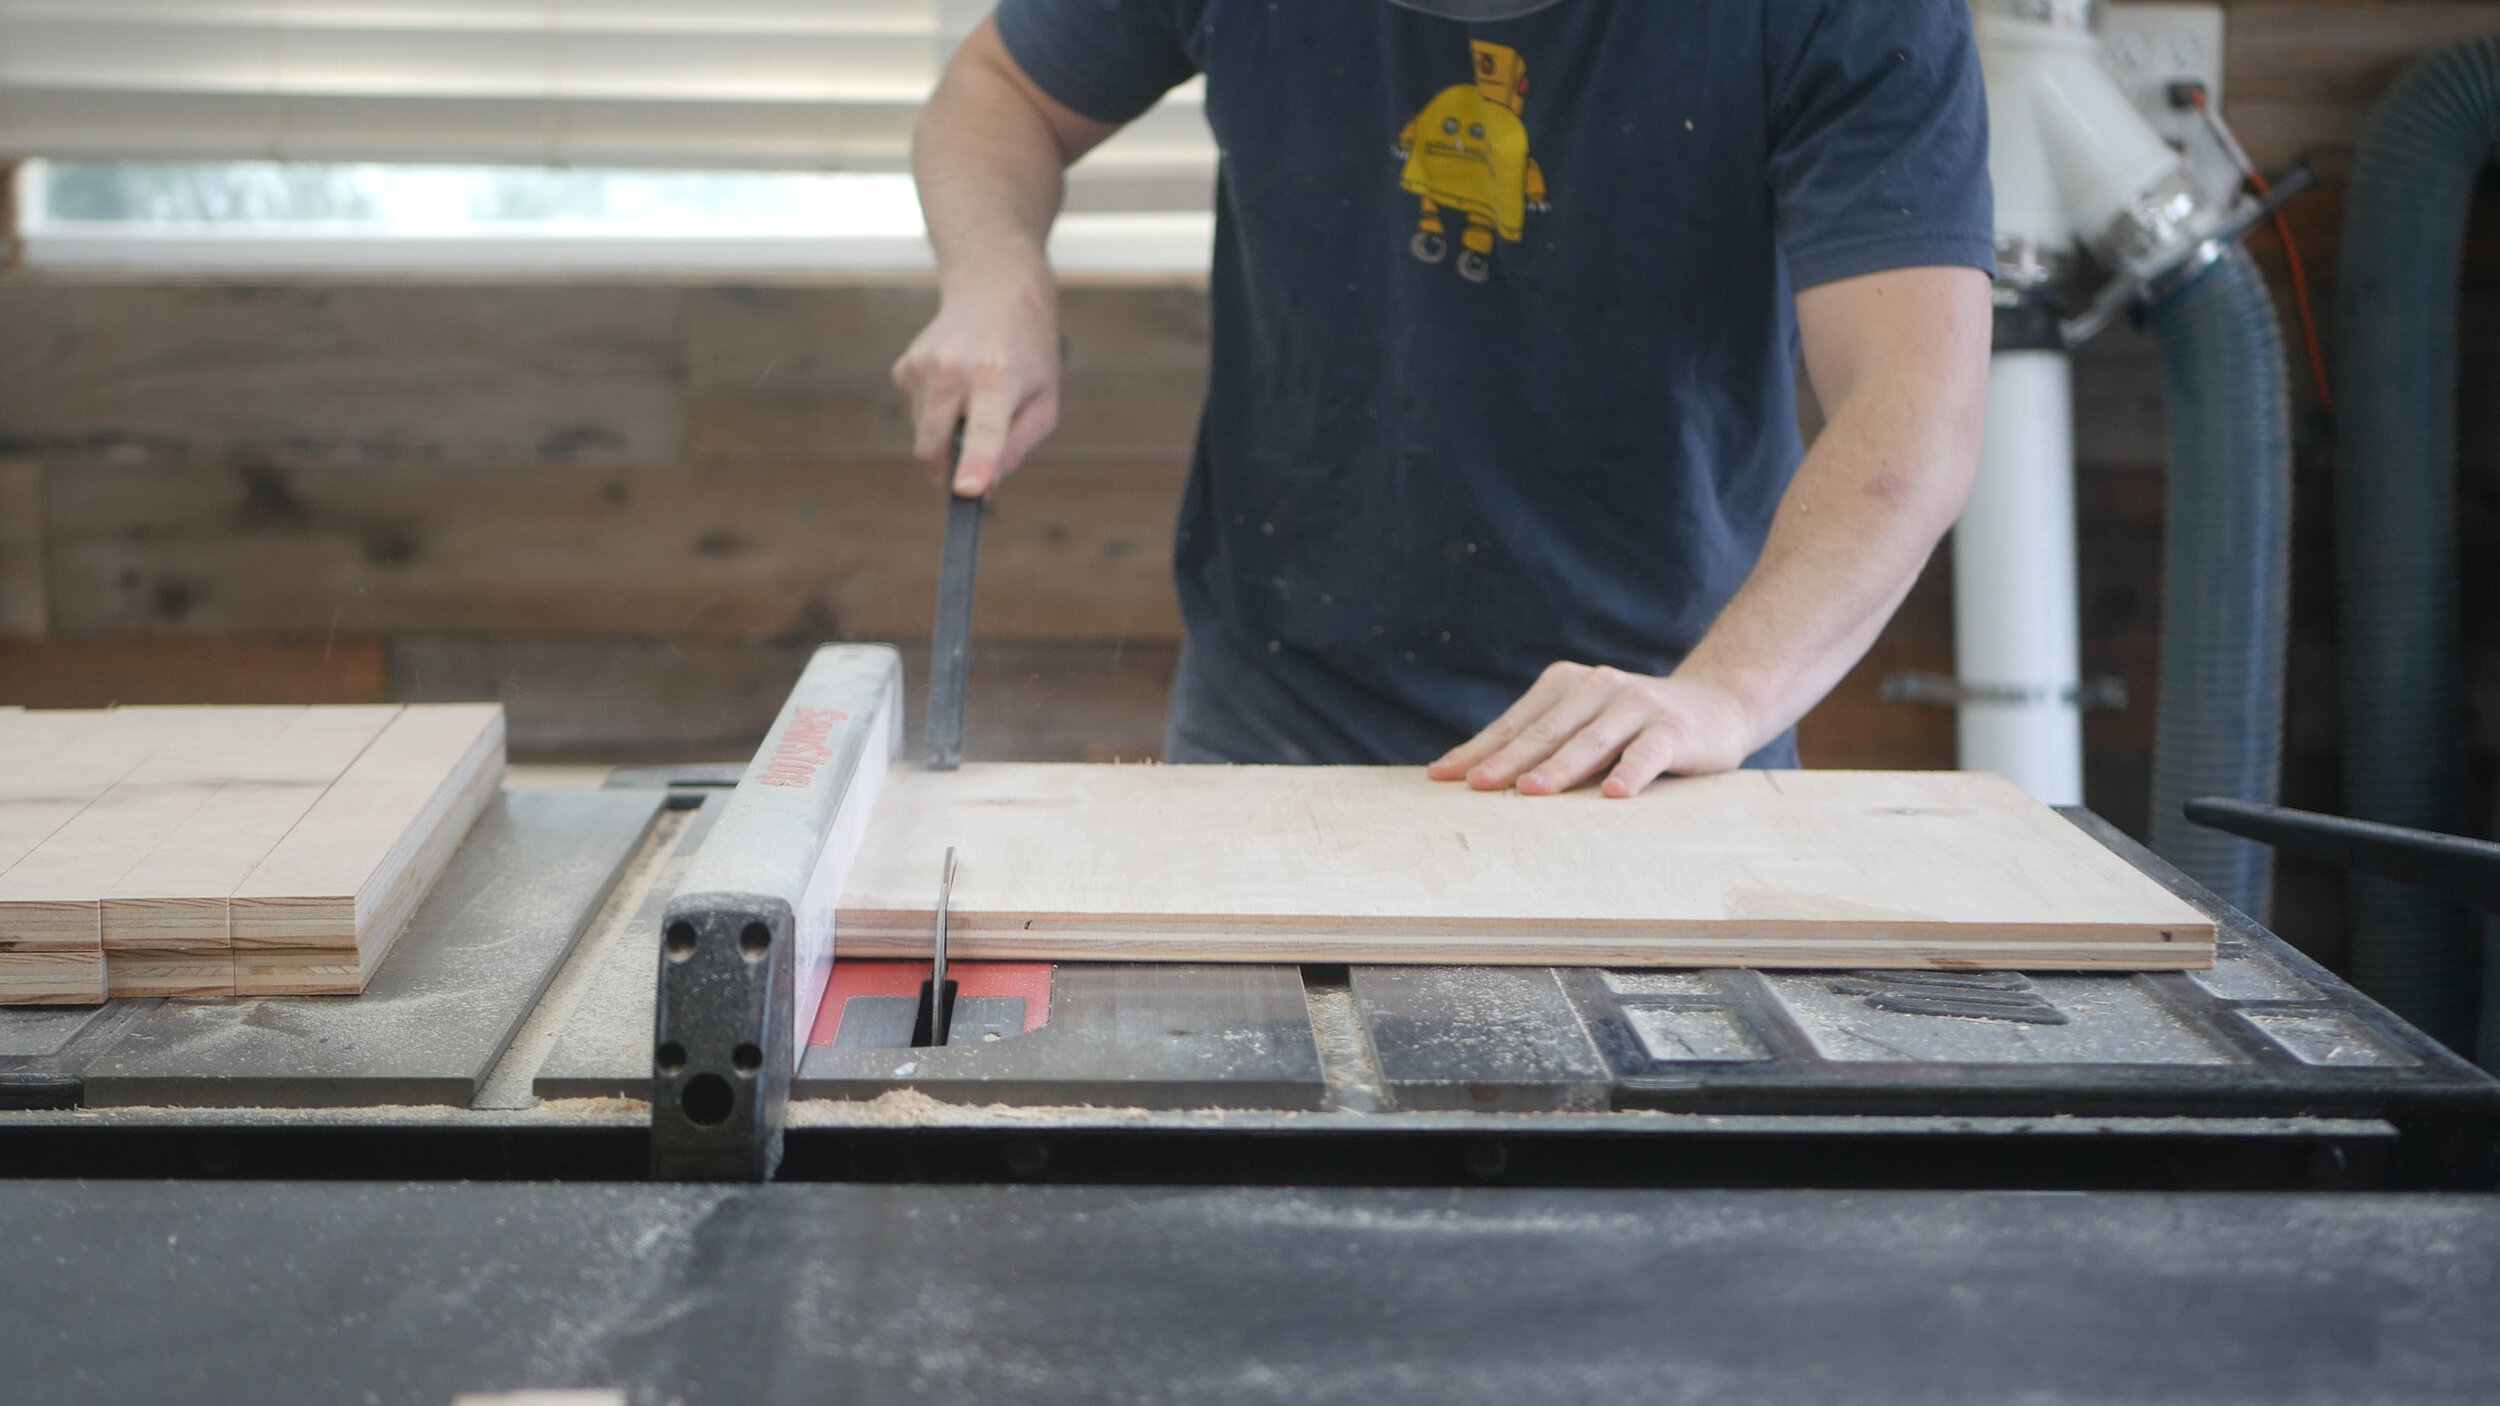
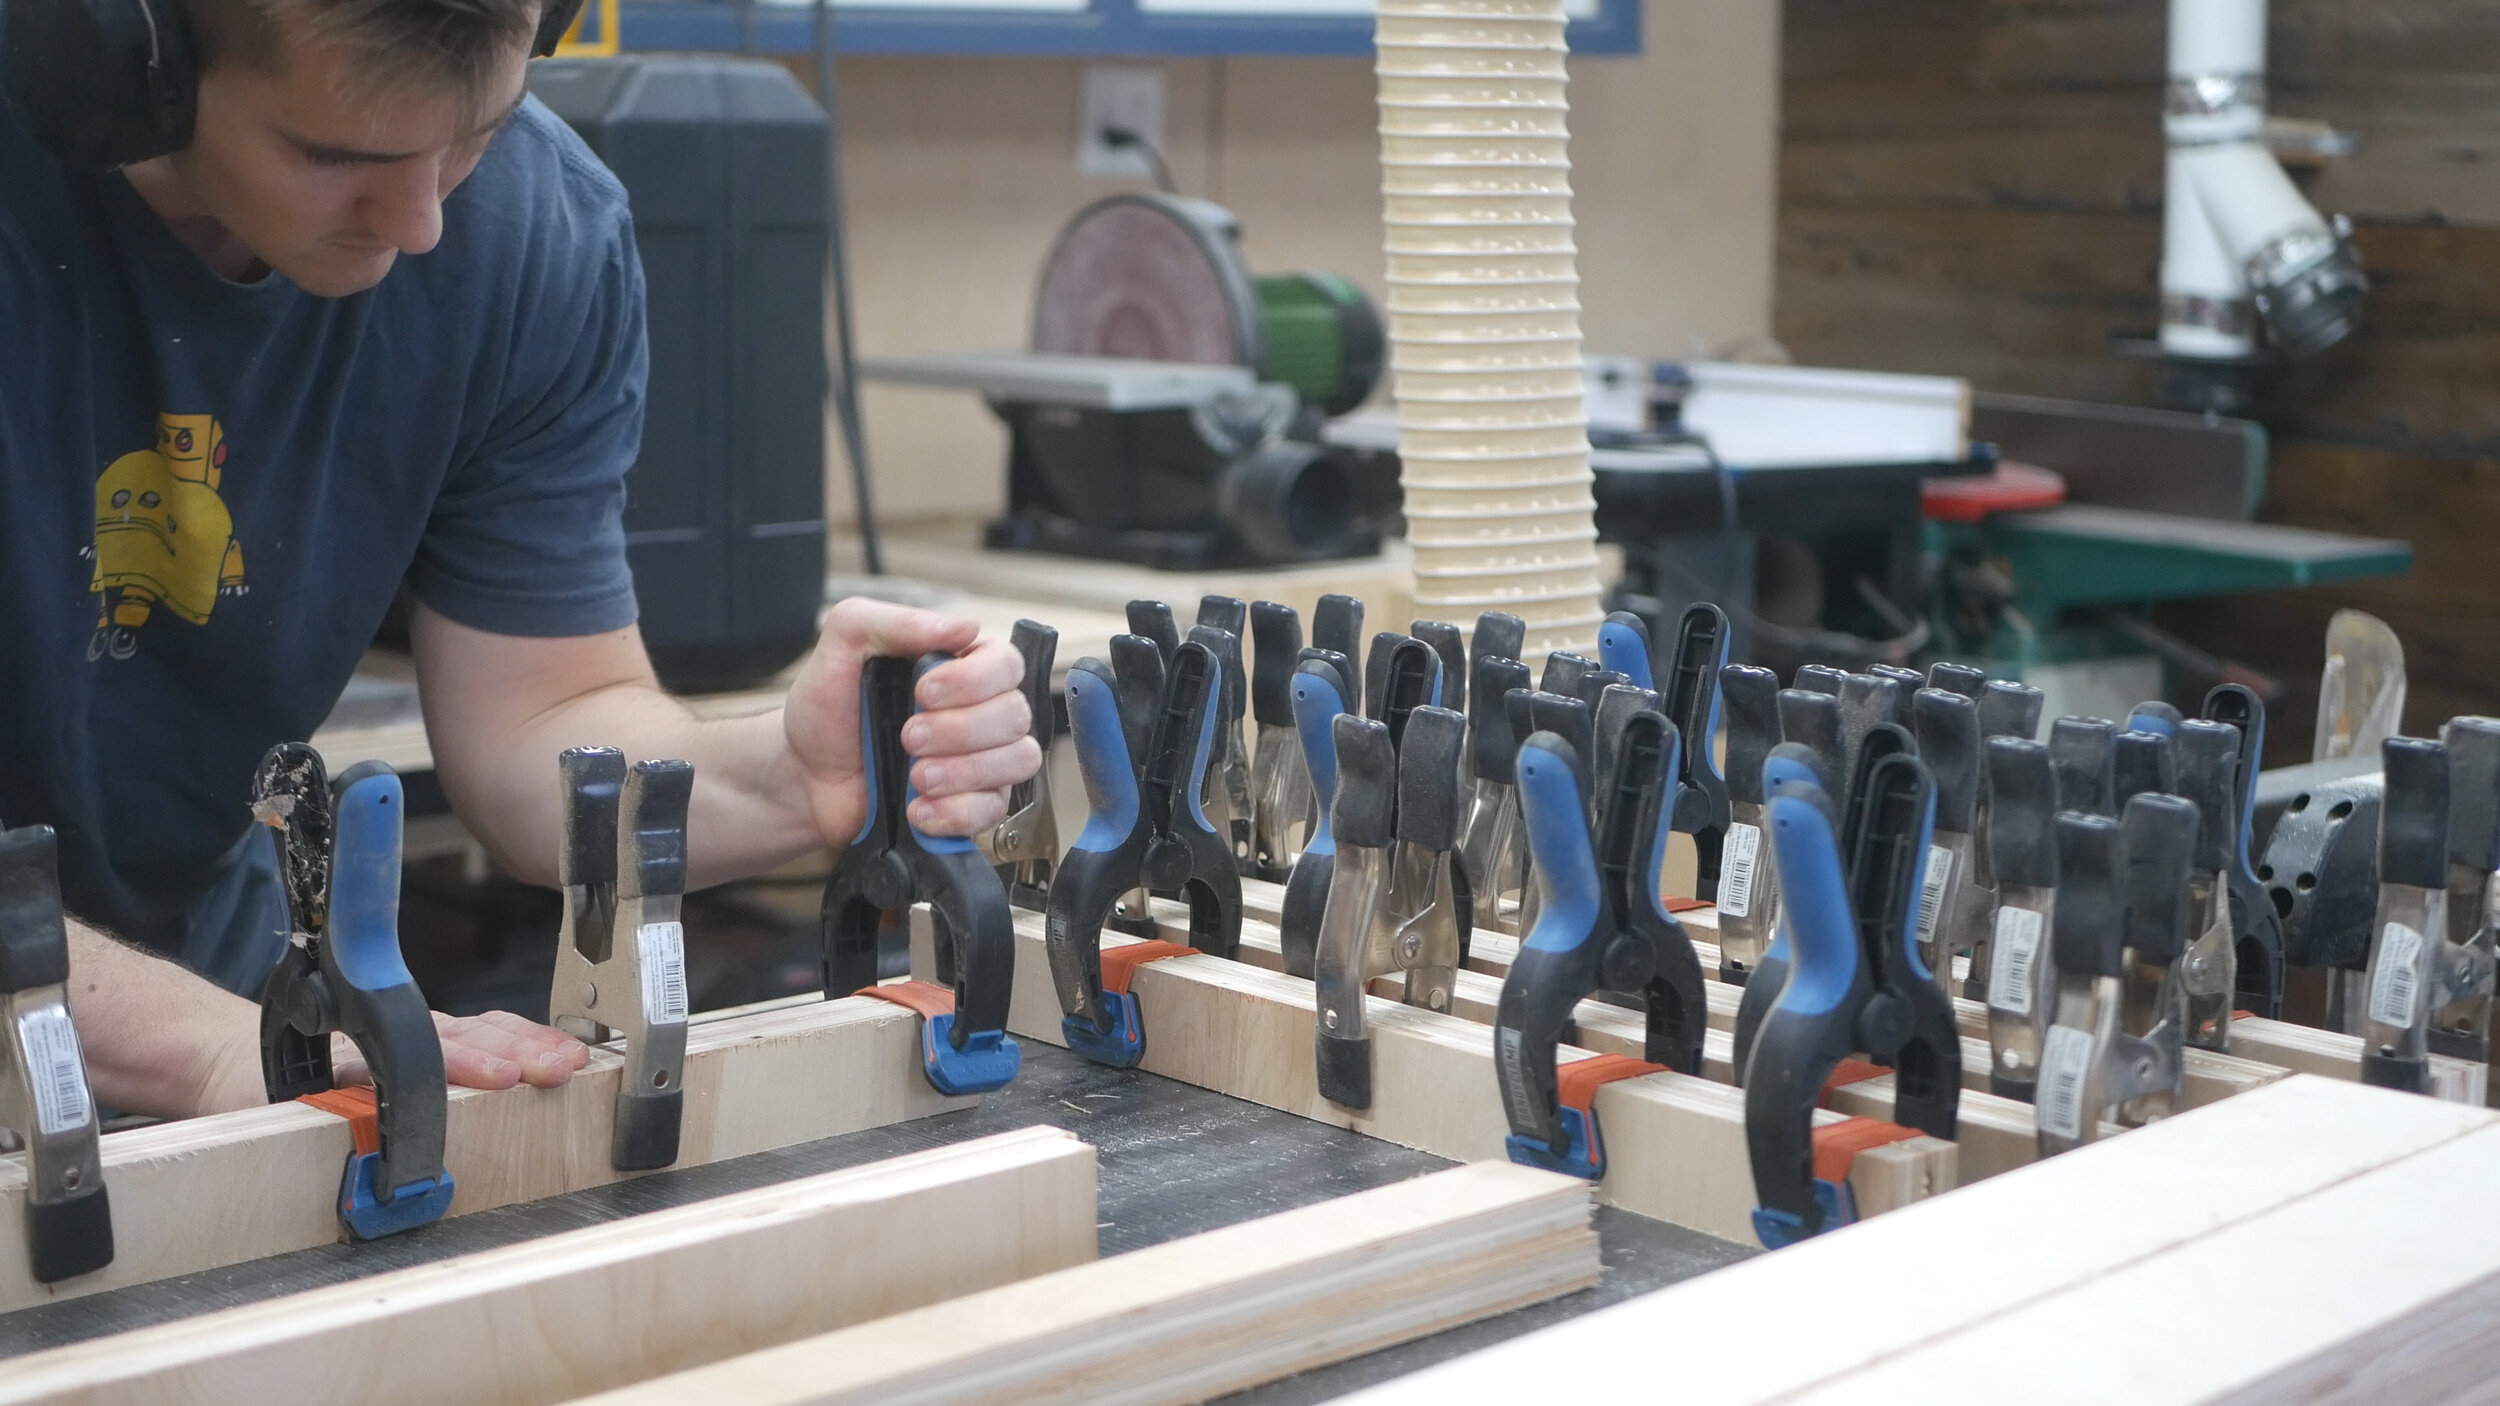
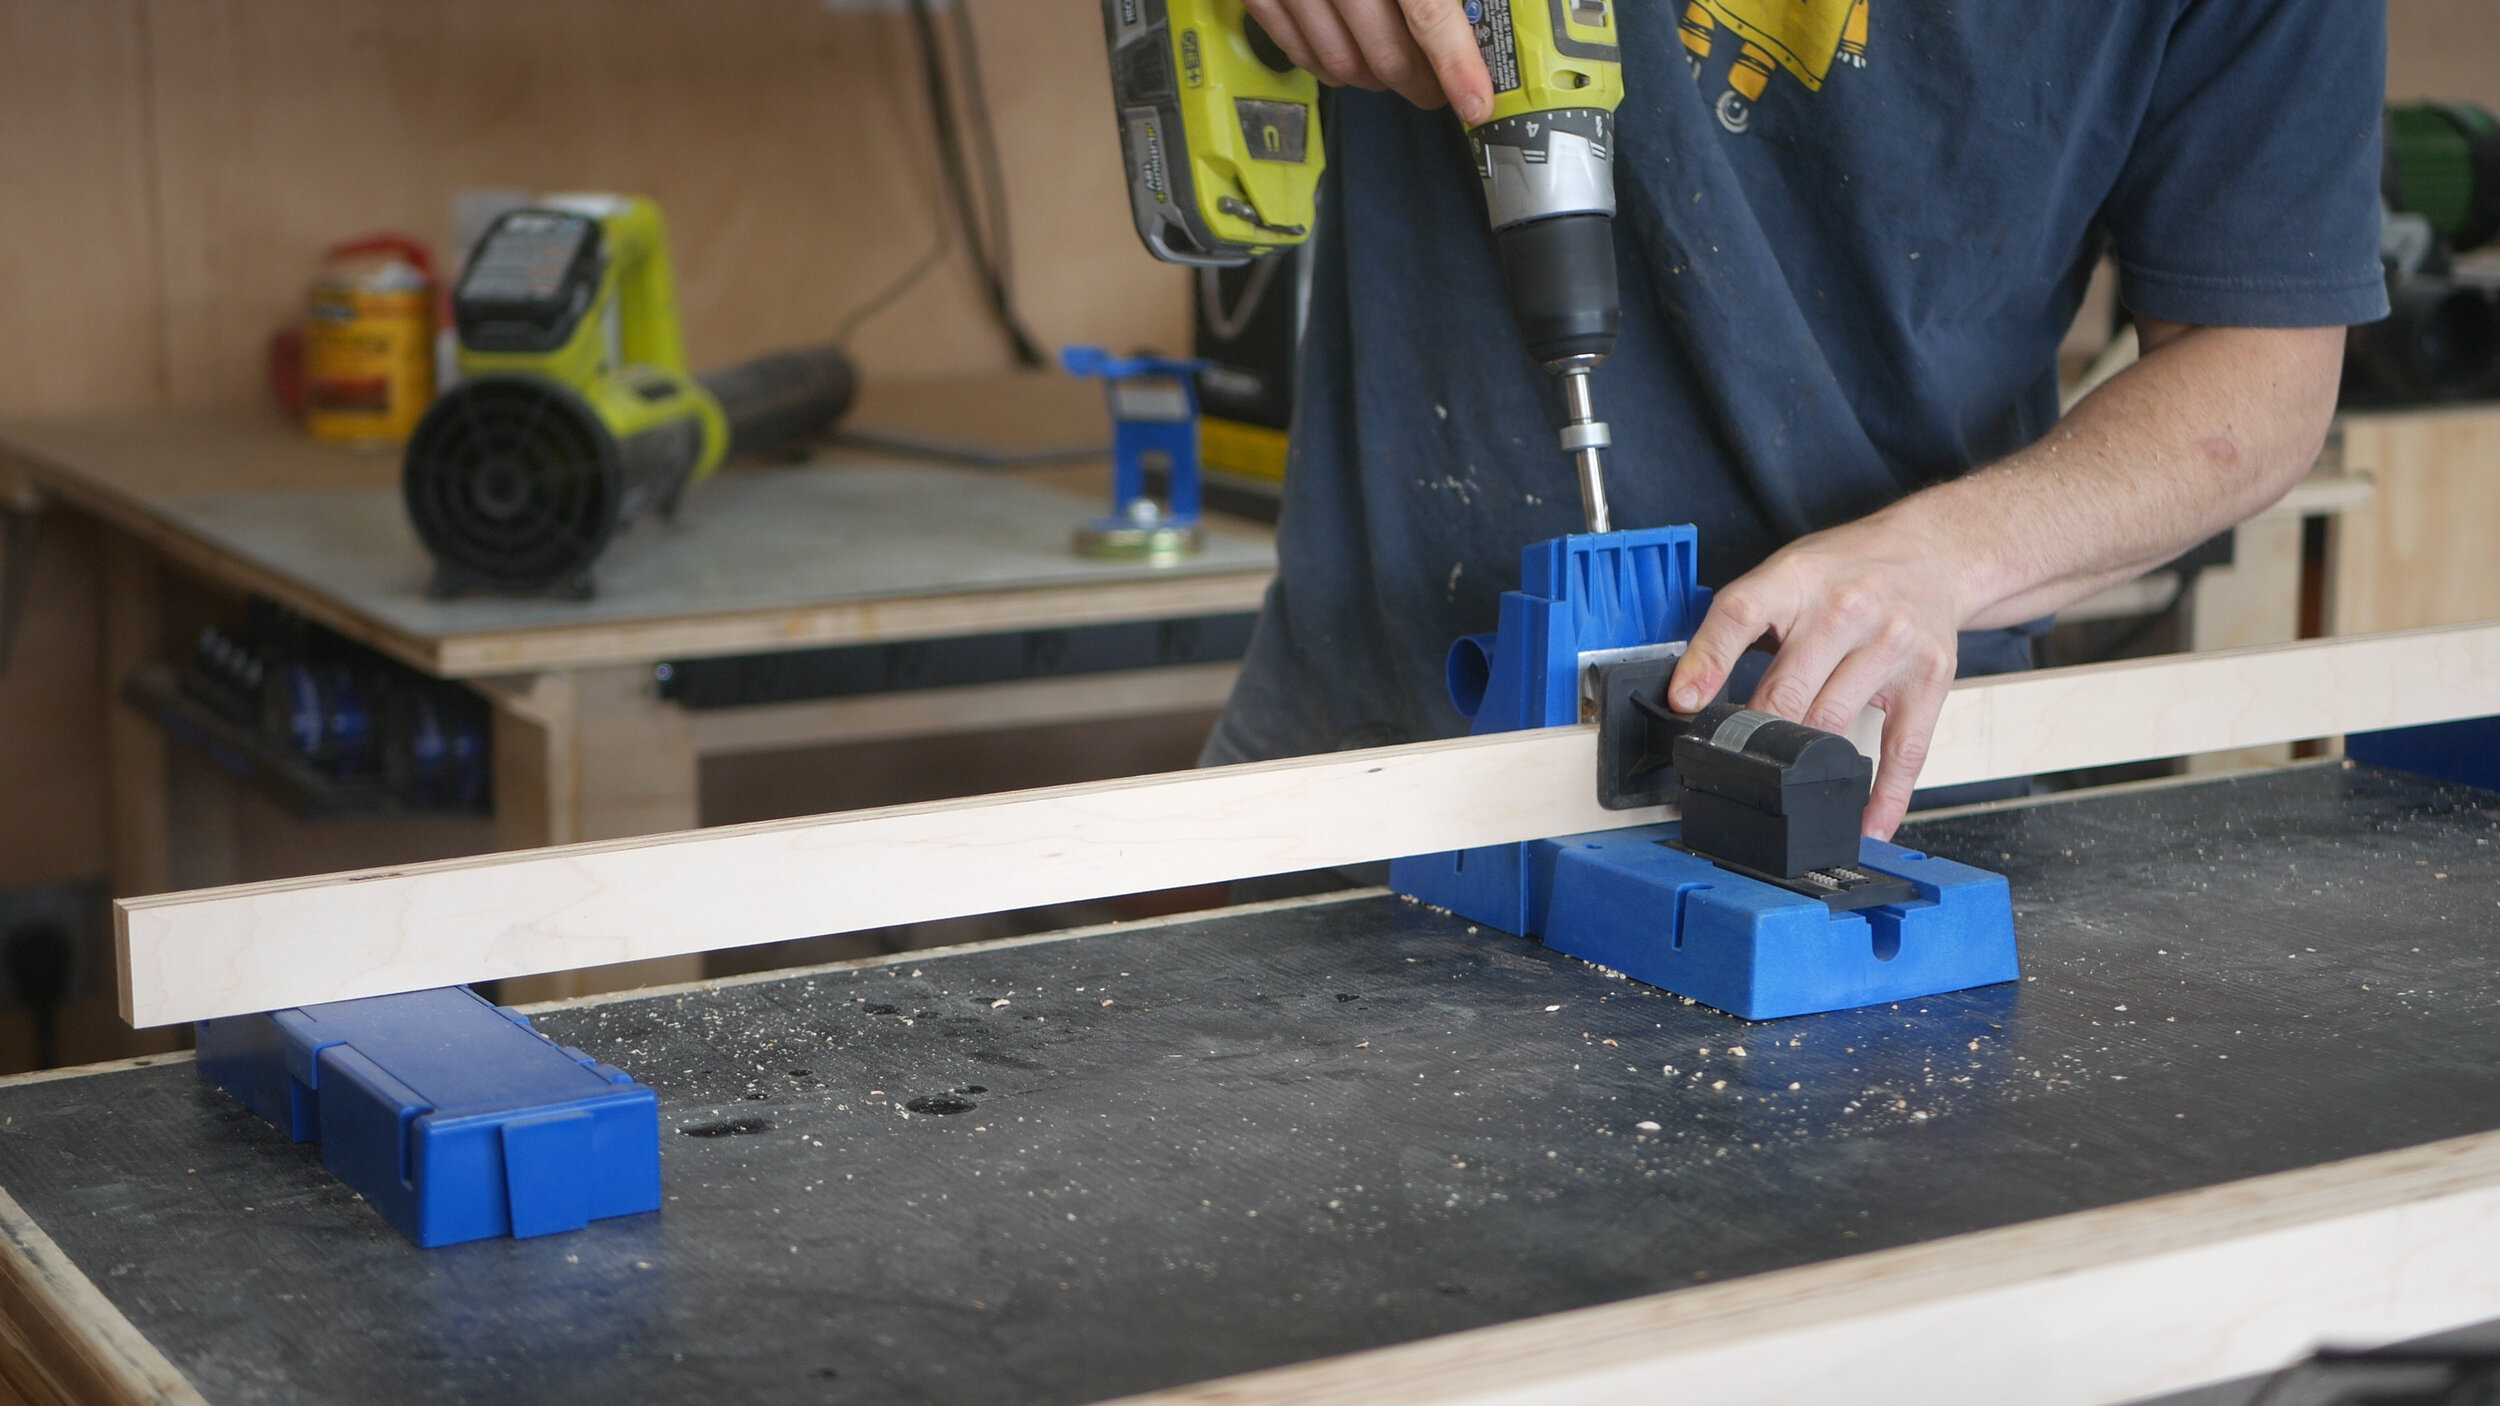
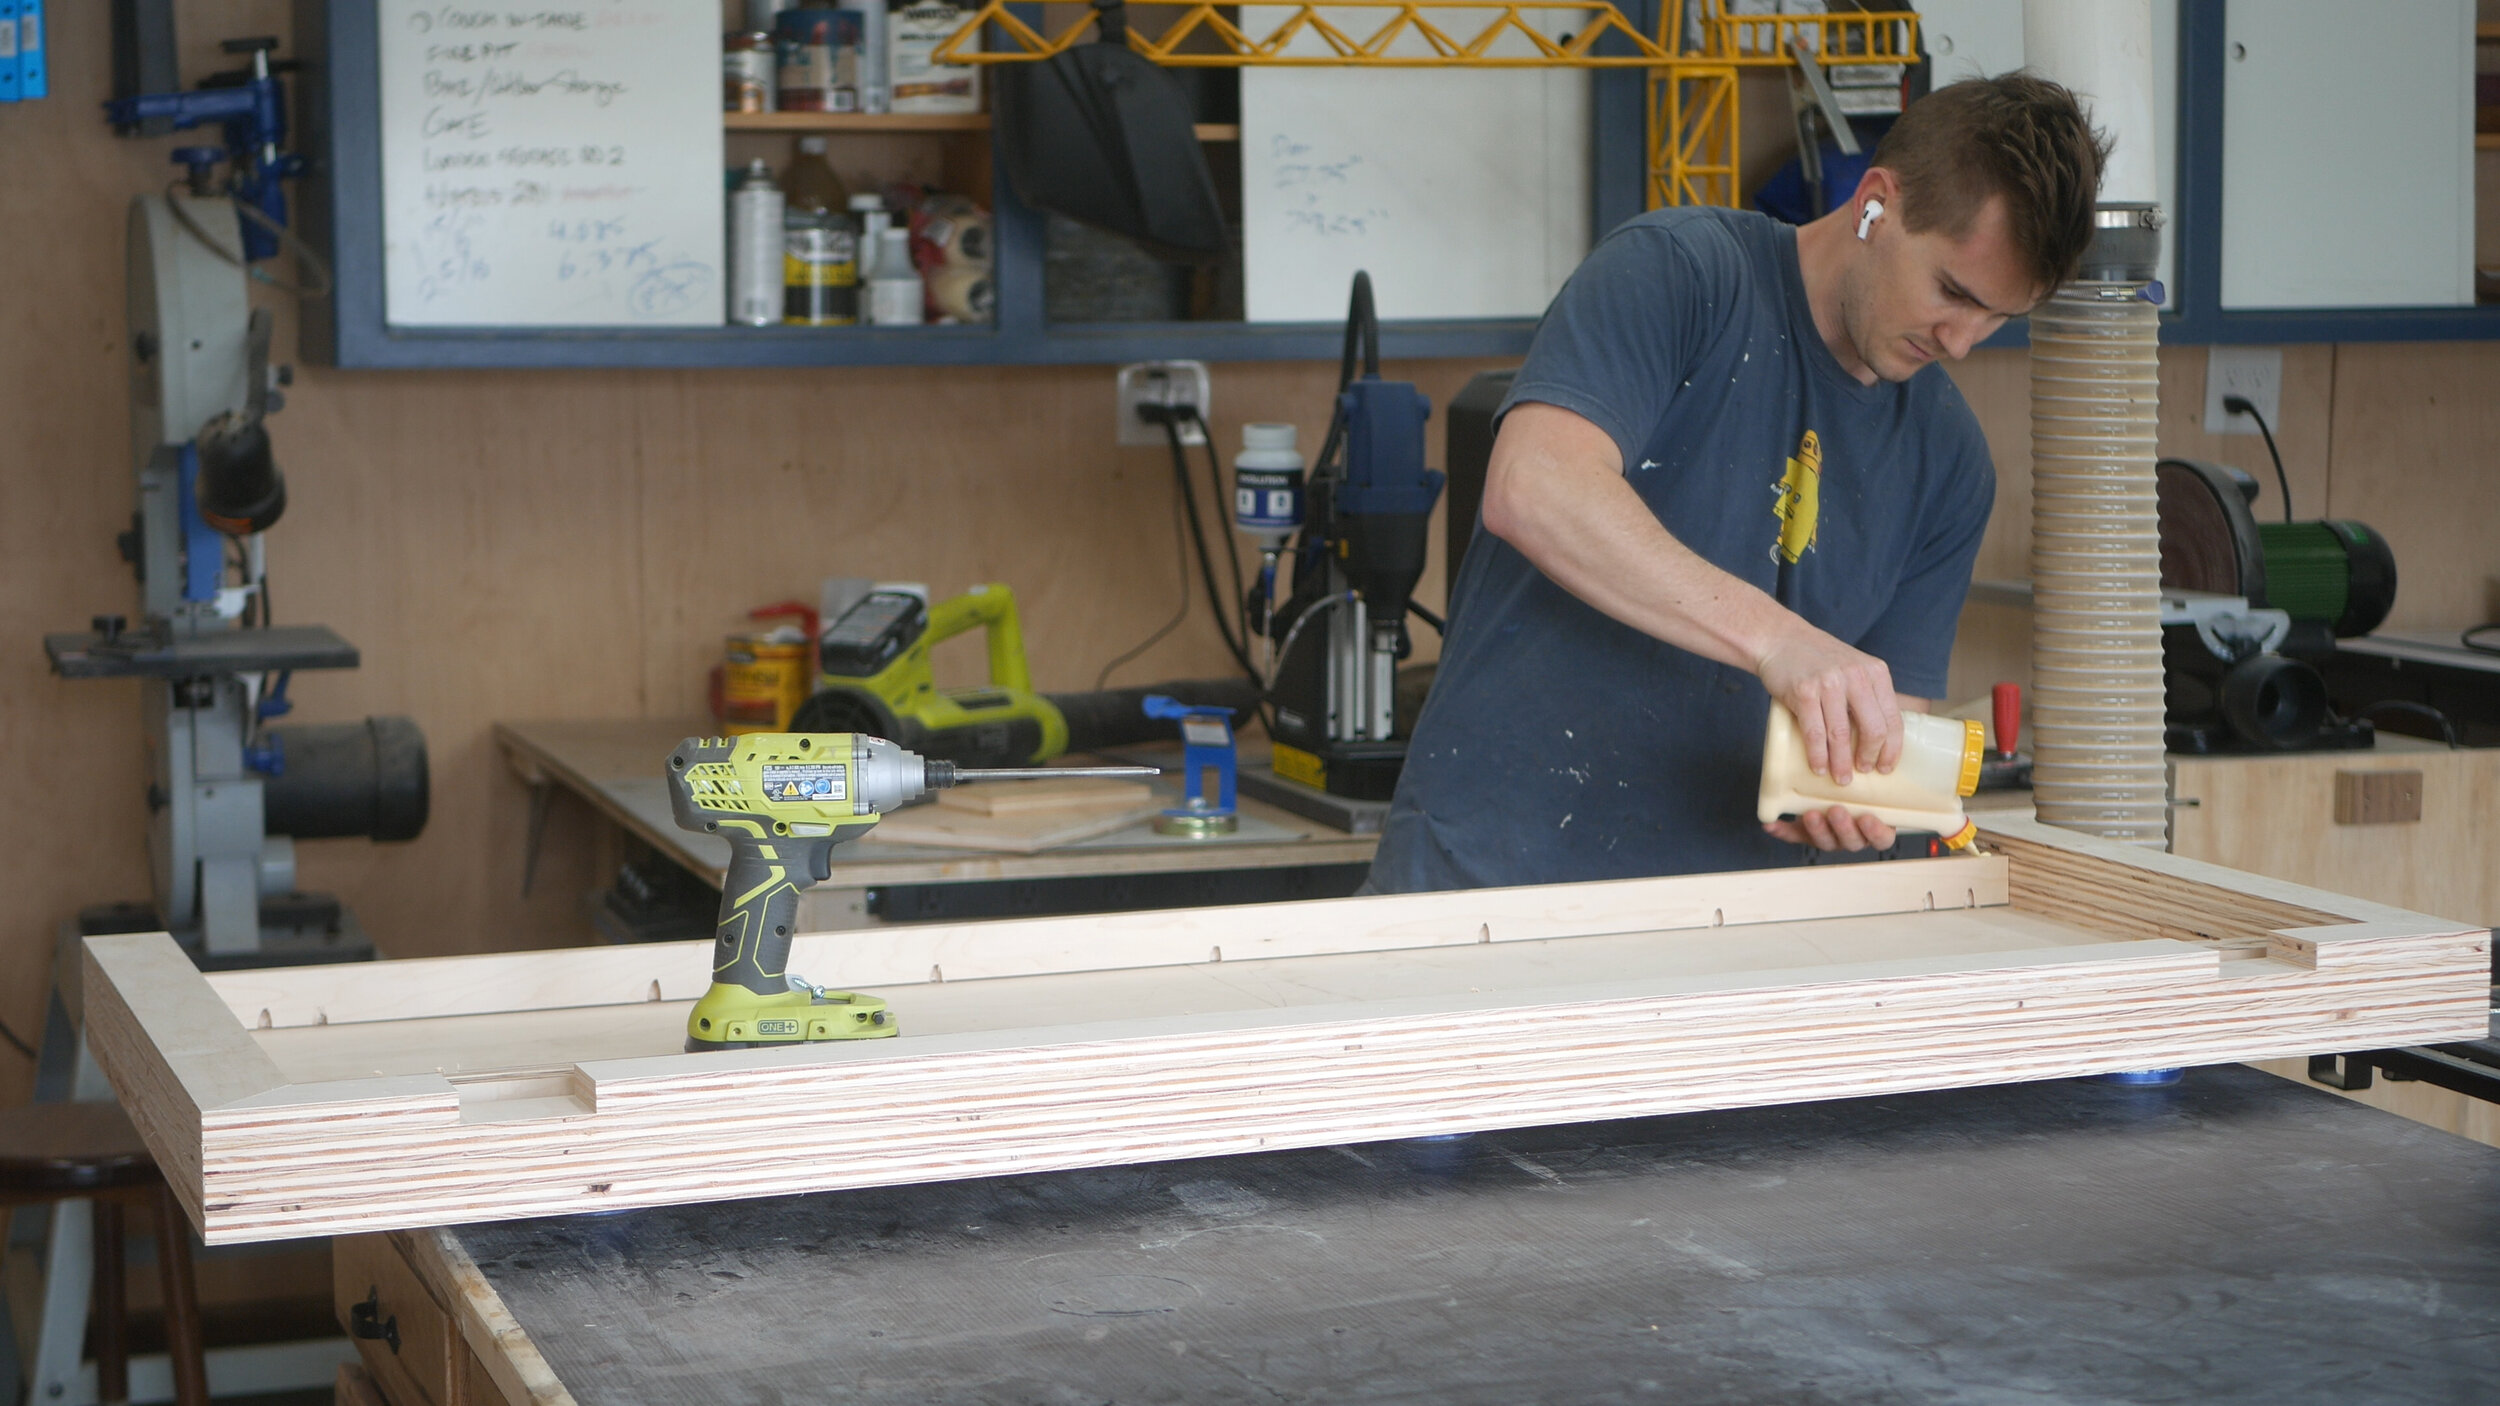
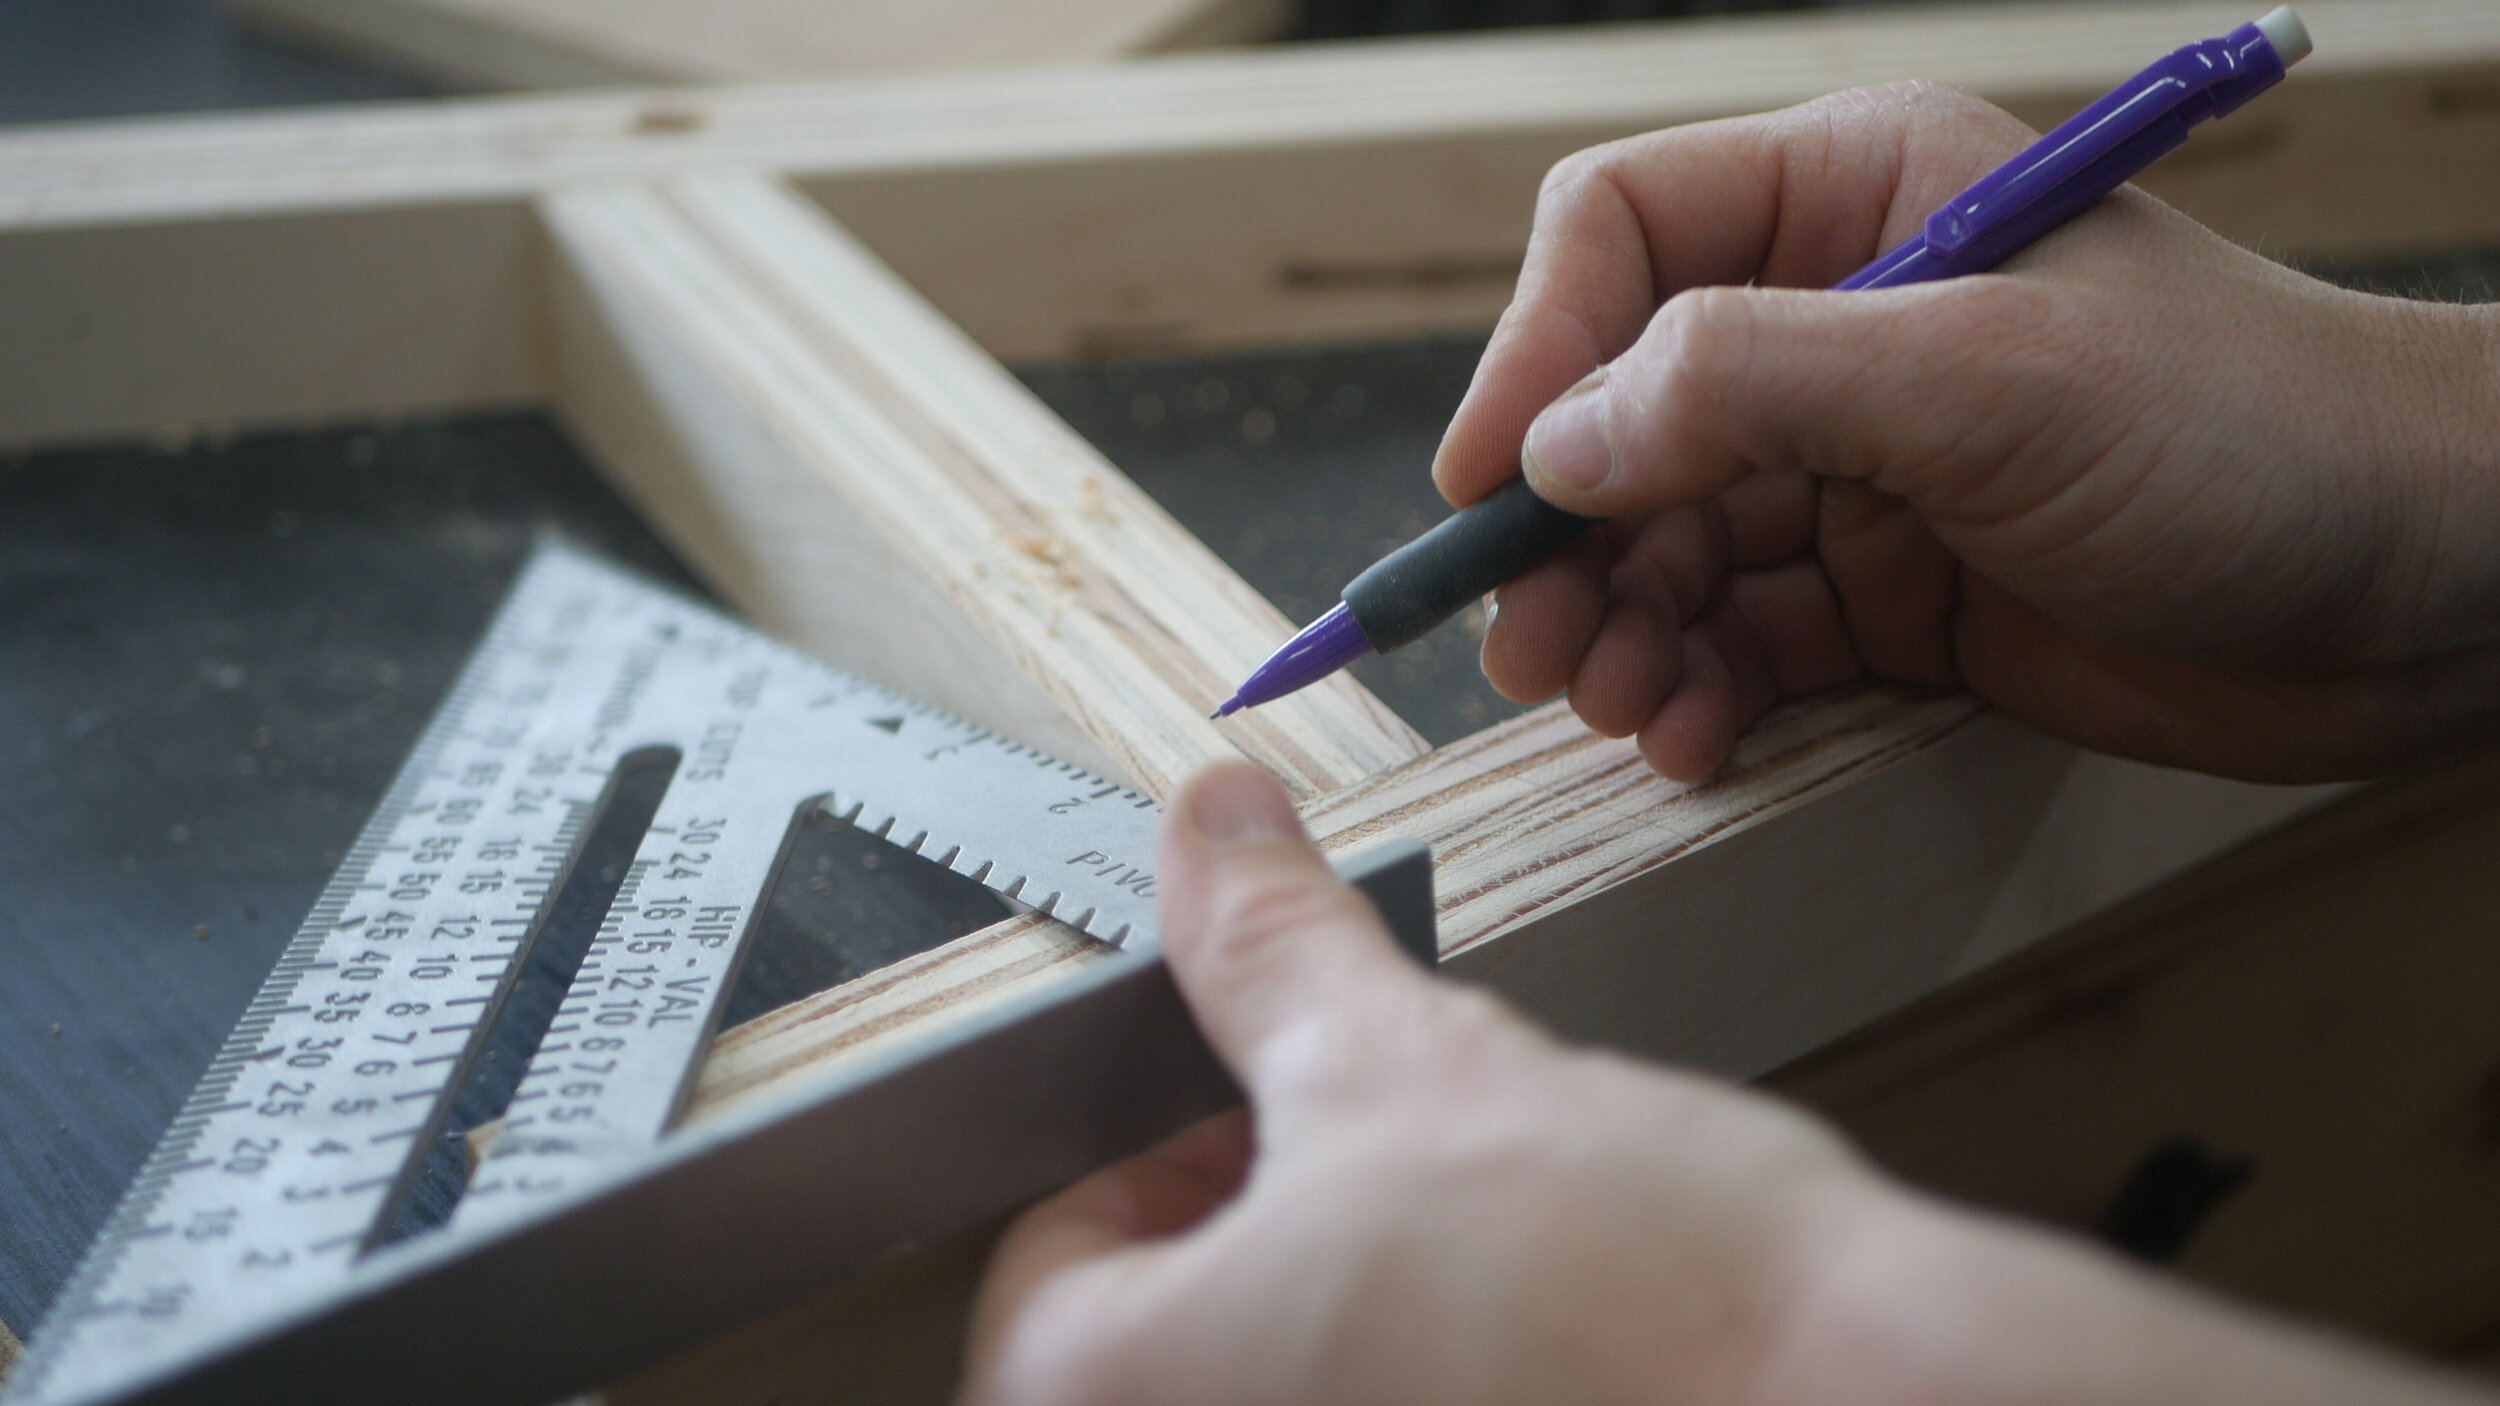
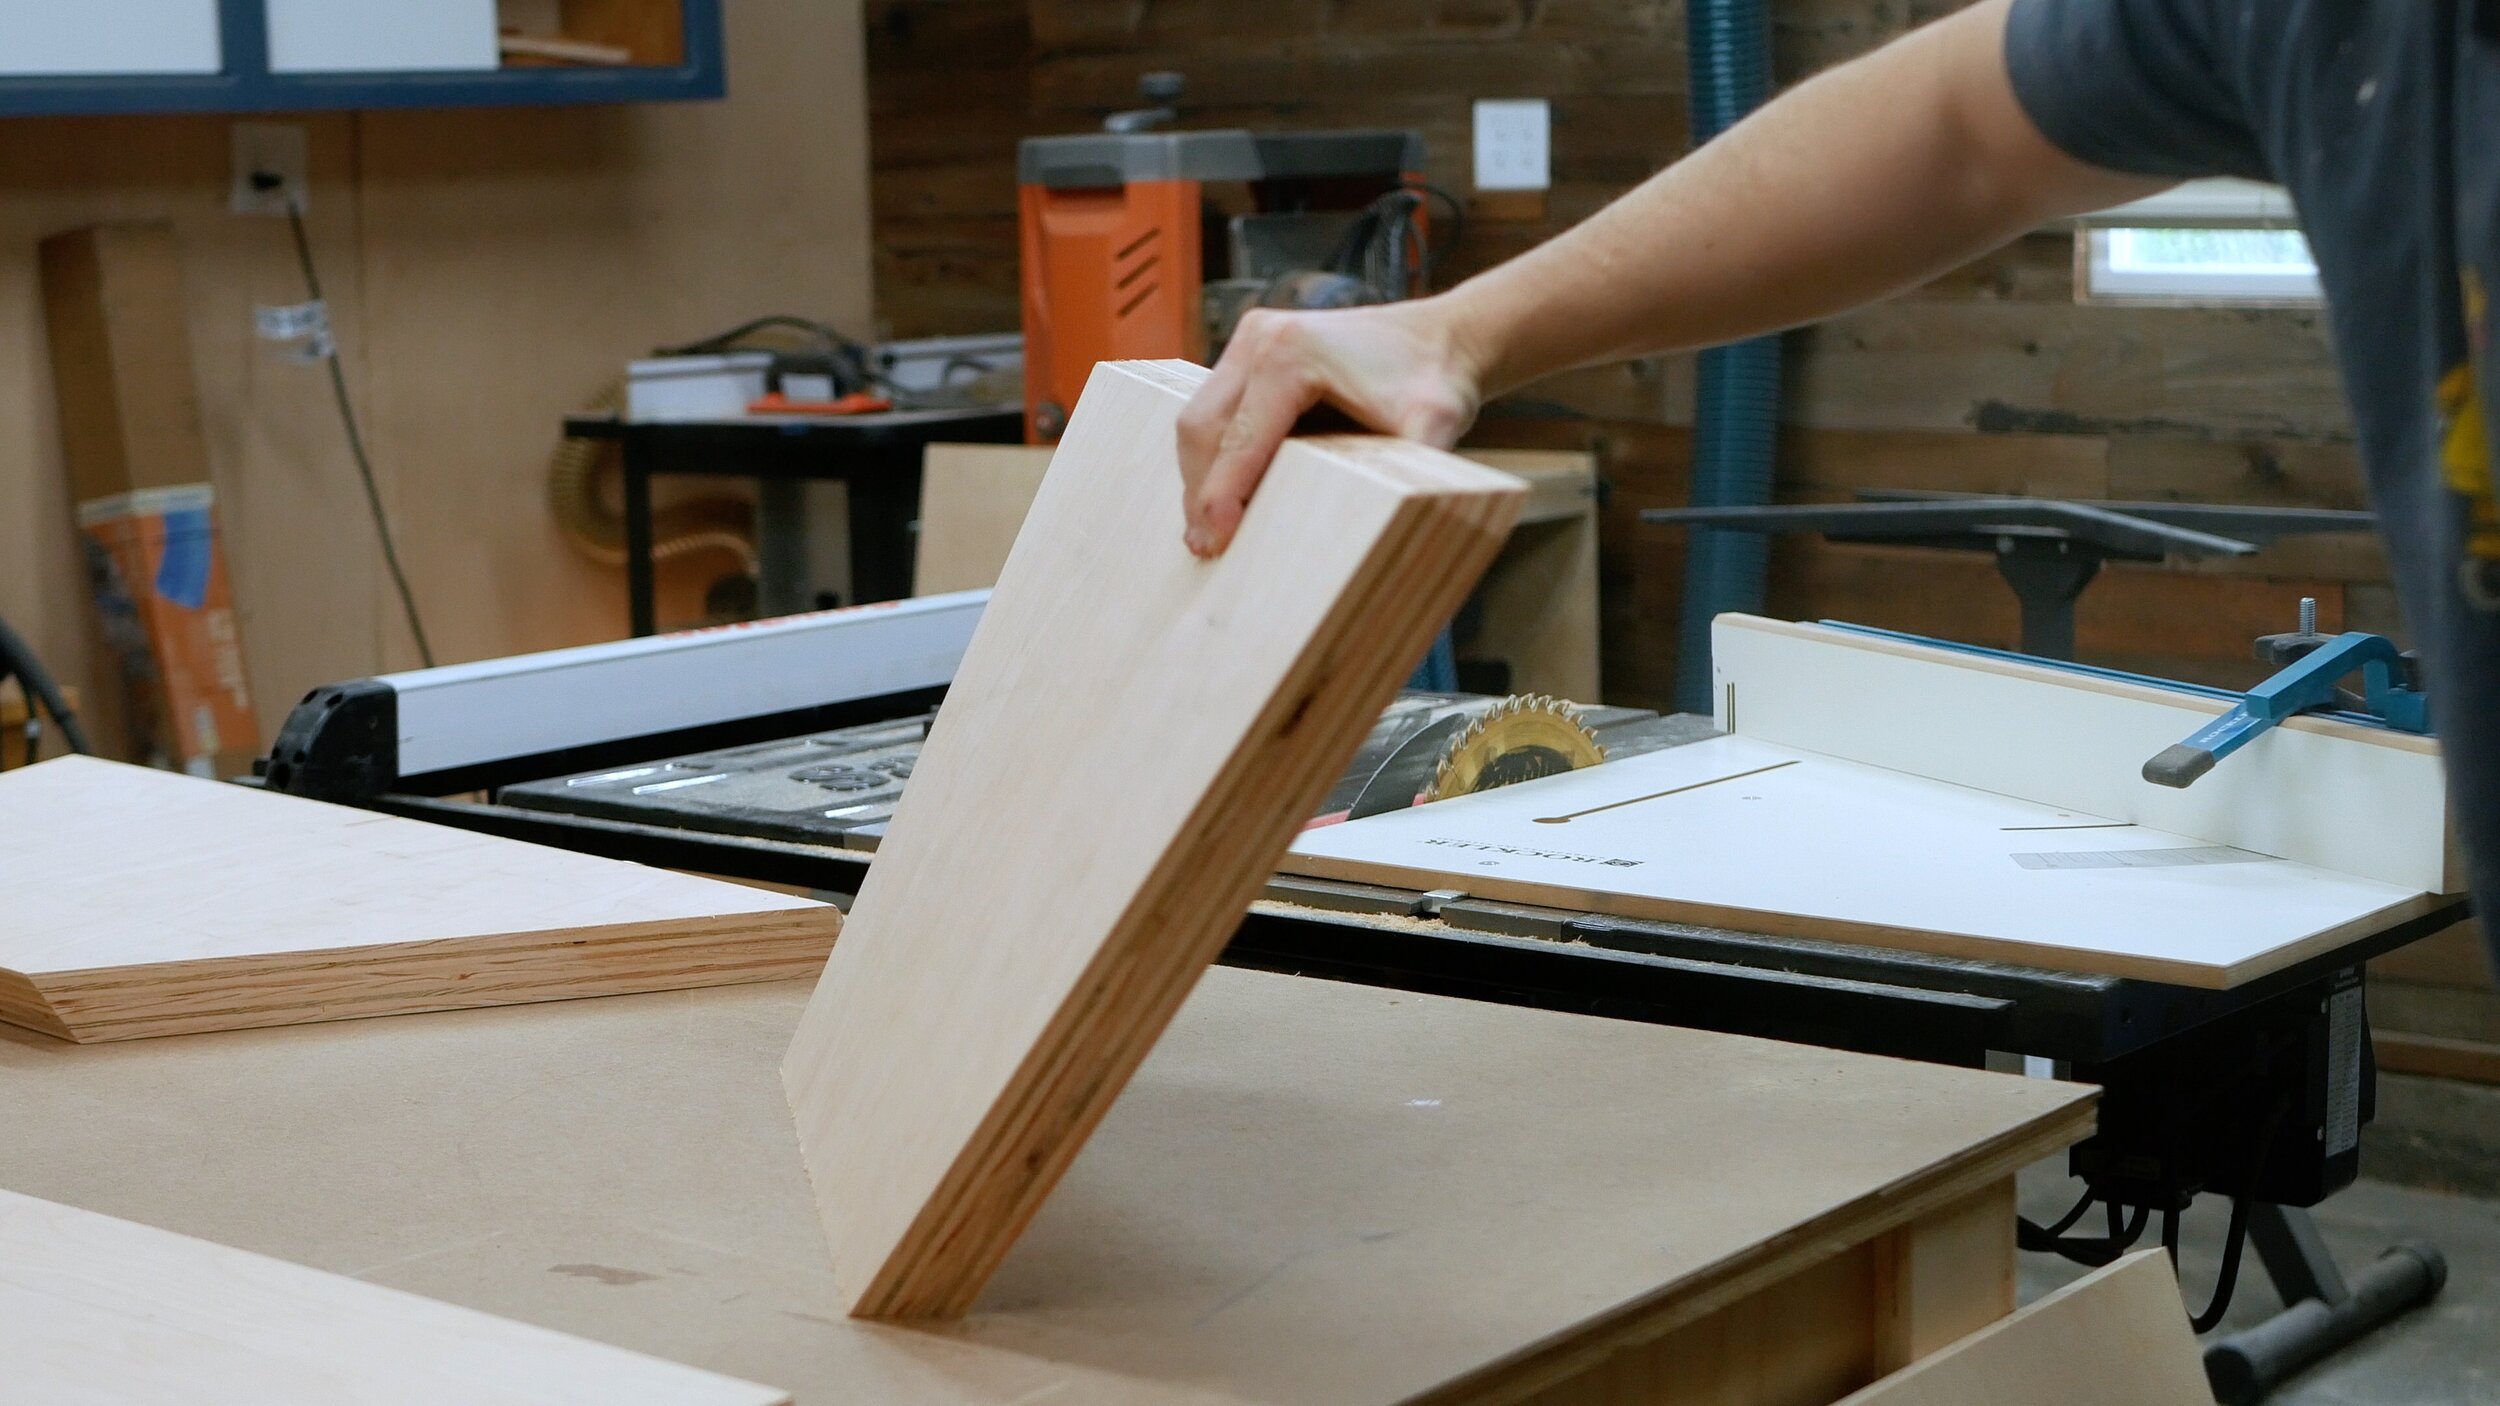
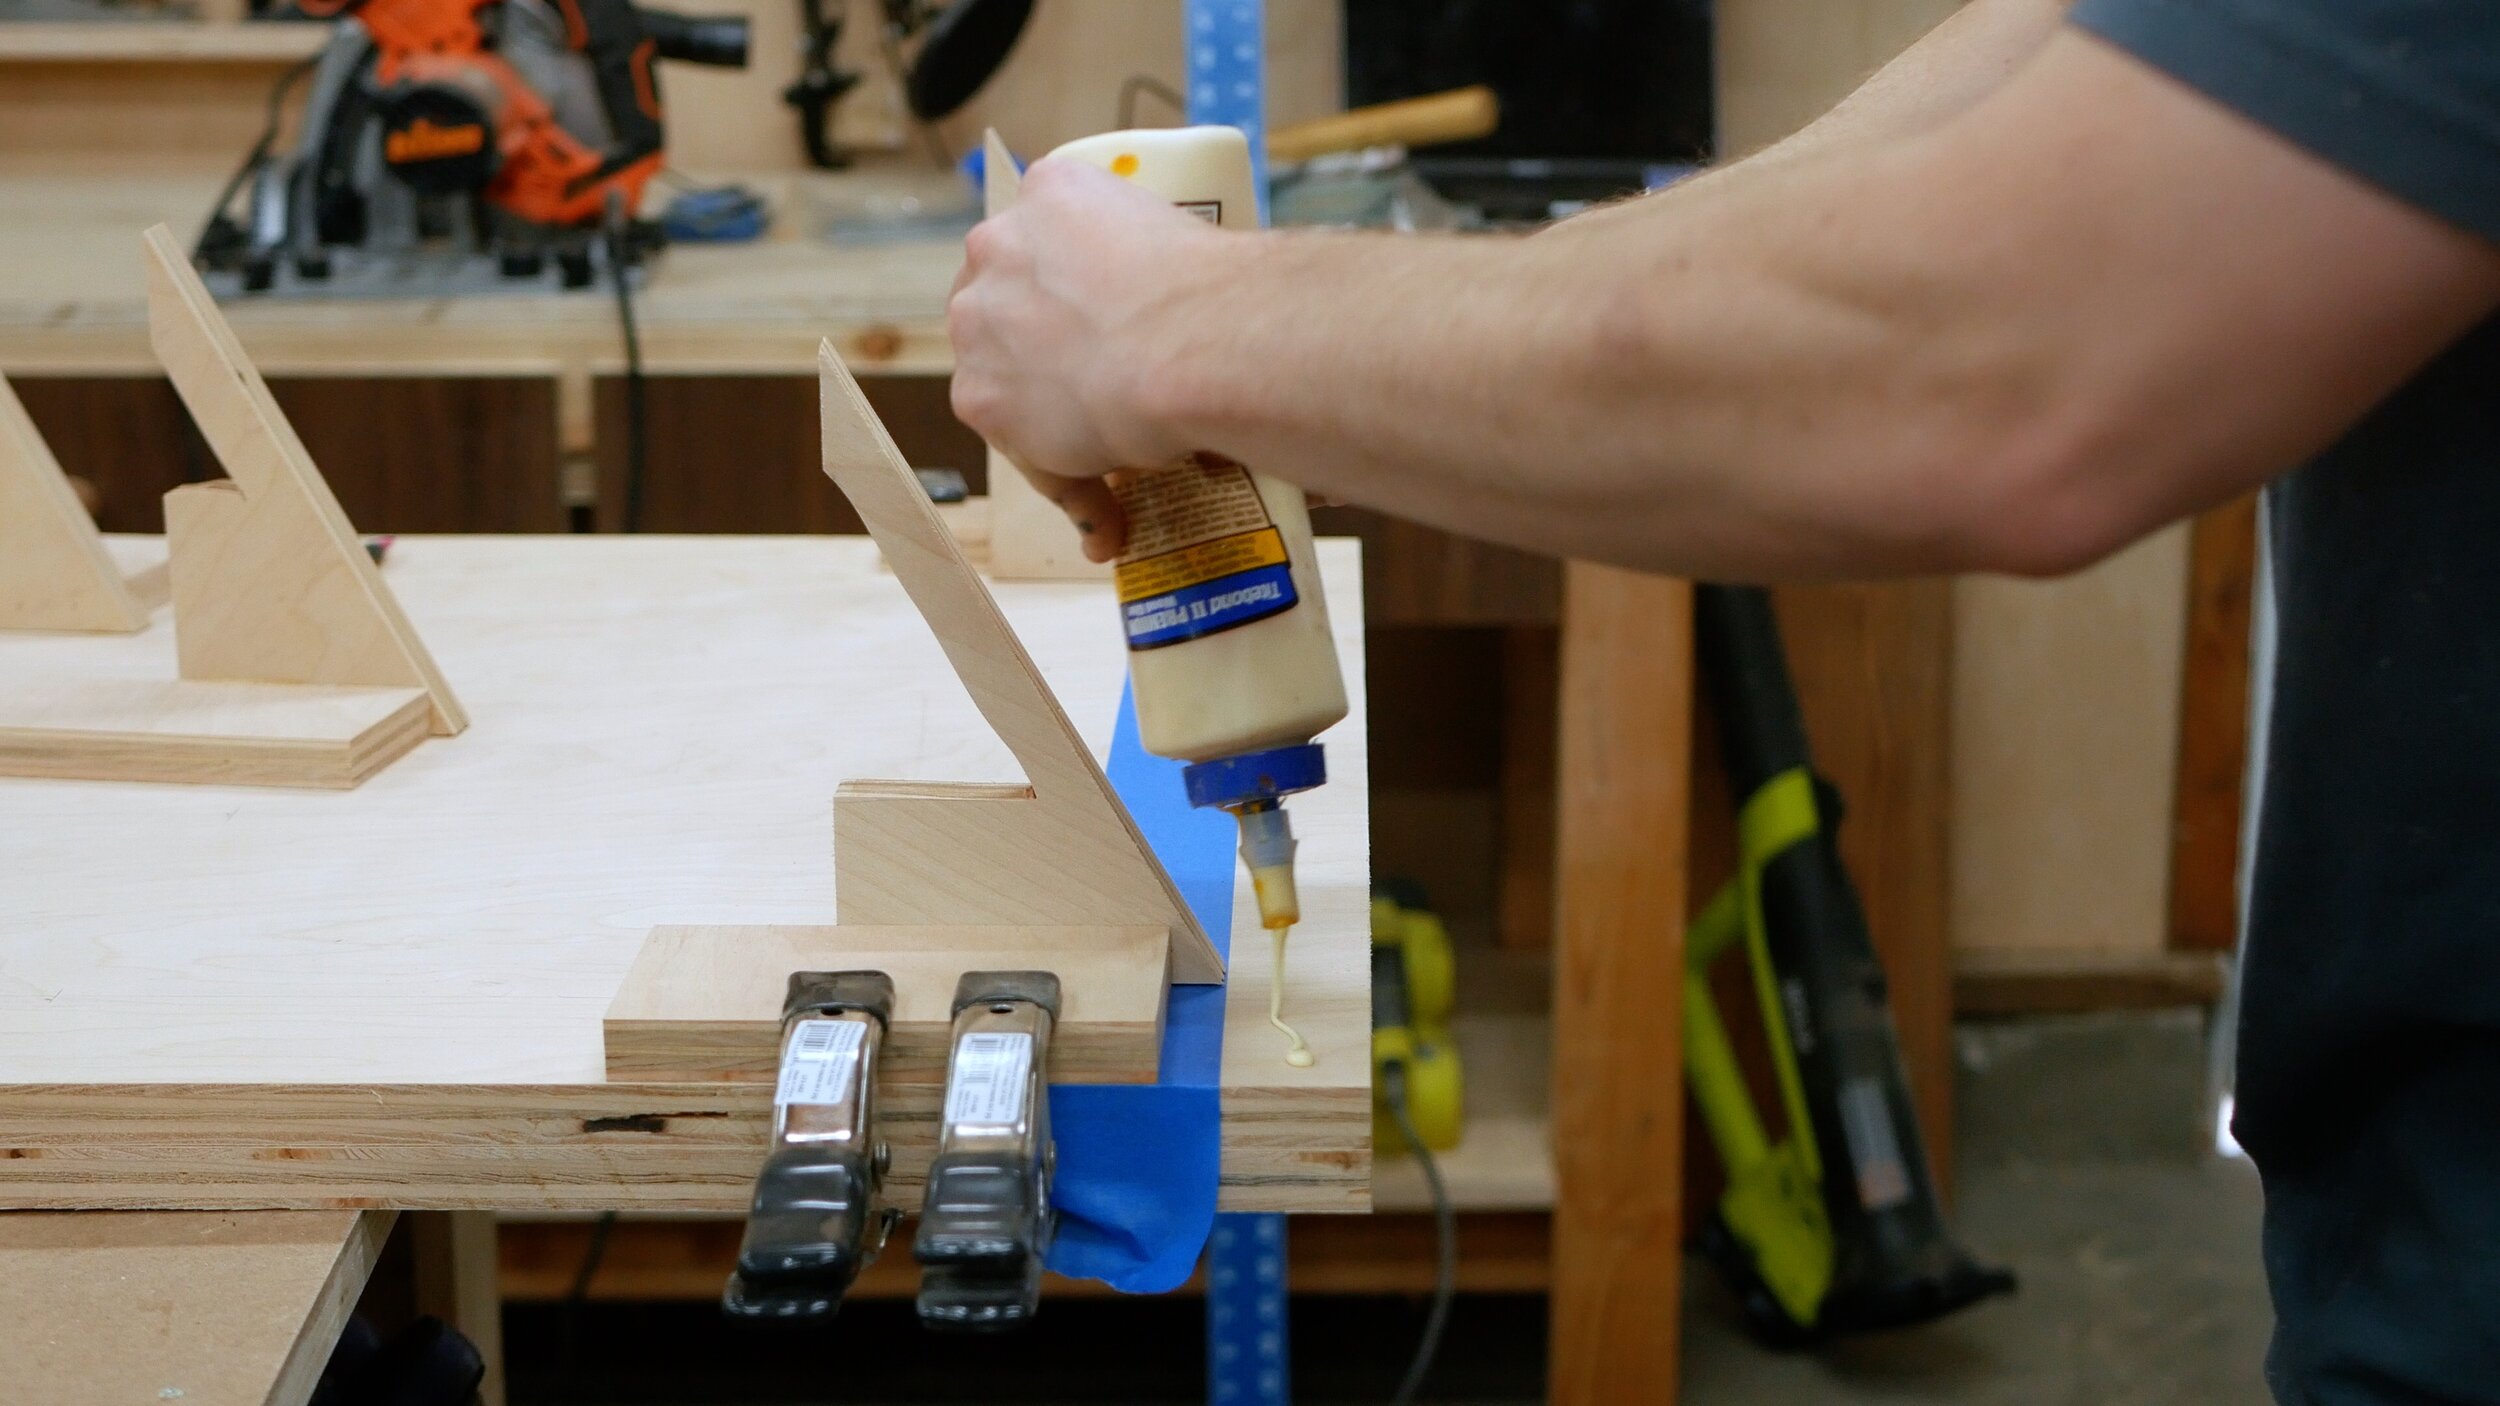
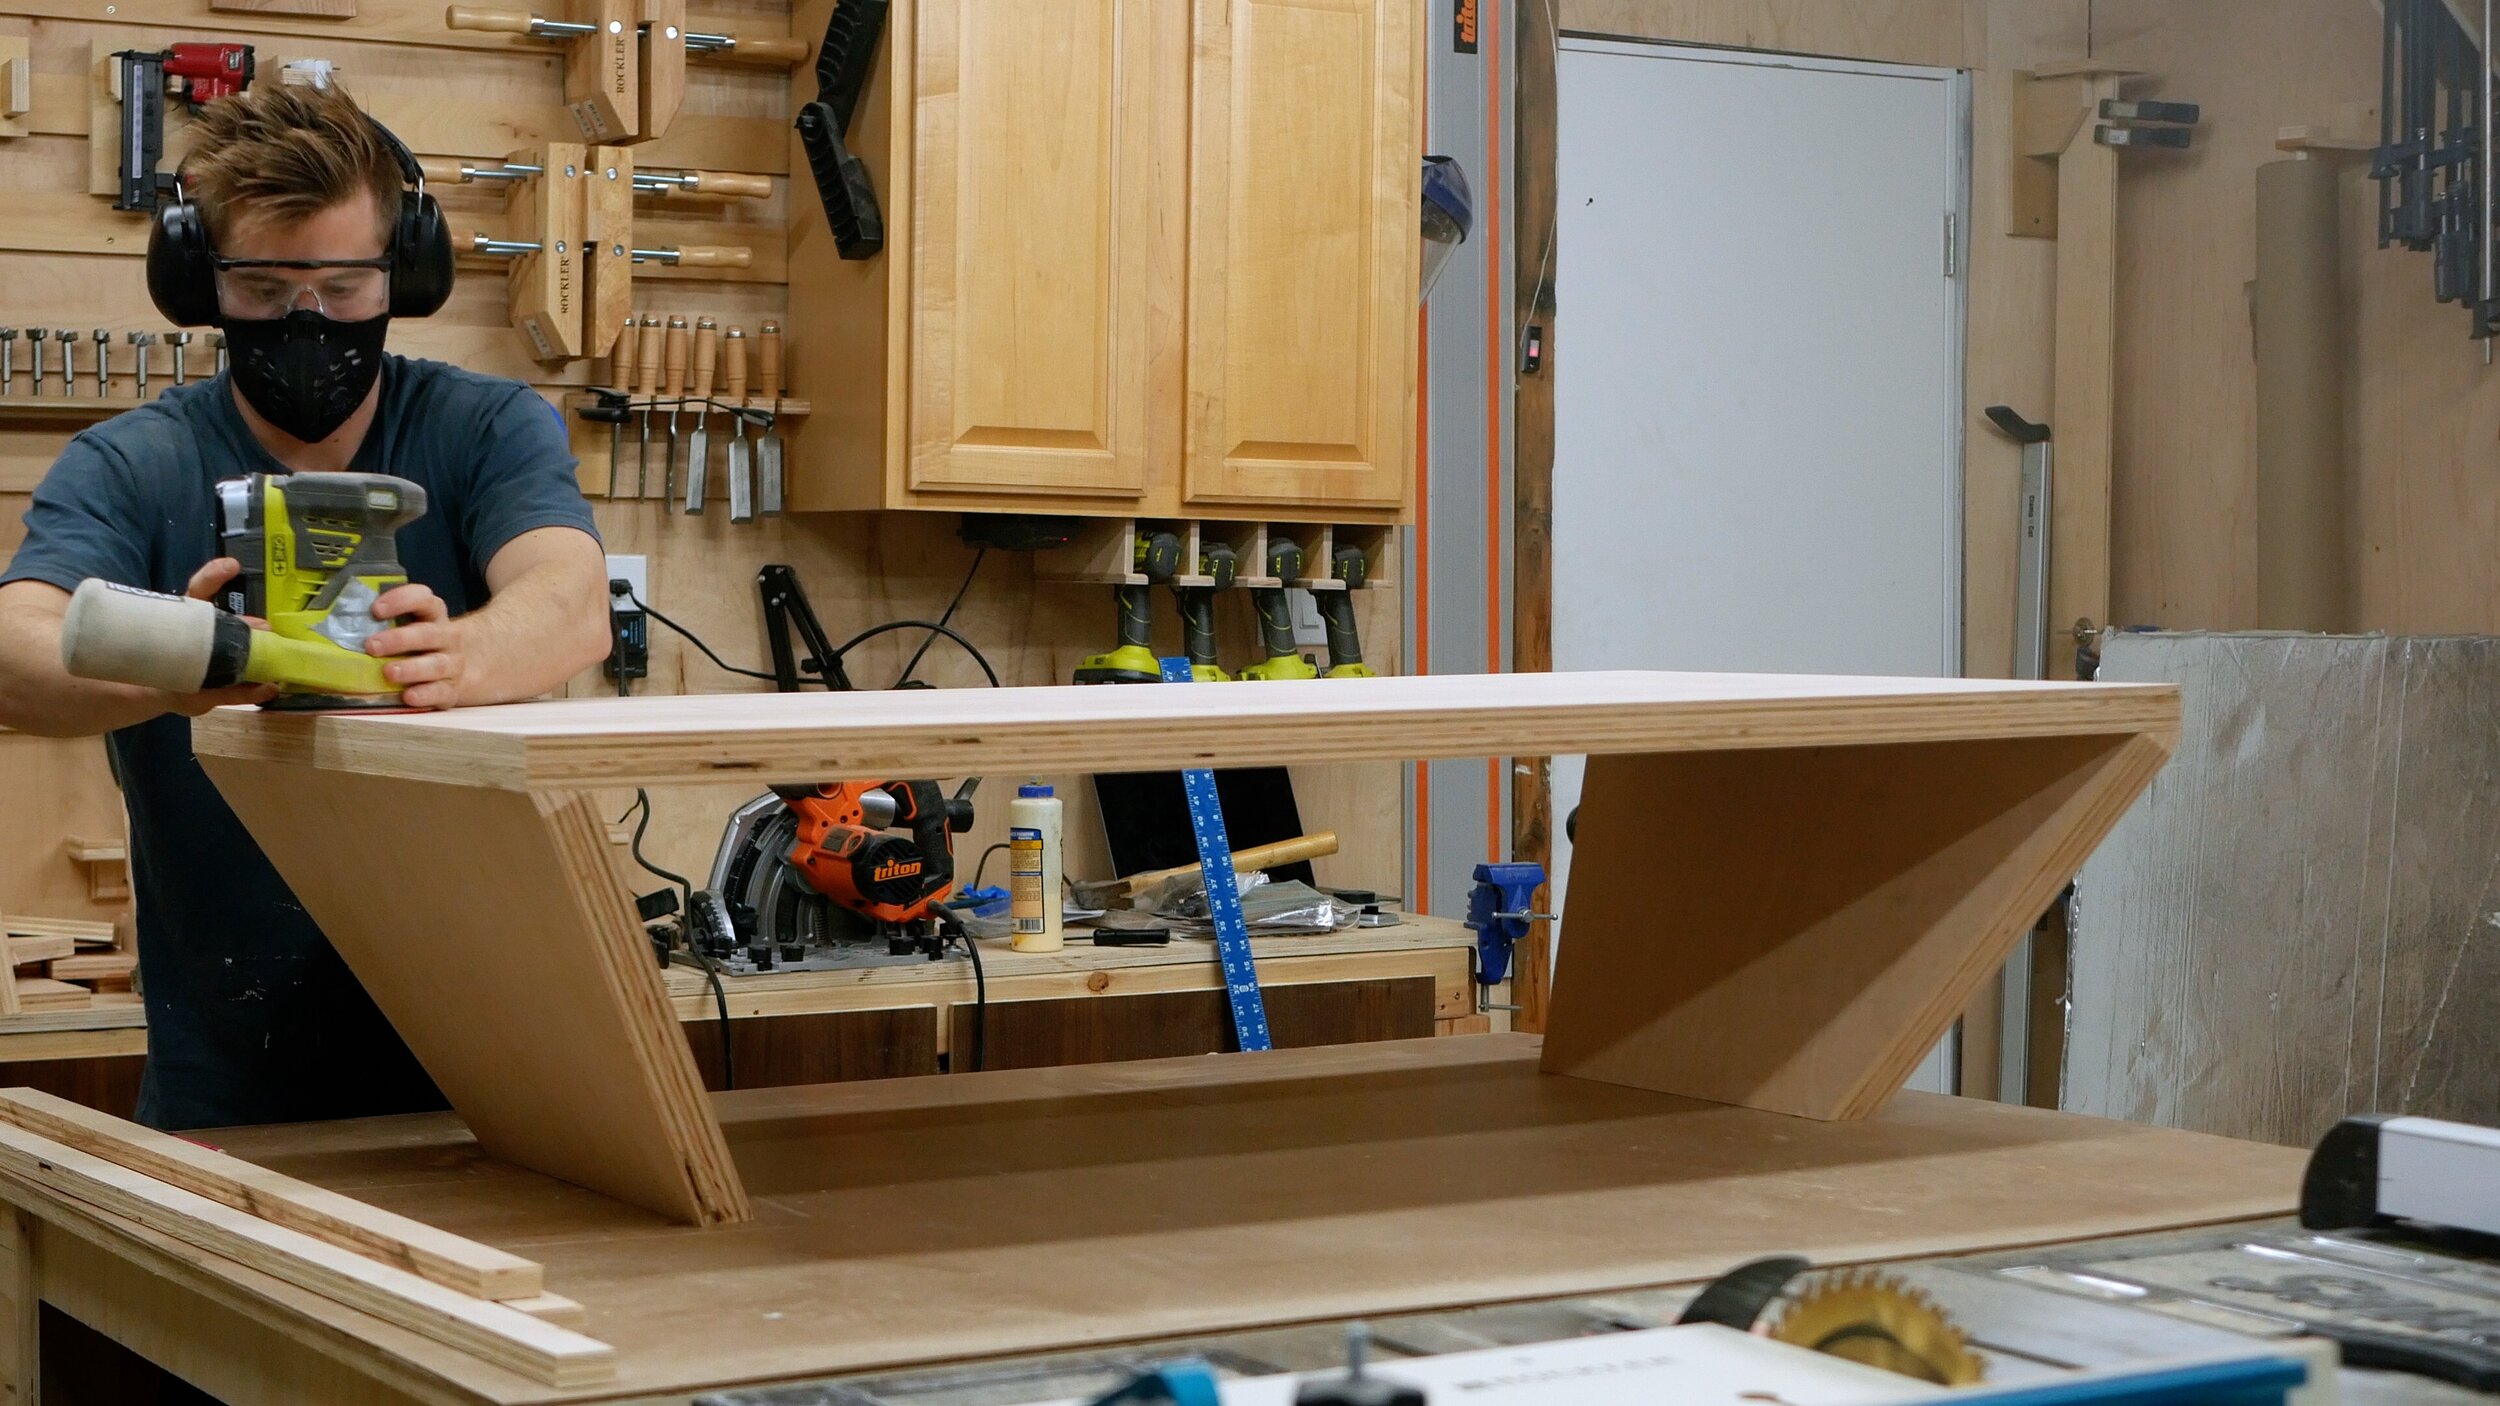
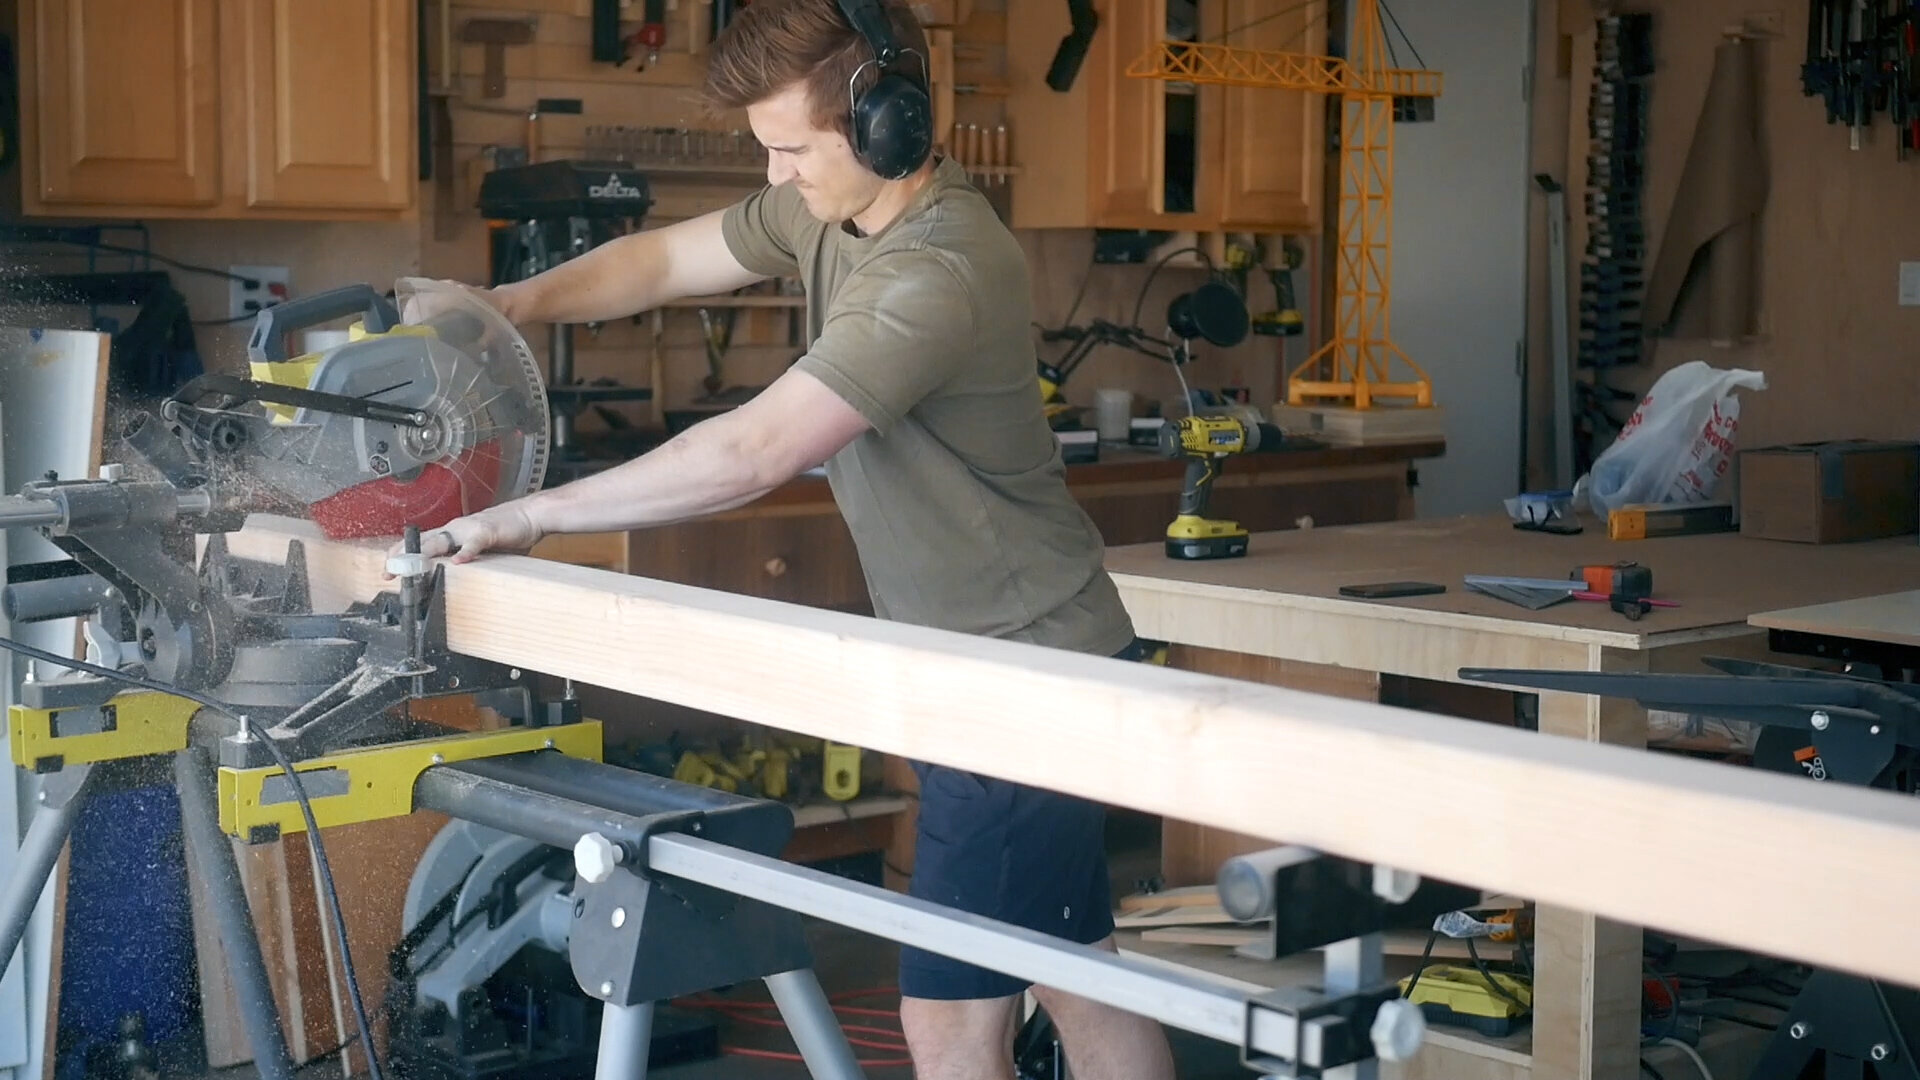
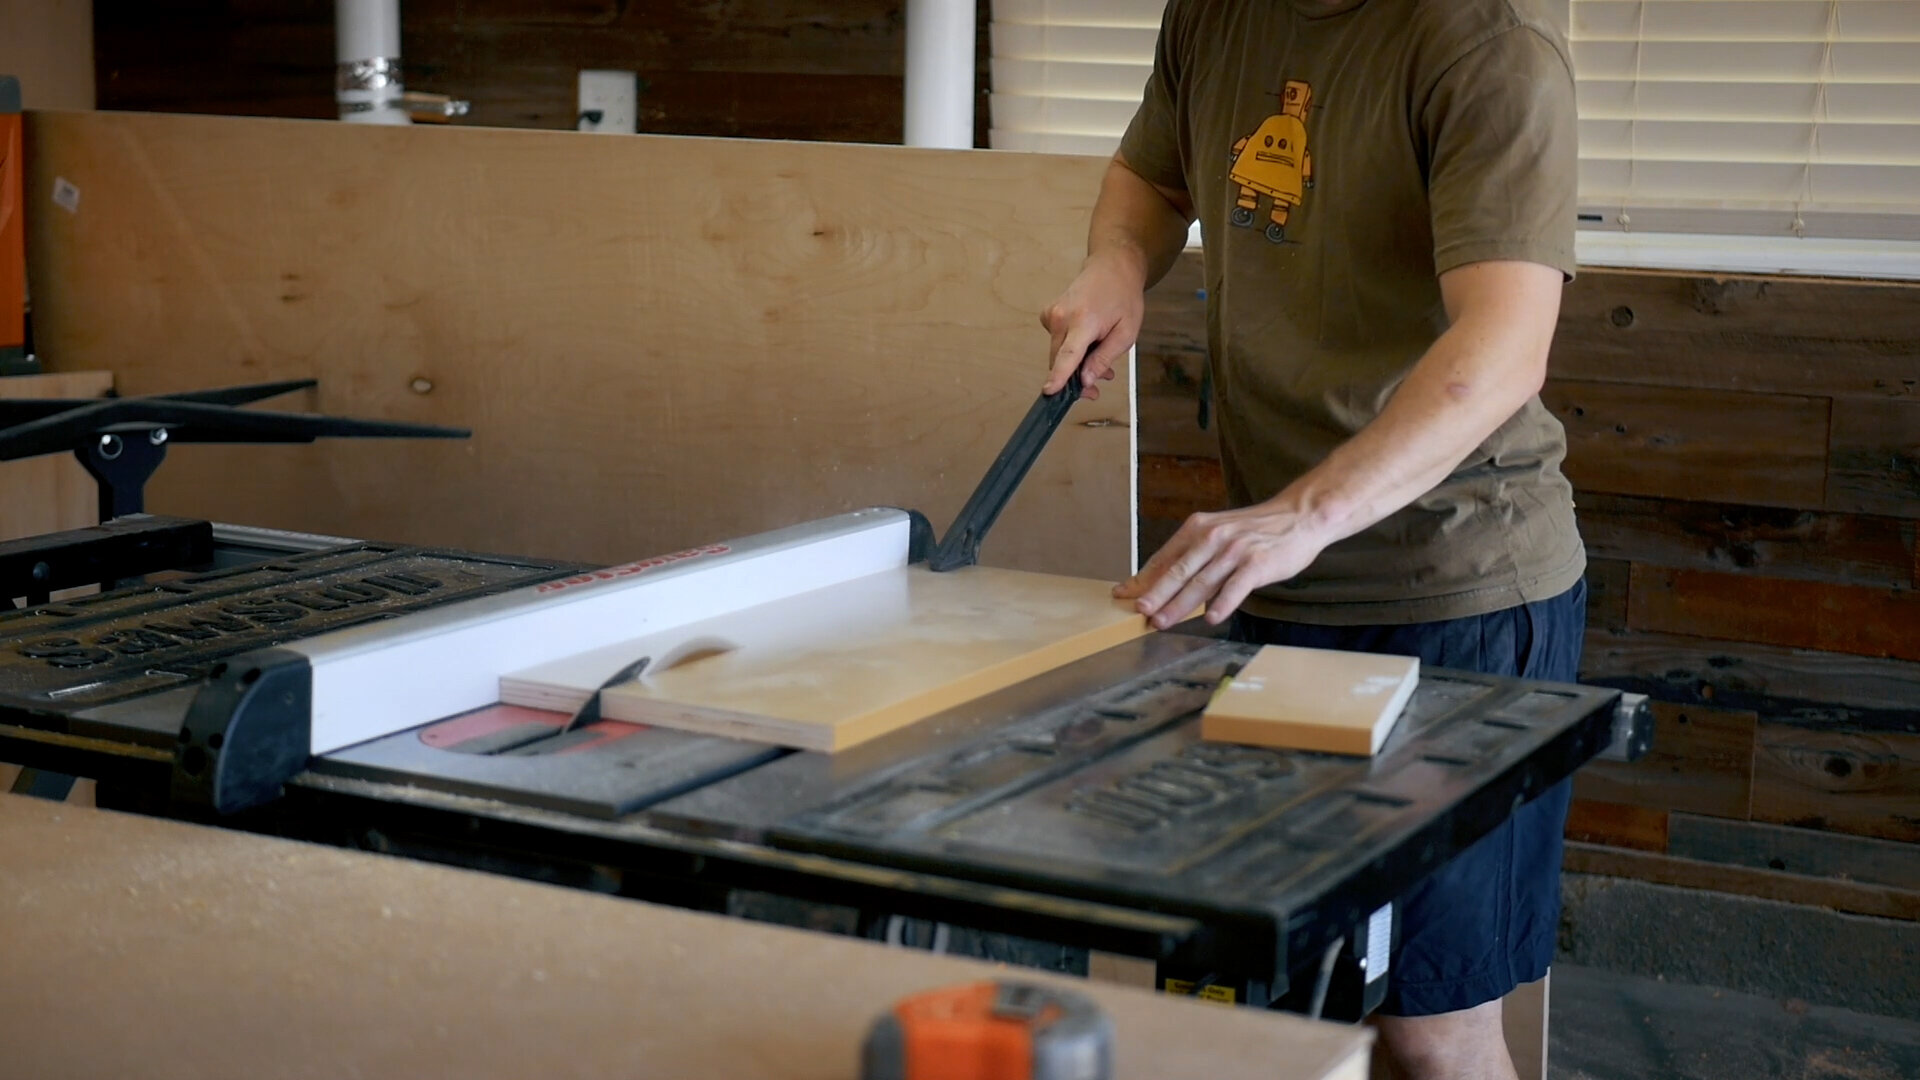
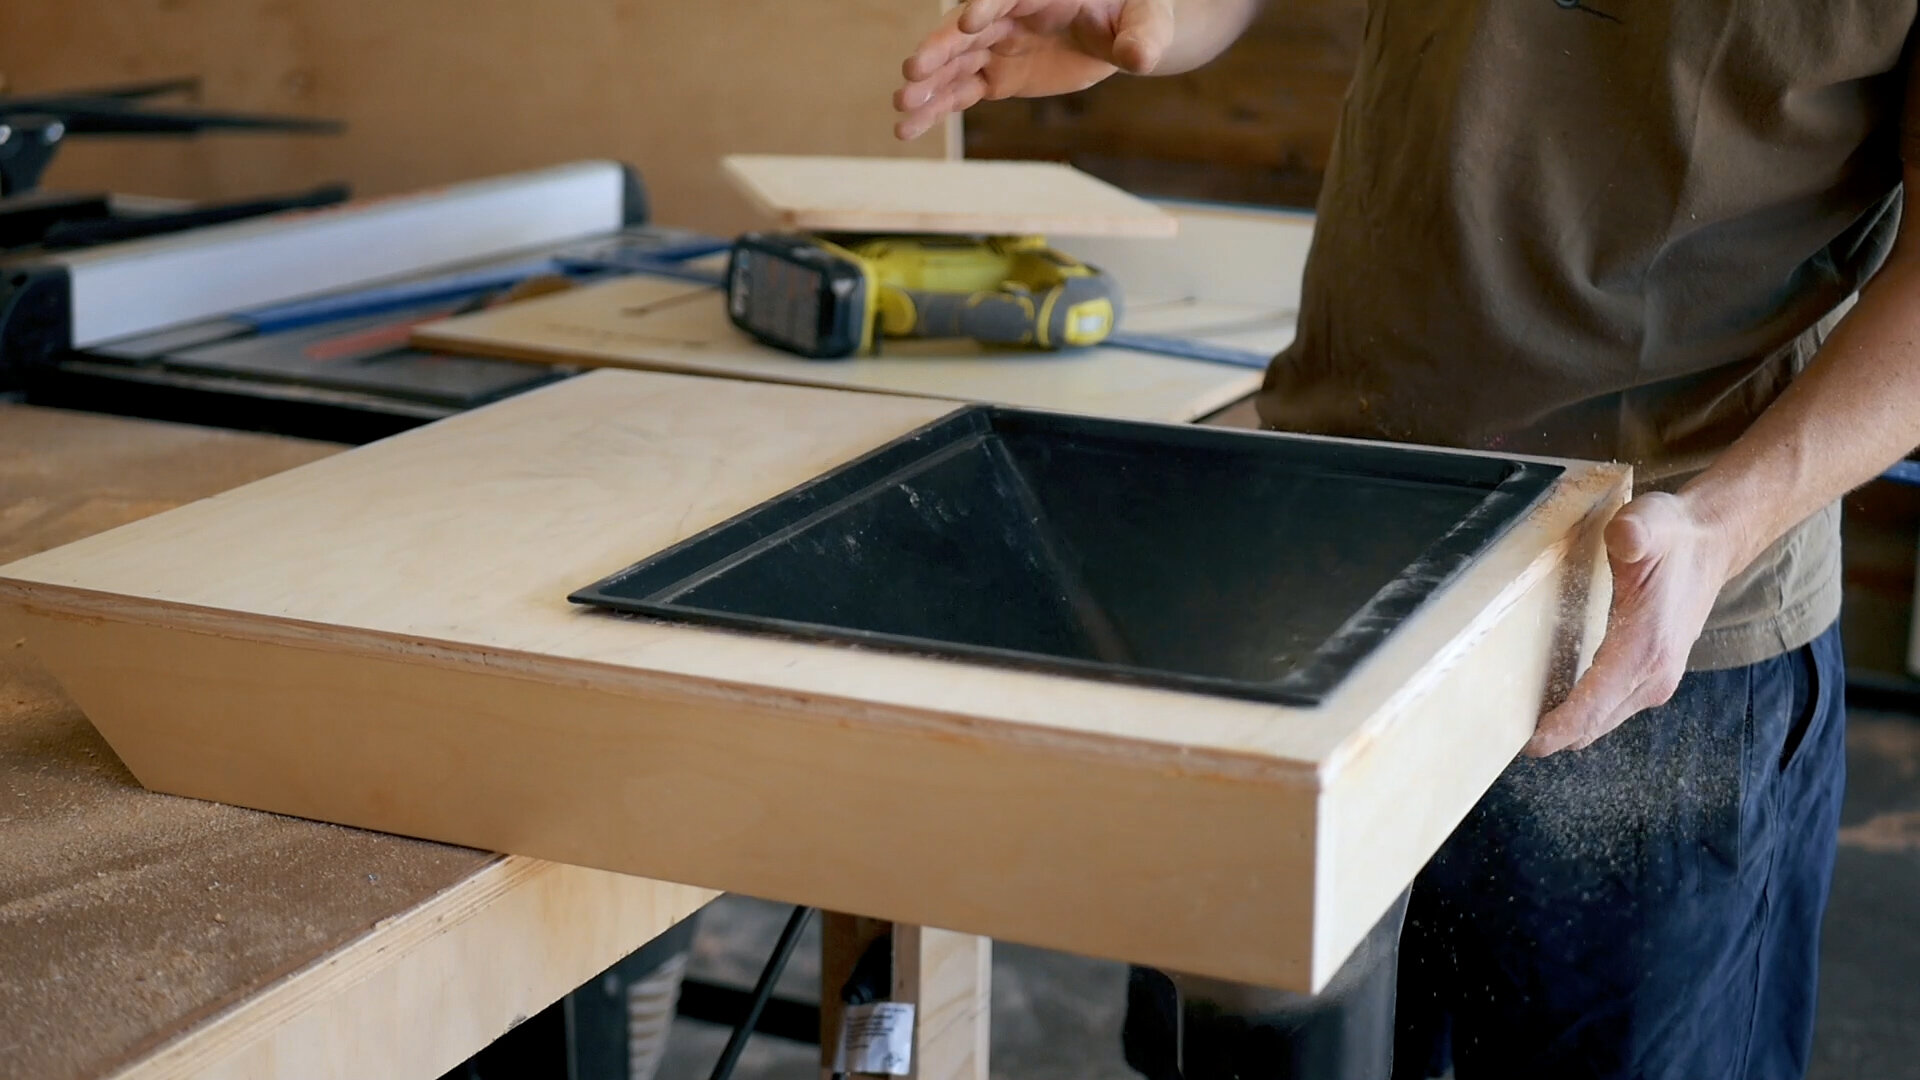
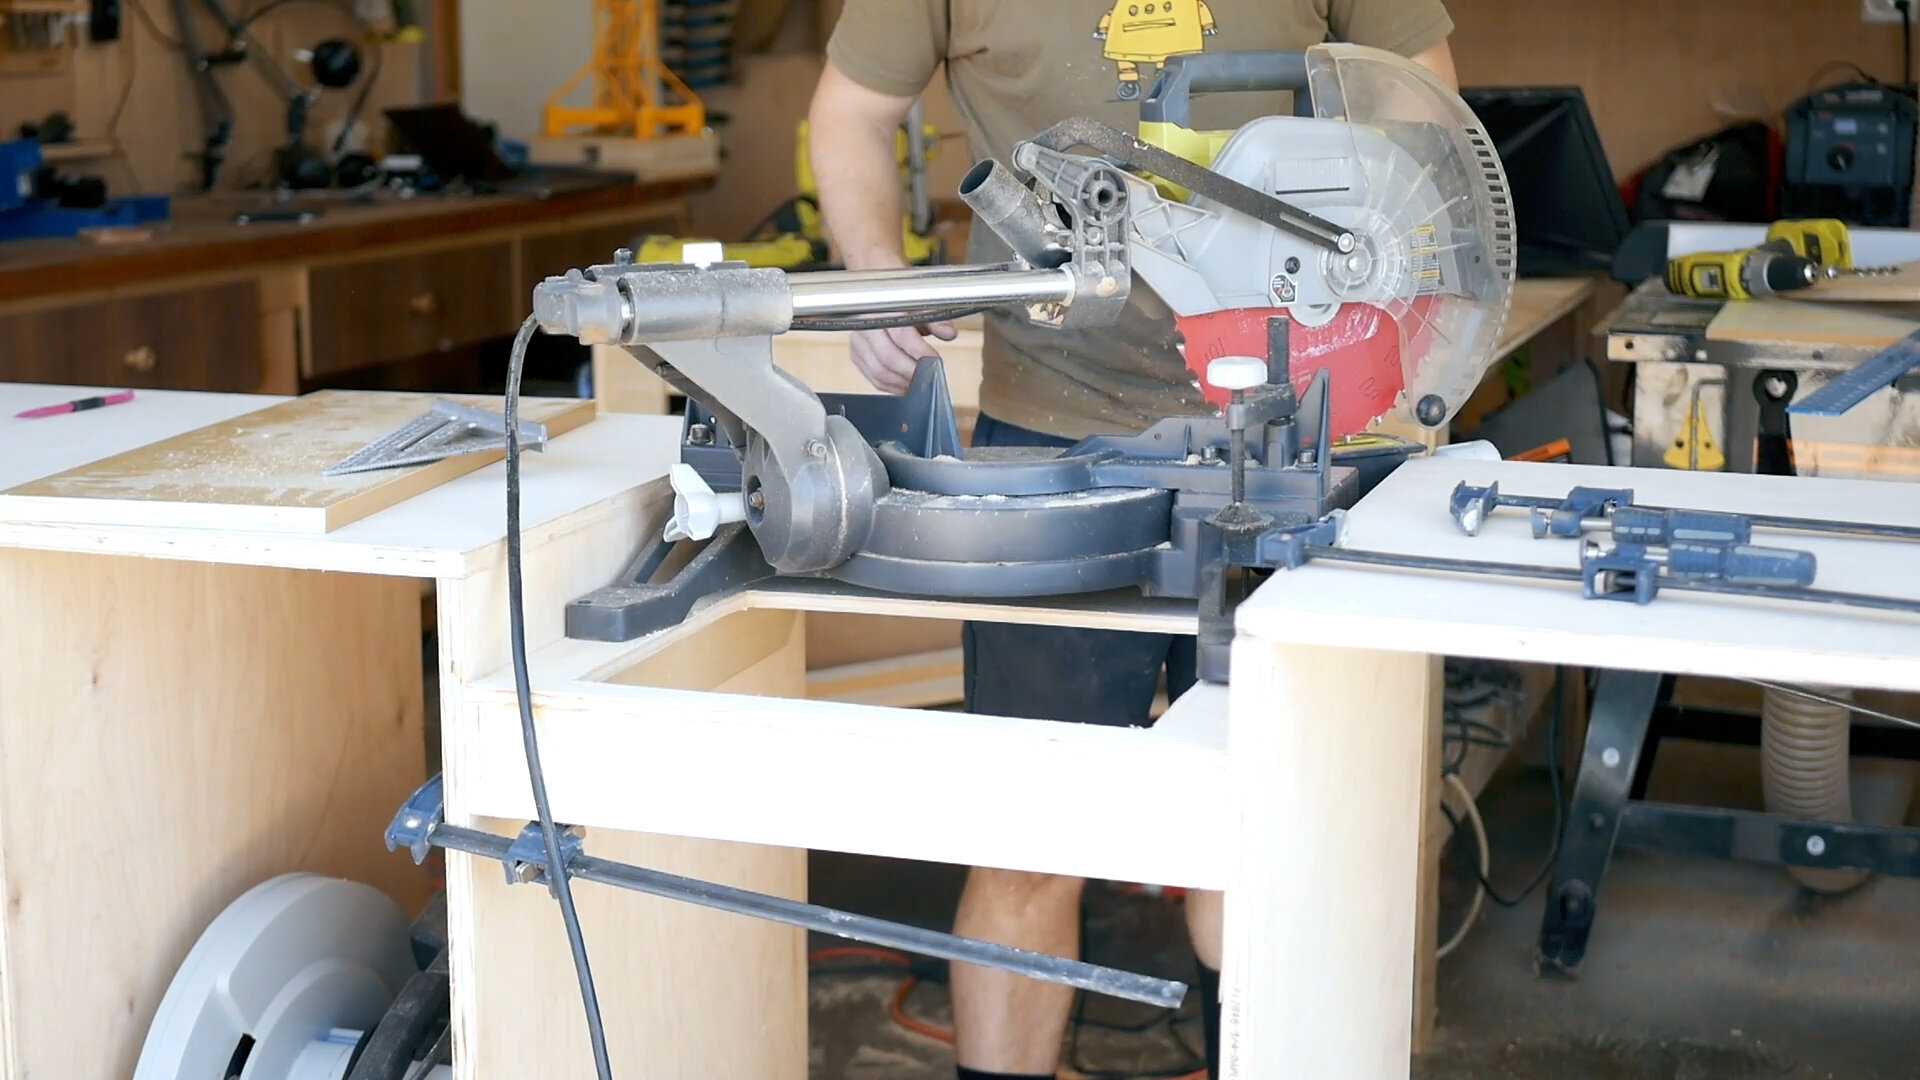
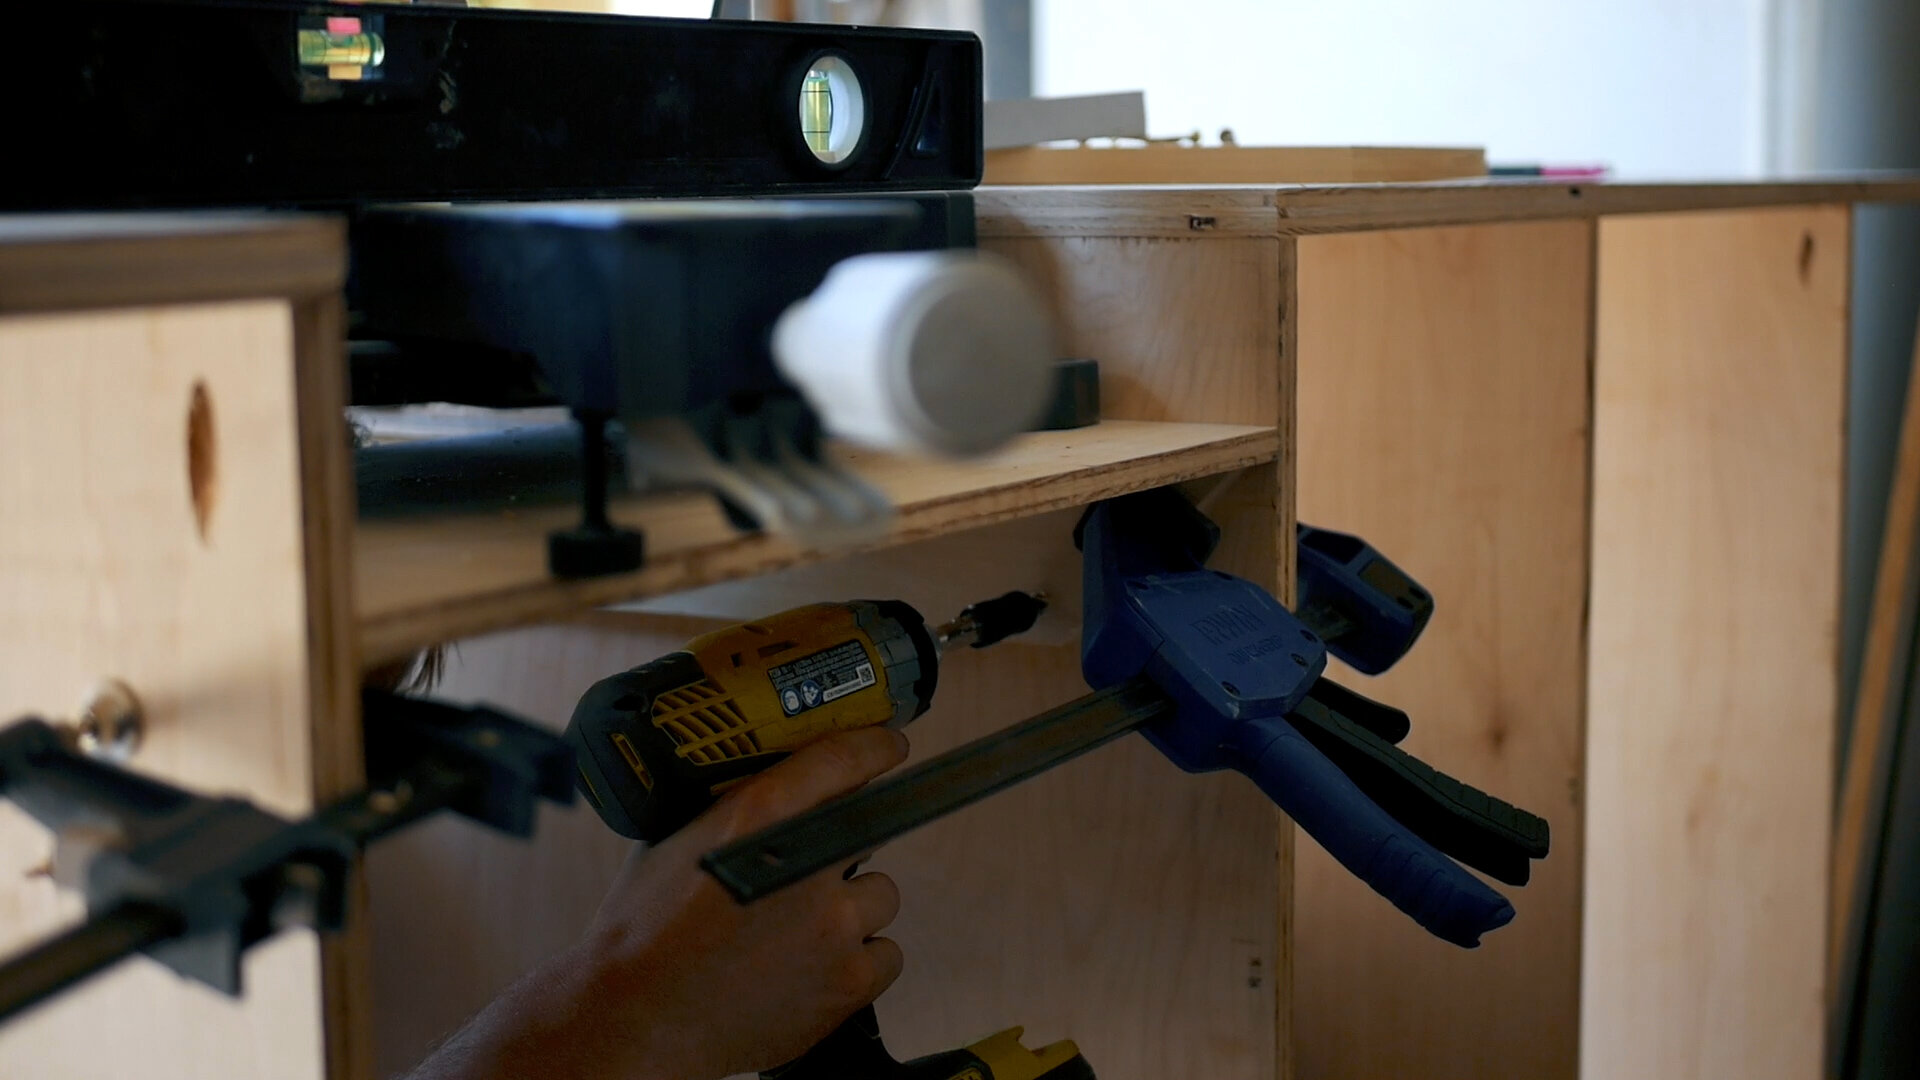
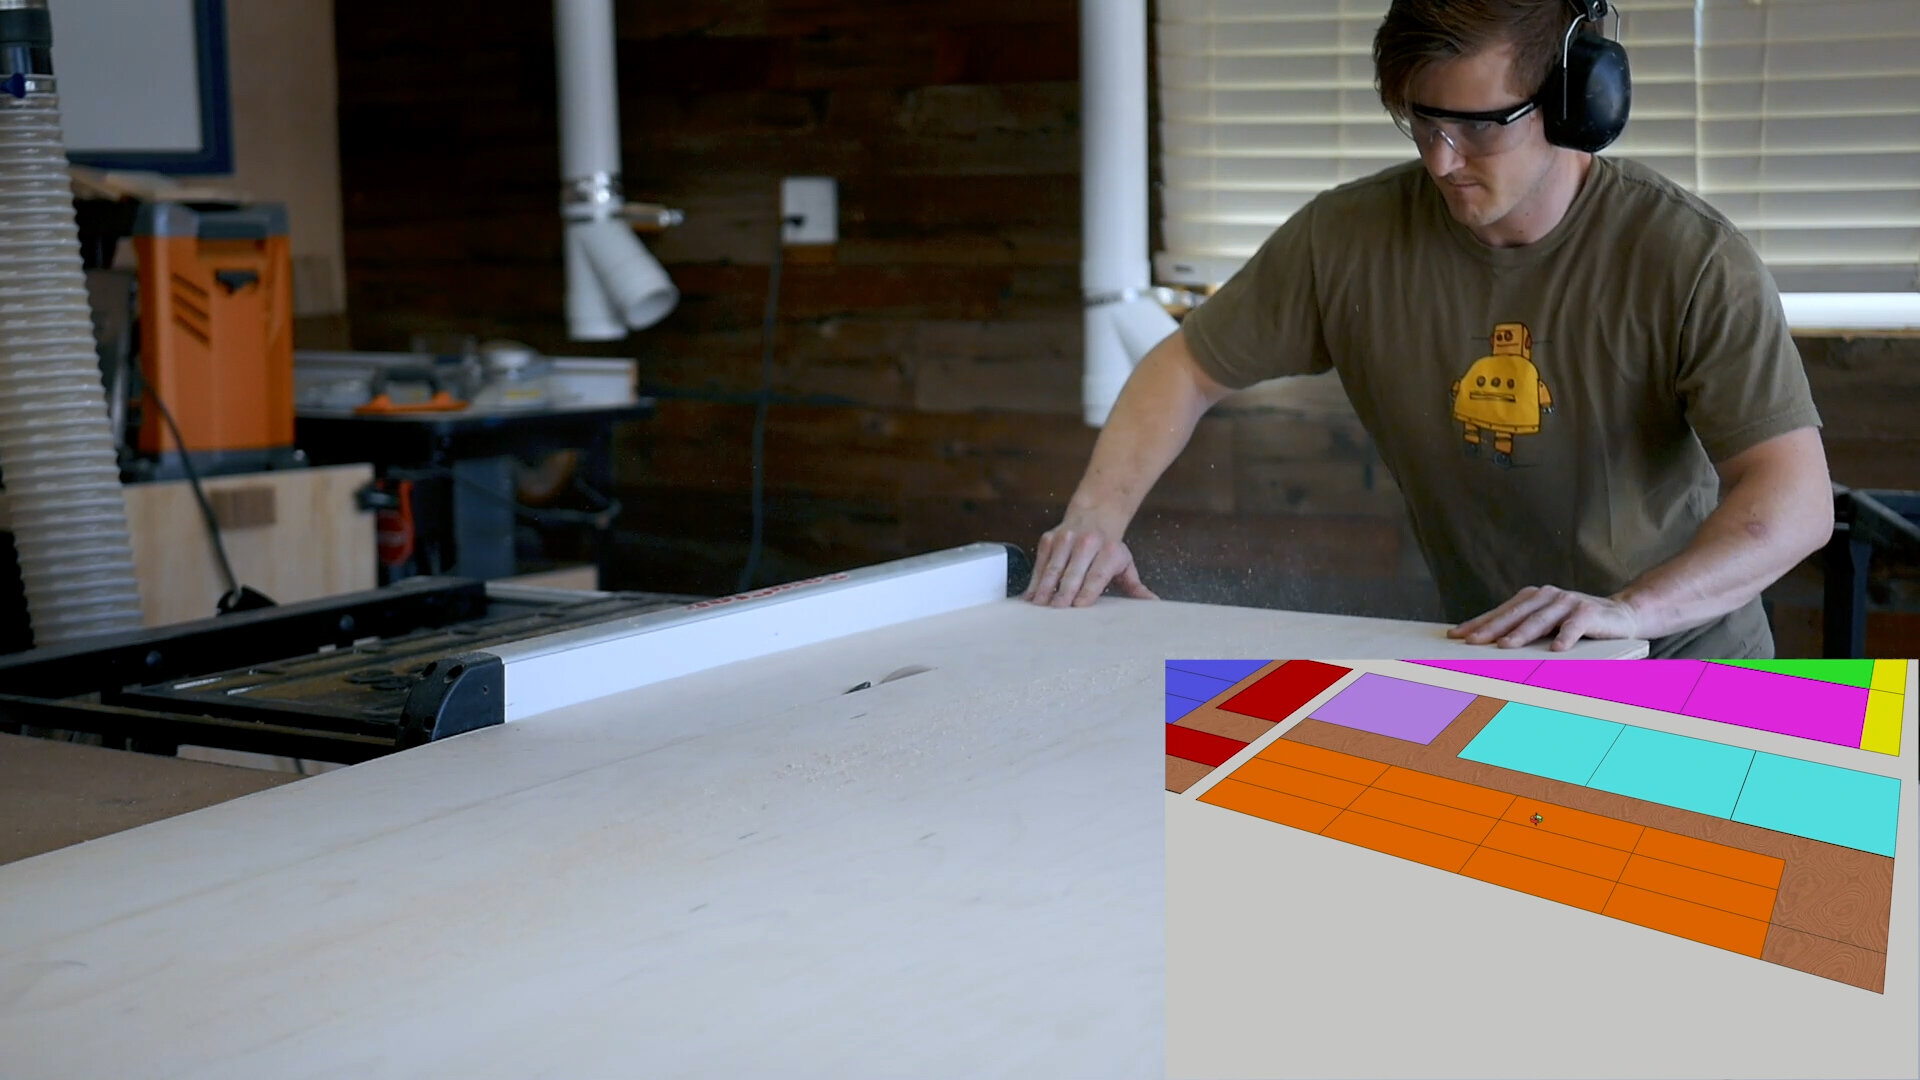
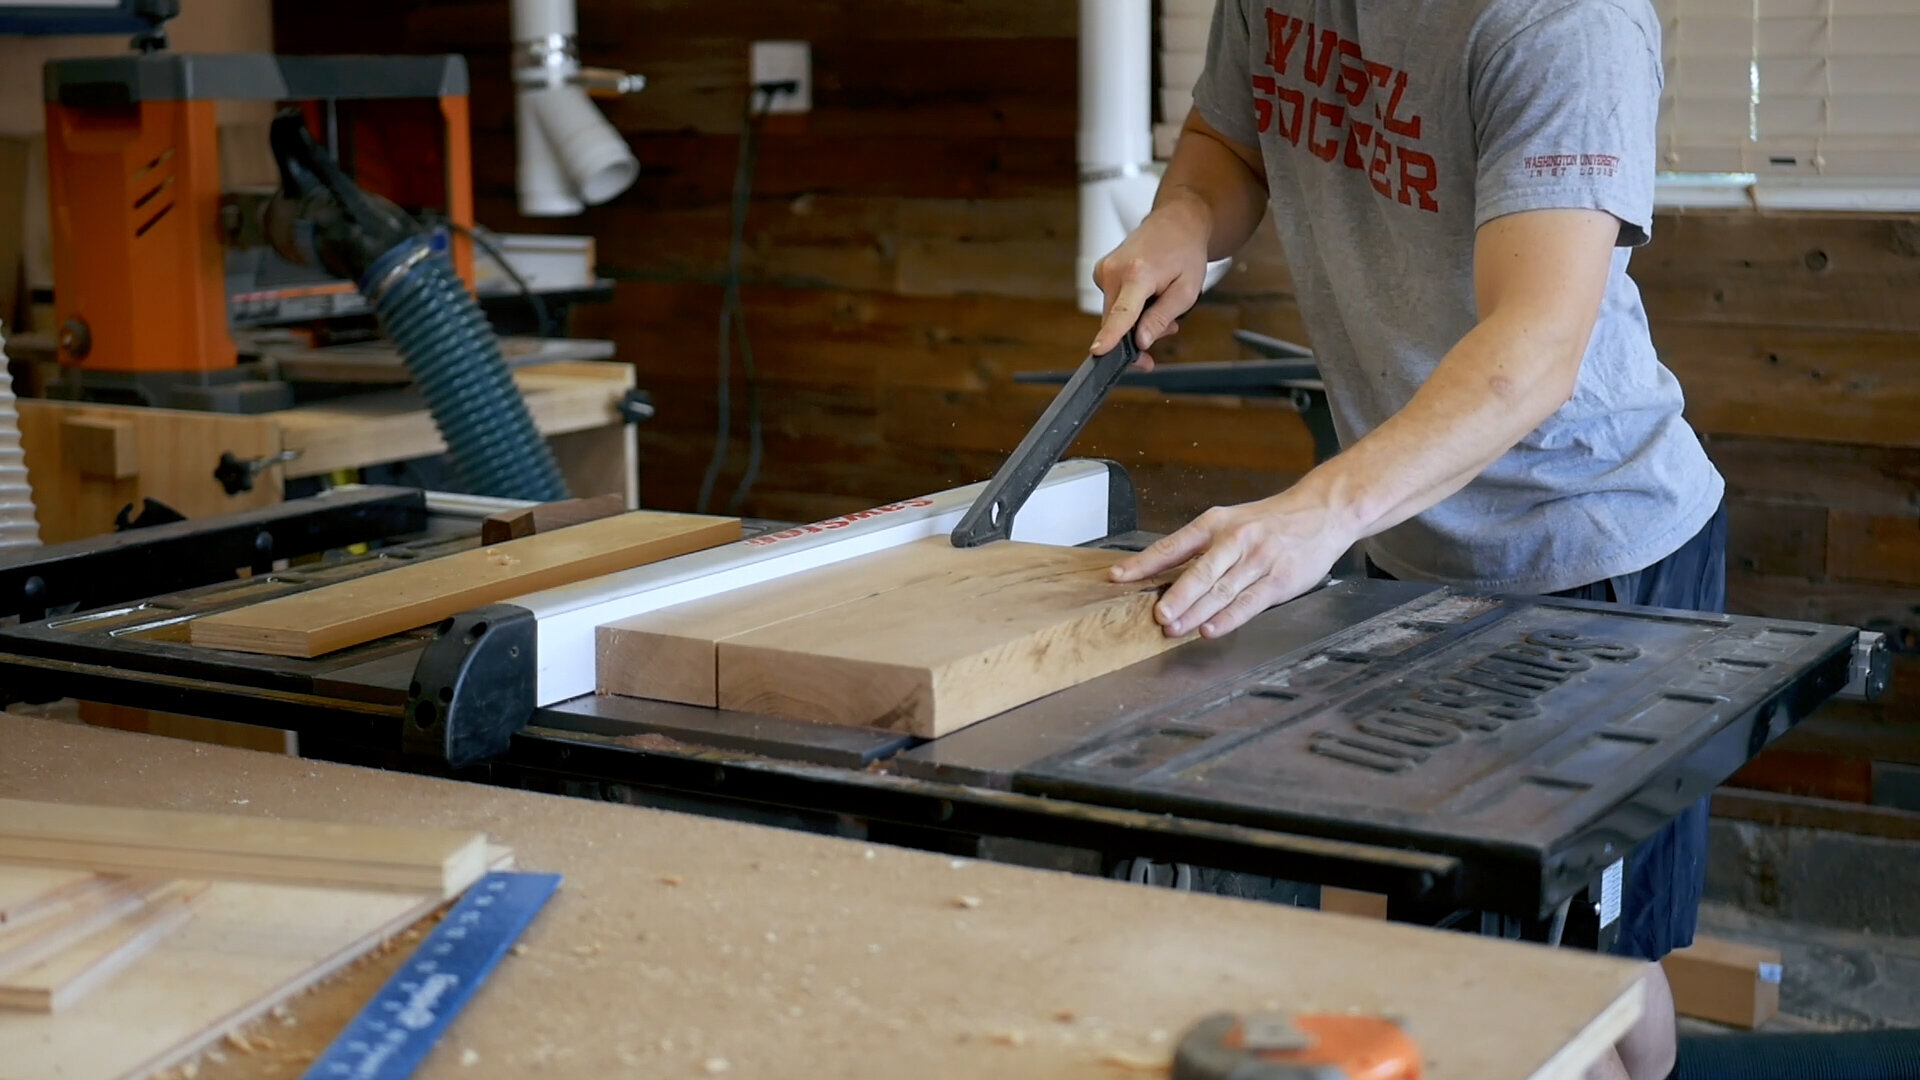
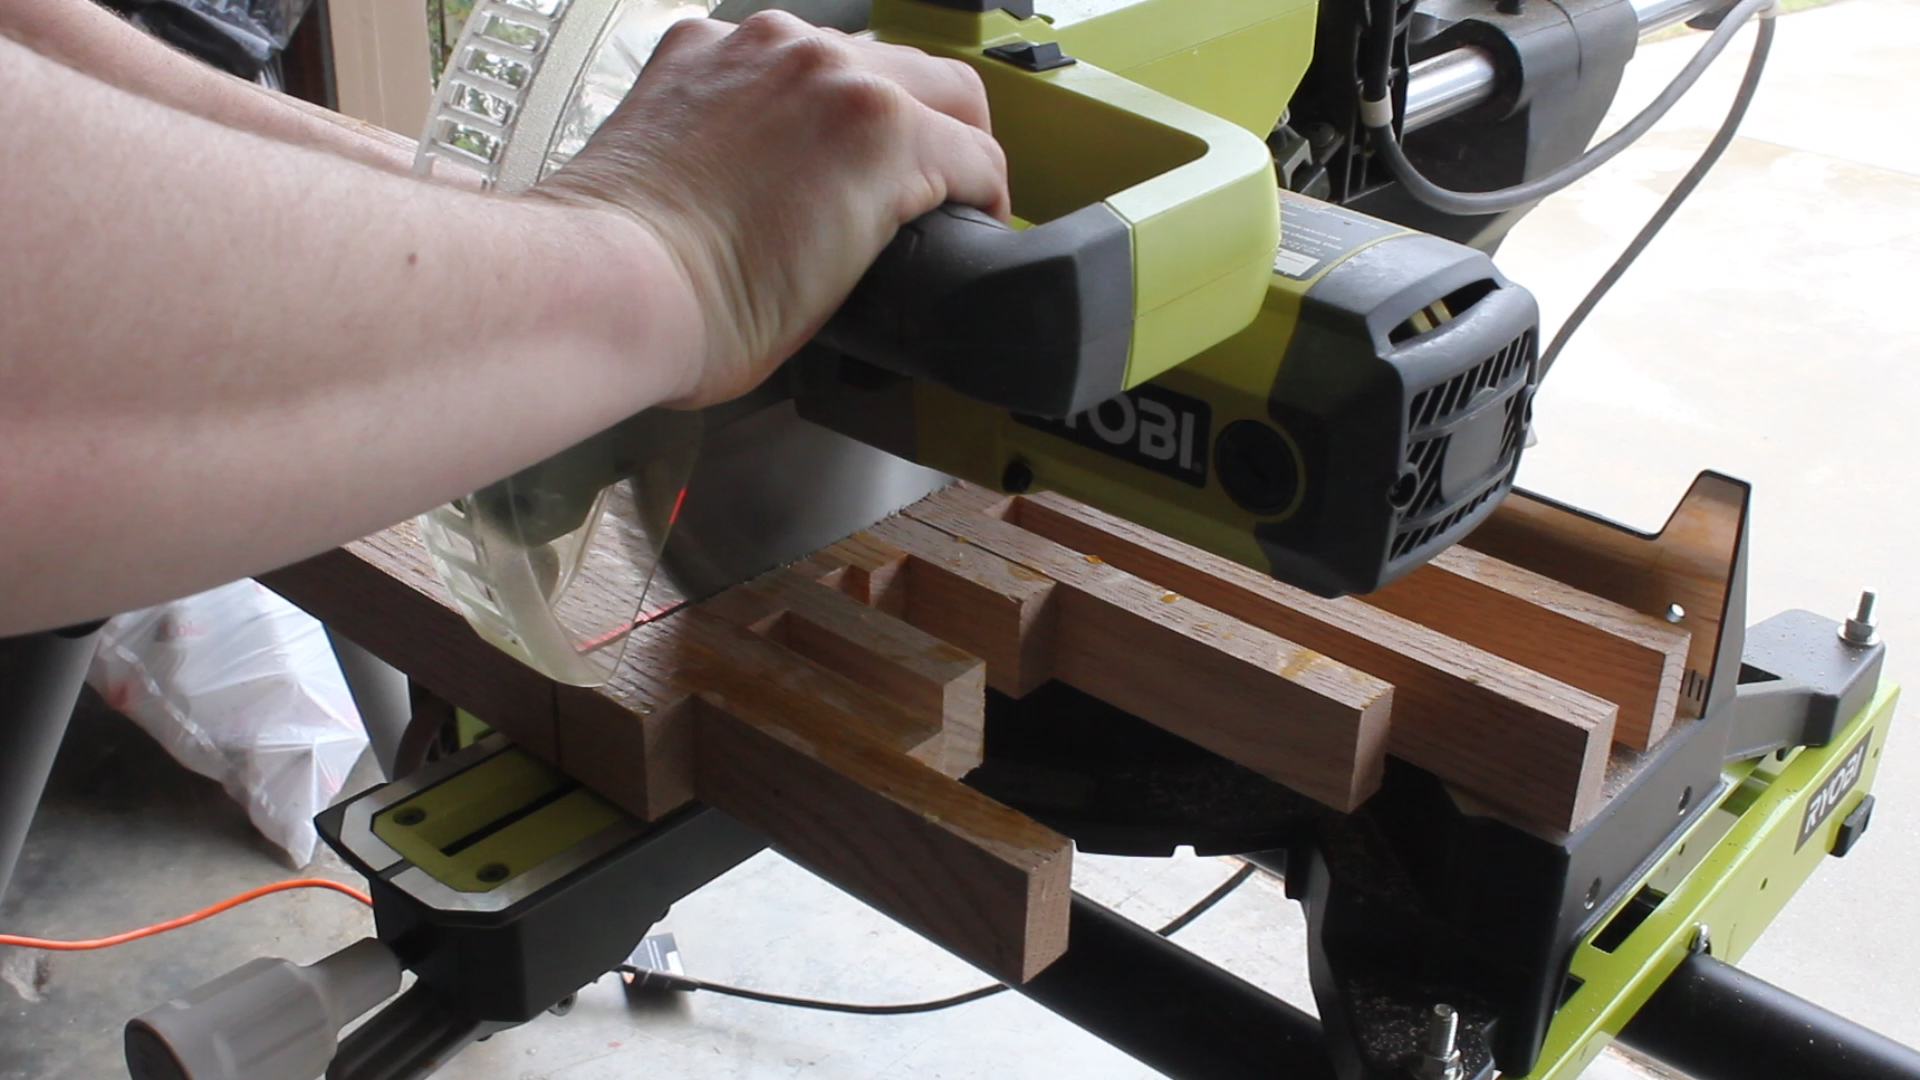
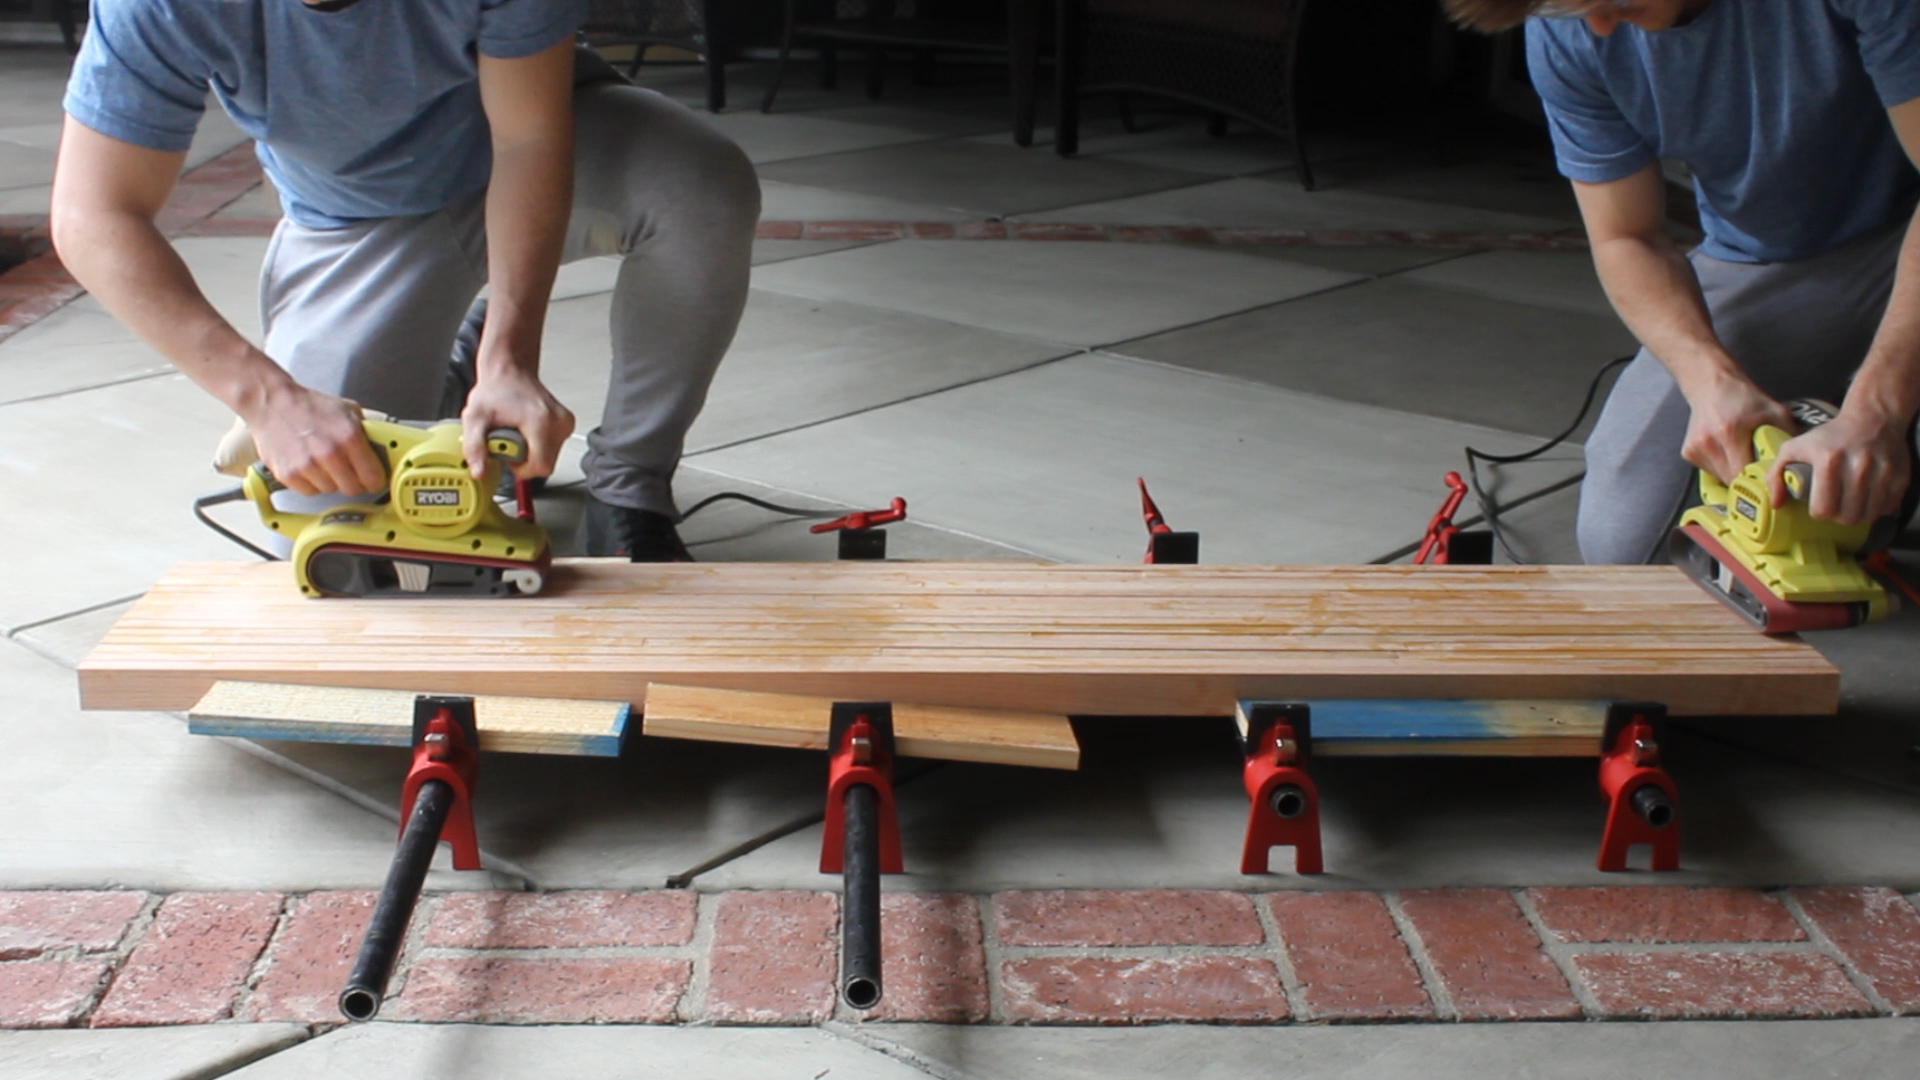
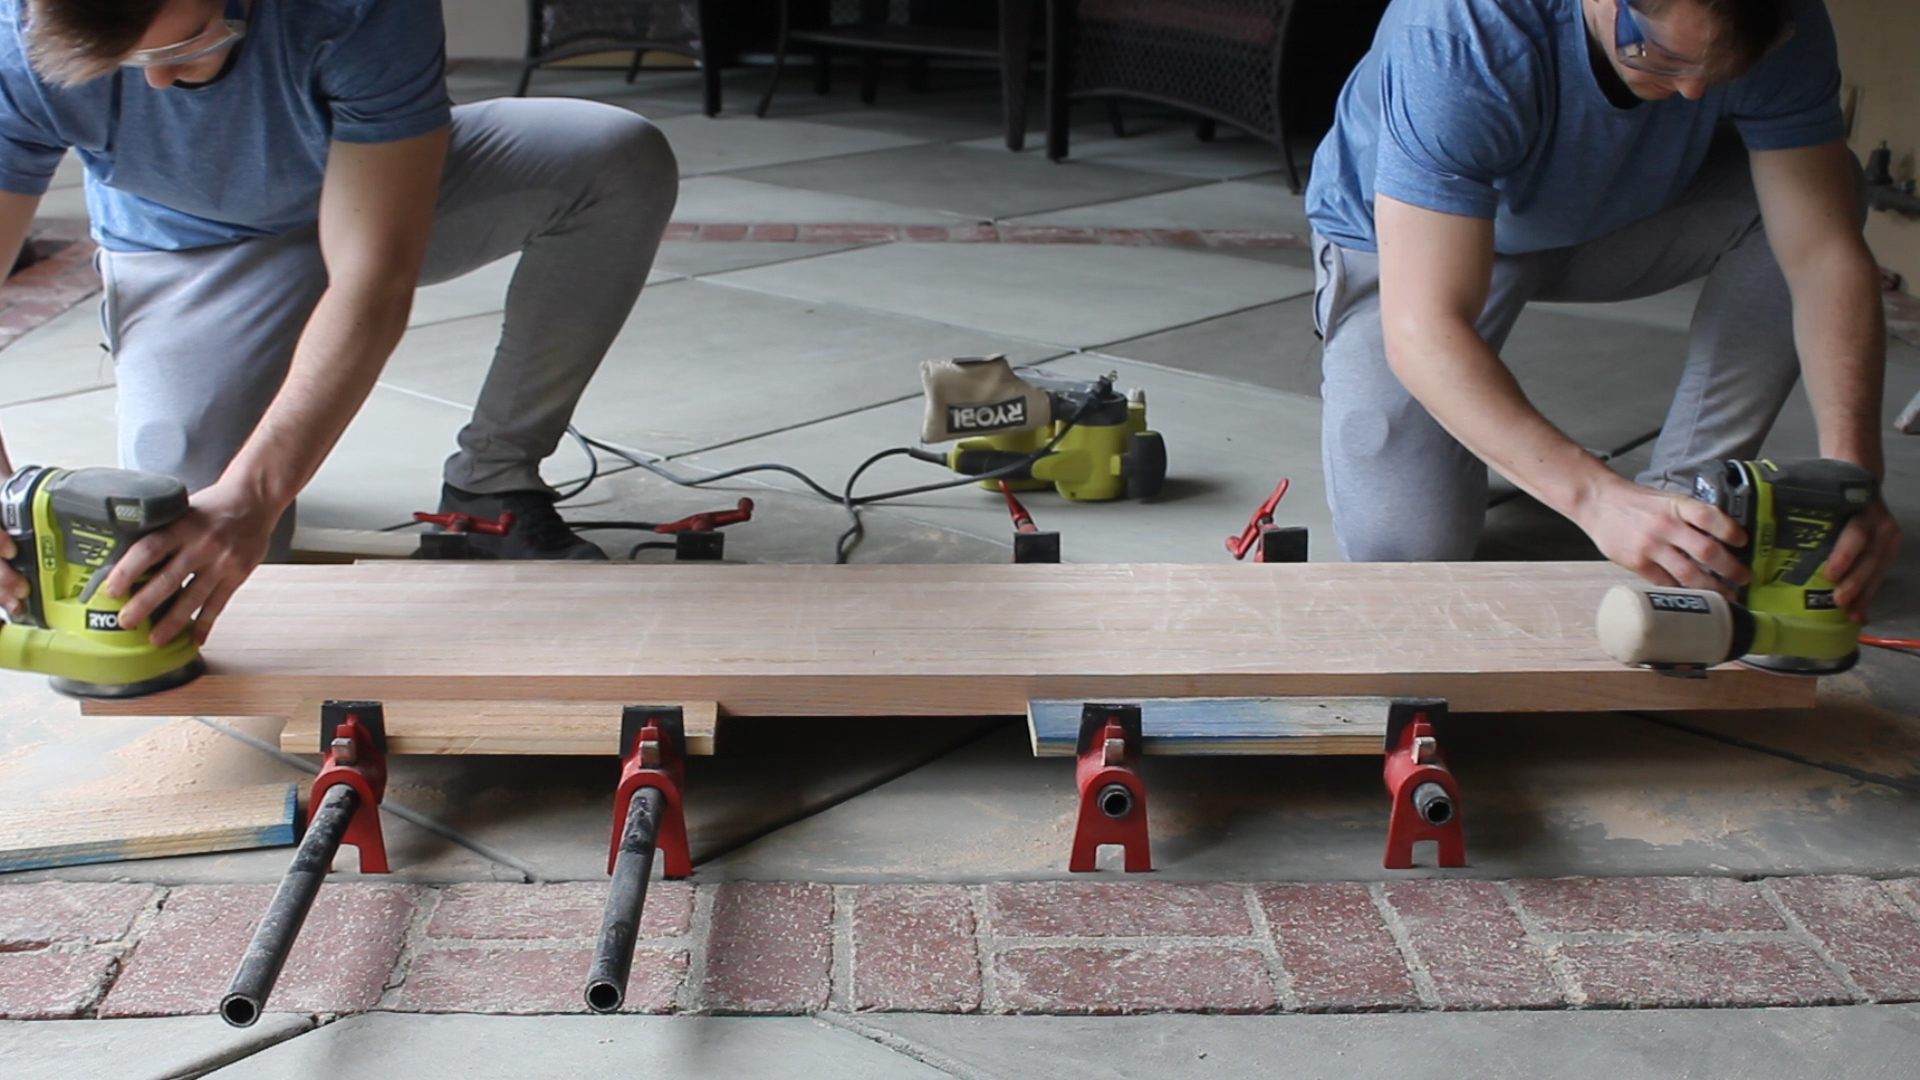
Make sure you check out the video for all the build details and upgrades I made to this project based on the higher budget and more expensive materials.
🌳 MATERIALS
40 bf of 5/4 White Oak
23 bf of 12/4 White Oak
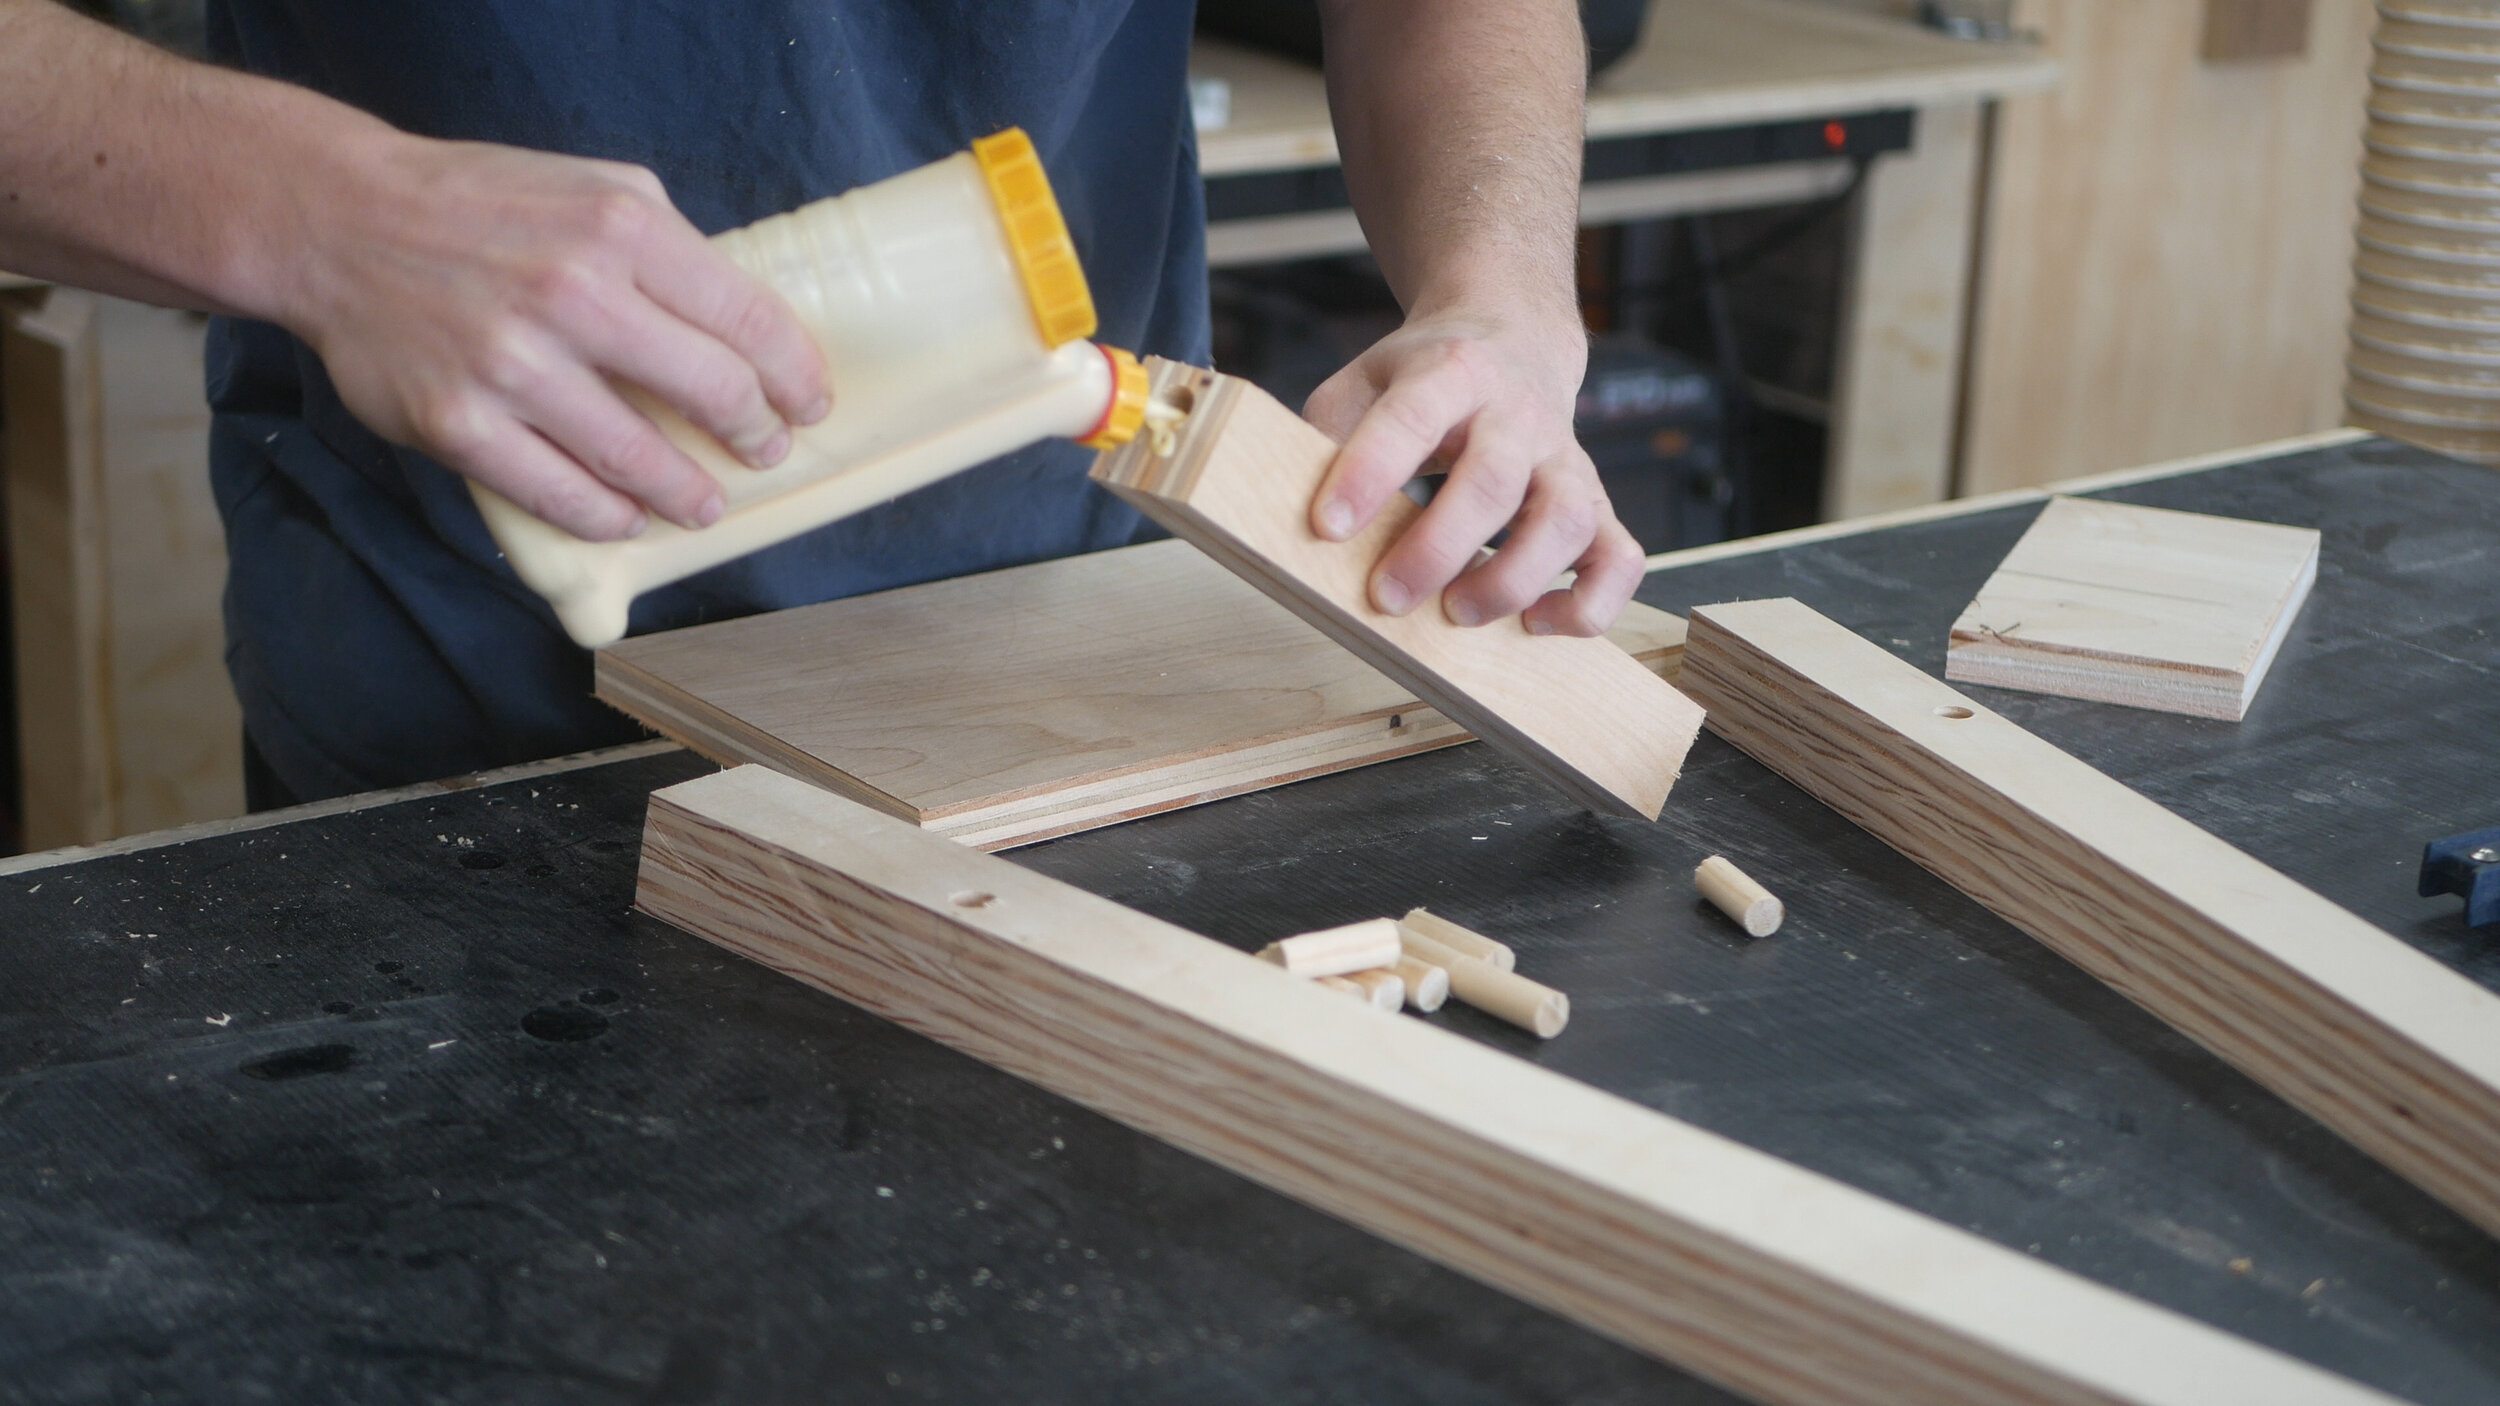
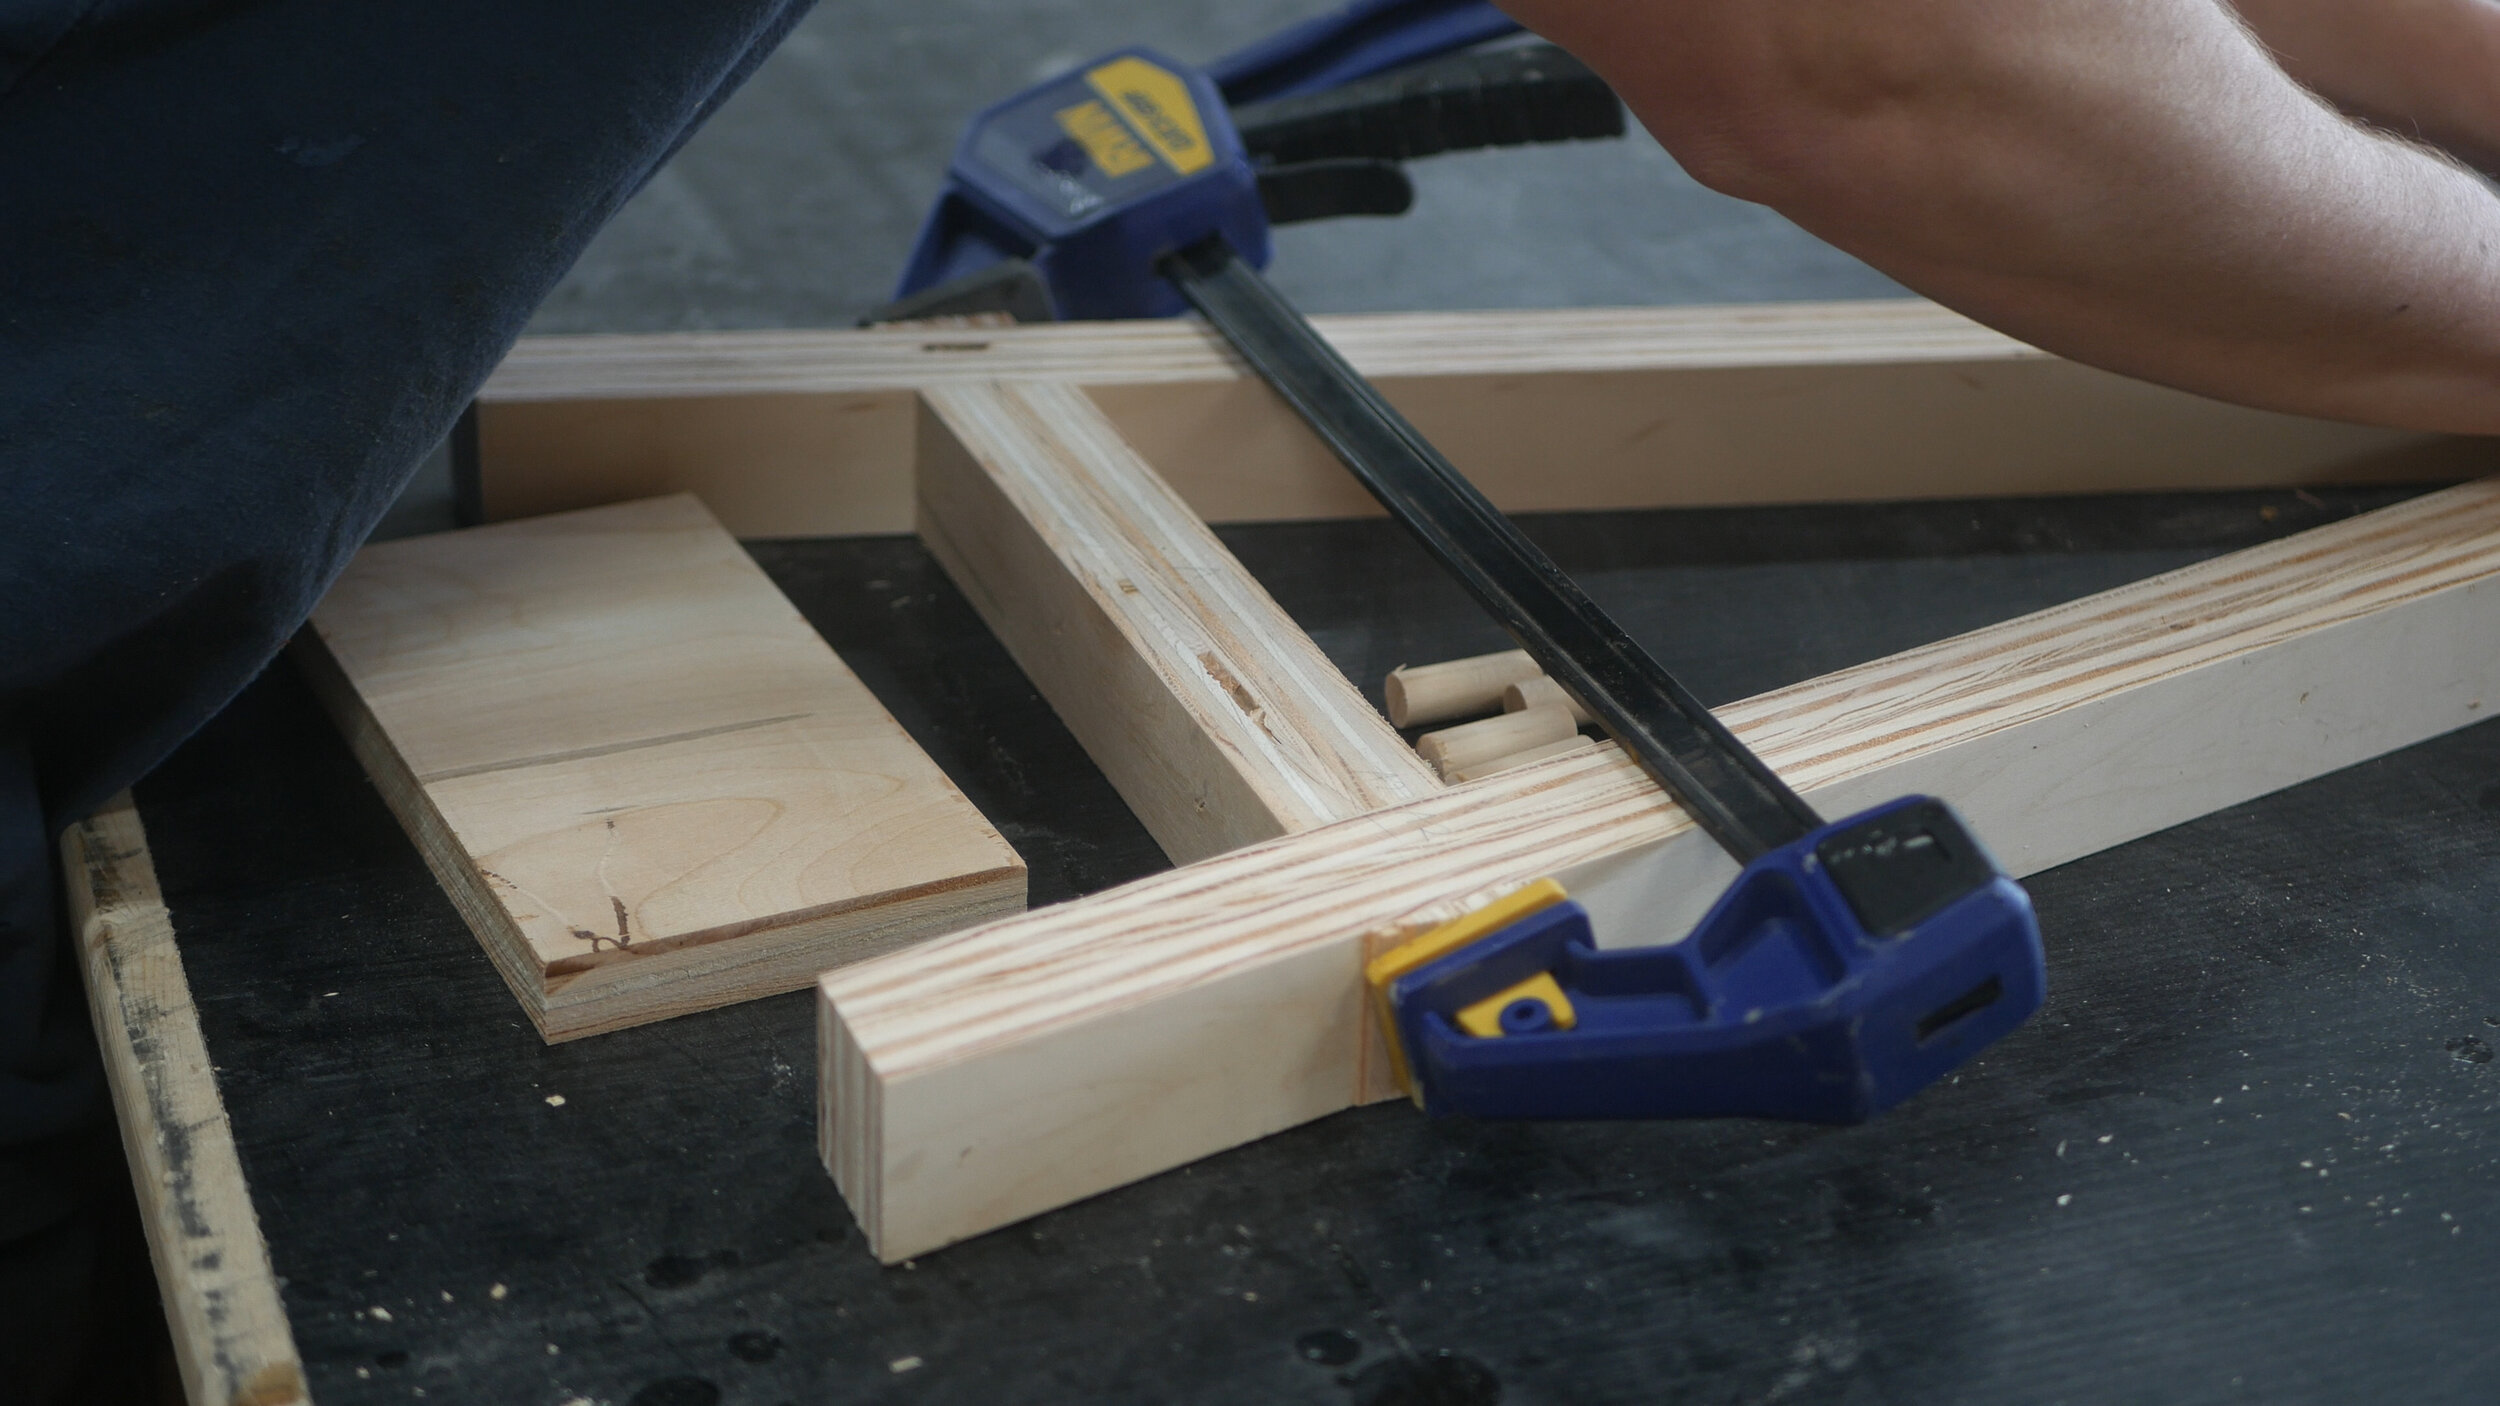
White Oak 1/2" Dowel
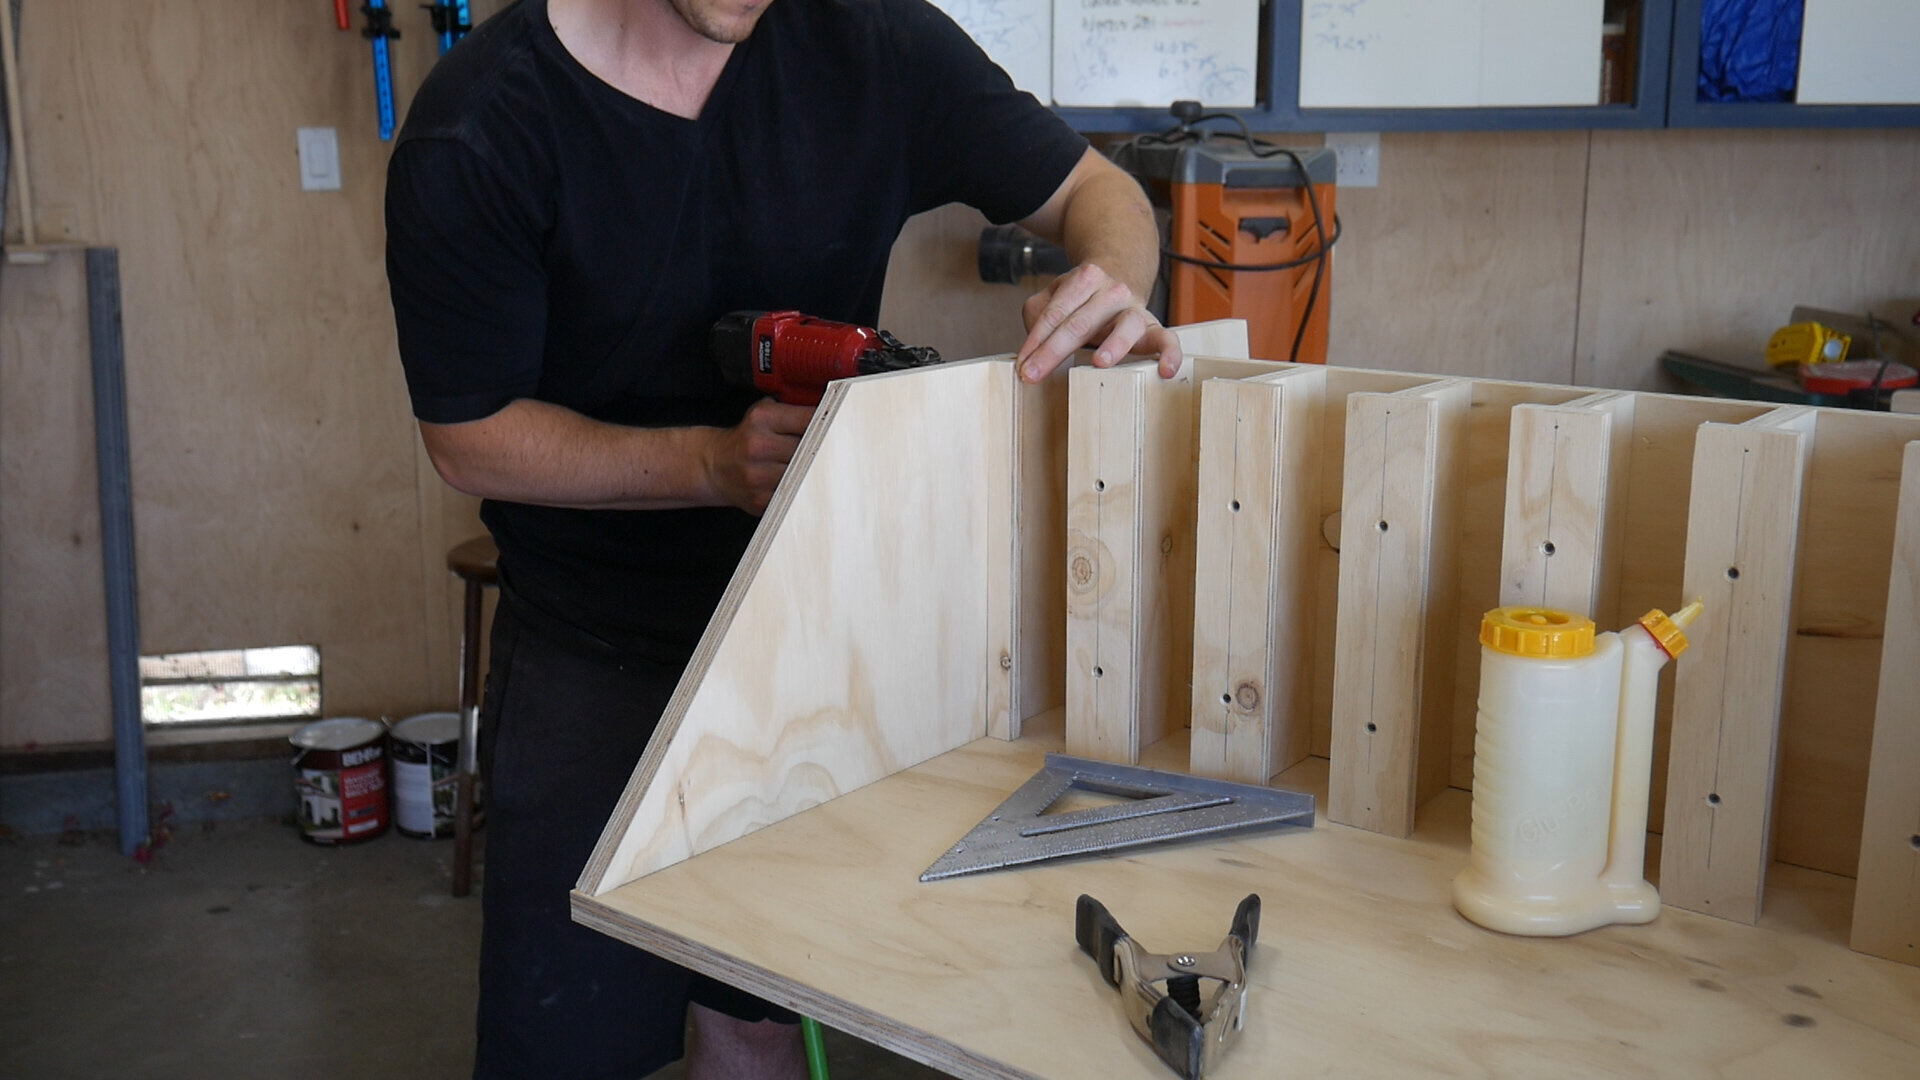
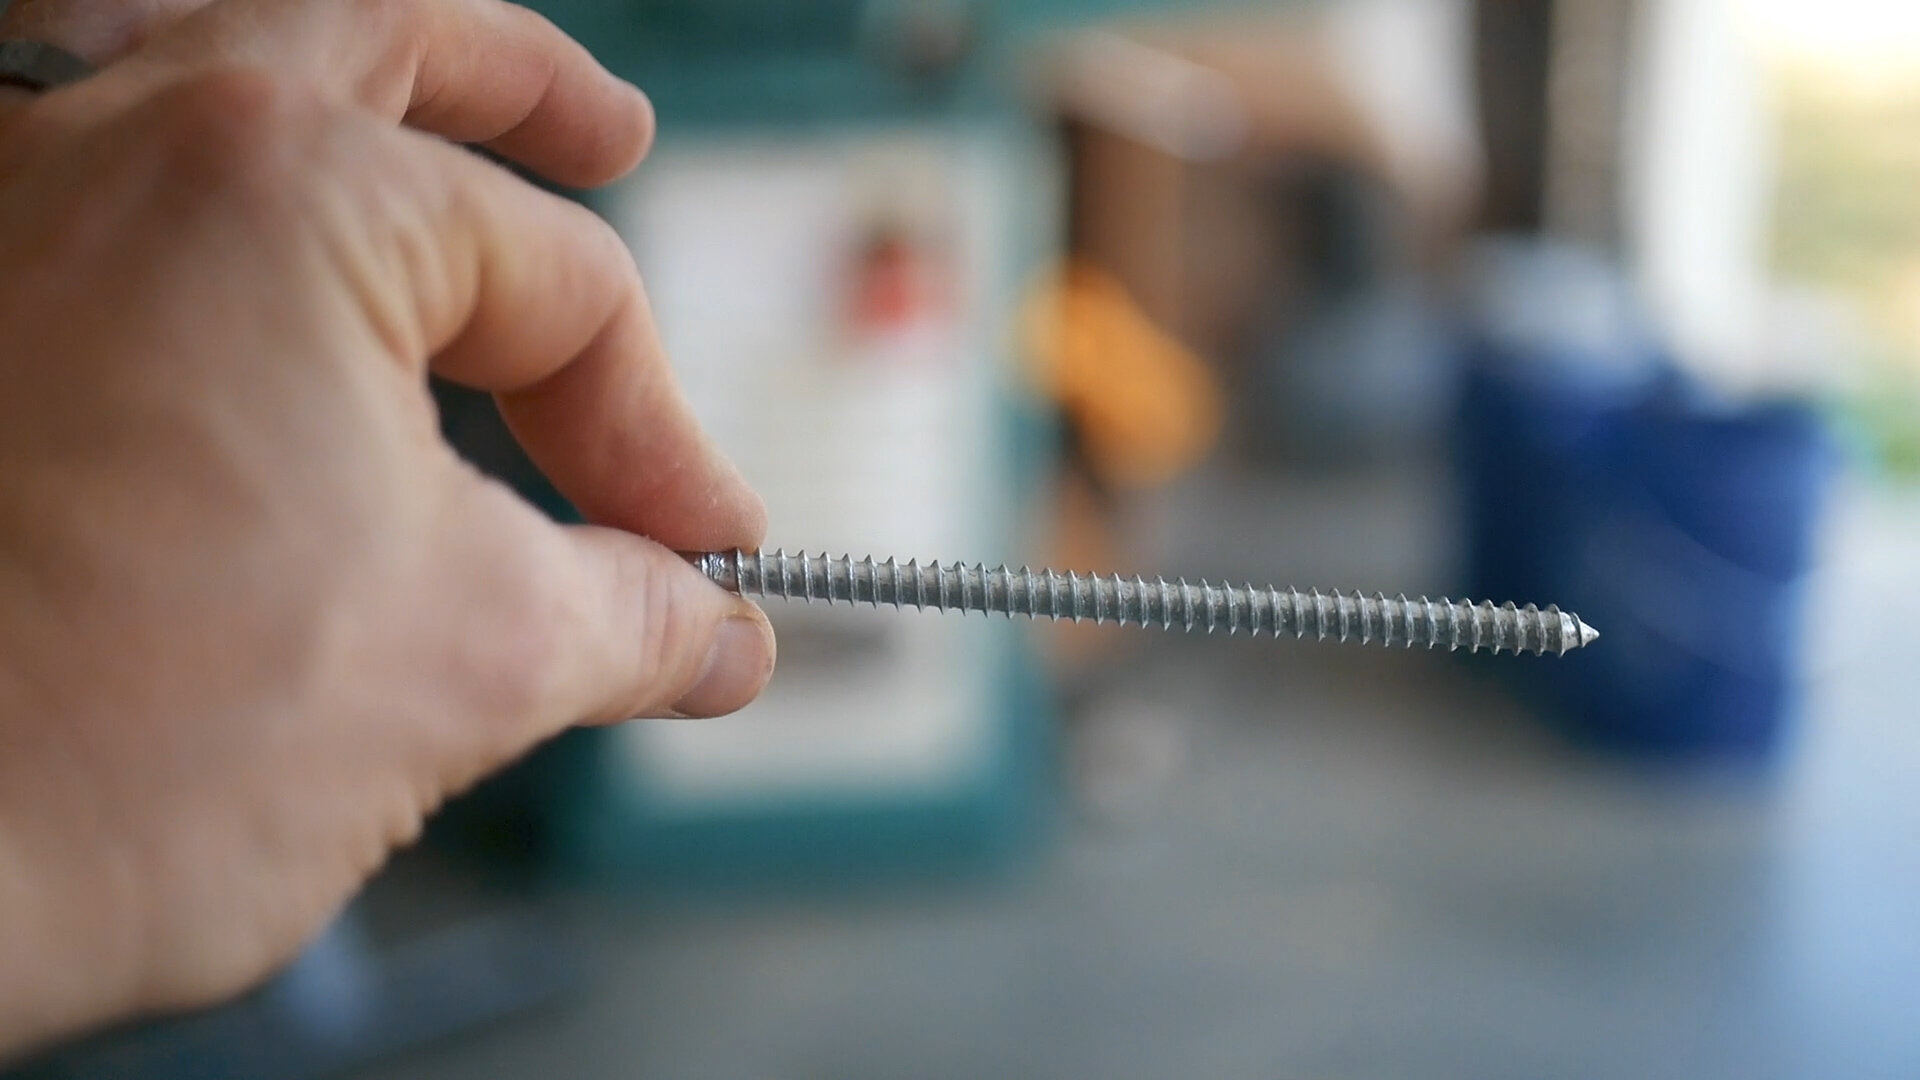
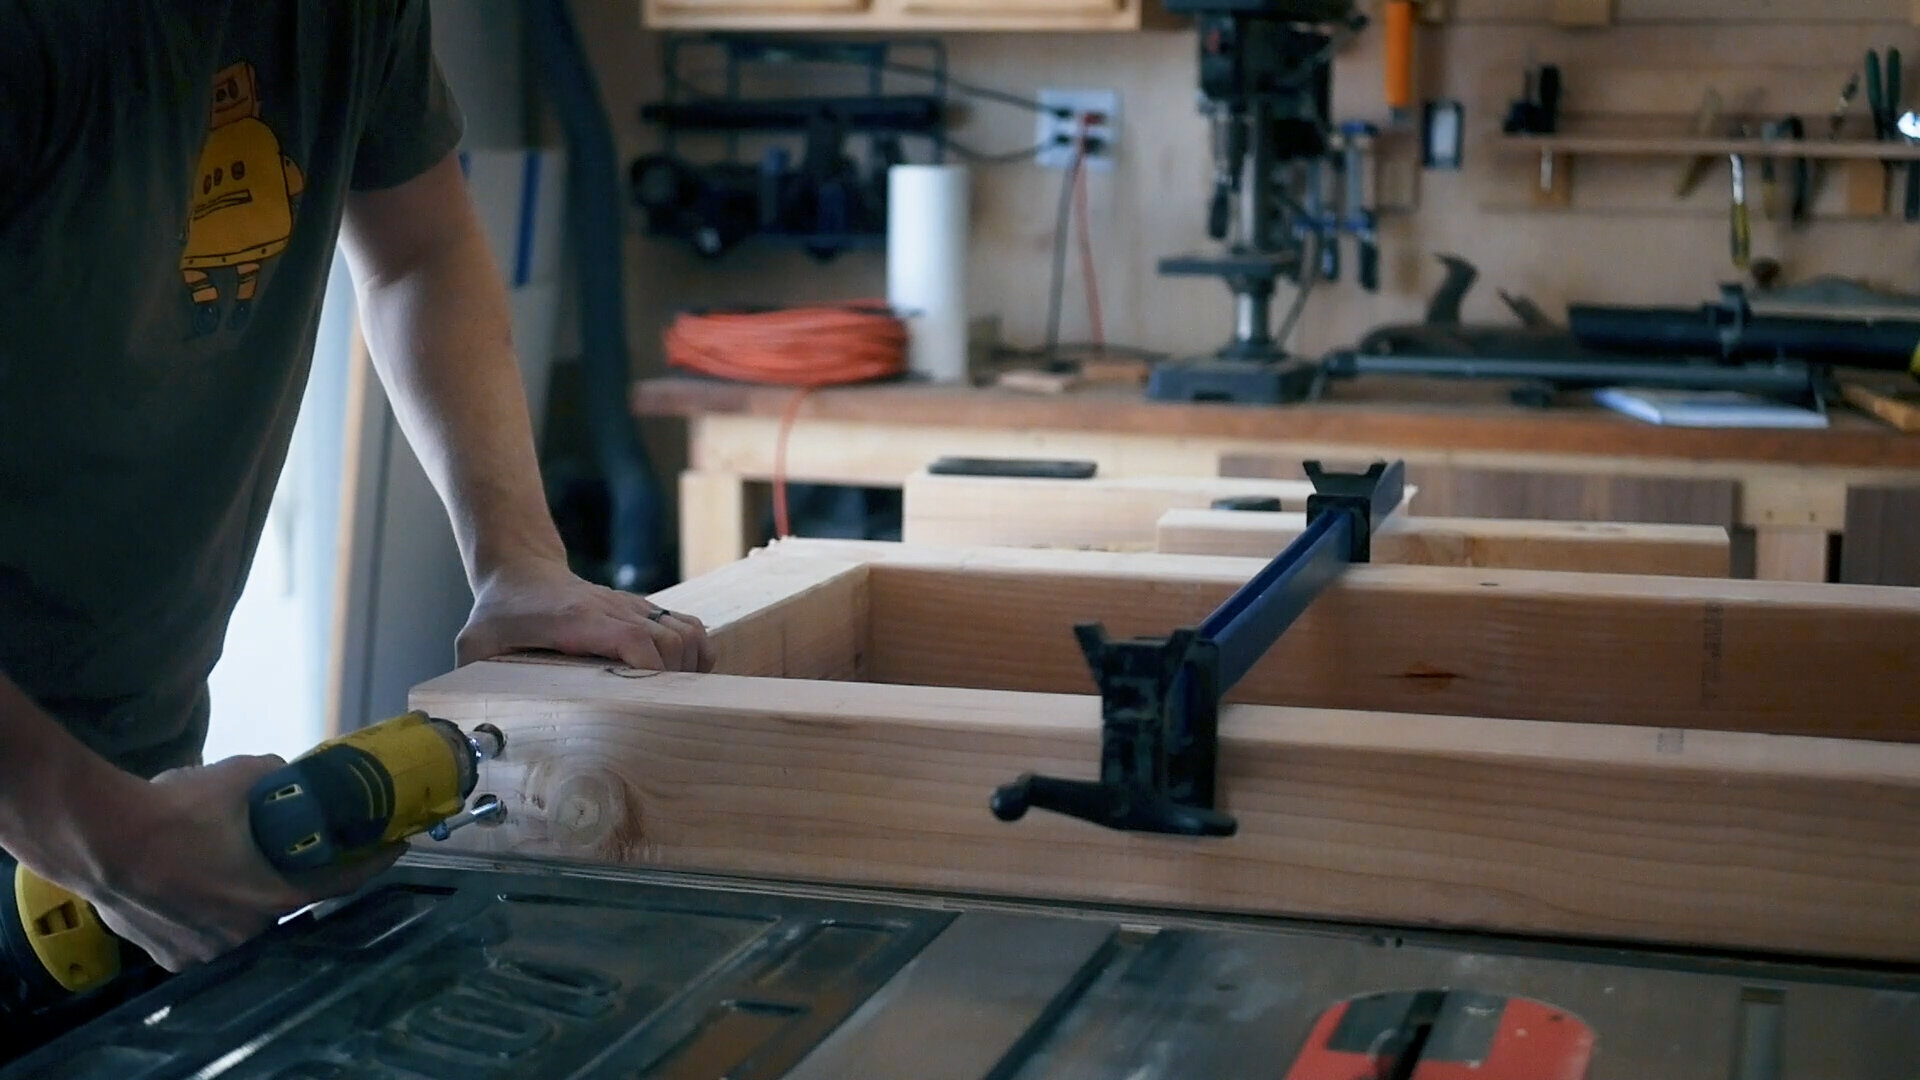
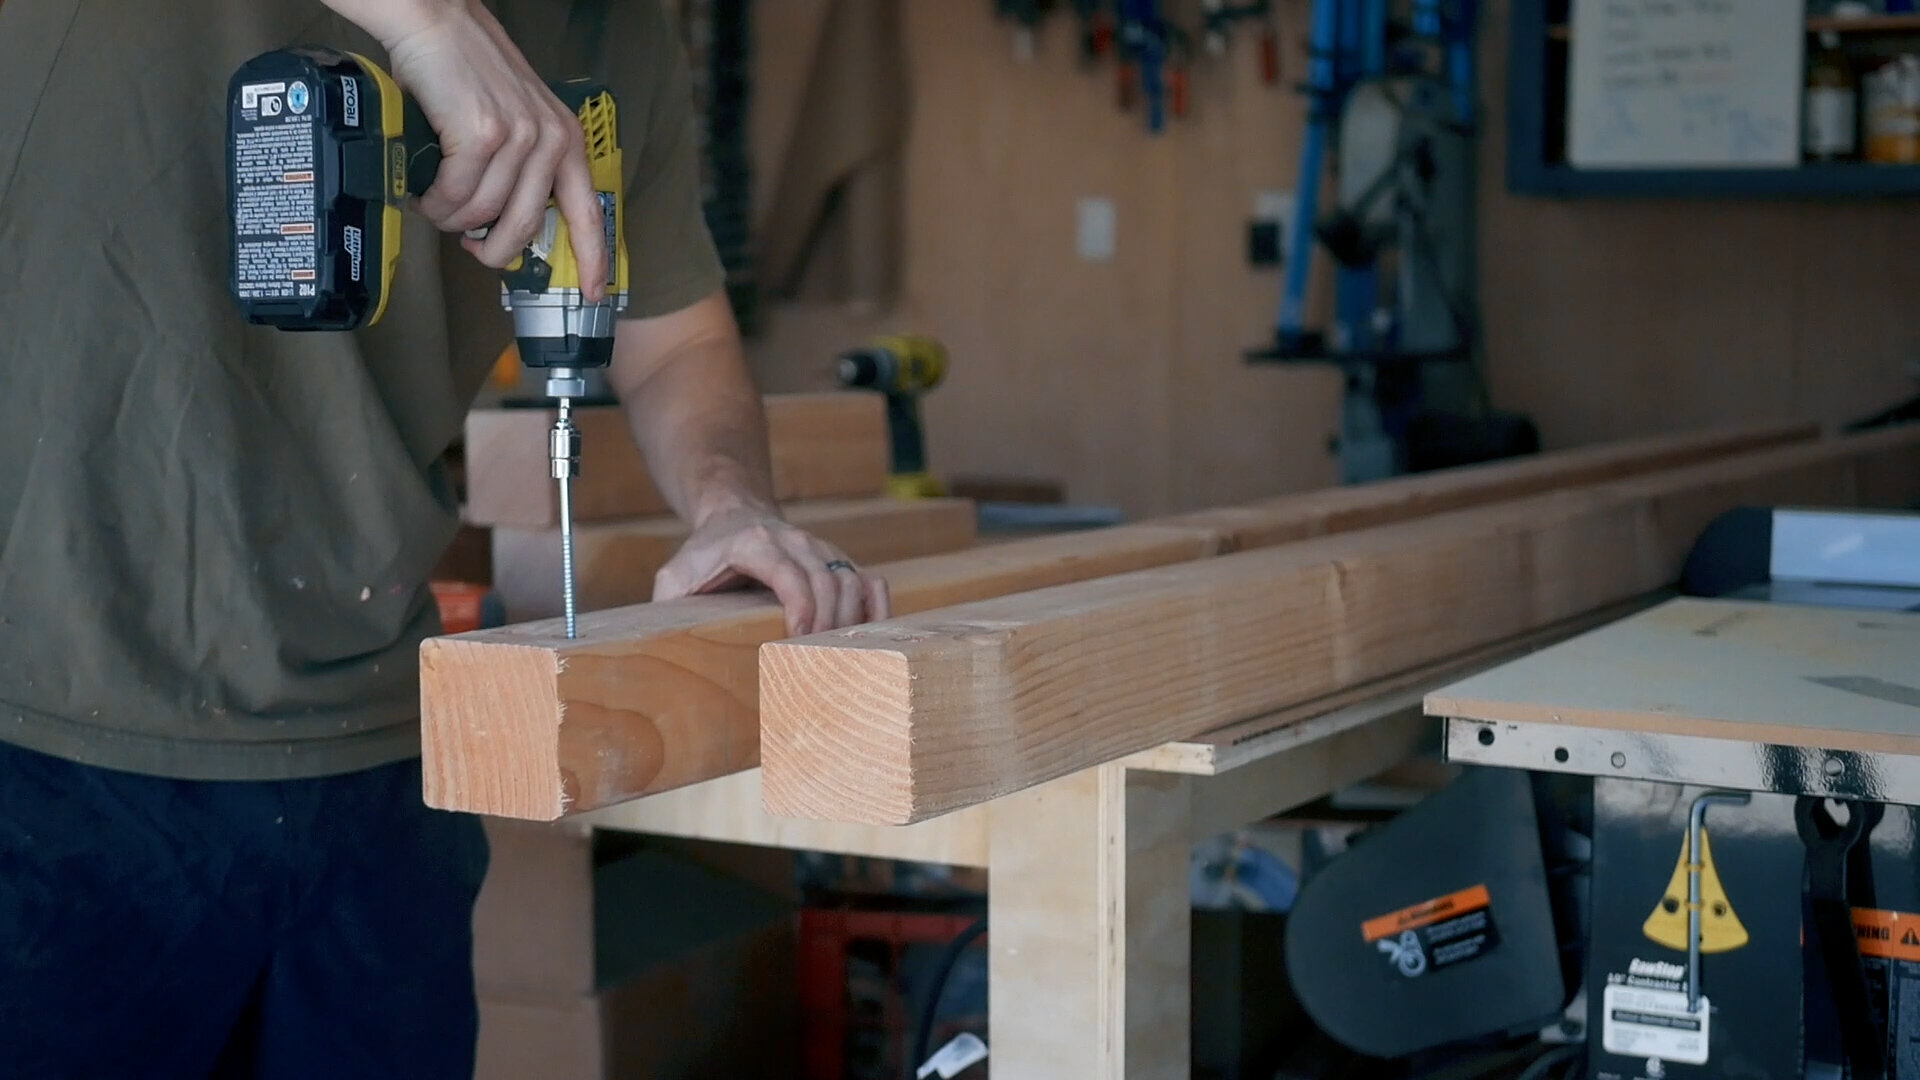
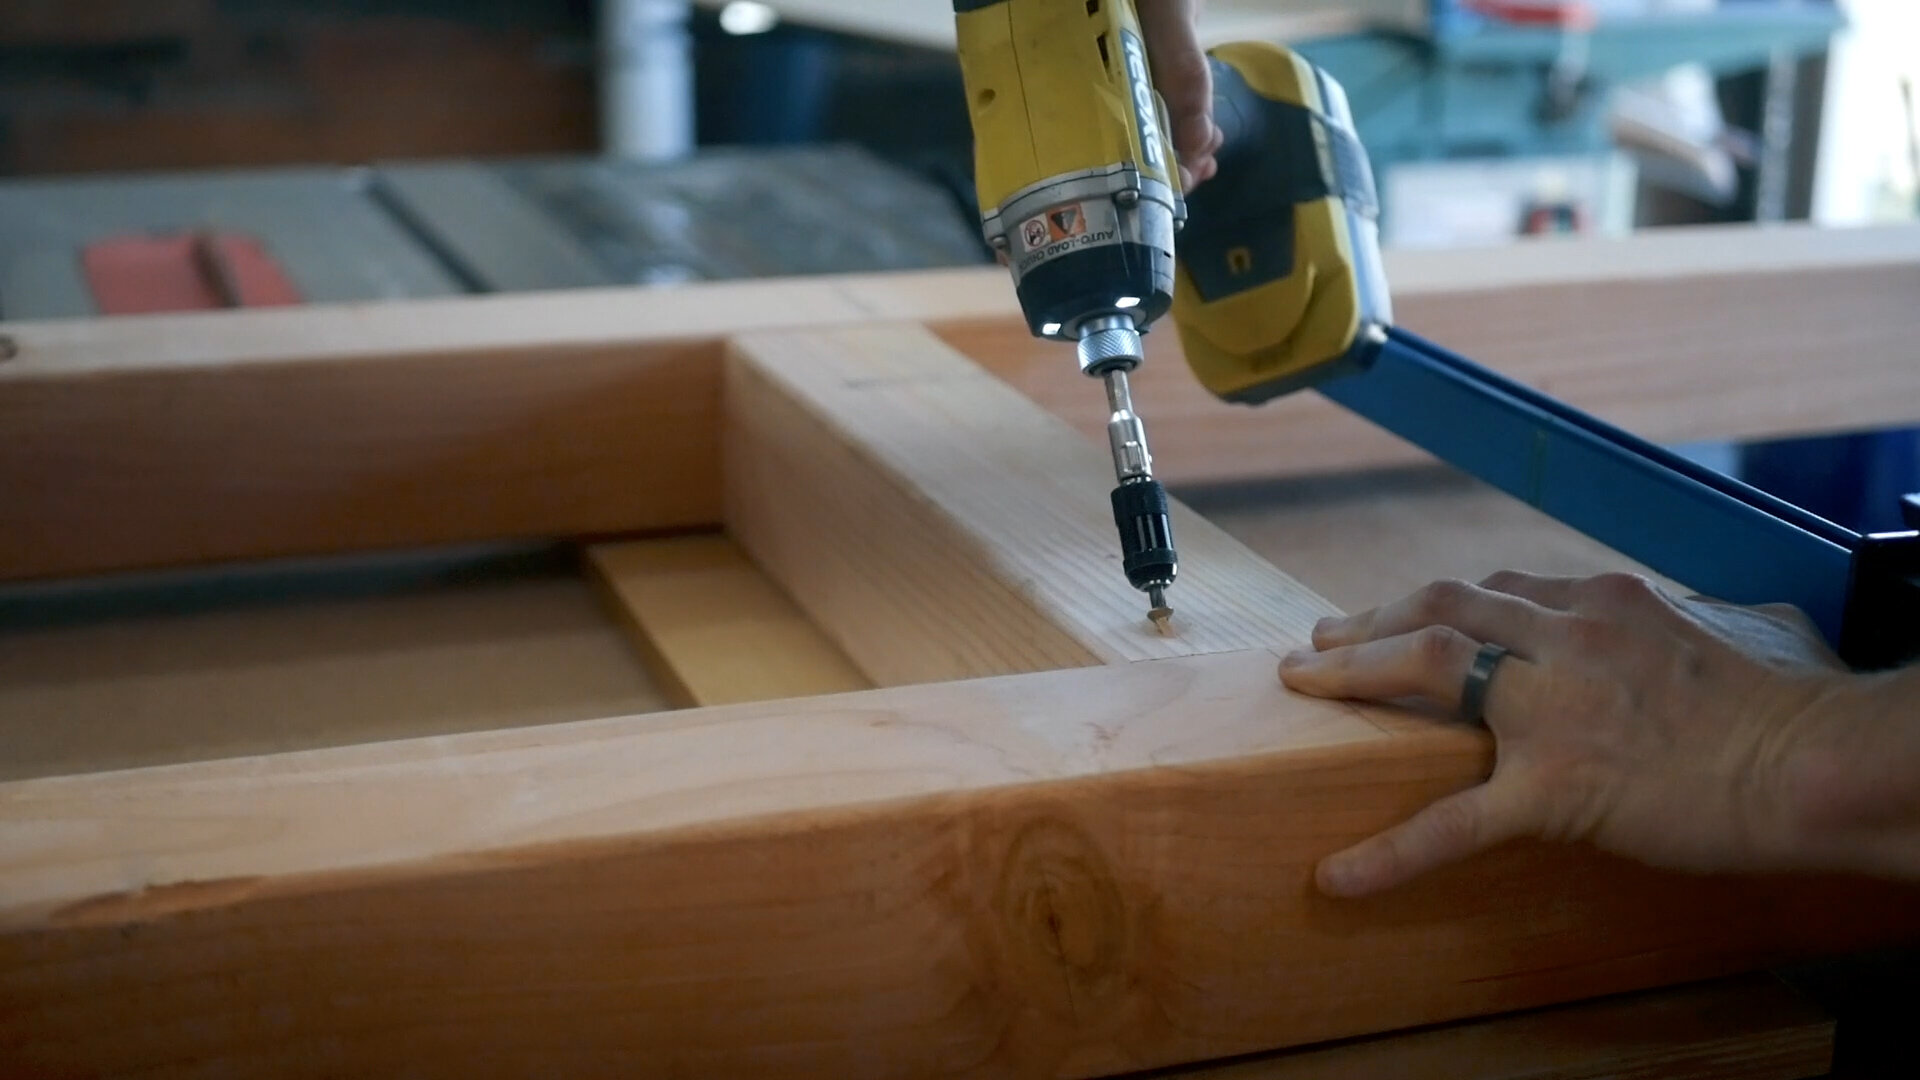
3" Wood screws
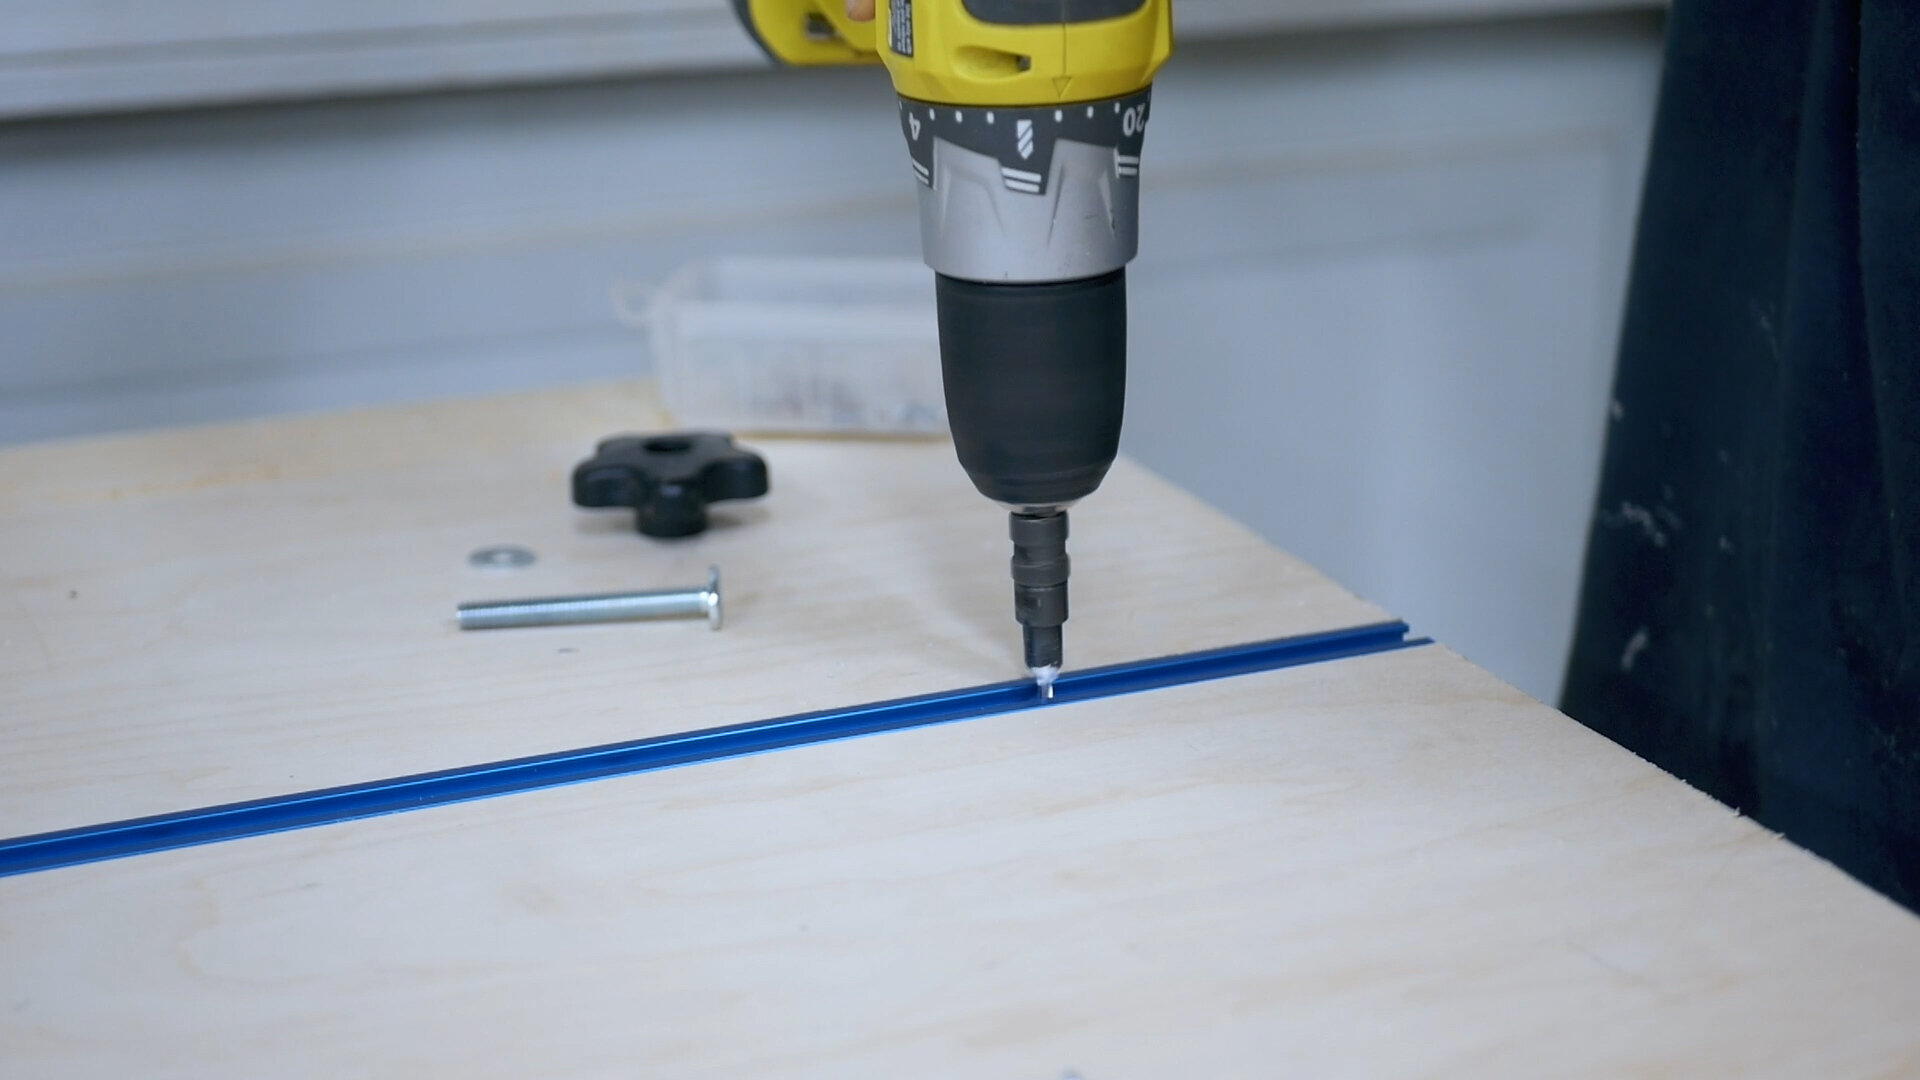
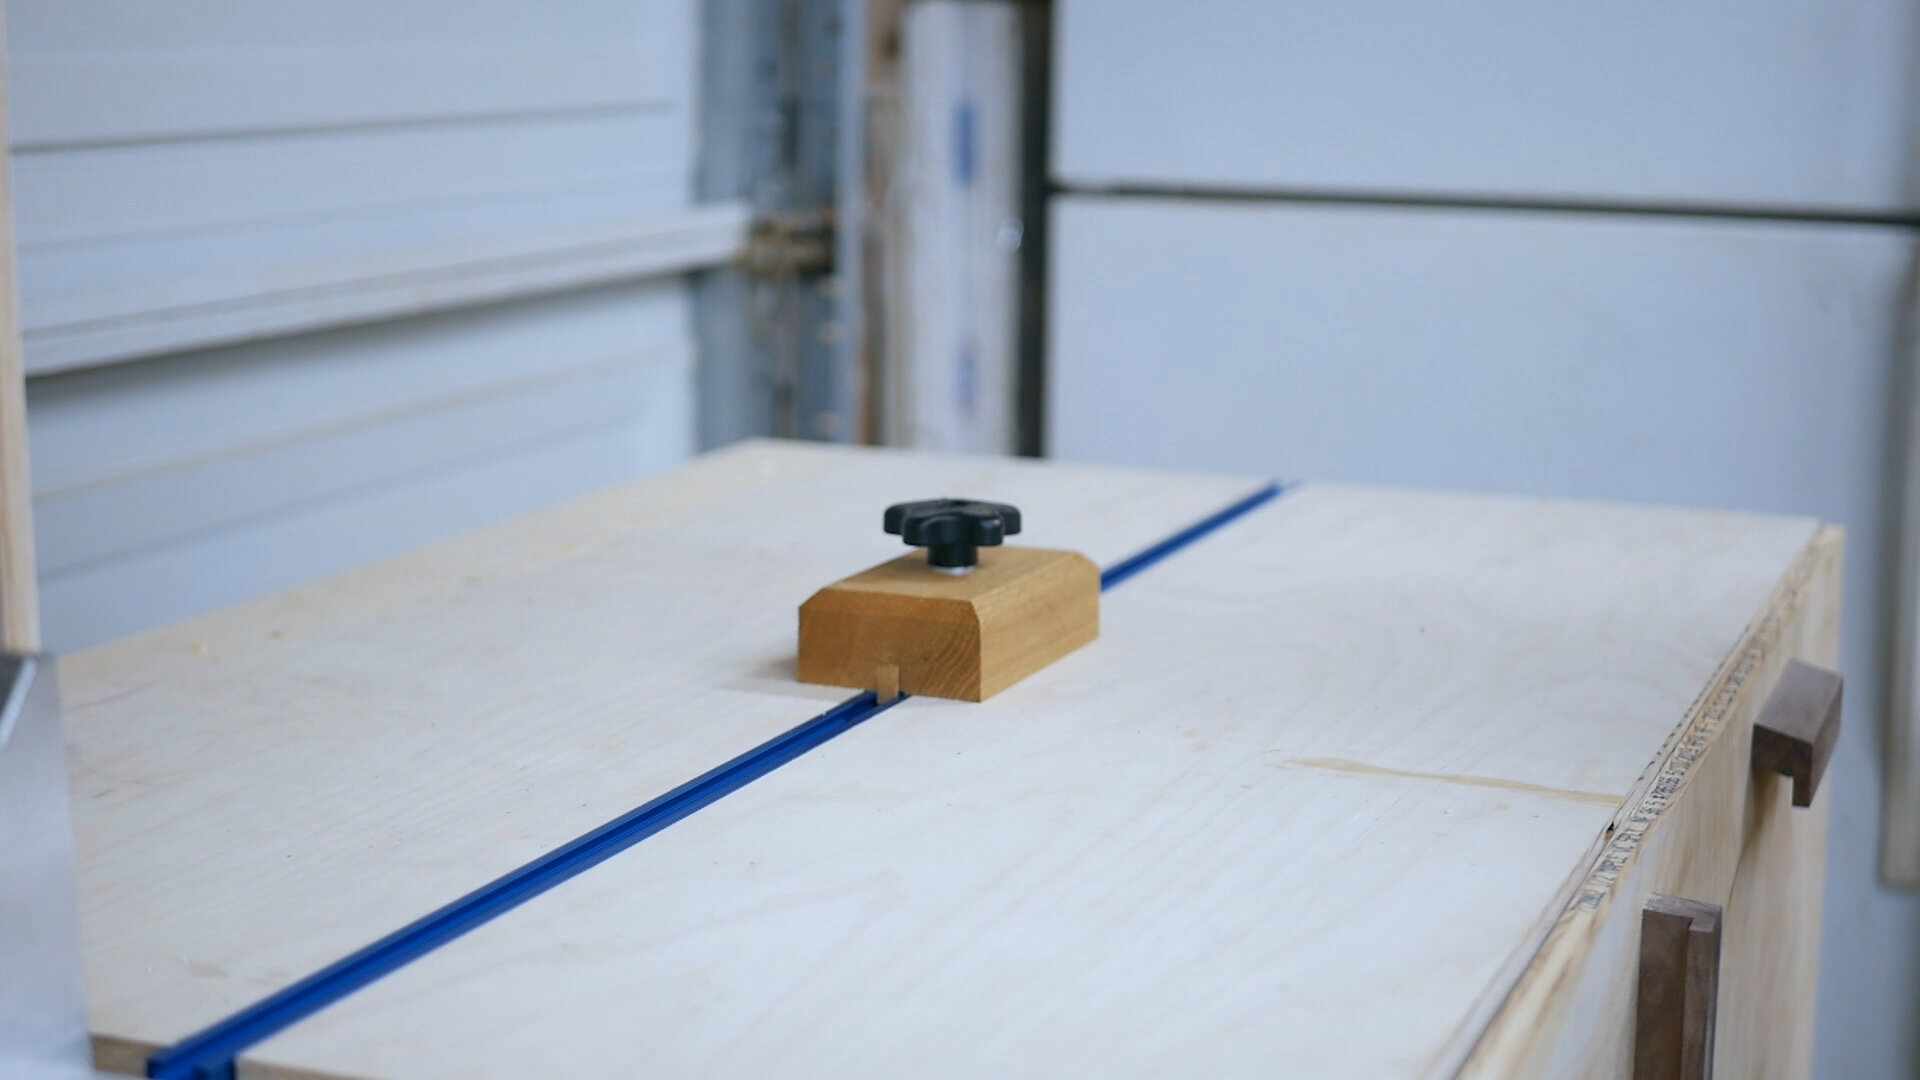
3/8" C Channel (3 foot sections) + .5" screws
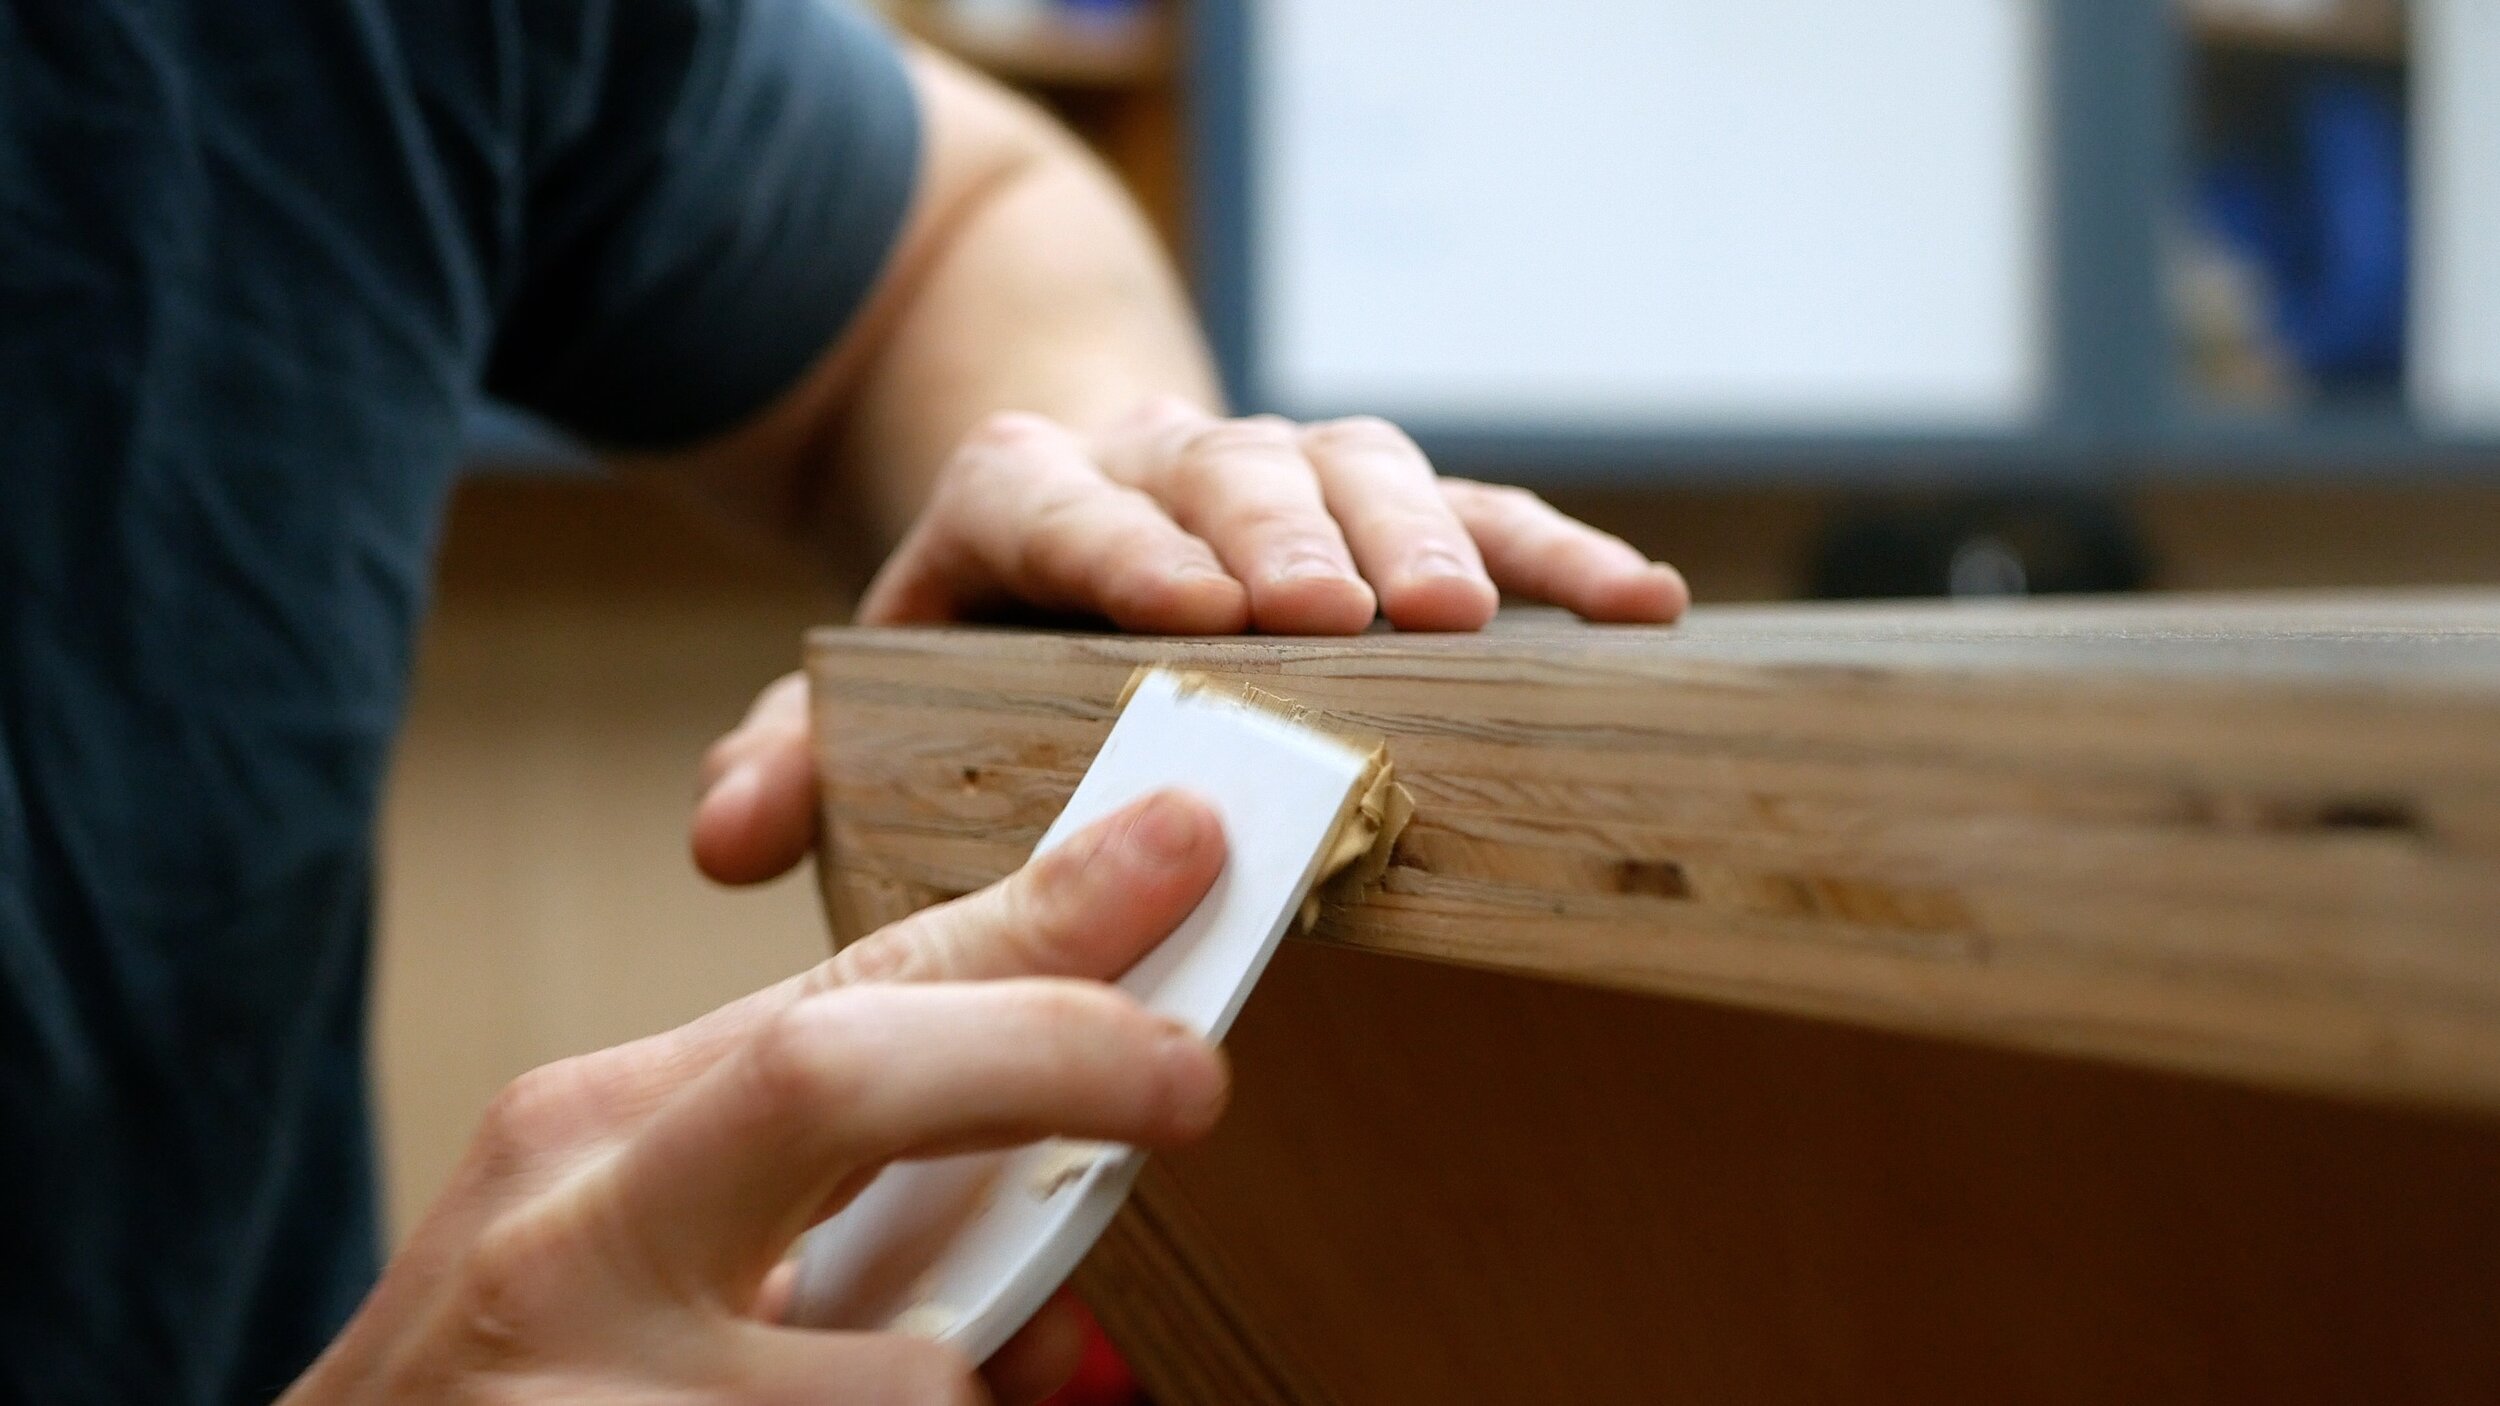
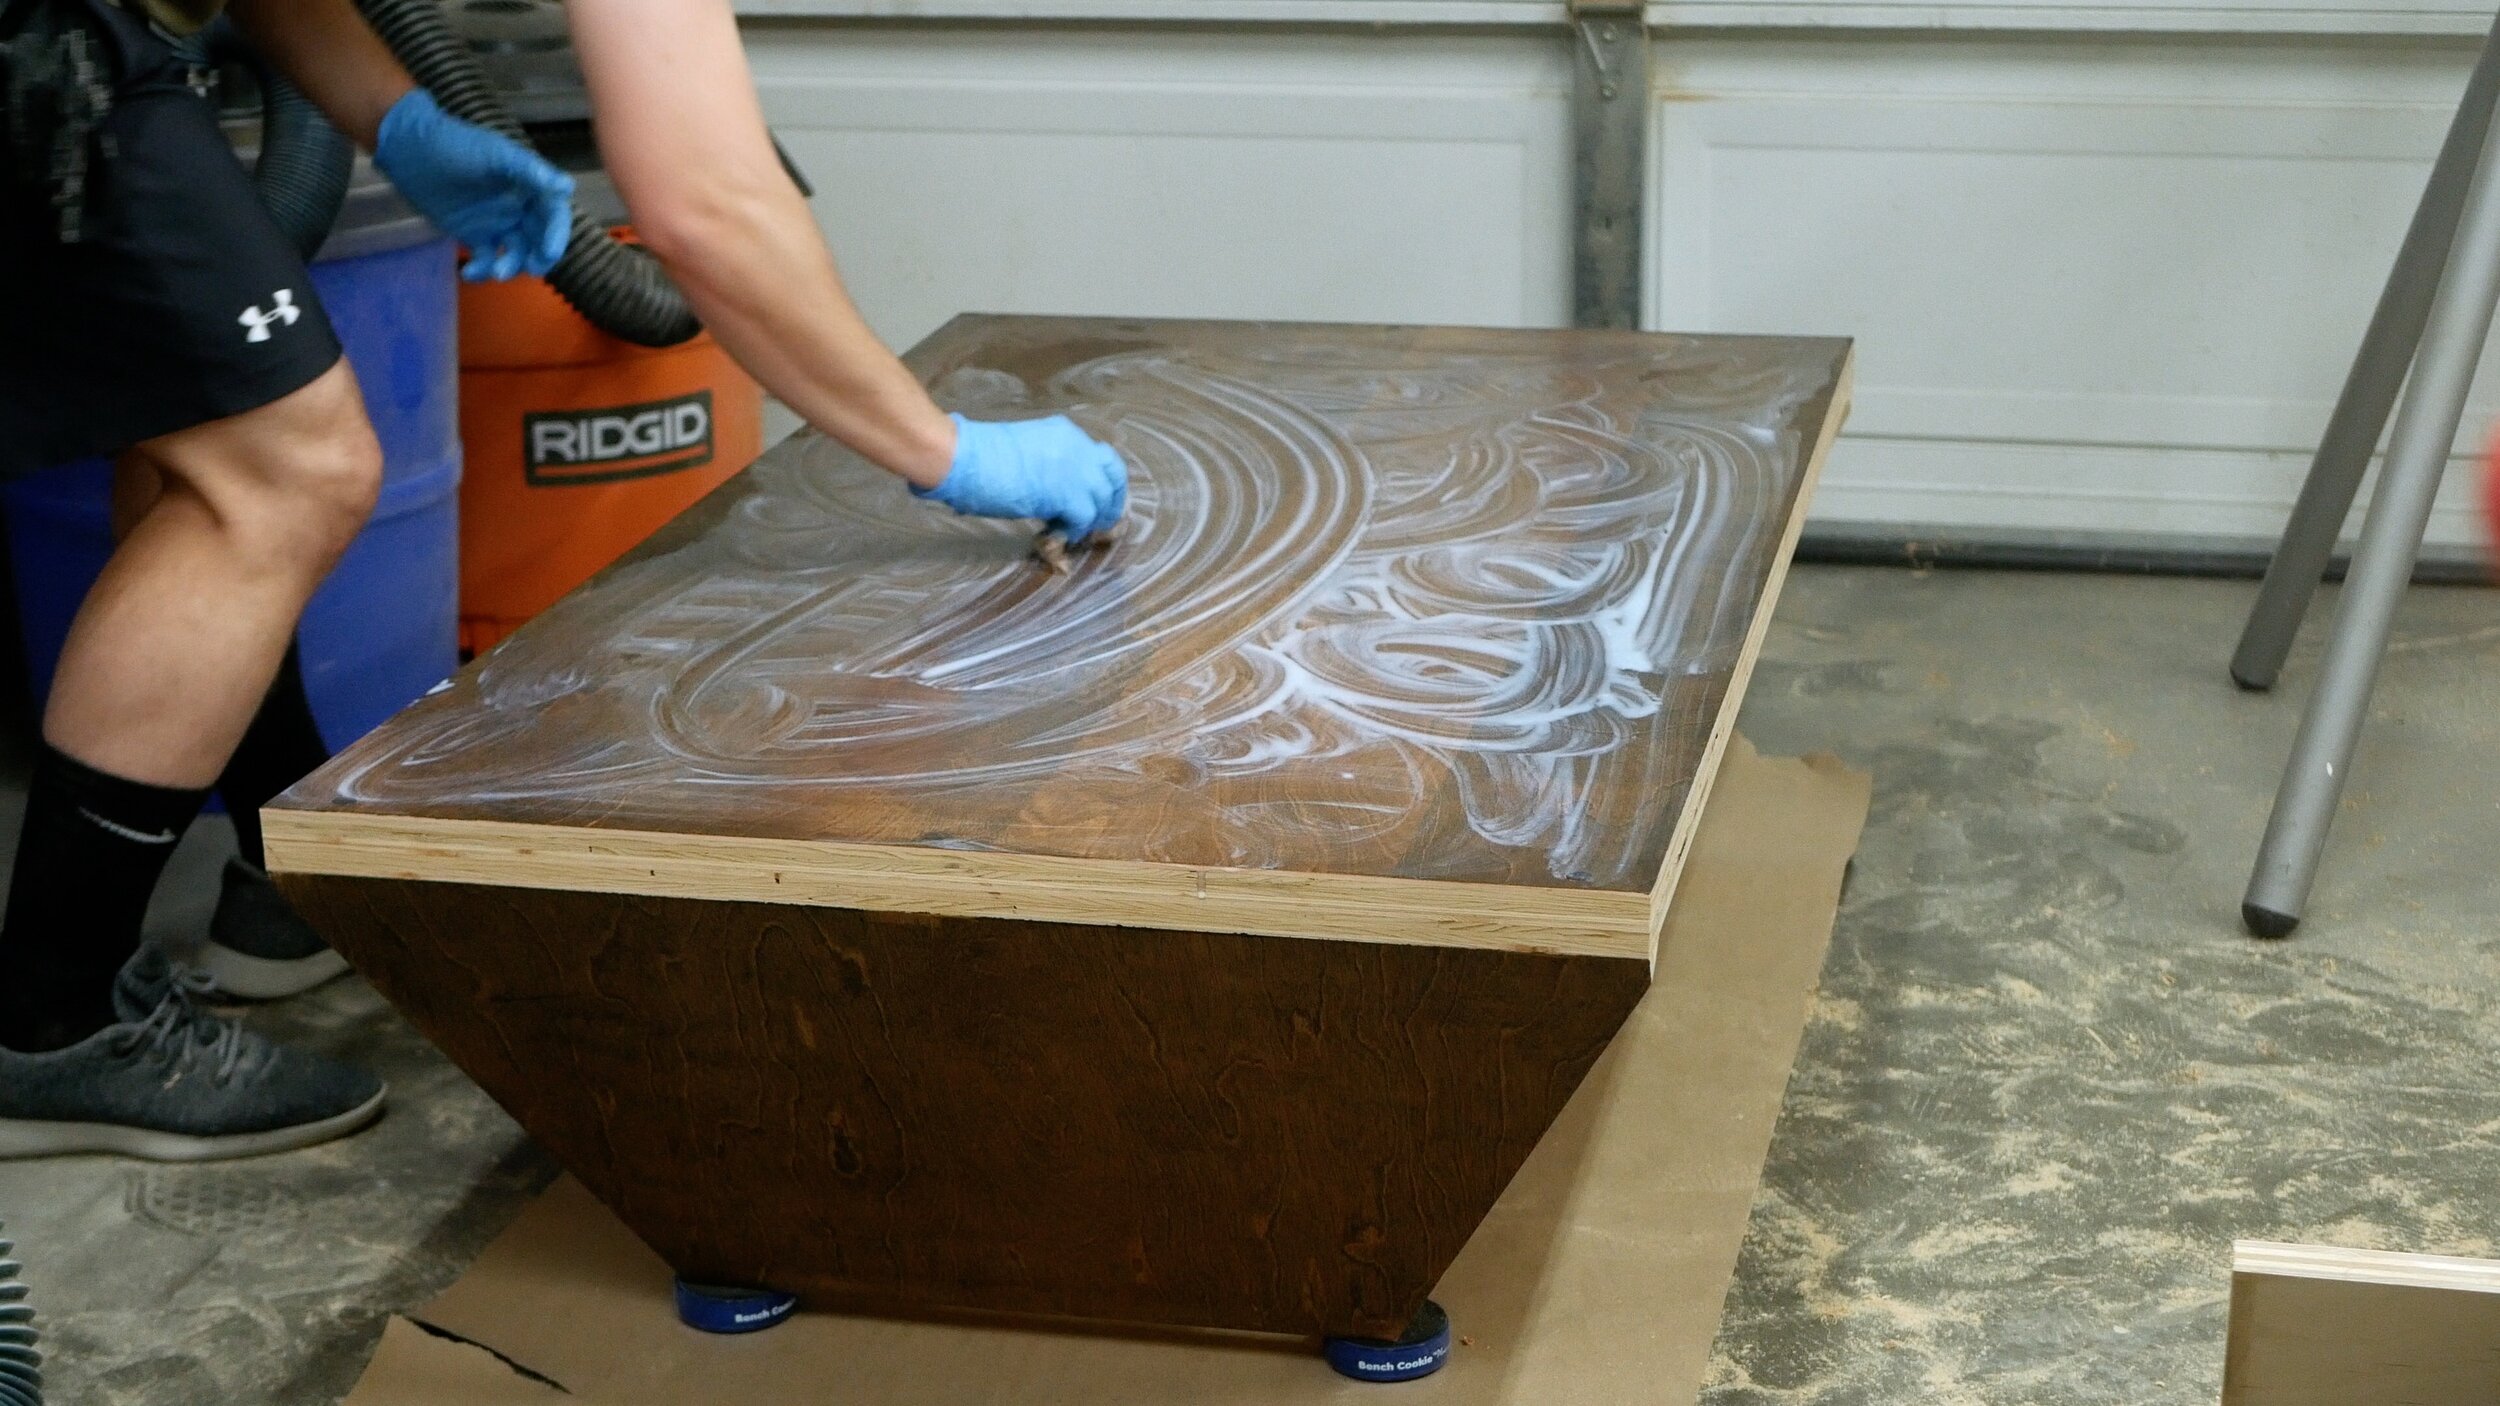
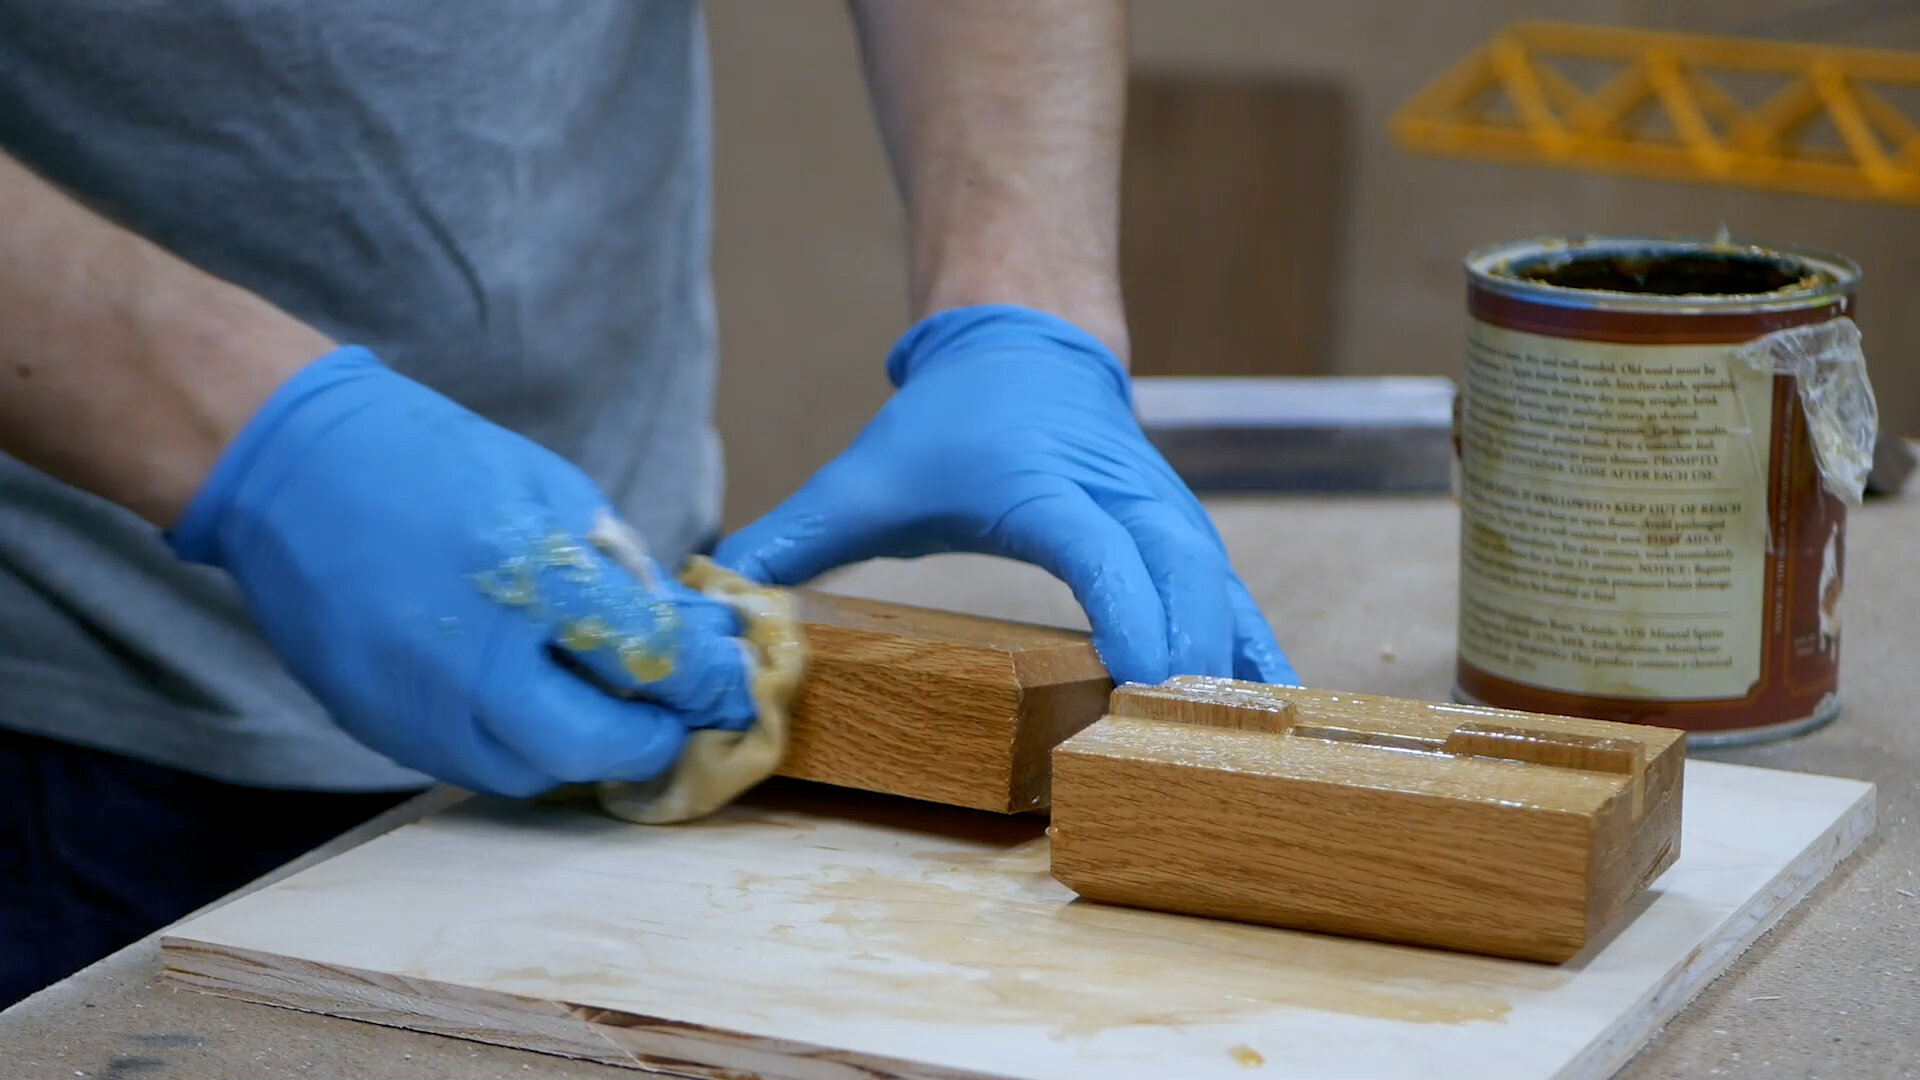
Rubio Monocoat in Walnut
1/4-20 10mm Threaded Inserts: https://amzn.to/3i2nwdo
1/4-20 1" Screws
🗜 TOOLS
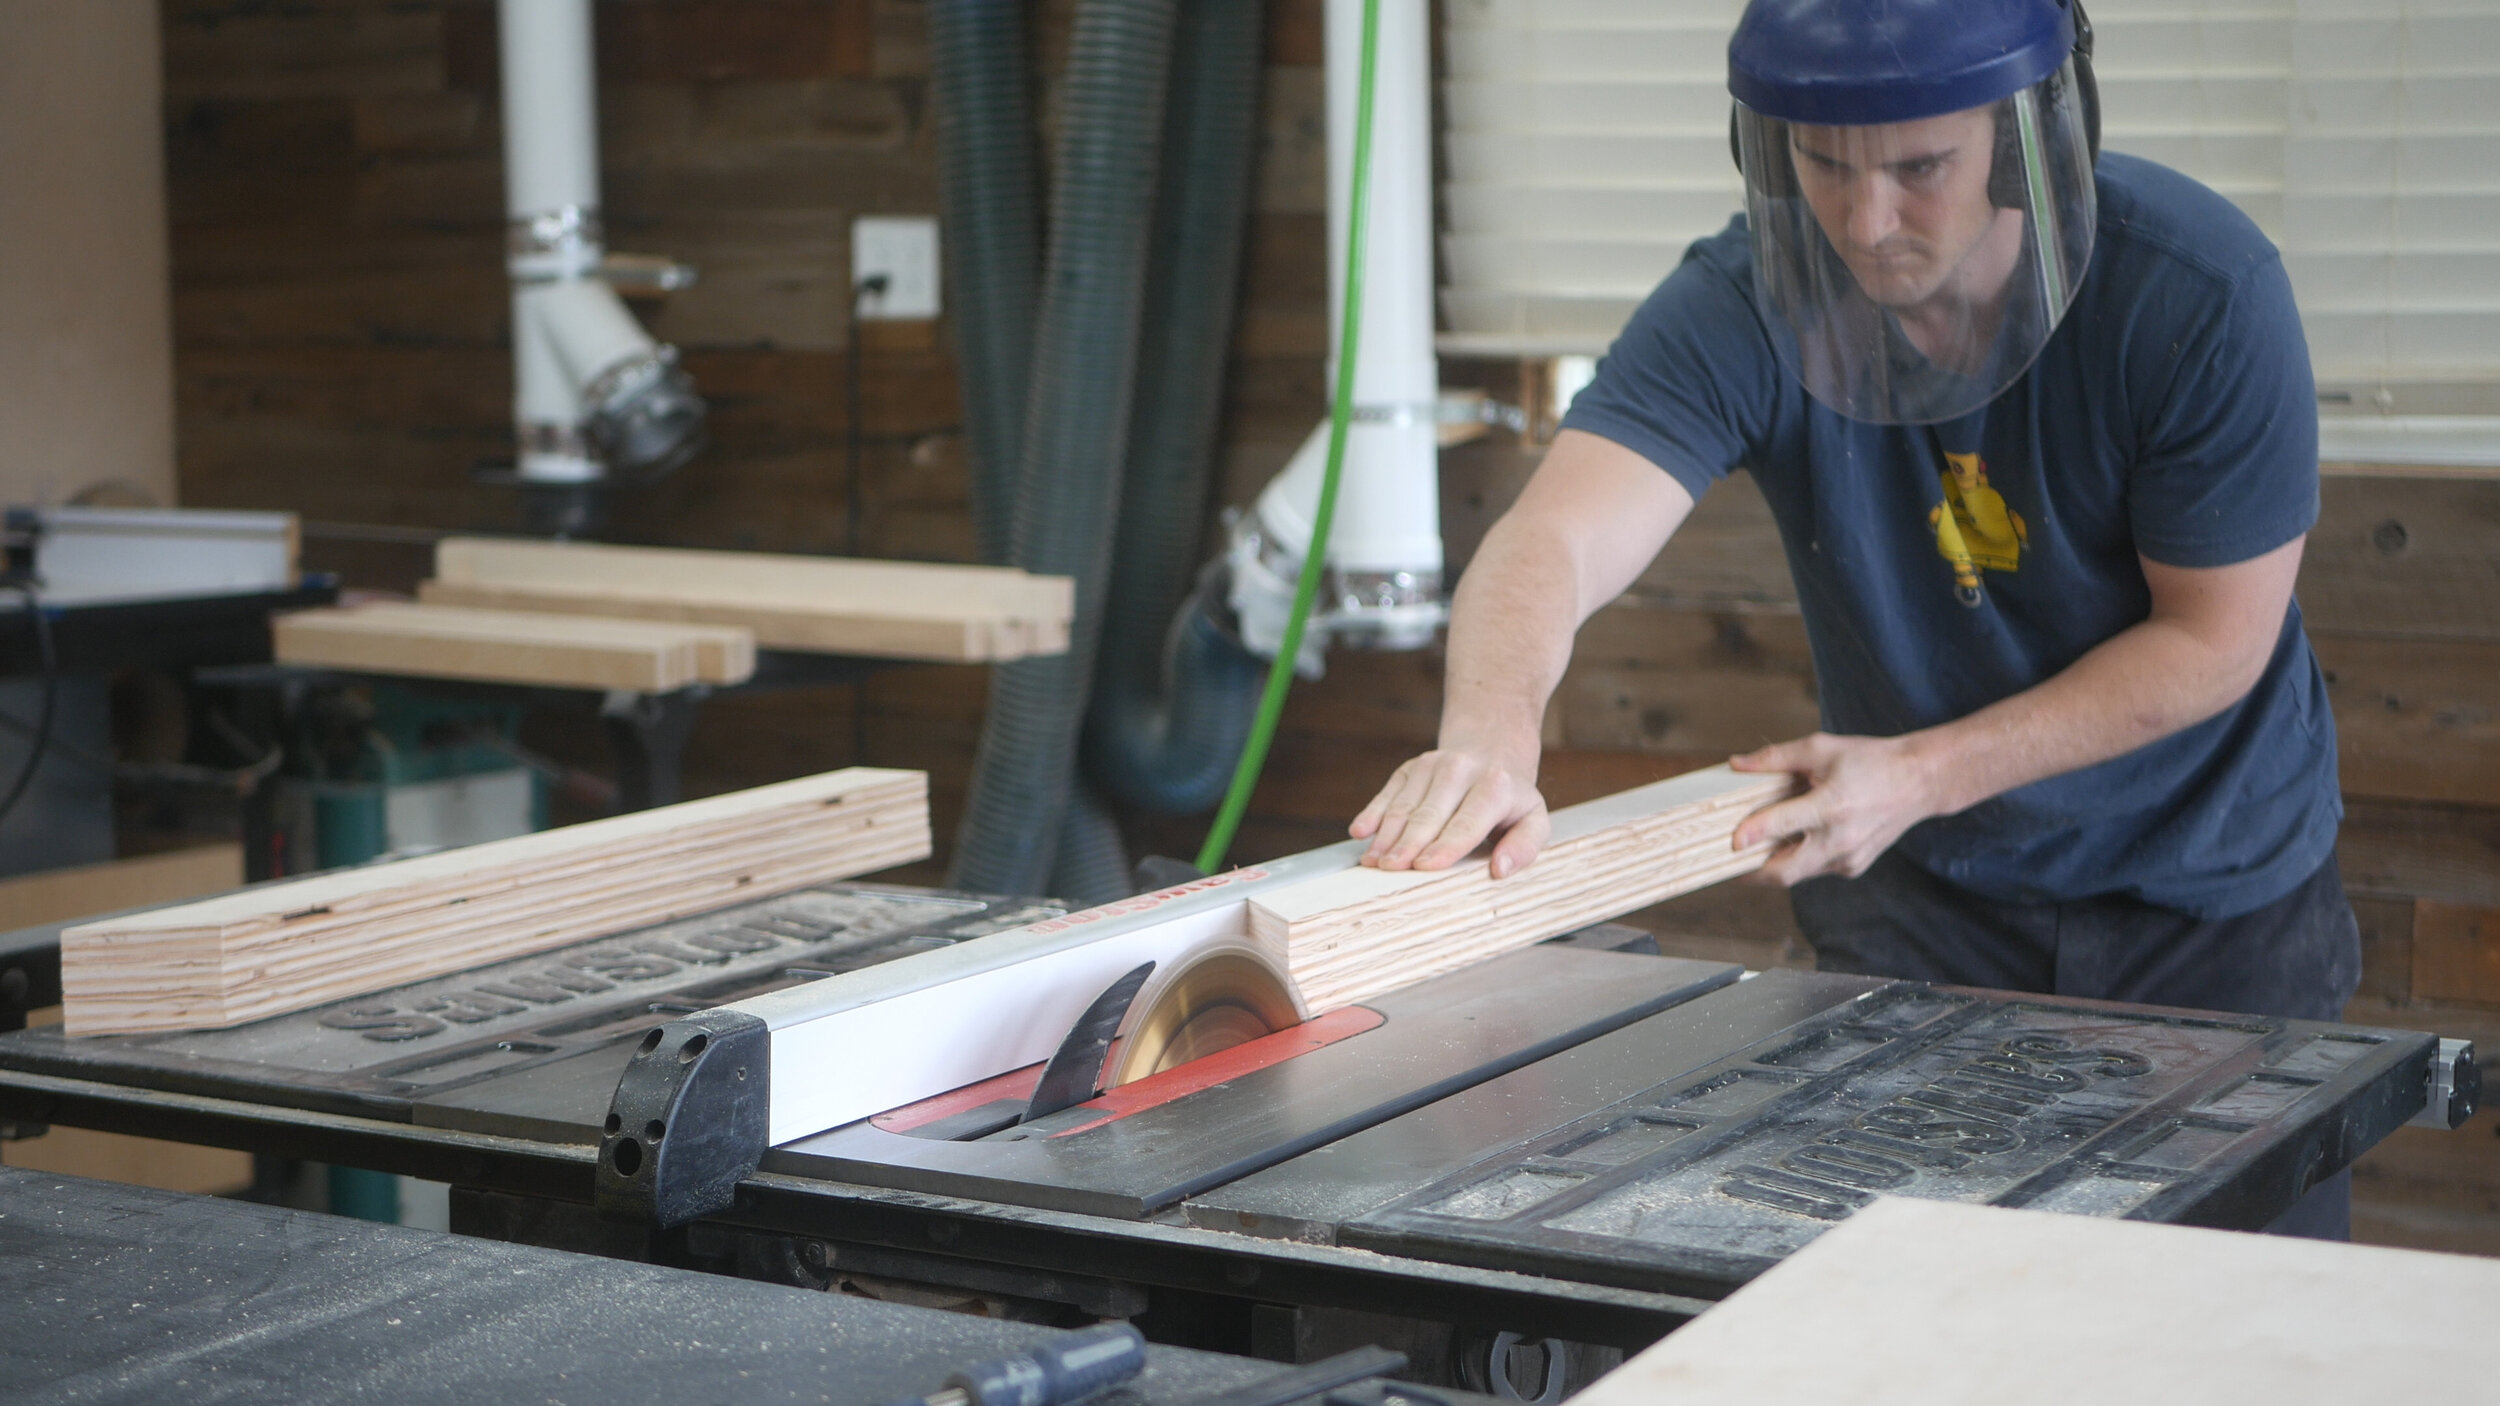
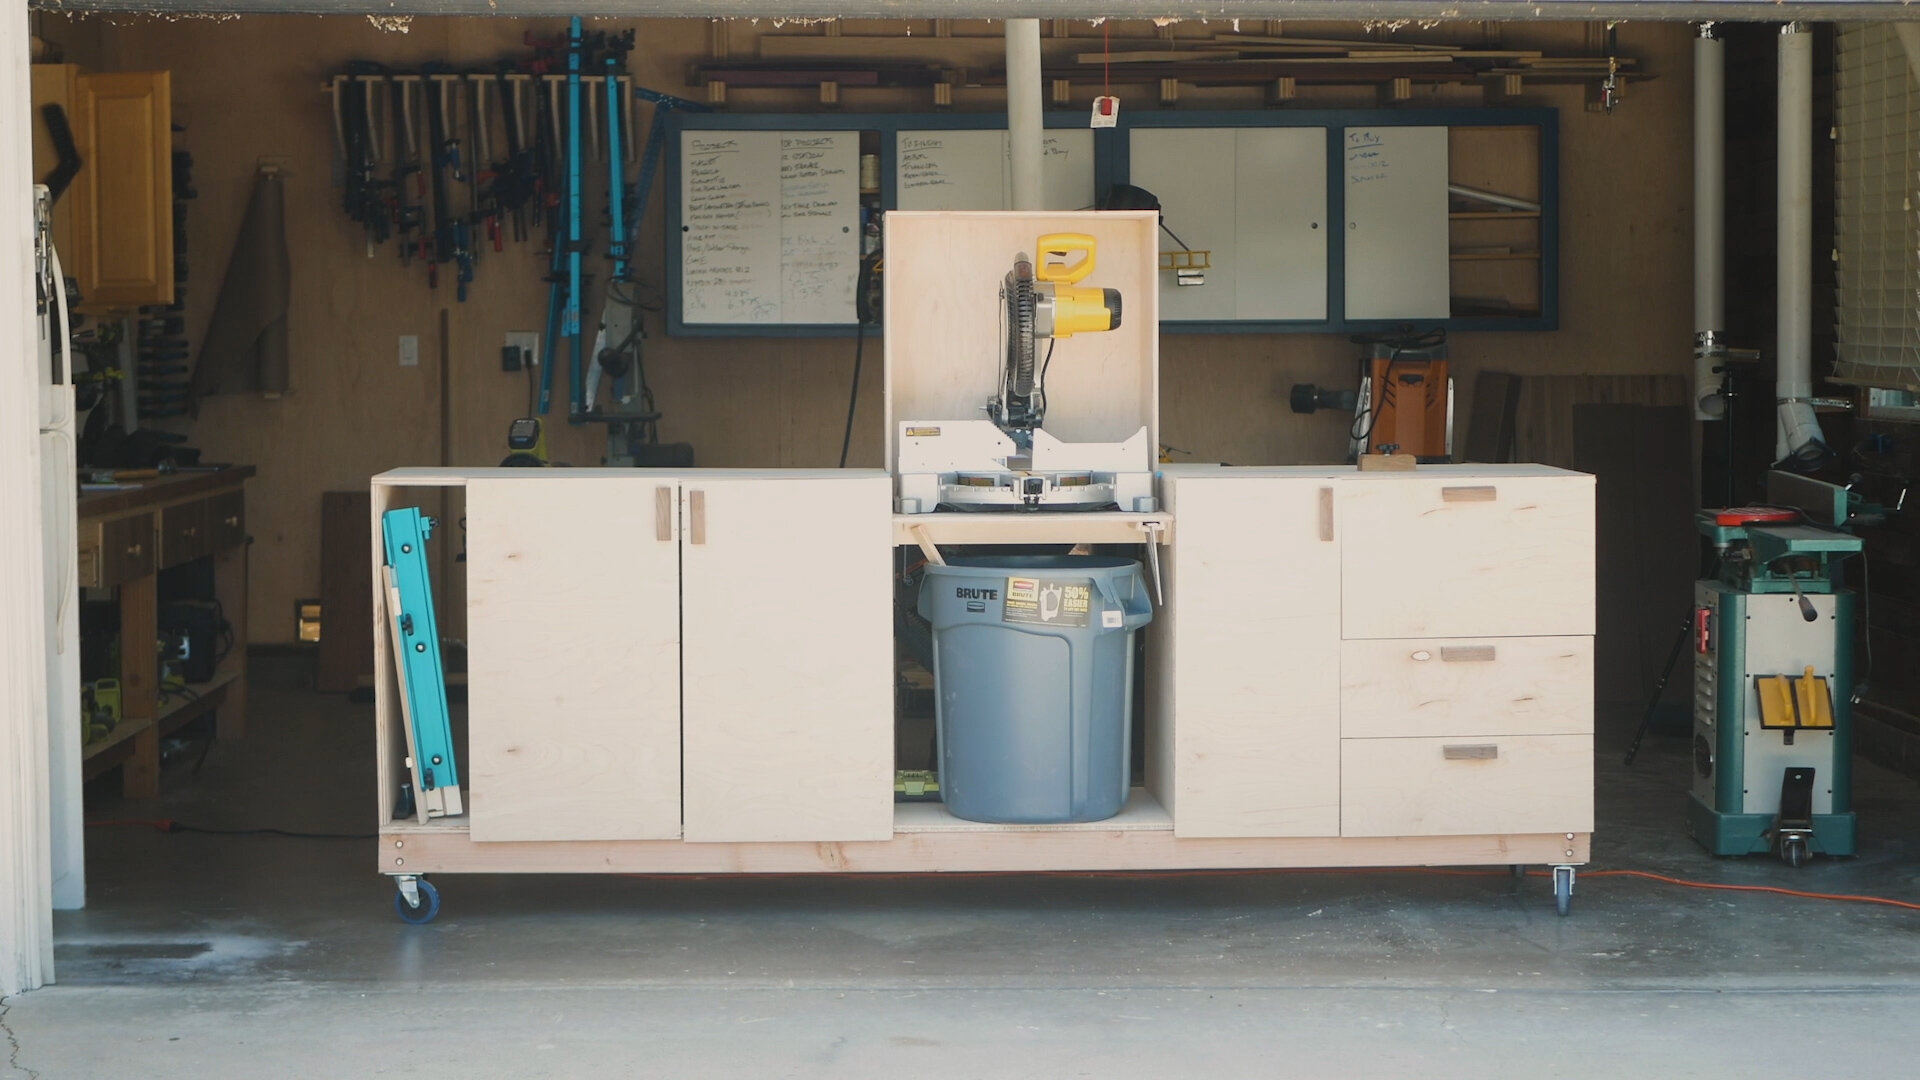
SAWSTOP 36” 3HP PCS: https://amzn.to/3cr1dJO
Magswitch Vertical Featherboard: https://amzn.to/37IdBpS
Circular Saw: http://amzn.to/2q1l5wn
Orbital Sander: https://amzn.to/2ALtz16
6” Jointer: https://amzn.to/2Y7THgb
13” Thickness Planer: http://amzn.to/2u7YrmK
Angle Grinder: https://amzn.to/2FhtDLe
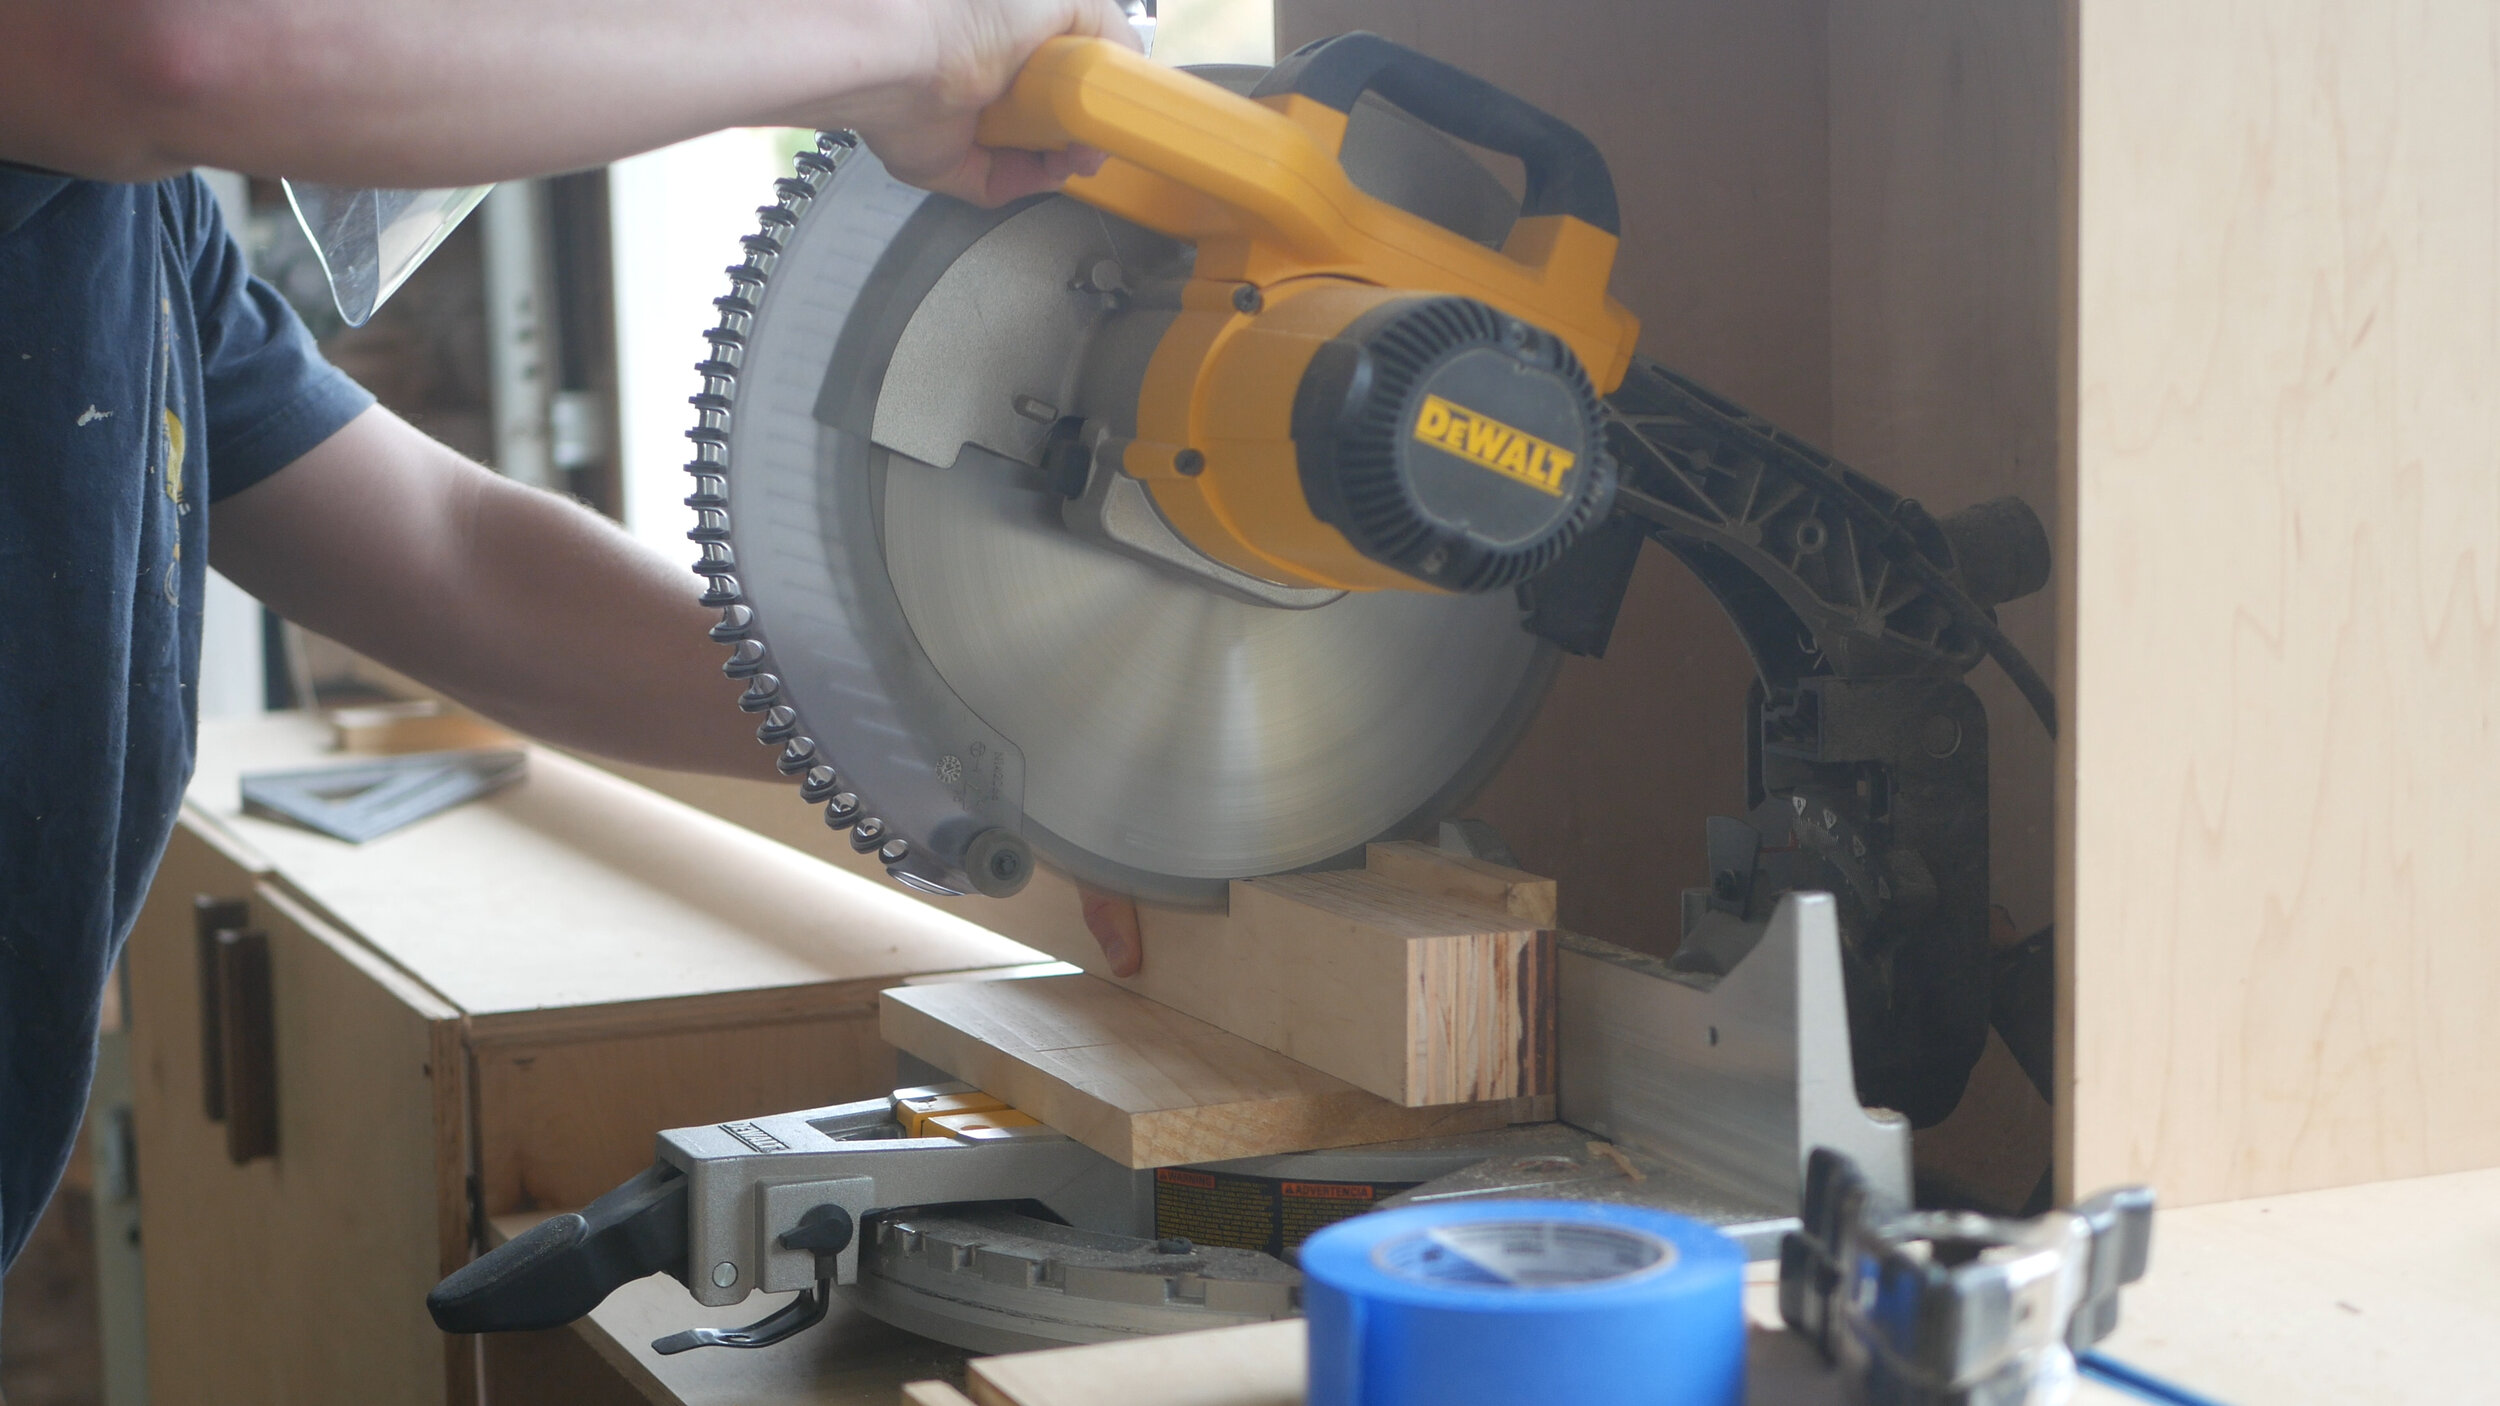
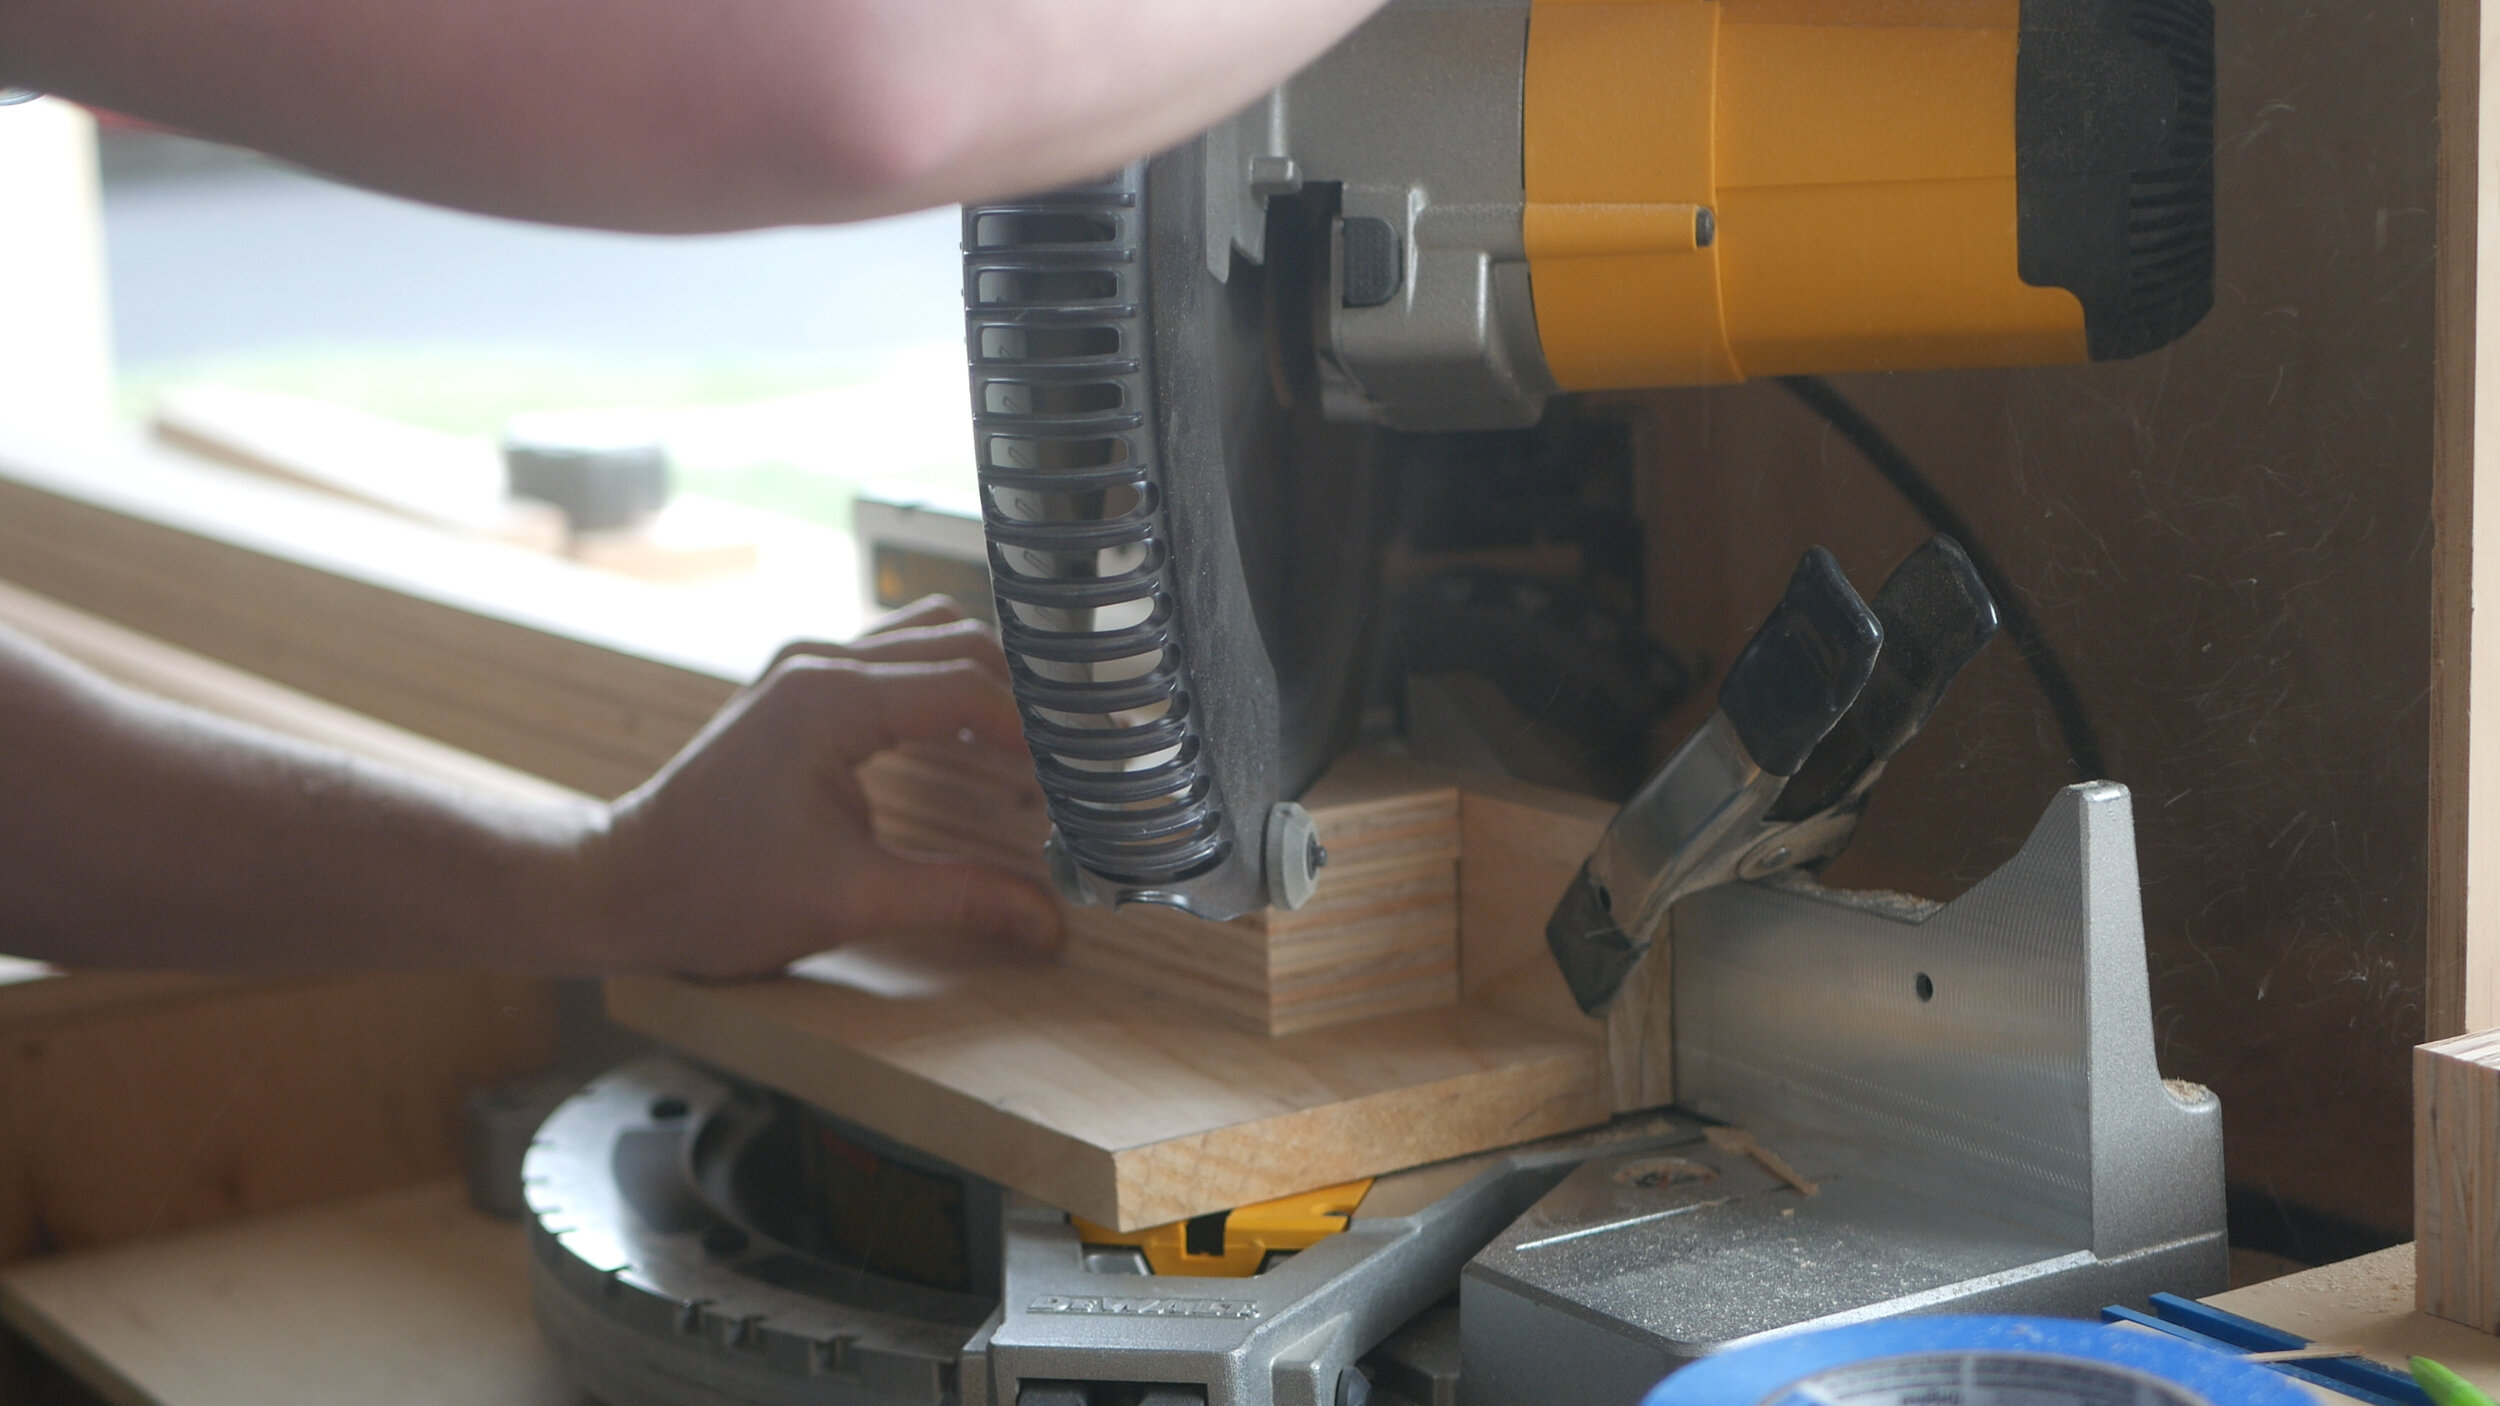
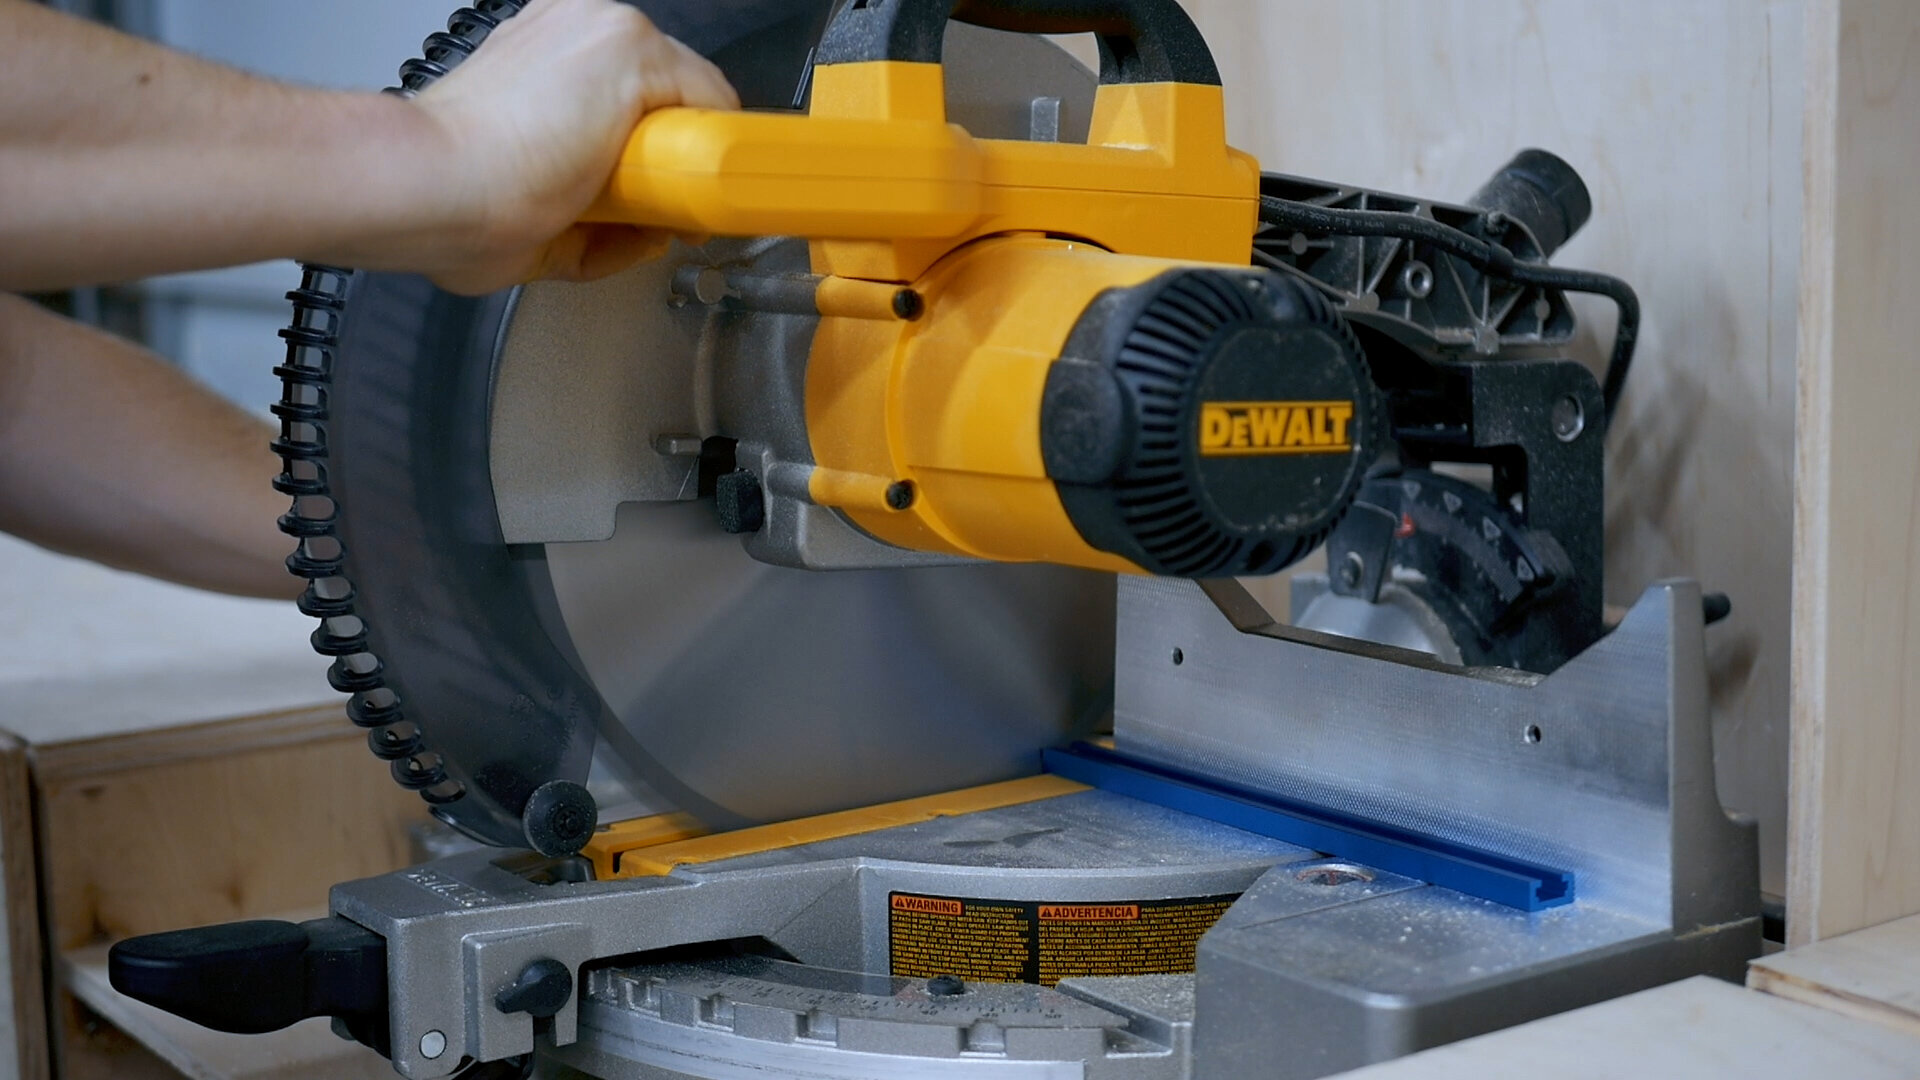
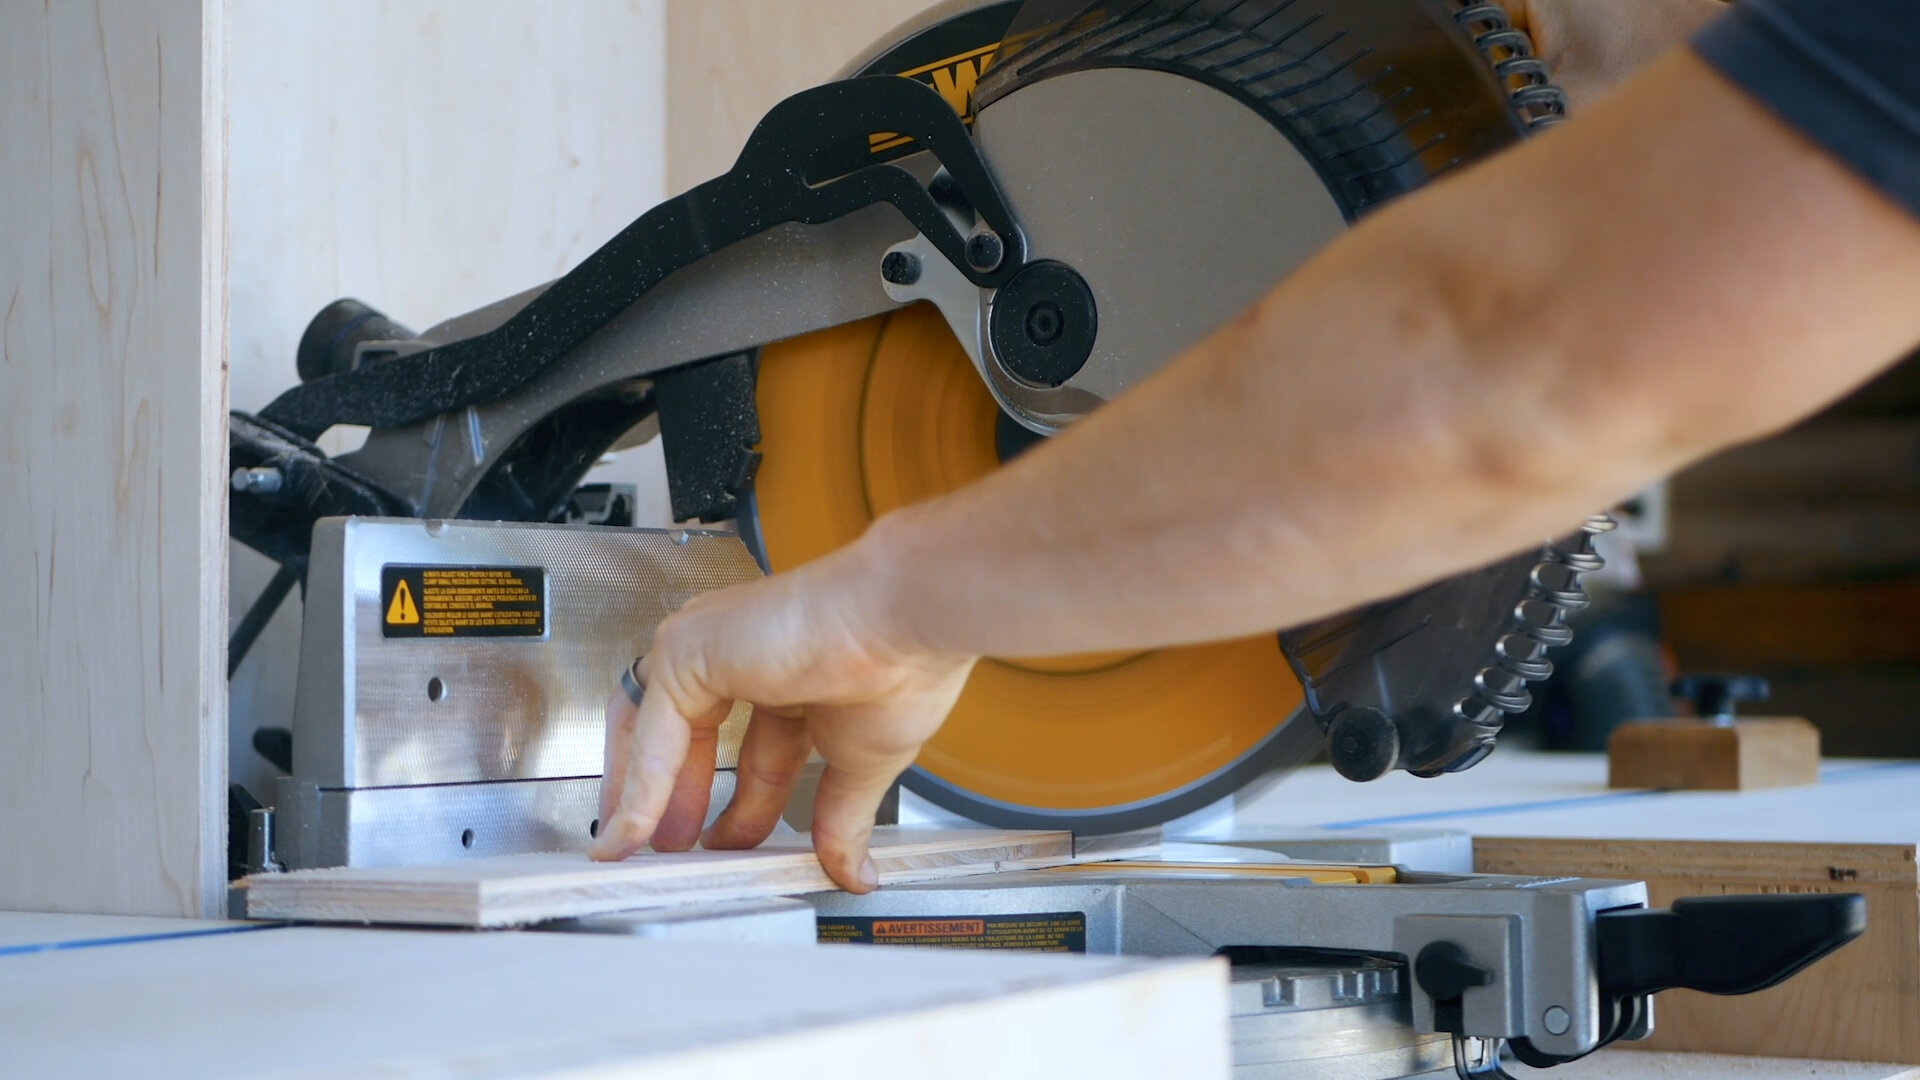
Miter Saw: https://amzn.to/2YXsyRi
Biscuit Jointer: https://amzn.to/2BkCWER
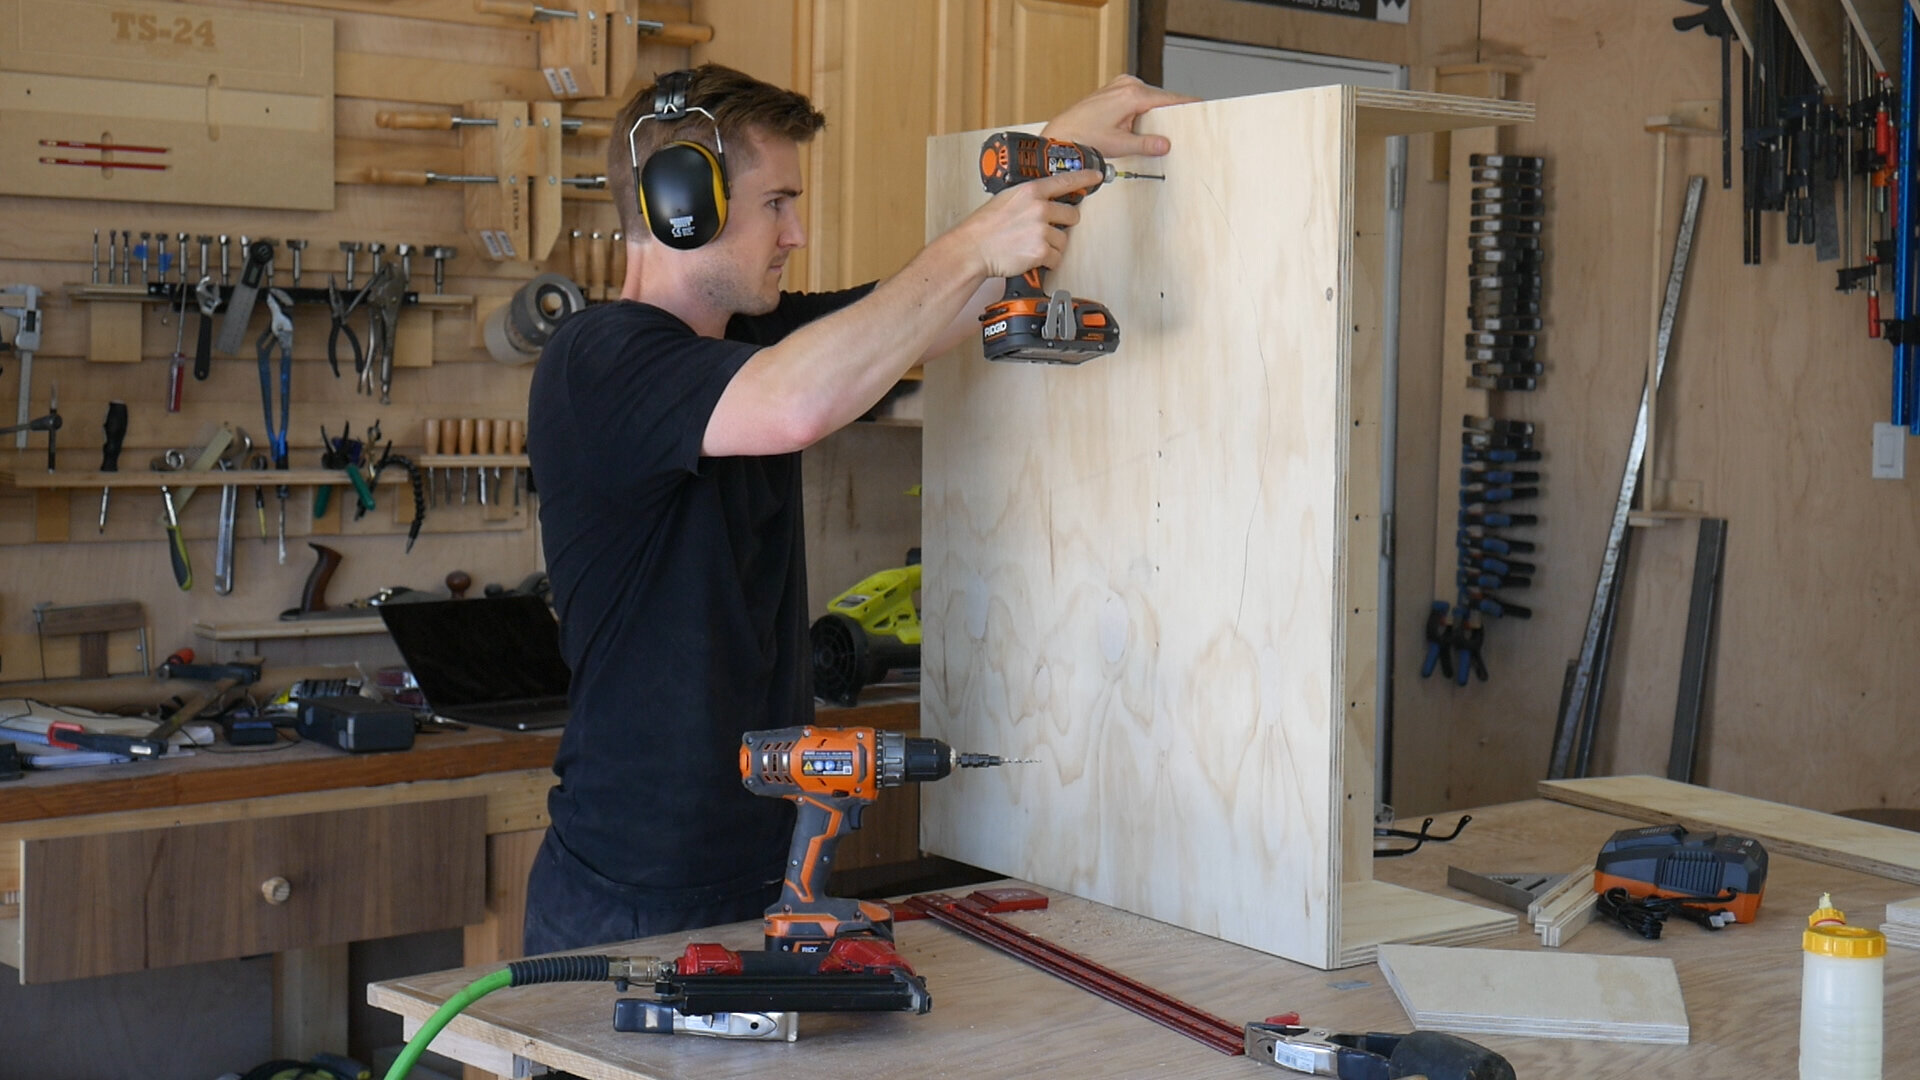
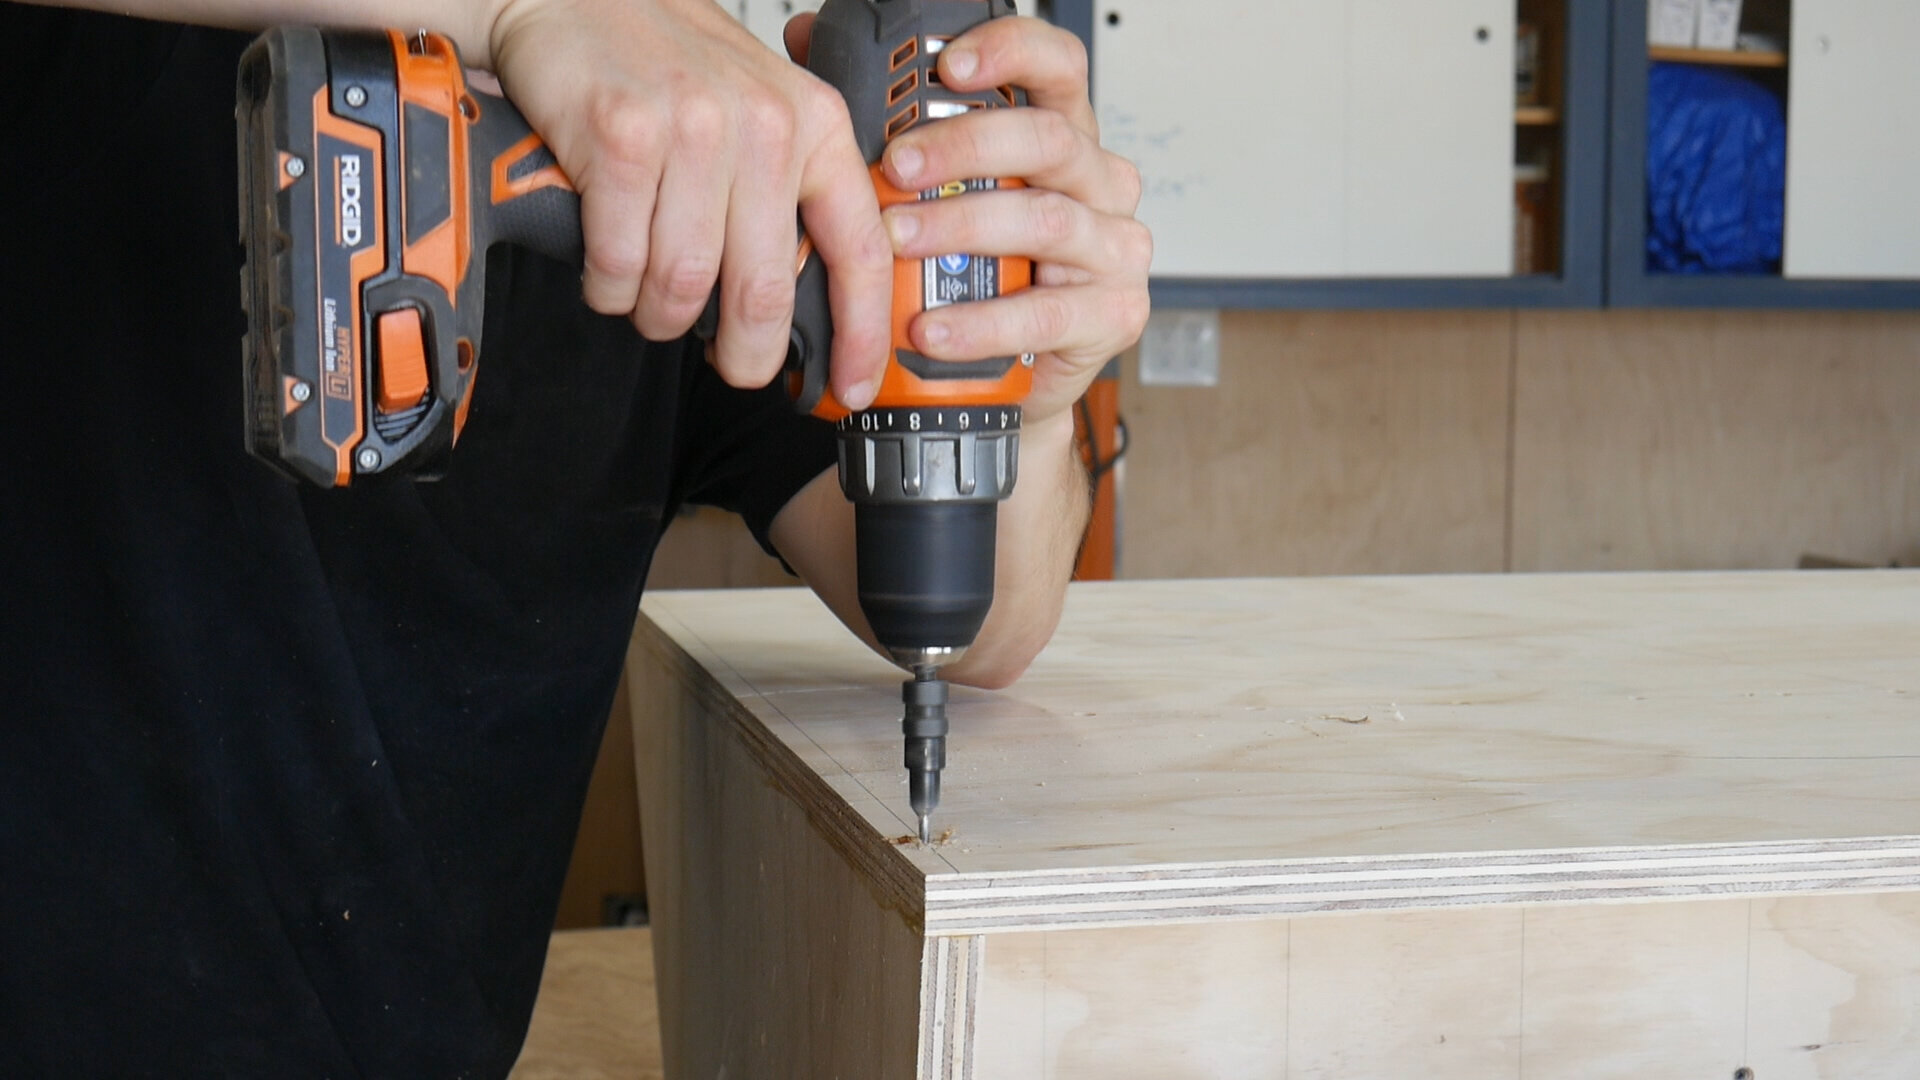
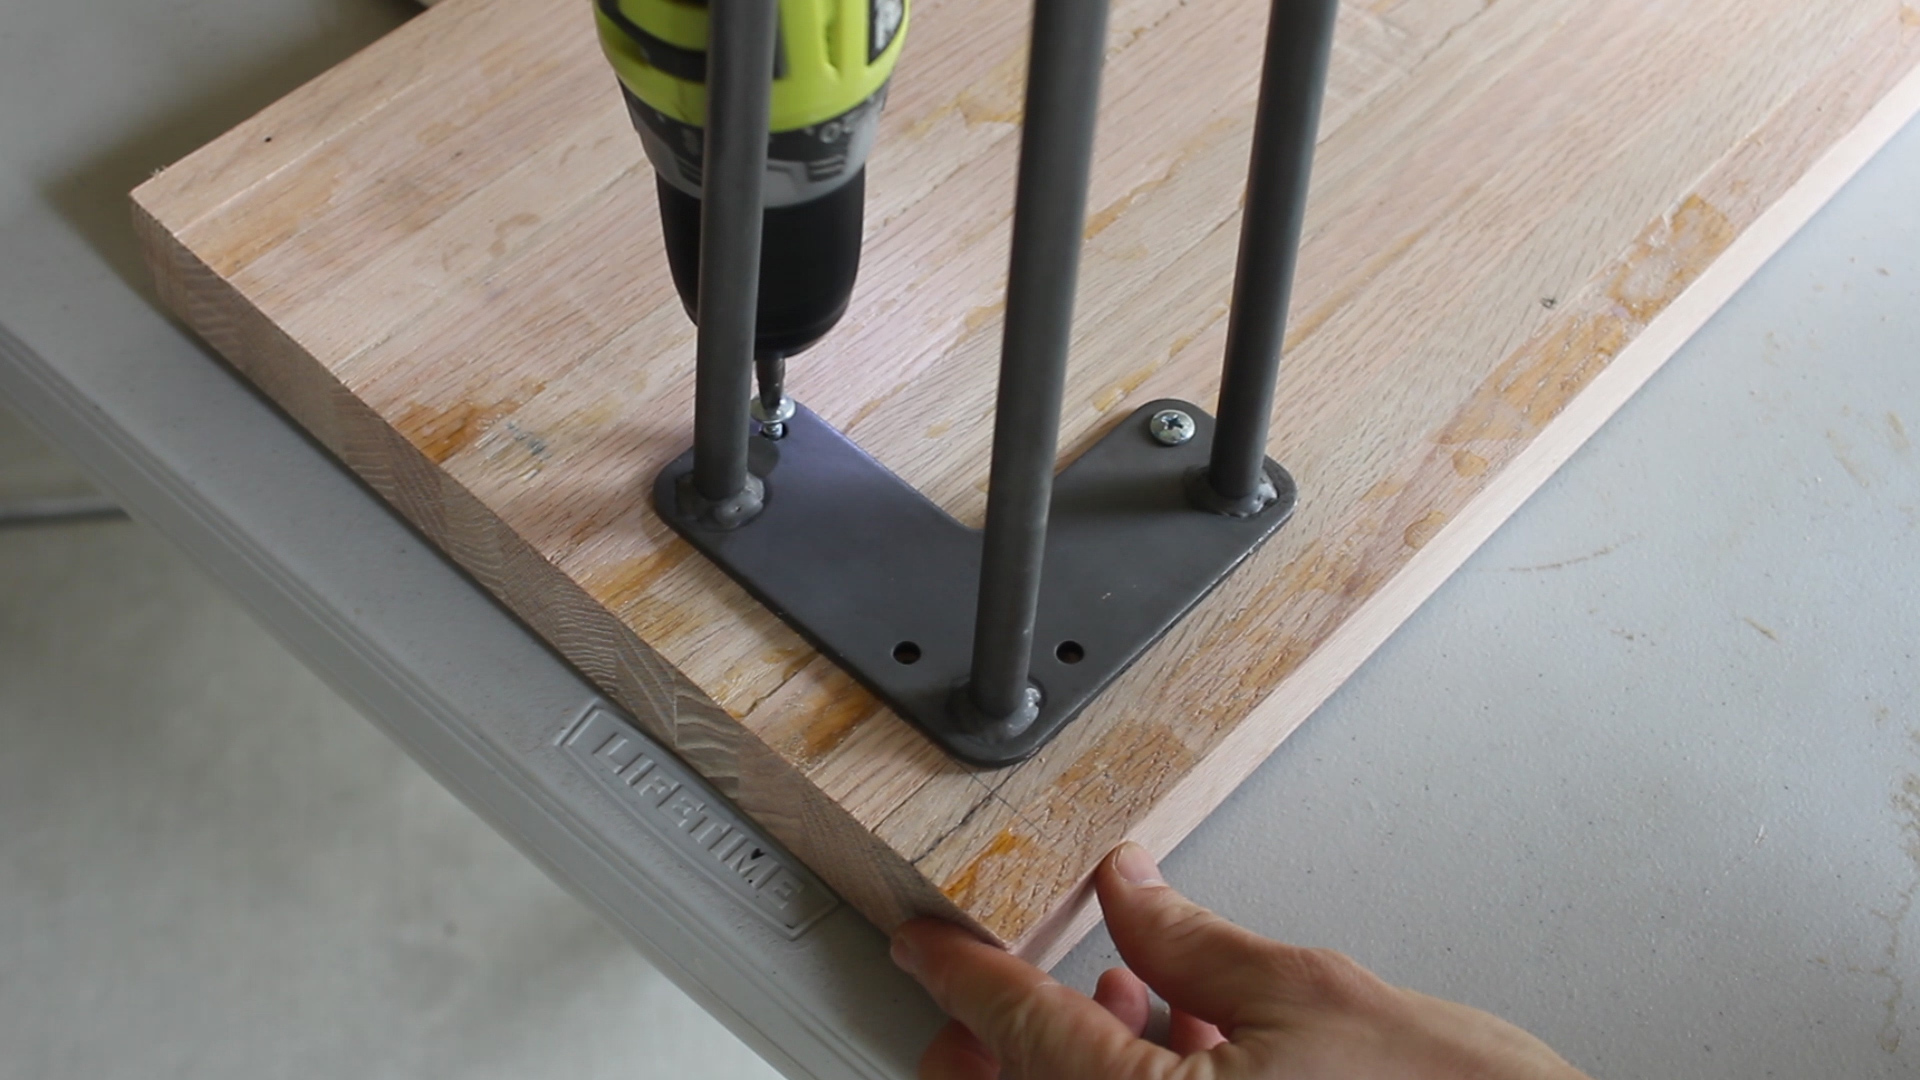
Power Drill: http://amzn.to/2q1l5wn
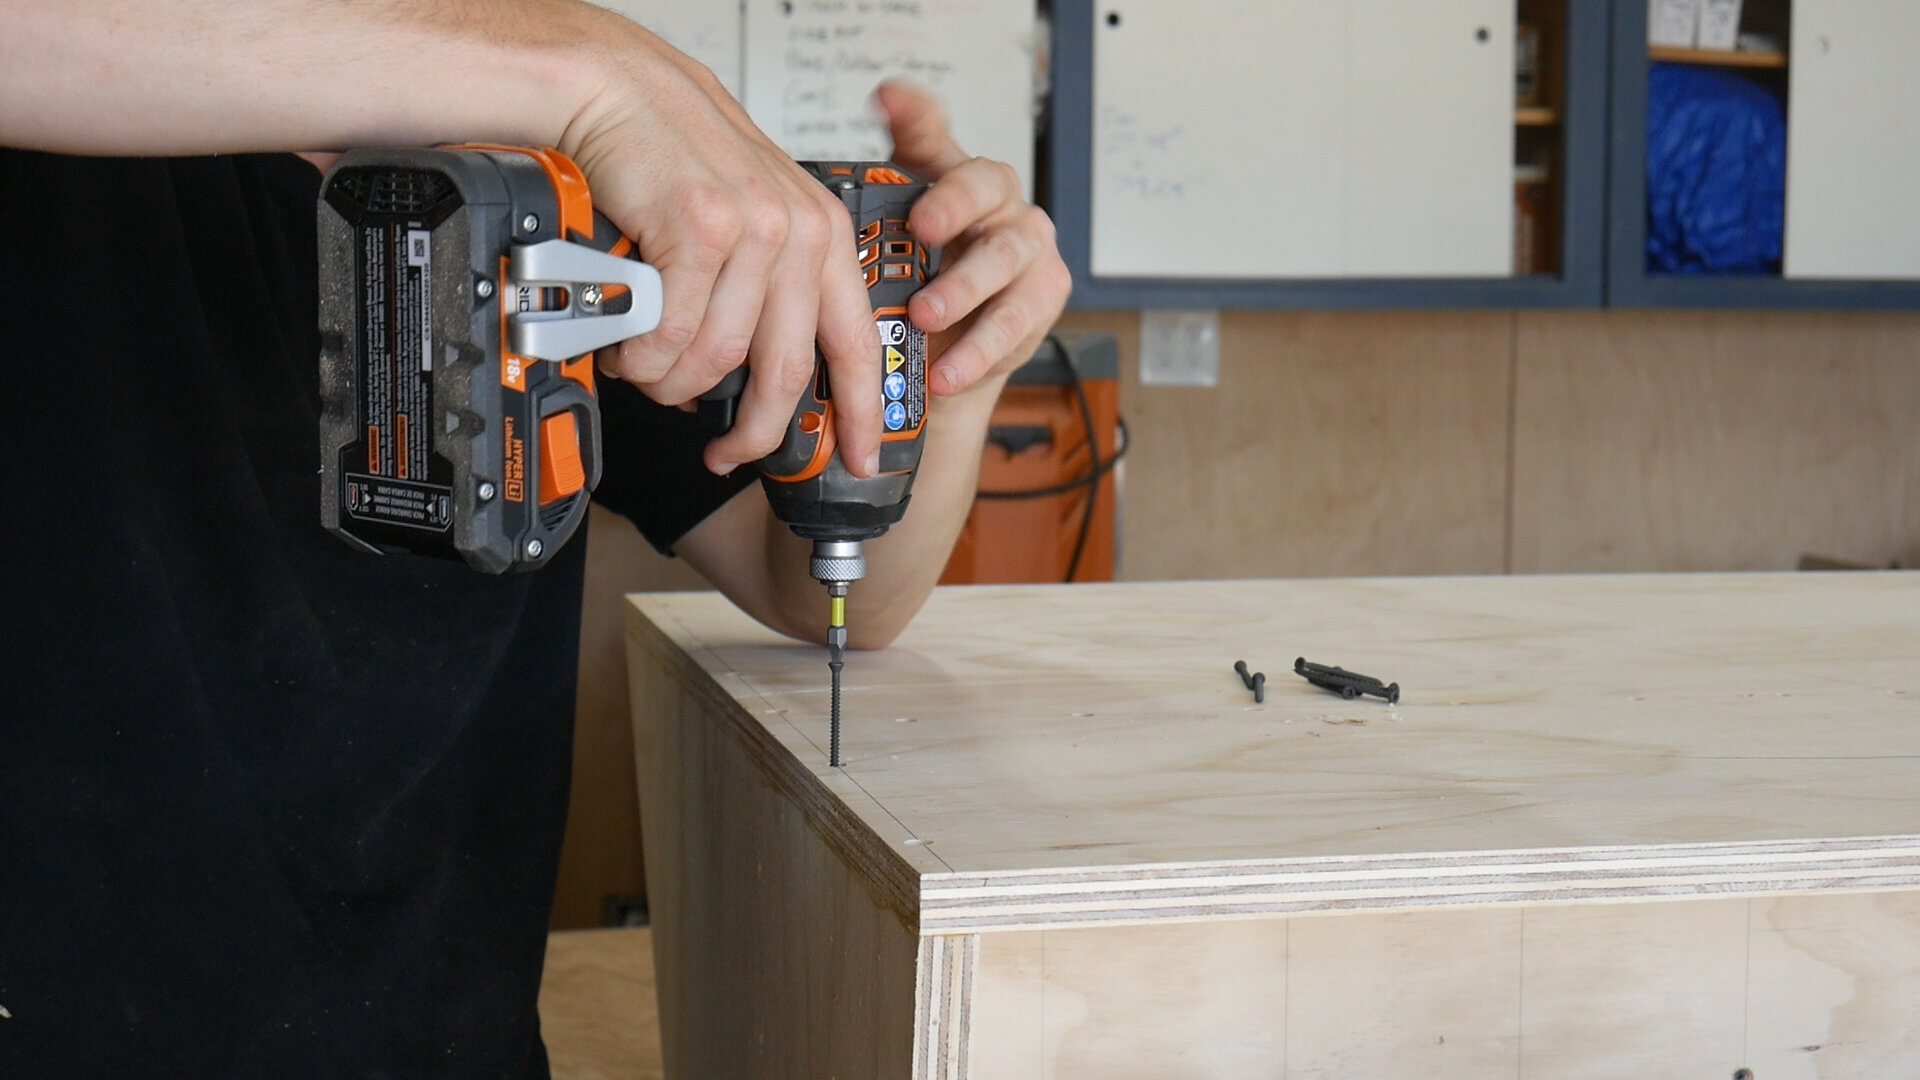
Impact Driver: http://amzn.to/2q1l5wn
Biscuit Jointer: https://amzn.to/2BkCWER
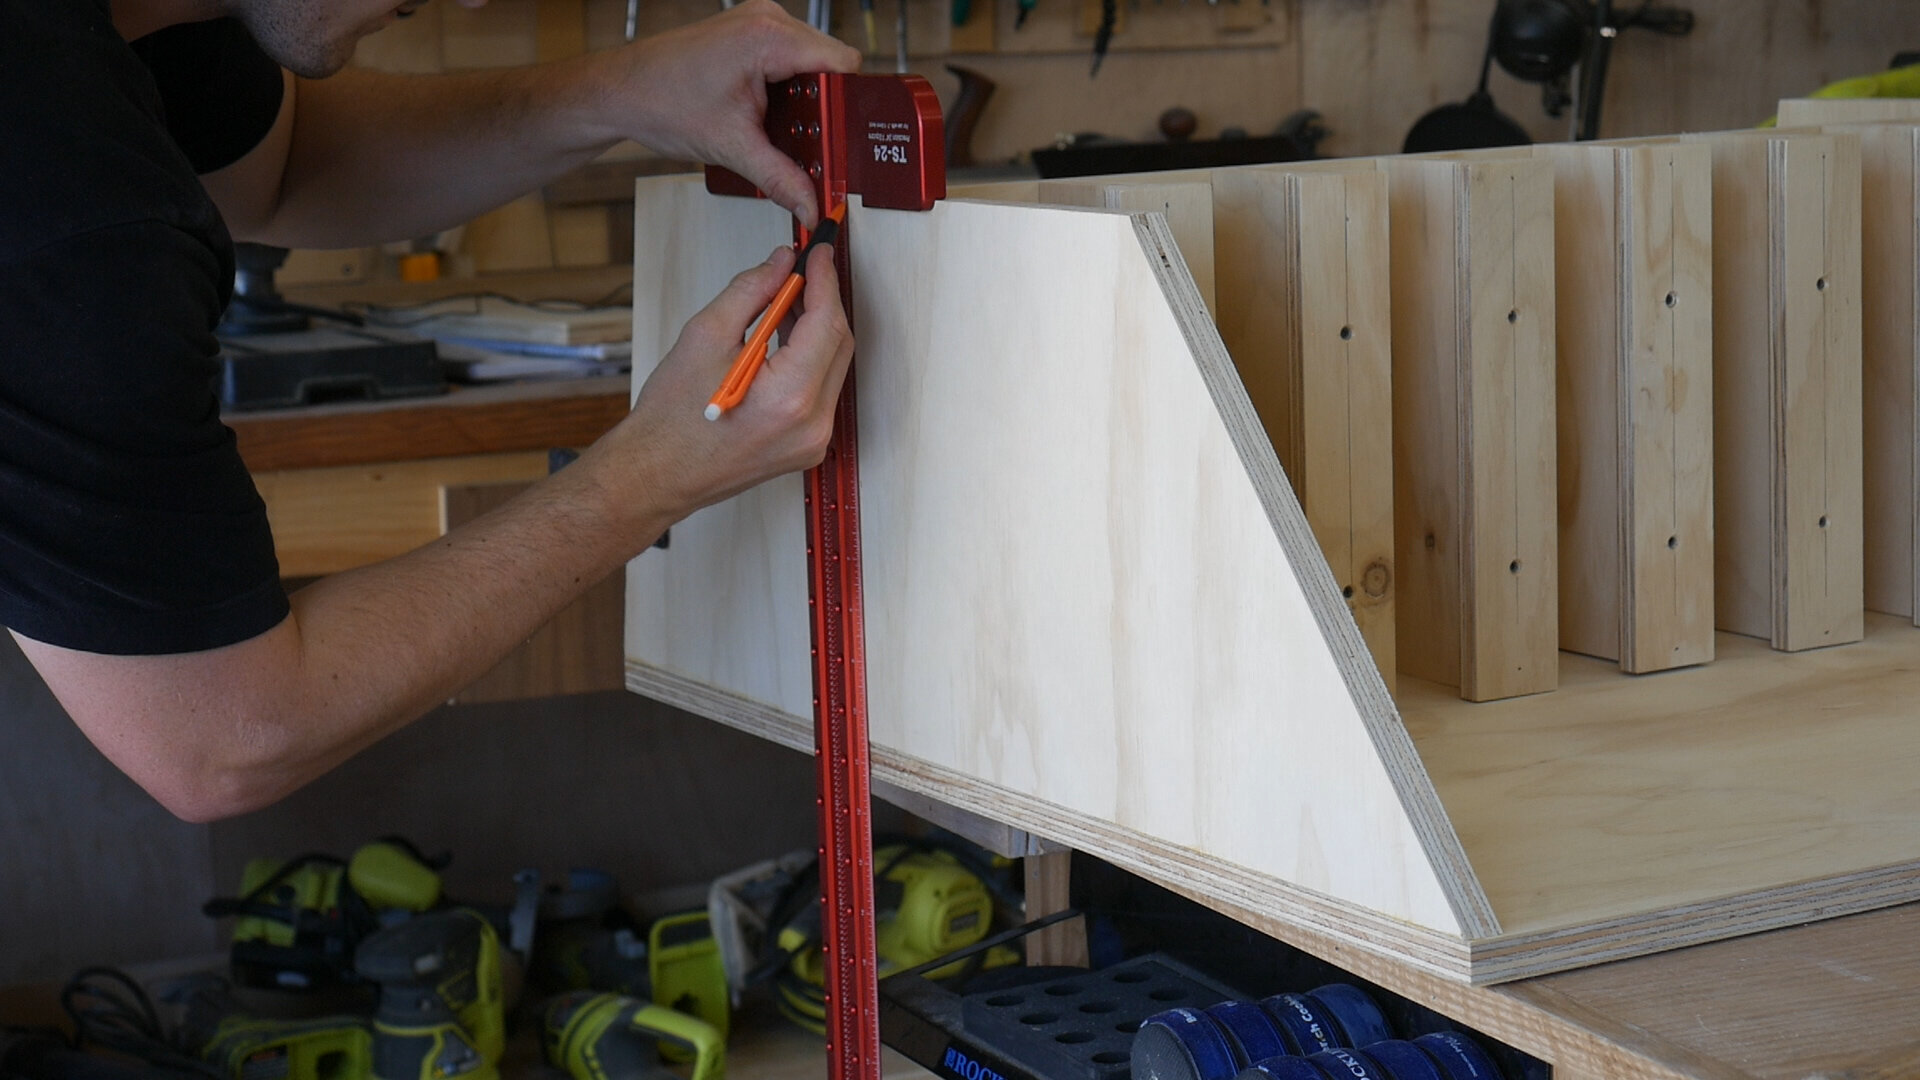
Woodpeckers TS-24 T-Square: https://amzn.to/2AsAE9W
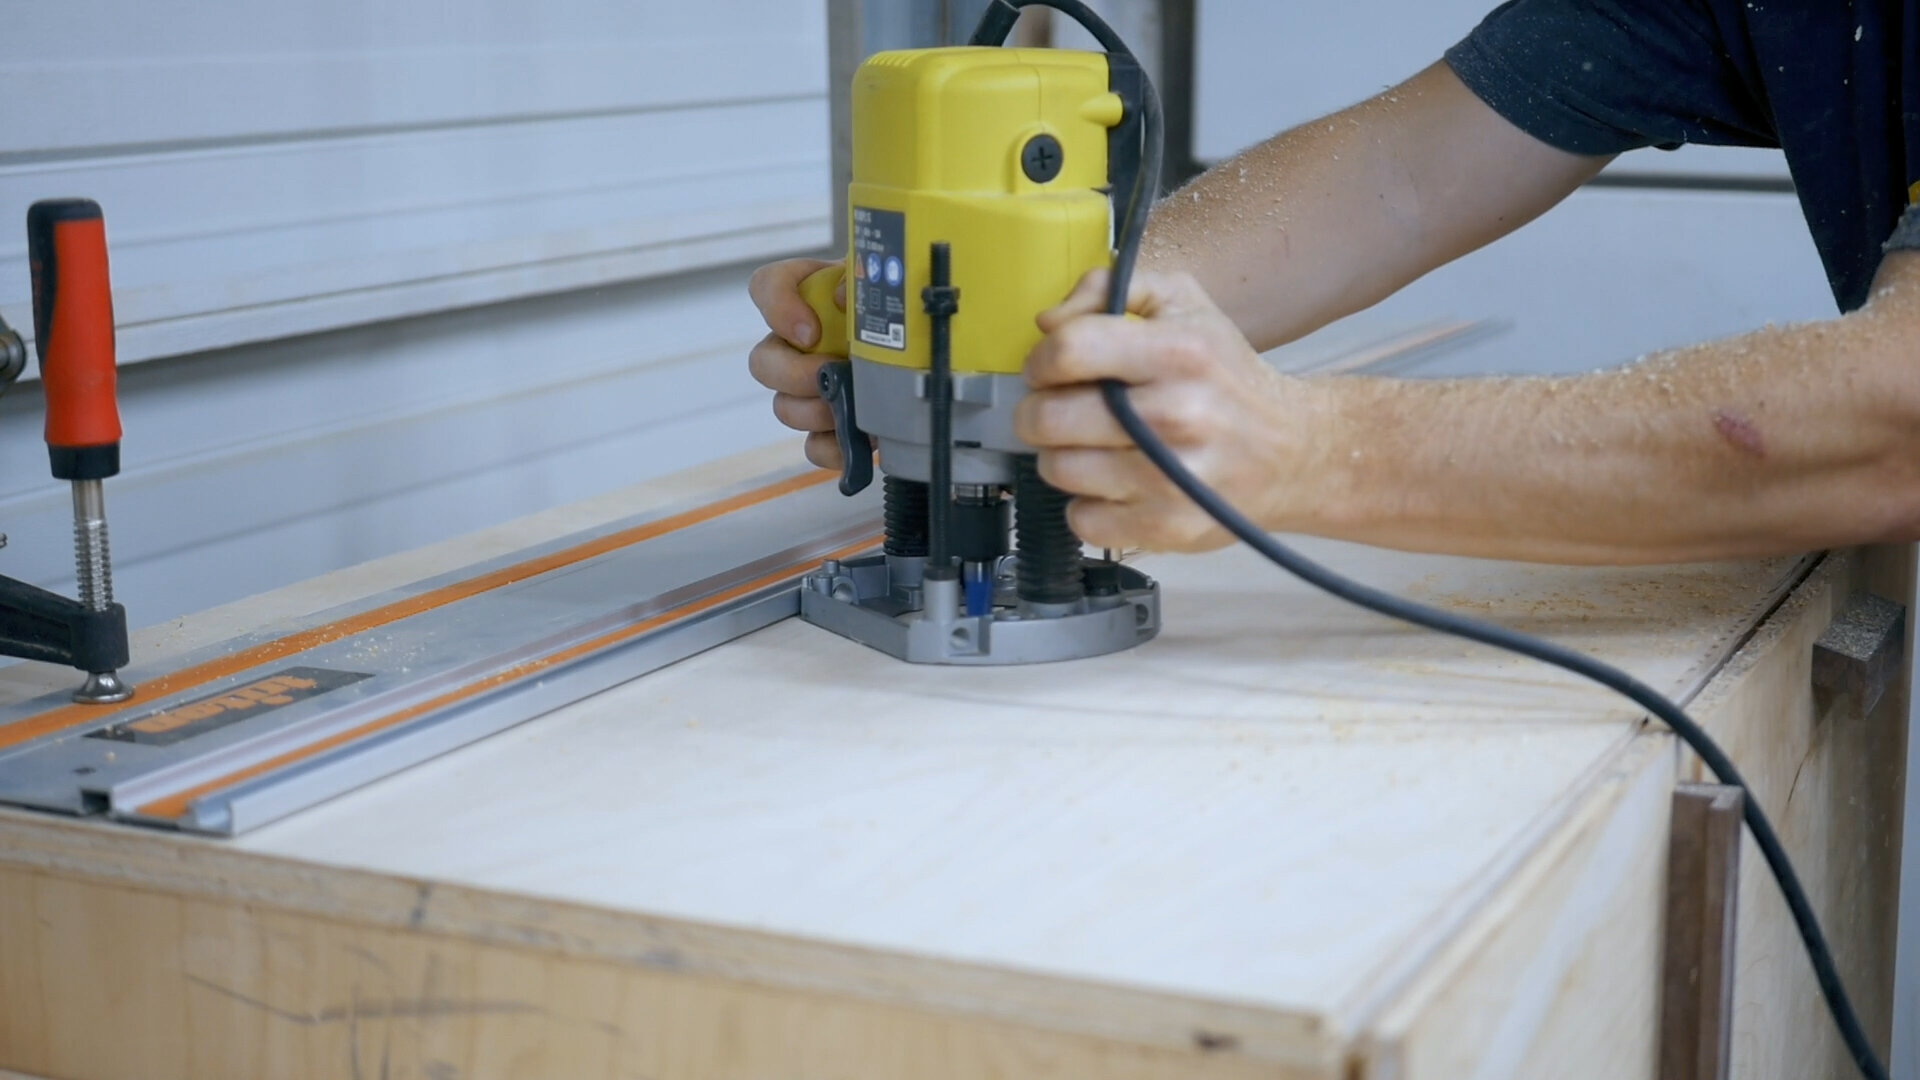
Plunge Router: http://amzn.to/2p15eiC
Bench Cookies: http://amzn.to/2q1qjYZ
If you have any questions or find any issues with the article, feel free to get in touch.
Zach