Thanks for checking out the full article! Please Subscribe to our Youtube Channel by clicking here.
My full video of the build is below, followed by detailed instructions with tools, materials, and measurements!
My friend knew I liked to build, film, blog, and share. He wanted two barn doors, so I was off to create my first project. He gave me all of the important measurements (door height, hardware he ordered, style references for doors, and color preferences).
MATERIALS
10 x 2" x 8" x 8' Douglas Fir (Kiln Dried)
2 x 2" x 4" x 8' Douglas Fir (Kiln Dried)
75 x 1/2" Wooden Dowels
TiteBond II Wood Glue
Frog Tape
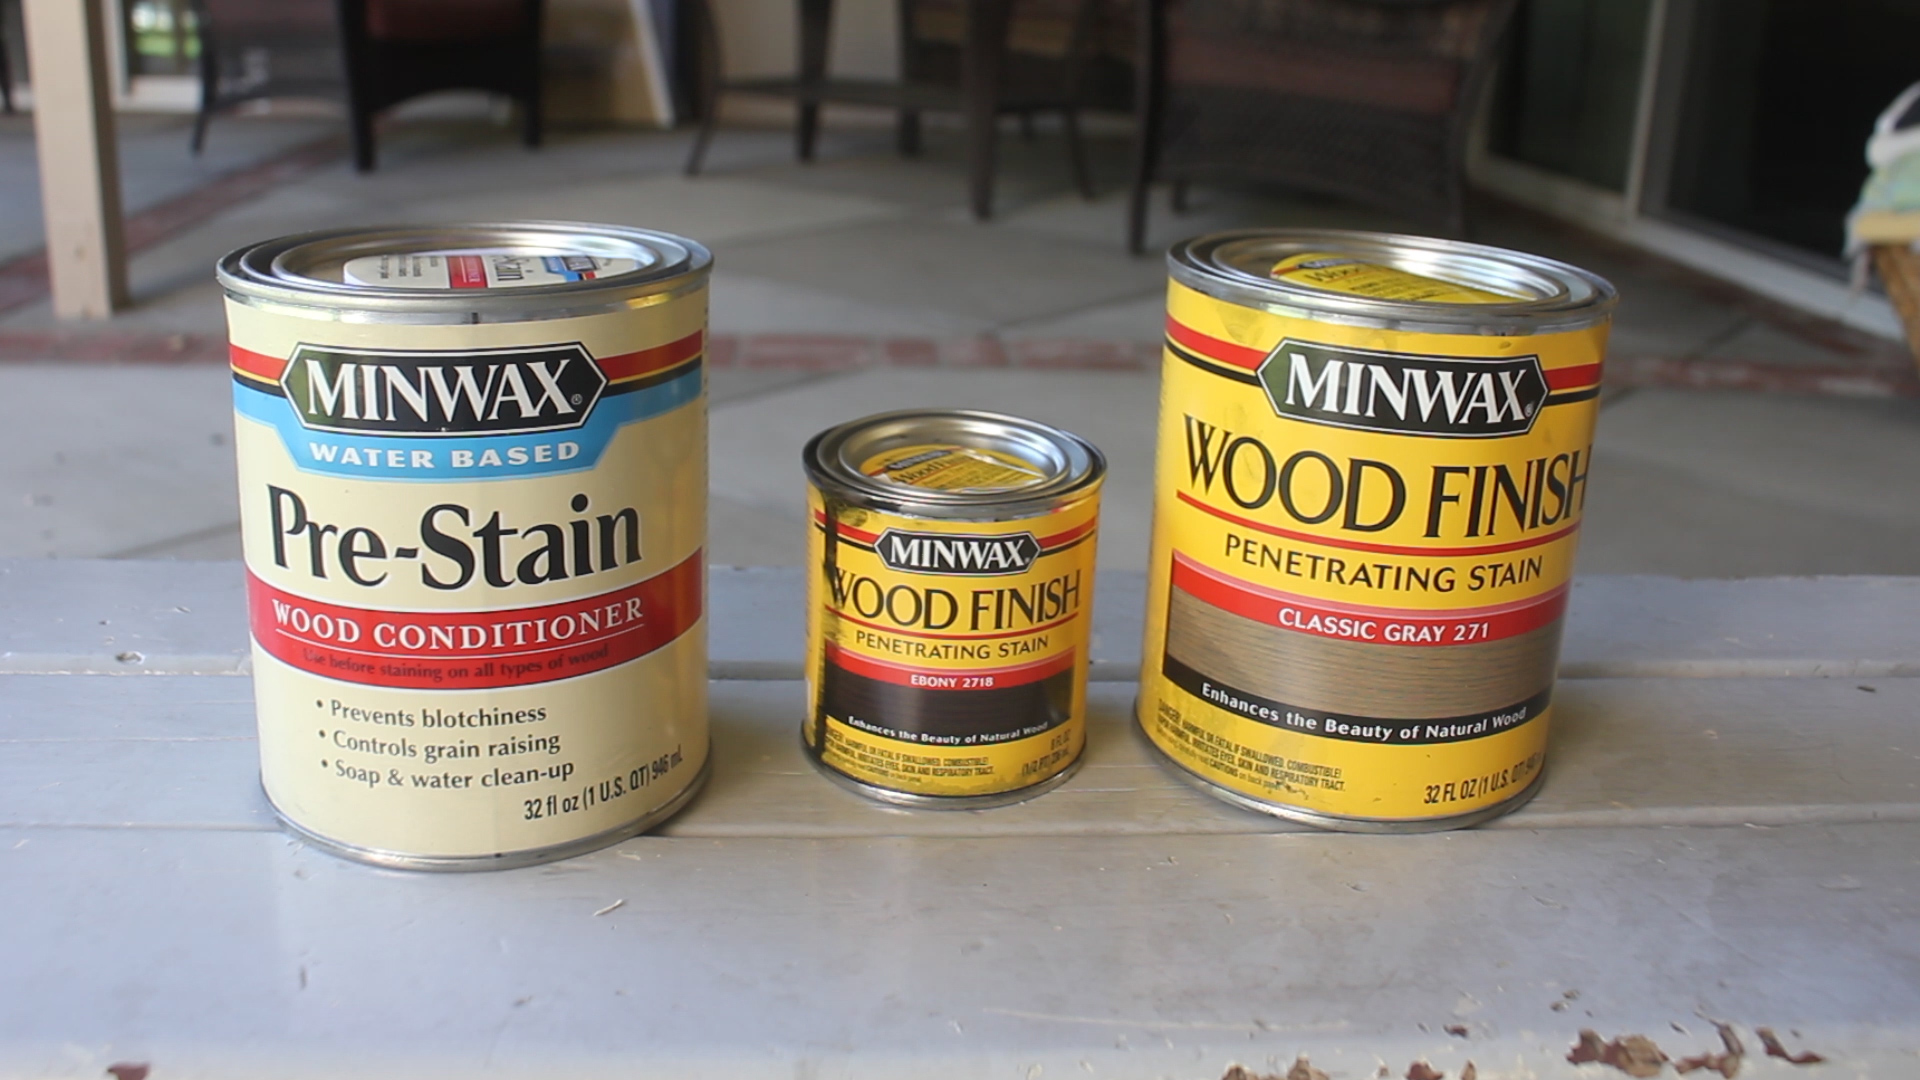
Minwax Classic Grey
Minwax Ebony
Minwax Pre-Stain Conditioner
Barndoor Hardware
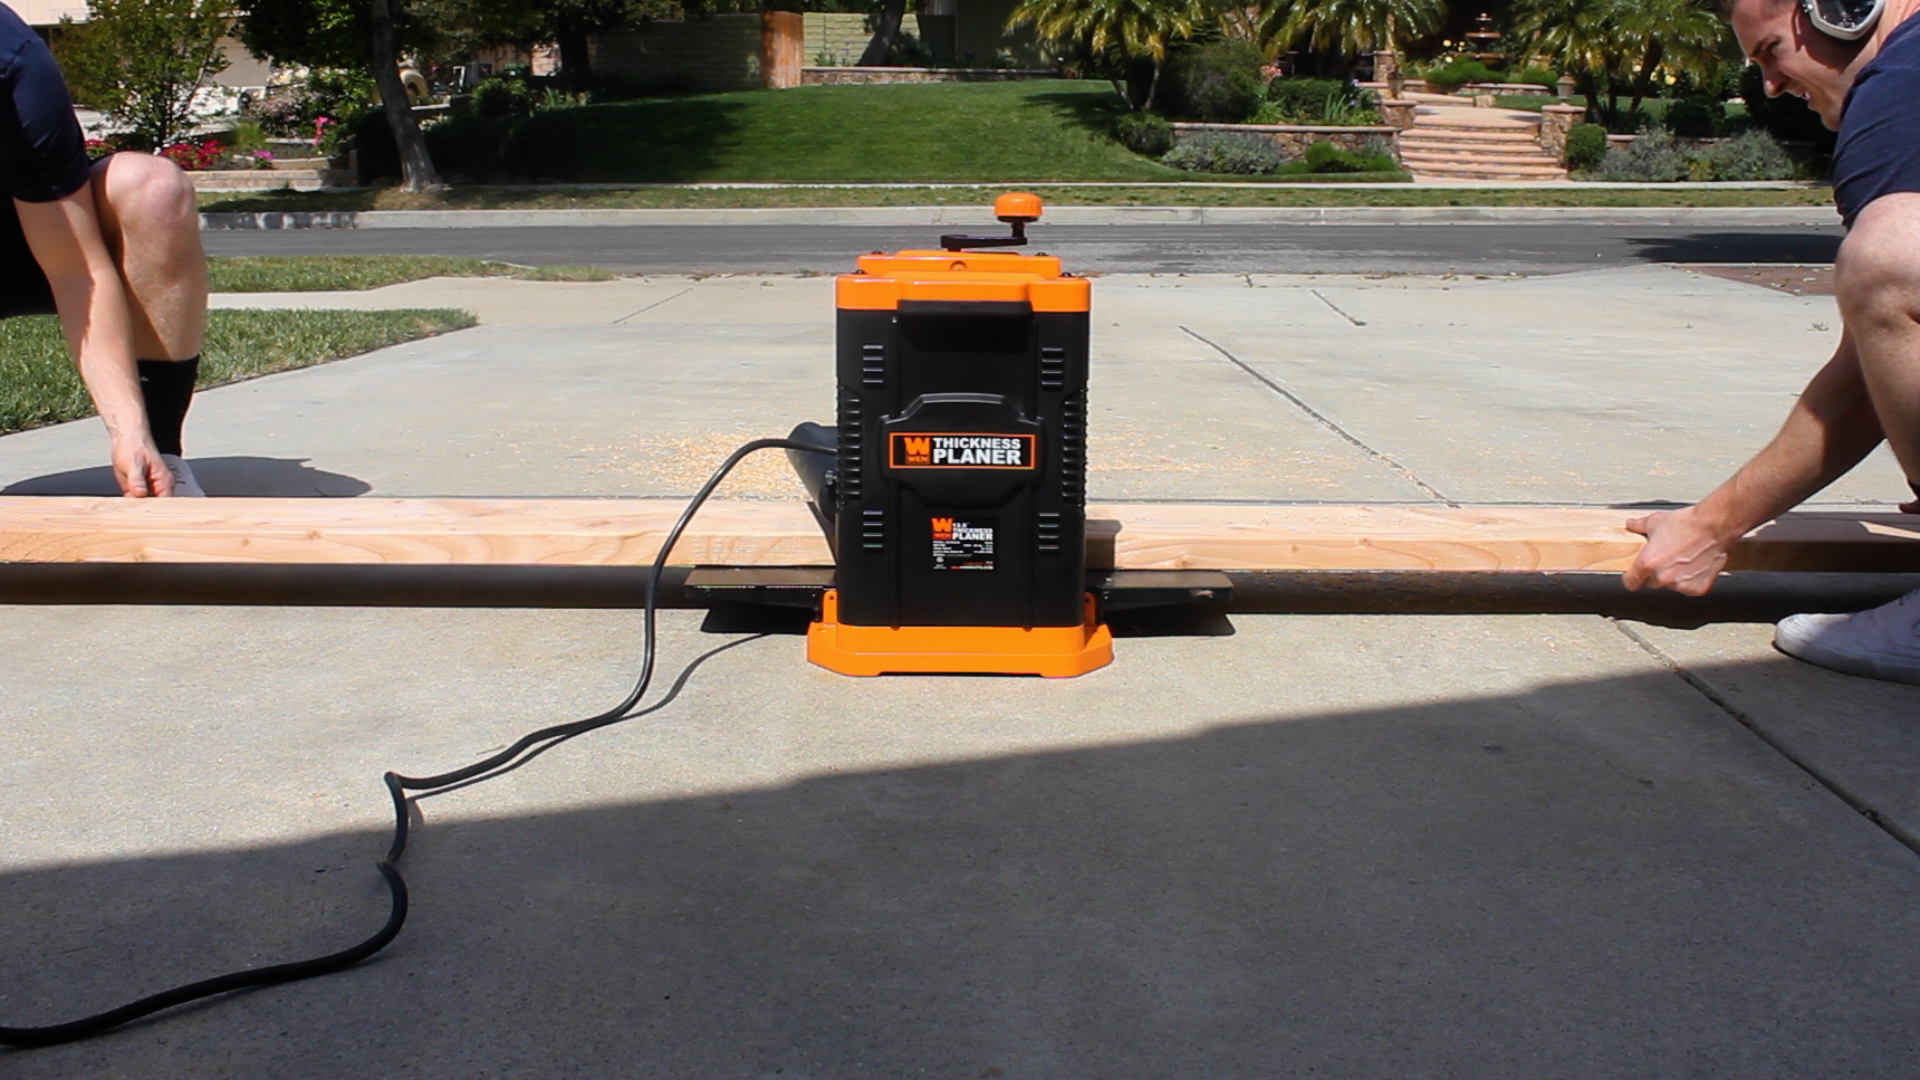
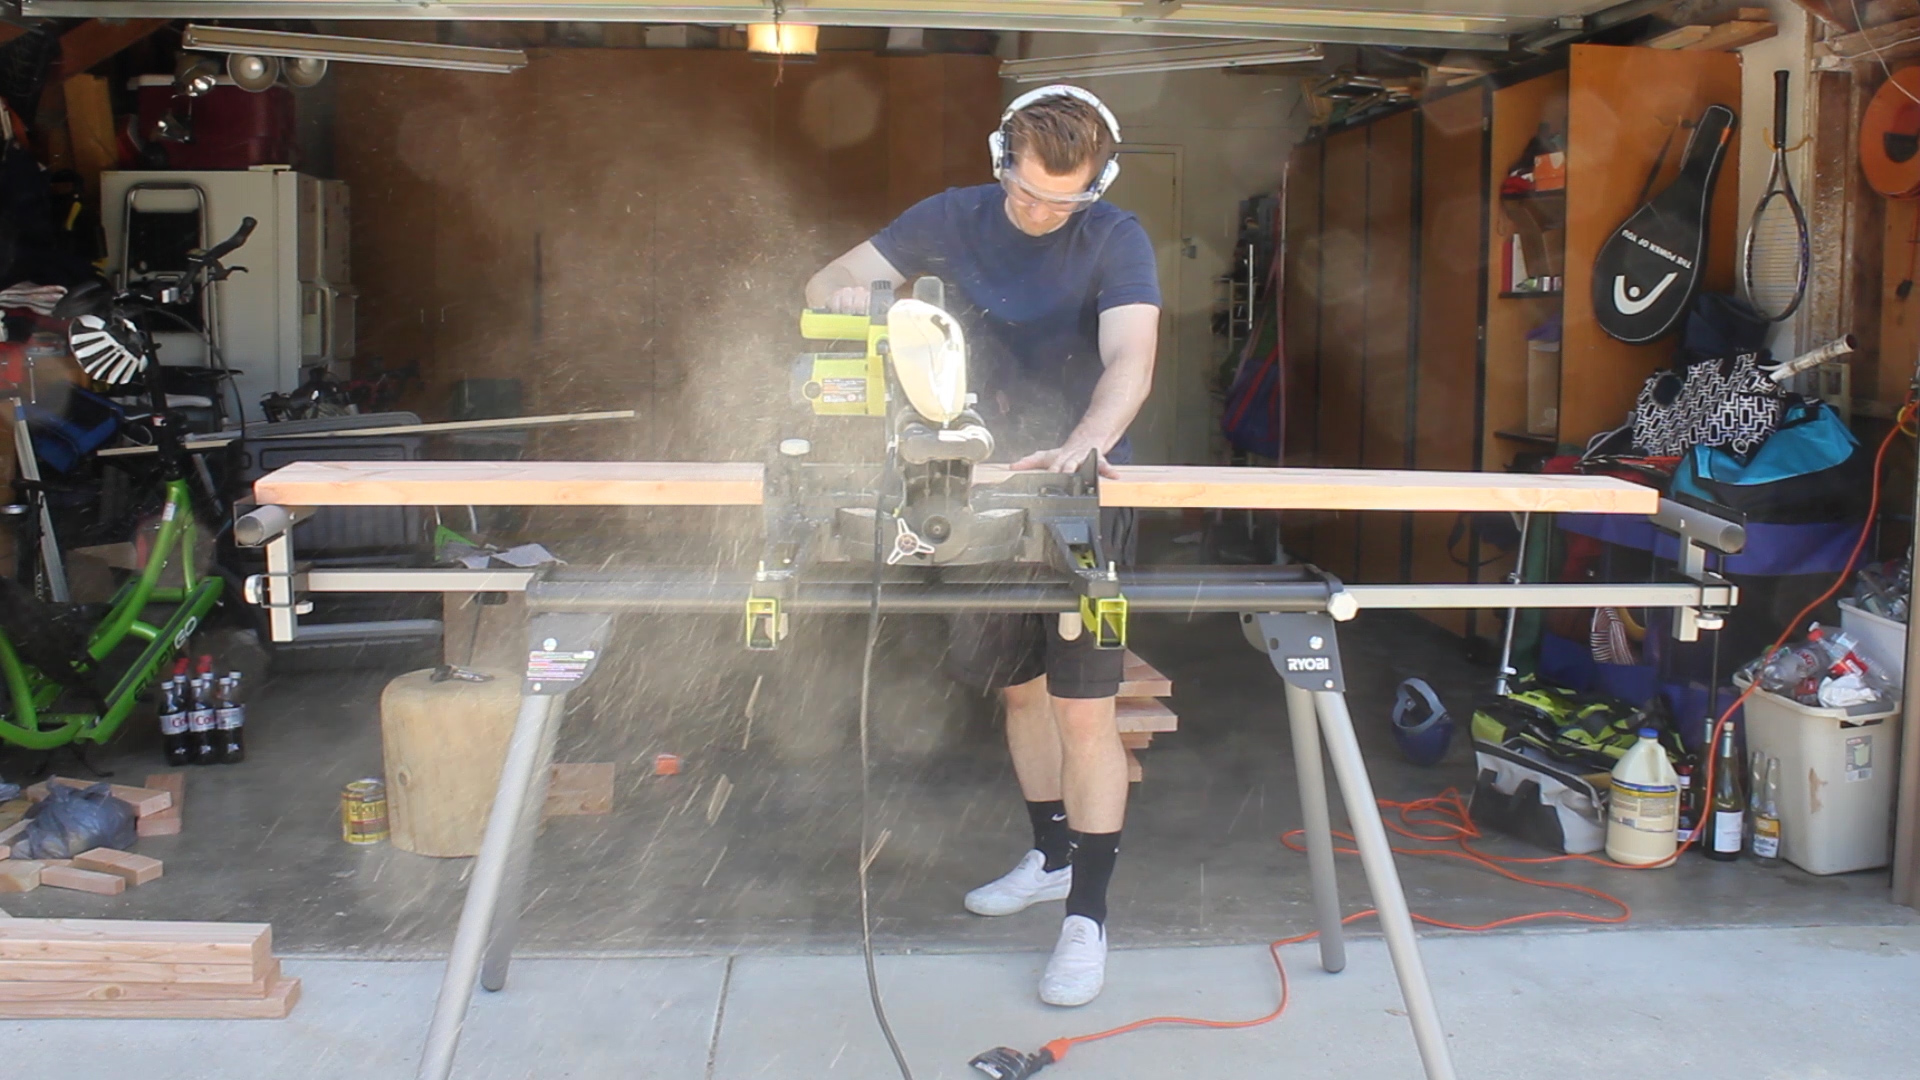
Douglas Fir lumber is rather rough, so I started off by planing all of my pieces down. Between the amount of lumber I planed and the fact that my planer is on the ground, I was actually in quite a bit of pain by the end of it. I did about 3-4 passes on each side of the lumber to bring it to a nicer, flat surface. Then, I cut all of my pieces to length.
CUTS:
20 x 2" x 8" x 40"
10 x 2" x 8" x 40"
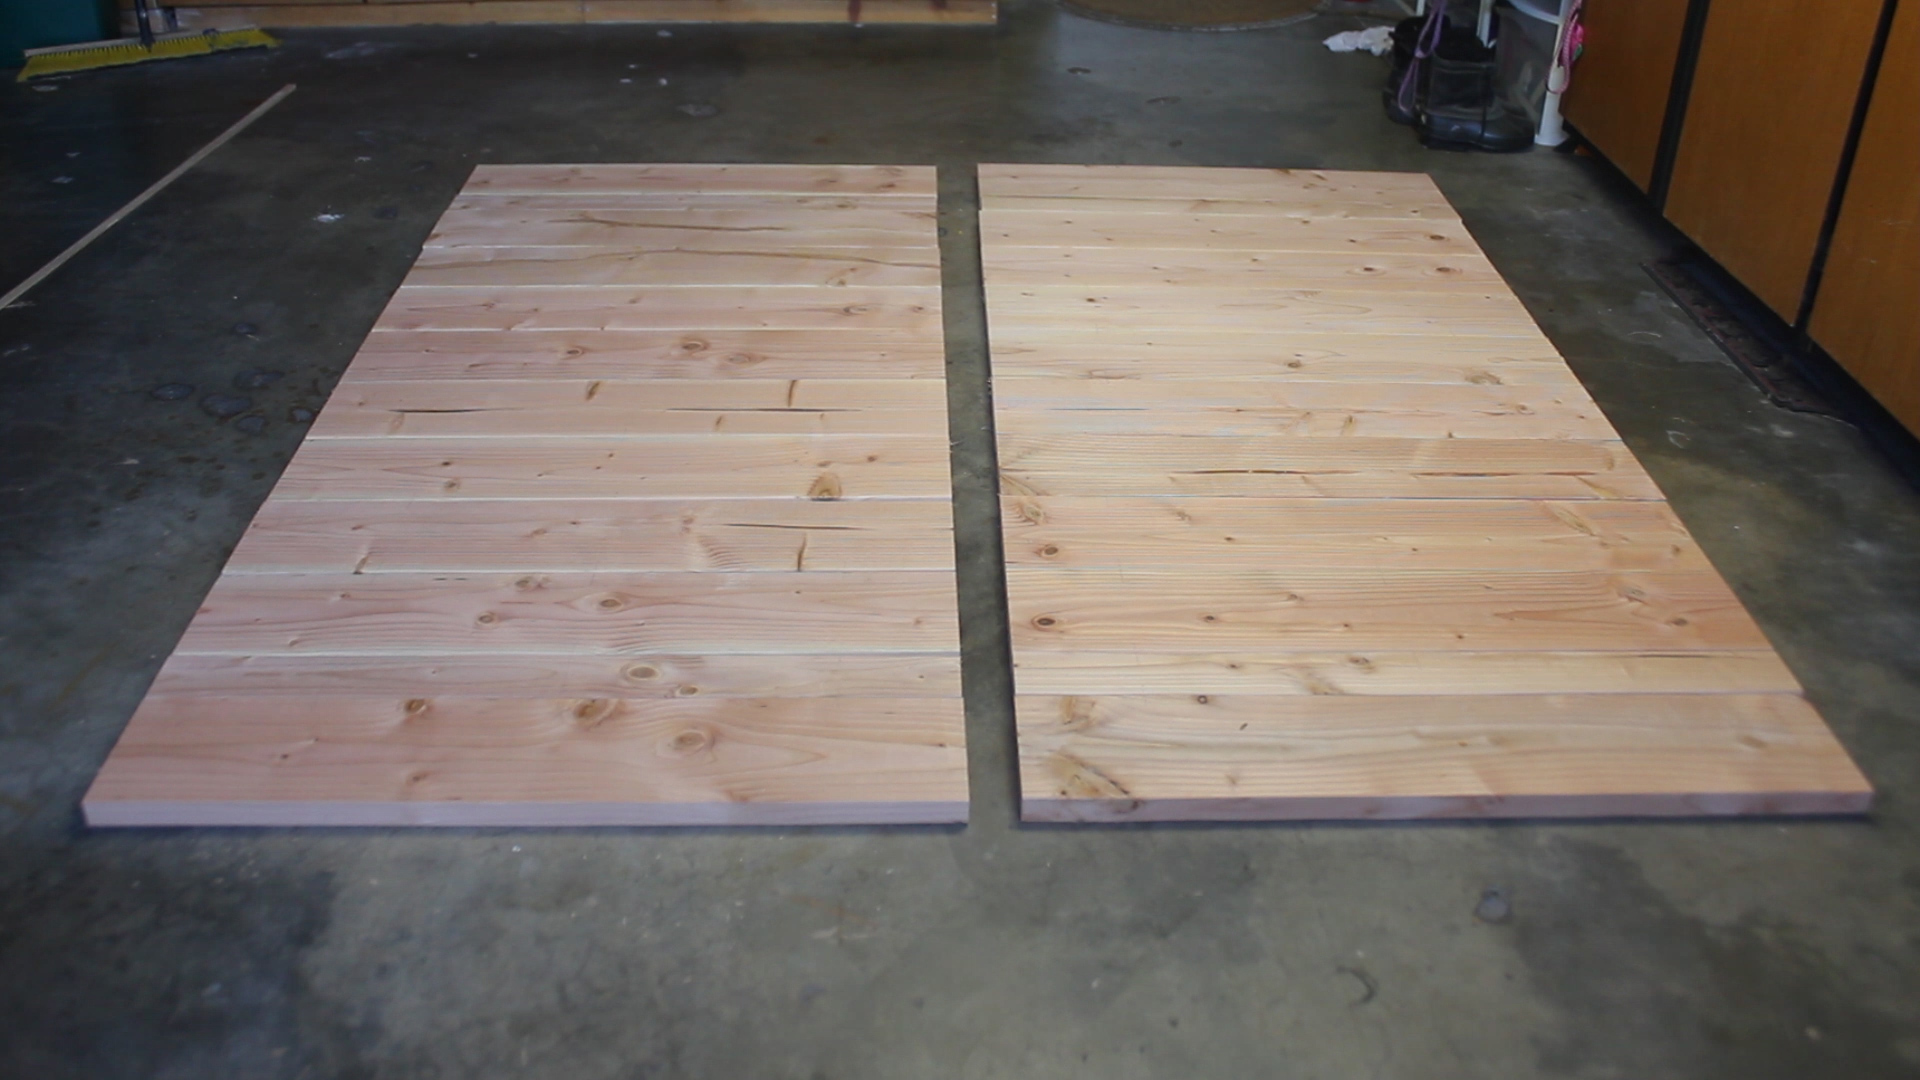
It might be difficult to tell from picture three, but the design of each of my doors was as such:
1 x 2" x 8" x 40"
1 x 2" x 8" x 40"
8 x 2" x 8" x 40"
1 x 2" x 8" x 40"
1 x 2" x 8" x 40"
to make a door roughly 82" high (based on the door heigh I needed for this specific project), and it came out looking pretty sweet!
By the way, this project took me a lot longer than expected, with the obvious reason being that I literally needed to do everything twice as I was making two doors. If you're just making one door, things will move a lot faster!
After laying out all of my cuts and arranging them how I liked them, I labeled each piece so that I could put them back in order when I glued them up.
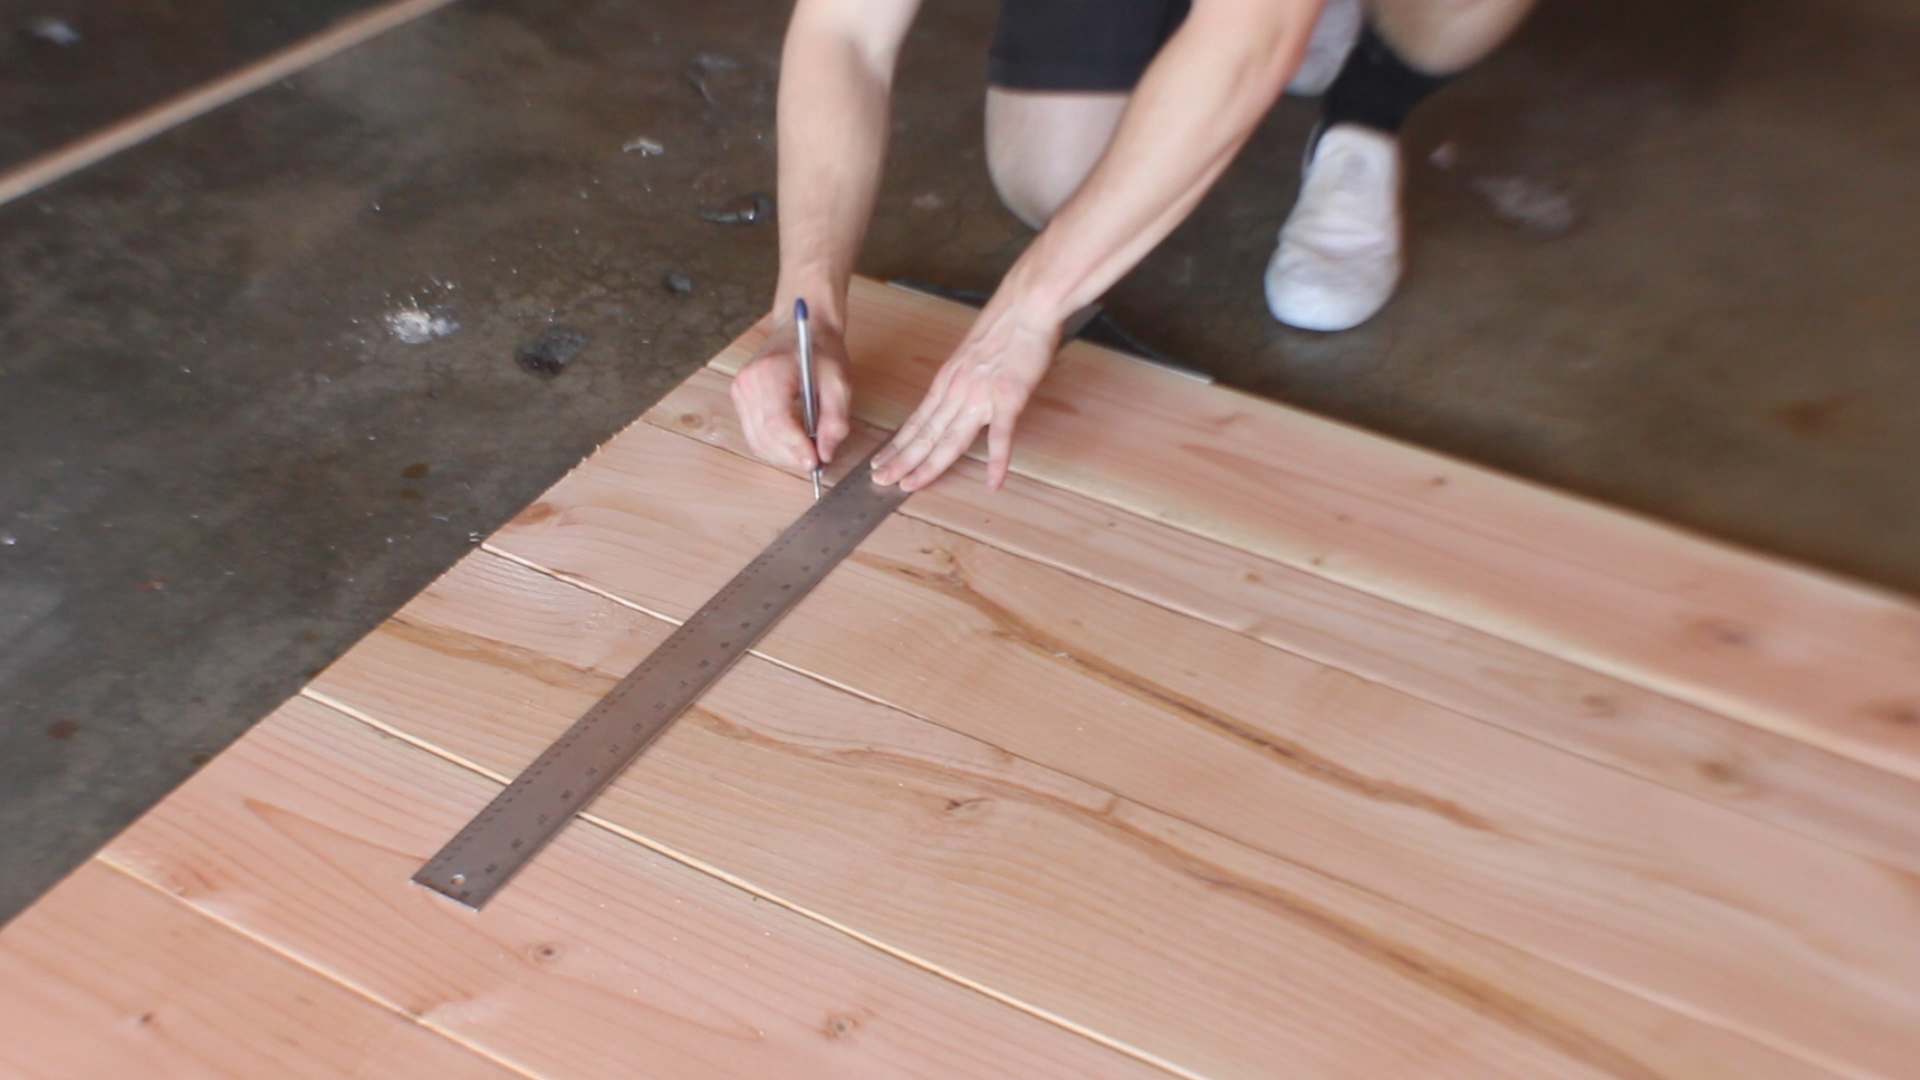
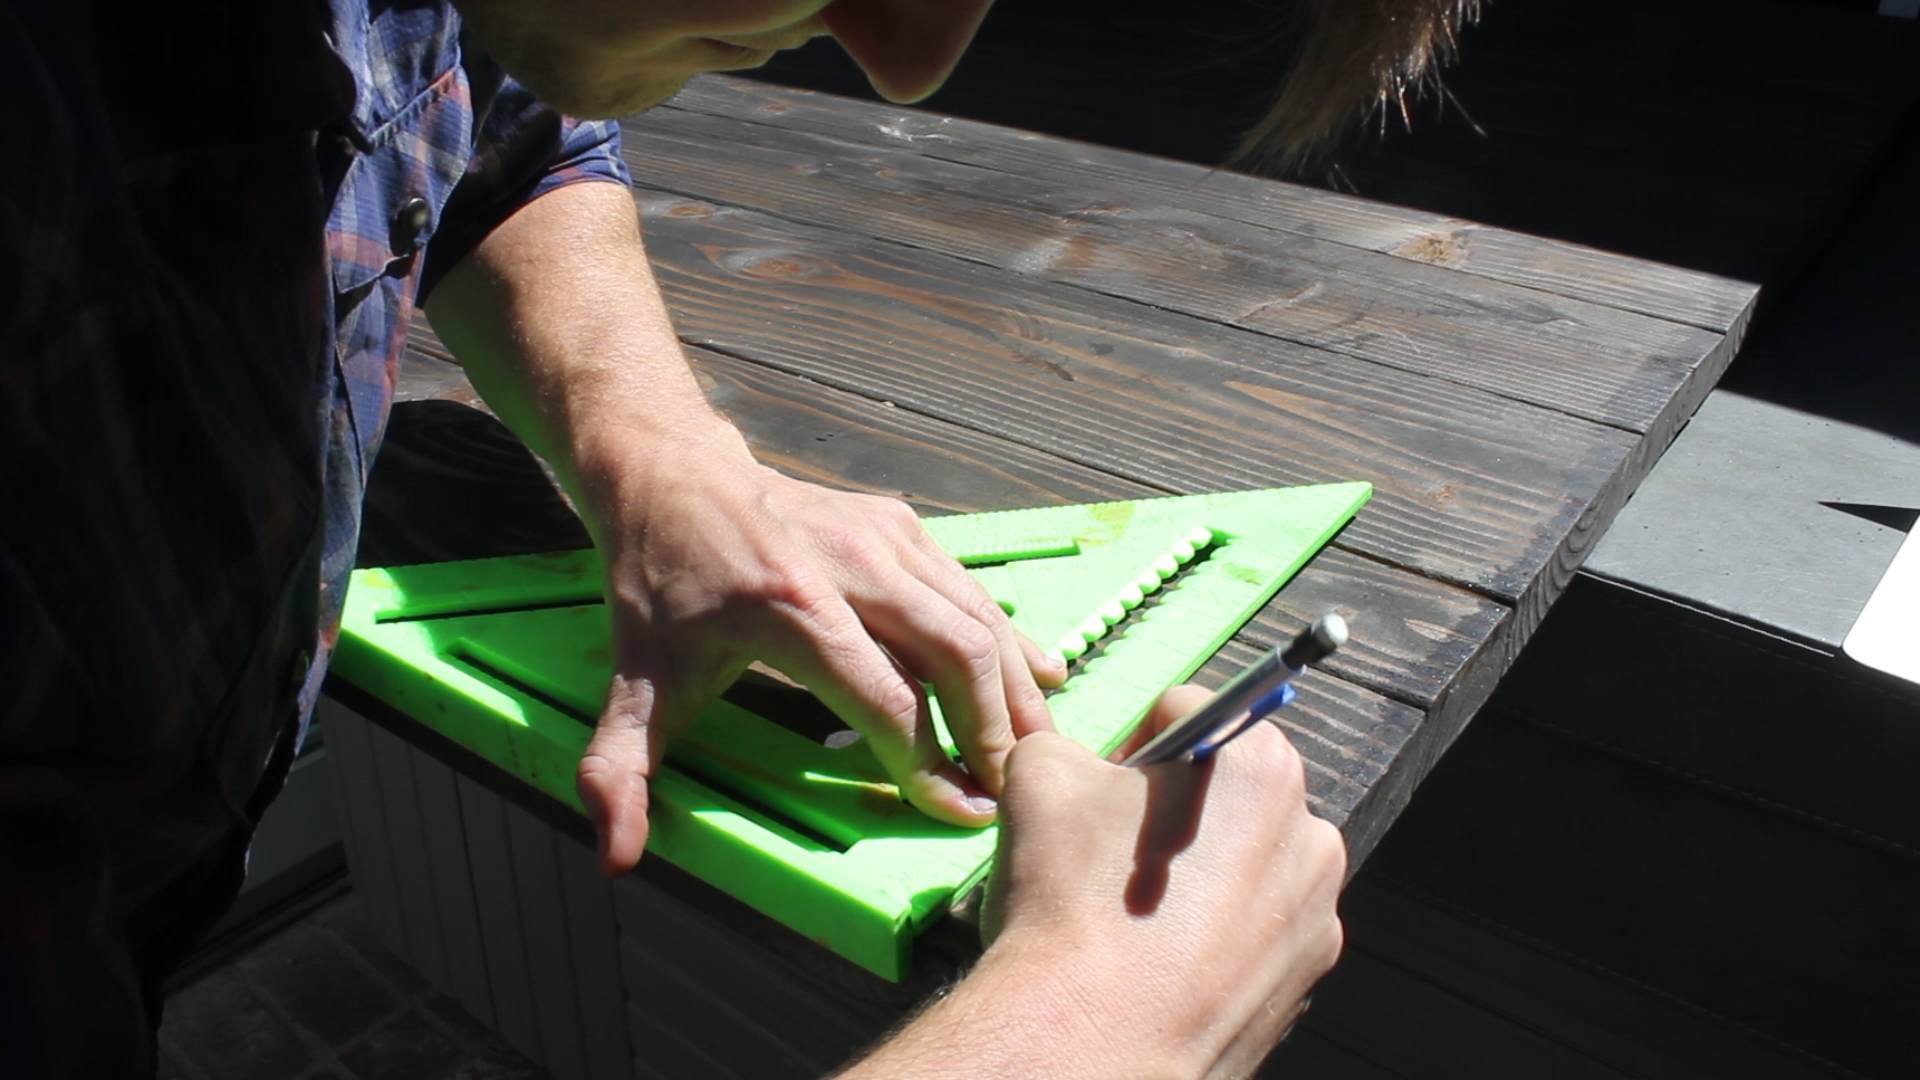
After I labeled my pieces, I used my large T Square to mark up locations for dowels. This was actually quite easy, just make sure that your pieces are squared up before you make any markings and don't get careless and knock your pieces out of whack while you're measuring!
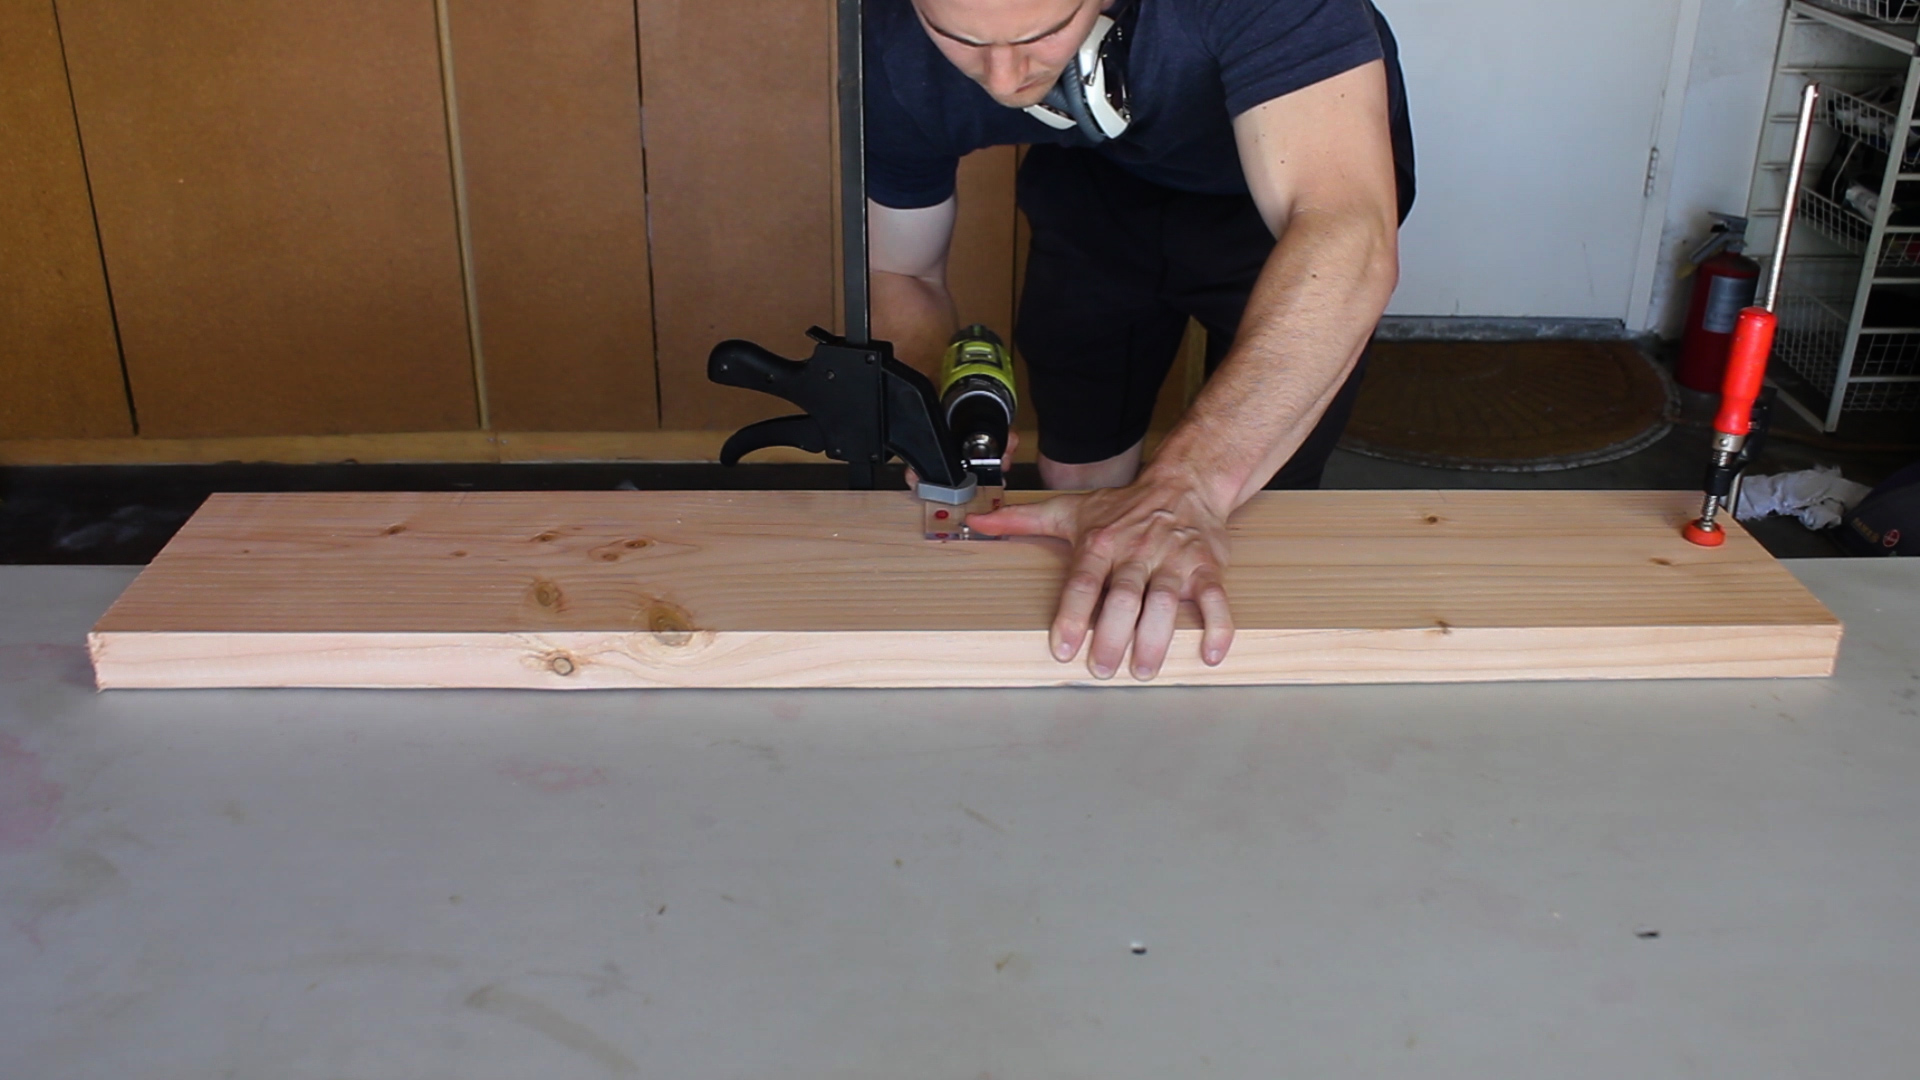
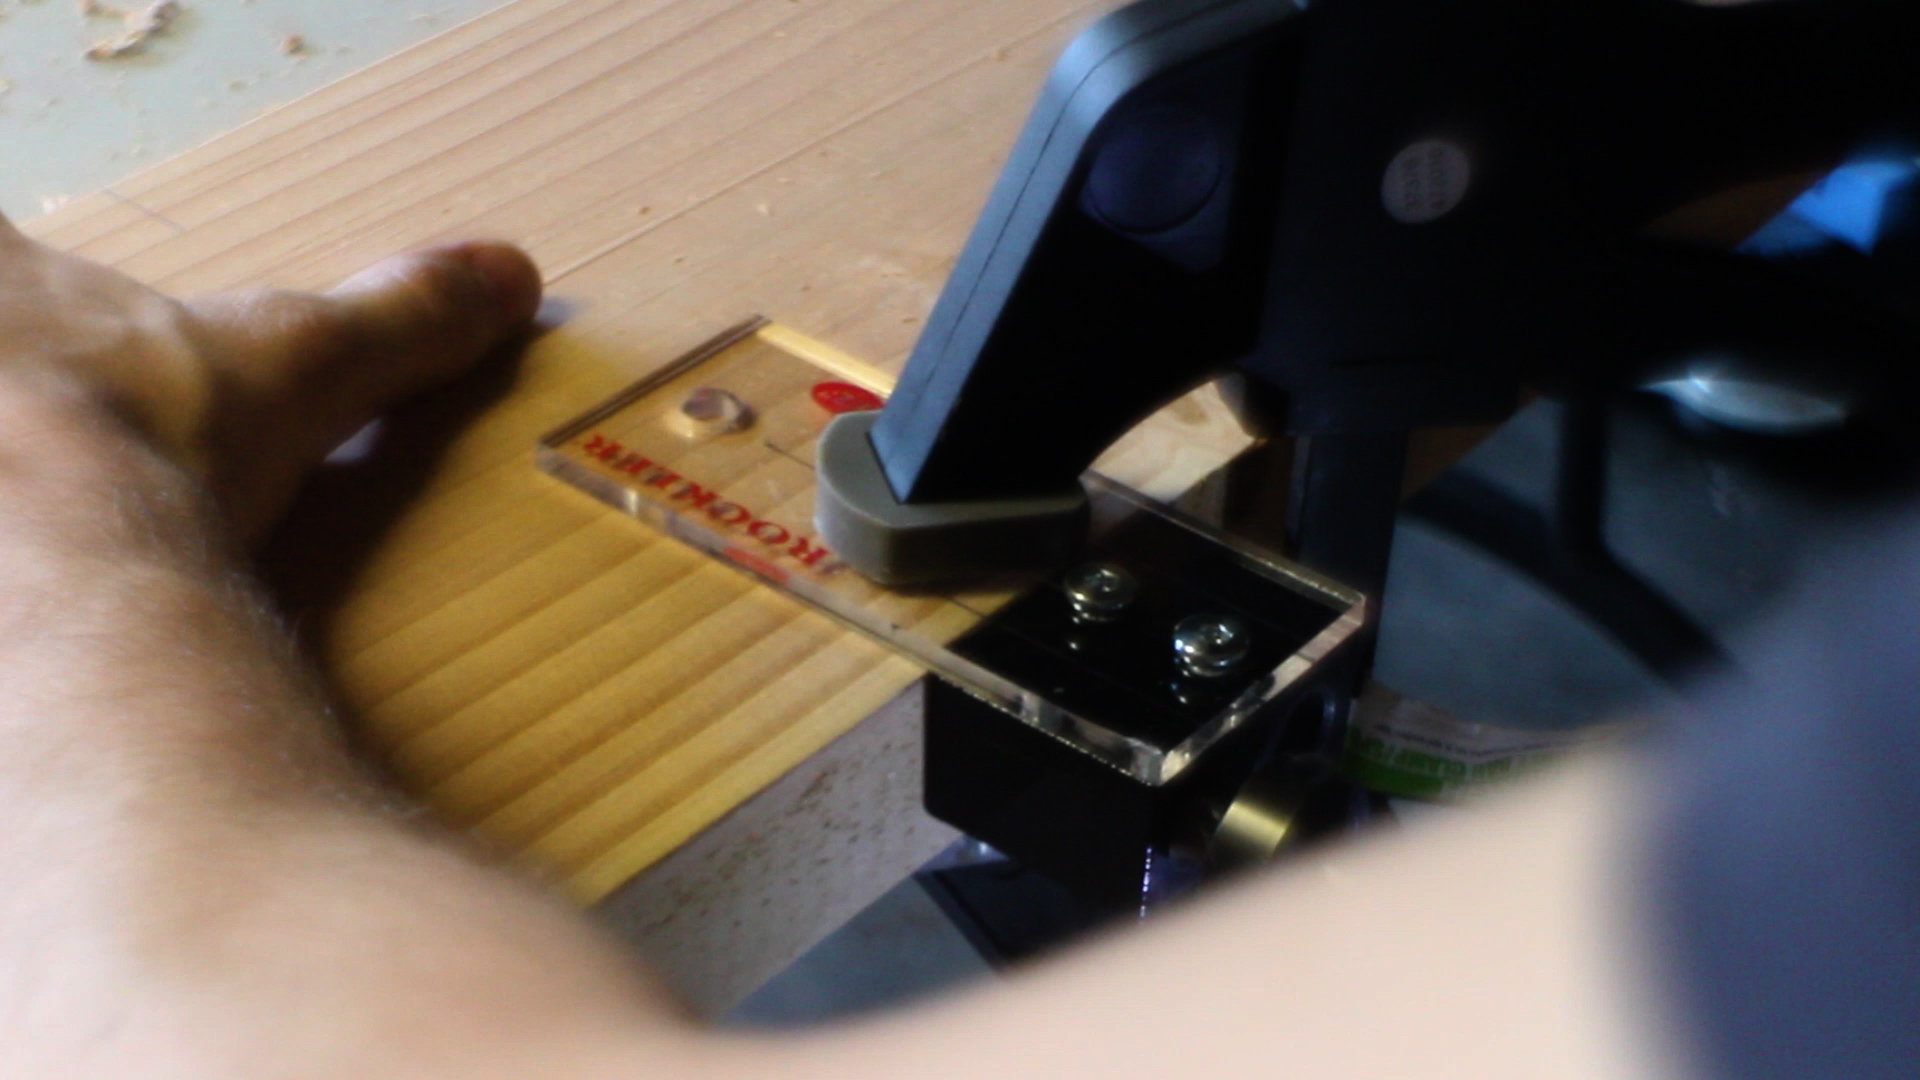
Then, I used my Rockler Dowel Jig to drill three dowels in each piece. These were necessary for this project given the overall weight of each door and the need for strength between each joint. This jig is quite easy to use as well - you simply line up the center line of the plexiglass with your pencilled marking, clamp it to your piece, and use the associated drill bit to drill your holes to the depth of your choosing (this will be based on the length of the fluted dowels you purchase).
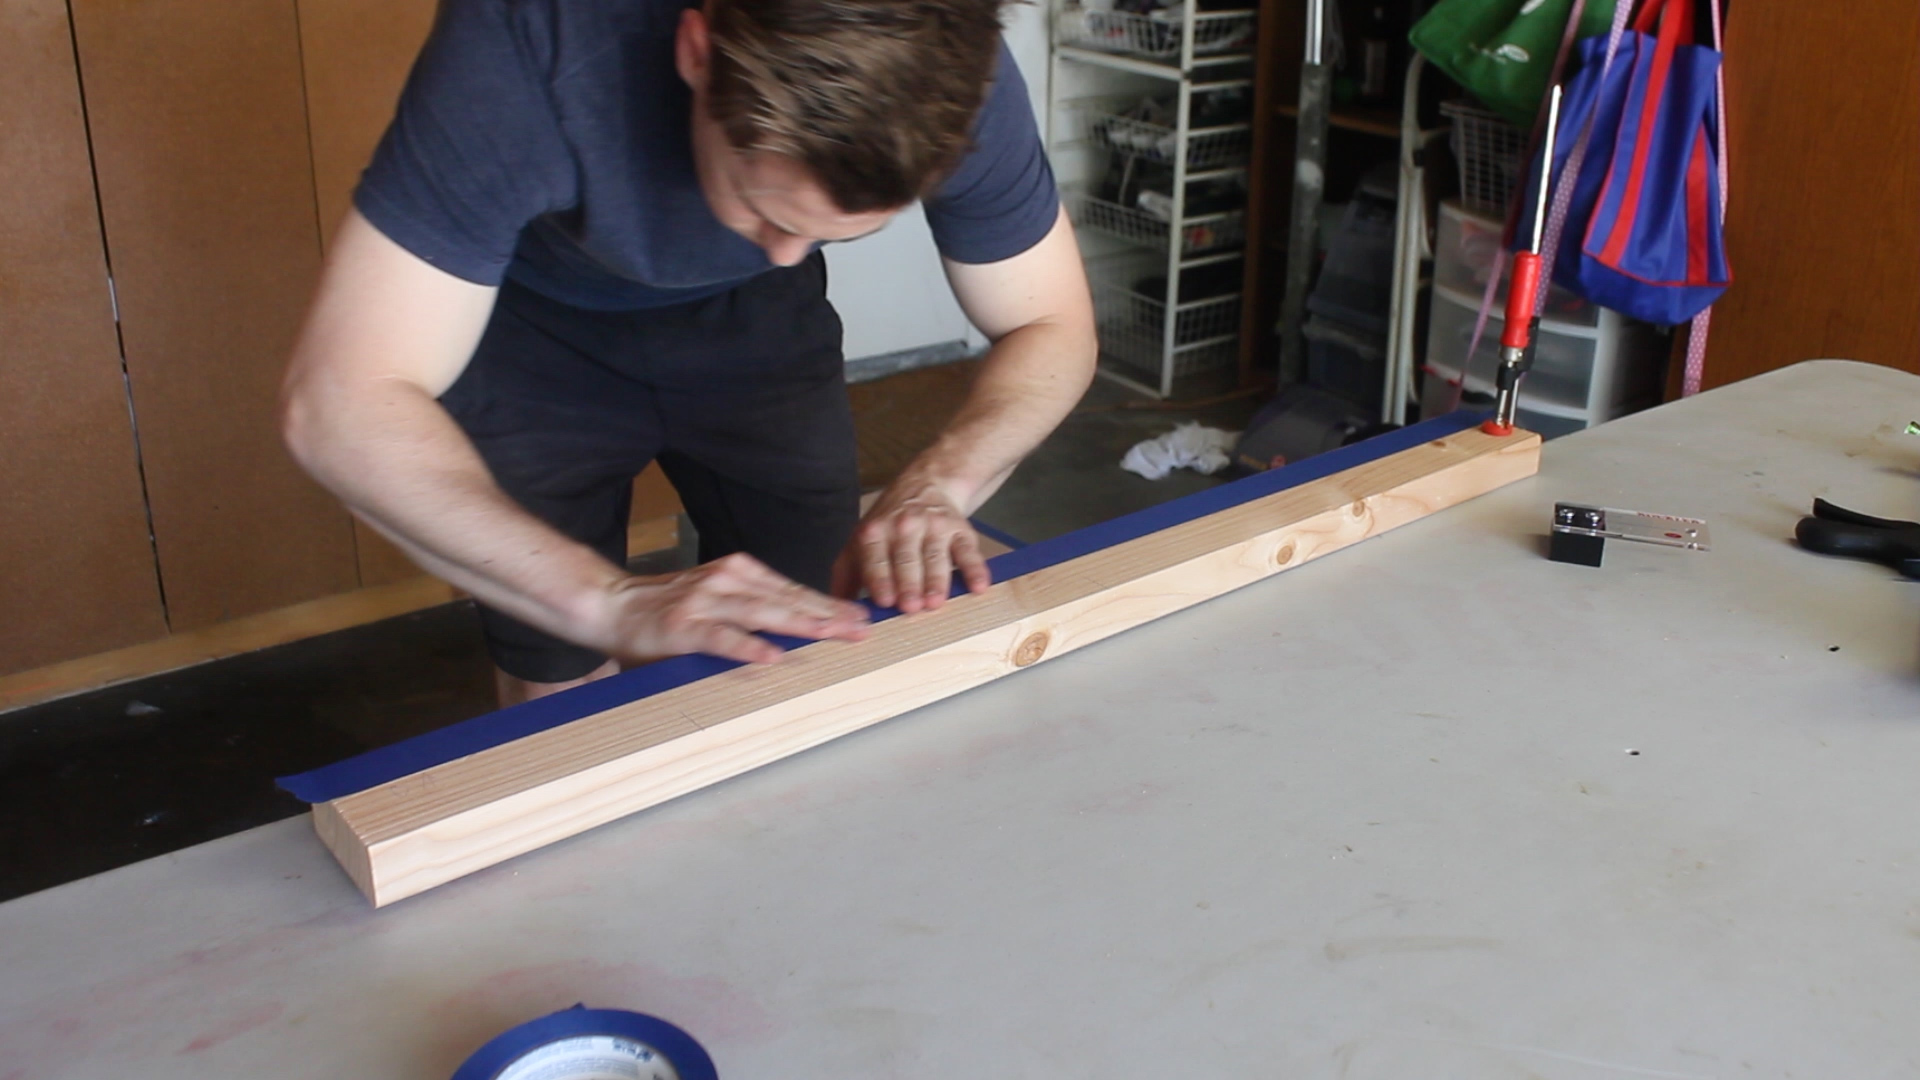
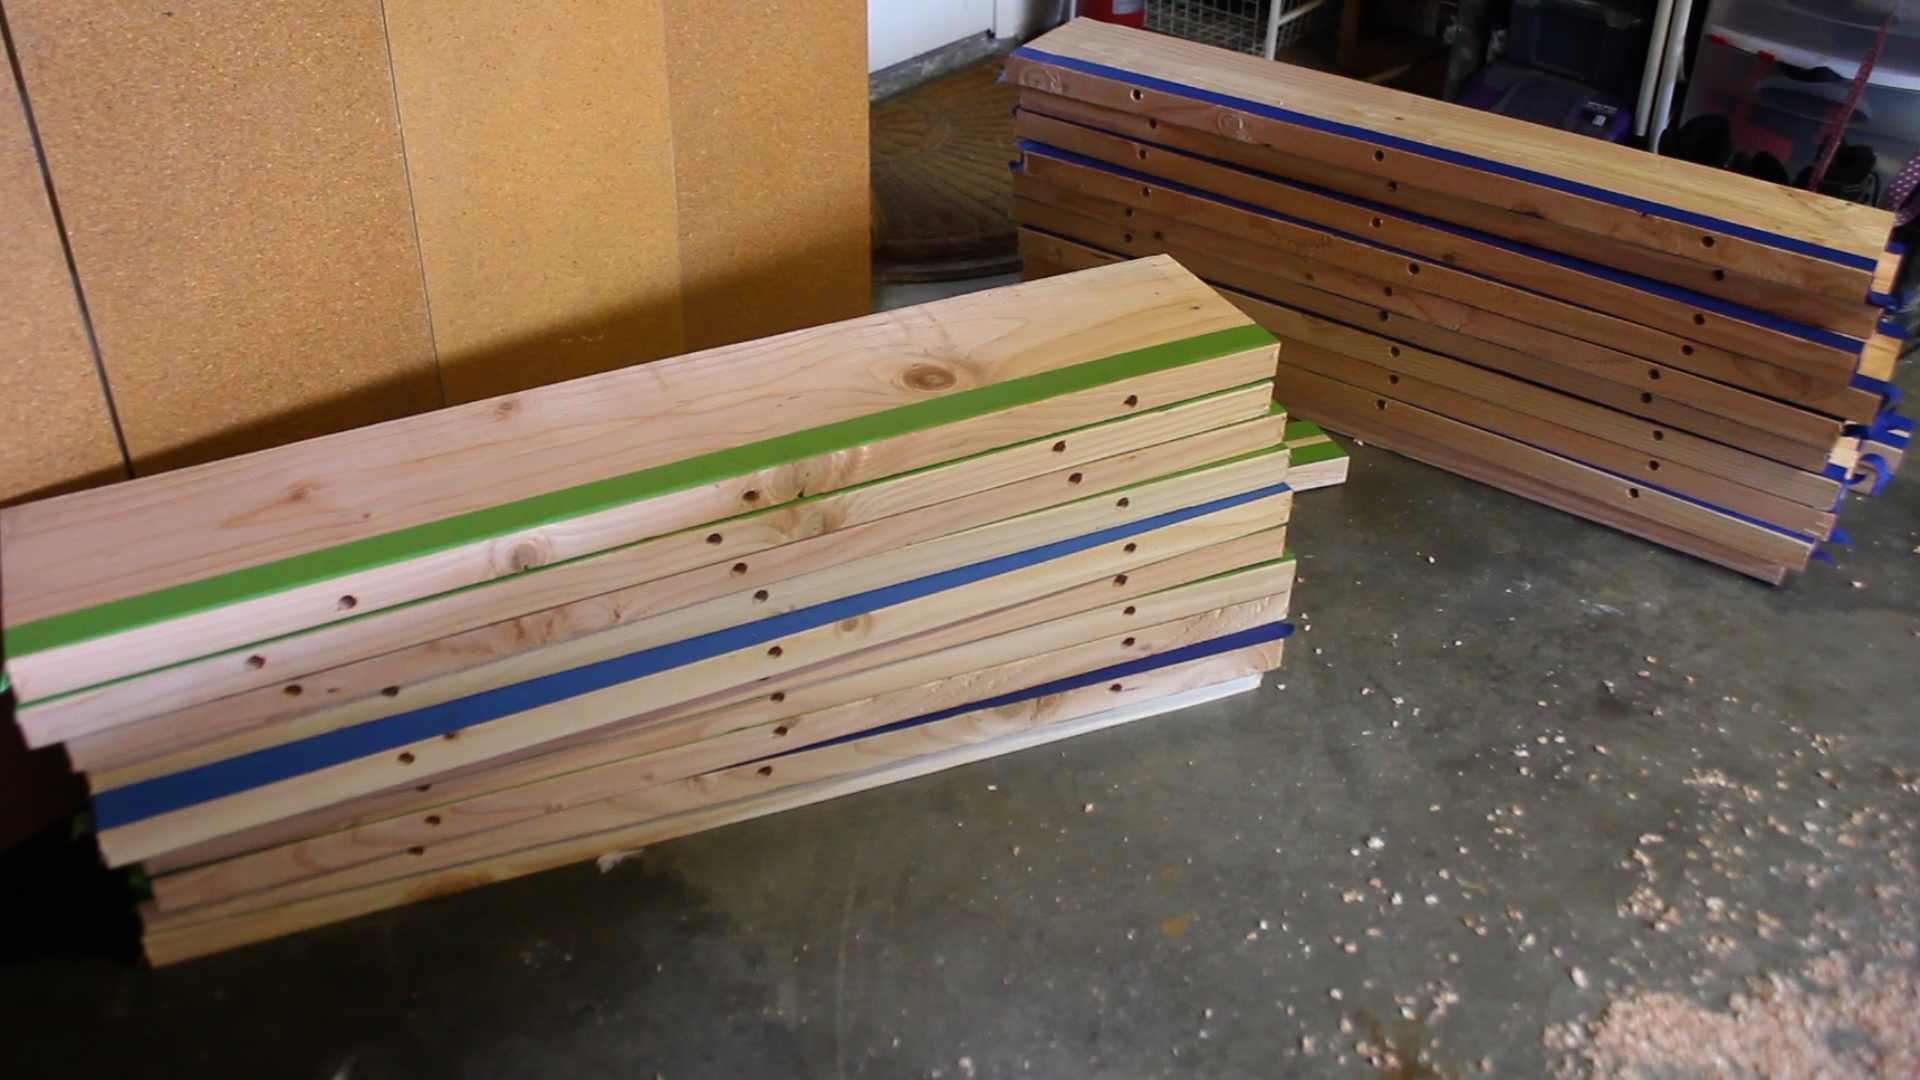
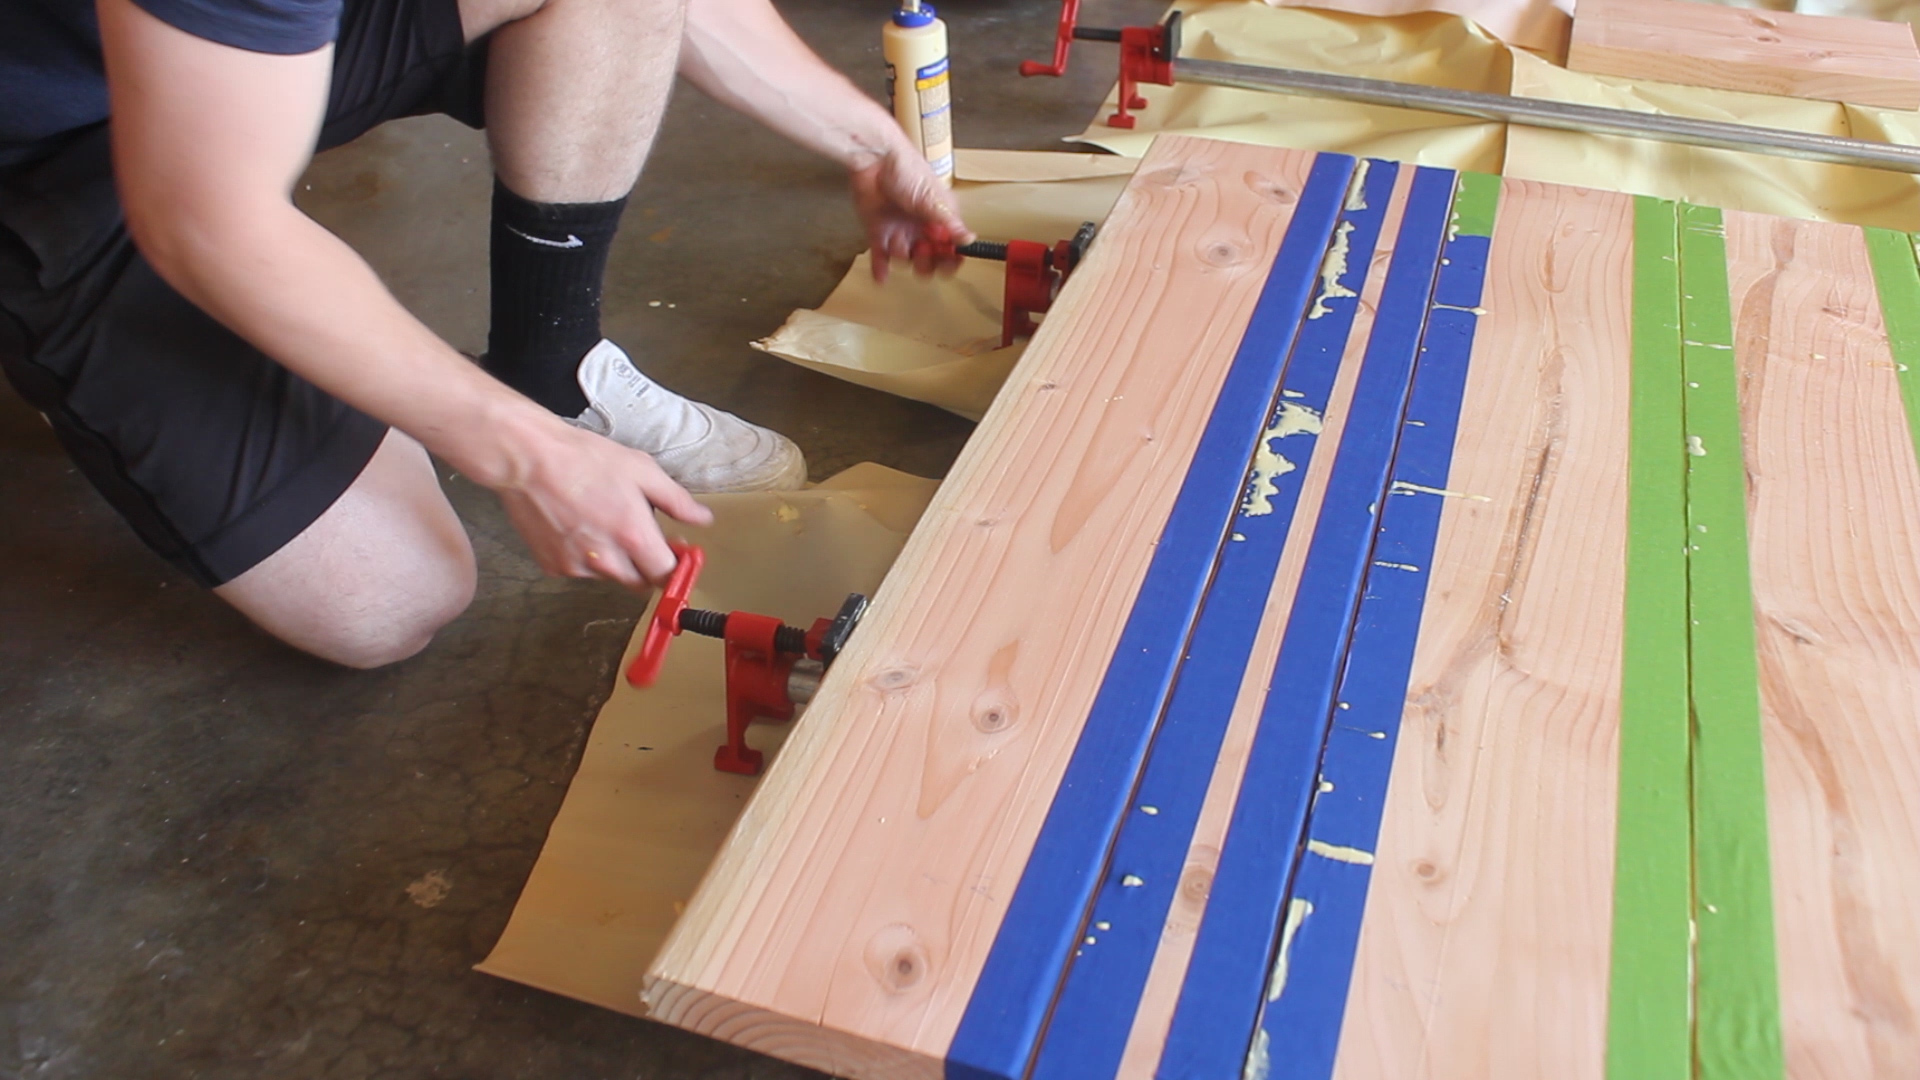
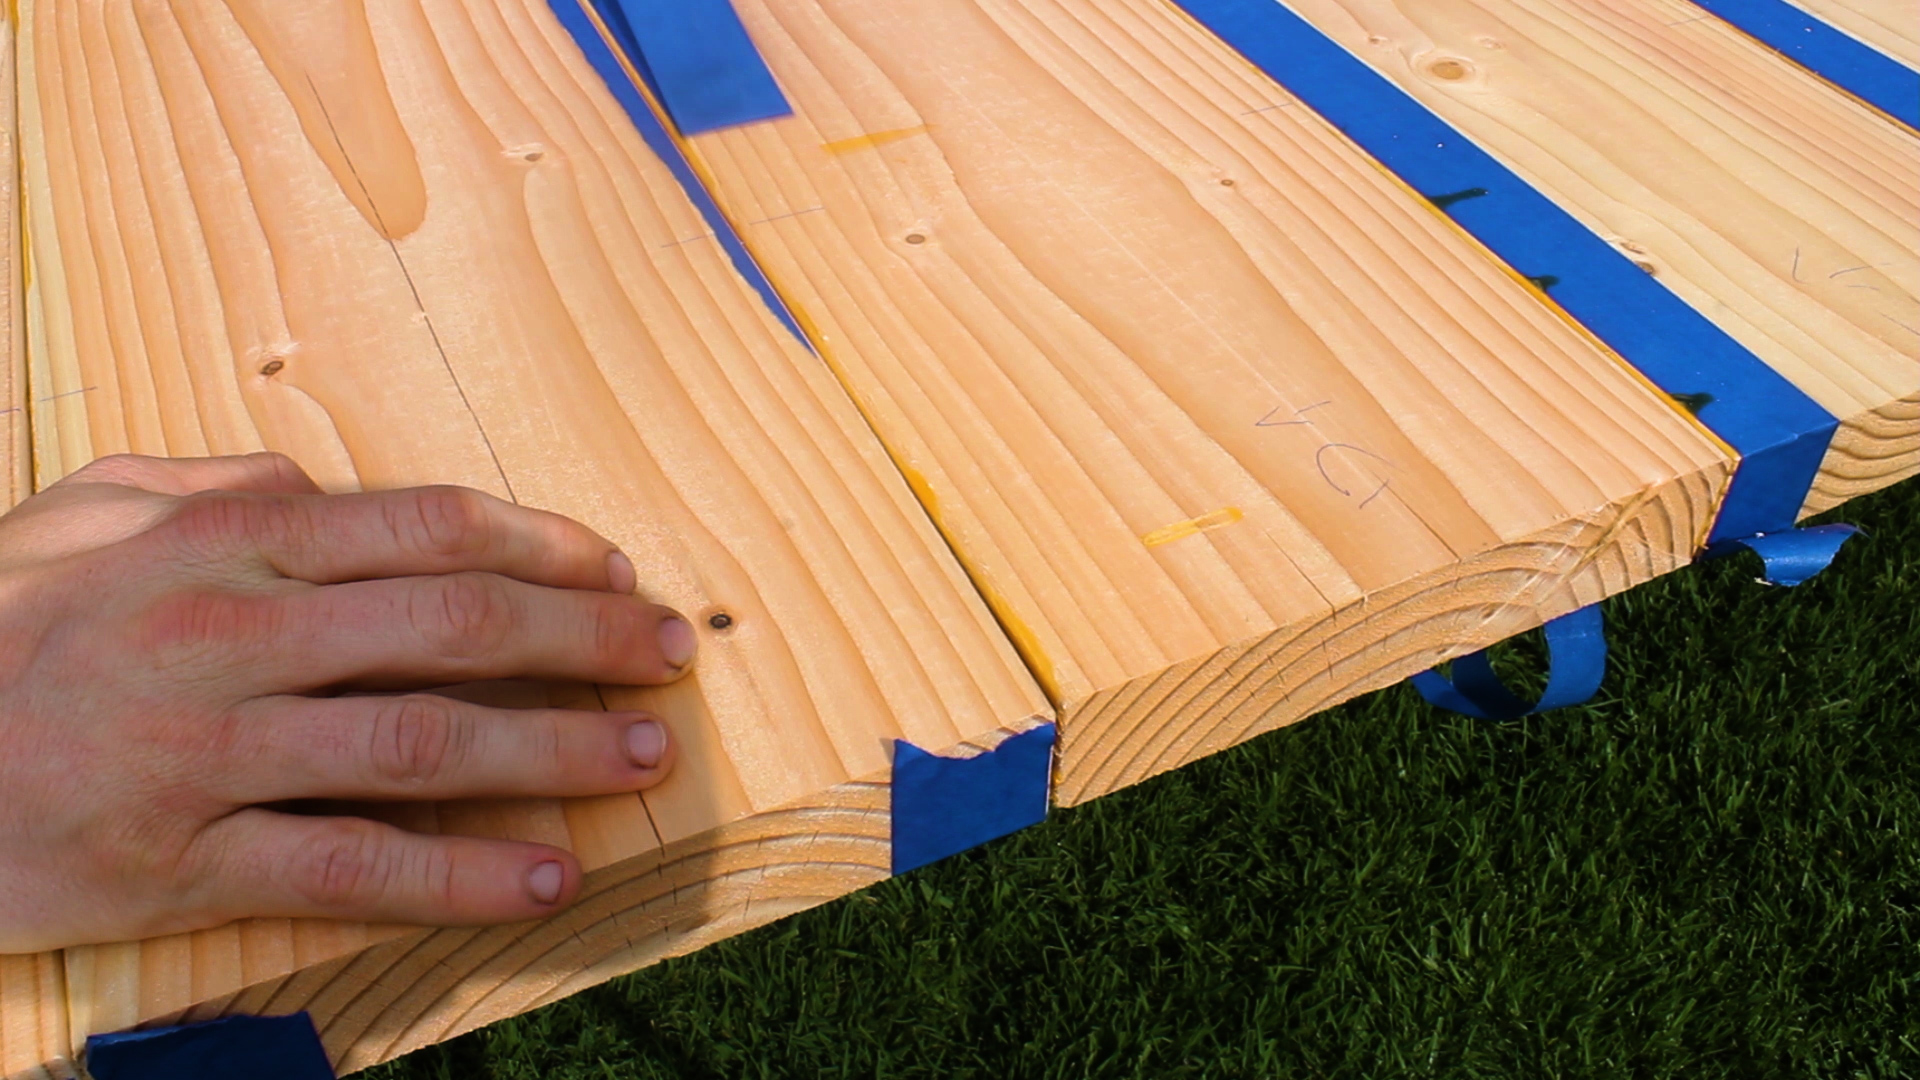
After each piece was drilled, I used frog or masking tape to tape off the ends of each of my pieces. This was more of an experiment than anything (and actually quite time consuming), but I wanted to see how much this would help me on the clean up side of things. Spoiler - it helped a lot, but probably took equal time to tape up that I would have spent cleaning up glue squeeze out.
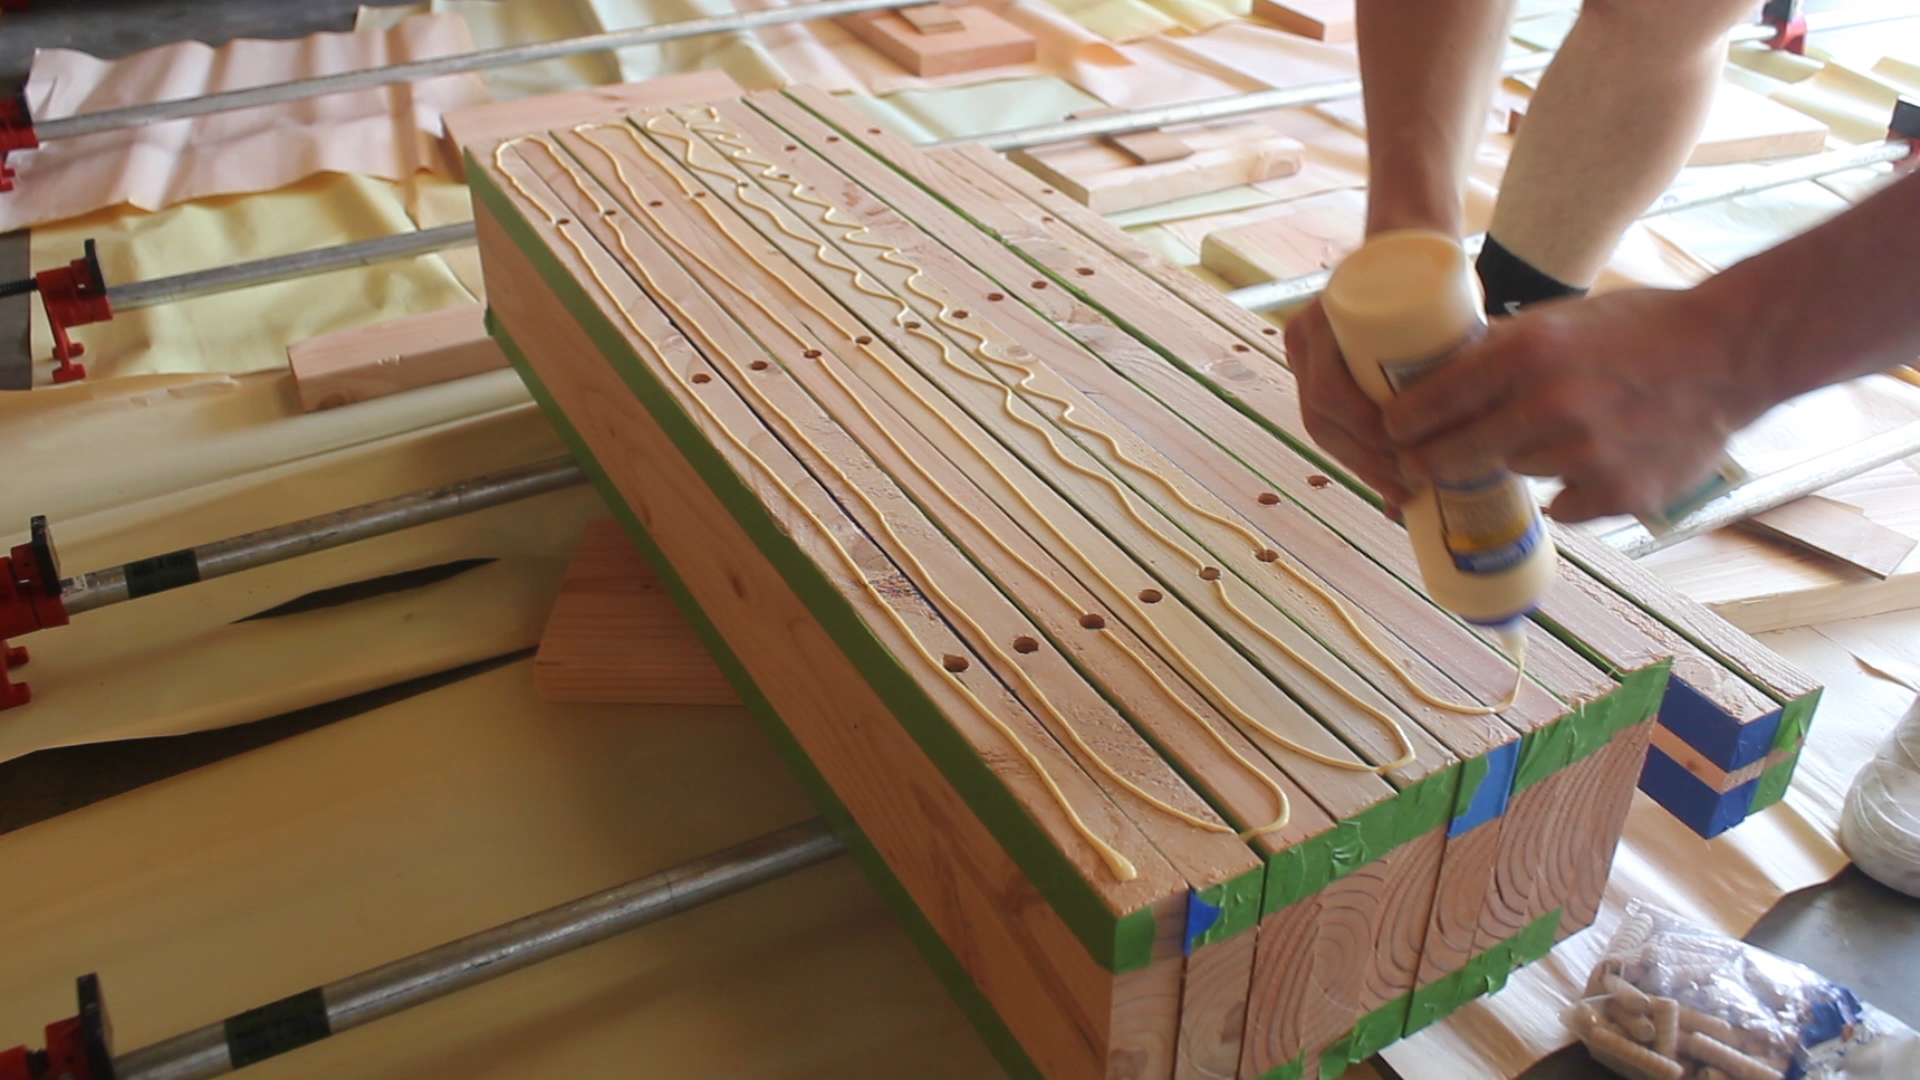
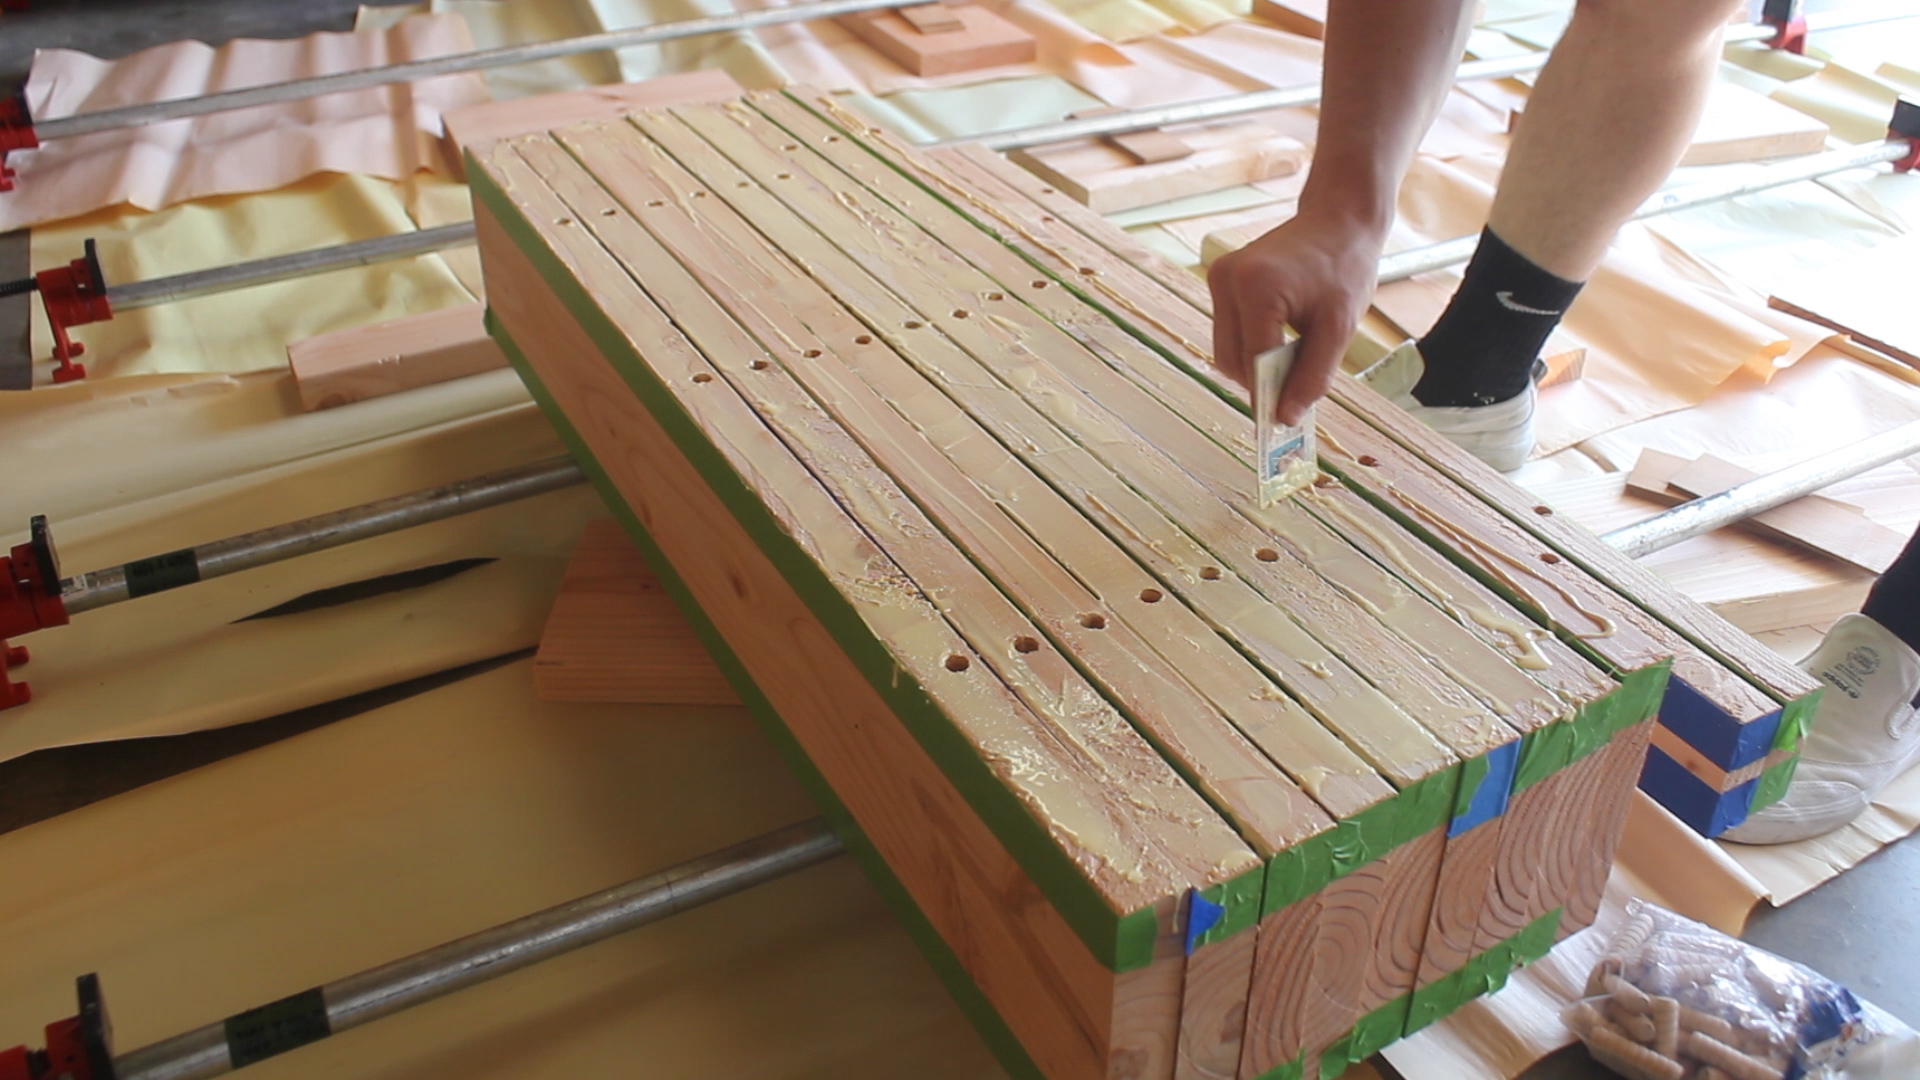
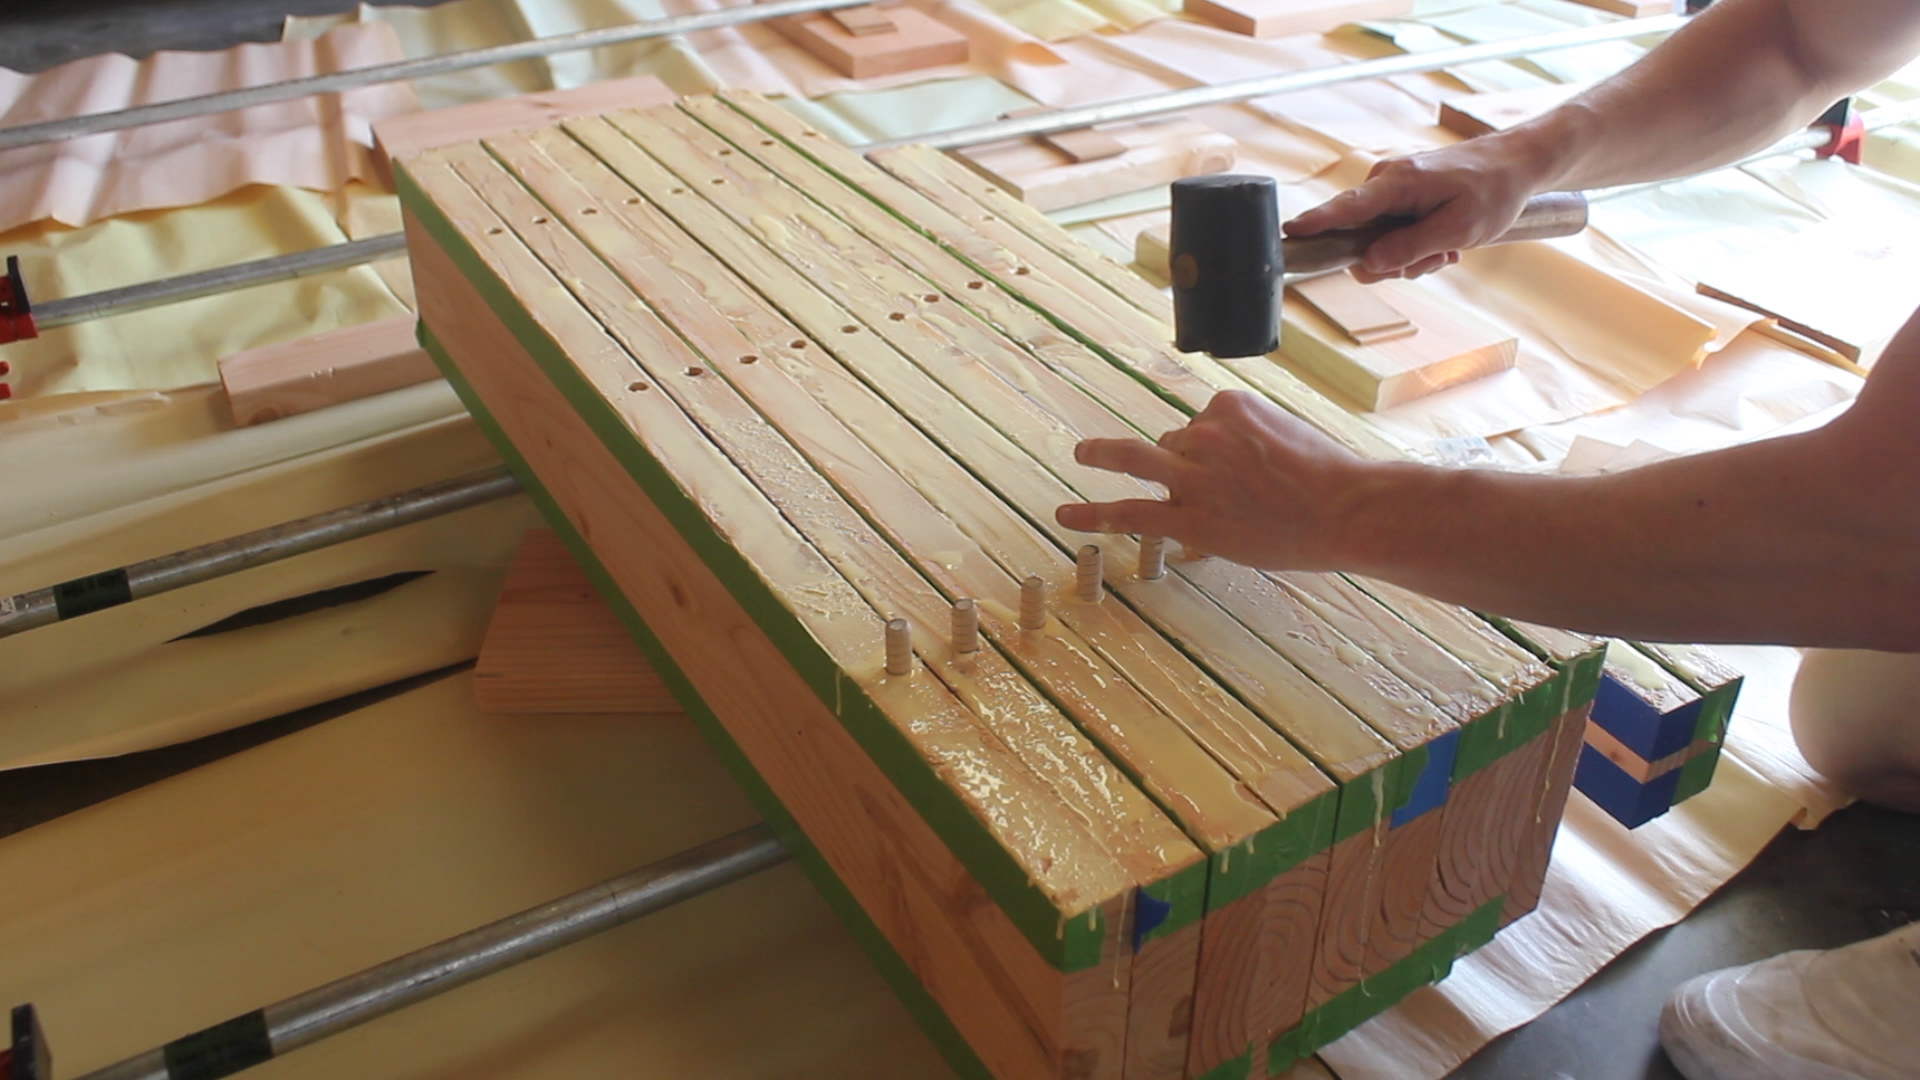
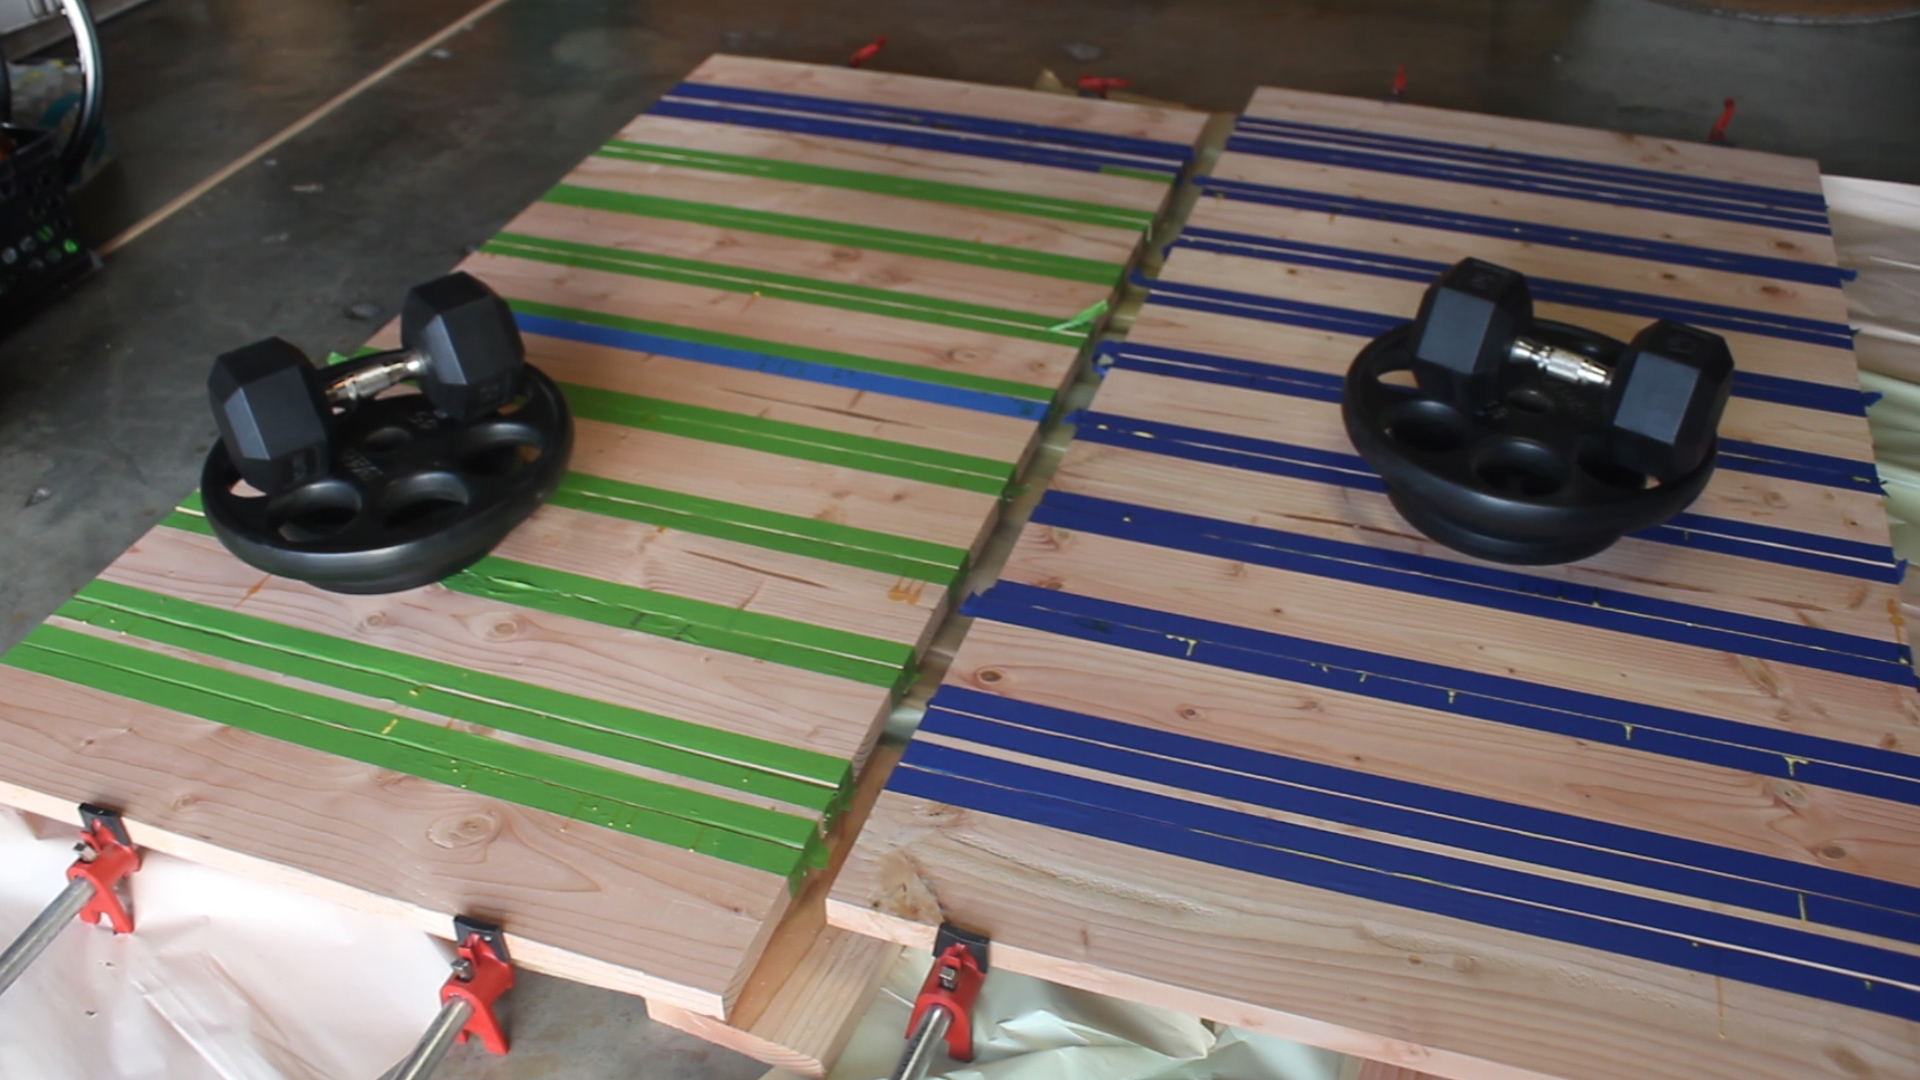
The next part was relatively straight forward. I lined up all of my pieces, applied a large amount of glue to both the surfaces as well as the dowel holes, hammered in my glued up fluted dowels, and then lined everything up and clamped things together to dry overnight.
Few tips here:
- Don't try to glue up too much at once; part of me regrets doing the whole thing at once just because of the stress it added to the project
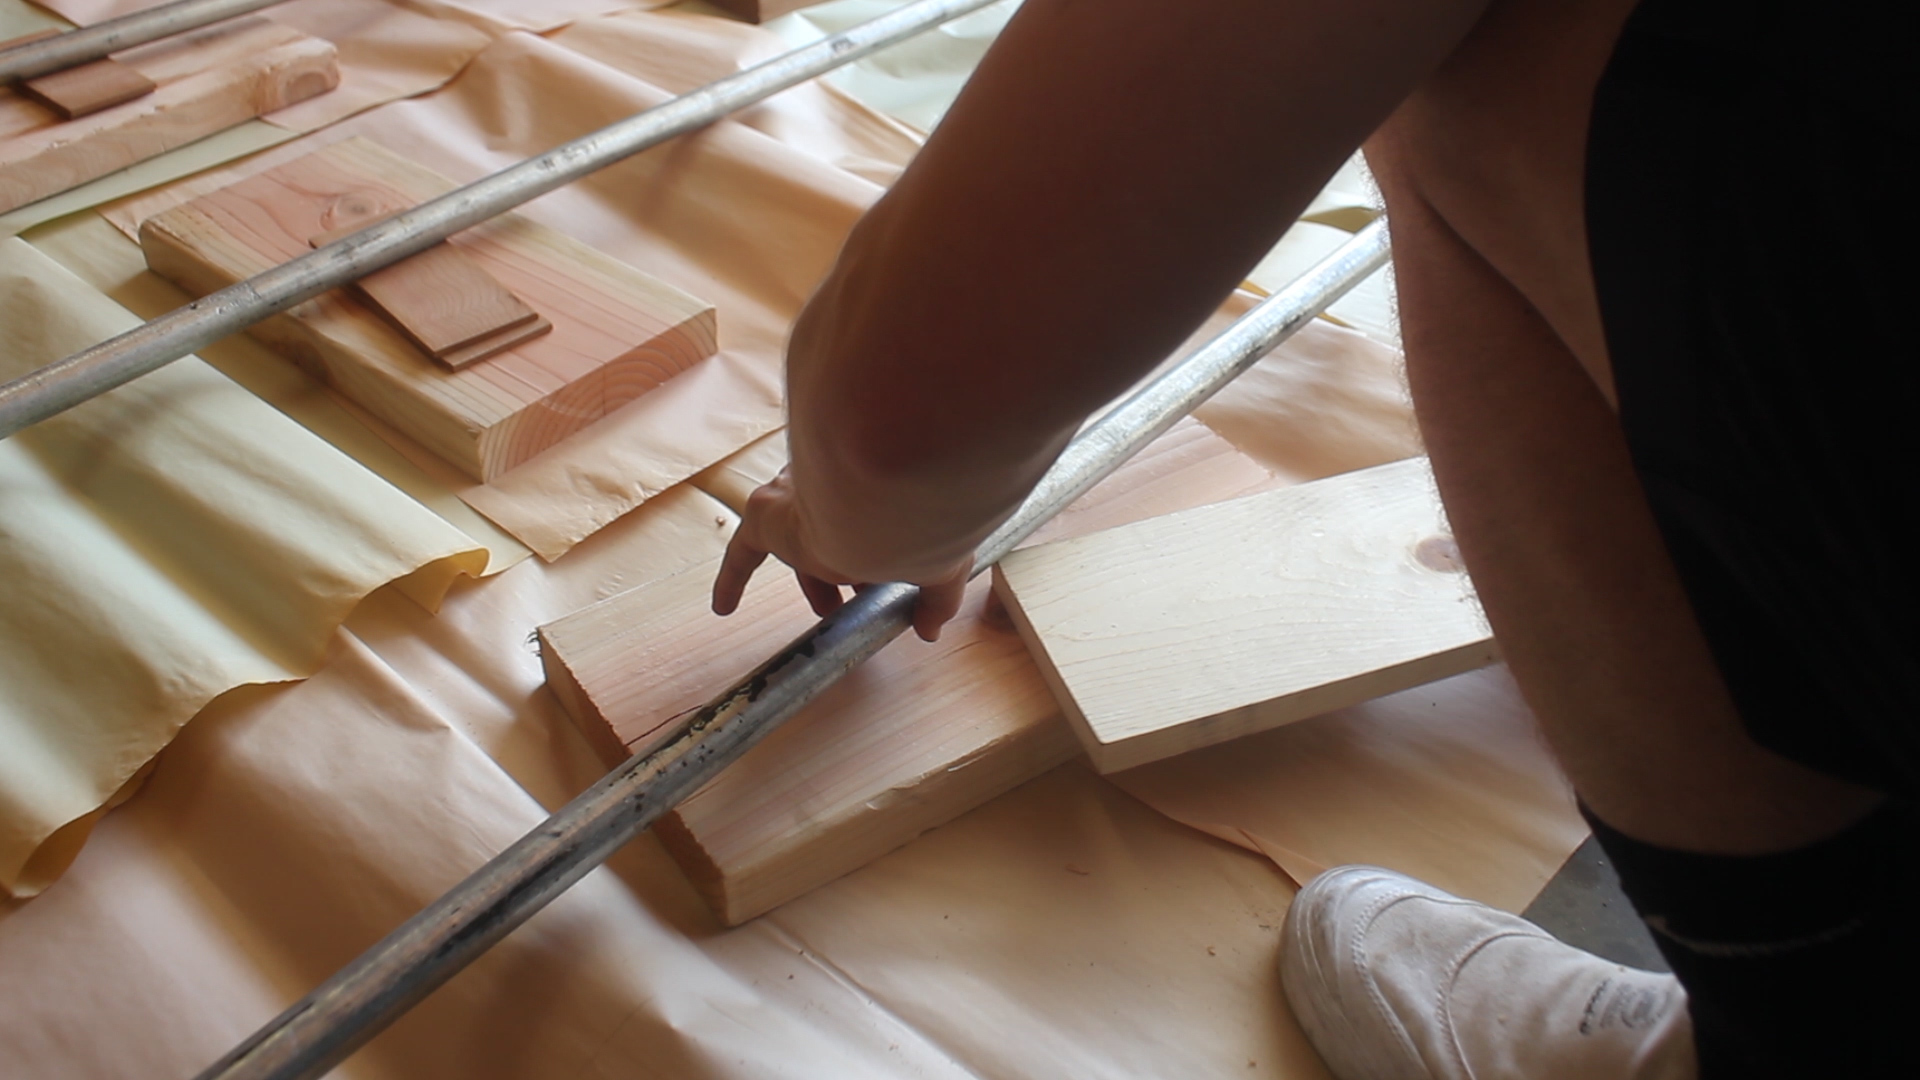
- I used 10' long pipes for my pipe clamps, which I figured might sag in the middle due to stress, so I used scrap pieces of wood to support it
- Make sure you have something to clamp on top to counter the clamp stress from the bottom (I didn't have enough clamps, so I used about 150 pounds in weight which worked great.
- Dowels kept everything lined up well, so definitely recommend using them both for strength and for accuracy
- Give it 12 hours to dry; this style of door is heavy and the joint need times to cure and settle
As you can see from the picture, the tape was very helpful in catching 95% of the glue squeeze out. I don't regret attempting this method at all!
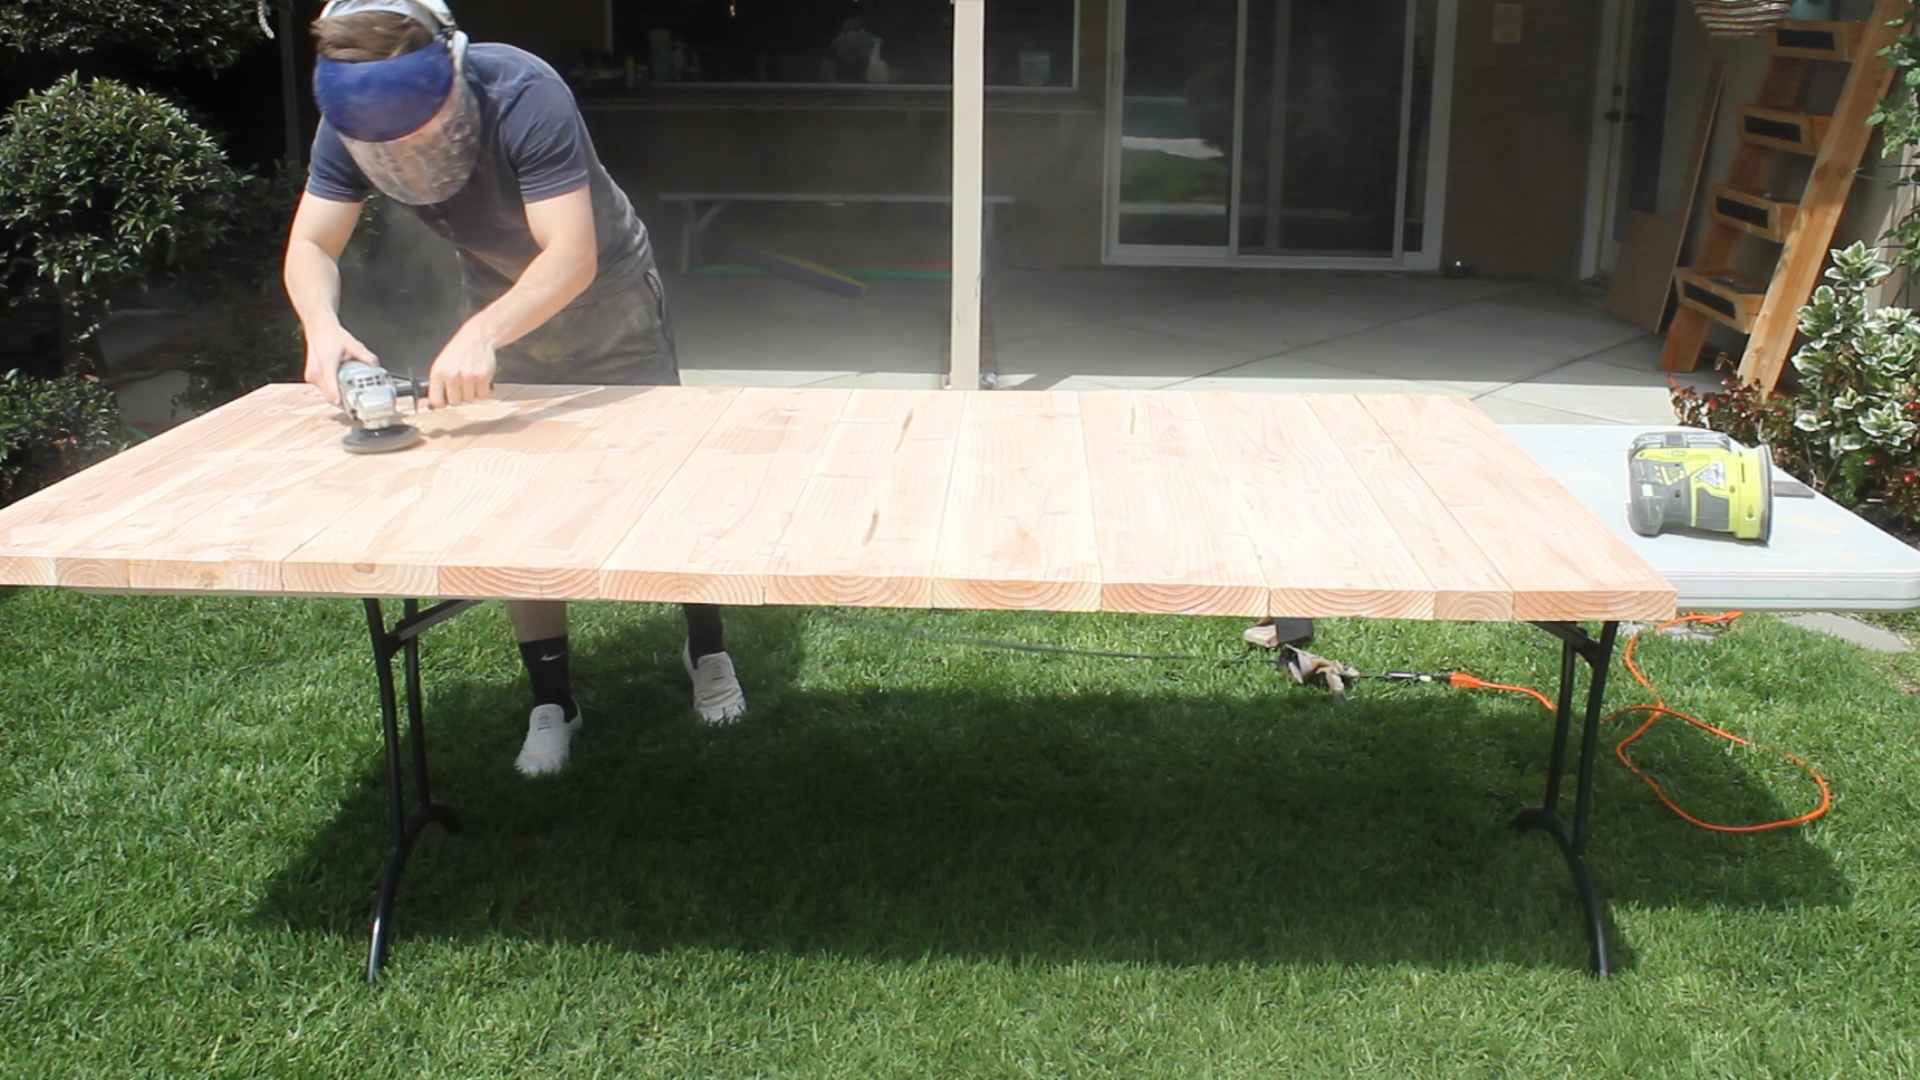
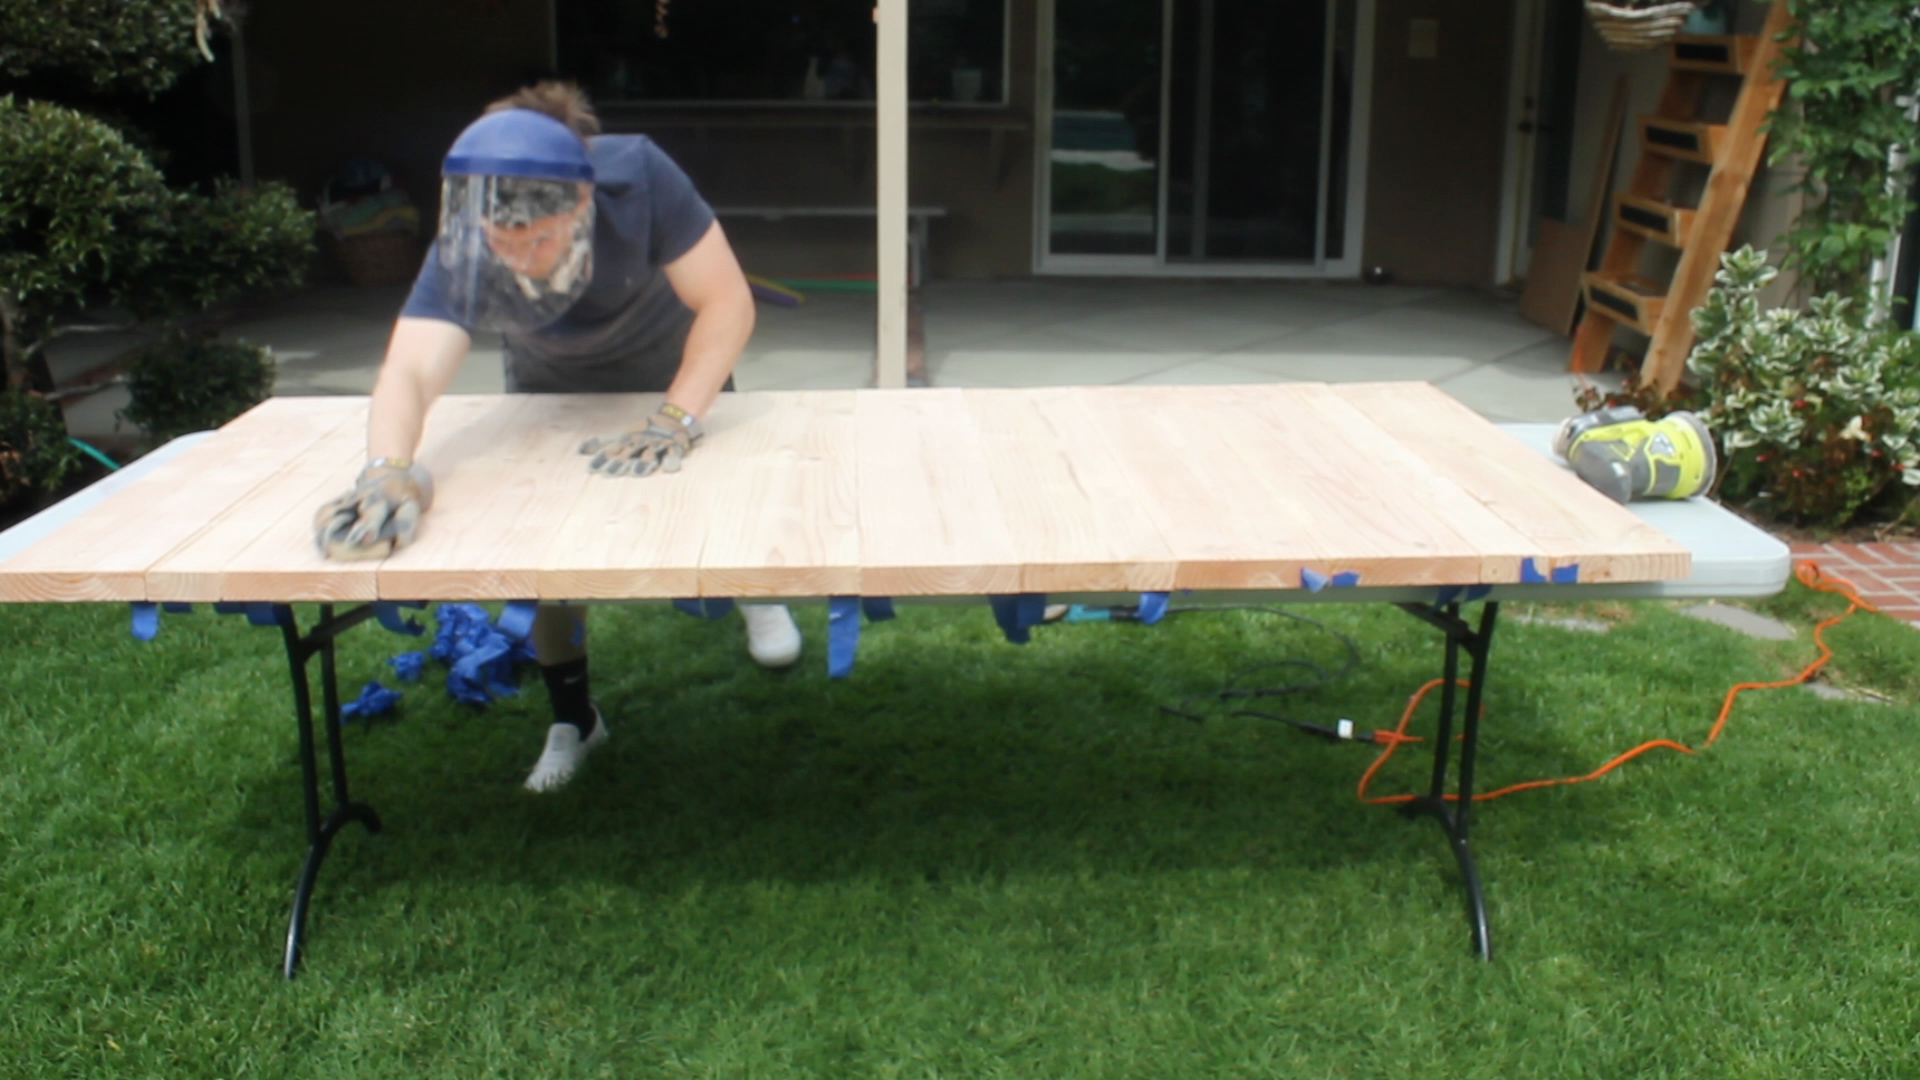
I then used a flap disk and my angle grinder to simultaneously remove glue but also add a slight "saw-milled" look to the wood. It doesn't show so much in photos, but it gives the barn doors a more weathered/rustic look. I then went over those rough marks with a hand sanding block at 120 just so it would feel smooth overall to the touch.
Using an air compressor to clean off all of your surfaces is very effective before staining.
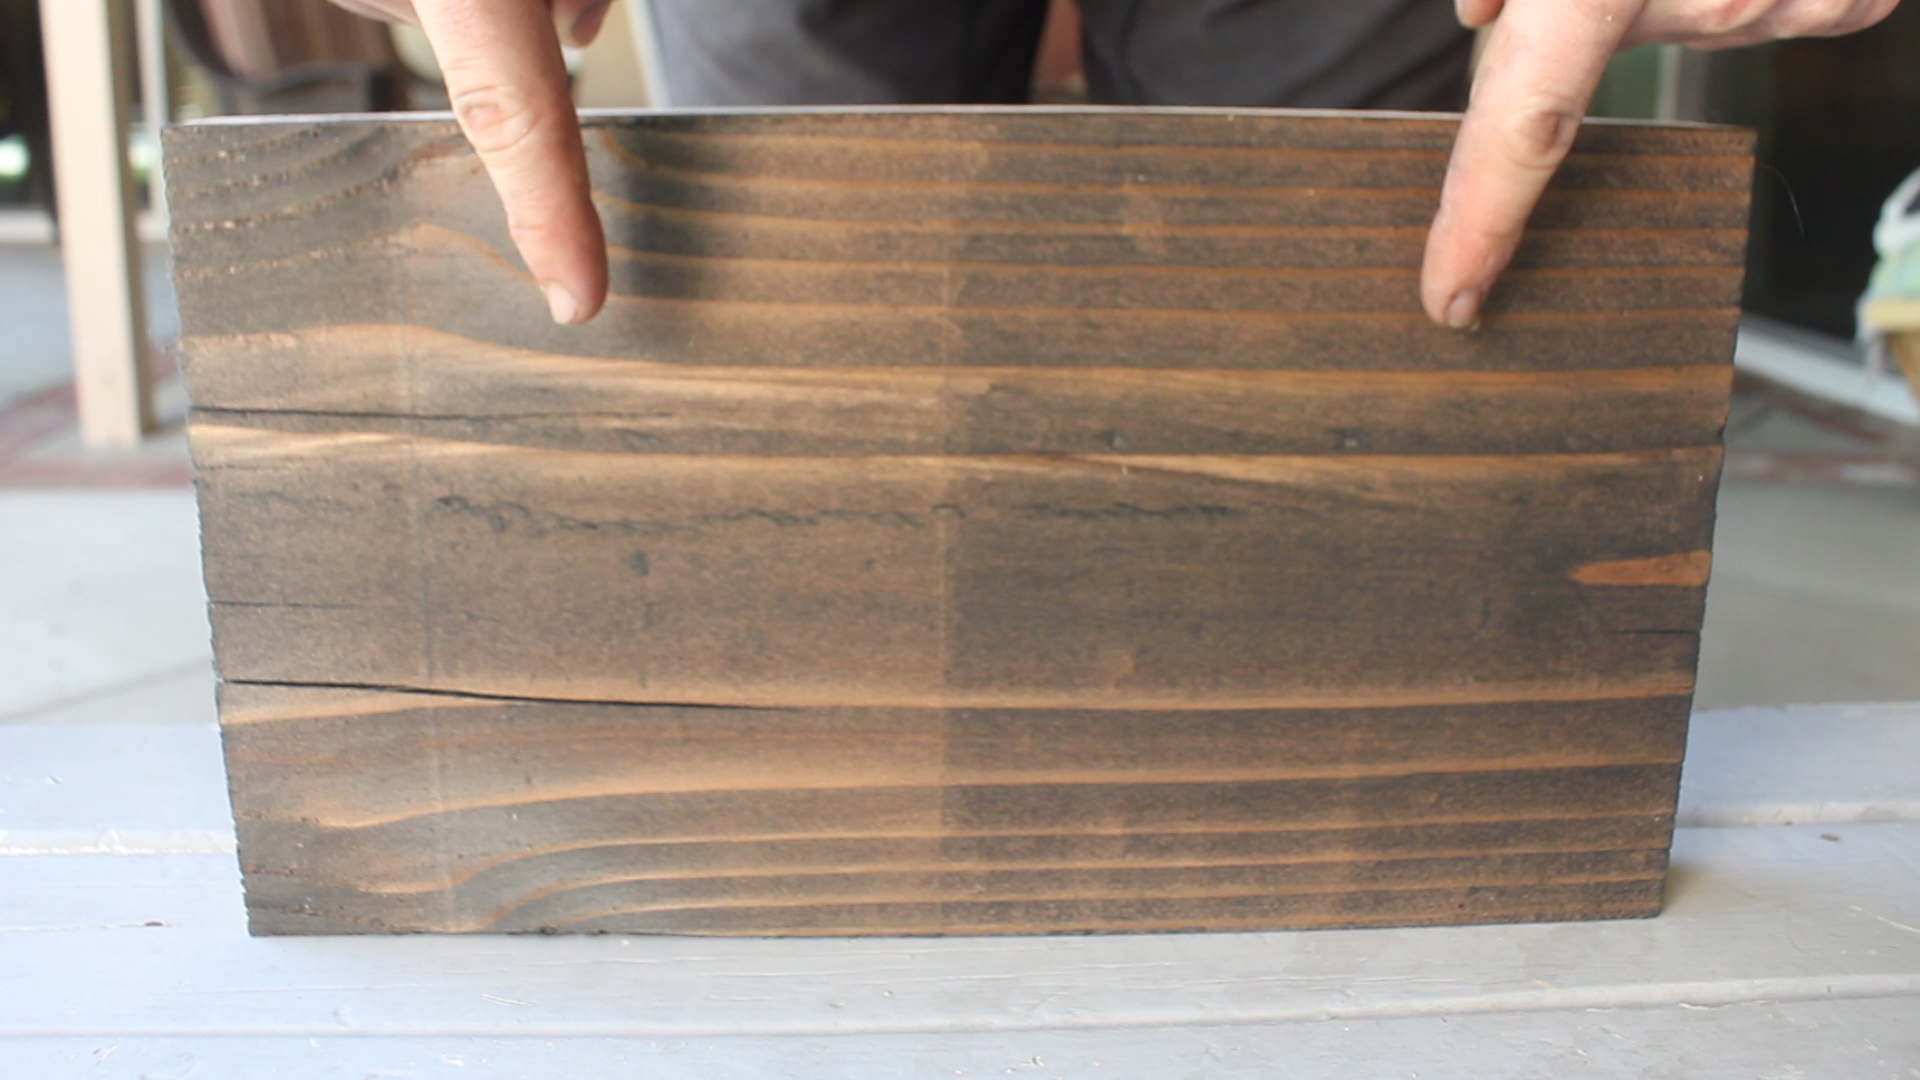
My buddy wanted charcoal grey doors, which Minwax does not make. So, to make this happen, I combined 3 parts Classic Grey and 1 part Ebony to make a darker mix. I used a pre-stain conditioner for these doors as well. The second picture shows the difference between non-conditioned wood (left) and conditioned wood (right). Quite the difference actually!
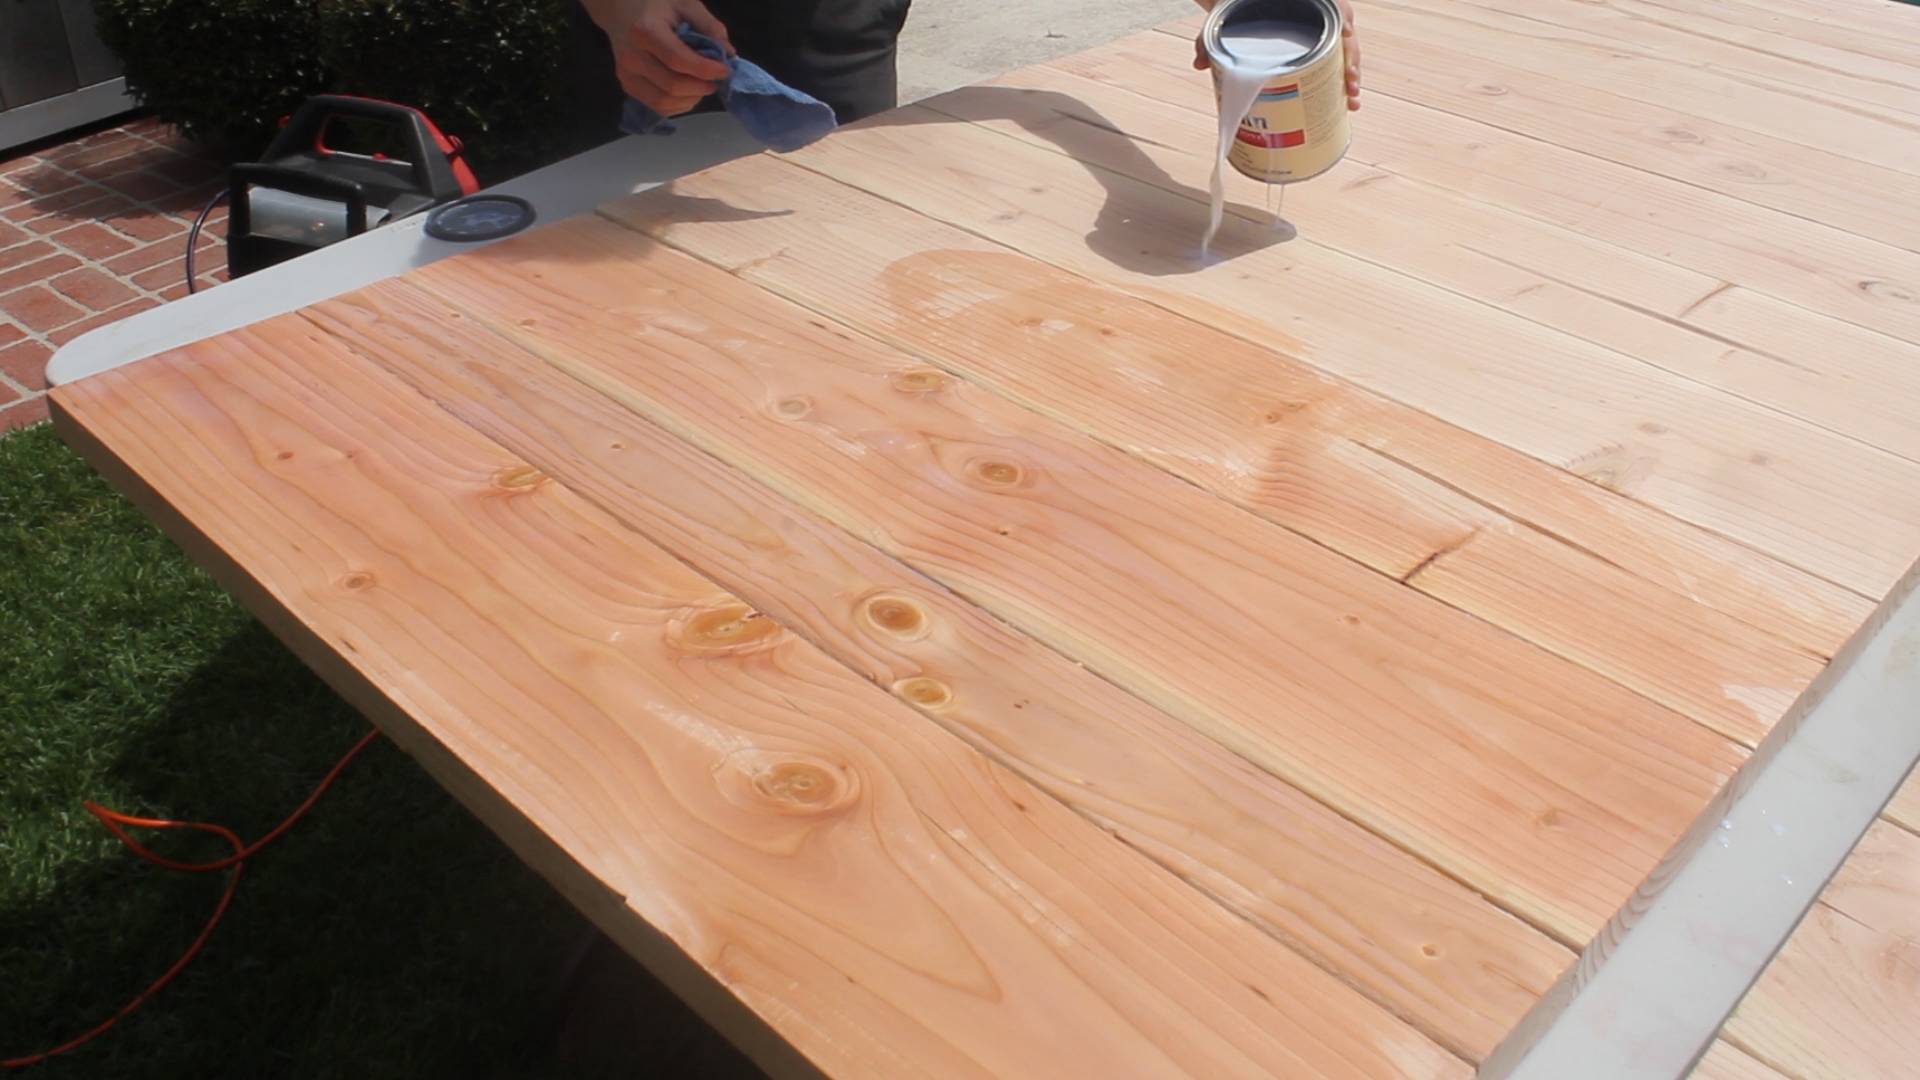
The conditioner process is very simple. Just apply a solid coat to all surfaces, let dry for at least 15 minutes but no longer than 2 hours, and then apply your stain. I did one coat of conditioner as recommended and then one coat of my mixed stain to all surfaces of my doors.
Attaching barn door hardware is actually quite simple. Note, all orders will undoubtedly come with very detailed directions, measurements, and steps to install. For this article, I'll just tell you what I did specific to my hardware.
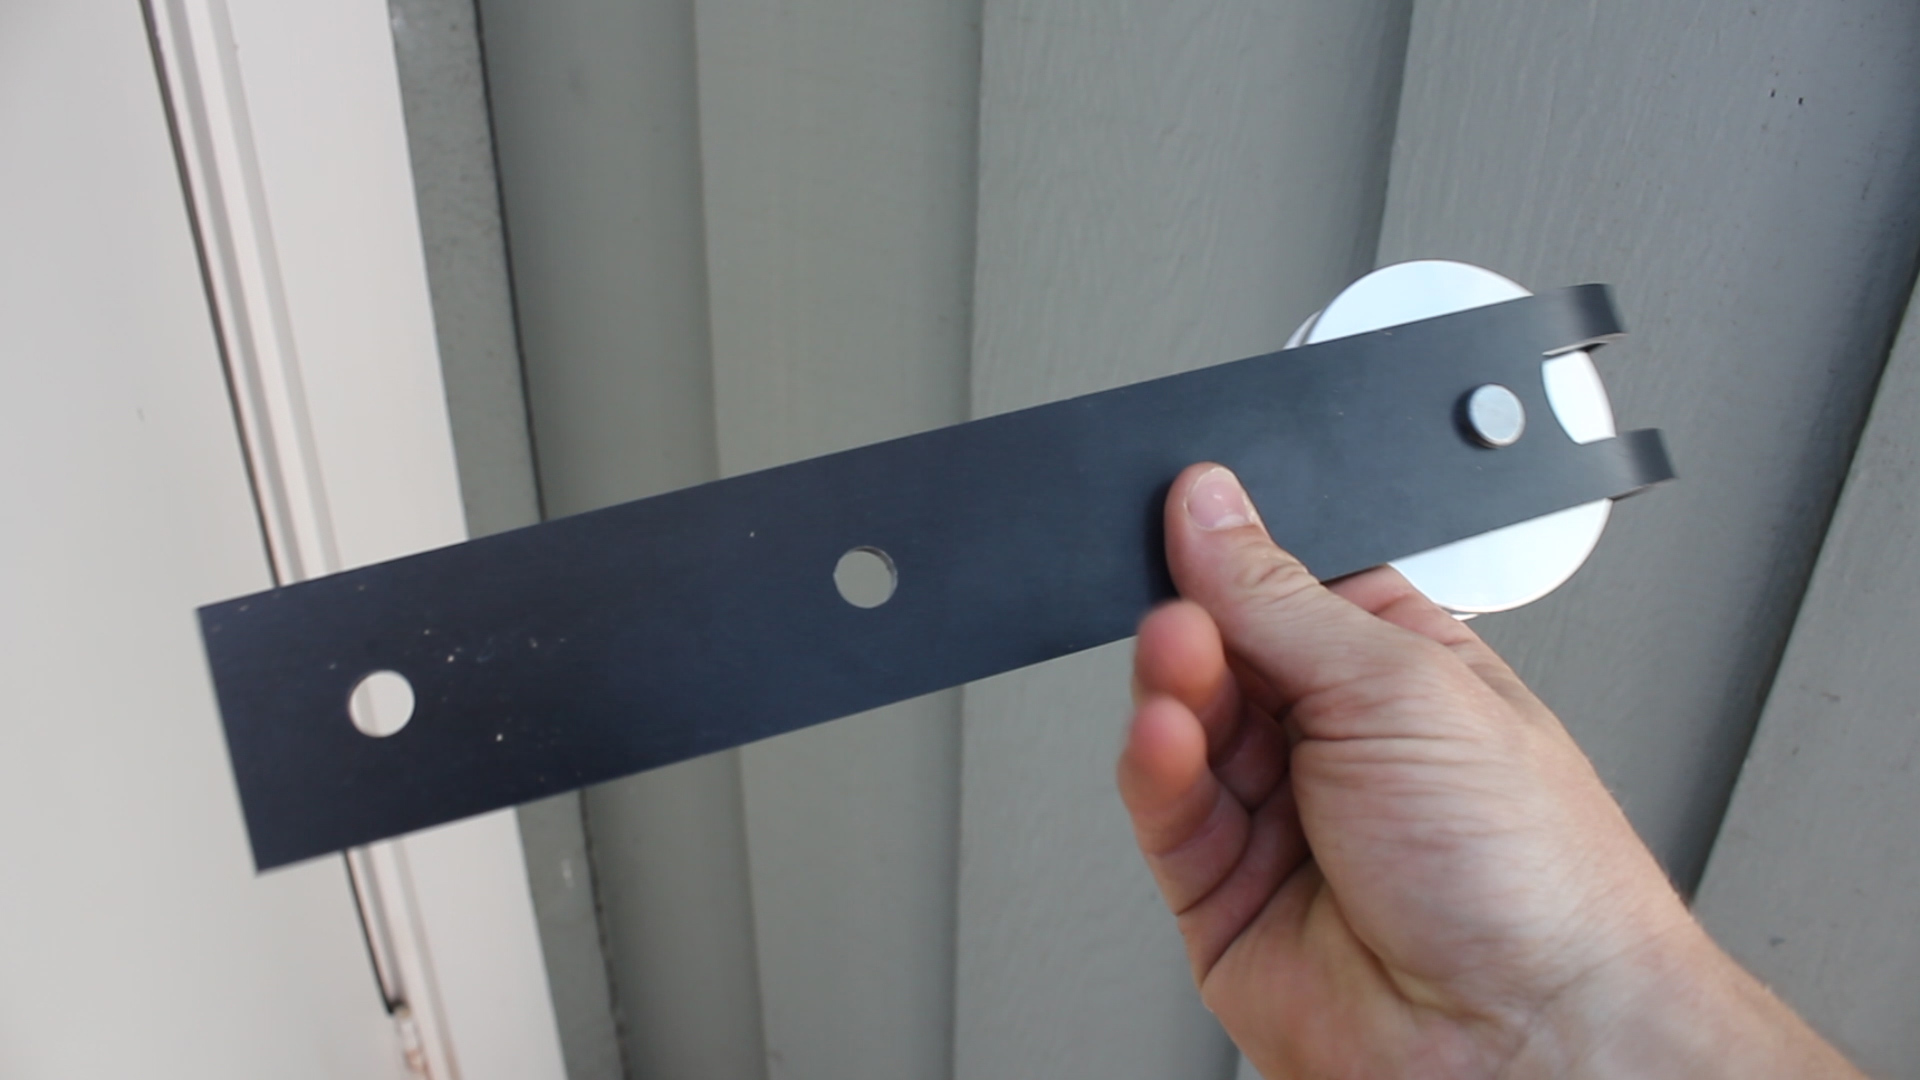
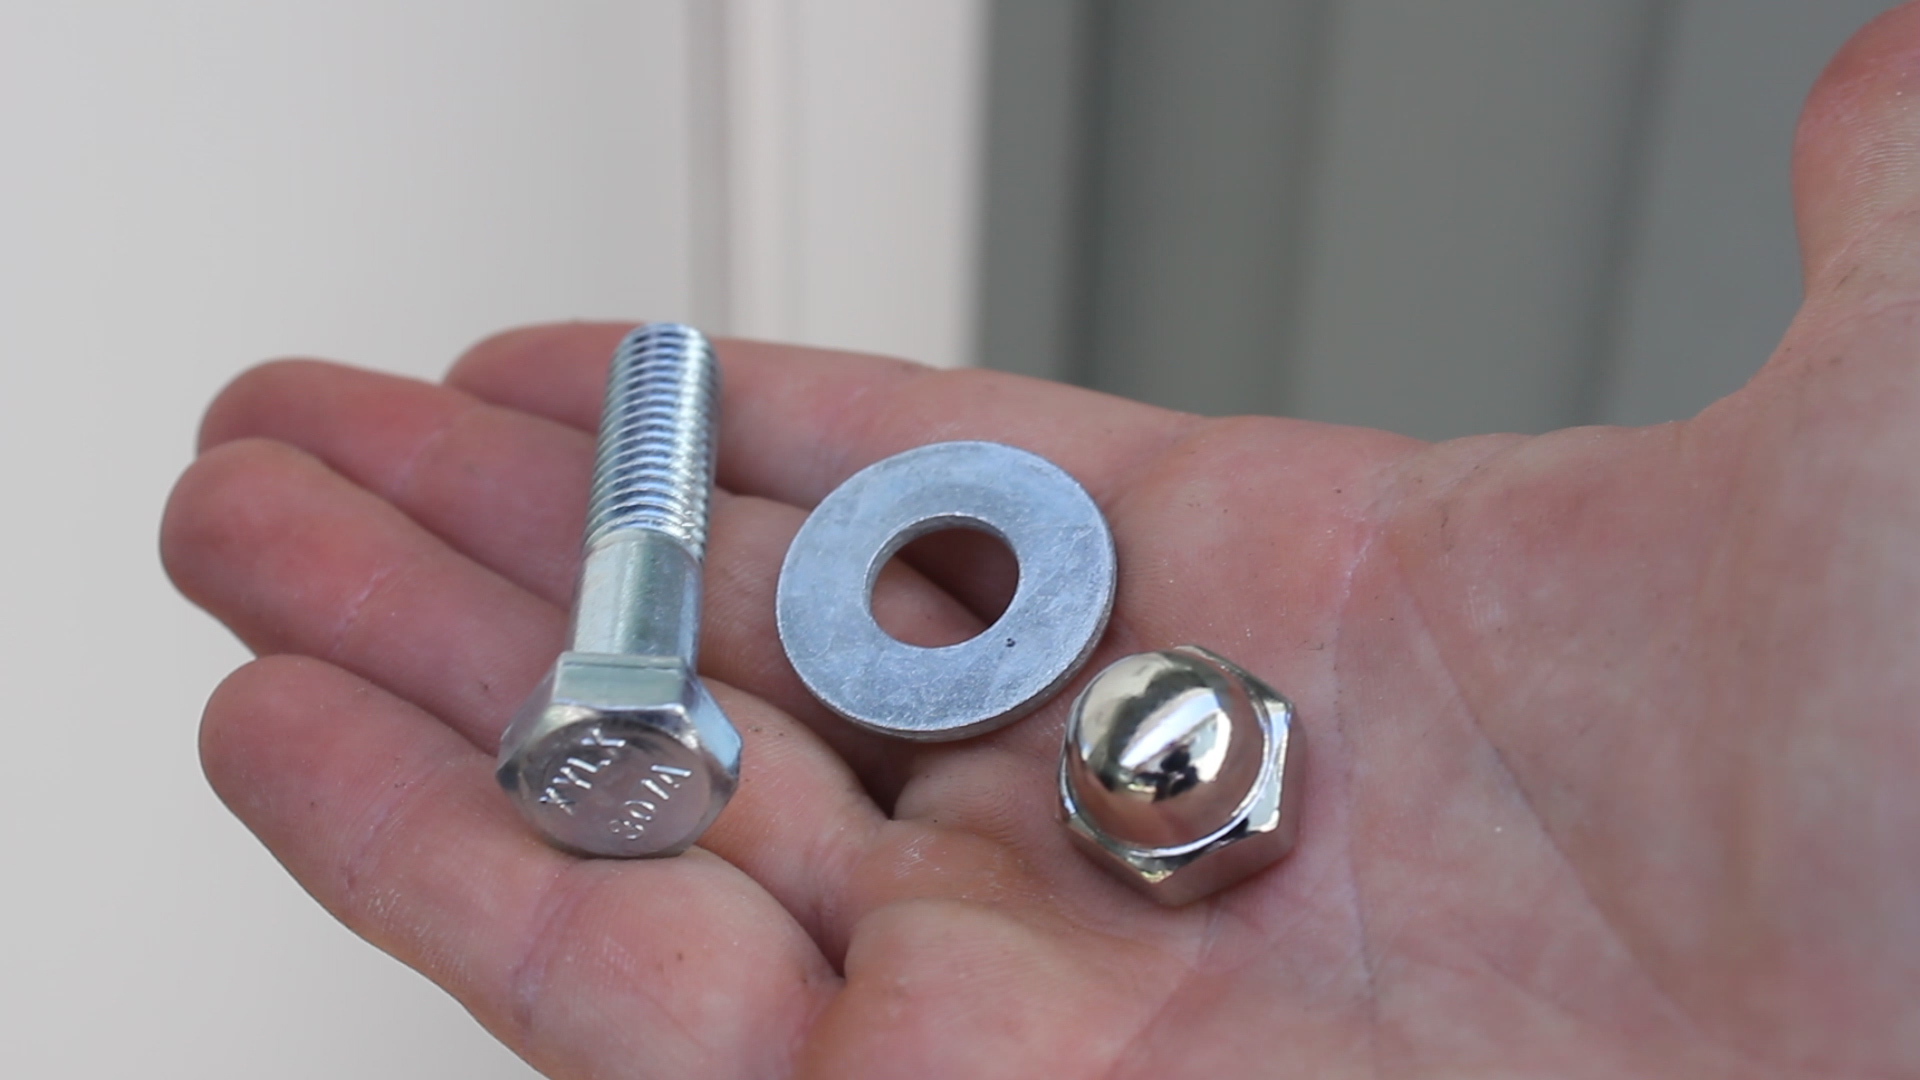
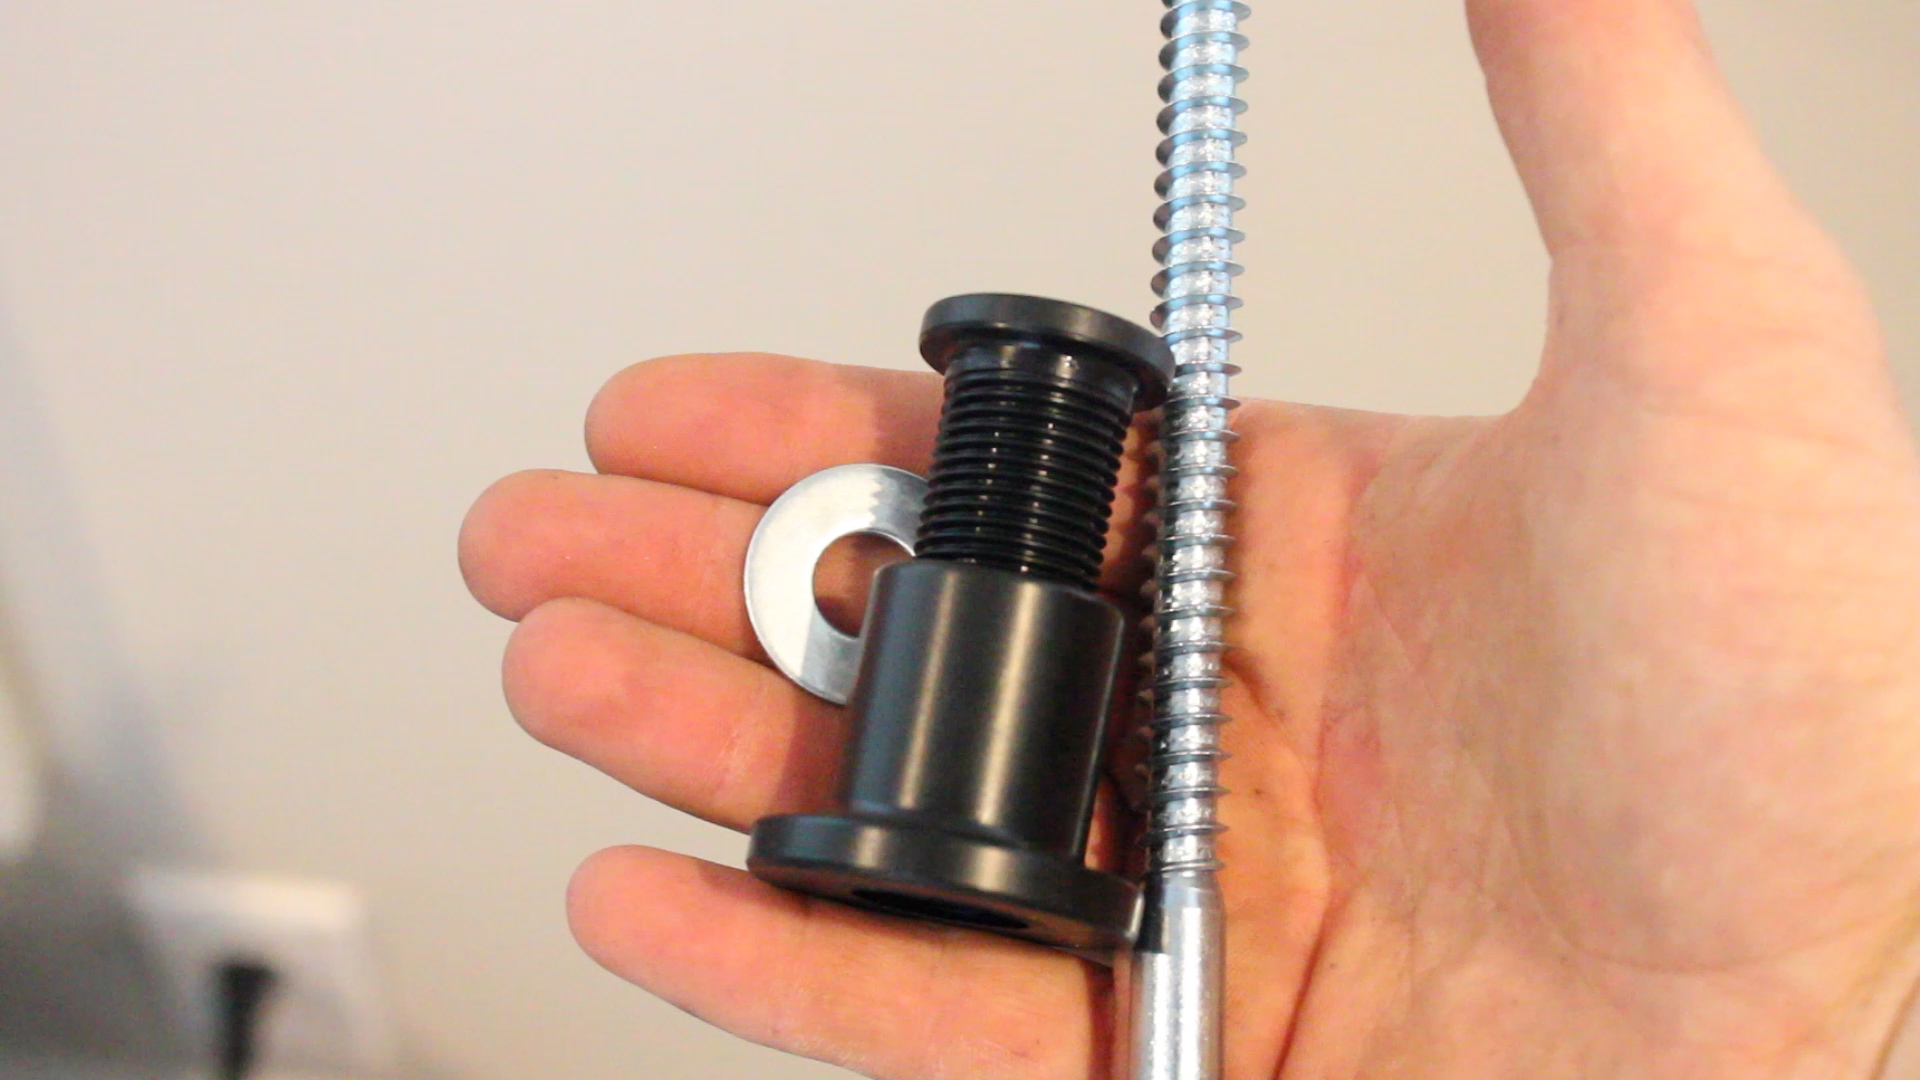
The first picture shows the main track wheel piece. The second picture shows the components for attaching (a hex bolt, washer, and nut). My screws were not long enough to go through my doors, so the directions recommended doing a counter sink method for this.
To do this, I did the following:
- Based on the directions, mark the center points of your two holes (I believe mine were 1.25" and 4" from the top and 2.875" in from the sides)
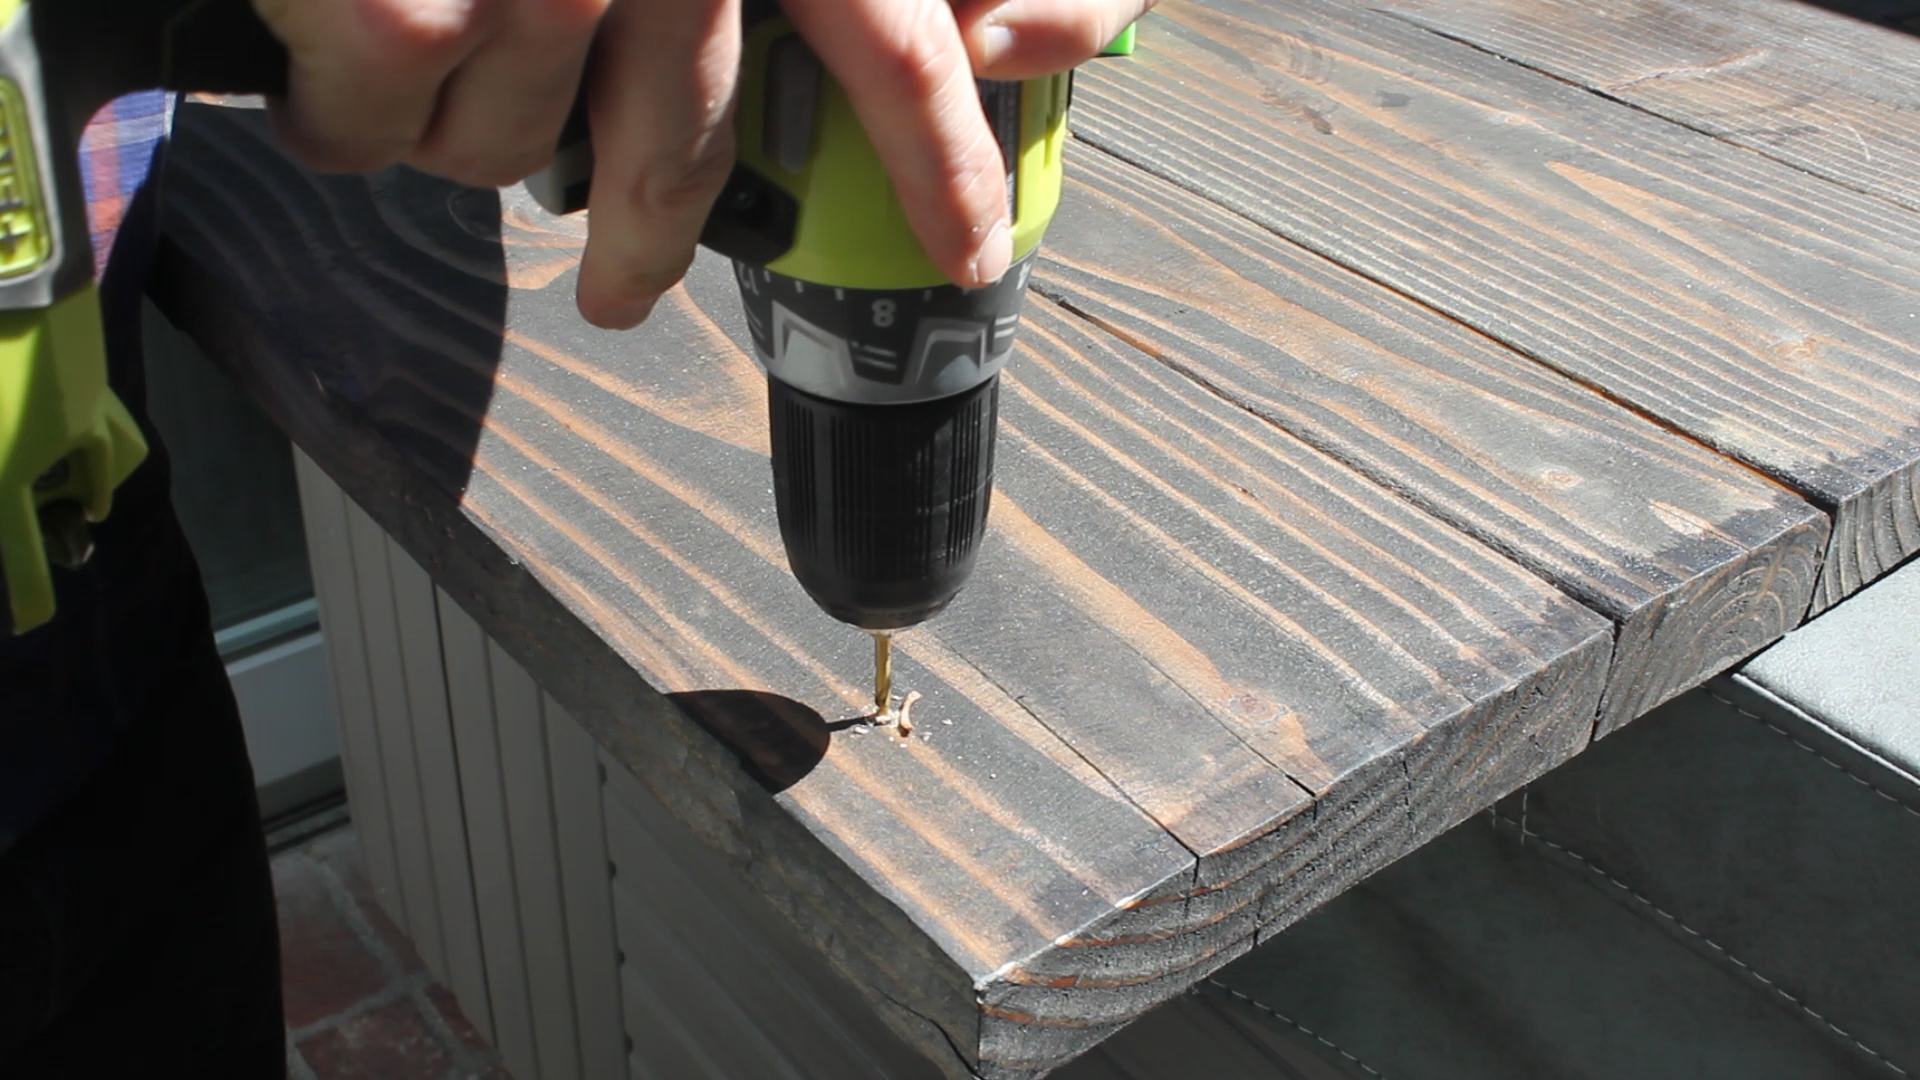
- Pre drill a 1/8" pilot hole on the side that the track pieces will go on
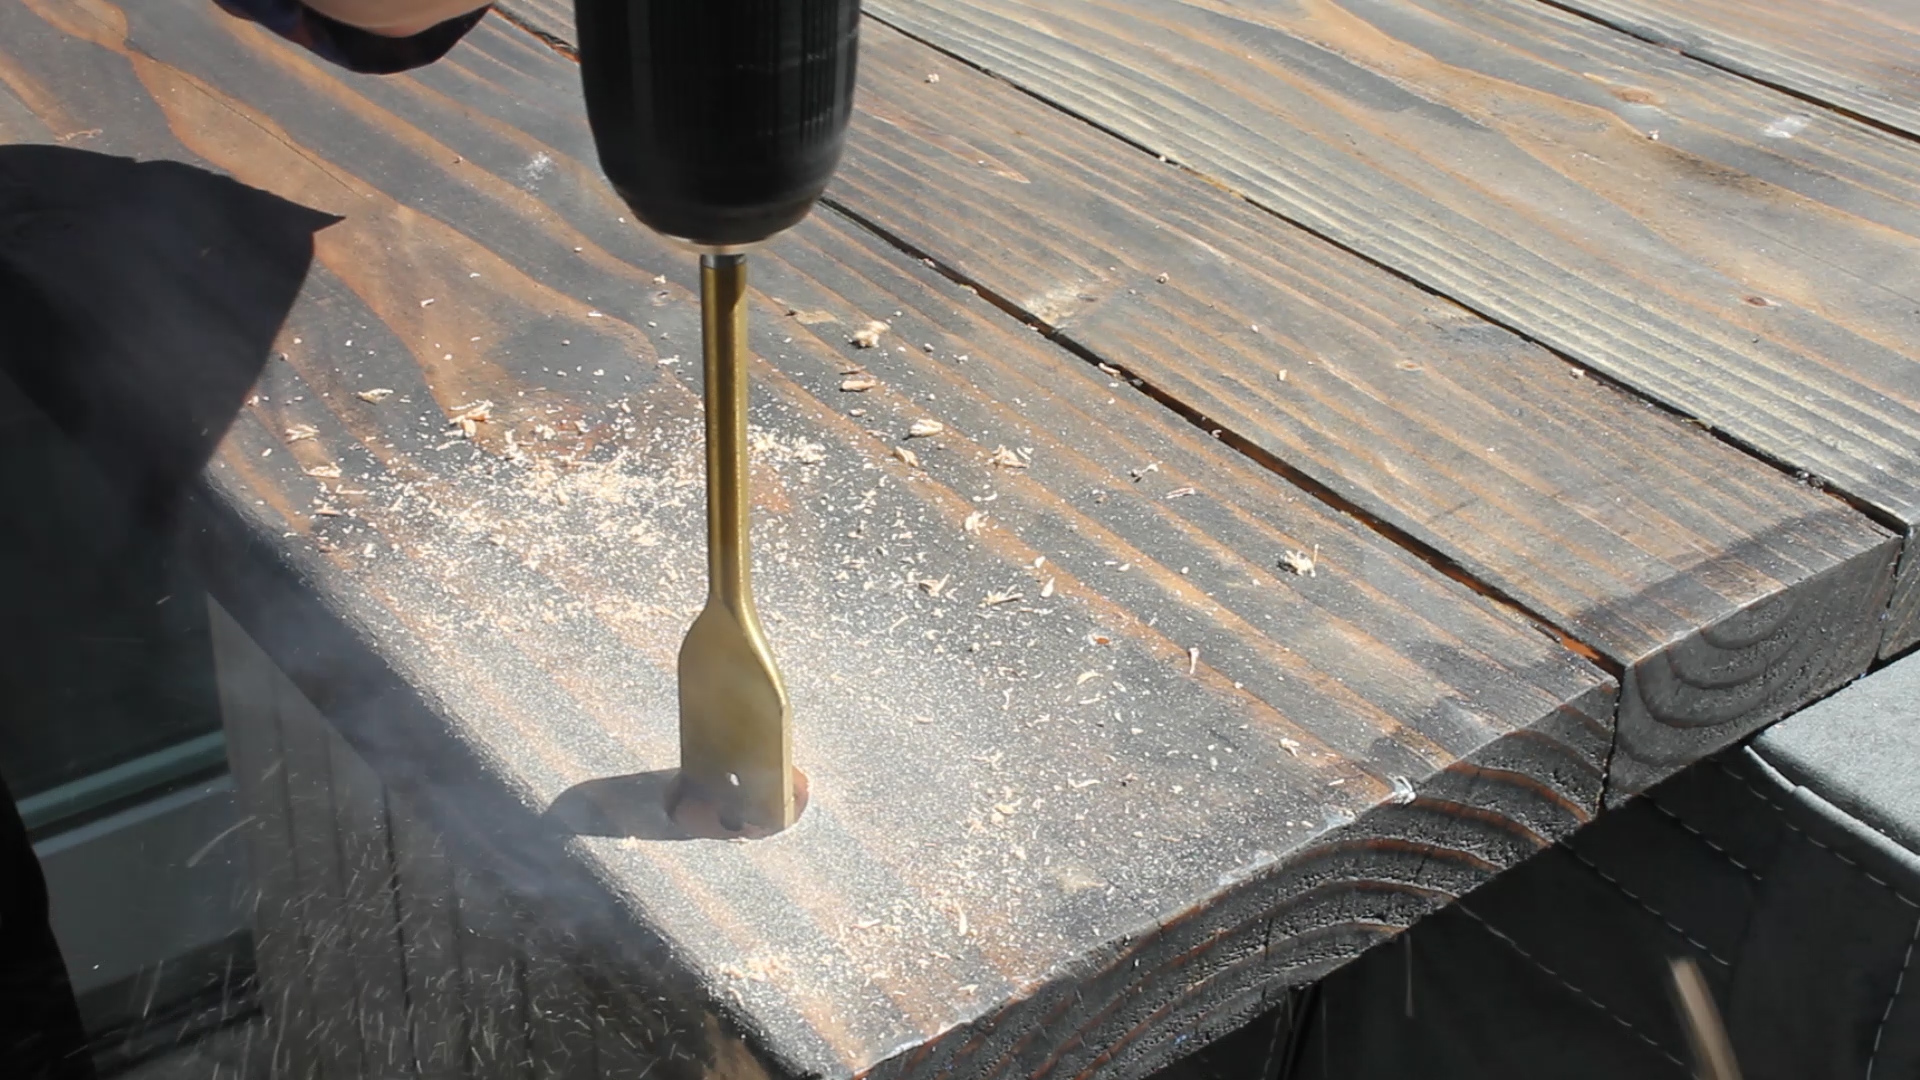
- Flip the door over and drill a 1" counter sunk hole using a spade bit
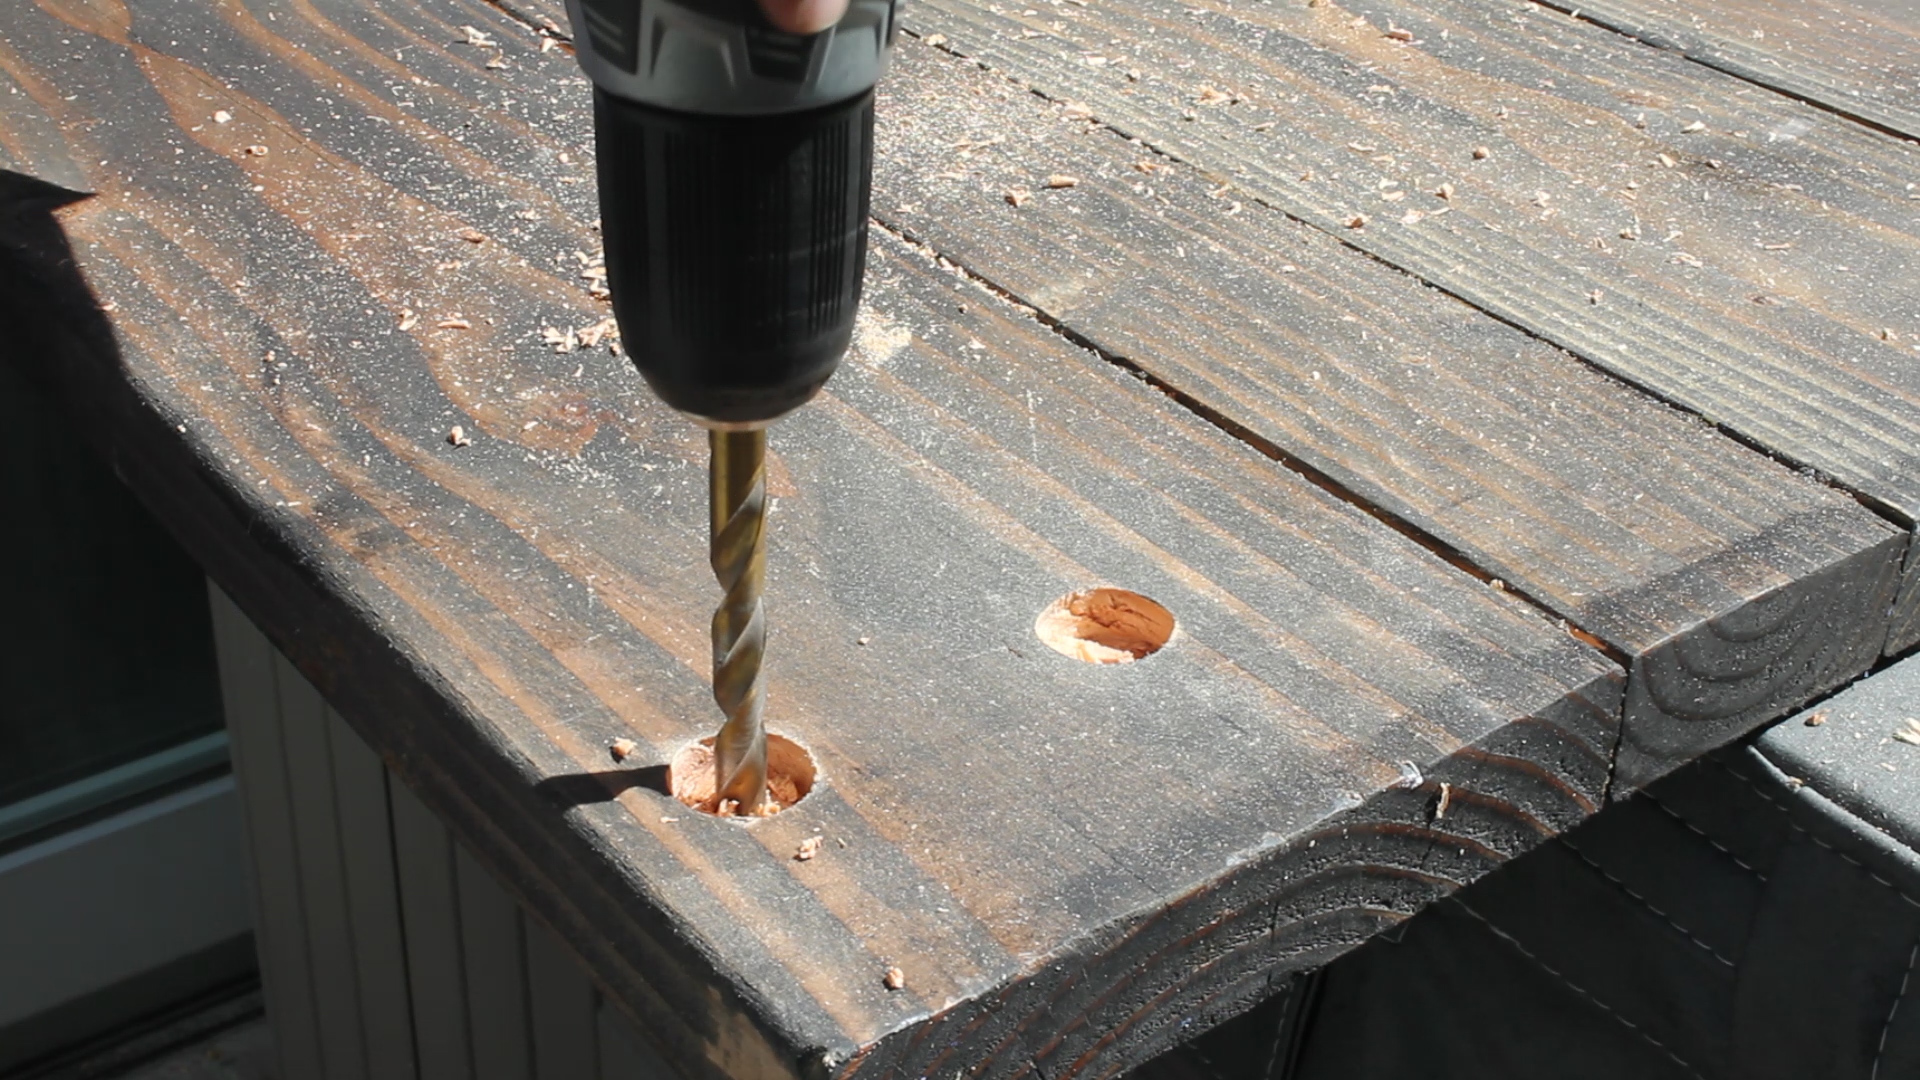
- Drill a 3/8" final hole to accompany the hex bolt
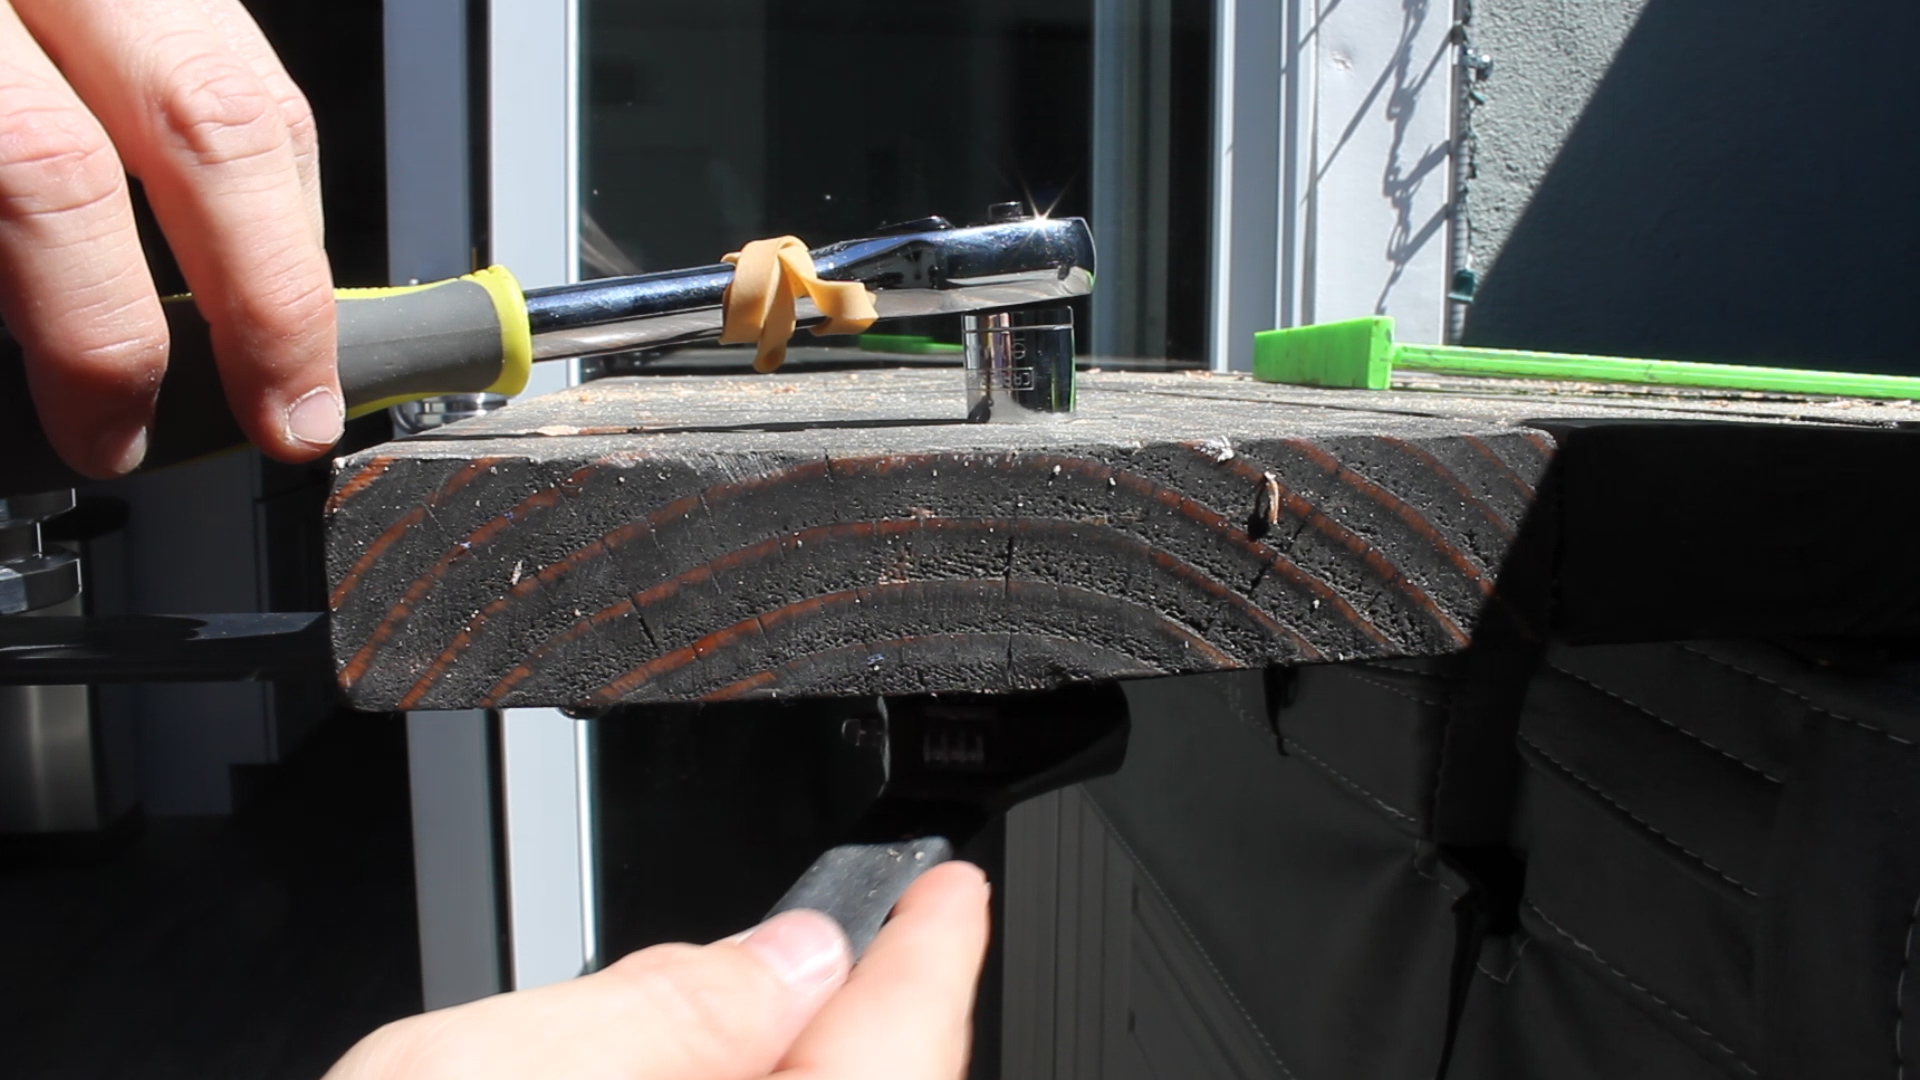
- Drop the washer in the counter sunk hole, twist in the hex bolt using your fingers and a ratchet wrench, and tighten everything using a regular wrench on the other side. Make sure as you tighten things that your hangars stay perpendicular to the top of your door using a rafter square
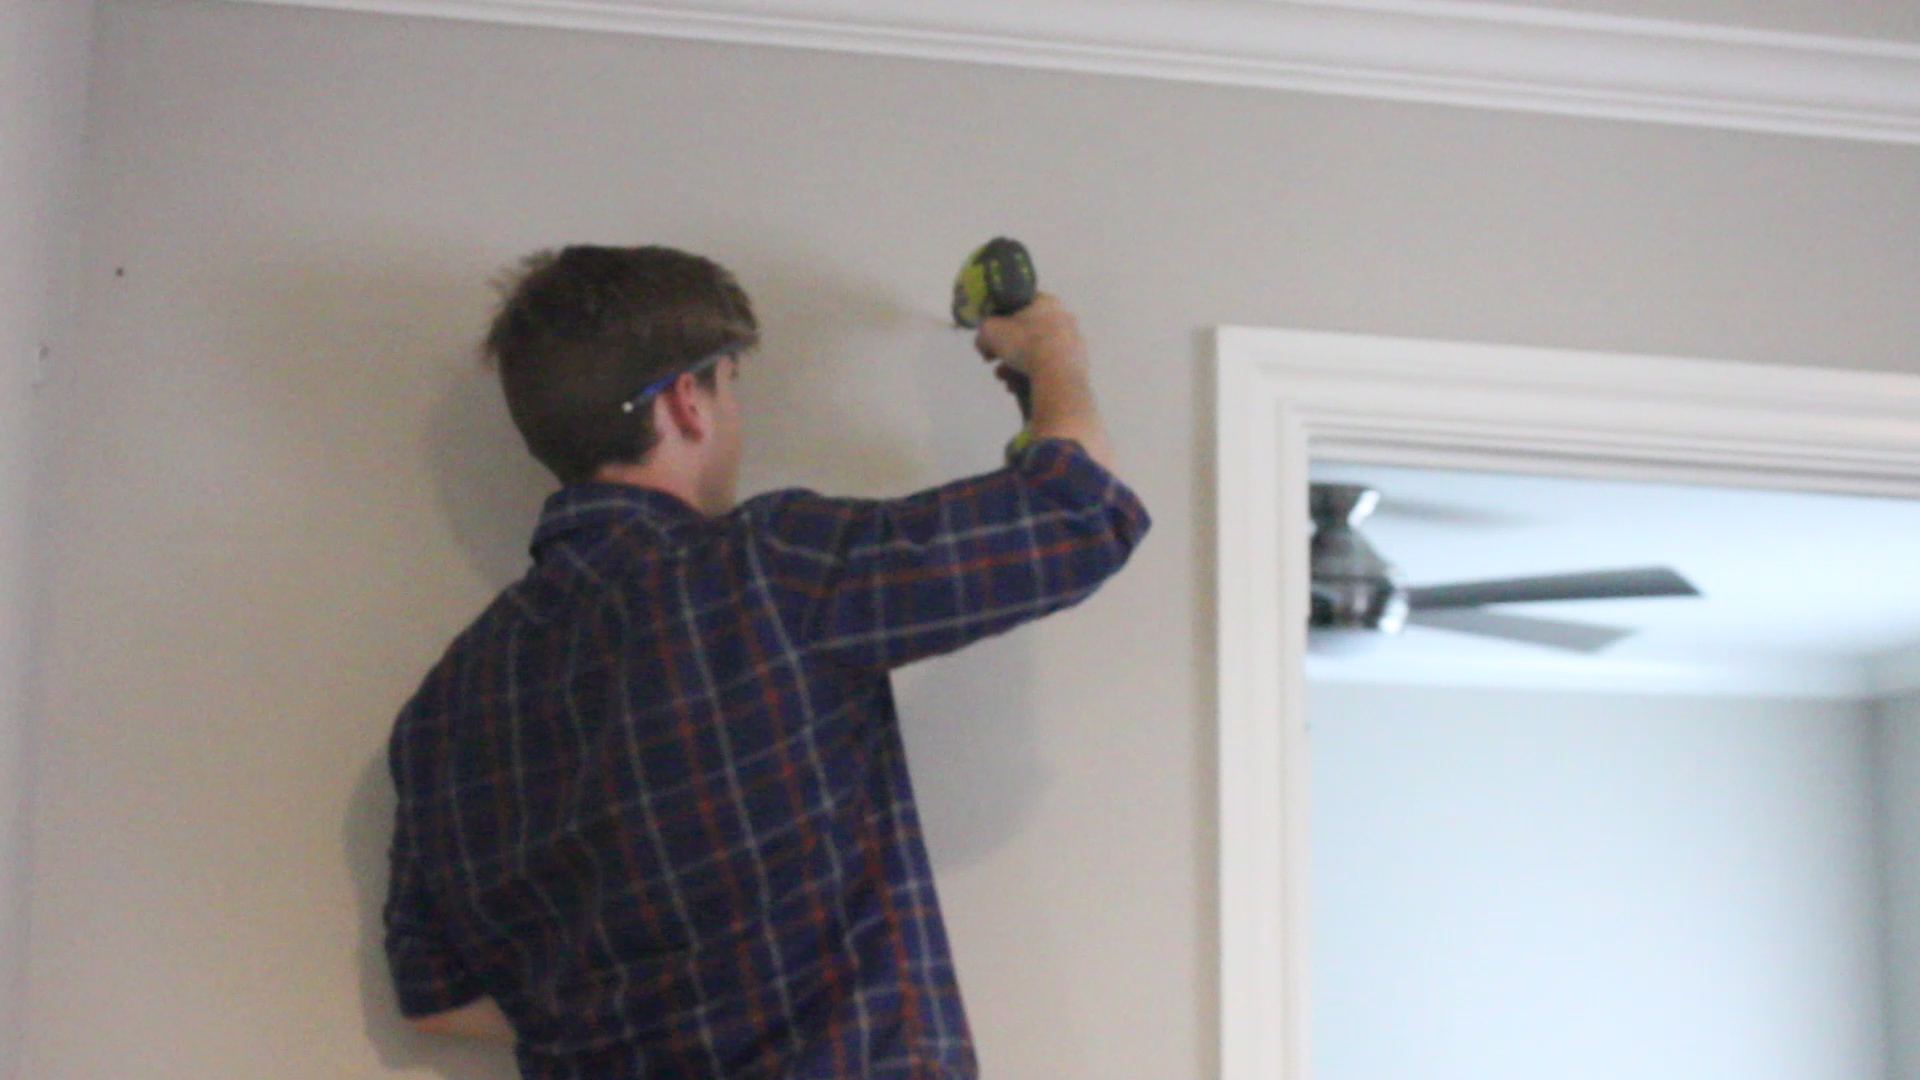
Next, time to hang your tracks. My tracks came with pre-drilled holes which I recommend, but if your studs do not line up with those holes, then you'll need to drill new ones which is a bit of a hassle. Nonetheless, the last thing you want is your doors to come crashing down, so do this properly!
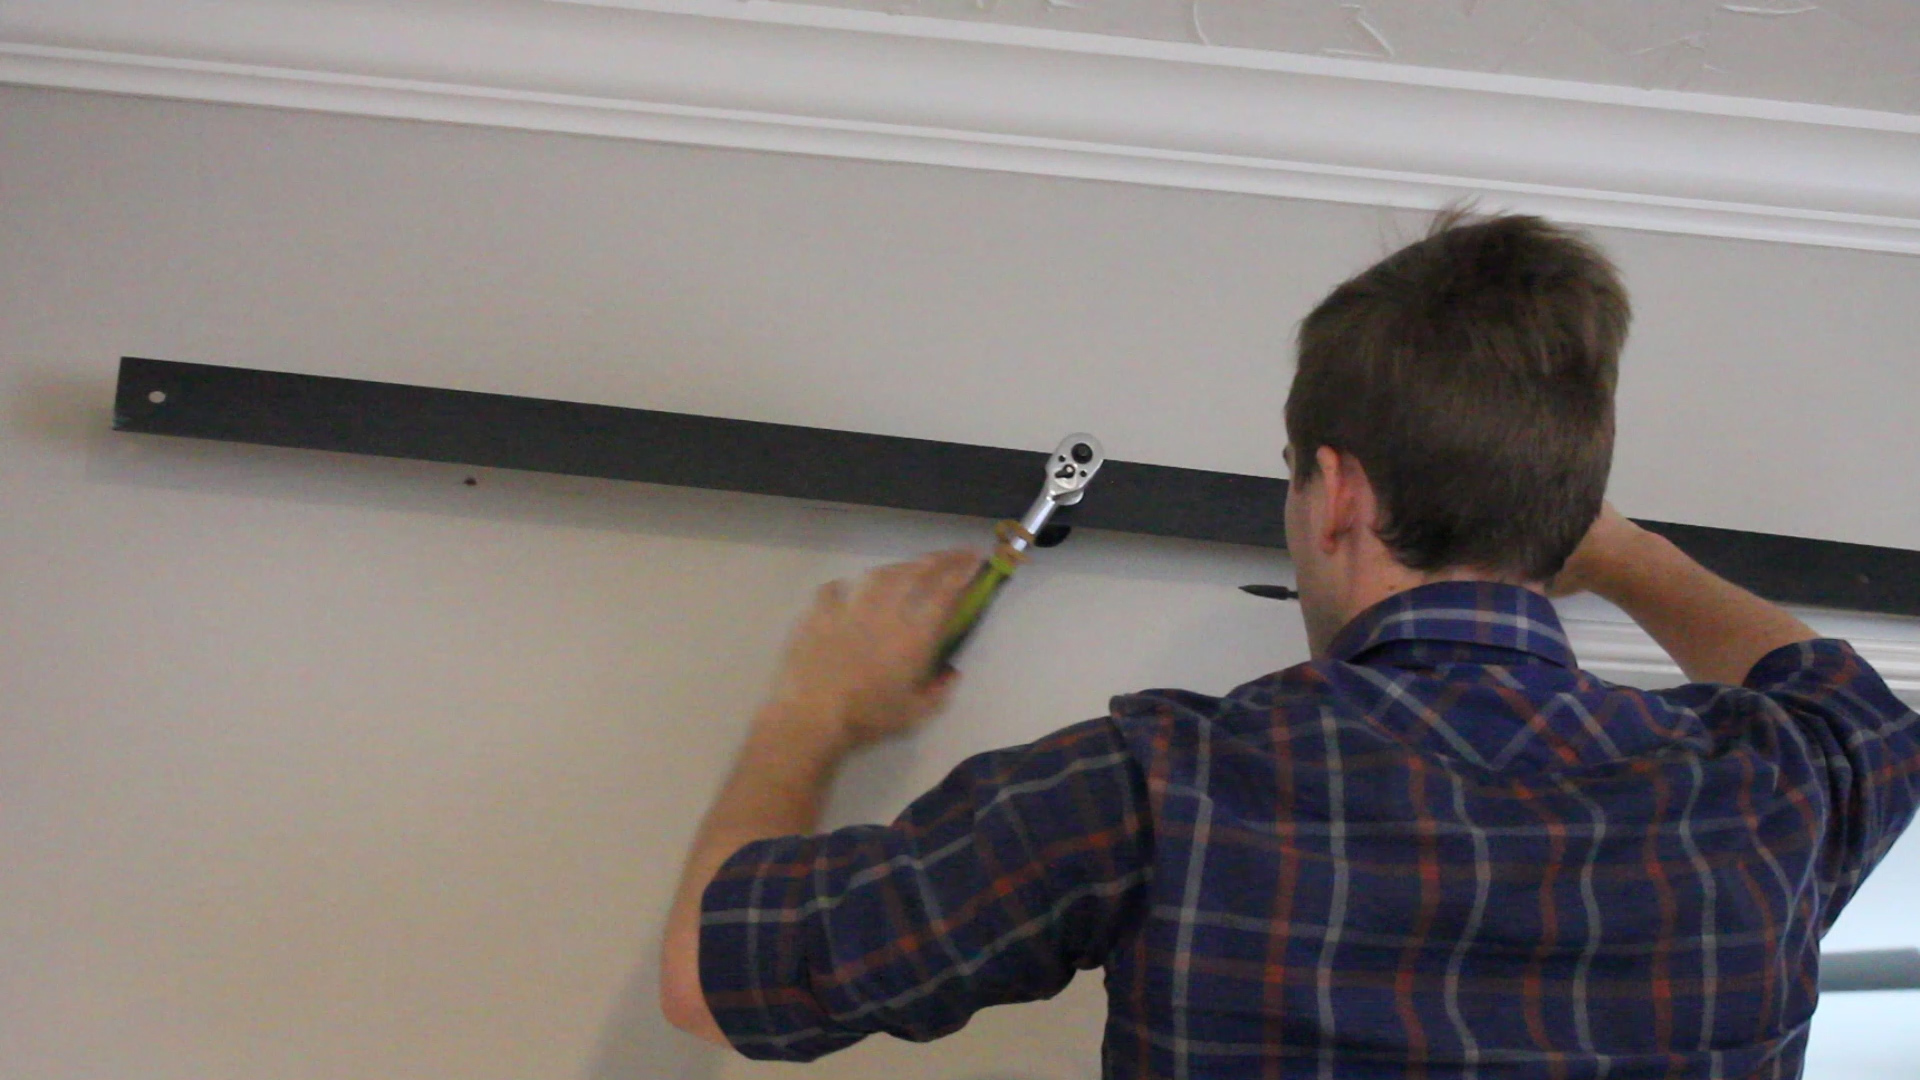
I located the studs in my walls, found the proper height to drill my pilot holes based on the height of my door, and drilled into my walls. I used 2 x 6' tracks for this project, and each track had four total holes to connect to the walls using a large lag bolt, a washer, and an adjustable spacer which proved very handy. The other method for hanging tracks easily and so you can avoid having to find studs each time is to use an additional piece of wood that goes in between the track and wall. This piece will be drill into all of your studs for support, and then you can simply just drill in your track based on the pre-drilled holes without needing to locate studs for each one and/or drill new holes to fit your space. I didn't have this luxury but I managed.
I recommend getting a drill bit for this, as hand cranking everything in was exhausting. Use a level to make sure everything stays parallel, and repeat the process if necessary for second track.
Also, you'll want to install the end stops at this point before attaching your lag bolts to the walls as those will sit in between the track and your lag bolt end.
After i had both of my tracks up, parallel, and with the stops attached on each end, I could attach my doors. You'll notice there are special locks on these doors. For the sake of this article and my sanity, I will not go into detail about the nor will I recommend using them. Barn doors aren't meant to be locked in my opinion!
Once my doors were on the tracks, I could install the door protector that prevented them from popping off their tracks if hit too hard. Simple process and very effective. There is also a floor guide that needs to be installed to help properly "plum" your doors, but this required additional epoxy that I did not have at the time so I do not have documentation of it. The reason I needed epoxy was because I could not drill into the floor.
After that, I was finished. The build of these doors was quite fun and straight forward. Hanging complicated barn door hardware, by yourself, for the first time, and with minimal tools is quite complicated, especially when you have to do it twice but make it perfectly accurate. I look forward to doing this again in the future with a partner to help and hopefully with just one door and no complicated add ons.
Final doors in their new home. Ignore the locks that are not quite finished (long story short, the directions suck and I drilled holes at the wrong depth, meaning that I need to find cool pieces of steal to cover the holes, which will actually look awesome when added on!
TOOLS
Wen 12.5” Thickness Planer
RYOBI 10 in. Sliding Compound Miter Saw
RYOBI Miter Saw Stand
RYOBI Cordless Orbital Sander
RYOBI Power Drill
RYOBI Drill Bit Set
ROCKLER Dowelling Jig
Rubber Mallet
MAKITA Paddle Switch 4.5” Angle Grinder
Flap Discs
BESSEY Economy 2.5” x 24” Clutch Clamps
BESSEY H Style Pipe Clamps
12” Rafter Square
Level (24’)

