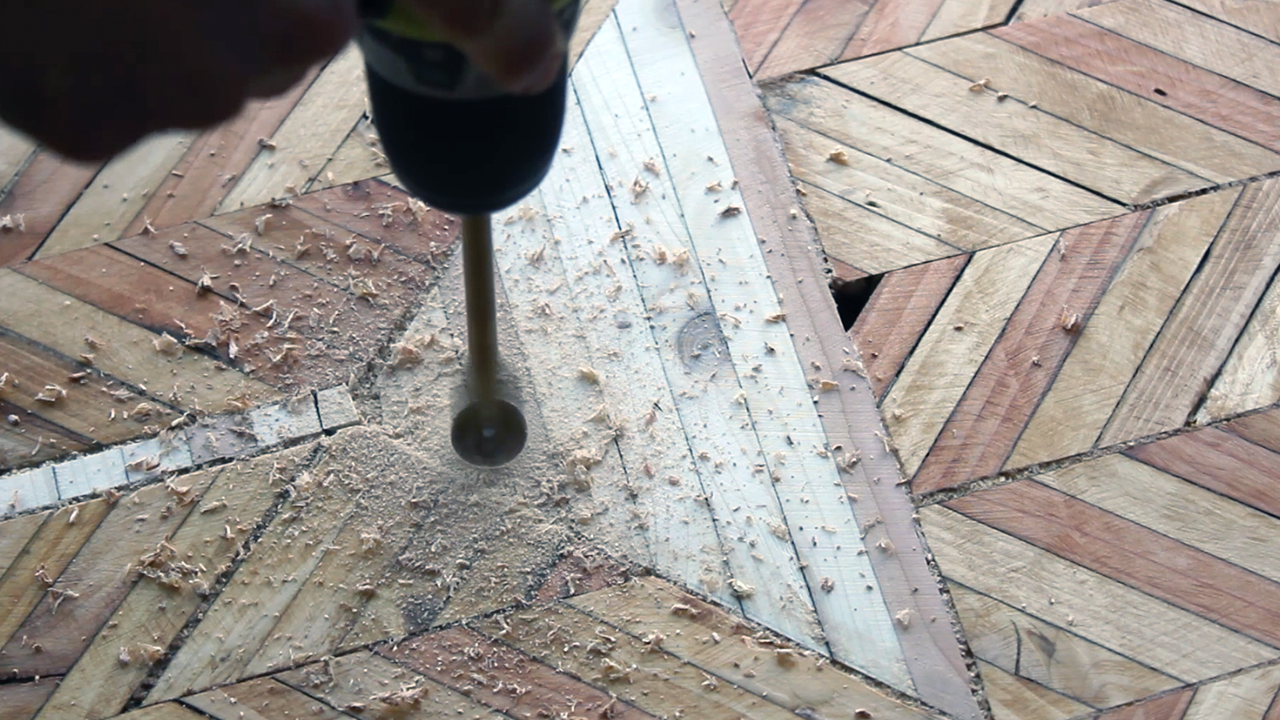
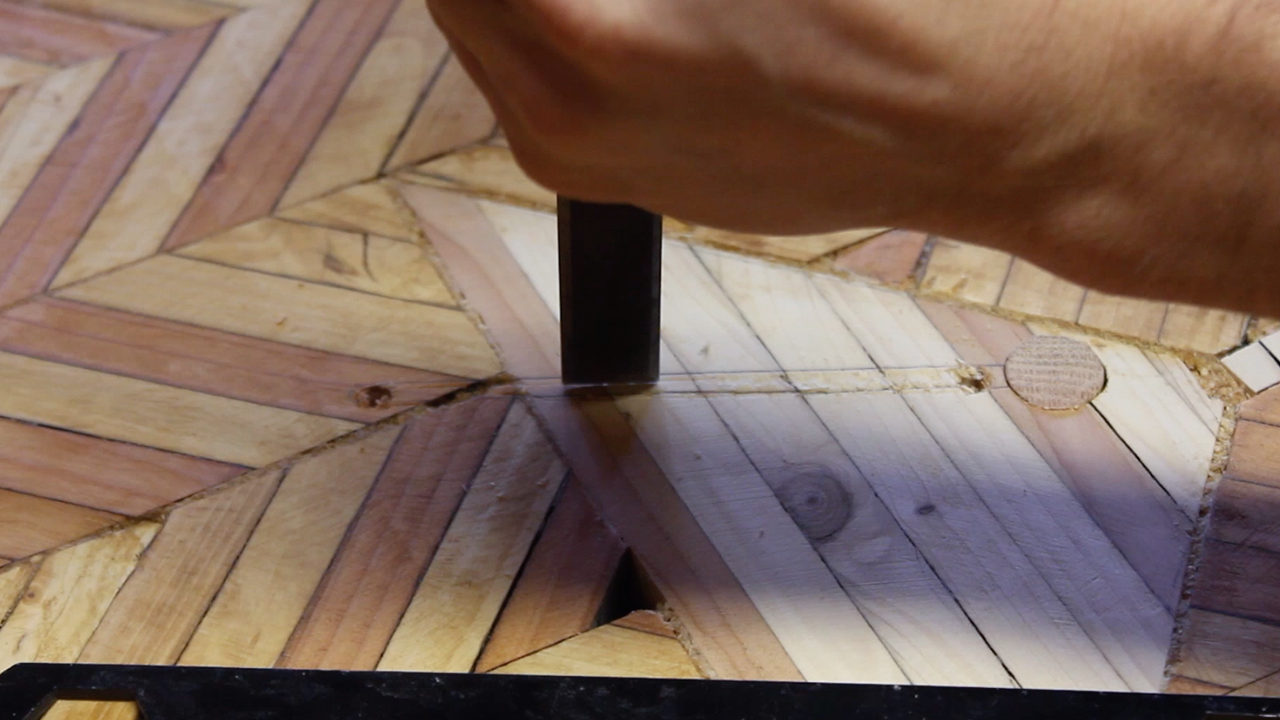
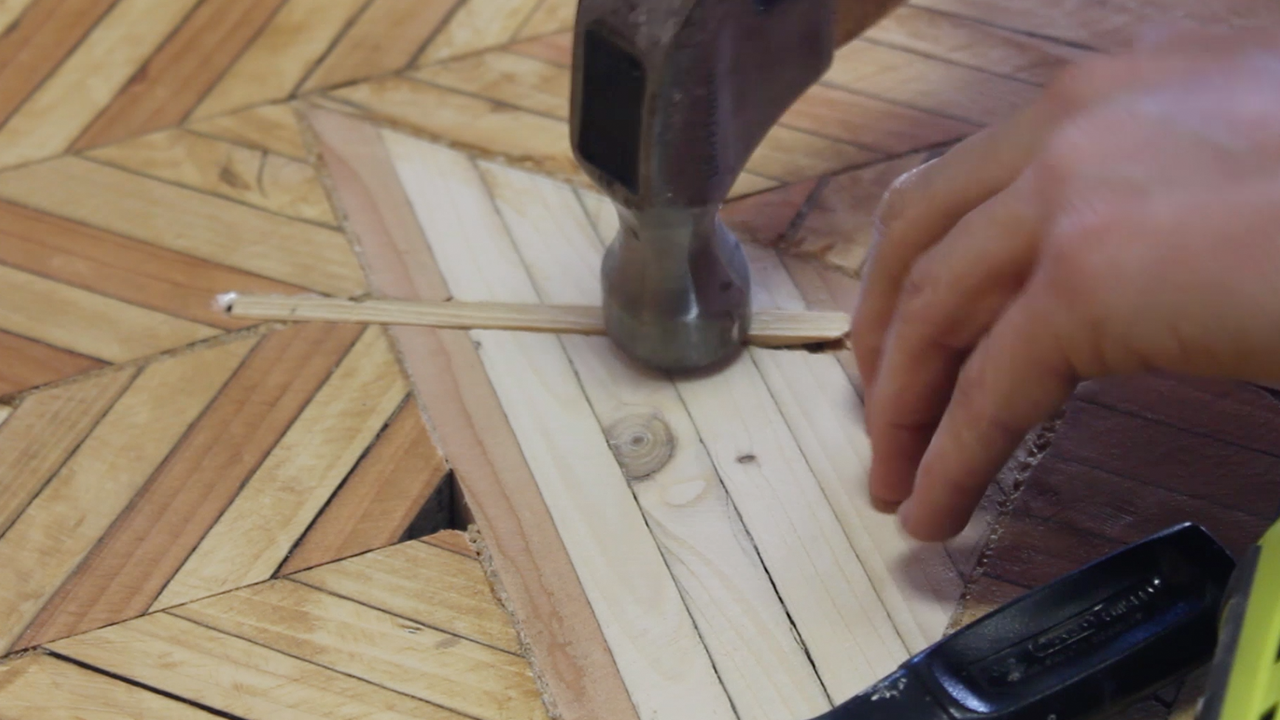
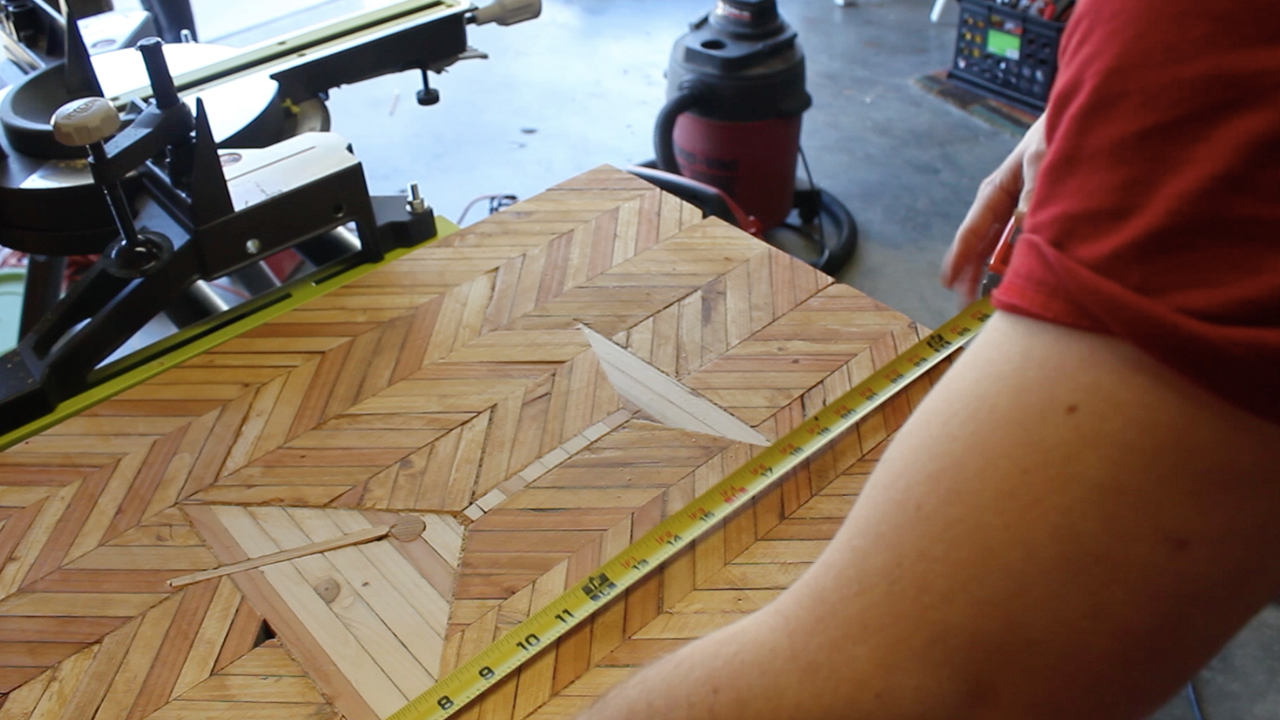
The Engagement Ring Box


Thanks for checking out the full article!
Please Subscribe to our Youtube Channel by clicking here.

My full video of the build is below, followed by detailed instructions with tools, materials, and measurements! 

MATERIALS
Scrap Maple and IPE Hardwoods
TiteBond II Wood Glue
Natural Danish Oil
5mm Barrel Hinges

Before I knew what materials I had, I did a bunch of rough sketches on what I thought would be a great looking box based on something I knew I could build (in secret) with the tools I had. 

I have quite a bit of scrap pieces of hardwood lying around and I knew all along that I wanted to make a special engagement ring box for when the time came to pop the question. I liked the contrast of the Maple wood I had against the IPE strips, so I got to it!

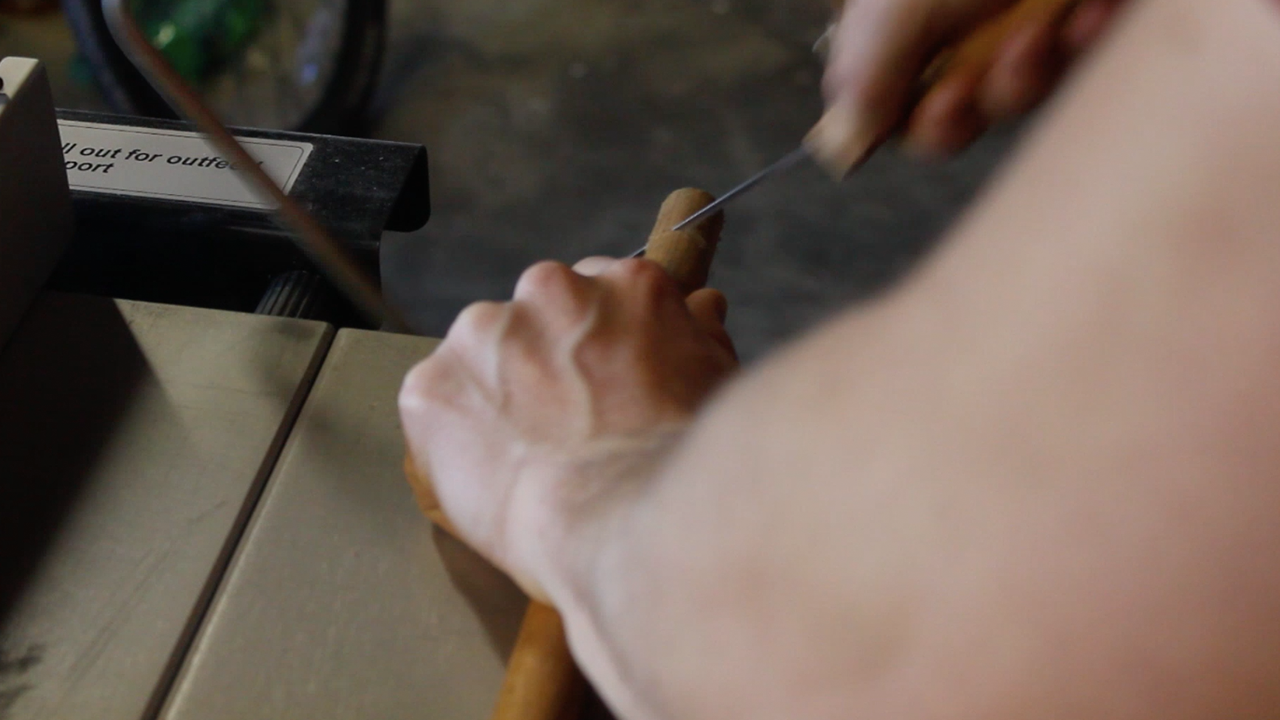
I went ahead and cut my IPE strip into two using my coping saw (each strip was about 15 inches long, which was way more material than I knew I'd need, but better to have extra).

I laminated together my two strips of Maple and IPE as such and let it dry overnight. I knew I'd eventually plane down this piece so I left the IPE wood strong to catch the snipe.

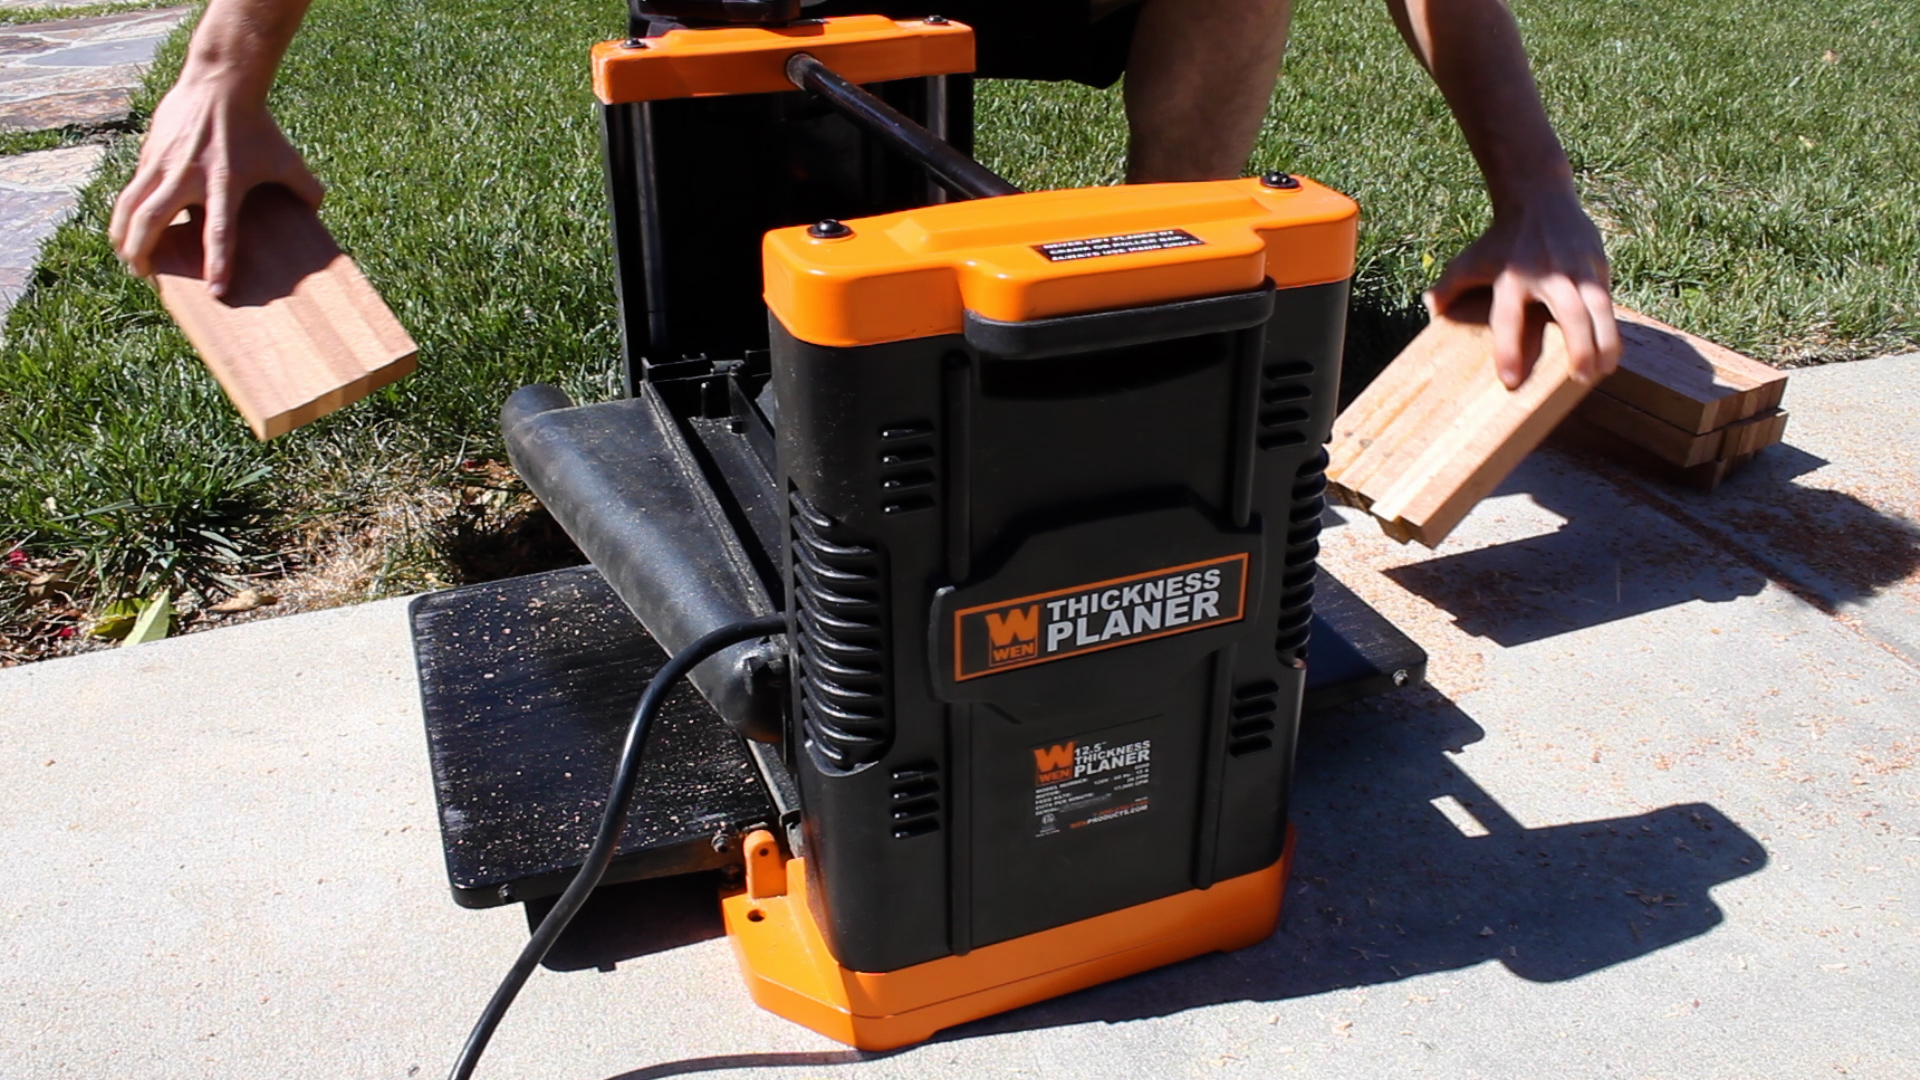
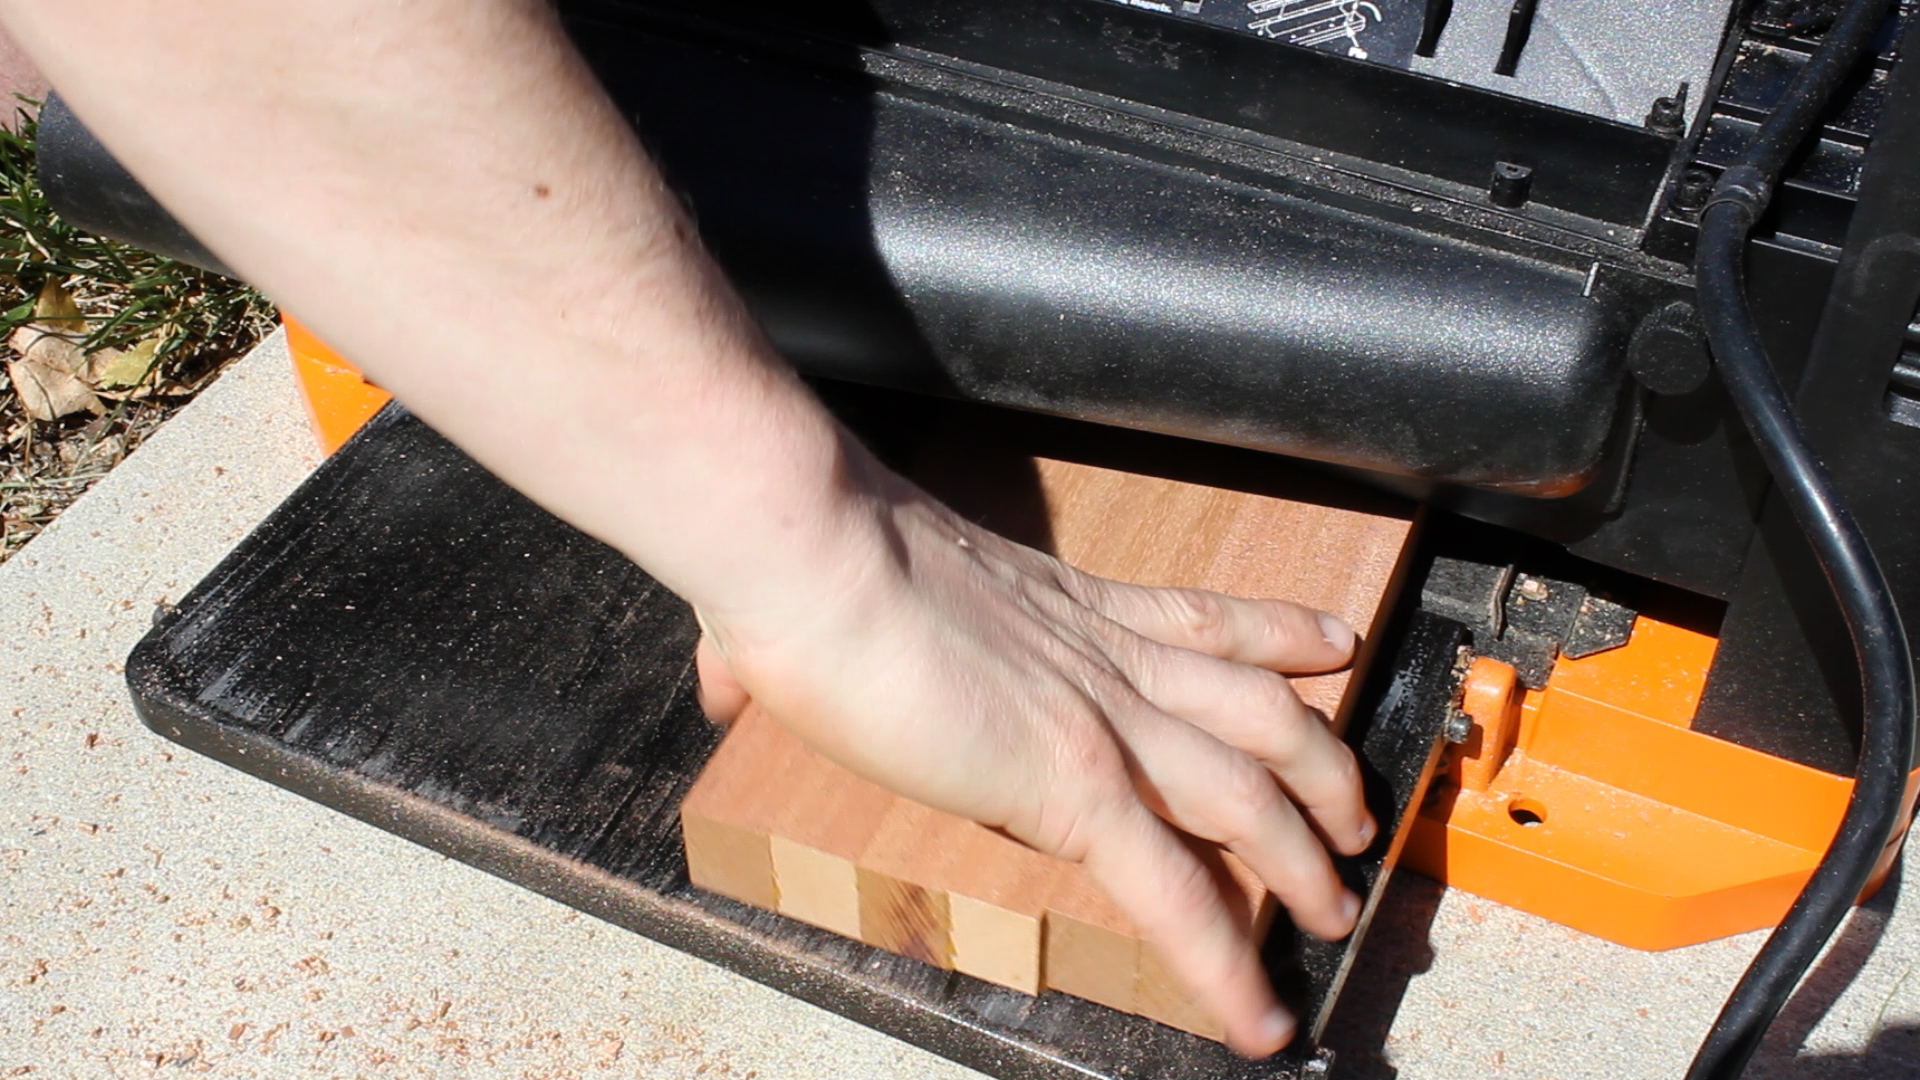
After drying overnight, I could plane it down to an appropriate thickness - which was around 2/3 of an inch. I didn't have exact end measurements in mind, but I was looking to make my final box a little over 2" in each direction, so this just seemed correct. 

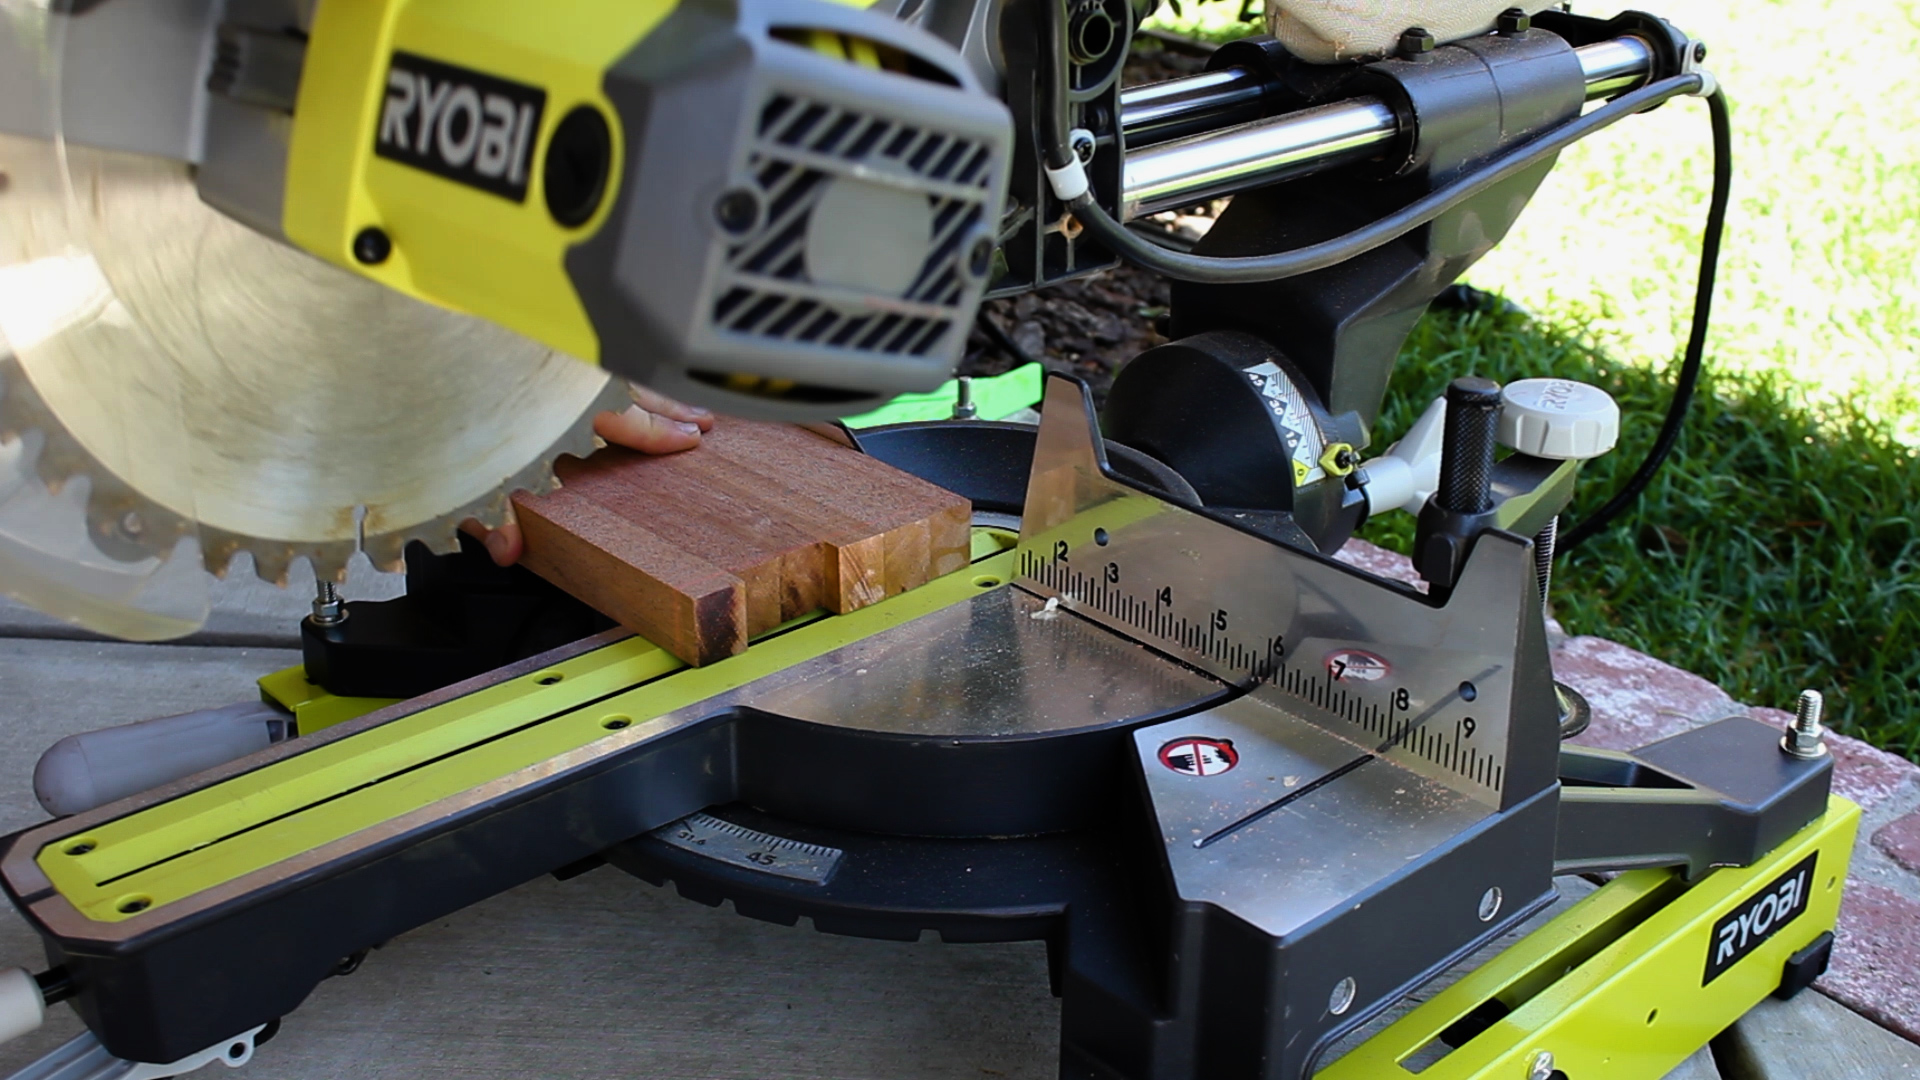
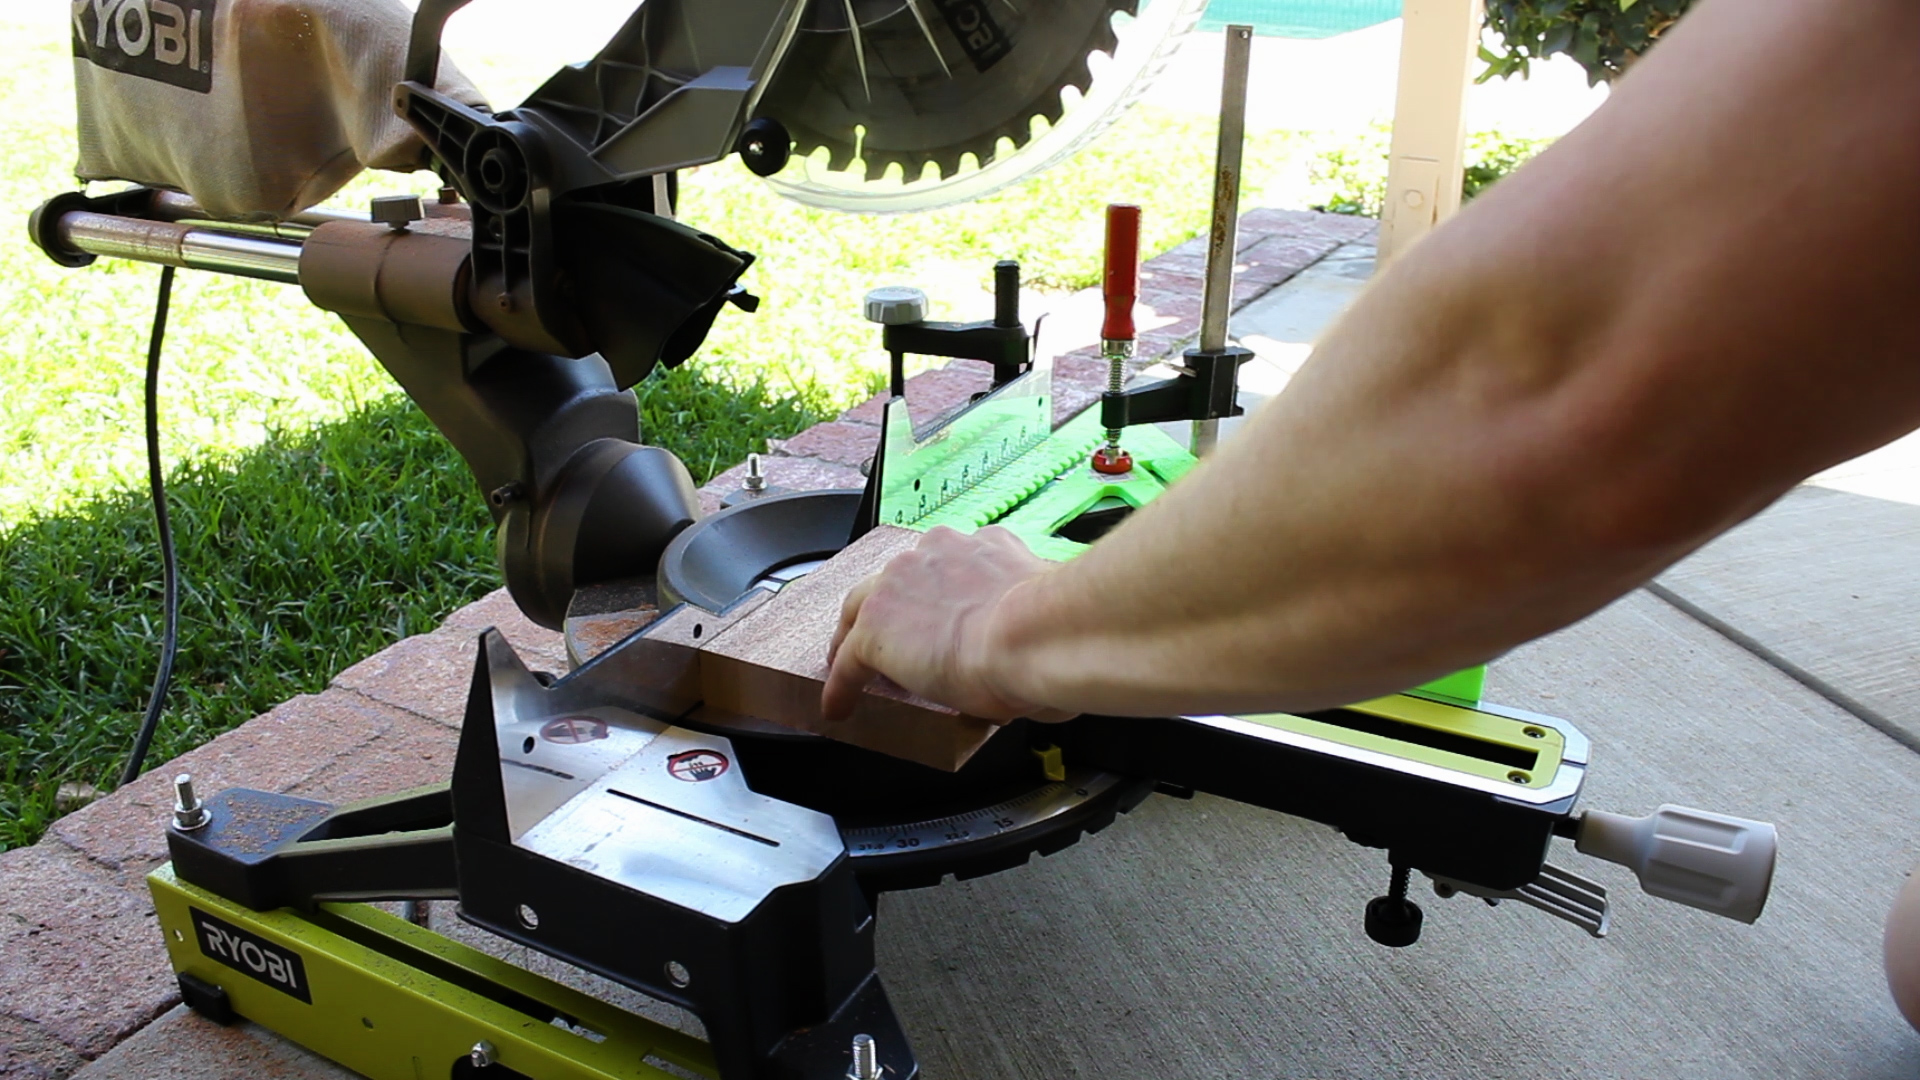
I thought it would be cool to have my two dark strips come to a corner, so what I did was measure the width of my piece, then translated that width to one side of my laminated strip (second picture), then cut that strip off on my Miter Saw (fourth picture), so that one side was much thinner than the other. The thought was that when I later laminated my strips together in an end-grain fashion, they corner would be square. You'll see what I mean later. 

Next up, I set up a stop on my Miter saw and cut my piece into four smaller sections at 2.25" each. 

I also cut down my second piece of IPE into 2.75" lengths (four totally pieces) and used a bit of hand sanding to flatten out the edges in preparation for my next glue up. 

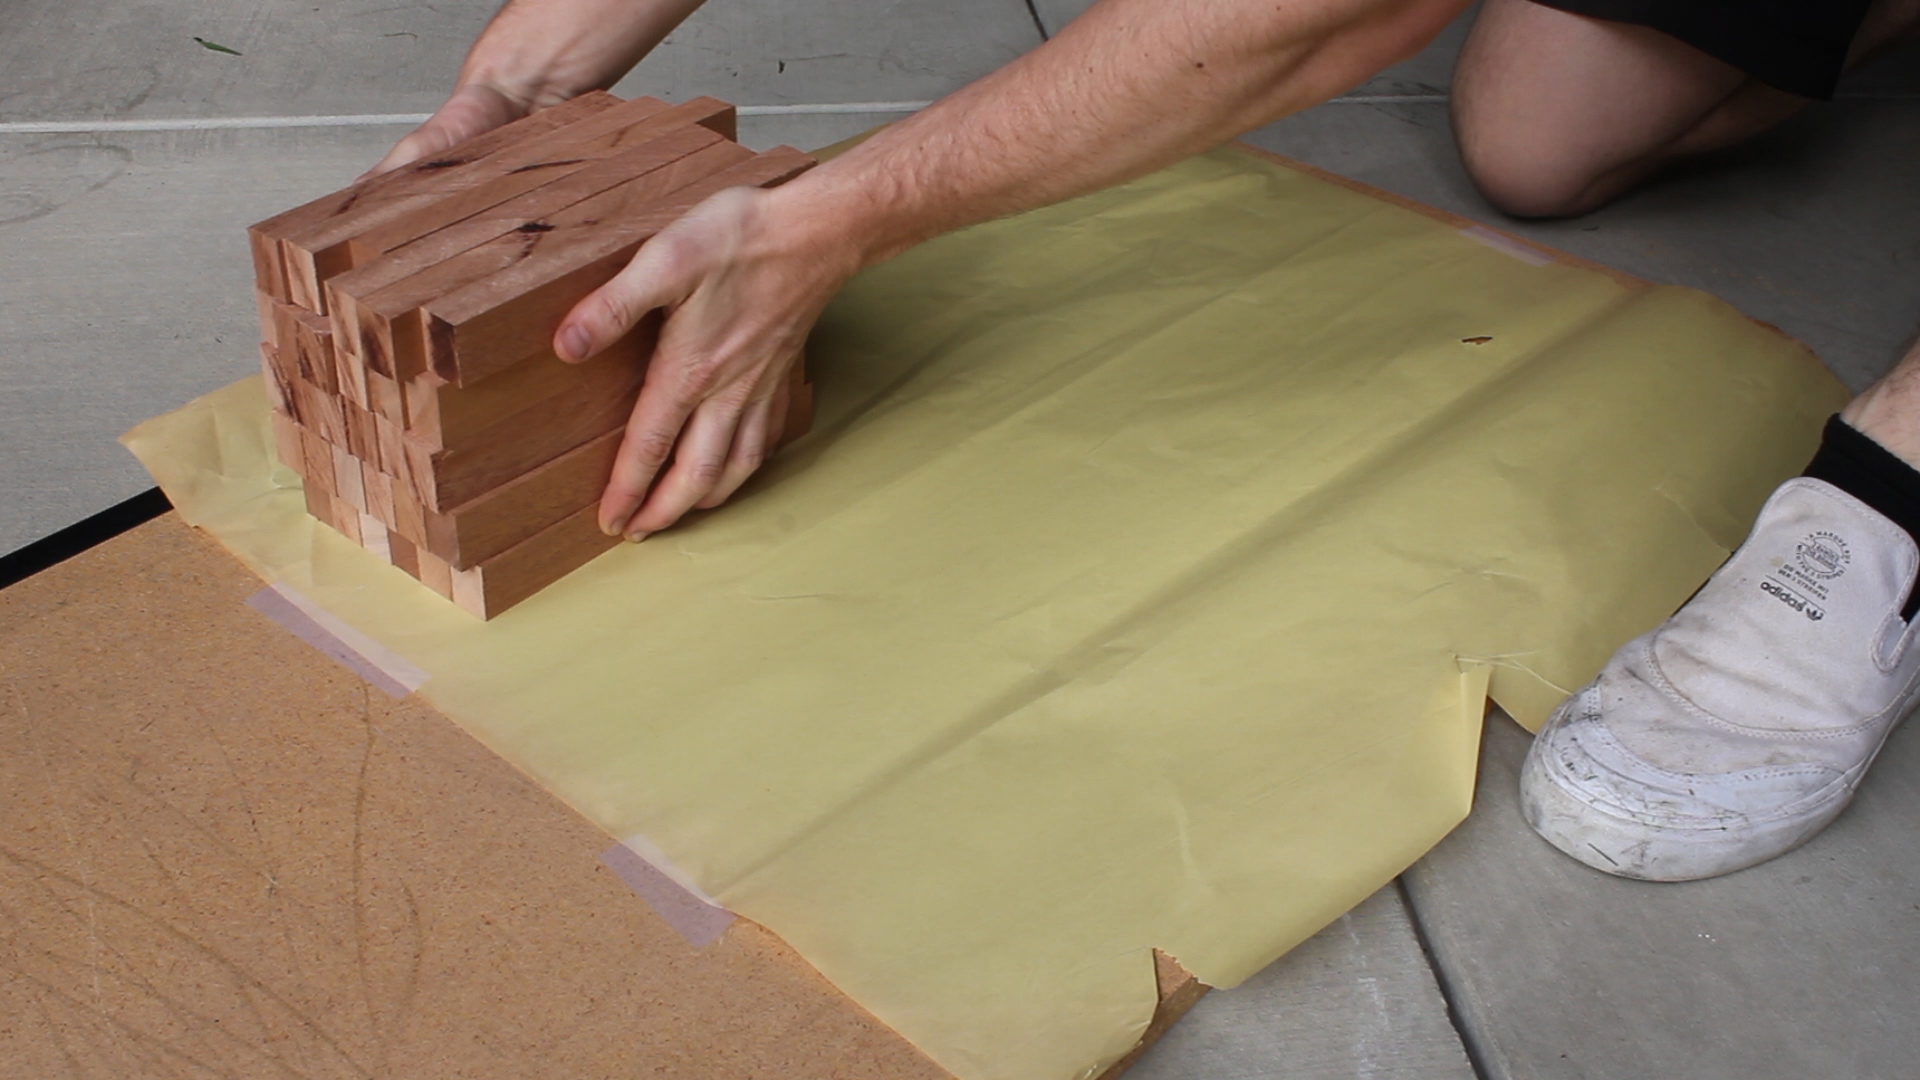
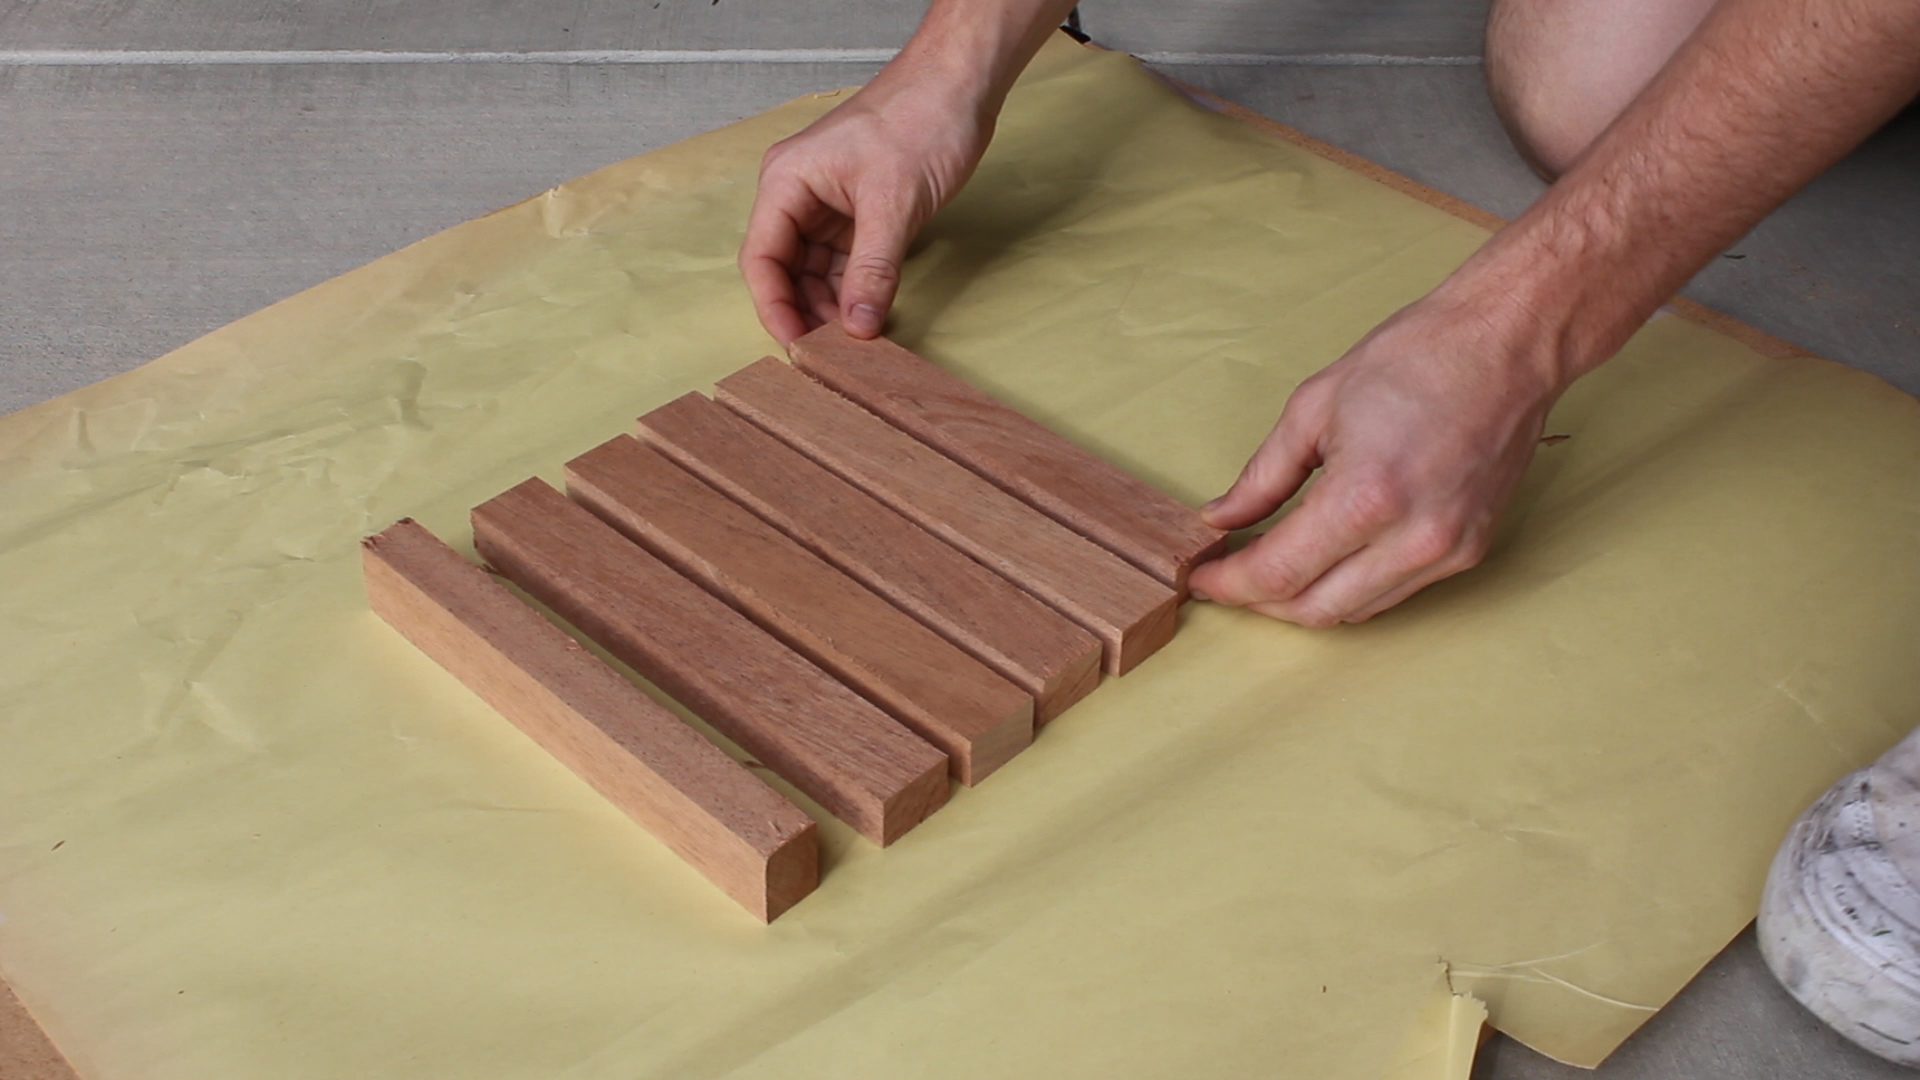
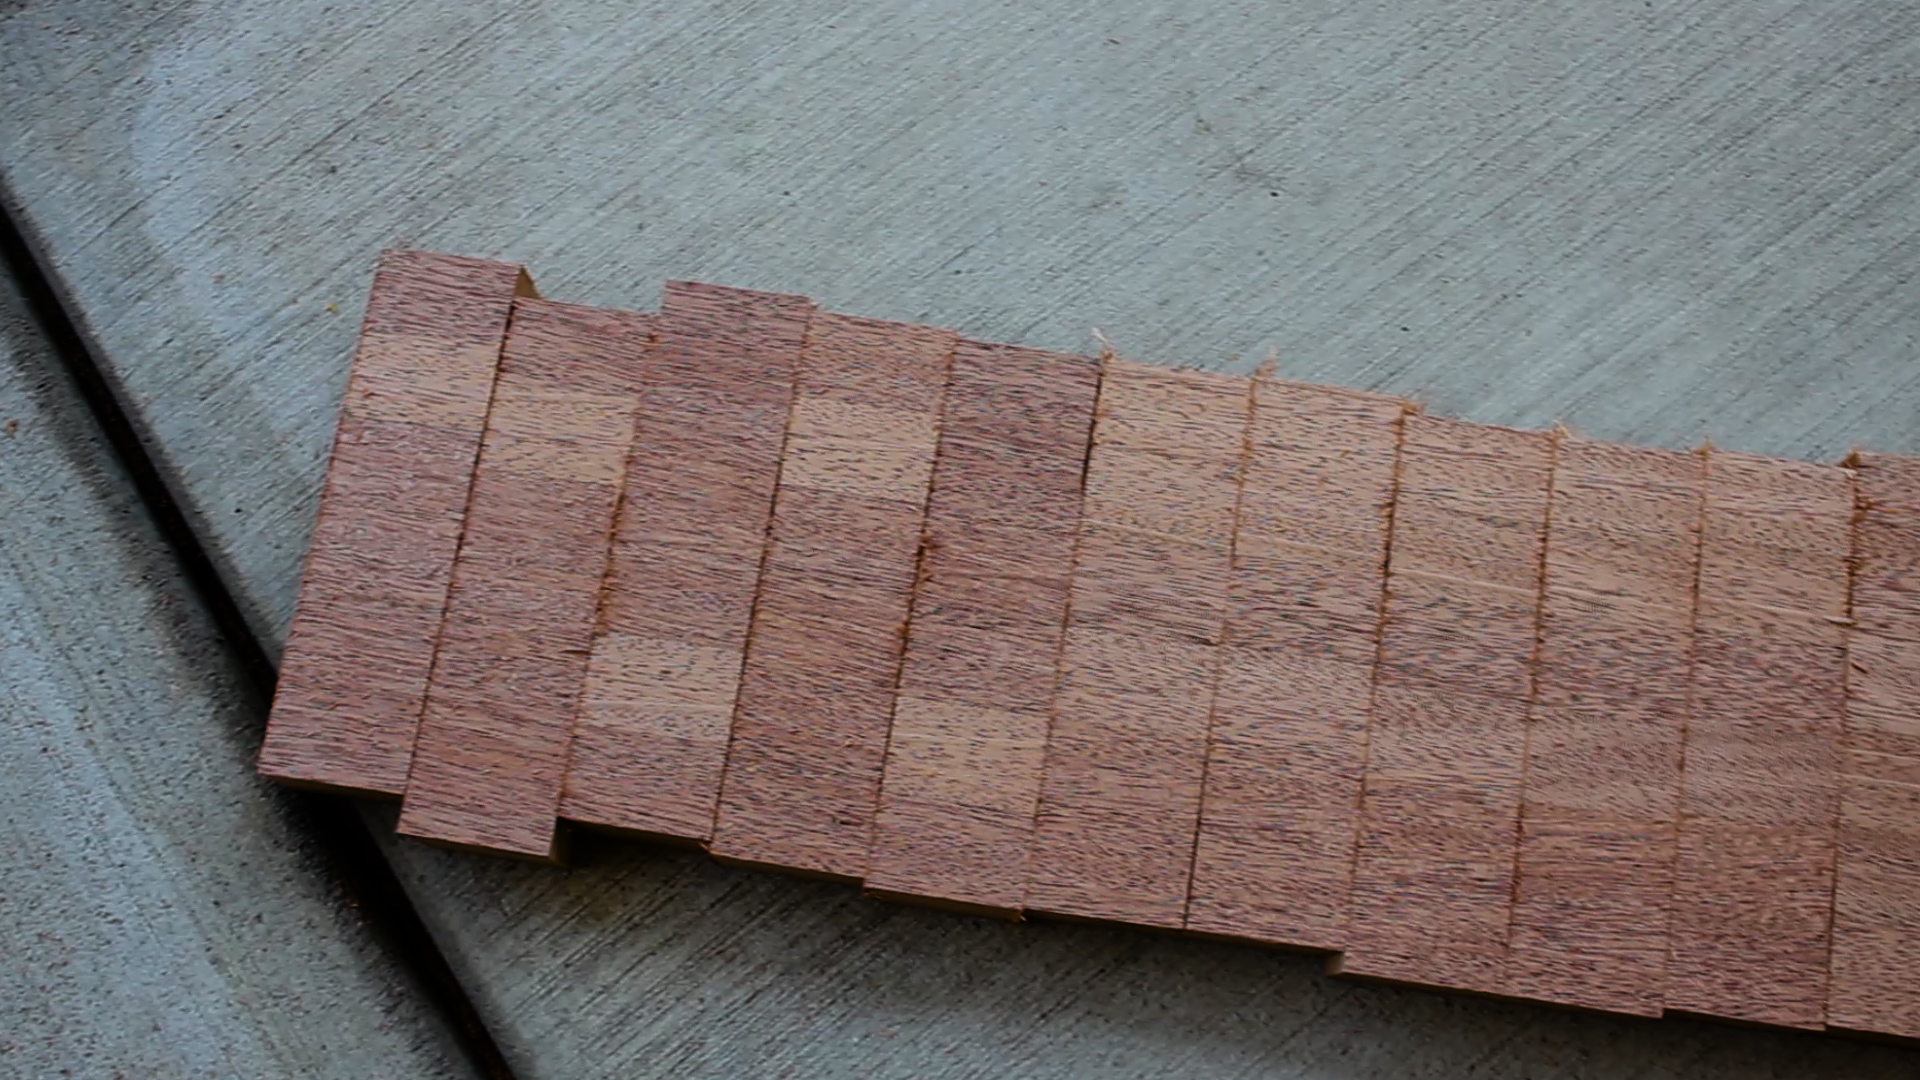
Next, I took three of my laminated cut pieces and rotated them 90 degrees, as well as insert three of my IPE strips to form the above box. You can see how it's starting to come together. 

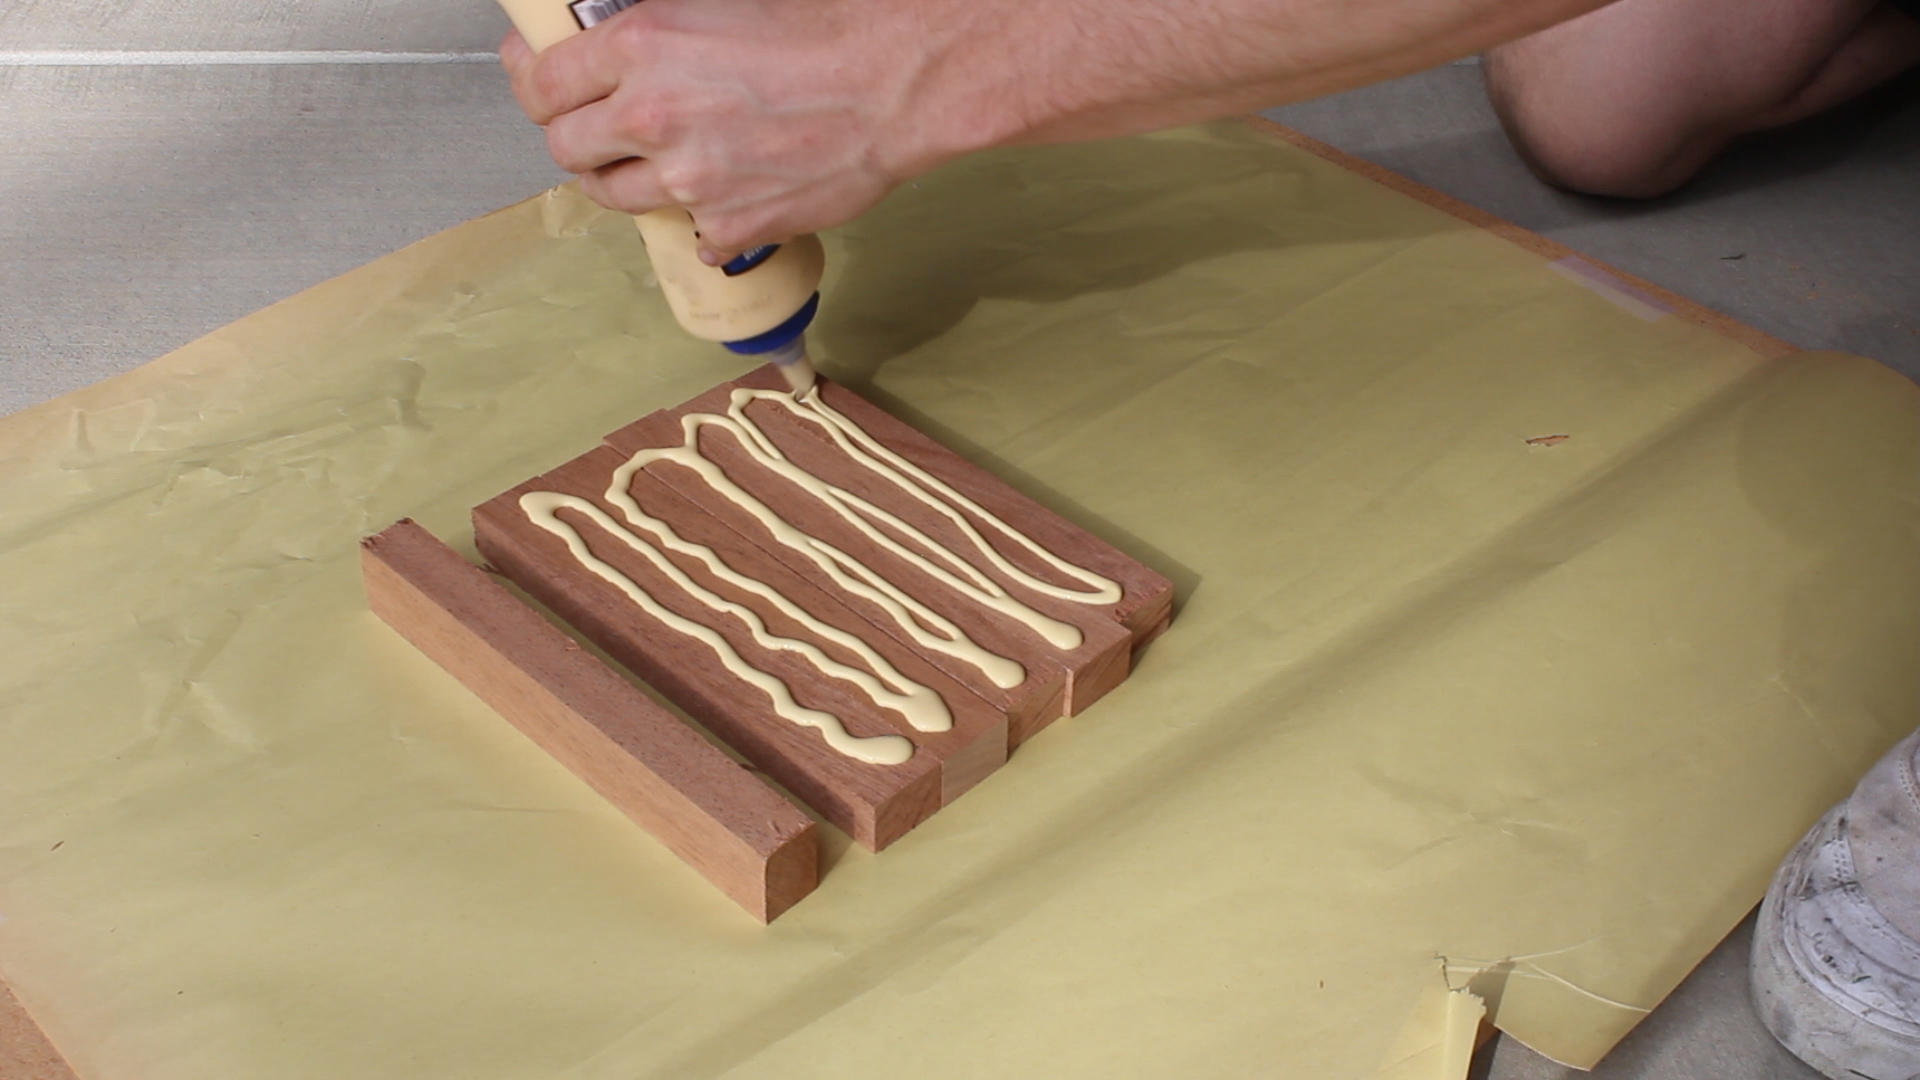
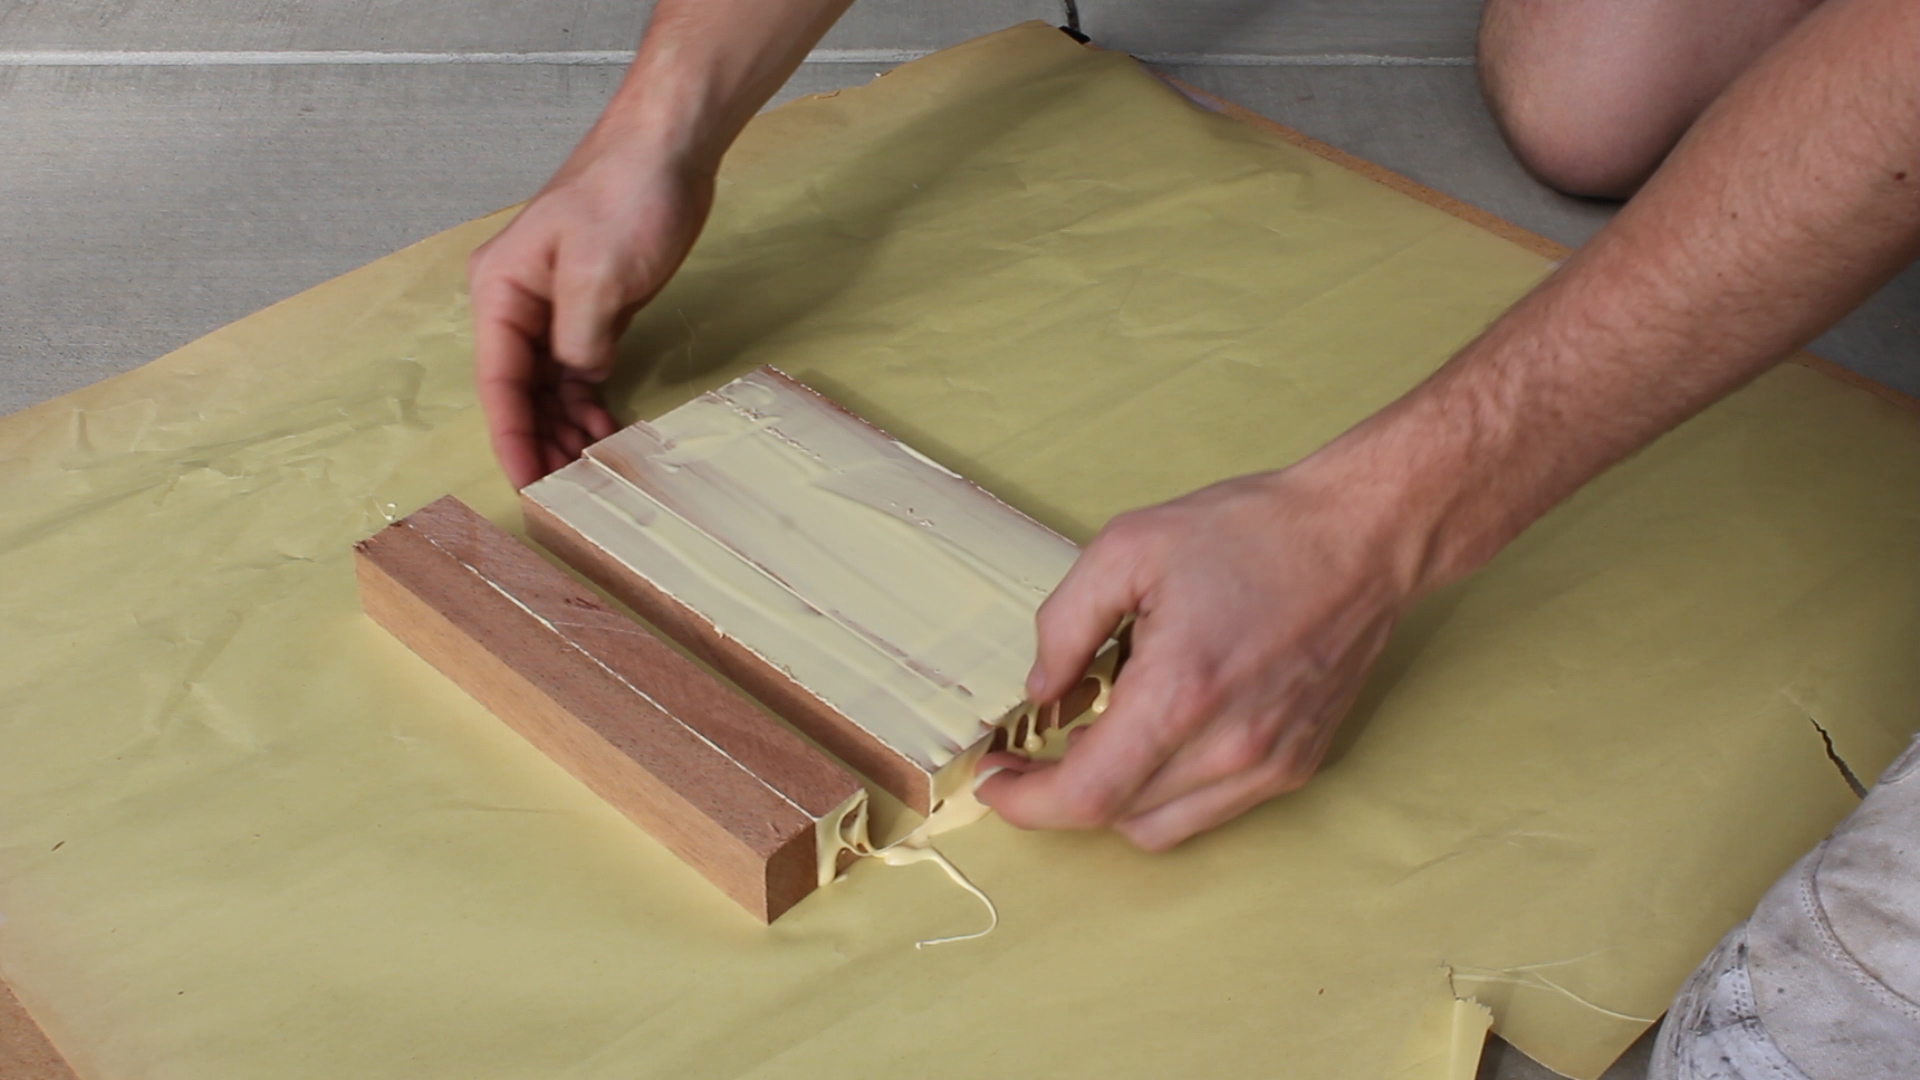
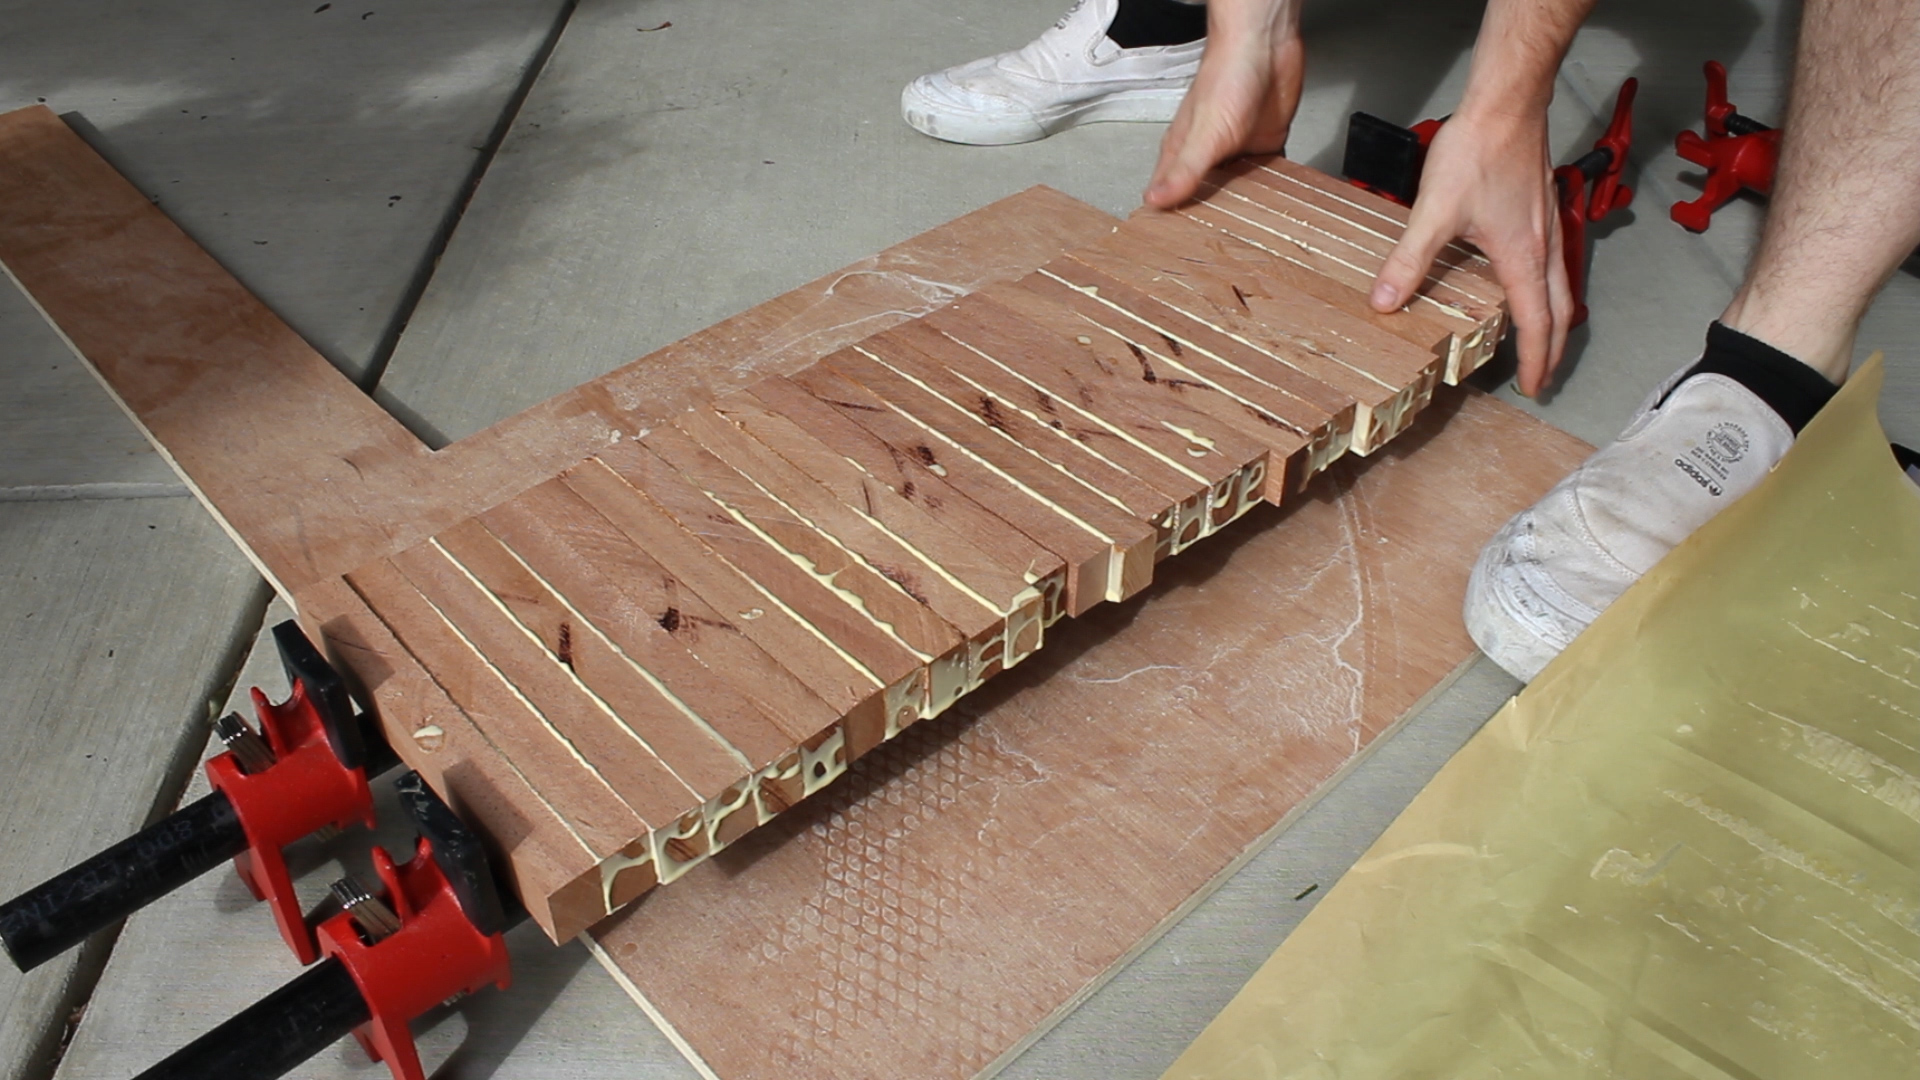
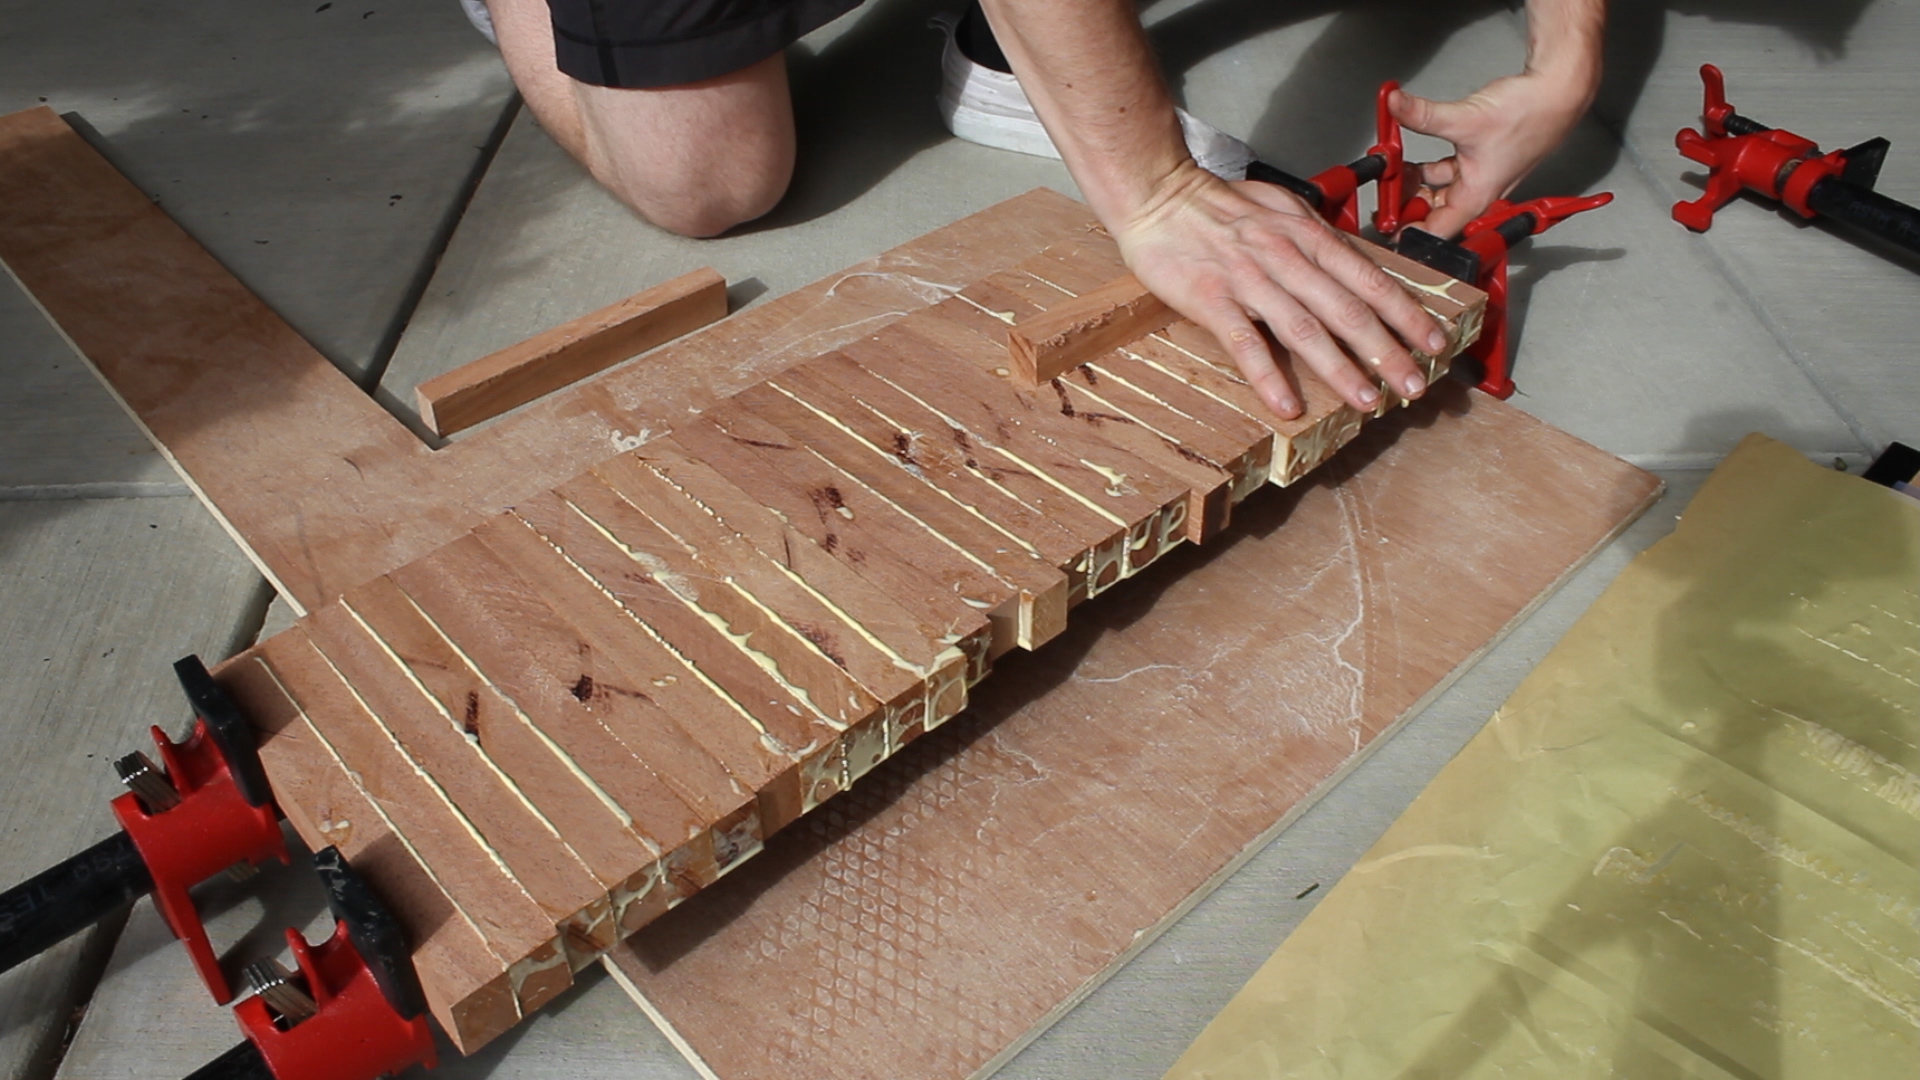
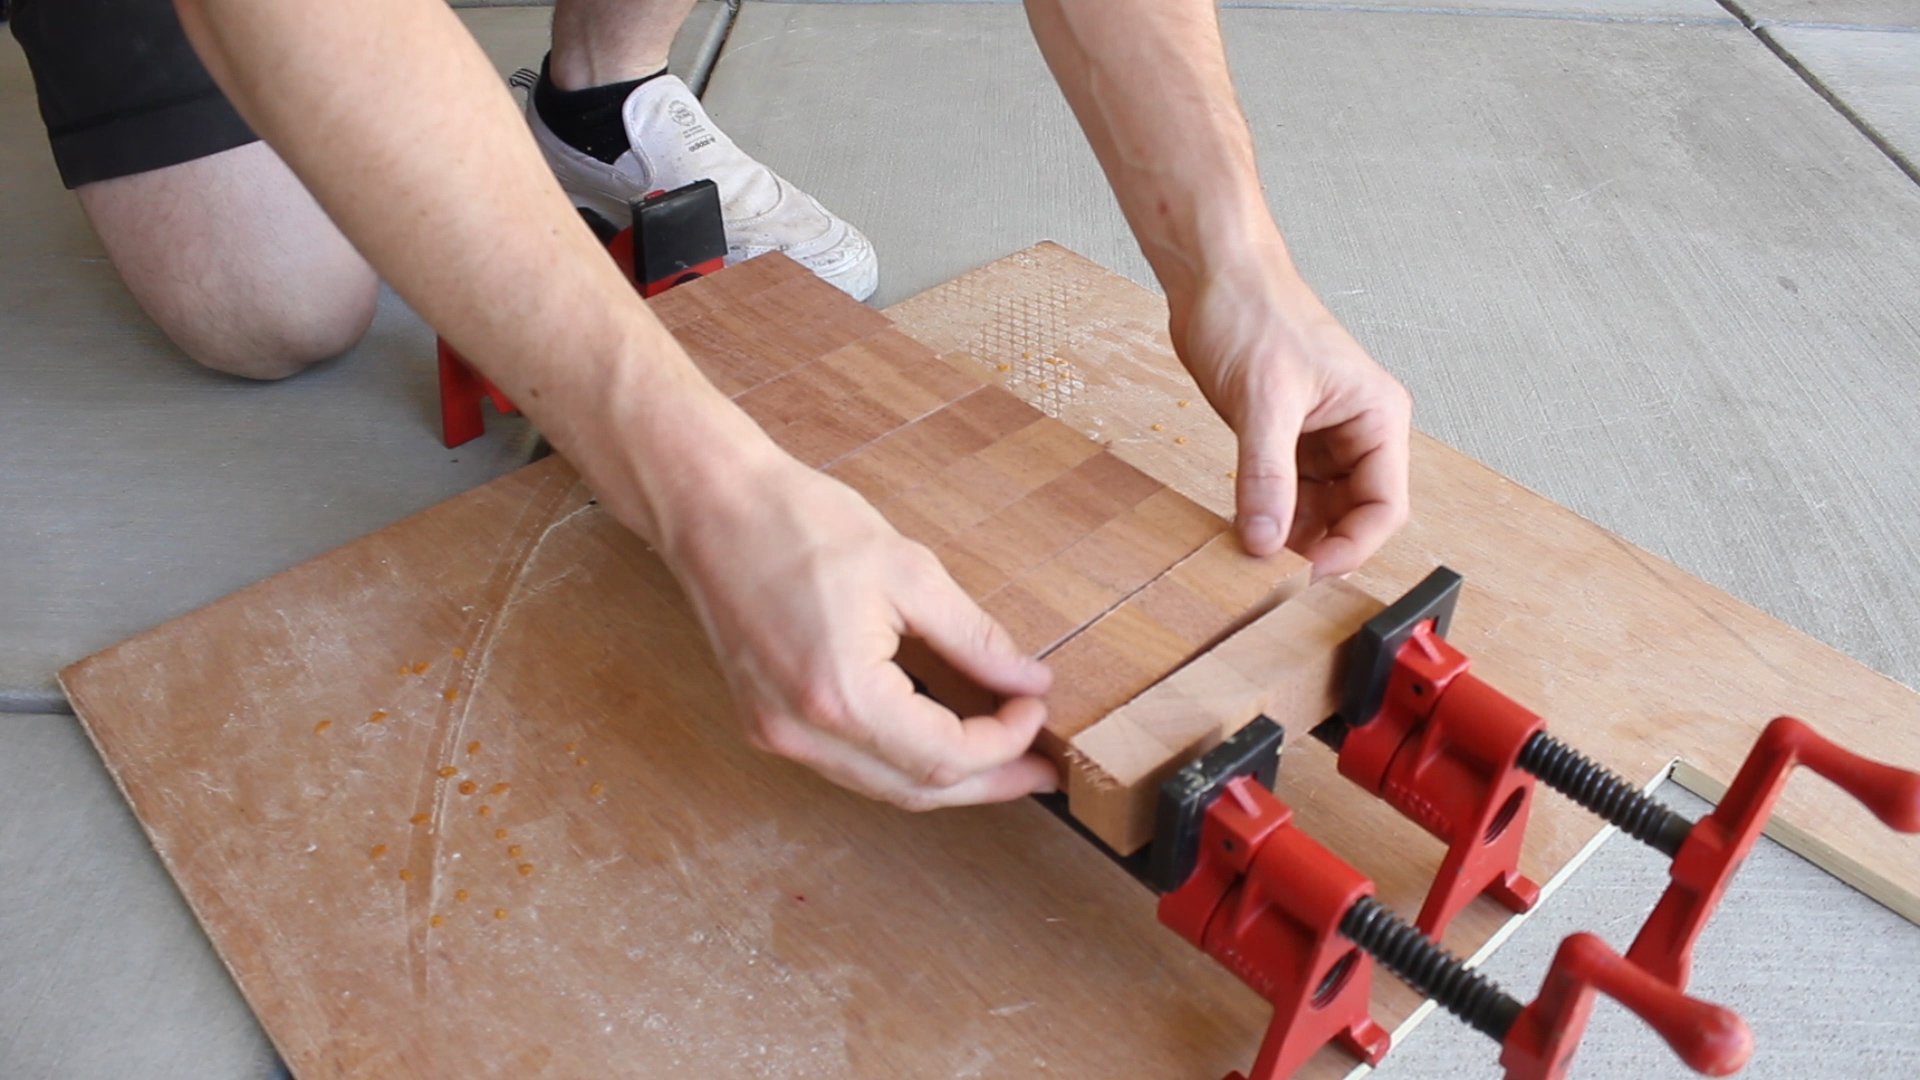
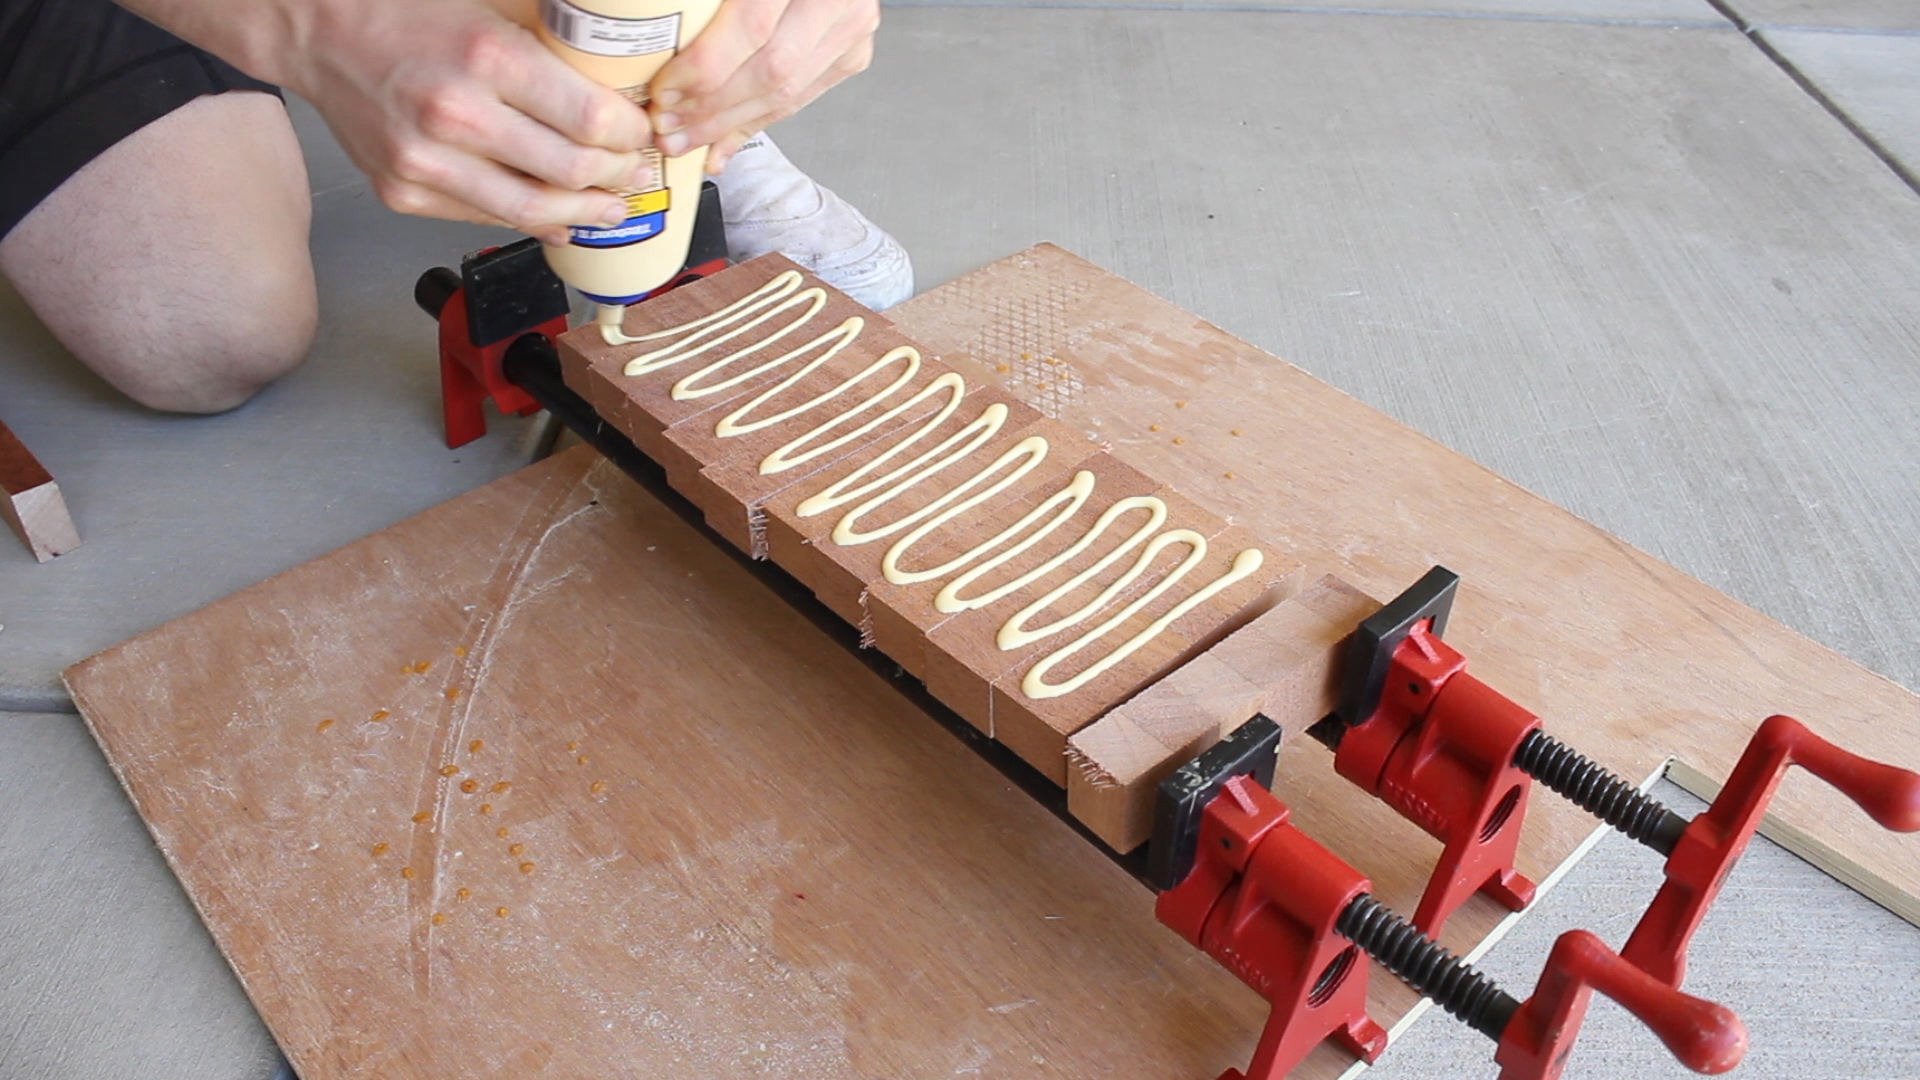
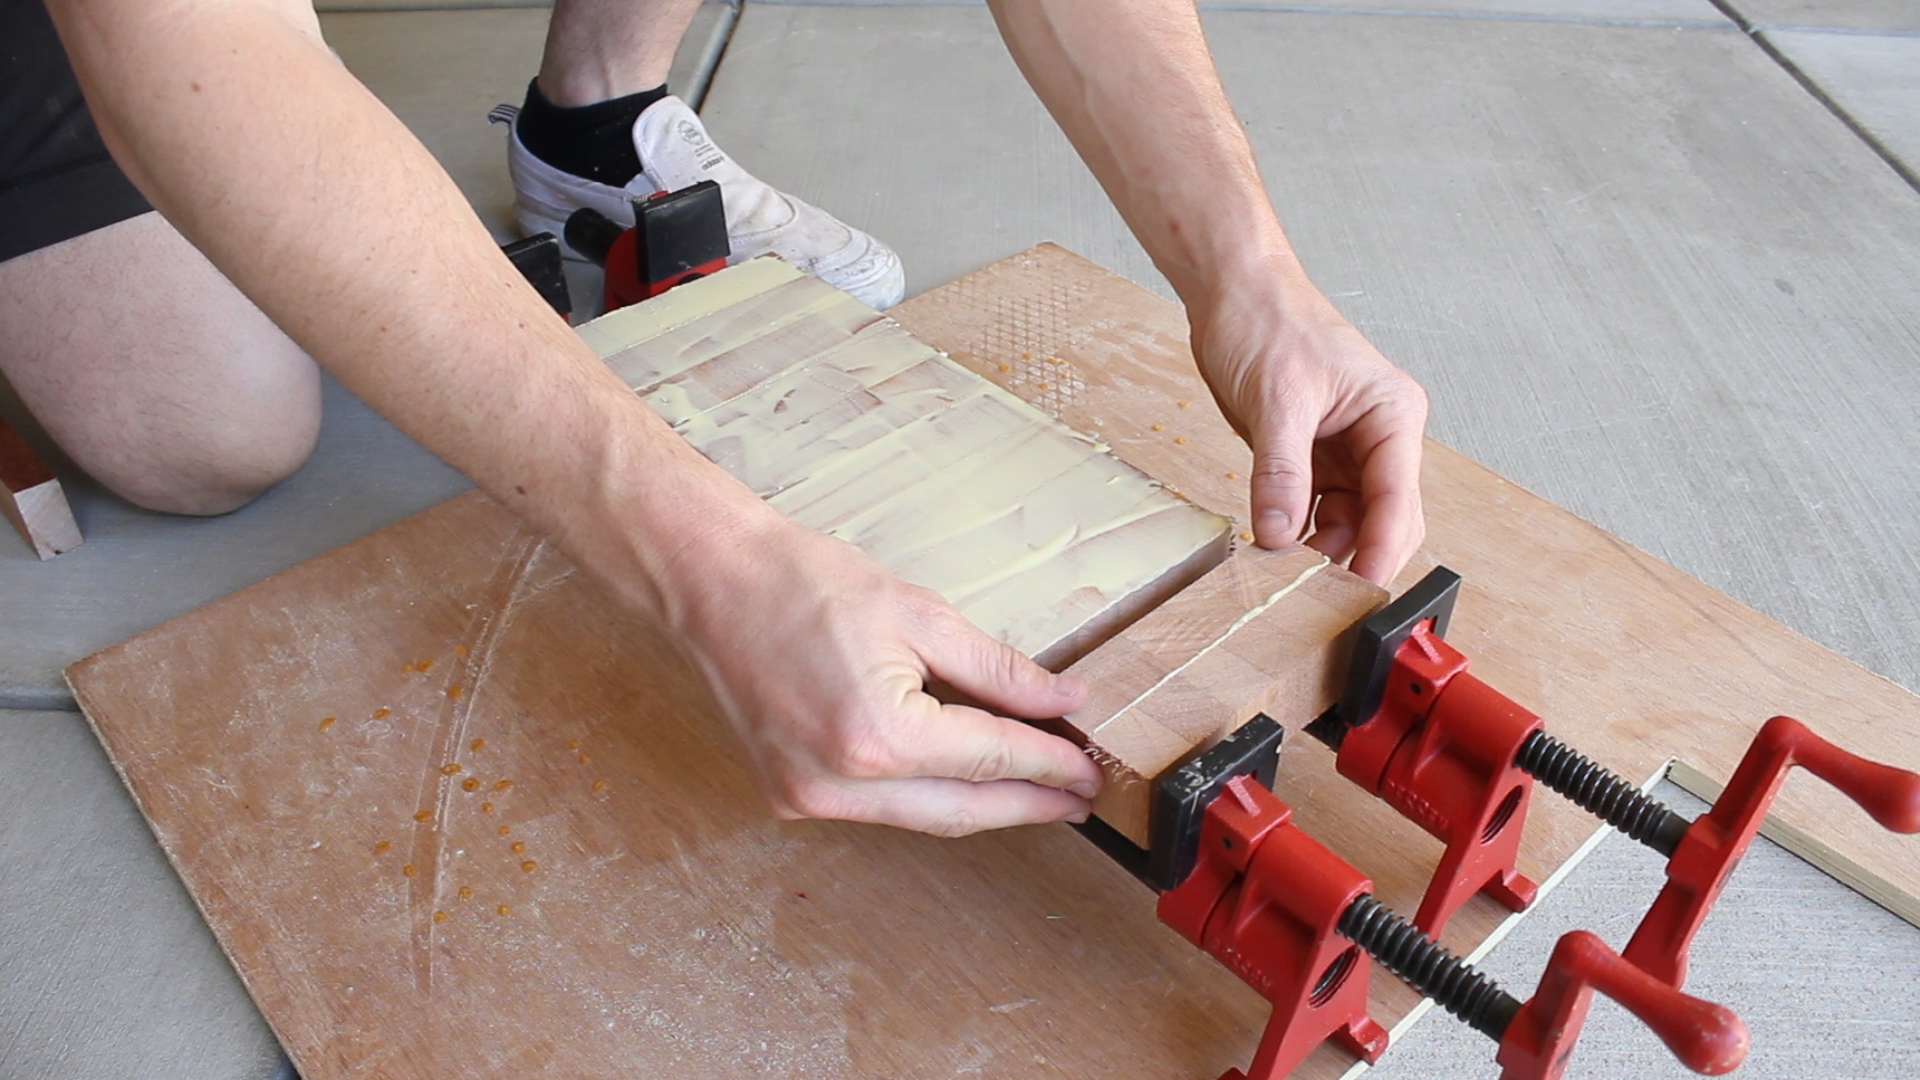
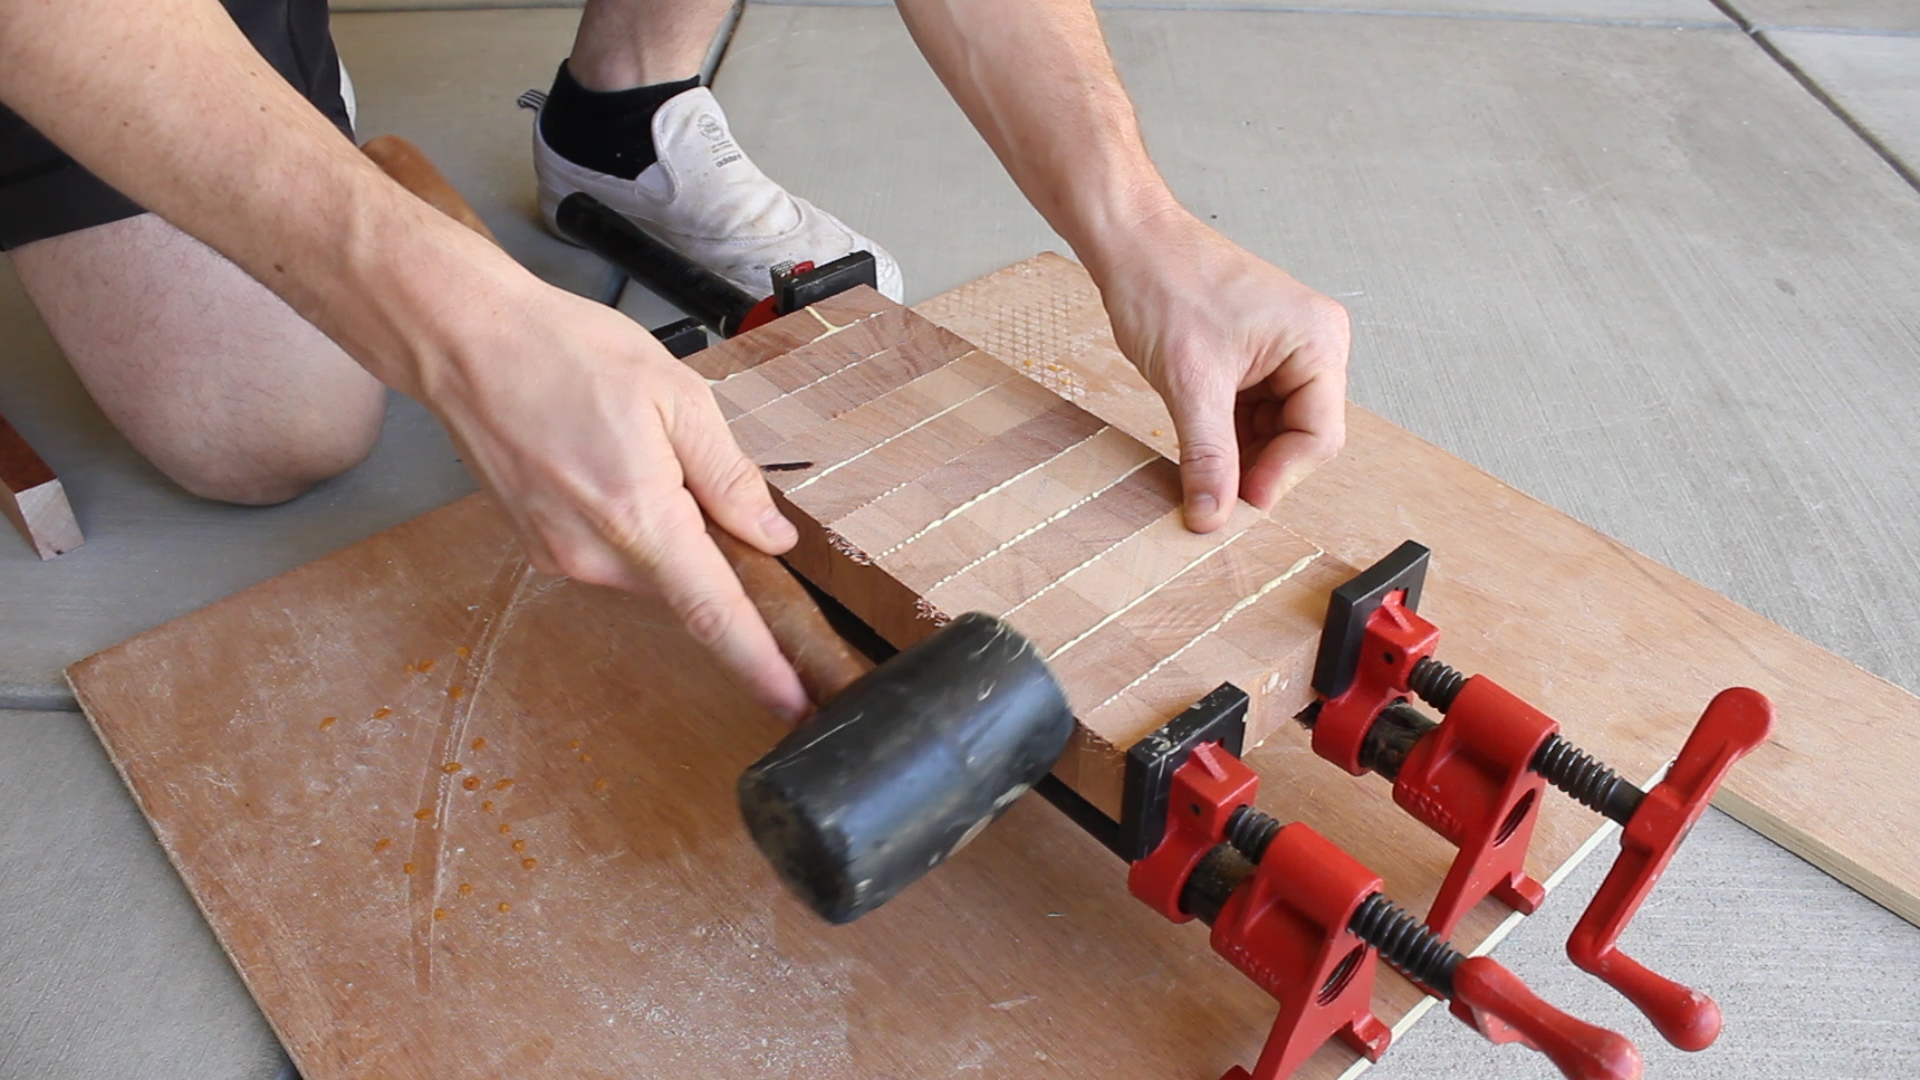
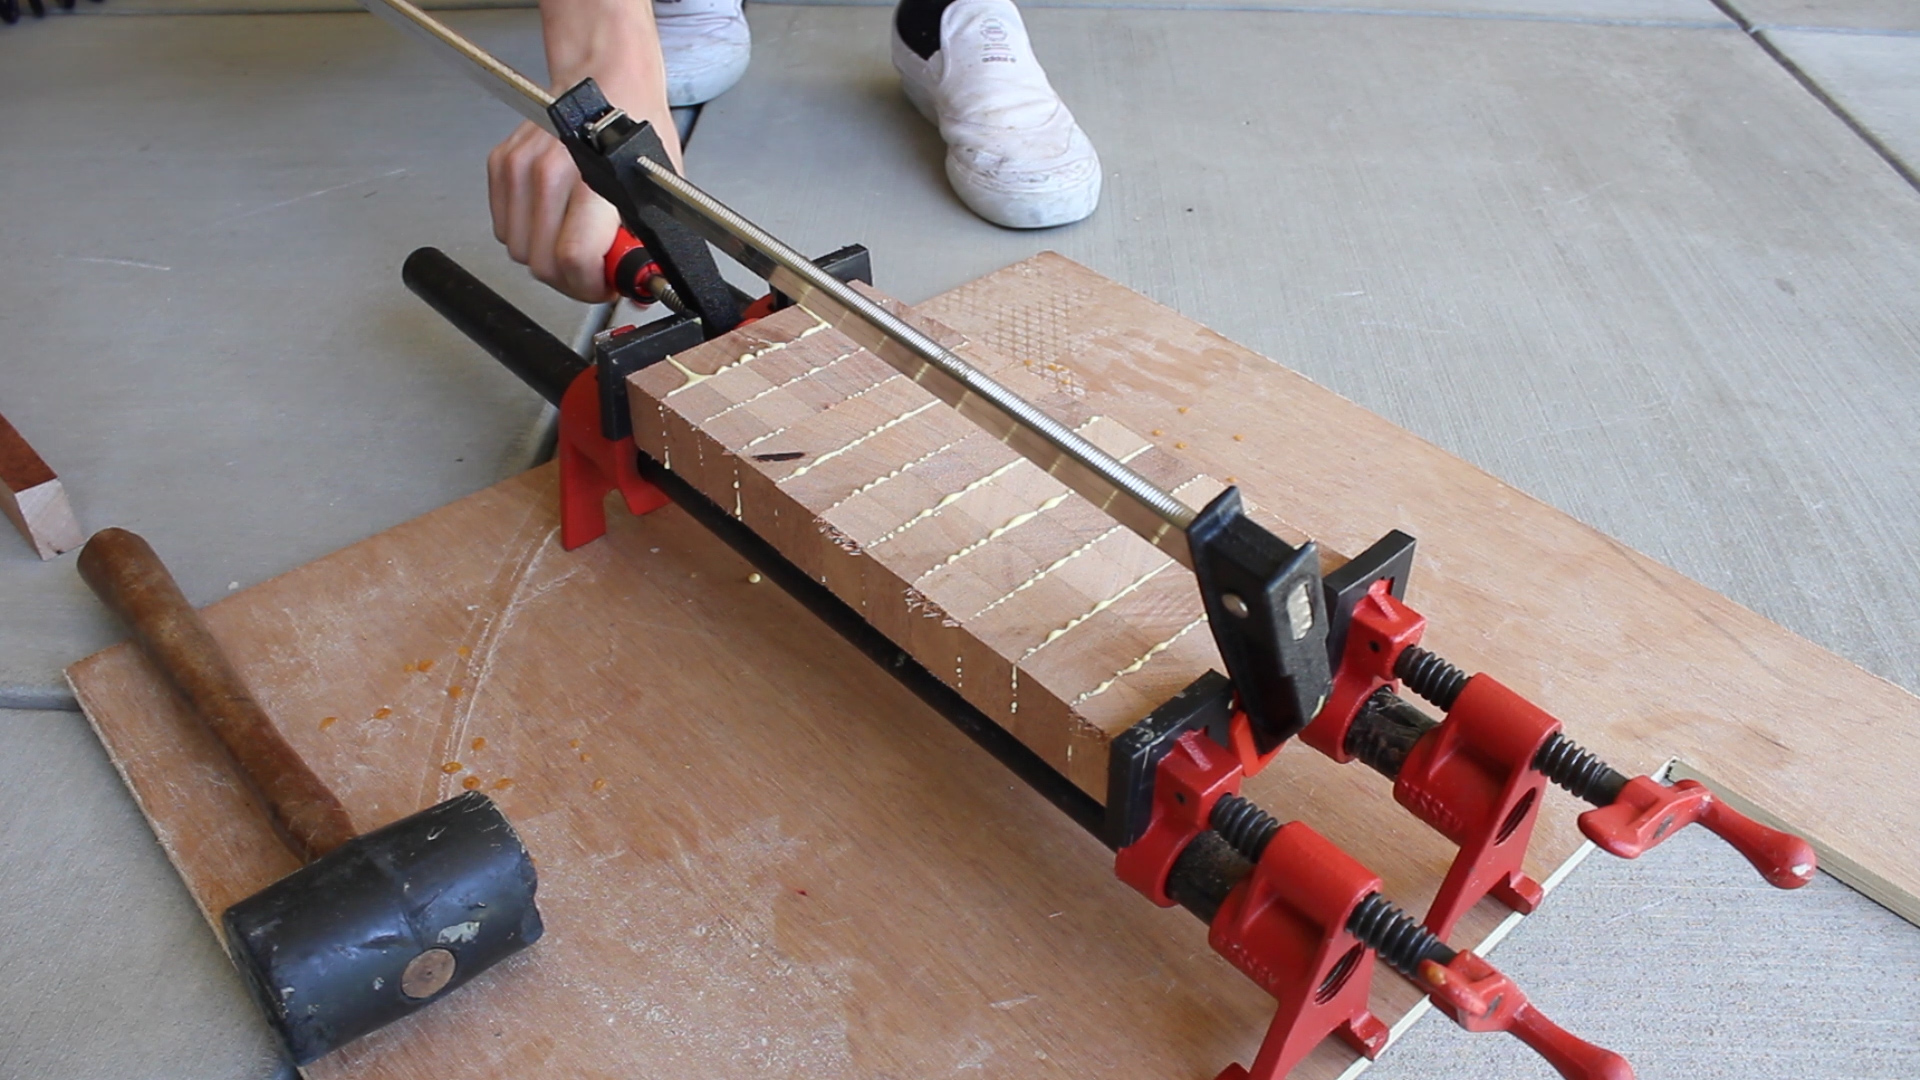
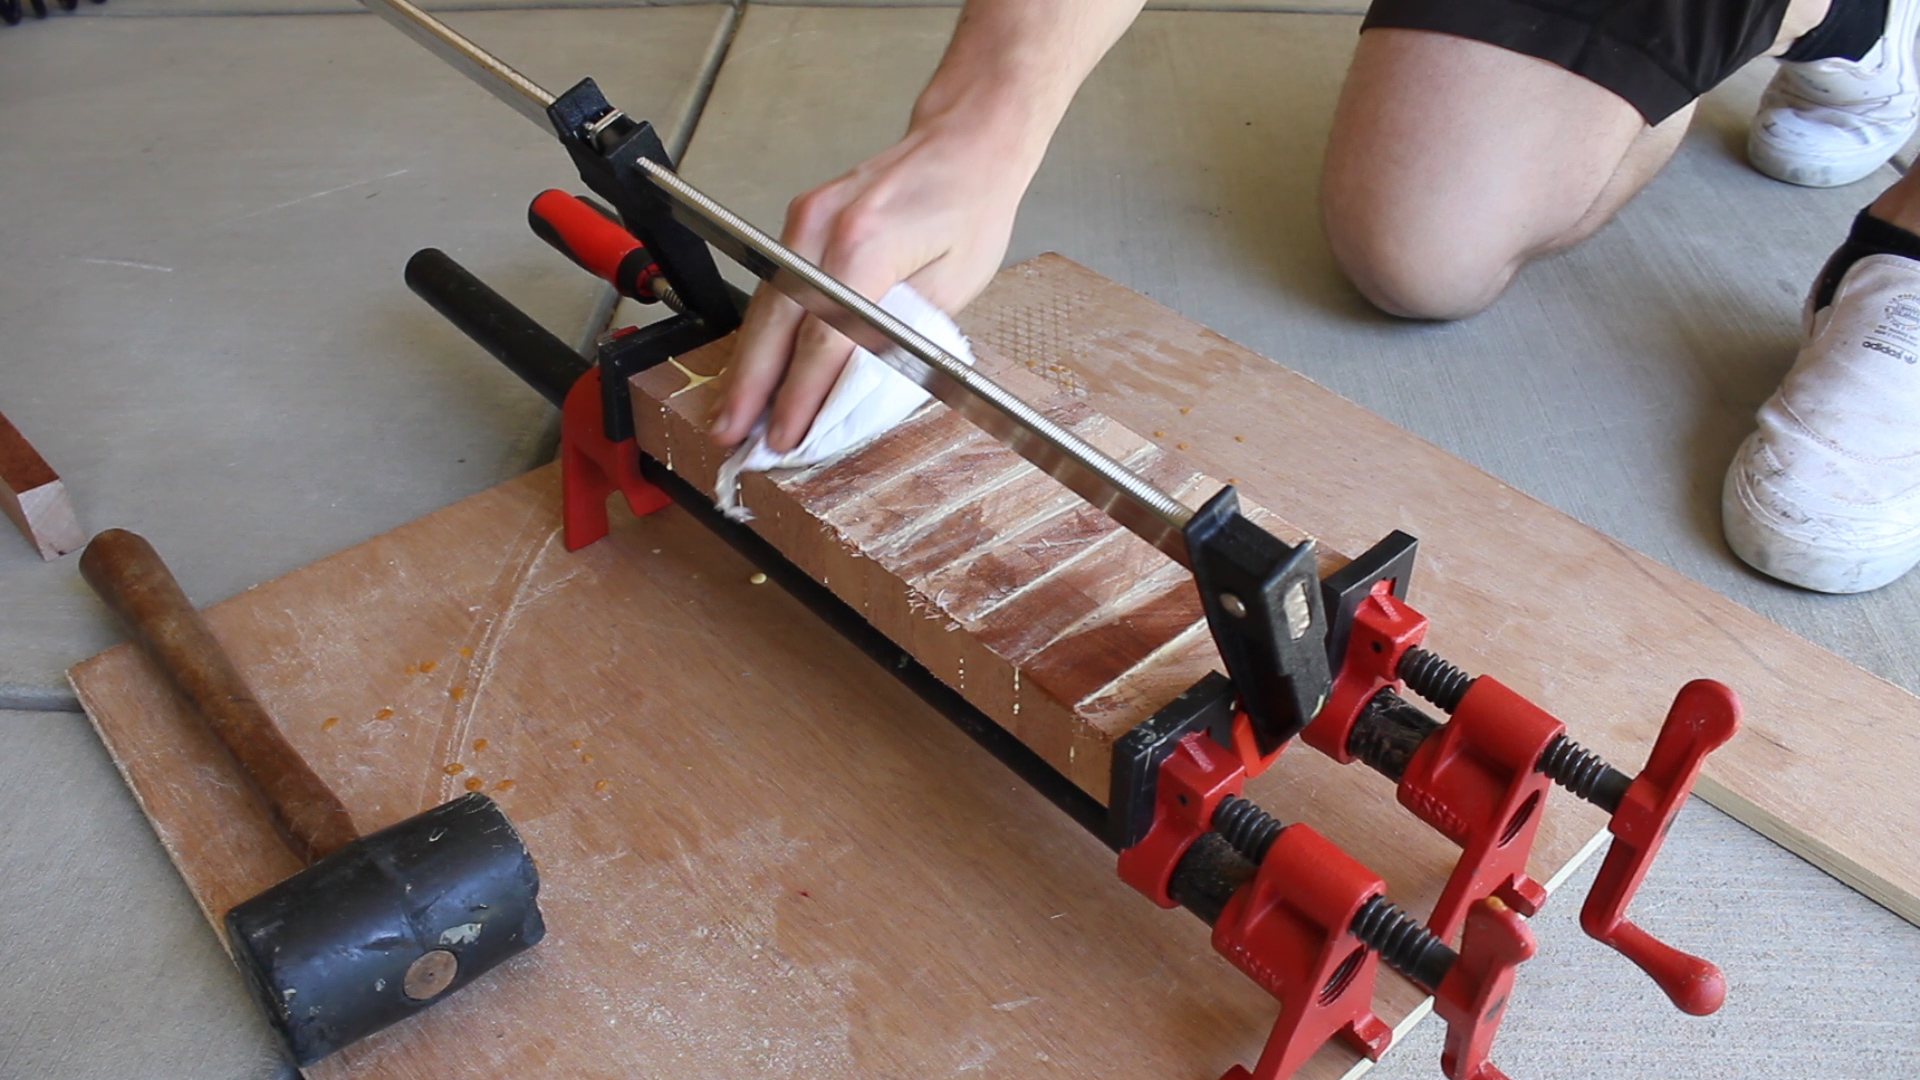
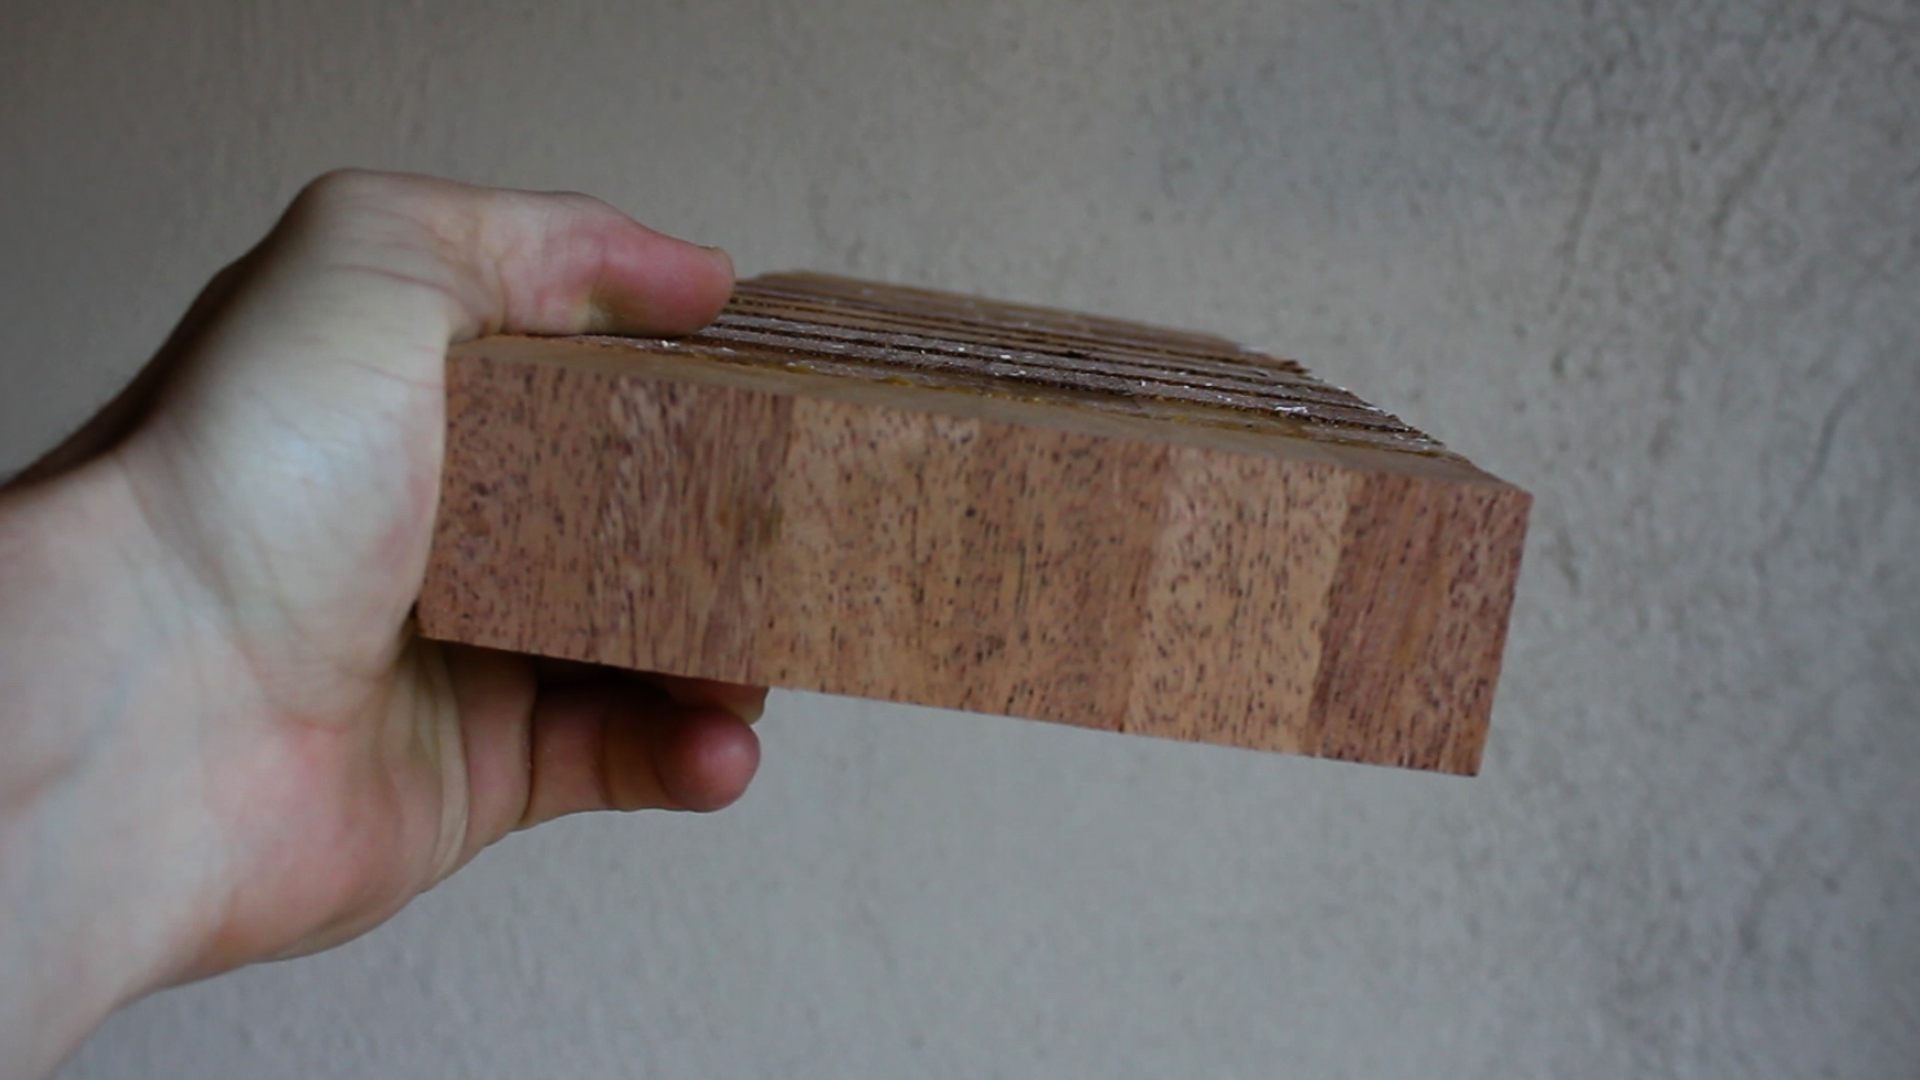
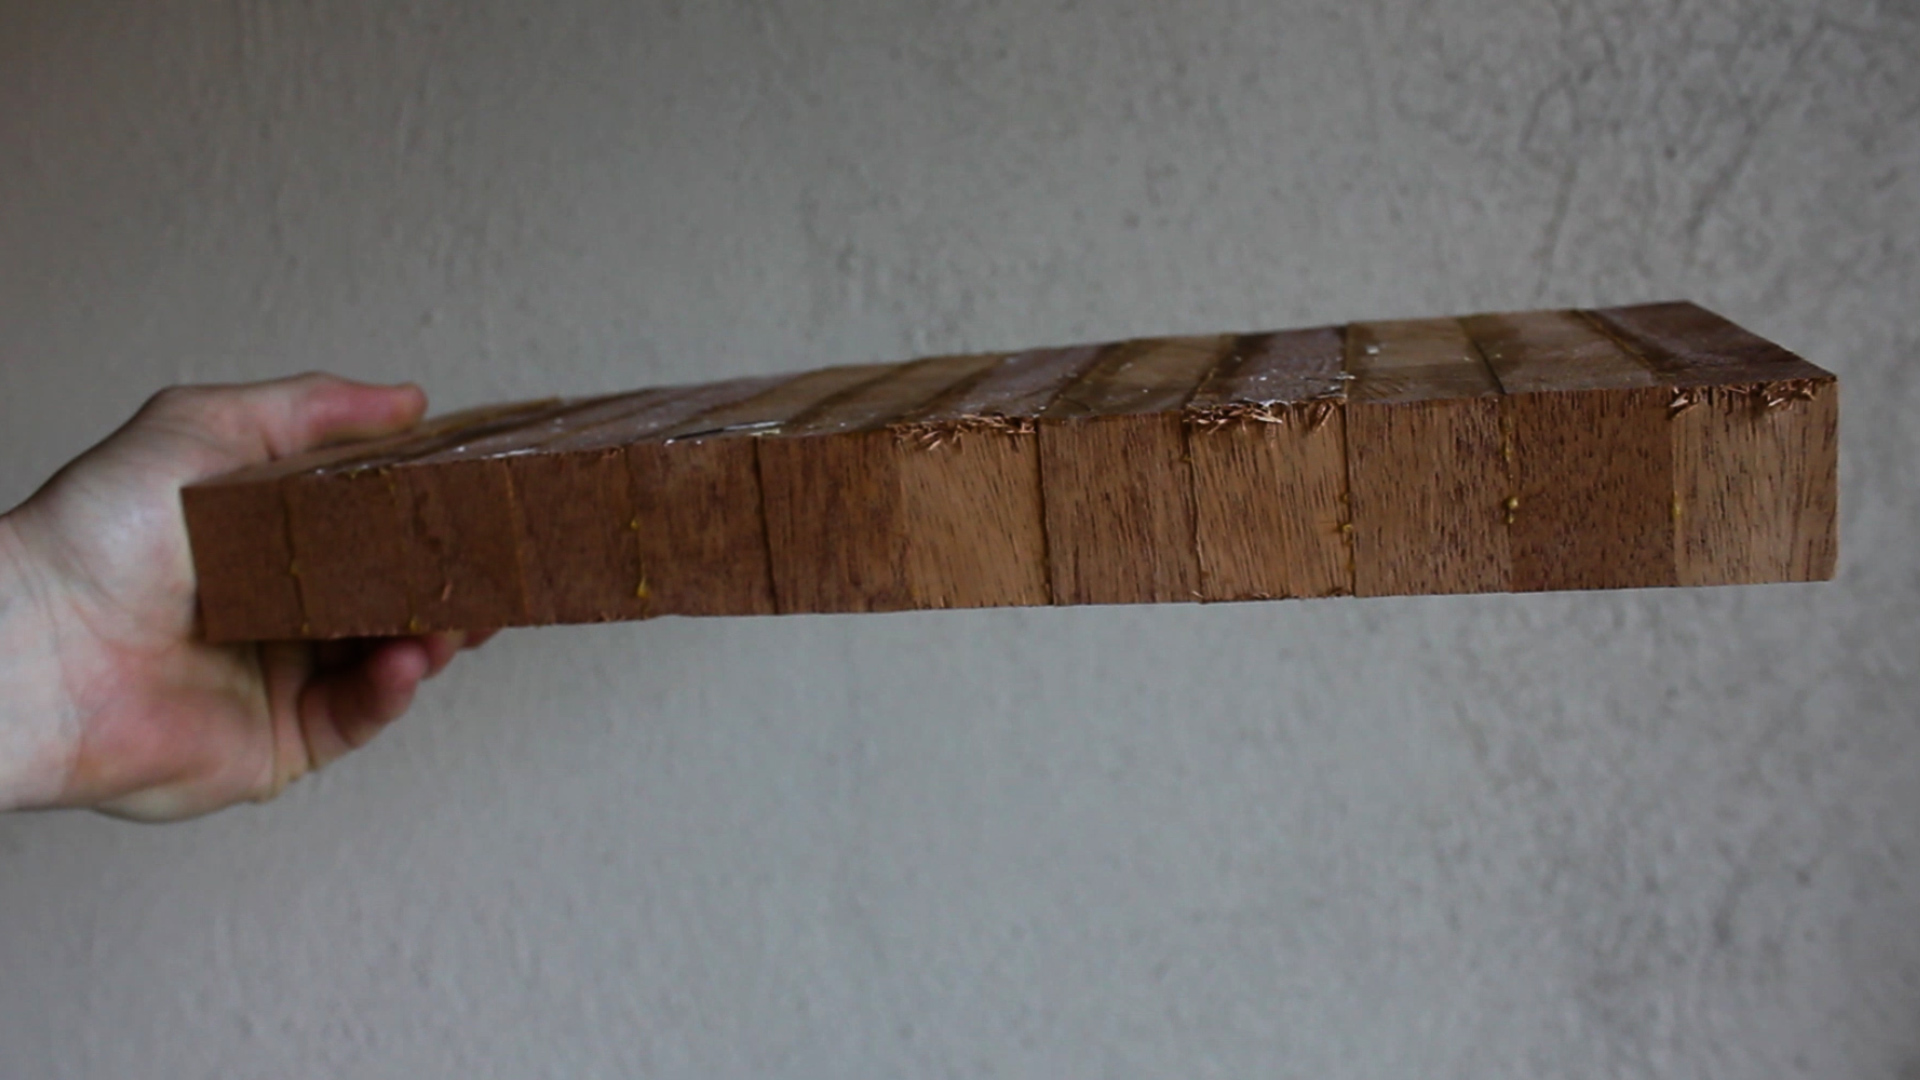
Once I had my shape, I glued everything up at once, taking the clamping process as slow as I could to avoid any slipping, and then tightened from all angles very slowly and let dry overnight. This was about 98.7% perfect. The only way I could improve this is to do layers one at a time. 

But this was a secret project I was doing in off hours, and ain't noboby got time for that!

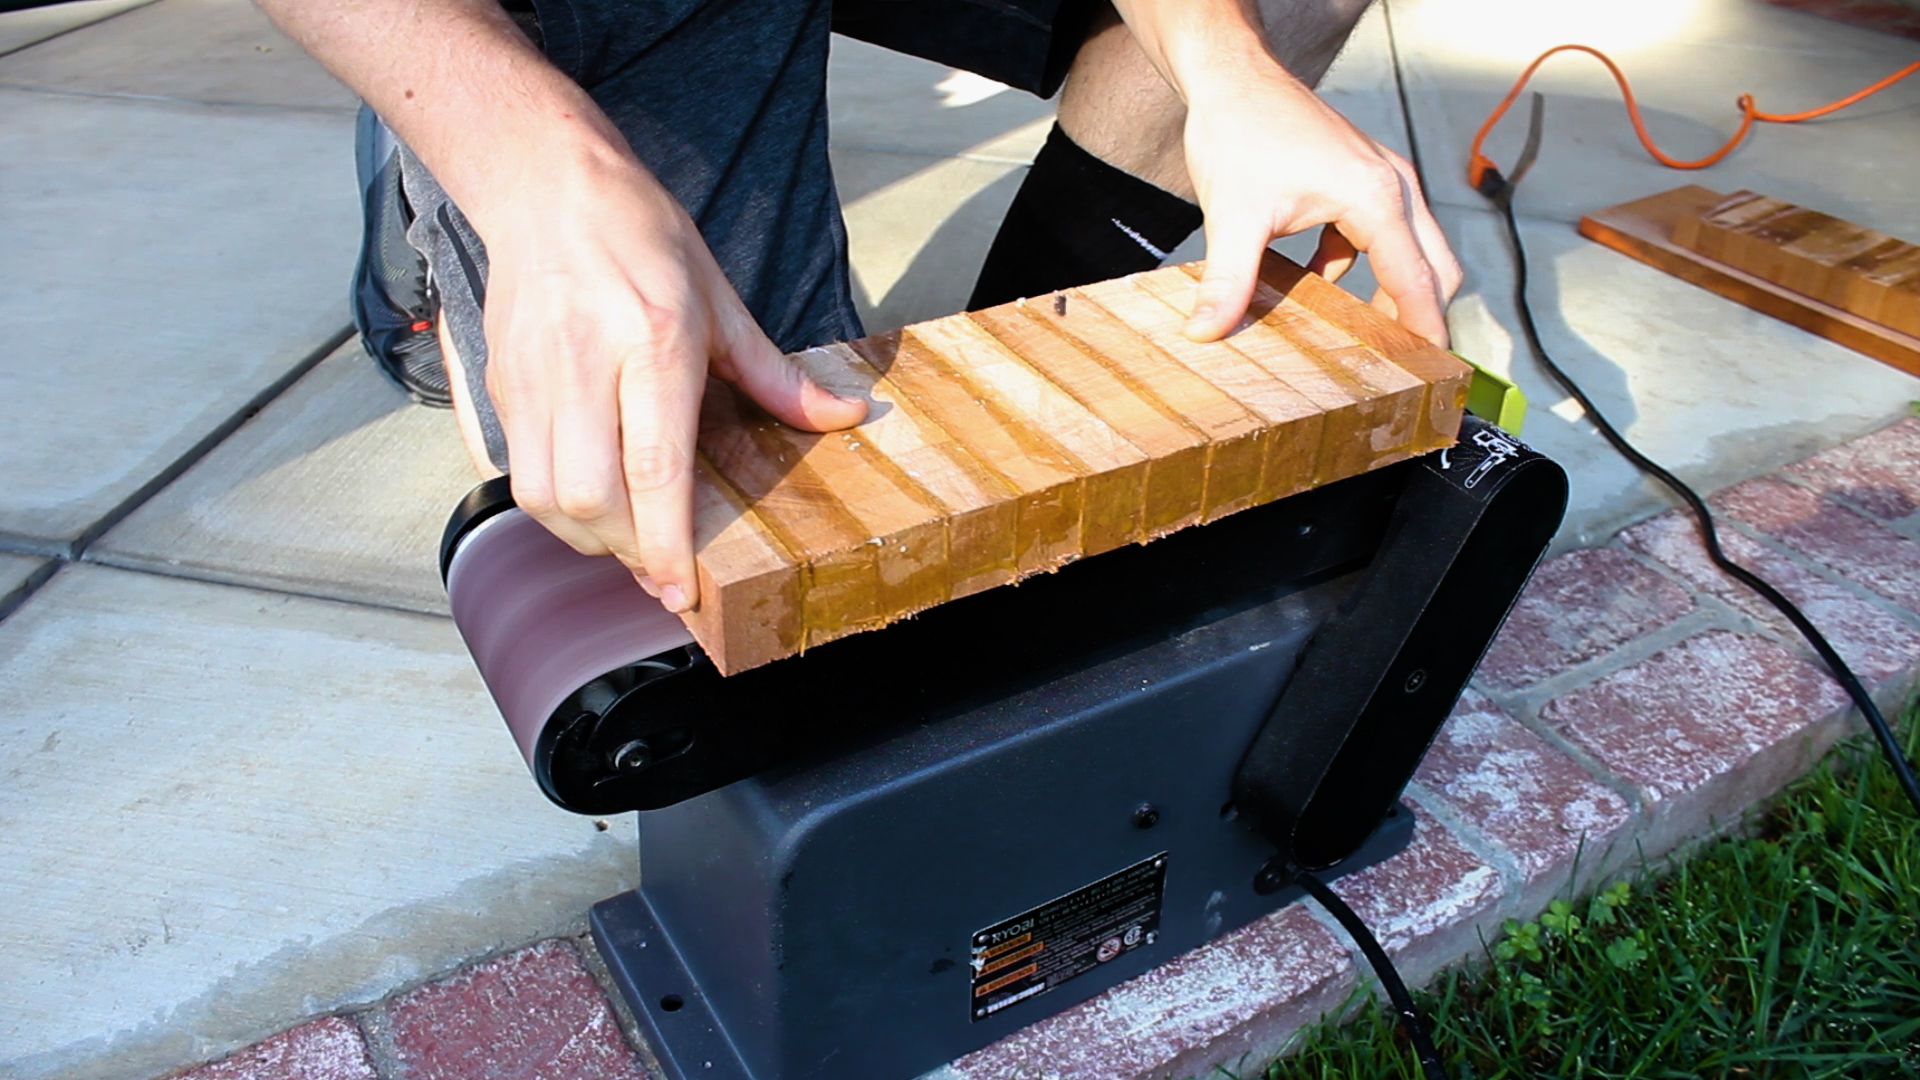
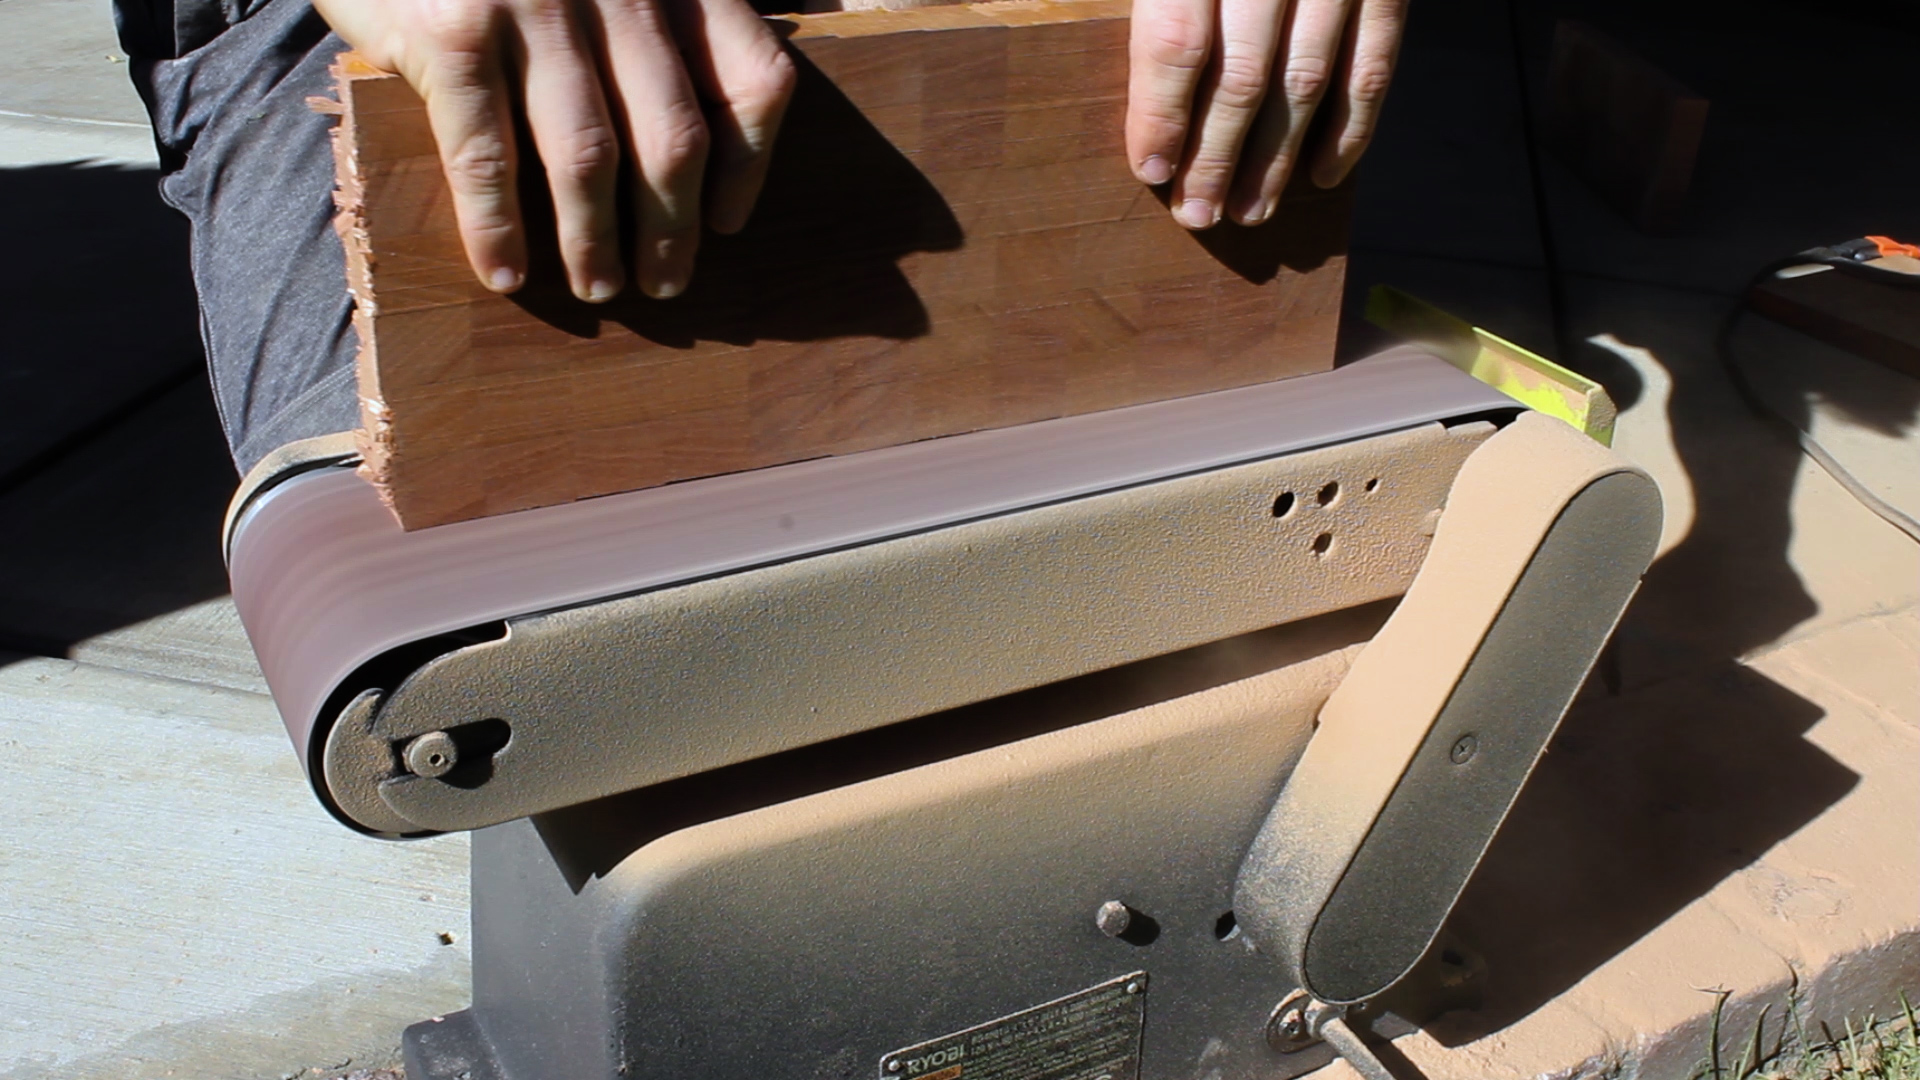
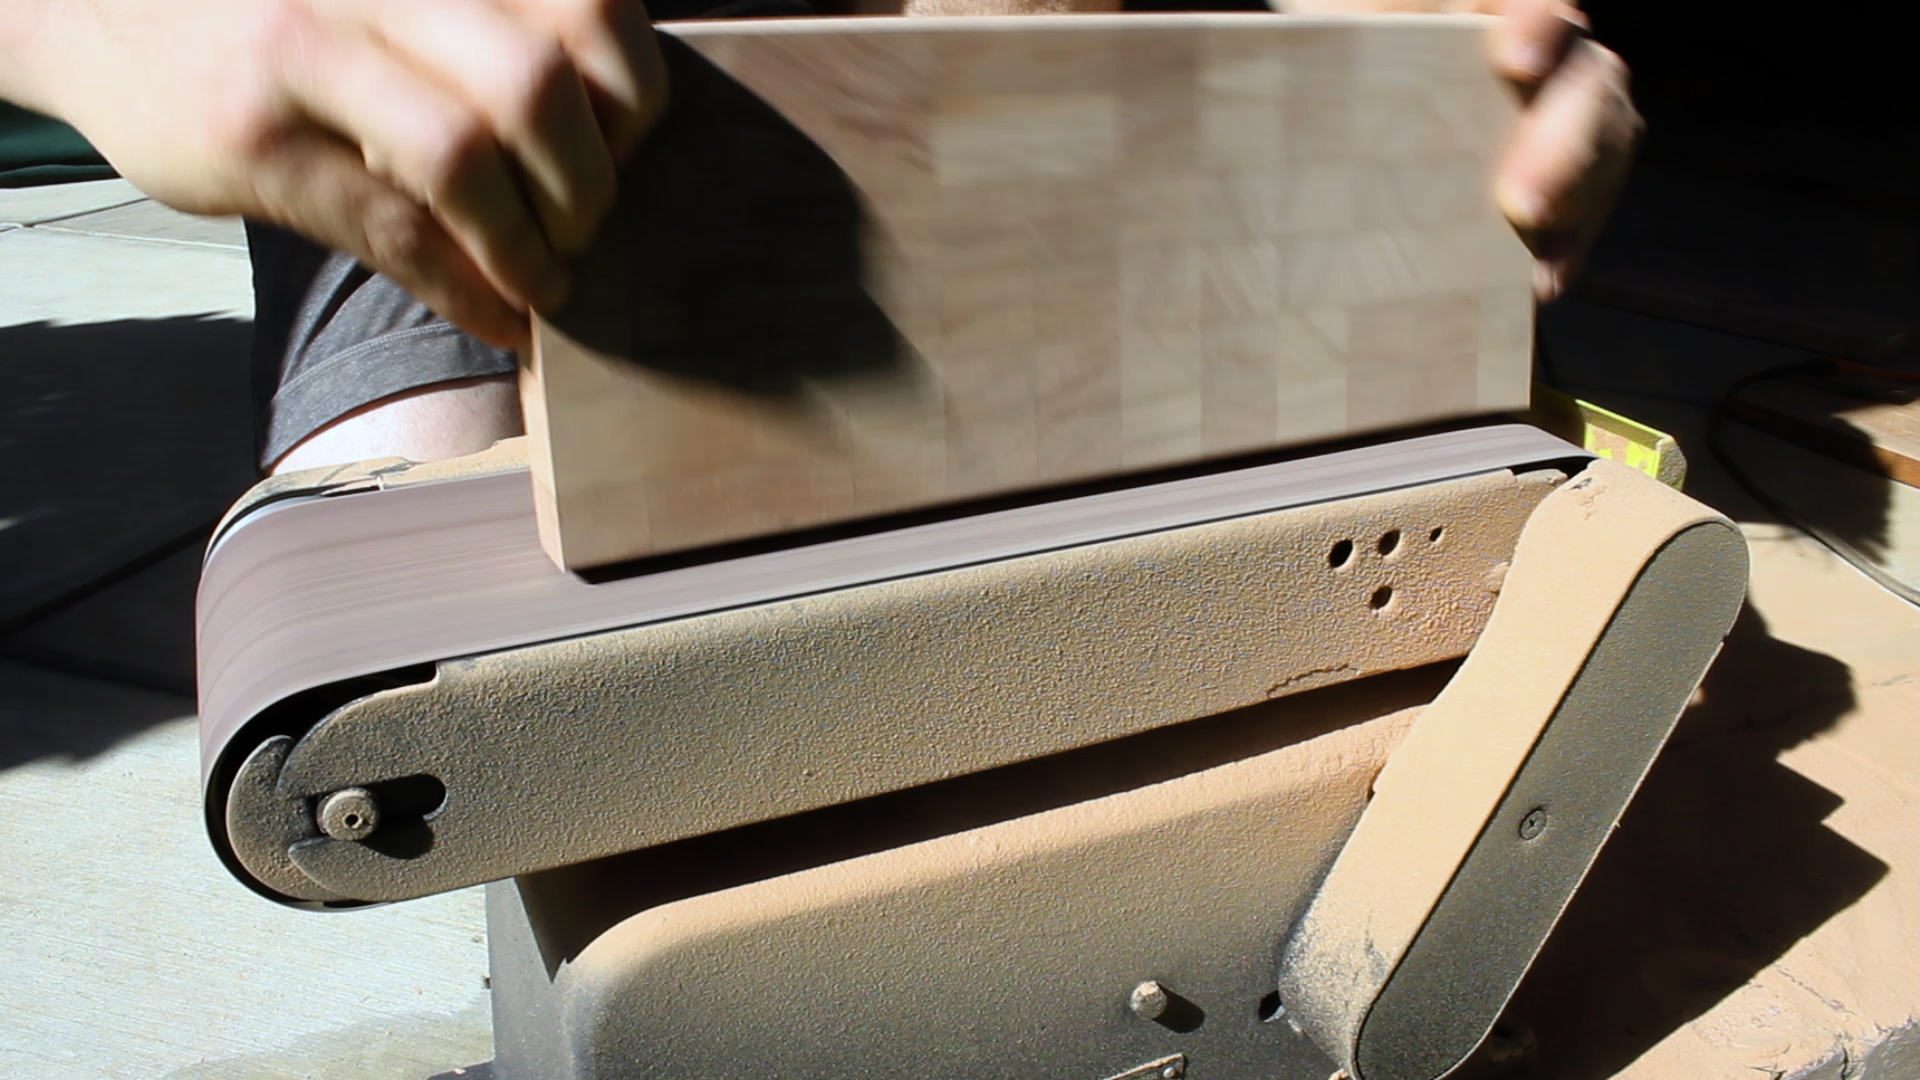
Once everything was dried, I used my stationary belt / disc sander to flatten all of the sides, being VERY careful to sand down everything at 90°, which was actually much more difficult than I anticipated. 

I wanted my top to have a chamfer'd edge, but I don't have a router table to pull this off. I saw a video online of someone using their plunge router upside down and just gave a few safety precautions on how to do this. I took is super slow with a 1/4" bit and the result came out great. 

Looking fresh! I wasn't sure which side I'd ultimately want to chamfer, but I am happy with the one I chose as it has a good symmetry to it. 

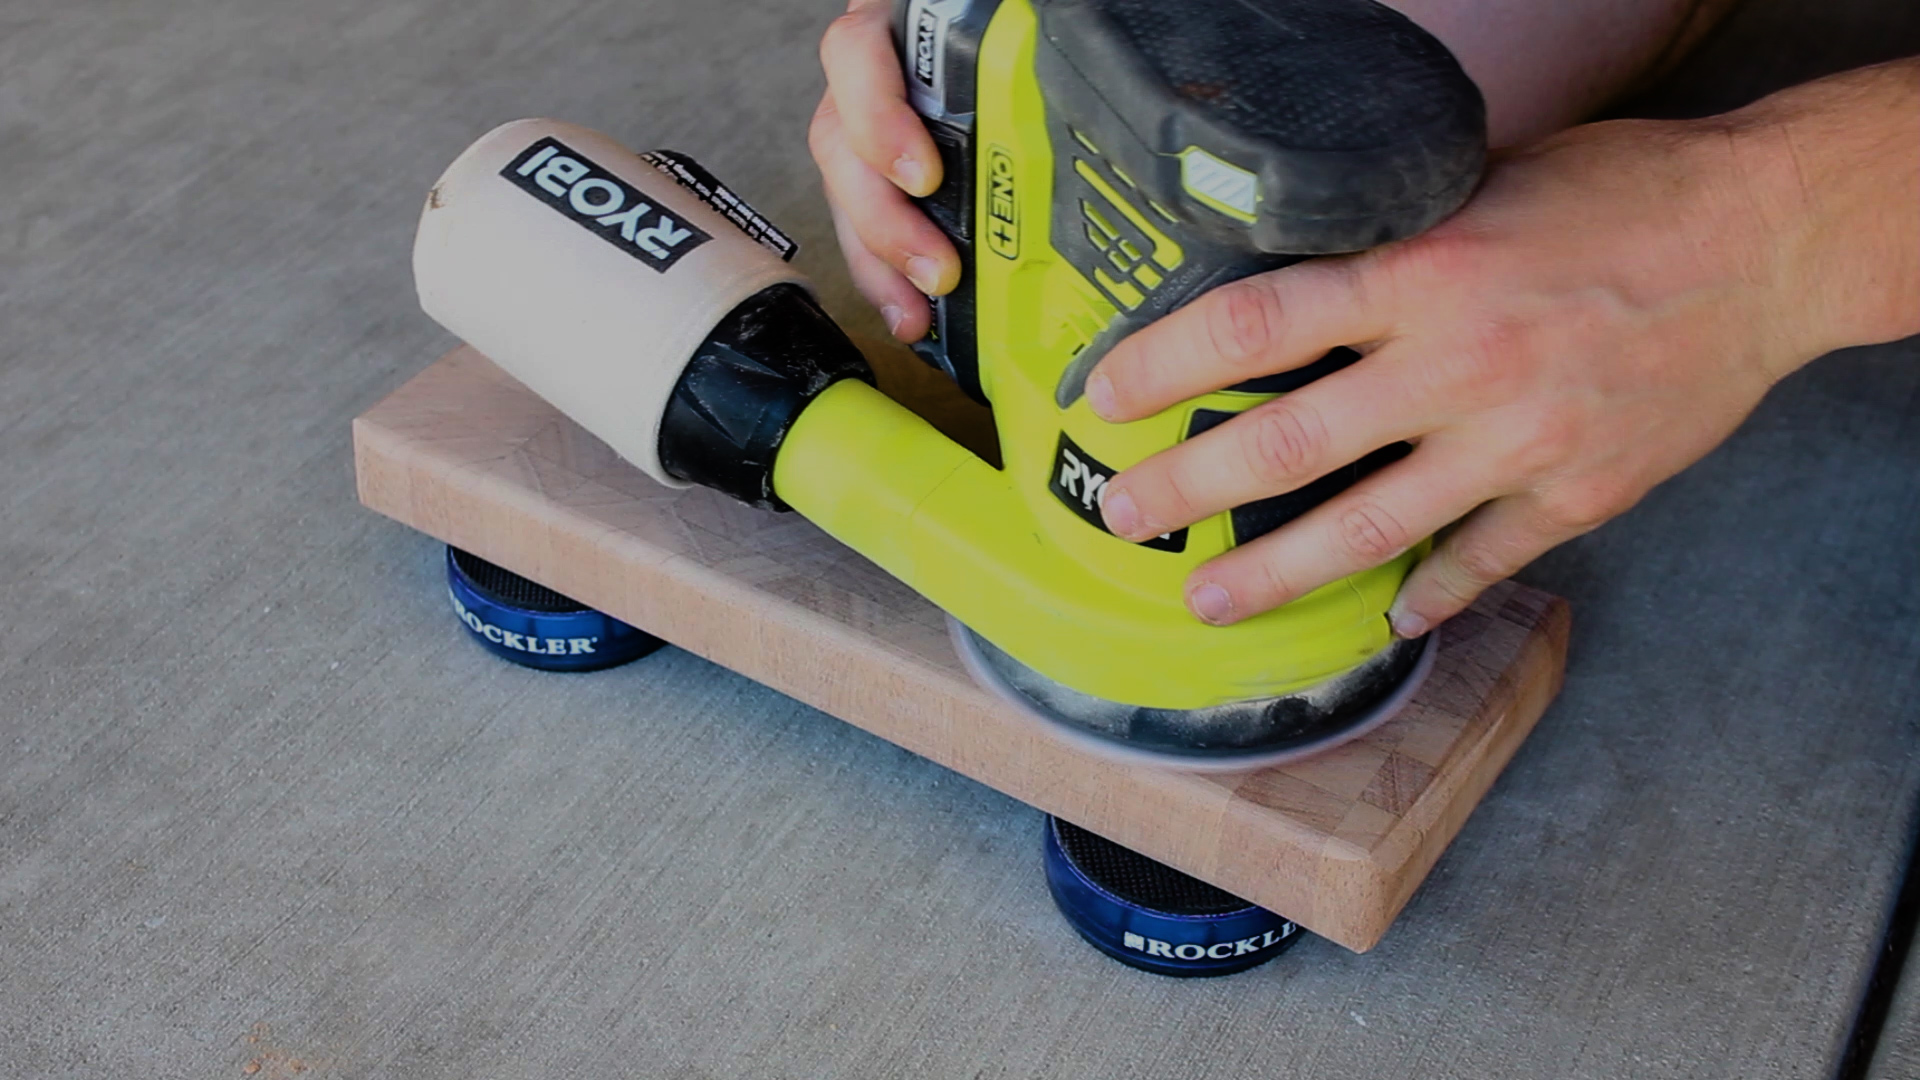
After routing, I sanded all of my edges down smooth with 120 and 220 grit papers, including slow passes on the chamfer'd edges. 

Next, I used a miter saw box, clamps, and a crappy hand saw to split my box along the IPE, which took forever. Halfway through, I switched to a SawZaw which went much faster but left a rough cut through. So, I took both halves and sanded them down hard against 120 grit paper, which left me with two clean cuts. 

I debated how I wanted to create my hole. Instead of purchasing a forstner bit set which I originally thought would be the easiest route, I chose to use my Plunge Router and a 1/8" Flush Trim bit to make my hole carving for the box. 

To do this, I created a simple jig that would sit tightly around all four sides of the box, held together with pocket hole screws. I was careful to keep all things flat in the process so my routing surface would be level. 

Next, I marked up where I wanted the corners of my hole to be. I chose 10mm equidistant from all sides. My whole would be near square, with 1/8" rounded corners due to the diameter of the router bit. 

Here is the router bit for reference. 

To finish the jig, I took my router and moved it to all four corners that I had measured of my box. I then marked lines at the edge of my router plate on all four sides. 

NOTE - one side of the router plate is flat, so take that into account in your measuring. When you go to actually route your hole, do not change the orientation of your router or you will mess it all up.

Once i had markings on all four sides, I could draw all four sides of my square with my rafter square, then used my nail gun to add scrap straight pieces of wood to create my router jig boarder. I had never done this before, so I took it slow and was proud at how well it turned out. 

Above is the final jig. Simple but super effective!

Then it was time to cut! In total, I did 7 total passes, plunging my bit about 1/8" - 1/4" each time and it worked fantastically. 

The second photo shows me checking my depth - all good!

I sanded down the insides, including the base and edges lightly, with 220 grit paper and I was nearly done with the build!

Hinges were somehow the most complicated part of this build. I wanted the snappy feature of a regular ring box but that was honestly hard to come by. I considered using the hardware from a cheap box, but that actually was going to be more tricky than just a simple swap. So, I chose barrel hinges after much research.

The first picture shows the barrel hinges I chose - 5mm in diameter and hard to find. No in-store retailer seemed to sell them, so I resorted to ordering through Amazon and they took about a week to show up.

I first marked areas on the outside of my box where I'd want the hinges to be. I clamped together my two halves (pic 3), marked a perpendicular line on each, then used my digital caliper to mark a center hole 3.5mm inward that I could drill. I took my sweet time with this as I didn't want to mess it up or drill too deep either way. I think I used a 3/16" bit for this - again - do it slow. The last picture is me dry fitting the pilot hole, which worked great (I also did a test run of this on a scrap piece of wood before).

In order for these hinges to work, you need to chamfer the back top edge of your bottom piece (first and second picture) at 45°. That way, after applying super glue into all of your holes (pictures 3 and 4), you can attached your top and let it dry in the close position for 20-30s (being careful not to glue anything shut!), and then actually allow your barrel hinges to open properly (final picture).

If you don't add the chamfer, the box wont' open as the hinges cannot flex.

I debated for a while on what I'd for the interior. I decided to use faux black leather mixed with packing foam that could be packed in properly to the inside hole and hold everything with friction. .

I measured the width of my interior (pic 1), cut my material to width (pic 3), rolled it up and super glued it into a cylinder (pic 4), then repeated the process of measuring, cutting, and rolling up the faux leather around my foam piece and securing with super glue (pics 4-6).

Picture 6 shows the two completed sushi-roll looking pieces.

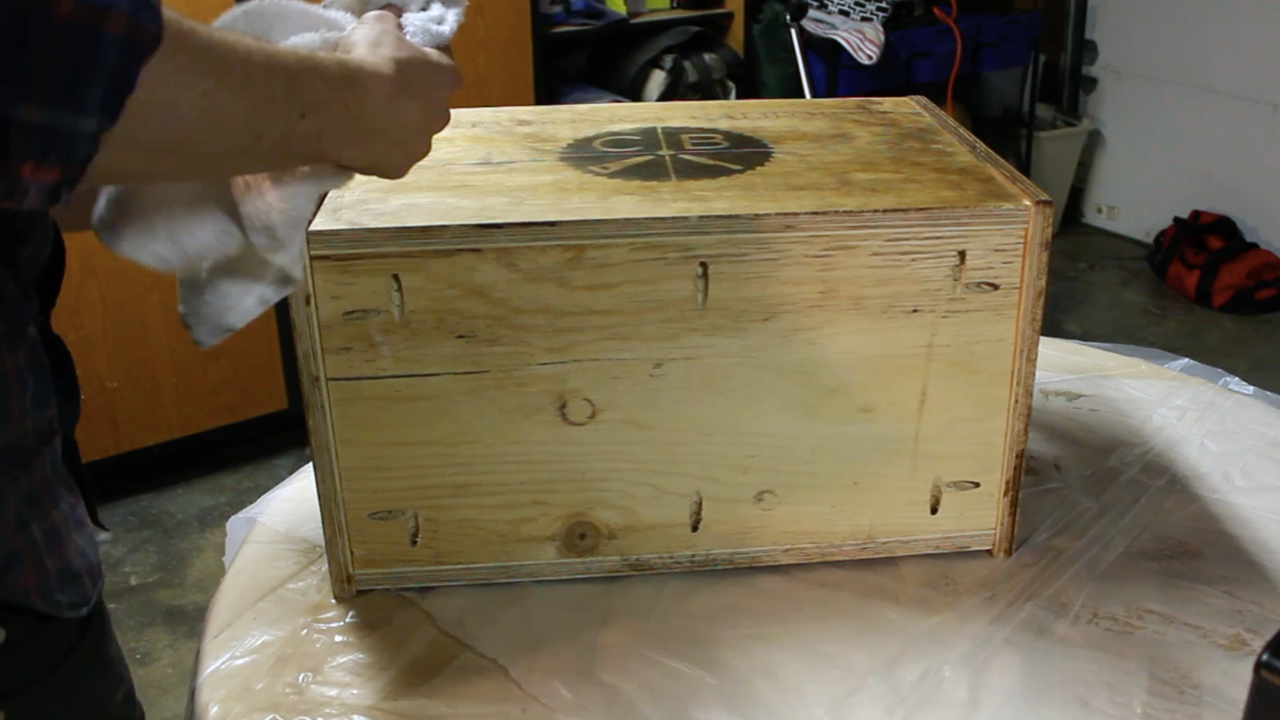
I finished my box with Tung Oil, with the final oil box in the second picture. Then, I could insert my two sushi roll pads and use a pointed edge (scissors in my case) to push down and flatten out to make it look nice.

All done! So happy seeing weeks of small work come together in a few final pictures. 

She said yes!

Loved every minute of working on this project!

TOOLS
RYOBI 10 in. Sliding Compound Miter Saw
RYOBI Miter Saw Stand
Wen 12.5” Thickness Planer
BESSEY Economy 2.5” x 12” Clutch Clamps
RYOBI Stationary Bench Sander
RYOBI Saw Zaw
RYOBI Plunge Router
RYOBI Router Set (1/4" Champfer Bit)
12” Rafter Square
Digital Caliper
Hand Sanding Sponges (120 and 220 Grit)

FILM / EDIT EQUIPMENT: 
Canon Rebel EOS T2i
Canon EF-S 18-55mm f/3.5-5.6 IS II Lens
Rode Microphone
Voice Recording
Adobe Premiere (Editorial)

As always, thank you for reading! I would be so grateful if you could please subscribe to my new Youtube Channel for future projects. I put out videos every two weeks.

Cheers!

Zach


Two2x4Challenge: Squatty Potty


Thanks for checking out the full article! 

Full video build is below, followed by detailed instructions with tools and measurements!
You can subscribe to our YouTube channel by clicking here!

The guys over at the Modern Maker Podcast put out a challenge to the online woodworking community to build something cool / unique / funny (all the above) using only two 2x4s. I thought it would be a unique opportunity to do an end grain project but also make something silly. Thus, I made a squatty potty! I chose to use redwood 2x4s for my project as they are a bit nicer overall in quality and I knew that I could achieve a cool end result with this species. 

MATERIALS
2 x 2"x4"x8' Redwood Lumber
Loctite Adhesive
TiteBond II Wood Glue
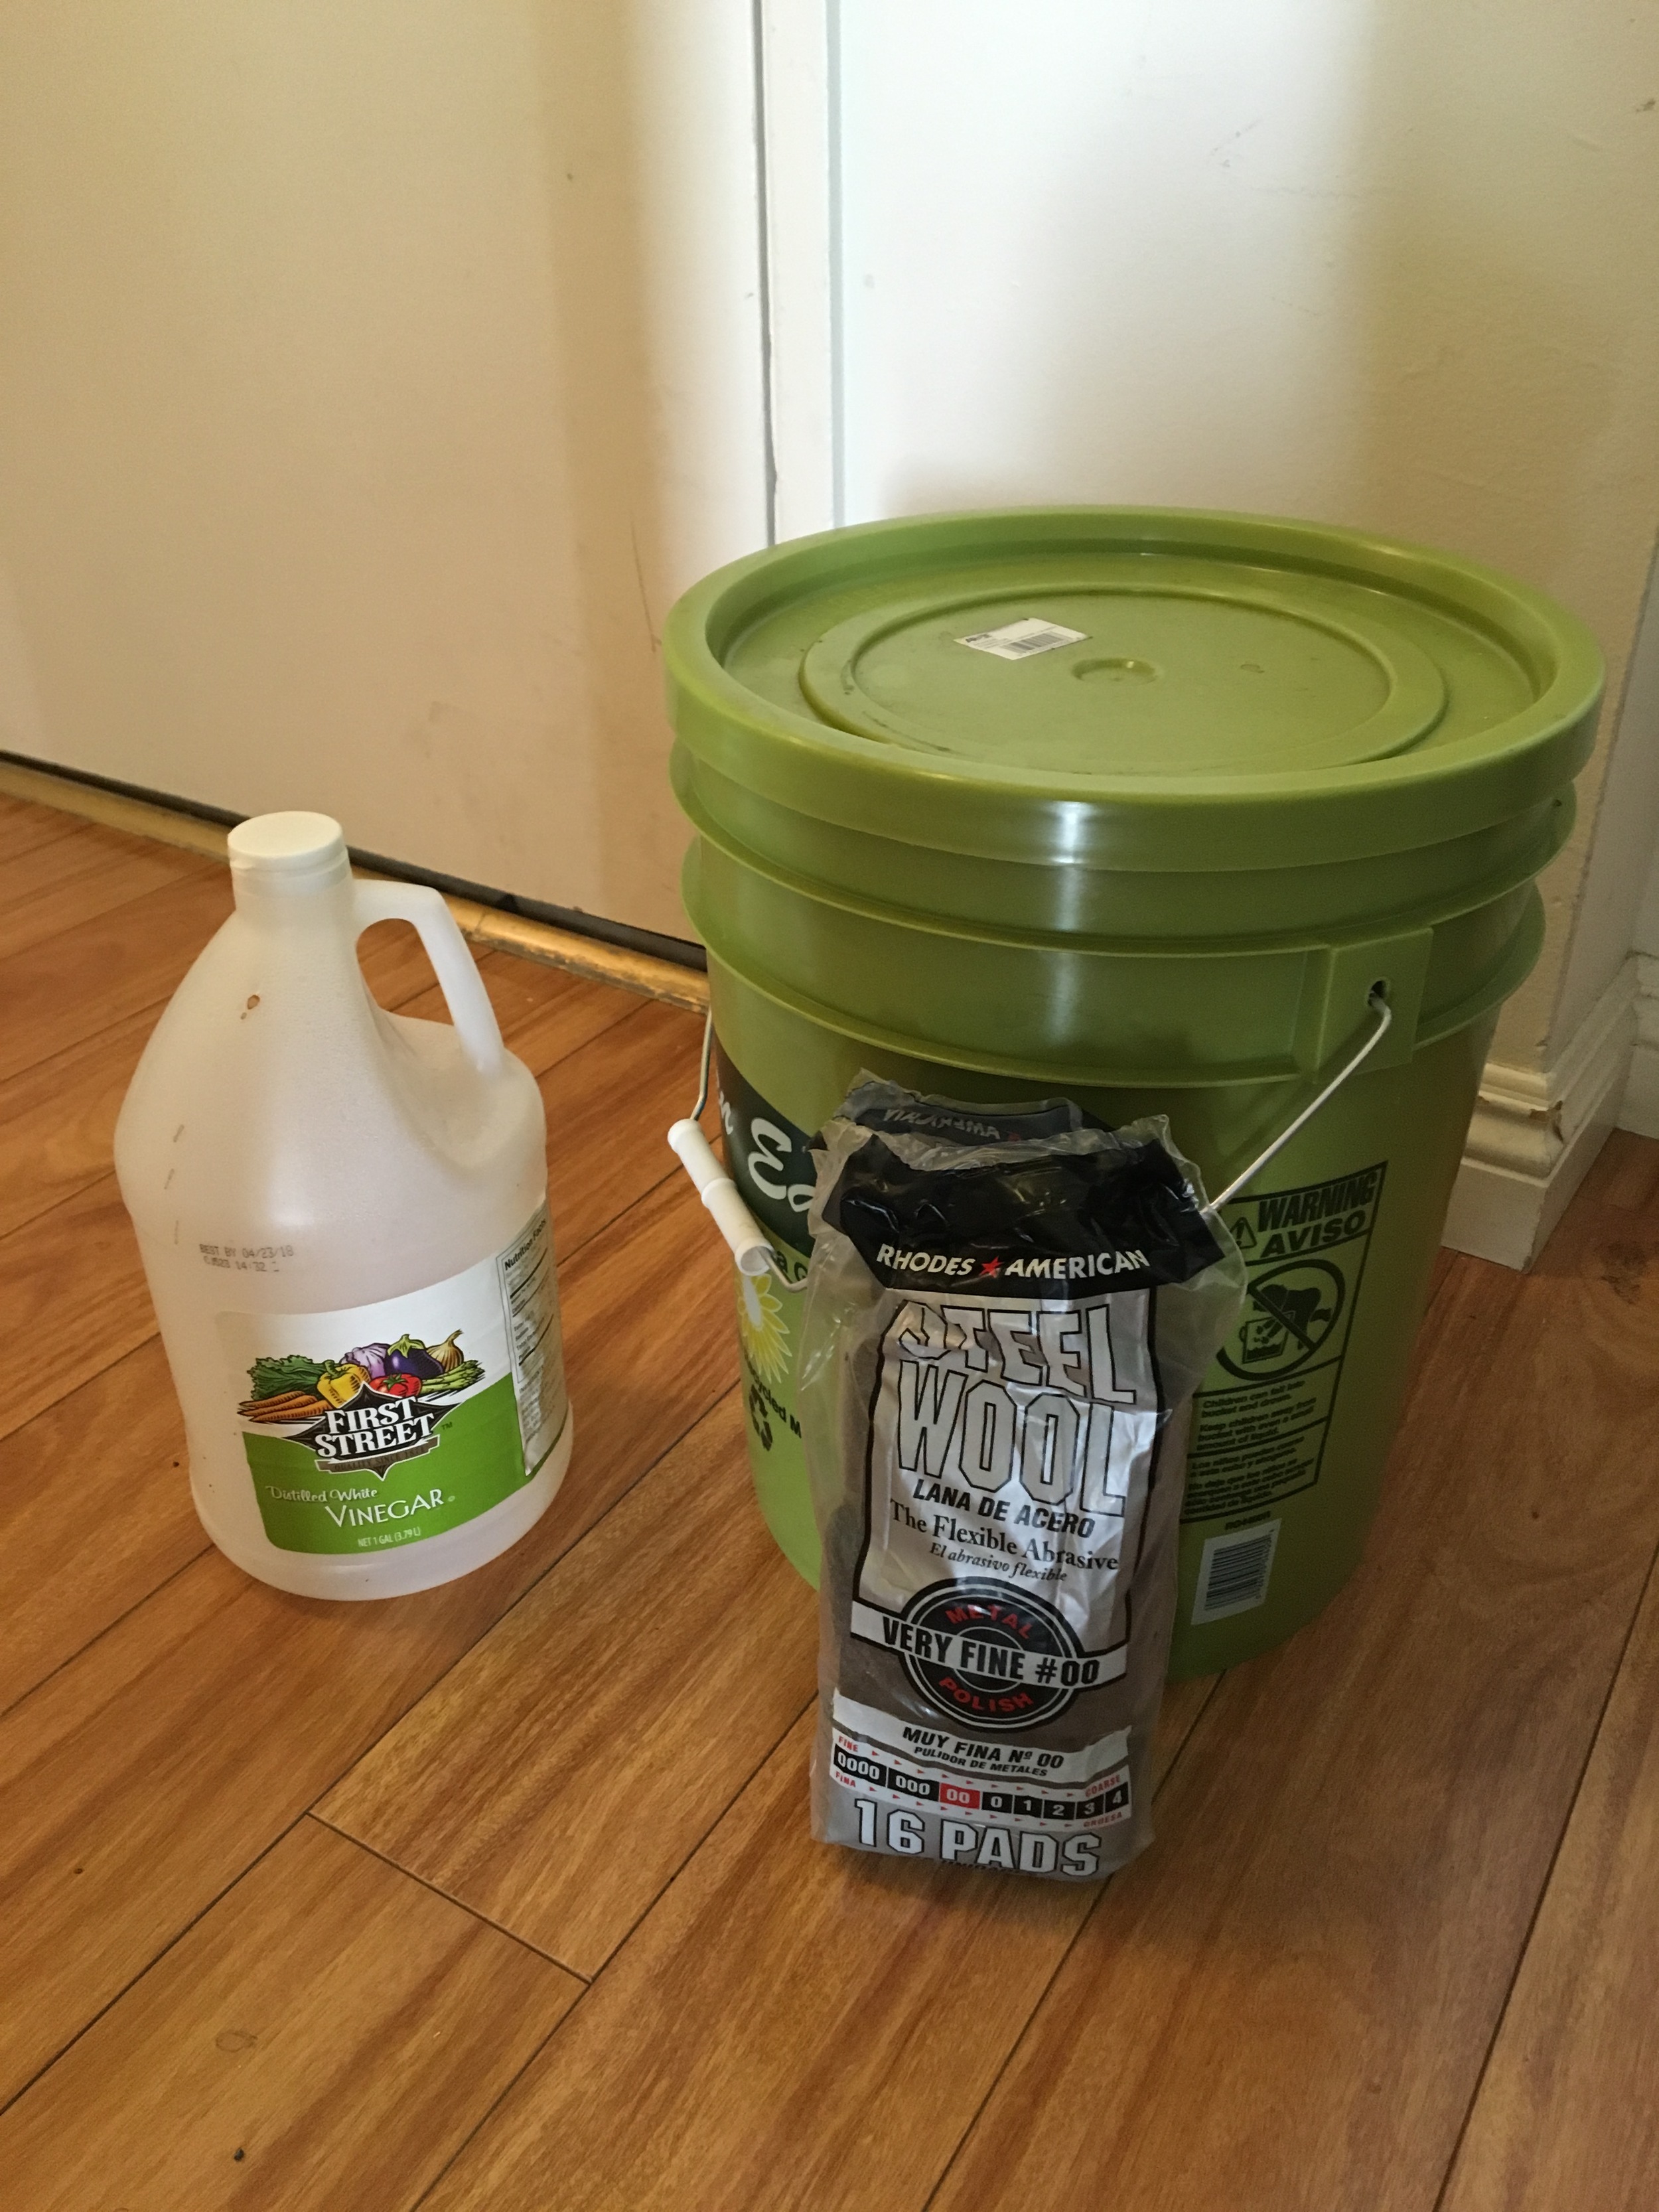
Steel Wool (0000)
White Vinegar
Water
Wax Paper
Scrap Melamine

My inspiration for this project was an End Grain Side Table project that Johnny over at Crafted Workshop created. Now, I obviously wasn't going to be using hardwoods and such, but I wanted a similar vibe of a 3D cutting board that had pieces of all different lengths cascading downward, almost like an upside down city skyline. 

As stated earlier, the entire project must use 2x4s as the main component of the project. So I got to work! I think I spent $15 on the pieces (about $6 more than I'd have spent on really crappy Douglas Fir lumber). 

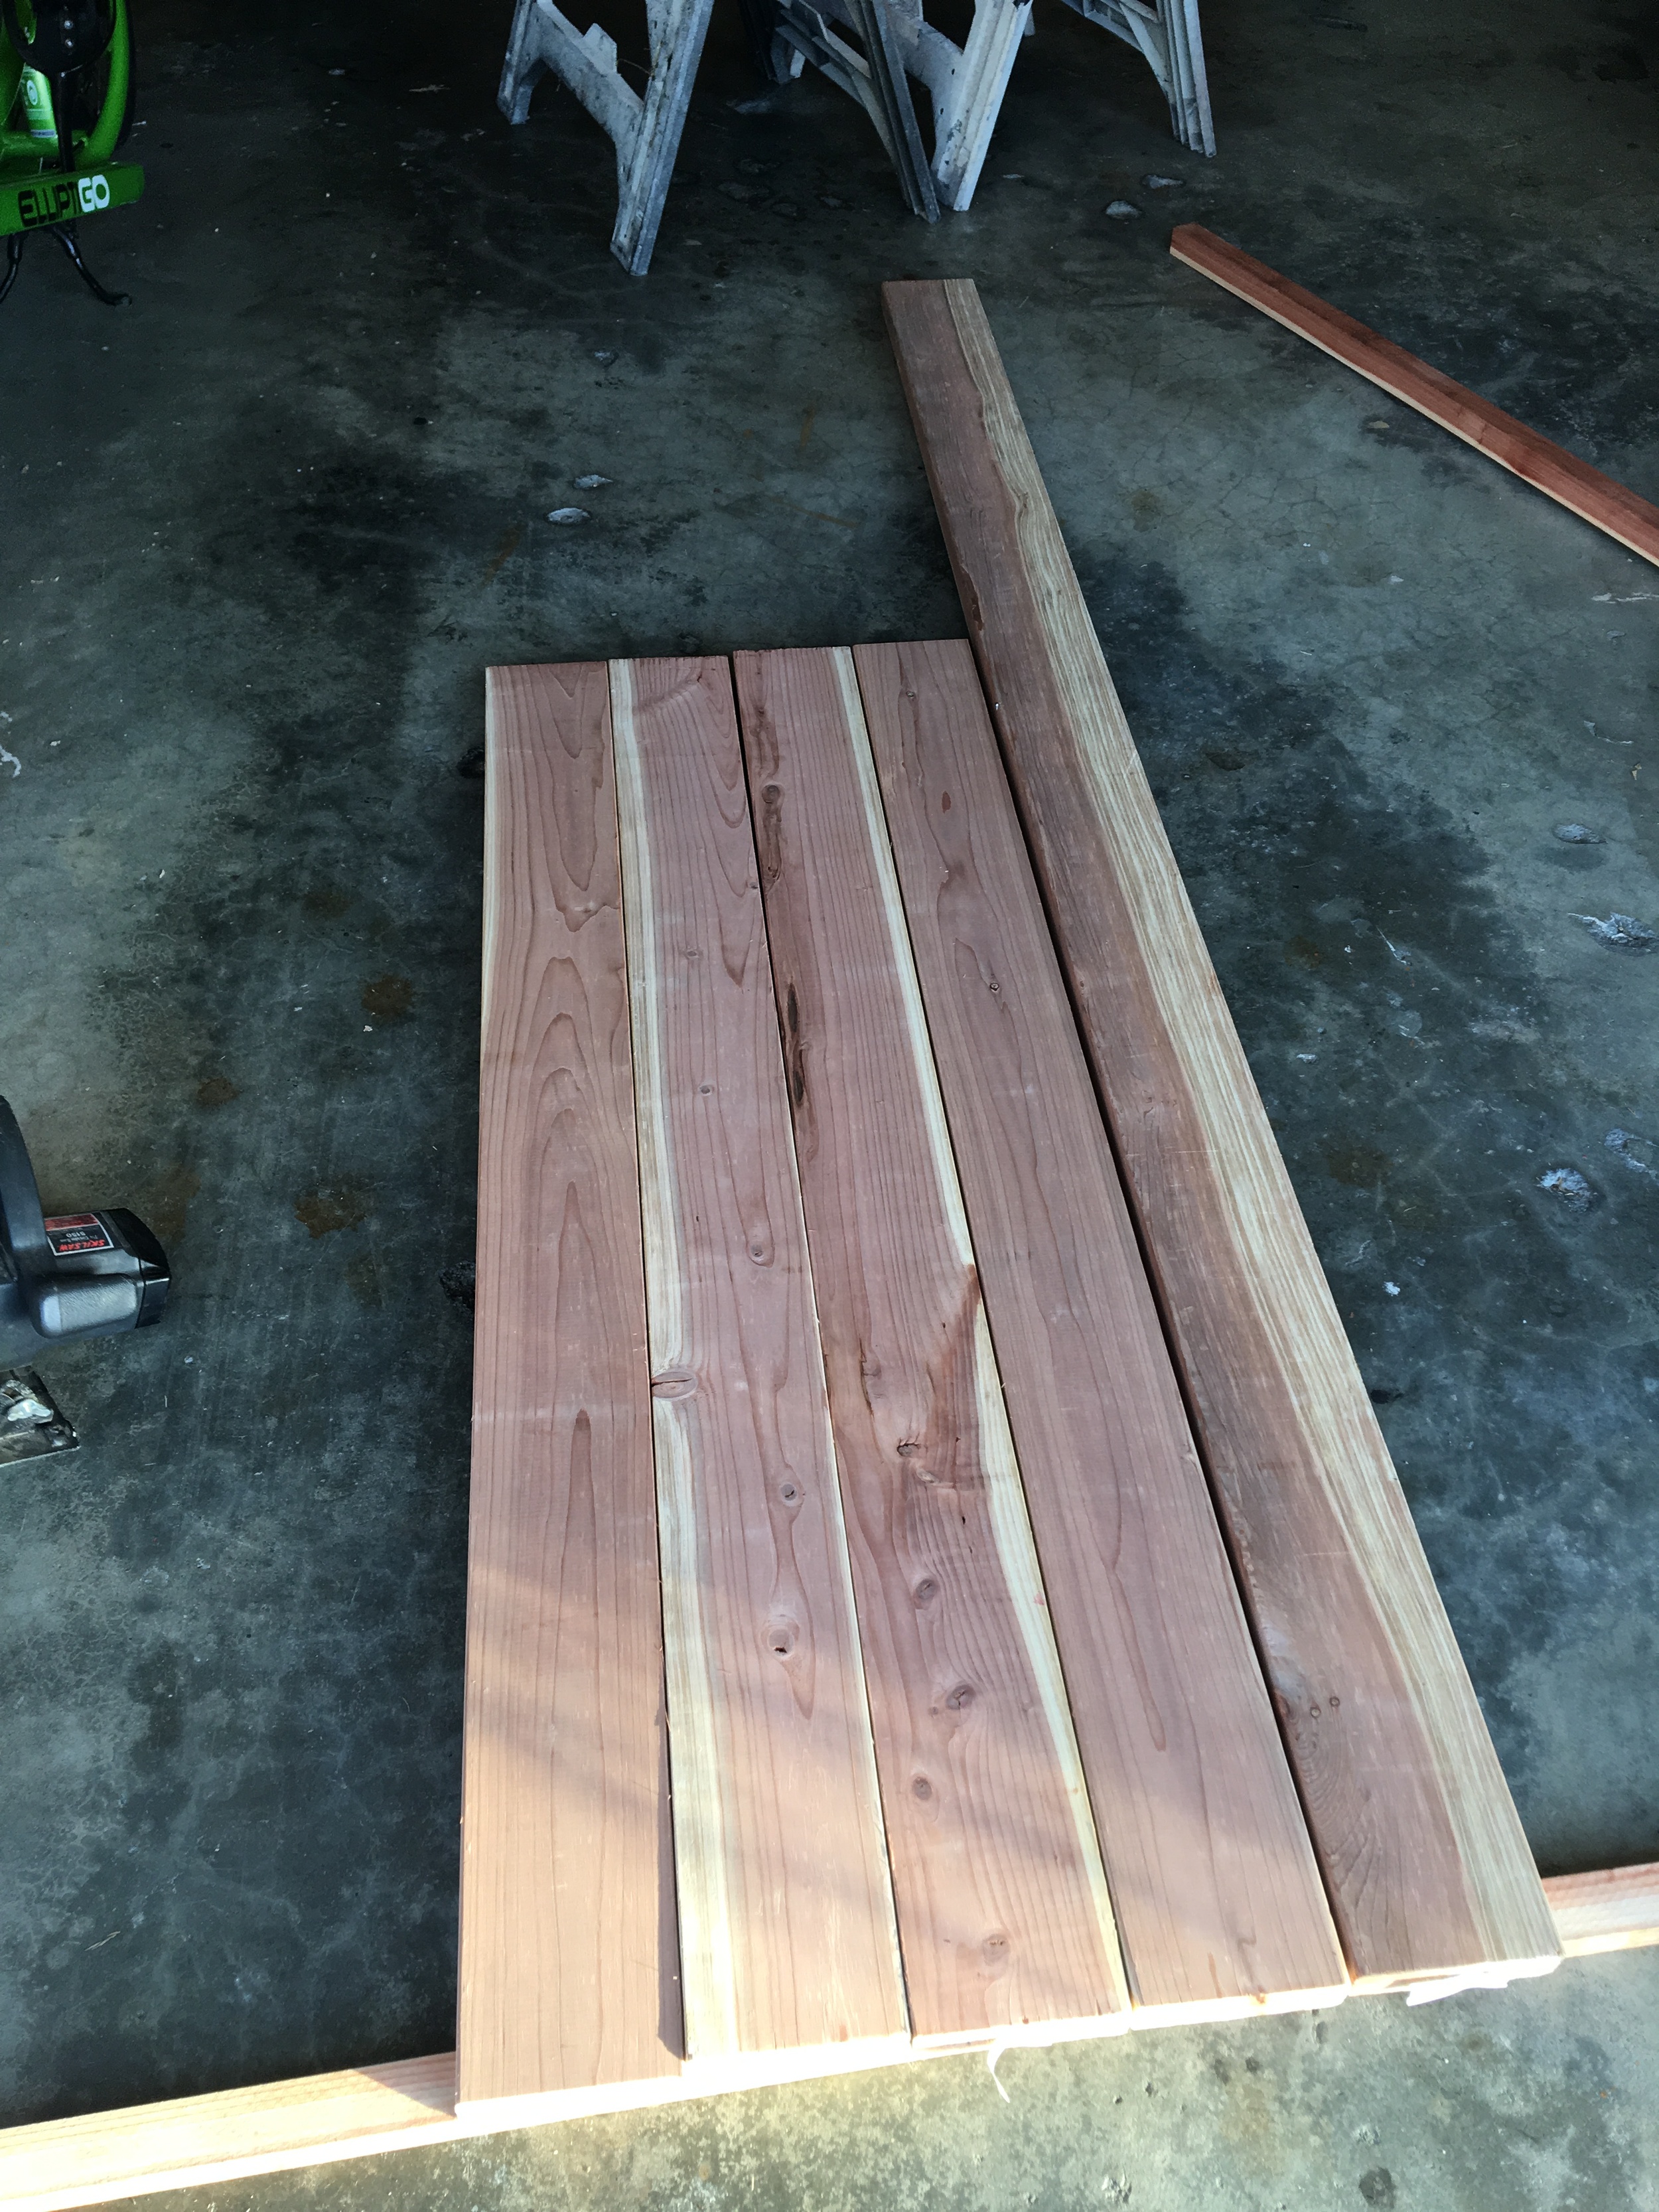
I began by ripping the rounded edges off one side of each of my pieces of lumber - about 1/8" width to be exact. I then followed that up by ripping my pieces into four total strips that were 1.375" wide. I hate my table saw. 

I then used my planer to remove about 1/16" of width from each side of my pieces total to make all four of my pieces completely square and flat. Worked great!

Now that I had all of my strips set, I could rip them to length. I needed 60 total pieces, including four legs, so I started by just ripping off a small piece to square up the edges.

I did a quick sketch in Illustrator of my design, showing roughly what it would look like from the top (left) and the front (right). I ended up making my legs a little bit longer and making the third row have five pieces instead of four. But this was mostly to confirm how many pieces I'd need based on the general dimensions of my toilet and the material I had available. 

I set a stop and cut four pieces to 9", which would be the height of my legs. I researched and found that there were two sizes of squatty potties - one 7", and one for advanced poopers at 9". I'm definitely advanced. 

After I cut my legs, I was left with about 348" of total length. Now, I needed 56 more pieces, meaning that they could all average 6.2" and I would have enough material for the project. Knowing this, I chose to cut 16 pieces at 3, 4, 5, and 6", which left me material to cut a few pieces at 7" (because why not) and then one spare 9" piece incase I destroyed a leg. 

Before gluing anything up, I spent some time laying out the final shape of my piece, rearranging pieces so no two heights were next to each other and confirming my design was good to go. That way, when I went to glue things up, I could grab one piece after another without figuring out / delaying the glue up. This worked out great!

I had found a method where something build something actually very similar to this (although theres was an art piece) where they used Loctite Construction Adhesive as it was weatherproof and supposedly would set well without clamps. Since this was both a silly / fun project and I was looking to do my glue up all at once, I chose to experiment with this method. 

To do the glue up, I used a scrap piece of melamine as a flat surface, then created a right angle corner using my straight edge clamp and a scrap piece of wood and a clamp. That way, I could start in one corner, work my way from left to right, and have a flat surface and corner to push things into and squeeze out gaps manually. I also used wax paper to make the clean up easier. And, one by one, I'd spread a bit of the adhesive to both sides of my pieces, stick it on the board, squeeze together and check for squareness, and move on to the next piece.  

After letting the adhesive cure overnight, I could finish the project the next day. As you can see from the first picture, there were gaps in my glue up from using this method. I expected it once I felt the consistency of the adhesive, but was still a little annoyed. But hey, this is what experiments are for. Overall, the piece was strong and robust, but I knew I had to fix my poor experimental craftsmanship. I mean the stuff doesn't even dry clear!!

I chose to use saw dust from the redwood I had kept when I ripped my pieces on the table saw. Before doing that, I cleaned up all the adhesive that had squeezed out so my surfaces were clean. 

Using wood glue and shavings, I applied a liberal amount of glue to all of my cracks and then cover all of them in shavings. This worked like title grout, and works pretty well! It is always better in my opinion to use shavings and glue if possible (and shavings of the same wood species) as it fills the gaps better and actually will take a bit of stain if that is your final plan). 

I also recommend you don't pre mix your solution and then fill in the gaps. It is easier to apply glue then cover in shavings - just faster and more efficient with your time. You can see the third picture right after applying - WHAT GAPS??

Next was clean up. I used my stationary sander to clean up the larger surfaces, followed by belt sanding and orbital sanding at 80 grit which flattened everything quite well, then finished off with hand sanding at 120, including the edges, so that there were no sharp features to where bare feet might go. Was starting to look pretty cool!

thought it would be cool to use an oxidized solution to finish this project given that I was using redwood. I had done this method once before on the same species and I knew how cool of an effect it had on the red parts of the wood, essentially turning it black. Knowing that this was all end grain, I knew it would turn out even cooler!

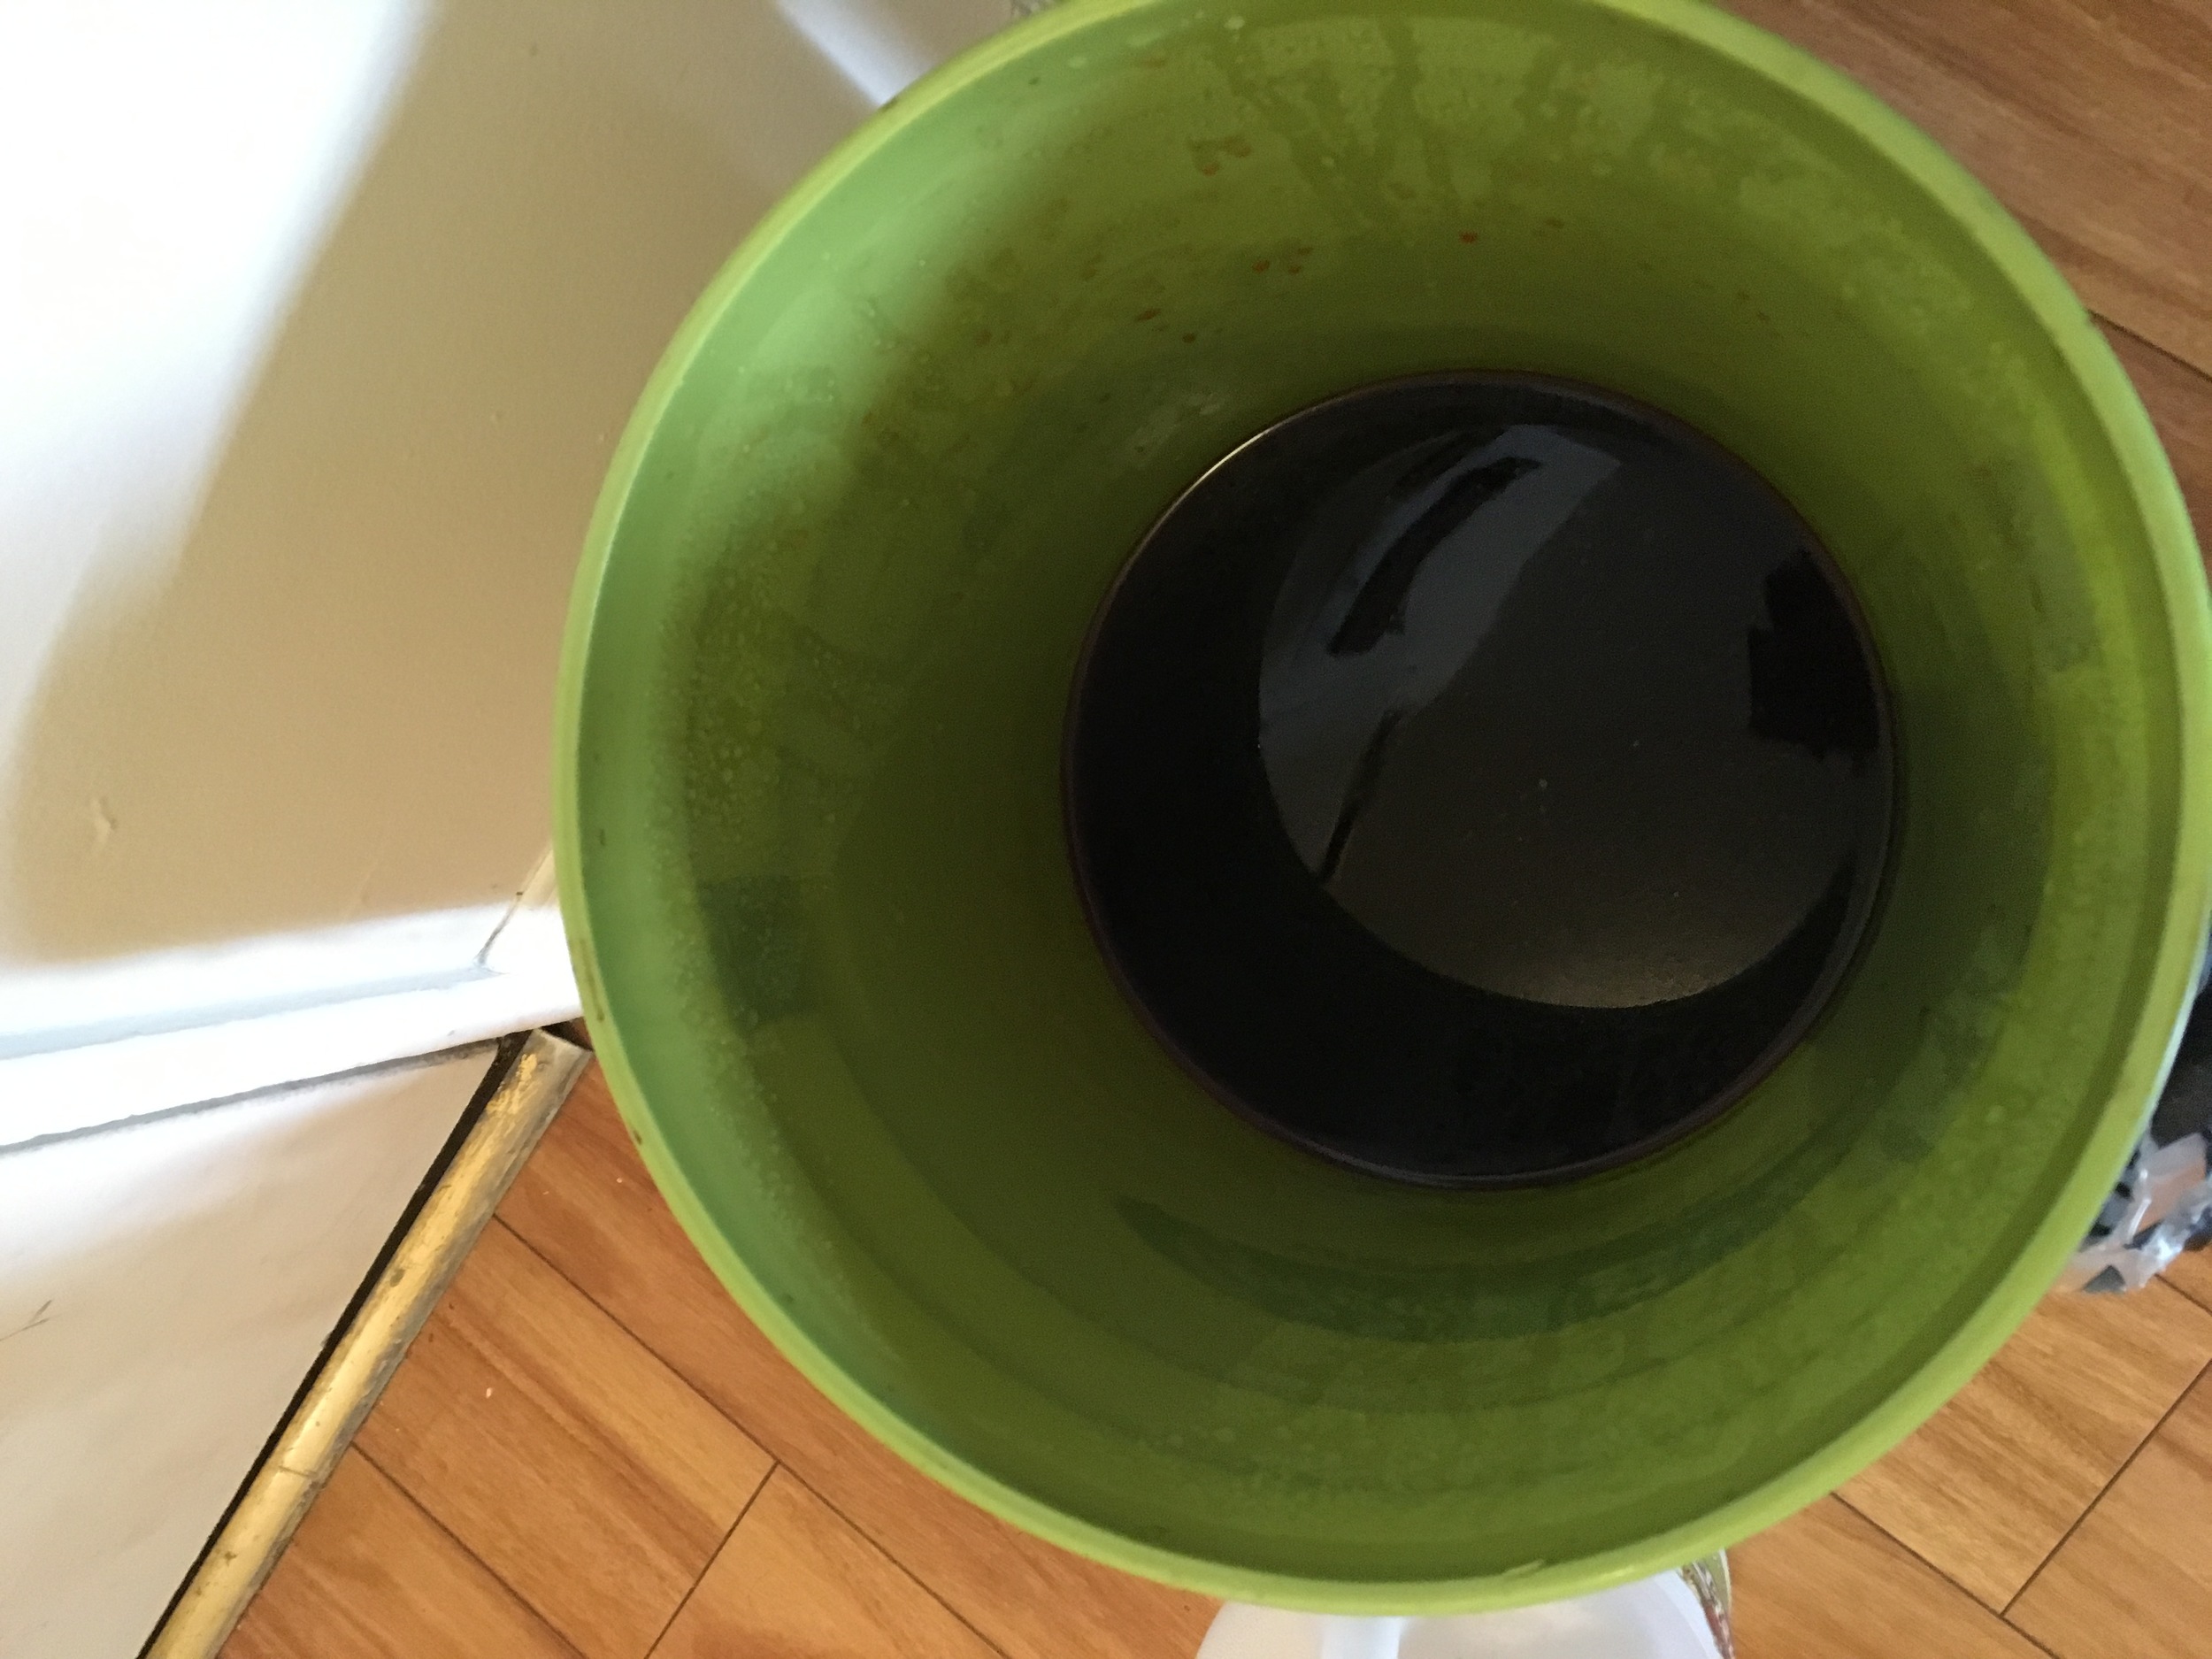
To make the solution, mix three pieces of 0000 Steel Wool with one gallon of water and one gallon of white vinegar in a big 5 gallon tub with a lid. Let the solution sit for one week - it will dissolve the steel wool over that time period, leaving a very disgusting and smelling solution that will rapidly age wood if applied to the surface.  I recommend using gloves for this process, or in my case, a spray bottle, so you don't get the smelly solution on your hands. 

I recommend using gloves for this process, or in my case, a spray bottle, so you don't get the smelly solution on your hands. The spray bottle was great for this project as well because there were so many odd surfaces to cover on the bottom that it was basically the only way to get to all of them quickly. 

You can see in the third picture the difference before and after. The solution works right away, and will dry and age the wood rapidly over the course of the next day (depending on your drying temps!). 

Few final photos for you! REALLY cool how this stuff reacts. As much as this was a partially failed experiment the final product was totally salvageable and I'm quite excited about it. 

A fun challenge overall!

TOOLS
RYOBI 10 in. Sliding Compound Miter Saw
RYOBI Miter Saw Stand
RYOBI Cordless Orbital Sander
RYOBI Belt Sander
RYOBI Stationary Bench Sander
RYOBI Battery Pack
HITACHI Table Saw
Wen 12.5” Thickness Planer
5-Gallon 4.5 Peak HP Wet Dry Vacuum
Bora 50” Straight Edge Clamp Guide
Tape Measure
12” Rafter Square
BESSEY Economy 2.5” x 12” Clutch Clamps
Digital Caliper
Hand Sanding Sponges (120 Grit)
Extension Cord

FILM / EDIT EQUIPMENT:
Canon Rebel EOS T2i
Canon EF-S 18-55mm f/3.5-5.6 IS II Lens
Rode Microphone
Voice Recording
Adobe Premiere (Editorial)

Thanks for reading! I would be so grateful if you could please subscribe to my Youtube Channel for future projects. I put out videos every other week.

Cheers!

Zach


End Grain Coffee Pour Over Station


Thanks for checking out the full article! 

Full video build is below, followed by detailed instructions with tools and measurements!
You can subscribe to our YouTube channel by clicking here!

This was such a great little project. Scrap hardwood is not easy to come by and is quite pricy when bought, so I wanted to make the most of it. I had the concept for an end grain cutting board project influenced by Homemade-Modern's coffee pour over station design a few months back. Not having the proper tools to do it or the materials, I shelved it until I knew I was ready / skilled enough to pull it off. The time is now!

MATERIALS
African Mahogany Hardwood (About 3 BF of 4/4 Stock at 8.5" long)
TiteBond II Wood Glue
Mineral Oil
Galvanized Pipe (see details below!)
Wood Screws

I started by ripping all of my wood into strips at 1.375" on my Miter Saw with the grain. A table saw works better for this if you're looking to do many cuts, but a Miter Saw with a stop was efficient for the number of cuts I made. 

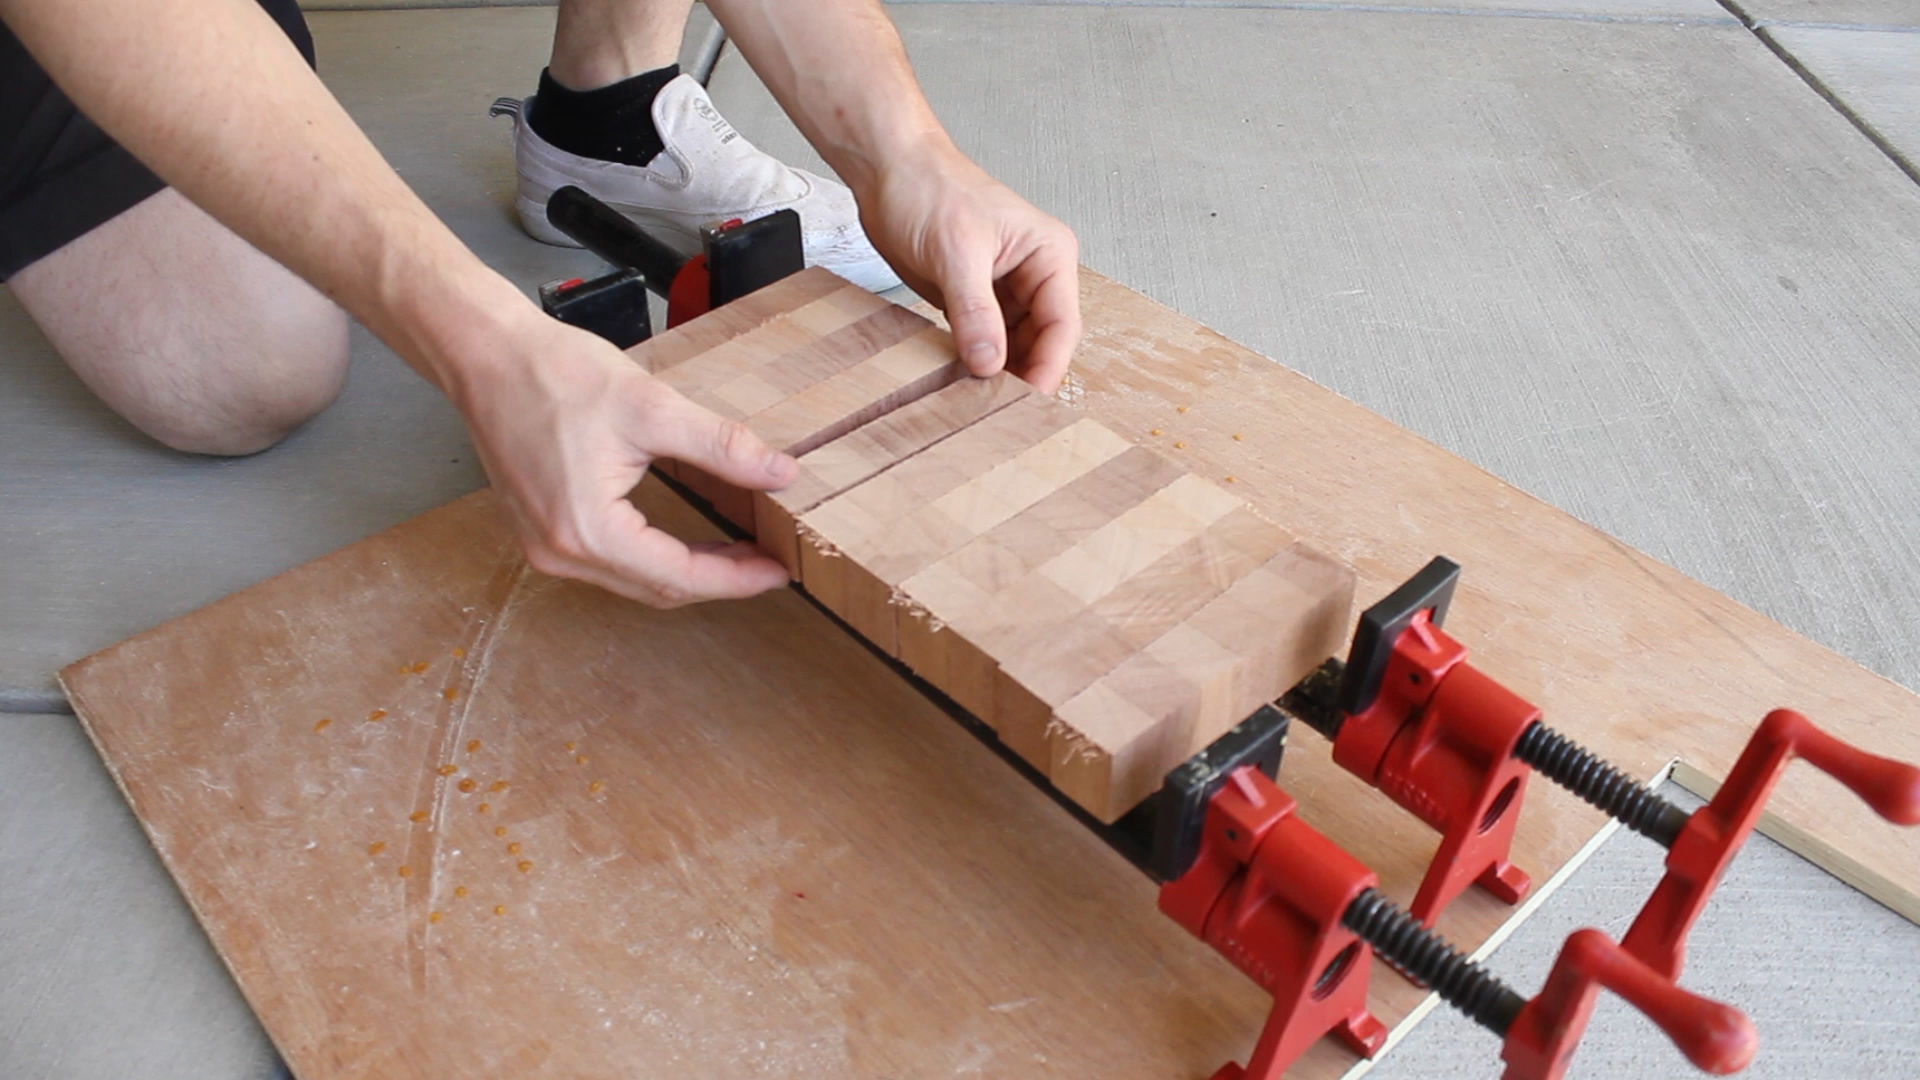
Next, I grouped my strips into sets of six and laminated them together. My one regret here is not mixing up the pieces into more of a pattern based on the various looks of the end grain. Next time! 

Make sure you use lots of glue and a credit card make it very easy to spread and cover all of the surfaces. 

I then clamped all my sets of 6 to dry overnight. I lined up the ends as much as I could and used a mallet and a scrap piece to keep everything very flat (or as much as I could!)

The next day, I ran my pieces through the planer. The manual recommends to not plane anything shorter than 12 inches, but the key should be to not plane anything shorter than the distance between the two rollers of your planer. Otherwise, it will get caught and I honestly couldn't tell you what kinds of things might happen then. If I had to guess, a black hole will open up and the earth will collapse on itself. So tread lightly. My pieces ere 8.5 inches, so I was set to plane and it all came out great. I then square up the sizes of each piece in preparation for ripping strips again. 

I ripped 25 total strips at 1.5" from my 5 pieces, meaning I could get two boards (one with 12 strips, one with 13).

I laid out my pieces on my clamps, flipped a few pieces to mix up the end grain pattern, and then rotated them 90° in preparation for my end grain glue up. 

Same recommendation as before. Use ample glue, spread it well to cover all of your surfaces, square up your edges with scrap pieces or a mallet, and clamp slowly to avoid slipping. Also, you should clamp from the top to avoid bowing, and you can go back after 10 minutes and wipe off excess glue with a wet rag. 

As hard as I tried, this didn't quite glue up flat. I think my surface was uneven to start. You live and you learn. 

Now there is a ton of controversy in the woodworking community about planing end grain. This being my first project and just unsure of all of the consequences, I chose to use my stationary belt sander to flatten everything. It took quite a bit of time, but worked well and left me with a smooth flat finish on both faces and all of the sides. 

I opted to not use a router to take down my edges. Instead, I could just rotate my piece slowly on the belt sander and they rounded out very nicely. Had I wanted another edge style, I might have chosen the other route. After belt sanding, I switched to orbital sanding at 120, followed by hand sanding at 220, 320, and 400, including a wet sanding at 220. Oil won't raise the grain, but knowing this is a cutting board that will likely get wet quite a bit, I wanted to make sure I did a wet sanding to avoid having the wood rough up down the road. I was so stoked at this point at how this project was coming together. 

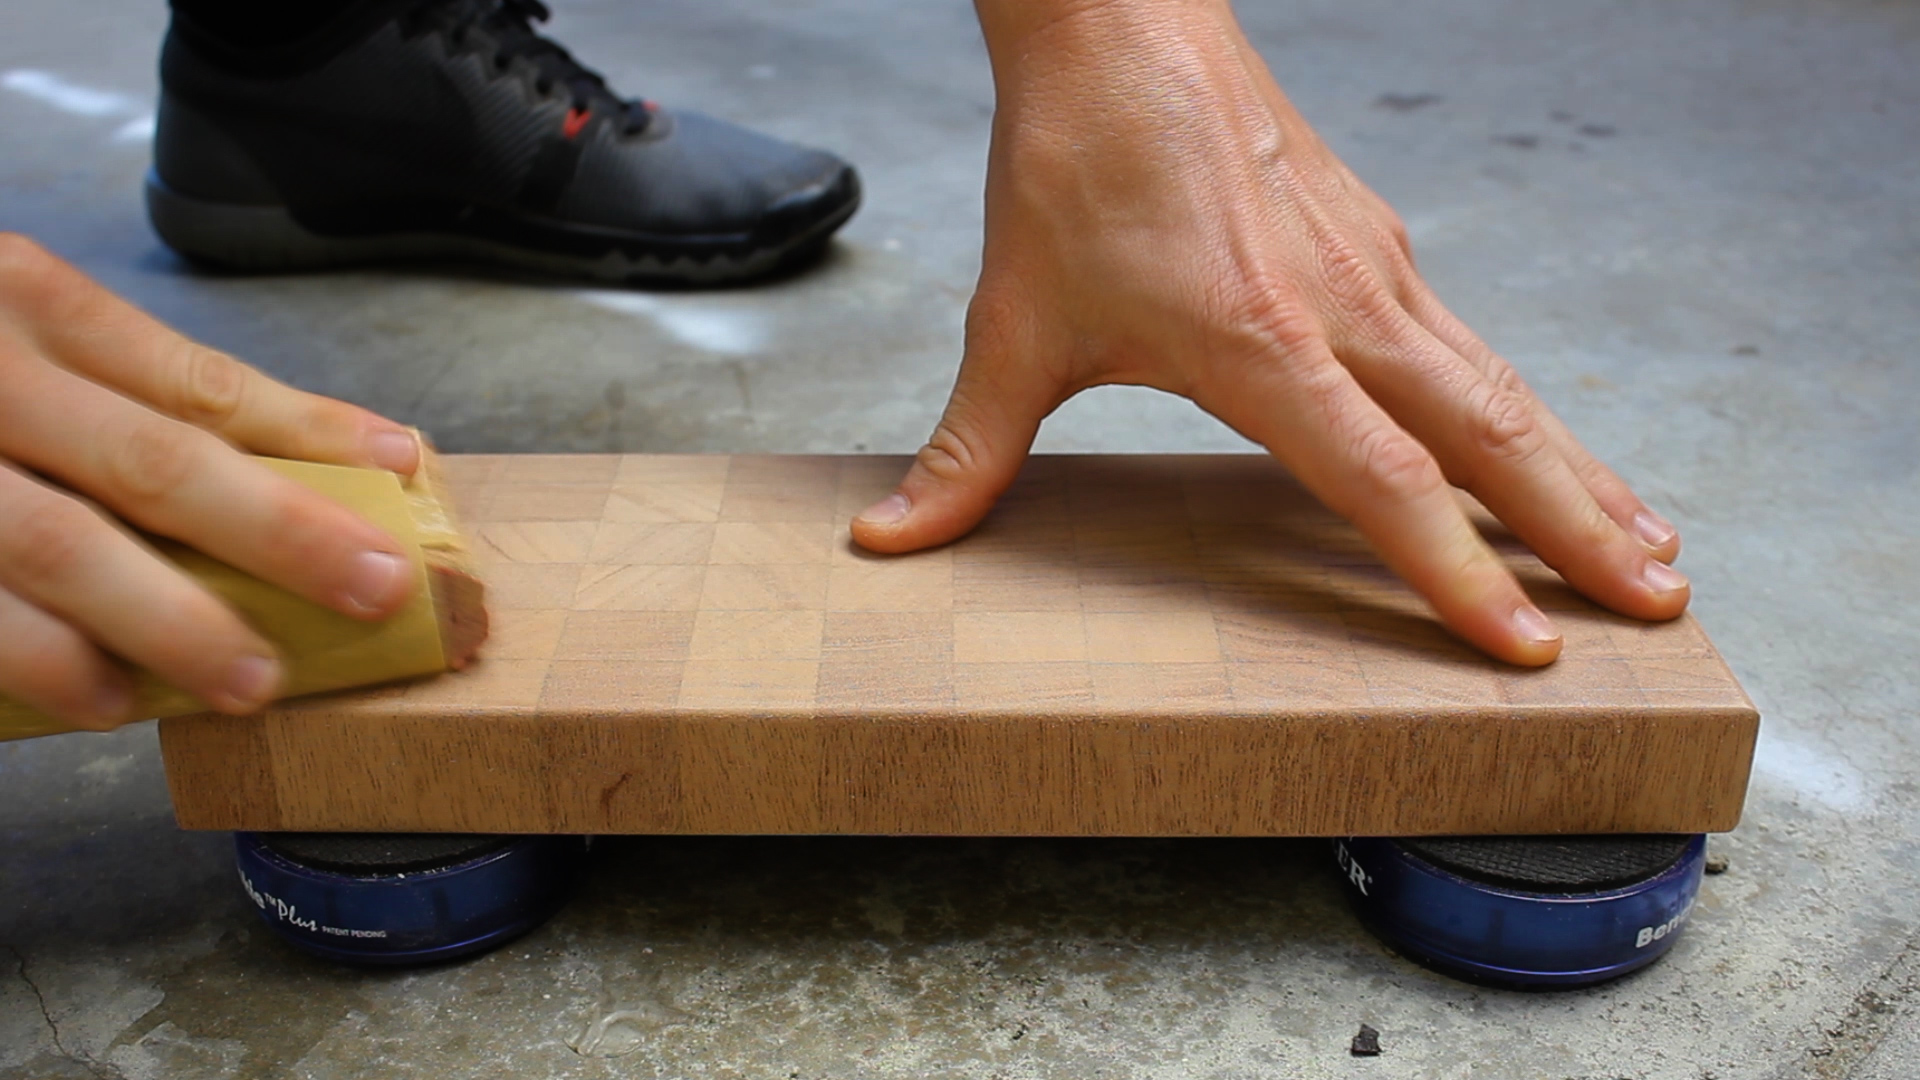
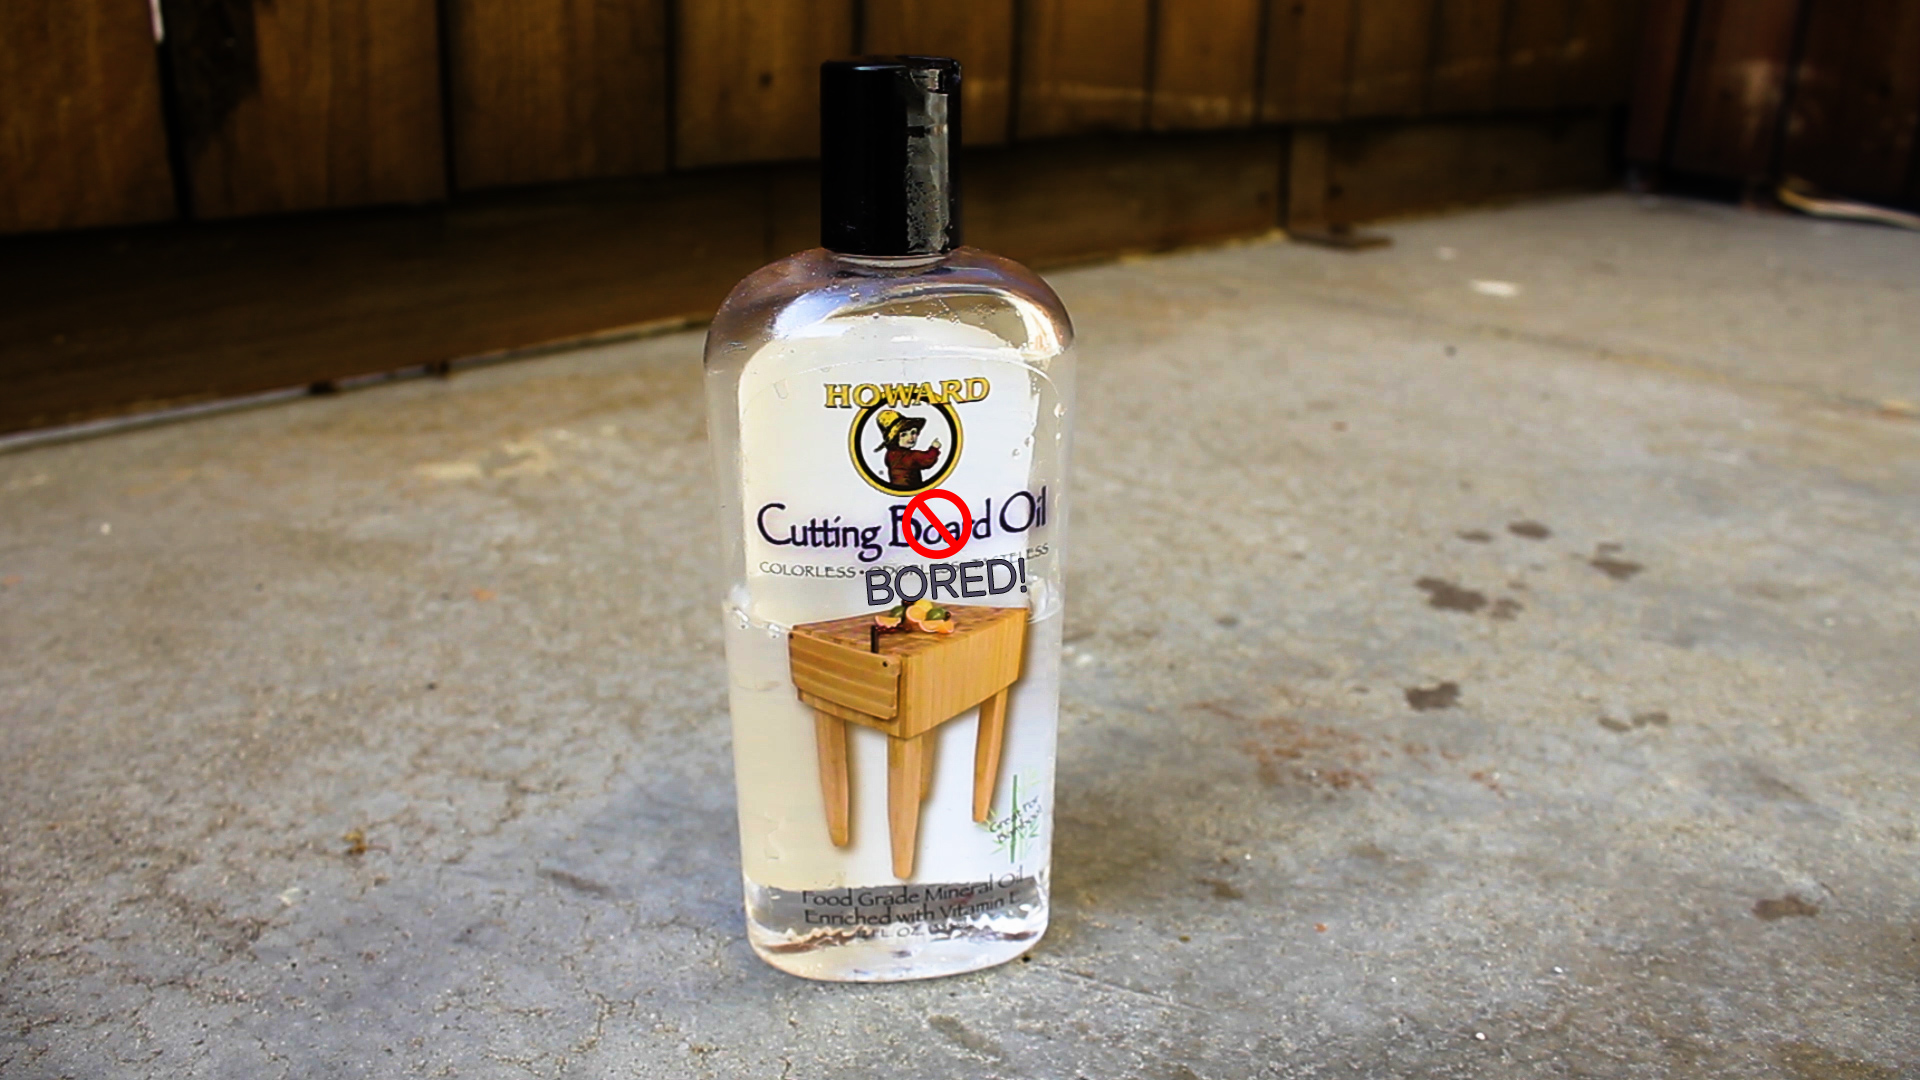
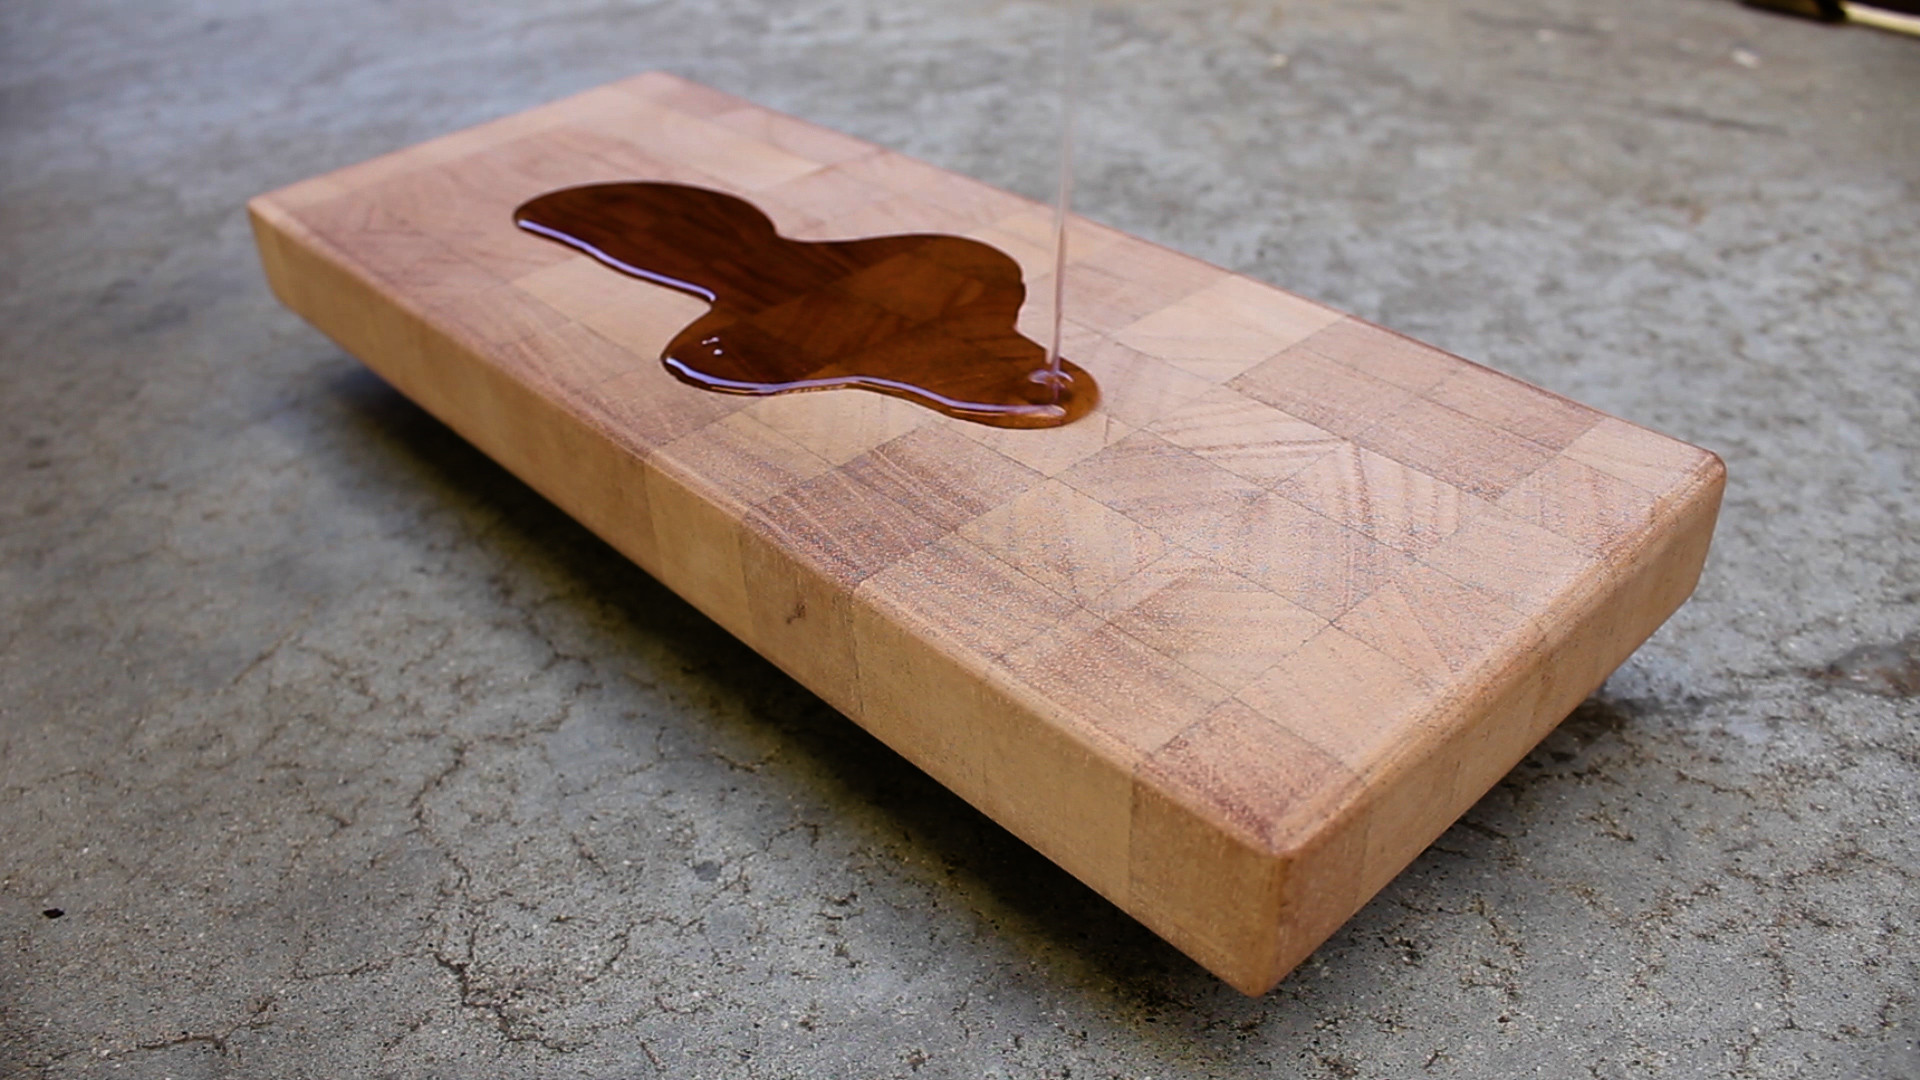
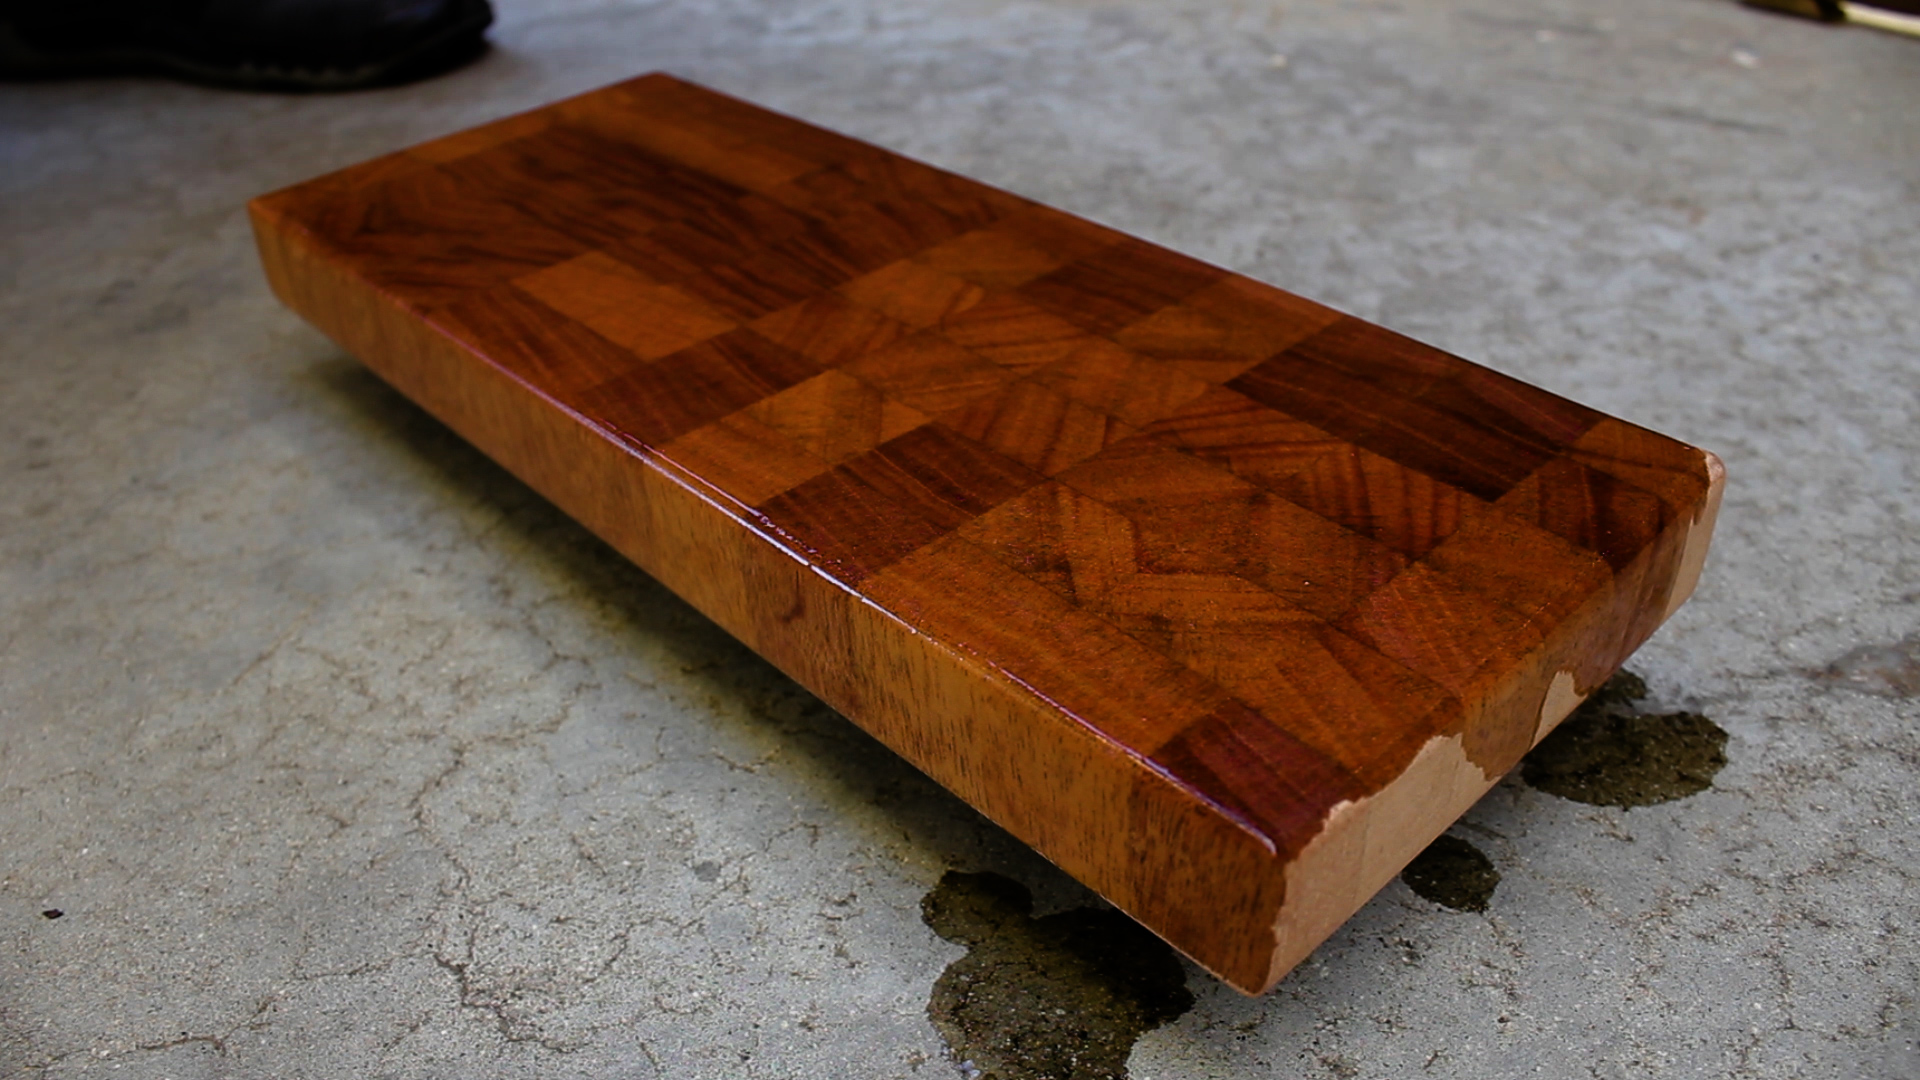
I'm using a food safe mineral oil specific for cutting boards for this project. This is definitely the most satisfying part of the build. Seeing the grain pop was a lovely experience. I applied two coats an hour apart and wiped off any excess oil once it had dried. 

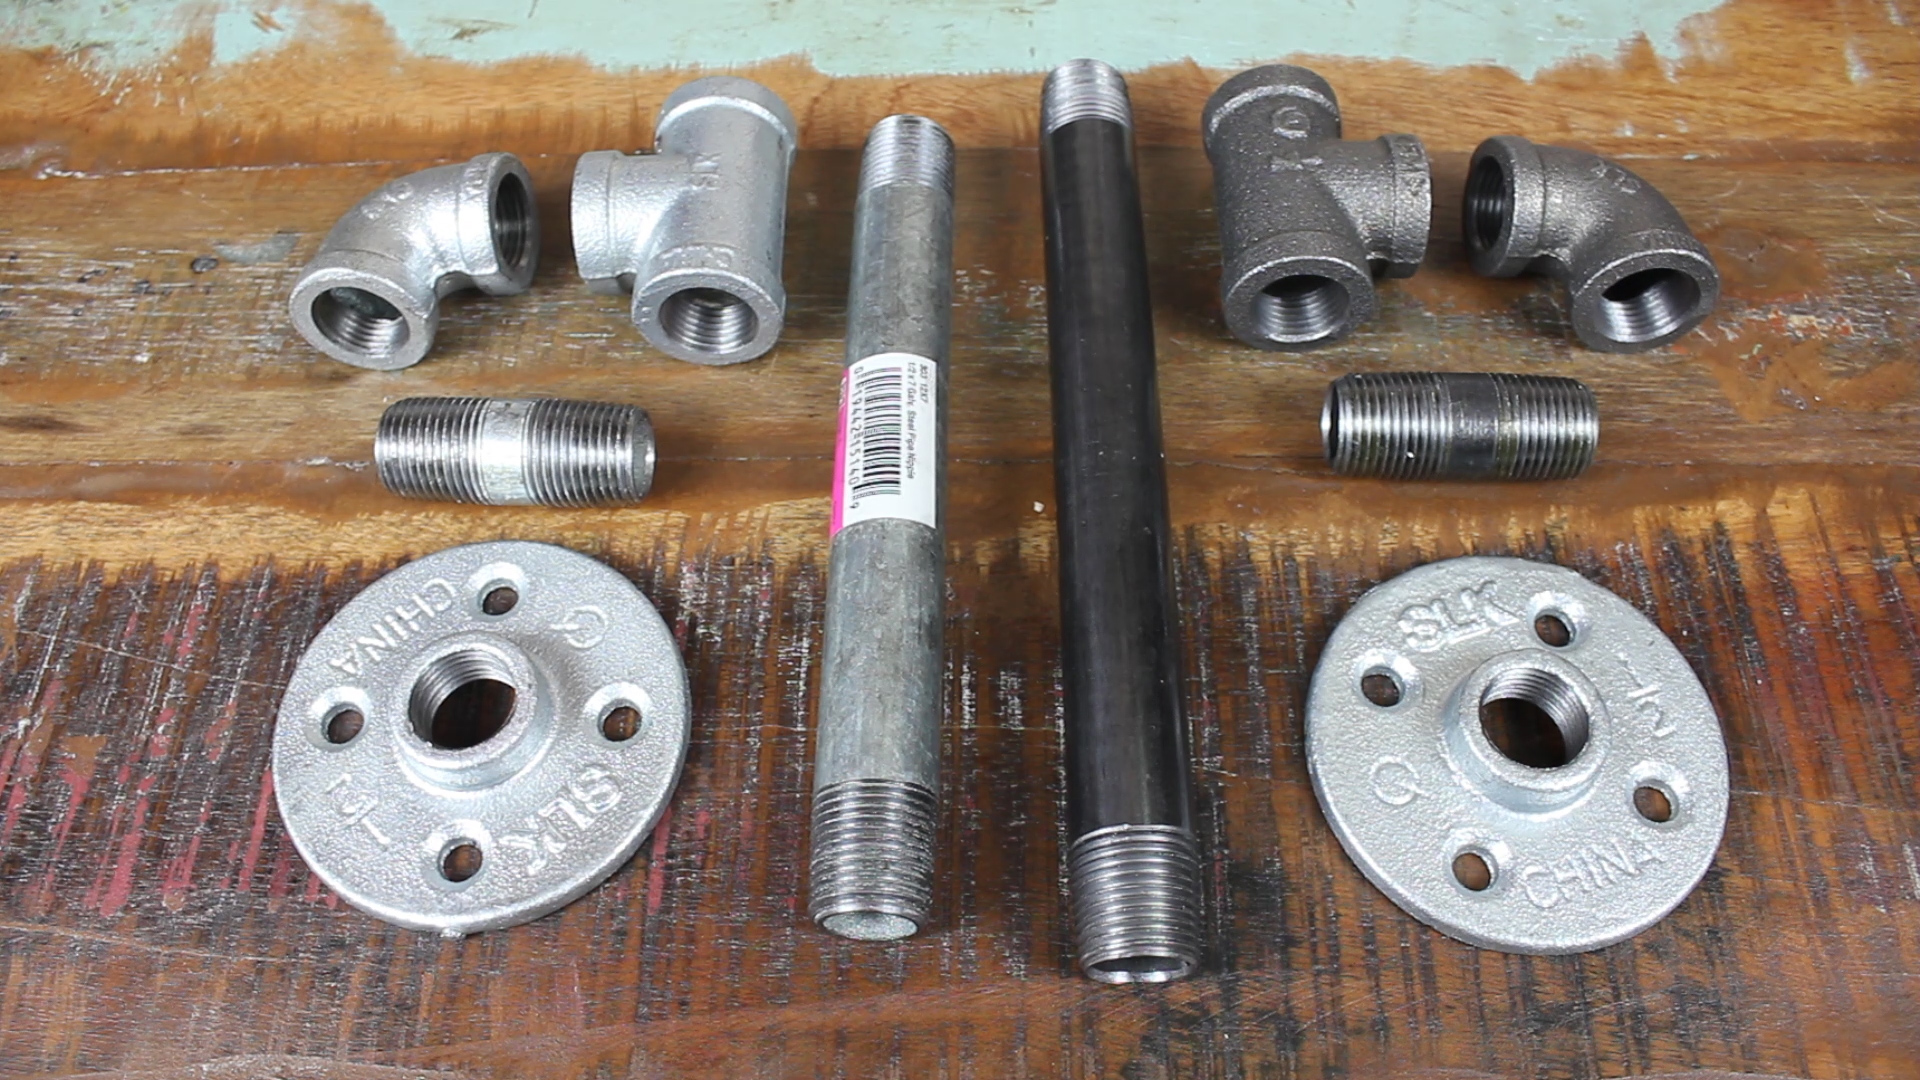
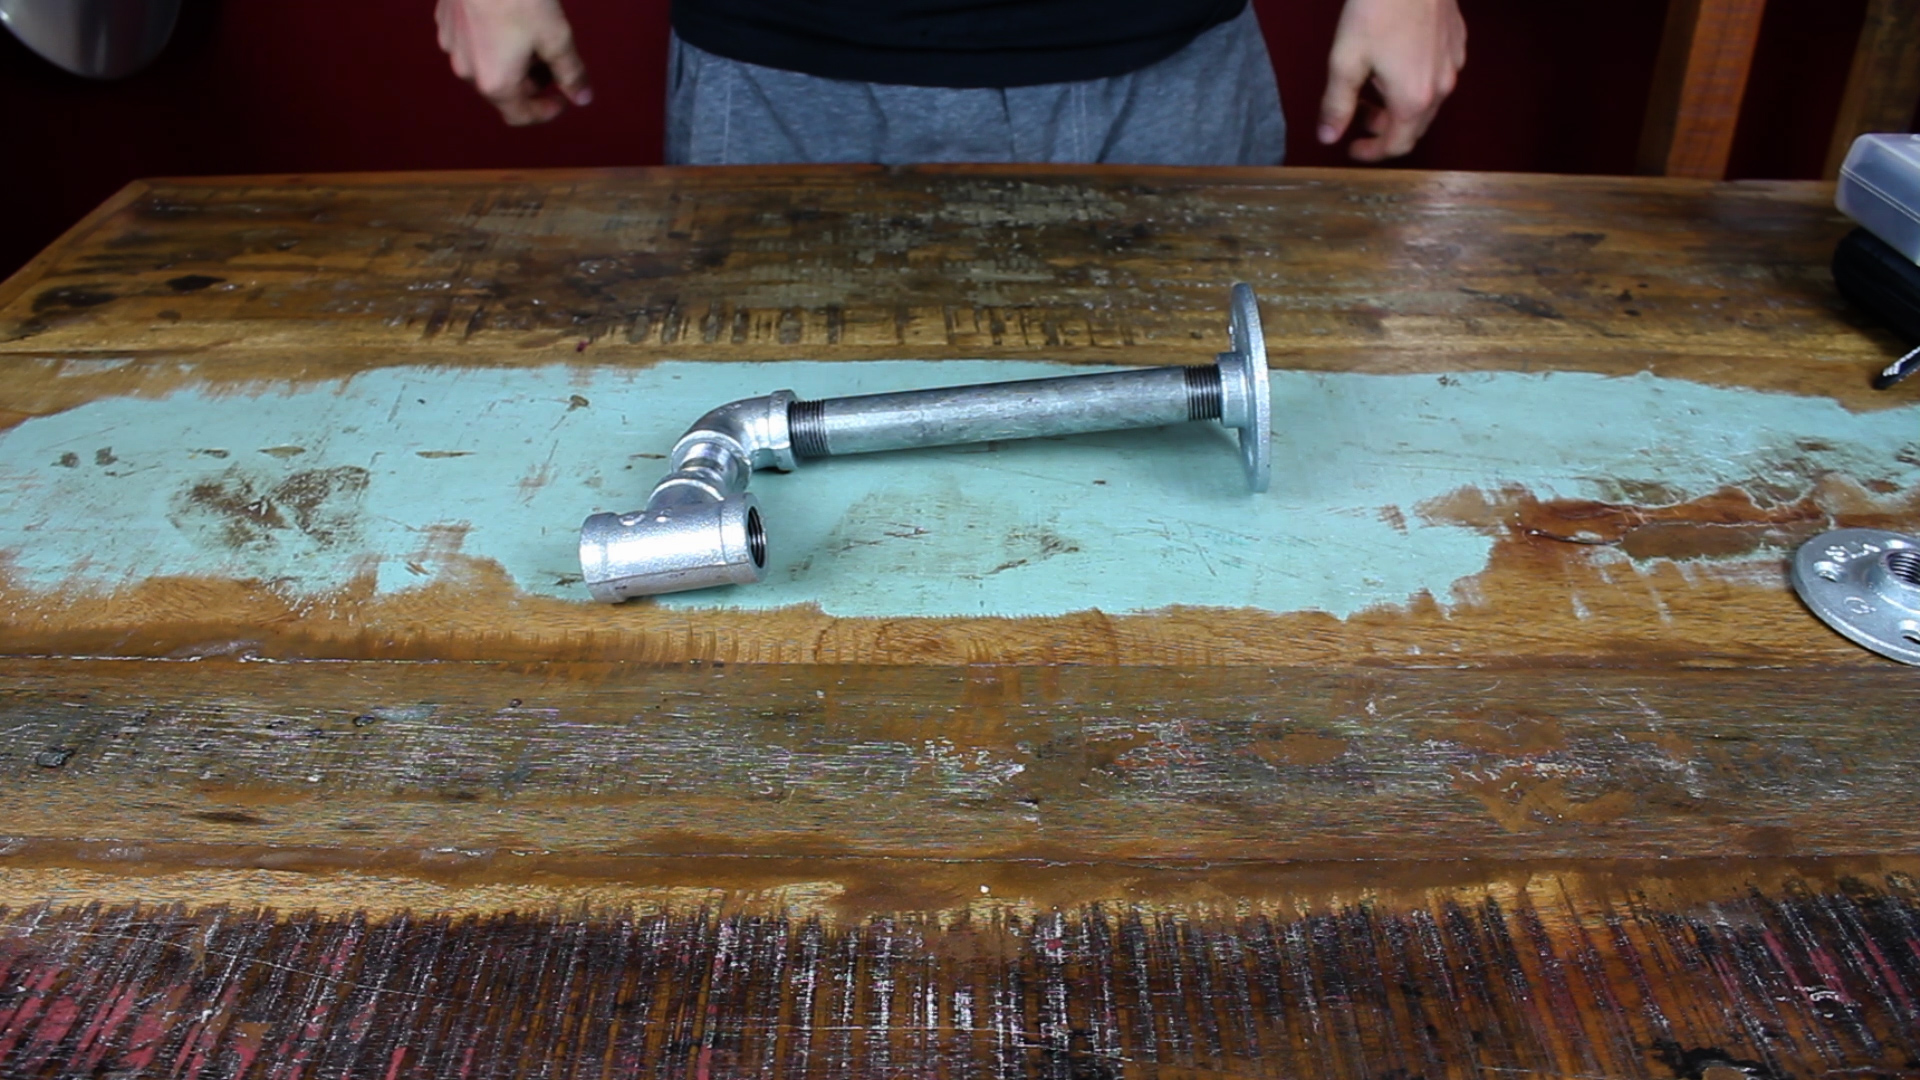
My pour over station uses five galvanized pipe pieces including (all 1/2"):

  • Floor Flange
  • 8" Nipple
  • Elbow Fitting
  • 1/2" Nipple
  • Tee Fitting

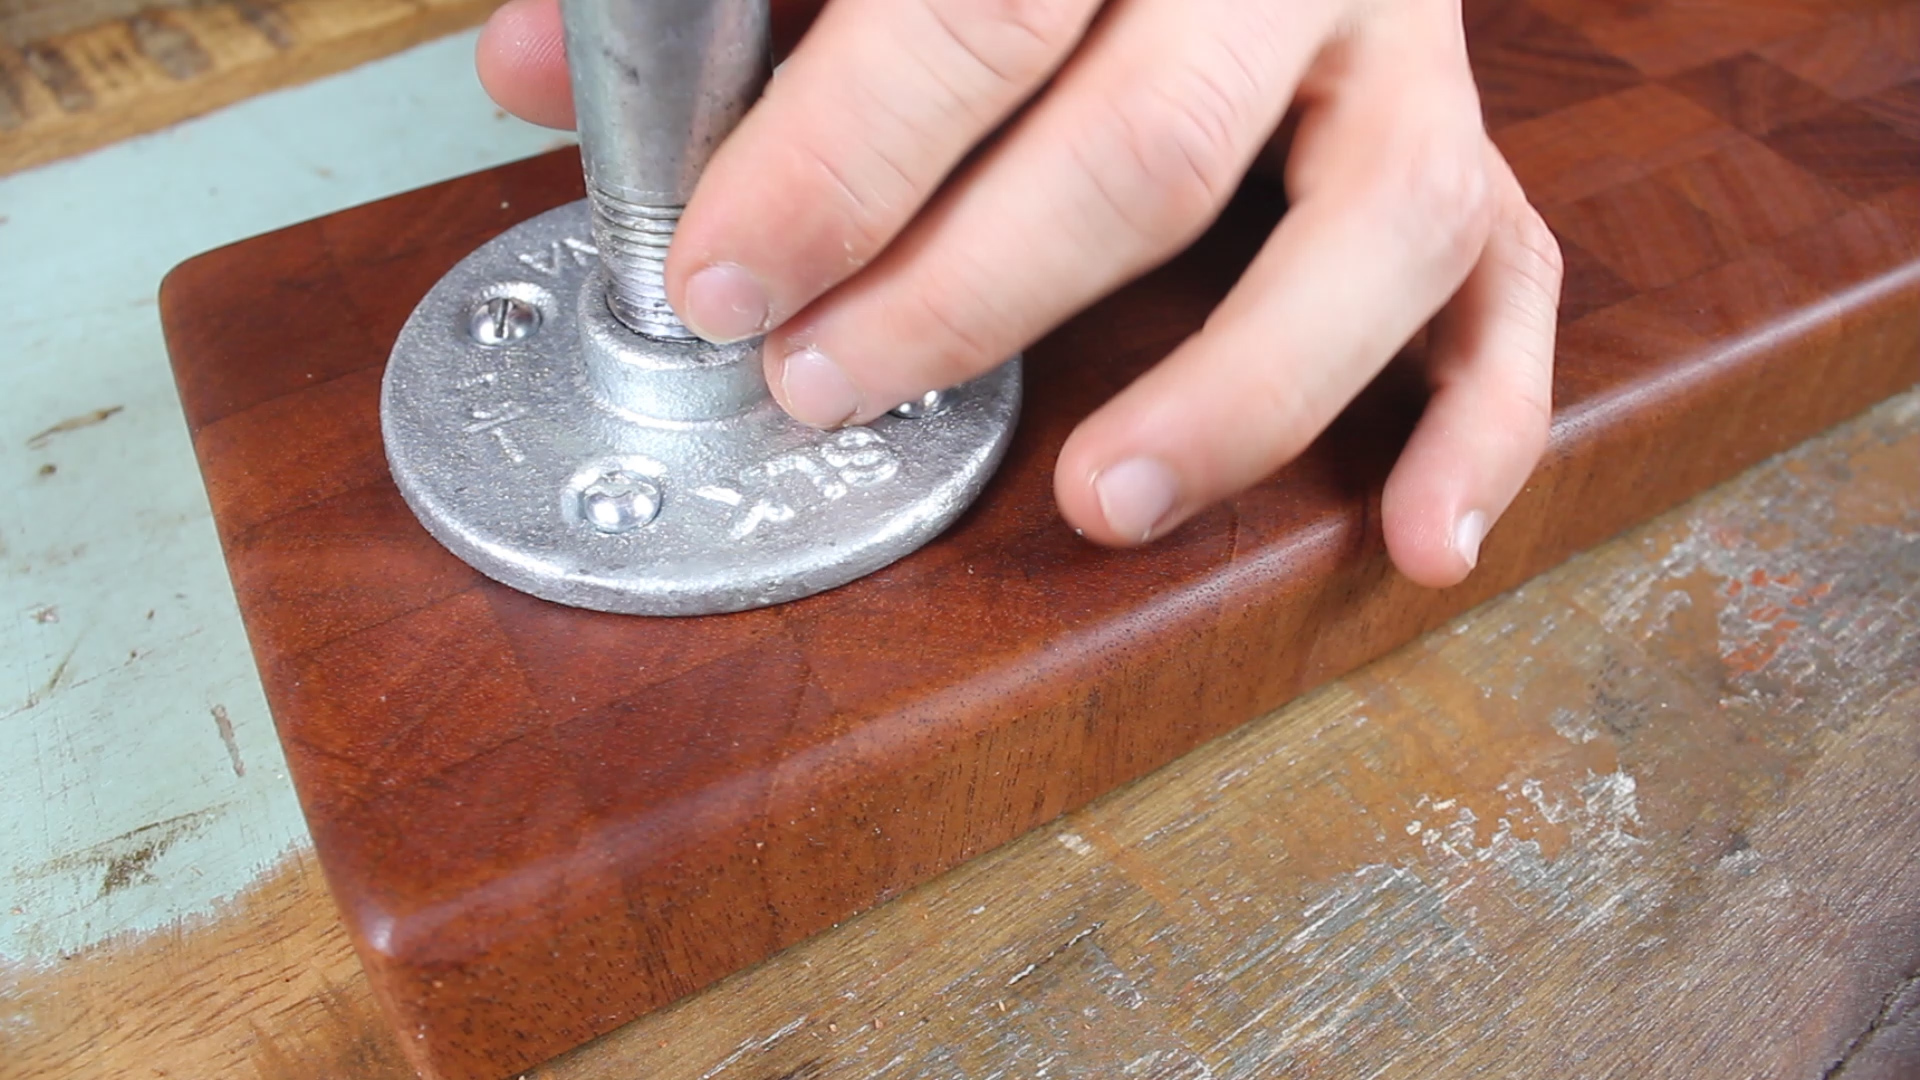
That all are screwed together and held in place with friction. I'd recommend cleaning your pieces with a degreaser or dish soap (at a minimum) before final assembly. 

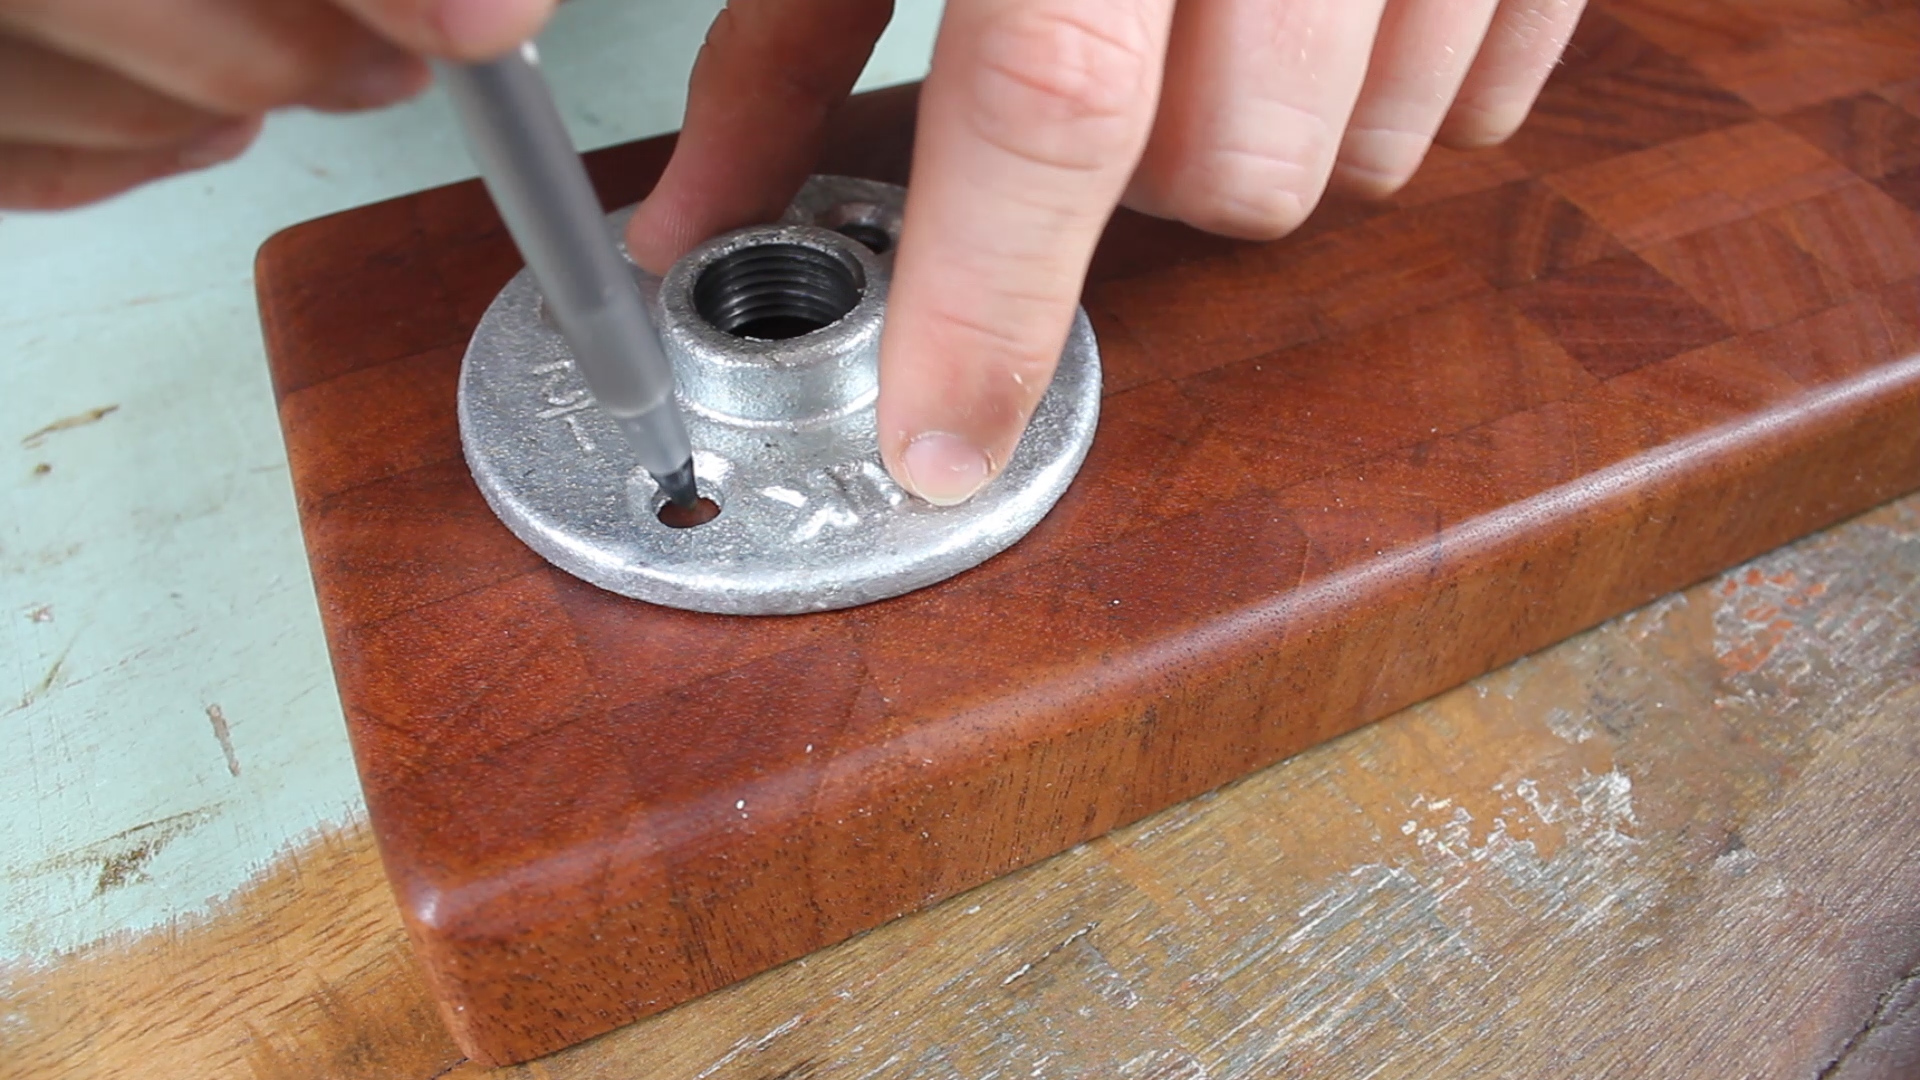
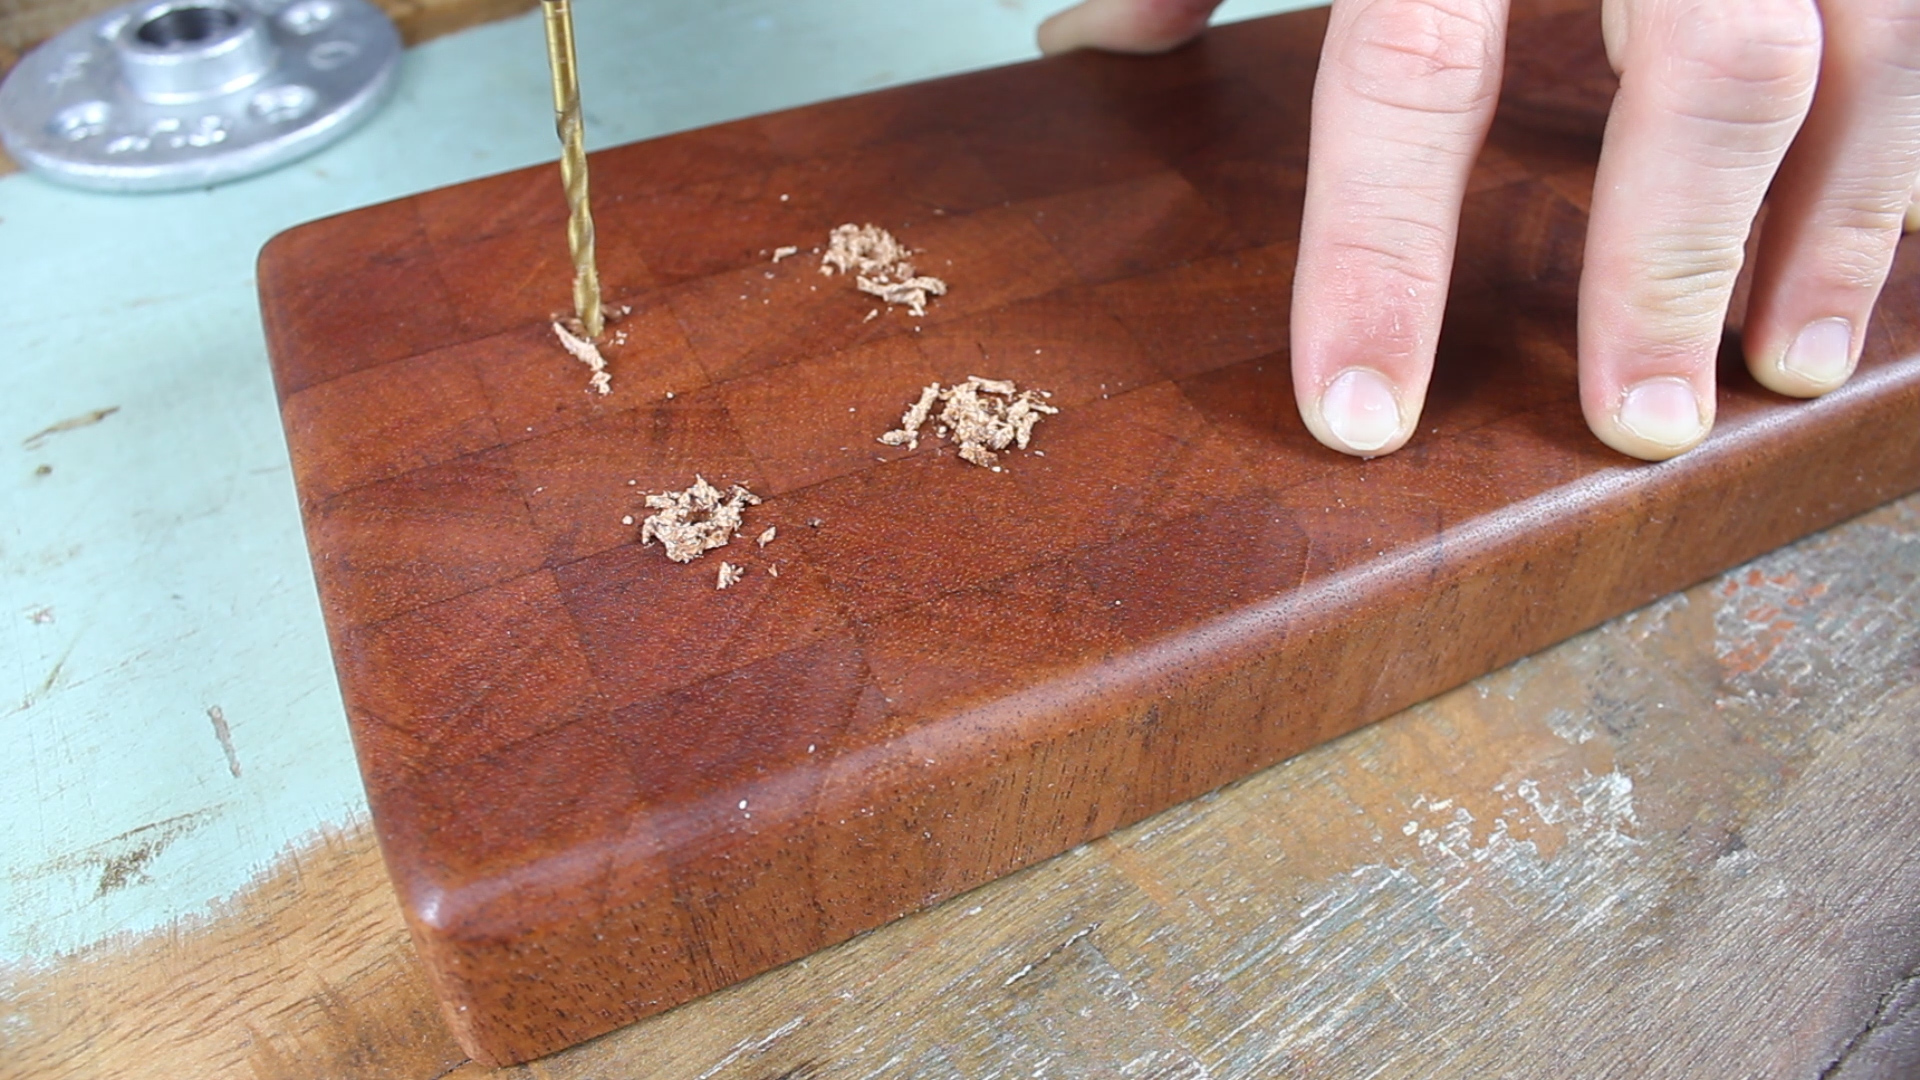
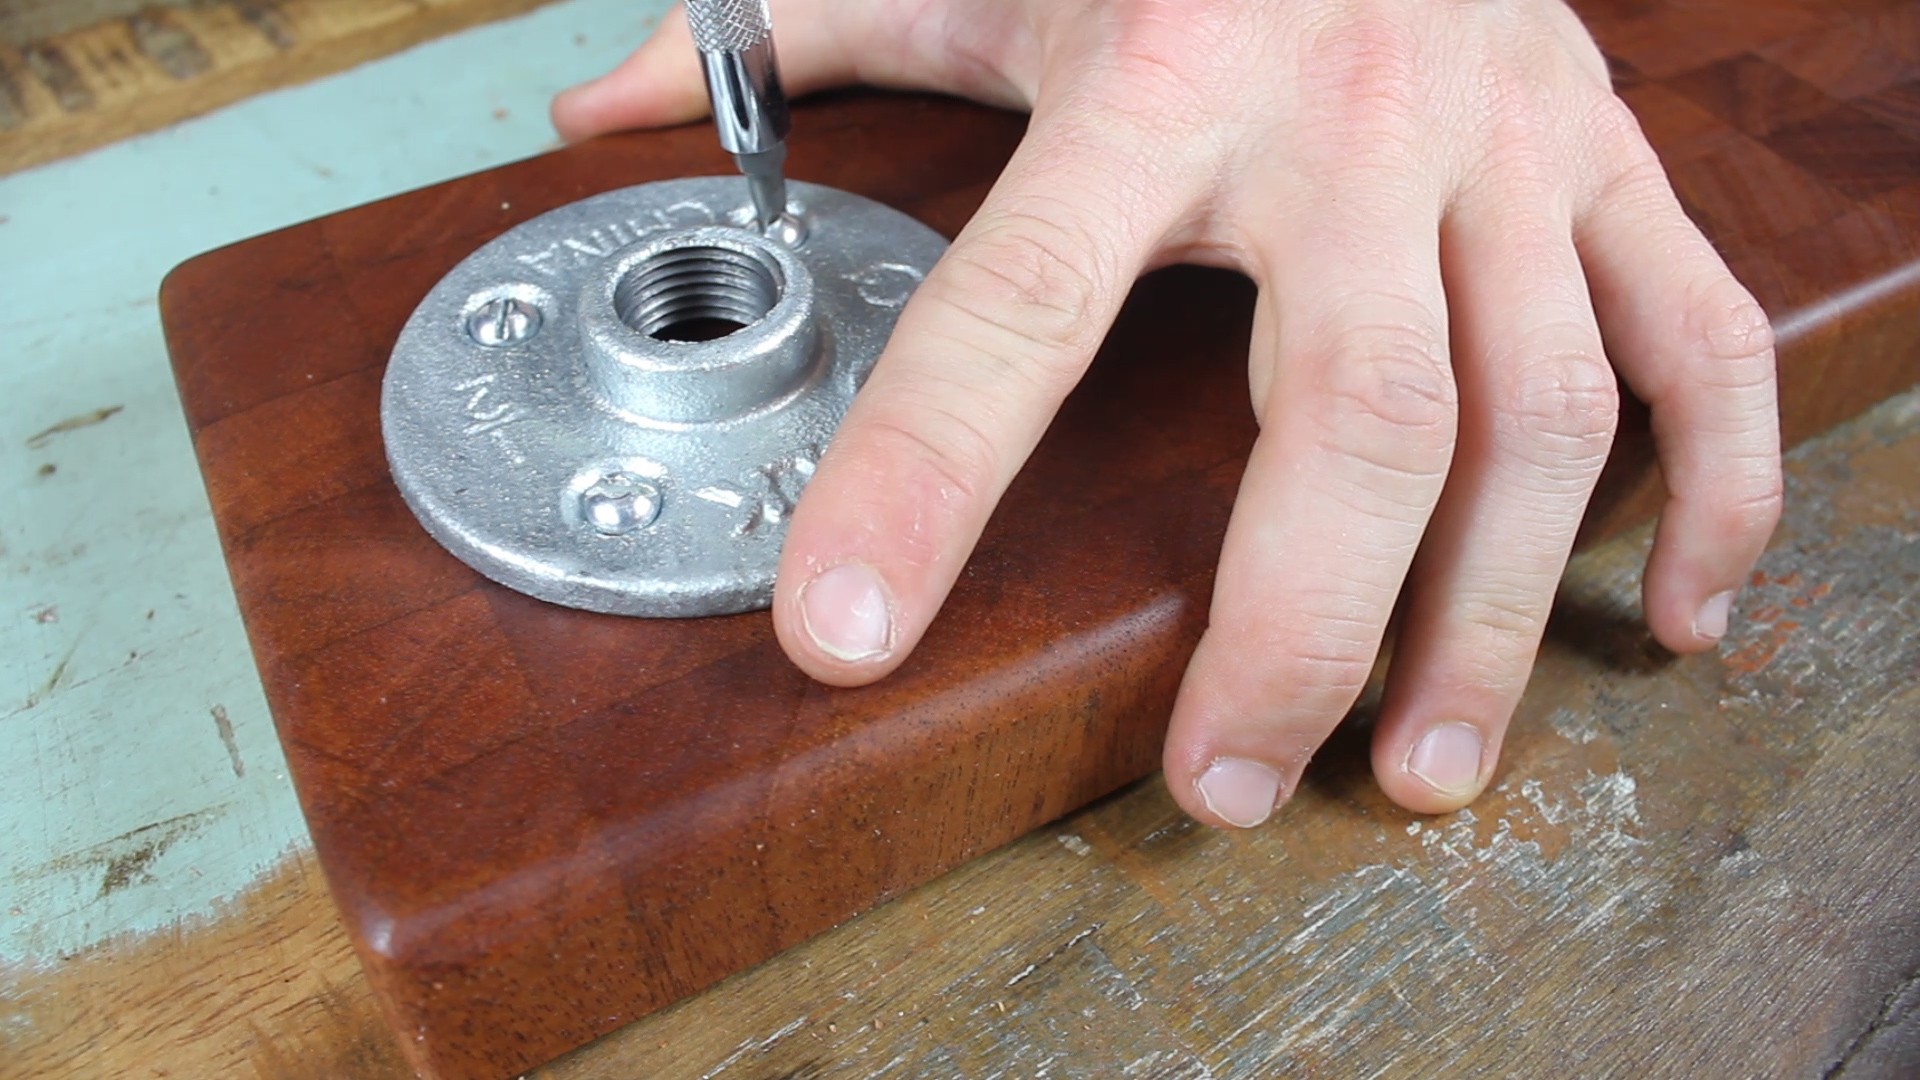
Last up, I measured out, marked my drill holes, drilled pilot holes, and screwed in and tightened my pipe flanges to one end of my cutting board. And then I was done! I'd call this first project a success. 

Now all I need to do is buy a funnel for the pour over station!

Really digging this thing!

TOOLS
RYOBI 10 in. Sliding Compound Miter Saw
12” Rafter Square
RYOBI Cordless Orbital Sander
RYOBI Combo Power Tool Kit
RYOBI Drill Bit Set

ROCKLER Bench Cookies (Set of 4)
Wen 12.5” Thickness Planer
BESSEY Economy 2.5” x 24” Clutch Clamps
BESSEY H Style Pipe Clamps
Hand Sanding Sponges (220, 320, and 400 grit)
Rubber Mallet
5-Gallon 4.5 Peak HP Wet Dry Vacuum
Air CompressorShop Vacuum
Screw Driver
Spray Bottle (for wet sanding)

Thanks for reading! I would be so grateful if you could please subscribe to my Youtube Channel for future projects. I put out videos every other week.

Cheers!

Zach


The Vintage Wooden Crates


Thanks for checking out the full article! Please Subscribe to our Youtube Channel by clicking here.

My full video of the build is below, followed by detailed instructions with tools, materials, and measurements! 

As stated in the video - the awesome thing about this project is how easy it is to make a few of these crates from just one sheet of plywood - I purchased a single $40 piece and was able to build three large ones specific to the free space I have.

MATERIALS
1 x 4' x 8' Plywood (3/4" thick)
Minwax Colonial Maple
Minwax Wipe On Satin Polyurethane
TiteBond II Wood Glue
1” Brad Nails
1” Pocket Hole Screws
Black Inkjet Printer Ink

Here is a simple diagram of how I went about slicing up my wood. The red highlights are excess wood you'll have left over for another project. I ended up not using all of the longer strips as well.

My measurements can be found below when I show all of my cut up pieces, but realistically, you can make these to any size or shape you want - just make sure you plan out roughly what you'll be able to cut from the wood you purchase so you don't run out halfway through and need to go to the store again!

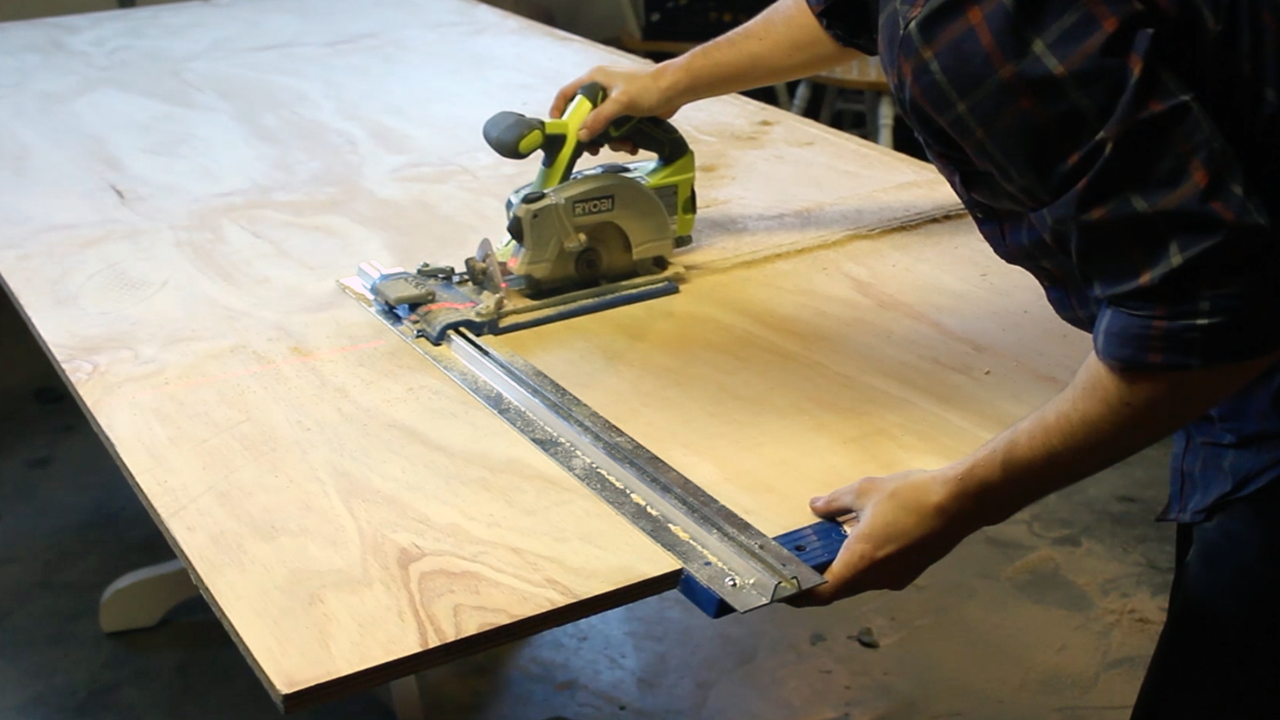
I started out by using my newly purchased Kreg Rip Cut and Ryobi Circular Saw to make large rips of my plywood - the Rip Cut is a great substitute tool for those who don't have a table saw or do not have someone to help assist you in feeding/ripping large pieces of wood. 

Once I had my larger strips ripped, I took to my Miter Saw to cut the pieces into their final size. In the pictures above, I'm ripping my Front/Back pieces as well as my Side pieces. For the side pieces, since they were 21" long (much longer than any Miter Saw can cut), I cut one side of the piece, then flipped it over and lined it back up with my blade to finish the cuts. 

Using the Miter Saw was much more efficient for the smaller cuts as the Rip Cut, although awesome, gets tricky when trying to make smaller cuts (the large straight ruler is not adjustable in length, so if you try to clamp small pieces of wood down, etc., the track will run into your clamps and you won't be able to make cuts without adjusting them). Hard to explain - but just trust me on this one. 

My measurements can be seen above as well - again - I cut them this way to fit my specific space. 

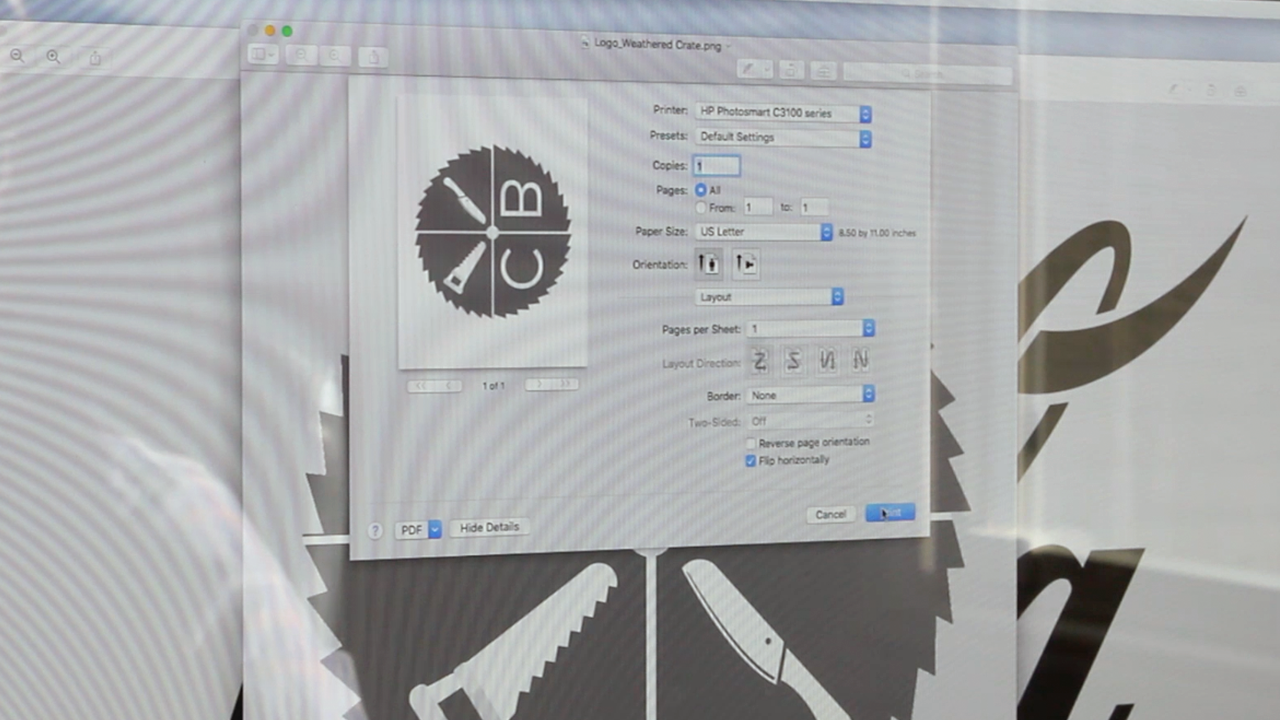
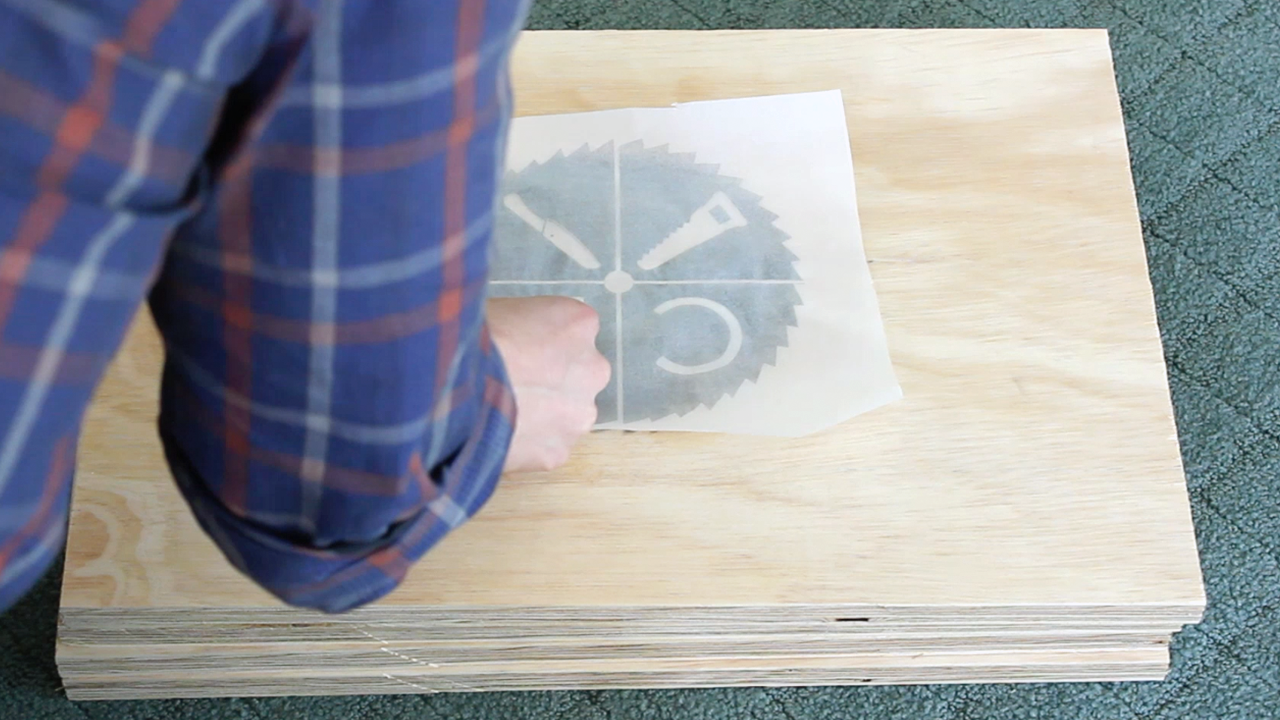
Next, I took to creating my logos. Now, I don't have a laser cutter or a CNC machine and I wasn't looking to purchase any stencils, etc., so I researched and found a DIY method that is awesome and can be easily replicated by anyone with a printer.

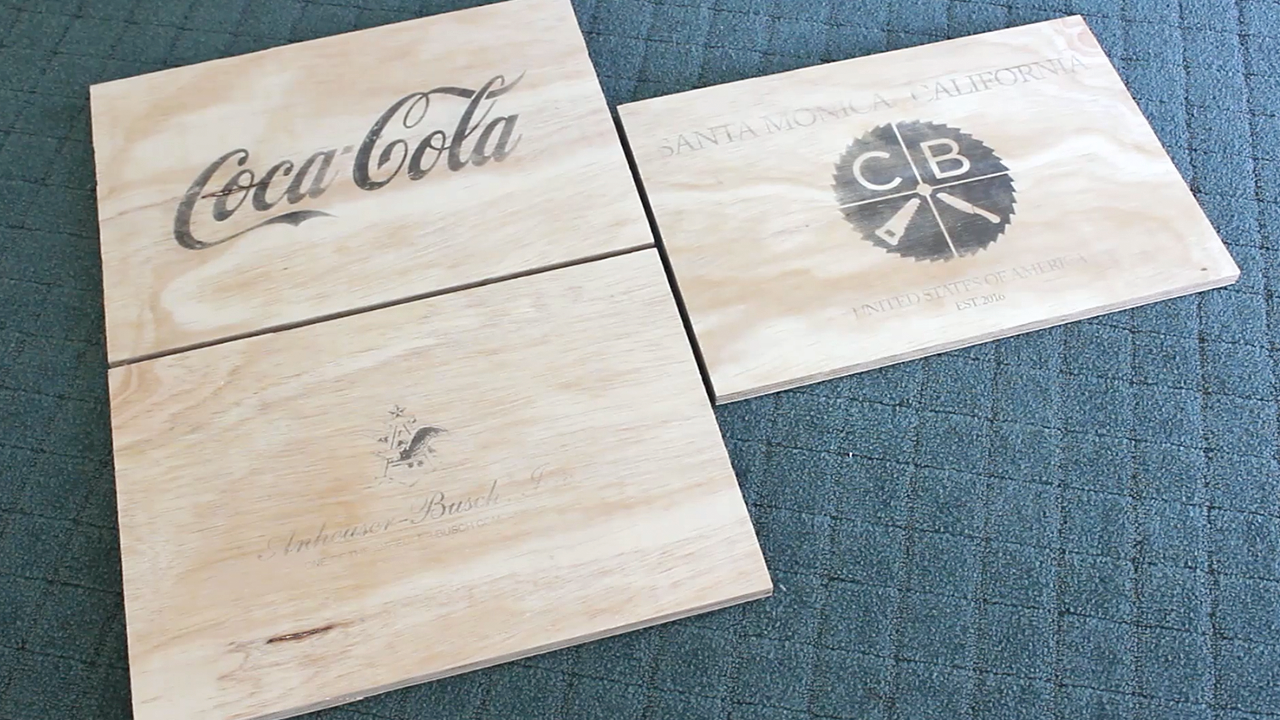
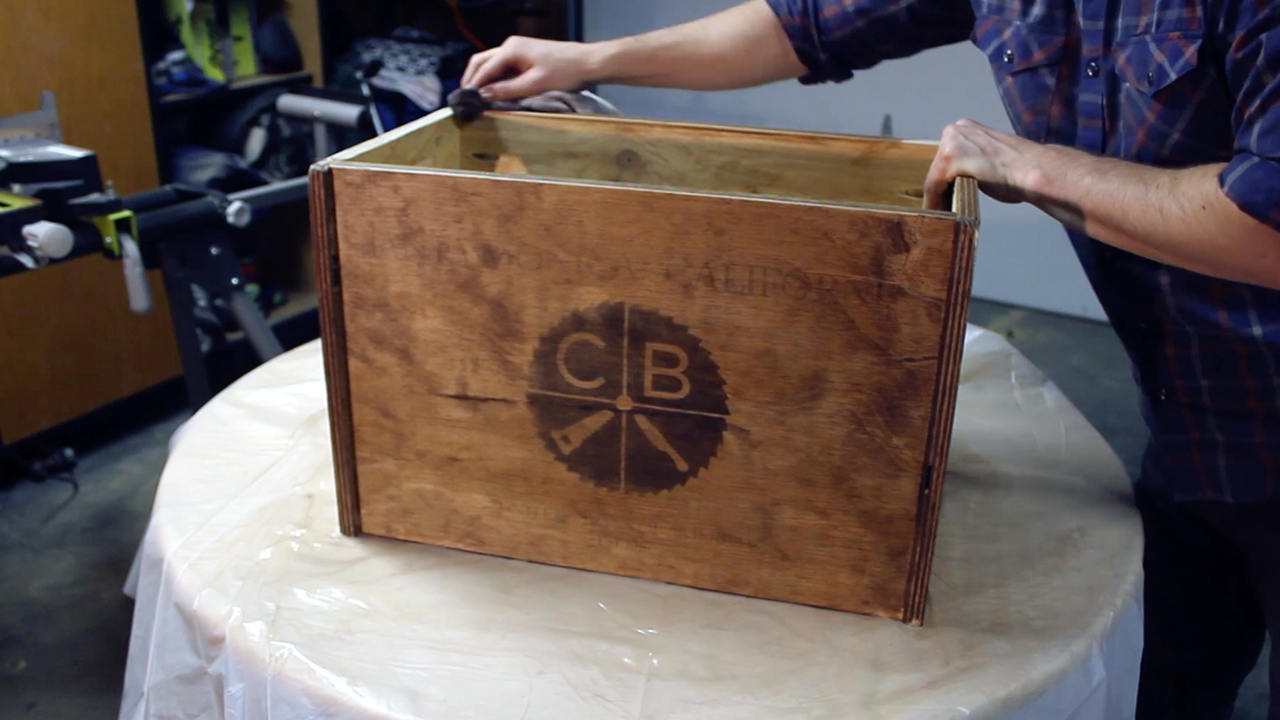
I chose Coca Cola and Anhueser Busch as my two "classic logos" and then created my own Cutting Bored logo w/location and dates using my own brand guidelines. Again - choose any logos you want for your projects!

This was an interesting process to go through as I had never done it before. The way you do it is to design your logos and then print them out at whatever size you want as a mirrored image onto wax paper. Wax paper is thin and tricky and can easily get bunched up in your printer feed, so I recommend taping it down to another sheet of regular printer paper so it feeds through easier. Also, feel free to print out very large logos on separate pieces of paper and then combine to form larger ones incase you think a standard 8.5 x 11" piece of paper will be too small - I did this with 2/3 of my boxes. 

Once your logo prints, press it against the wood you want to to apply it to (be accurate and meticulous about this as the ink immediately begins to bleed over) and use any credit card type object to flatten and push the ink onto the wood fully. NOTE - only inkjet printers will work for this method as the ink will be wet and won't stick well to the wax paper. If done correctly, the ink will bleed nicely into the wood permanently. If you want to go a different route, you can absolutely purchase stencils and spray paint and apply accordingly.

I also recommend using thicker logos for the ink method specifically - as you can see - the Cutting Bored and Coca Cola logos are much more legible than the Anhueser Busch logo. Still look great though!

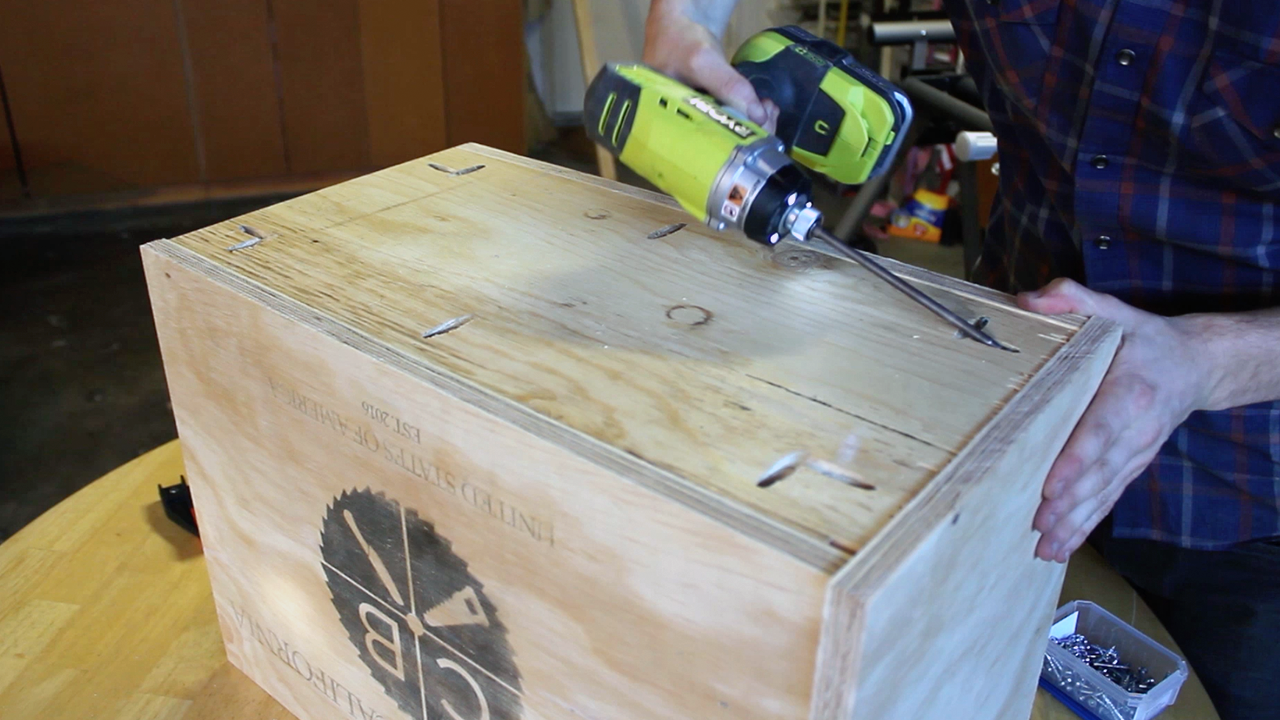
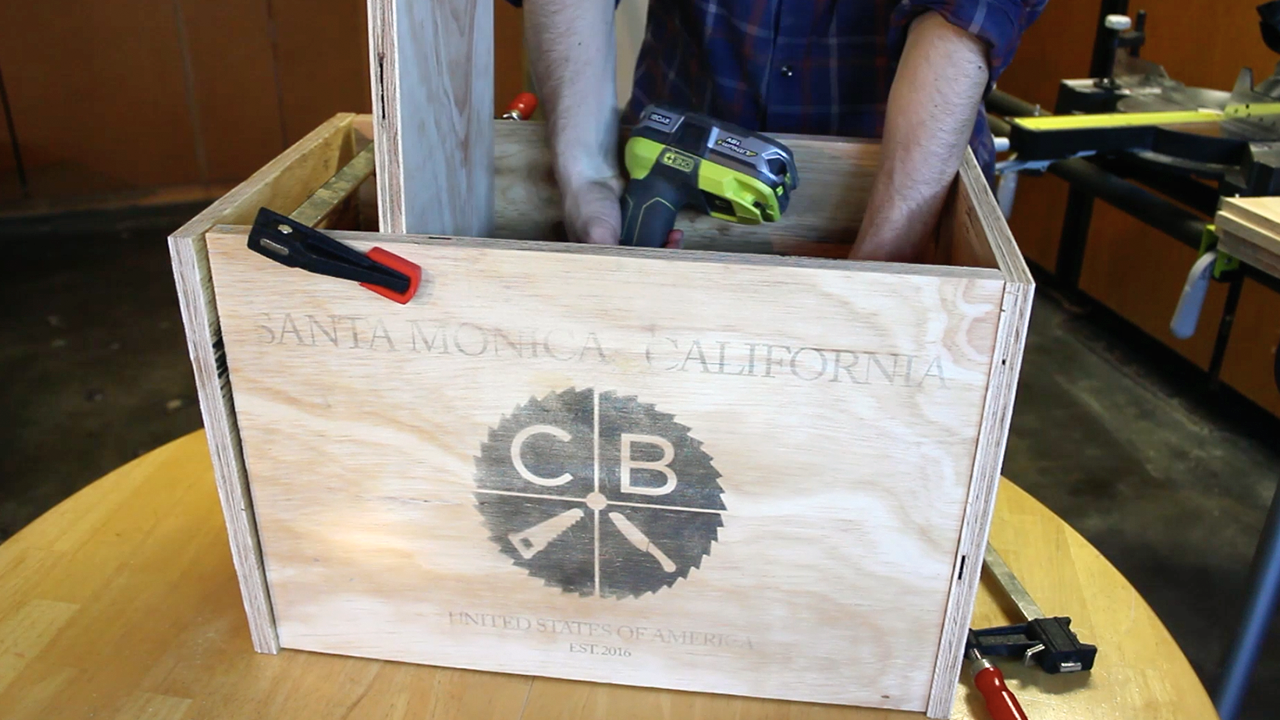
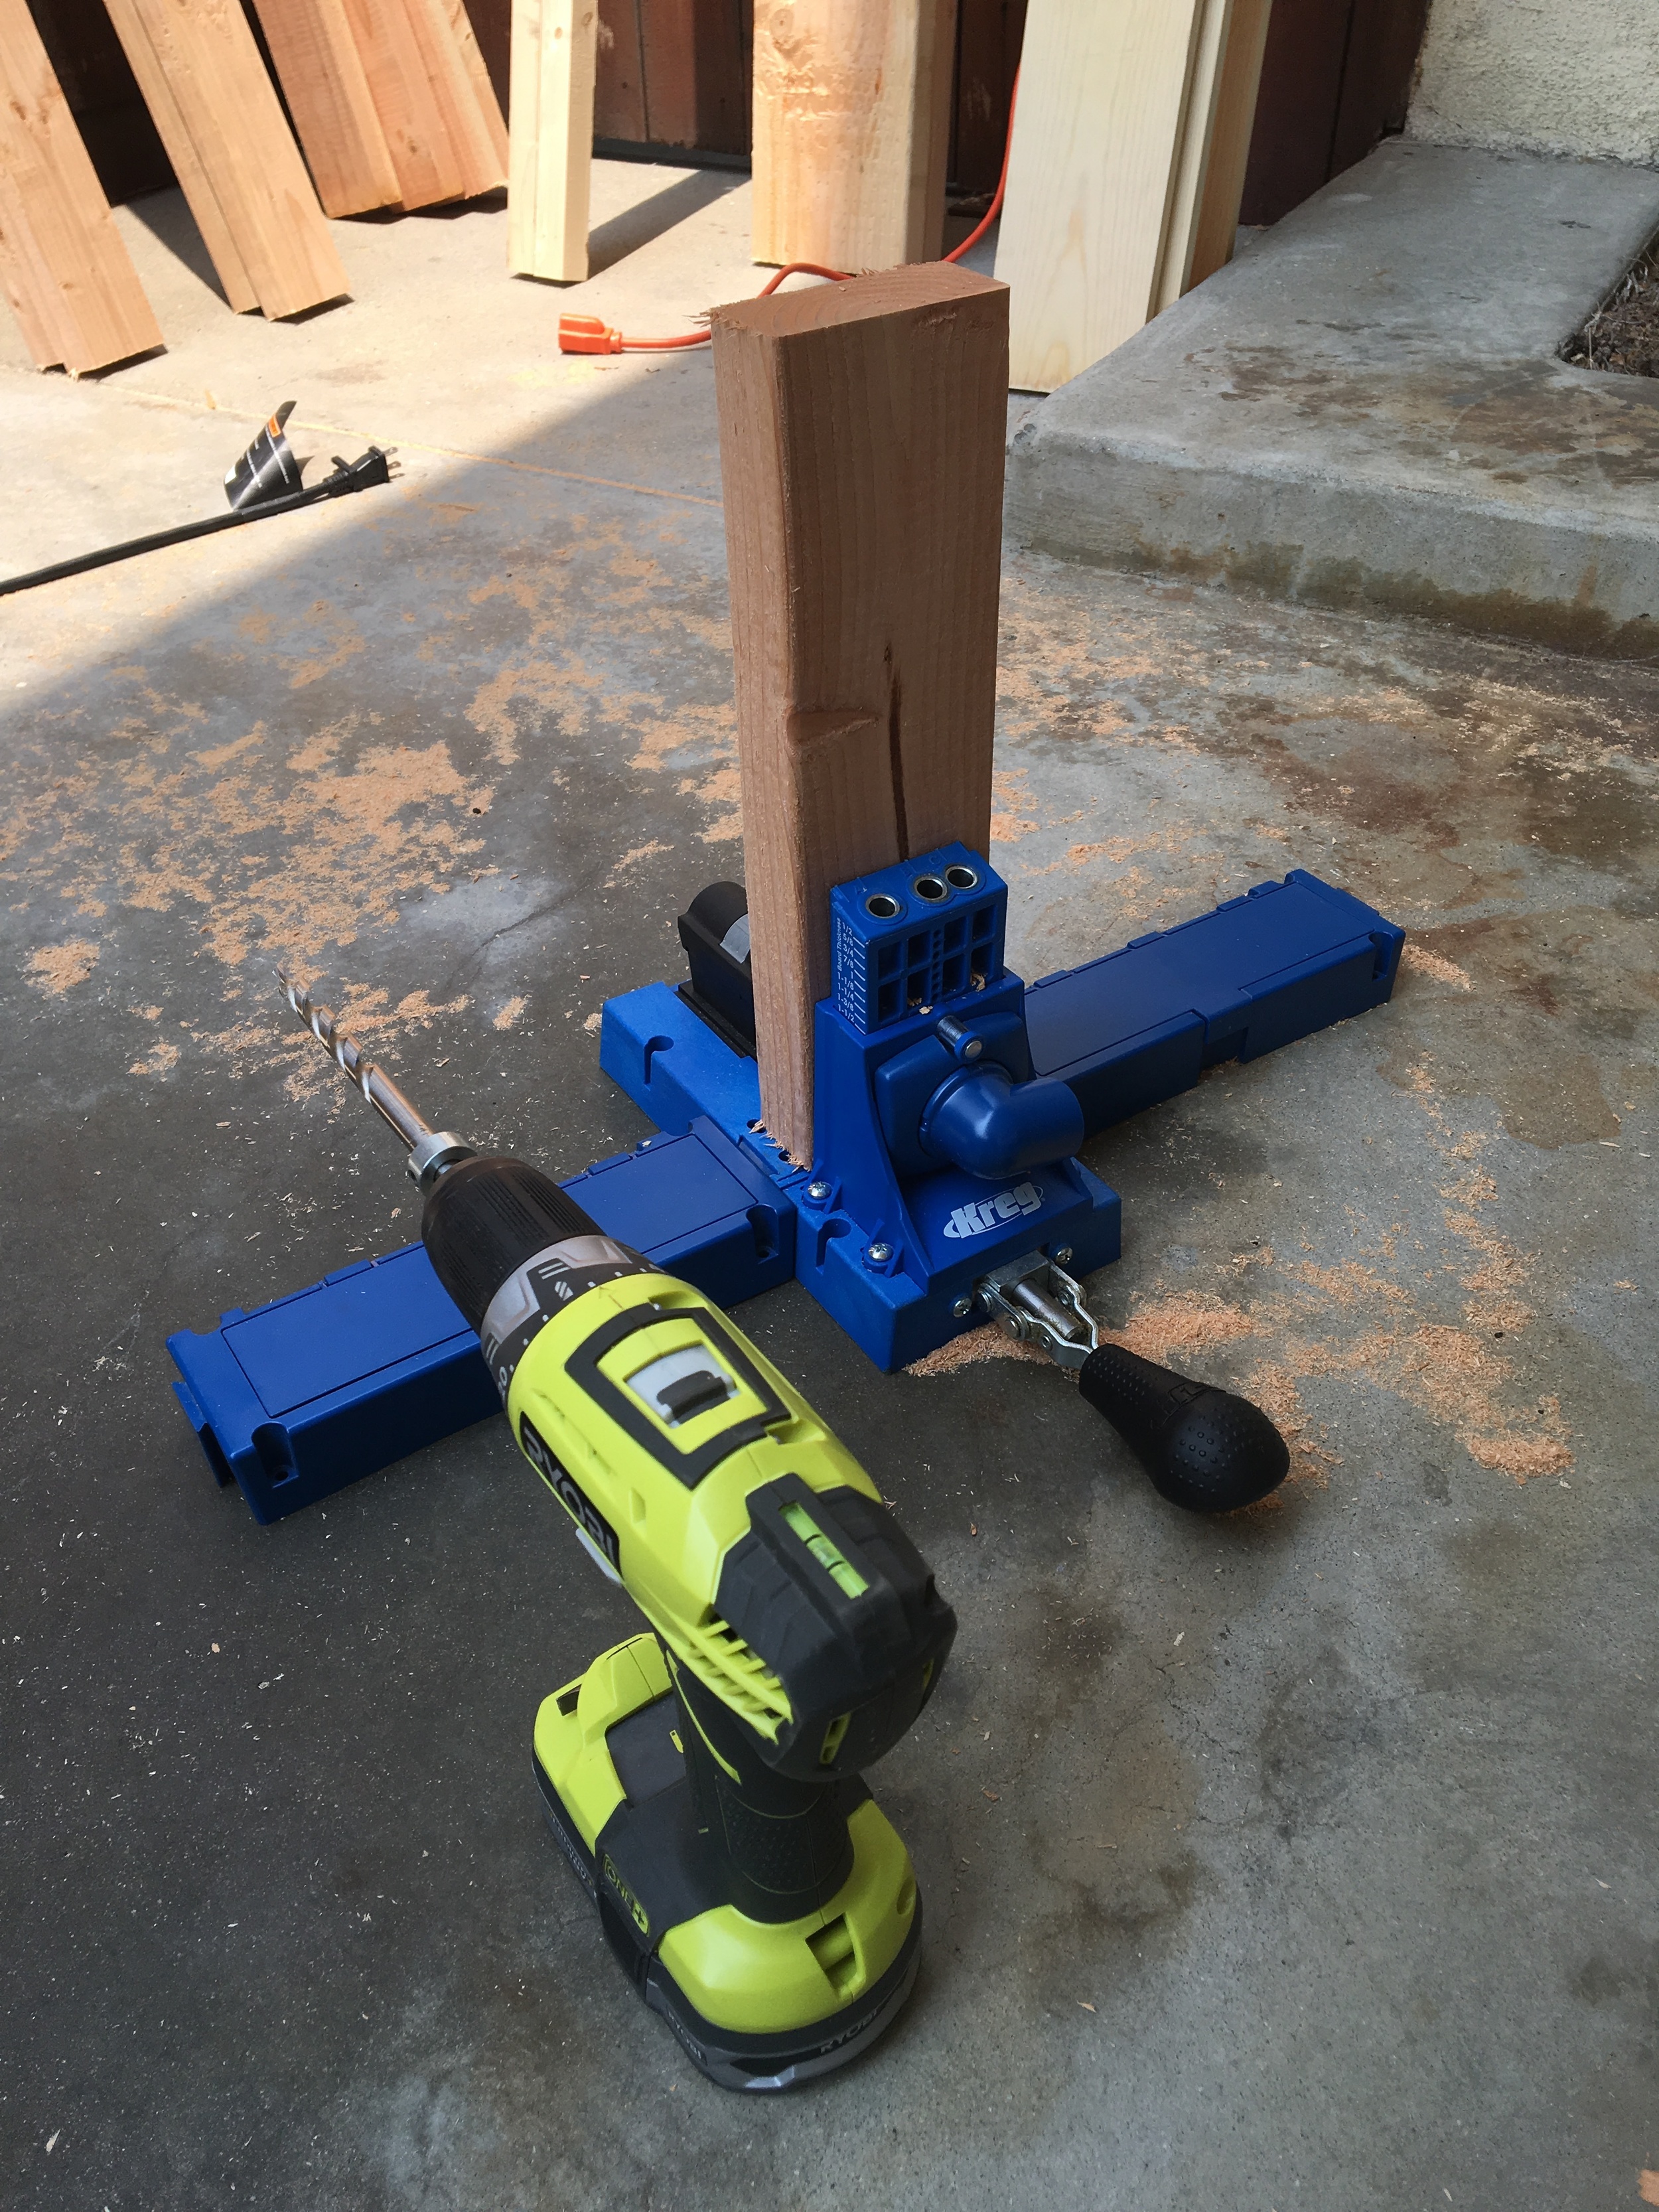
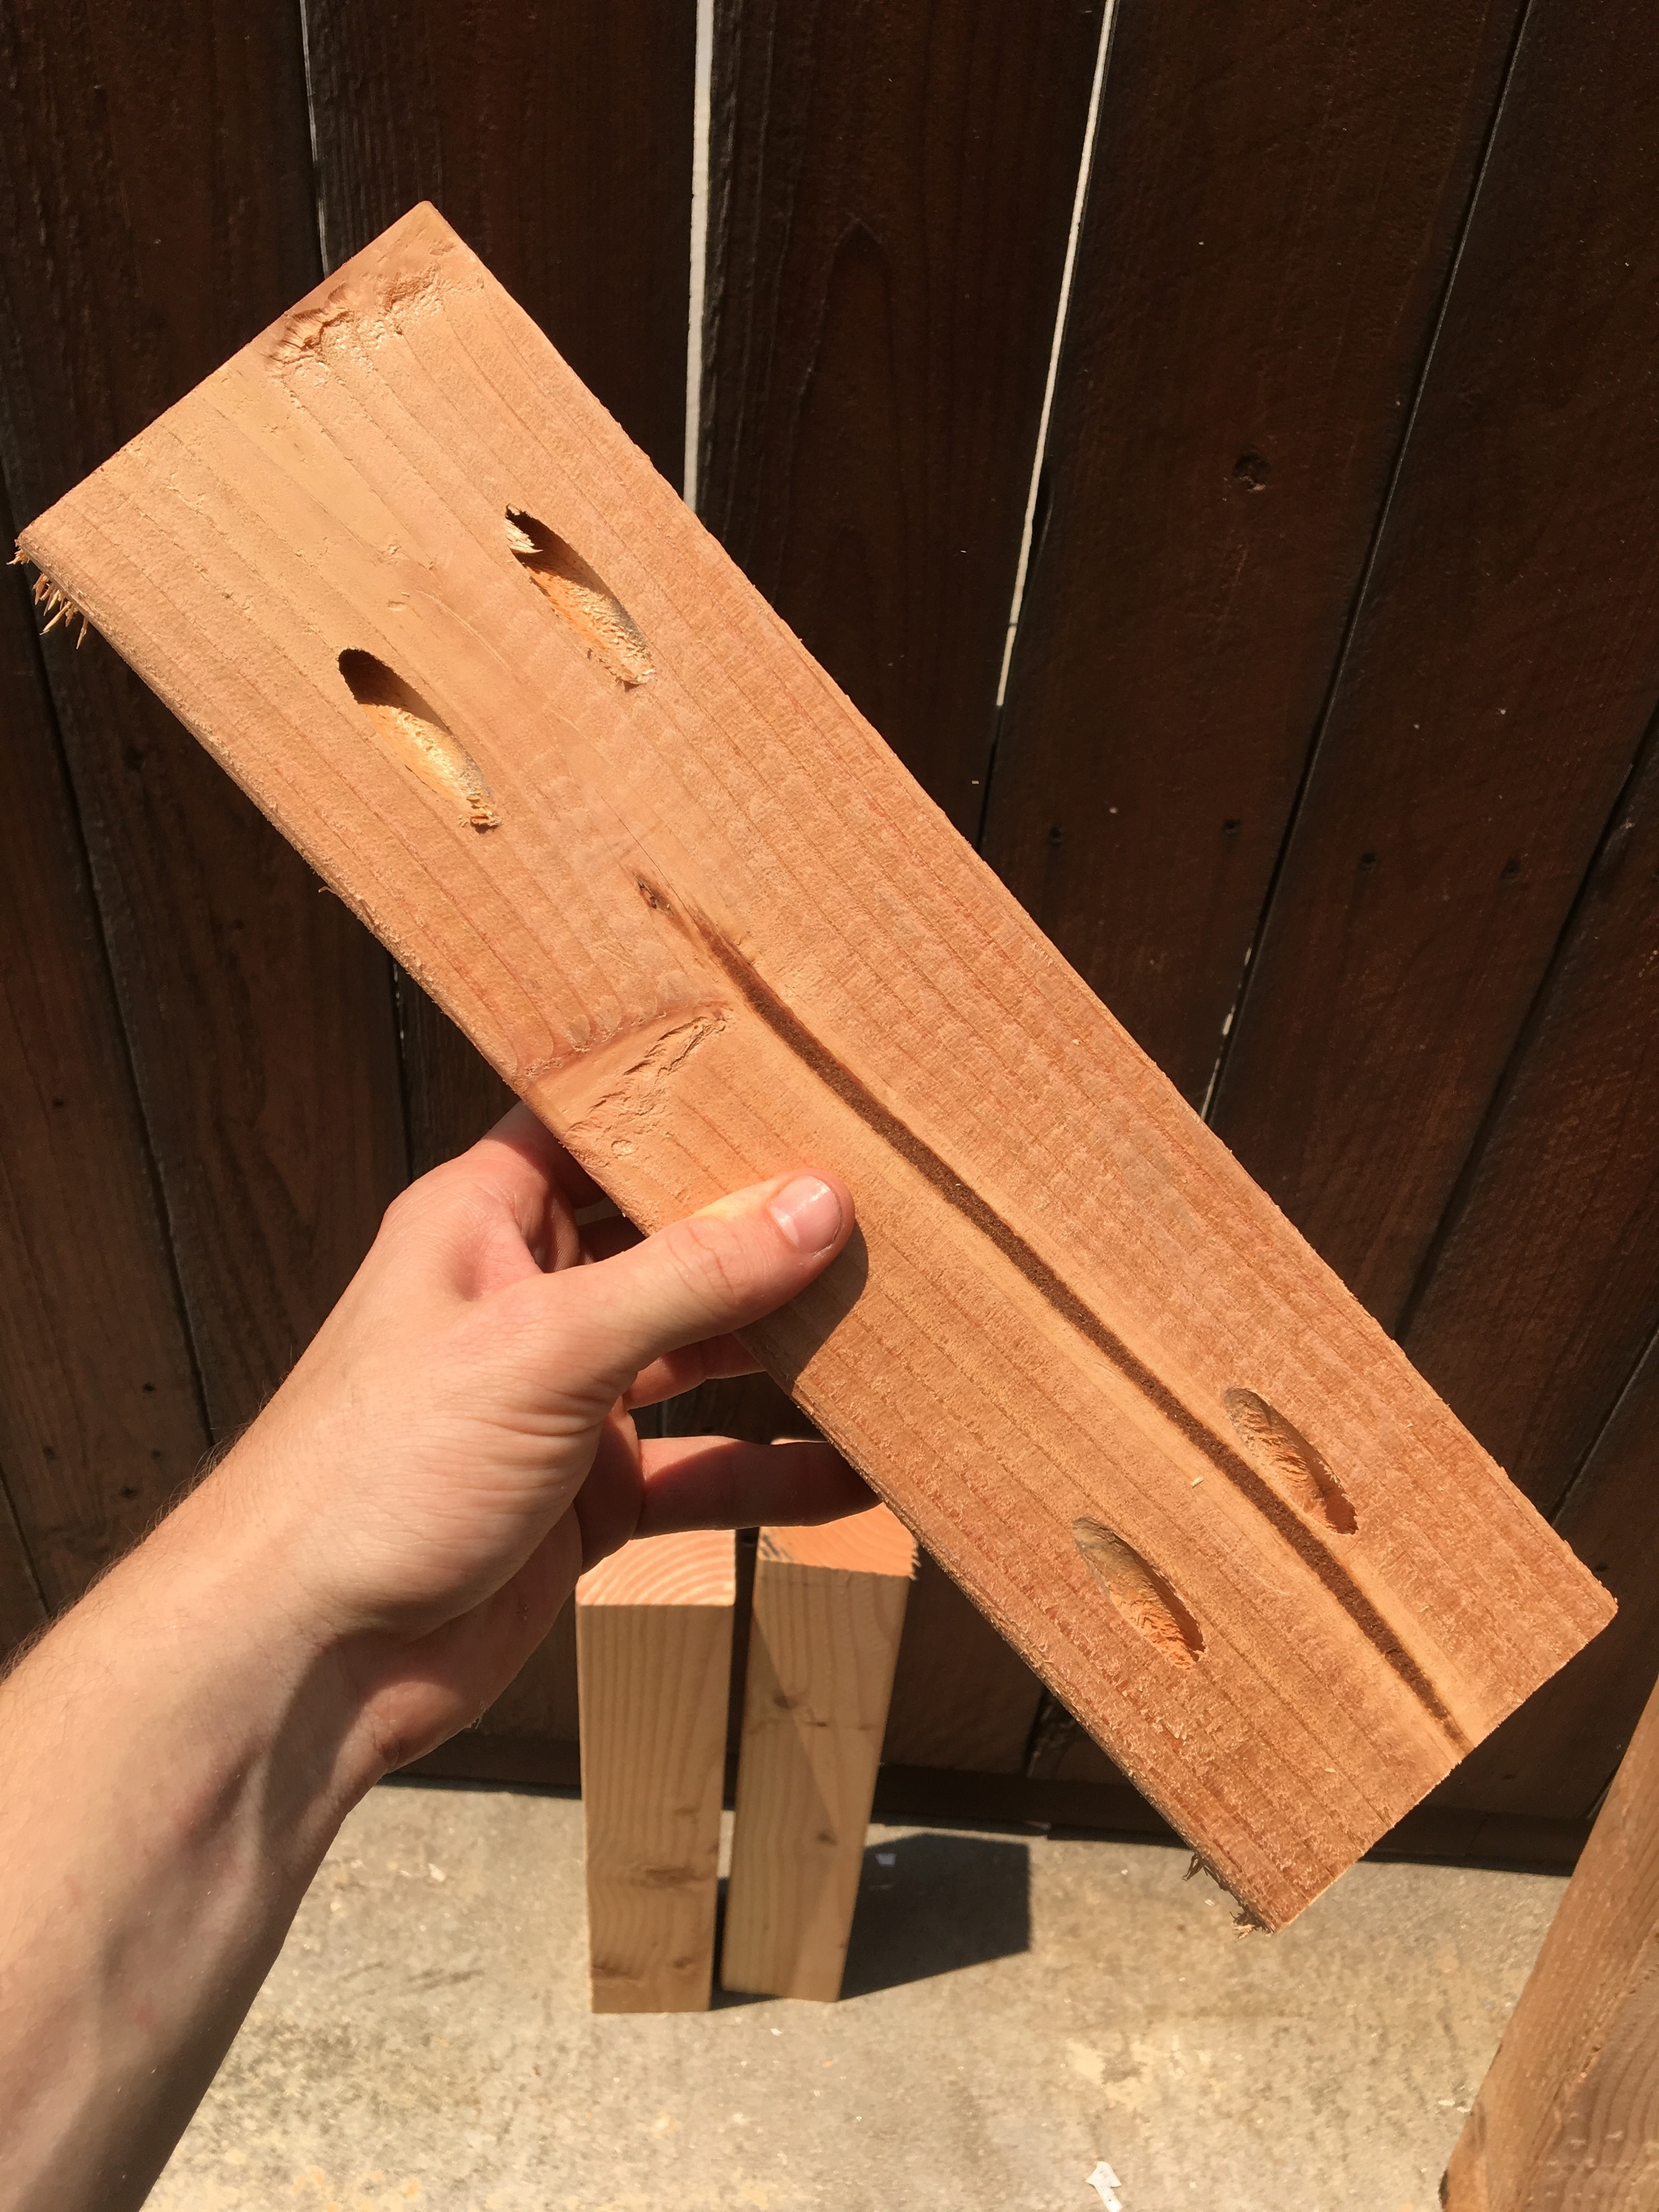
I then drilled and assembled using my pocket hole jig and pocket hole screws - this is always my go to method for assembling projects that will have hidden joints. If you don't have a pocket hole jig, you can use wood screws, nails, or other types of joinery to piece together. 

All assembled! 

Sanded down using 60 grit sand paper to round all the edges and wear them down - your goal is to make them look old!

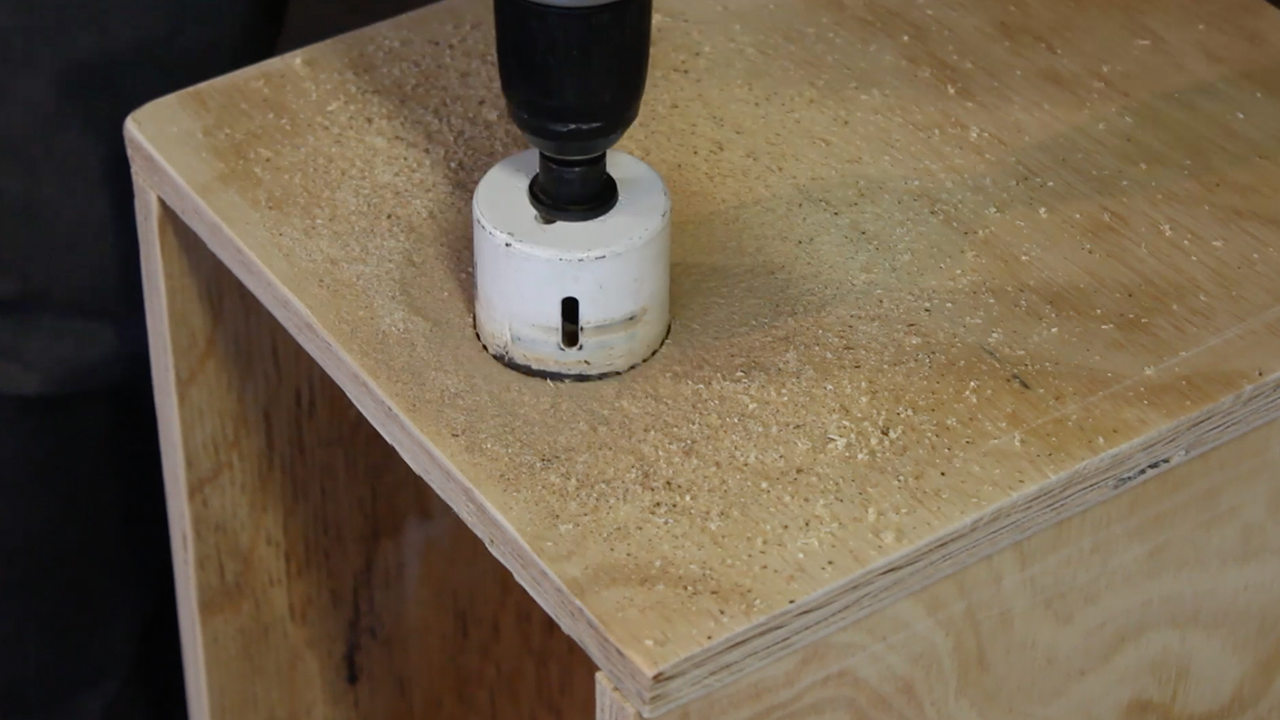
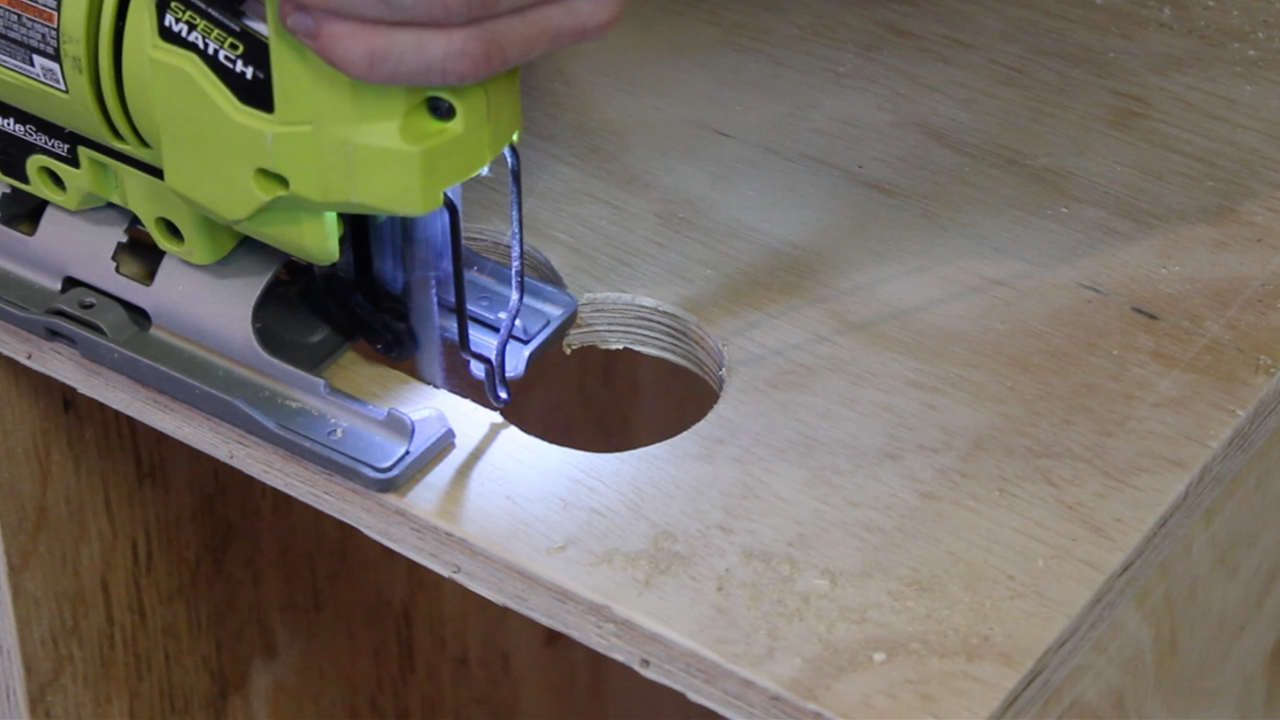
Decided to cut our holes for handles on the boxes. You can get super precise with this if you choose, but I mostly freehanded things using a hole saw and my jig saw - they work well for the theme of old/vintage for this project. 

I added a few slats to the Coca Cola box using glue and finish nails, then cut off the excess pieces using my jig saw. They help give a bit of different character to the box. 

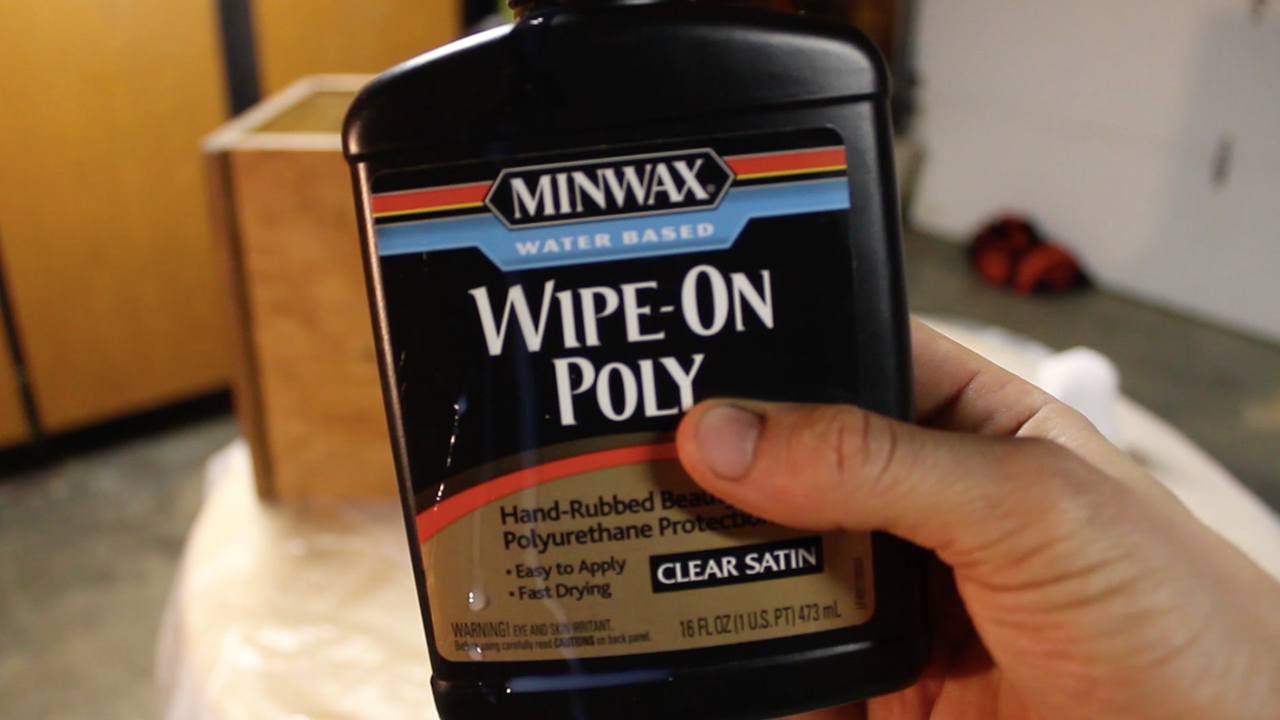
Lastly, I applied a single coat of Minwax's Colonial Maple stain - after looking at all of Minwax's collection, Colonial Maple tended to have the closest resemblance to what old crates look like. I also added in a bit of American Walnut to darken it. I think they came out great. If I could go back, I think it might be fun to stain them all slightly different as to give them variety, but to each their own! I also applied a single coat of Minwax's Wipe On Satin Polyeurethane finish to give them protection and a bit of sheen. 

All finished and in their new home! These are fantastic for extra storage (I will use them to store smaller tools, film production equipment, and other electrical and building related equipment I own. If you want building information on the bench featured above, you can check out my blog on it here.

Now get out there and make something unique of your own!

TOOLS
RYOBI 10 in. Sliding Compound Miter Saw
RYOBI Miter Saw Stand
RYOBI Cordless Orbital Sander (60 Grit)
RYOBI Combo Power Tool Kit (Drill, Impact Driver, Circular Saw, Multi-Tool)
KREG K5 Pocket Hole Jig
KREG Rip Cut
12” Rafter Square
Hammer
Hole Saw (2”)
Hand Sanding Sponges (120 Grit)


FILM / EDIT EQUIPMENT:
Canon Rebel EOS T2i
Canon EF-S 18-55mm f/3.5-5.6 IS II Lens
Rode Microphone
Voice Recording
Adobe Premiere (Editorial)

As always, thank you for reading! I would be so grateful if you could please subscribe to my new Youtube Channel for future projects. I put out videos every two weeks.

Cheers!

Zach


Power-Carved "Lissome Table"


Thanks for checking out the full article! 

Full video build is below, followed by detailed instructions with tools and measurements!
You can subscribe to my YouTube channel by clicking here!

Wow! What an insane project. I really never know what I'm getting into with some of these ridiculous builds until I'm deep into it and realized how ambitious of a project it truly was. 

MATERIALS
8 x 1" x 3" Ash Hardwood (20 BF milled down)
Natural Danish Oil
TiteBond II Wood Glue

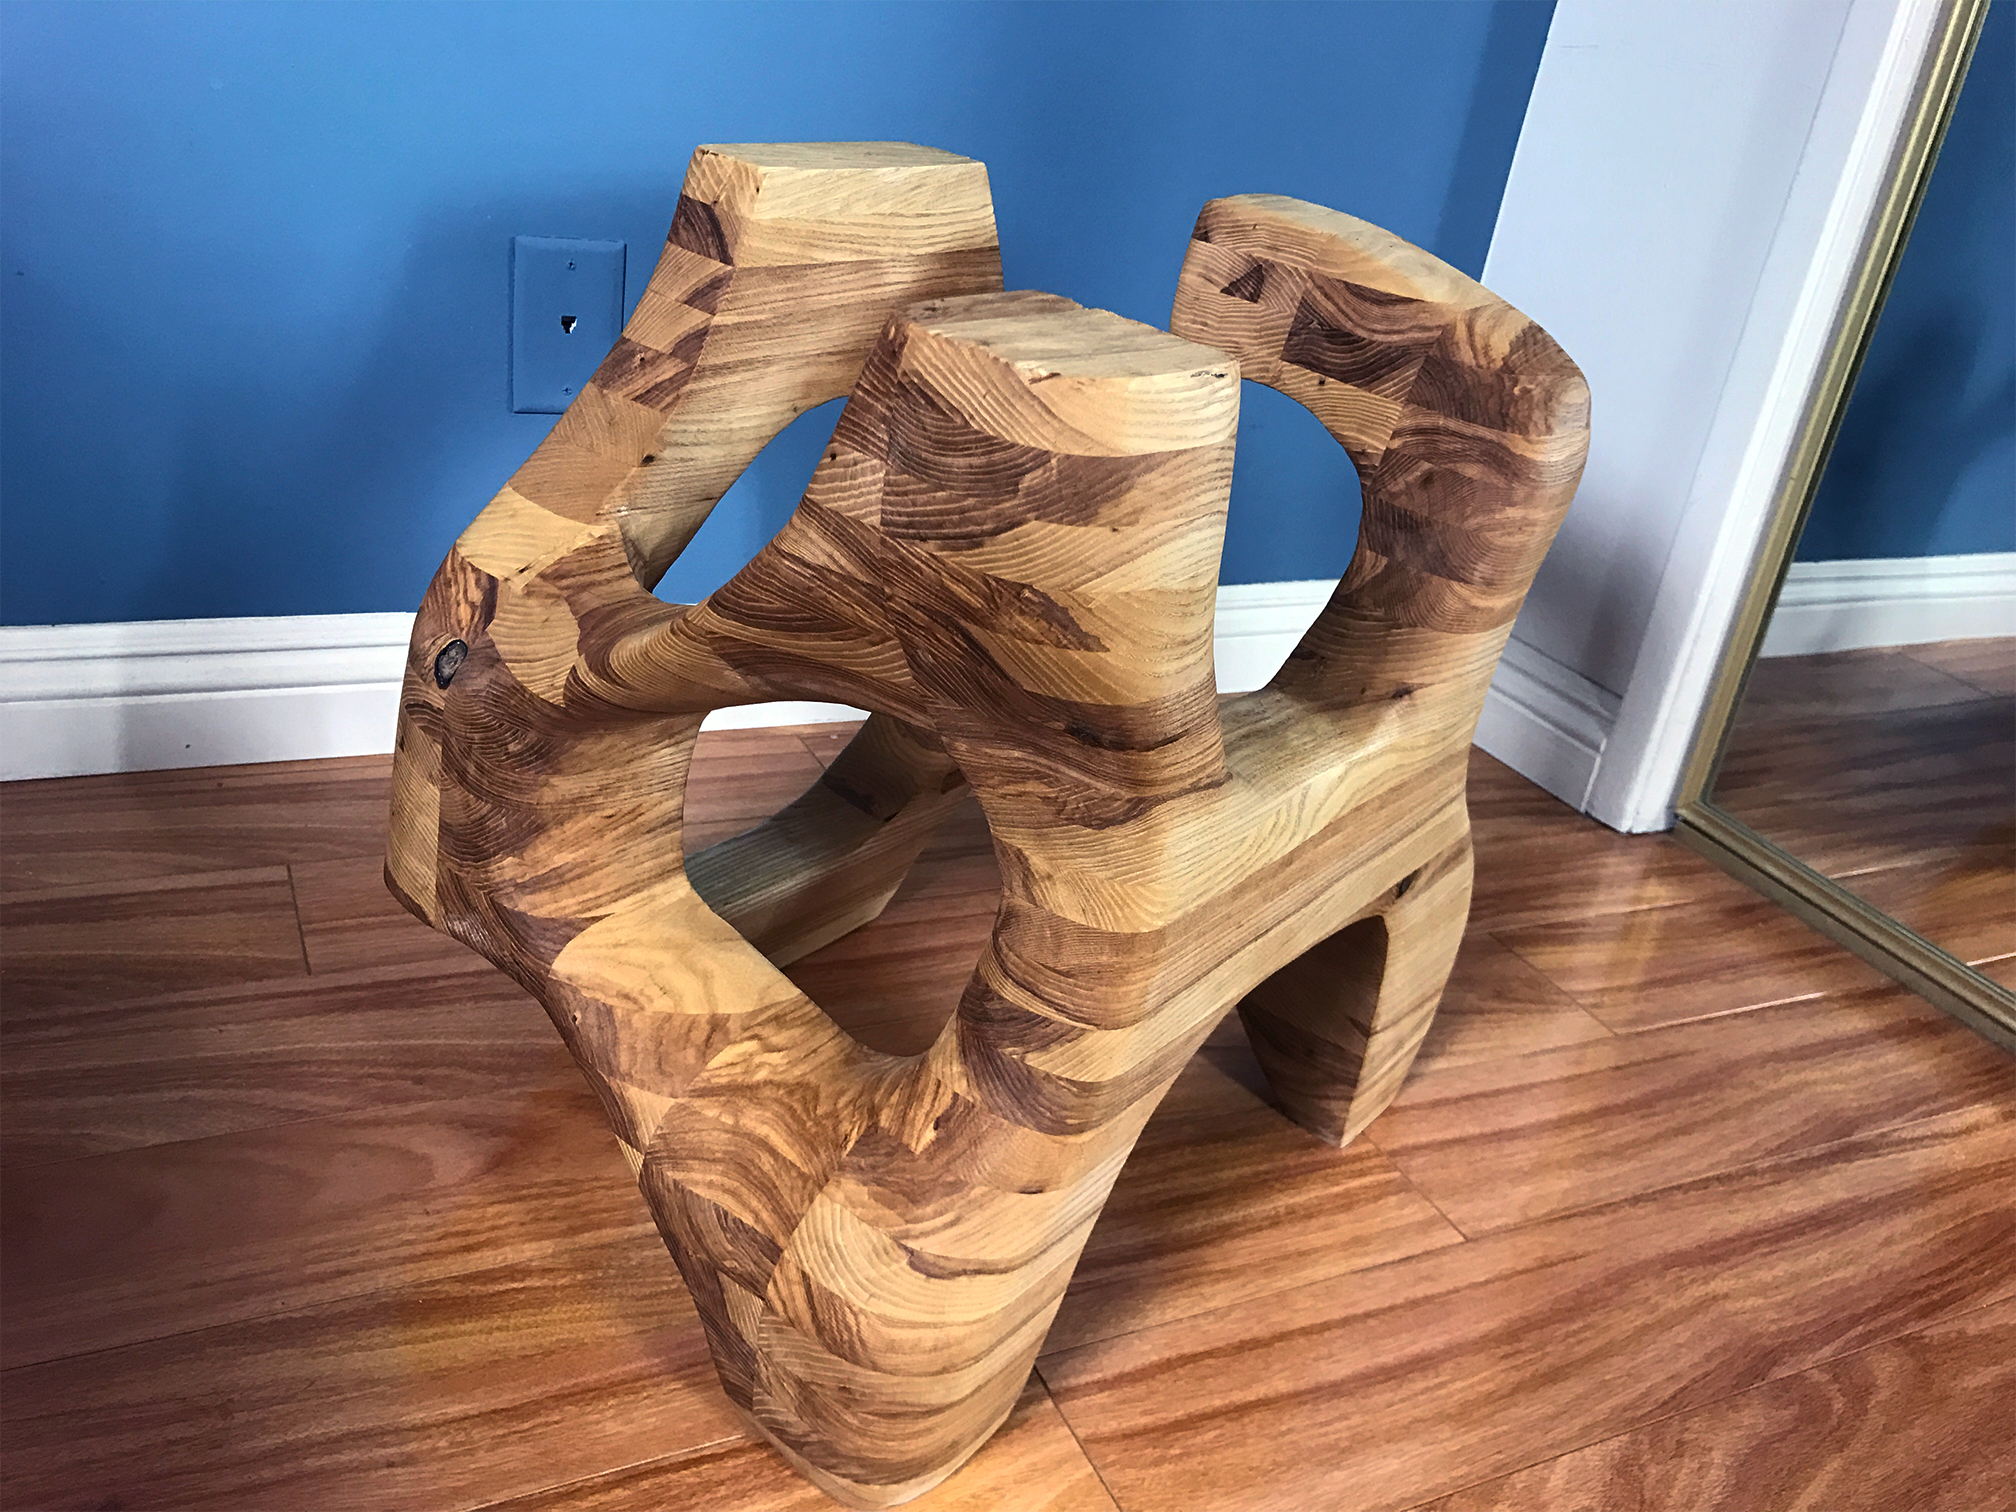
I drew inspiration for this piece from named Caleb Woodard, an incredibly talented woodworker who creates stunning pieces that have amazing shape and contour of all types and sizes. Thanks for the inspiration! Check out his page when you have a sec!

Lissome is a term that describes a shape as thin, supple, and graceful - so that was what I was going to go for with this one of a kind piece. 

My first step was to measure out the size of my space and determine a Length x Width x Height for my project. After that, I could determine what I wanted my rough shape to look like, and from that, I could determine the amount of material to purchase. 

My methodology for this was as such:

  1. Determine Length x Width x Height of table
  2. Divide the depth (width) of my table into "slices" of a certain width (I chose 3") so that I could have five slices at 3" wide to make the final width of 15" for my table
  3. Determine what I want the outside shapes to look like (roughly)
  4. Determine the shape of the inner three slices so that I could transition from one outside shape to another - this was a lot of trial and error until I got to a shape I was happy with
  5. Create a side profile of your shape to make sure the transition is adequate
  6. Knowing now the five layer/slices I'd wan to build, determine the number of laminated pieces I'd need for each slice shape, and then transition those numbers to an overall lumber order
  • The first photo shows my five slices. 
  • The second photo shows those slices color coded based on the length of each piece (example: red = 5 inches)
  • The third photo is all of my pieces mapped out on dimensional lumber. I determined I'd need to order 8 x 10' x 4/4 stock wood cut at 3" wide each. Thus, each slat would be 10' long, roughly 1" thick, and 3" wide. 
Image 5.jpg

Above is the final number of pieces I cut for this project - it was a bit time consuming but probably the fastest part of the whole project! Just set up a stop on your miter saw. 

Next, I could begin laminating my individual slices. I took this slow and consistently referenced my design plans (print them out for reference). Since I chose not to use finish nails to hold my pieces in place as I did not want to hit anything when I was eventually carving this piece down, I took the clamping very slowly, just slowly tightening each section so that nothing slipped and it all stayed flat. Doing this on top of a flat piece of plywood was very helpful and avoided any big mess in my driveway. 

A tip I picked up from Lumberjocks for spreading glue is to use an old credit card - works quickly and very efficiently for getting a thin, solid layer of glue. I let each glue up cure for 12 hours each. 

I repeated this process for each of my five layers. Again - this will take some time, so prep accordingly, as you want to give each section proper time to cure. 

Even though I was careful to keep things flat, the pieces still needed flattening on each end before laminating. I used my stationing belt sander for this - and it was very quick and efficient. You can see the difference in the first and third photo. They were all prepped for final lamination now. 

Again - no finish nails to hold this in place, so with each layer I stacked, I took it slow, spread the glue evenly, and clamped up incrementally to avoid slipping. The photos show the progression of each layer, resulting in the final raw shape in the last photo. Not bad right?

I also laminated my table top at this point (my 5 x 23" pieces) - very simple and straight forward - just make sure to use clamps on the top and bottom to avoid any "bowing" and spread the glue evenly. After 10 minutes, you can go back and wipe away excess squeeze out. Let it dry for 12 hours before doing any work on it. I wasn't sure what my final length would be for the top, so I aimed high knowing I could cut away whatever I needed. 

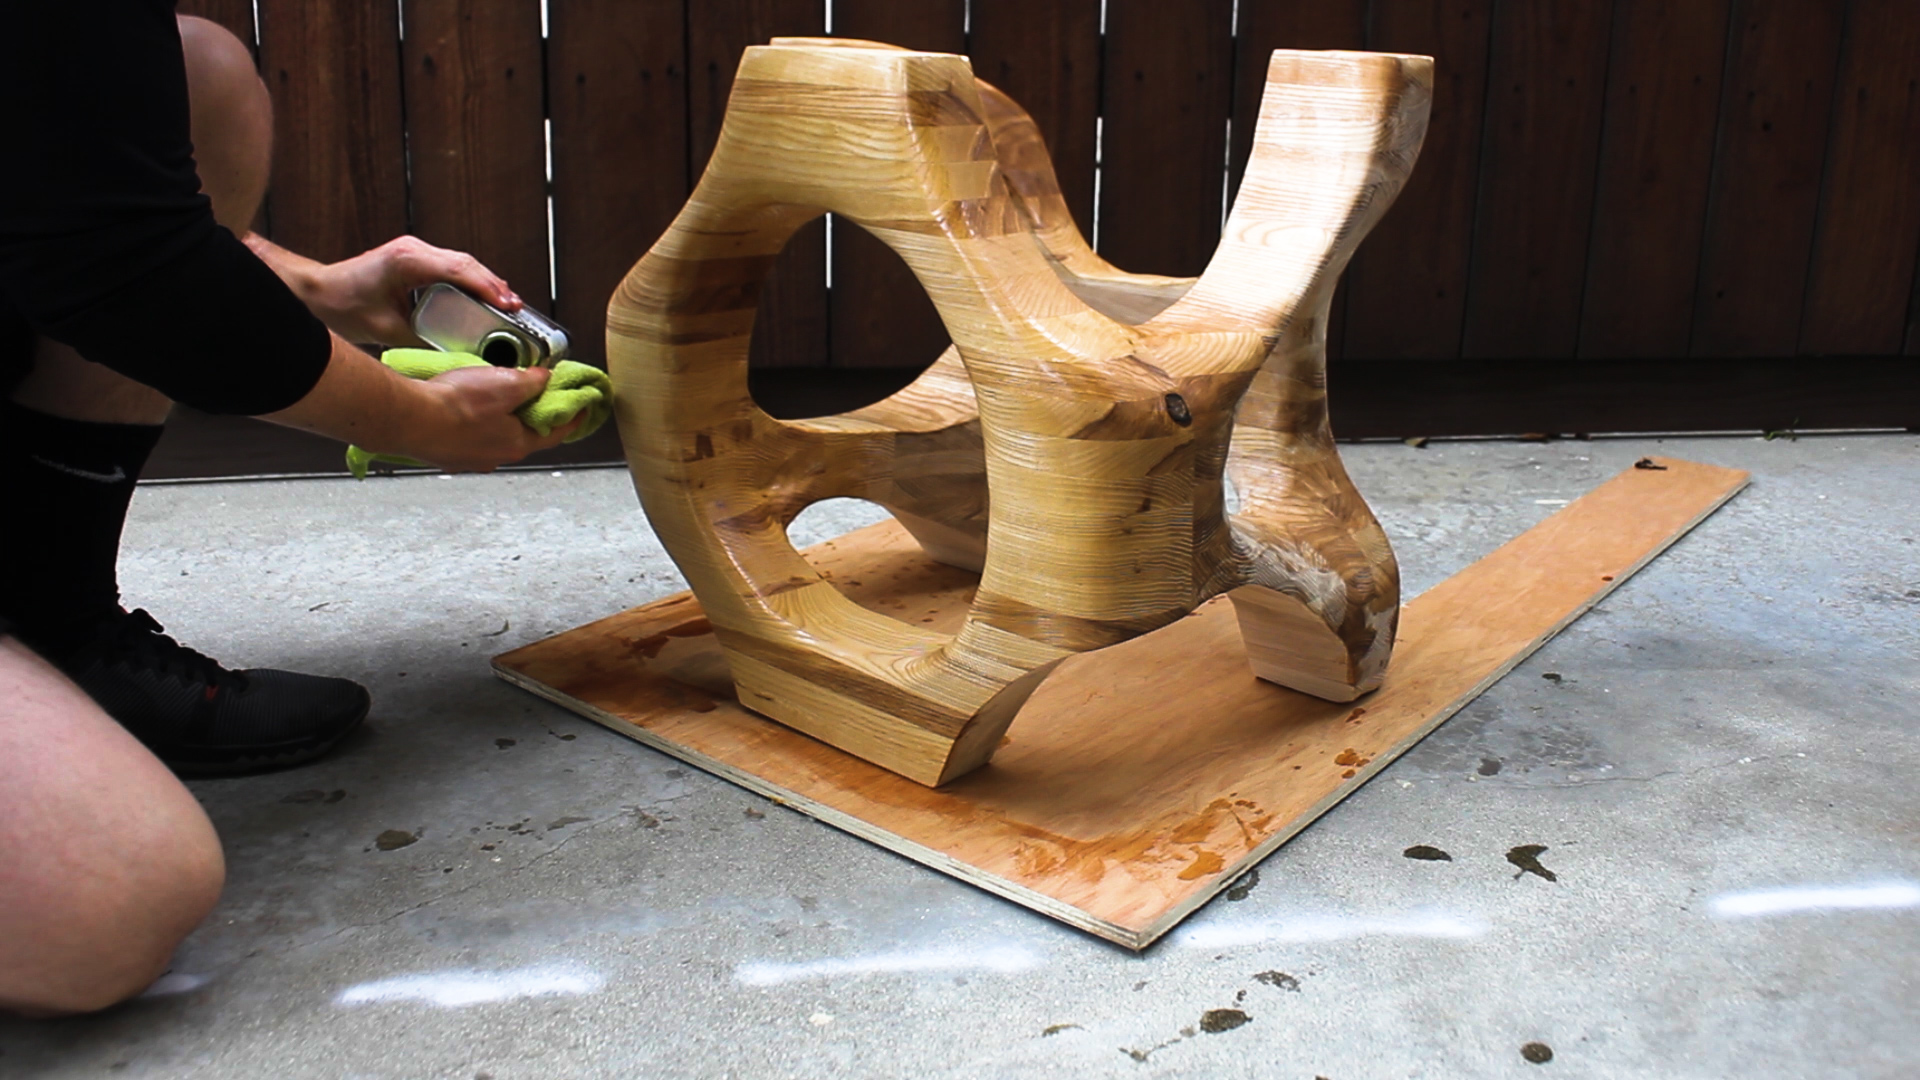
Time to shape! ArborTech sent me their Turboplane Blade for free to use in this project. It comes with everything you need to attach it to your 4" or 4.5" angle grinder. 

This thing is POWERFUL. I love it and was so excited to use it to shape my final table. Below is a sequence of photos of me carving up my piece.

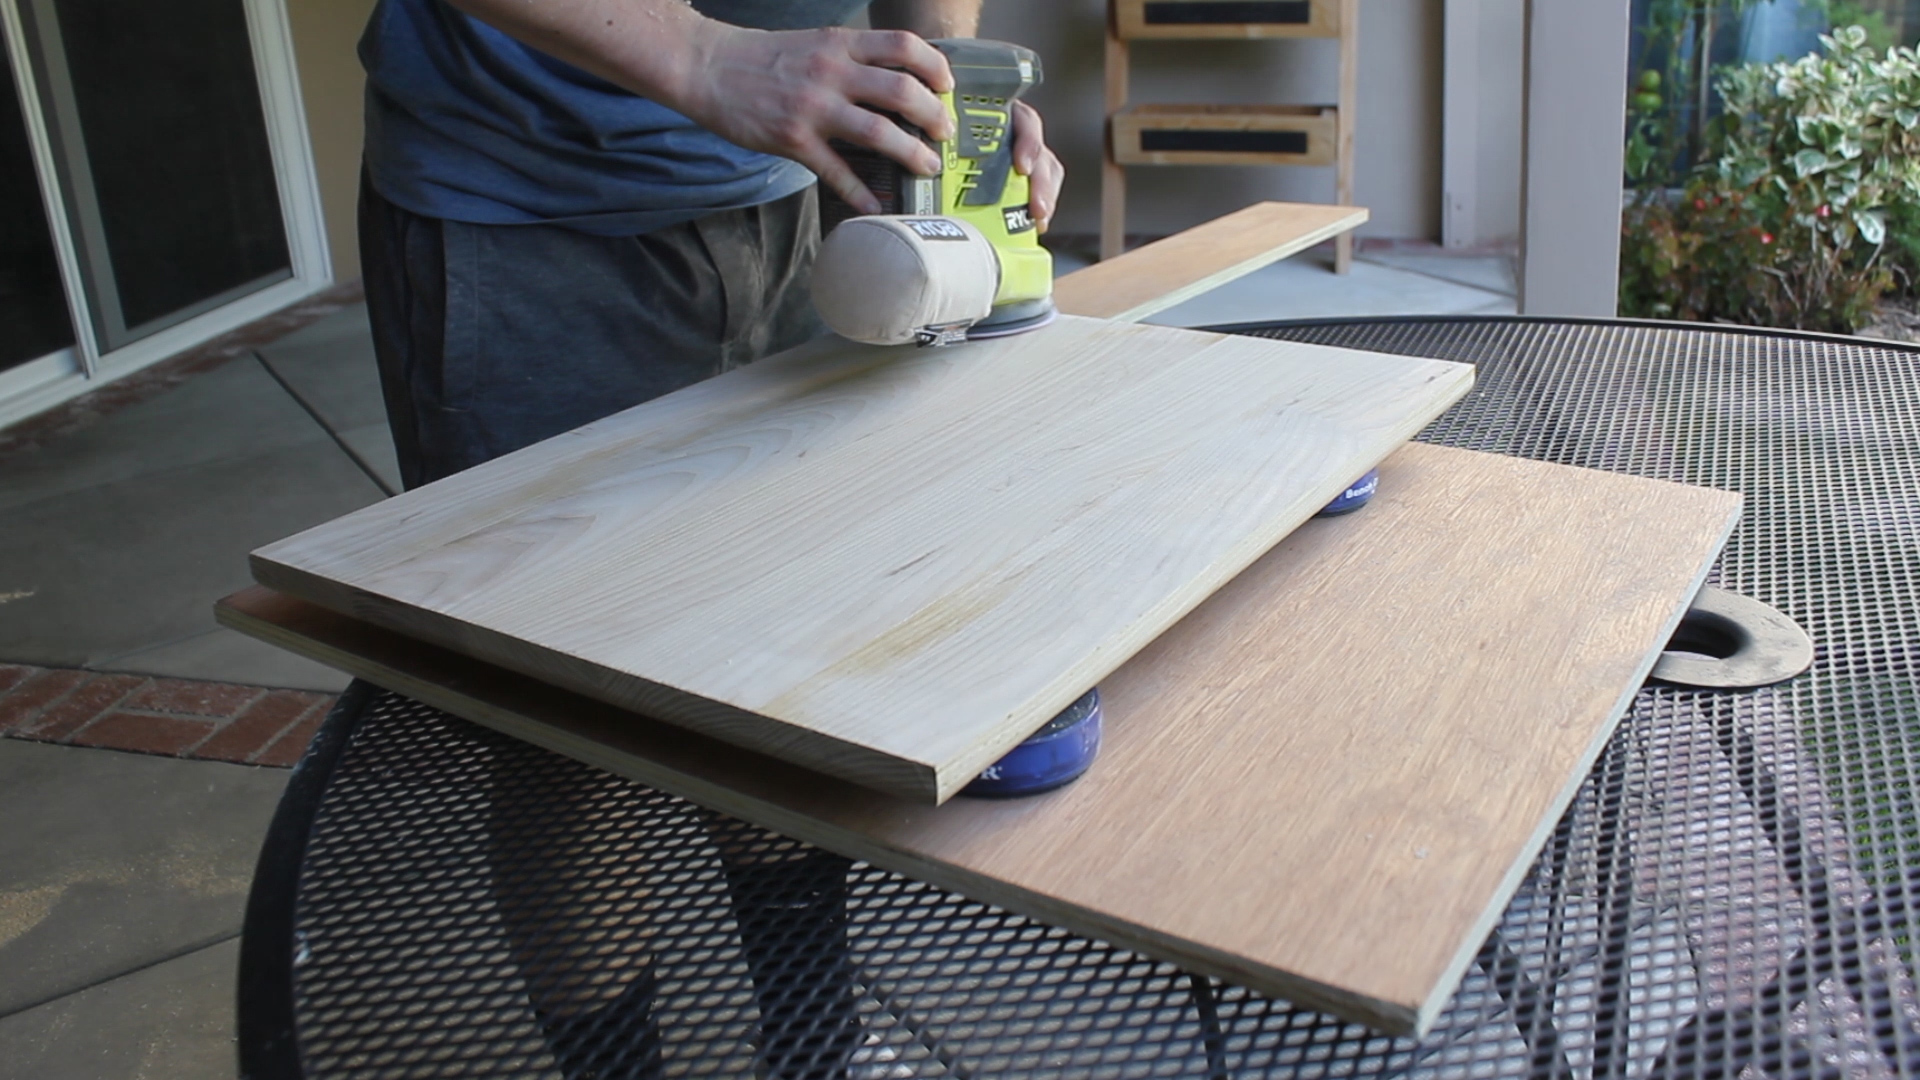
I tried every method in the book to sand this down, starting with belt sanding (80 grit), orbital sanding (60 grit) for curves, more fine shaping with the Turboplane, use of a small dremel sander, and then hand sanding with 60, 120, 220, 320,and 400 grit papers. 

However, no matter what I did - I just couldn't get this thing to flatten out - it was smooth, but it was wavy and frankly, looked like crap. If you reference the second photo where I am orbital sanding, you can see the grooves I am referring to - those just couldn't be flattened with my current methods. At this point, I was very close to giving up (or settle for lame), but chose instead to go through a bunch of channels to figure out how to flatten wood carvings, etc..

Enter - some good advice from Caleb Woodard himself and the 40 grit flap disc. This was a game changer. I removed the blade guard on my angle grinder and went to town on my project. Within an hour or two of consistent sanding - being careful not to push too hard but hard enough where needed or staying in one spot too long to avoid burning, this thing suddenly smoothed out like crazy. Wood shaping at its finest!

I then could switch to finer sanding (again!!), including orbital and hand sanding at 120 and 220 grit. This really helped bring out the smoothness in the contour of the piece. I finished with a dry and wet sanding at 320 grit, and this thing was ready for finishing. Flat as can be and smooth as ever!

Below are the steps for cleaning up the table top.

I flattened/sanded down the surface on my stationary sander, which got rid of nearly all of the glue. I then cut to my final length using my circular saw (I also cleaned up the edge straight on my stationary sander as I didn't have a straight edge to follow).

I then used a 1/2" round over bit with my plunge router on the under side of the table to give it a sleeker profile (my first time ever using a router - they're wonderful). Lastly, I went up through the grits from 120 to 320 to smooth down the top in prep for finish. 

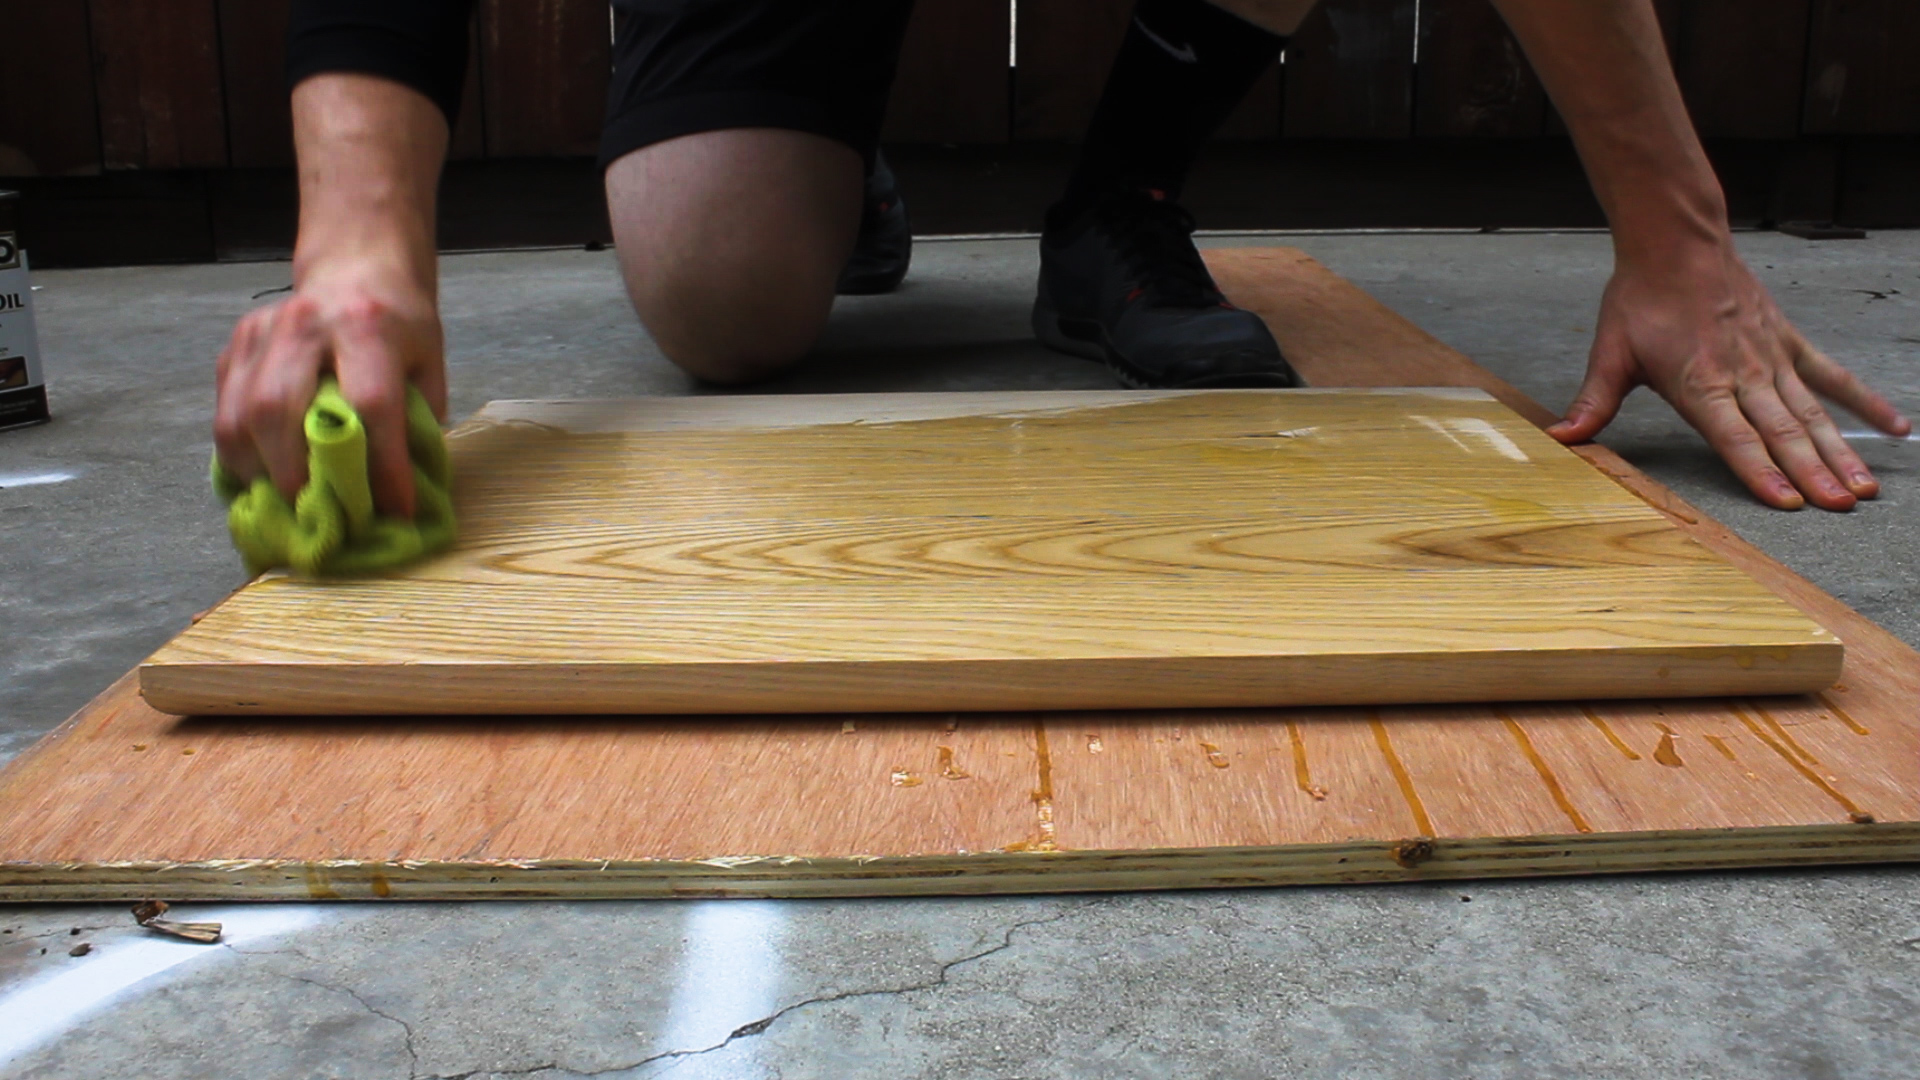
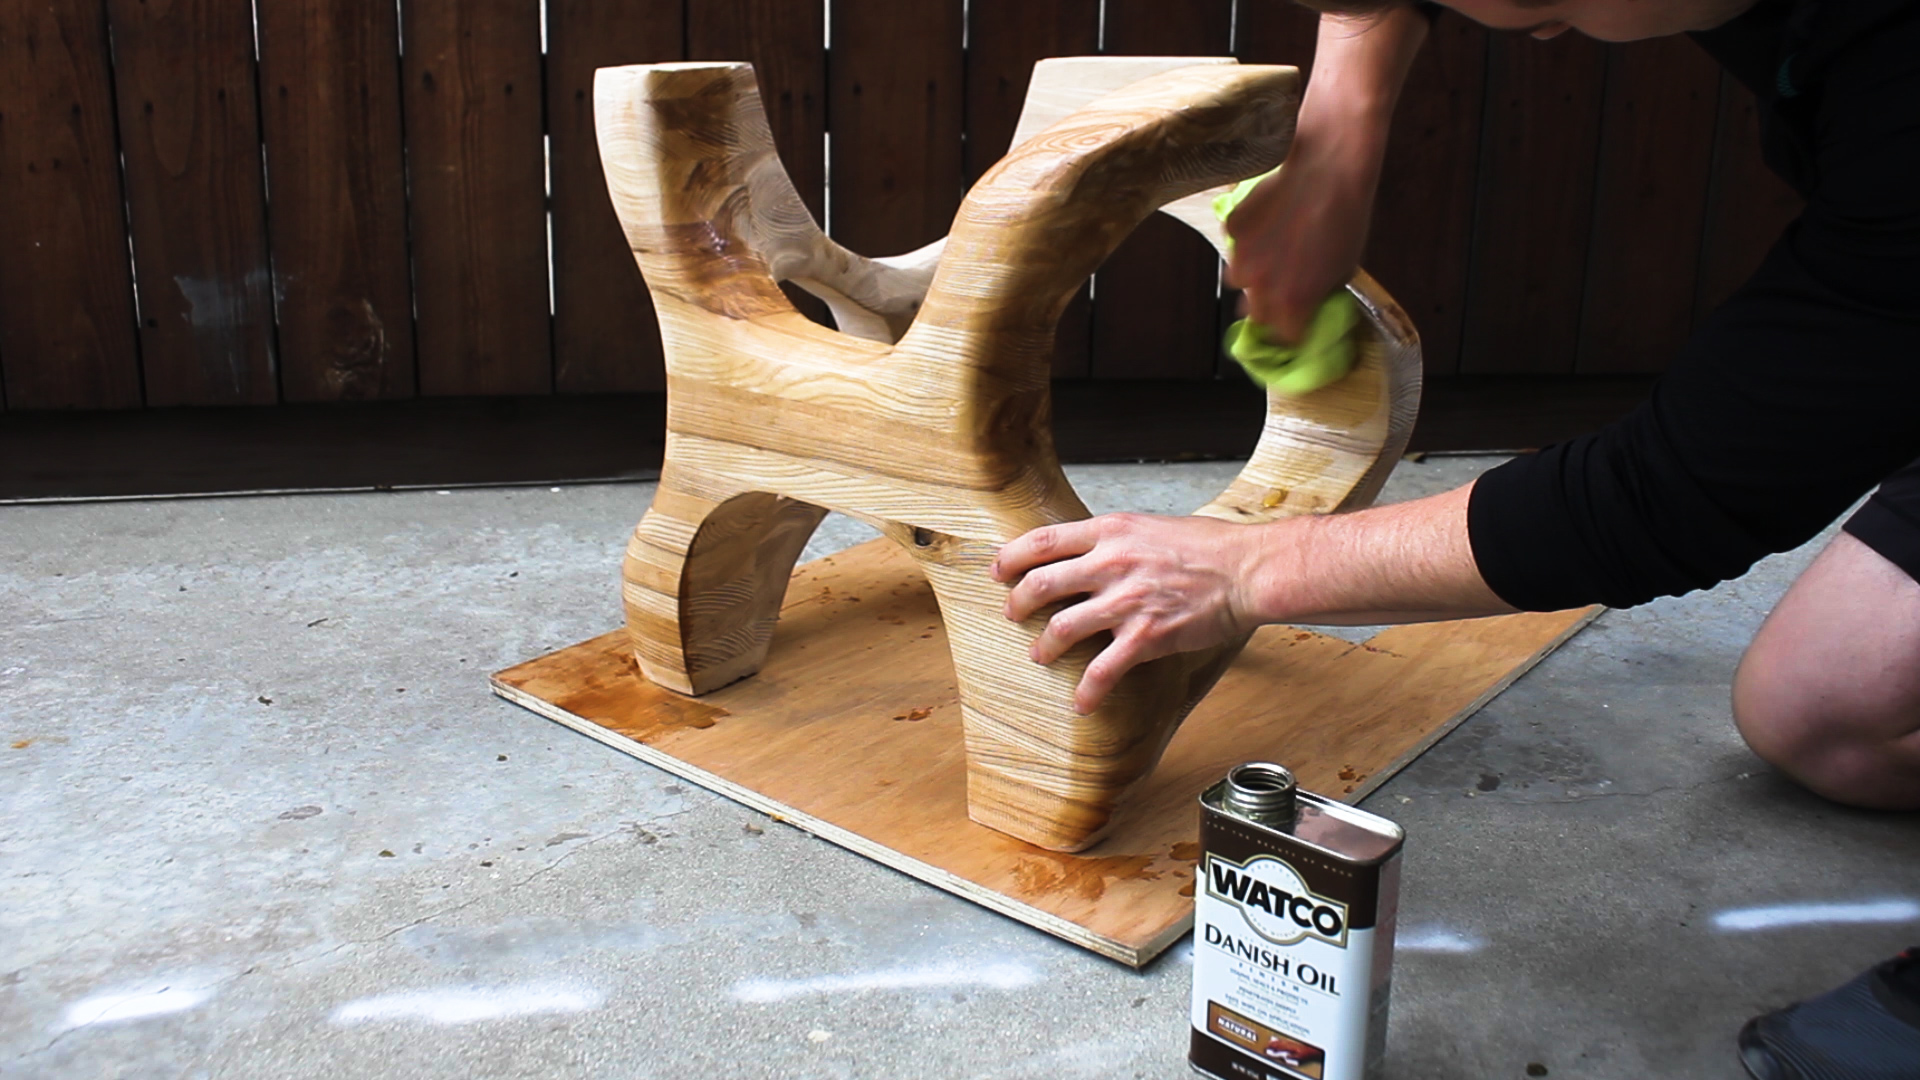
To finish things off, I wiped on a coat of Natural Danish Oil using a microfiber rag to both the top of the table and the table itself. I love this stuff - makes the grain pop beautifully and allows you to feel the wood once it cures. I recommend it for any project where you just want to make it pop!

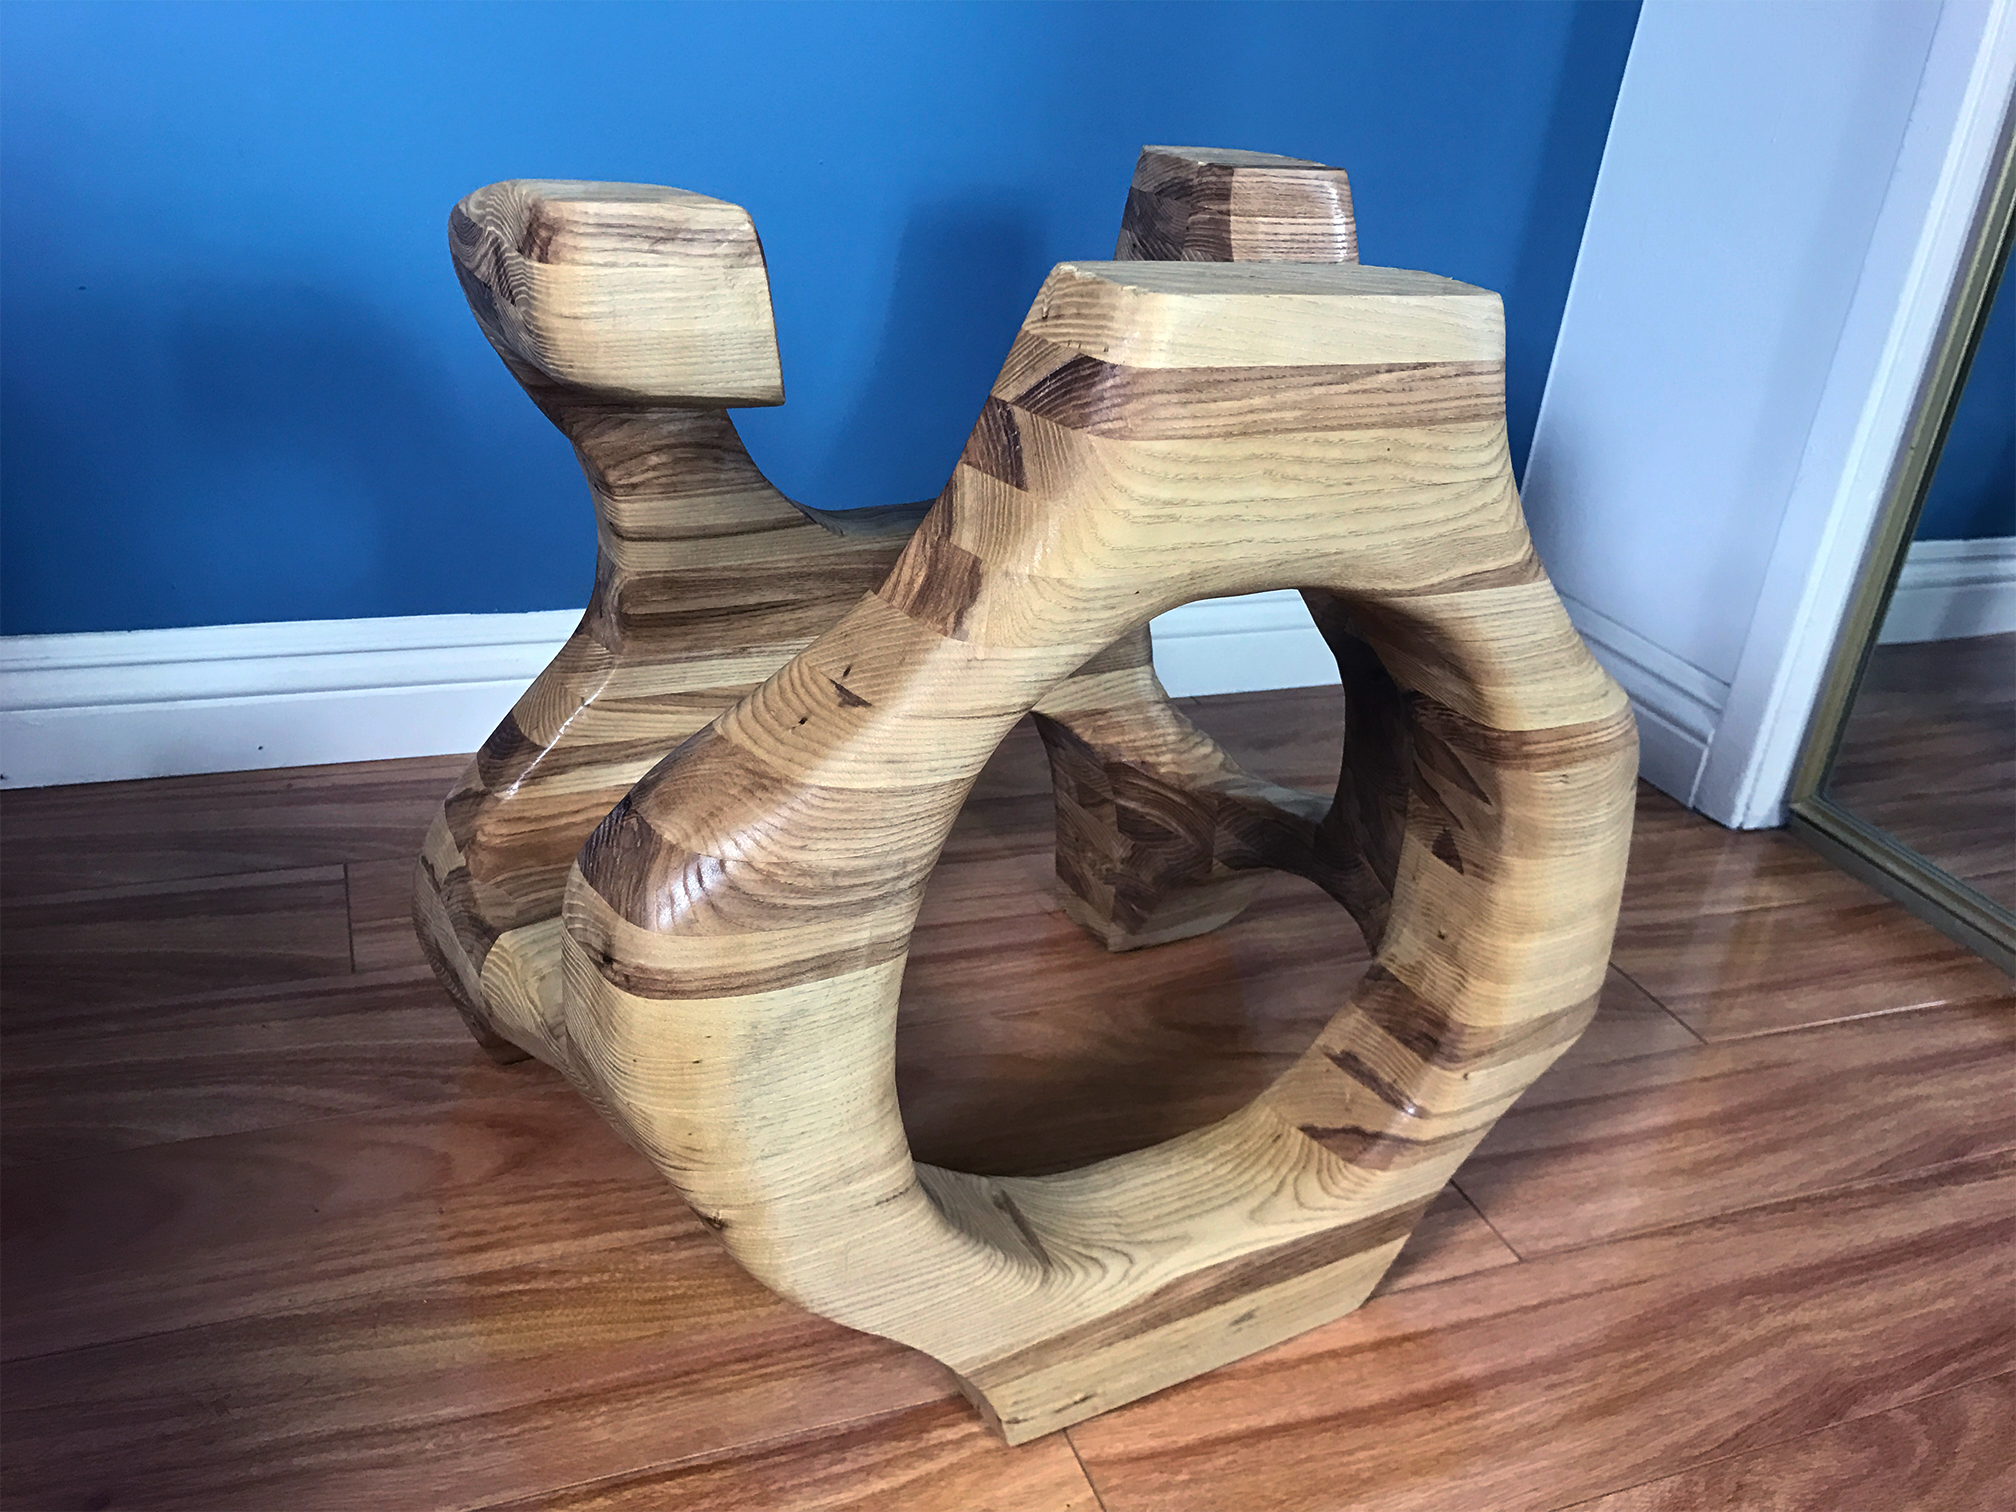
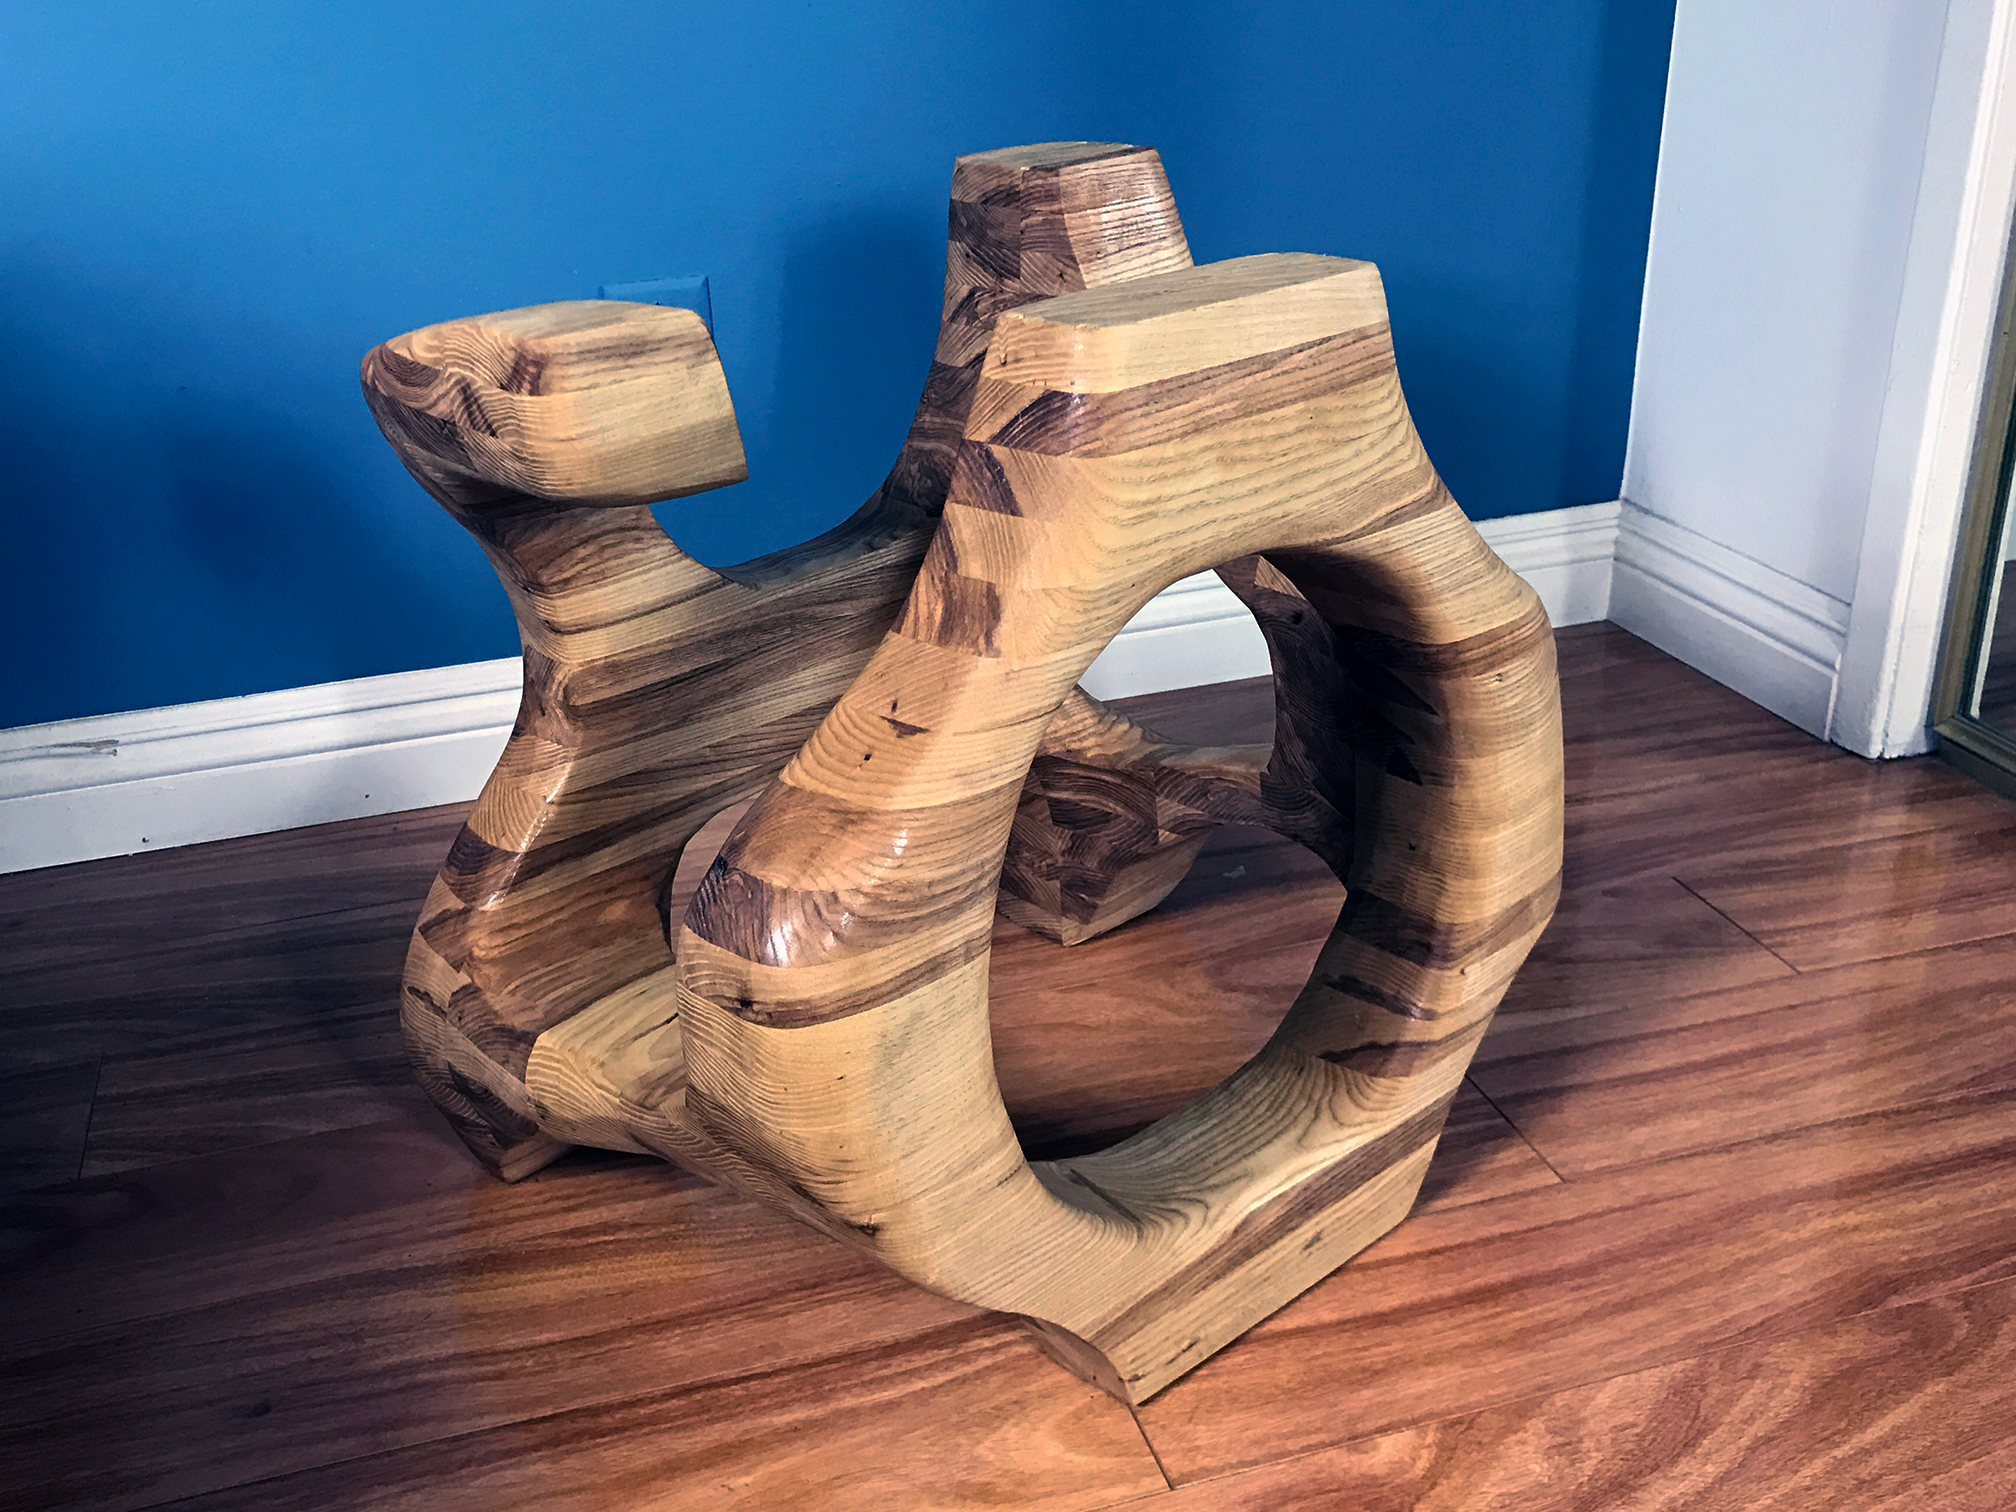
And finally...I was done! the picture below doesn't do it justice (maybe?), but I'm thrilled with the coolness of it. I think my favorite part is the cool transitions between the edge grain and the end grain. And overall, it just looks awesome. 

Everyone has asked me if I am planning to ditch the wood table top and substitute in a glass top. I think now, after seeing it all put together, I will do this - but I just won't be able to finalize it immediately - so for now. Enjoy!

Few final tips for you here:

  • The TurboPlane works well to carve lots of material away as well as do fine planing - after I carved everything down I went back and did light passes to further shape and contour the project to cut down on sanding
  • A flap disc is a must to take down the carving grooves - you will not be able to flatten out the curves to make it smooth flowing otherwise (as far as I can tell)
  • An orbital sander works best to begin giving you the rounded smooth shape you want, followed by hand sanding with a sanding sponge.
  • The TurboPlane makes a MESS! So be prepared for shavings to be everywhere and you to be covered in sawdust. 
  • Buy a face protector and gloves for this, and wear a long sleeve shirt when carving/sanding - you'll need to be shielded properly from all the material flying everywhere
  • Do not make your blank shape too small - if you do, you'll really struggle to get your angle grinder into the tight gaps and thus potentially ruin your project before it even has a chance

TOOLS
ARBORTECH TURBOPlane Blade
MAKITA Paddle Switch 4.5” Angle Grinder
RYOBI 10 in. Sliding Compound Miter Saw
RYOBI Miter Saw Stand
RYOBI Cordless Orbital Sander
RYOBI Belt Sander
RYOBI Stationary Bench Sander
RYOBI Router Set
RYOBI Drill Bit Set
ROCKLER Bench Cookies (Set of 4)
BESSEY Economy 2.5” x 12” Clutch Clamps
BESSEY Economy 2.5” x 24” Clutch Clamps
BESSEY H Style Pipe Clamps
Hand Sanding Sponges (120, 220, 320, and 400 grit)
Flap Discs (4.5", 40 Grit)
12” Rafter Square
5-Gallon 4.5 Peak HP Wet Dry Vacuum
Air Compressor
Spray Bottle for wet sanding

FILM / EDIT EQUIPMENT: 
Canon Rebel EOS T2i:  
Canon EF-S 18-55mm f/3.5-5.6 IS II Lens
Rode Microphone
Voice Recording
Adobe Premiere (Editorial)

Thanks for reading! I would be so grateful if you could please subscribe to my Youtube Channel for future projects. I put out videos every other week.

Cheers!

Zach


The Floating Stump Stool


Thanks for checking out the full article! 

Full video build is below, followed by detailed instructions with tools and measurements!
You can subscribe to our YouTube channel by clicking here!

NOTE for any stump project you take on:..
Embrace the flexibility of the project. Don't settle for simple stains or oils - figure out what will work the best for the vibe of your home through research and make your stump look the best you can. Stumps aren't cheap and sometimes tough to find, so make sure you do your homework on this project before diving in!

In the second episode of my stump series, I am going to upcycle a second stumped that I reclaimed from the Mammoth firewood pile  back in May of 2016. This stump had also been drying out for the better part of a year - amazing how much weight in moisture it lost!

MATERIALS
1 x Stump (I think it's oak but I have no clue)
1 x Scrap Plywood (9" x 9" at least for me)
Minwax Clear Finish Polyurethane
Bleach (to clean the wood)

First up was debarking, which was even easier this time around. The bark basically fell off it was so dry. 

This stump had a few larger branch ends sticking out. My hacksaw was garbage, so I used a mix of my dull saw and a hammer/chisel to get most of this off - not efficient by any means. 

Next up was sanding in the following order:

Belt Sander (60 grit) - LOTS OF IT
Orbital Sander (90 grit)
Hand Sanding (120 grit)
Hand Sanding (220 grit)

My stump was already flat on the surface, but if you needed to square it up, you could do so with a router sled jig - here is a good article on using a router sled to flatten. 

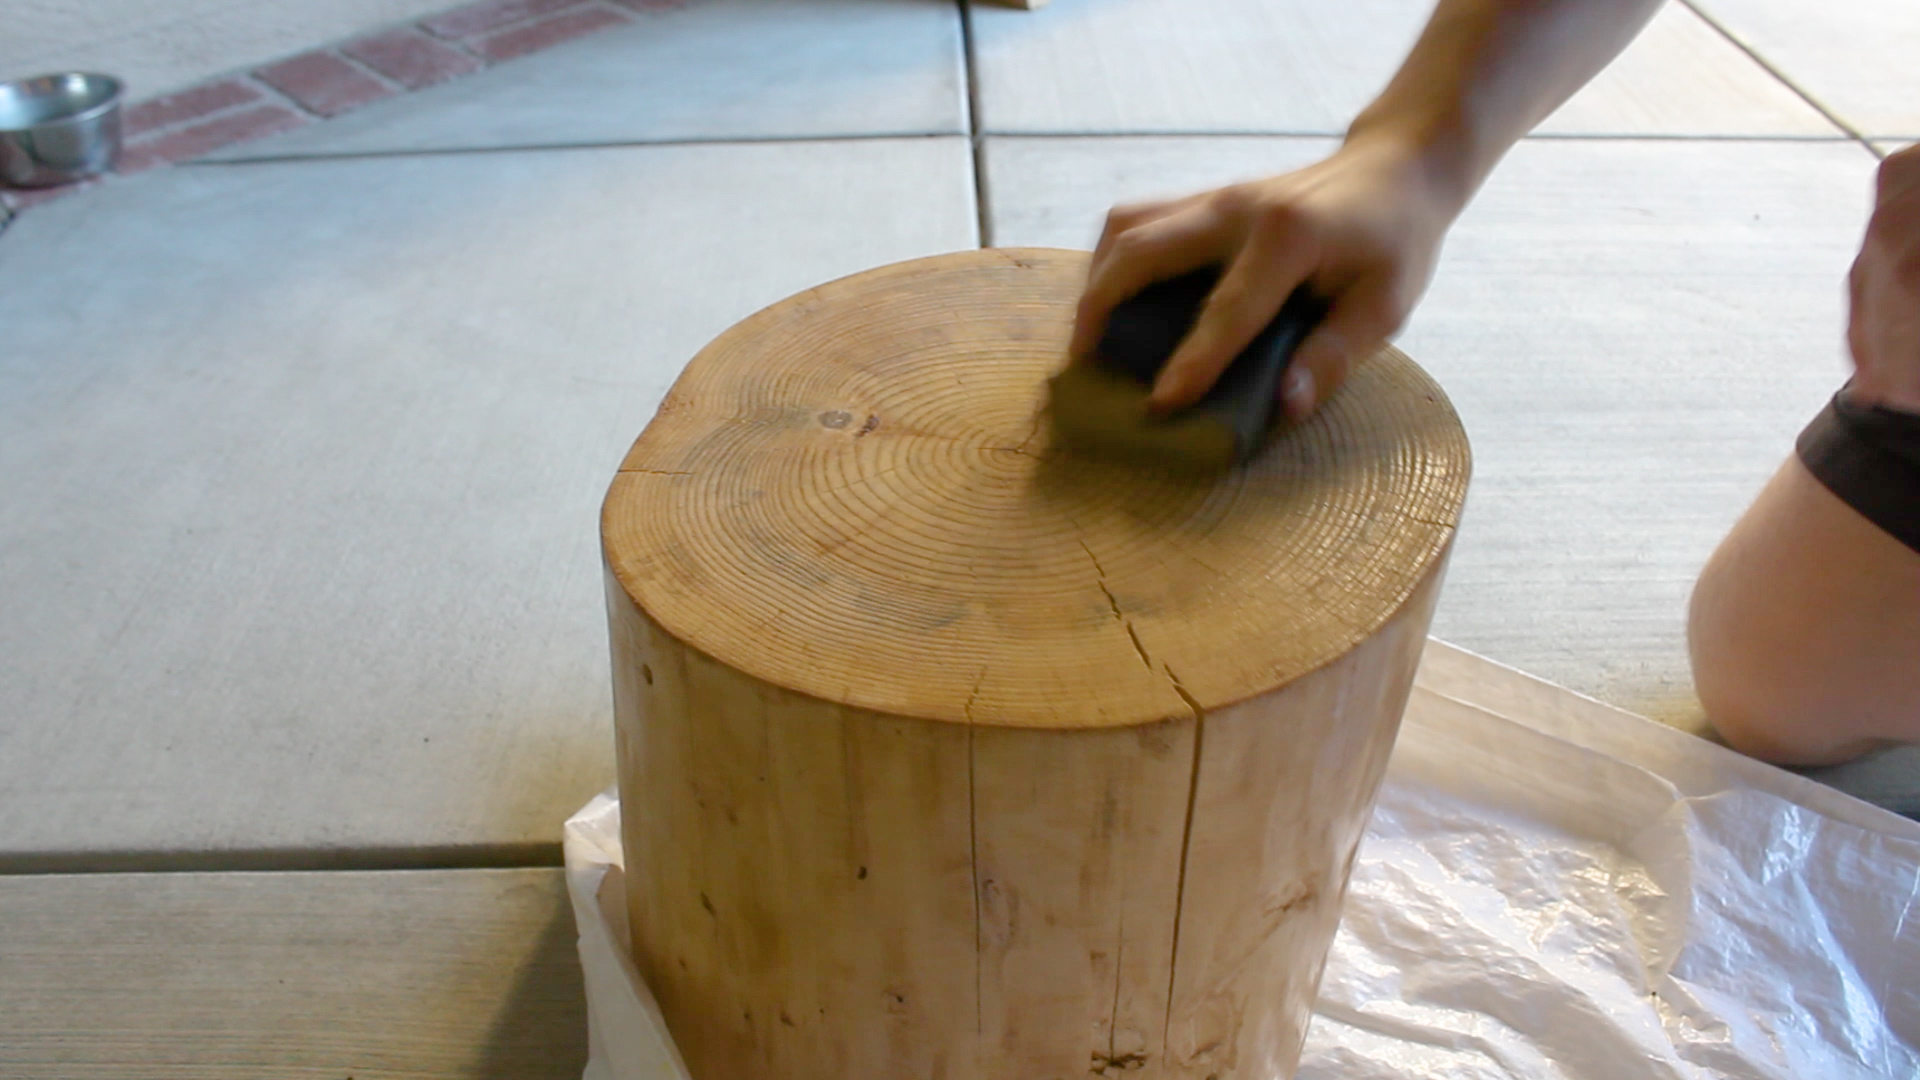
Next up was finishing. Like my previous stump project, I wanted to avoid oils or stains as well as match the previous look, so I again chose to just use a semi gloss poly finish to bring out the grain and make the stump shine using just it's natural look.

I sprayed down my stump with compressed air before finishing to clear it of all saw dust. 

I applied four total liberal coats of poly onto my stump in total, letting each one dry properly then sanding down with 120 an 220 grit sandpaper in between each coat to keep it smooth and clean. After my final coat, I upped my sanding further using 320 and 420 grit paper. 

I wanted my stump to appear as though it floated. My next steps were as follows:

  1. Measure diameter of stump (12 inches)
  2. Translate that measurement less three inches (9 inches) to a piece of scrap plywood
  3. Cut out my 9 inch square with circular saw
  4. Cut off corners to form rough octagon - goal here is just to round off. Ideally this would be a circle to fit the shape of the stump, but it isn't necessary as you'll never see this piece. 
  5. Give a thumbs up for cutting wood

Next, you can take 3-4 wood screws and pre drill them into your piece. I didn't bother with pilot holes here but you're more than welcome to do it if you think you might get stuck and not be able to drill through. Then, flip your stump upside down, position the octagon in the middle of the stump, and drill in your three screws to the bottom of it.

This is where you can cheat the system and not fully drill in your screws. This will allow you to create a flat bottom for your stump, regardless of whether or not it is perfectly level. 

And then you're done. Simple. Beautiful. Flip that baby over and admire your new floating stump. 

TOOLS
RYOBI Cordless Orbital Sander
RYOBI Belt Sander
RYOBI Power Drill
RYOBI Drill Bit Set
Rubber Mallet
Chisel
Hand Sanding Sponges (120, 220, 320, and 420 grit)
5-Gallon 4.5 Peak HP Wet Dry Vacuum
Tape Measure
Paint Brush
Air Compressor (can't find my model anywhere!)
Shitty Old Hack Saw

FILM / EDIT EQUIPMENT: 
Canon Rebel EOS T2i:  
Canon EF-S 18-55mm f/3.5-5.6 IS II Lens
Rode Microphone
Voice Recording
Adobe Premiere (Editorial)

Thanks for reading! I would be so grateful if you could please subscribe to my new Youtube Channel for future projects. I put out videos every two weeks.

Cheers!

Zach


The Butcher Block Desk


Thanks for checking out the full article! 

Full video build is below, followed by detailed instructions with tools and measurements! You can subscribe to my YouTube channel by clicking here!

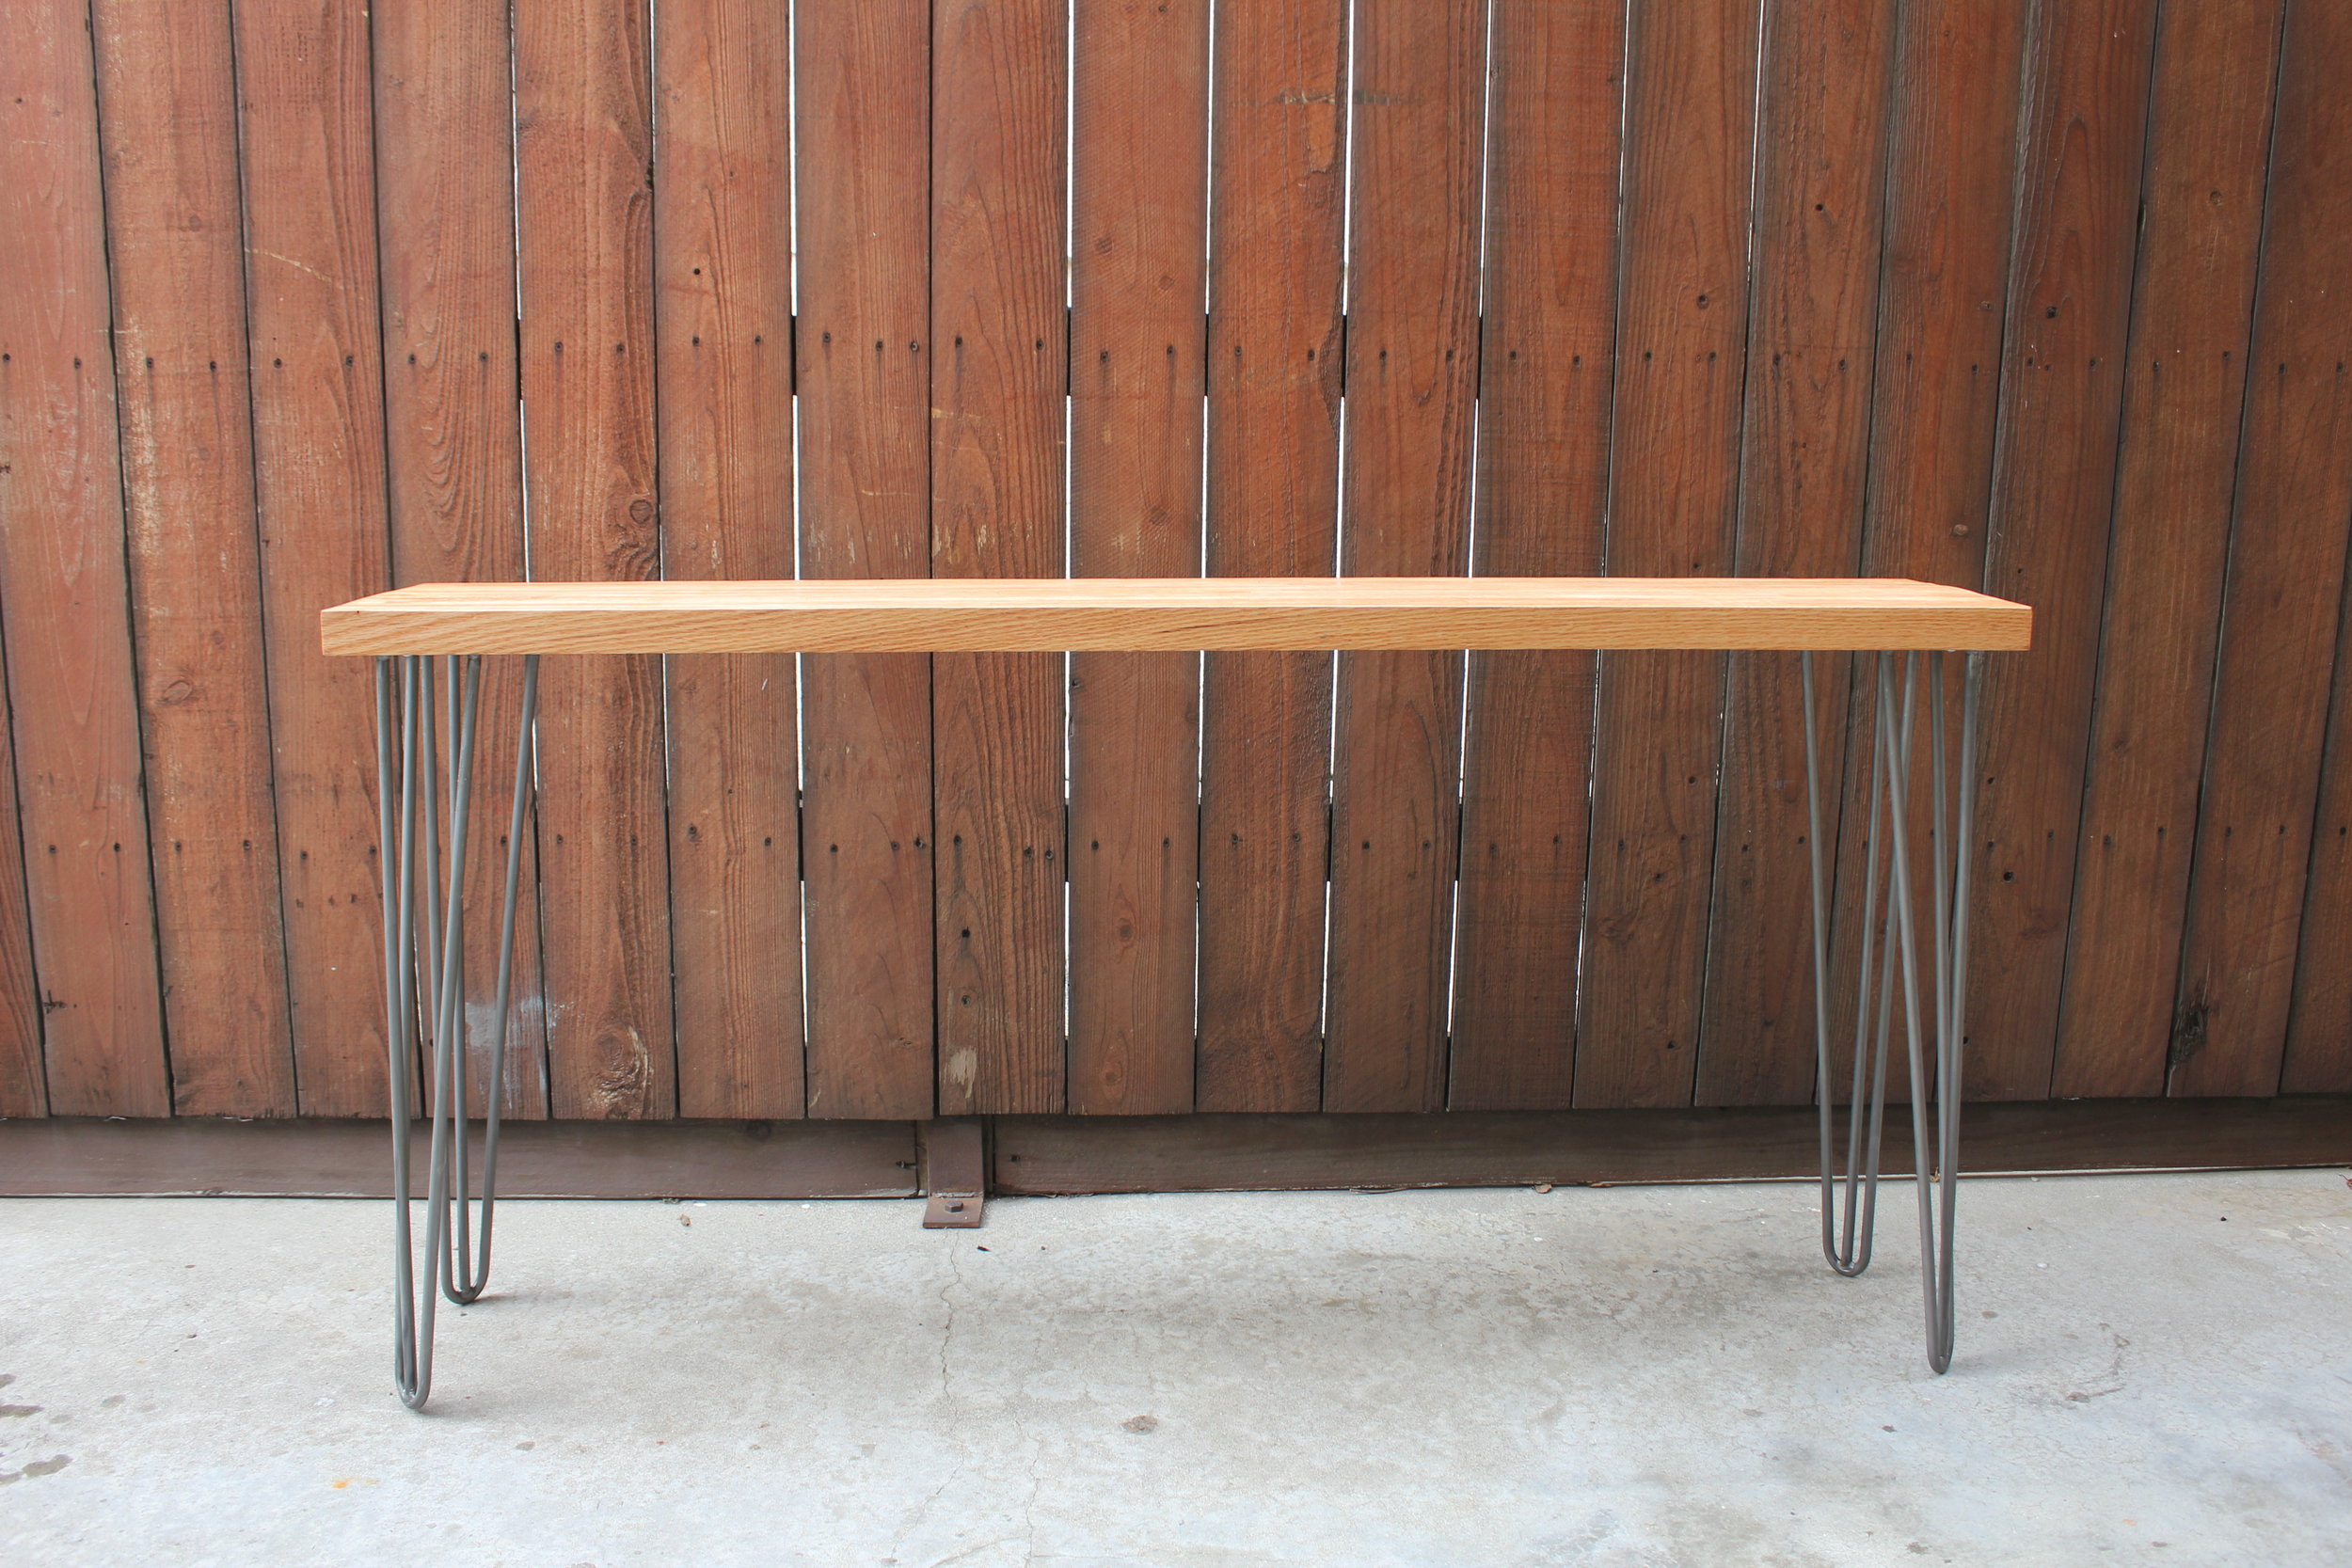
I have been really excited to build this project. This was one of those projects that was simple and complex all at once, with the goal being that the final result comes off as very minimal and sleek looking.

I did my research and couldn't really find any cool projects involving skinny modern desks, but knew I wanted a cool butcher block look to my desk - so I got to work. 
 

MATERIALS

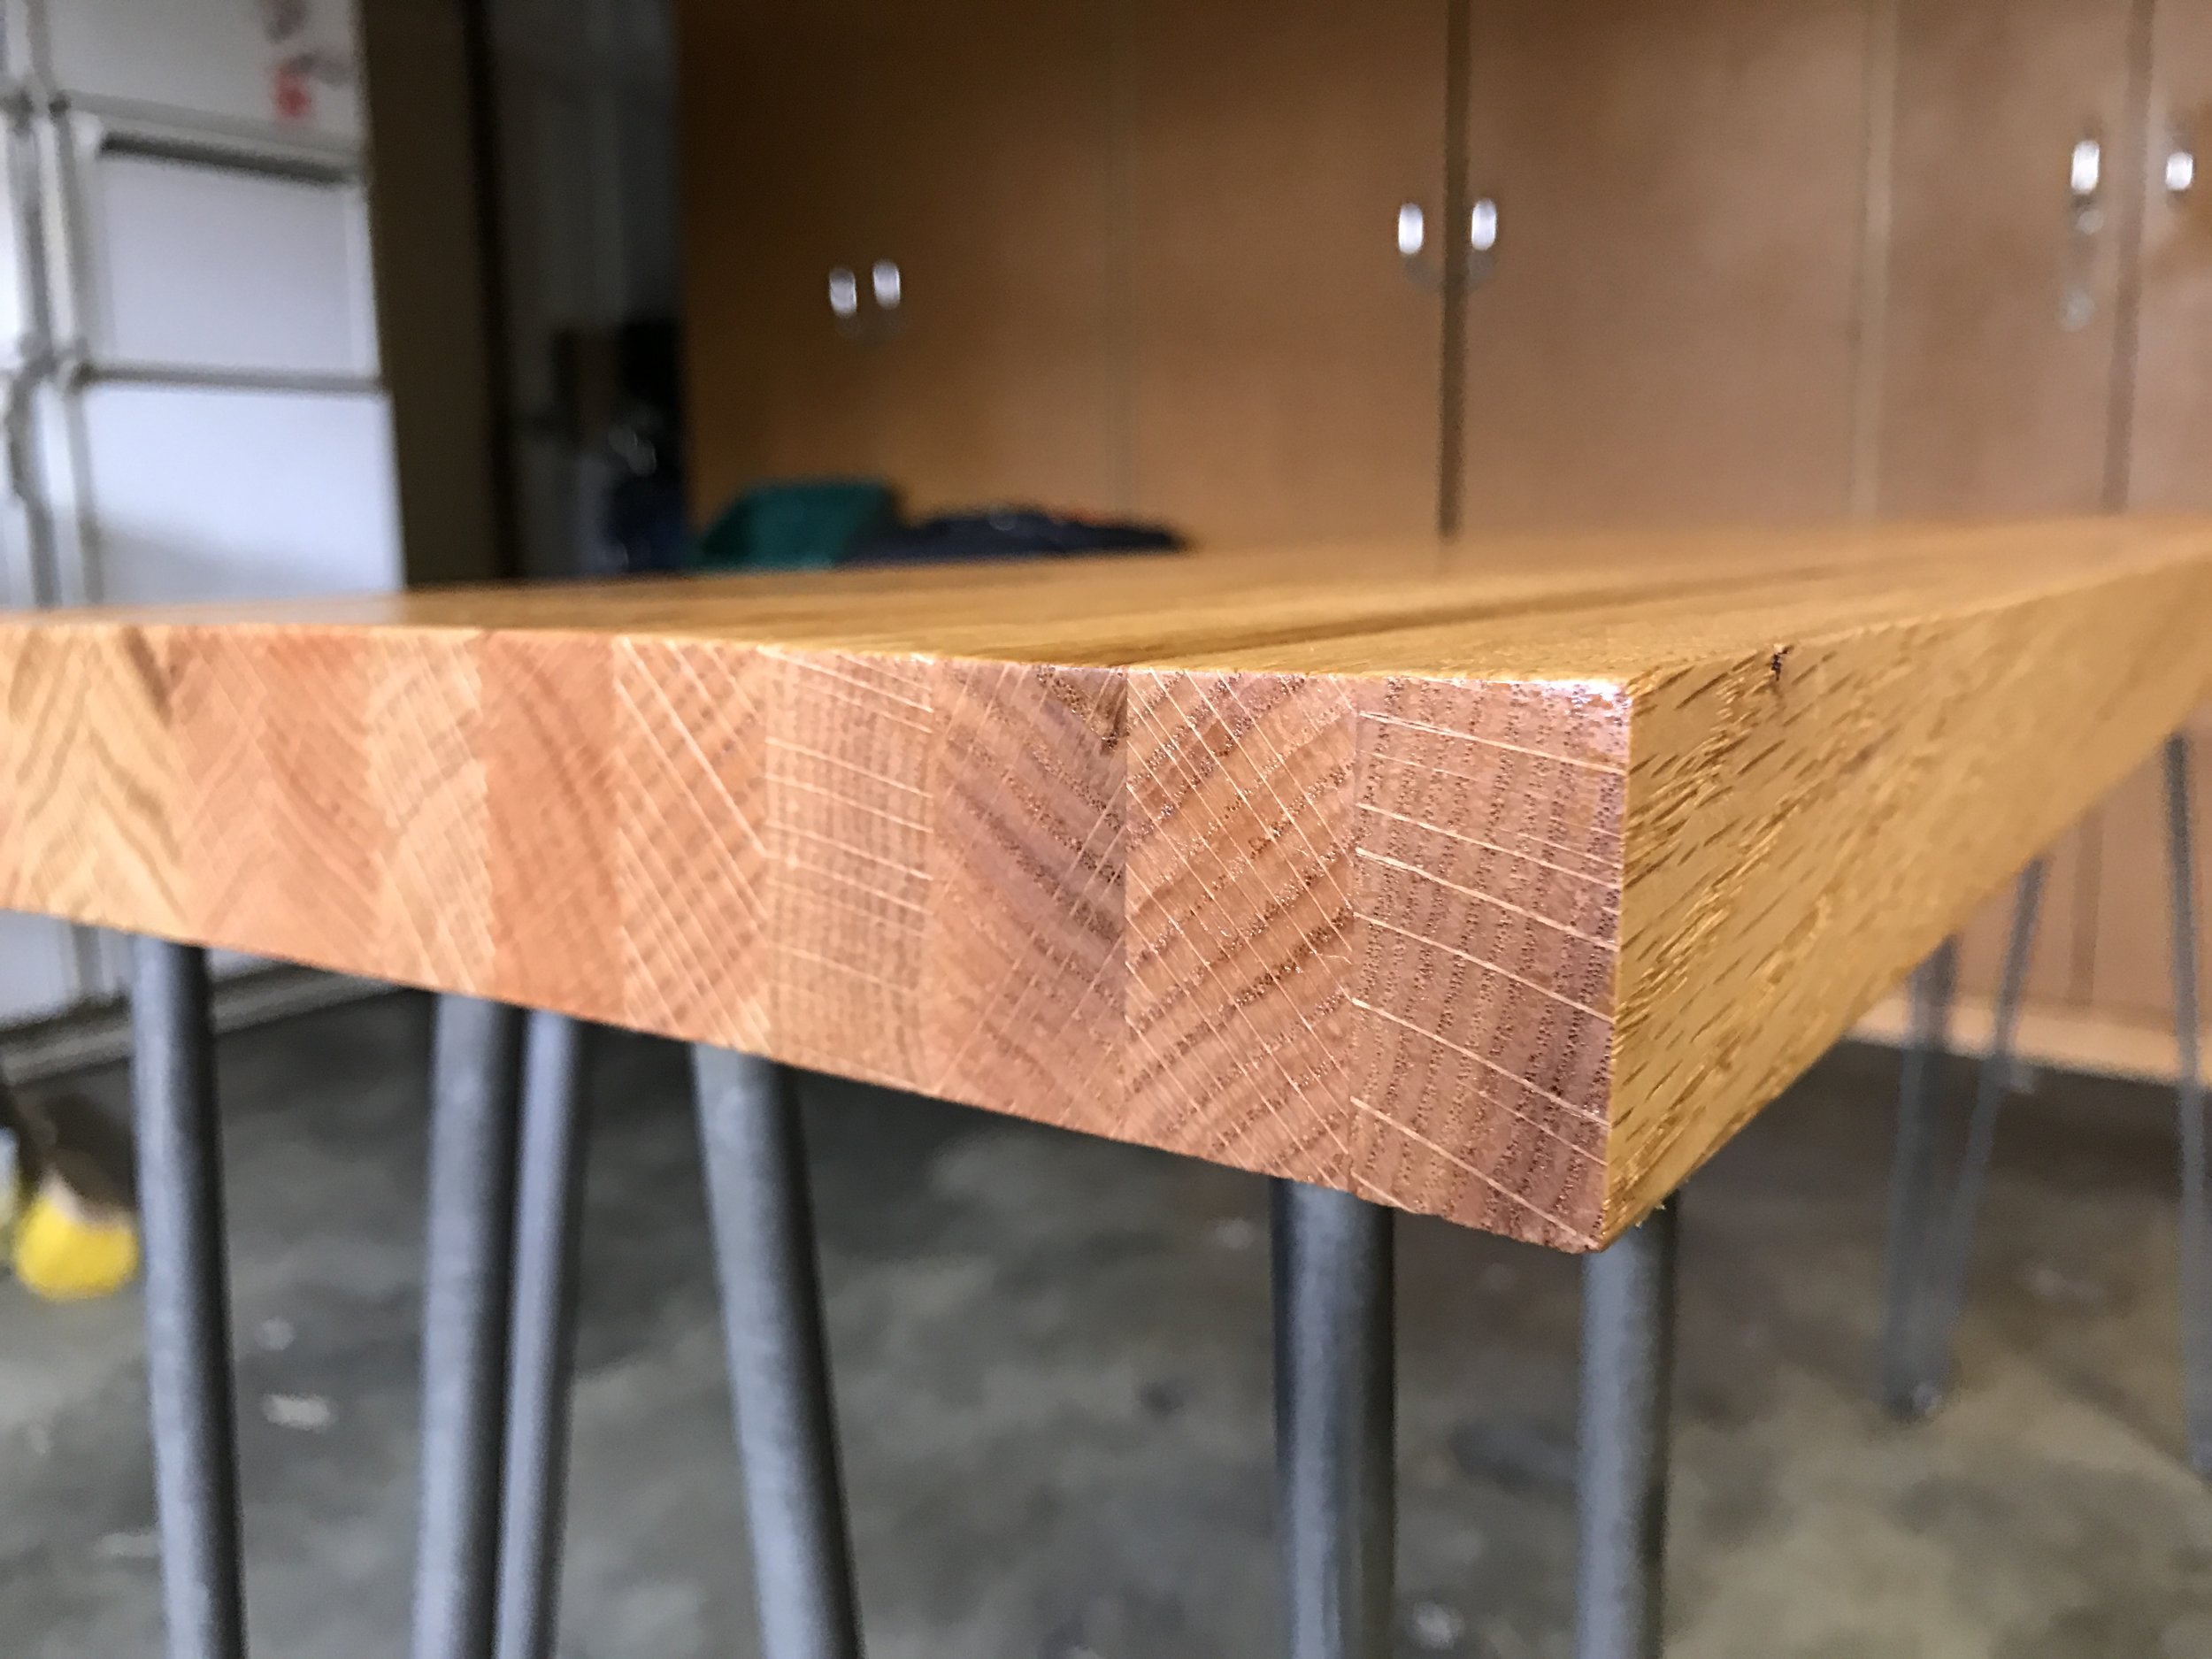
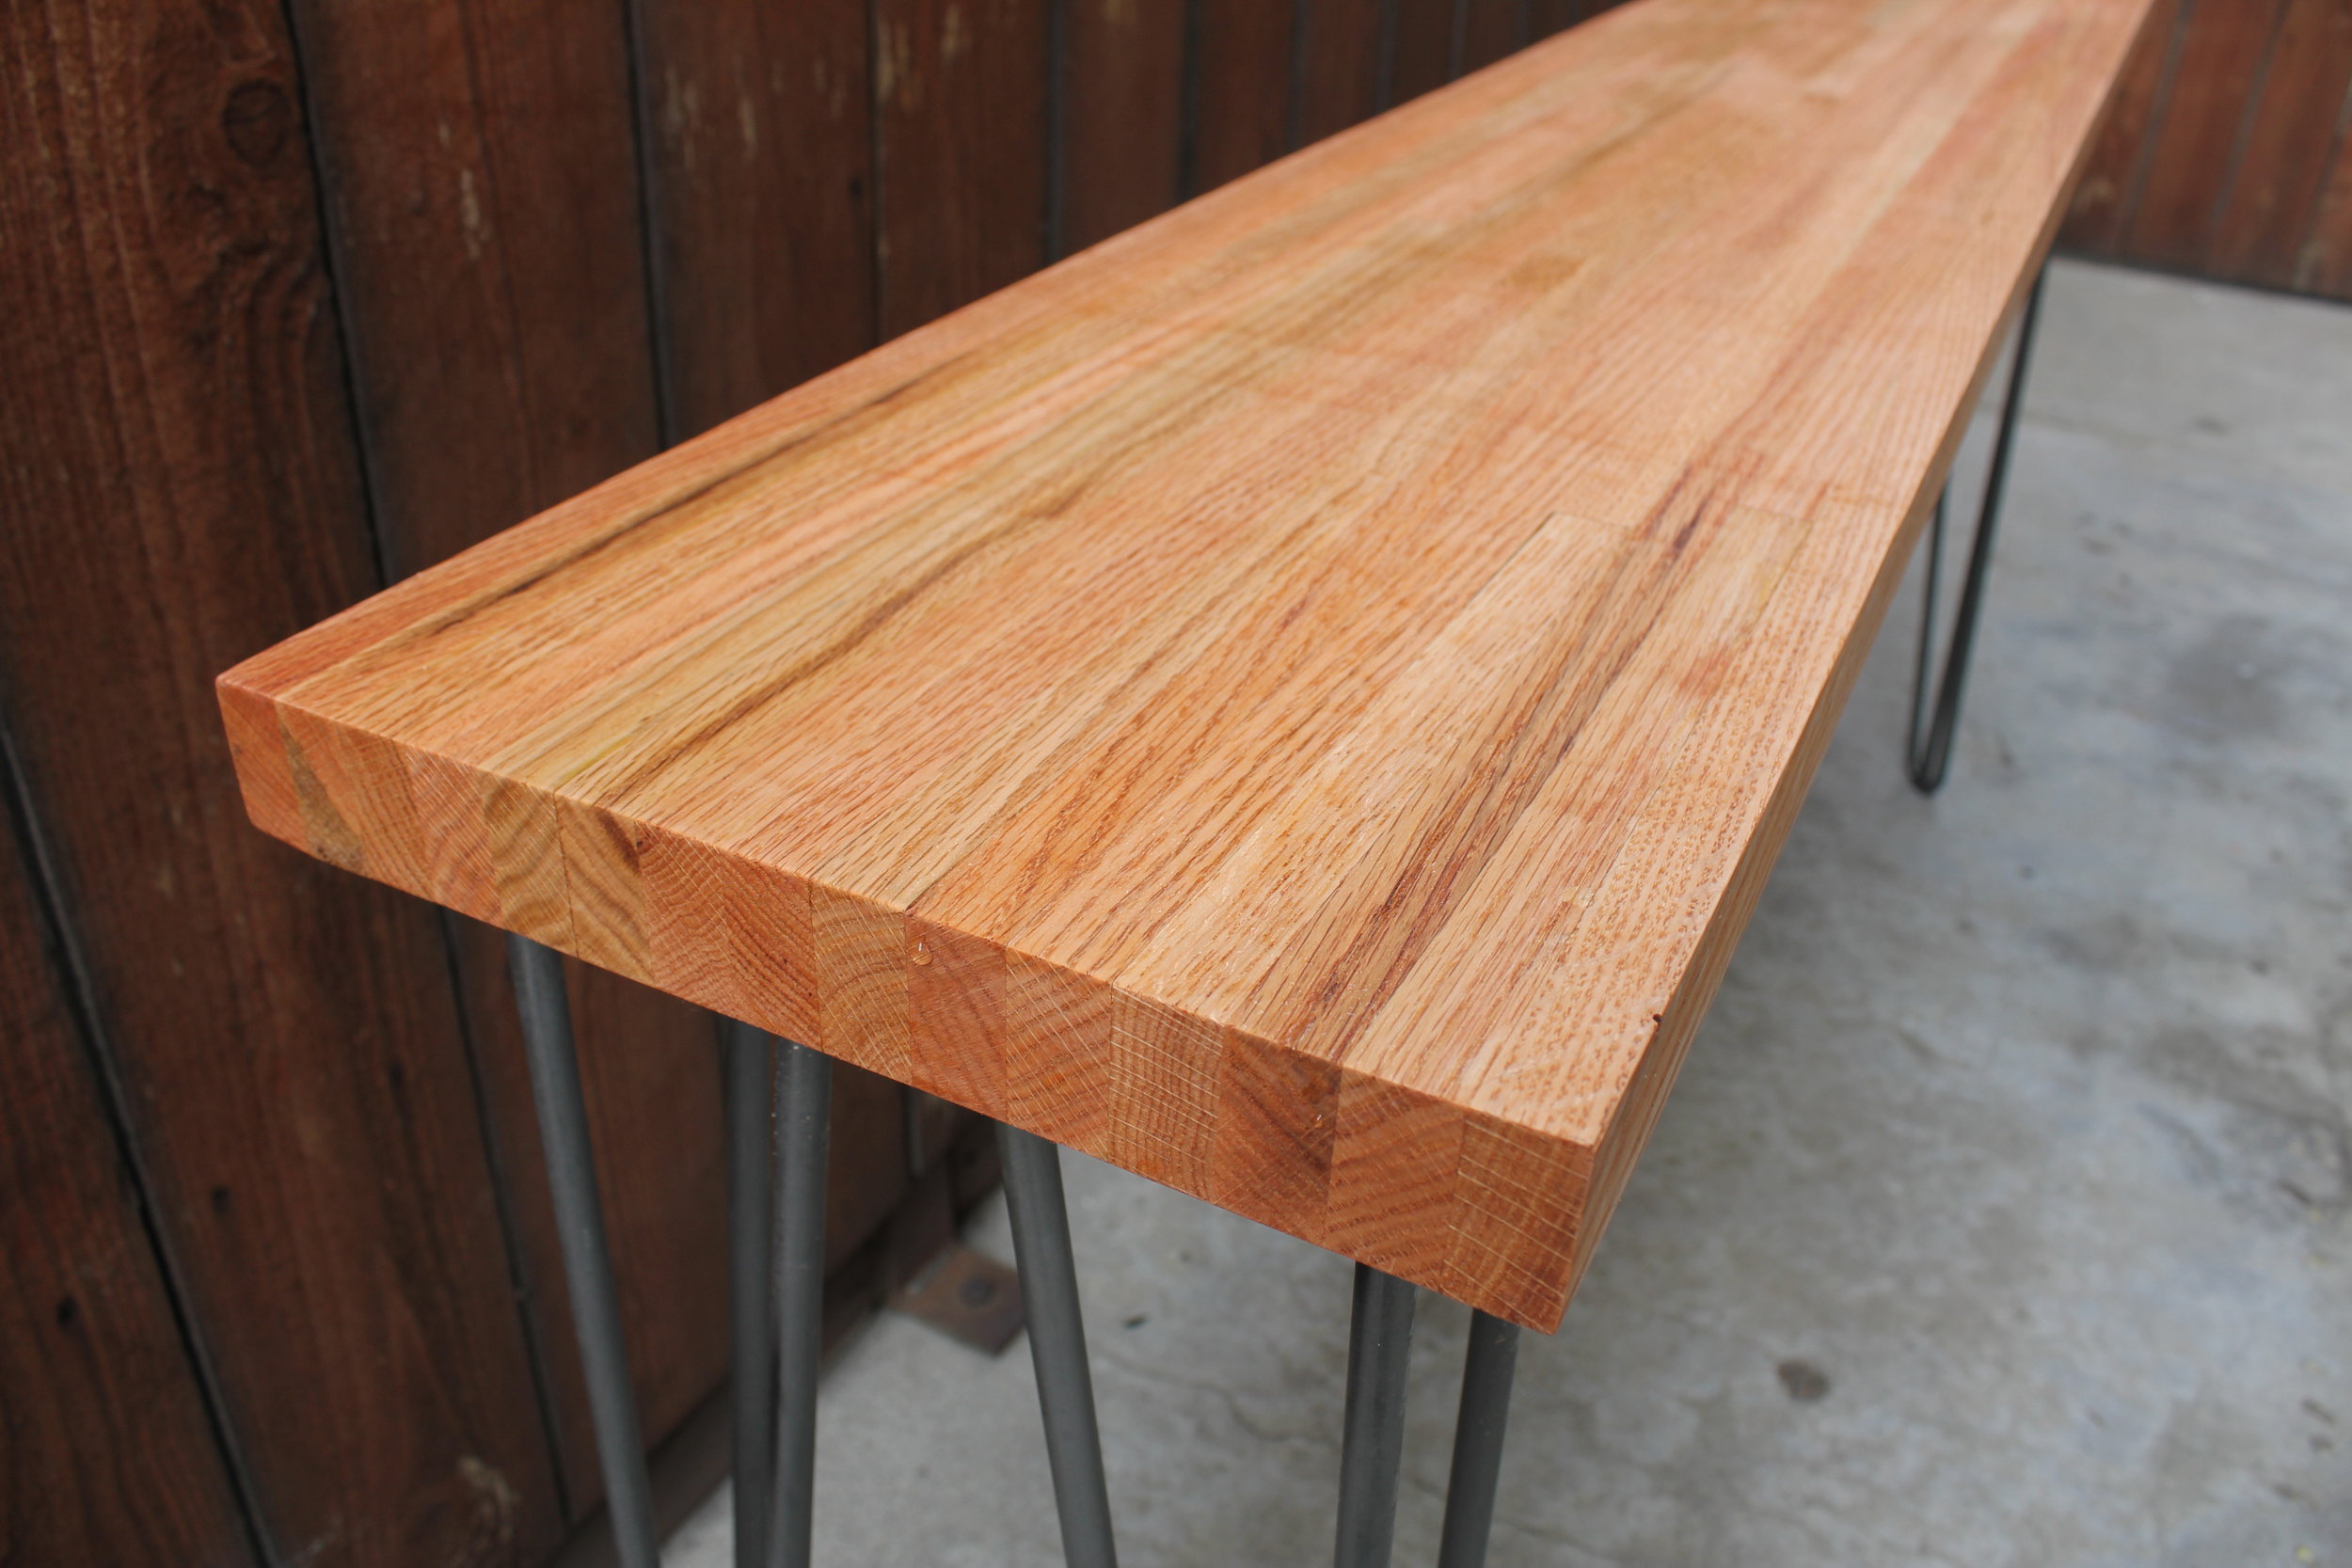
10 x 1" x 2" Red Oak Slats (buy from a local hardwood dealer!)
4 x 28” Three Rod Raw Steel Hairpin Legs
Natural Danish Oil
TiteBond II Wood Glue
1.5” Brad Nails 
Frog Tape

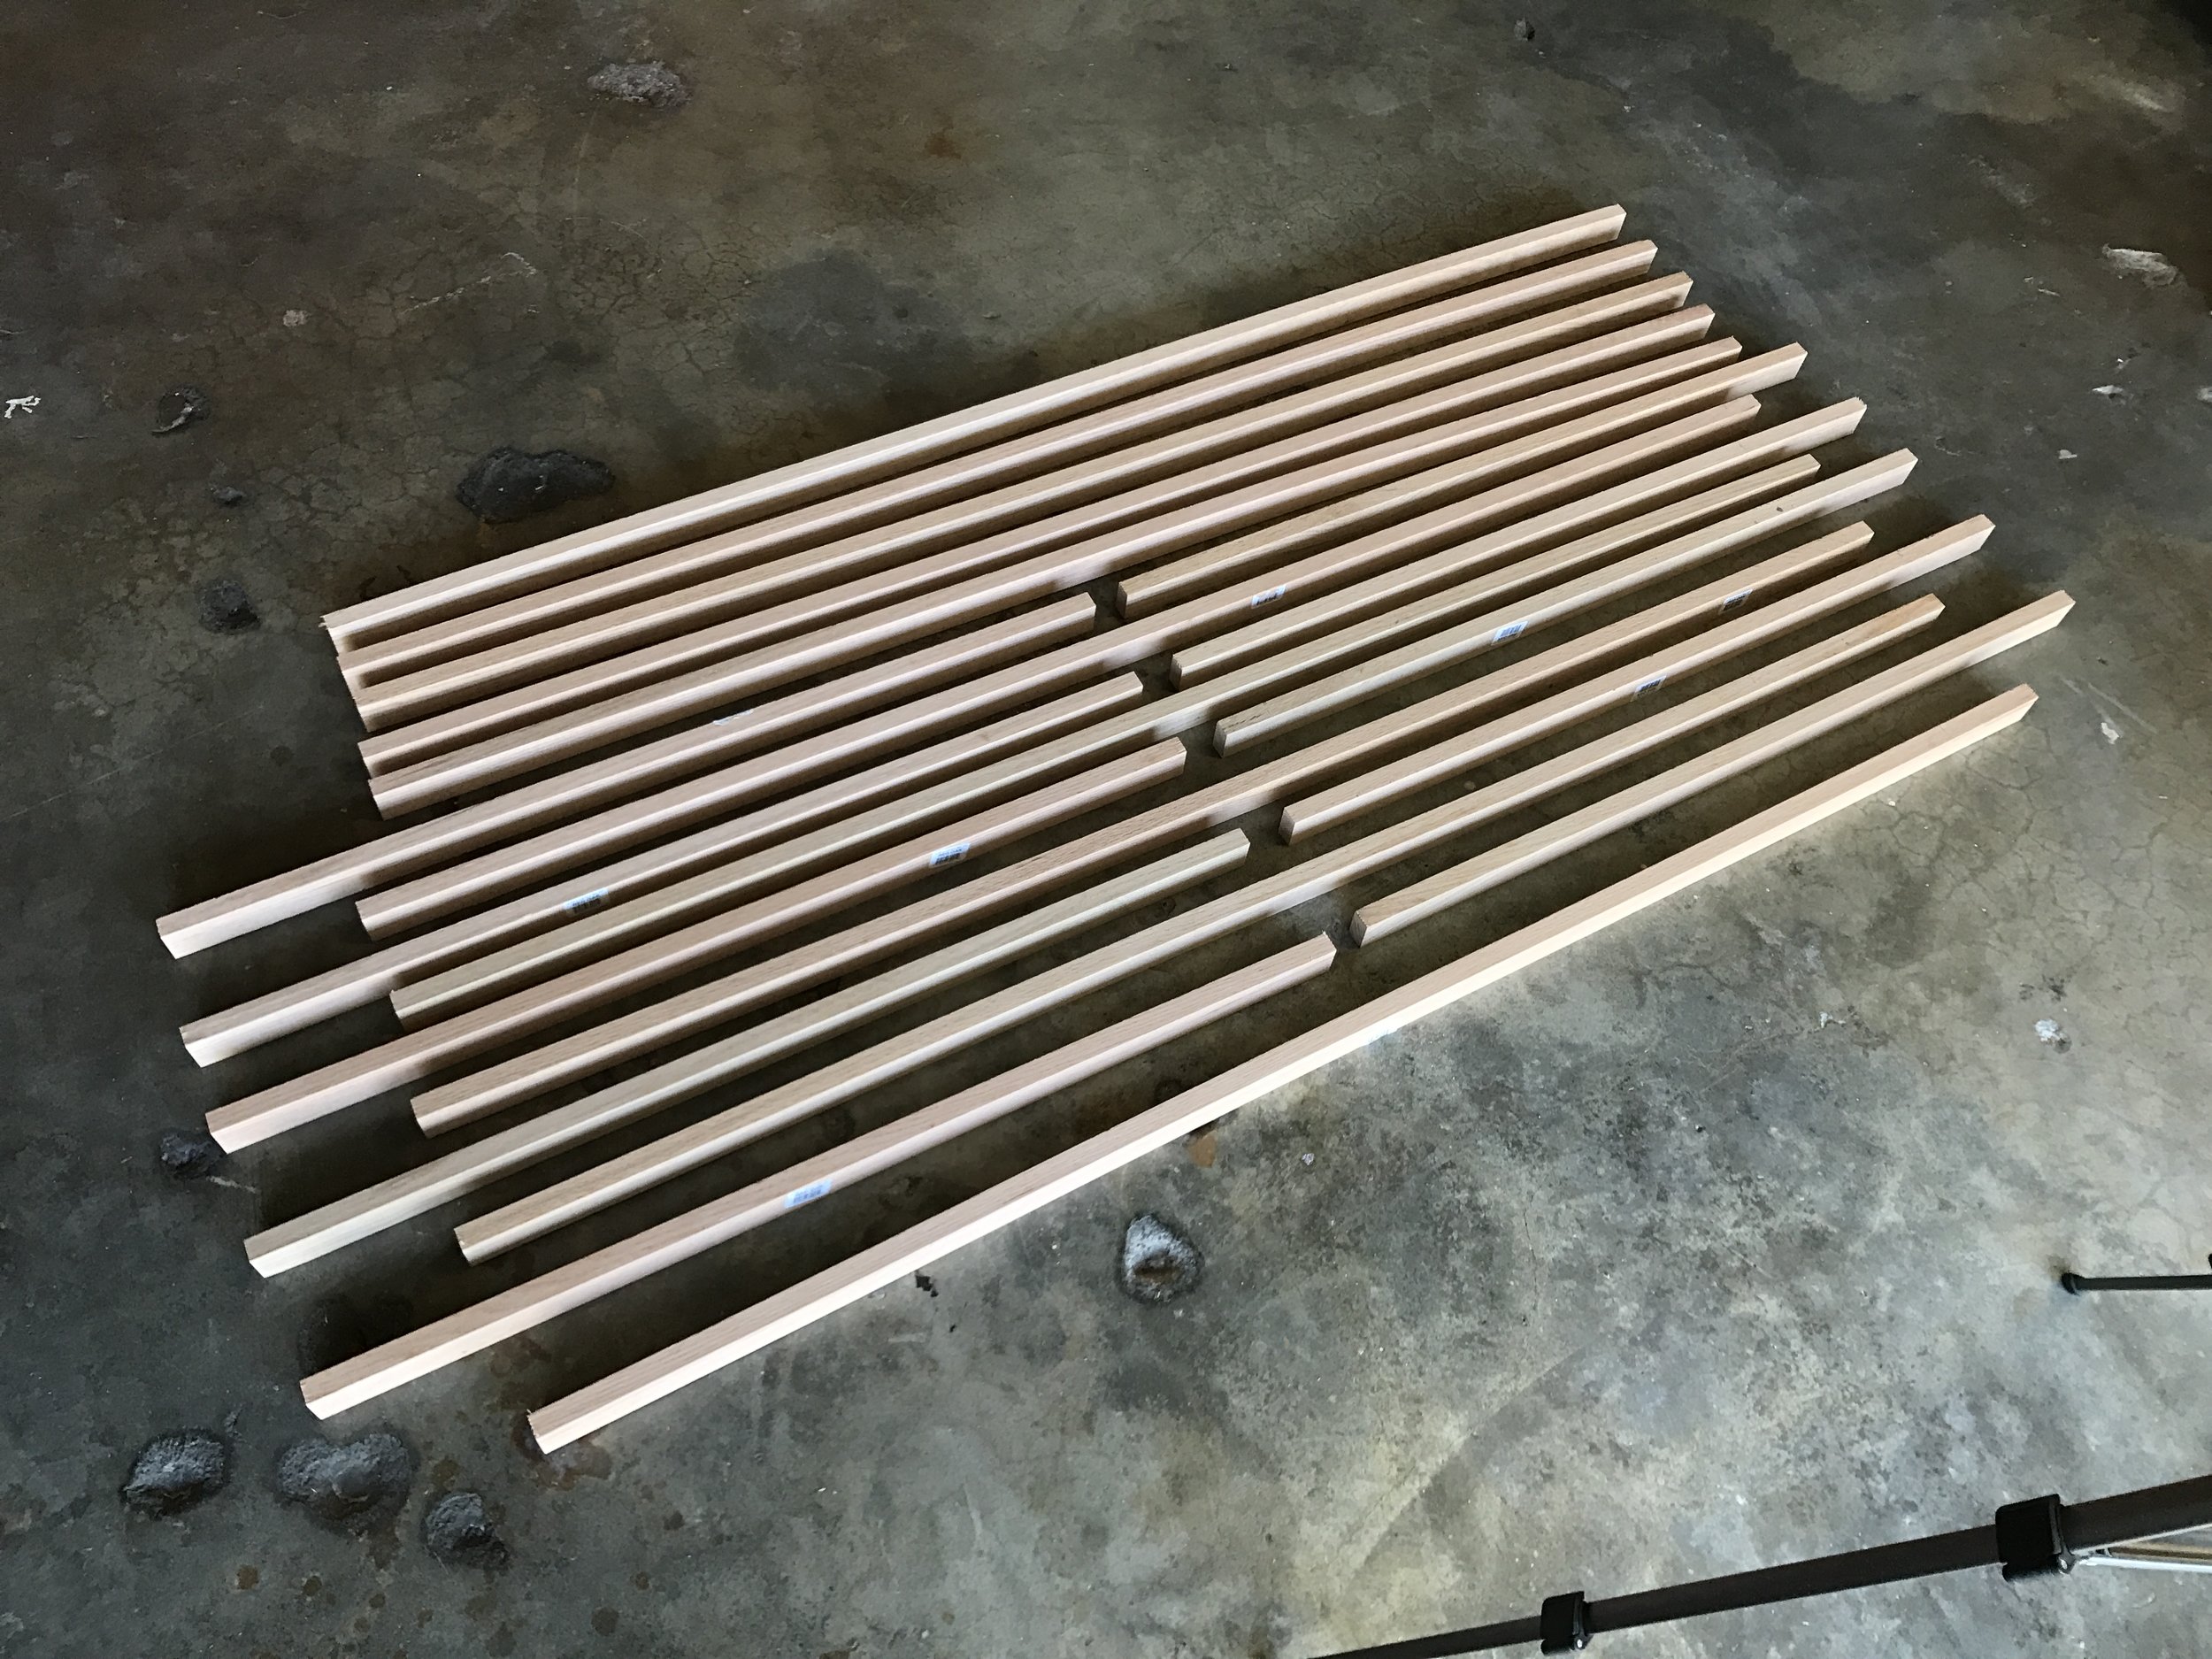
    I purchased 10 x 8 ft Red Oak slats at Home Depot in their premium hardwood section by the lumber. About $126 worth which was way too much money for wood (that I later found out...). I wanted my desk to be about 5 feet in length and just under a foot wide, so purchasing 10 was perfect for this project BUT left me very little wiggle room on the back end - so be aware of that. 

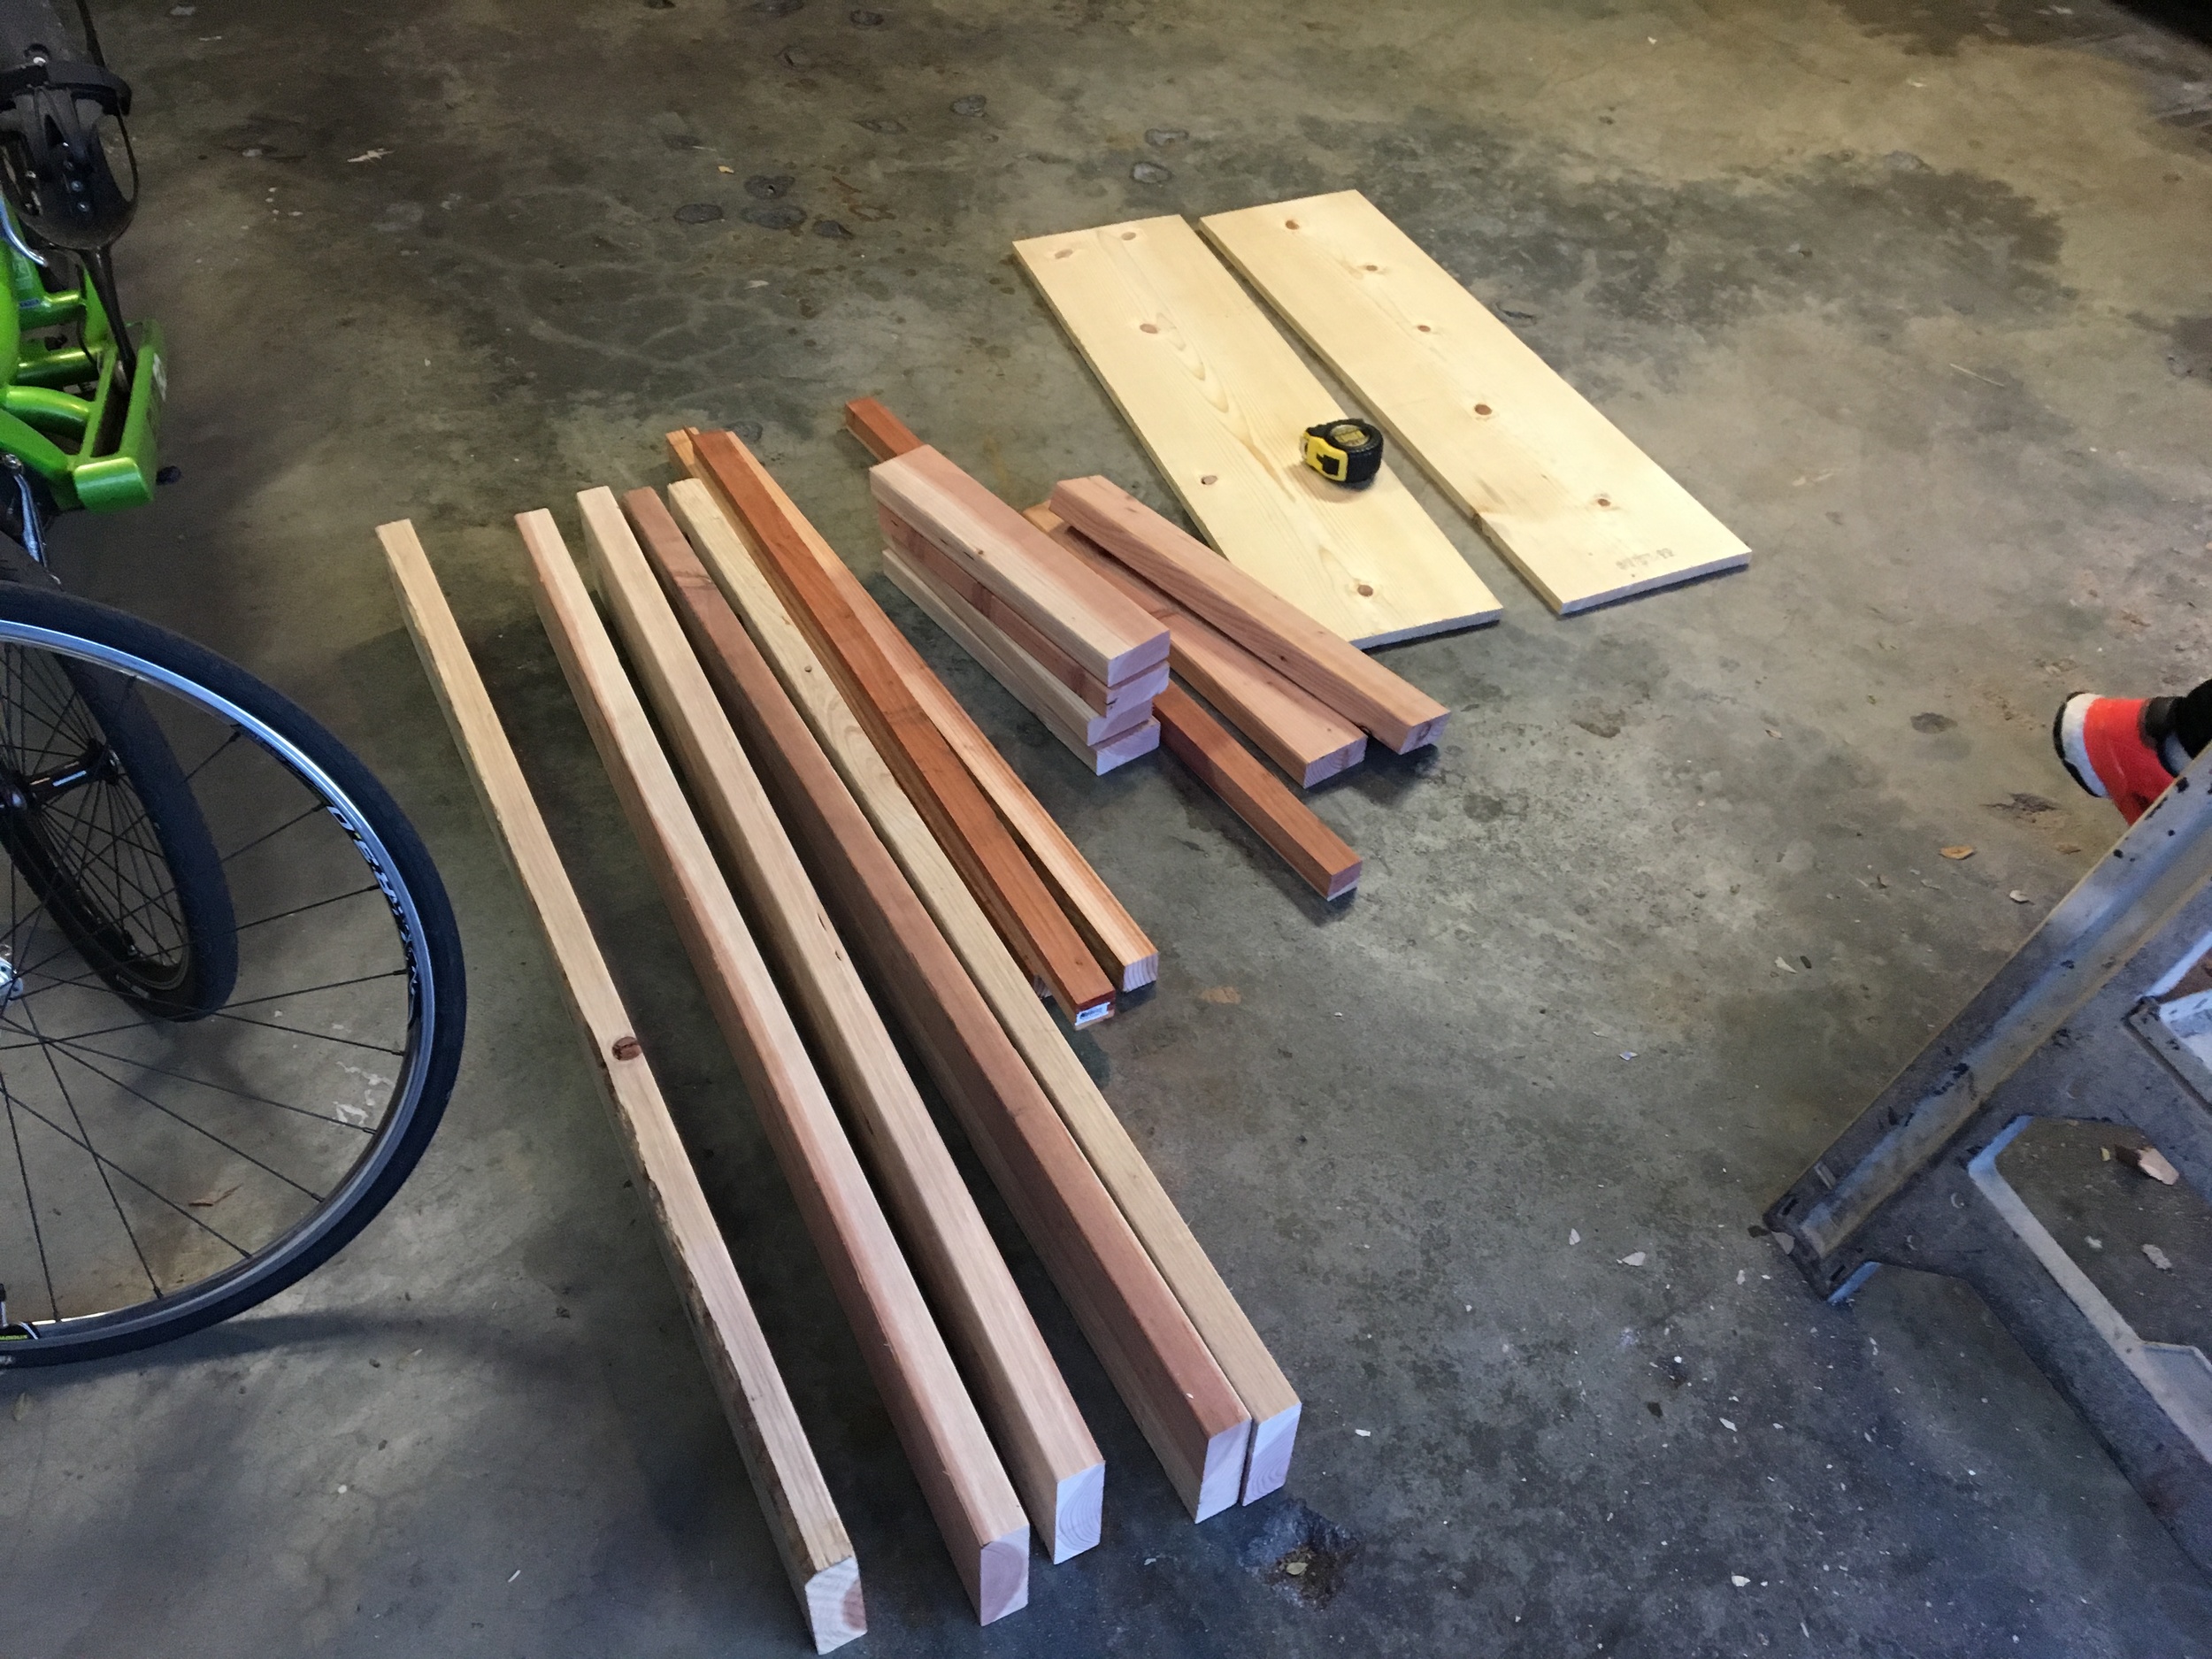
    I clamped my wood together and cut it all at once on the miter saw - taking it slow to avoid any tear out. I cut 10 slats into 61", leaving me another 10 at 35" which I could then mix into the larger slats to make the final desk width, as seen in the third pic above. 

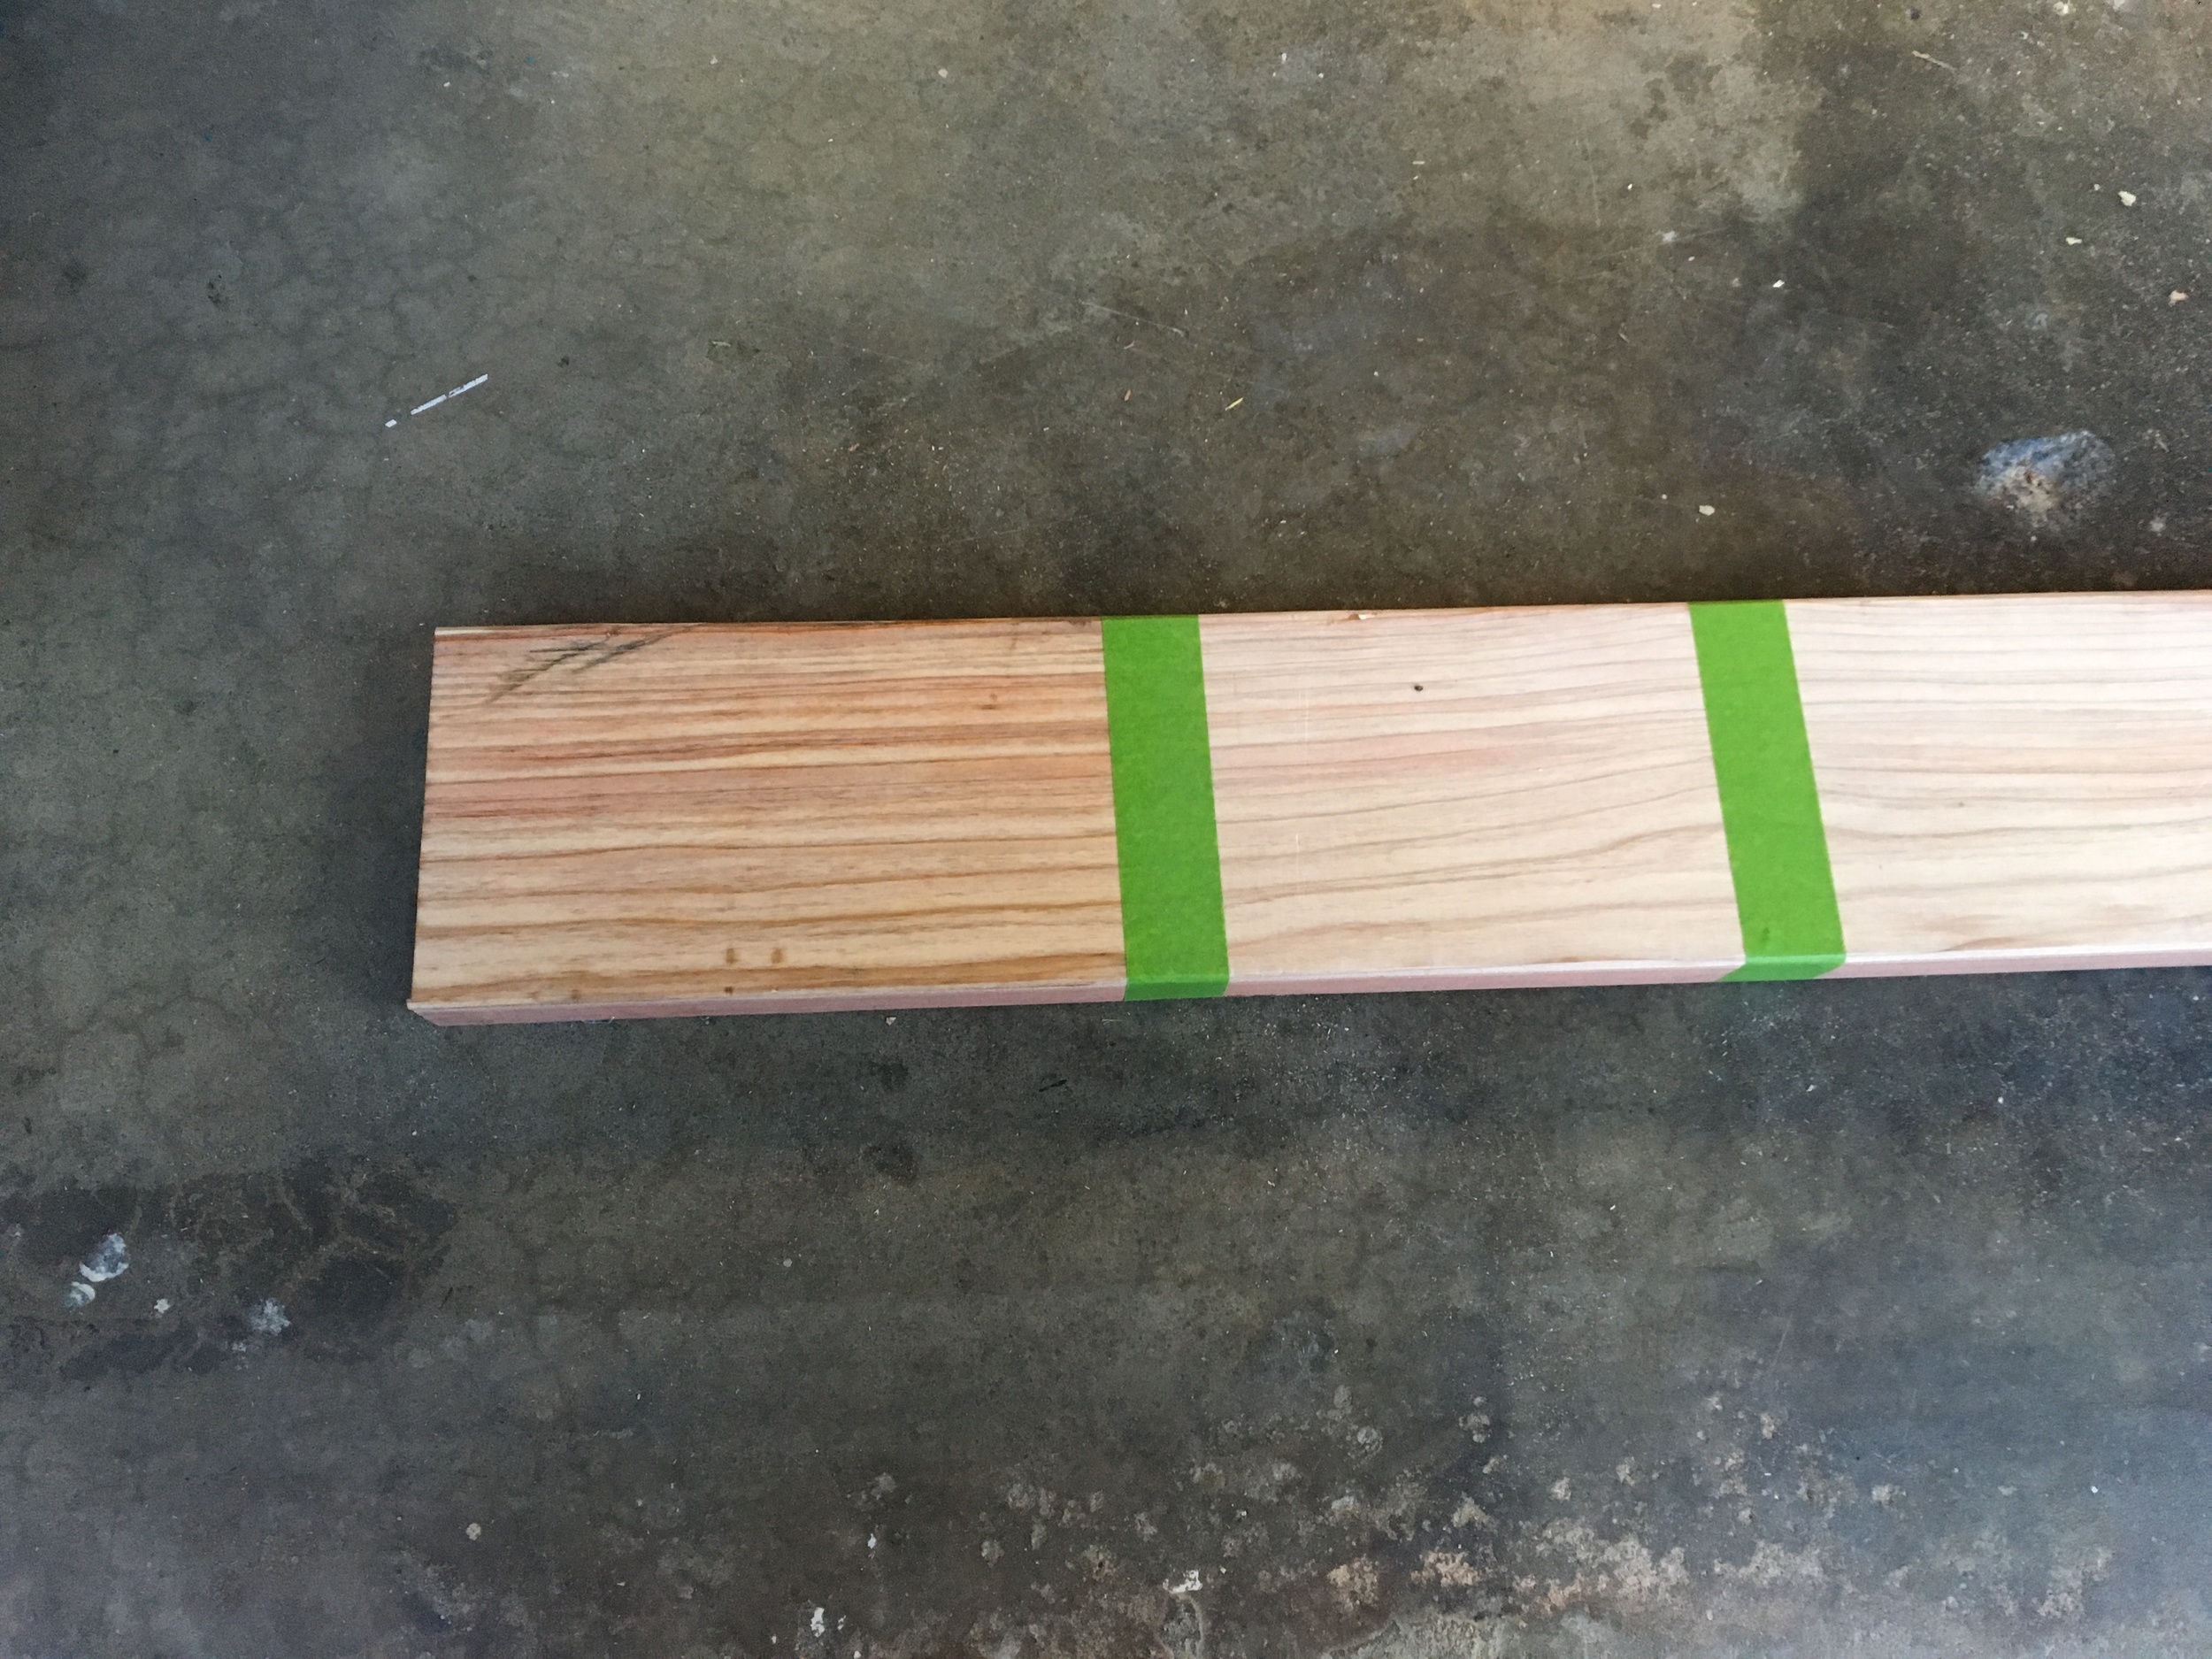
    Next up, because I wanted a butcher block look to my desk, I went in an marked and taped up (again to avoid tear out) a bunch of additional areas that I wanted to cut further. This technique works great - highly recommend the tape!

    Once I had cut everything, I went back and rearranged pieces, flipped them over, swapped them for pieces of similar length, etc. just to mix up the variety of the grain. 

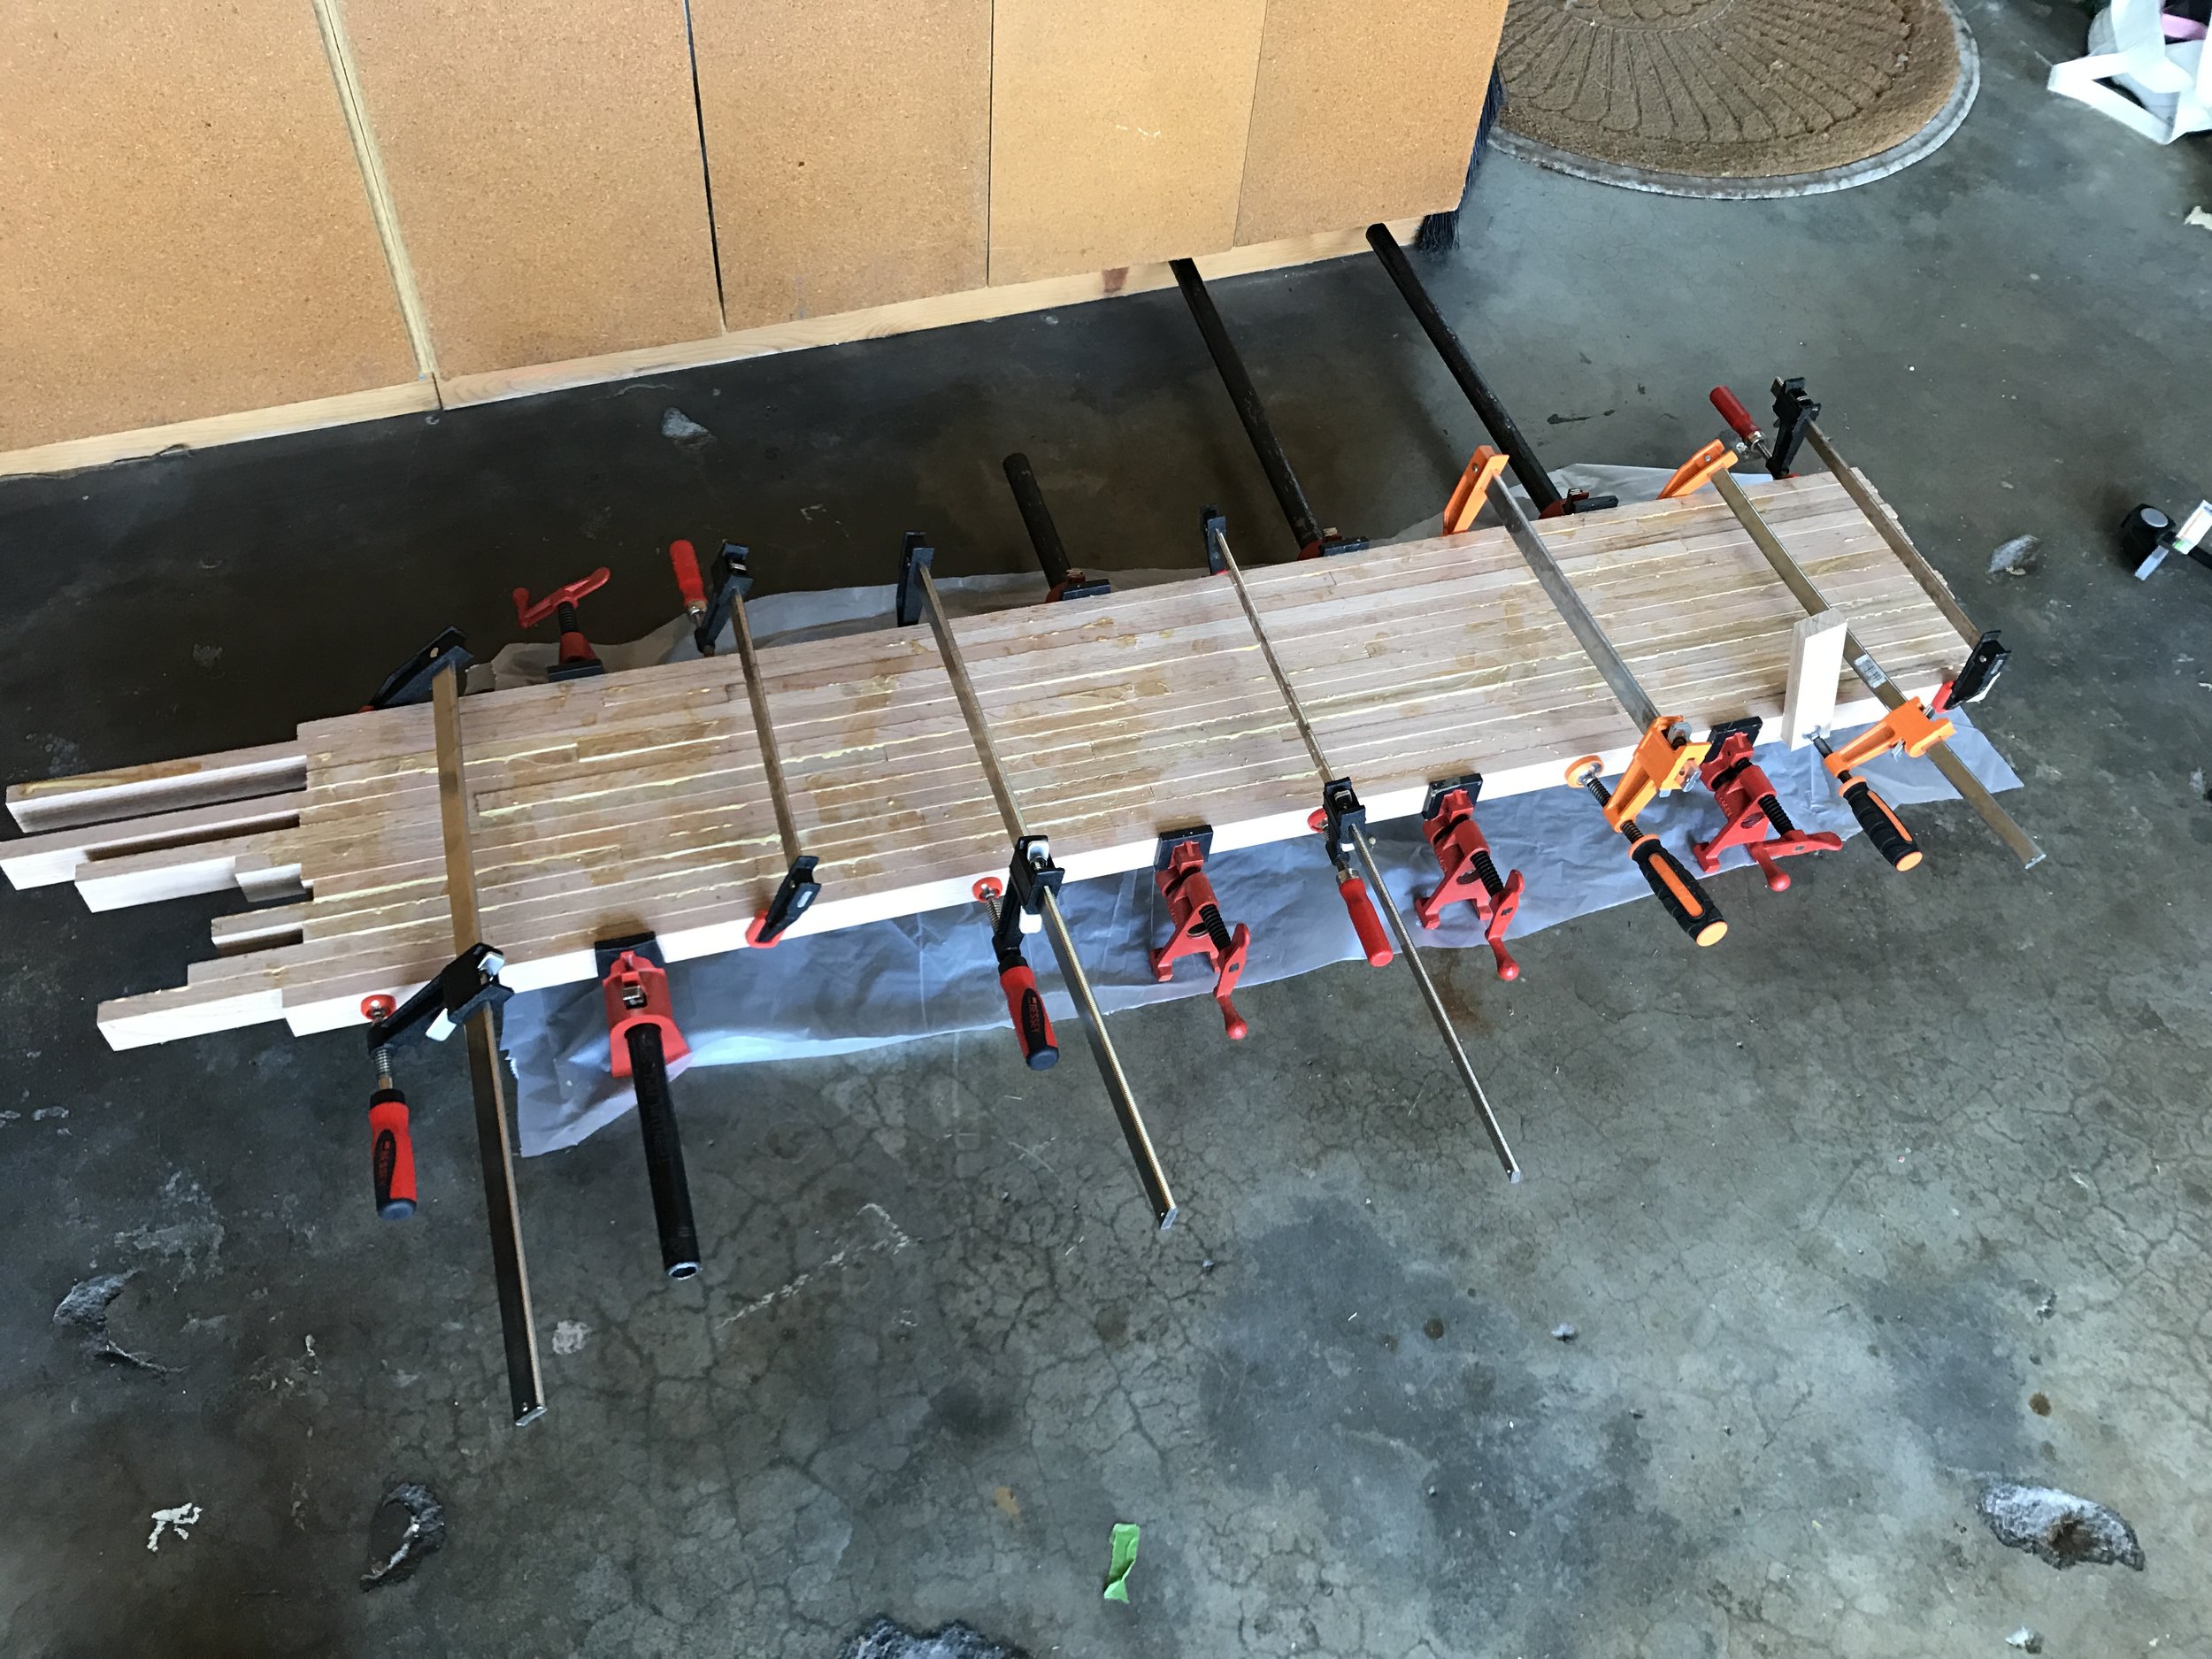
    I then removed the tape and began the glue up. I took this once slat at a time, making sure to apply a shitload of glue to maximum squeeze out and keep everything flat to the wood as well as the ground. I did this by gluing up a piece, pushing it against the other piece of wood, clamping it temporarily in place, then using finish nails to keep it there temporarily and avoid slipping in the final clamp up. 

    I used about 11 clamps overall for the final clamp up and it was just the right amount. After your glue has settled for roughly 30 minutes, i went in and wiped and scraped off all of the excess you can to make the clean up the next day easier. 

    I let it cure for roughly 20 hours (12 should do just fine!)

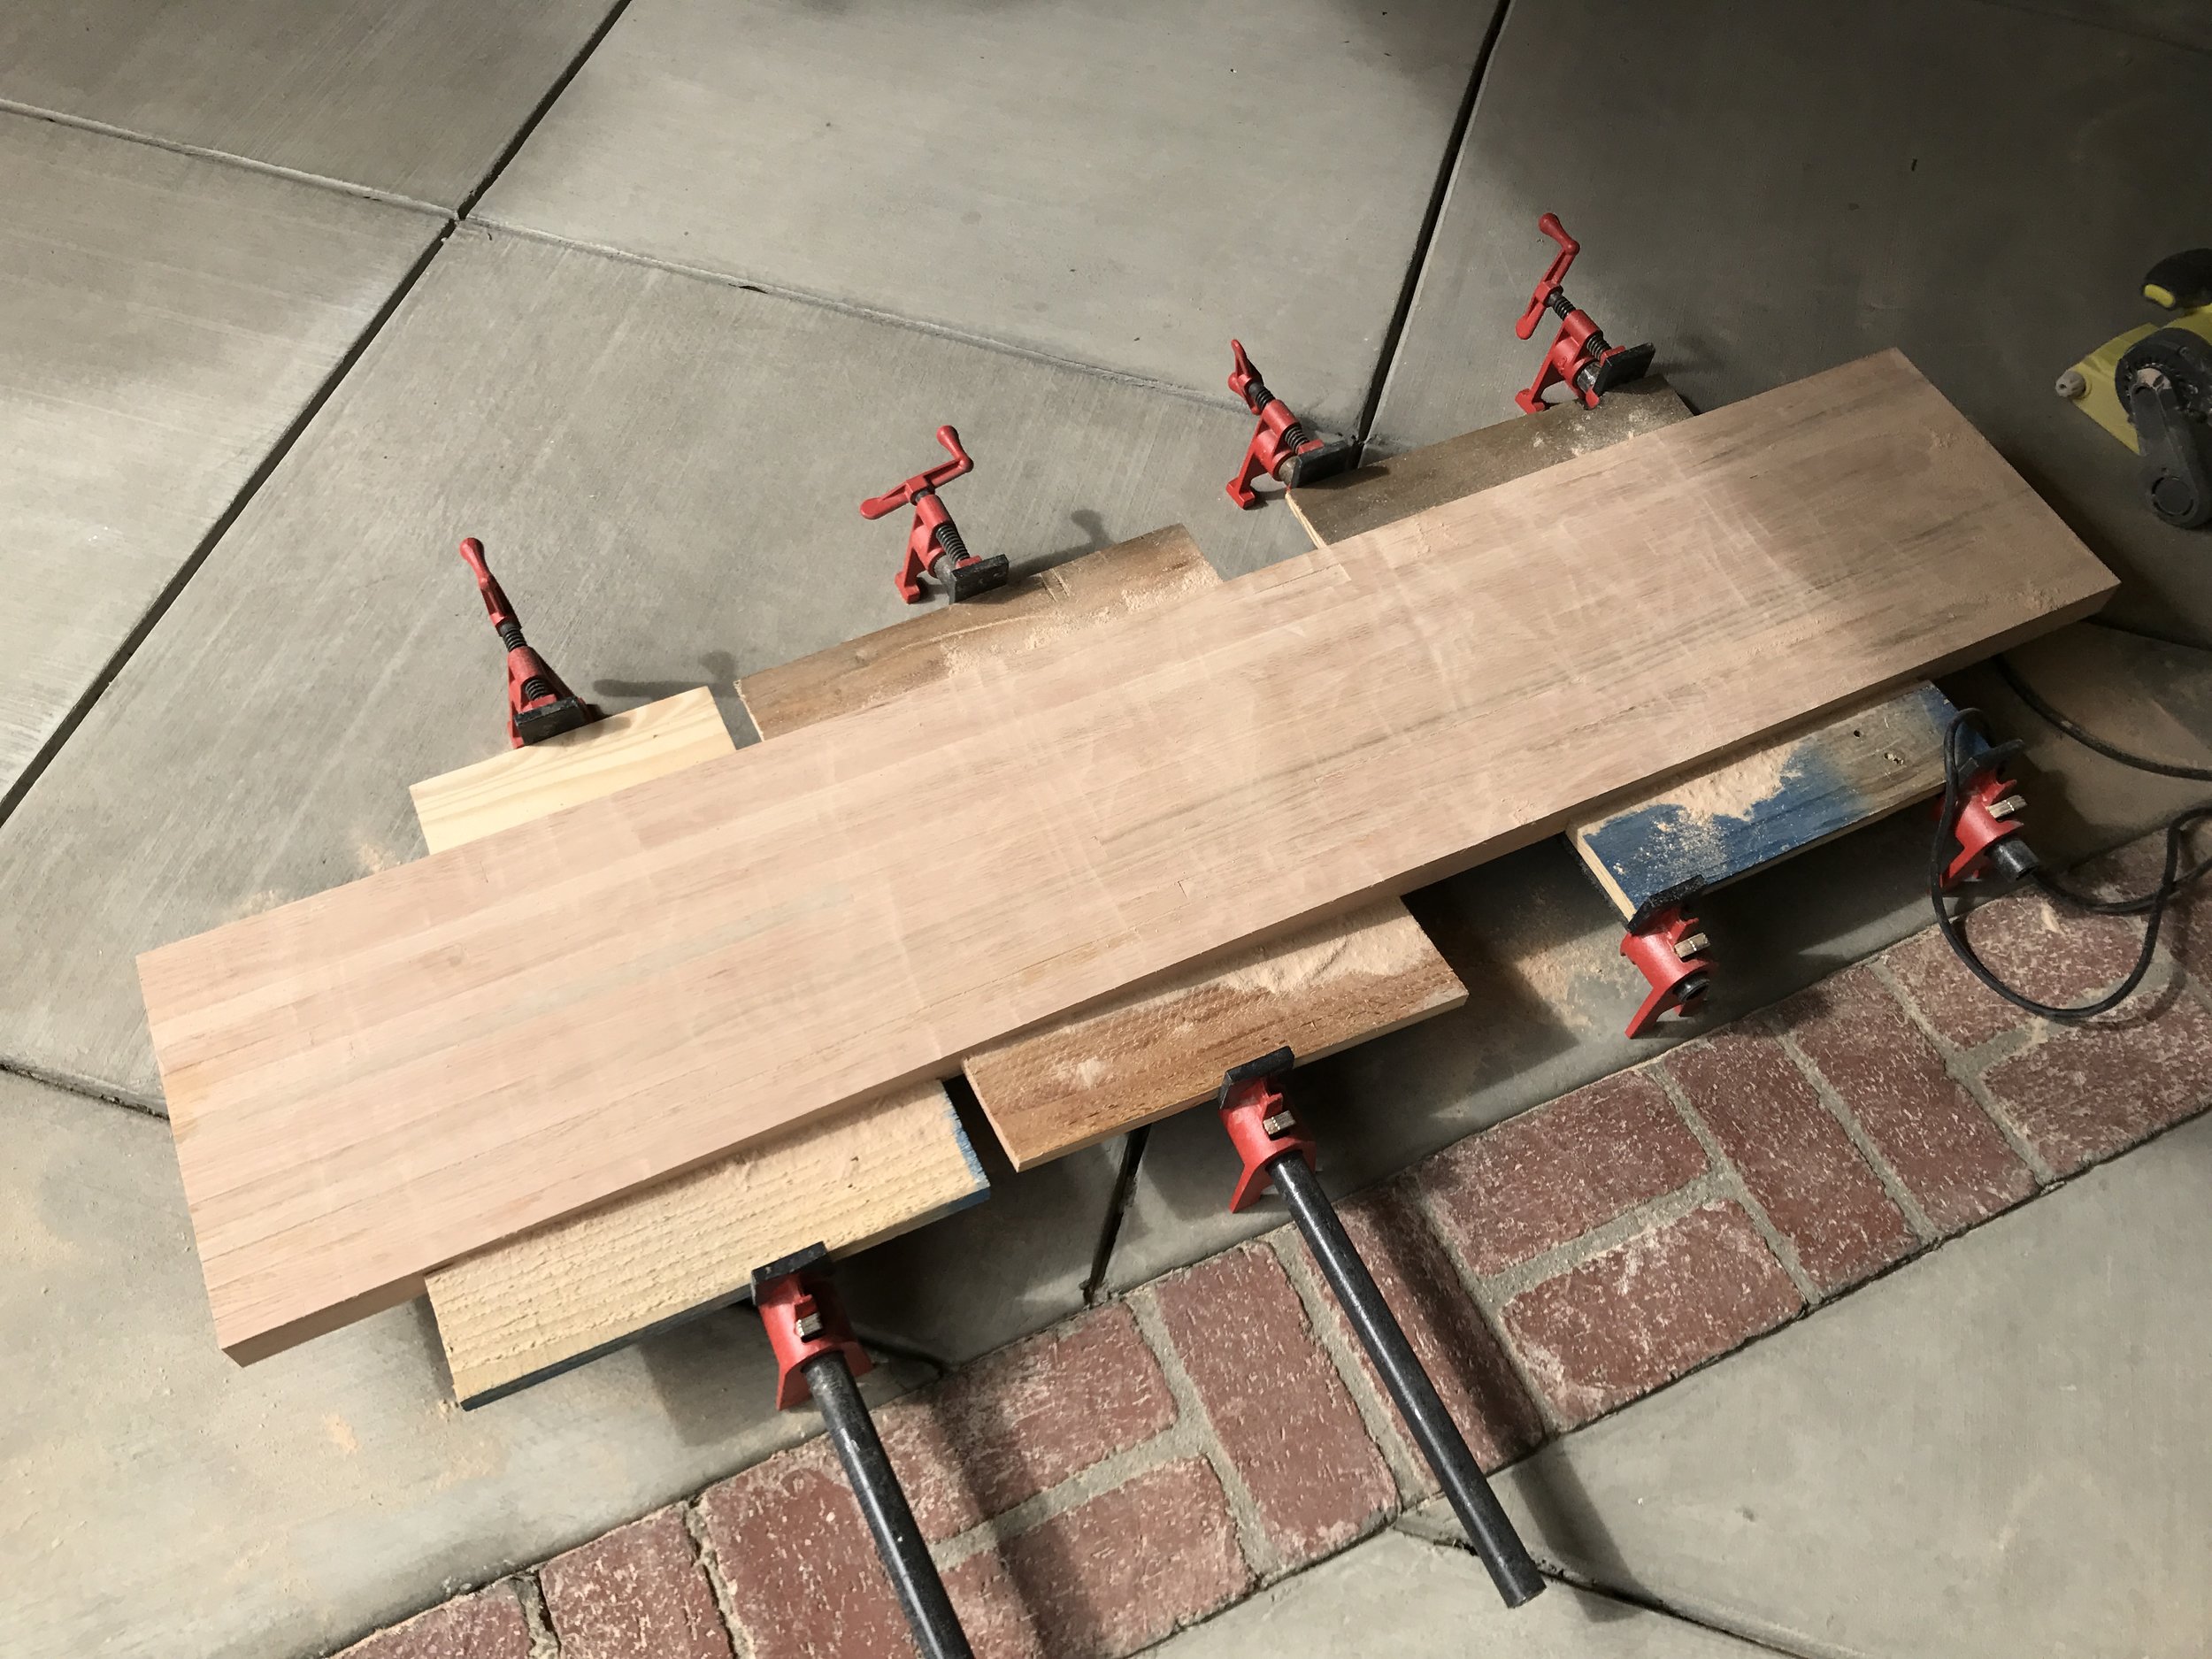
    I then squared everything up on the miter saw the next day, taking me to my final length. I forgot tape here, so if you choose to not use tape on your square ups, just take the cuts slow. My stock carbide blade on my miter saw handled it just fine. 

    Next was sanding (and in this order):

    60 grit (belt sander)
    90 grit (orbital sander)
    120 grit (hand sanding)
    220 grit (hand sanding)
    220 grit (wet hand sanding to raise grain)
    320 grit (hand sanding)
    400 grit (hand sanding)

    This thing was incredibly smooth by the end. I recommend using scrap wood to put on the outside of your piece if you use pipe clamps like I do as it allows you to get to all the edges with now issues. 

    BTW - a router jig sled or a thickness planer can solve a good portion of the tedious flattening process I went through. I just don't have either nor can I afford them or store them anywhere. 


    Big shout out to The Hairpin Leg Co for their support in making this project happen. Cheers boys. 

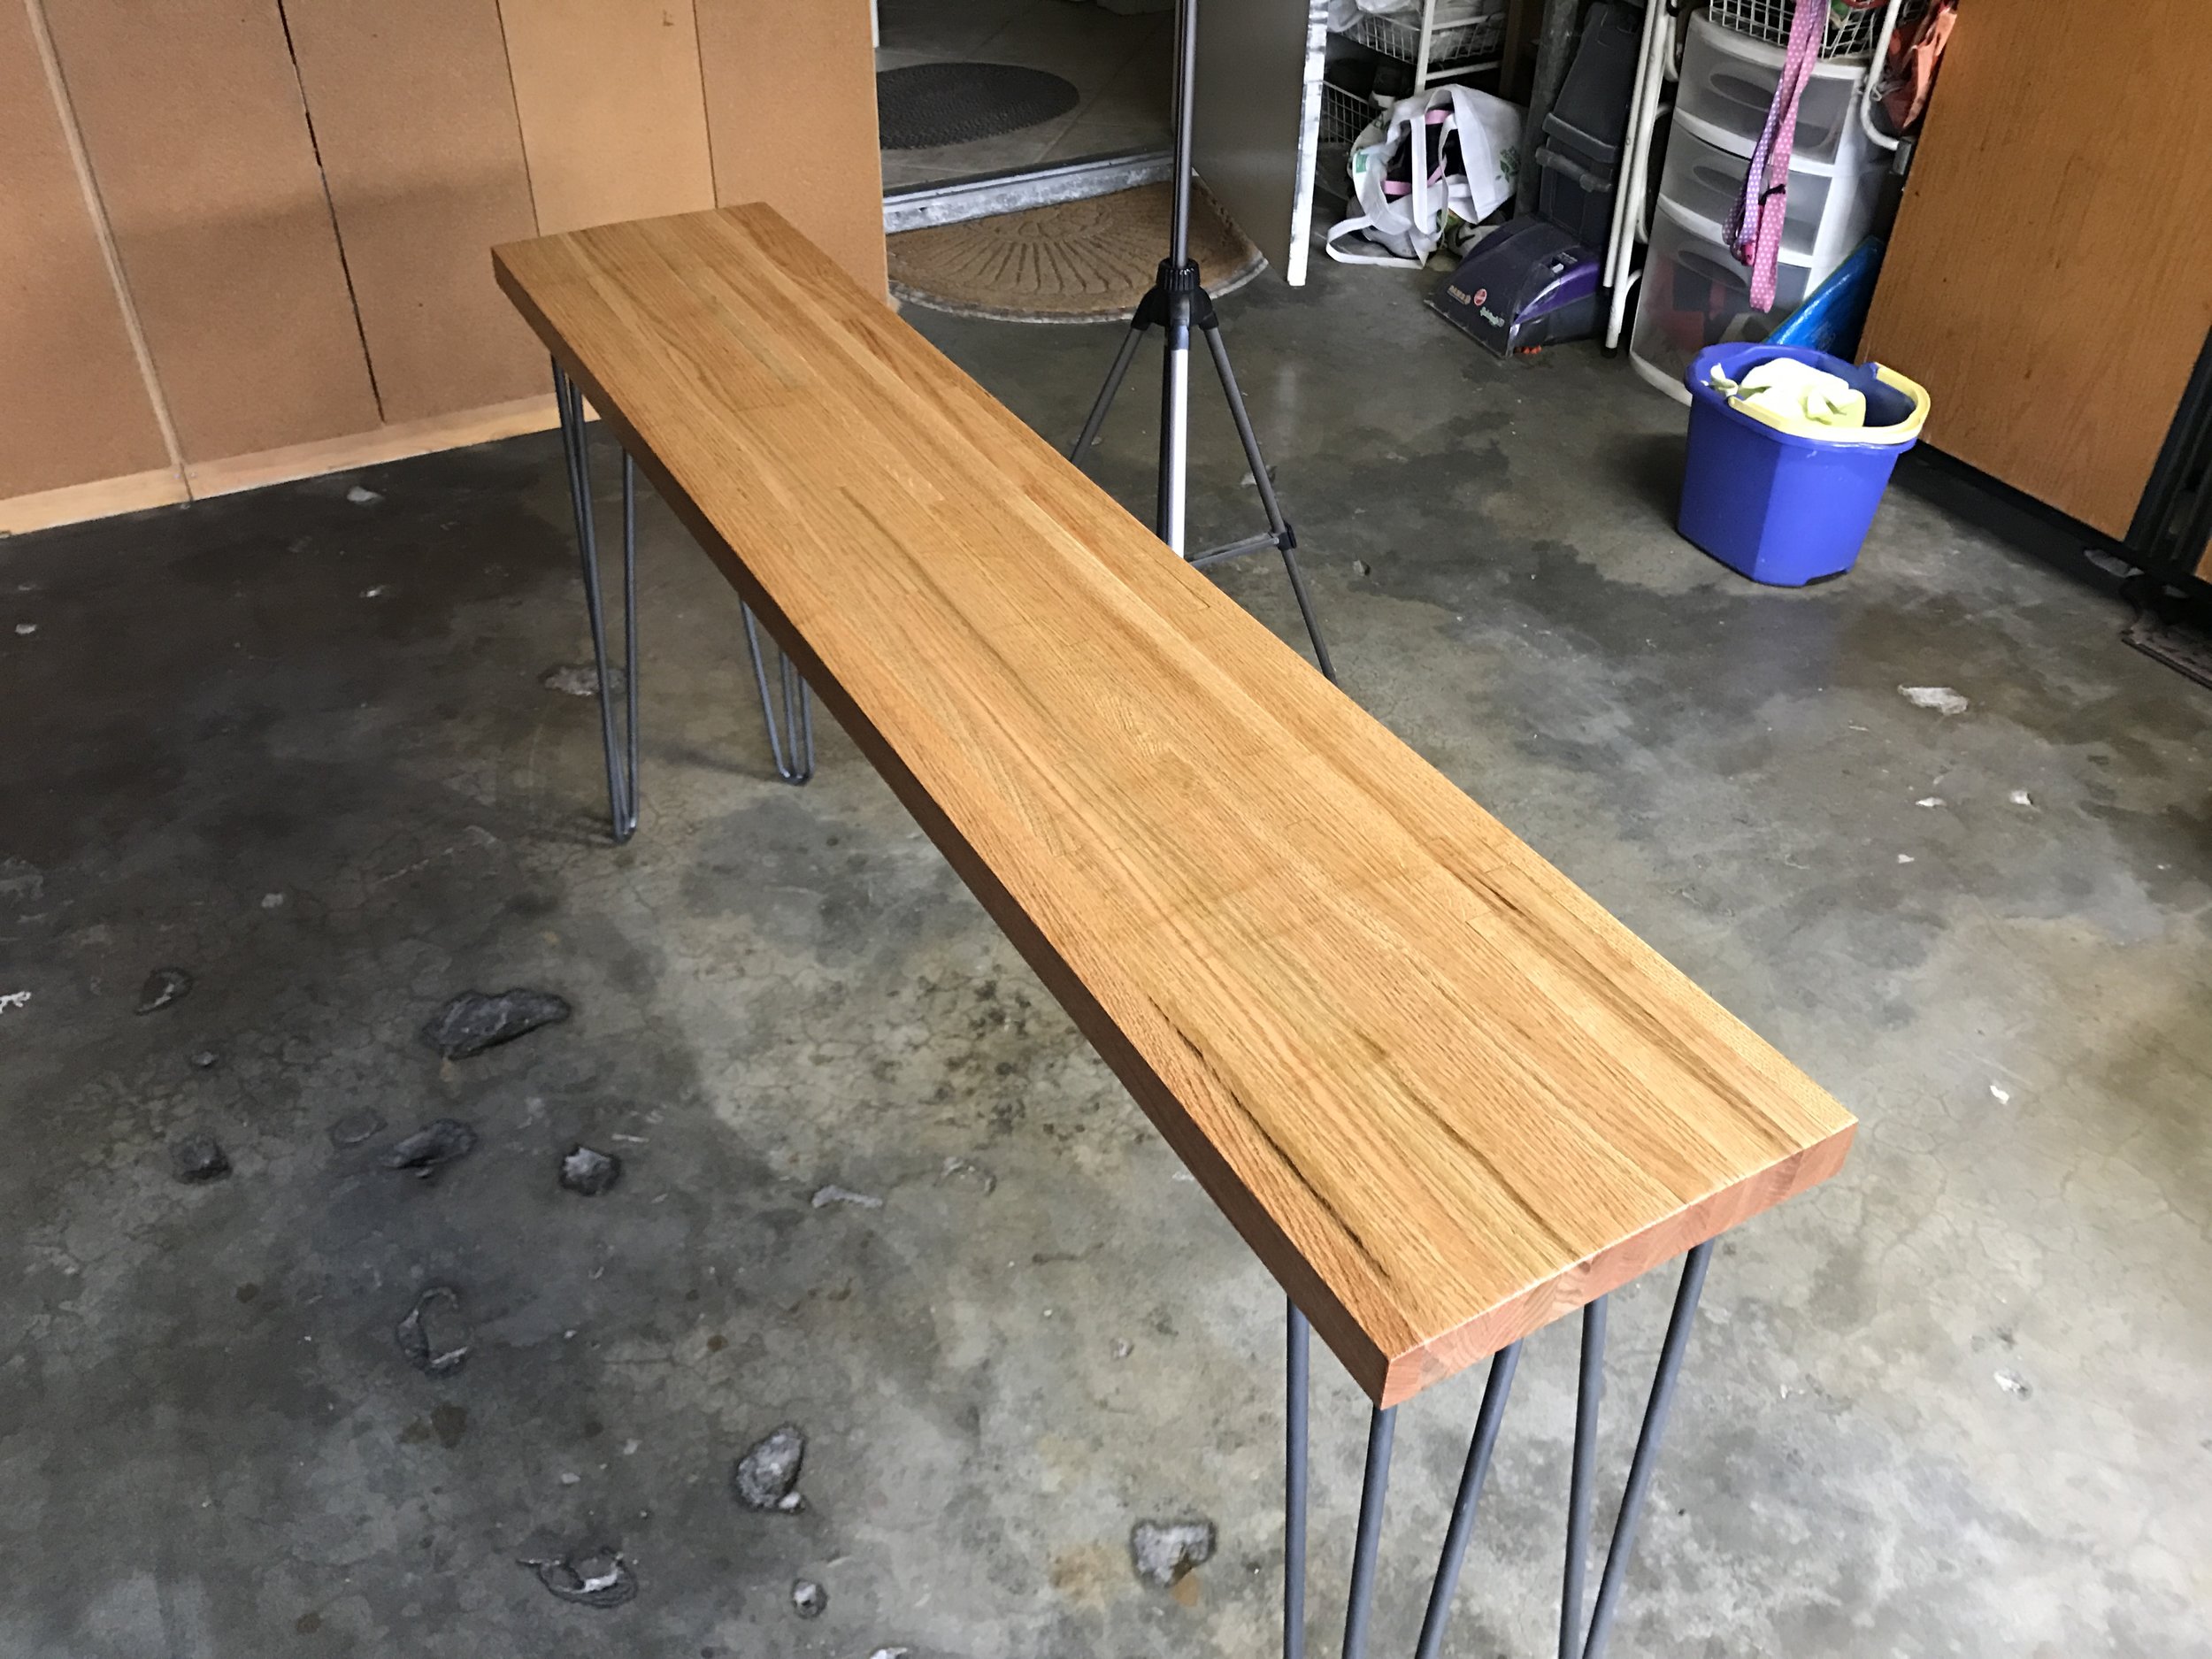
    Next, I attached the legs. I measured 1" in from each corner using my rafter square to mark a location to put my legs. I then marked and predrilled holes for my screws, and then secured the hardware using 4 x screws for each hairpin leg that were provided. They are very sturdy.

    Make sure you don't drill through your desktop - you can use tape to help indicate a depth to drill to on your drill bit if you have any reservations. About 3/4" should do just fine for you.

    Last up was finishing. I used a natural Danish Oil finish. I love Danish Oil as it soaks into the wood nicely leaving a very smooth finish that brings out the grain and protects the wood but still allows you to feel that grain when you touch your project. I applied two coats 30 min apart, letting the oil soak in each time and harden, then wiped off the excess. After 24 hours and one final wipe down, I was all done!

    Couple of final shots for you. Now this thing is not perfectly flat, which is a product of using only sanding to get it down. Not an excuse, but hard to monitor sometimes and even harder to perfect. If I ever have convenient access to a planer I might run it through a few times and reapply oil as it will be even flatter. But whatever, right?

    TOOLS

    RYOBI 10 in. Sliding Compound Miter Saw
    RYOBI Miter Saw Stand
    RYOBI Cordless Orbital Sander
    RYOBI Belt Sander
    RYOBI Cordless Brad Nailer
    RYOBI Drill Bit Set
    BESSEY Economy 2.5” x 12” Clutch Clamps
    BESSEY Economy 2.5” x 24” Clutch Clamps
    BESSEY H Style Pipe Clamps
    12” Rafter Square
    Hammer
    Rubber Mallet
    Hand Sanding Sponges  (120, 220, 320, and 400 grit) + Spray Bottle
    5-Gallon 4.5 Peak HP Wet Dry Vacuum 
    Tape Measure
    Air Compressor

    FILM / EDIT EQUIPMENT: 

    Canon Rebel EOS T2i:  
    Canon EF-S 18-55mm f/3.5-5.6 IS II Lens
    Rode Microphone
    Voice Recording
    Adobe Premiere (Editorial)

    Thanks for reading! I would be so grateful if you could please subscribe to my new Youtube Channel for future projects. I put out videos every two weeks.

    Cheers!

    Zach


    How to build a Stump Side Table


    Thanks for checking out the full article! 

    Full video build is below, followed by detailed instructions with tools and measurements! You can subscribe to our YouTube channel by clicking here!

    I was in Mammoth back in May of 2016 and happened to come across a tree that had been cut down into a bunch of stumps sitting on the side of the road. They seemed awesome, so I snagged a few for future projects. After letting them dry out for the better part of a year and losing most of their weight in water, I finally decided to make something of them. This was part one of the stump projects!

    MATERIALS
    1 x Stump (I think it's oak)
    3 x 10" Hairpin Legs
    9 x wood screws (size 8)
    Semi Gloss Polyurethane
    Bleach (to clean the wood)

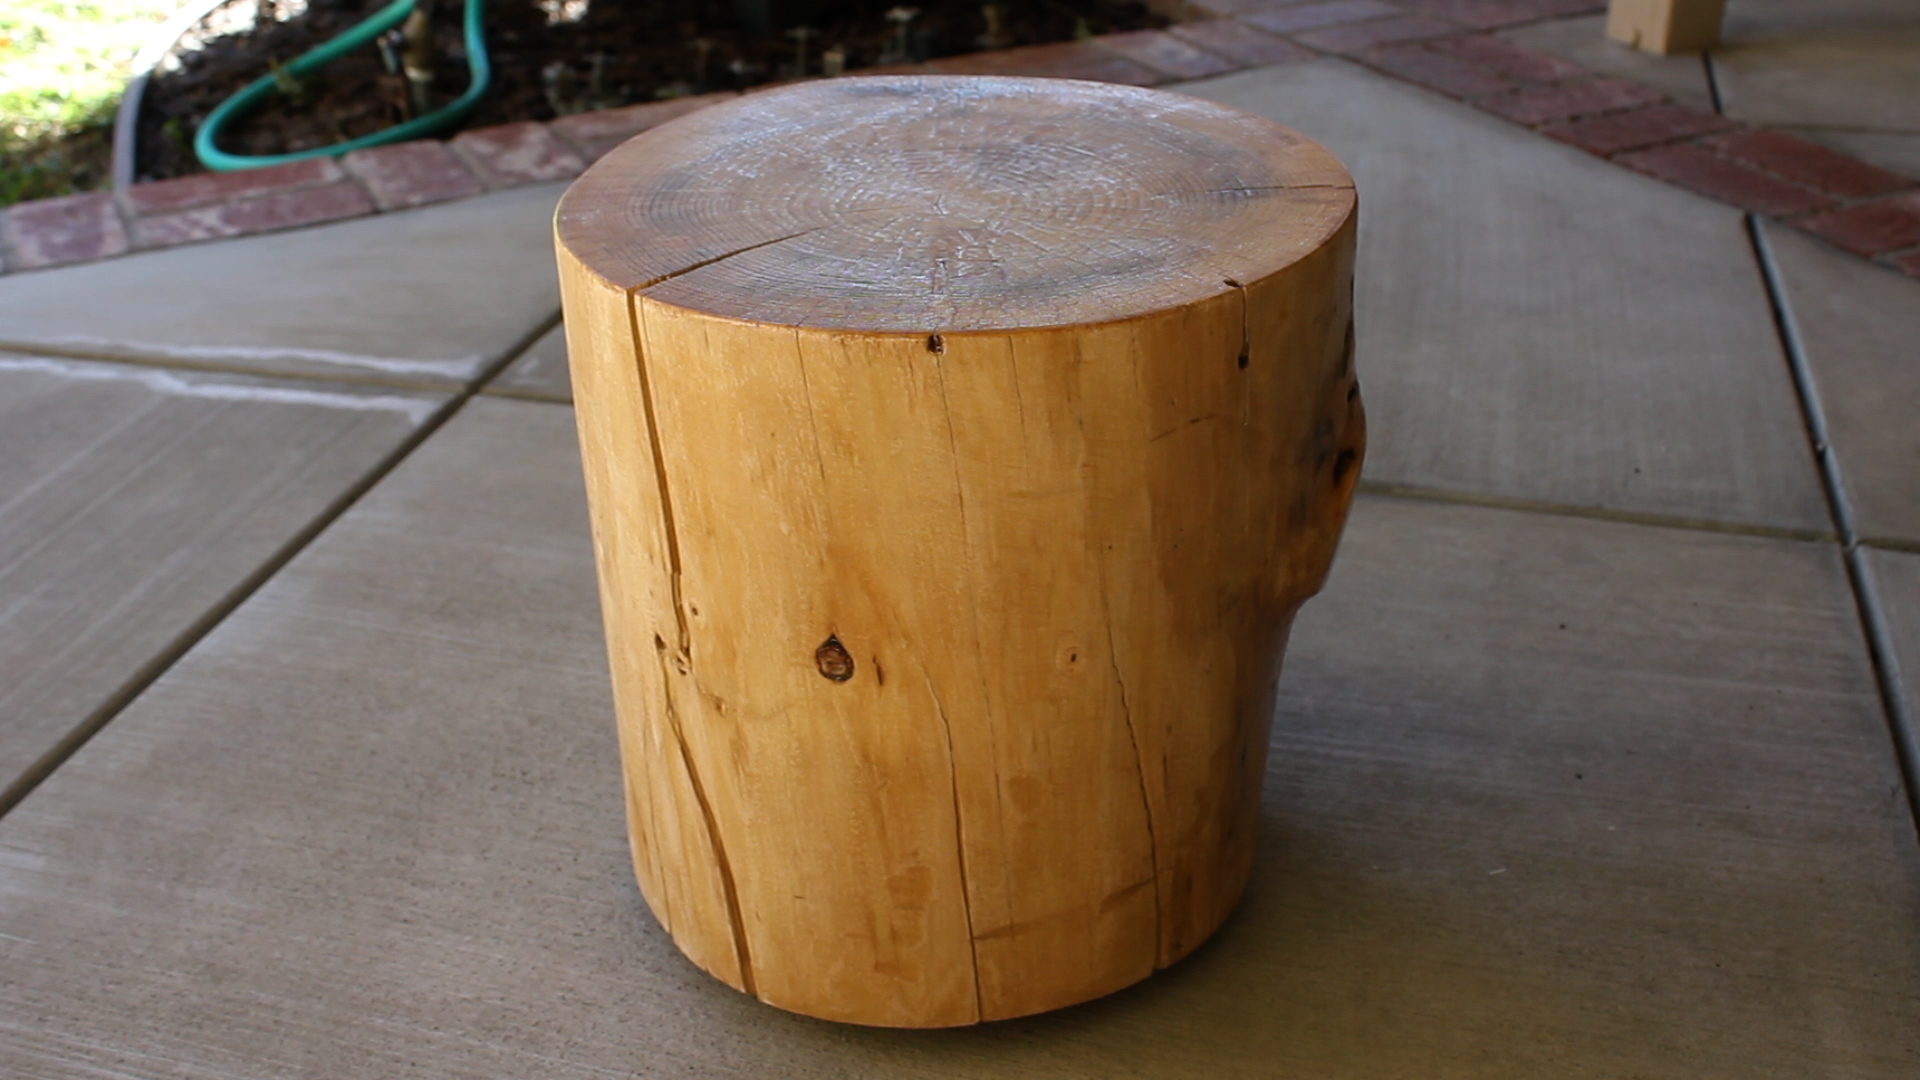
    Here is the stump as it was before starting. It was in great shape and cut nearly flat already which was a huge bonus. If you don't have a stump that is already flat, you can flatten it using either a hand planer or, if you have access to one and feel comfortable using it, a chain saw.

    I think this is oak wood...but I really don't know. 

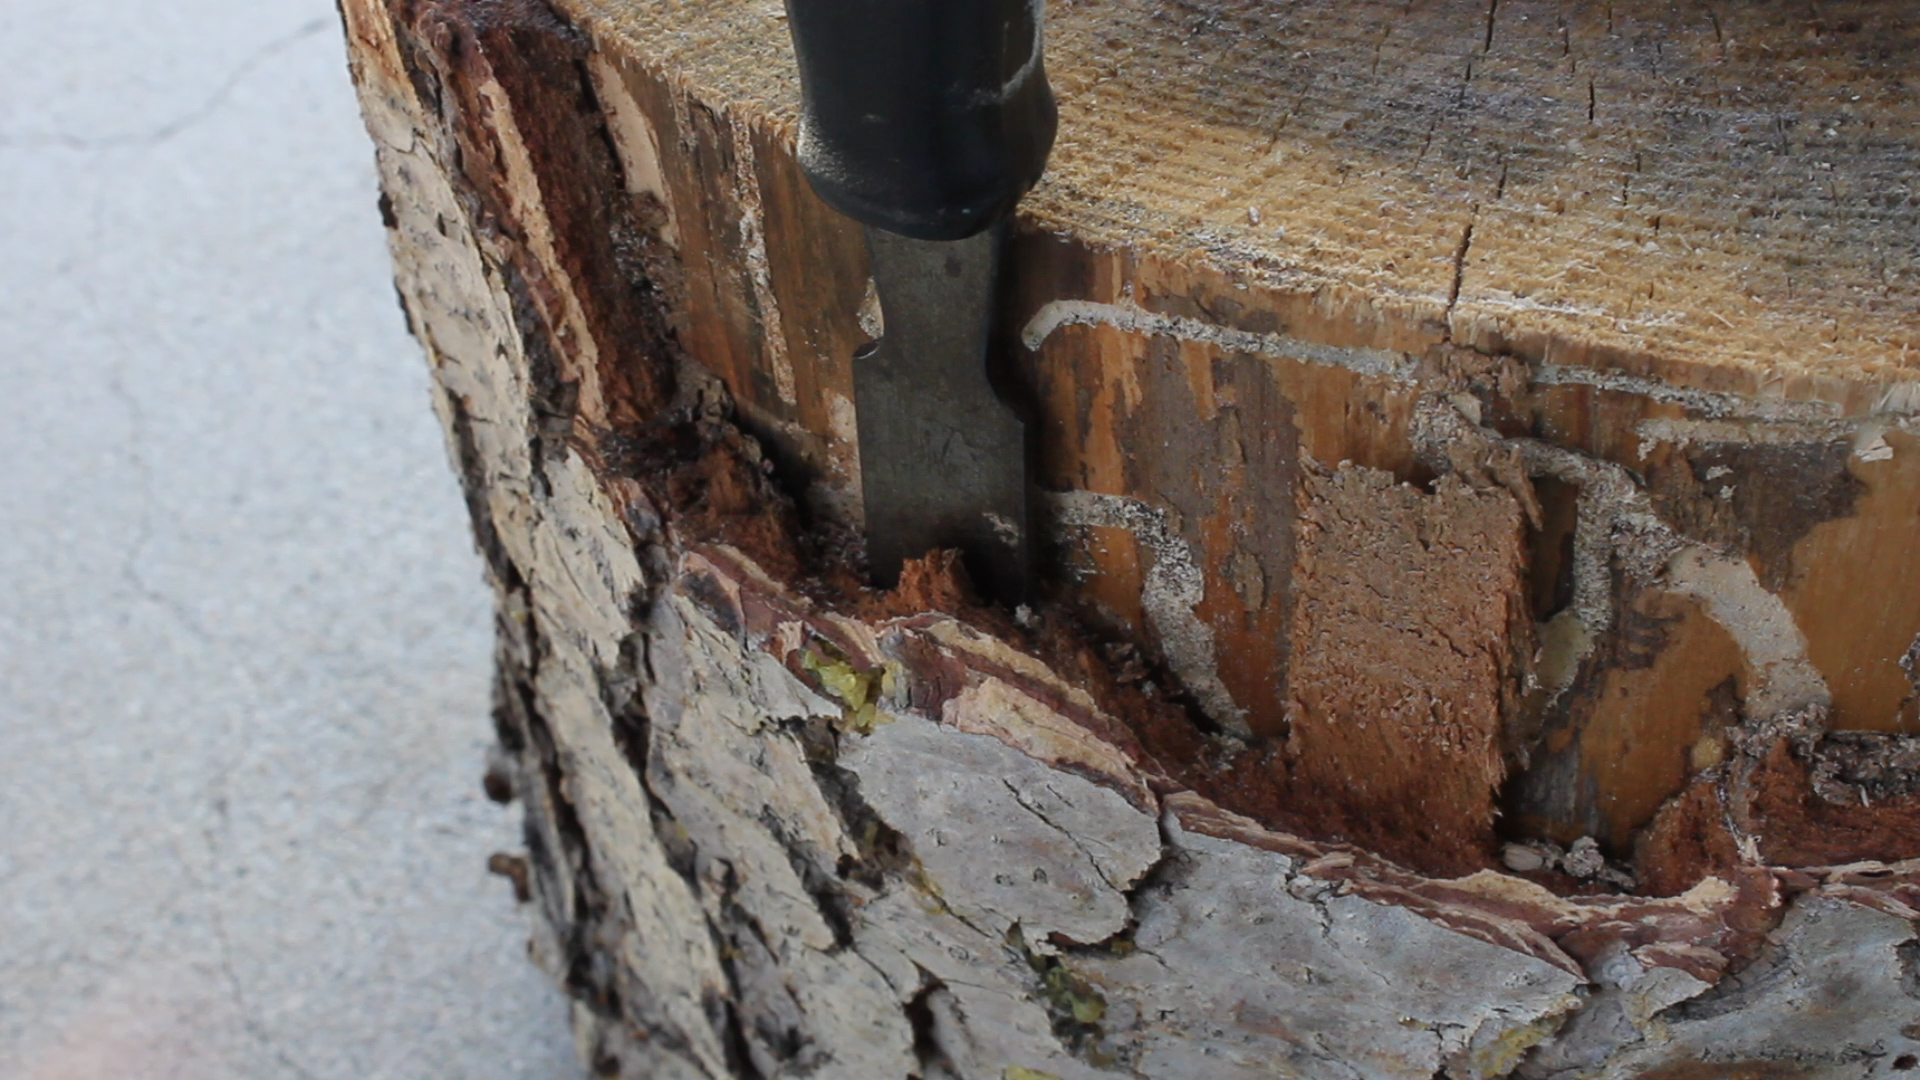
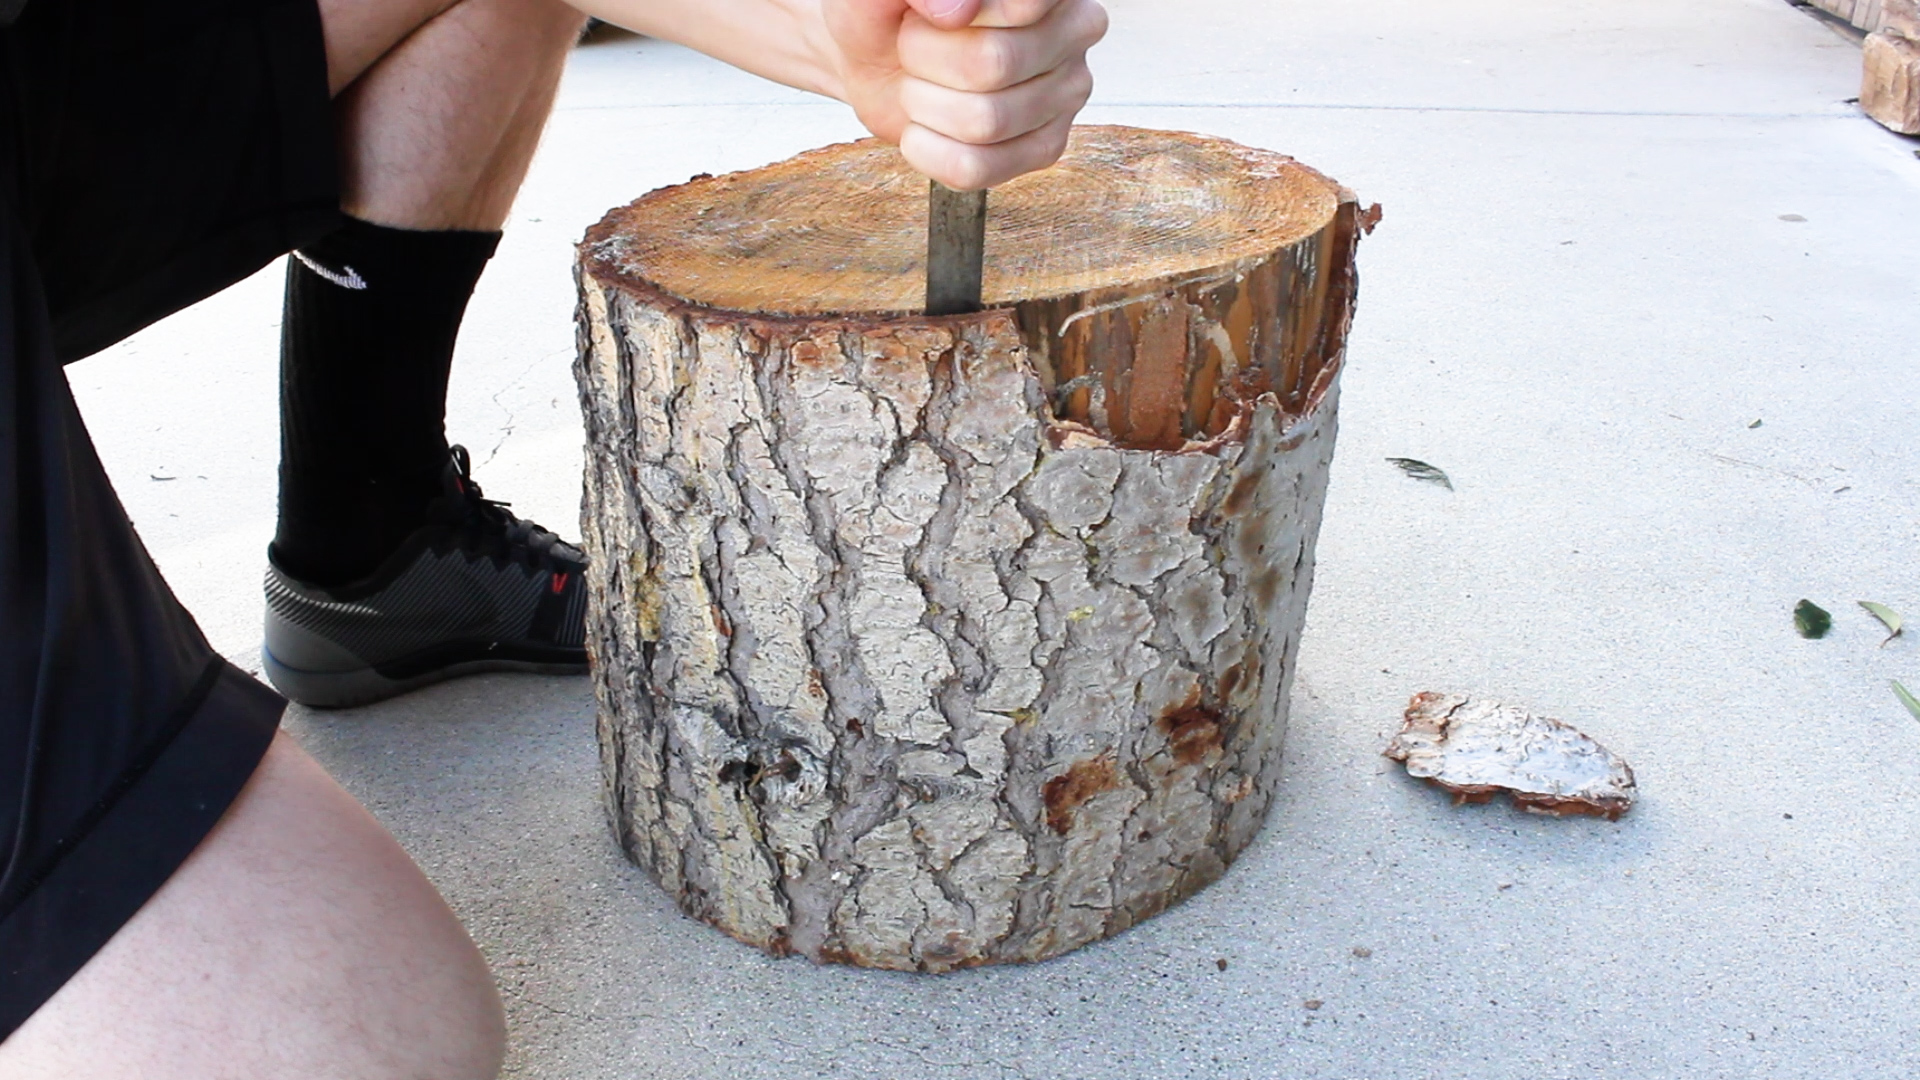
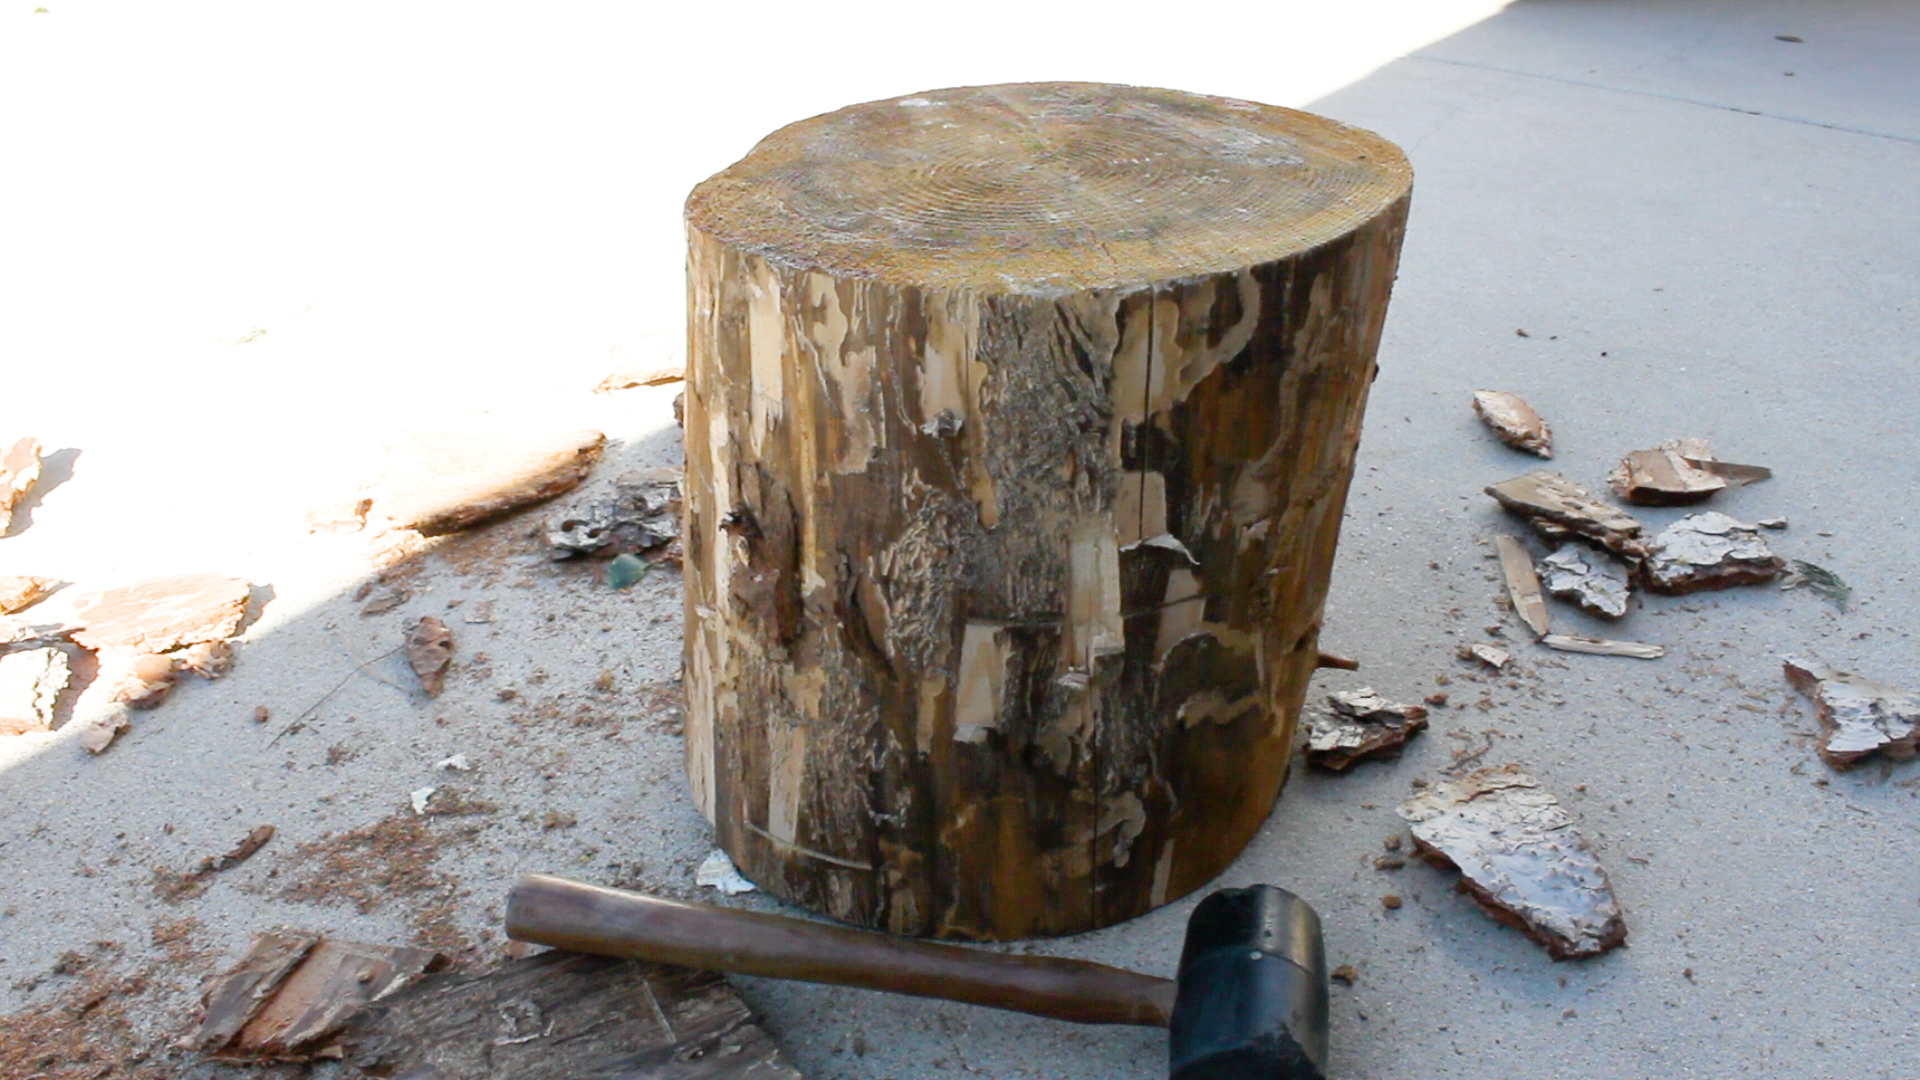
    I spent a good half hour using a chisel and mallet to debark the stump. My back hurt a lot after this. You can see in the up close that this tree was likely already dead due to the bark beetle infestation plague California, thus why it was likely cut down for scraps in the first place. Oh well, at least I got something out of it...

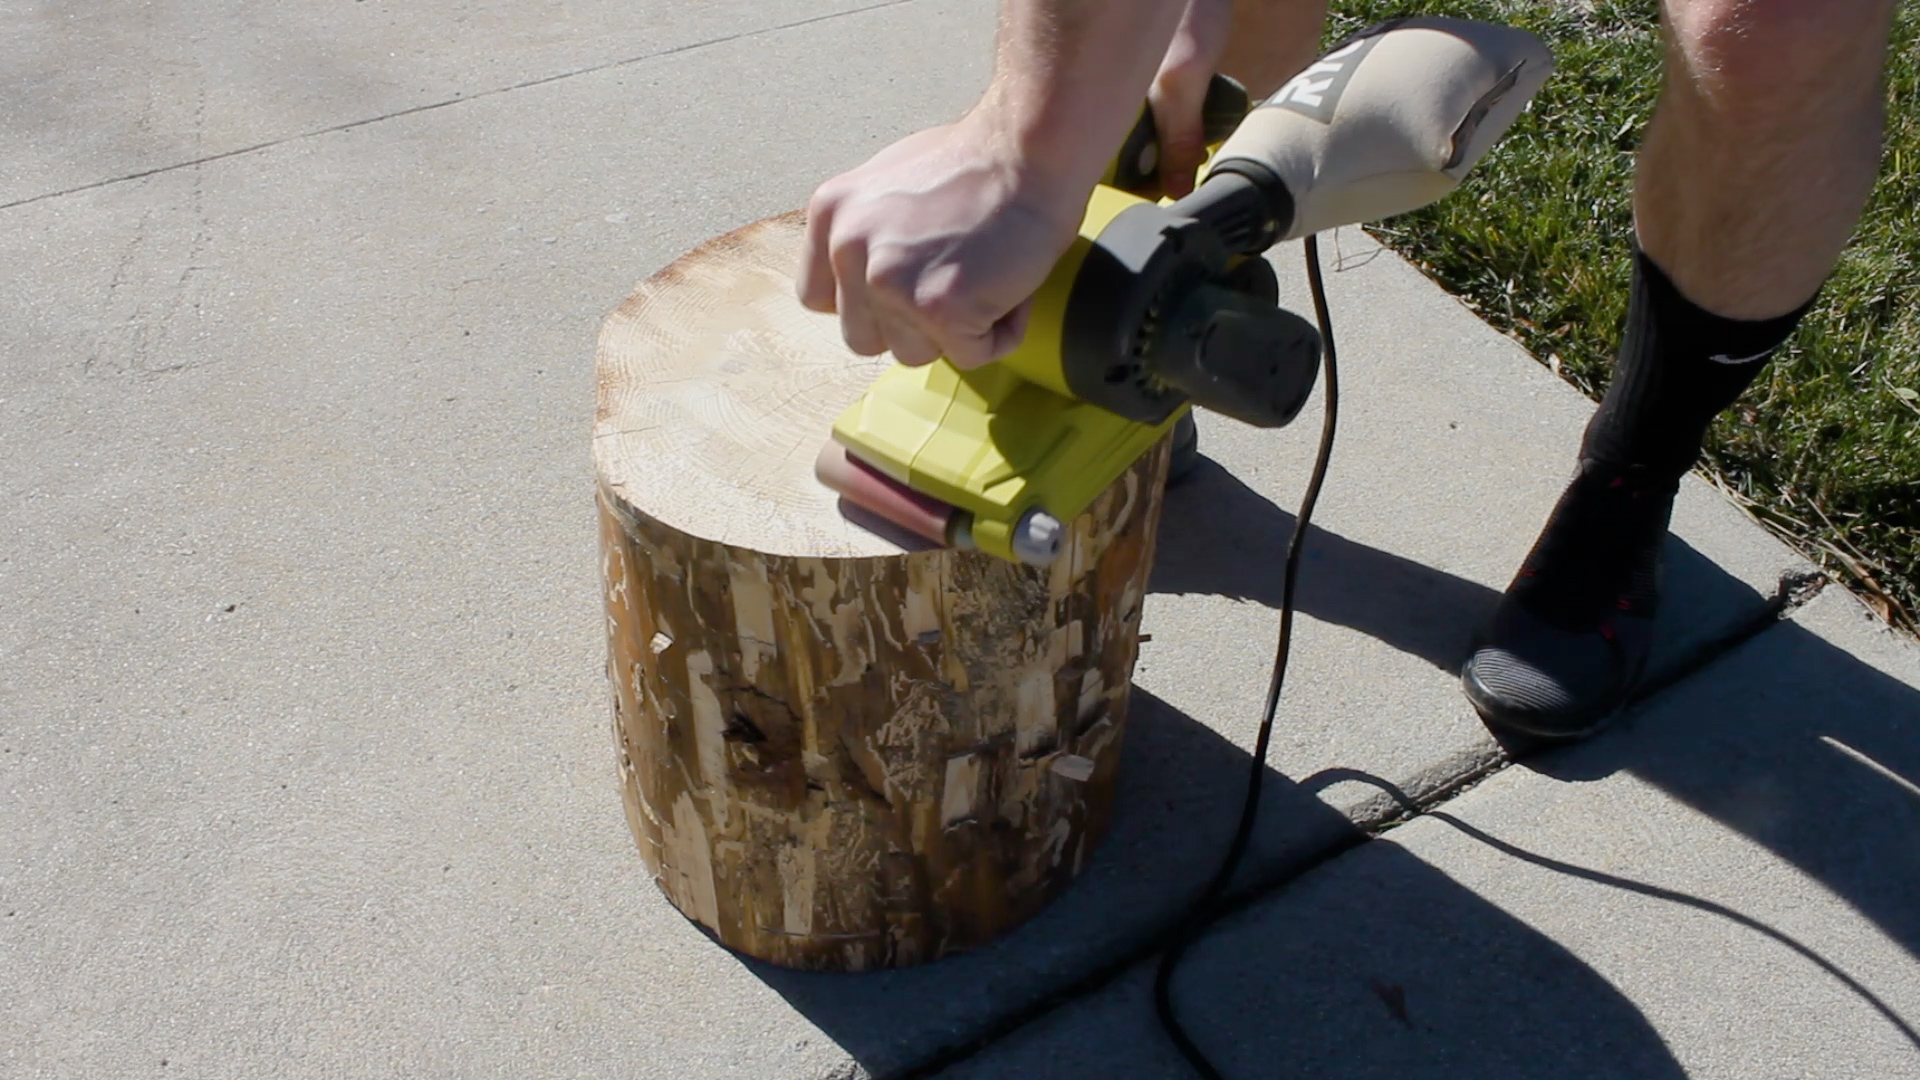
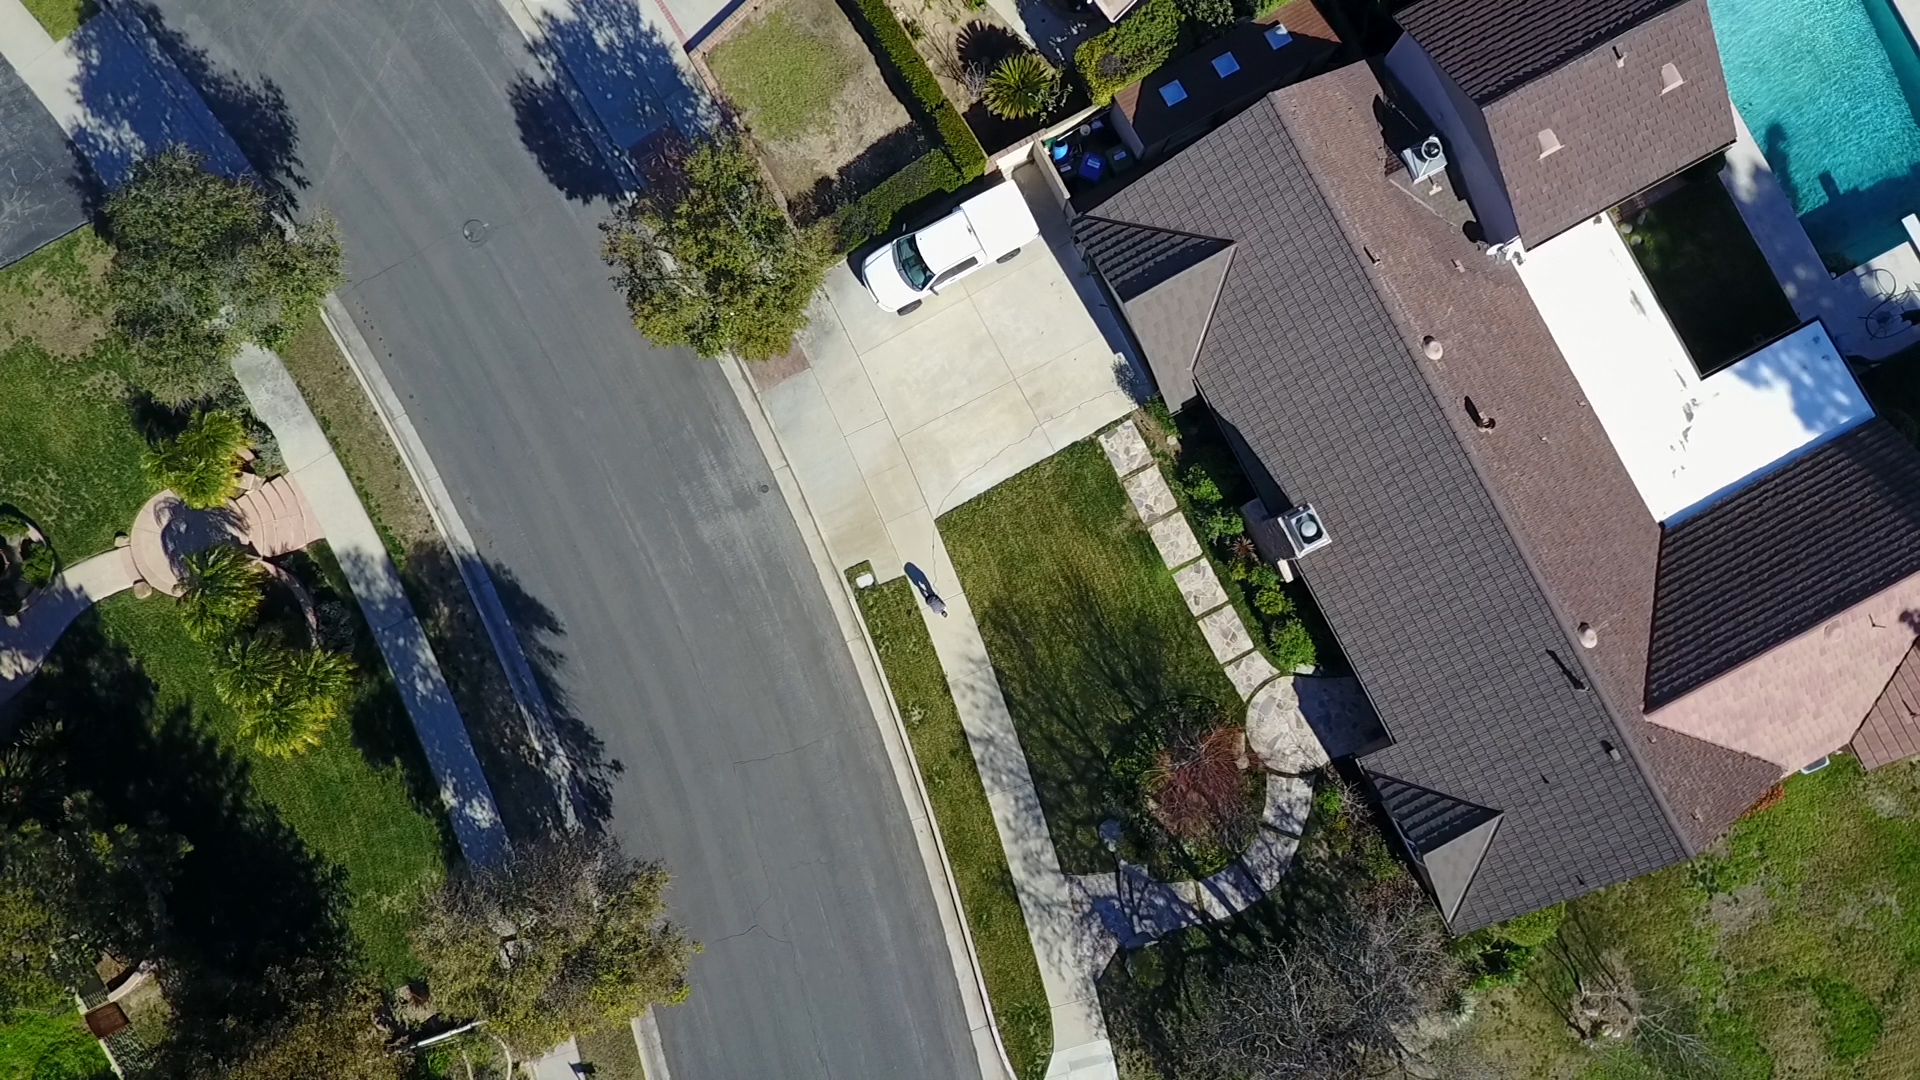
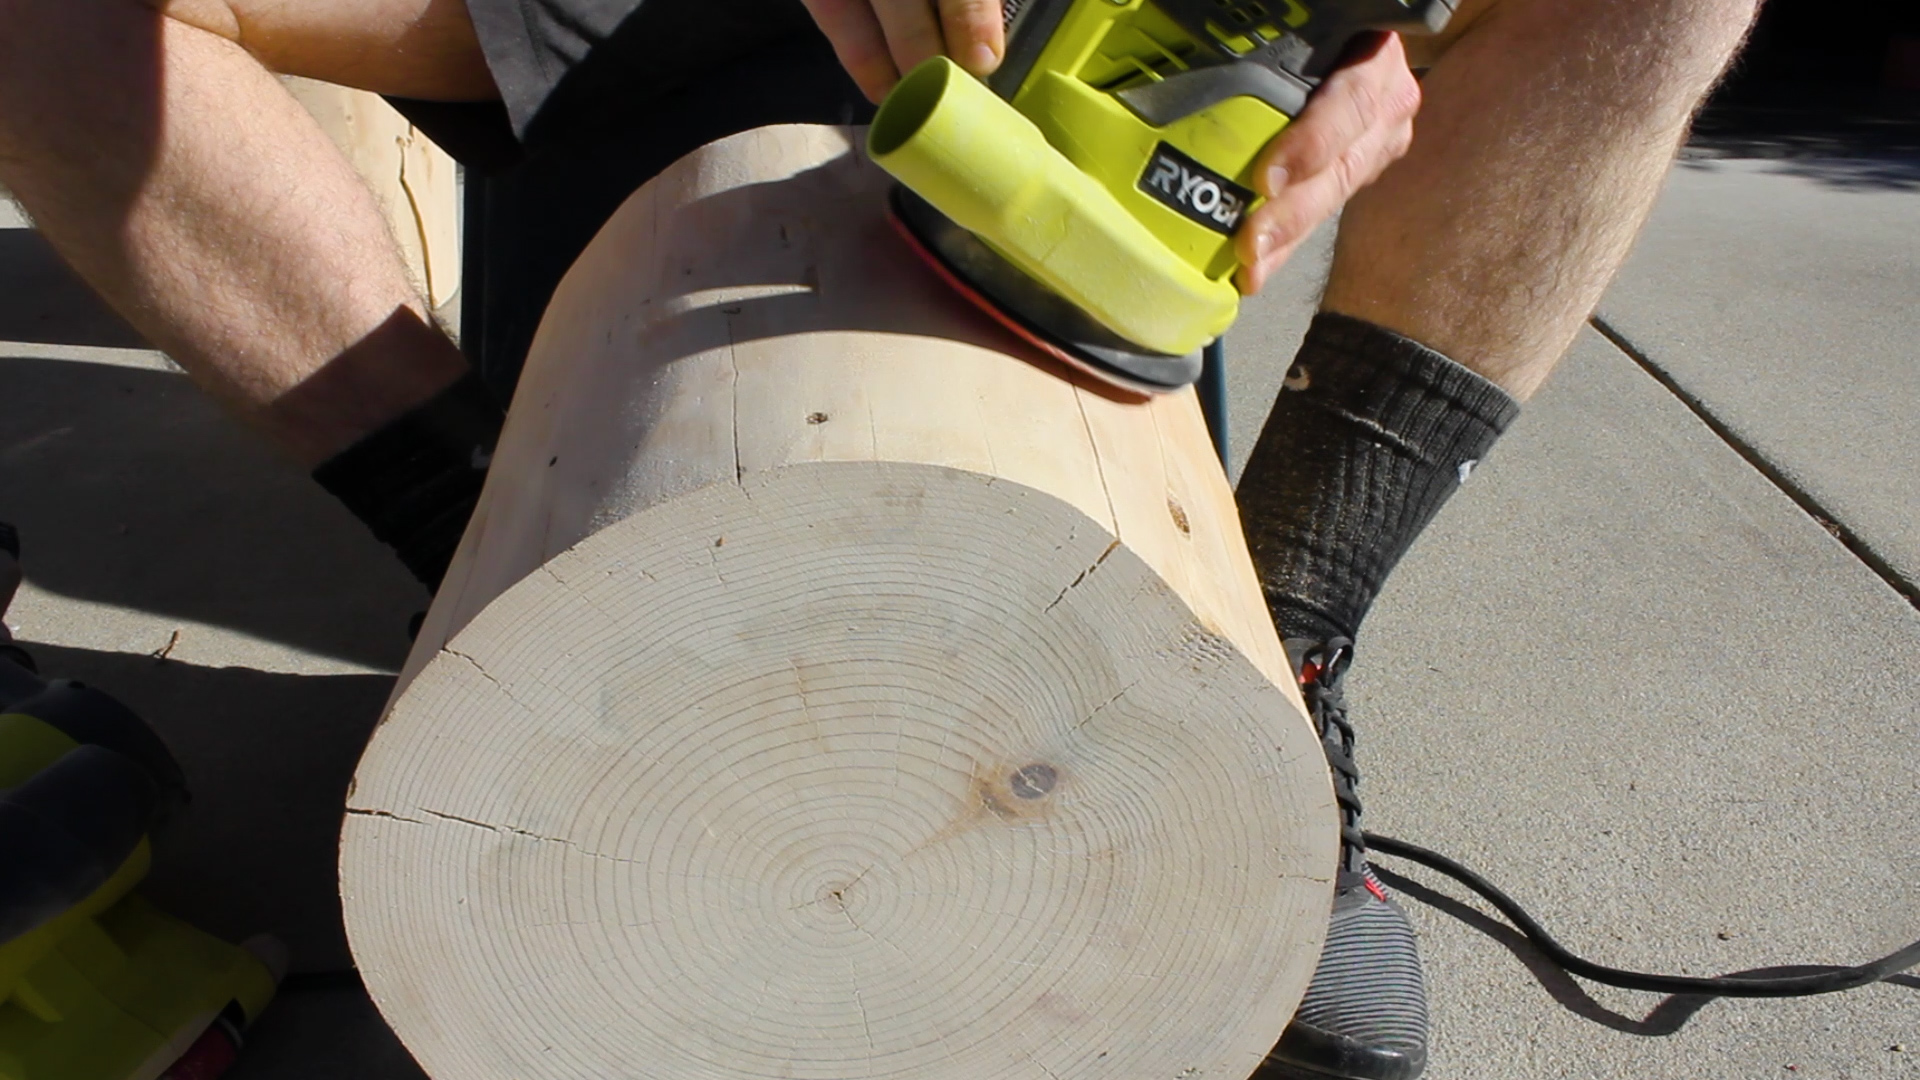
    Then it was on to sanding. I used my belt sander at 60 grit to take off most of the rough stuff. Drone shots of sanding are a must!

    This took a considerable amount of time given how rough this log was. For anyone looking to their own DIY project, it is completely up to you on how much you want to take down the roughness of your stump as each person might want something slightly different for their home. 

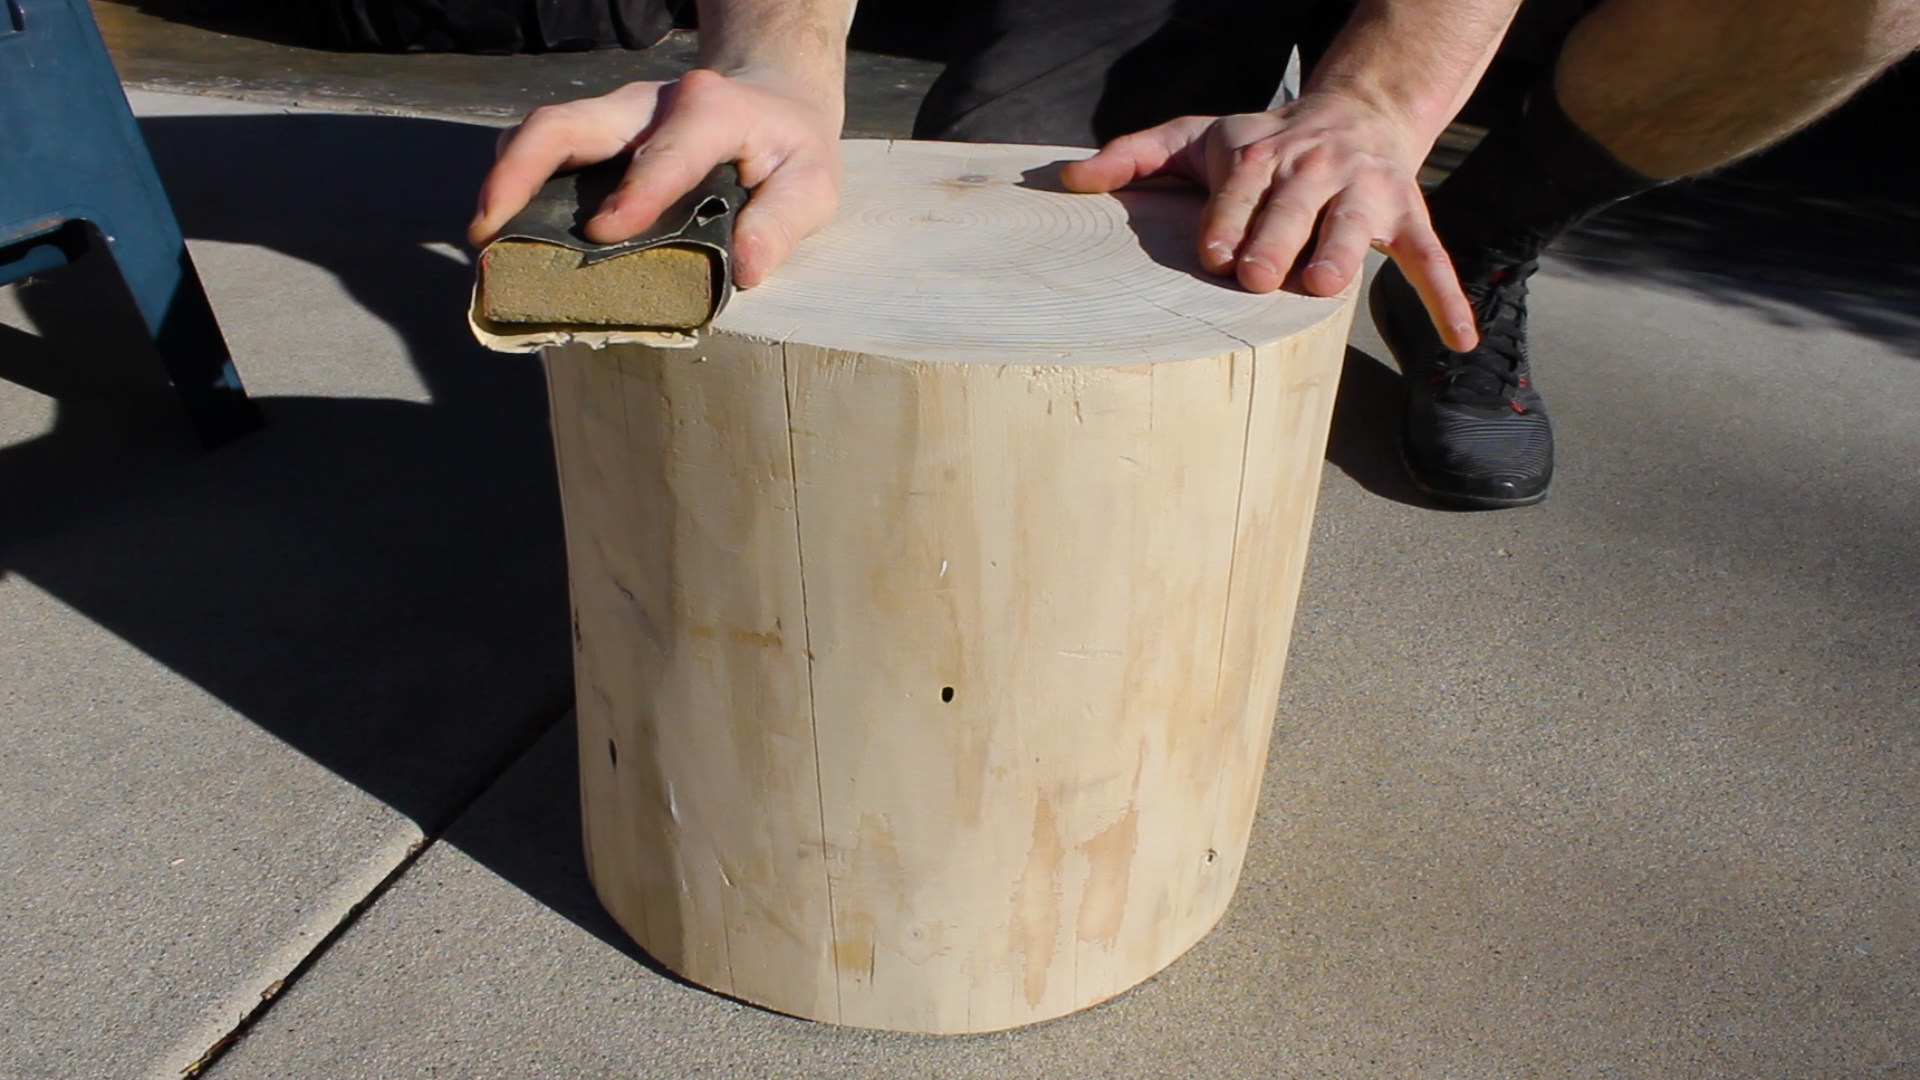
    After using the belt sander, I used my orbital sander at 90 grit to begin rounding the edges, followed by a pass with my sanding block at 120 and 200 grit to get a good smooth finish.

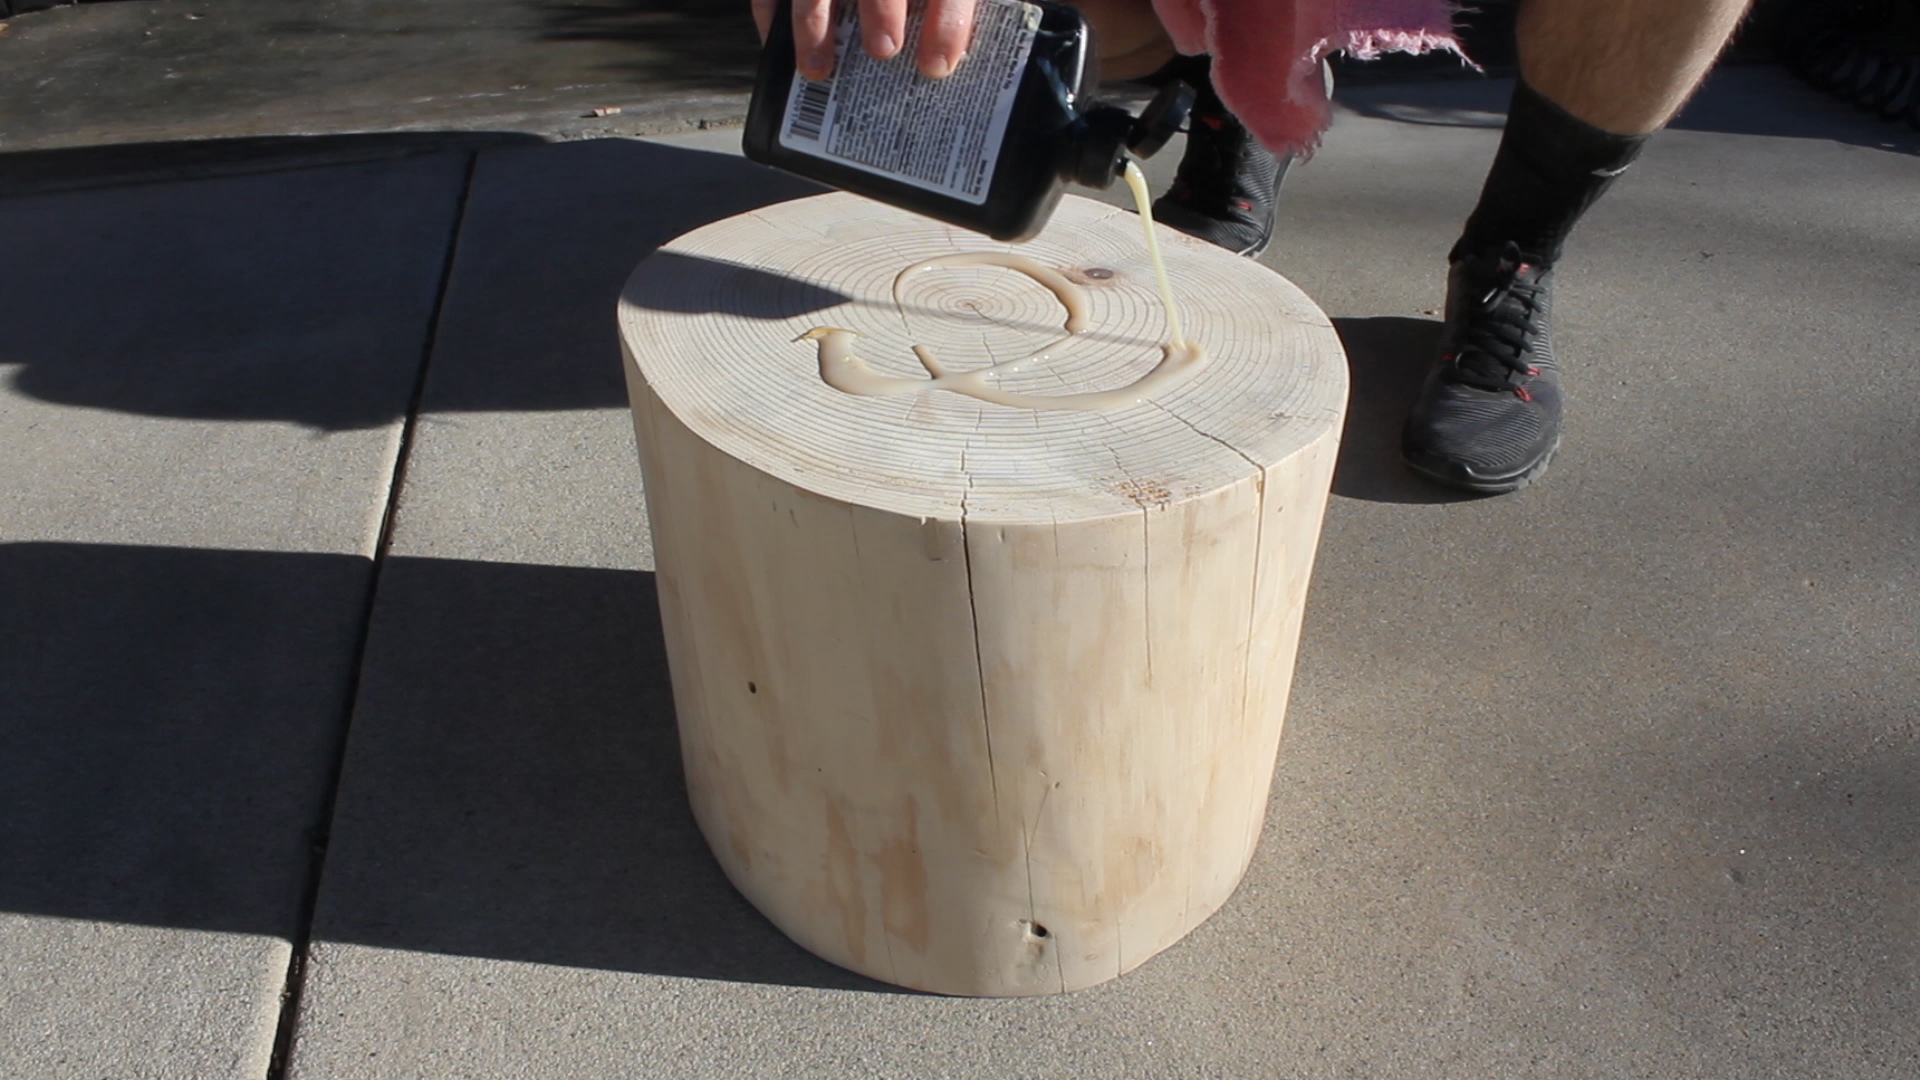
    I also lightly wiped bleach, washed it off, and let it dry again as there were parts of the wood that had a bit of stain due to small amounts of mold from sitting around for so long - not necessary for every project, but this is a method I read about for keeping the wood healthy long term.

    I also did a round of wet sanding in this to raise the grain and smooth further. 

    I had two stumps, so here is a difference between my smoothed down stump and a stump I had only debarked. Crazy right? The right stump would still have made for a cool looking project in this form! 

    I then moved to finishing. I have tried various methods for stump projects, but had stumbled upon a really cool (old) website that seems like it is no longer updated that had a cool gallery of naturally finished stump projects. I wanted to avoid oils or stains, so I chose instead to just use a semi gloss poly finish to bring out the grain and make the stump shine using just it's natural look. 

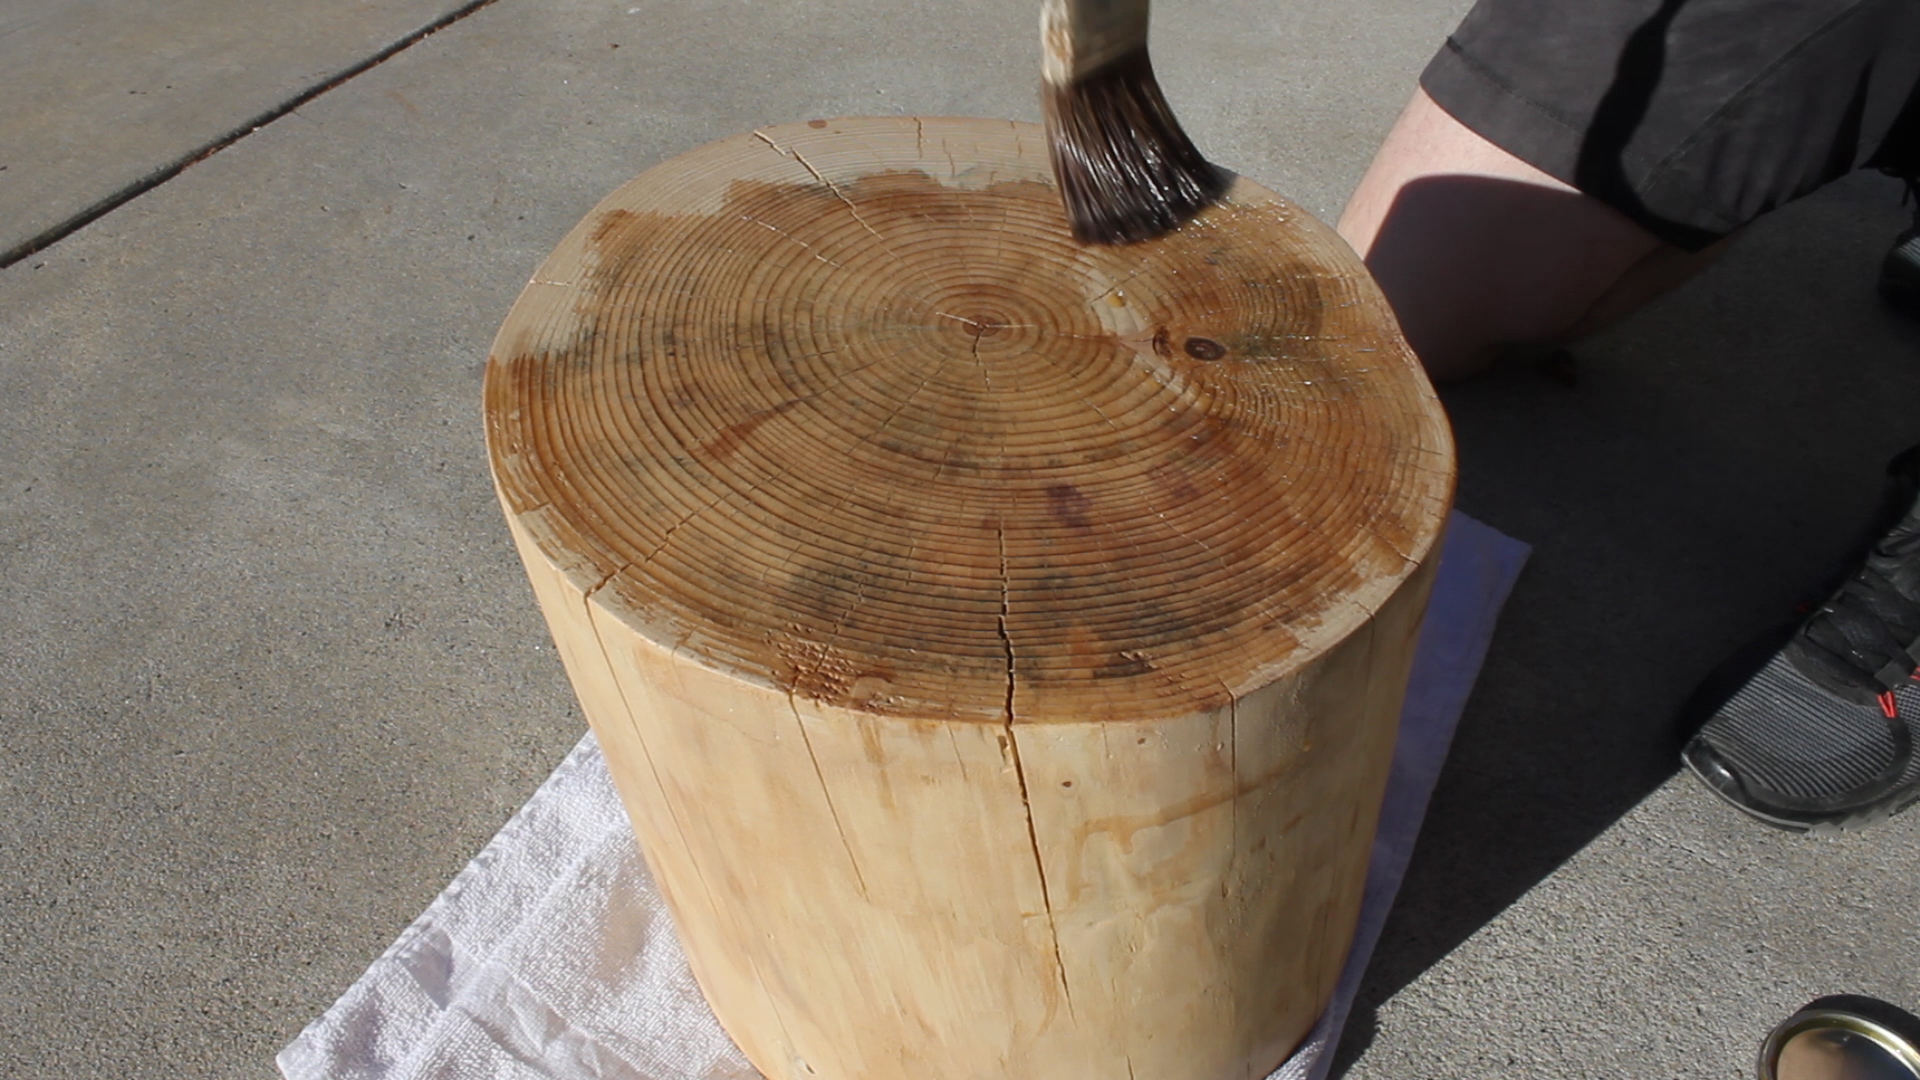
    I started with a coat of wipe on poly, but then quickly switched to brush on poly as it wasn't very thick nor was it doing the job of bringing out the beauty I wanted. 

    I applied four total liberal coats of poly onto my stump in total, letting each one dry properly then sanding down with 120 an 220 grit sandpaper in between each coat to keep it smooth and clean. After my final coat, I upped my sanding further using 320 and 420 grit paper. These things were VERY smooth!

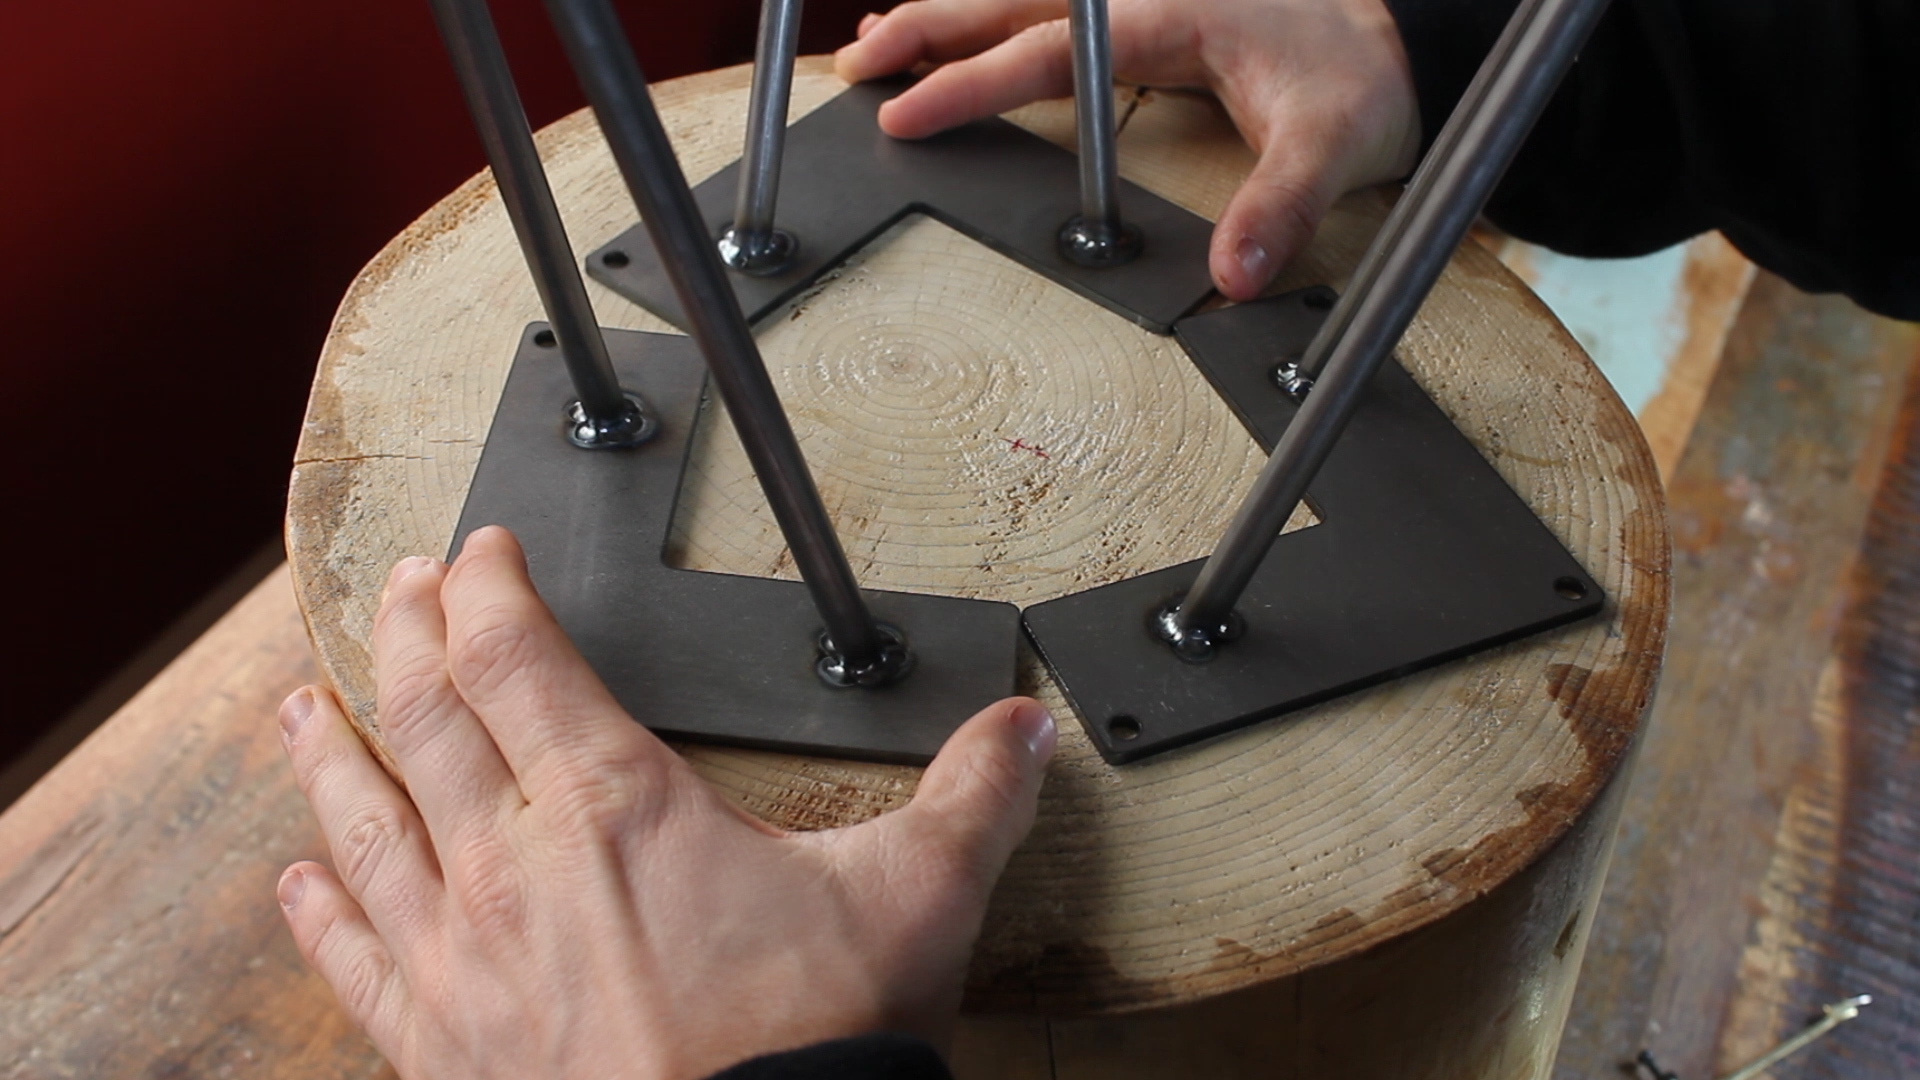
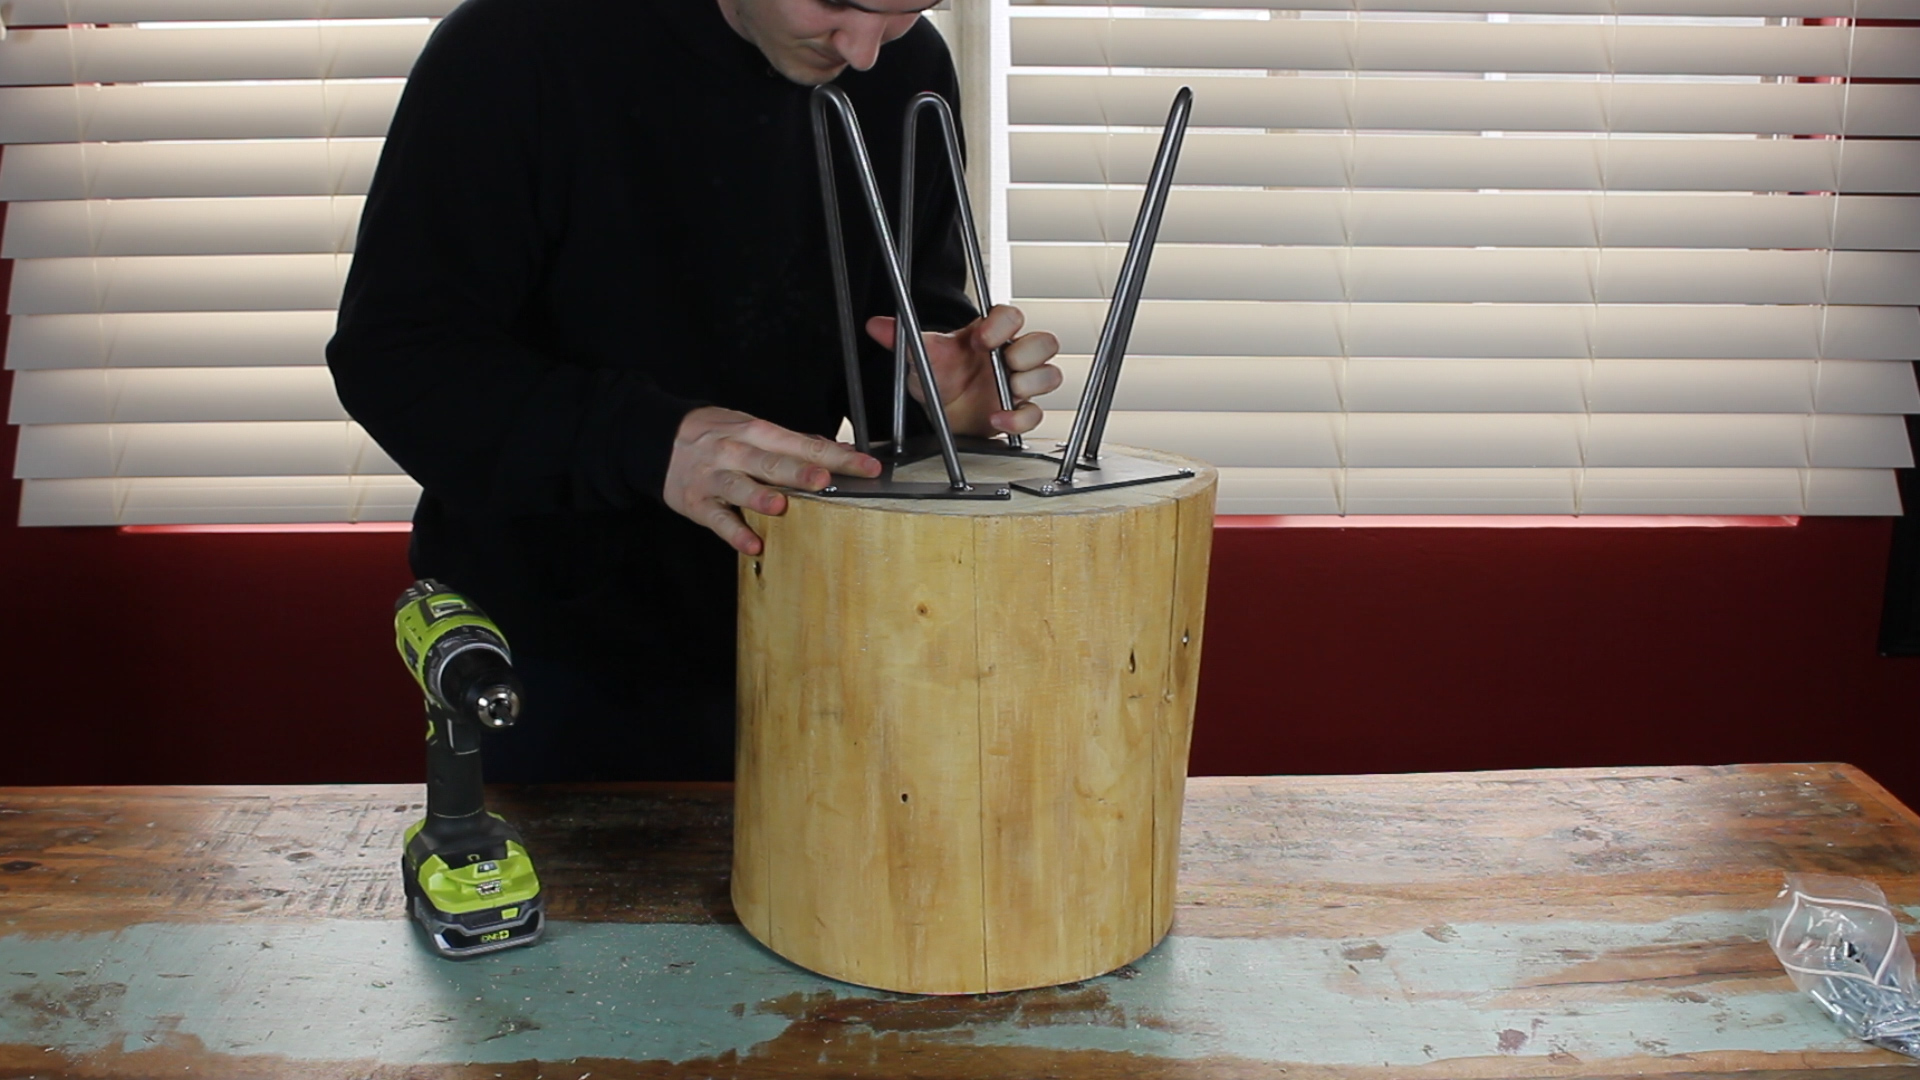
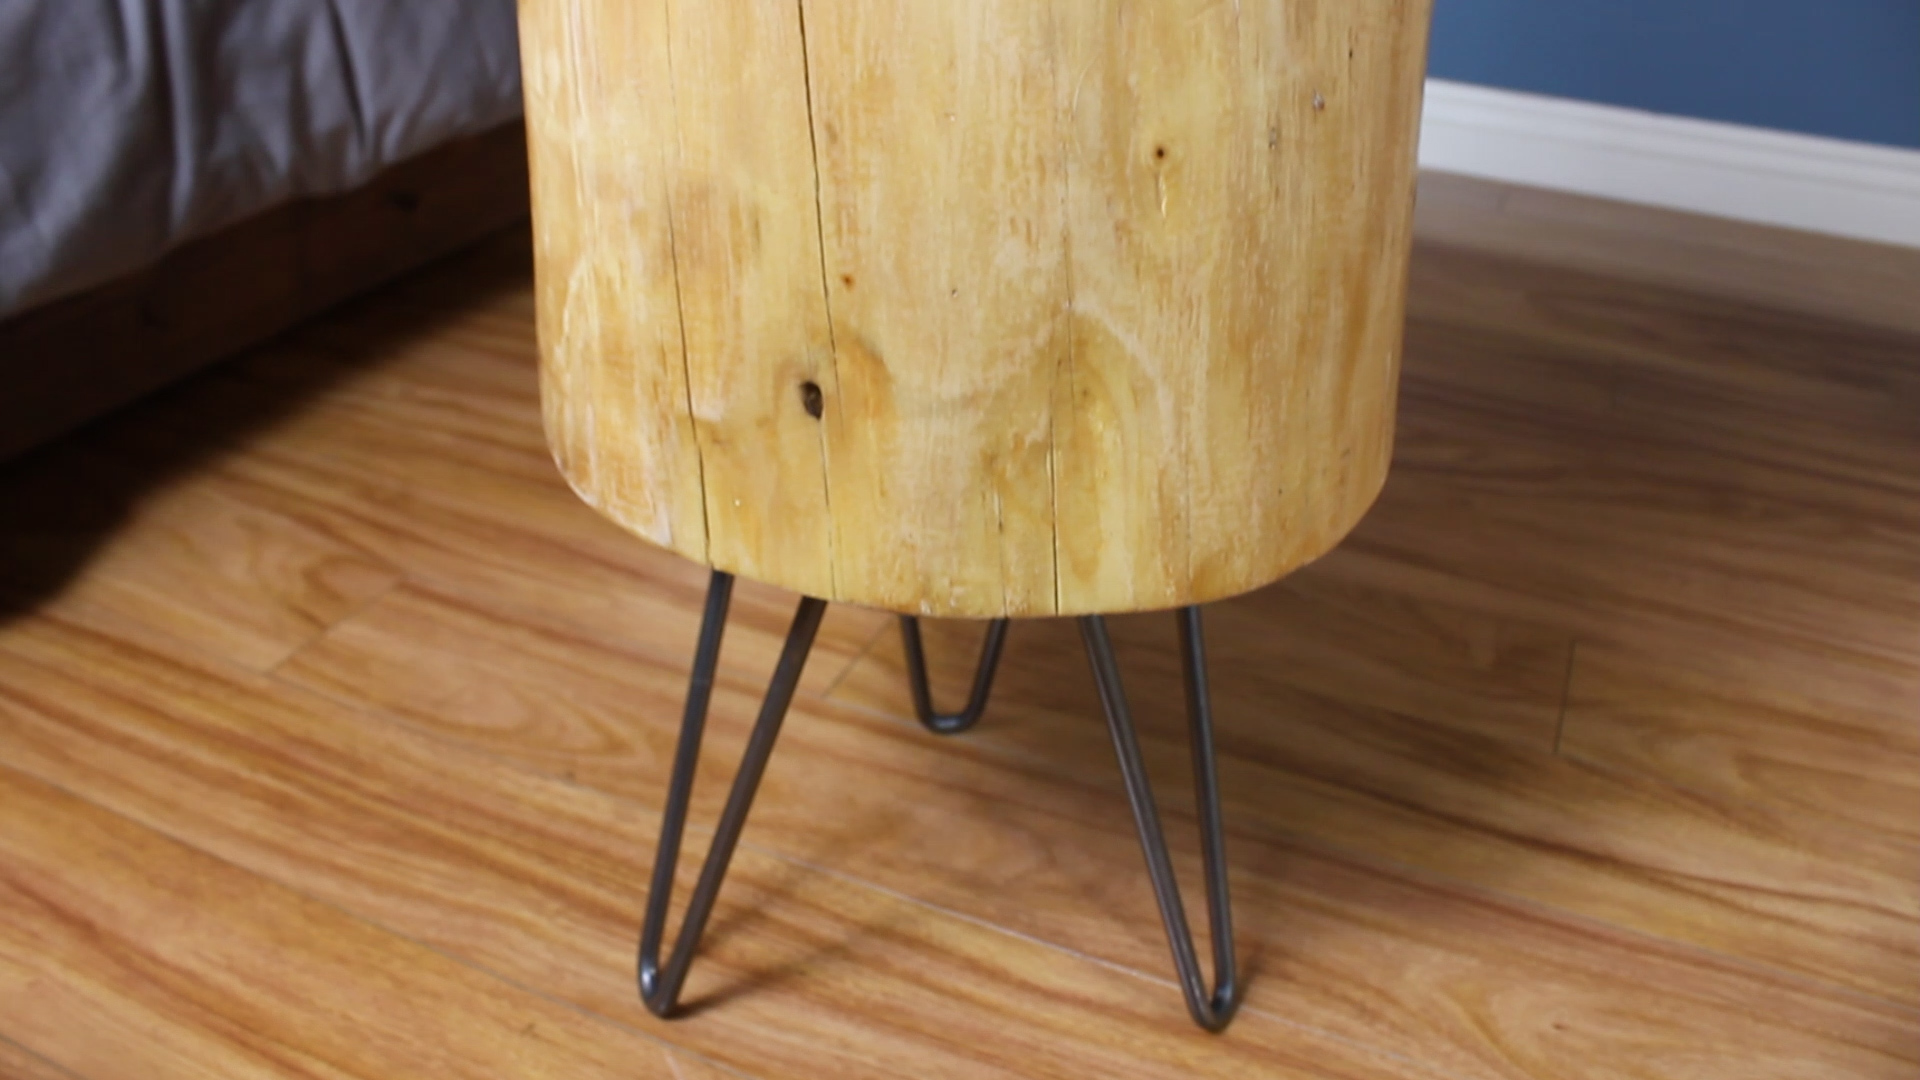
    Lastly, I added a set of three hairpin legs (10" in my case) to the bottom. I chose 10" because I wanted my table to be a certain height. Each project will have individual needs. 

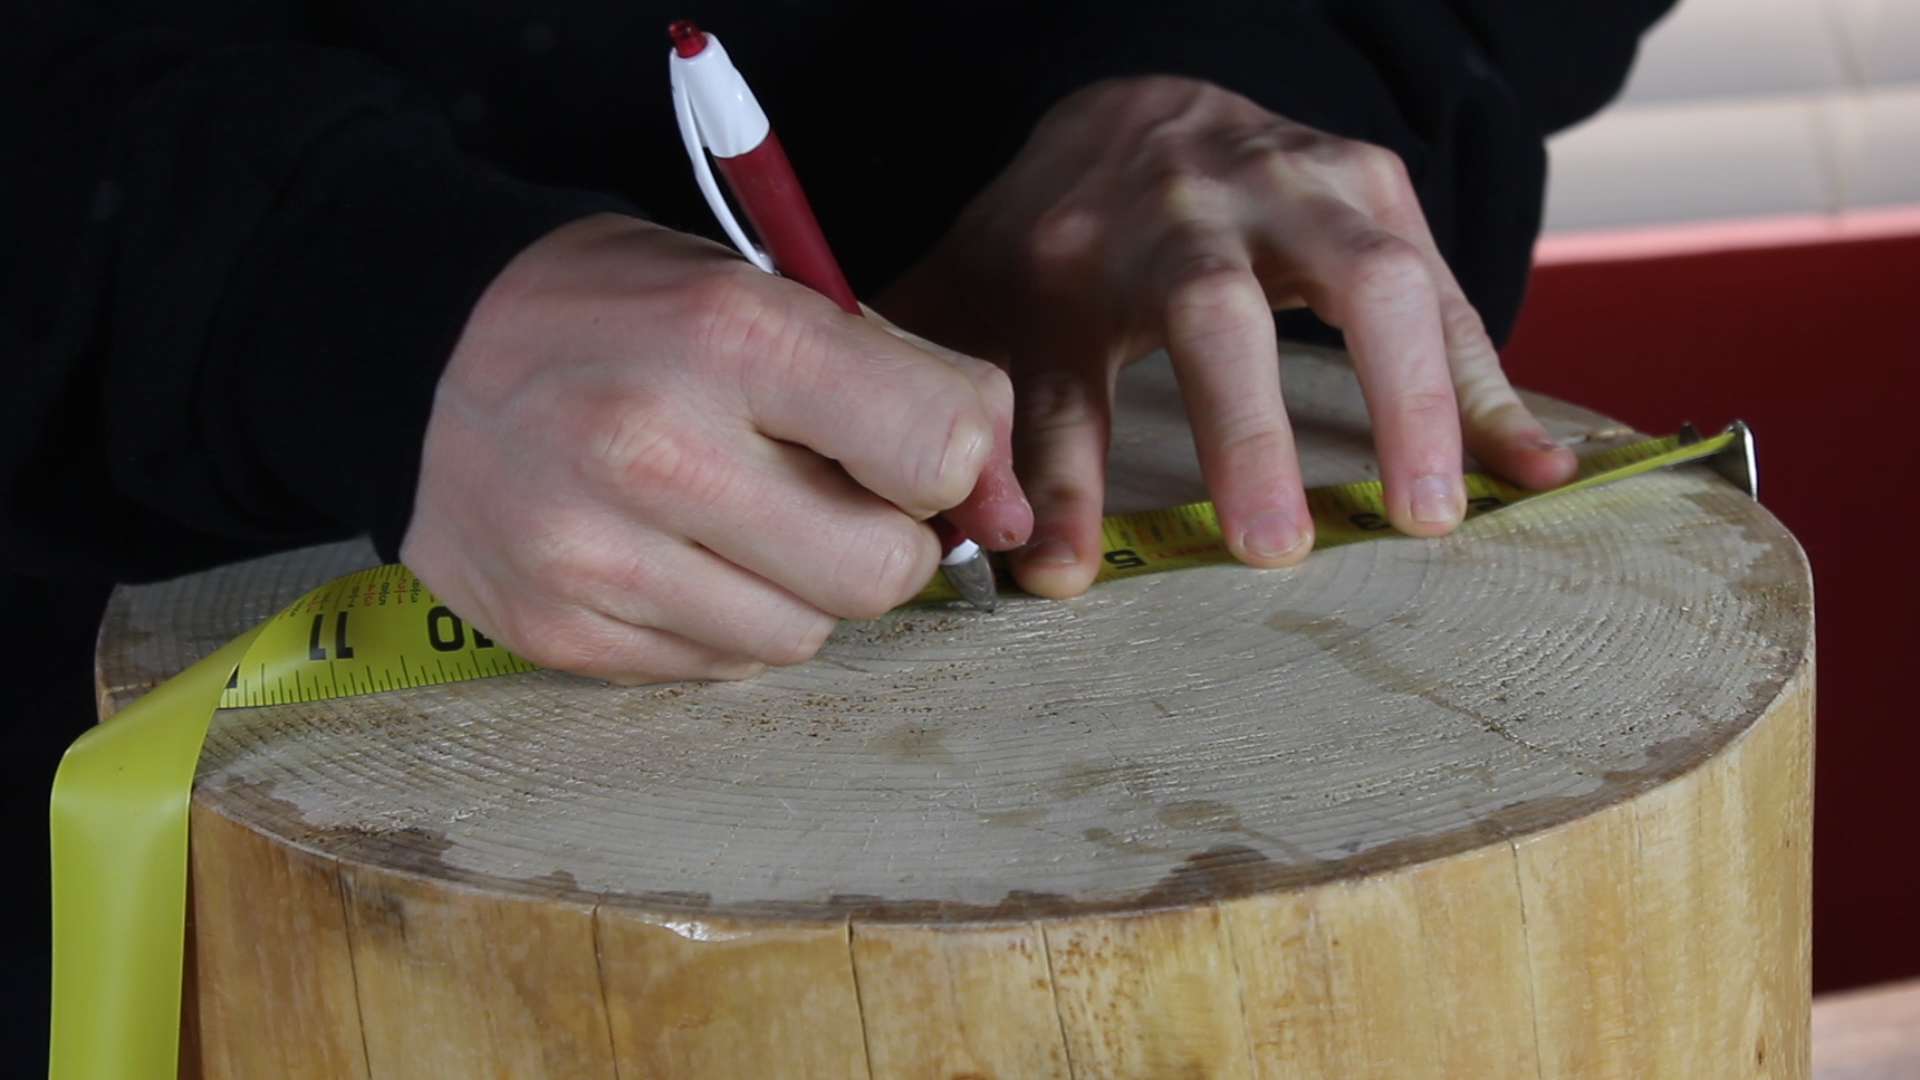
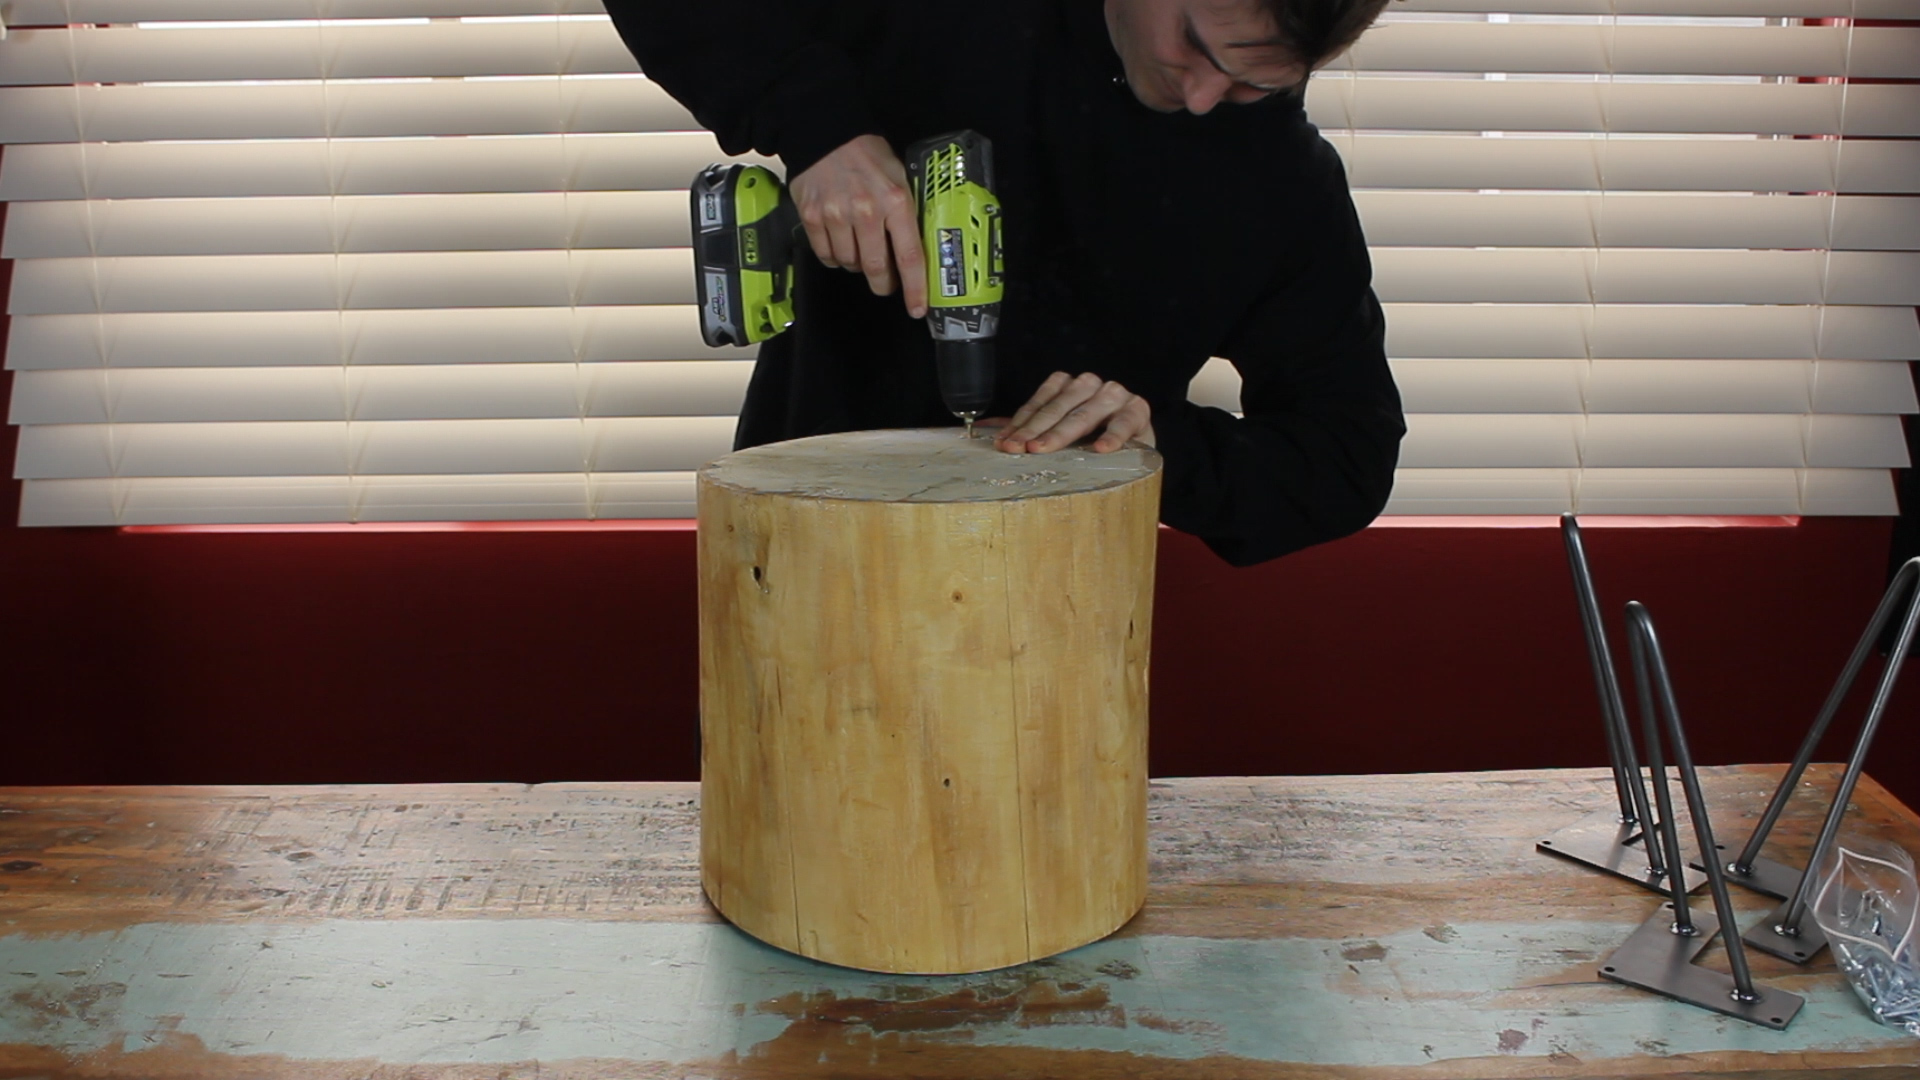
    To do this, I marked out where I'd want my legs to go - in this case, it was just around the center and was relatively easy to line up things. I then marked and predrilled holes for my screws, and then secured the hardware using 3 x wood screws for each hairpin legs. 

    I love the look of this type of hardware - it literally can take any DIY wood project and up its coolness factor immedietely. 

    IMG_0535.JPG

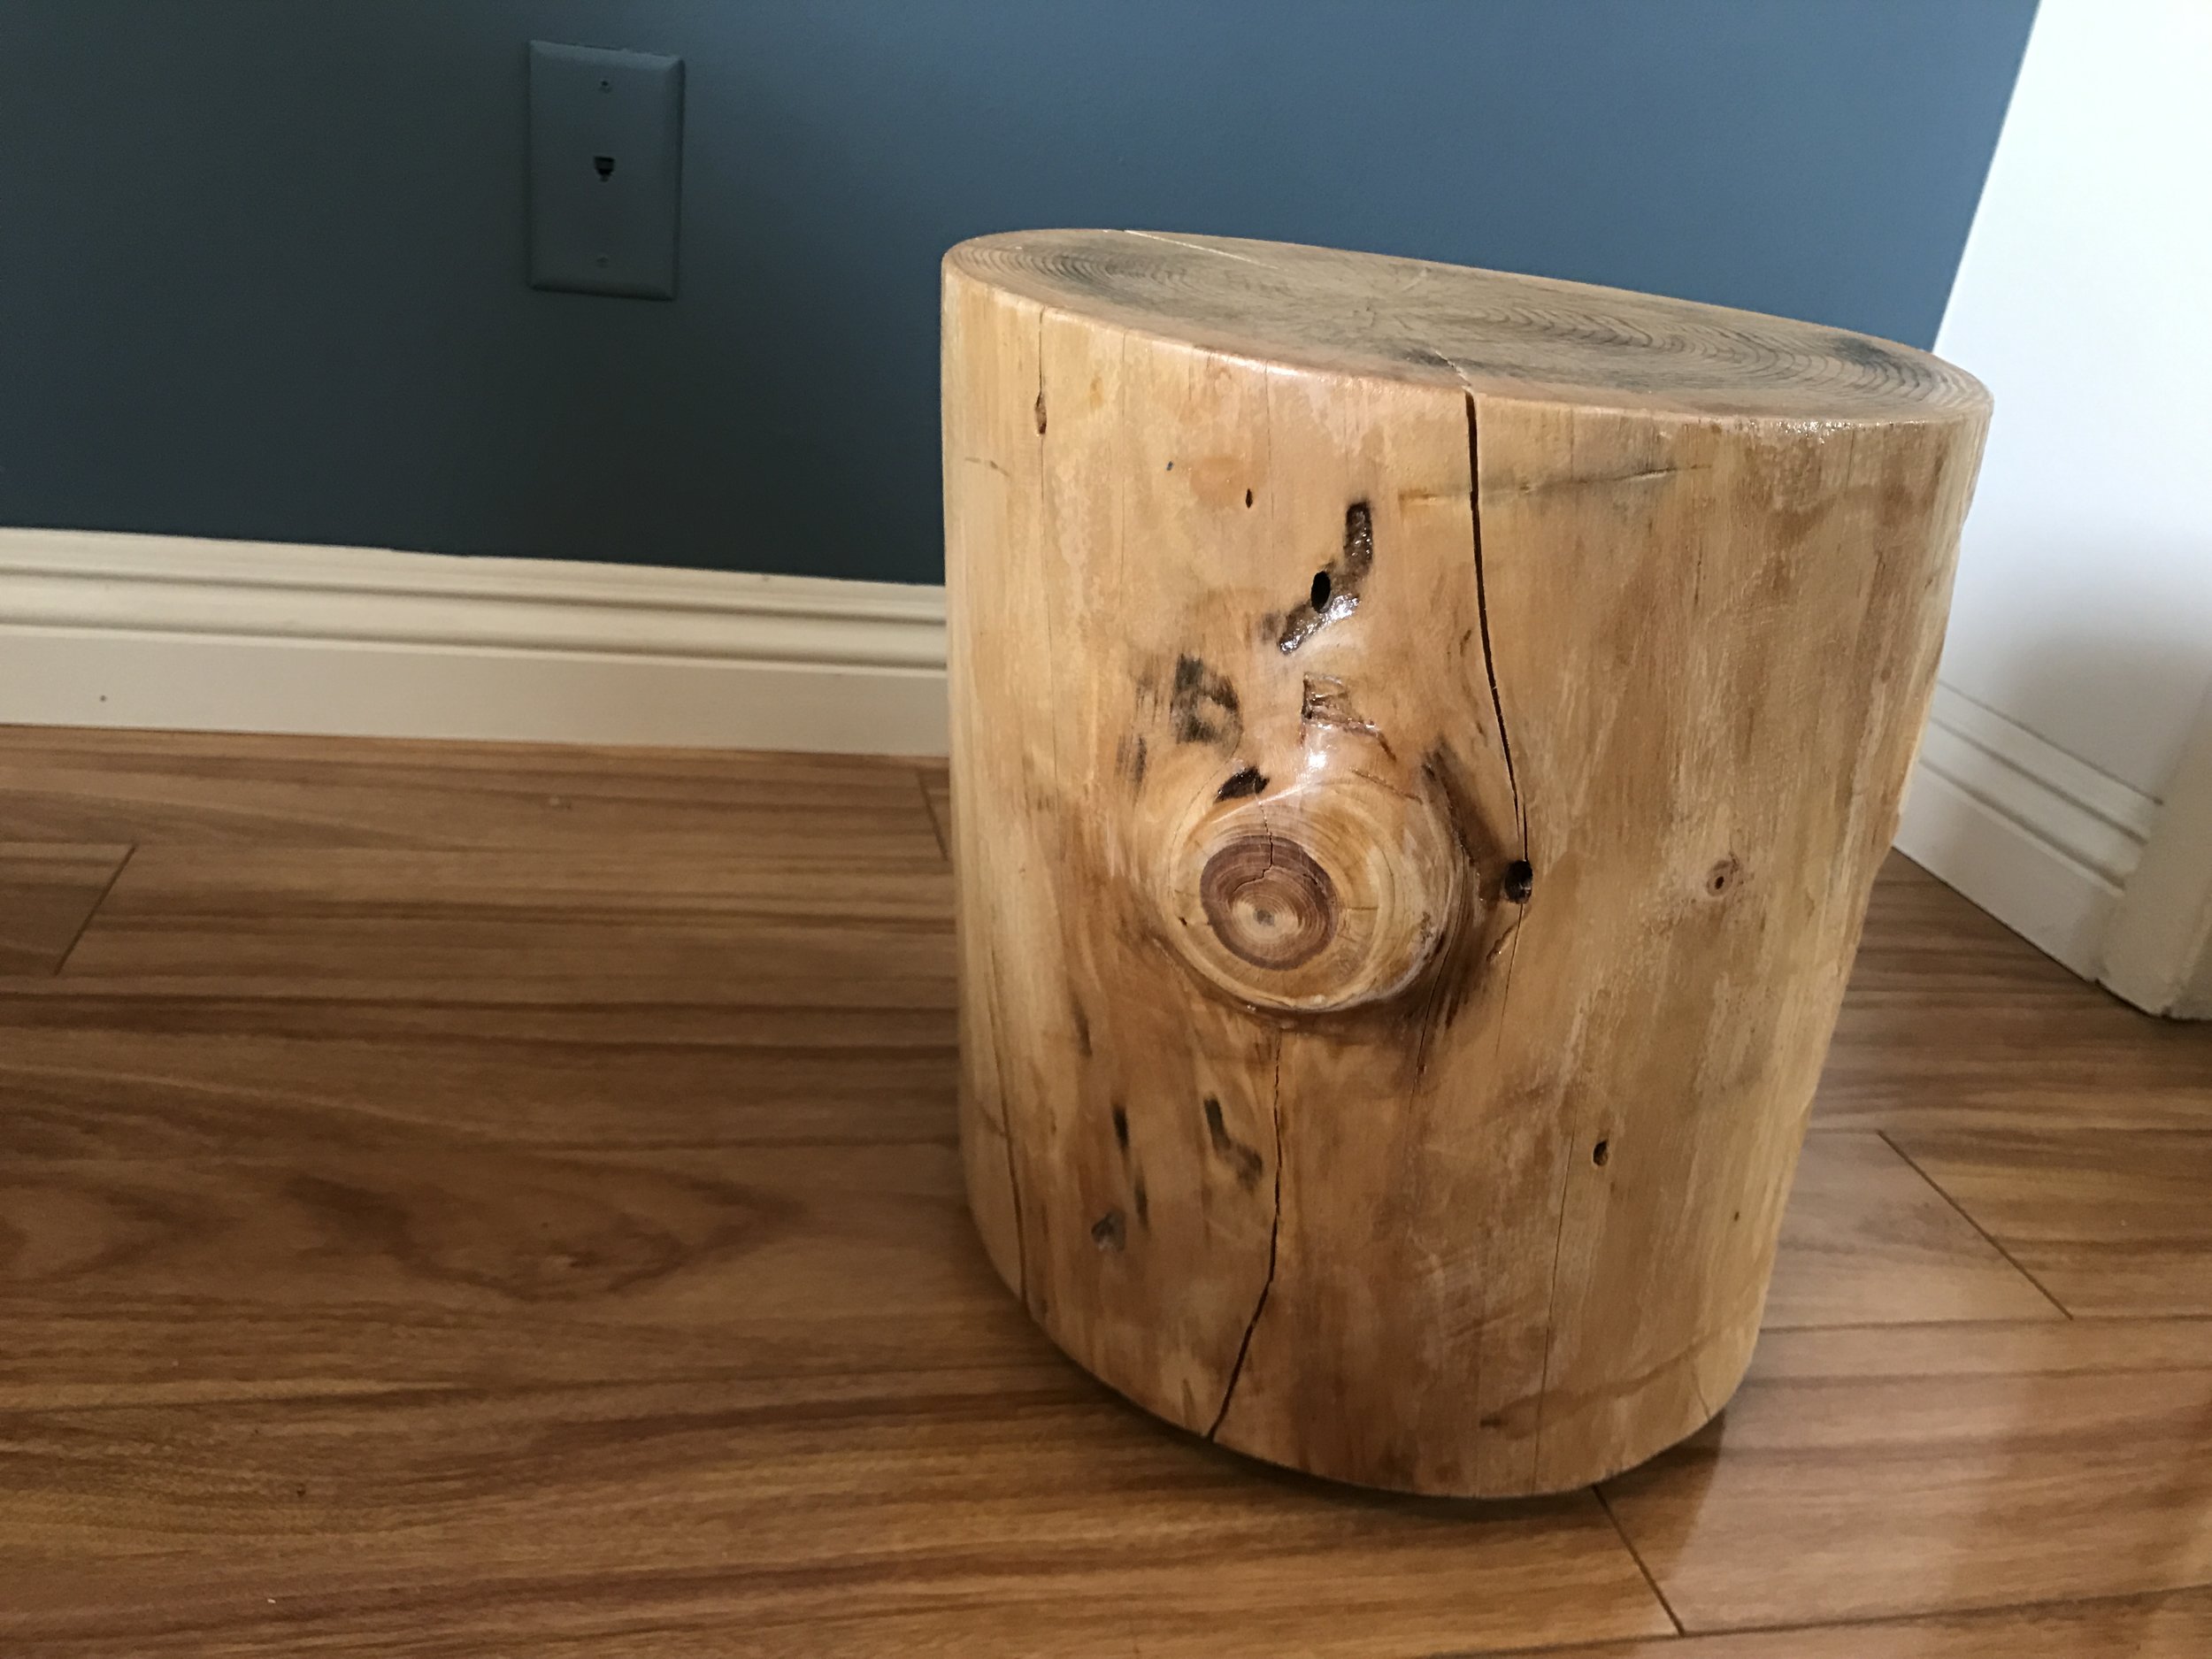
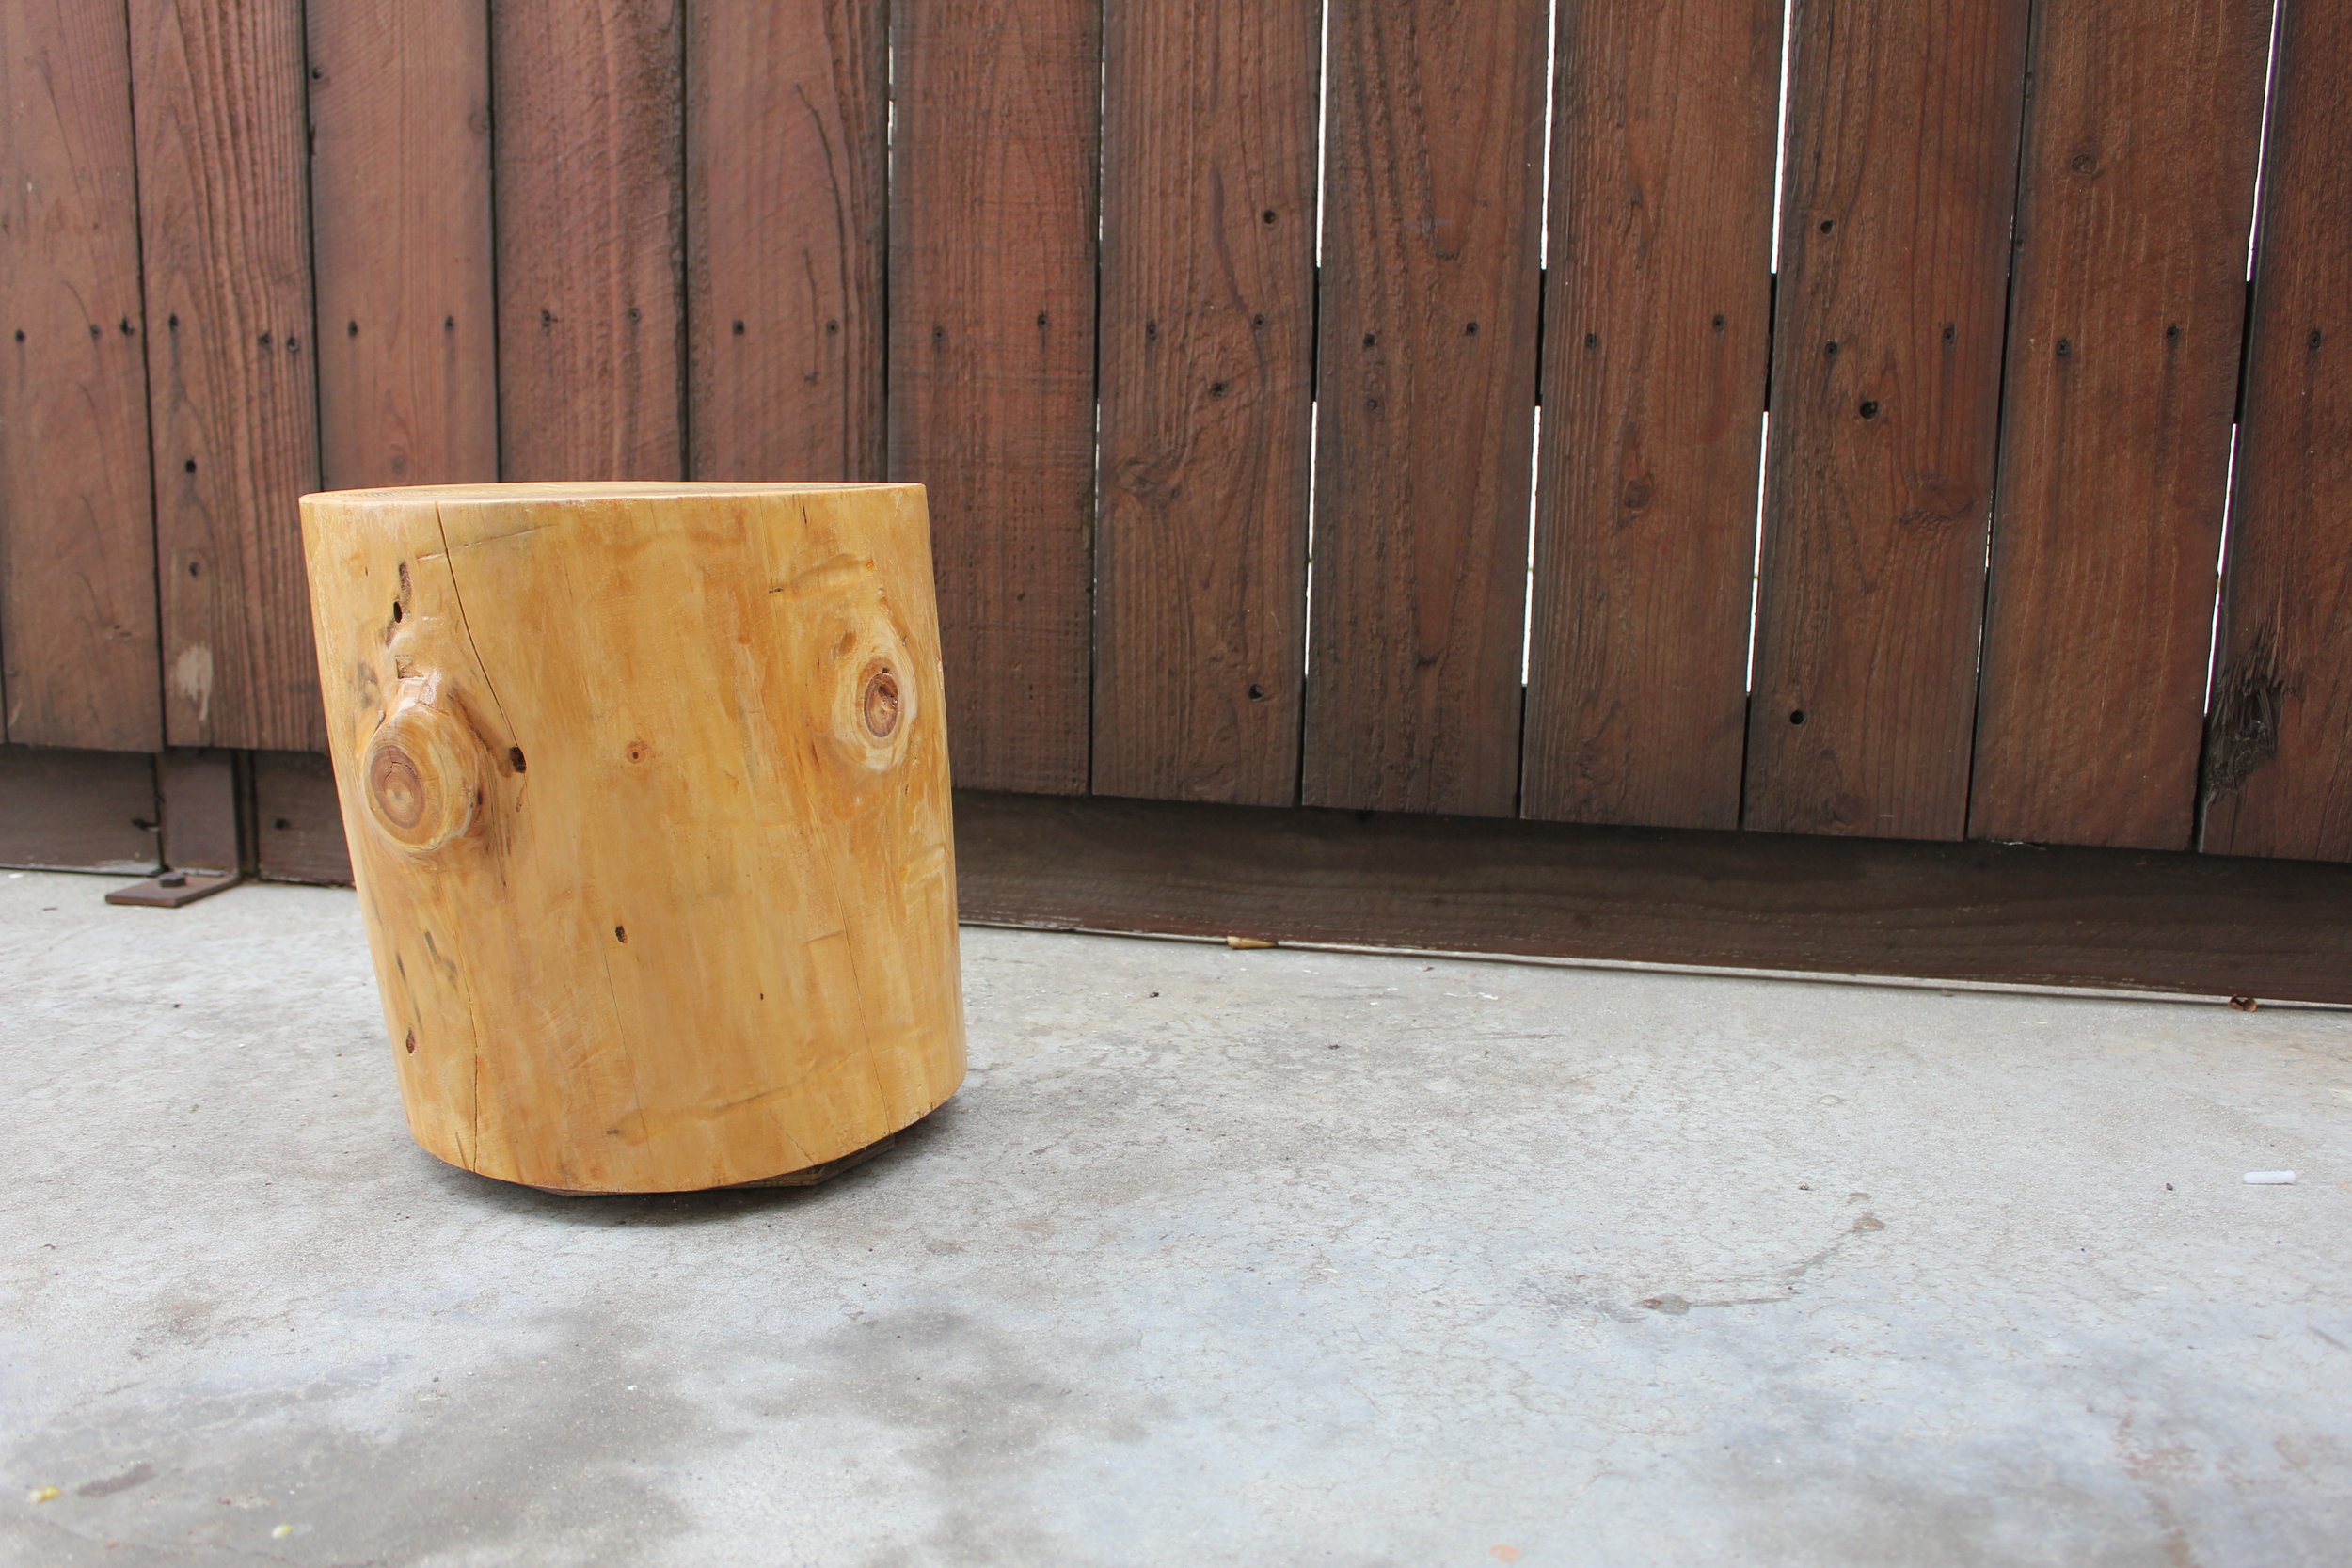
    Final picture of the stump. Up close, the wood grain looks awesome and the shiny smooth finish of the poly brings out the natural finish of the tree in an amazing way. 

    I love knowing I took something dying and left for scrap firewood and made something fun and unique out of it. 

    TOOLS
    RYOBI Cordless Orbital Sander
    RYOBI Belt Sander
    RYOBI Power Drill
    RYOBI Drill Bit Set
    Rubber Mallet
    Hand Sanding Sponges (120, 220, 320, and 420 grit)
    Chisel
    5-Gallon 4.5 Peak HP Wet Dry Vacuum
    Tape Measure
    Paint Brush
    Air Compressor

    FILM / EDIT EQUIPMENT: 
    Canon Rebel EOS T2i:  
    Canon EF-S 18-55mm f/3.5-5.6 IS II Lens
    Rode Microphone
    Voice Recording
    Adobe Premiere (Editorial)

    Thanks for reading! I would be so grateful if you could please subscribe to my new Youtube Channel for future projects. I put out videos every two weeks.

    Cheers!

    Zach


    Building a Skateboard Stool


    Thanks for checking out the full article! 

    Full video build is below, followed by detailed instructions with tools and measurements! You can subscribe to our YouTube channel by clicking here!

    I happened to have a skate deck sitting around my apartment, and I knew that at my parents place, they had a full skate deck that no one had touched in 10 years. I did a bit of research and found a bunch of cool DIY skateboard projects that I knew I could tackle in half a day. My design didn't quite match up with other ones I saw - most required 3+ boards which I didn't have, but I did a bit of math and figured out what I could make. Hope you enjoy! 

    MATERIALS
    2 x Skateboards (both were 8.25"W x  30.25" L)
    1 x Skateboard Truck w/associated washers and nuts

    4 x Screws (Phillips head, #10, "24" thread count, 3" long)
    8 x Nuts (#10, "24 thread count)

    Here are my two decks - it does not matter what condition your boards are in or if they have grip tape or not - just get two boards and get excited about the project! They also can be different lengths and widths!

    I started by removing the trucks - you can save the hardware but you won't need it for this particular project. 

    I measured and cut my two boards to 19" long. This length is totally up to you and doesn't make or break the design - feel free to cut whatever length you want - just make sure you make them equal and keep in mind that you'll want to keep a good amount left over for the seat! I'd say for a stool, stick to 17"+.

    I marked out how I was going to cut out my pieces. Draw a line down the middle (it can go as far down as you want - I don't even remember my length!), and then connect that center point to your two corners. You can cut this out using any cutting tool - hand saw, jig saw, circular saw, table saw, or band saw. I used my circular saw as that was easiest.

    I cut my second piece the same by using the first triangle I had cut out to marked the lines. This kept them nearly identical. Next, I sanded down the cut edges with 60 grit sand paper using my orbital sander. 

    Feel free to sand these down as fine as you want. I followed up the orbital sanding with a hand sanding block at 120 grit (not pictured). 

    Next - remove the wheels from one of the trucks - you can keep them and use them for a future project. Keep the hardware close - you'll need it later!

    I marked a point 4" down and in the center of my legs (this was based on how low I knew my truck wheel points would be) and used my 3/8" drill bit to cut our holes in all four pieces. 

    Here are all the pieces cut and ready to be assembled. One thing I realized after is that using an extra four screws to hold the longer screws tight to the board was a good idea as well as using two additional wood screws (maybe 7/8" long) to hold the two sets of legs together (see below for clarity!)

    Using the same 3/8" drill bit to counter sink the screws so they'd sit flush with the seat board. 

    The first picture in this stack shows the additional four screws I'm using to hold the long screws tight against the board. The second picture shows me using a second set of four screws to secure the trucks to the long screws.

    This thing is held together purely with pressure - no glue or any other fasteners. This happens by simultaneously pushing the trucks up close to the seat using the four small screws while also having the two truck bolts stick outward through the legs. Everything becomes tightly secured once the legs are forced against the bottom of the seat. Hard to explain, but you'll feel it come together when you build it!

    As mentioned above, last minute, I used a single screw on each leg to hold them together so the legs wouldn't slide when pressured against the seat. I didn't have to drill a hole for this - I just use the existing hole from the truck screws. 

    I then use my circular saw to mark and flatten out the tops of the legs so that they would sit more flush against the bottom of the seat. Not pictured here is me using my belt sander with 60 grit paper to flatten and shape things further to make it more snug - I recommend doing this as well as although your cuts will be straight, it helps to angle the edges slightly to fit the convex nature of the skateboard. 

    Time for final assembly. I attached the two legs to the trucks using the same hardware washers and nuts that held the wheels on. I then tightened the four screws on the truck (third picture) so that everything was forced together through pressure. The tops of the legs will be forced against the bottom of the seat but retain their shape because of the additional screw added earlier. When the legs push up to the underside of the seat, it pushes the truck up against the four screws you're tightening, making everything quite sturdy. 

    My one reco is to tighten all four screws initially, and then tighten them all incrementally with a wrench to that everything tightens up evenly. 

    Lastly, in order to have the seat sit parallel to the ground, I cut off a bit of length (not going to give a measurement here as it was unique to my size and leg length) on two of the legs. Just use your best judgement - start with less and cut off more if needed. 

    Then I tested it out! I'm not the biggest person, but at 160 pounds, this thing was rock solid. 

    Few close up final pics! I love this thing. I love it even more that people sell them on Etsy for $400+ and I was able to make one for $5. If you have any questions - feel free to reach out to me via the "Get in Touch" section and I'd be happy to answer them. 

    TOOLS
    RYOBI Circular Saw
    RYOBI Power Drill

    RYOBI Cordless Orbital Sander
    12” Rafter Square
    Hand Sanding Sponges (120 Grit)
    RYOBI Drill Bit Set (3/8" Drill Bit)
    Wrench / Socket Wrench

    FILM / EDIT EQUIPMENT: 
    Canon Rebel EOS T2i:  
    Canon EF-S 18-55mm f/3.5-5.6 IS II Lens
    Rode Microphone
    Voice Recording
    Adobe Premiere (Editorial)

    Thanks for reading! I would be so grateful if you could please subscribe to my new Youtube Channel for future projects. I put out videos every other week.

    Cheers!

    Zach


    Up-cycle Pallet Wood


    Thanks for checking out the full article! 

    Full video build is below, followed by detailed instructions with tools and measurements! You can subscribe to our YouTube channel by clicking here!

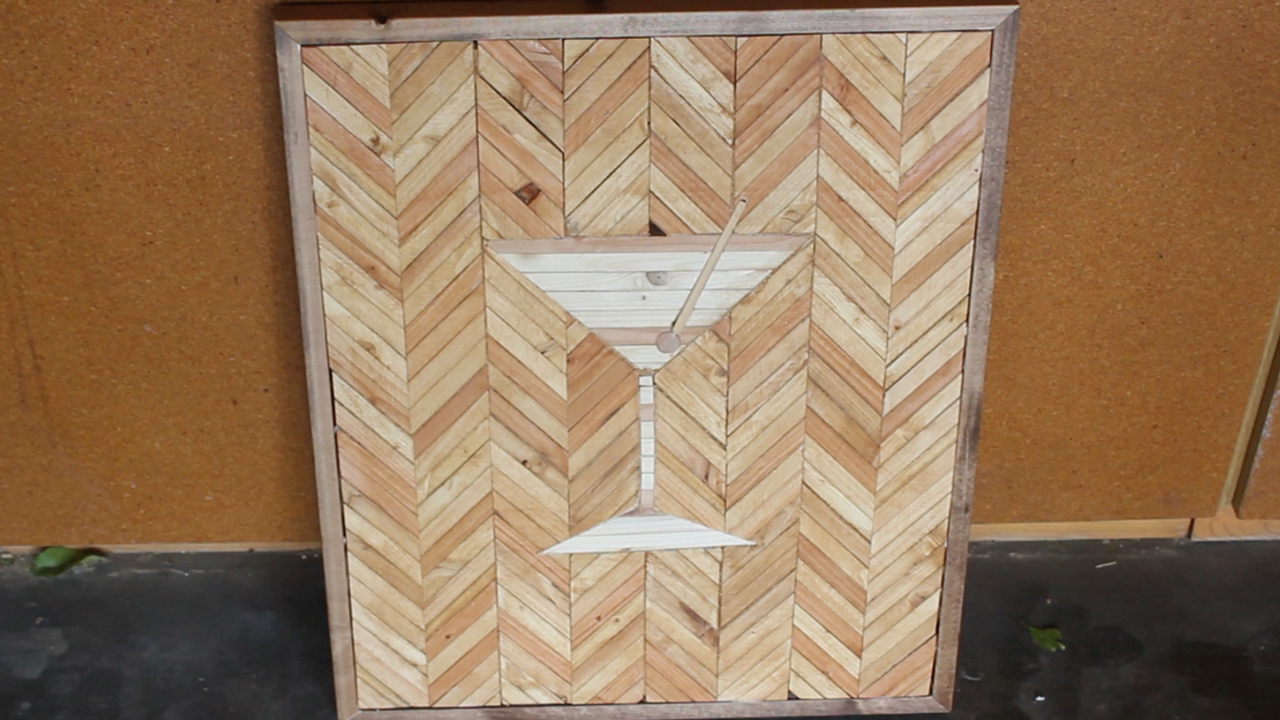
    This was a really fun project I made for my friend's home bar. He had sent me a reference link to something he saw at a bar and asked if I could do it - it looked relatively straight forward but, as all projects usually are, turned out to be much more complicated and time consuming than it looked!

    MATERIALS
    5 x Standard Size Pallet (Heat Treated, not Chemically)
    1  x 3'x 4' x 3/8" Plywood

    1 x 1" x 2" x 8' Whitewood
    3/4" Wooden Dowel
    TiteBond II Wood Glue
    1.5” Brad Nails
    Minwax Golden Oak
    Minwax Wipe On Satin Polyurethane

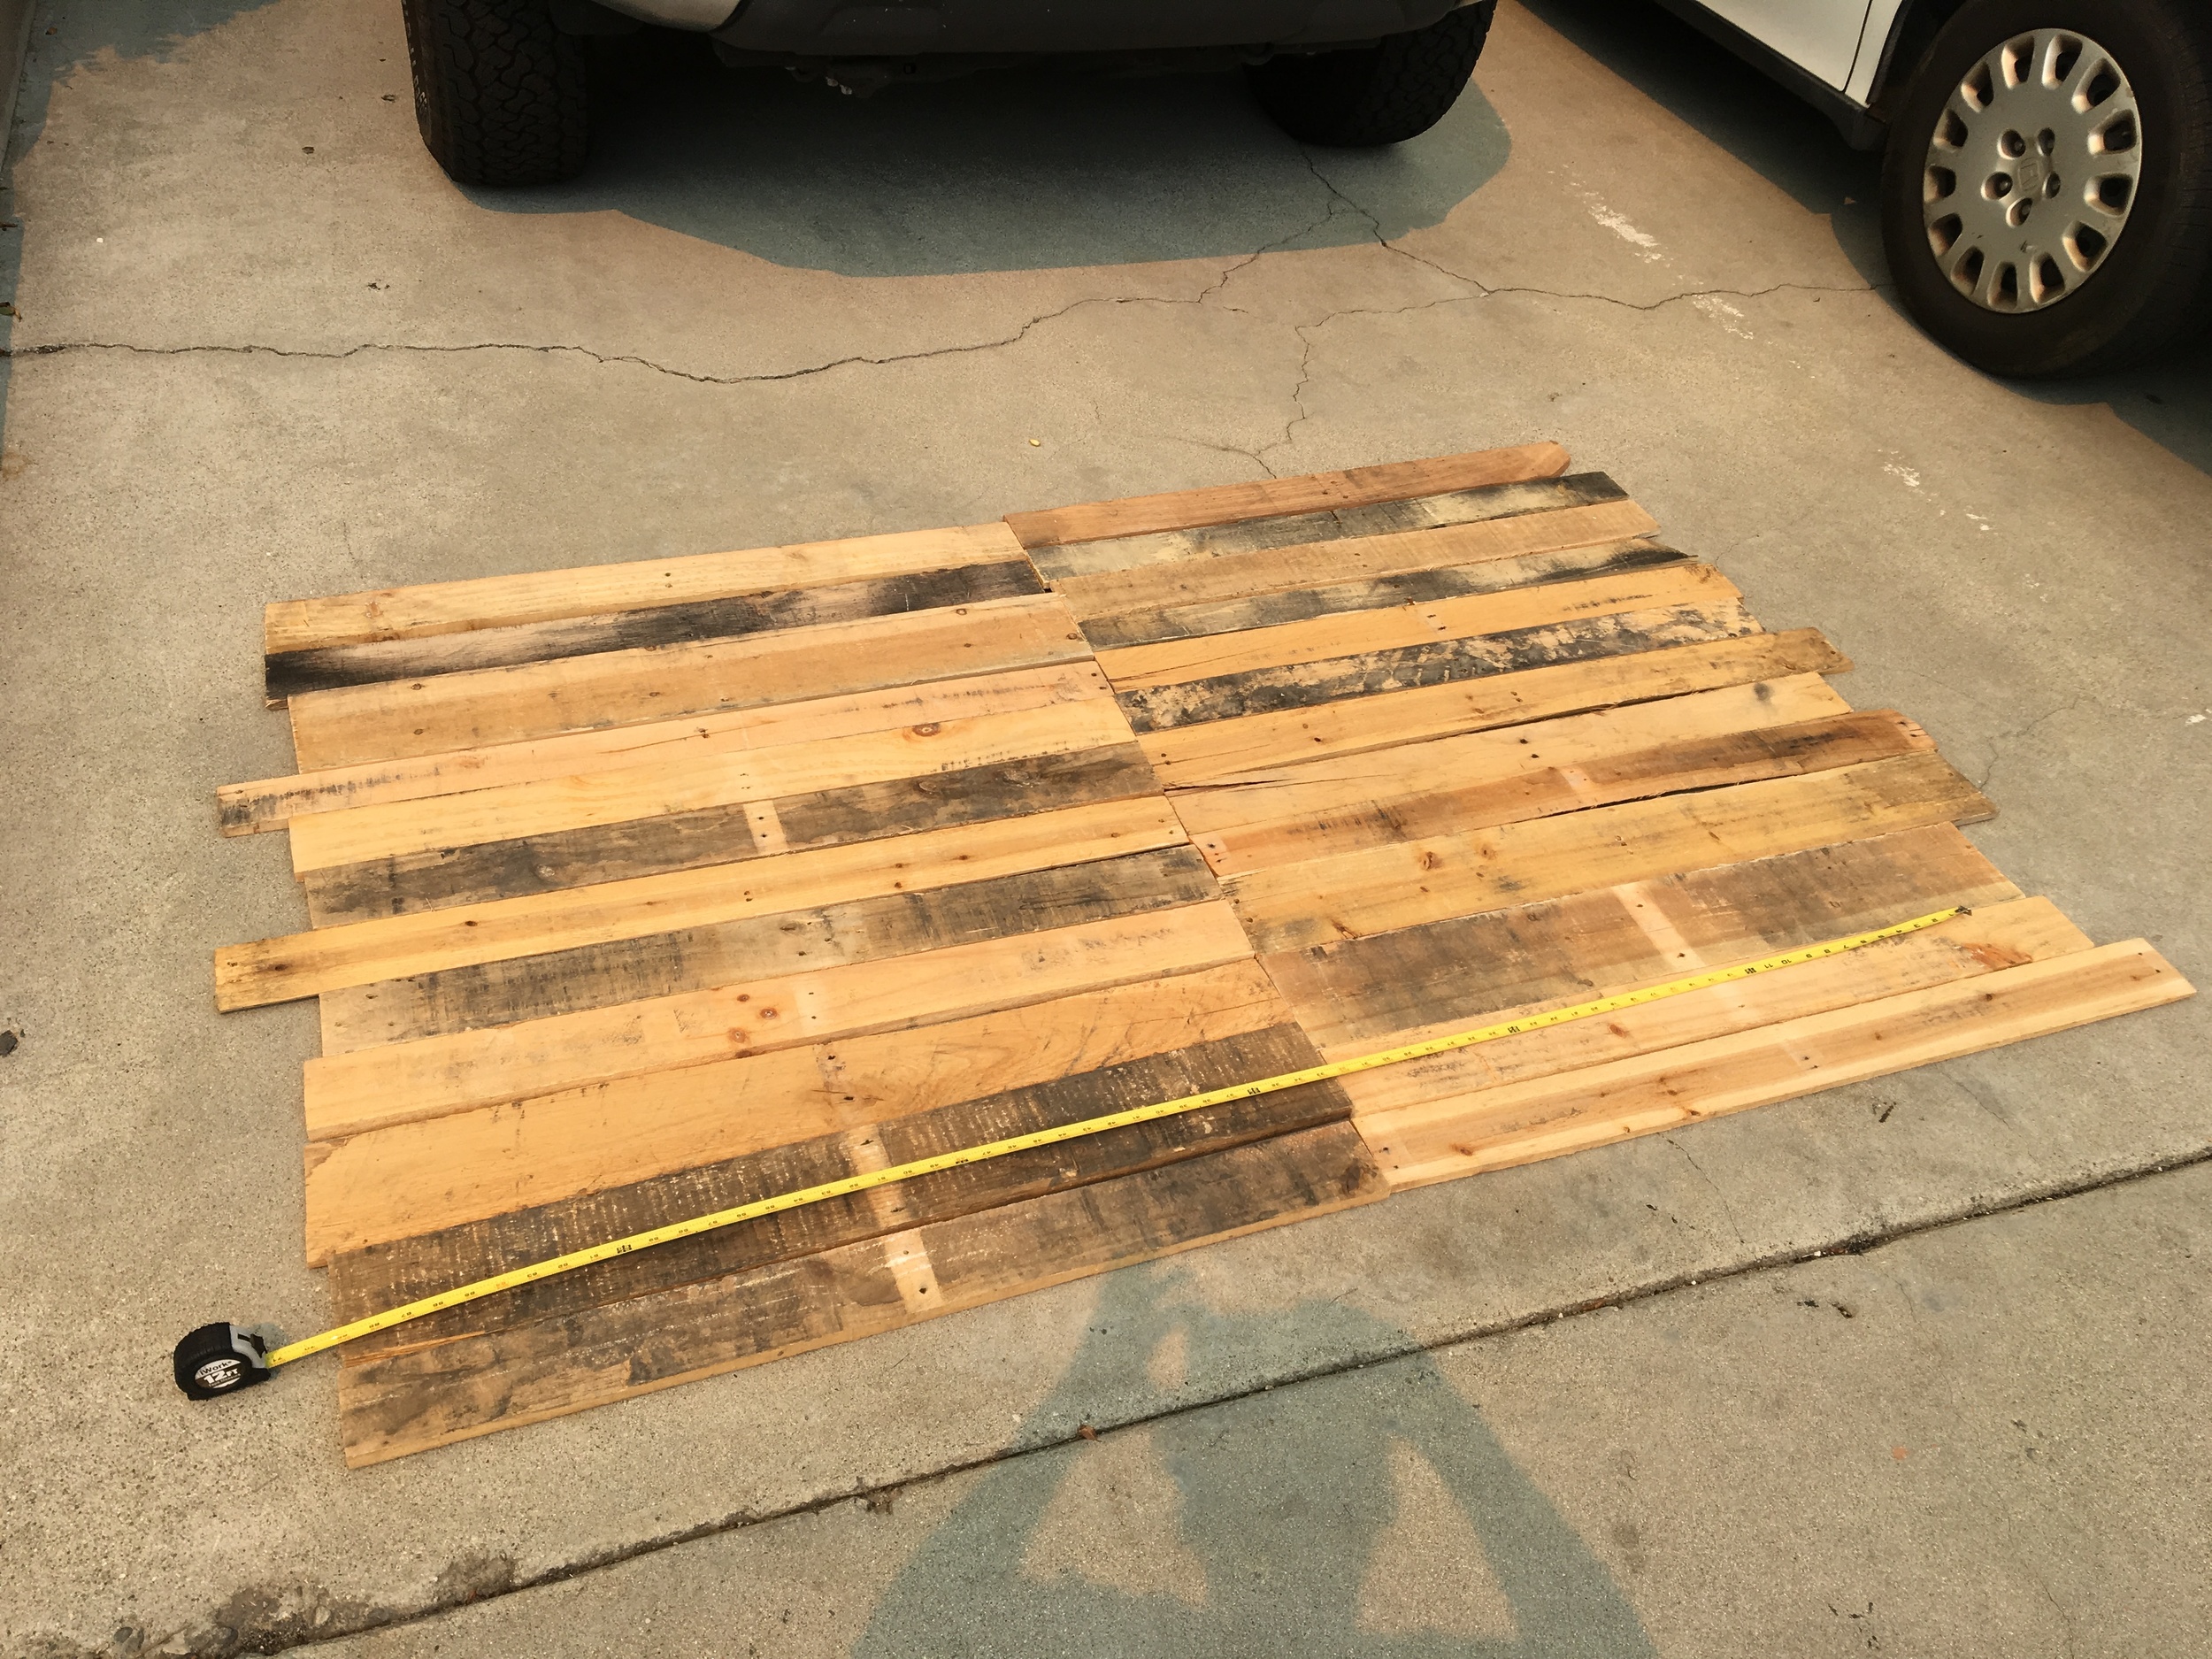
    Ripping apart pallets can take forever and be a huge pain in the ass. For this project, I was lucky to be able to cut my pallets versus having to rip them all apart and remove tons of nails.

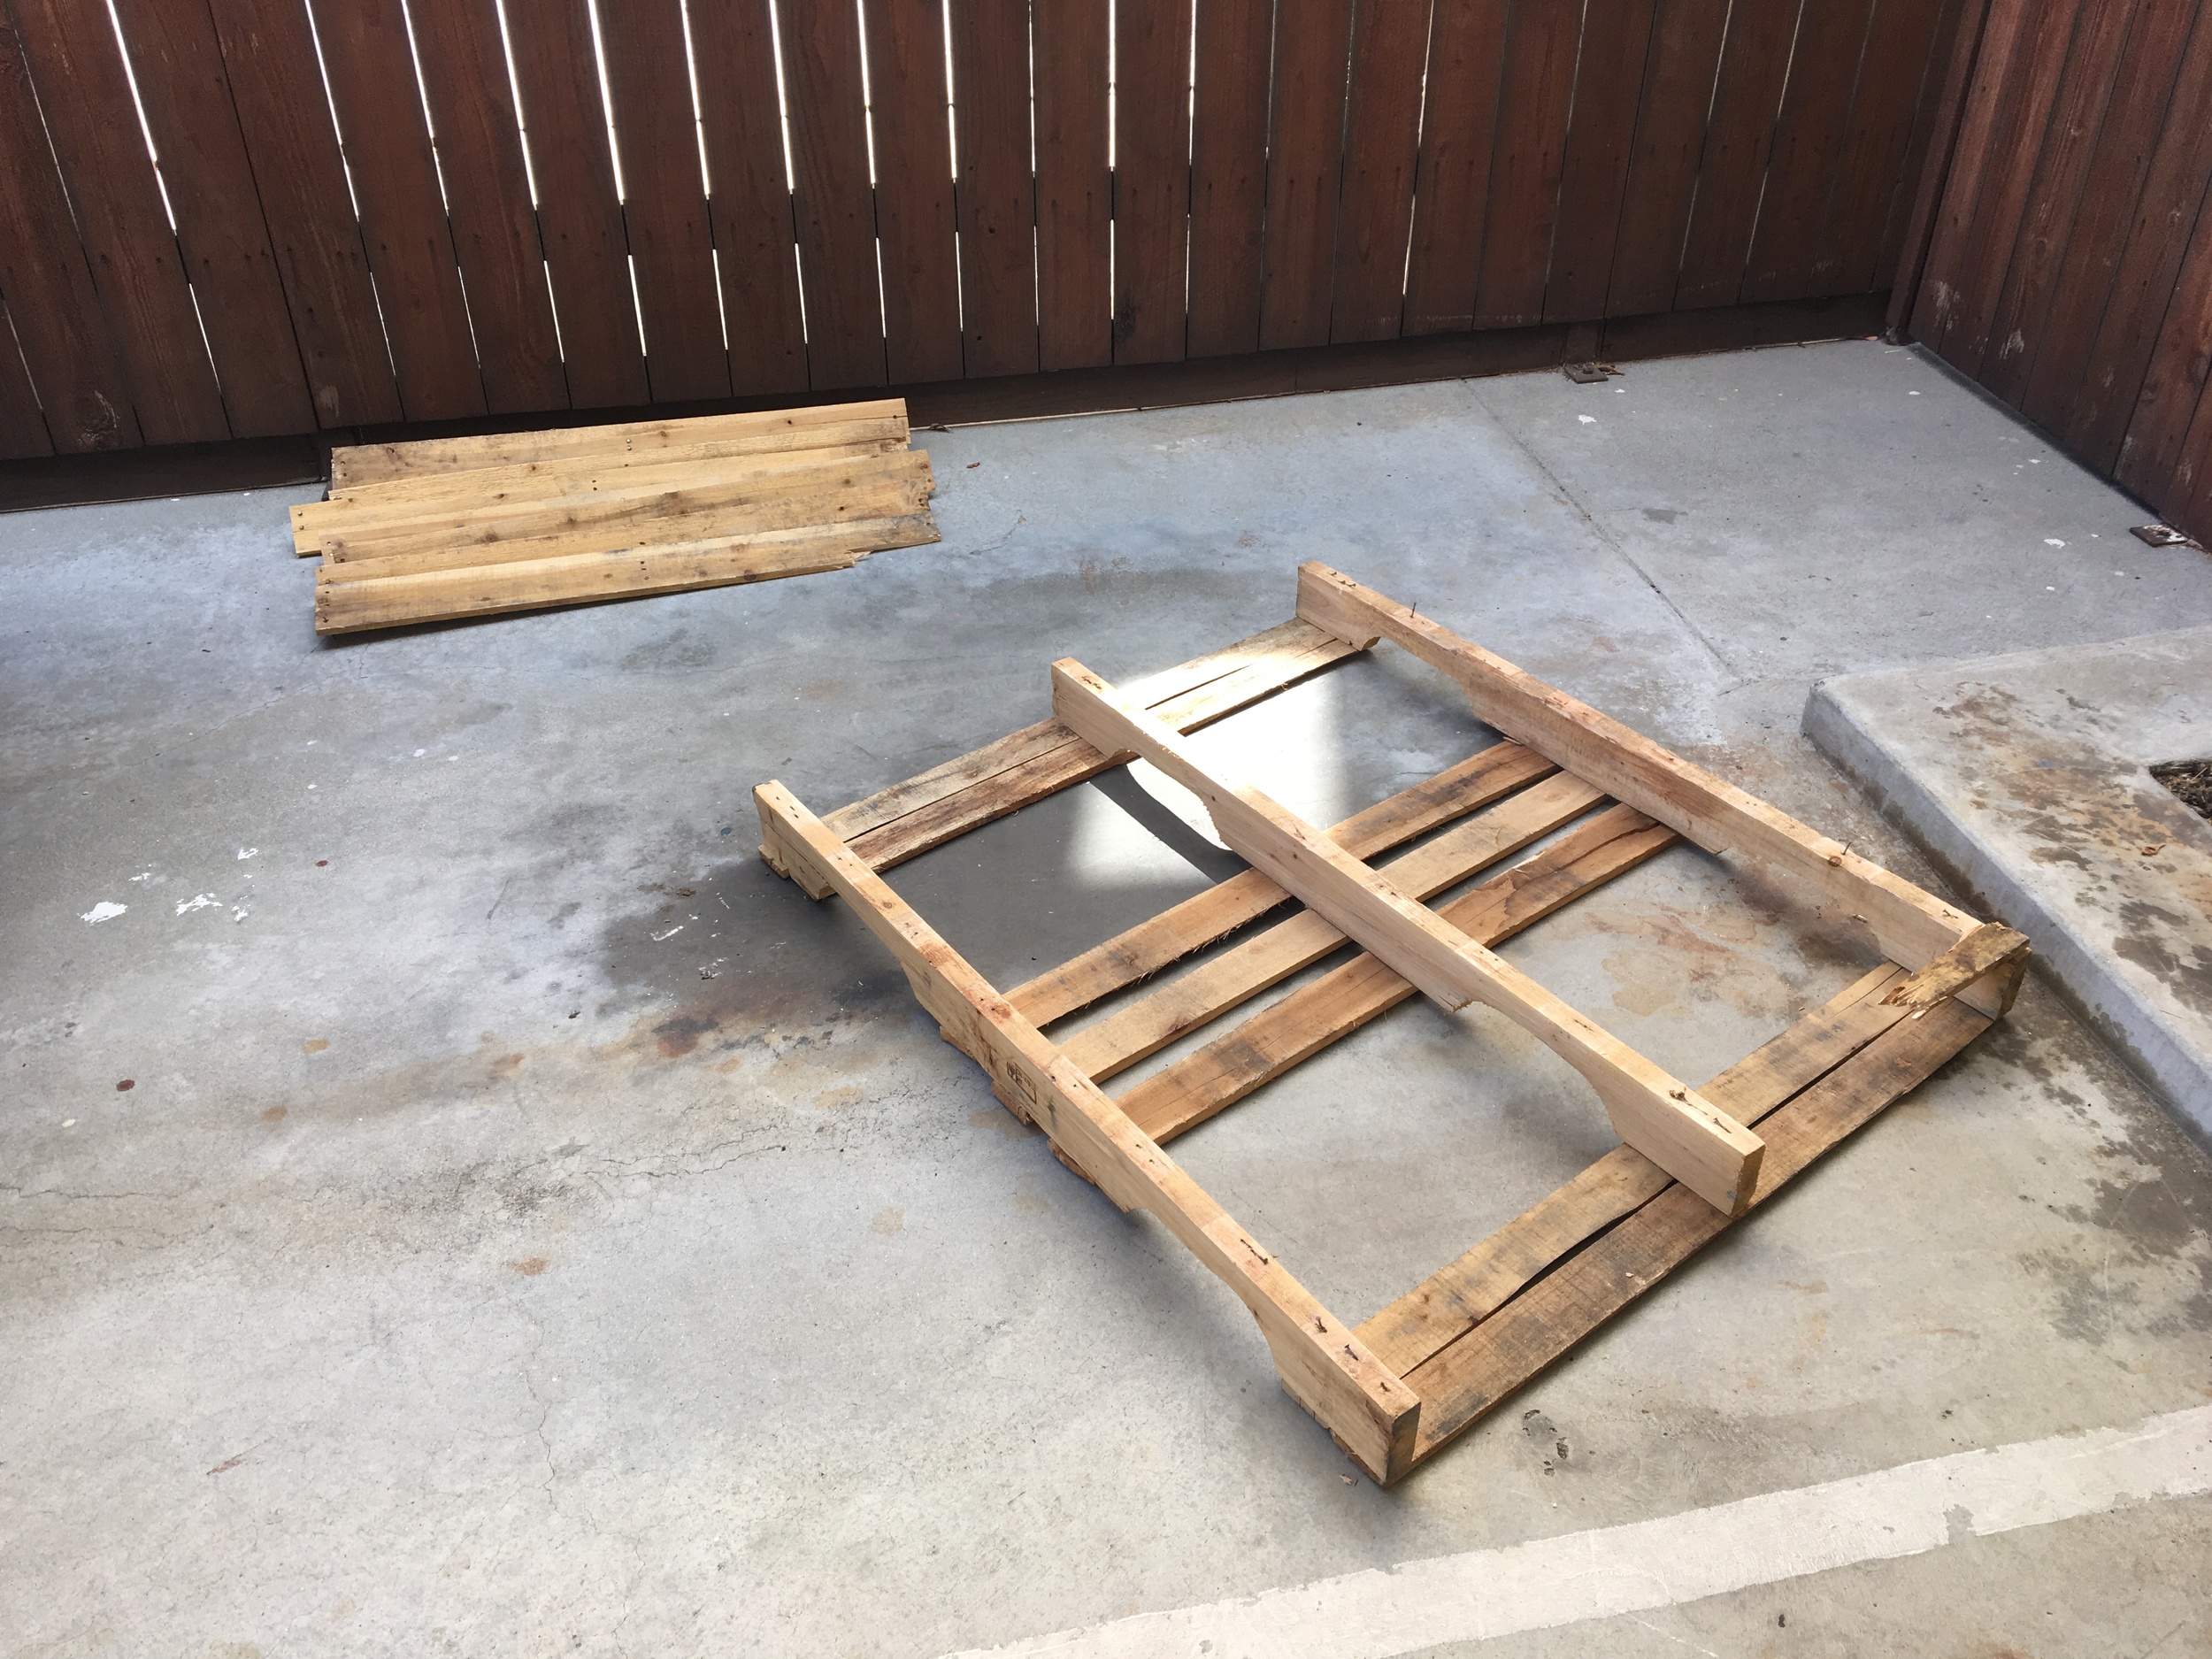
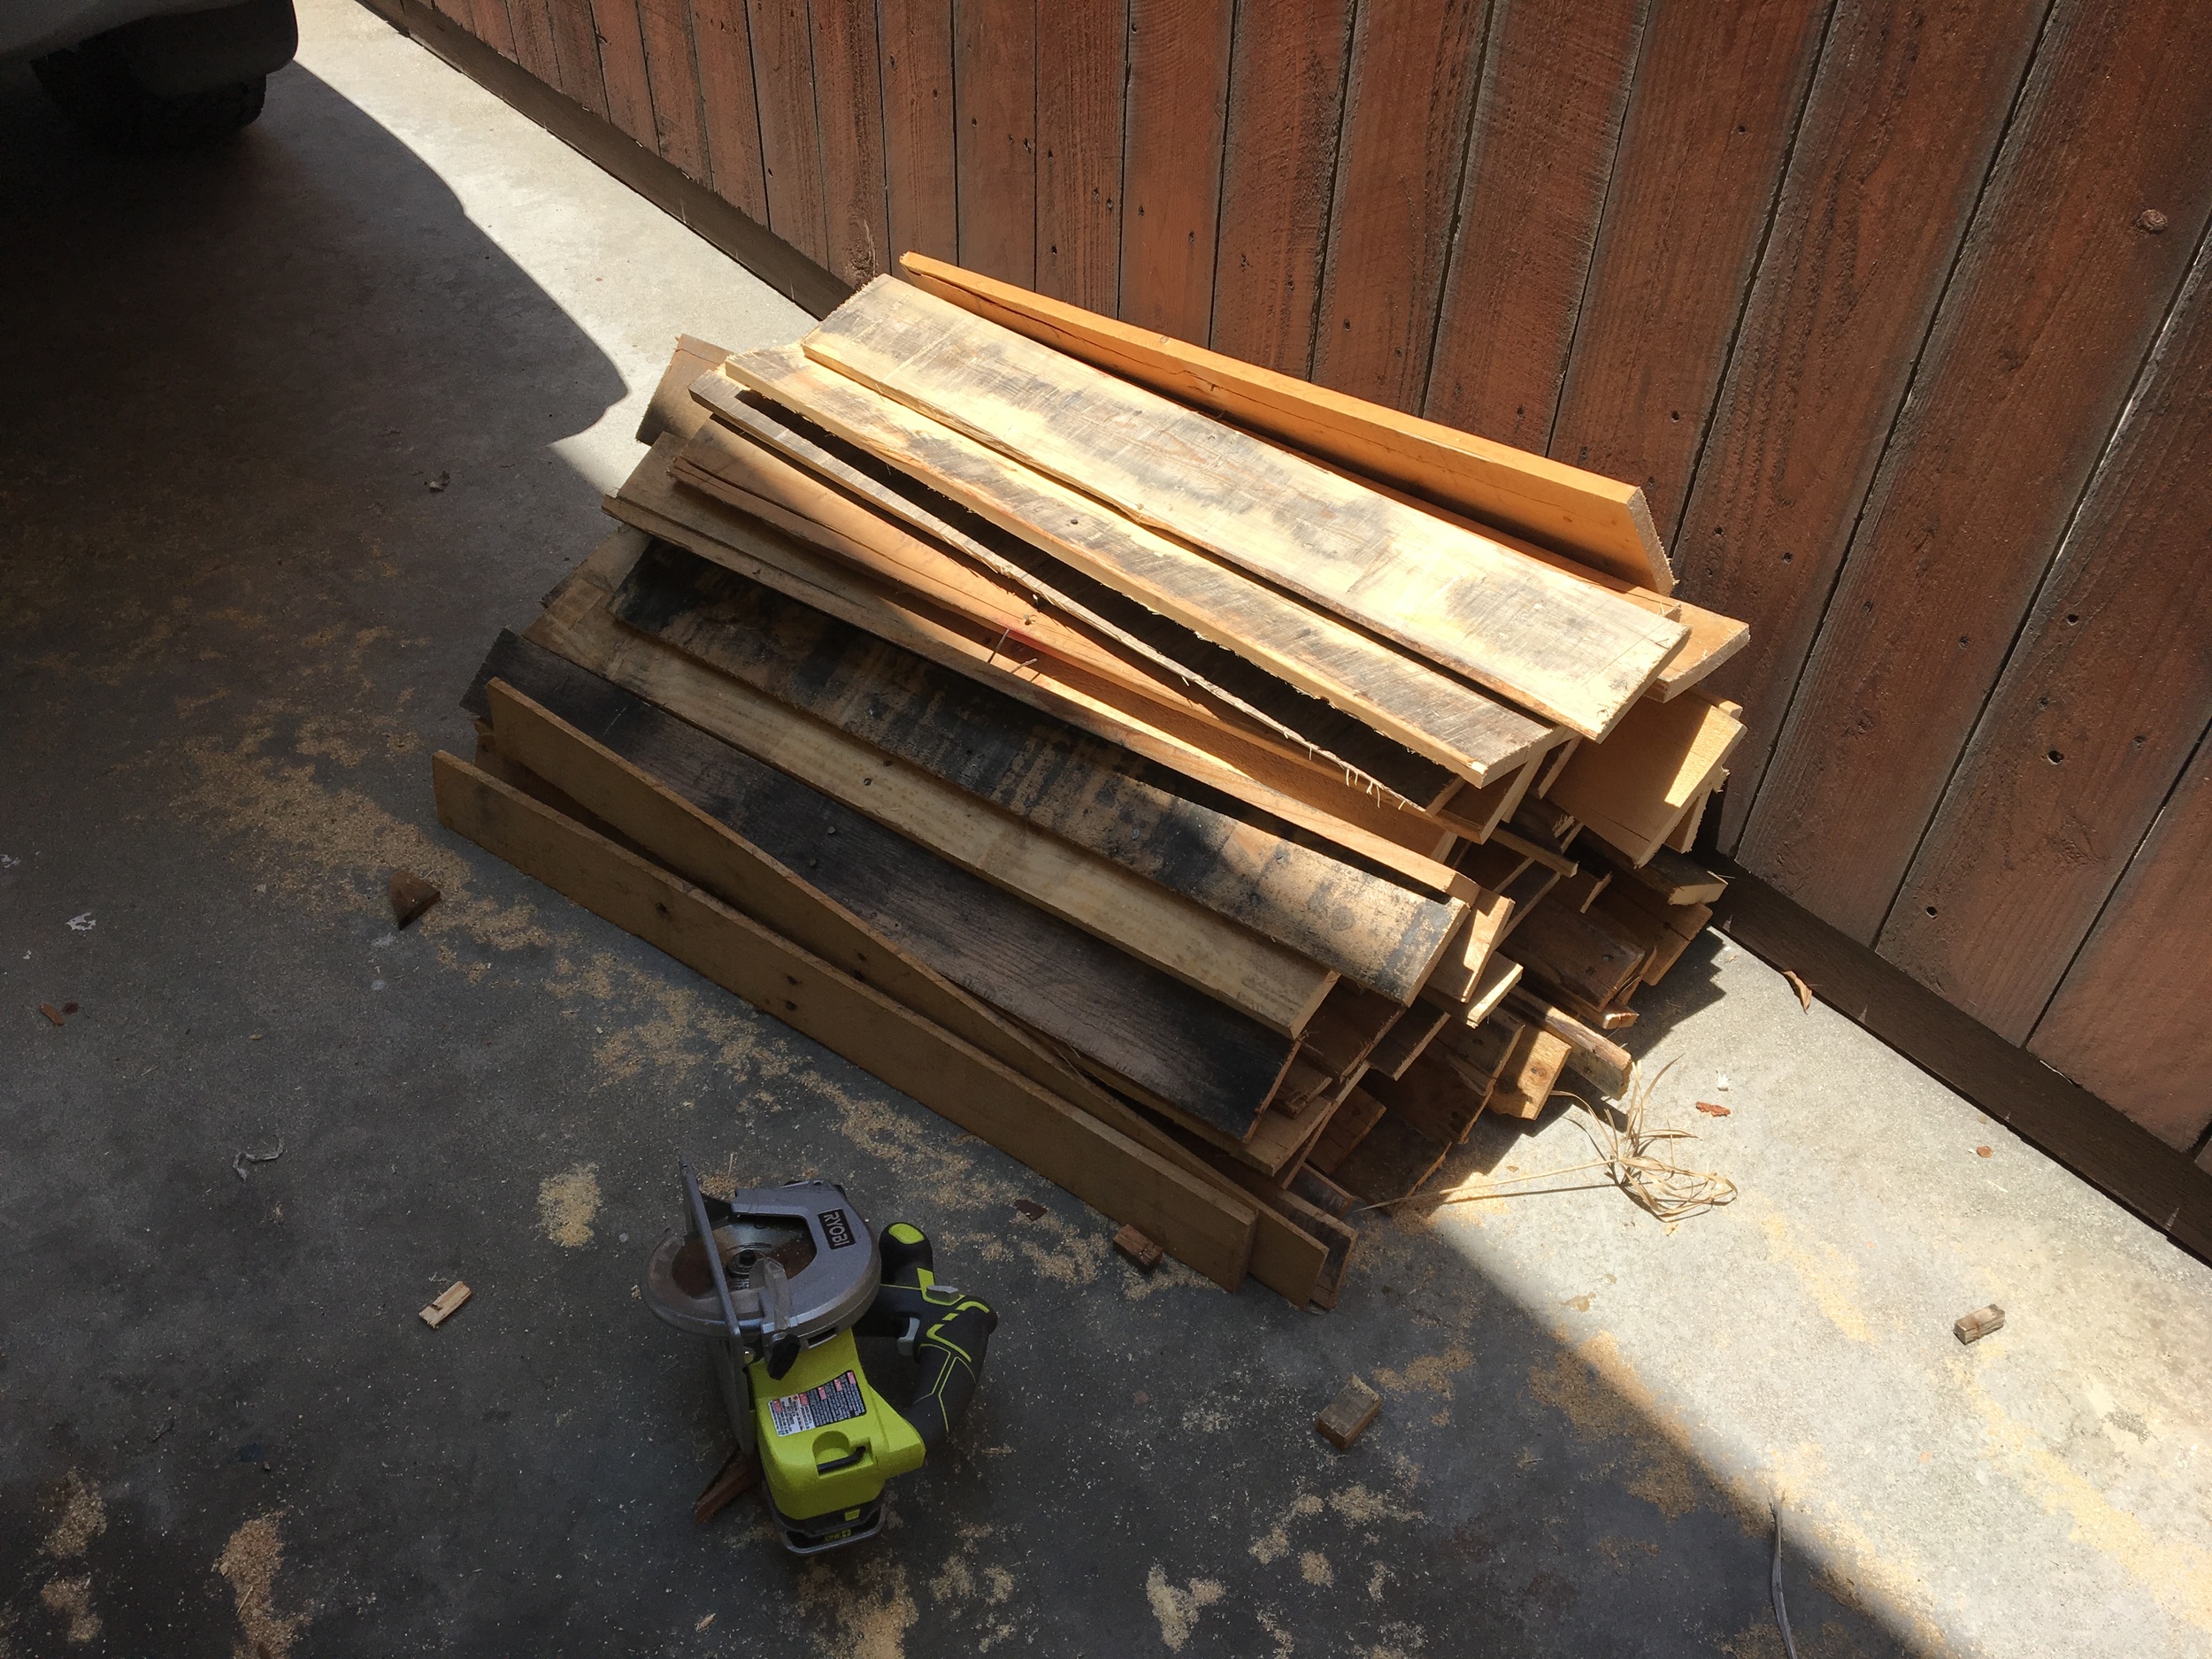
    For other projects, I have had to do this - it is not always the most fun and can leave you with a ton of lower back pain, but stick with it as you'll be very satisfied with the final product. I ripped apart 5 pallets for this, using mostly my circular saw to cut roughly 13-15" strips of all different widths. 

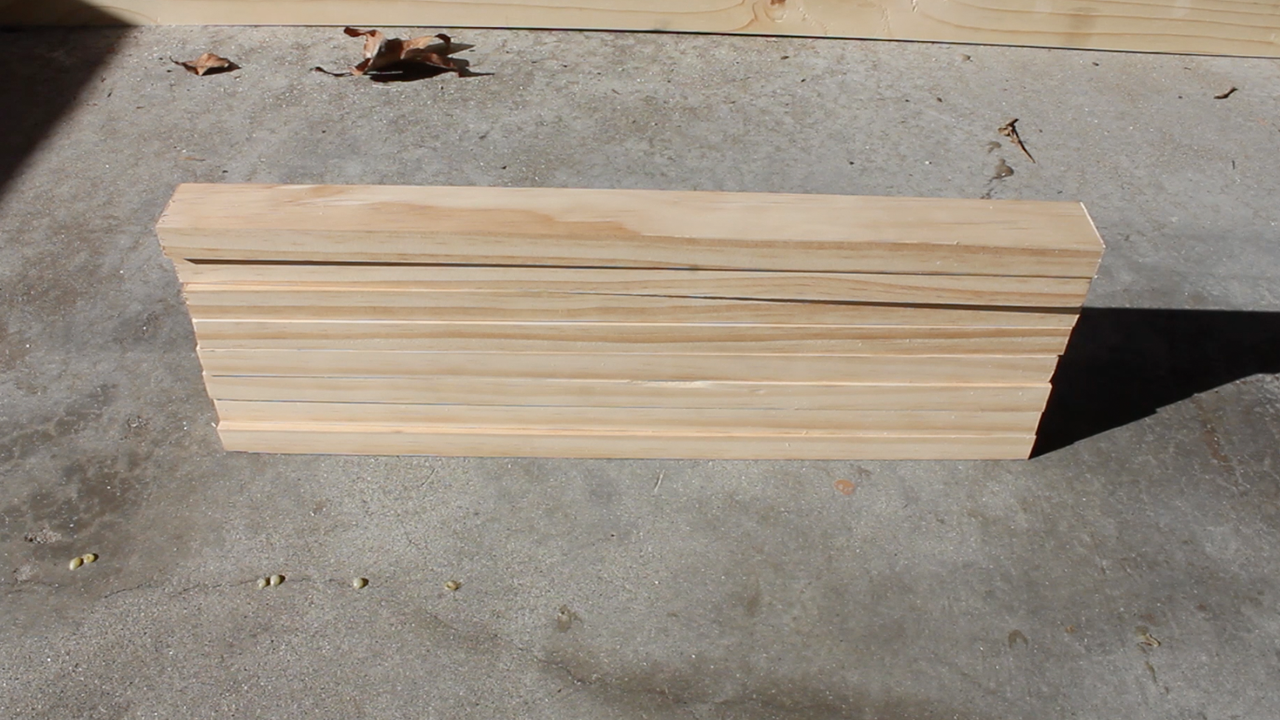
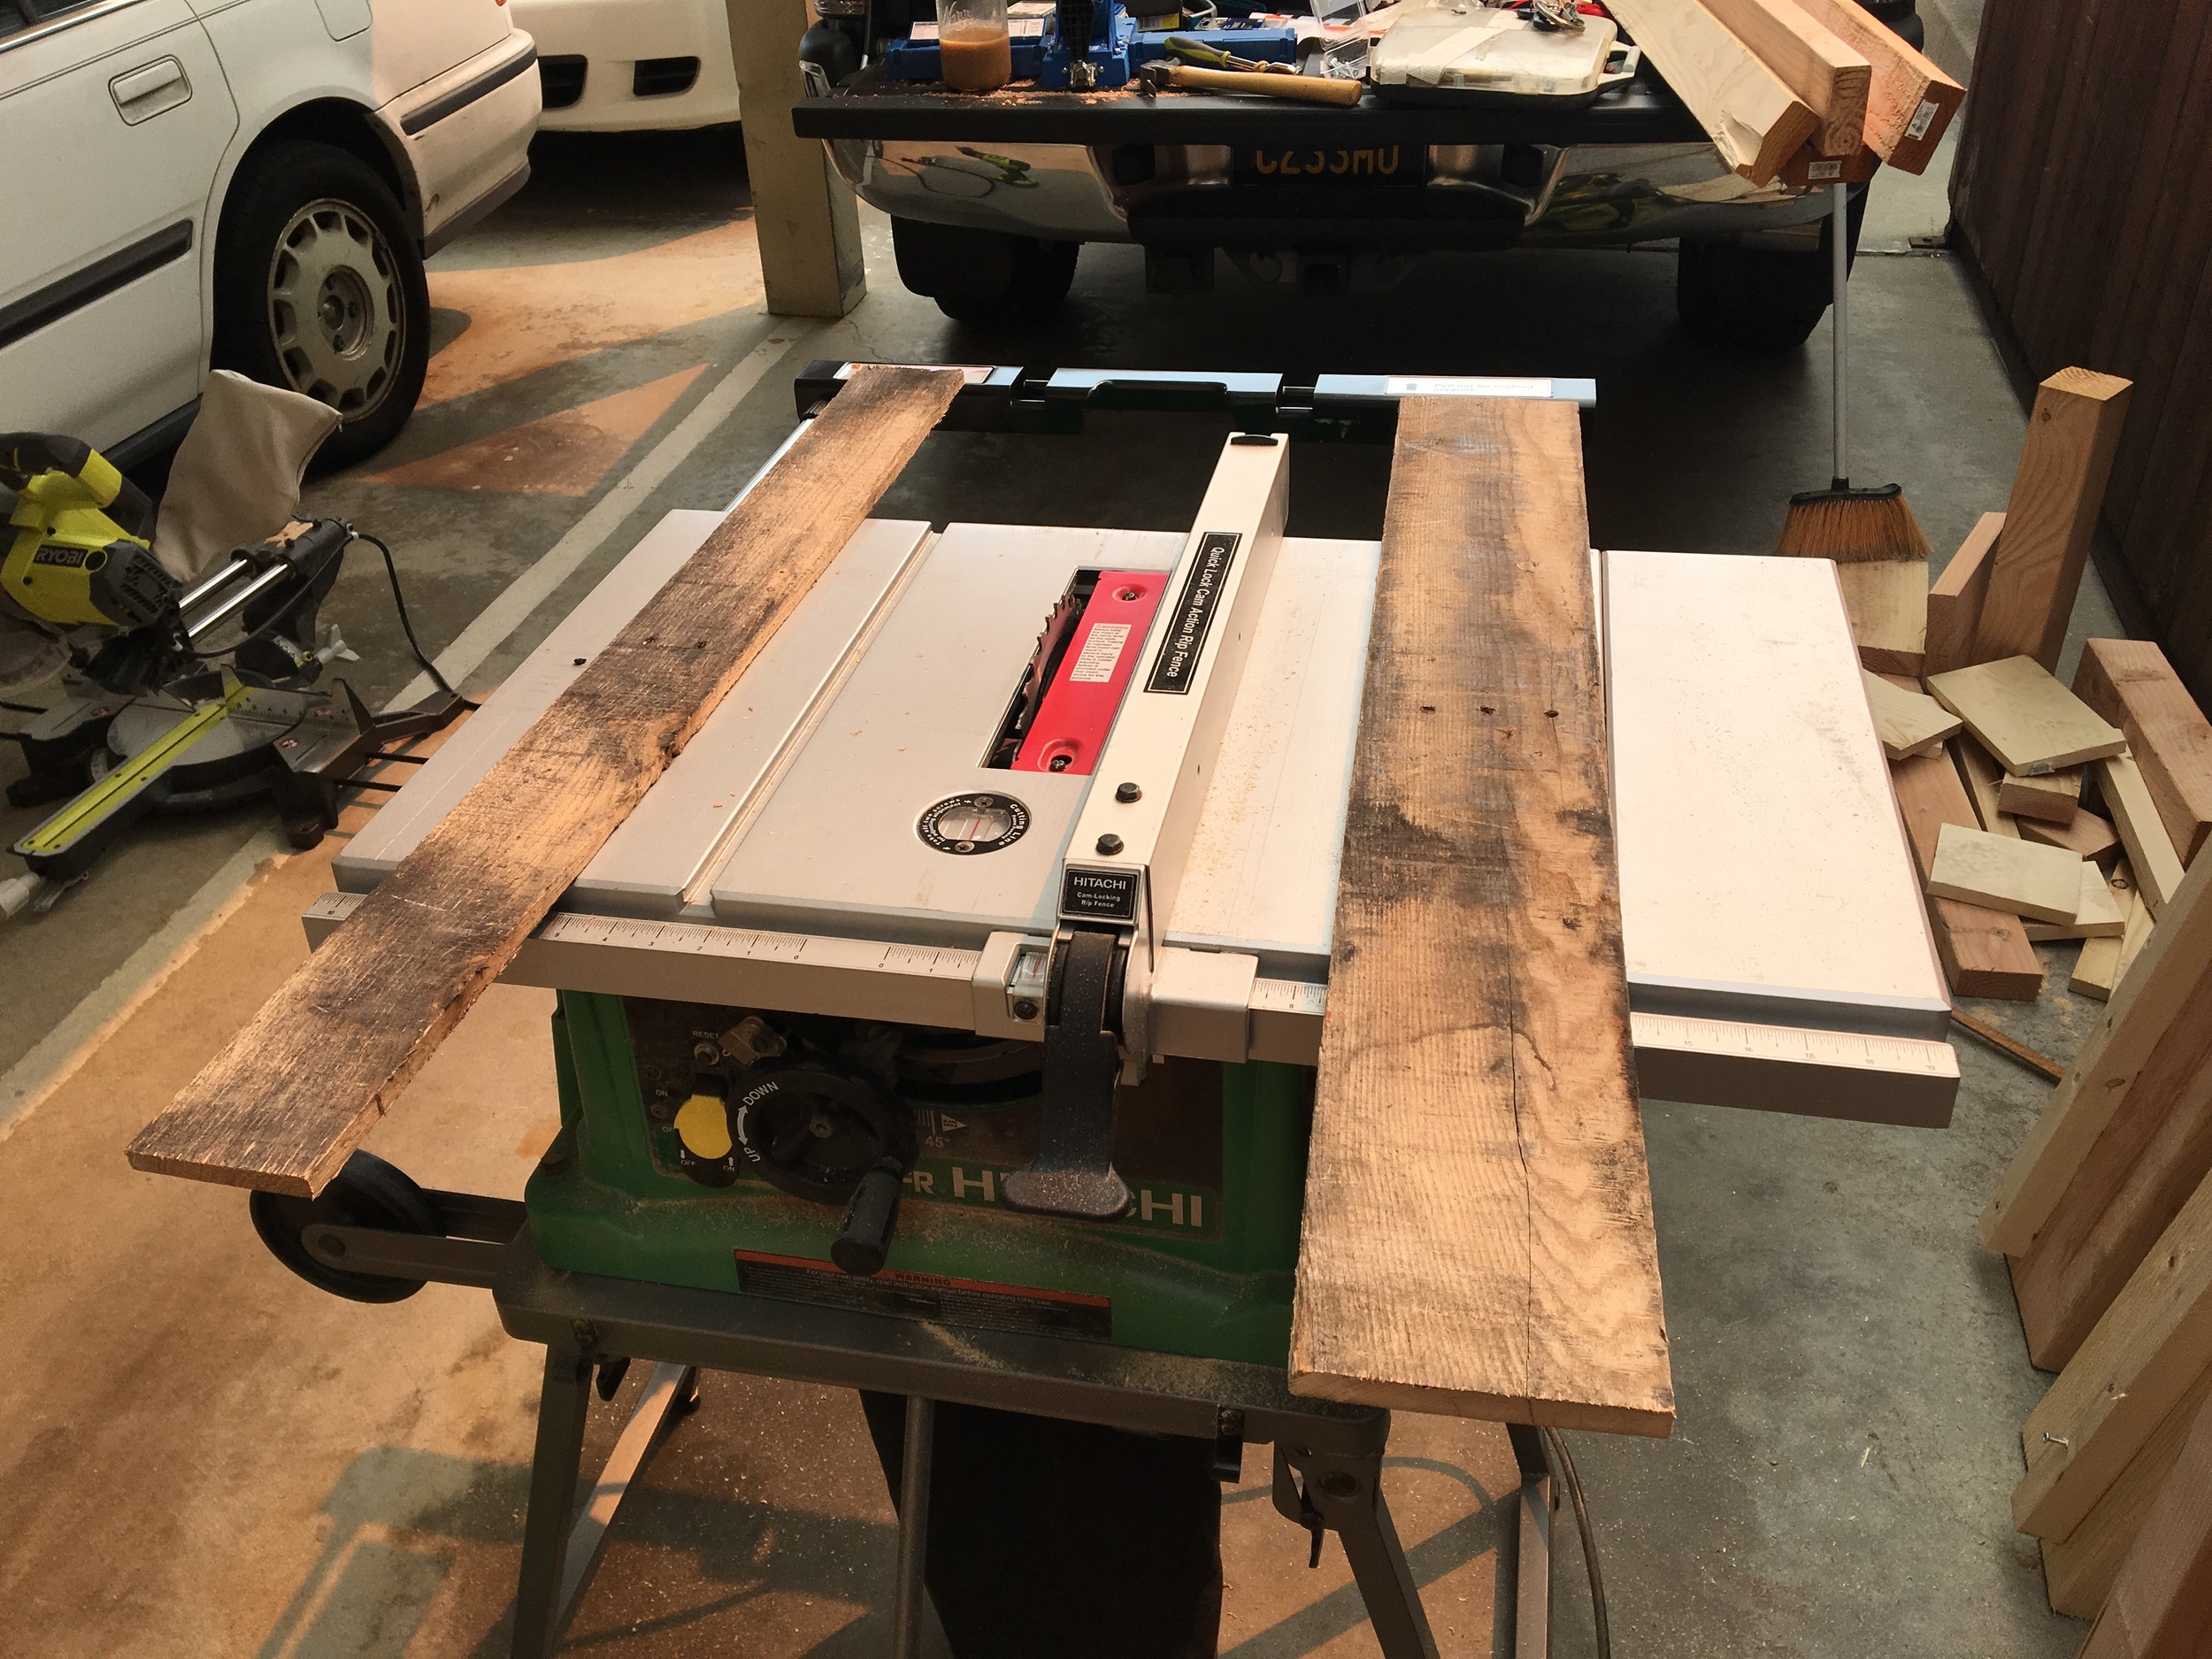
    Next, I used my taper jig to square up one side of the pallet and then cut 1.25" strips - as you can see I cut a ton of them on the table saw.

    FYI - always be extremely careful on a table saw - use a guard if you can and keep all fingers completely out of harms way - a taper jig will help out a ton for this!

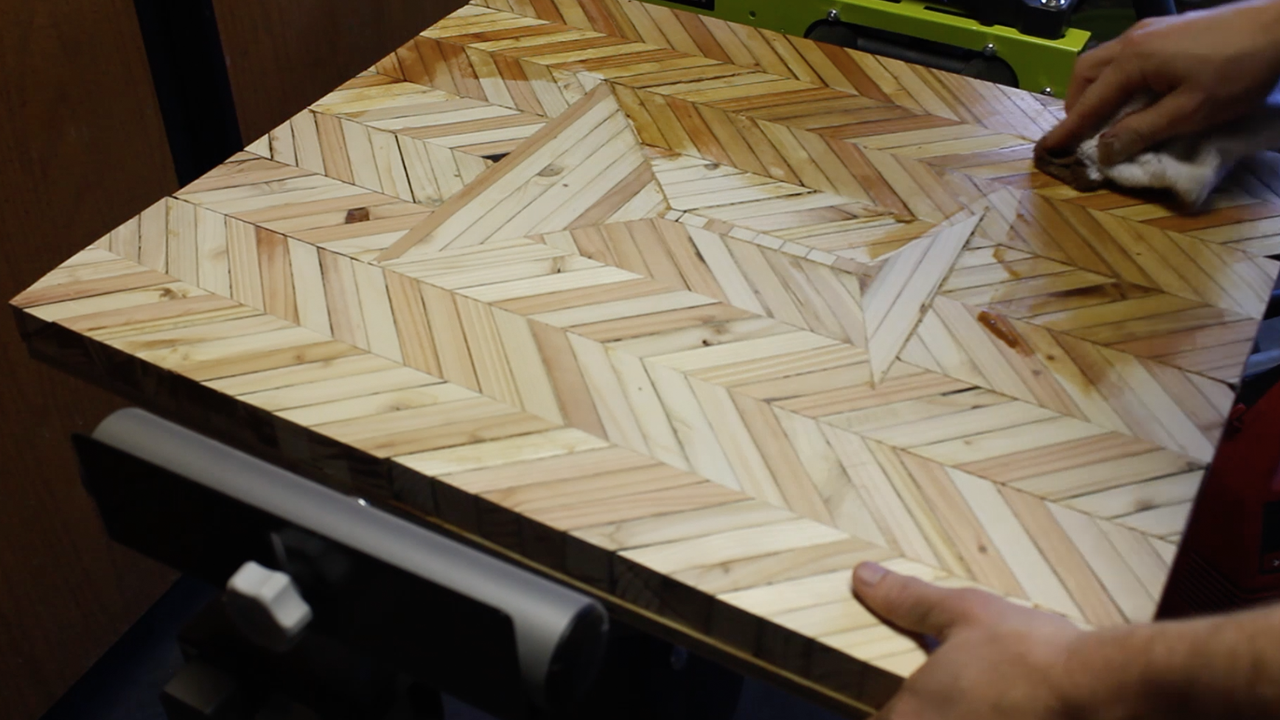
    Next, I glued up my strips overnight. Since I new I'd be cutting my future strips at 45° eventually to make chevrons, I glued up everything at 45°. This was actually a bit more complicated than I initially thought as, with all woodworkers, I never have enough clamps!

    Make sure you use a ton of glue - I made the mistake of not spreading it out, which lead to some pieces falling apart even after fully dry. And, instead of using pocket holes to connect everything, I took my strips (all cut to 2.5" wide) and glued them to a scrap piece of 3/8" plywood. I used 100+ pounds of weight to hold it down while it dried - my one regret is not coming up with a process to squeeze everything together horizontally - you live and you learn!

    It helps a lot to build things at your parents - they always seem to have that one tool or material you seem to forget or think you won't need!

    While that dried, I glued together more strips to make a piece that would become my martini glass portion and let that dry. 

    Once dried, I sanded down the entire piece using my belt sander and 60 grit sandpaper - this actually worked really well. I cleaned it up further with a hand sanding block and 120 paper. I used compressed air to clear out all of the saw dust - which was an absurd about.

    I then had my dad help me cut my entire piece to its final width and length. Partners help so much on these projects!

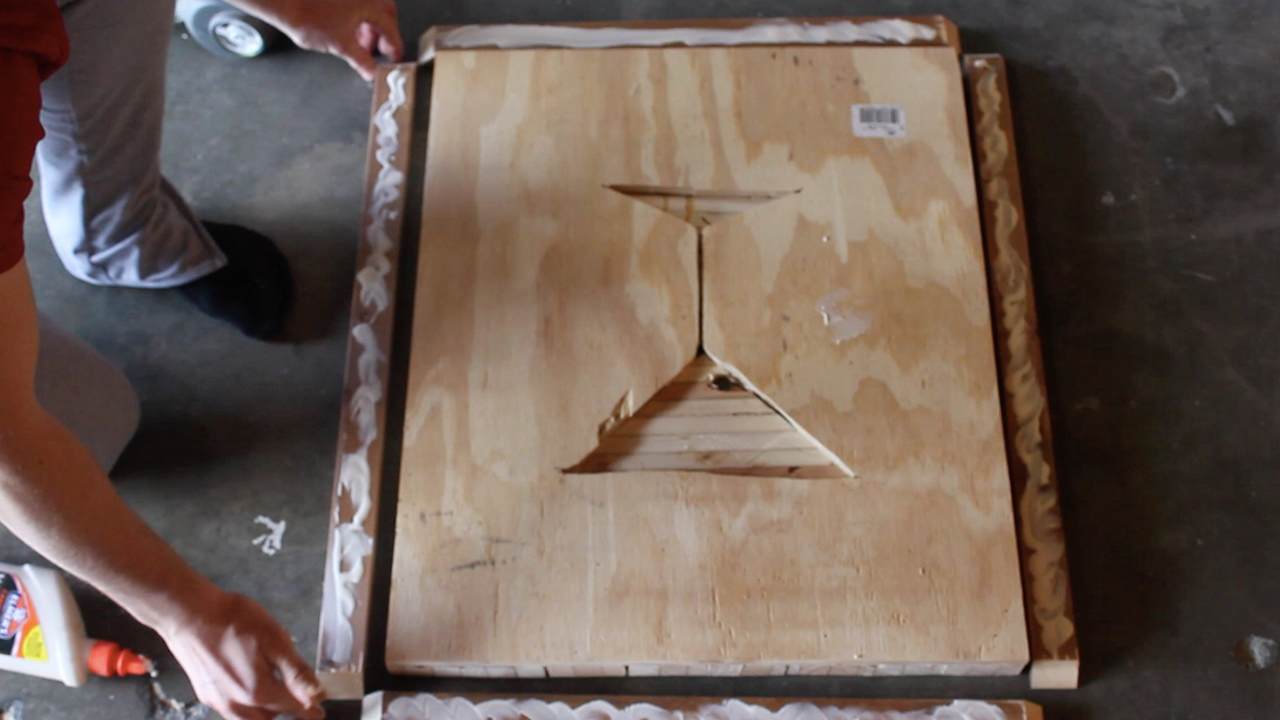
    Next, I took to measuring out and cutting out (with my jigsaw) my martini glass space on my main piece, and then cutting out my martini glass piece and hammering it into place. This took a bit of finesse to make everything fit. It ended up being so snug and tight that I didn't need to use glue. Feel free to obviously!

    I then used wood glue and saw dust to fill in any gaps. I premixed my solution, but I actually recommend adding a ton of glue to your cracks then rubbing in saw dust - it is a bit easier to apply. Once I added the mix and let it dry, I scraped off the excess with a firm wire brush, sanded down again, and added a thin coat of Minwax's Summer Oak stain to help make the glass and background stand apart better. It came out great!

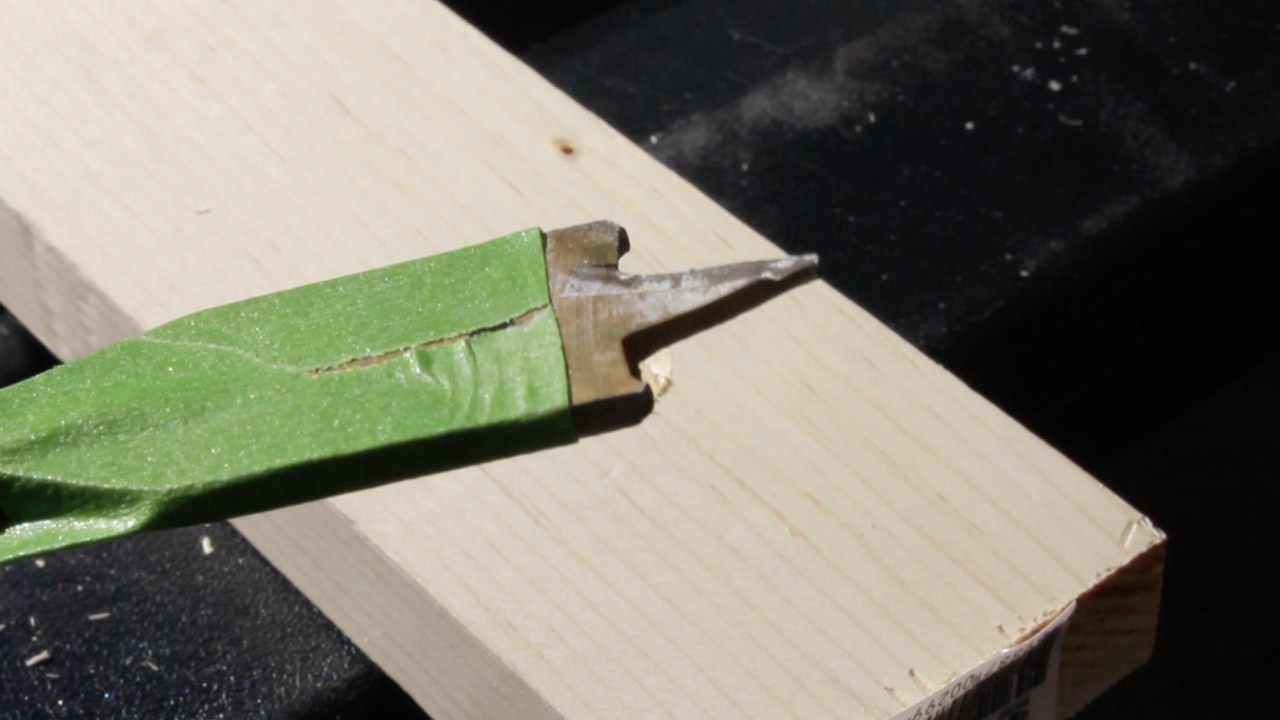
    While the stain dried, I cut off my 3/4" dowel for my olive, cut out the pilot hole with my 3/4" spade bit, hammered it into place, and then proceeded to do the same thing with my toothpick using a thin piece of scrap wood and a chisel. Again - this takes a bit of patience and finesse, so keep at it!

    Lastly, I measured out my final length and width and cut a 1" x 2" piece of whitewood that I had pre-stained with Minwax's American Walnut stain with mitered edges to serve as a boarded. I glued it on tightly with Titebond II and held it in place with 1.5" finish nails using my brad nailer. 

    Yea - this think came out fantastic and I'm super stoked on it!

    As a last minute addition, I painted on some clear polyurethane to part of the glass to give the appearance of a clear liquid in it - it is subtle but I think it actually looks pretty sweet!

    And then I was done and placed in its final home - this was soooo much work but as a unique piece of pallet art, you can't really get much more custom and unique. 

    TOOLS
    RYOBI 10 in. Sliding Compound Miter Saw
    RYOBI Miter Saw Stand
    ROCKLER Taper Jig
    HITACHI Table Saw
    RYOBI Circular Saw
    RYOBI Cordless Orbital Sander
    RYOBI Belt Sander
    RYOBI Cordless Brad Nailer
    RYOBI Drill Bit Set
    BESSEY Economy 2.5” x 12” Clutch Clamps
    BESSEY Economy 2.5” x 24” Clutch Clamps
    12” Rafter Square
    Hammer
    Rubber Mallet
    Hand Sanding Sponges (120 grit)
    5-Gallon 4.5 Peak HP Wet Dry Vacuum 
    Tape Measure
    Air Compressor

    FILM / EDIT EQUIPMENT: 
    Canon Rebel EOS T2i:  
    Canon EF-S 18-55mm f/3.5-5.6 IS II Lens
    Rode Microphone
    Voice Recording
    Adobe Premiere (Editorial)

    Thanks for reading! I would be so grateful if you could please subscribe to my new Youtube Channel for future projects. I put out videos every two weeks.

    Cheers!

    Zach


    Building a Rustic Blanket Ladder


    Thanks for checking out the full article! 

    Full video build is below, followed by detailed instructions with tools and measurements! You can subscribe to our YouTube channel by clicking here!

    I have now built a blanket ladder six times in my life. It is such a simple project and for anyone looking to add a cool wall fixture to any room, this is the perfect simple project for you. In this video/article, I will actually be building it two slightly different ways.

    Like I say in my video, the best thing about this project is how simple it is to adapt to your specific needs - be that shape, size, color, wood type, and or additional hardware.

    My hope is that, no matter what tools you have or what style your home is, you can still make this project for ~$10-20 instead of purchasing something for $200!

    MATERIALS (For one ladder)
    2 x 1" x 3" x 8' Whitewood
    1 x 1" x 3" x 8' Whitewood
    1” Pocket Hole Screws  or Wood Screws (1.25”)
    Stain and Paint (your choice!)

    I started off by cutting my ladder sides to length using my circular saw. My sides are 6' each, so if you want to follow my method, you'll just need to cut off 2' from each piece.

    To do this, I clamped all four pieces together and ran my circular saw through all four of them one way, then flipped them over and ran it through along the same lines. My saw only cuts to 1.5" deep, so I needed to do a pass from each side to cut through fully. 

    Sometimes, like in my case, by using a circular saw from two ends, you end up without the cleanest. I recommend using your sander (belt, orbital, or by hand) to clean this up if it bothers you! However, you can also make these your bottoms, so you never see them anyways!

    Next, I cut each of my ladder steps to 19" each. This is just the length I use - you have full control over how wide or narrow you want your project to be - just remember that if you're using a 96" piece, you will not want to cut longer than 23.75" each or you'll run out of wood!

    If you watched the video, you'll know I used two methods for this project - below are both of them:

    Method 1 - Pocket holes

    To connect the steps to the side pieces, I set my pocket hole jig to the right height and adjust my drill bit depth as needed and drill a single pocket hole on each side of the steps. 

    Method 2 - Wood Screws + Dowels

    For the second method, I used a 3/4" wood spade bit to drill a dowel hole and pilot hole for wood screws. This was the first time I had done this. You can see below that I drilled a test hole, then used that test hole to measure out a standard depth that I would drill for my final project. You'll drill four of these pilot holes on each side wood piece for your ladder. 

    Note - you will not do this if you are doing the pocket hole version. 

    In order to avoid splitting the wood, I drilled pilot holes for the wood screws. 

    Now it was time to attach it all together. 

    For my pocket hole version, I used my 1" pocket hole screws and my impact driver to connect my pieces.

    For my wood screw + dowel version, I used my drill to attach the pieces through my pilot holes using my 1.5" wood screws. 

    IMPORTANT! Make sure, as you attach the second side to your steps that you attach at a right angle! I use my rafter square to confirm I am doing this. If you do mess up, it is very easy to unscrew and reattached at the proper angle. Note - even 1 or 2 degrees will make the ladder look very janky, so do your due dilligence!

    After connecting all the pieces, I moved onto staining. For each version, I gave them a base stain of Minwax's Special Walnut

    For my pocket hole version, I then added a light stain of the Classic Grey stain. This does not need to cover the whole ladder - the goal is to make it look as though the stain has been wearing off, allowing the Walnut color to show through. 

    For my dowel version, I used a flat white primer mixed with water to again, give the look of a weather/rustic barn wood feel. 

    Here I am white washing the wooden dowel version. Again, stains, colors, and paint styles are totally up to you! Make it work for your apartment!

    At this point, my pocket hole version is complete. 

    Last up was to add in my wooden dowels to cover my wood screws. I cut a 3/4" dowel using my circular saw into short pieces. I then glued and hammered in my pieces to the eight 3/4" holes I had drilled earlier. This will be a nice snug fit! Once they dry, I can use my coping saw or a flush trim saw to saw off the pieces. Lastly, to make them stand out more, I added a light coat of the Classic Grey Stain. This is totally optional but I figured it would look great against the white. 

    And then I was finished with both. They both came out great and made excellent Christmas gifts for various family members who had requested them!

    TOOLS
    RYOBI Circular Saw
    RYOBI Power Drill
    RYOBI Impact Driver
    RYOBI Cordless Orbital Sander (60 Grit)
    12” Rafter Square
    Coping Saw
    Hand Sanding Sponges (120 Grit)

    FILM / EDIT EQUIPMENT: 
    Canon Rebel EOS T2i:  
    Canon EF-S 18-55mm f/3.5-5.6 IS II Lens
    Rode Microphone
    Voice Recording
    Adobe Premiere (Editorial)

    Thanks for reading! I would be so grateful if you could please subscribe to my new Youtube Channel for future projects. I put out videos every two weeks.

    Cheers!

    Zach


    Building your own DIY Pipe Shelves


    Thanks for checking out the full article! 

    Full video build is below, followed by detailed instructions with tools and measurements! You can subscribe to our YouTube channel by clicking here!

    Now this is the second time around that I have built these shelves. The first time was for myself; this time, I was building them as a Christmas gift for my family. I've already blogged about them (see first post ever for me), but I'll go ahead and do it again as I went about building them differently. 

    MATERIALS
    1 x 1" x 6" x 8' Whitewood
    6 x Galvanized Pipe Nipple (8”L) (3/4" thick)
    6 x 8" Galvanized Pipe Caps (3/4" thick)
    6 x 8" Galvanized Pipe Flanges (3/4" thick)
    Minwax Special Walnut
    Textured Spray Paint
    Matte Black Spray Paint
    12 x Toggle Bolts (50lb/screw strength)
    Green Interior Paint (4 parts water, 1 part paint)

    I started off by measuring out the length of my pieces. I had an 8 foot piece of wood, so I planned to make 3 x 32" shelves. 

    Using my rafter square to measure a straight line, I free cut my pieces to length using my circular saw. This can also be done using more advanced tools (a Miter Saw, for example) or more simple hand tools (like a standard hand saw).

    Next up, we sanded down the edges of the boards using an orbital sander and 60 grit paper to take down the edges significantly. You can also use a hammer to round off the edges, as well as a hand sanding block with finer grit (90-120) to smooth things out after the 60 grit. 

    Next, I used my hammer and a screw to bang up the edges and faces - this gives them a wear and tear look. You can do this as much or as little as you want - totally up to the look you want to achieve!

    Next, we mixed up some left over interior paint with water to make a thing solution to paint on the boards. The reason we painted first before staining is that the paint will show through really well after it dries - give it a try! I then stained all sides of the board with one coat of Minwax's Special Walnut. This overall is a fantastic color to use on any DIY rustic project. 

    While the boards dried, I assembled and spray painted my three piece galvanized pipe wall mounts. Make sure you get all surfaces, even underneath the cap!

    Once everything was dry, it was time to hang. Now, since these were a gift, I don't have images of me hanging them, but the key to hanging them is to make sure they are mounted properly. Since the width of the pipes (based on the length you cut your boards) won't fit in standard studs, I recommend using these toggle strap screws to anchor to your dry wall. There are hundreds of videos out there on how to use these. 

    Here are what my final hung shelves look like. The version I built this time around will look nearly identical when hung up. 

    This project is super easy to do and can be done with very few tools. If you want to hand these shelves, you'll need a power drill as well. 

    TOOLS
    RYOBI Circular Saw
    RYOBI Power Drill
    RYOBI Cordless Orbital Sander (60 Grit)
    12” Rafter Square
    Level (24’)
    Hammer
    Hand Sanding Sponges (120 Grit)

    FILM / EDIT EQUIPMENT: 
    Canon Rebel EOS T2i:  
    Canon EF-S 18-55mm f/3.5-5.6 IS II Lens
    Rode Microphone
    Voice Recording
    Adobe Premiere (Editorial)

    Below is a picture of the final shelves that I build this time around - I think they honestly look even better than the first set I build last year. Kind of jealous I have to give them away...

    Untitled-14.png

    Thanks for reading! I would be so grateful if you could please subscribe to my new Youtube Channel for future projects. I put out videos every two weeks.

    Cheers!

    Zach


    The Coffee Mug & Wine Glass Rack


    Here is a quick link to my new YouTube Channel.
    First ever full how-to video is below, followed by my usual full written article.

    This was the first project I have ever filmed while building. I prepped and planned for about three weeks before tackling this specific project and launching the channel. For those curious, prep included logo design, video format decisions, Run of Show style, and shooting techniques, practice shoots, lighting/interview set ups and trial runs, project design, music research, learning a new editing software (formerly on FCP, switched to Premiere), material gathering, and then finally execution and post production. 

    MATERIALS
    2 x 1" x 6" x 8' whitewood
    1 x 1" x 6" x 4' whitewood
    1.25” Pocket Hole Screws
    Wood Screws (1.25”)
    Minwax Special Walnut
    Paint (I had 4 colors leftover from other projects)

    Image-1.jpg

    I set up my miter stand and sliding miter saw to cut my whitewood pieces. I needed to make 12 total of these as I'd be making 4 total holders for my customer. 

    All finished! I cut 12 pieces at 17.5" each. Using the stand w/a stop block made cutting super quick and efficient. 

    Next, I drilled three pocket holes roughly equal length apart in 8 of the 12 pieces to in preparation to connect three of them together. If you don't have a pocket hole jig, you can also connect using biscuits or dowel joints. Pocket holes are just the easiest technique for me given the project type. 

    Next, I sanded down all the pieces using my orbital sander w/60 grit paper to take off a lot of edge and give them a weathered down look. 

    Then, I beat up with a hammer to further distress the wood. 

    Next, I stained all 12 pieces using Minwax's Special Walnut color. 

    I wanted each holder to look slightly different, so I mixed up water paint solutions (red, green, blue, and white) and painted them on my boards. The watery solutions helps show the stain through the paint better. Came out great!

    Now that everything was dry, I could assemble the boards together using my 1.25" pocket hole screws and my impact driver. You definitely need an impact driver for this - a regular power drill won't cut it for pocket holes. 

    While the boards dried, I cut the wine glass holder pieces to length on the miter saw again. I cut my pieces at 9.75". 

    Next, I sanded down those pieces using 60 grit paper to also give them a worn down look. 

    Then, I clamped them together to drill pilot holes for the wine glasses using a 3/8" drill bit. This is where having a drill press would be VERY useful! I drilled my holes 2.5" inward on each end and directly down the middle vertically. 

    I then set up a stop on my miter saw (I had never tried this before) so that I could cut to a certain depth and eliminate the remaining wood. Think of this as a long version way of making dado cuts in wood for the slits. Wasn't perfect, but I learned something in the process for future projects!

    Also note - you should always use a spare piece in the back for this, both to avoid tear out as well as so that your blade cuts all the way through the pieces you want to cut. Otherwise, you end up with cuts that are not all an even depth. Hard to explain, but you'll get it the second you try it.

    While I waited for the holders to dry from the stain, I switched gears to bend 8 x 2.5" nails to make the hooks. I did this by using a stationary vice clamp and my vice grip clamps. You can see the before and after above. 

    Time to attached the wine glass holders. I attached it backwards the first time accidentally. Don't do what I did...

    I then drilled small pilot holes and nailed in the coffee mug hooks. 

    Last, I painted on the message using some left over white primer paint. Not my design, but quite cheeky...

    And I was done! Final pics above for reference. I love how they came out. This was not my design, but rather something I saw on Etsy. Each one cost $50 online...I think for materials overall, I spent maybe half of that on each one and about 4-5 hours of total time building these. Worth it!

    TOOLS
    RYOBI 10 in. Sliding Compound Miter Saw
    RYOBI Miter Saw Stand
    RYOBI Cordless Orbital Sander (60 Grit)
    RYOBI Power Drill
    RYOBI Impact Driver

    KREG K5 Pocket Hole Jig
    Hand Sanding Sponges  (120 Grit)
    BESSEY Economy 2.5” x 12” Clutch Clamps
    BESSEY Economy 2.5” x 24” Clutch Clamps
    12” Rafter Square
    Hammer

    FILM / EDIT EQUIPMENT: 
    Canon Rebel EOS T2i:  
    Canon EF-S 18-55mm f/3.5-5.6 IS II Lens
    Rode Microphone
    Voice Recording
    Adobe Premiere (Editorial)

    Thanks for reading! This was the biggest project overall I've ever undertaken and I learned so much about filming content in the process. I would be so grateful if you could please subscribe to my new Youtube Channel for future projects. I put out videos every two weeks.

    Cheers!

    Zach


    Building your own Cornhole Set


    Make sure you check out my new YouTube Channel, 
    The Cutting Bored for future project updates!


    I had no idea where to start with this build. Brooke had done her Pinterest homework and found three different designs that we both liked, so I decided to combine all three of them in my build. 

    Started off by cutting the plywood in half using a piece of whitewood as a straight guide and some clamps. Measure twice. Cut once. 

    MATERIALS
    10 x 1" x 4" x 8' whitewood slabs
    3 x 2" x 4" x 10' framing lumber
    1 x 4' x 4' x .375" plywood
    Wood Screws (1.25”)
    Wood Screws (2.50”)
    1.5” Brad Nails
    TiteBond II Wood Glue
    4 x 4" Carriage bolts (plus washers and nuts)
    Paint (I had 3 colors) and Stain (I used 2 finishes)

    Next, used my Miter Saw to cut 40 chevron pieces all at 45°. 

    Testing first cut for precision and length. Using the right angle square was perfect for checking the angle as well as drawing a straight line down the middle. 

    I cut each piece about an inch longer than needed to allow for extra length on the outsides to square up later. If you're building this, you should be able to get 5 pieces per 8ft whitewood board. 

    Making sure 40 would enough. I could use excess pieces cut away to fill the small gaps at the top and bottom. 

    40 pieces cut and sanded down to get rid of any tear out. 

    Laying them out for a base coat of Minwax Early American stain.

    Stain applied. Almost looks like hardwood flooring. 

    While the stain dried, I cut 2 x 4's to length for the base. Luckily, I had extra whitewood as I didn't buy enough 2 x 4's...connected them using 2.5" wood screws. 

    Glued the plywood down, held in place with finish nails, and then ultimately screwed down with 1" wood screws. Solid. 

    Flipped them over and stained the sides to match the top. 

    For the look of the tops, I wanted a rustic/weathered vibe. 

    I was glad I had kept left over paints and stains from painting my apartment and other DIY projects as they were the perfect combination to achieve the look I wanted. To get a thinner coat that allowed the paint to go on easier and have the base wood stain show through better (as if it had been weathered down), I did 2 parts paint, one part water. Painting them individually before attaching to the boards was definitely the way to go. I was stoked at how it came out. 

    Onto the legs. The tops of these need to be round so they can rotate 90° when setting up. Didn't have a compass to mark the rounding off of the tops, so I improvised using this adjustable wrench. I'd also call this a success. 

    I couldn't find my jigsaw blade to cut these individually, so I resorted to using my belt sander, which took more time but worked out pretty well.

    I used these 4" carriage bolts to attach the legs to the main frame. 

    Was oddly difficult to measure and get things lined up, but they came out great. 

    Lining up for the final design and glue down. I had done a bit of mental math to make sure that the excess pieces I'd cut off could fill in the smaller spaces that didn't require full slats. 

    I used wood glue and finish nails to hold everything in place while it dried. It was, at this point, that I realized it was nearly 3pm and I had not eaten anything the entire day... 

    So I took a break while it all dried.
    No pictures of my food unfortunately. 

    Using the spare piece of whitewood and clamps, I marked a very precise straight edge and squared up all the sides with my circular saw. 

    All squared up and nearly finished.
    At this point, I put a cork in it for the day as I needed more tools to complete the job and I was exhausted...

    Day 2.

    Compass has been purchased and I found my jigsaw blade. Time to finish this baby. Used the compass to measure a 6" diameter hole that had a center 9" down from the top. Then, I used a half inch drill bit to make a pilot hole.

    Another special shout out to my passive aggressive neighbor who actually came out this time and into my driveway to ask if I'd be building things every weekend in a condescending tone. She has no appreciation for my craftsmanship. 

    Once she dipped, I used the jigsaw to cut out the circles. It is oddly difficult to run a jigsaw in continual circle...

    Because corn hole sets sit at an angle, I needed to cut off a small piece on each of the legs so they would sit flush with the ground. 

    Quick rant - saw dust is annoying. I'm so over sweeping. I need a shop with a vacuum system. 

    Moving on...

    I hate it when I make something for someone else and it turns out so good that I regret not being able to keep it for myself...but it will go to great use for the newly married couple!


    How to build a Box Joint Bench


    Make sure you check out my new YouTube Channel, 
    The Cutting Bored for future project updates!


    Want to start this blog off by giving a shout out to ModernBuilds for the inspiration for this project. The Box Joint Bench is a simple design but took a bit of skill and hard work to pull off and the final product is amazing in my opinion. Below is how I built it!

    Standard Home Depot Trip.

    Materials I sued for this project:
    11 x 2" x 4" x 8" Framing Lumber
    TiteBond II Wood Glue
    2” Brad Nails
    Dark Walnut Danish Oil

    I chose not to use a polyurethane sealant for this - the bench will be indoors and the Danish oil stains and seals. 

    Measuring things out before ripping - need to make the most of the wood as I bought just enough to allow for one small mistake. 

    Cuts for length I made are:
    10 x 18"
    8 x 15"
    4 x 76"
    5 x 70"

    Next step is to rip 1/8" off each side of your pieces of wood to square them up as 2x4 wood is rounded. This took the longest time - I will be purchasing a new table saw blade soon. 

    So many end pieces - I'm told pine can be chemically treated, so burning them is out of the question anyways. Also note to self - use the saw dust collection bag underneath the table saw. Otherwise, you'll need to bring in an assistant for sweeping. 

    Setting up wood for gluing.

    Turns our the finish nails I bought were just slightly too short and was forced to improvise with ratchet straps to clamp together the wood as I only had one clamp wide enough.

    Actually worked out pretty well but wasn't as good as a real clamp. 

    Starting work on the ends. 

    Same process - not enough clamps. 
    Solution = ratchet straps. 

    Actually impressed that it came out as well and tight as it did.

    #Nailedit

    Once everything was dry, I used my newly bought belt sander to flatten everything out as best I could. For the ends, to make it as square as possible, I resorted to using my electric hand planer to take off small layers at a time. Belt sander worked well w/80 grit paper. 

    Shout out to my neighbor for yelling at me during the sanding phase. 

    Once all was planed, sanded, etc., I spent a few hours gluing up areas that still had gaps due to my lack up clamps. This method worked quite well, and it just required another round of belt sanding, followed by finer orbital sanding and a round of hand sanding. 

    Close up on the box joint corners after most of the sanding was complete and pre-danish oil-application. Just needed to hand scrape off the rest of the excess glue. 

    First round of danish oil. 

    Close up on the end grain. 

    Second round of danish oil. Lighting isn't great but it looks fantastic in person. 

    Final bench! Multiple photos for you to look at. Added a few small adjustable feet to the bottom to set it off the ground. I am incredibly excited with how this bench came out.

    TOOLS
    HITACHI Table Saw
    RYOBI 10 in. Sliding Compound Miter Saw
    RYOBI Miter Saw Stand
    RYOBI Cordless Orbital Sander
    RYOBI Belt Sander
    RYOBI Corded Hand Planer
    RYOBI Cordless Brad Nailer
    BESSEY Economy 2.5” x 12” Clutch Clamps
    BESSEY Economy 2.5” x 24” Clutch Clamps
    BESSEY H Style Pipe Clamps
    12” Rafter Square
    Hand Sanding Sponges  
    Chisel (for scraping glue)

    For $75 (and the necessary tools), I made something very similar to a bench that retails online for $1300!

    Hope you enjoyed! I'd love it if you shared this out with friends and subscribed to The Cutting Bored YouTube Channel for future project updates!

    Thank you!


    Build your own Pallet Bed


    We had been wanting a new bed for a long time - something that was less Ashley Furniture meh (see current bed below) and something more in line with the style of our apartment. I had nearly everything tool-wise at this point to make something awesome, so cue the research, design, sourcing of materials, and construction!

    We decided a pallet bed frame would be the coolest option. The wood is easy to source on craigslist, easy to clean if needed, and can be broken down rather quickly. I only sourced heat treated pallet wood, as chemically treated can be harmful to your health long term. I found five pallets on craigslist for $20 from one guy in relatively great shape. I'm sure I could have found free ones somewhere, but $20 is nothing and I'd rather find good ones that are cleaner and properly labeled to be safe...

    First, a quick note on the space I work in - my lovely carport. 

    I don't have a garage or anything, so anytime I build something, its a laborious process to bring all my tools down, set up, work, break down, clean up the entire space, and bring back up all over the course of each day. Any projects that go longer require me to repeat the process.

    That being said, it's actually quite nice to work down there, and I'm able to make a lot out of a small space. A lot of people don't have this kind of space, so in a way, I consider myself lucky. Also, I have cool neighbors, so they don't care if I build down there. Plus, I end up leaving the entire driveway cleaner than before. 

    So the construction begins. Below is a series of images of the breakdown of the pallets. 

    This was a lot easier than I expected. Took about 3.5 hours total to break down five of them, include cutting, ripping apart, removing nails, stacking, and cleaning. I found the best way to break them down is to run a circular saw along the edges of them, thus making it so you only need to rip off the pallet from the center nails. There were a shitload of nails in those things!

    I was unbelievably sore after this for the next four days. My legs, back, and butt felt like I had been hit by a semi-truck. Once I recovered the following weekend, I was off to Home Depot, a place where, if given free reign, would accidentally spend all of the money I have in the bank.

    Lumber I purchased for this project is above. The series of pictures show it from purchase through to all being cut to length. All wood is douglas fir unless otherwise specified:

    2 x 4" x 4" x 8'
    2 x 2" x 4" x 10'
    4 x 2" x 4" x 8'
    2 x 2" x 8" x 8'
    2 x 2" x 2" x 8' (whitewood)
    7 x 1" x 6" x 6' (whitewood)
    1.5” Pocket Hole Screws
    Wood Screws (2.50”)

    I also purchased a Ryobi Brad Nailer which I had wanted for sometime. It is cordless, so I don't need an air compressor to use it. I would have bought a different one had I also had space in my apartment to store an air compressor, but I don't. I also purchased additional wood glue, Kreg pocket hole screws (2.5"), and regular wood screws. 

    Next it was on to the assembly of the frames. 

    My go to for assembly is always pocket holes. They're wicked strong and incredibly easy to cut with the Kreg 5 Pocket Hole Jig and a semi-powerful drill. 

    For anyone unfamiliar with what a pocket hole is, it is a hole that is cut 15° into the wood that allows you to drill at an angle to attach wood. The length of screw is contingent on the thickness of the material. Regardless, they're super strong, faster than biscuit jointing/gluing/clamping, and they can be hidden underneath and behind projects so the connection looks clean. 

    Next was the big task - adding the pallets.

    IMG_1040.JPG

    Remember these guys? Want to hear a funny story. I strained my neck and chest muscles by trying to carry them all at once down to my driveway. That felt awesome for the rest of the day and throughout the night...

    Below is a series of photos of me laying out the wood to the design I liked, cutting each row to an even length with the table saw (this took forever), squaring off the center edges, and assembling on the frames using glue and my new nail gun to hold in place while drying.

    Then, I squared off the sides using my circular saw, a makeshift straight edge from whitewood, and clamps. 

    Lastly, I added pieces to the front and sides of the legs and tops of each piece, and they were done! I sanded the fronts and edges of everything with my orbital sander w/ 60 grit paper, just to take the rough parts off. I didn't want to lose any of the color variances.

    Next, time for final assembly in the bedroom. I found these hooks on Amazon through a separate DIY blog that were recommended for DIY beds. They worked out great.

    After adding in a center piece for center support and cutting the seven whitewood slabs in half to make 14 x 3" wide slabs for lateral support. I placed all pieces in place, screwed down, and was done! Shout of to Brooke for helping clean up everything and put it all together. 

    Below is the final bedding. Brooke also painted an accent wall light grey. I think it came out awesome, especially with the white window that we had found a few weeks prior. 

    Next up for us are new curtains (cause the ones we have are just awful )and we are going to paint both our nightstands white and distress to fit the more rustic theme we have throughout the apartment. 

    Total cost (sans the tool I bought, was about $140 for all materials. Total project time was about 15 hours. 

    TOOLS
    RYOBI Circular Saw
    RYOBI Power Drill
    RYOBI Impact Driver
    RYOBI 10 in. Sliding Compound Miter Saw
    RYOBI Miter Saw Stand
    RYOBI Cordless Orbital Sander
    RYOBI Cordless Brad Nailer
    HITACHI Table Saw

    KREG K5 Pocket Hole Jig

    Thanks for reading! This was a super challenging project, especially to assemble and build all in one day. That being said, I'm stoked at how it came out. 

    Check out my new Youtube Channel for other projects!

    Cheers!

    Zach


    How to build a Coffee Table


    Make sure you check out my new YouTube Channel, 
    The Cutting Bored for future project updates!


    Right around Christmas of 2015, my interest in woodworking as a new hobby was peaking. We had a great coffee table in our apartment, but I had read so much about people tackling a coffee table build as their first project, so I figured why not go for it.

    Originally, I had the intention of creating something rustic, weathered, and that fit the furniture style of our TV stand and kitchen table. We can dive more into this later, but the final result was not quite the look I was going for. Nonetheless, I was very proud of my first project, and everyone who has used it tells me it holds coffee quite well. 

    This was my first true dive into woodworking. I decided to take this on during Christmas time for two reasons. First, my family bought me a Ryobi combo kit as a gift, so I knew I'd have enough tools to get the job done - maybe not quite as fast as I'd like, but enough for a beginner to tackle. Second, I had a few weeks off from work, so I knew I'd have time to dedicate to it.

    So, starting from total scratch with lumber from home depot, some information from ana-white.com and a lot of prep research and how-to's, a power tool combo kit, and a pocket hole jig, I was off to the races.

    Materials for this project:
    2" x 6" x 6' (redwood)
    2" x 4" x 8' (redwood)
    1" x 12" x 8' (whitewood)
    4 x Stanley “L” Brackets
    Steel Wool (0000)
    White Vinegar
    Wood Screws (2.50”)
    1.5” Pocket Hole Screws
    Textured Spray Paint
    Matte Black Spray Paint

    Before I ever went shopping, I read about the best practices to oxidize wood, which gives it a weathered look in about five minutes as opposed to 2-3 years of wear and tear.

    In order to make this, I used one gallon of white vinegar, four pieces #00 steel wool (which I washed first with dish soap to remove grease layer), and a gallon of water. Do this well in advance, as the wool will take about a week to dissolve in this mixture to create the final solution. The longer you let it sit, the more it will continue to age as a solution. 

    I began by cutting everything to length, and then started with the top of the table, using redwood 2" x 6" pieces. Then it was on to drilling all the pocket holes to combine connect everything together.

    Below is a series of photos of me drilling and combining all pieces, including the top, sides, and bottom shelf. Was my first time using pocket holes - the Kreg K5 Jig is a must have. So simple and effect. You'll need an impact driver to drive home the pocket hole screws - a power drill won't cut it. 

    Then it was on to the side "x" pieces. This was really tough without a Miter Saw to gauge the angles. I did my best, but if I look back at what I built then and what I could build now, I can't like that they were a bit shit. But whatever...

    Then it was on to the final assembly! Came together real well. I was super granular about measurements, so this wasn't necessarily a surprise, but always nice to see your attention to detail pay off. 

    Assembled!

    Now it was time to apply the oxidized solution. I did two coats of it. Below is the result of how it changes the look and feel of the wood over the course of just a few minutes. The first image is when the solution is still drying, then the following two are dried and in different lighting. Amazing how it turns the darker part of the redwood nearly black. I actually really dug it. 

    To be honest, I wish there was a way I could have just stopped here. Instead, I chose to use a satin polyurethane, and it took away a bit of the rustic look I was going for. 

    I finished it off by adding a few L Brackets spray-painted matte black to give it a rustic look. Super happy with the final result. It was a hell of a first project for me to take on. I learned a ton and was super excited for the next step. Below are a few near final and final photos for you to check out. 

    TOOLS
    KREG K5 Pocket Hole Jig
    RYOBI Circular Saw
    RYOBI Power Drill
    RYOBI Impact Driver
    RYOBI Cordless Orbital Sander
    Hand Sanding Sponges  (120 + 220 Grit)
    Hammer

    Thanks for reading! Message me with any additional questions about the build, the tools, or the materials.

    Cheers!