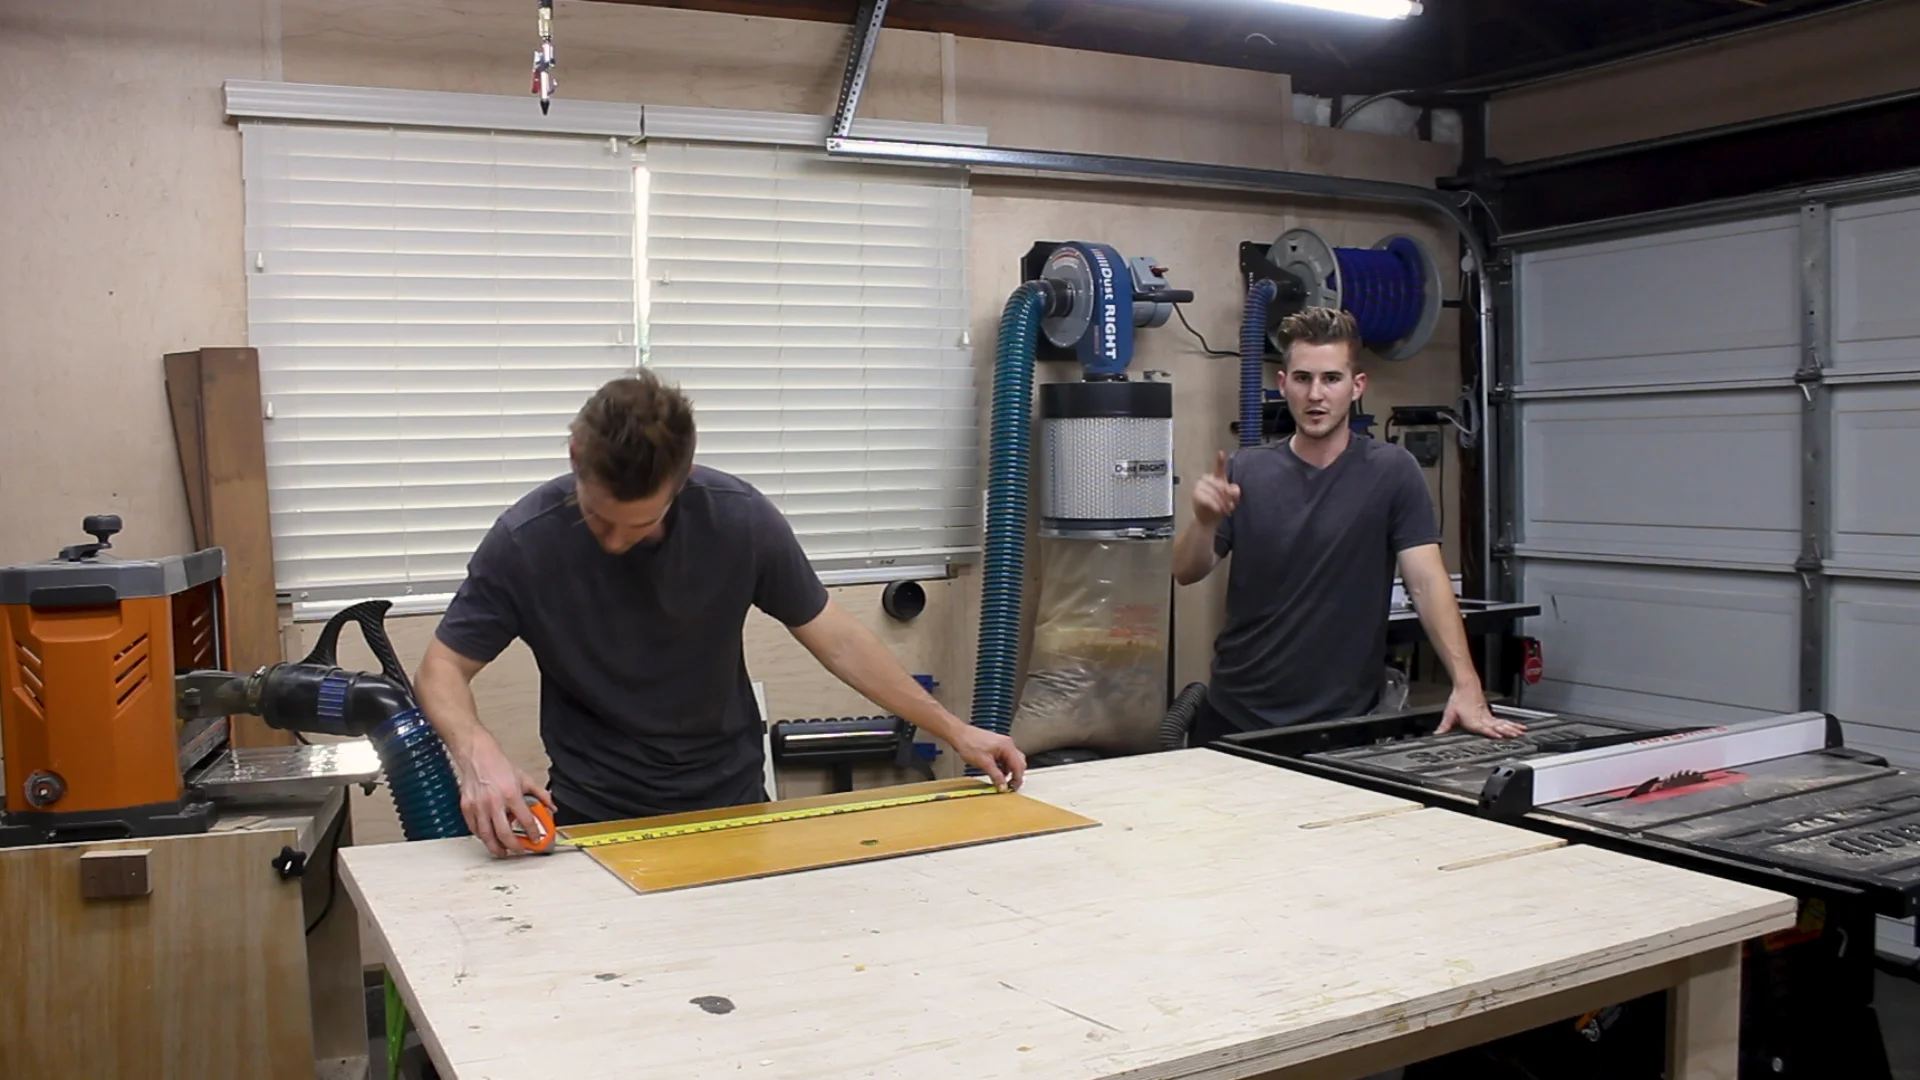
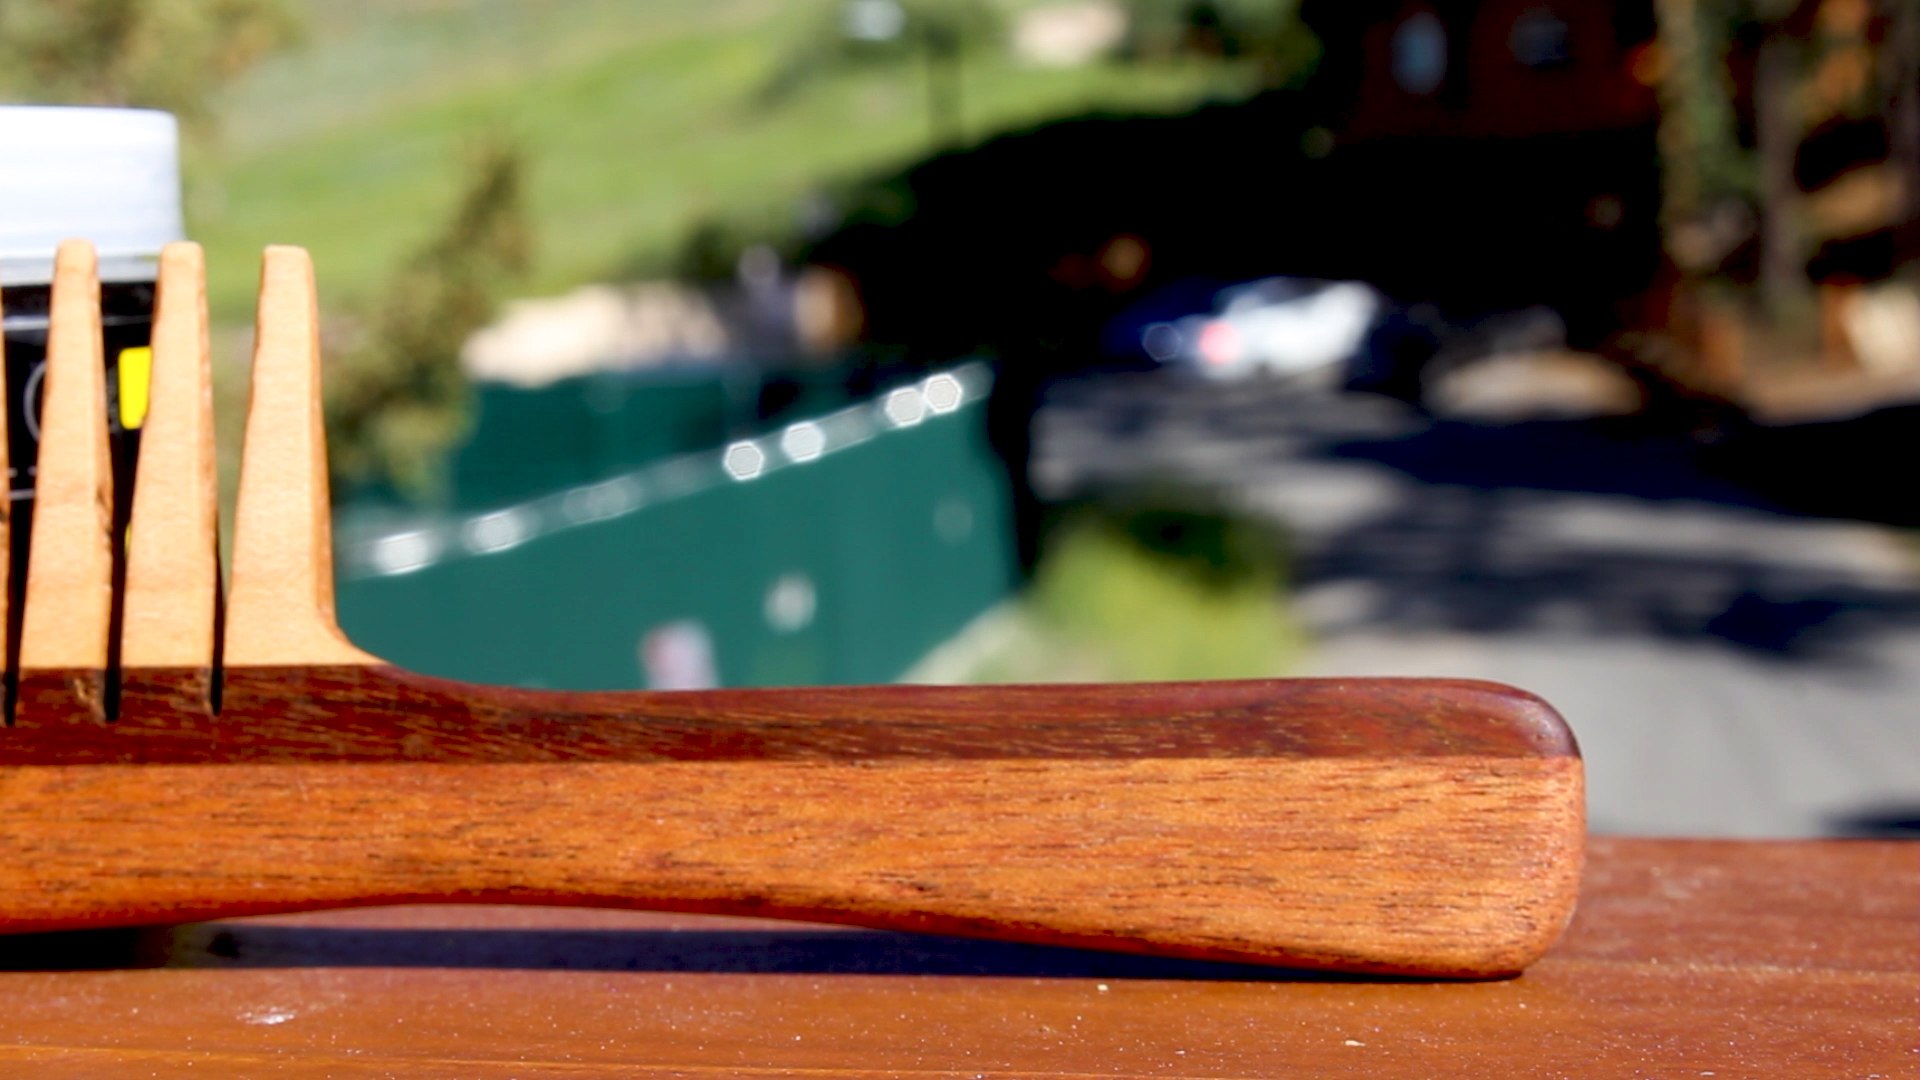
I am getting married this year, and I figured it would be fun to make something to ask my six groomsmen to join me on stage. I designed a simple beer tote that I could replicate easily 6 total times and do all from a single sheet of half inch Walnut Veneered plywood. You don't need nearly this much, and you need FAR less if you're just making one. Below is a video of how I made them, followed by designs and steps to make your own version.
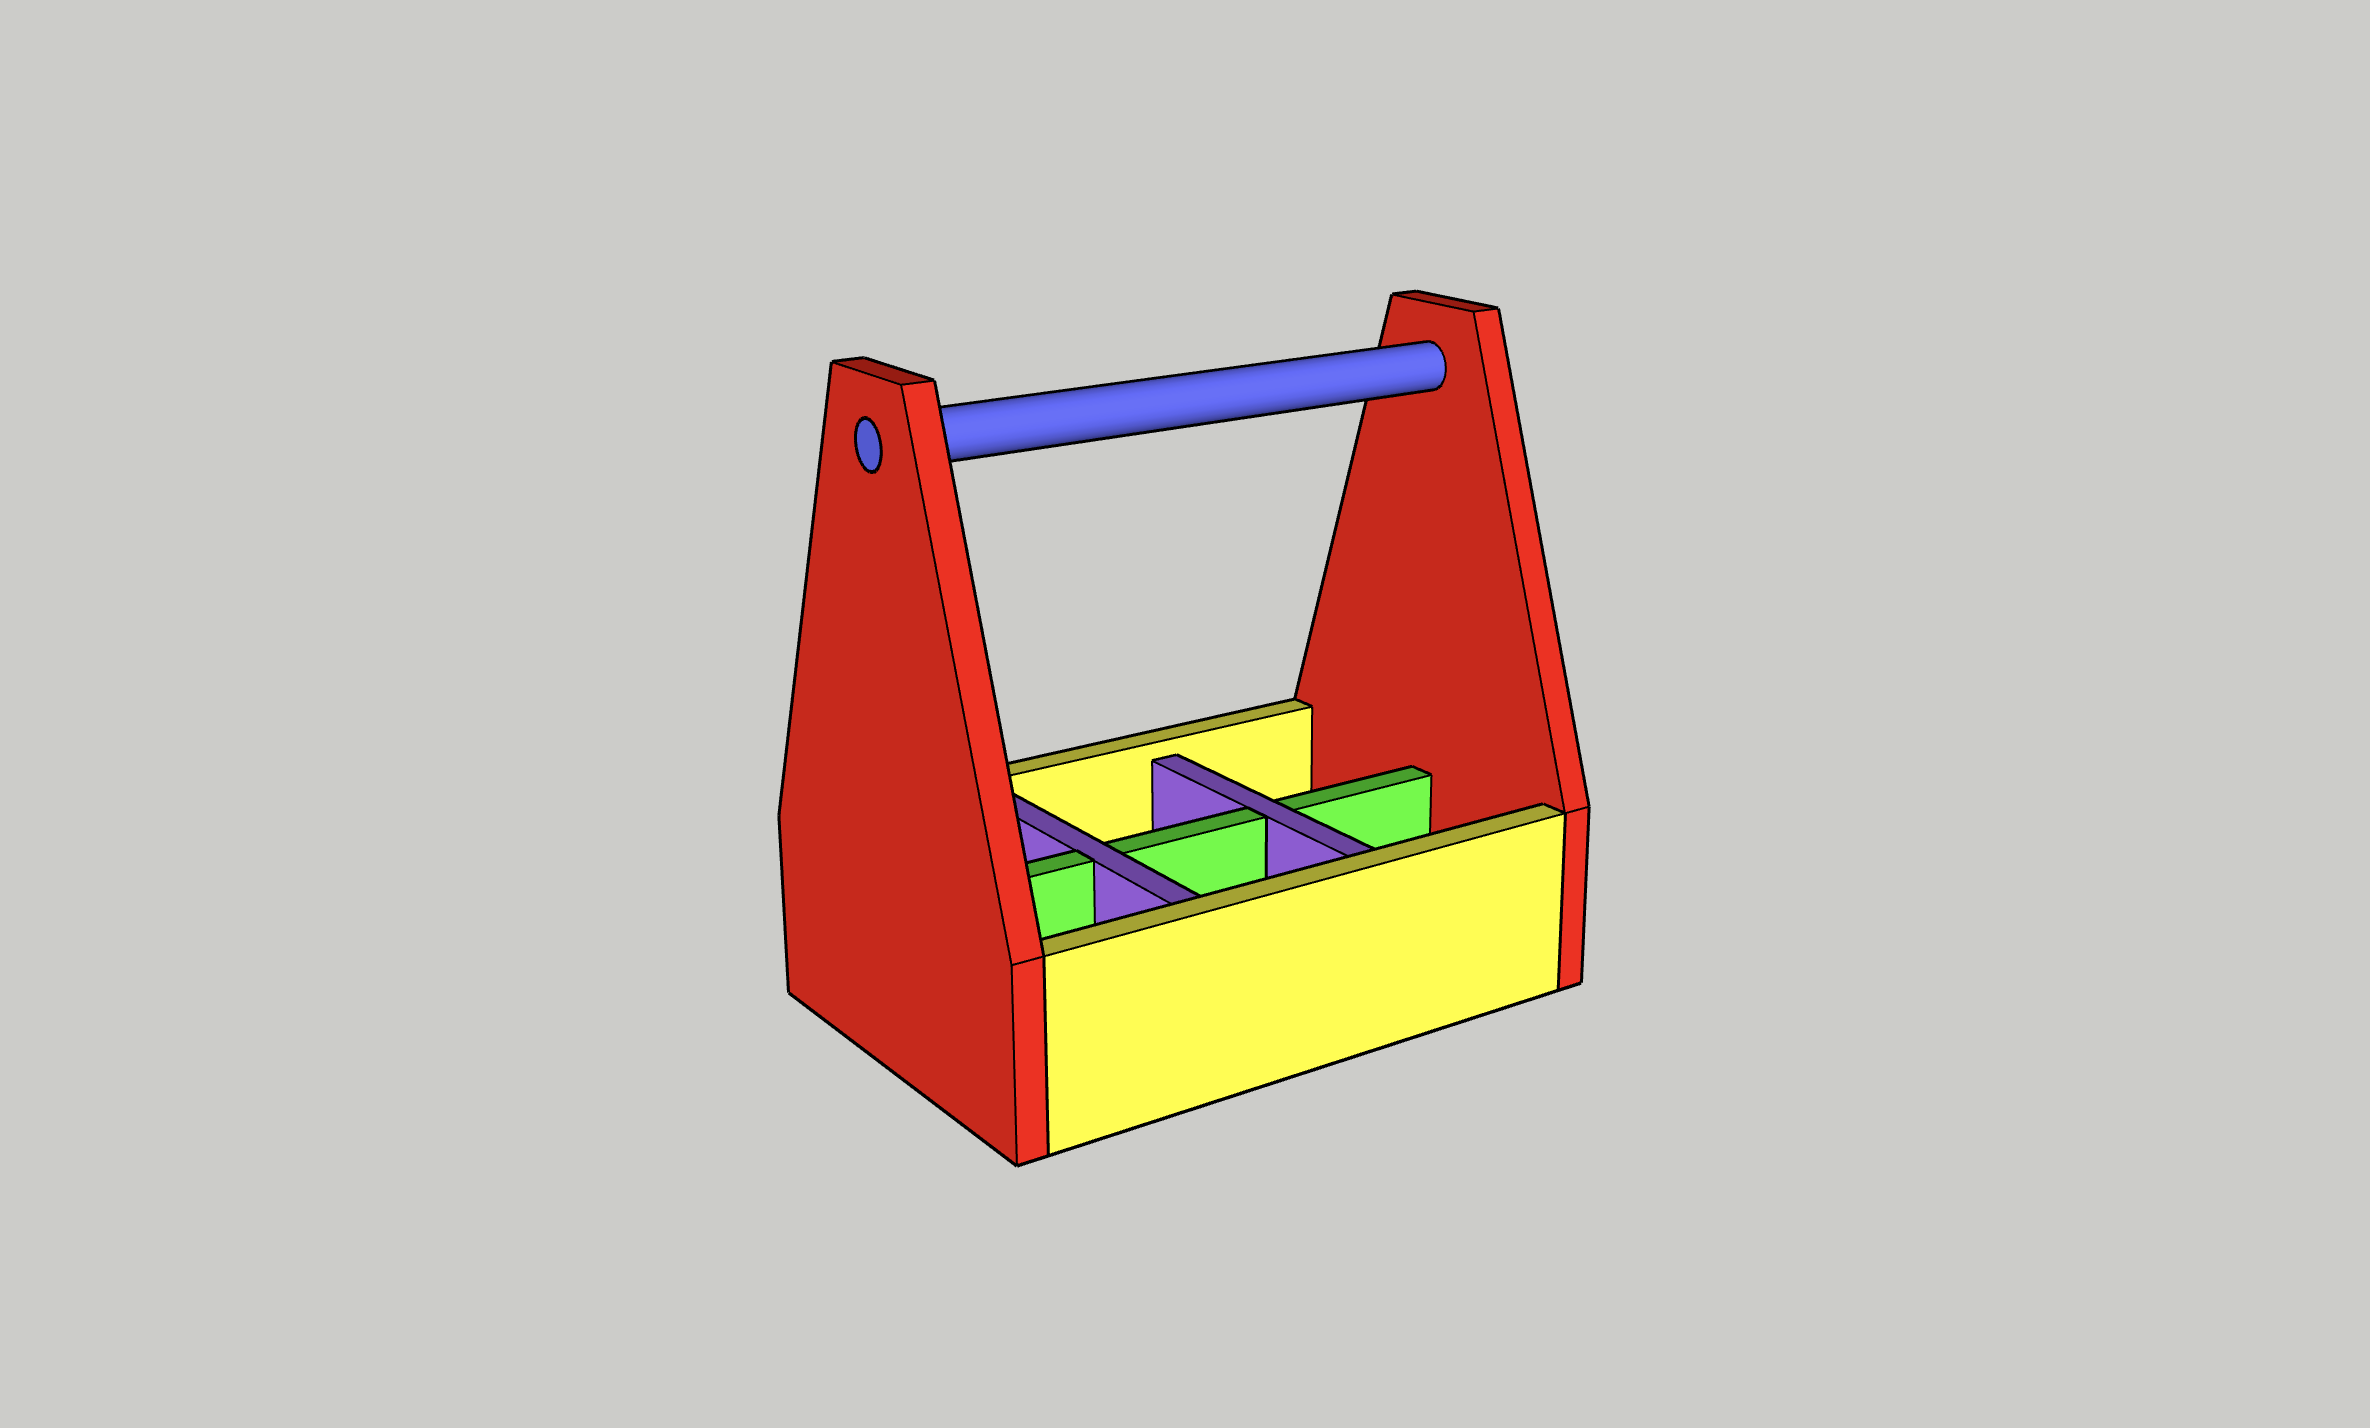
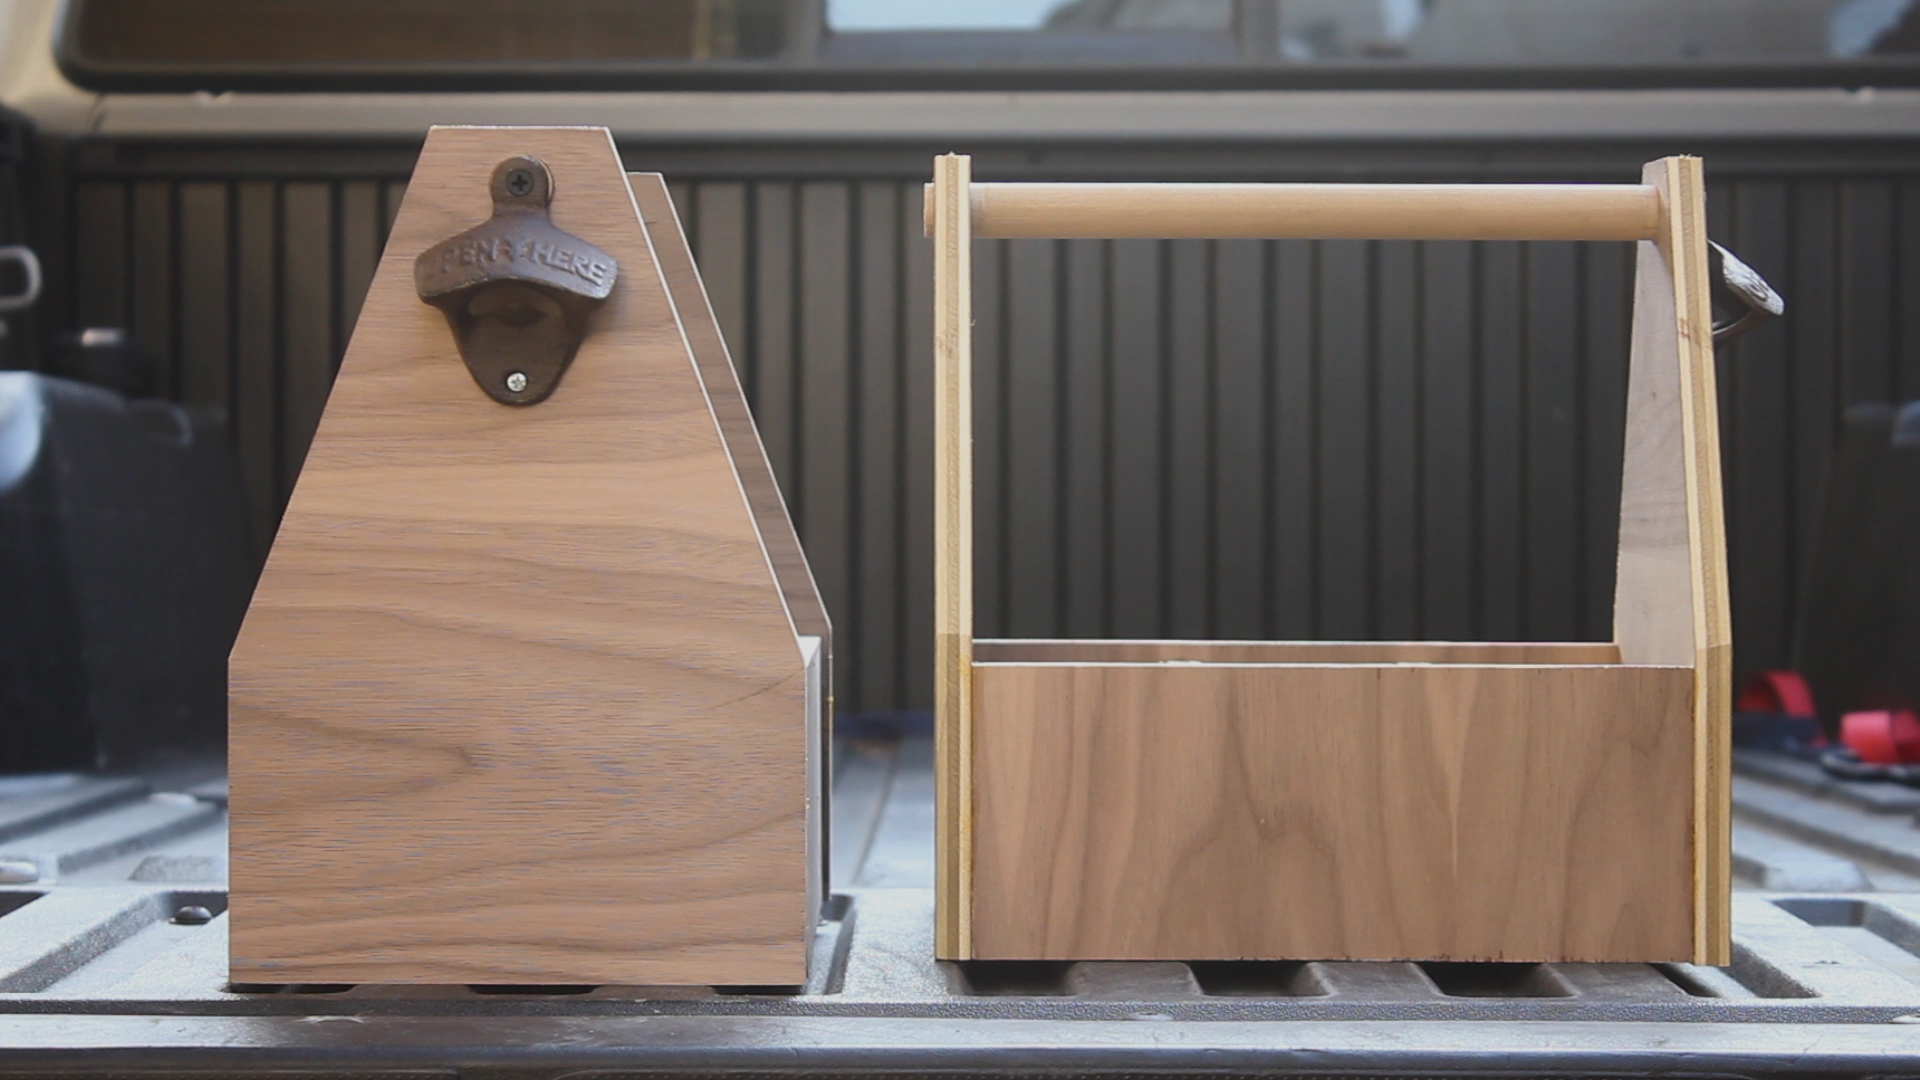
My design is very simple, consisting of four sides, a bottom, two middle dividers, and a dowel for a handle. You can scale the design up or down as much as you want (add logos, add more dowels for fun aesthetic joinery), use other types of wood - I did this way since it was a repeatable and great design with a nice aesthetic to it.
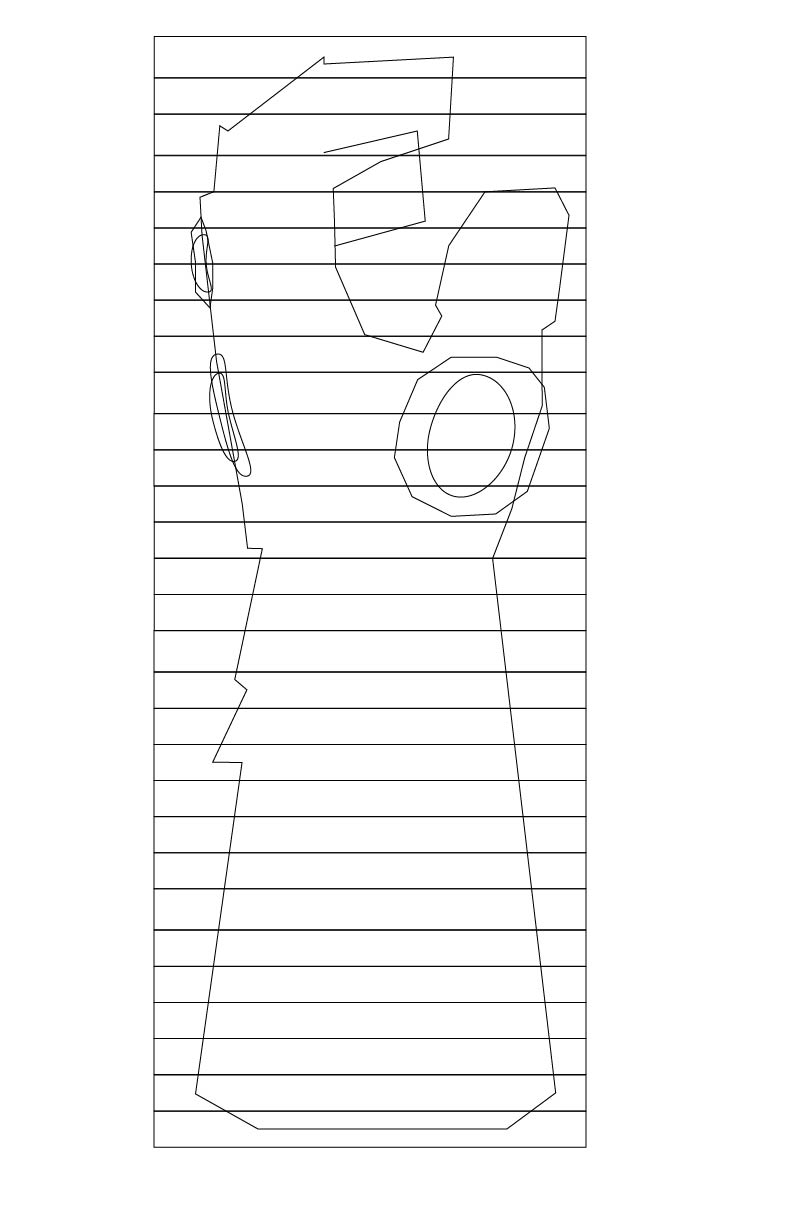
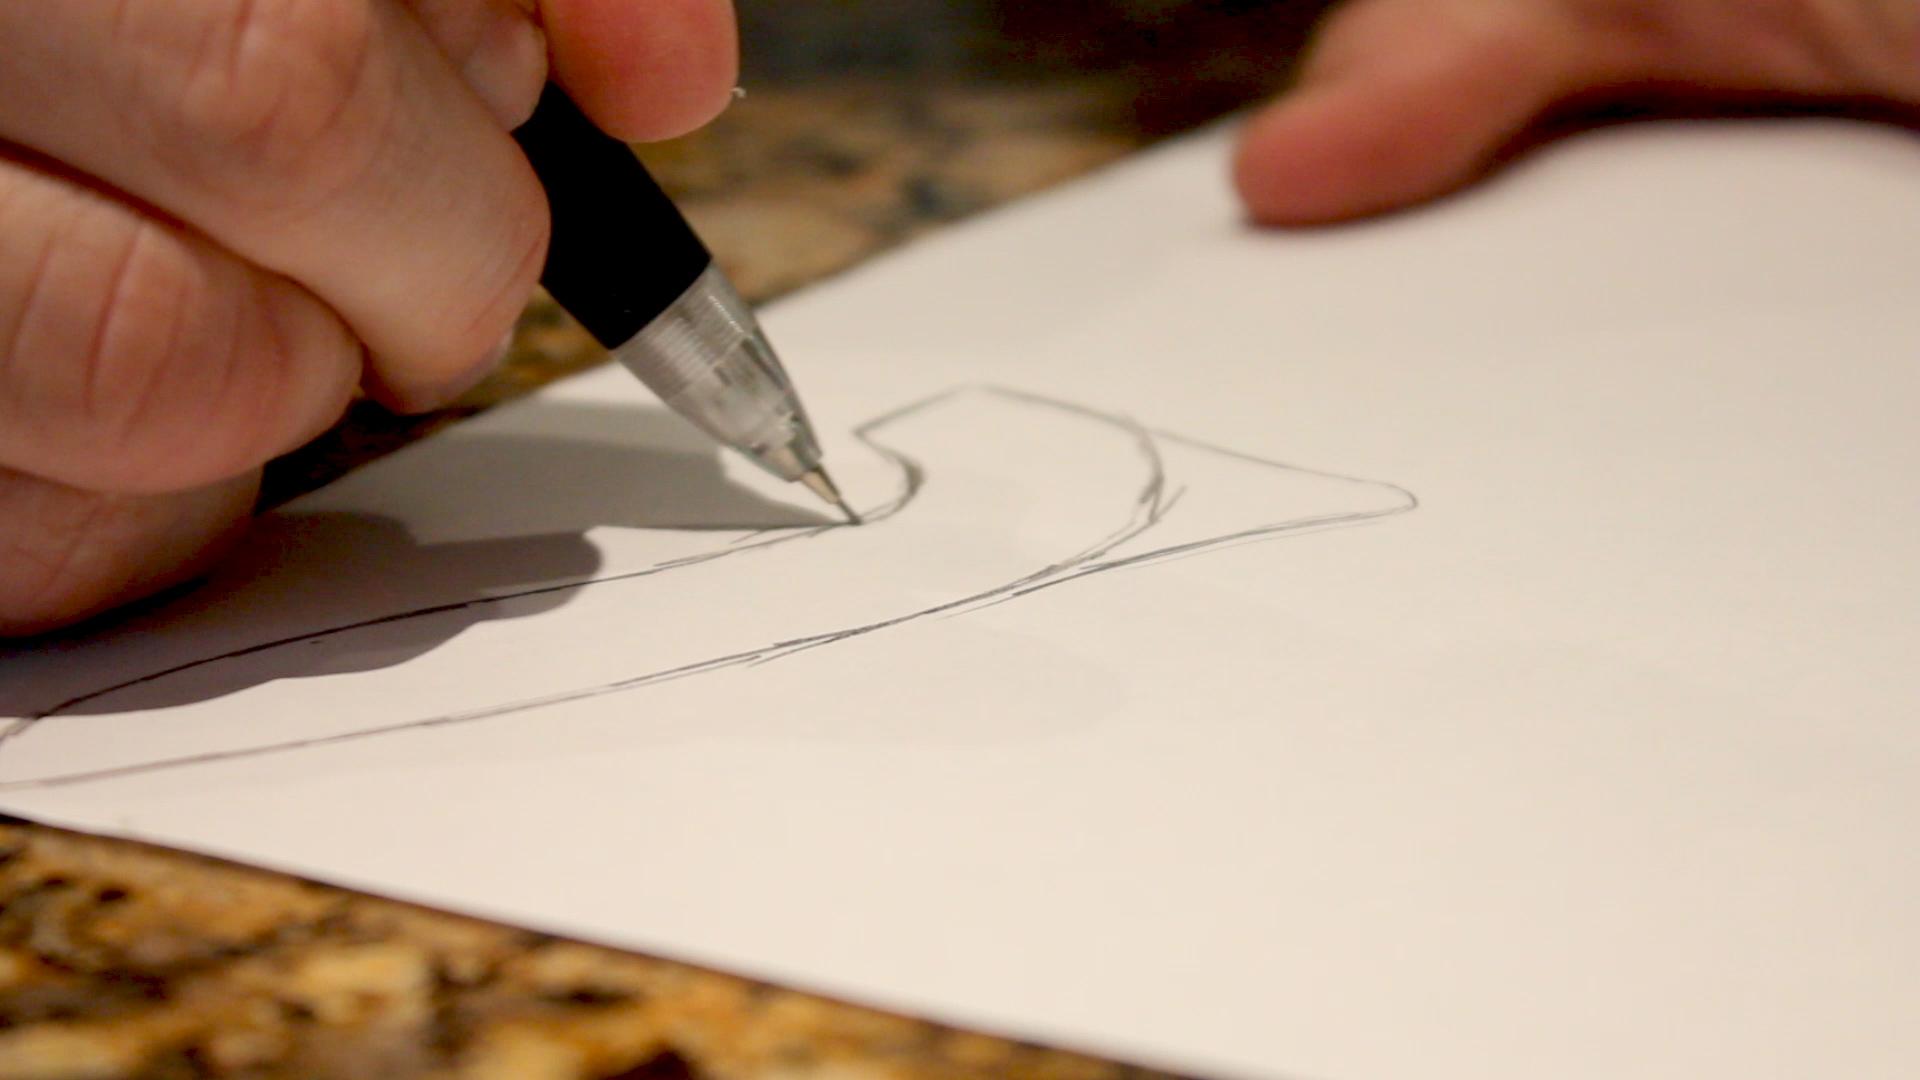
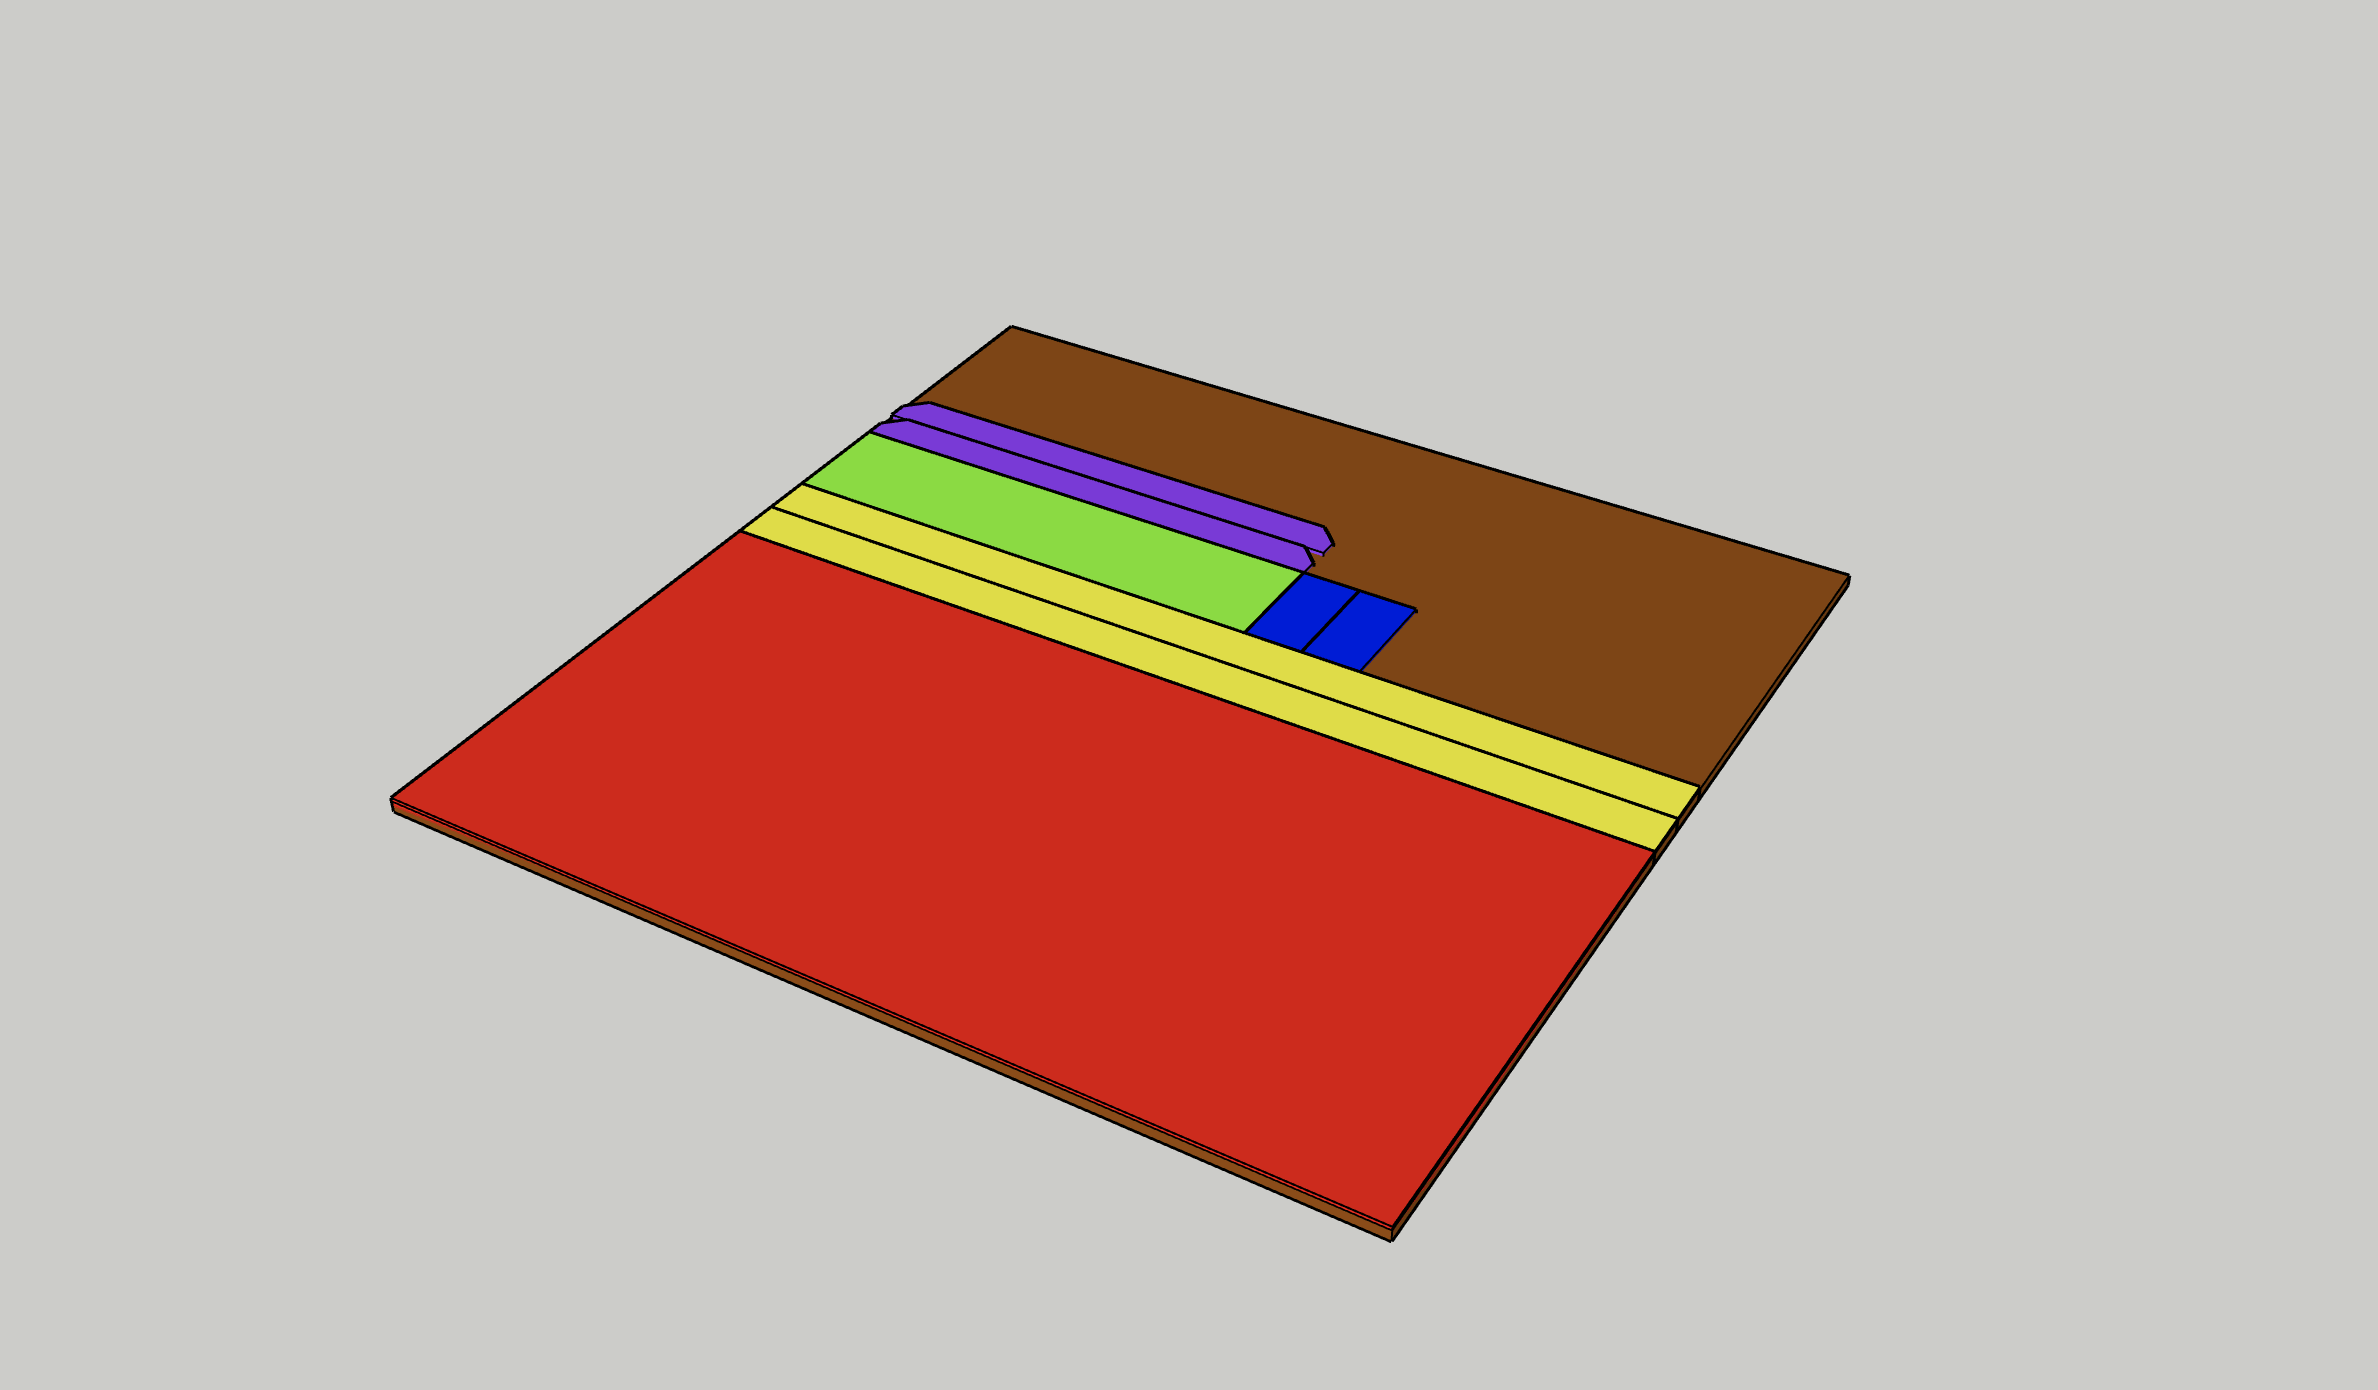
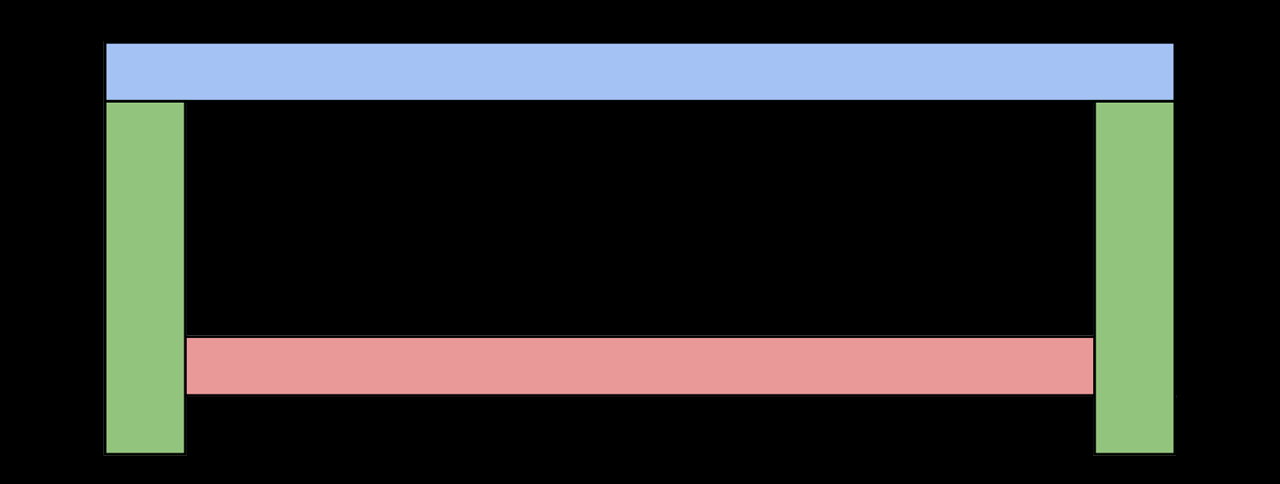
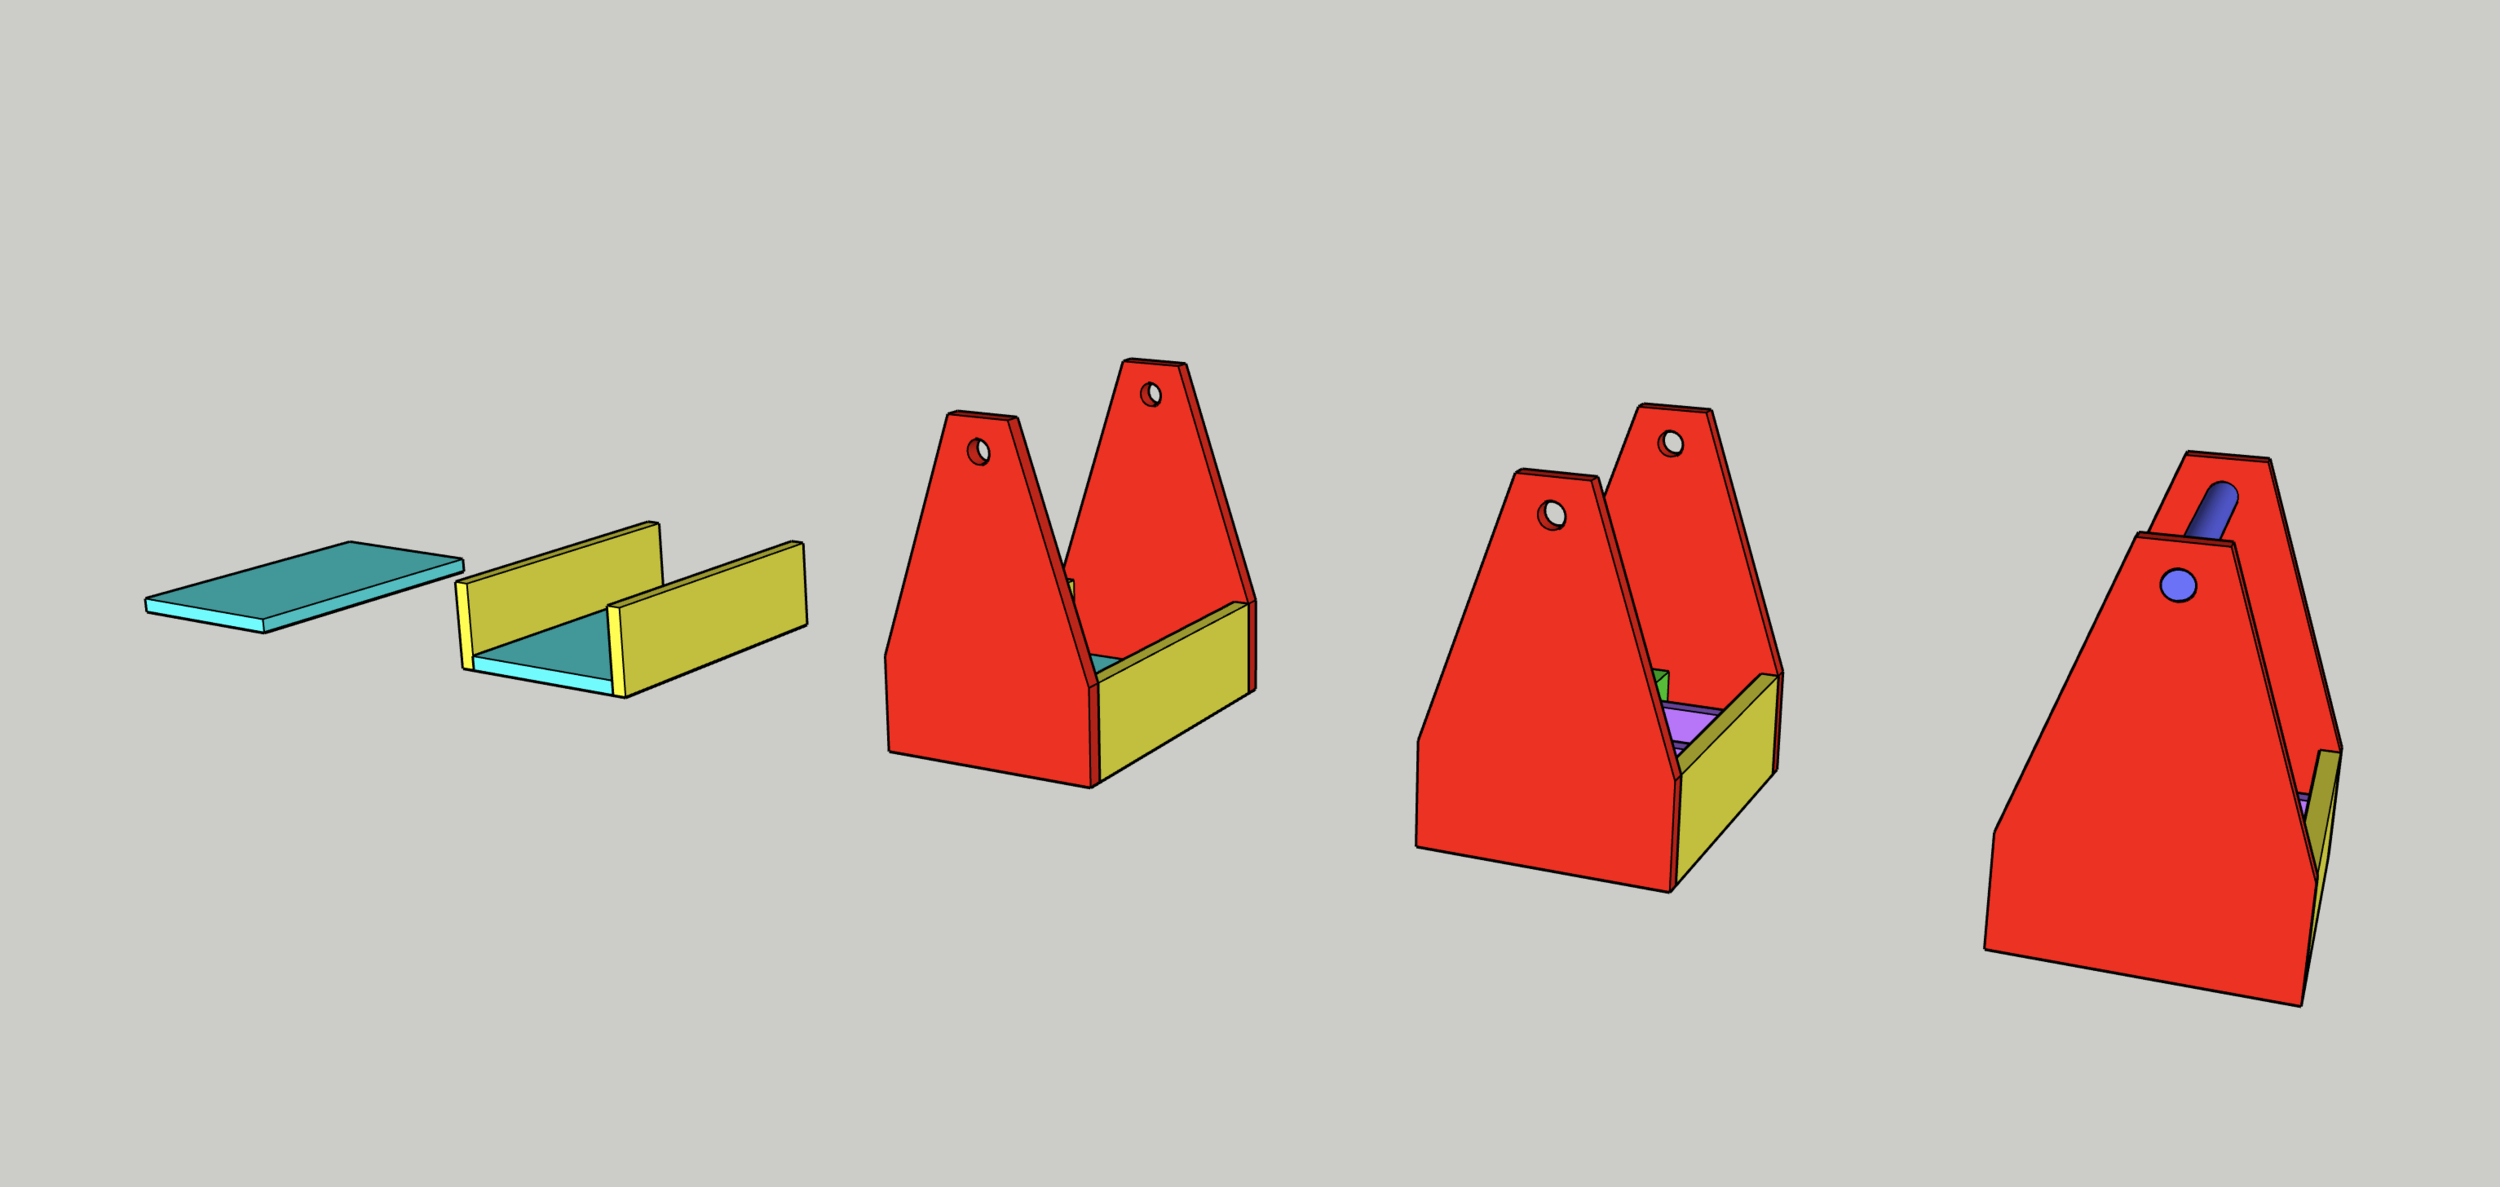
Here is a direct link to the SketchUp file - a few still images of it are below.
MATERIALS
Walnut Veneer Plywood (1/2" thick, one 4' x 4' sheet made me 6 of these)
1 x 3/4" x 48" Maple Dowel (from Home Depot)
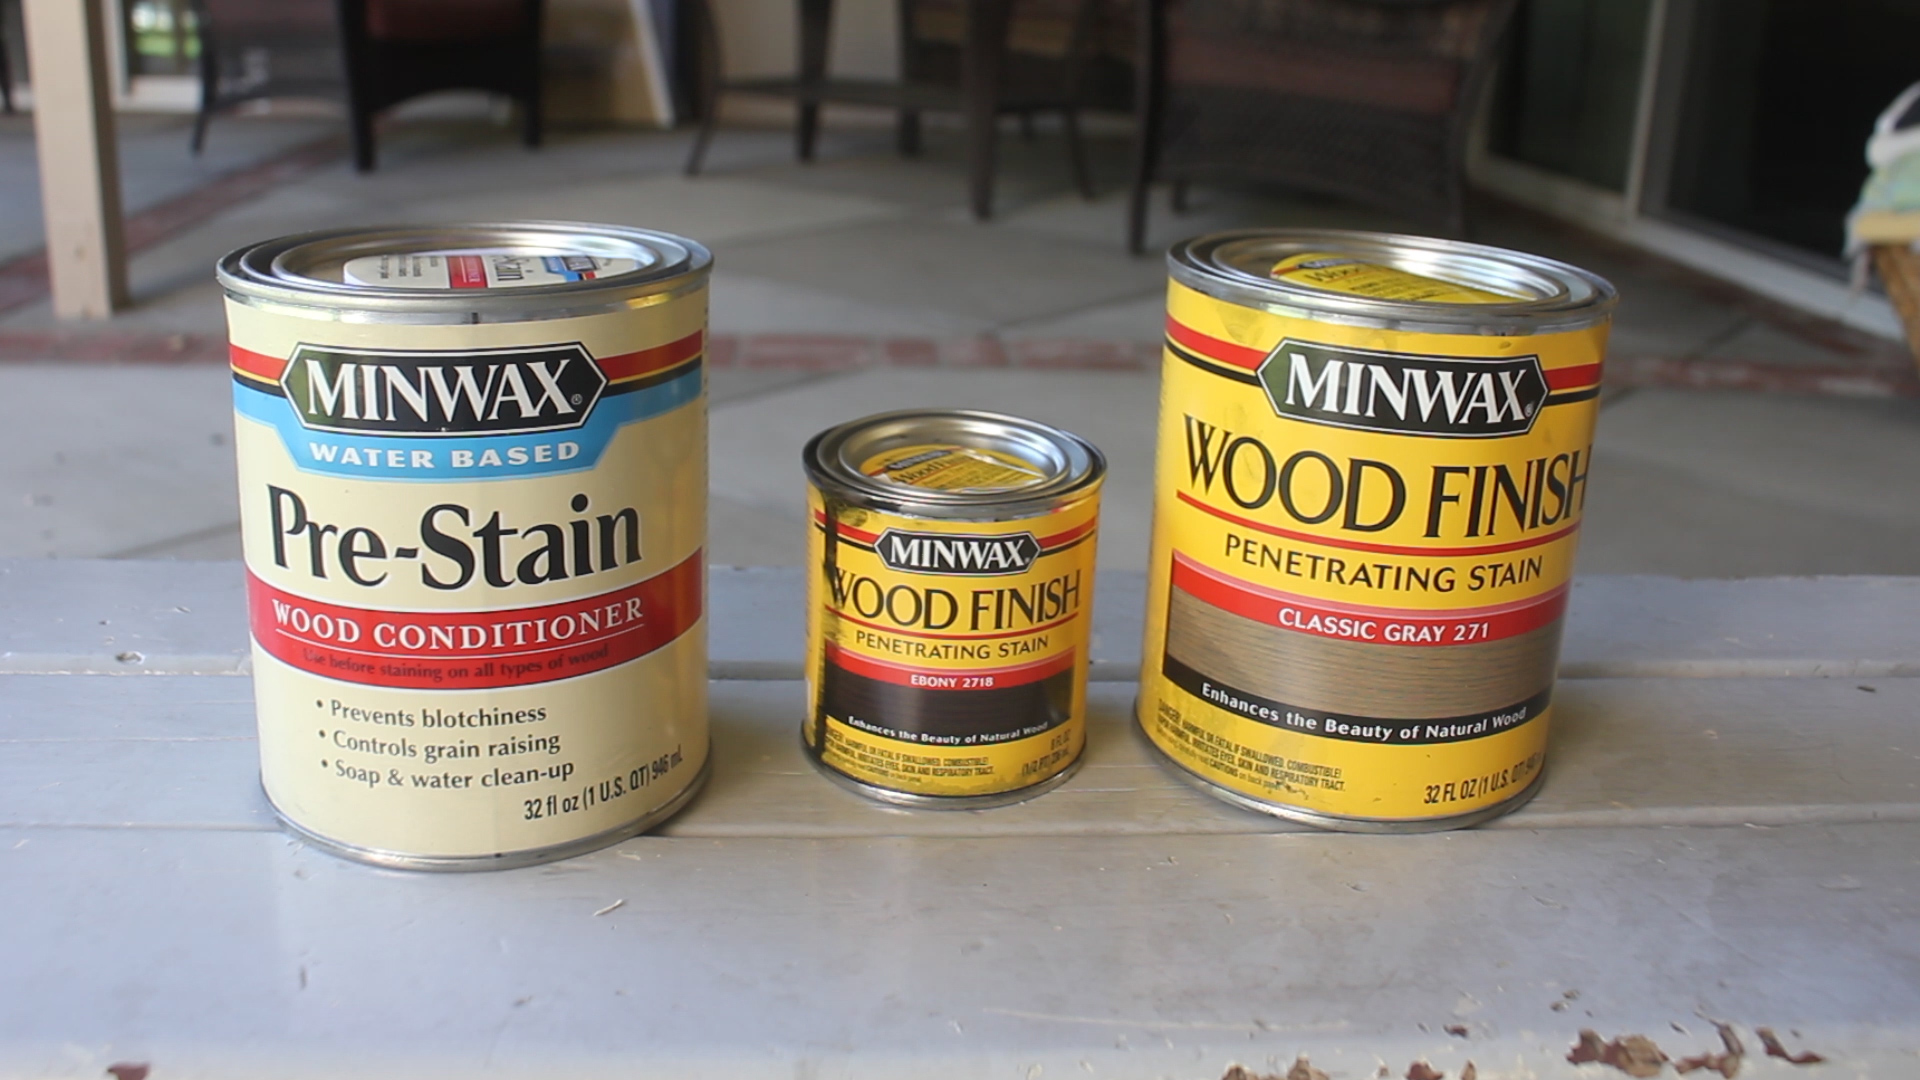
TiteBond II Wood Glue: http://amzn.to/2peRFus
Cast Iron Bottle Opener: http://amzn.to/2zw6spa
TOOLS
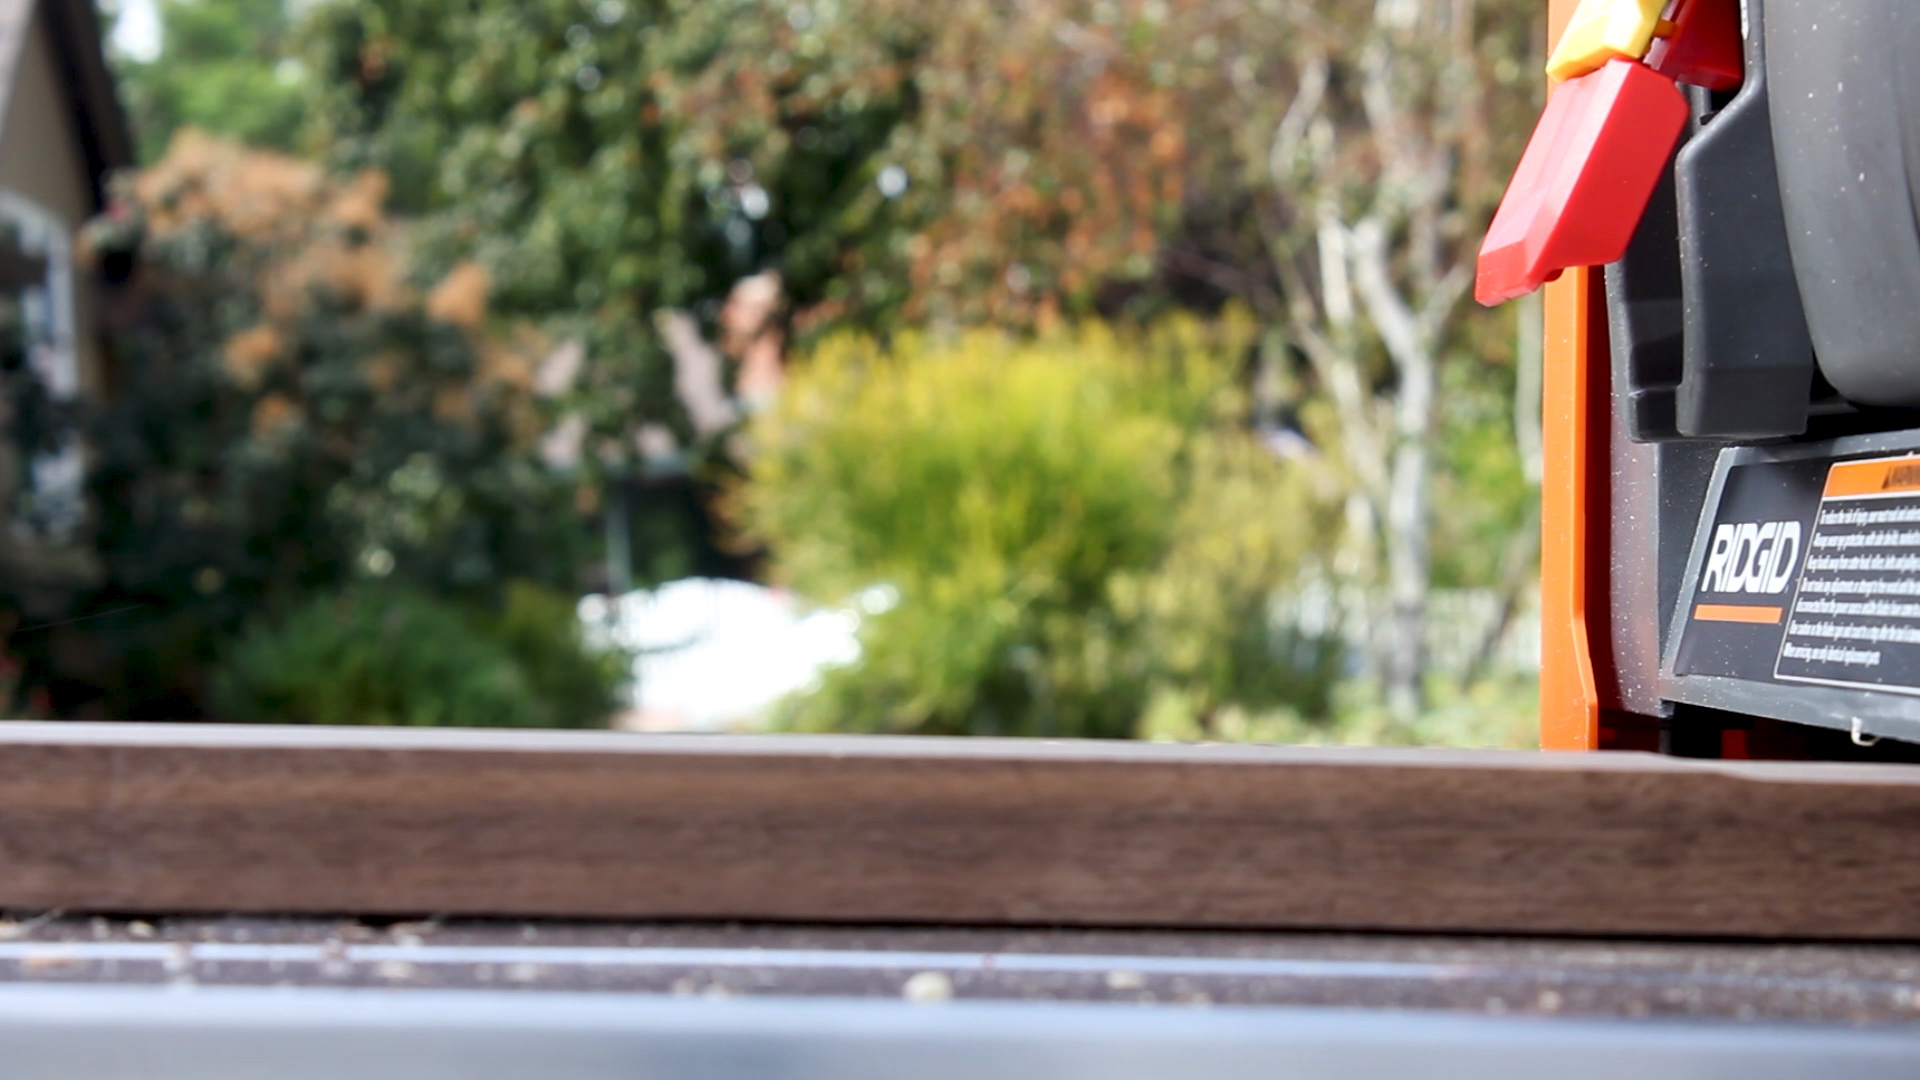
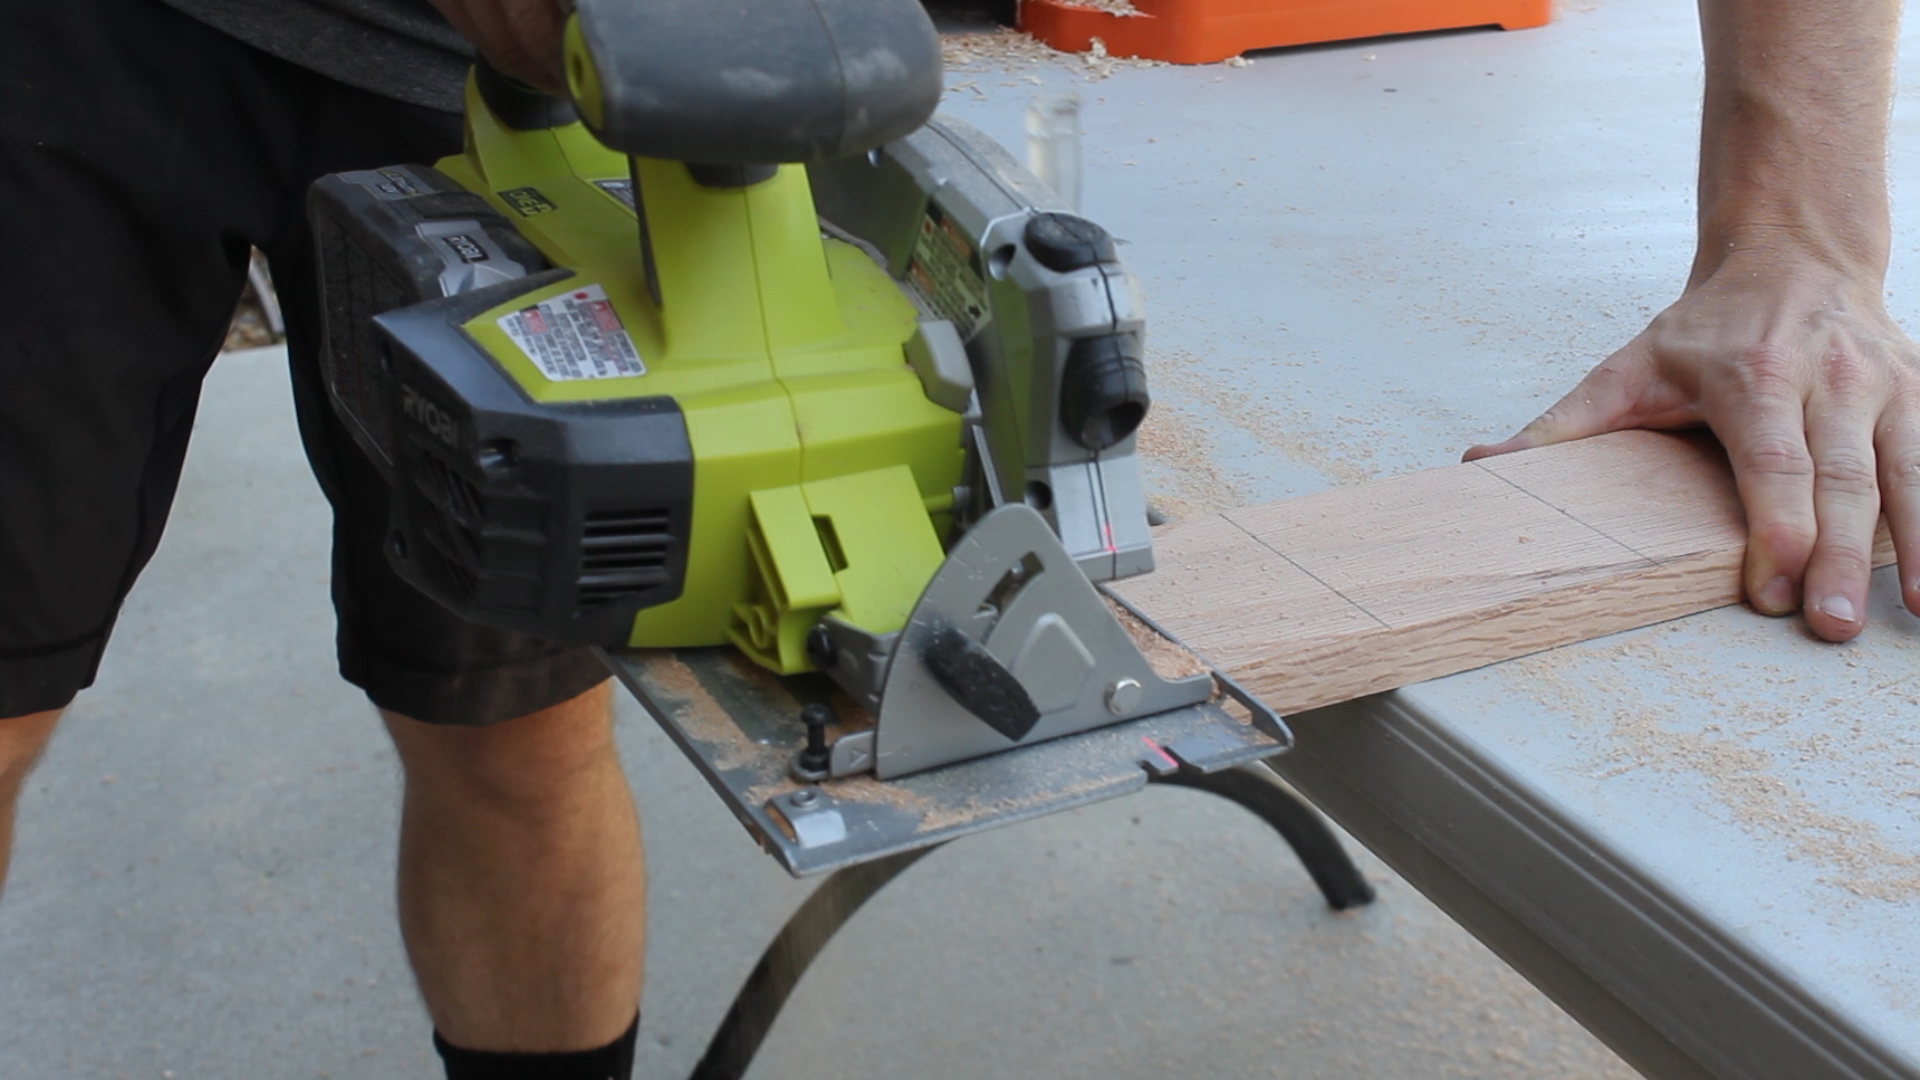
RYOBI Circular Saw: http://amzn.to/2q1l5wn
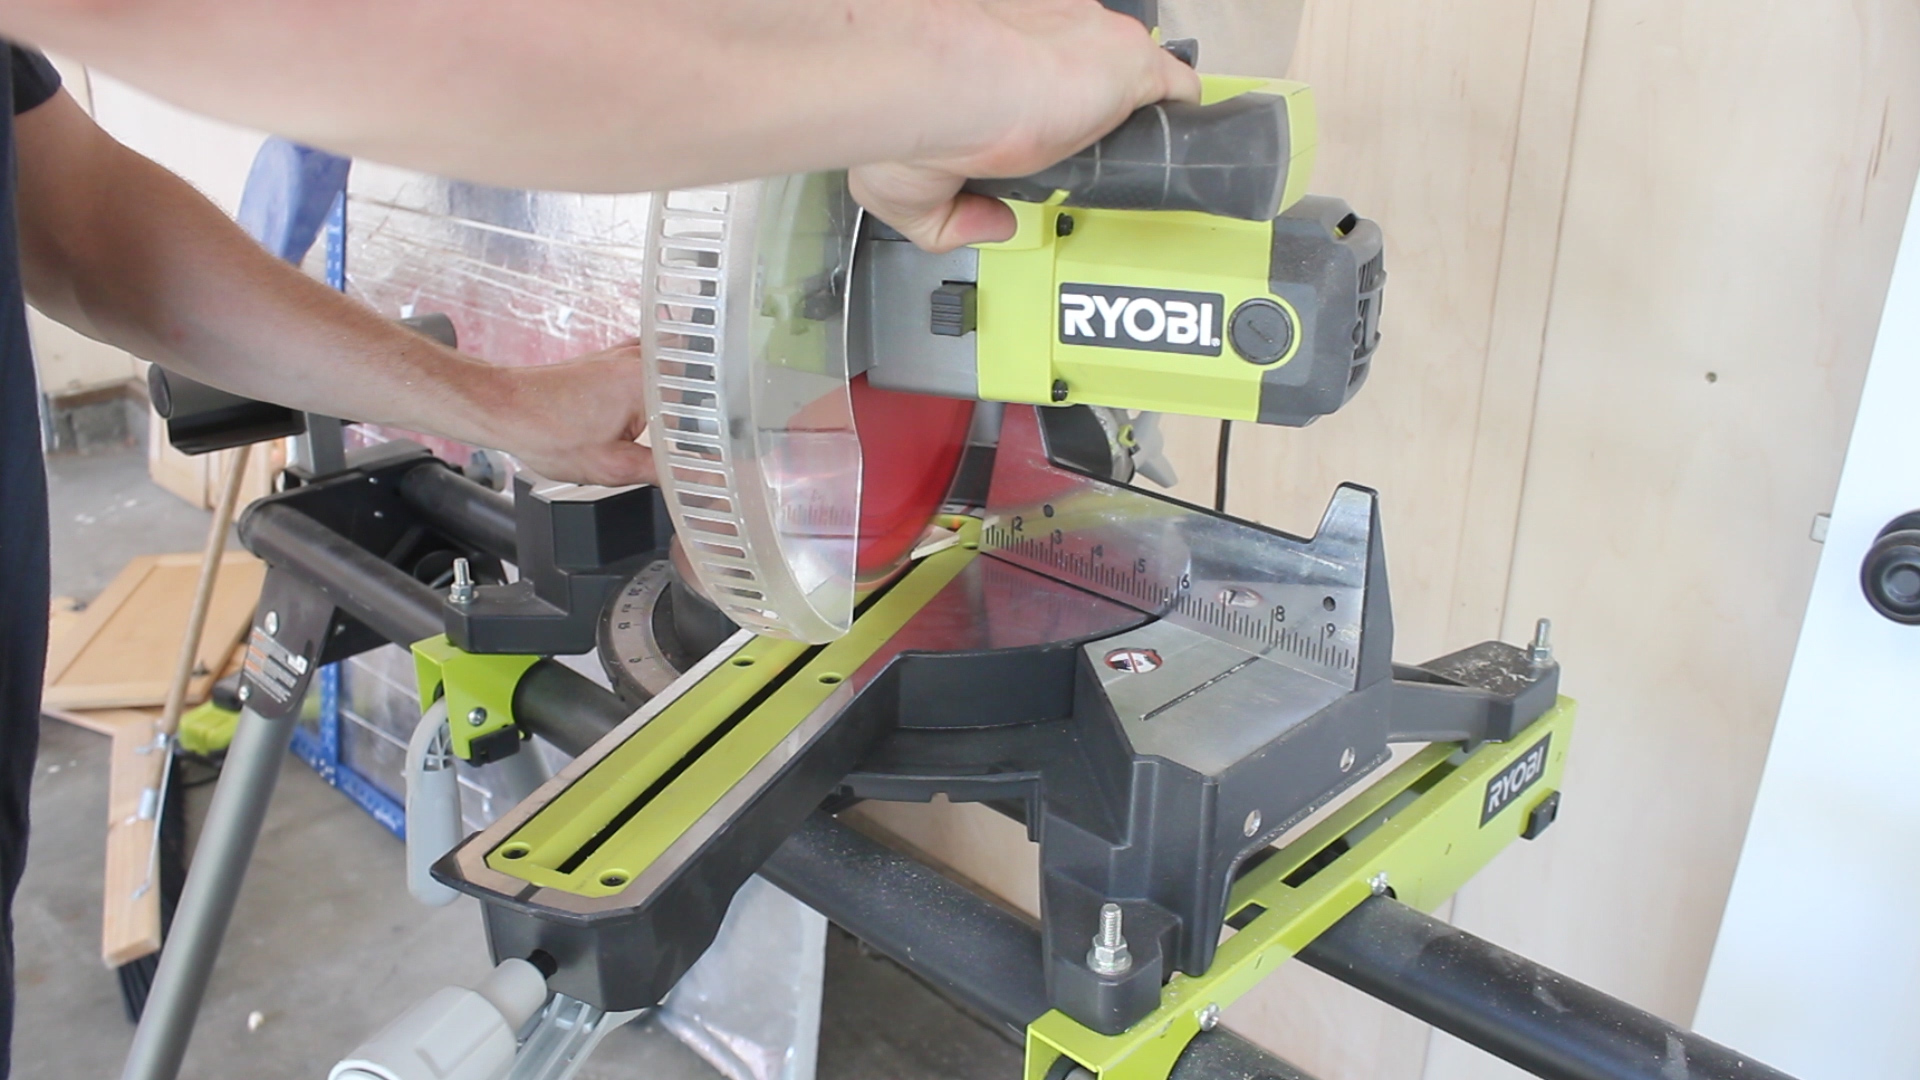
RYOBI 10 in. Sliding Compound Miter Saw: http://amzn.to/2q1klHw
RYOBI Miter Saw Stand: http://amzn.to/2p1072e
RYOBI Power Drill: http://amzn.to/2q1l5wn
KREG Rip Cut: http://amzn.to/2pf1VTL
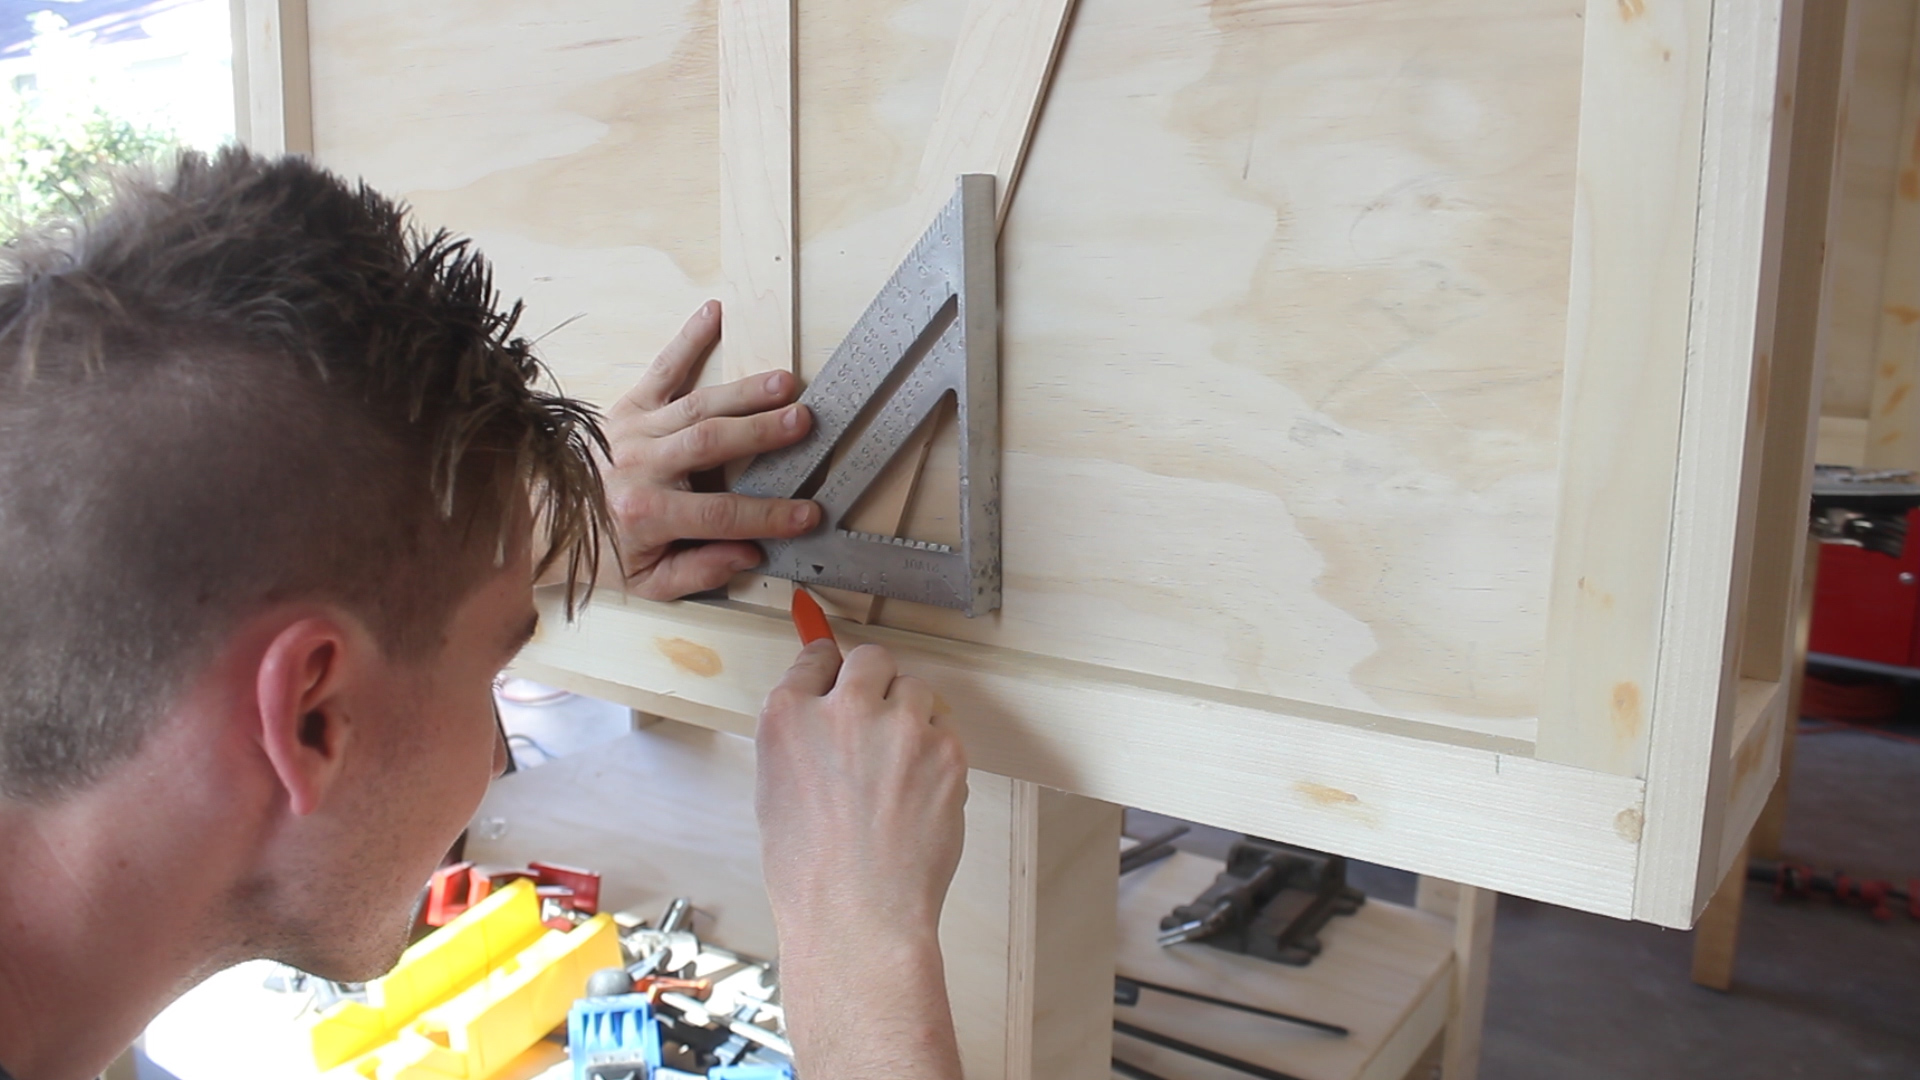
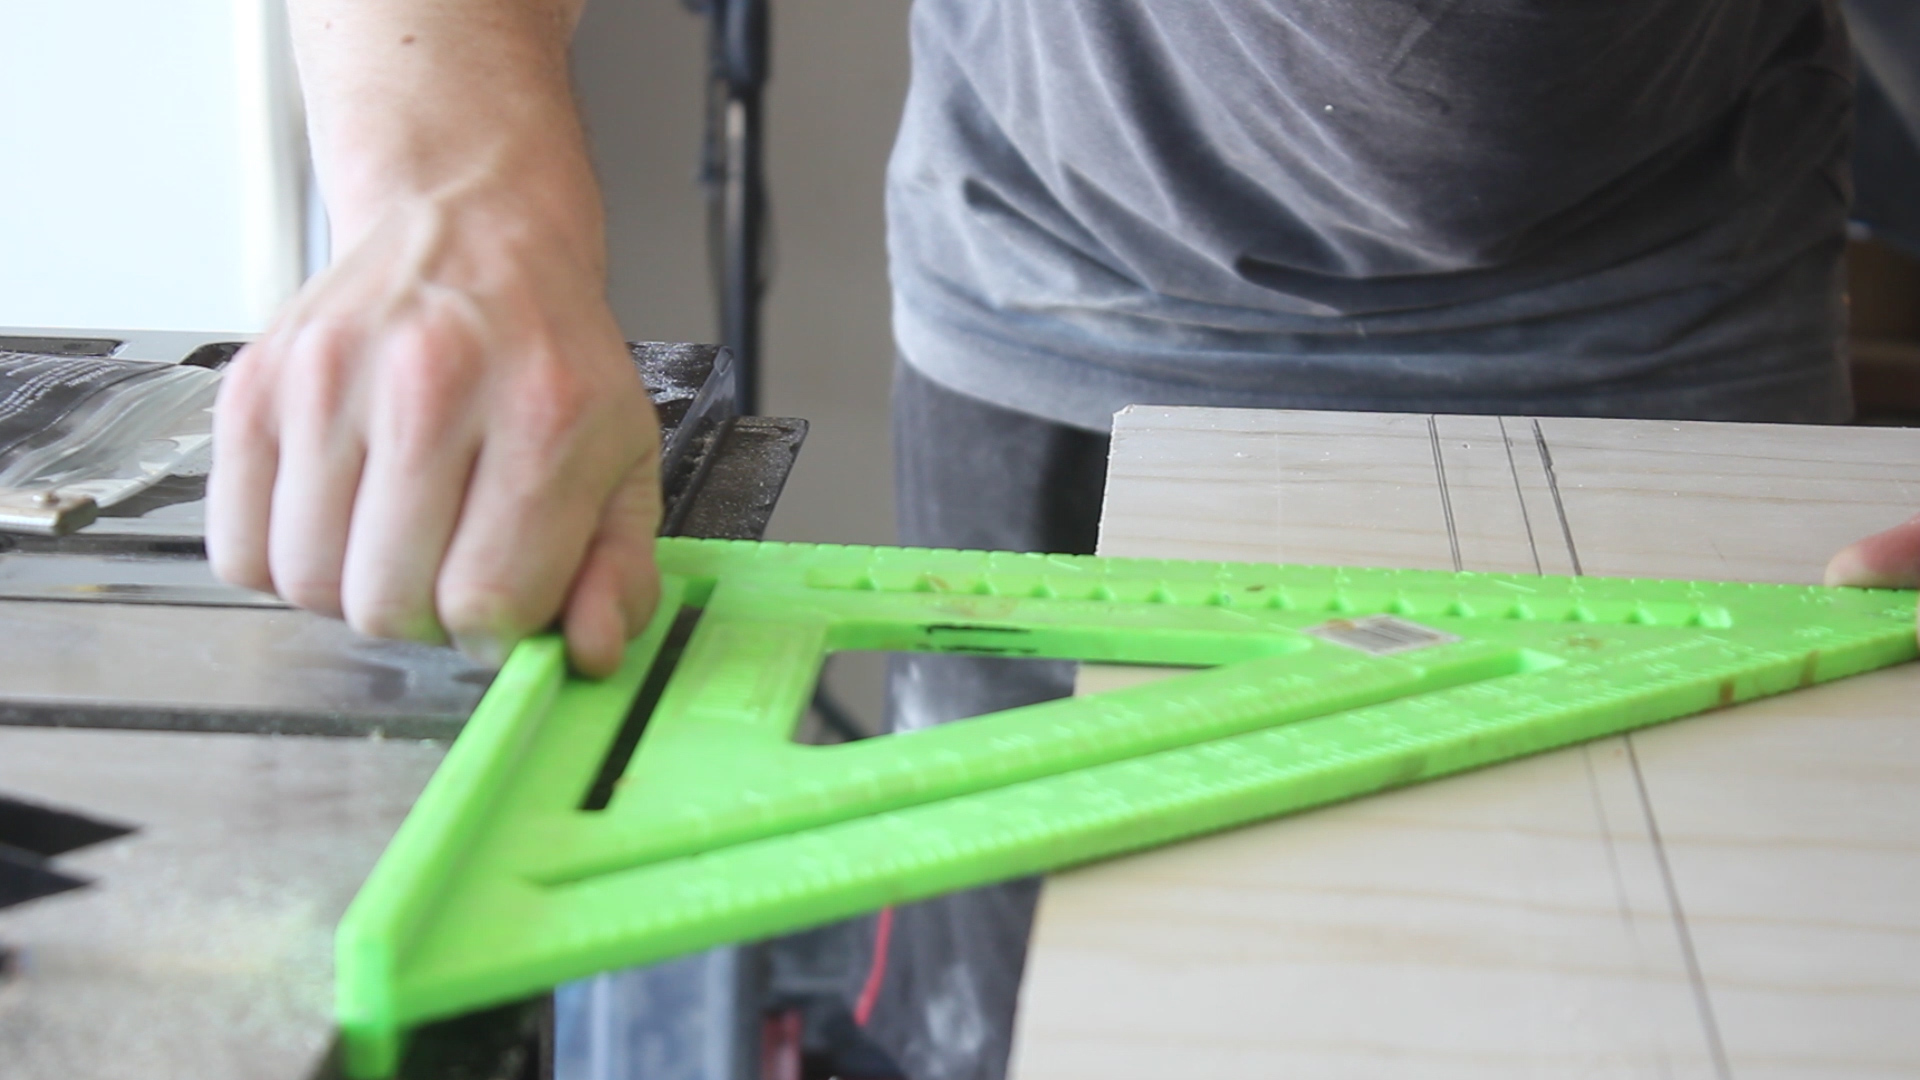
12” Speed Square: http://amzn.to/2phZUIt
Hand Sanding Sponges: http://amzn.to/2oHa6pP
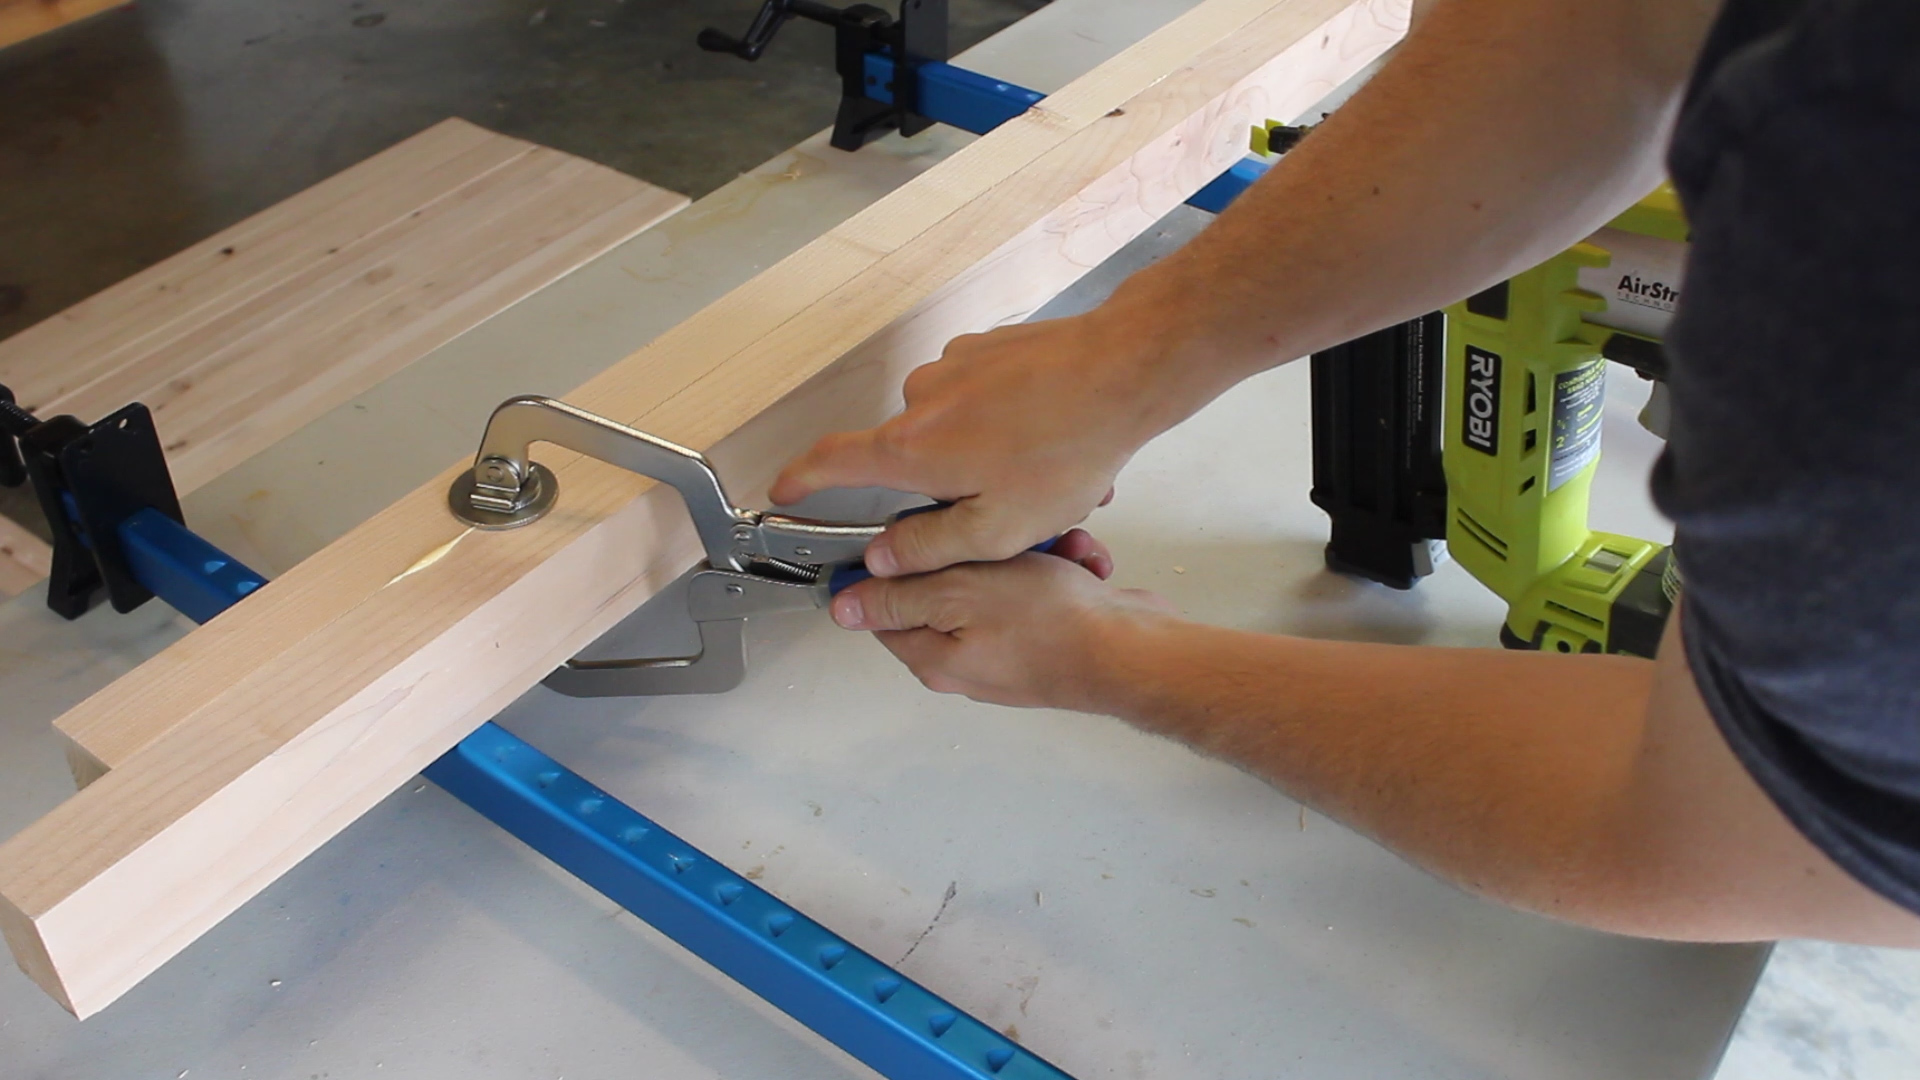
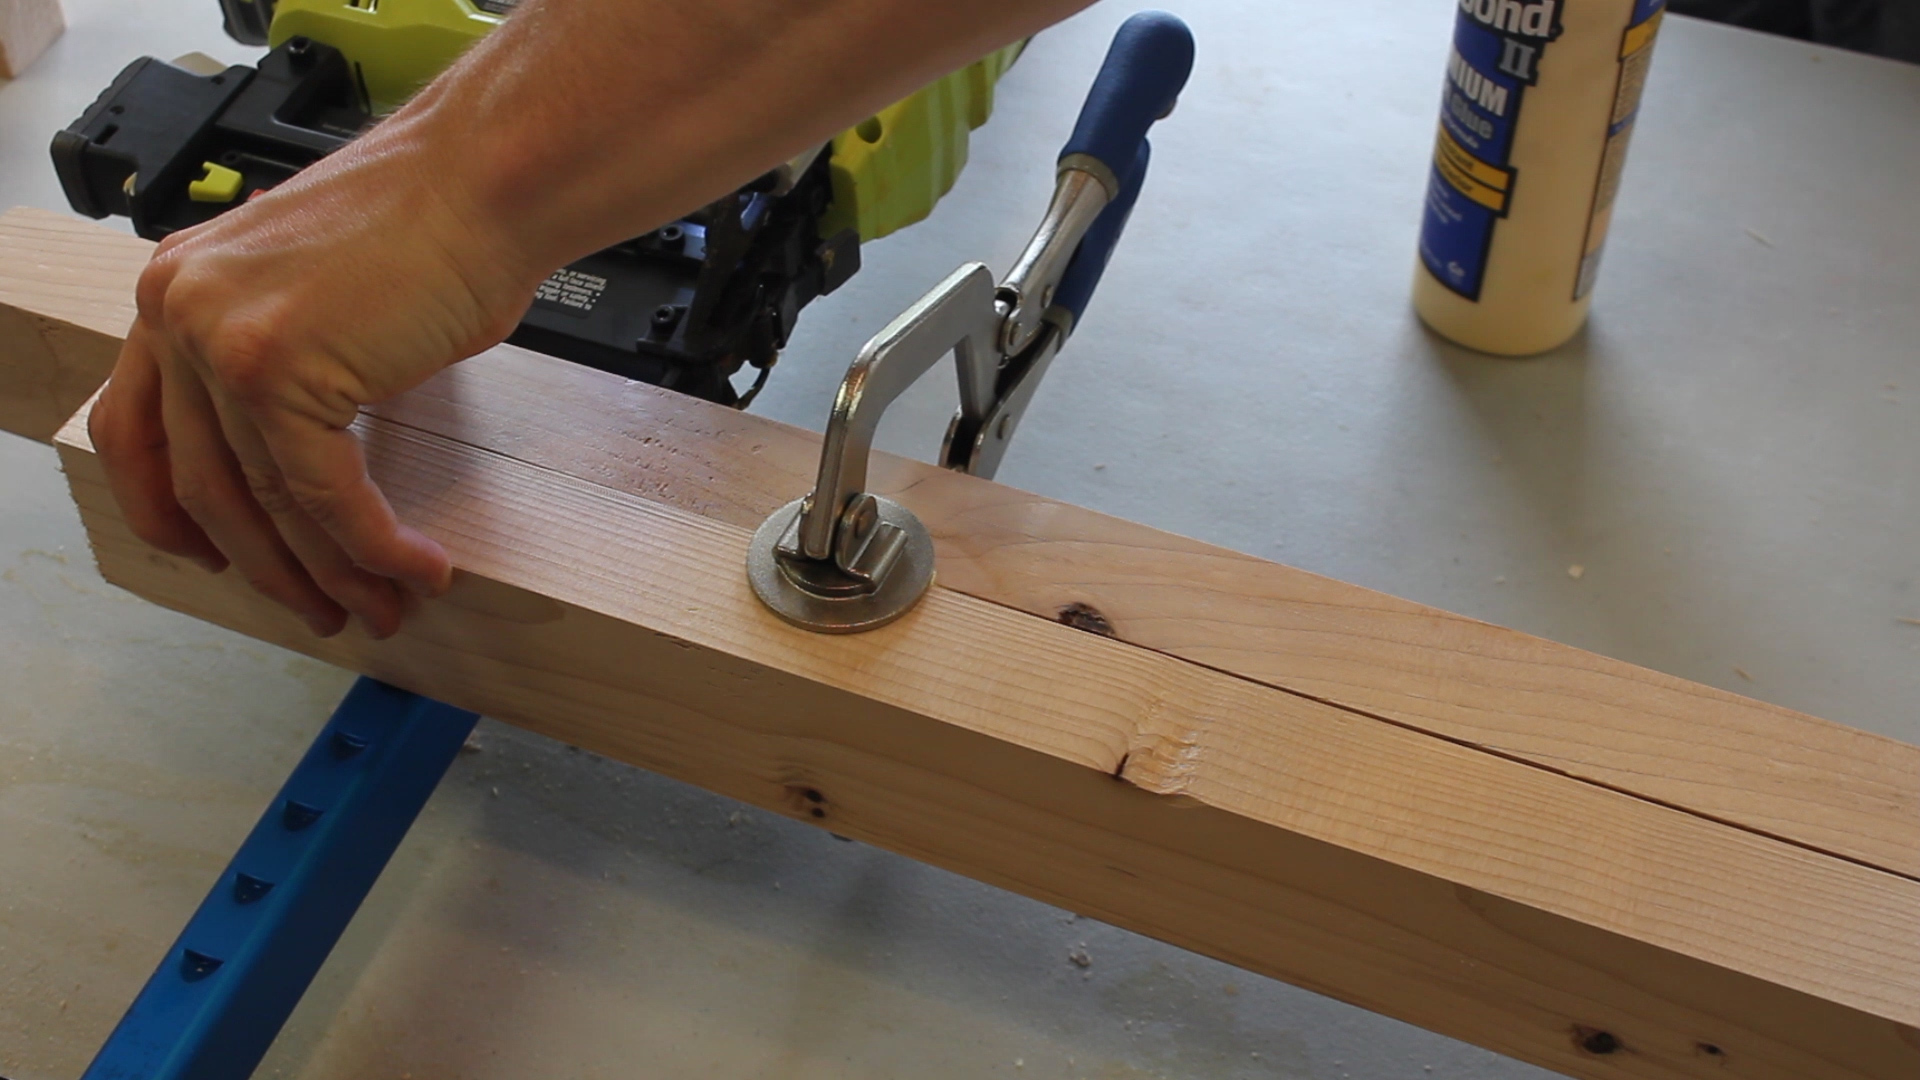
Clamps (four of them was helpful per glue up): http://amzn.to/2oIJGVy
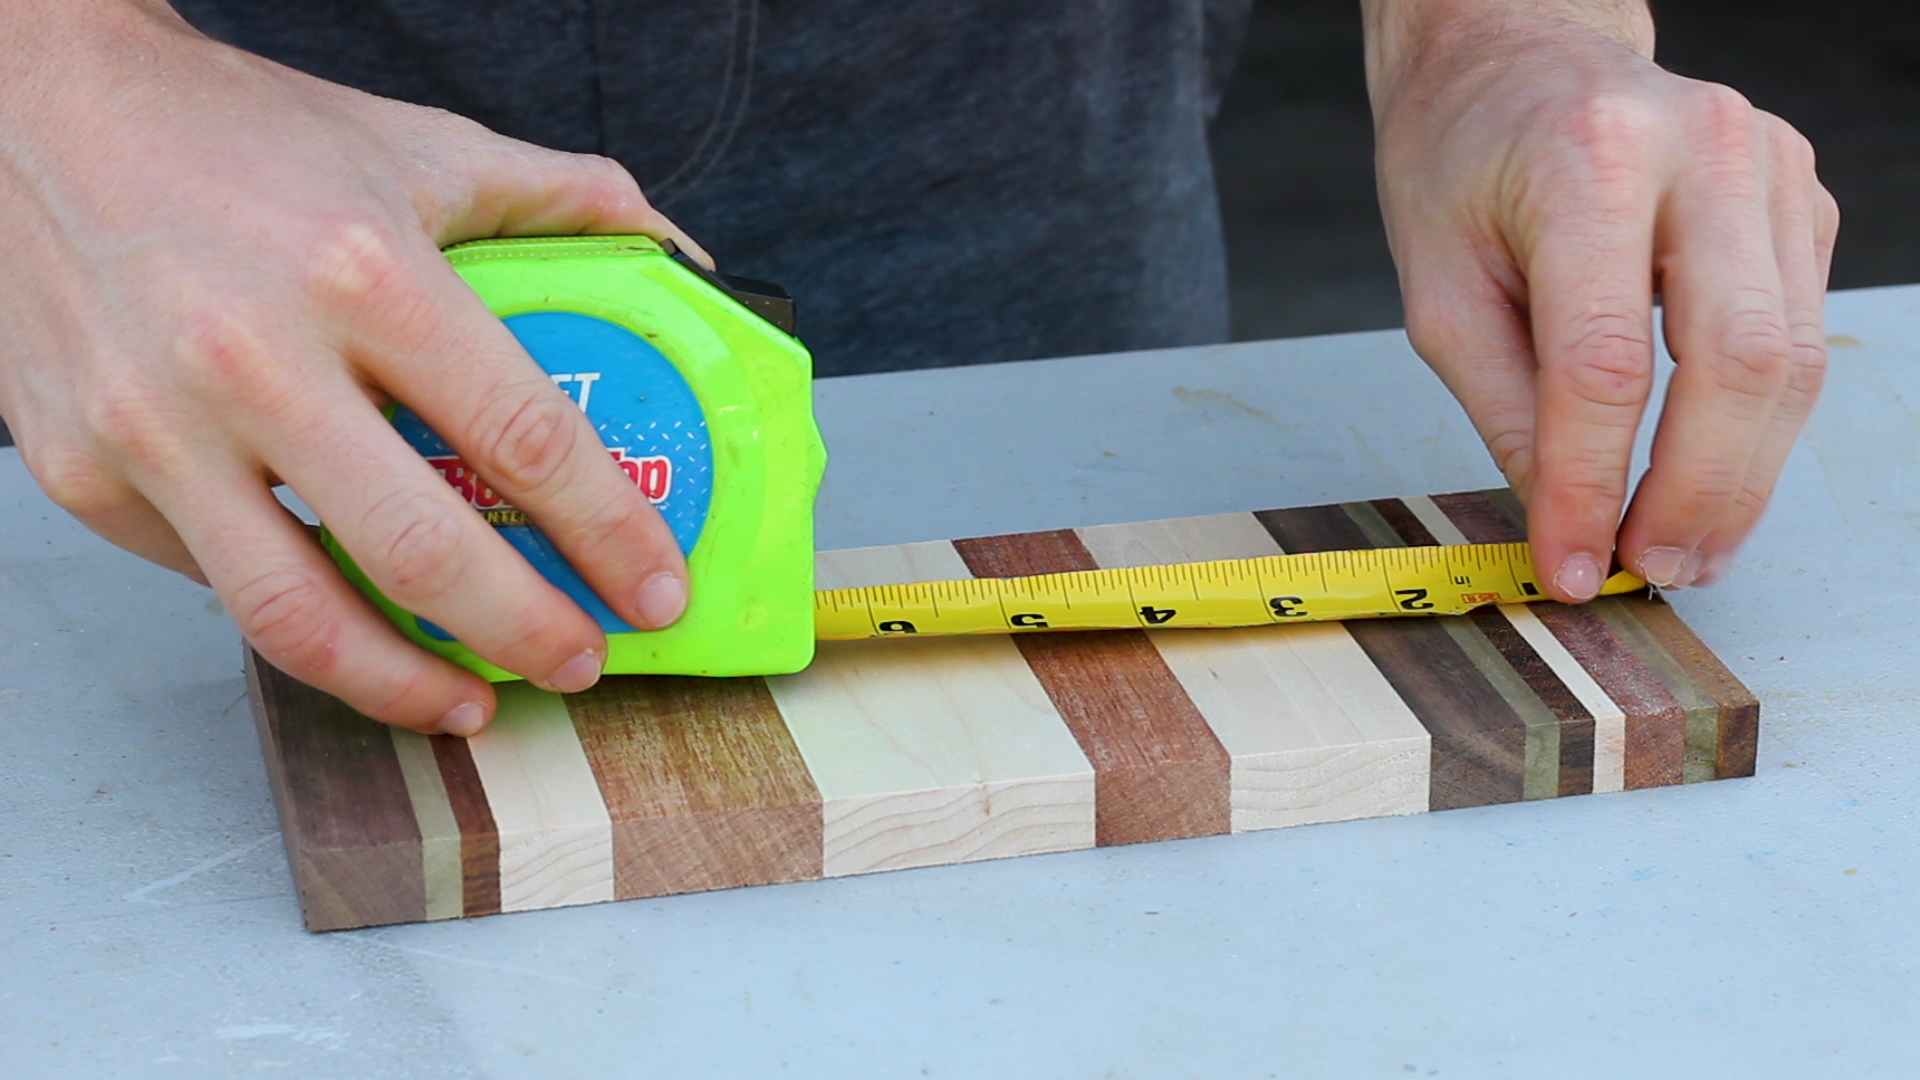
Tape Measure: http://amzn.to/2qMtJ1c
FILM / EDIT EQUIPMENT
Canon Rebel EOS T2i: http://amzn.to/2pwwlDI
Main Lens: Canon EF 50mm f/1.8 STM Lens: http://amzn.to/2zt0jKR
Secondary Lens: Canon EF-S 18-55mm f/3.5-5.6 IS II Lens: http://amzn.to/2pwmuhi
USCAMEL Tripod: http://amzn.to/2hbbVdg
Blue Snowball Mic (VO Recording): http://amzn.to/2hd92sF
Studio Lighting Equipment: http://amzn.to/2rtrkg0

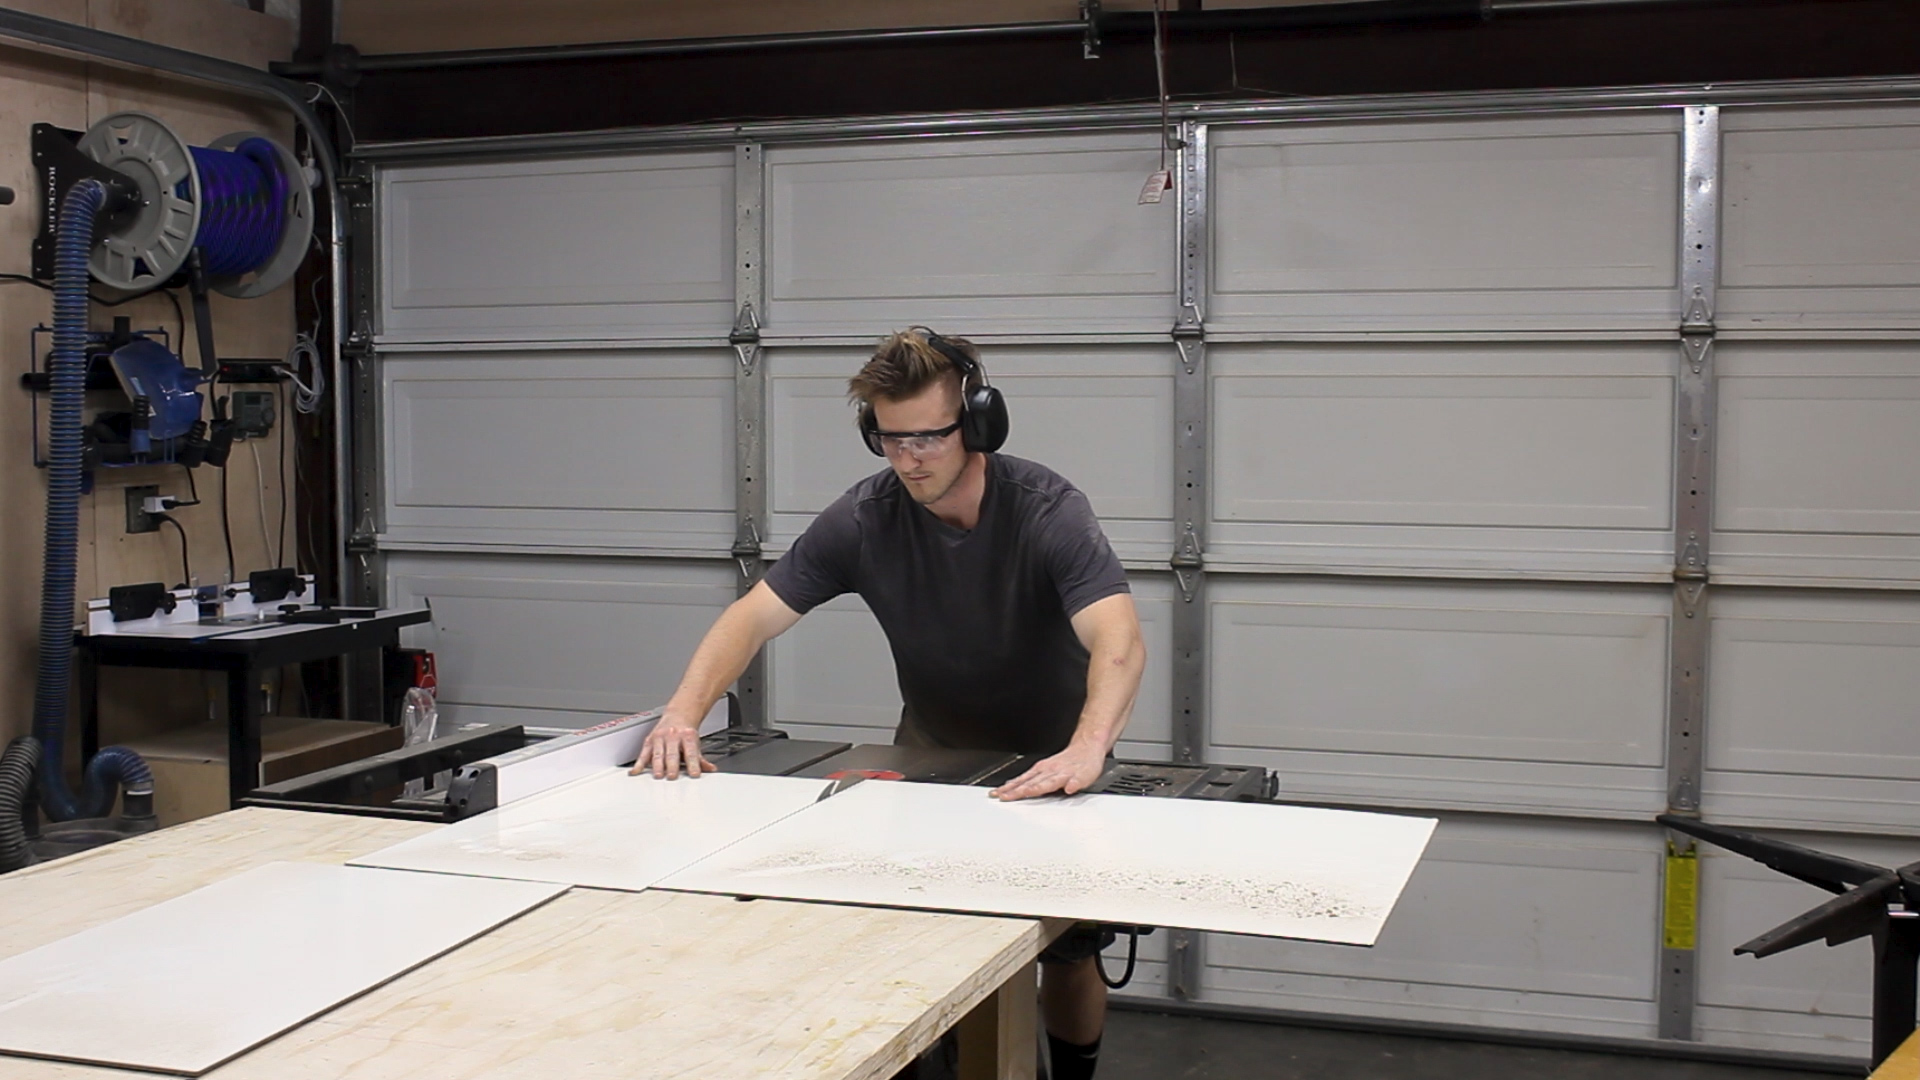
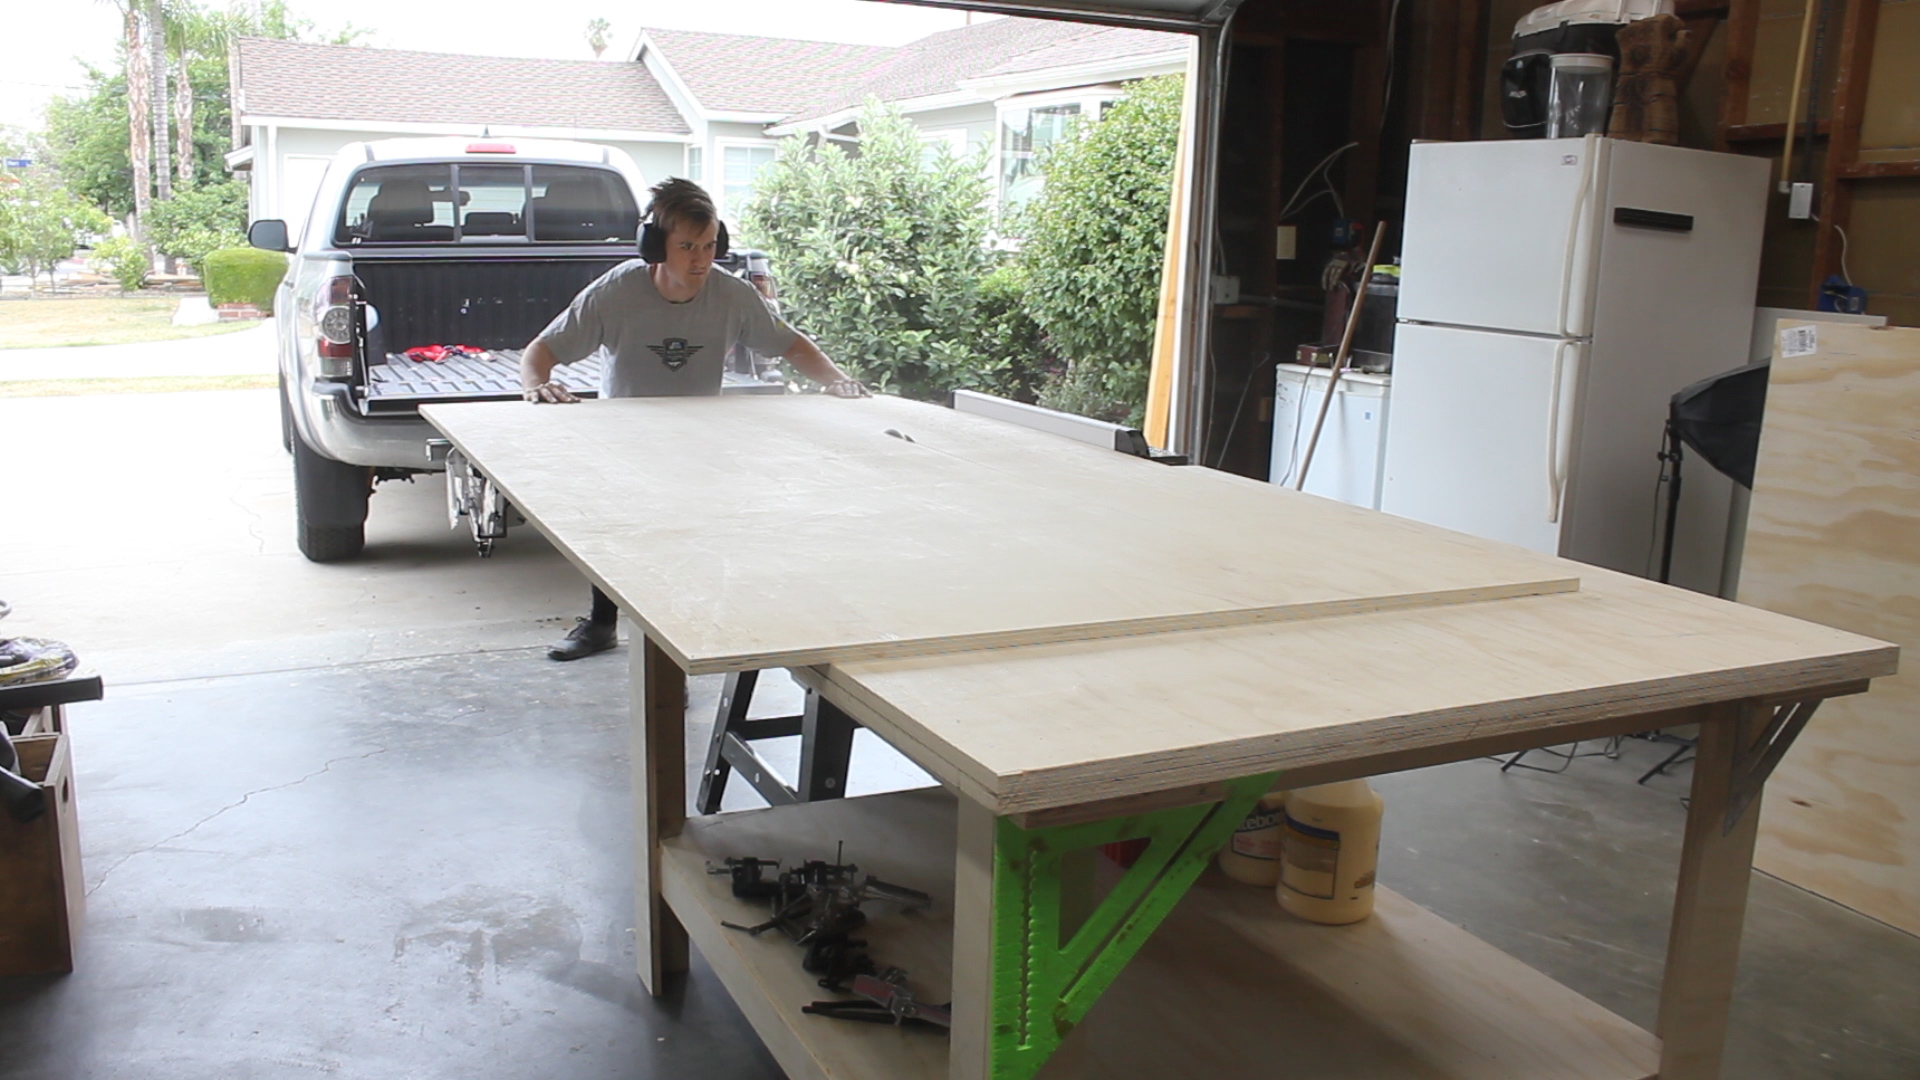
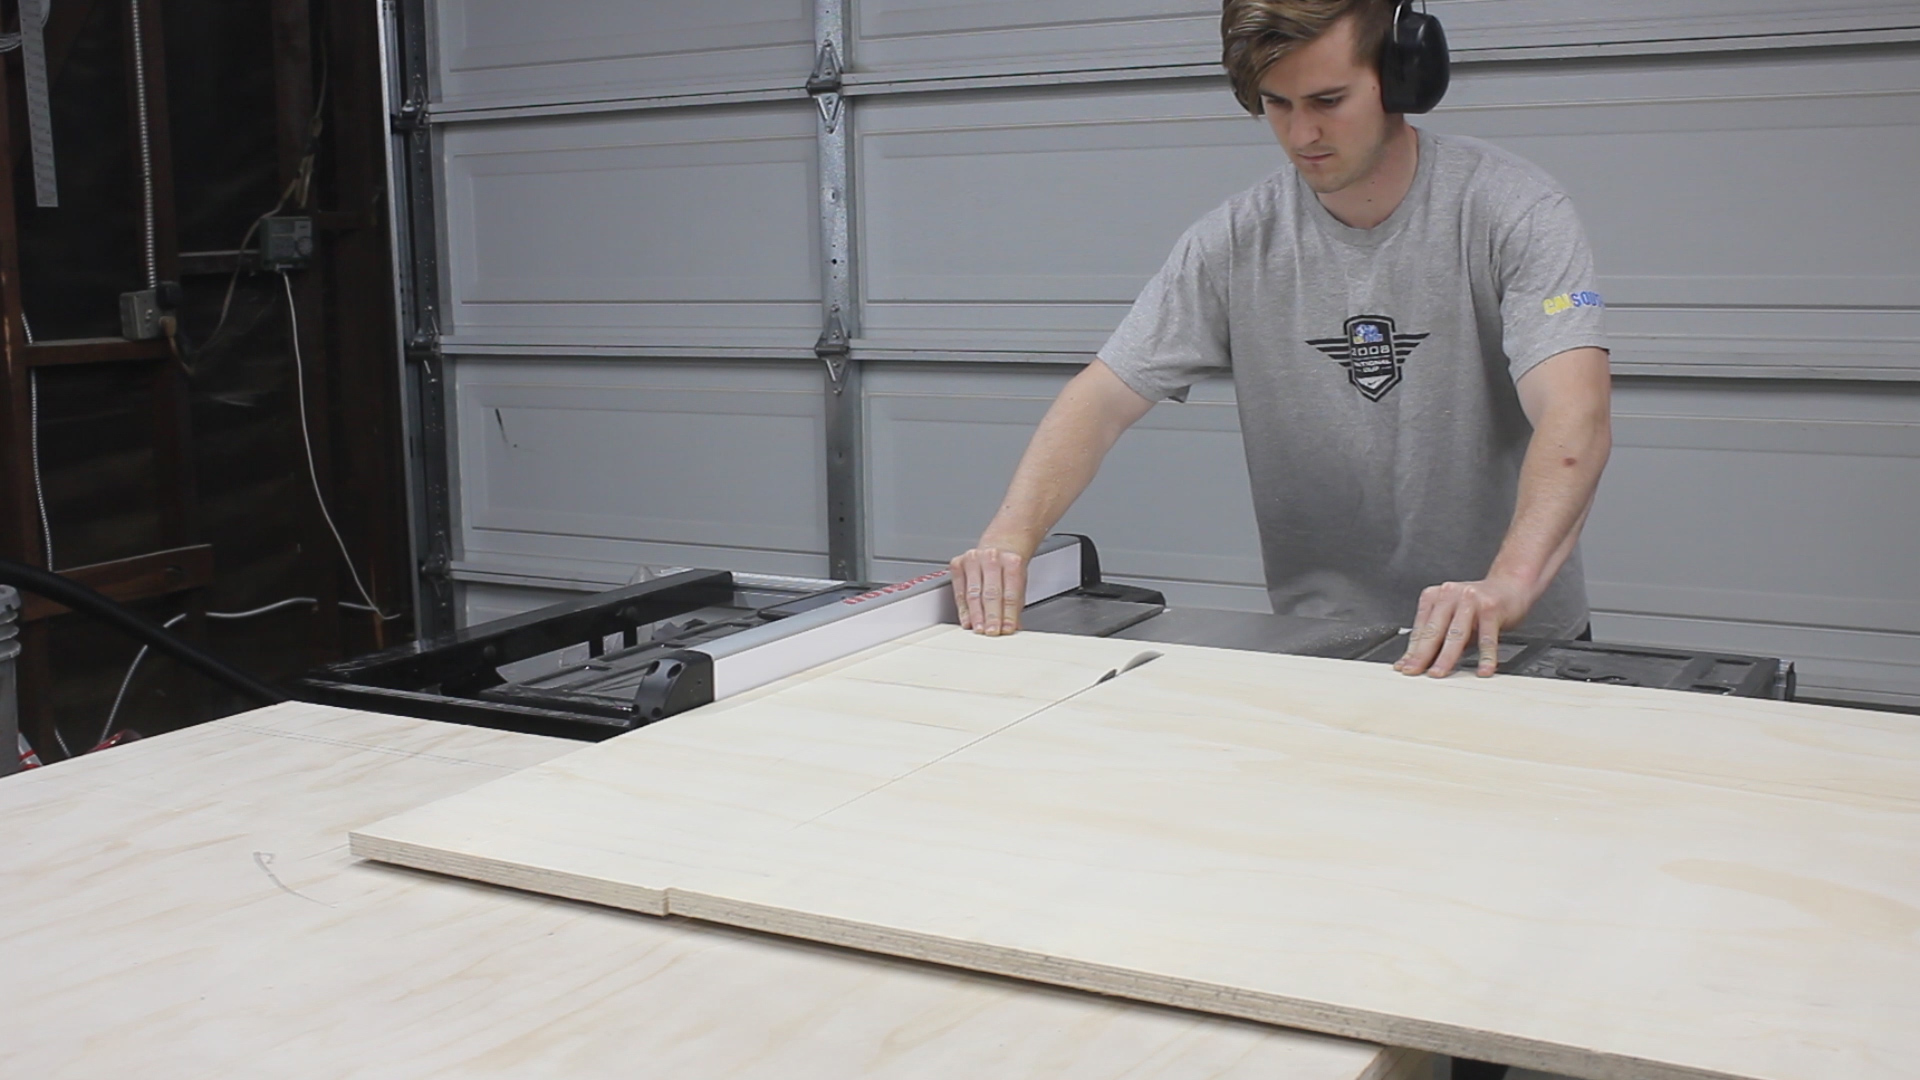
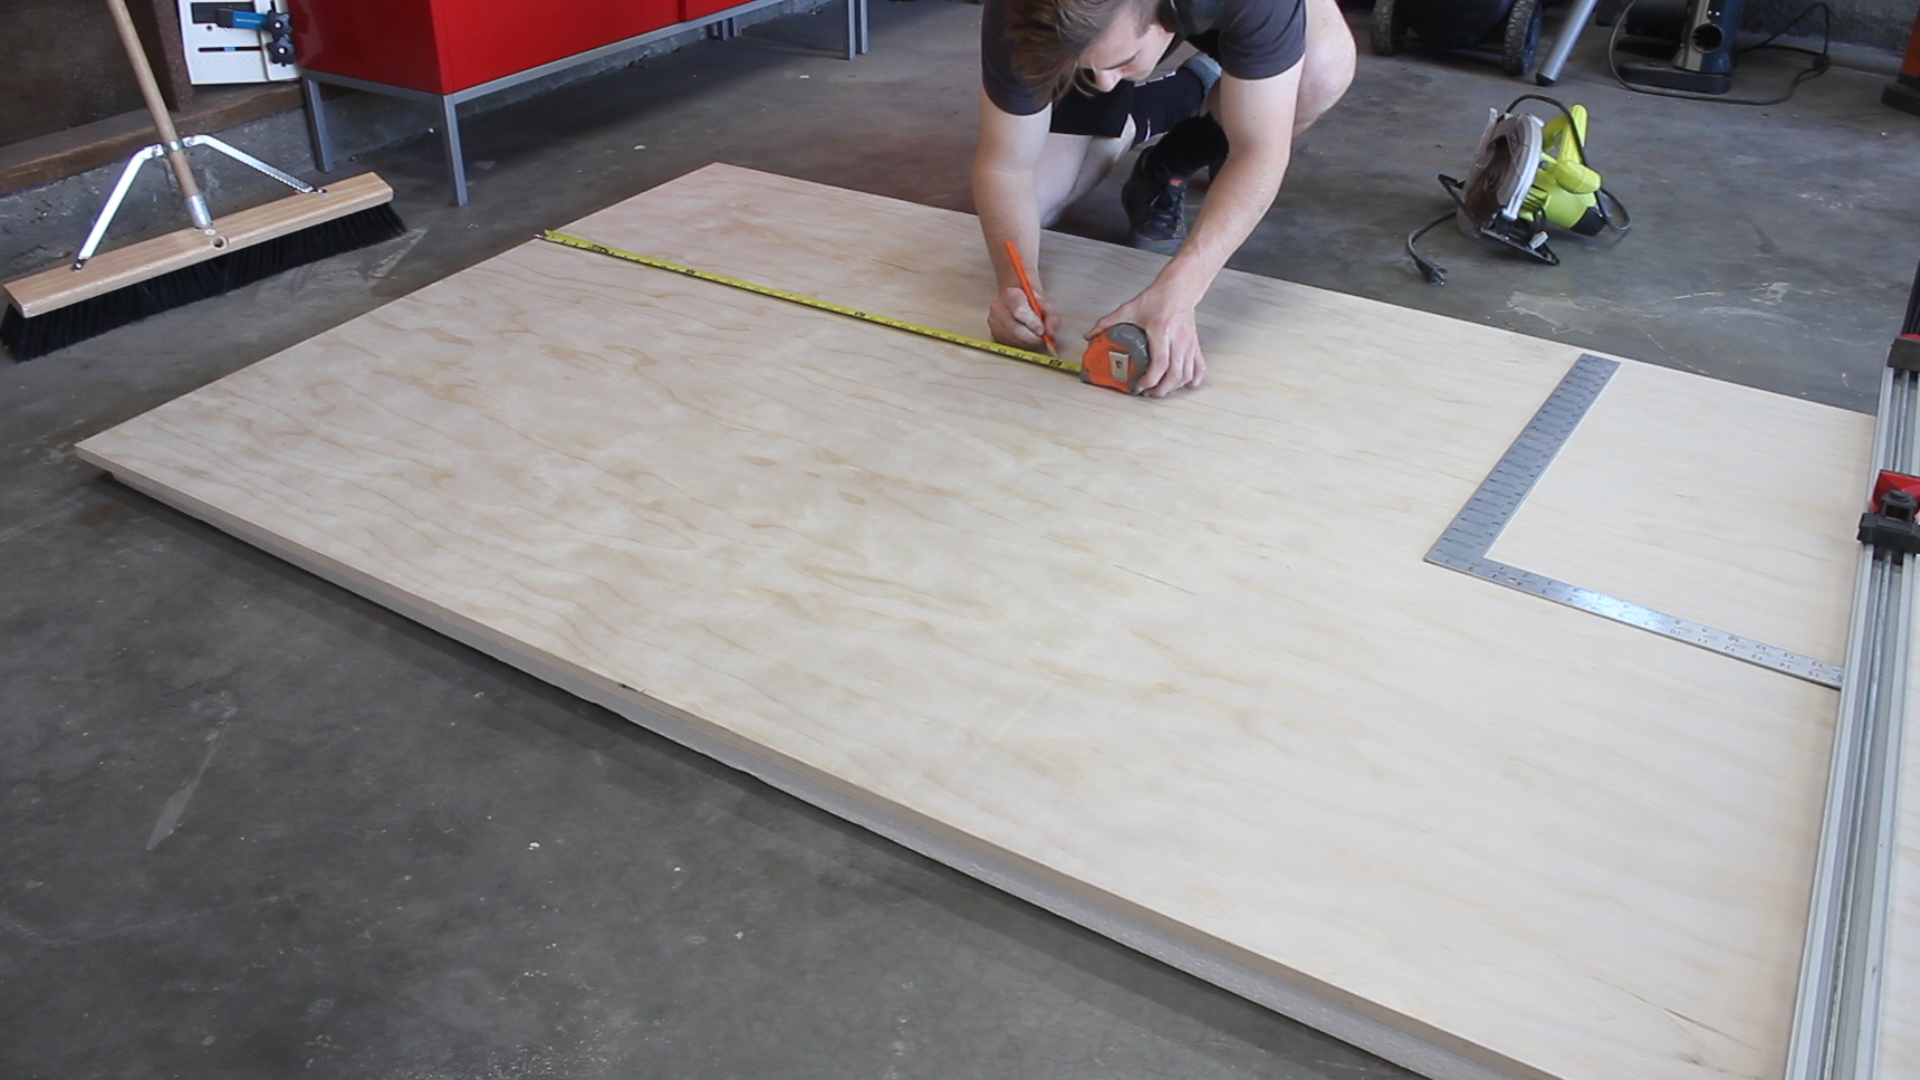
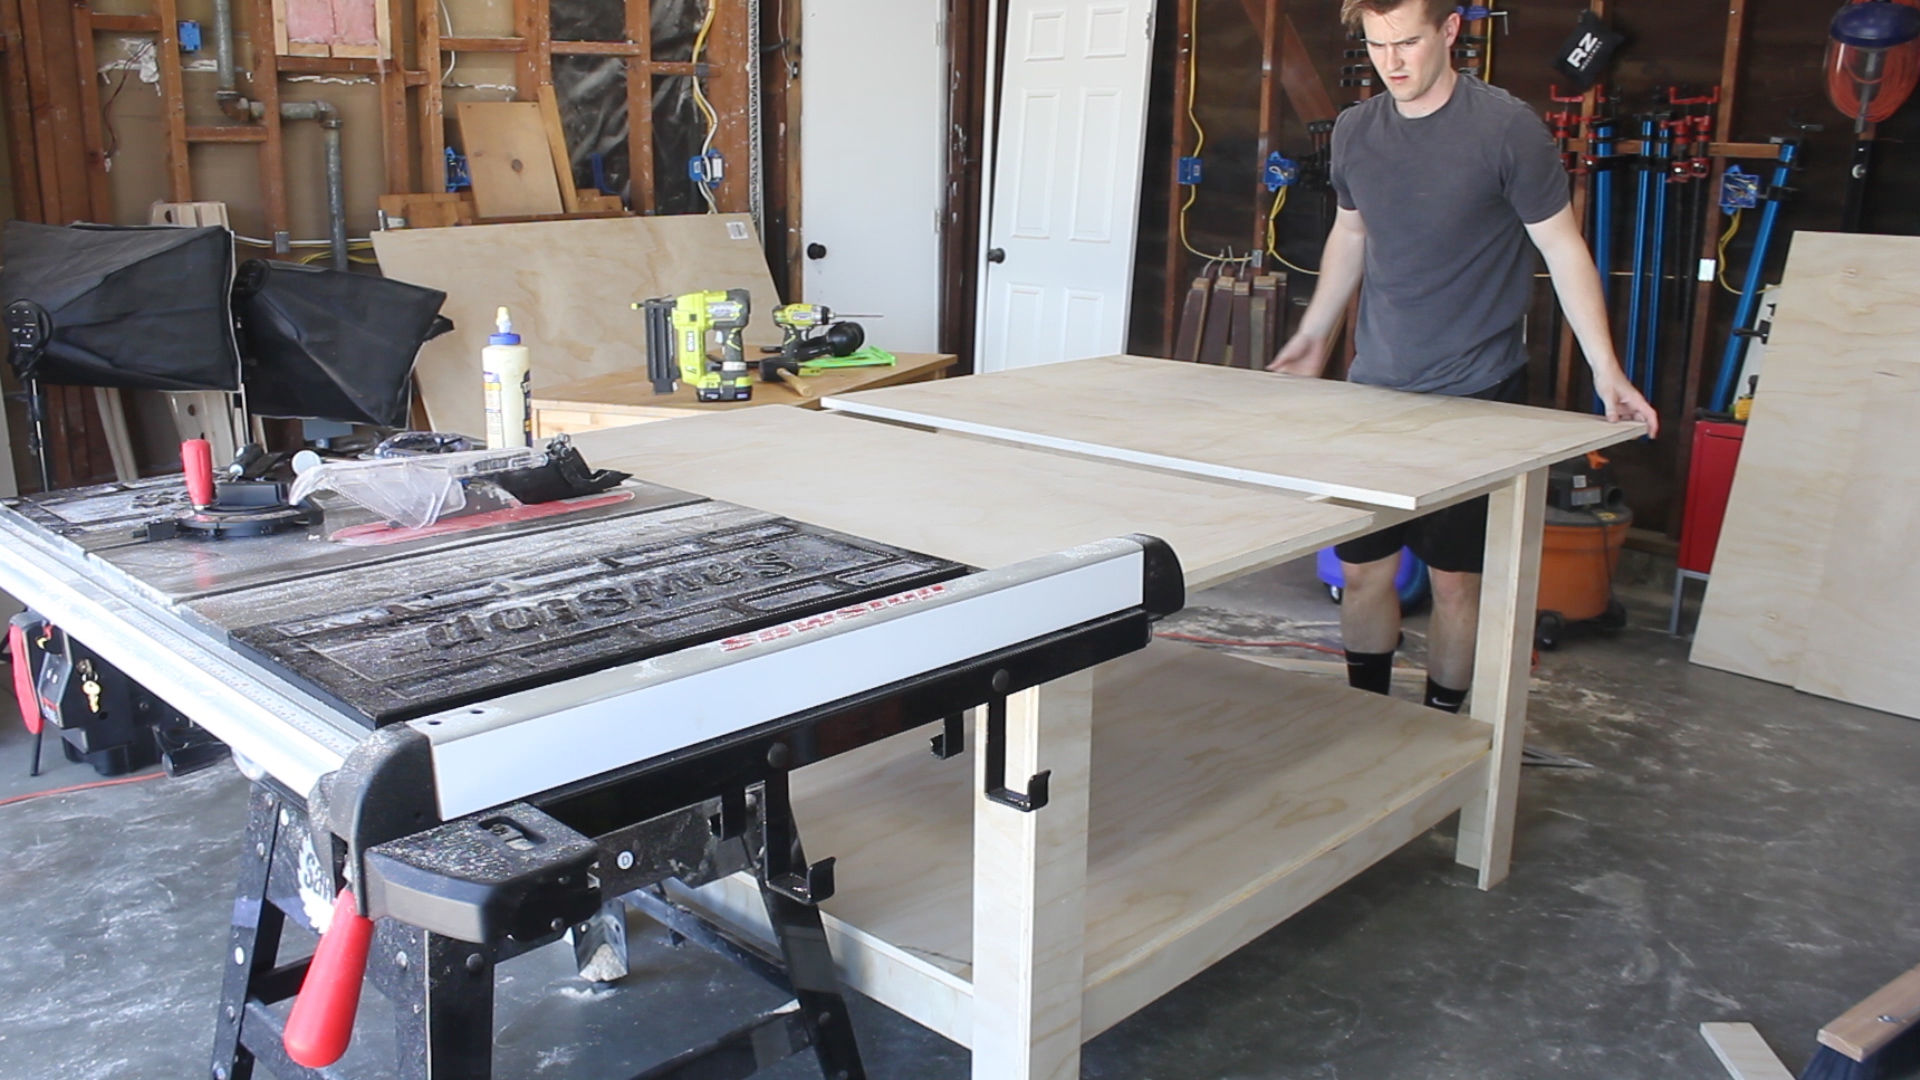
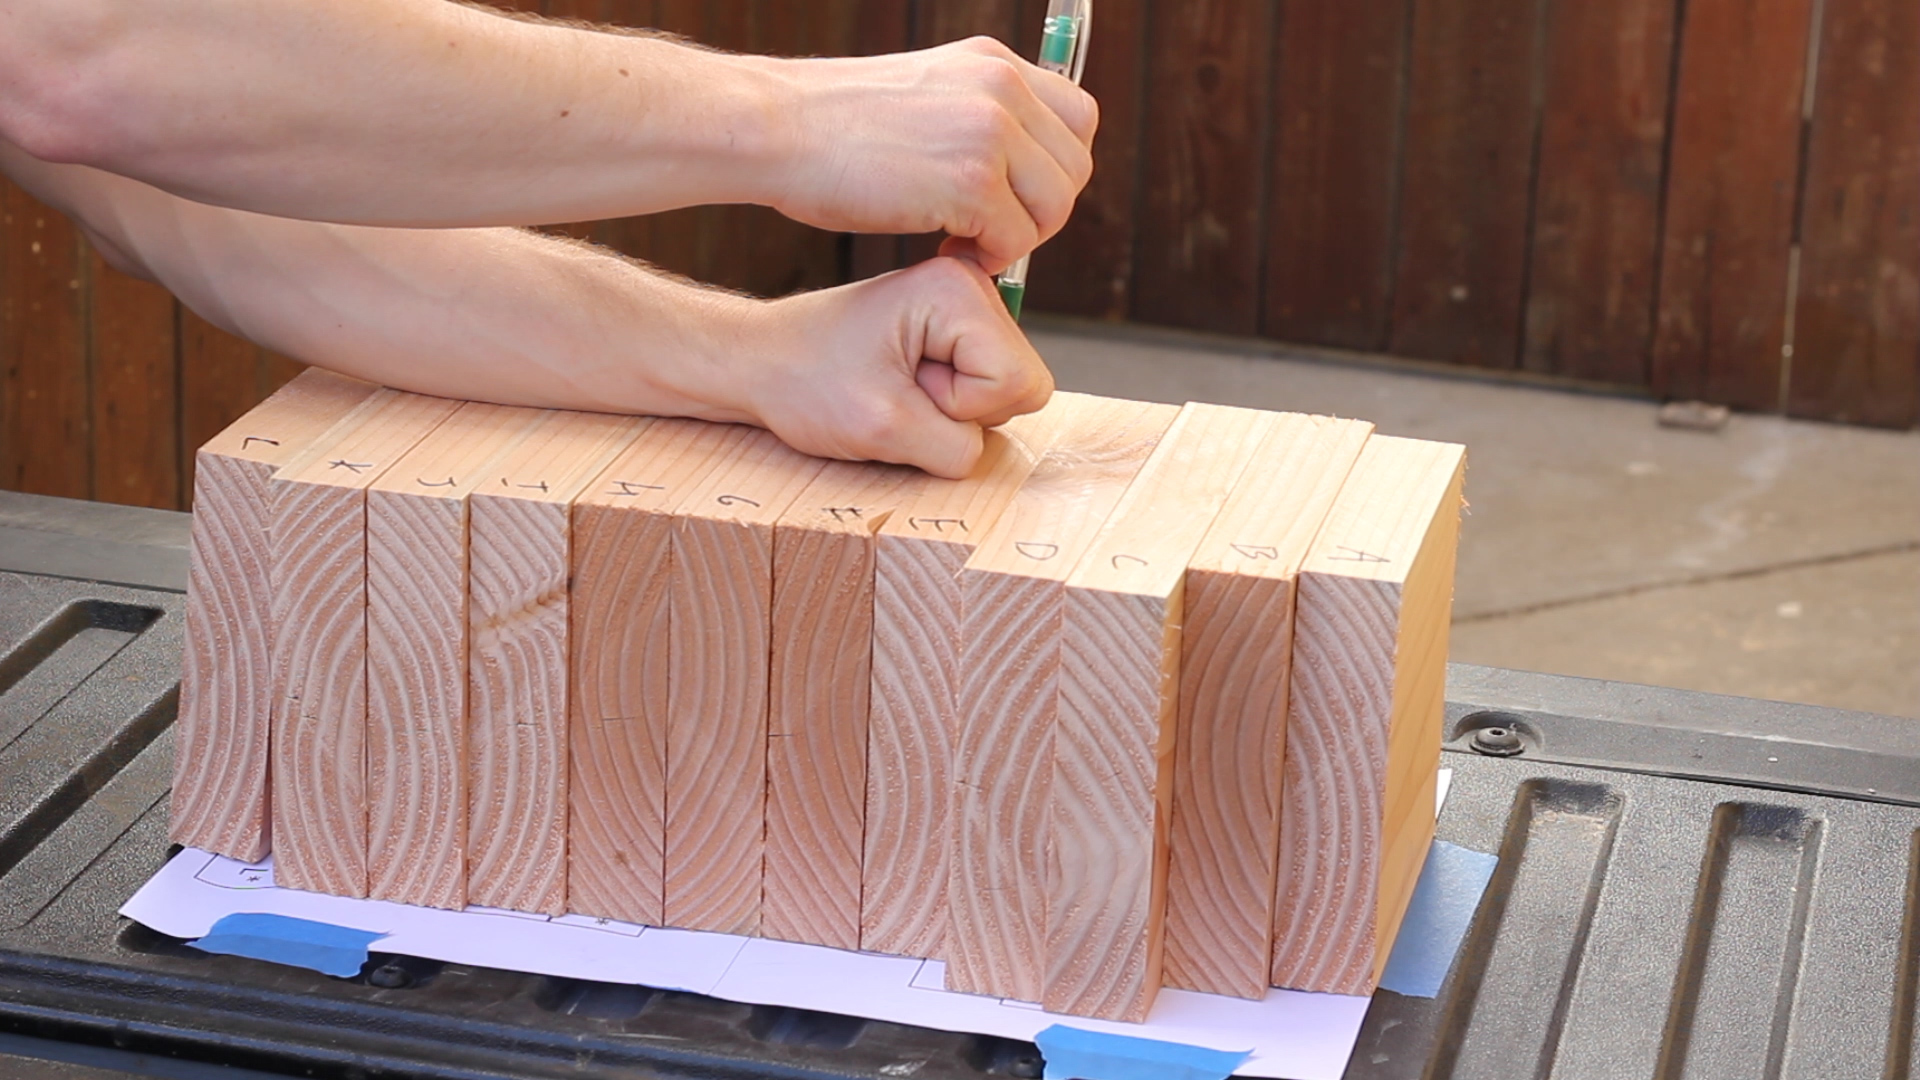
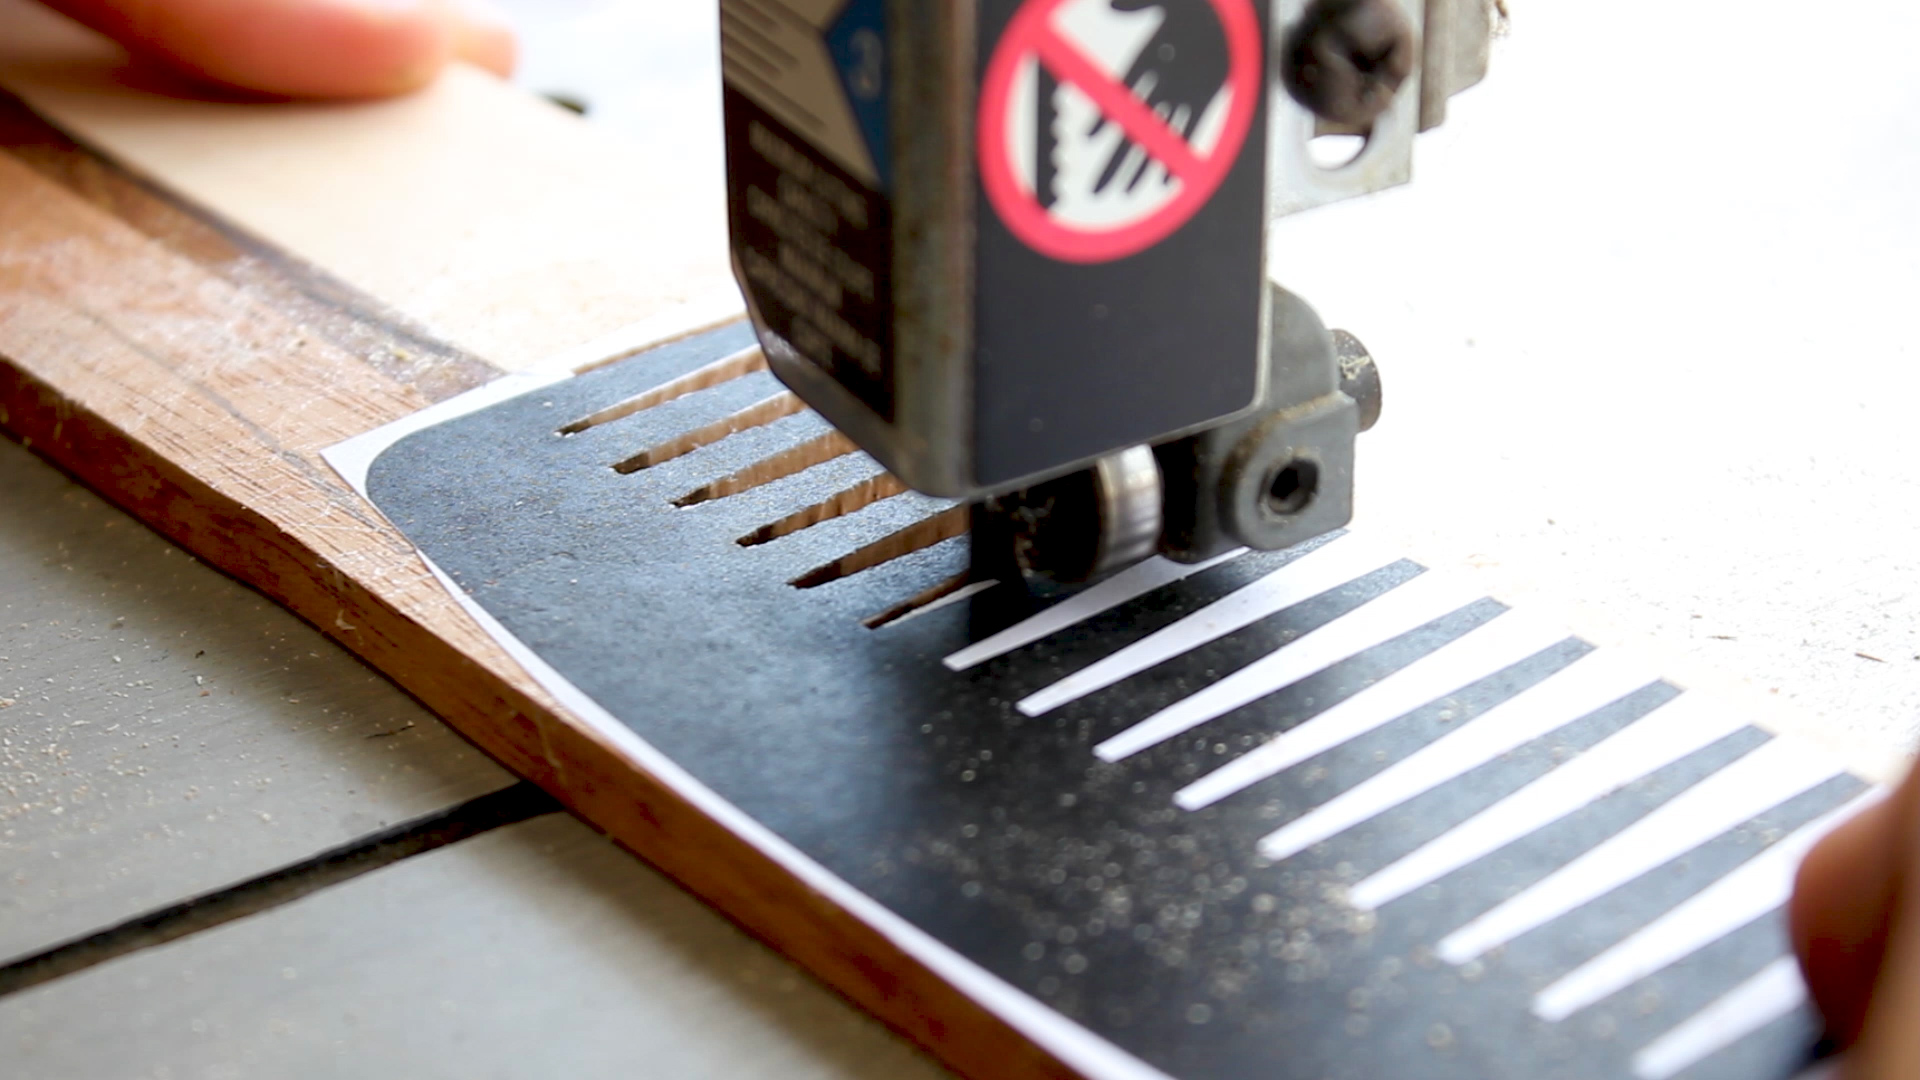
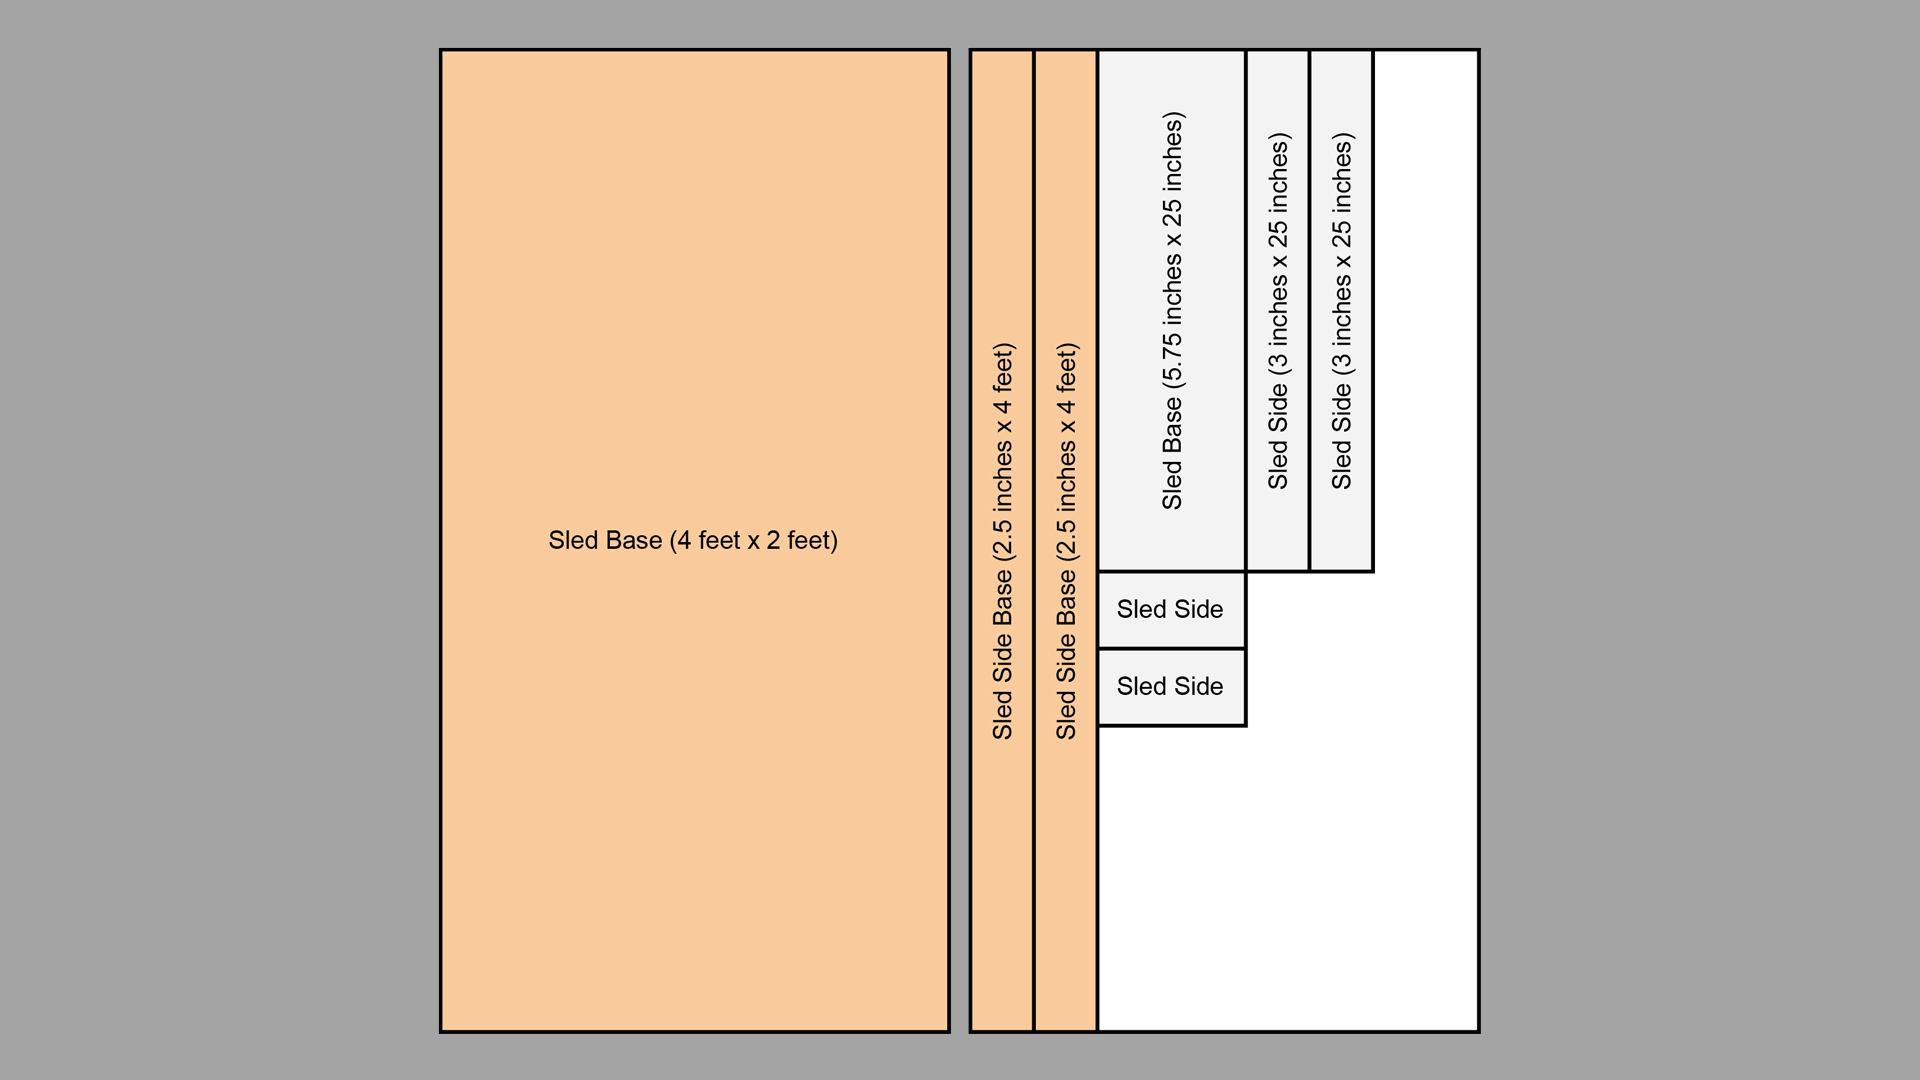
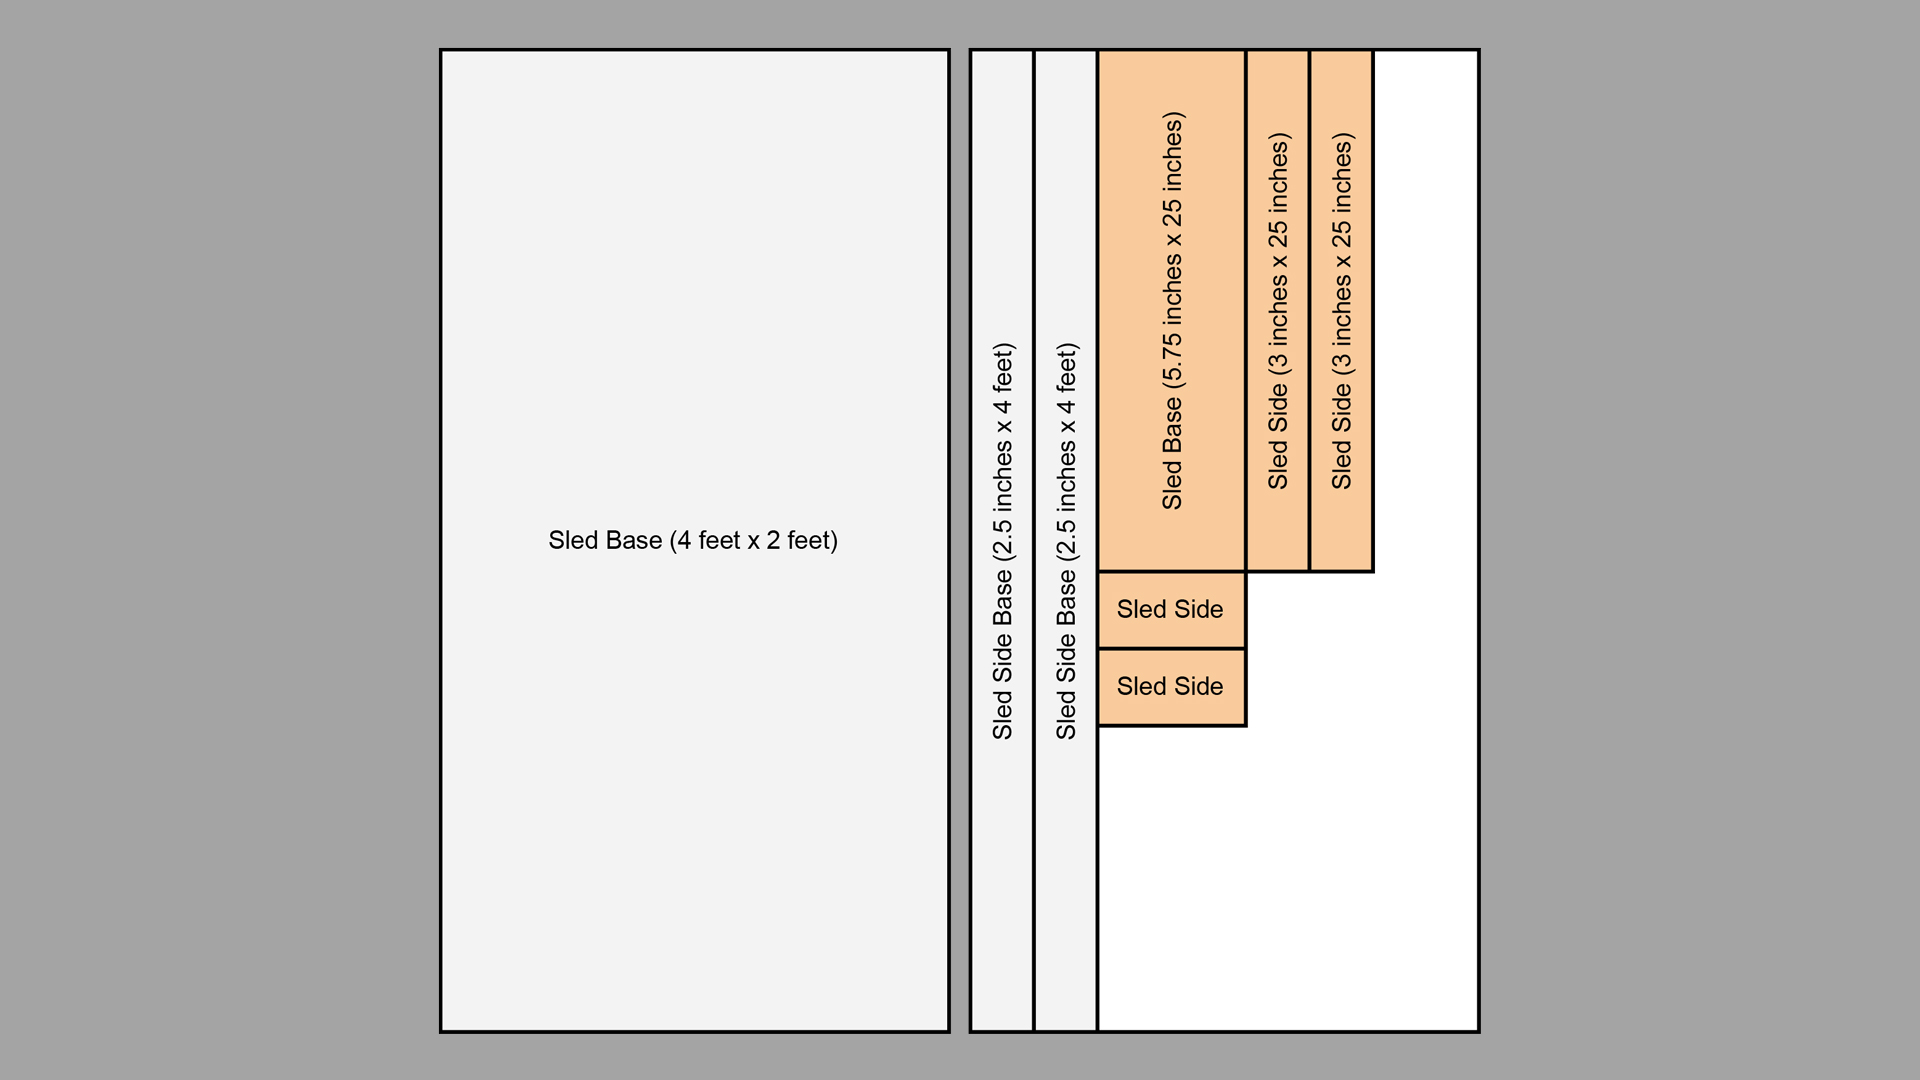
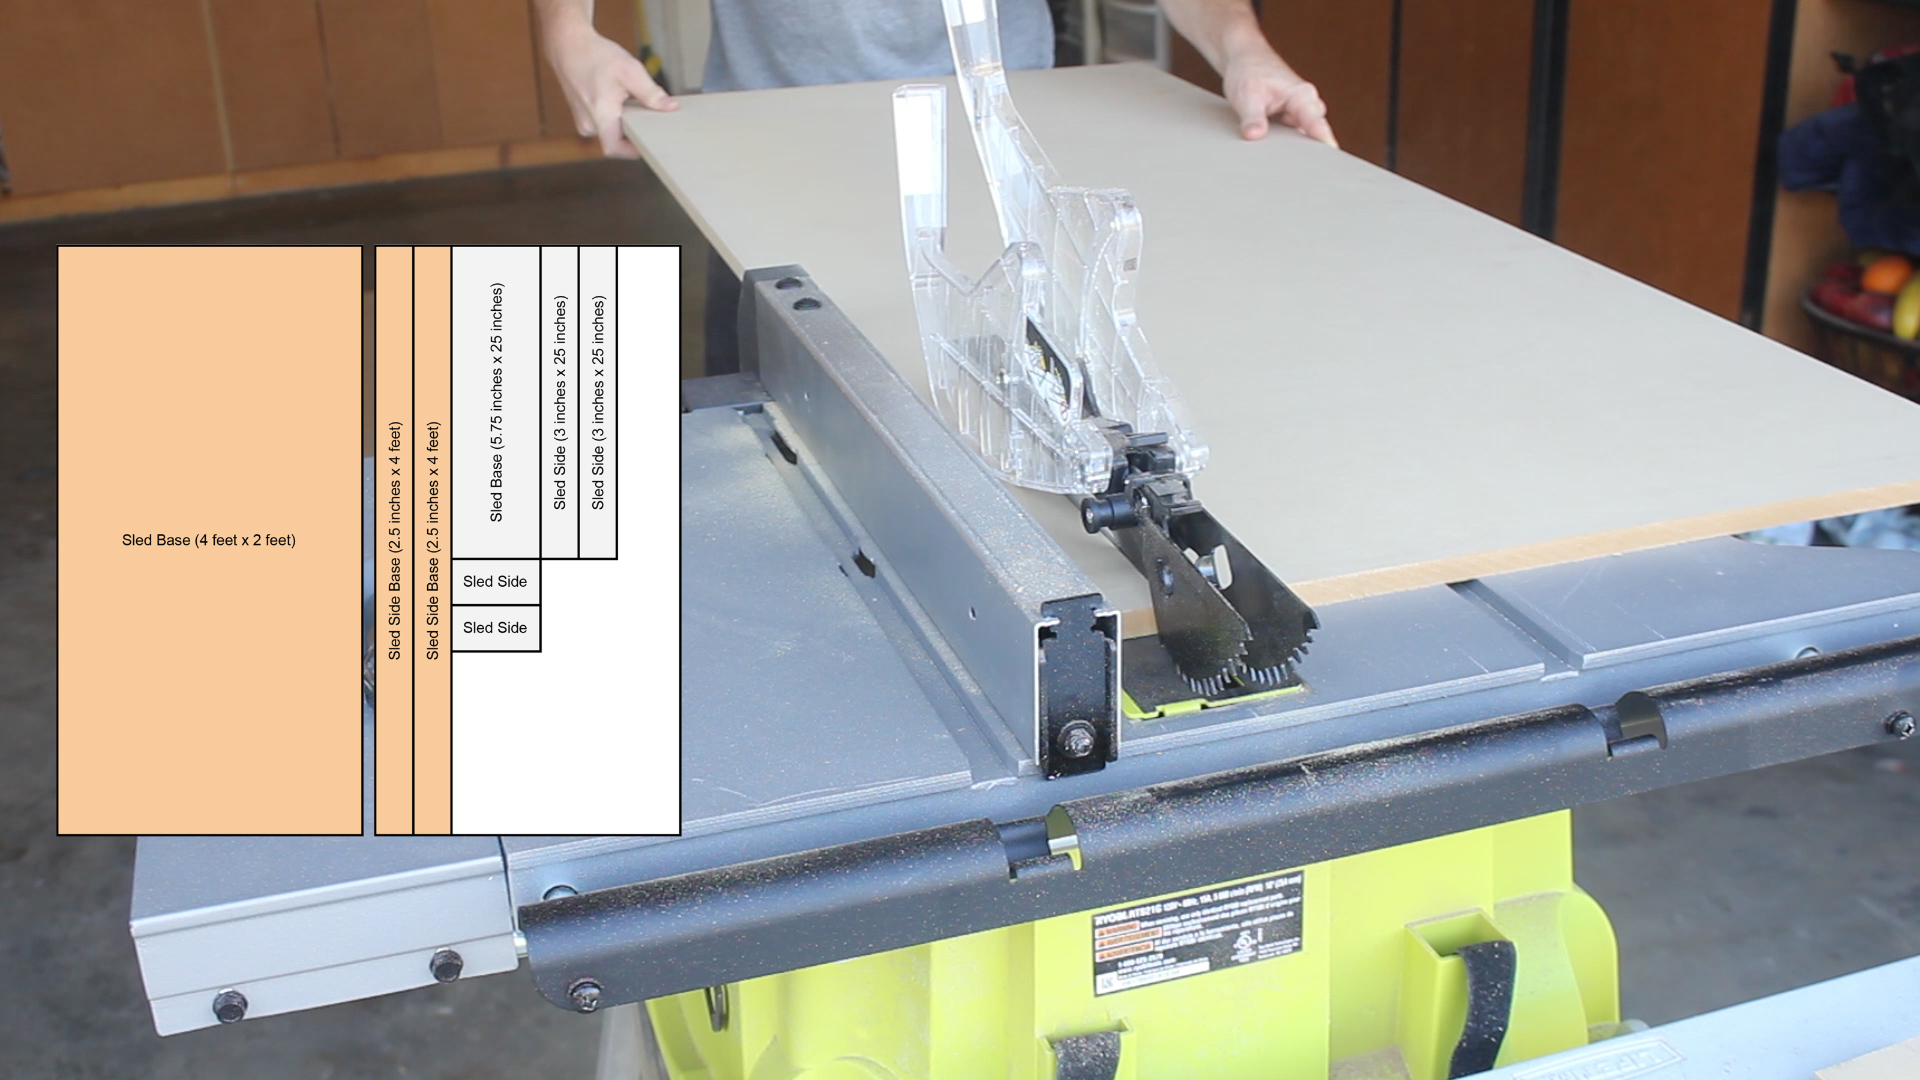
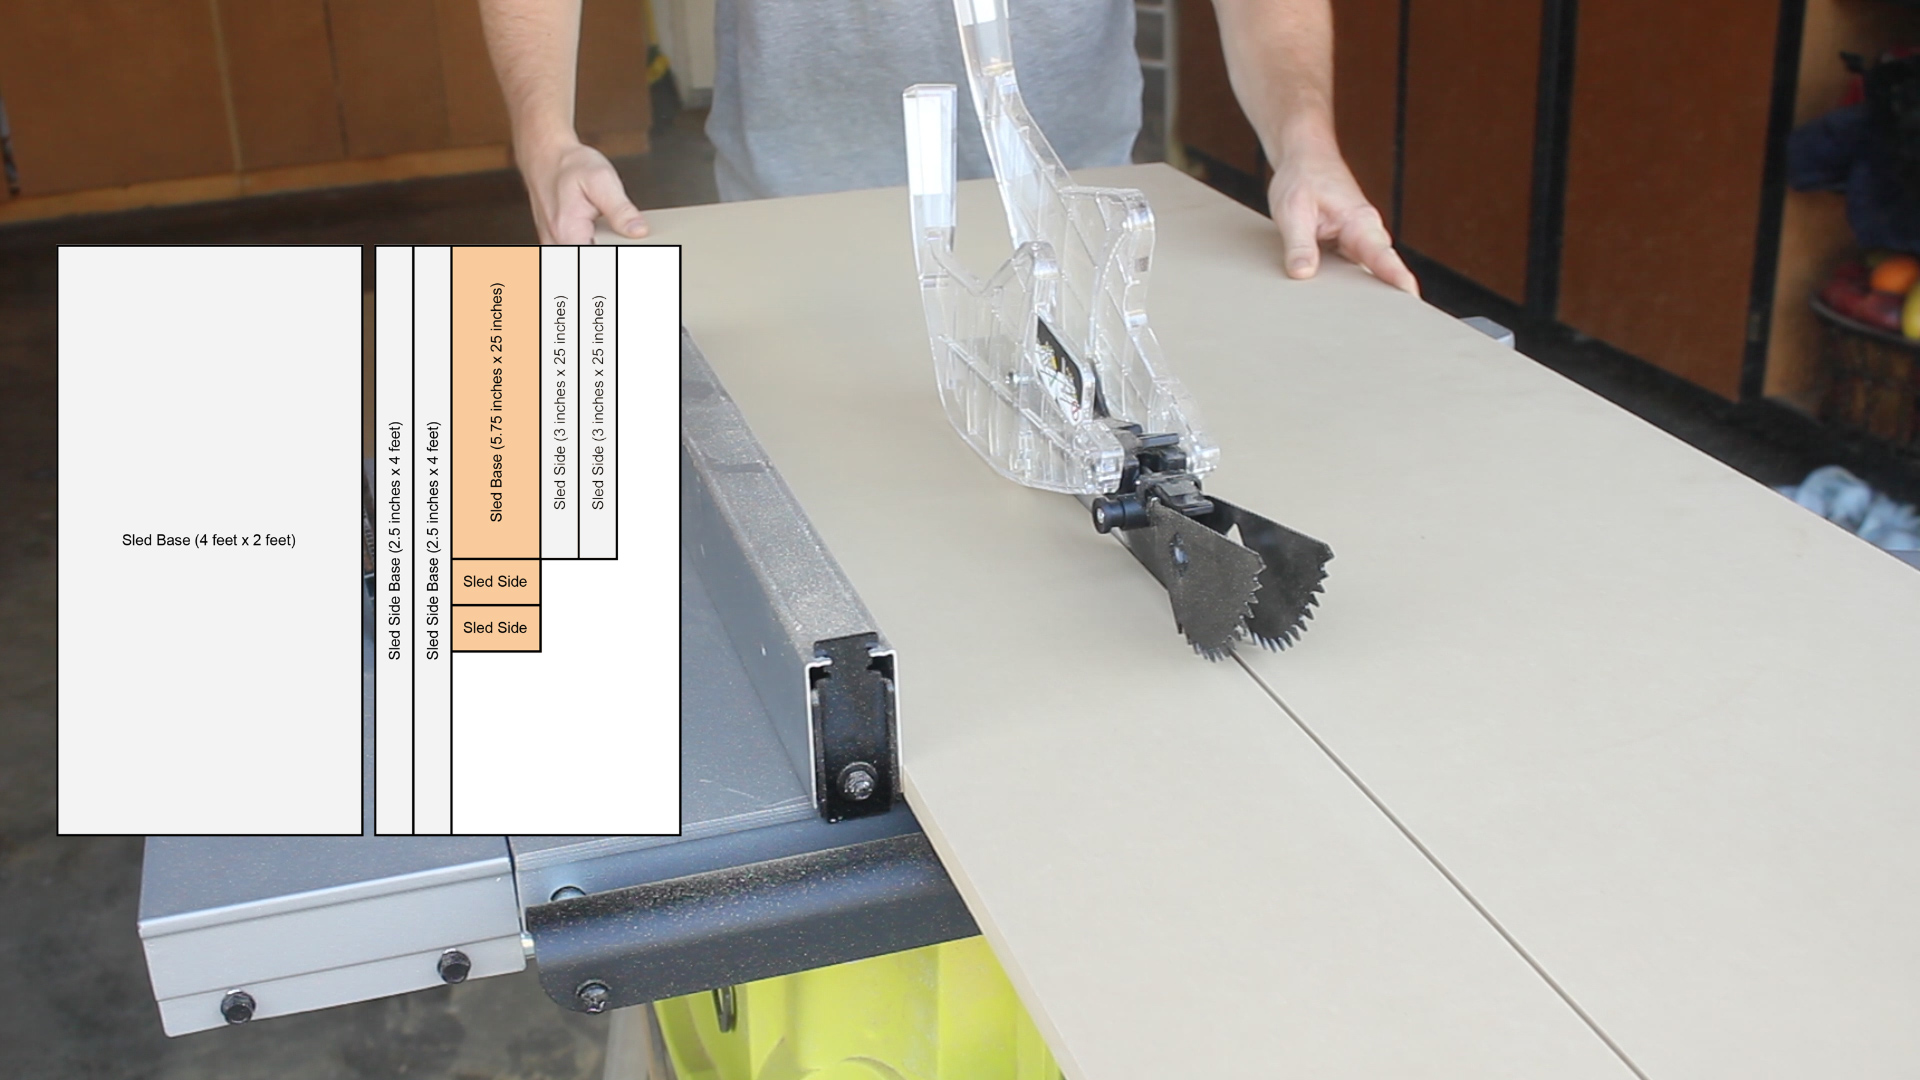
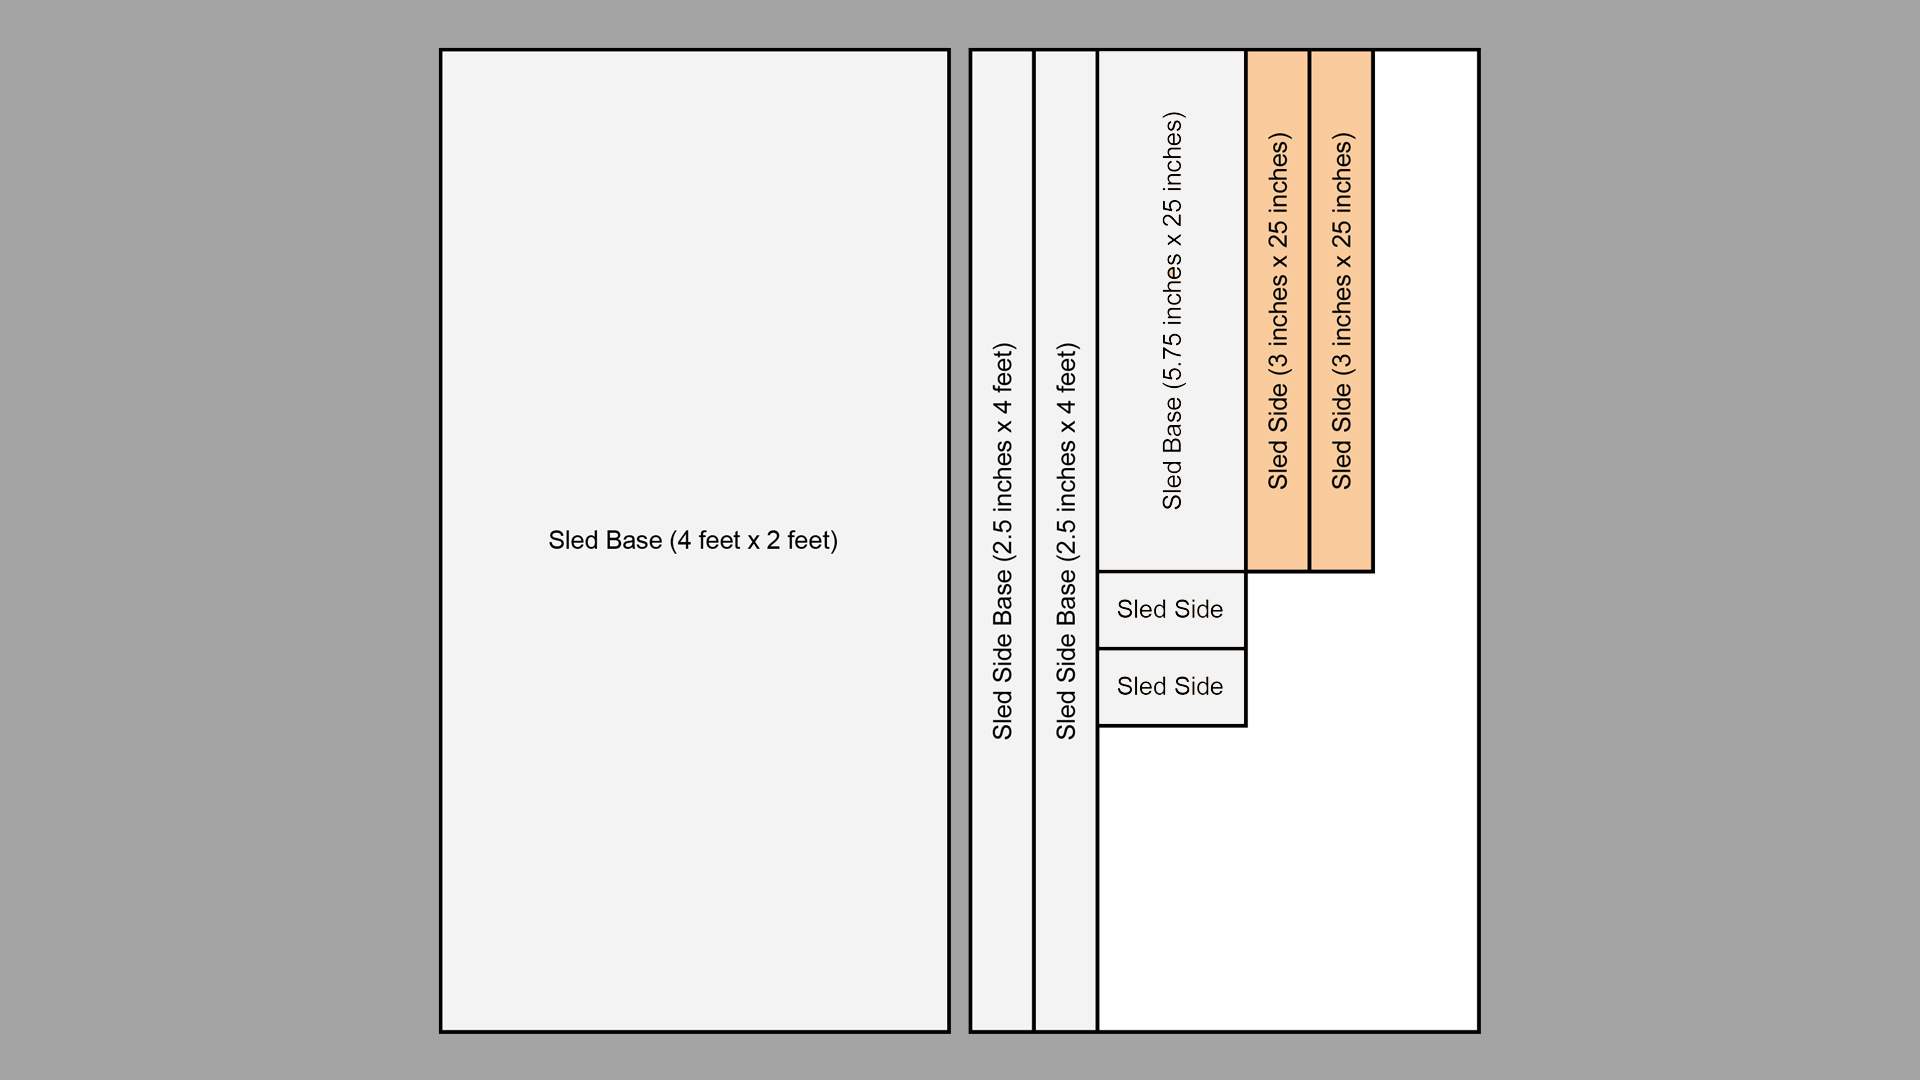
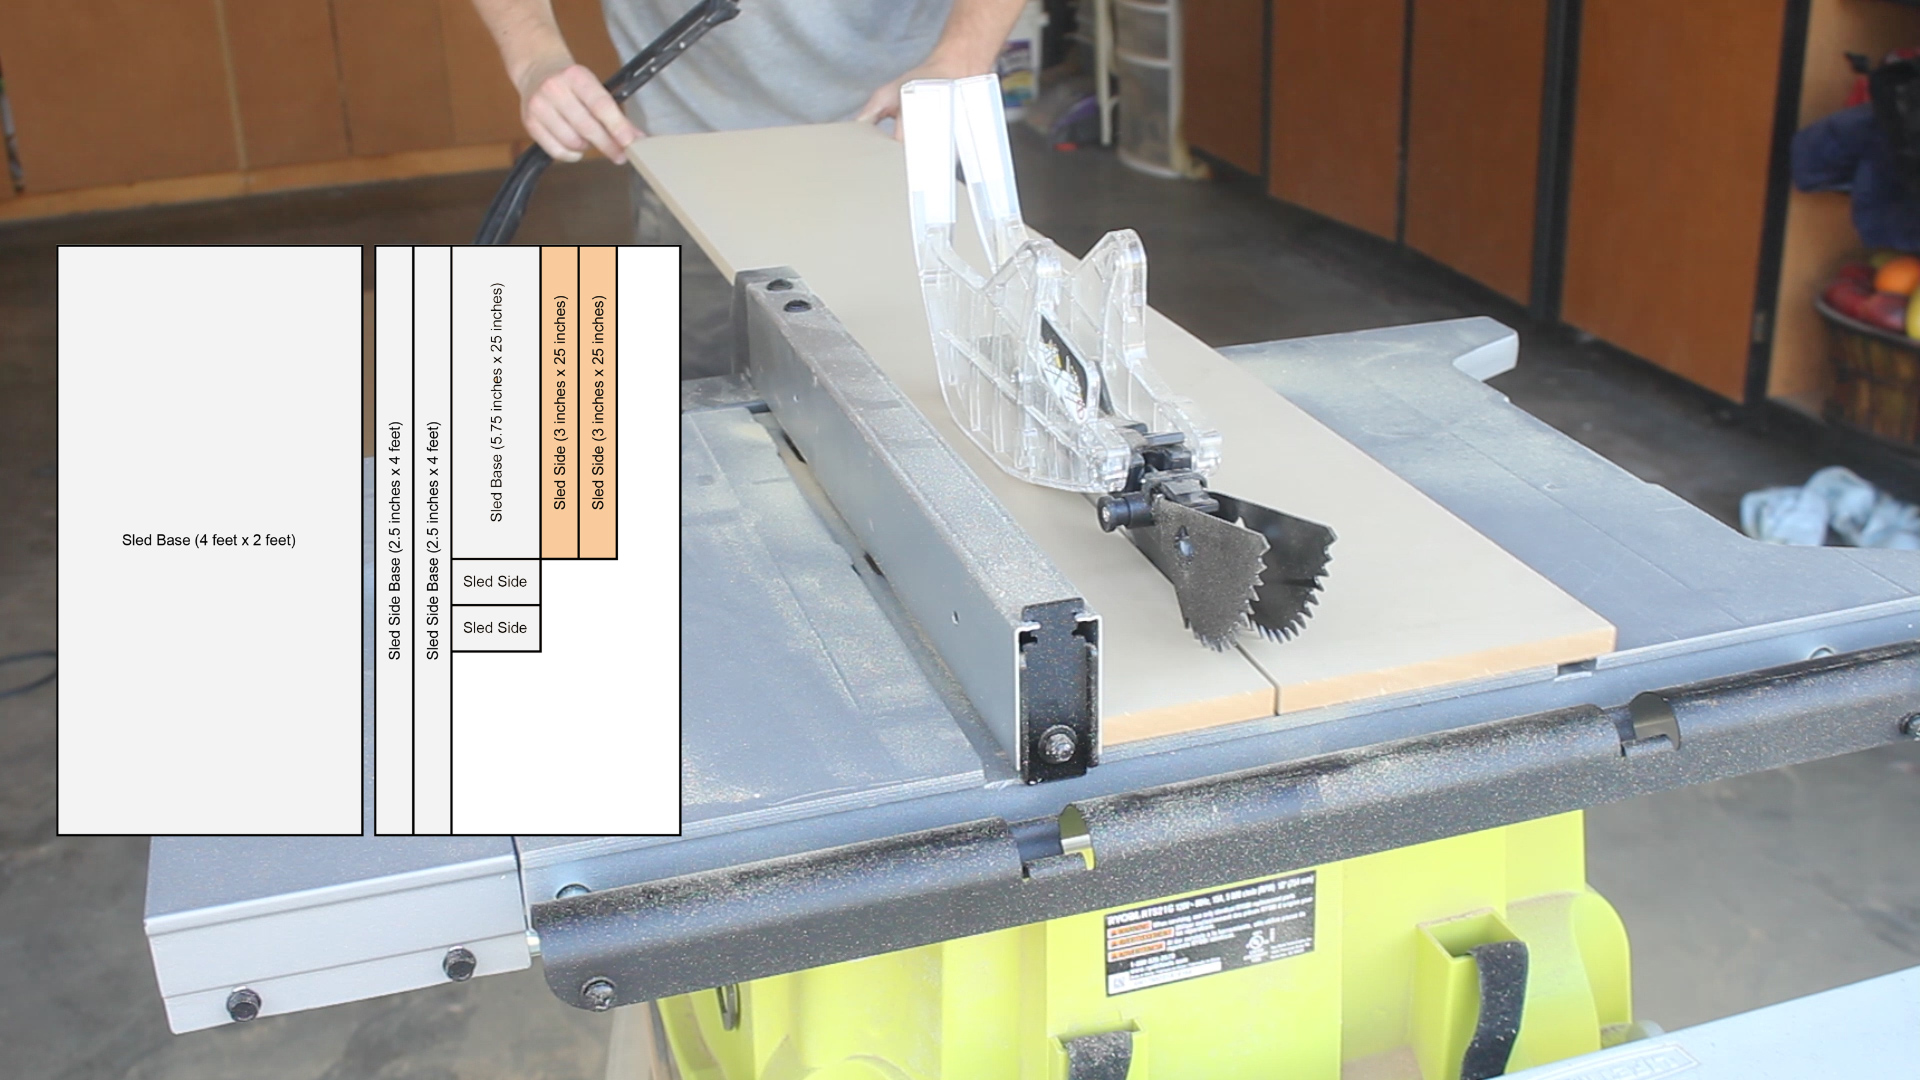
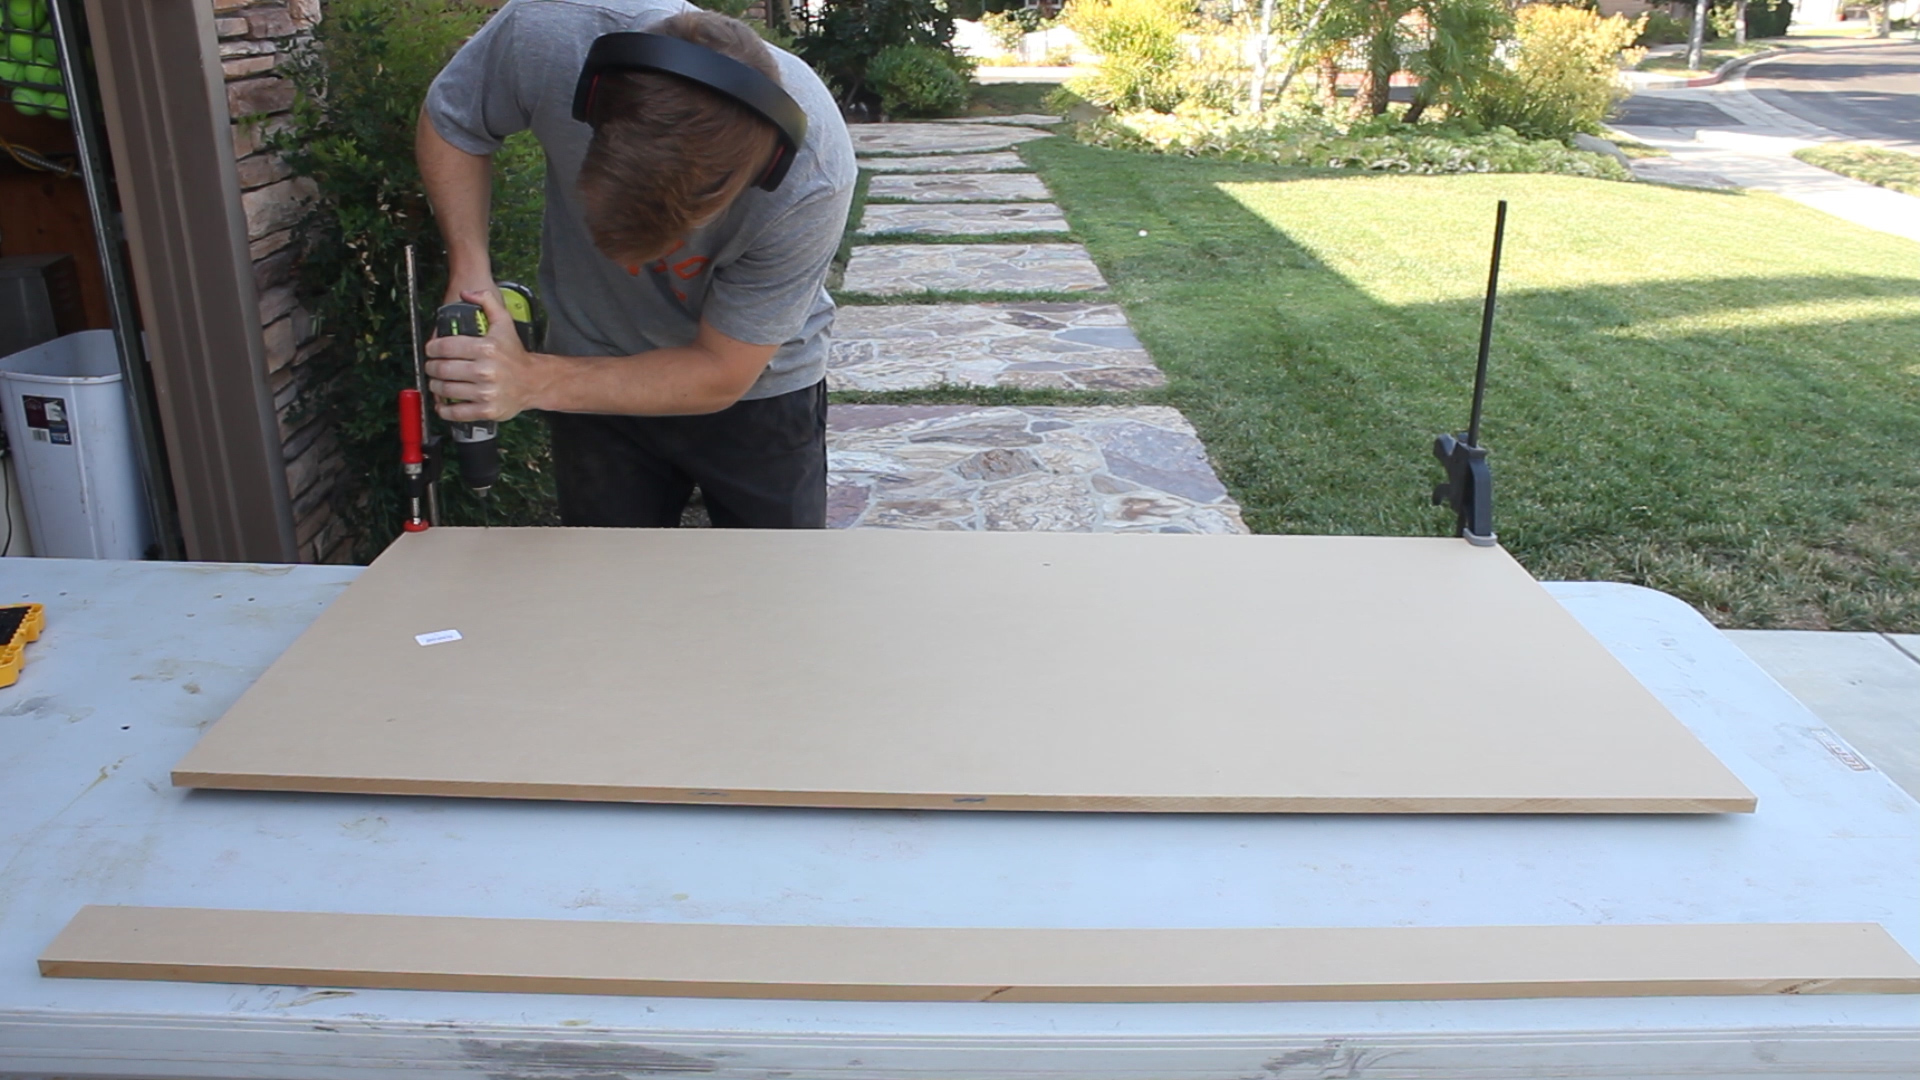
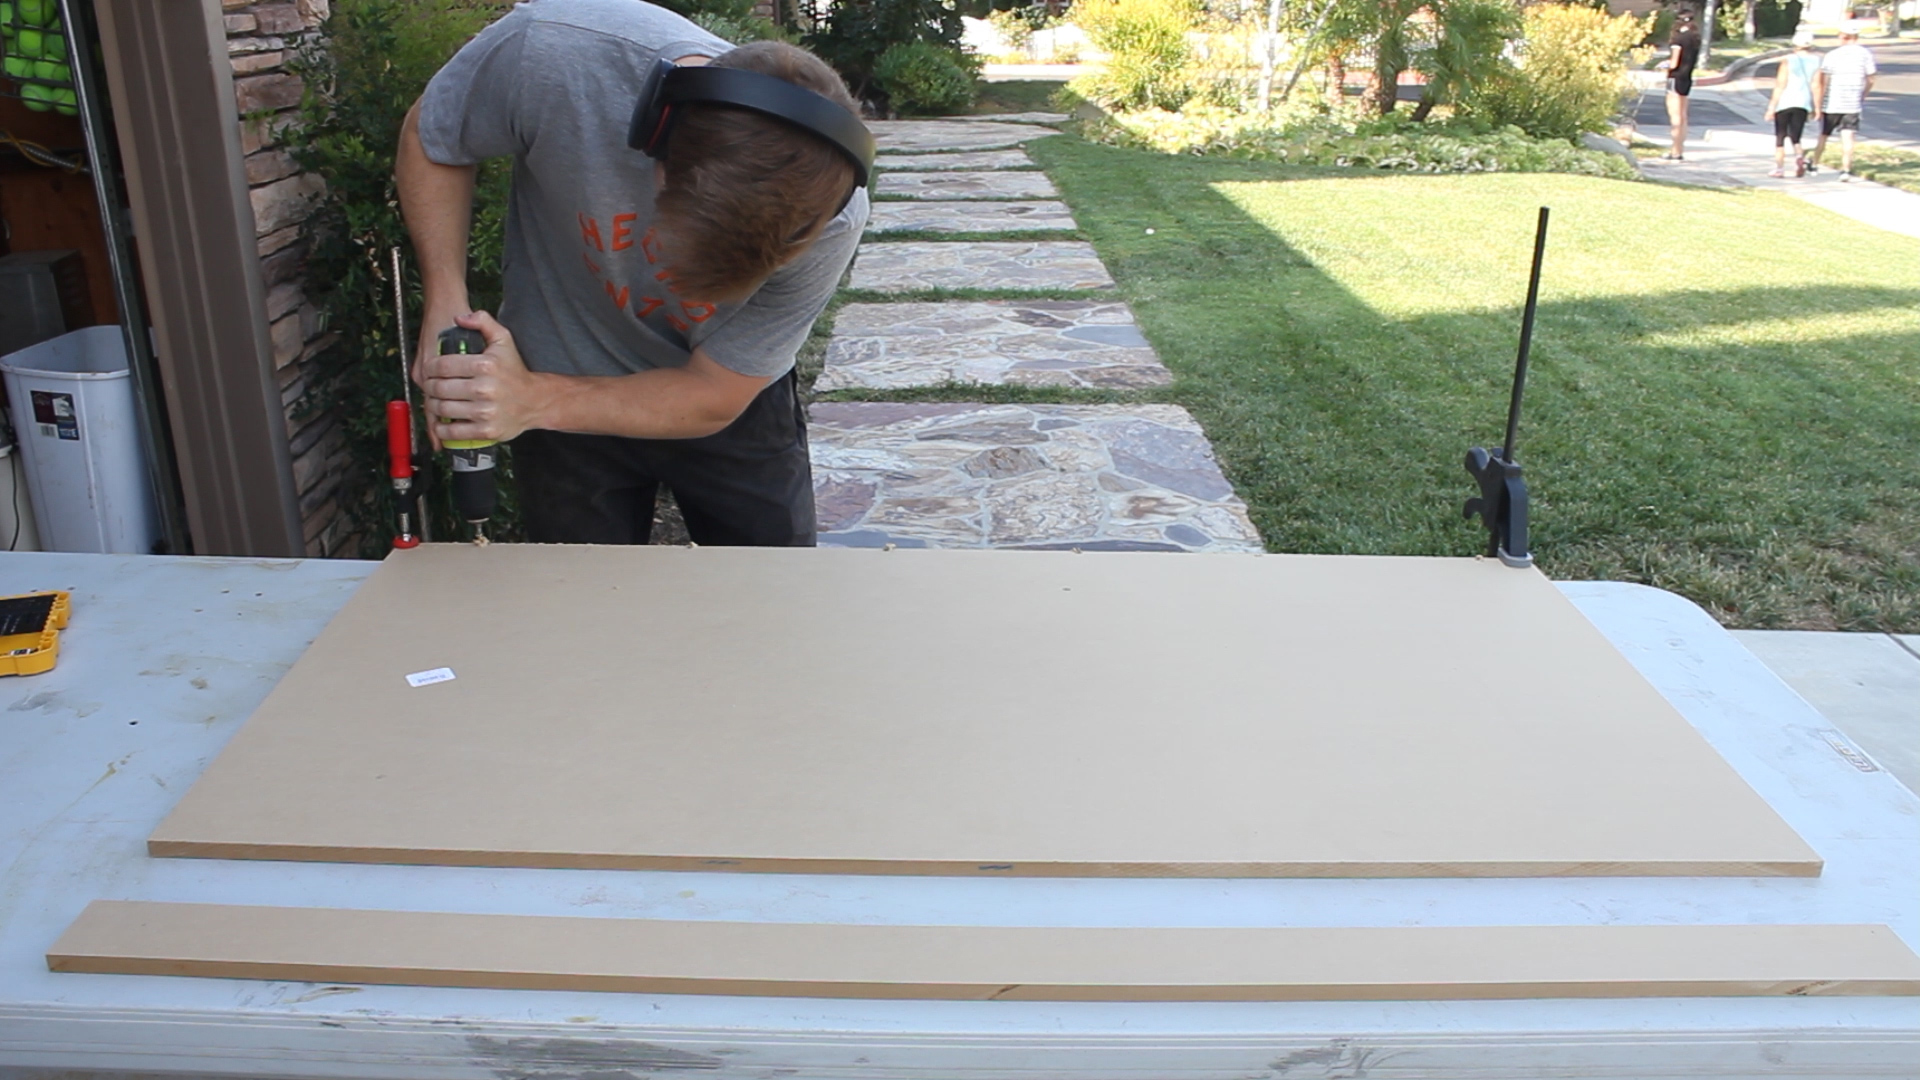
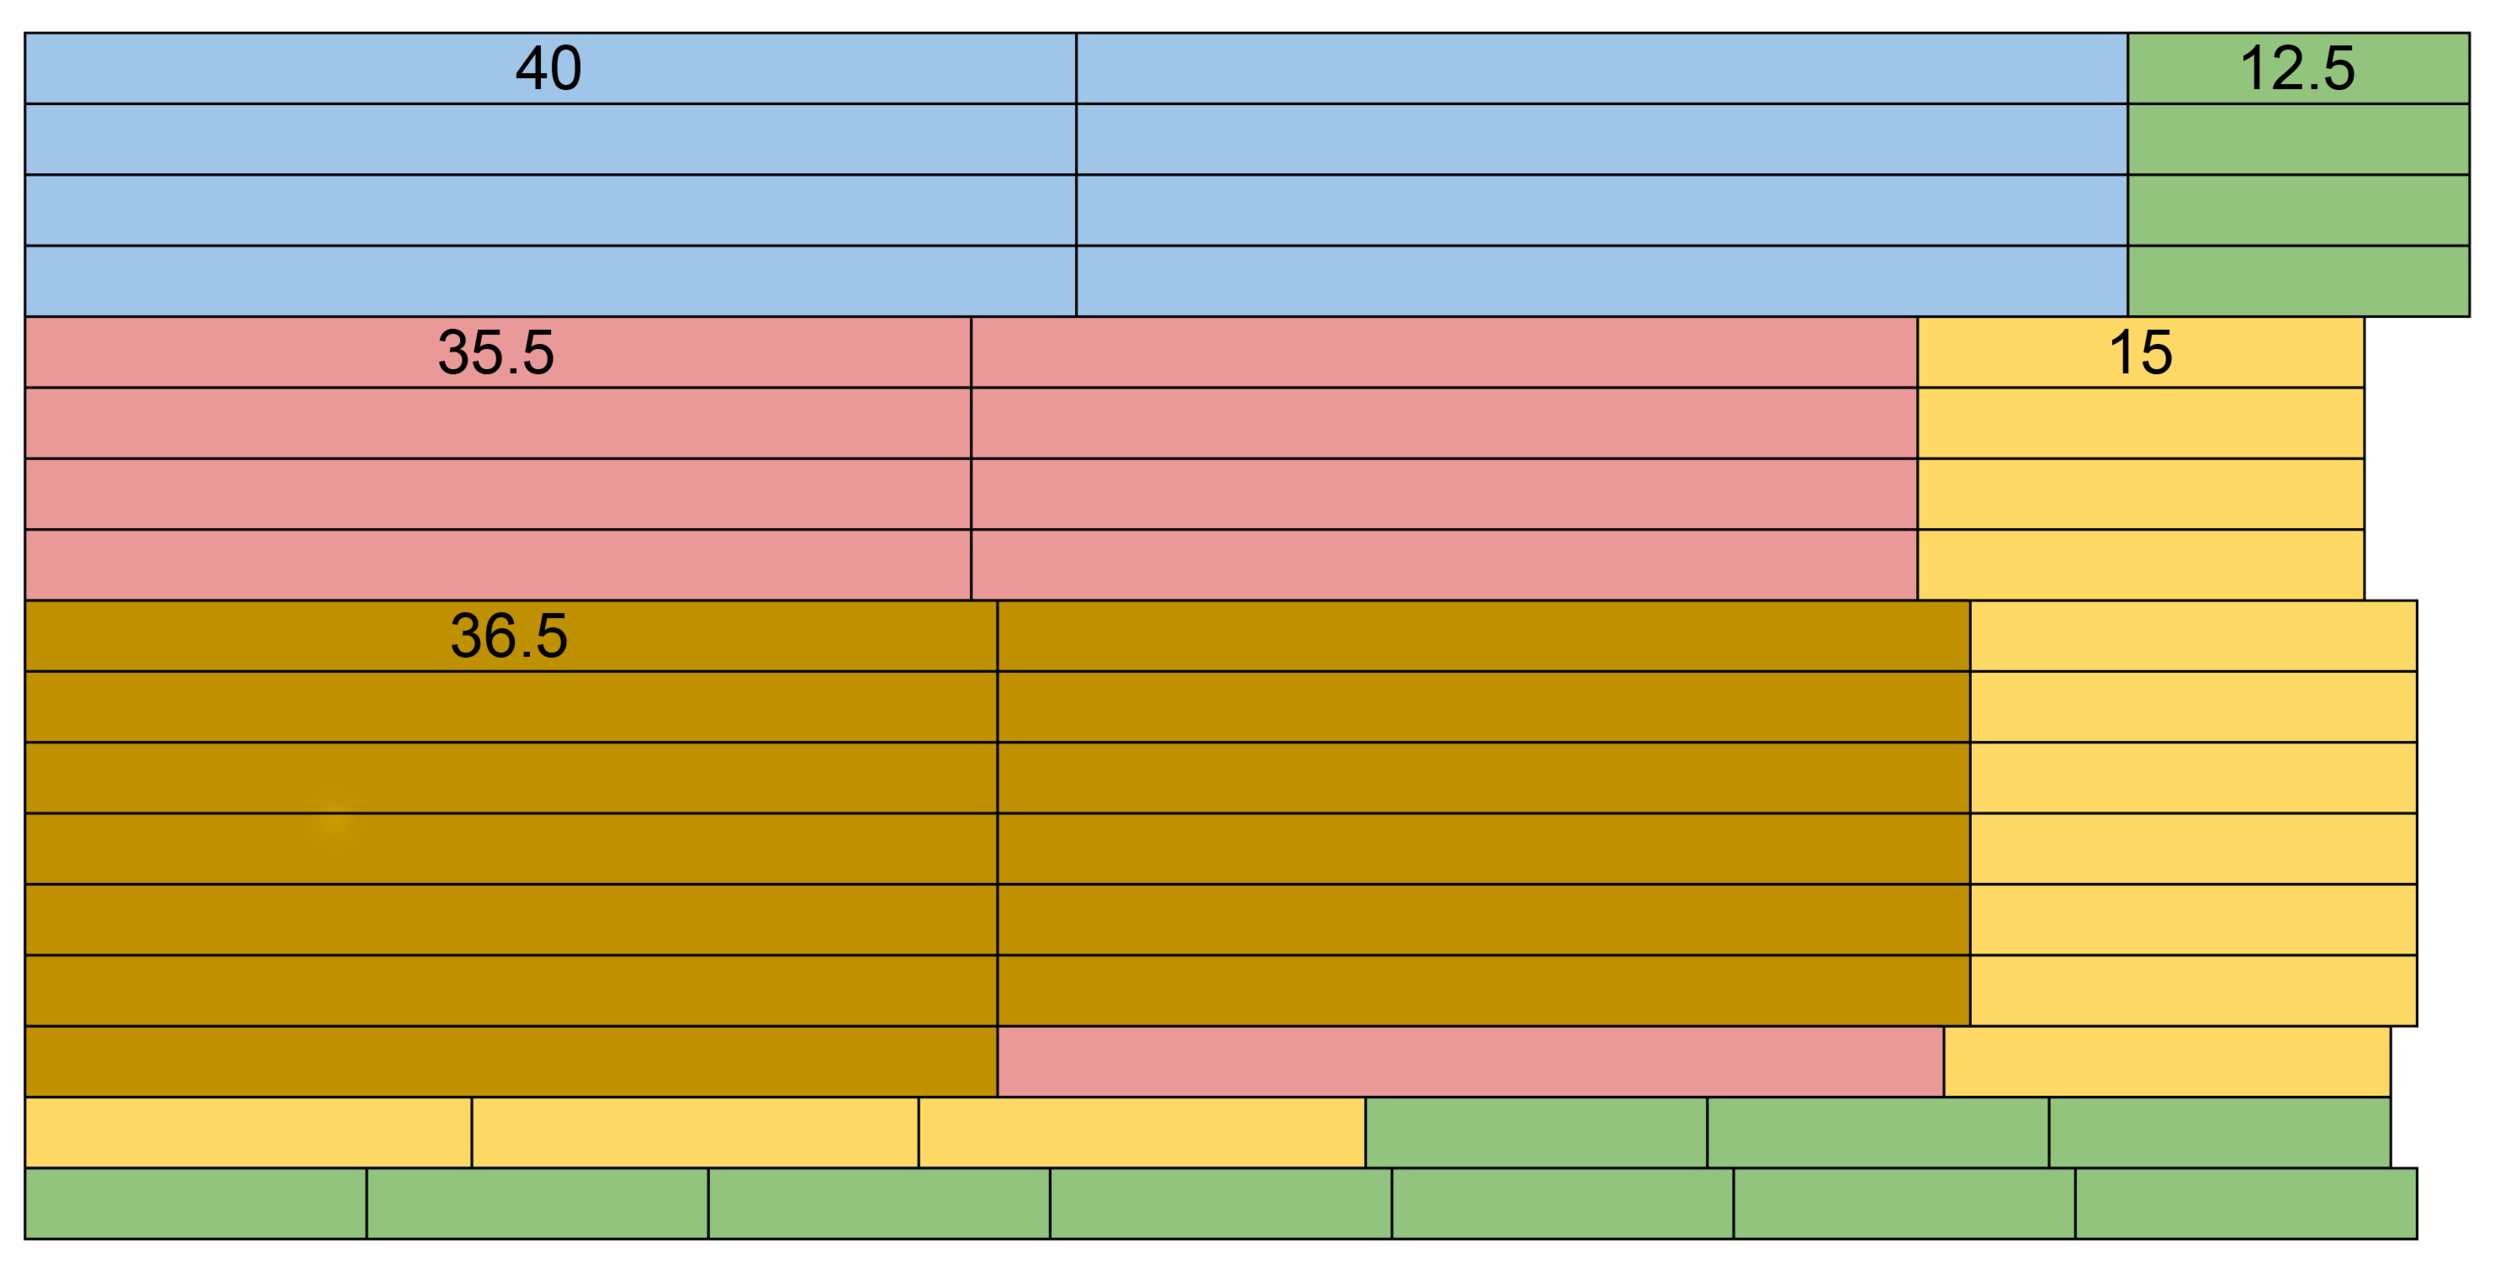
The first image shows how I designed the project to be ripped down my plywood - a design based on me needing to build 6 identical totes.
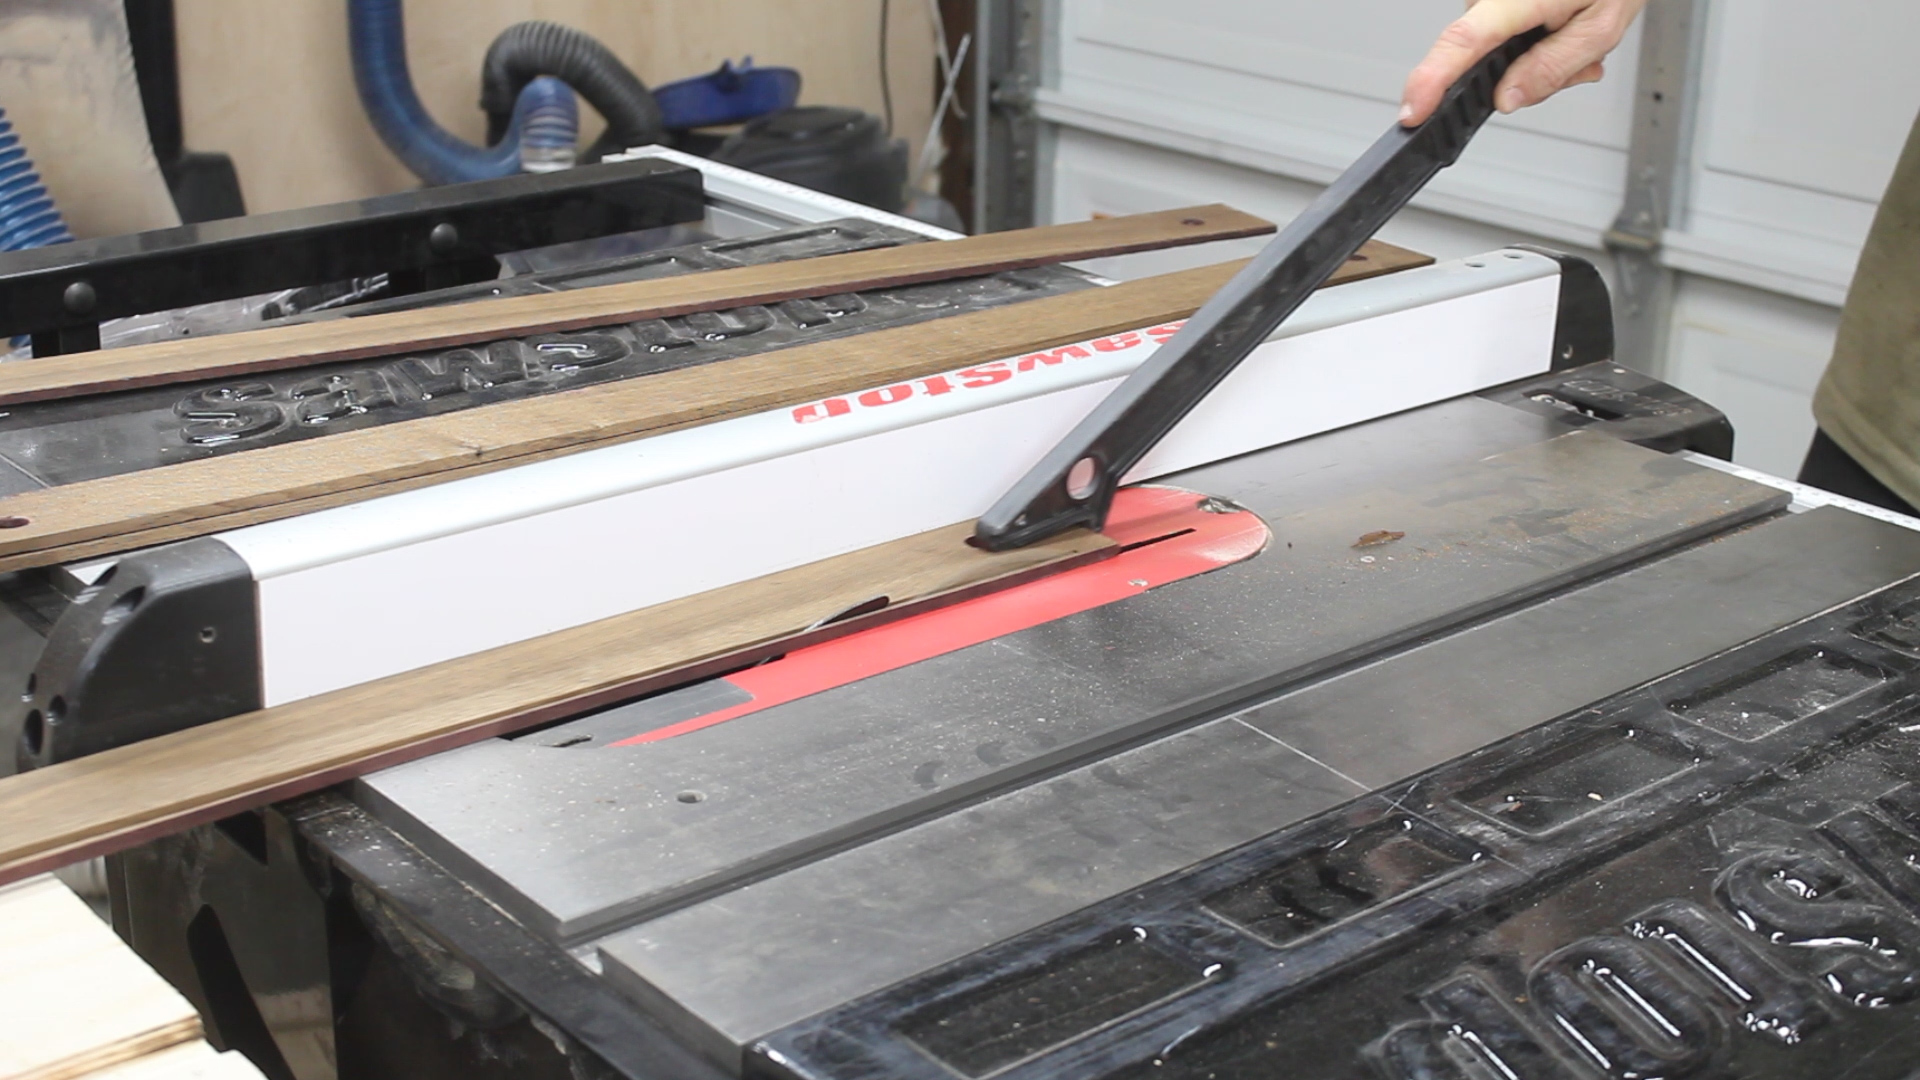
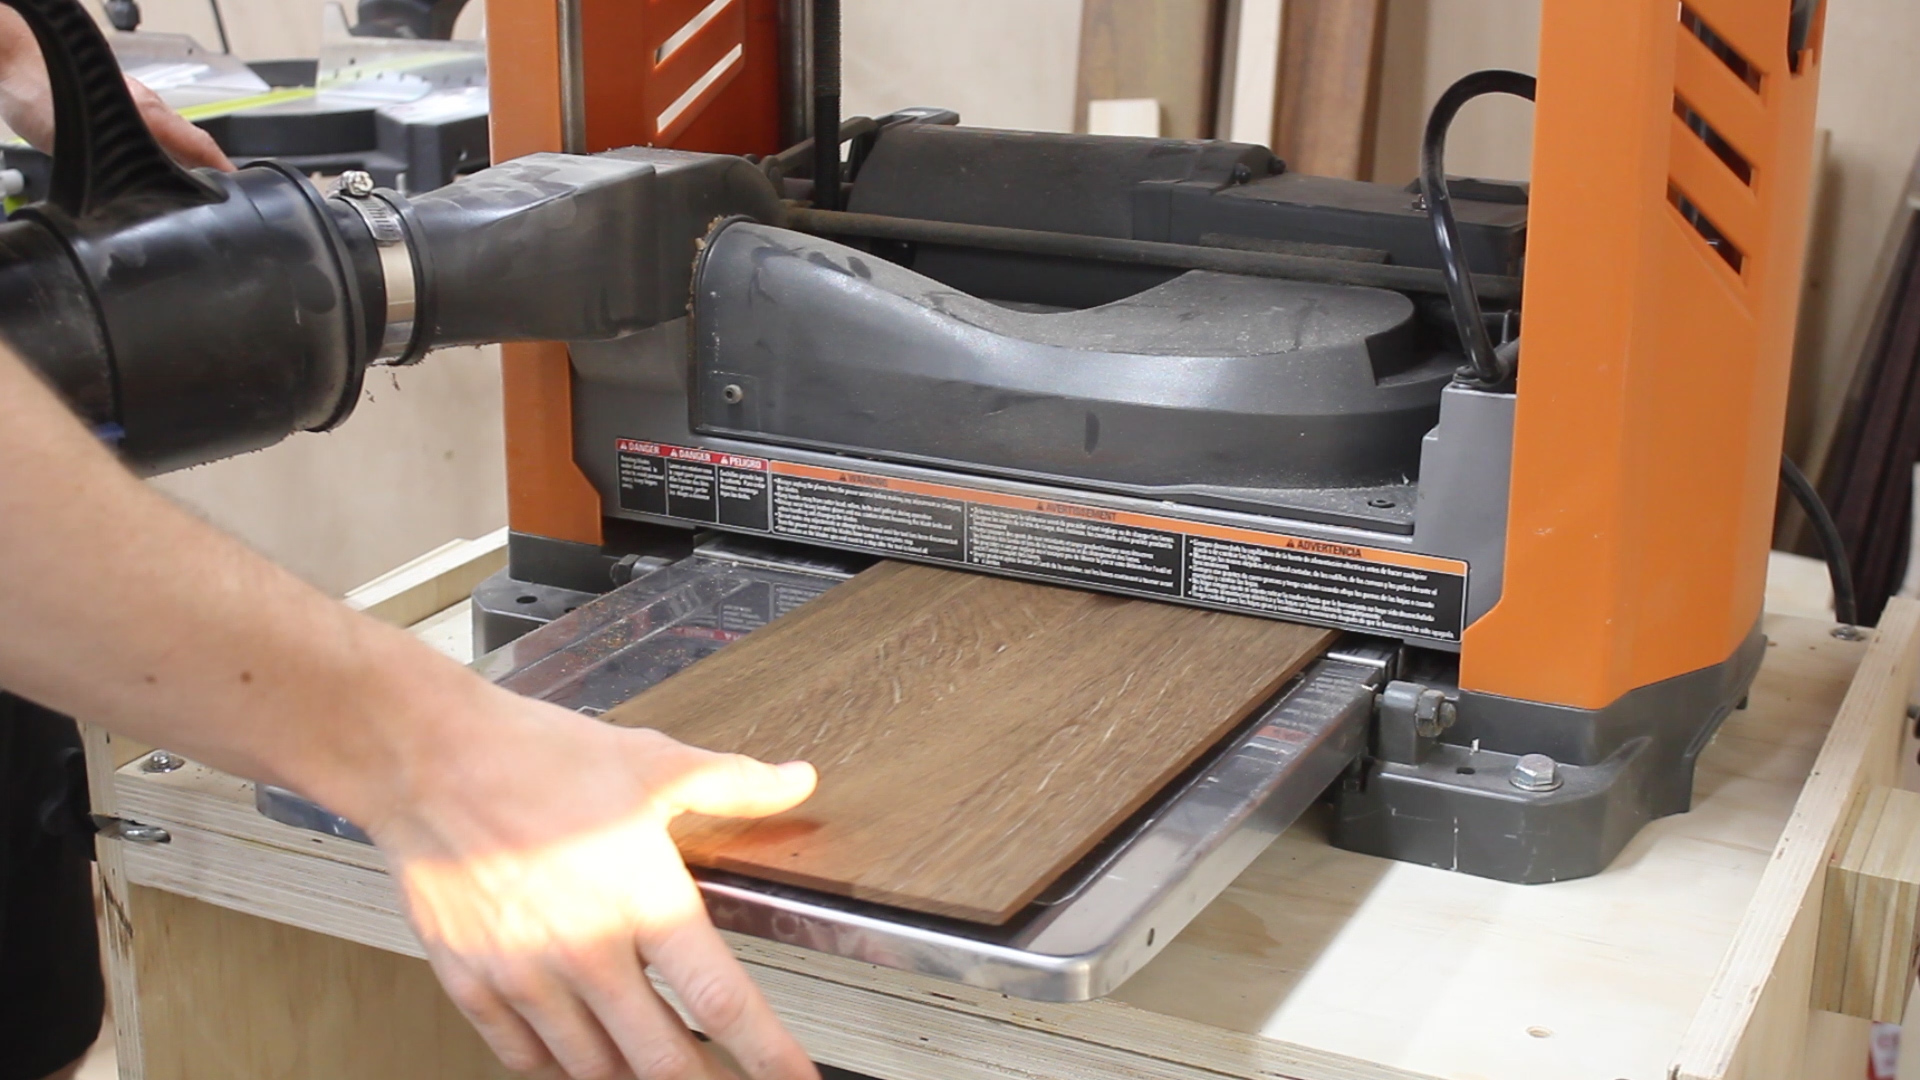
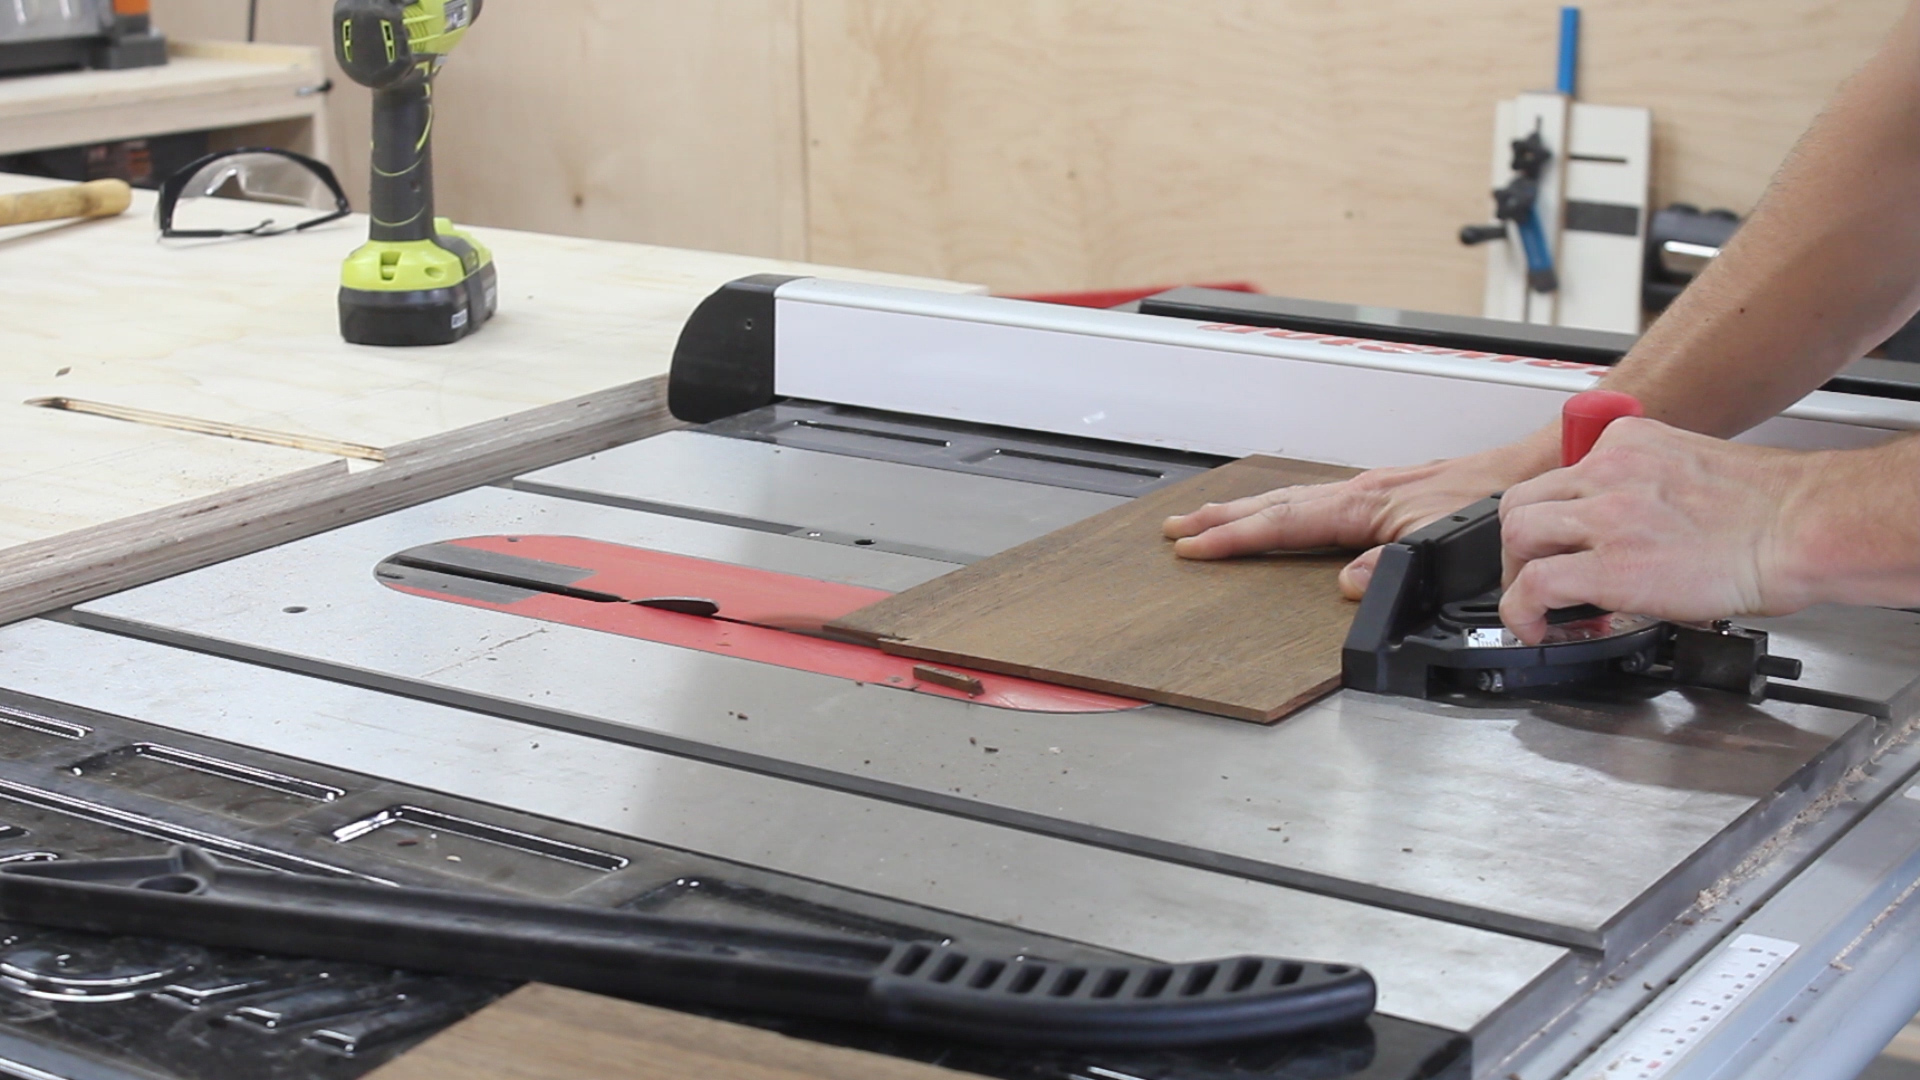
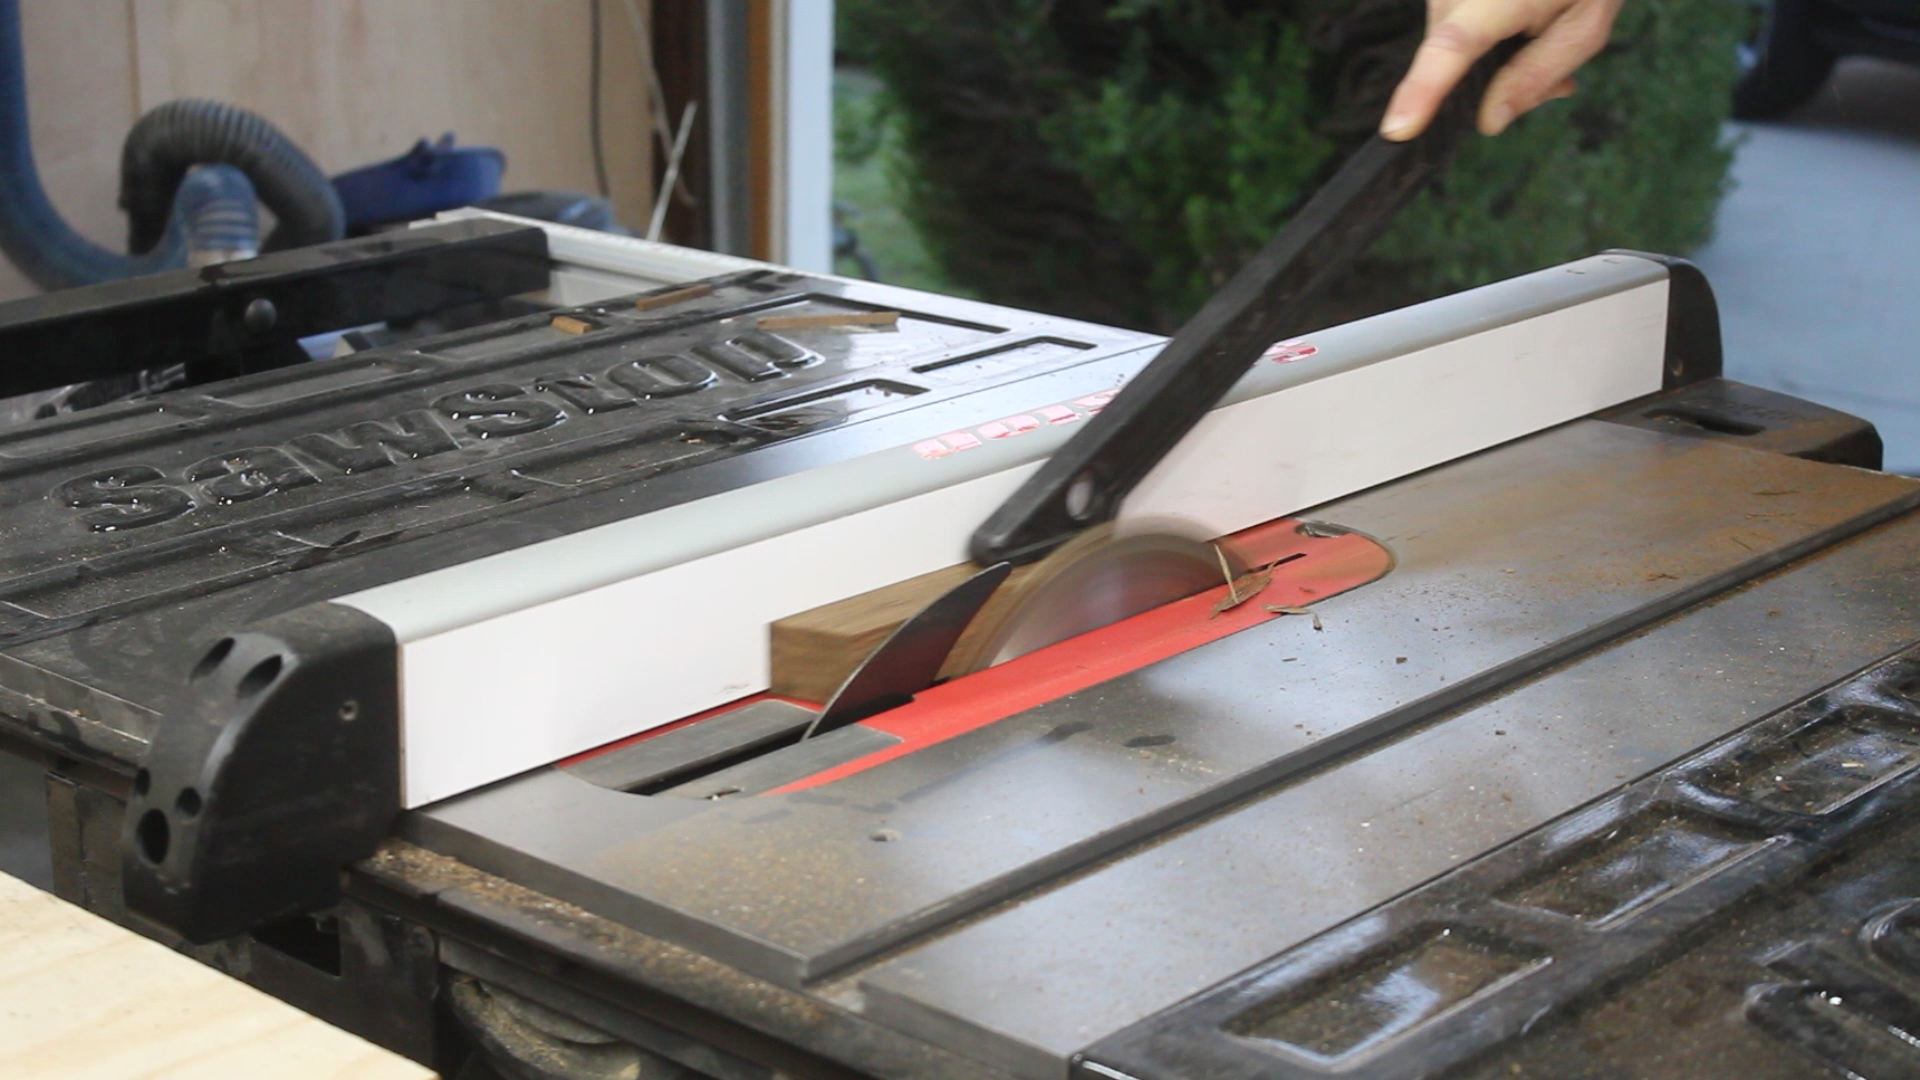
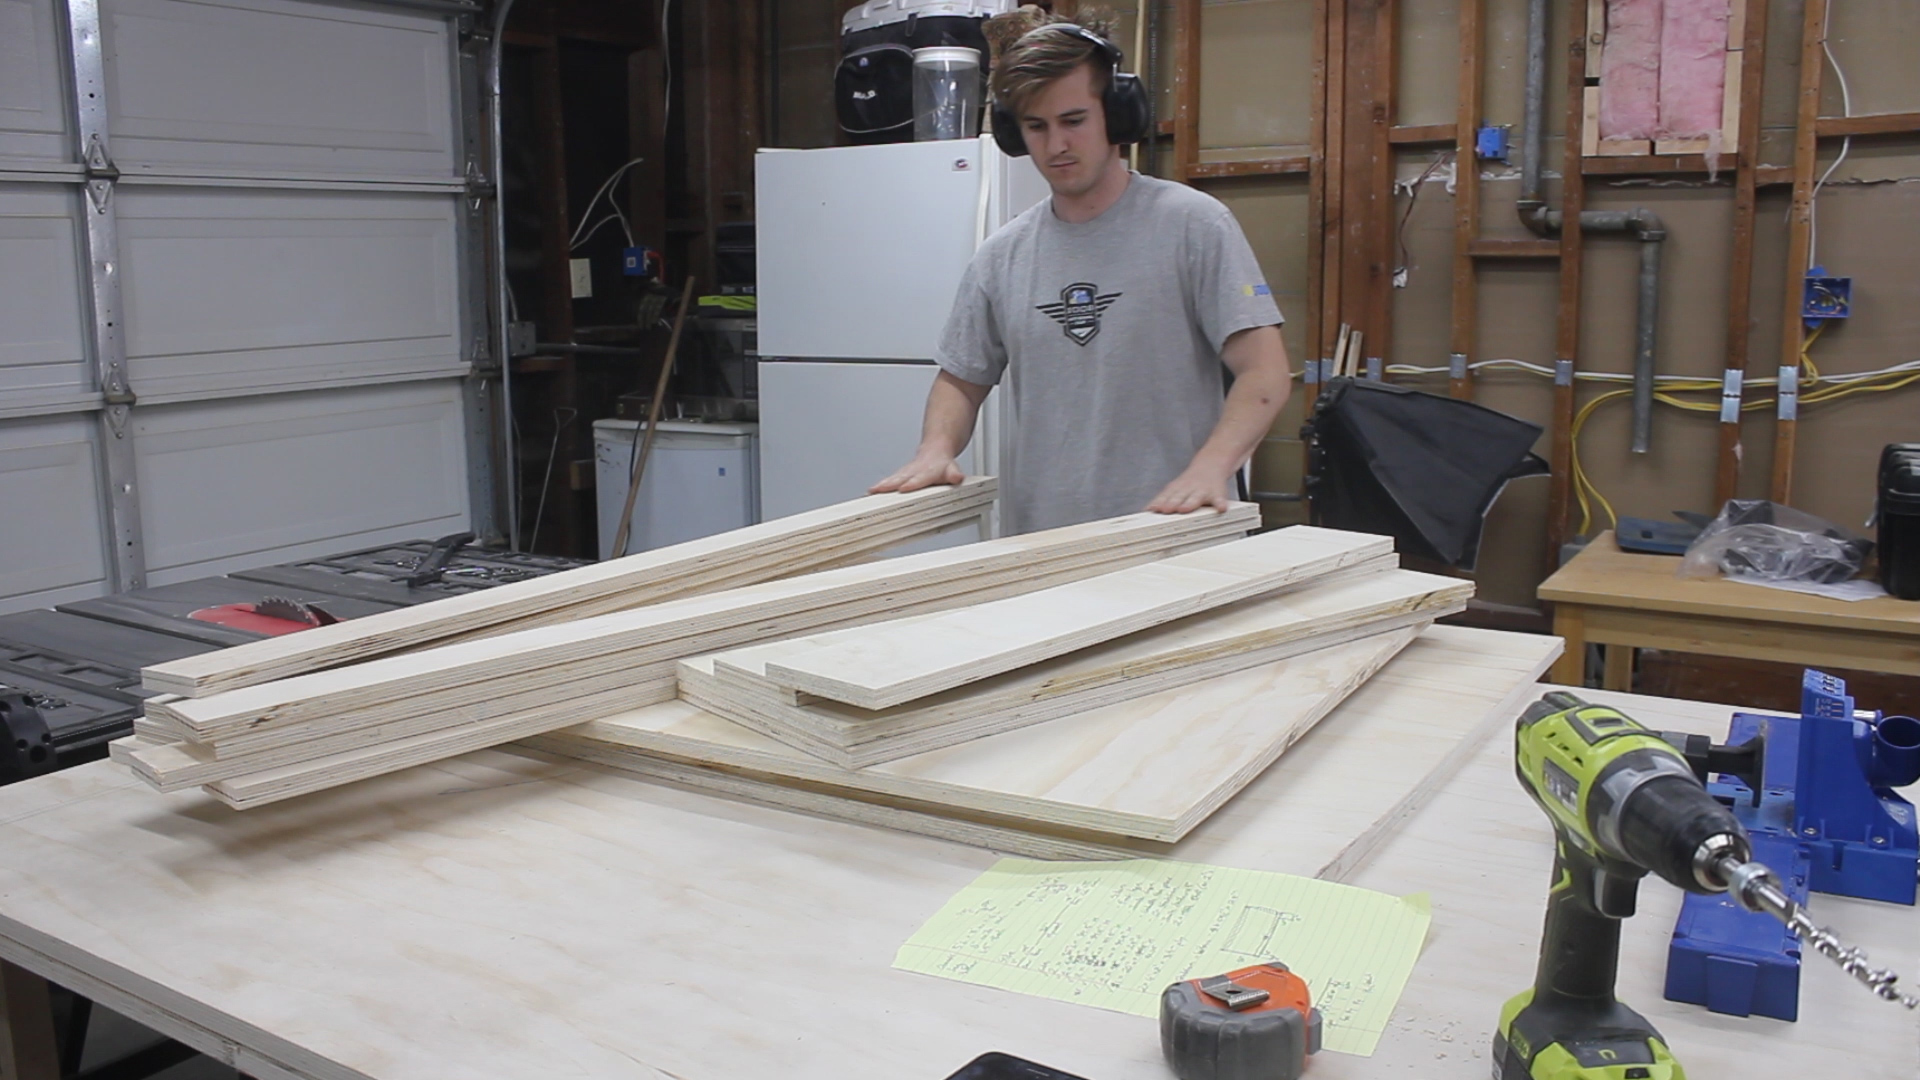
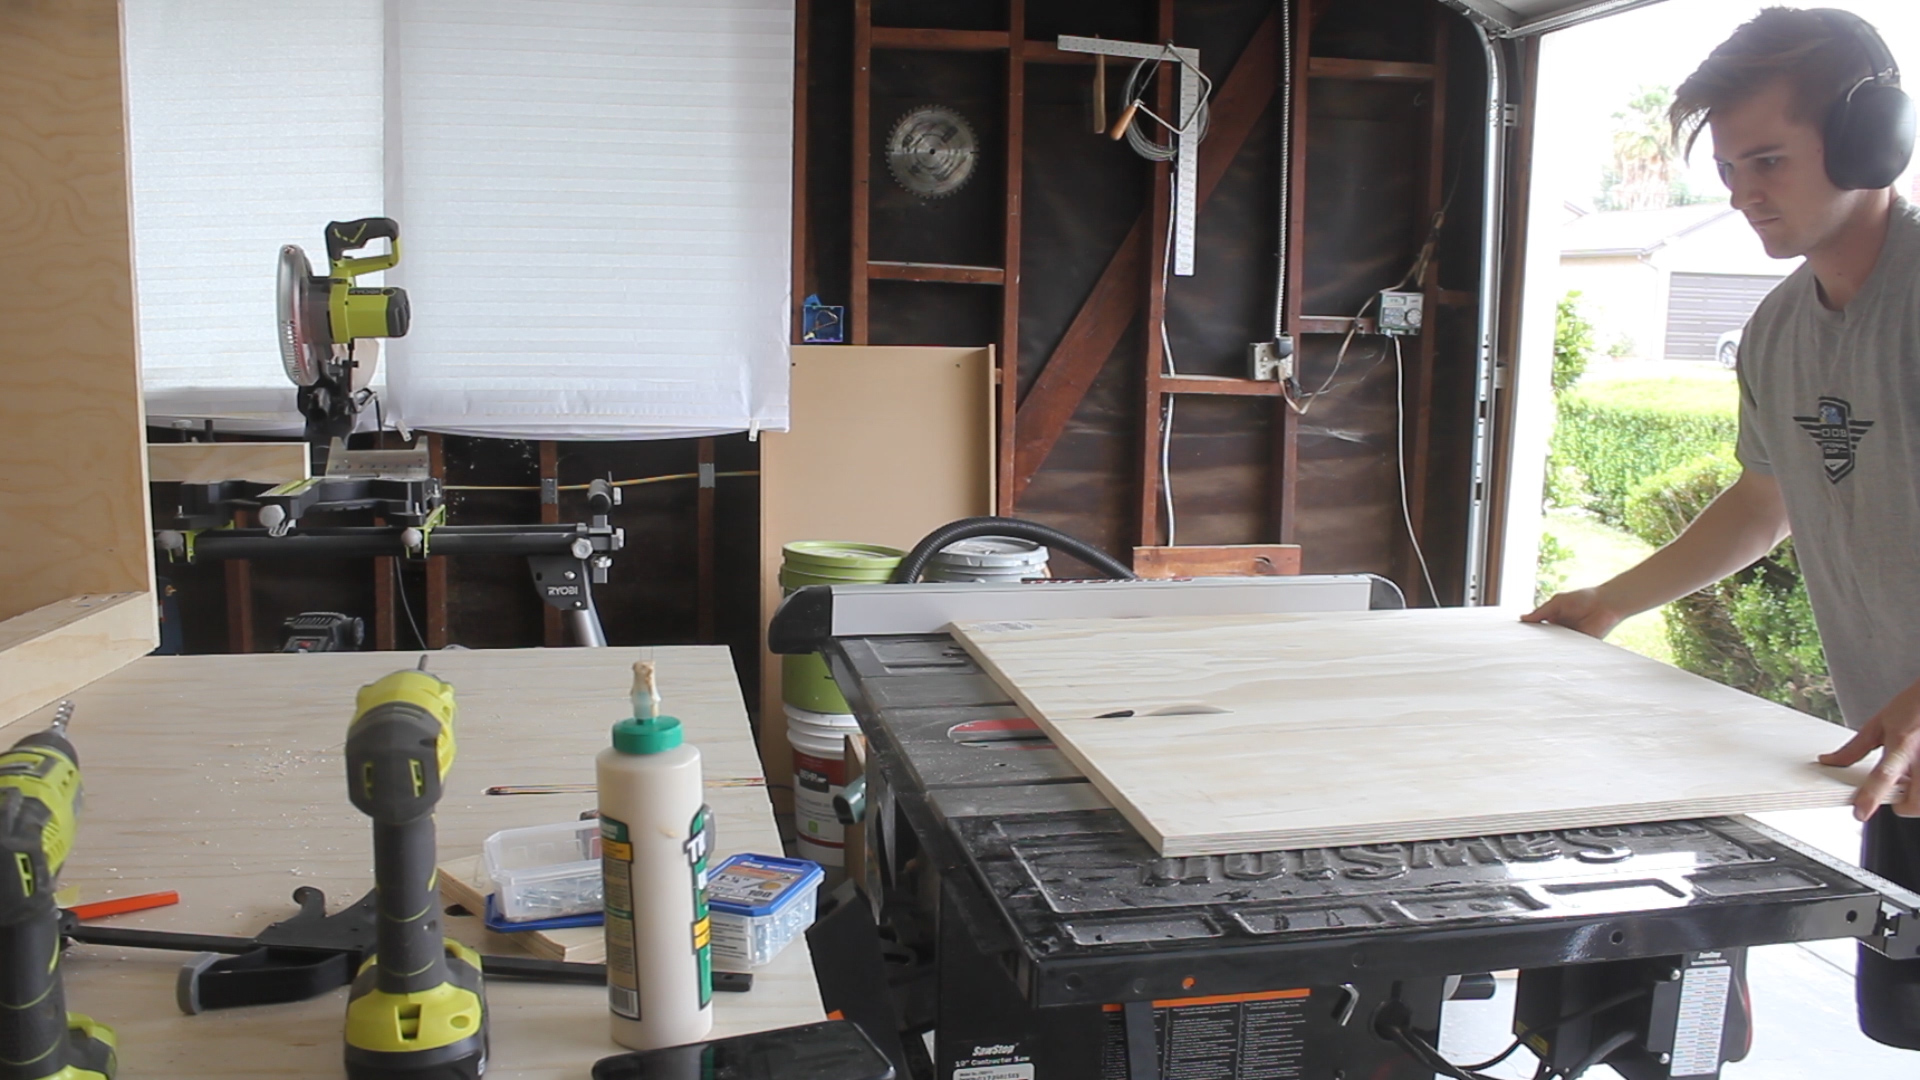
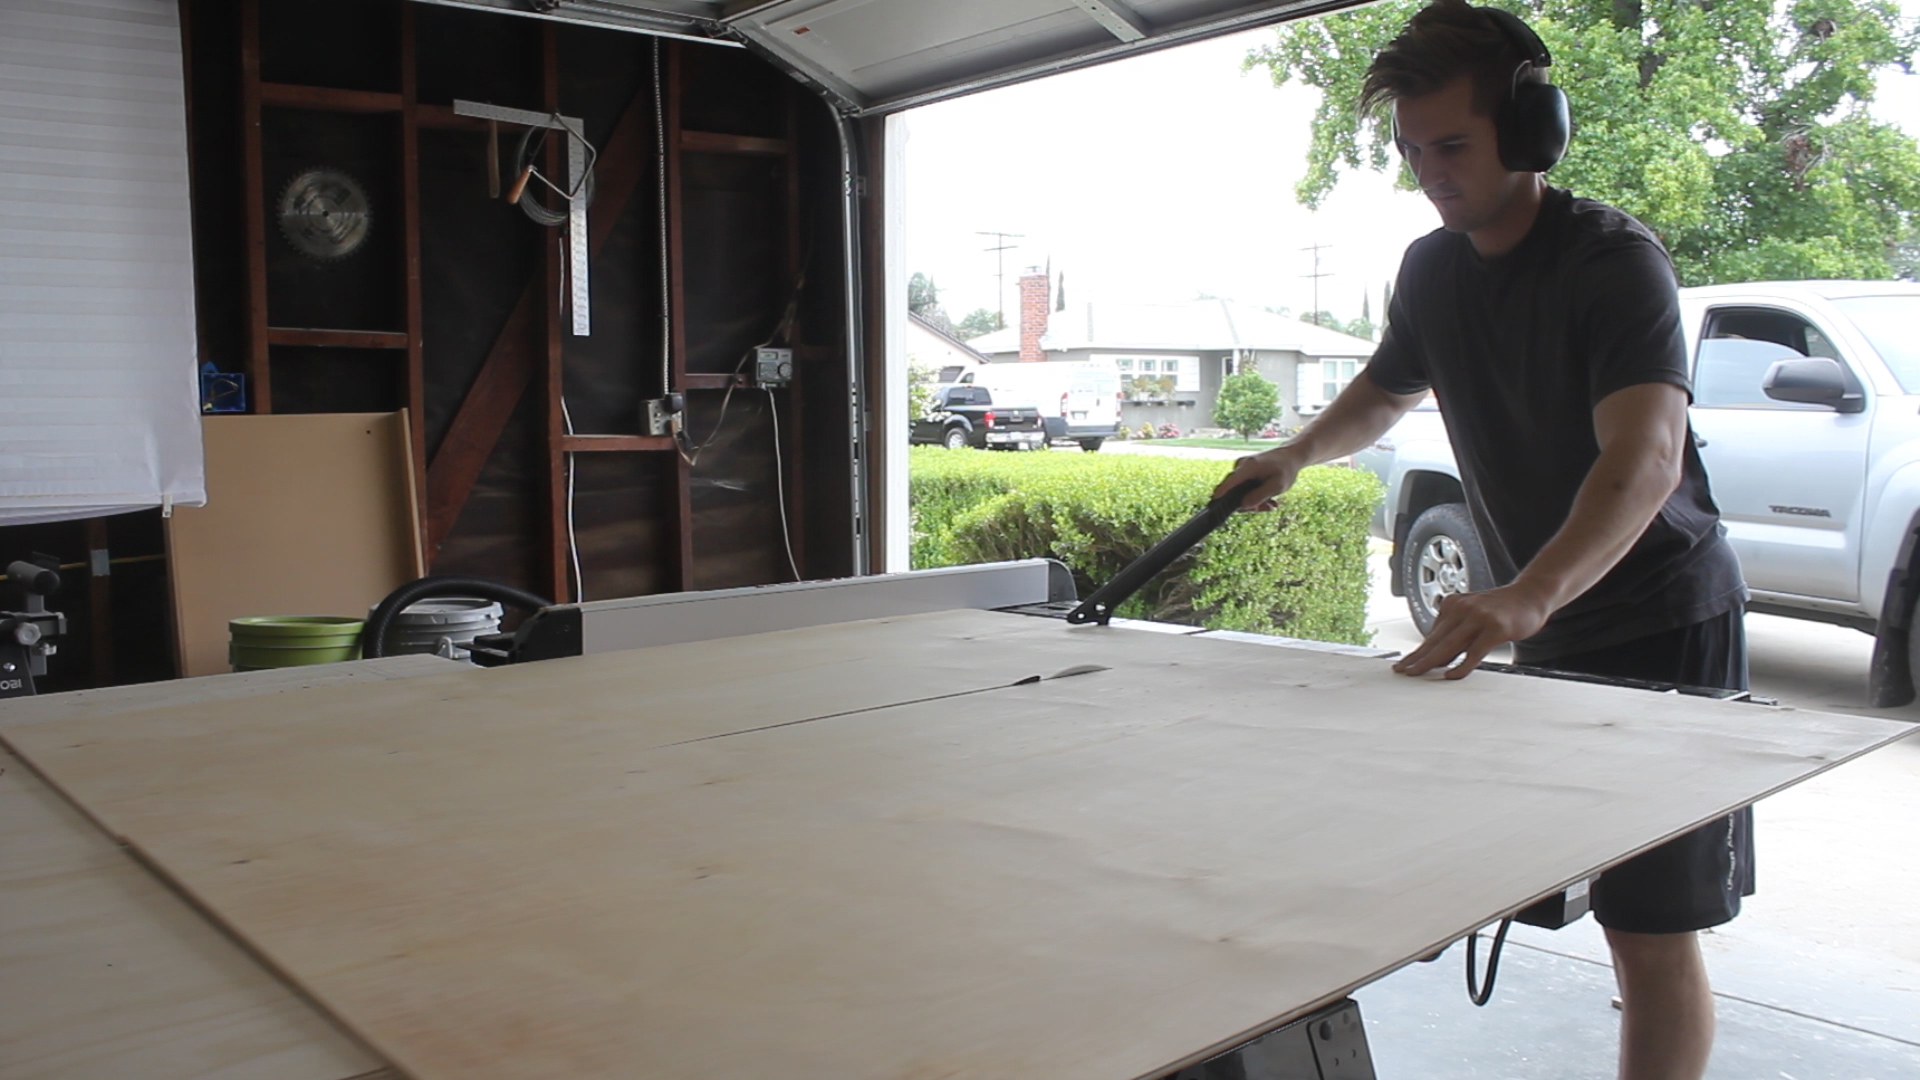
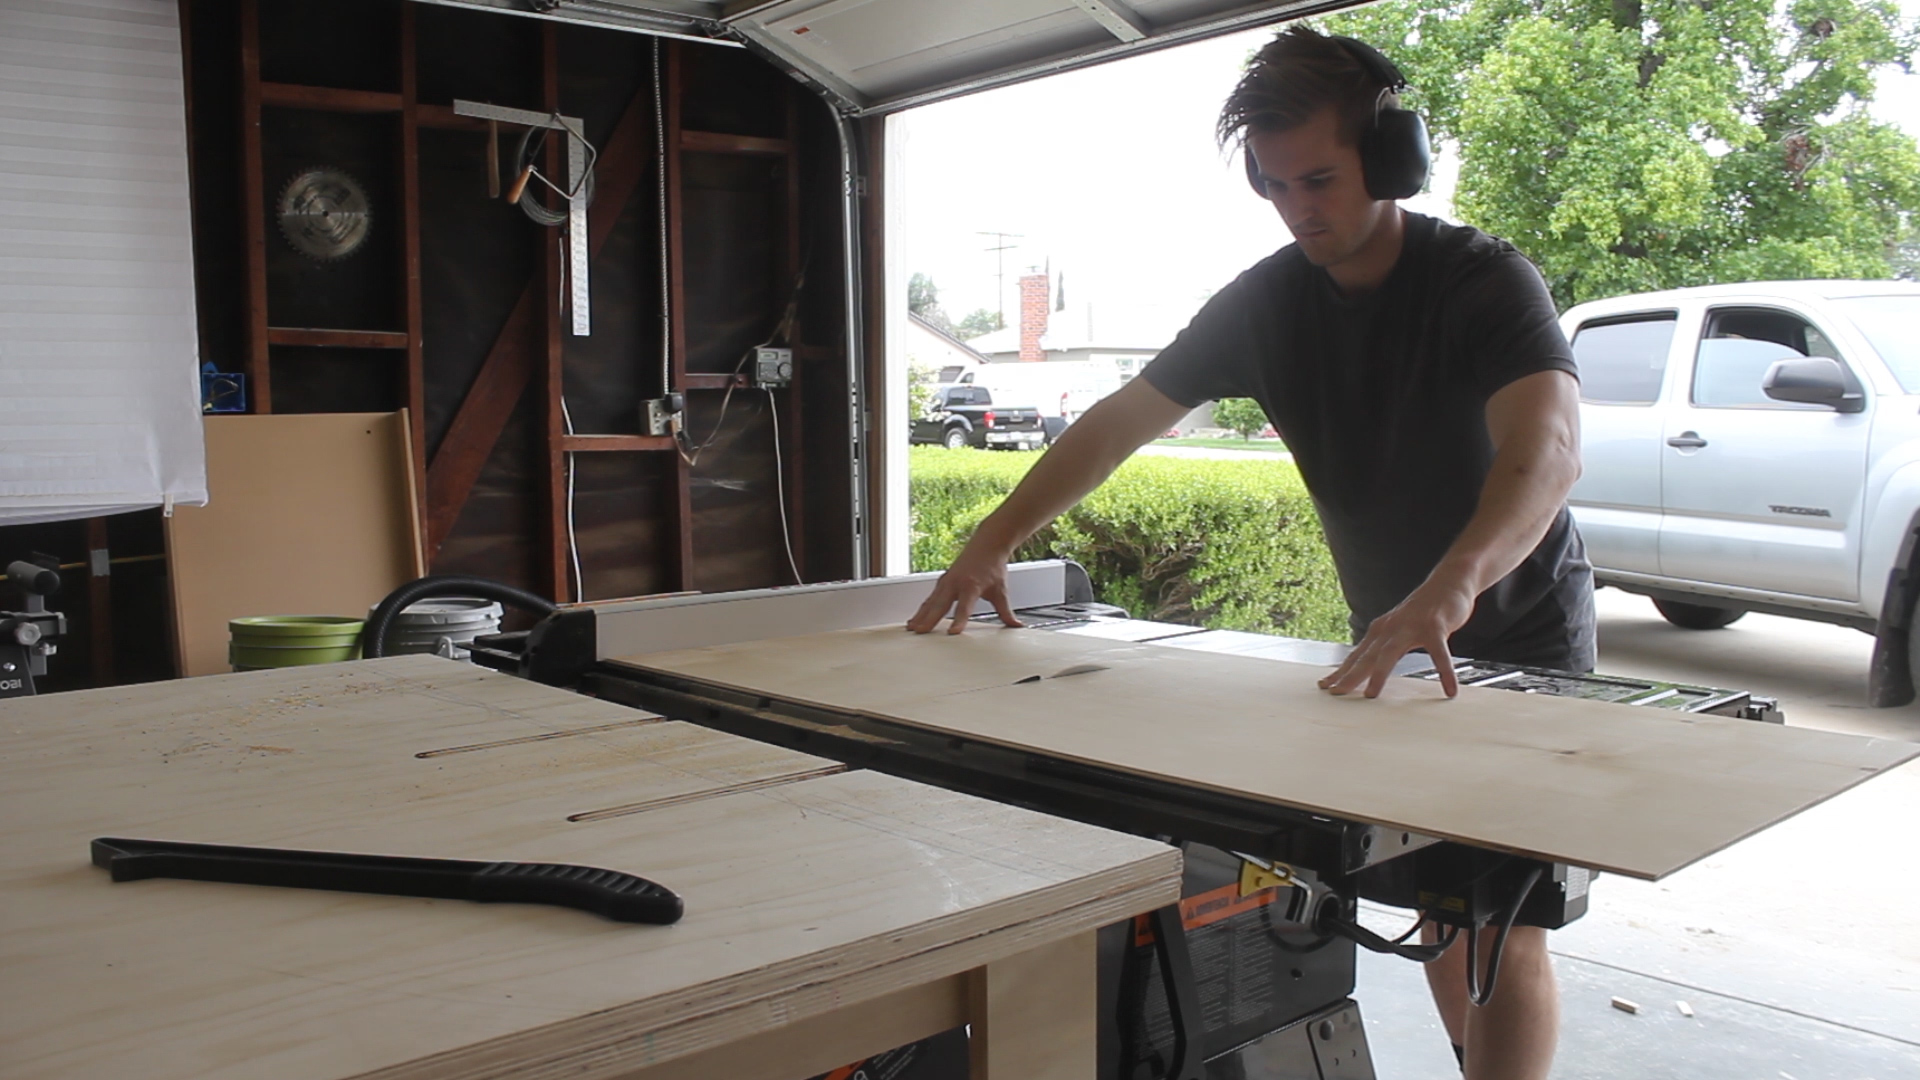
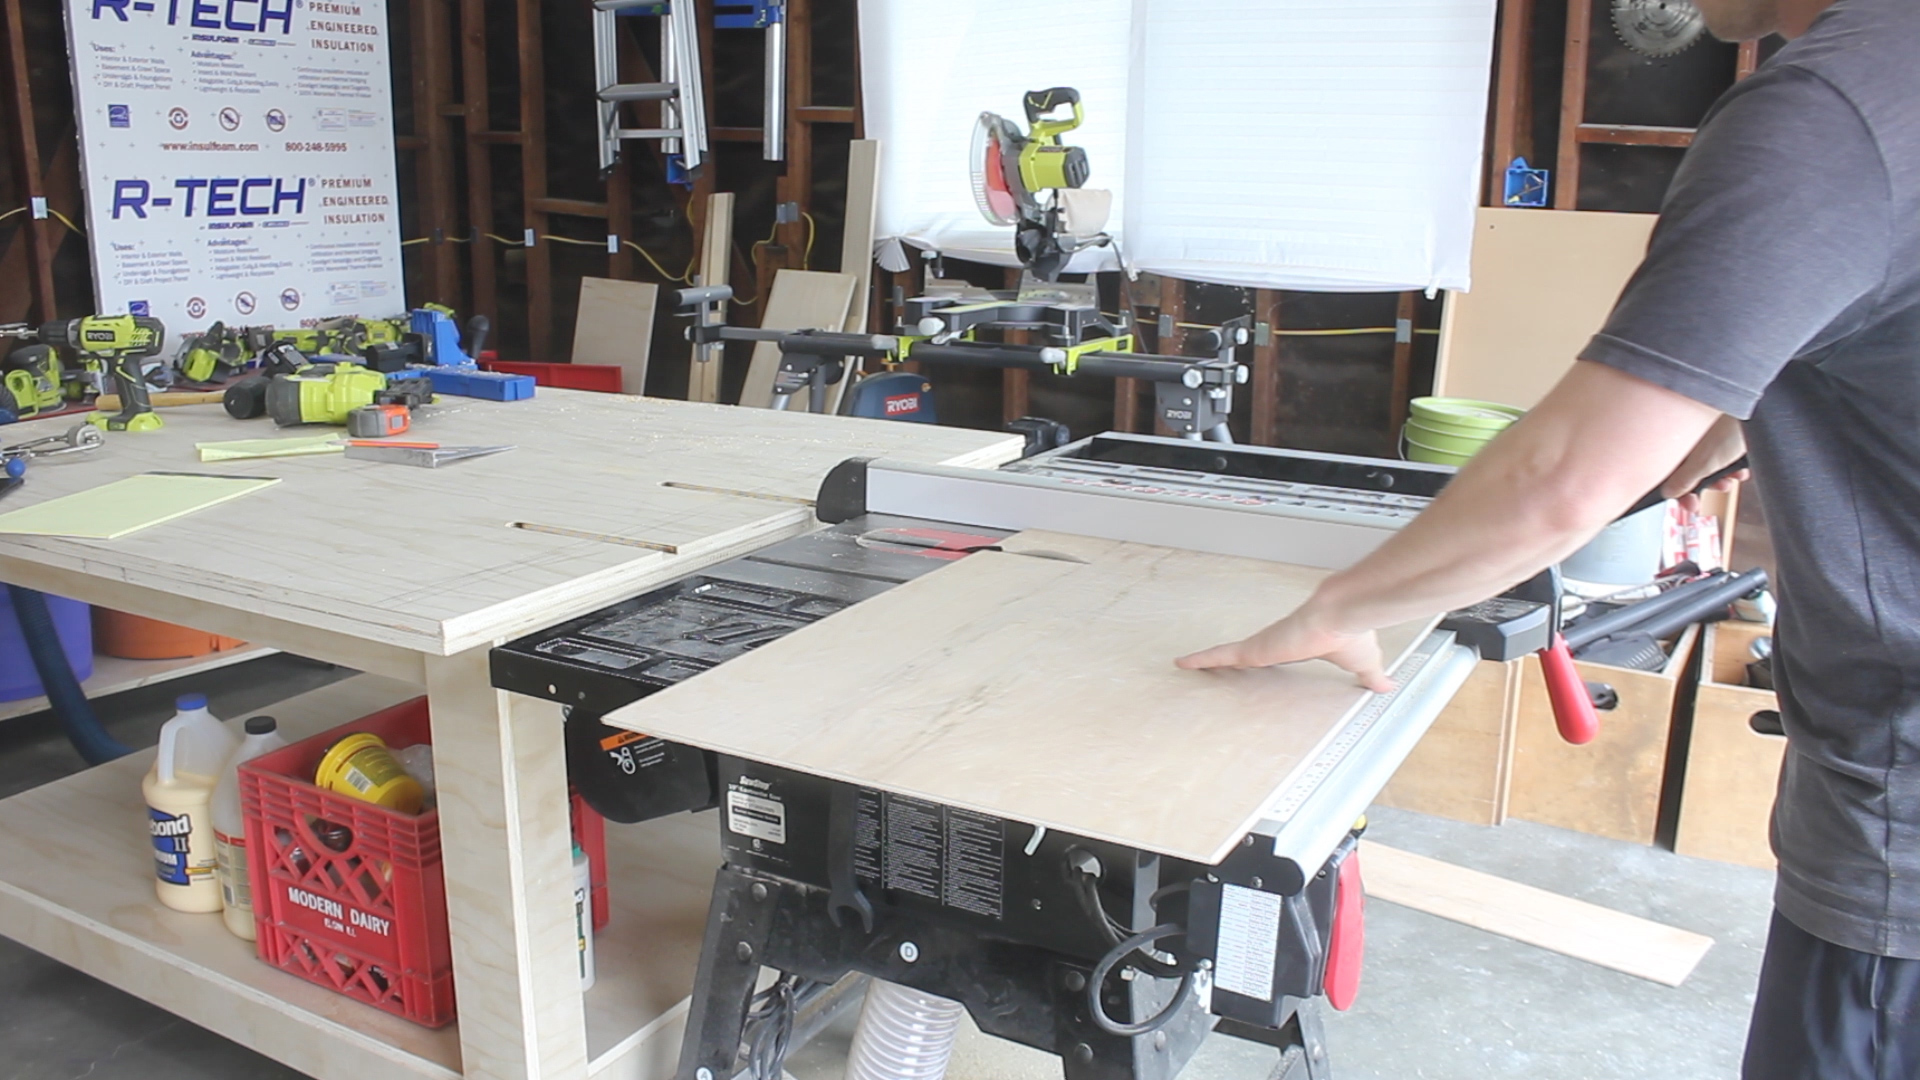
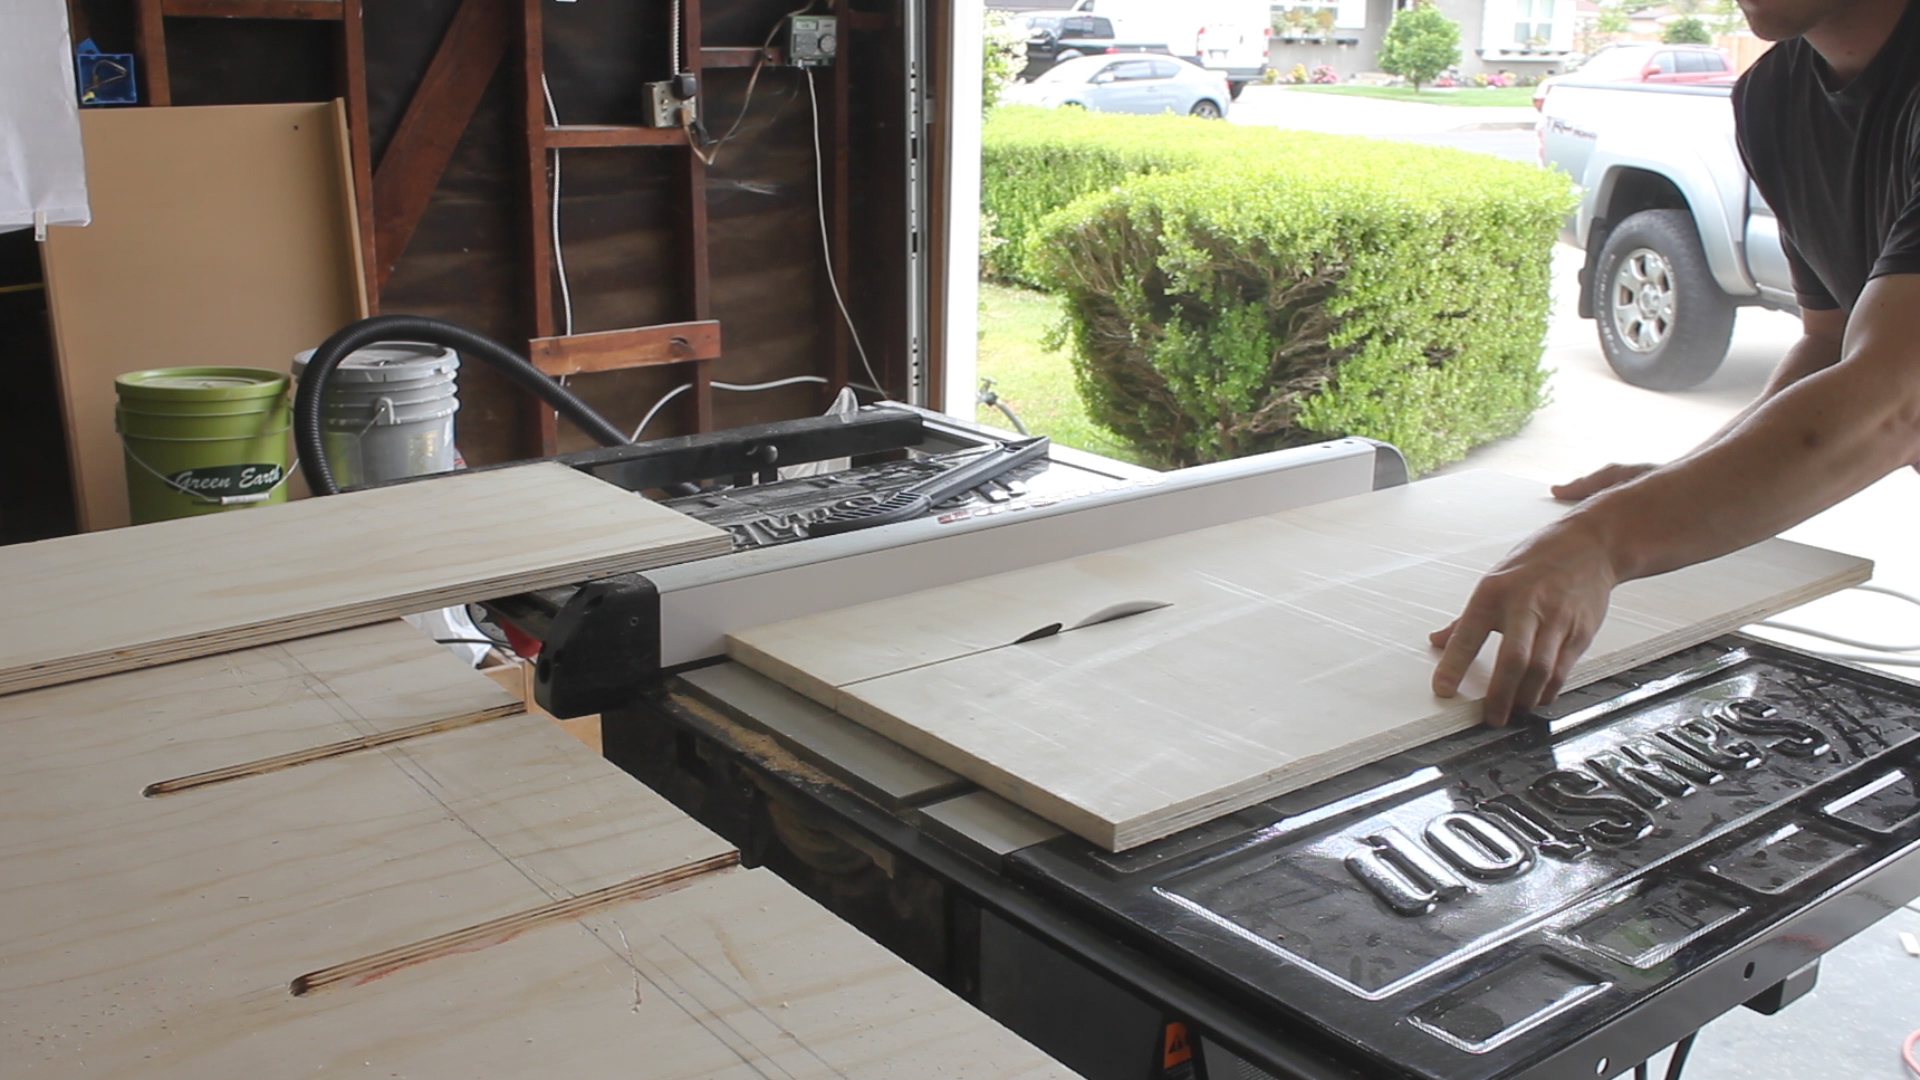
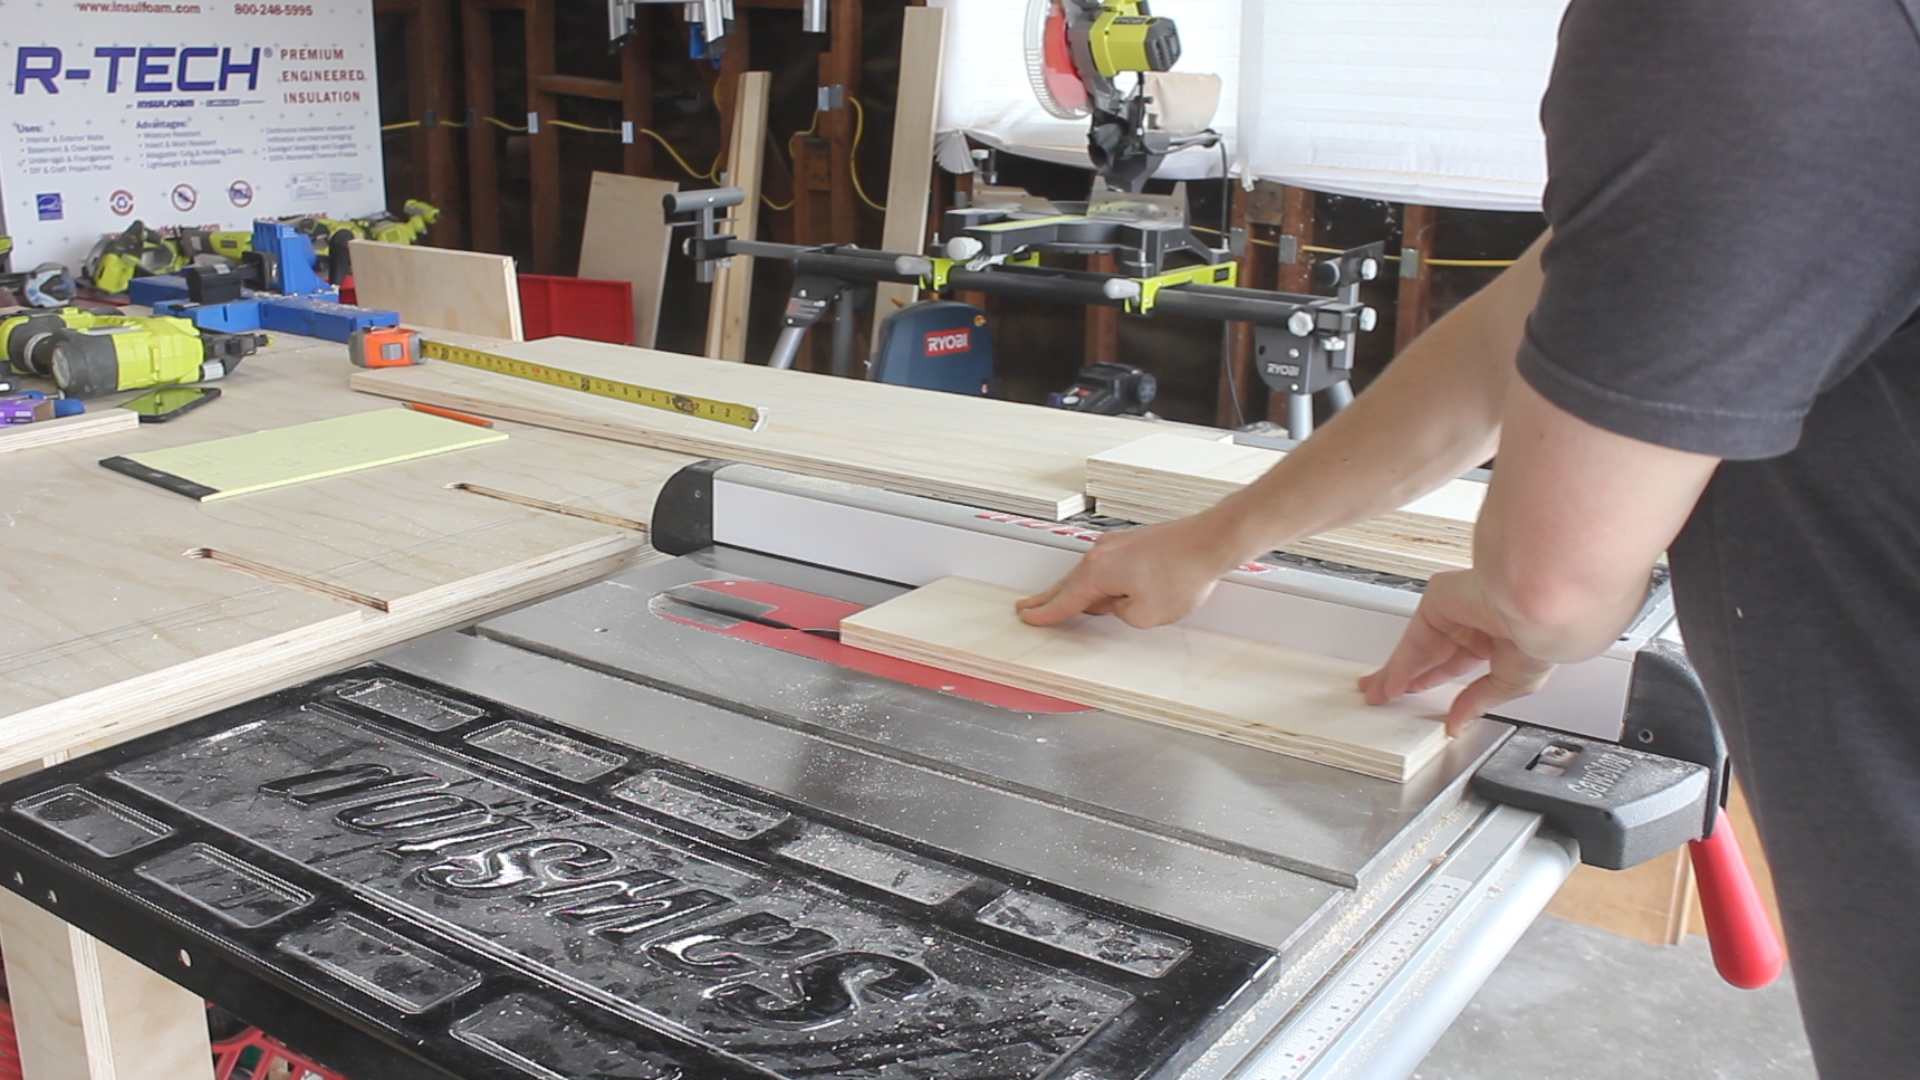
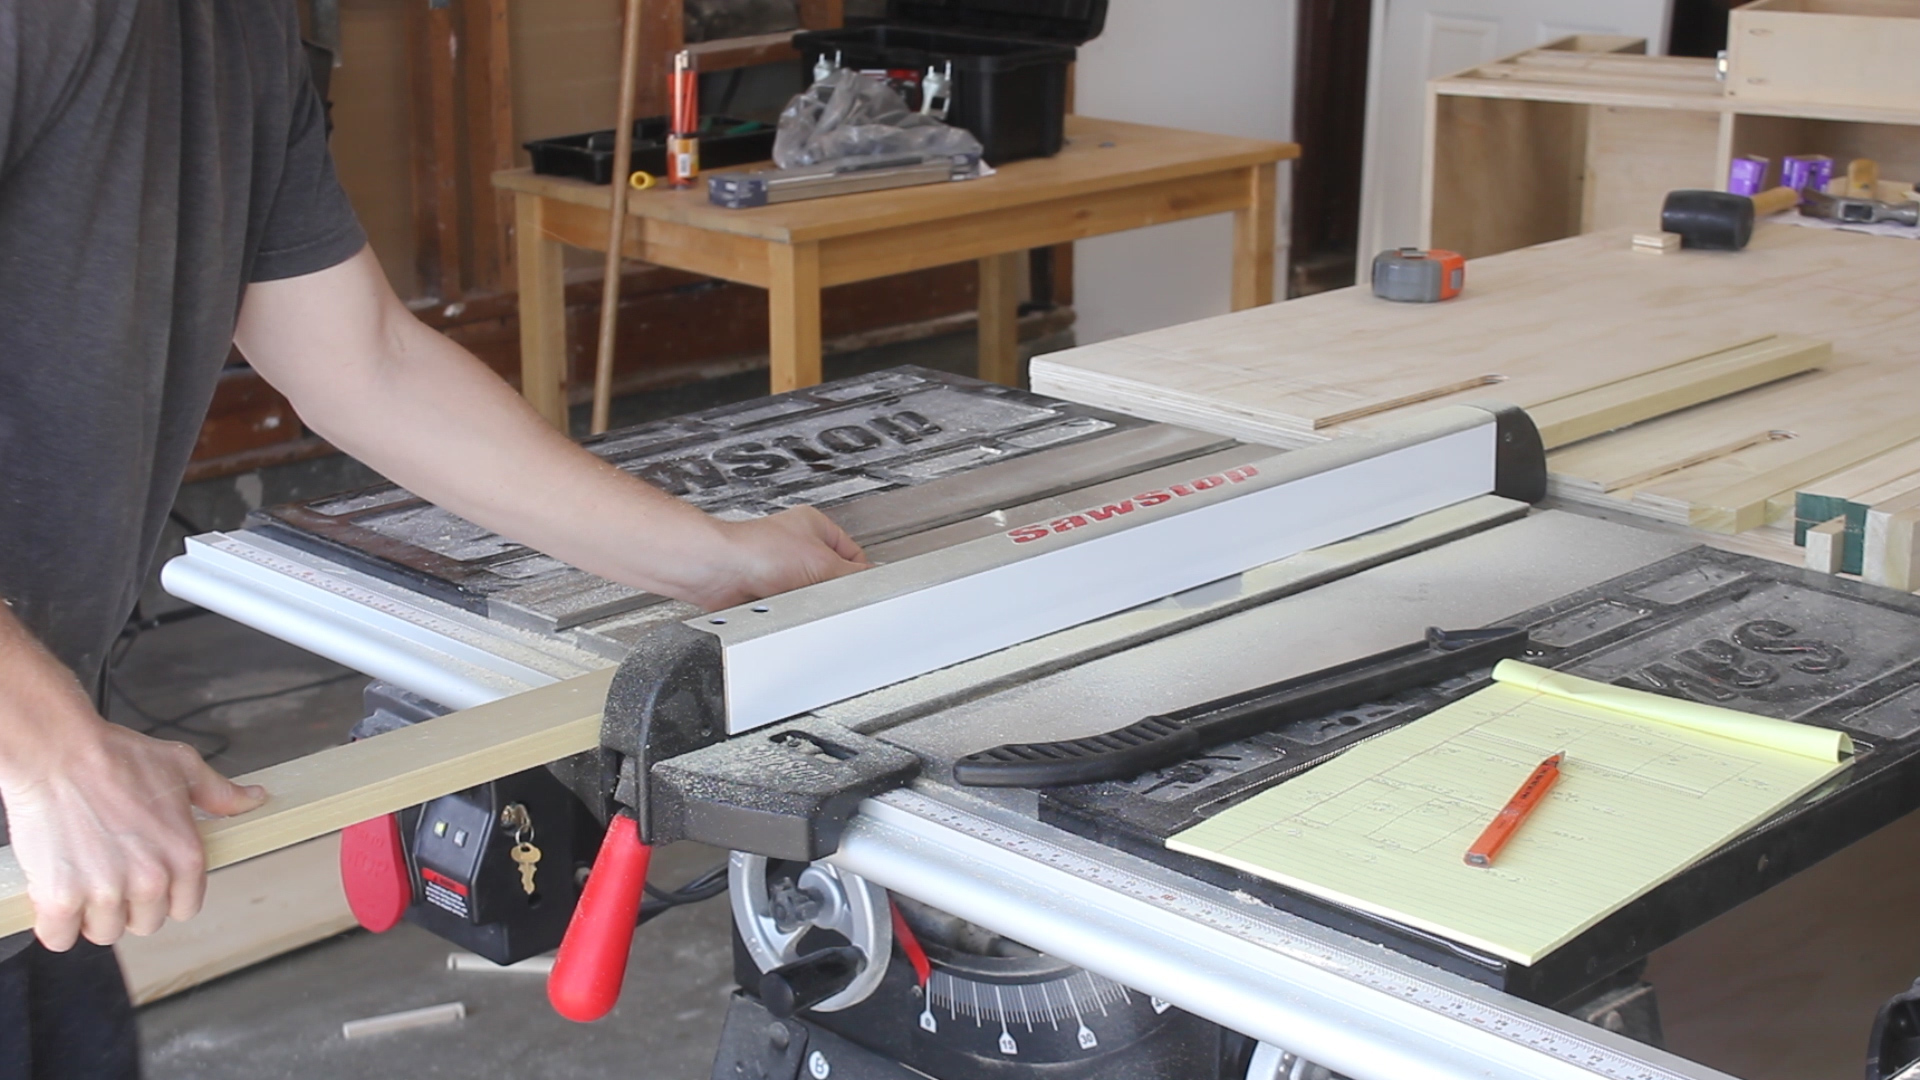
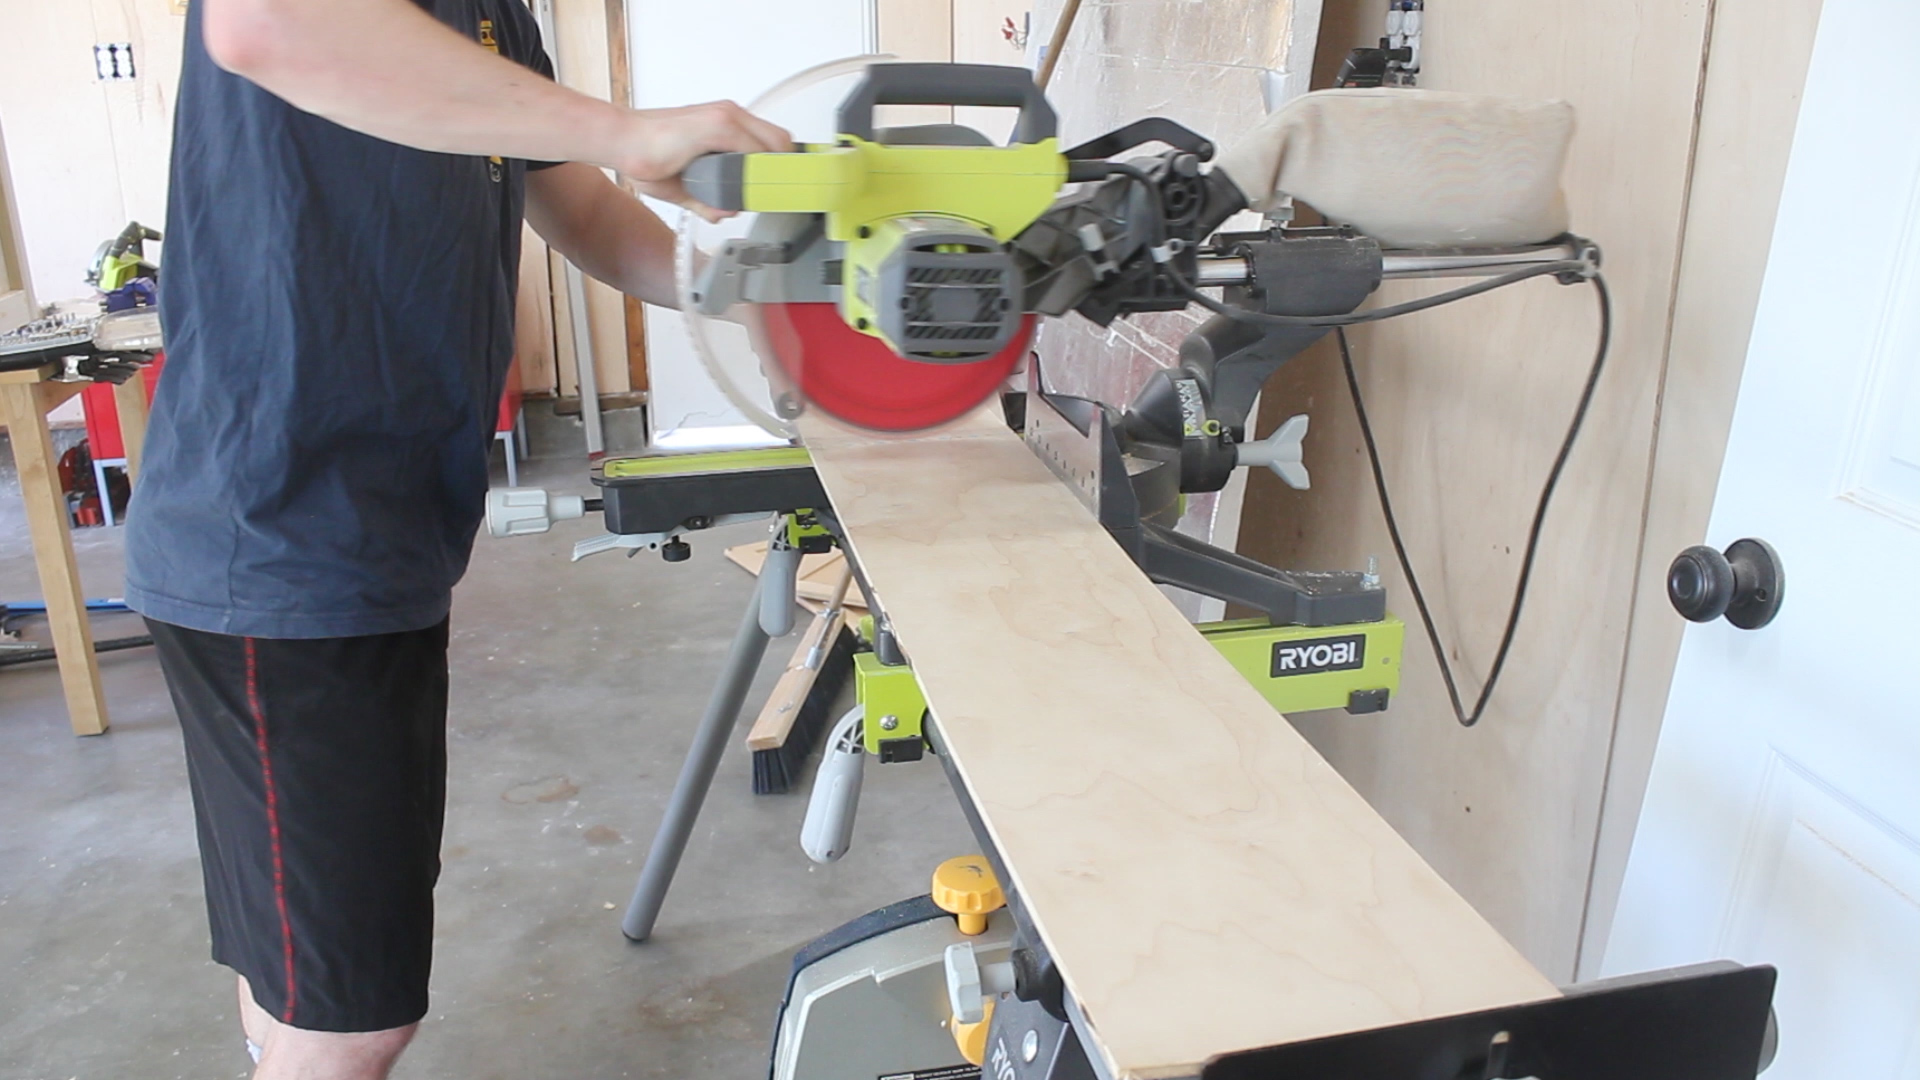
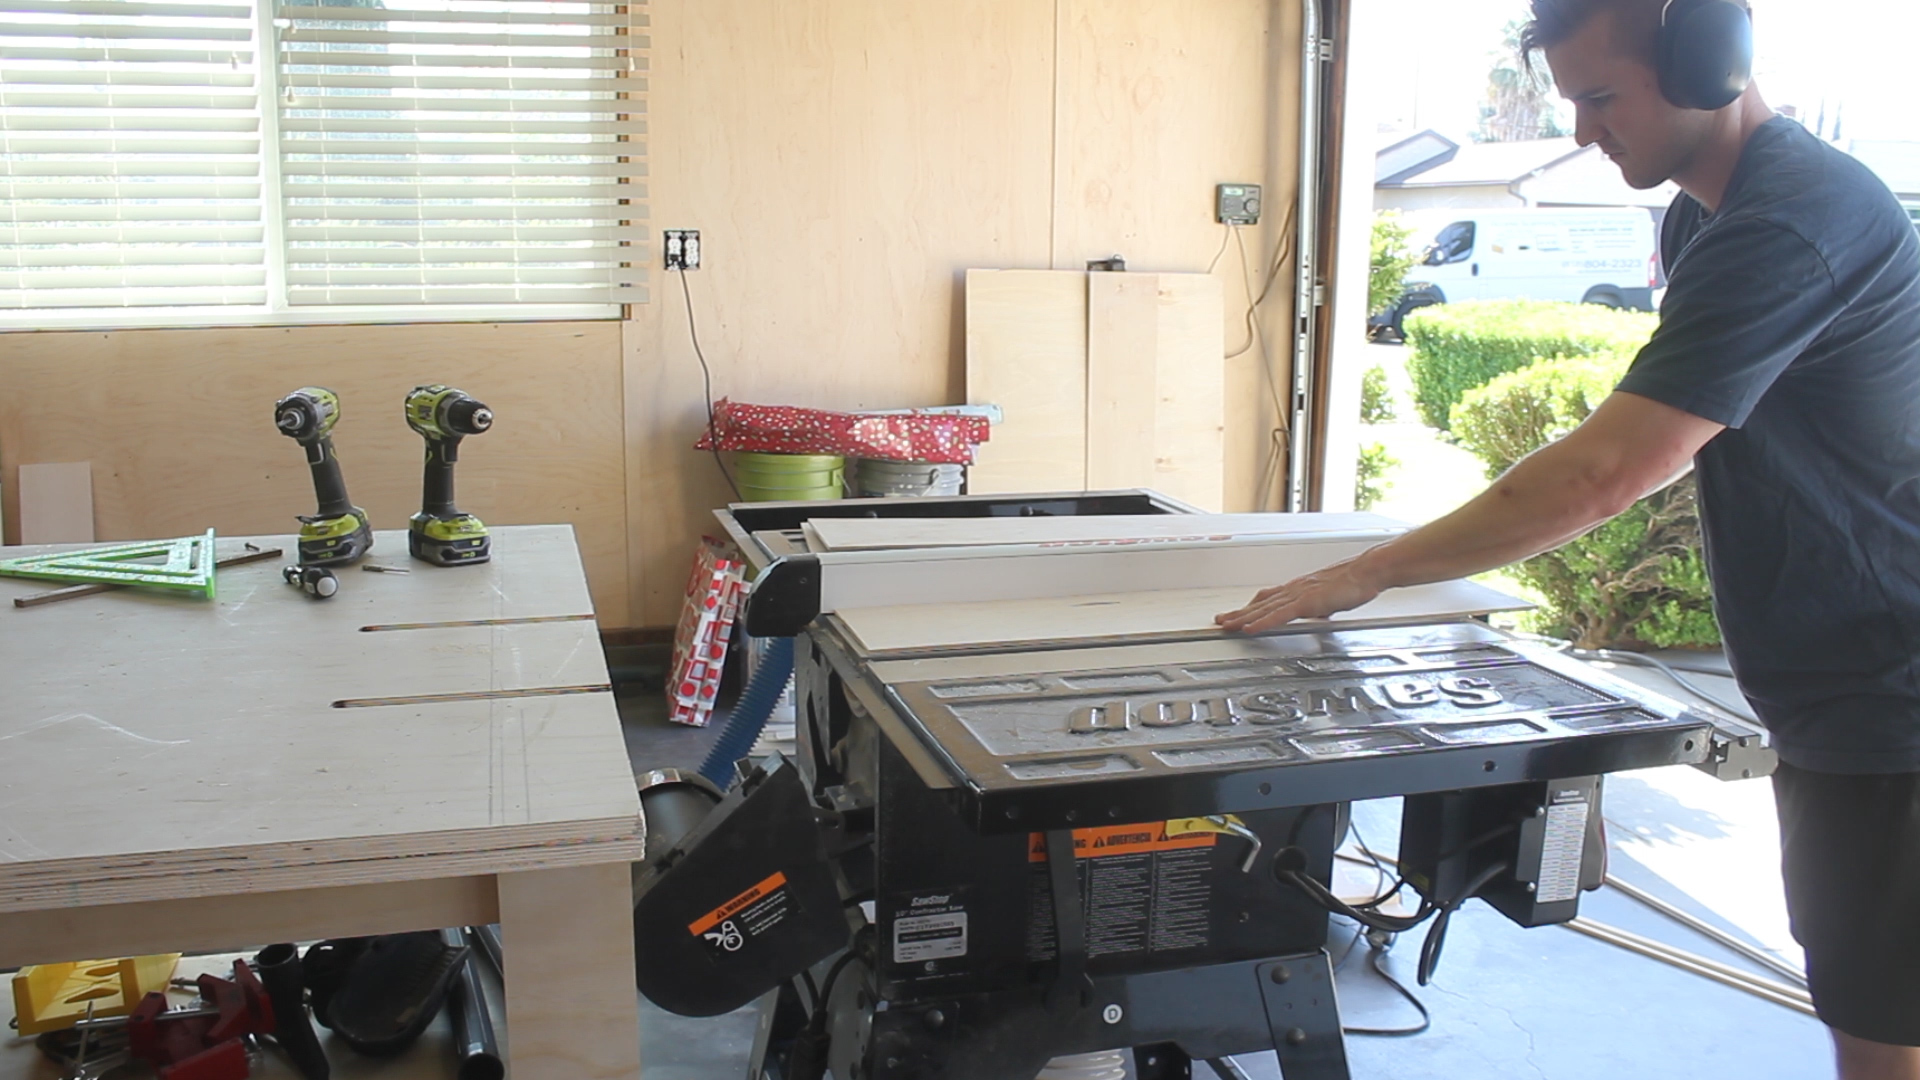
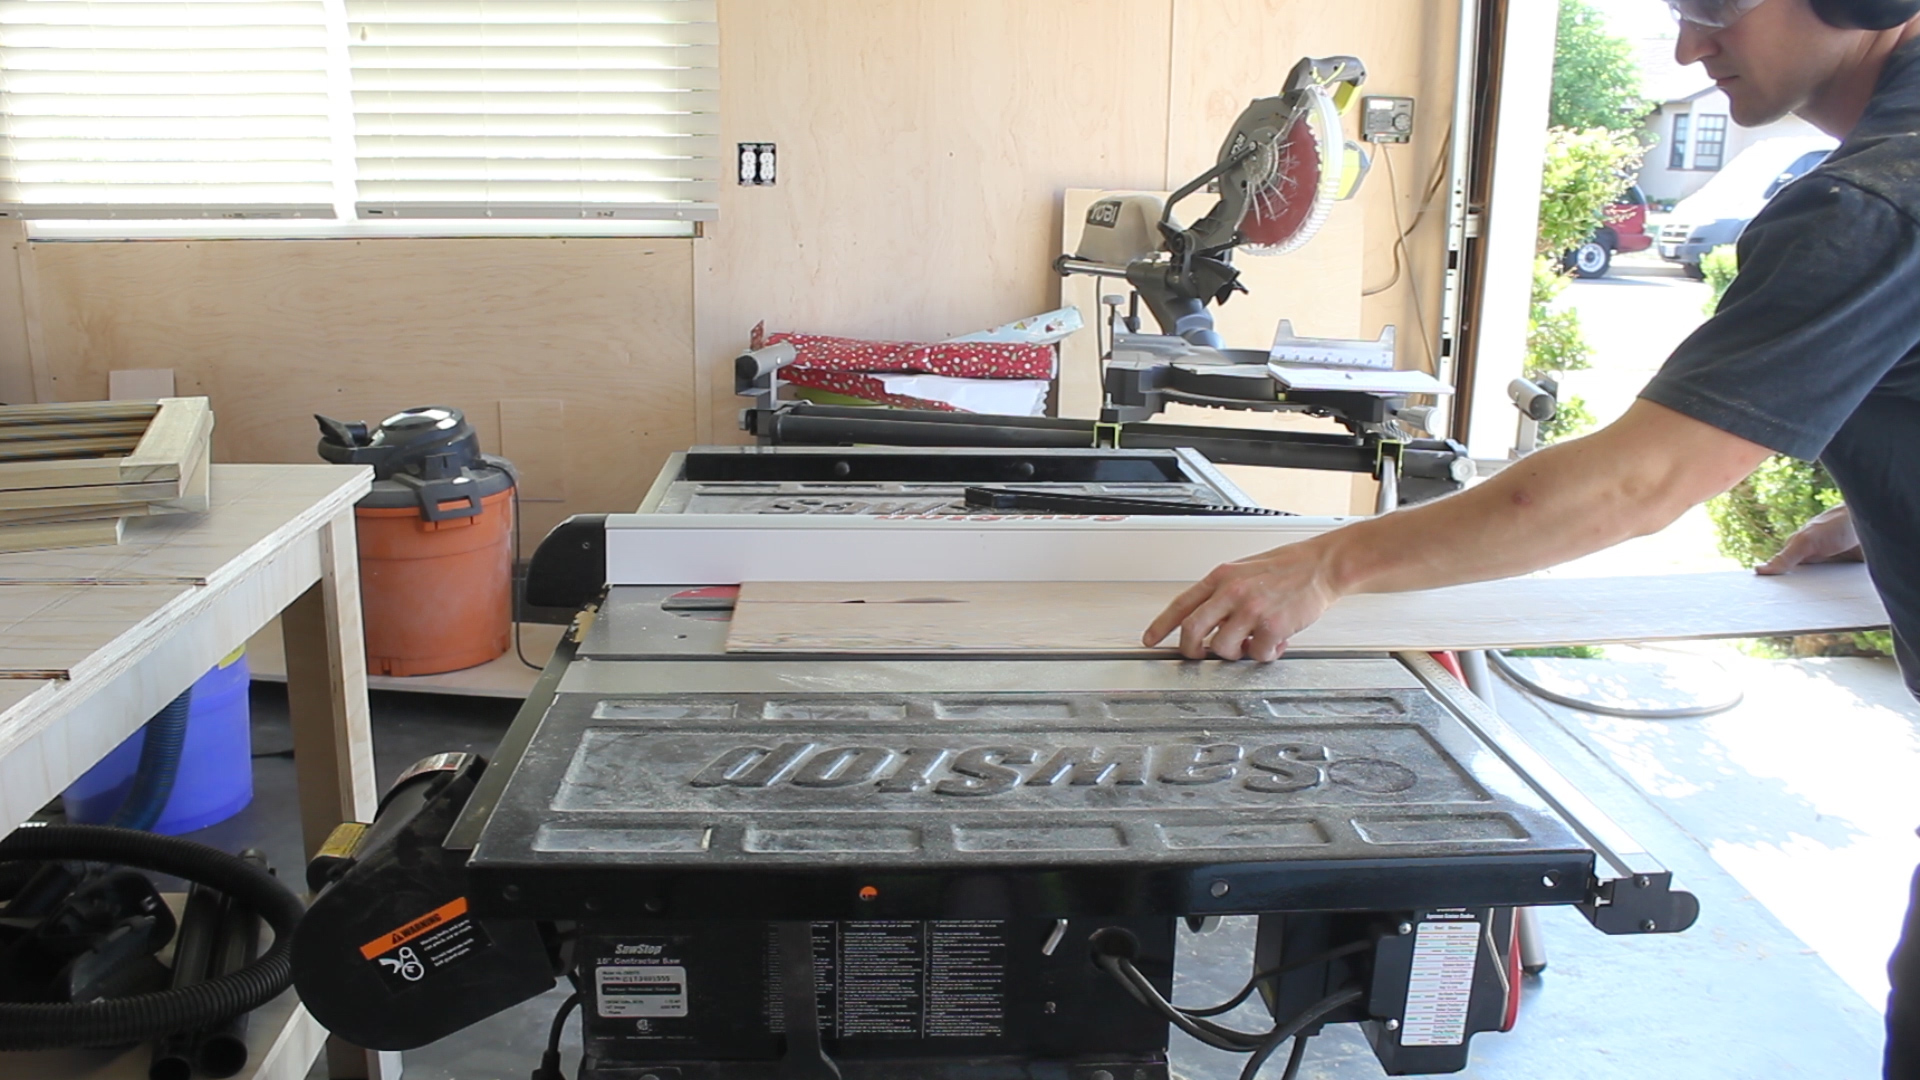
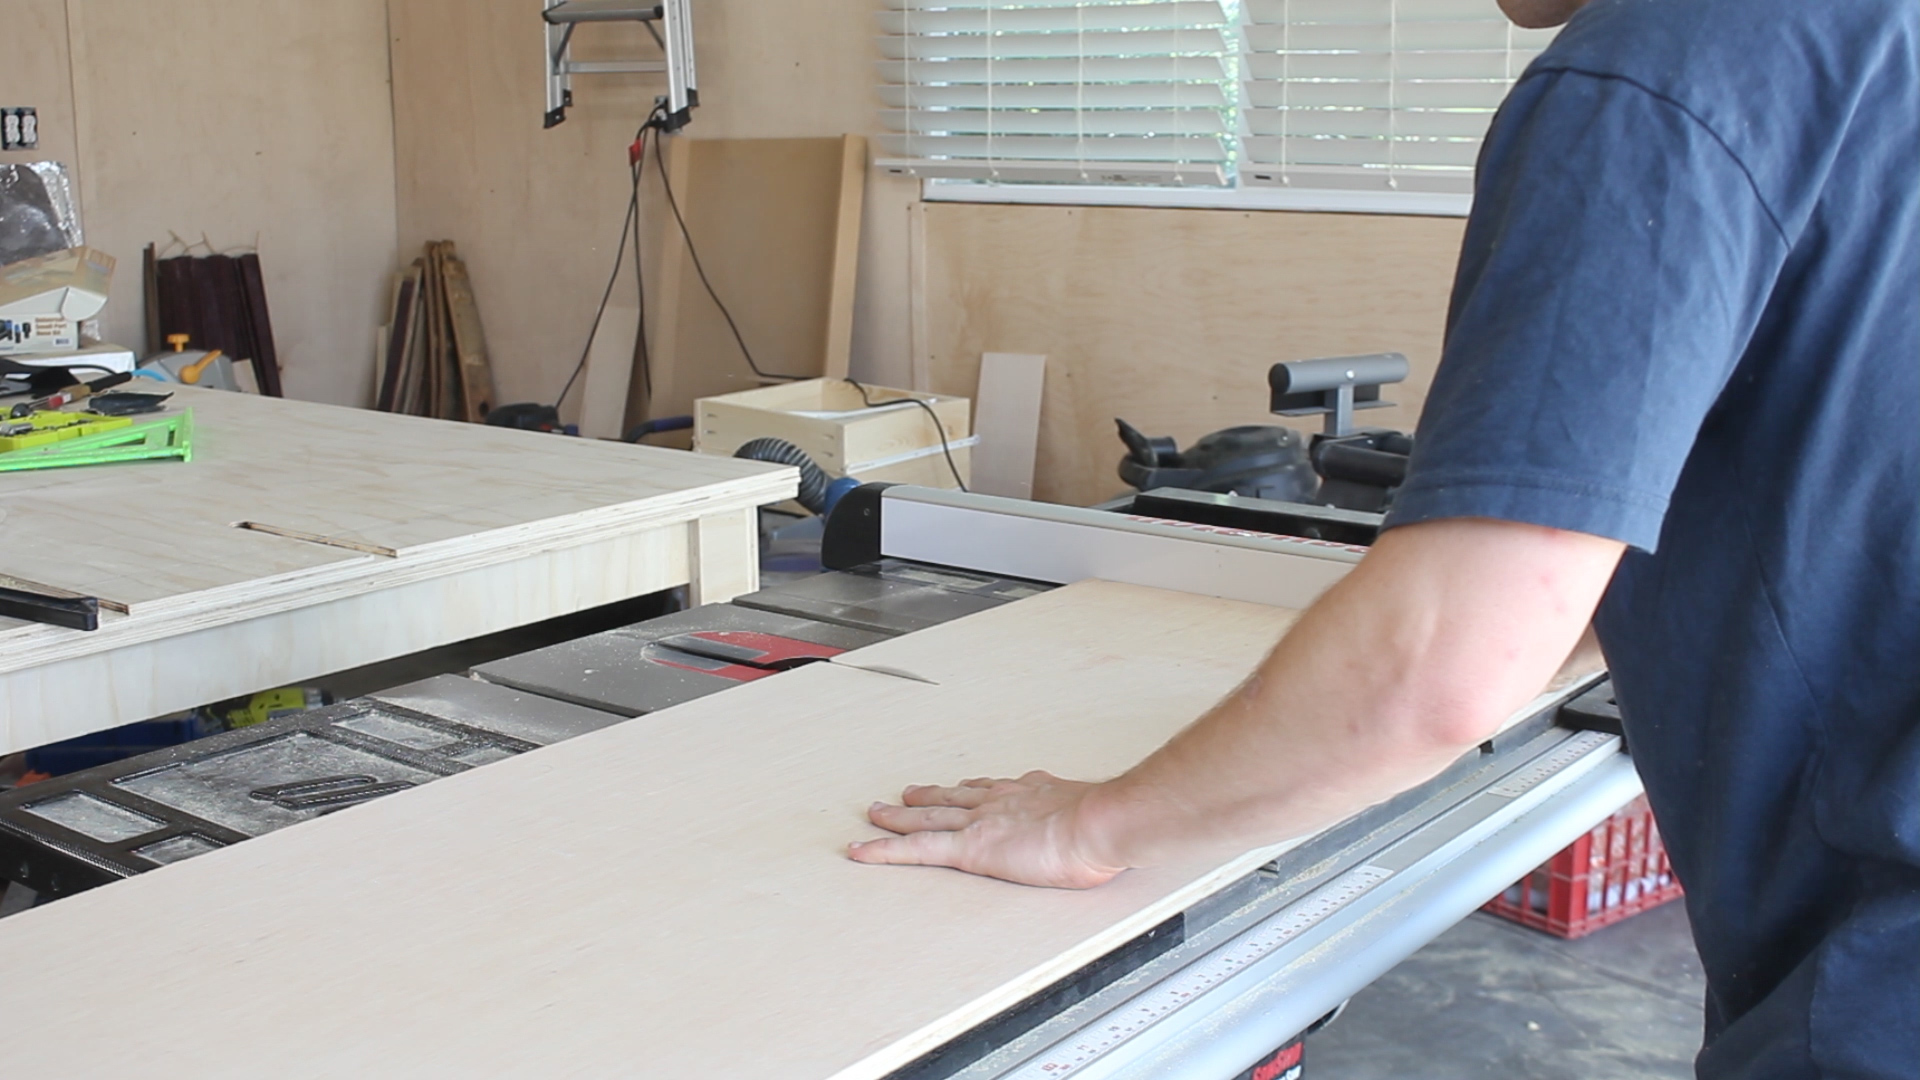
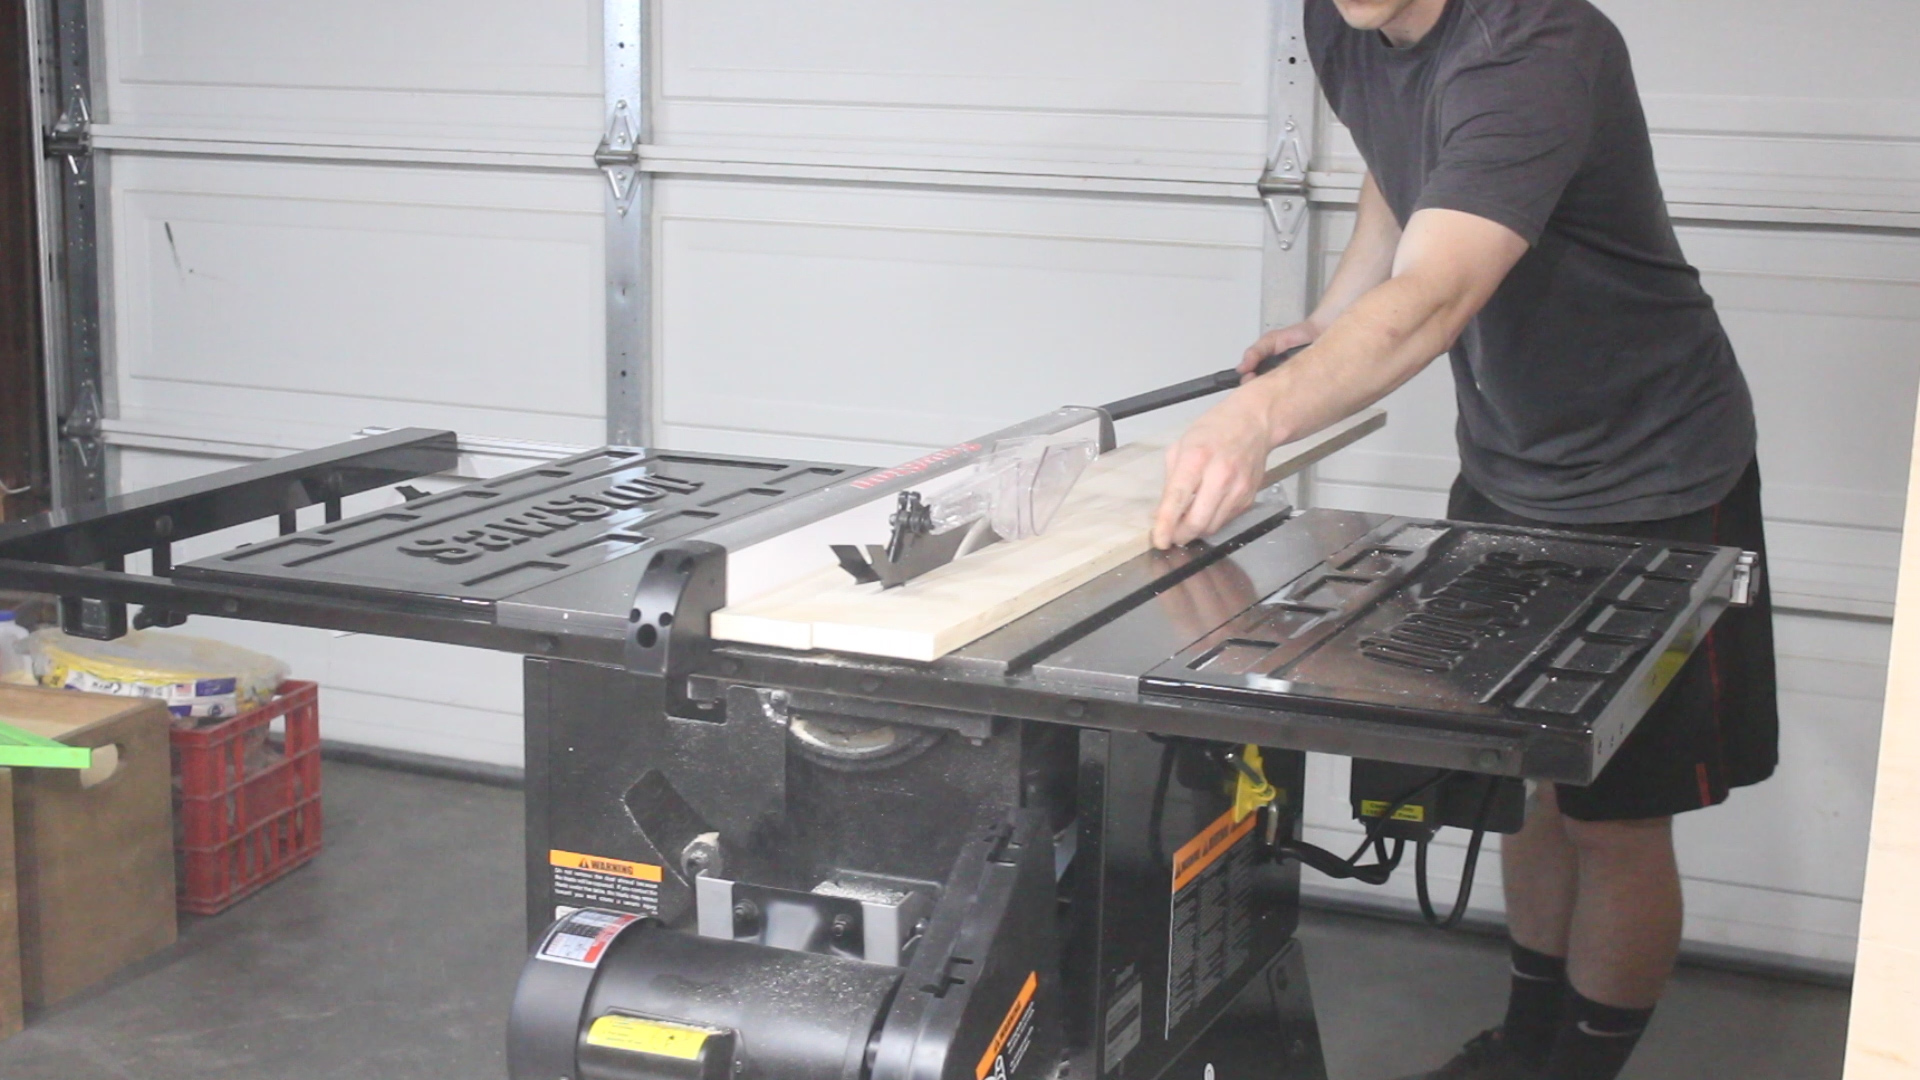
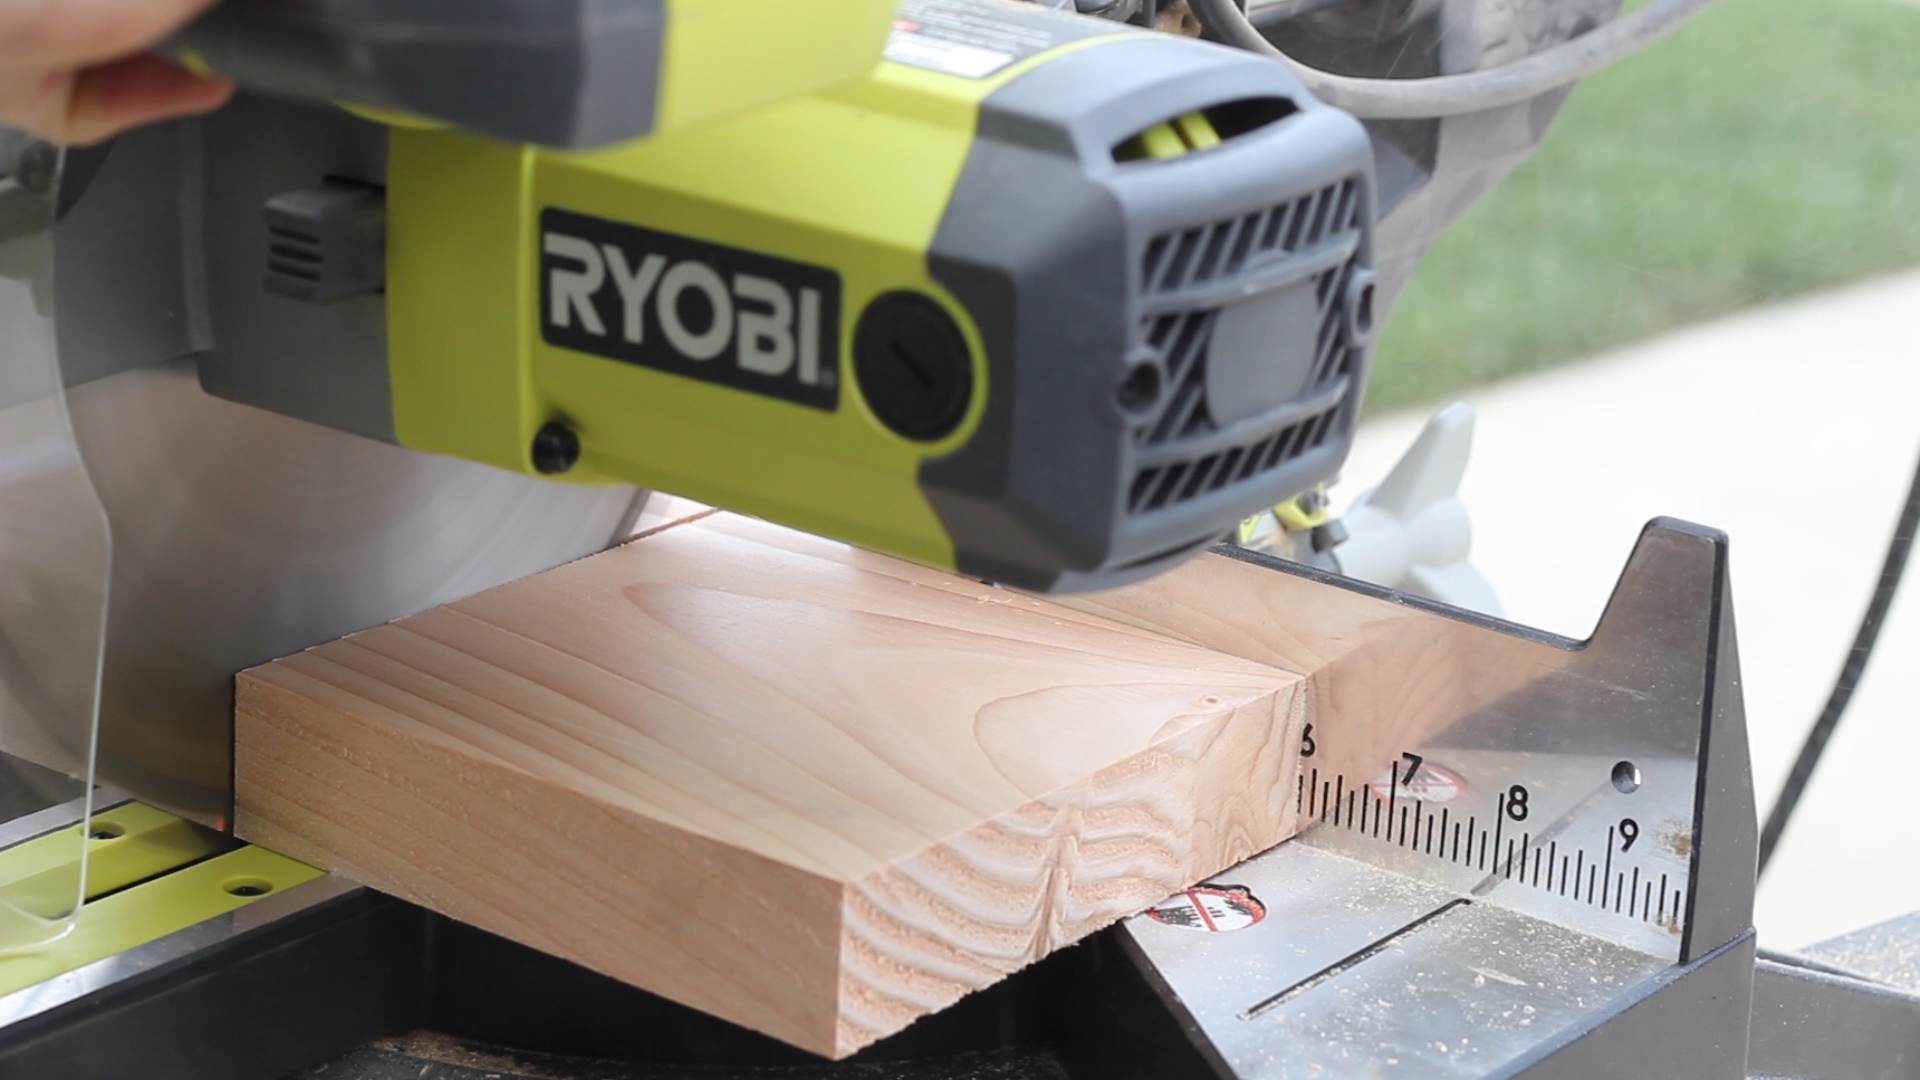
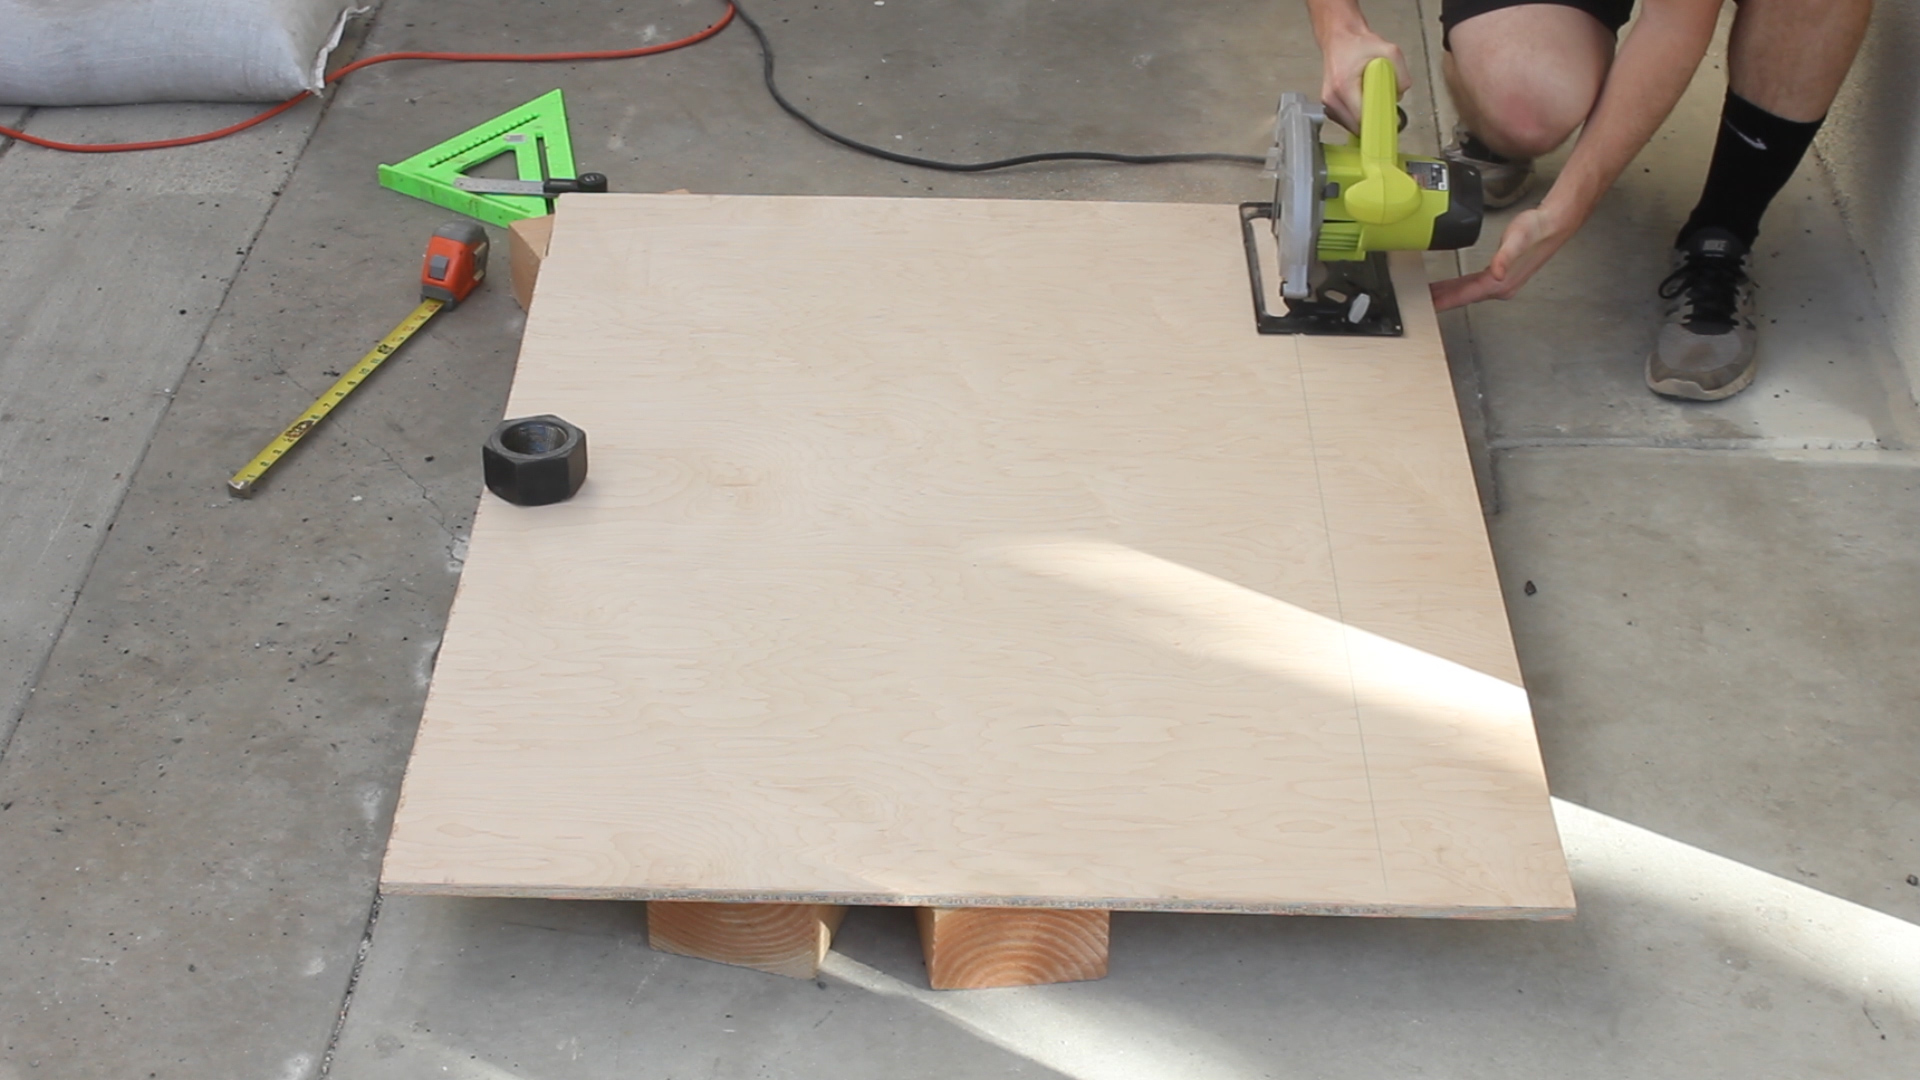
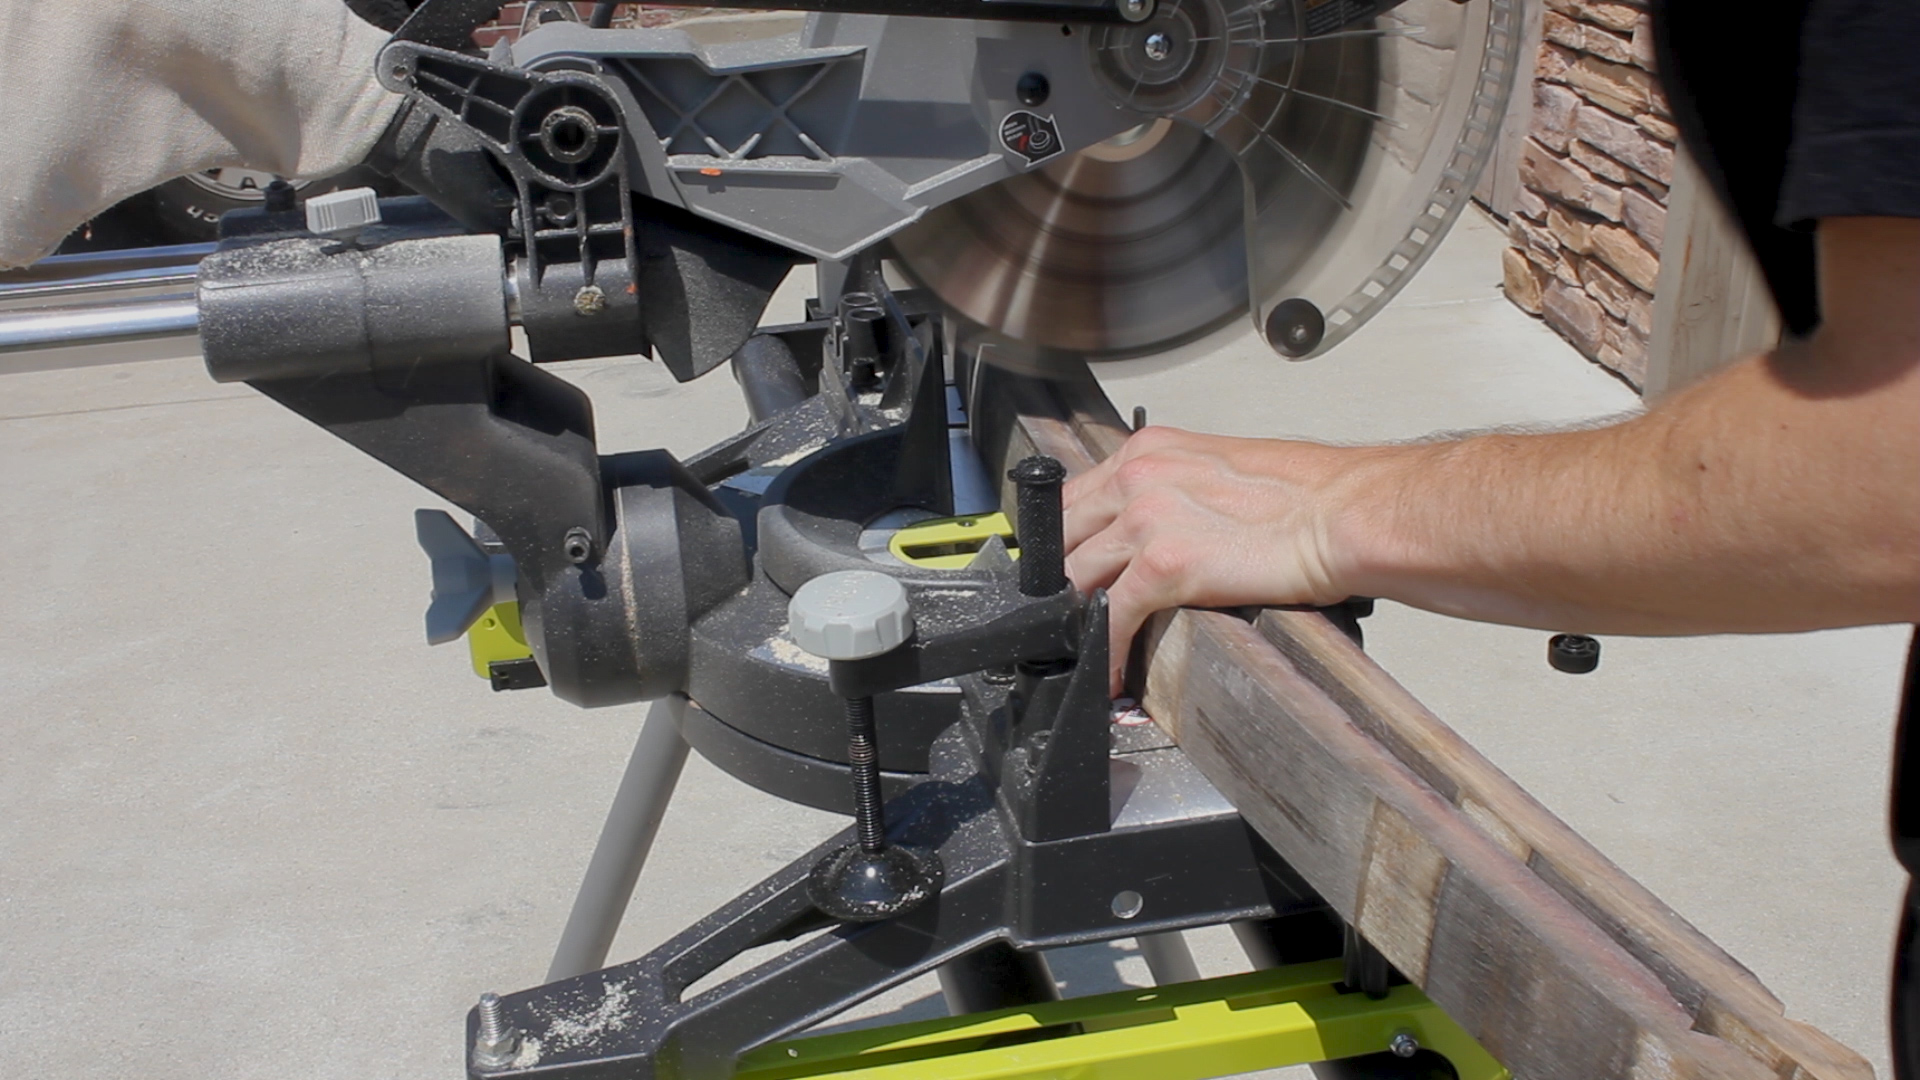
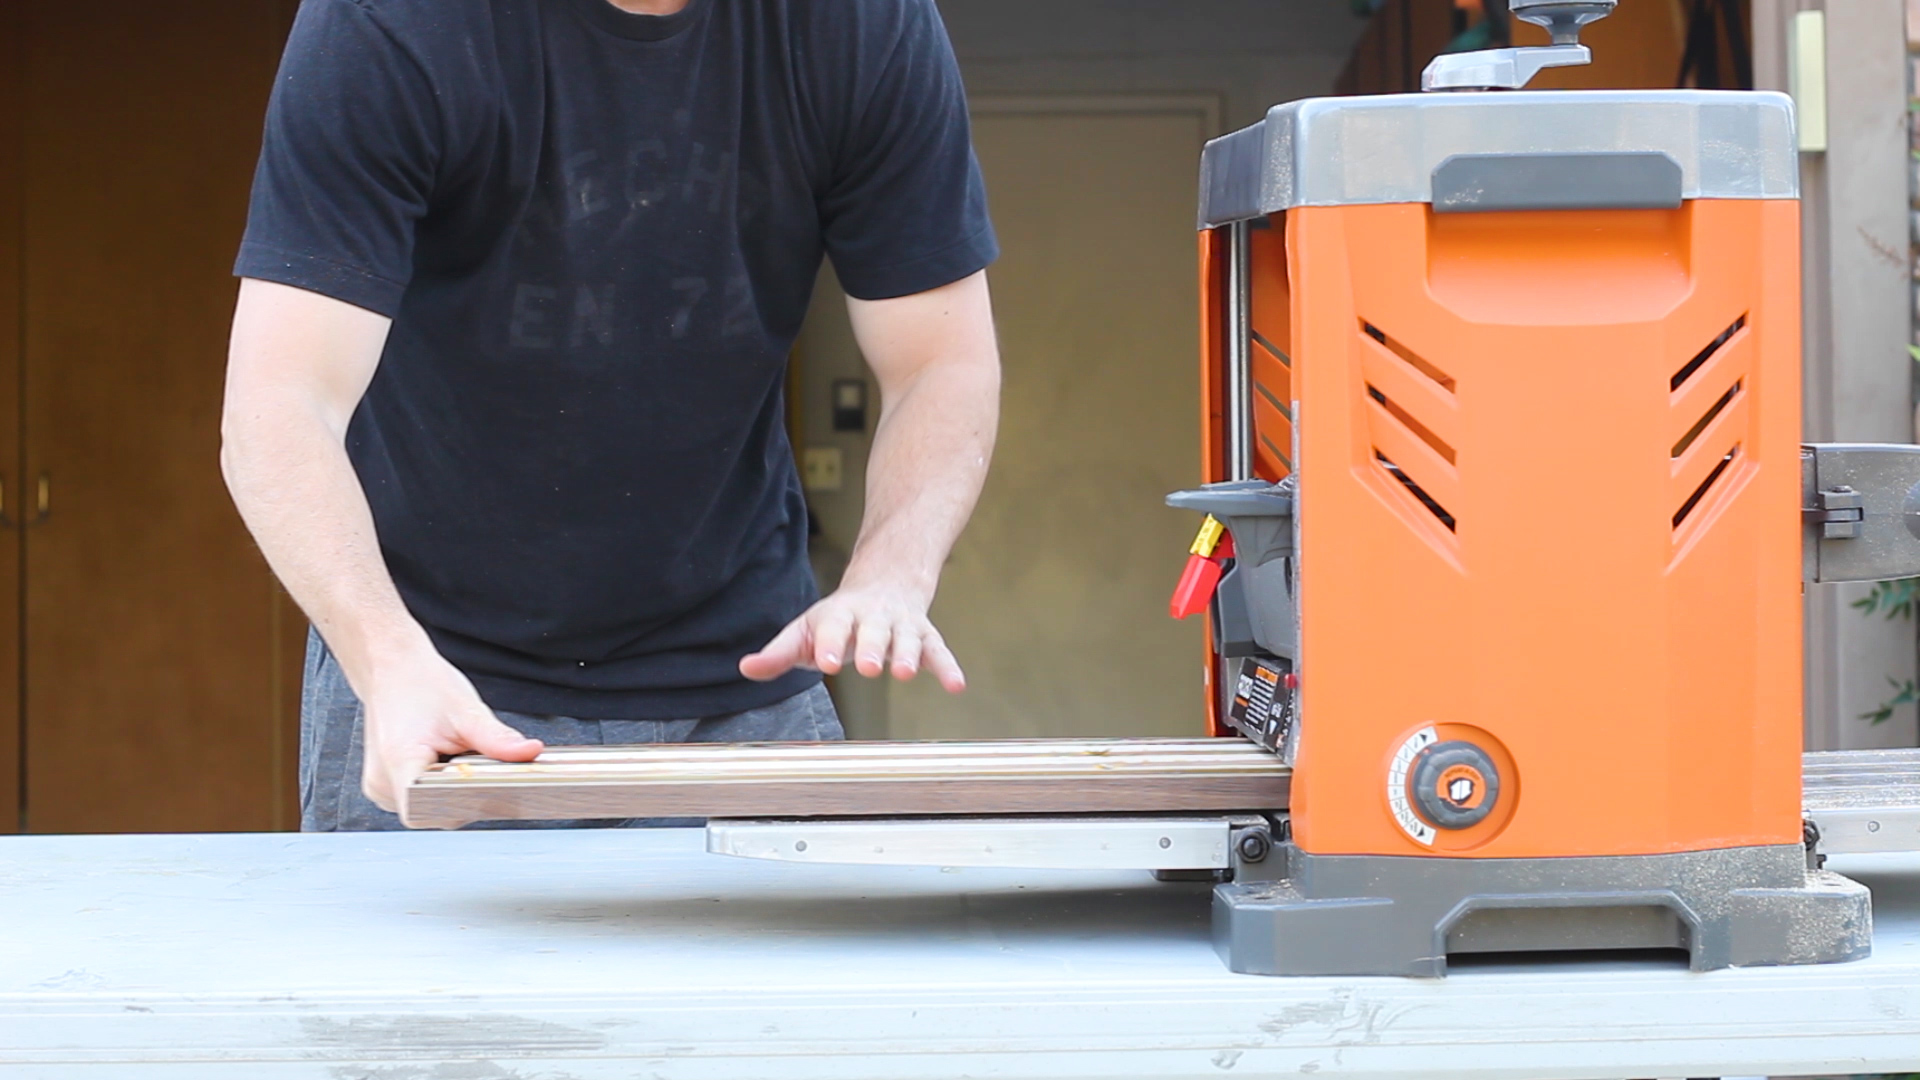
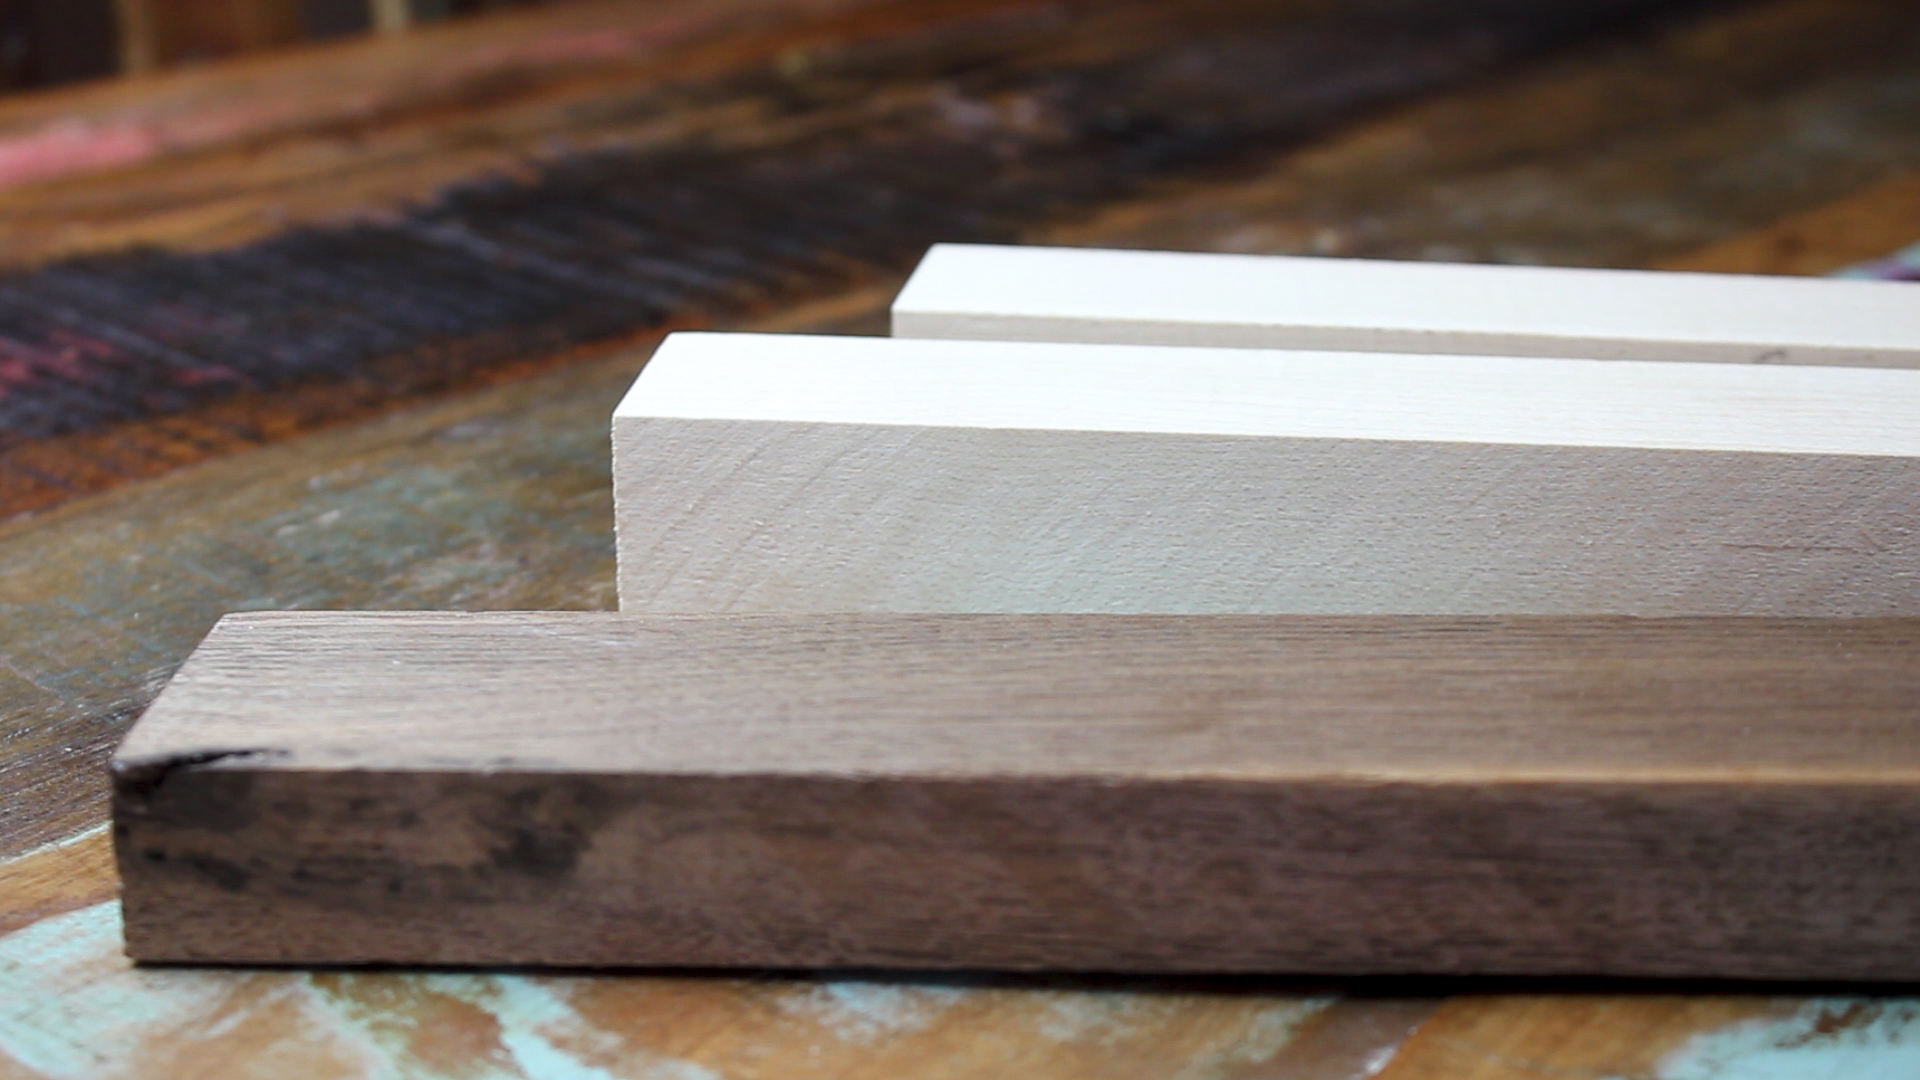
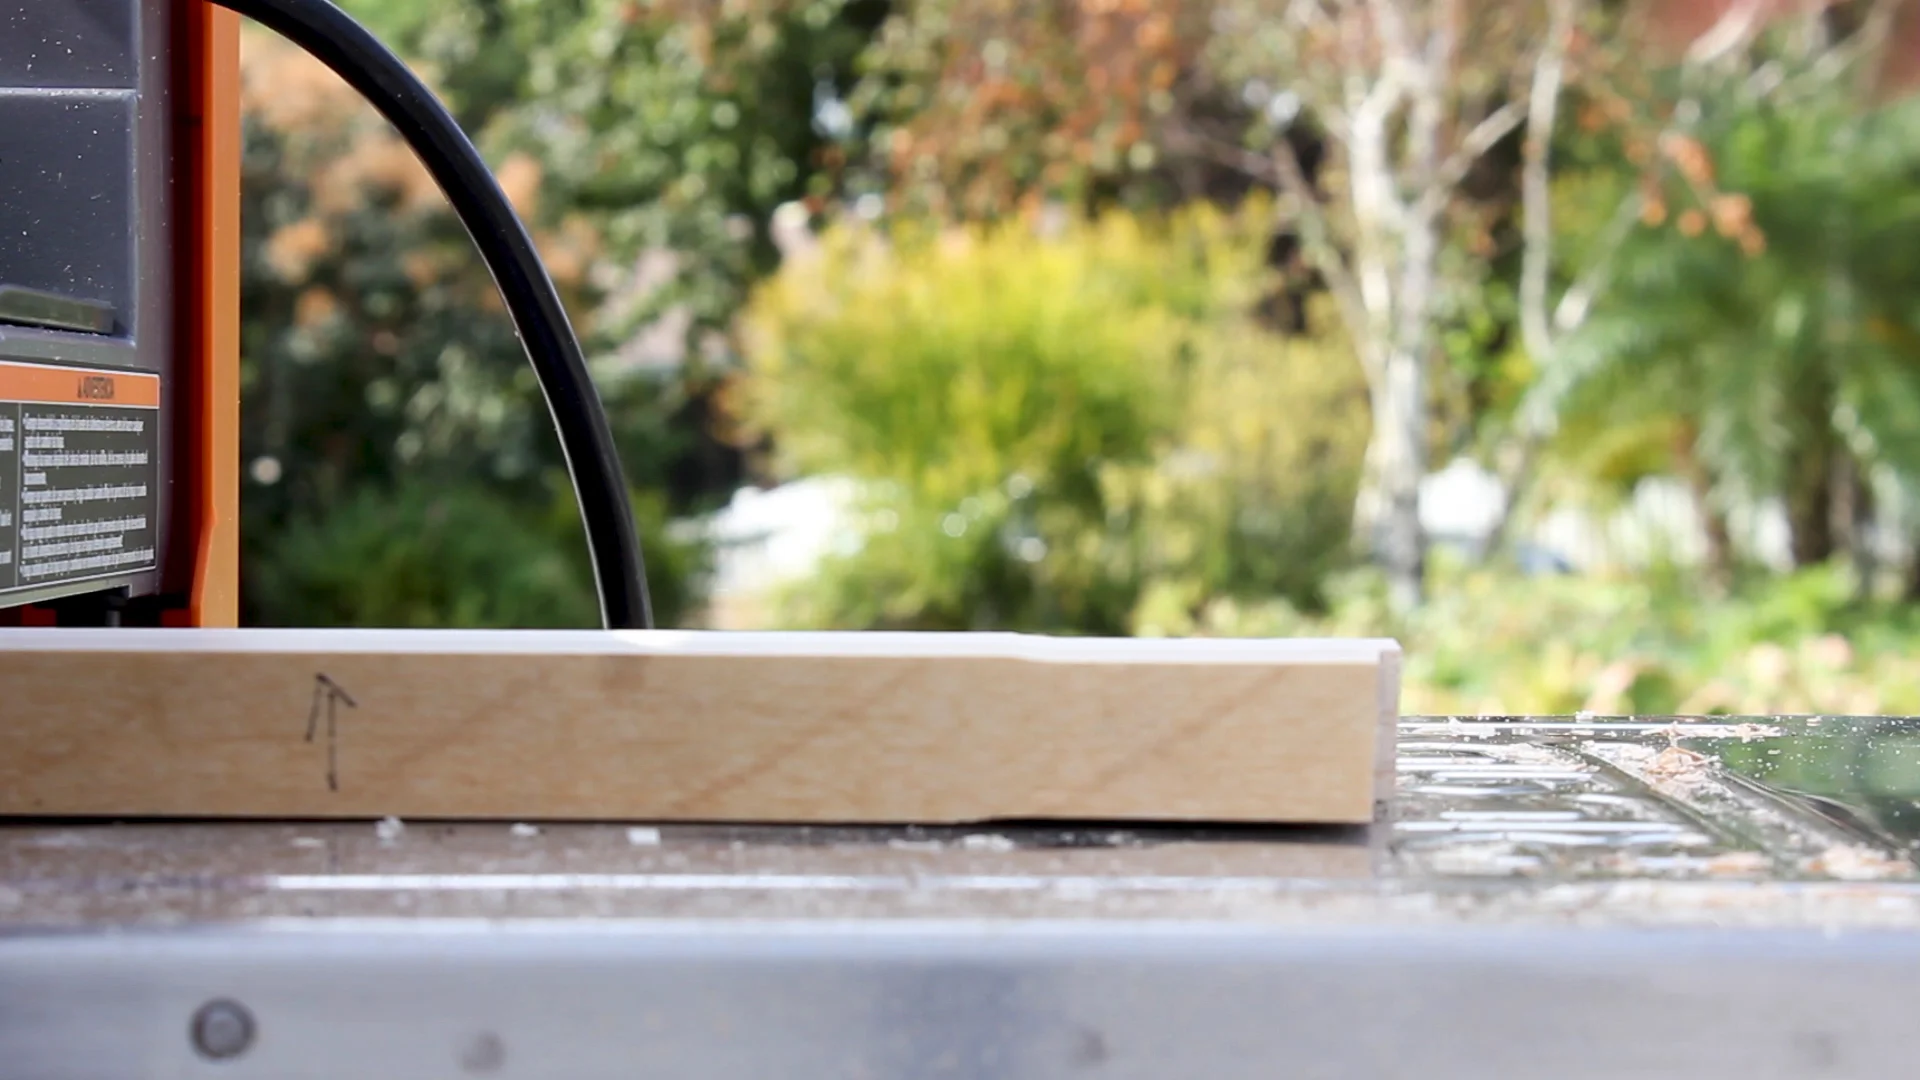
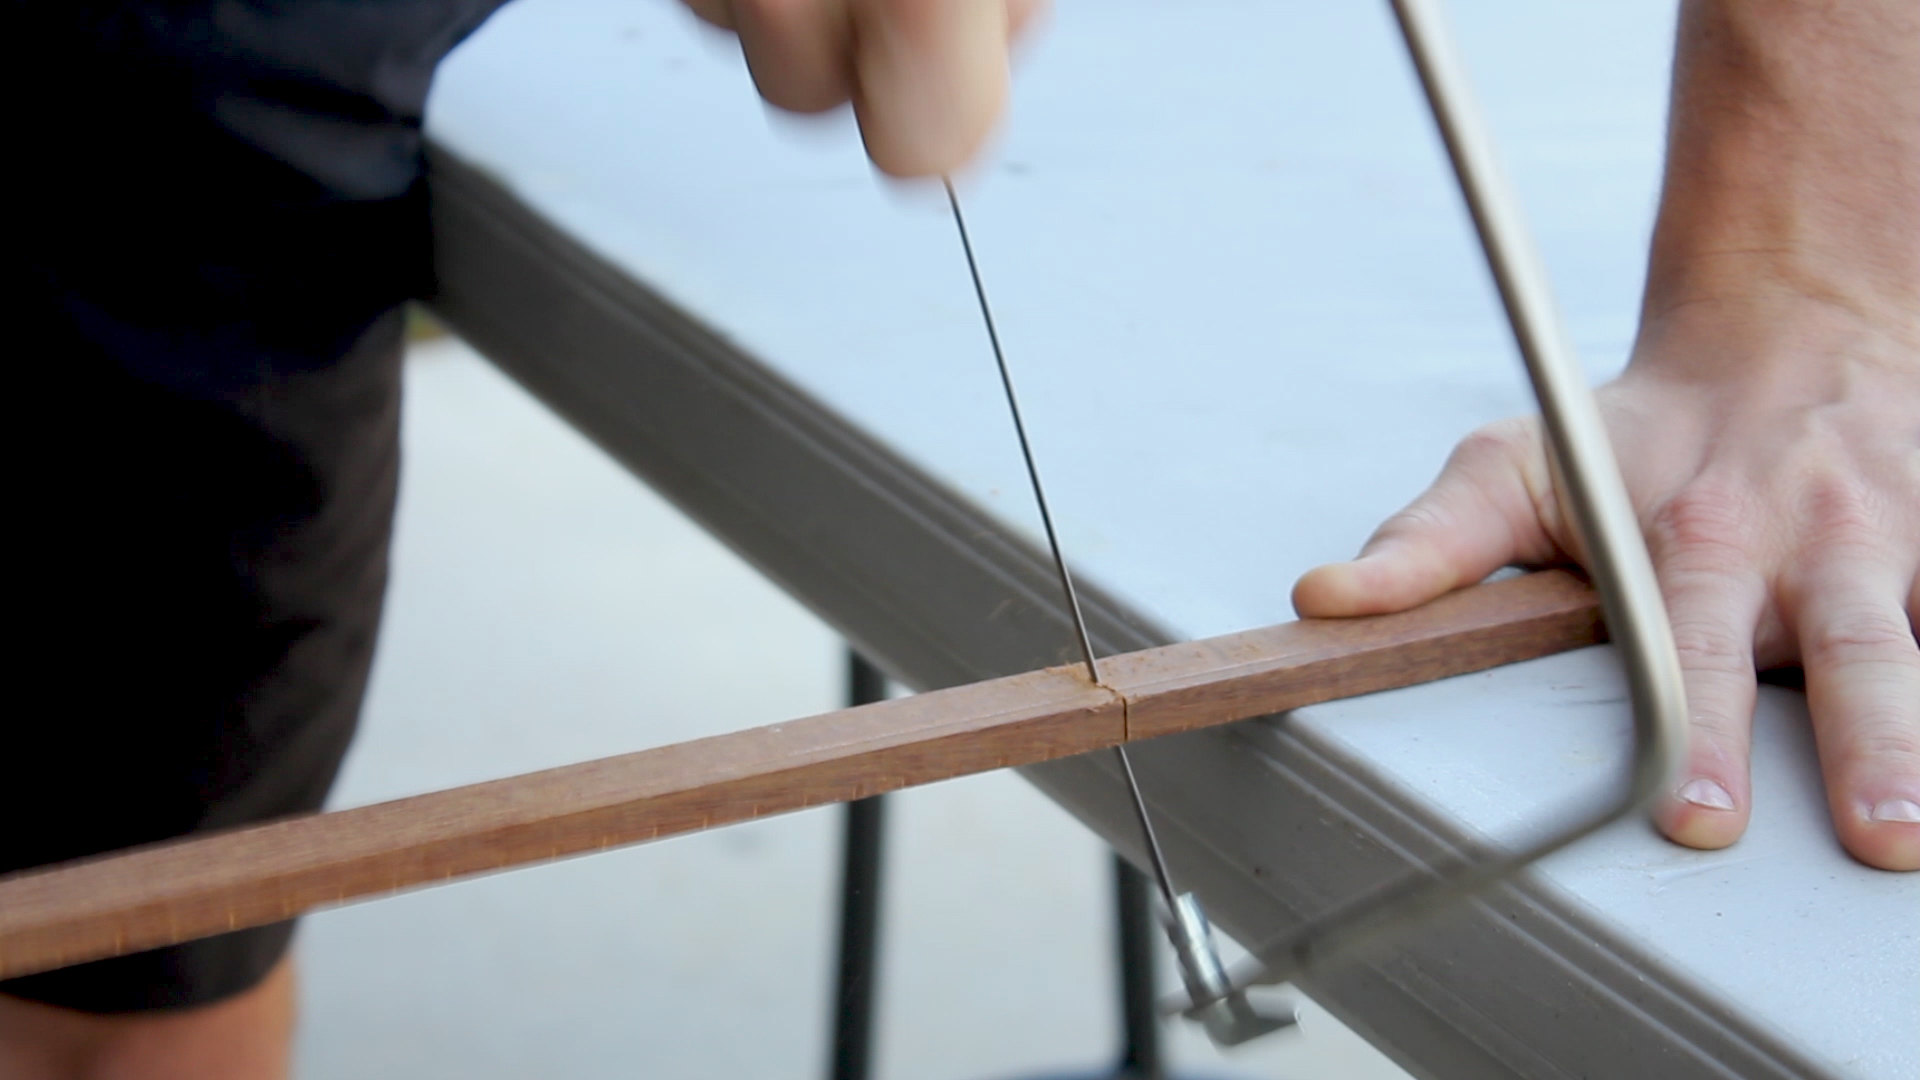
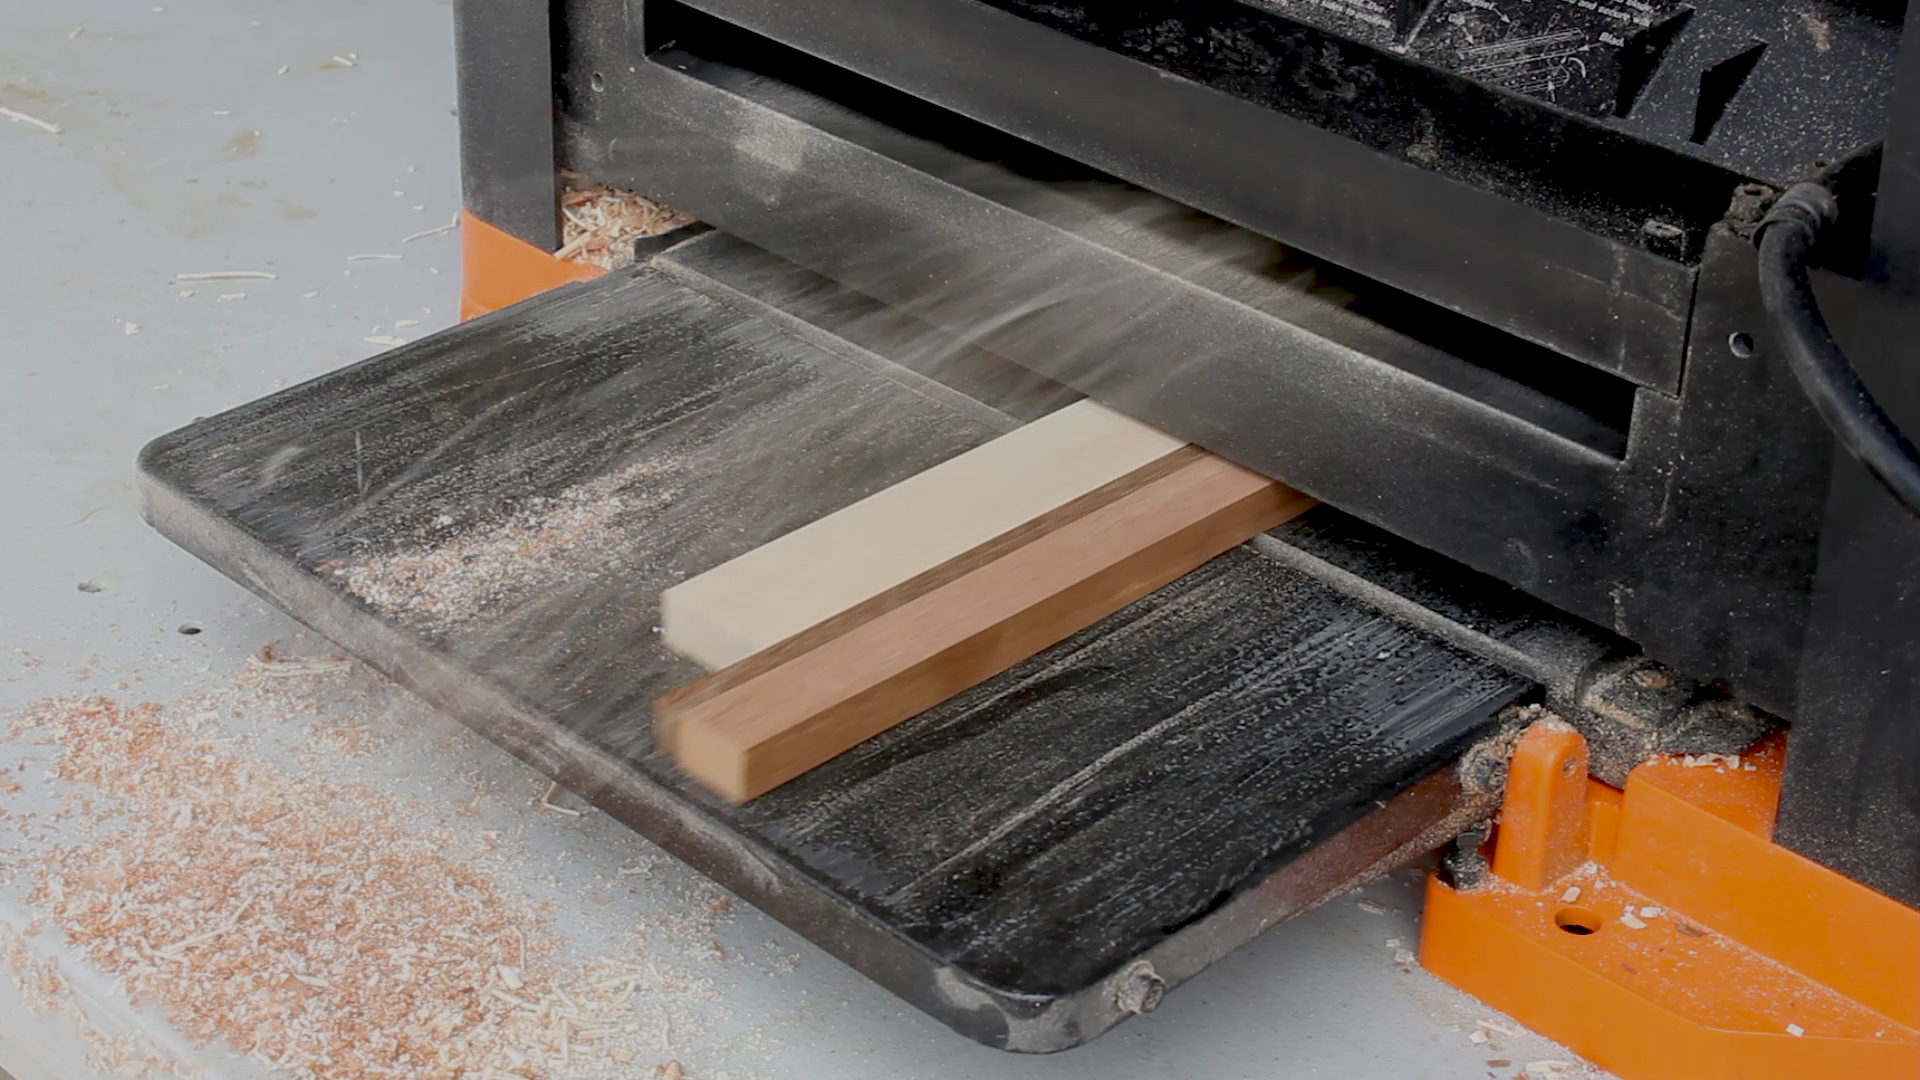
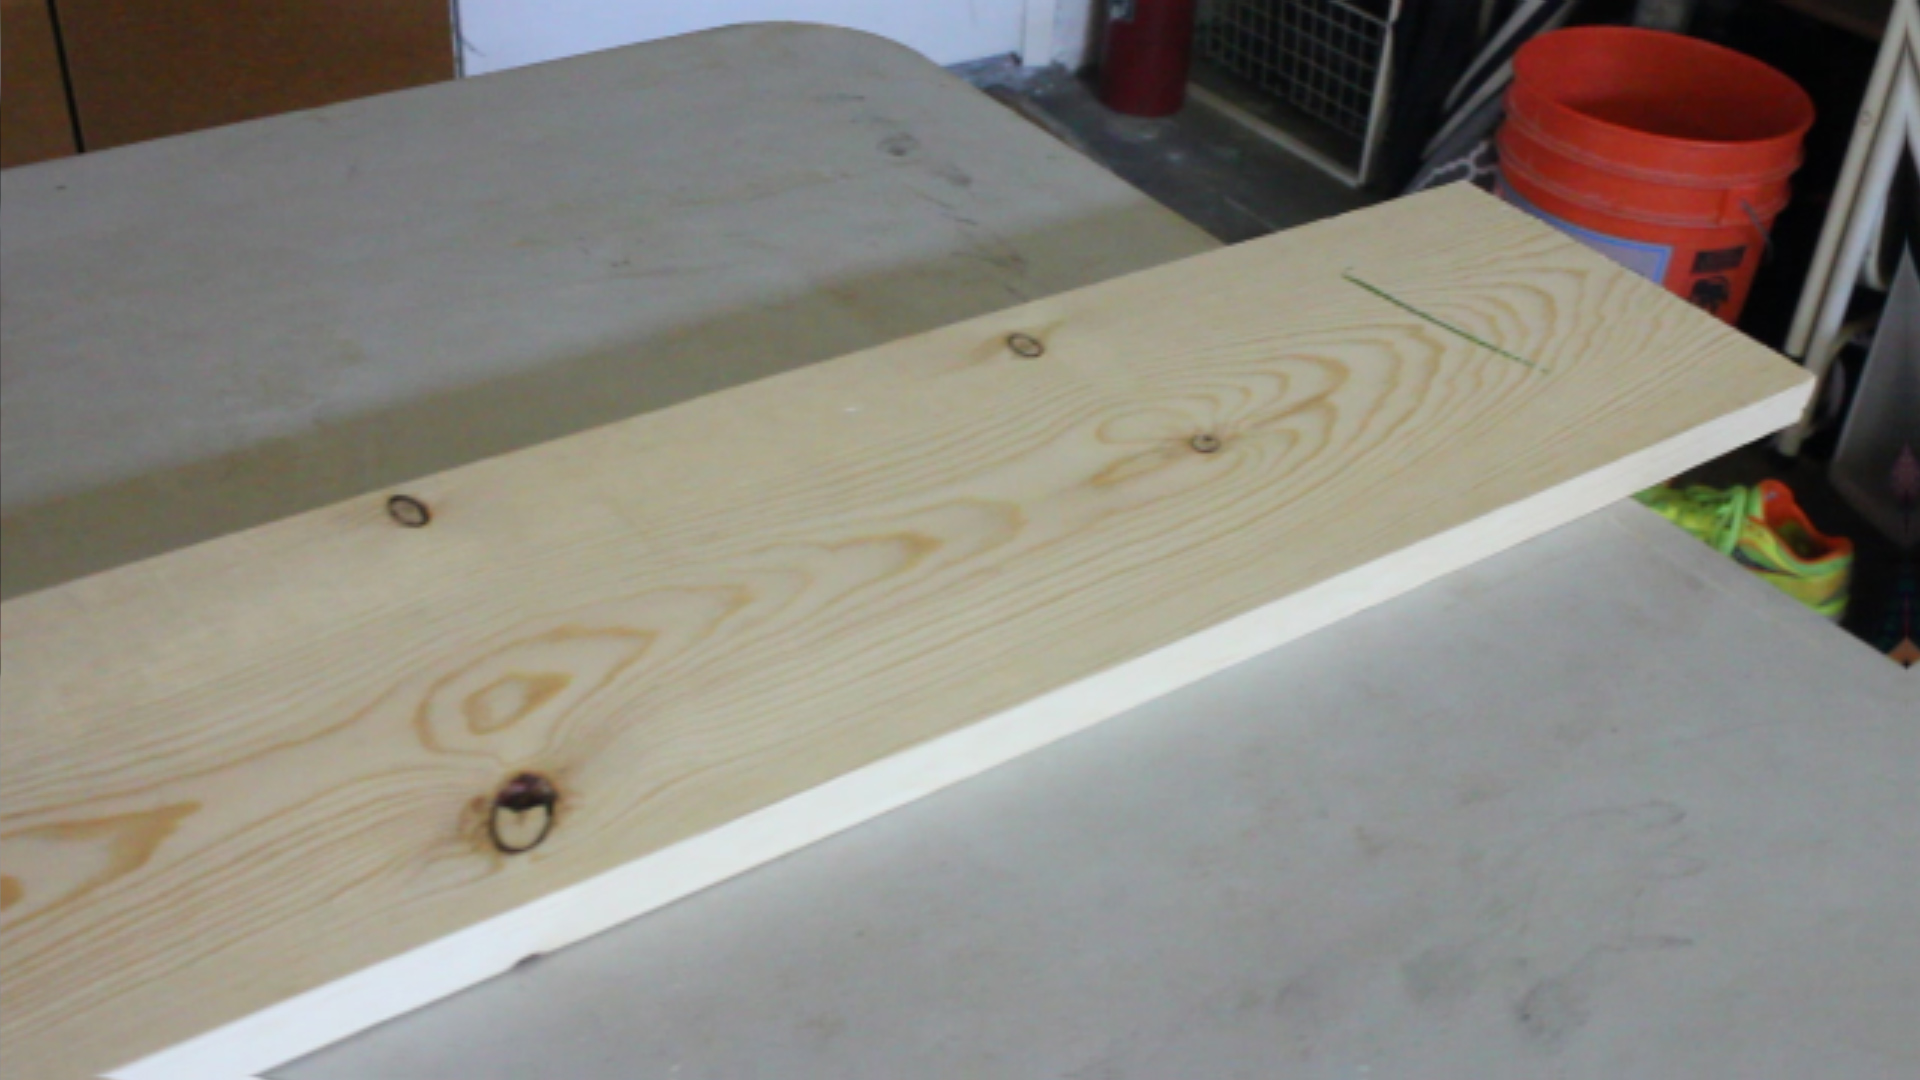
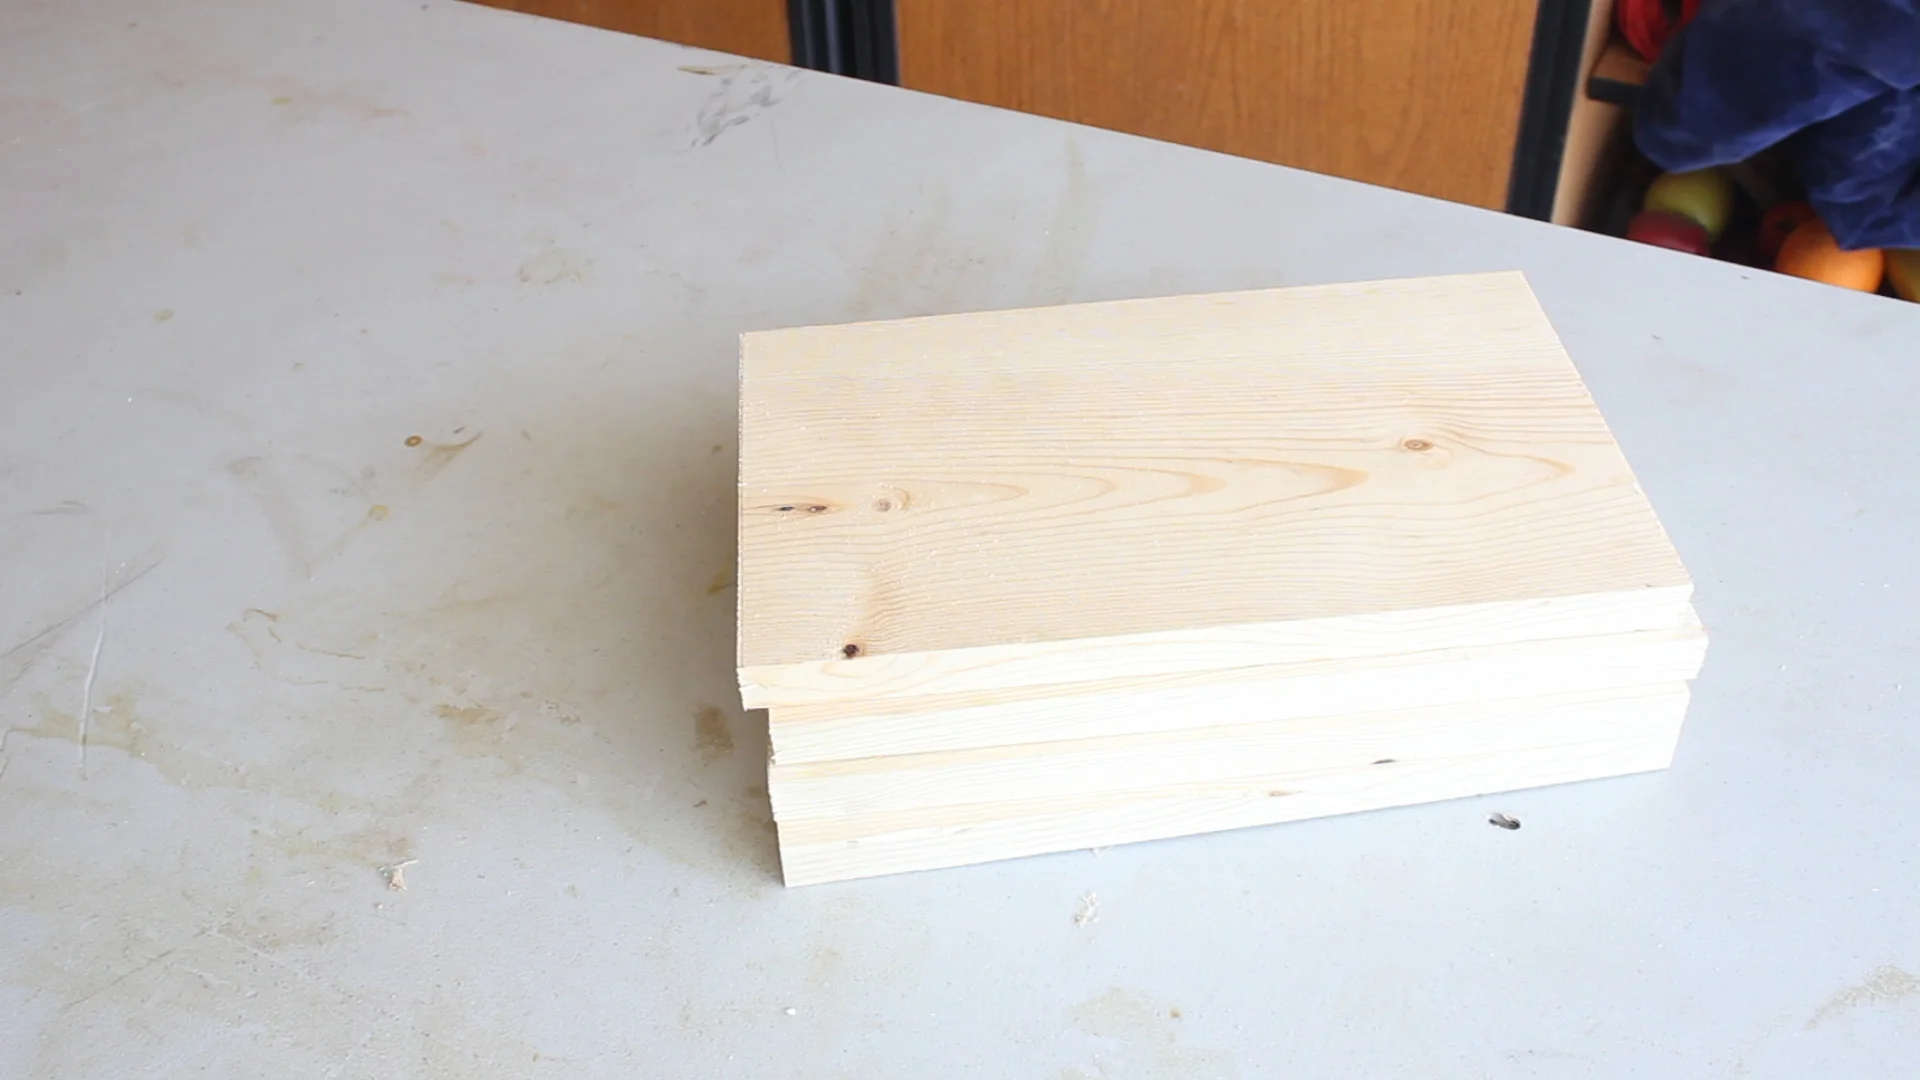
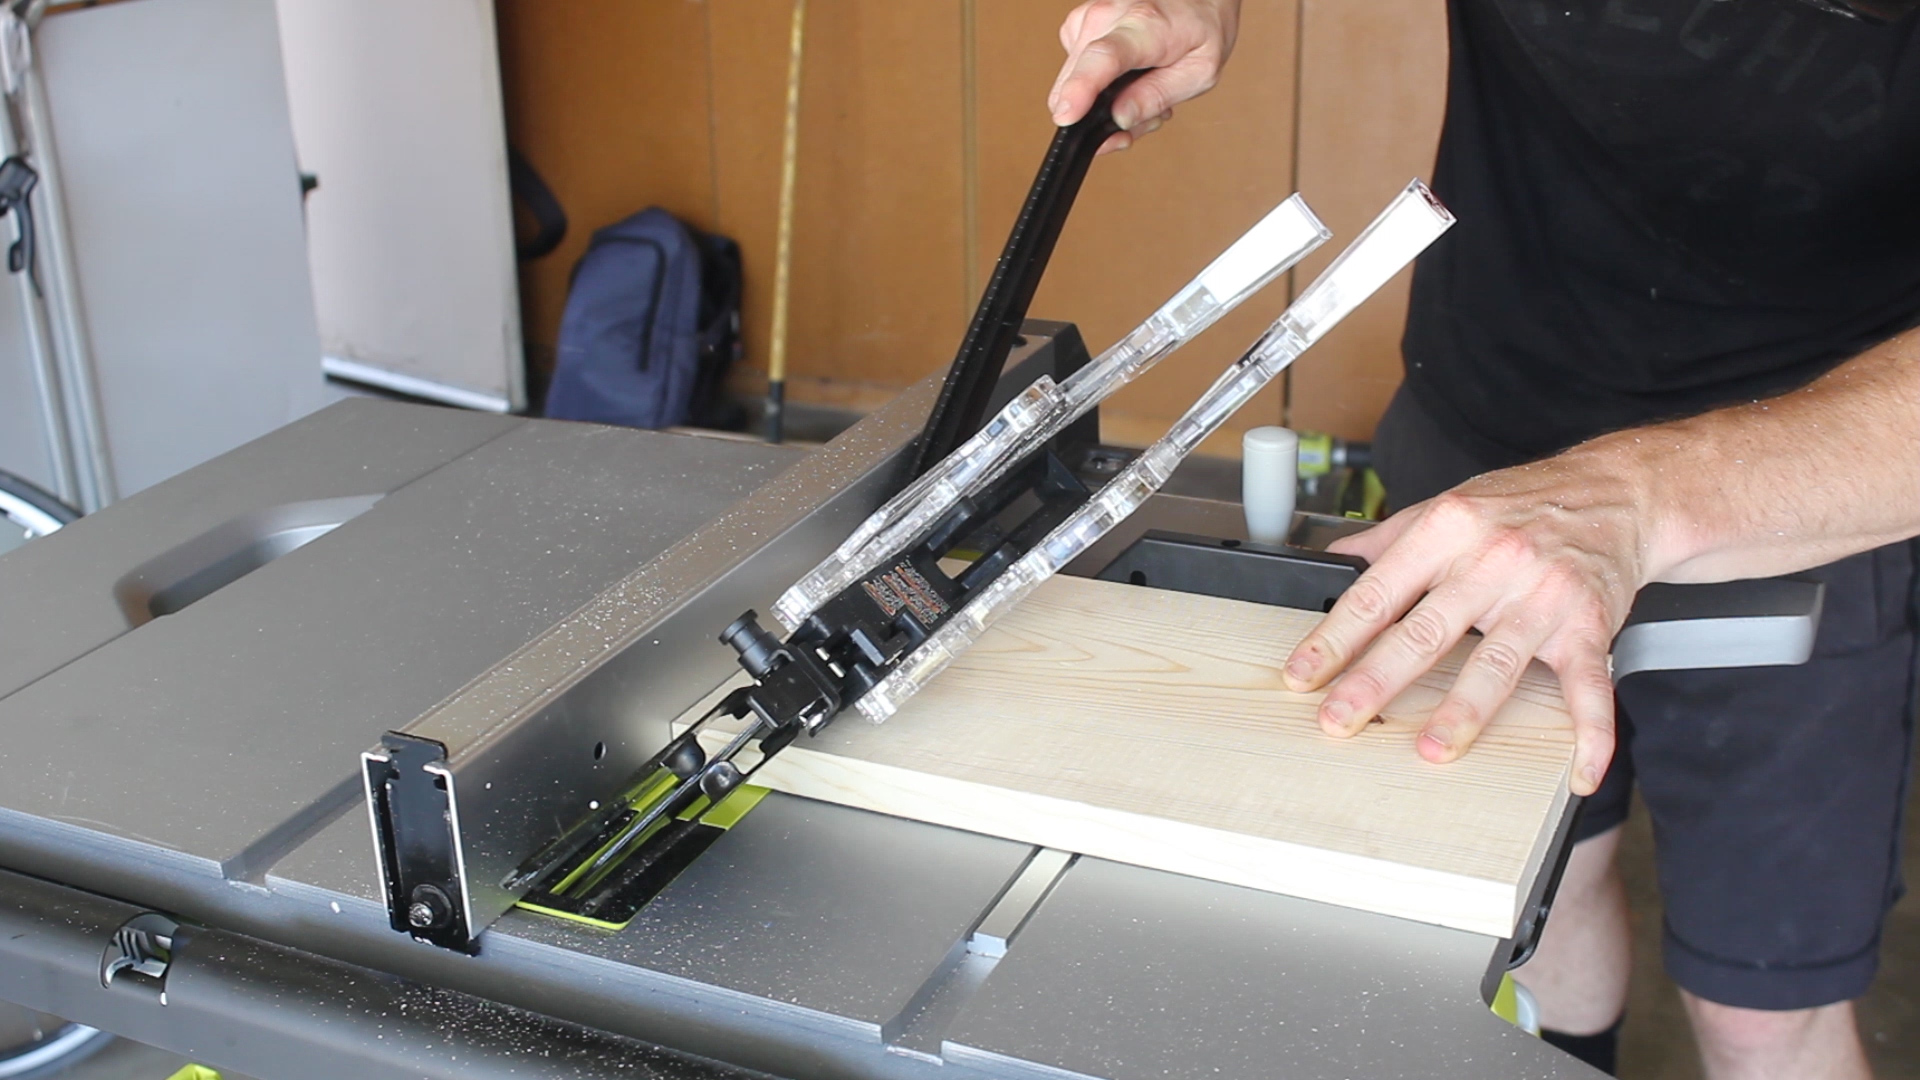
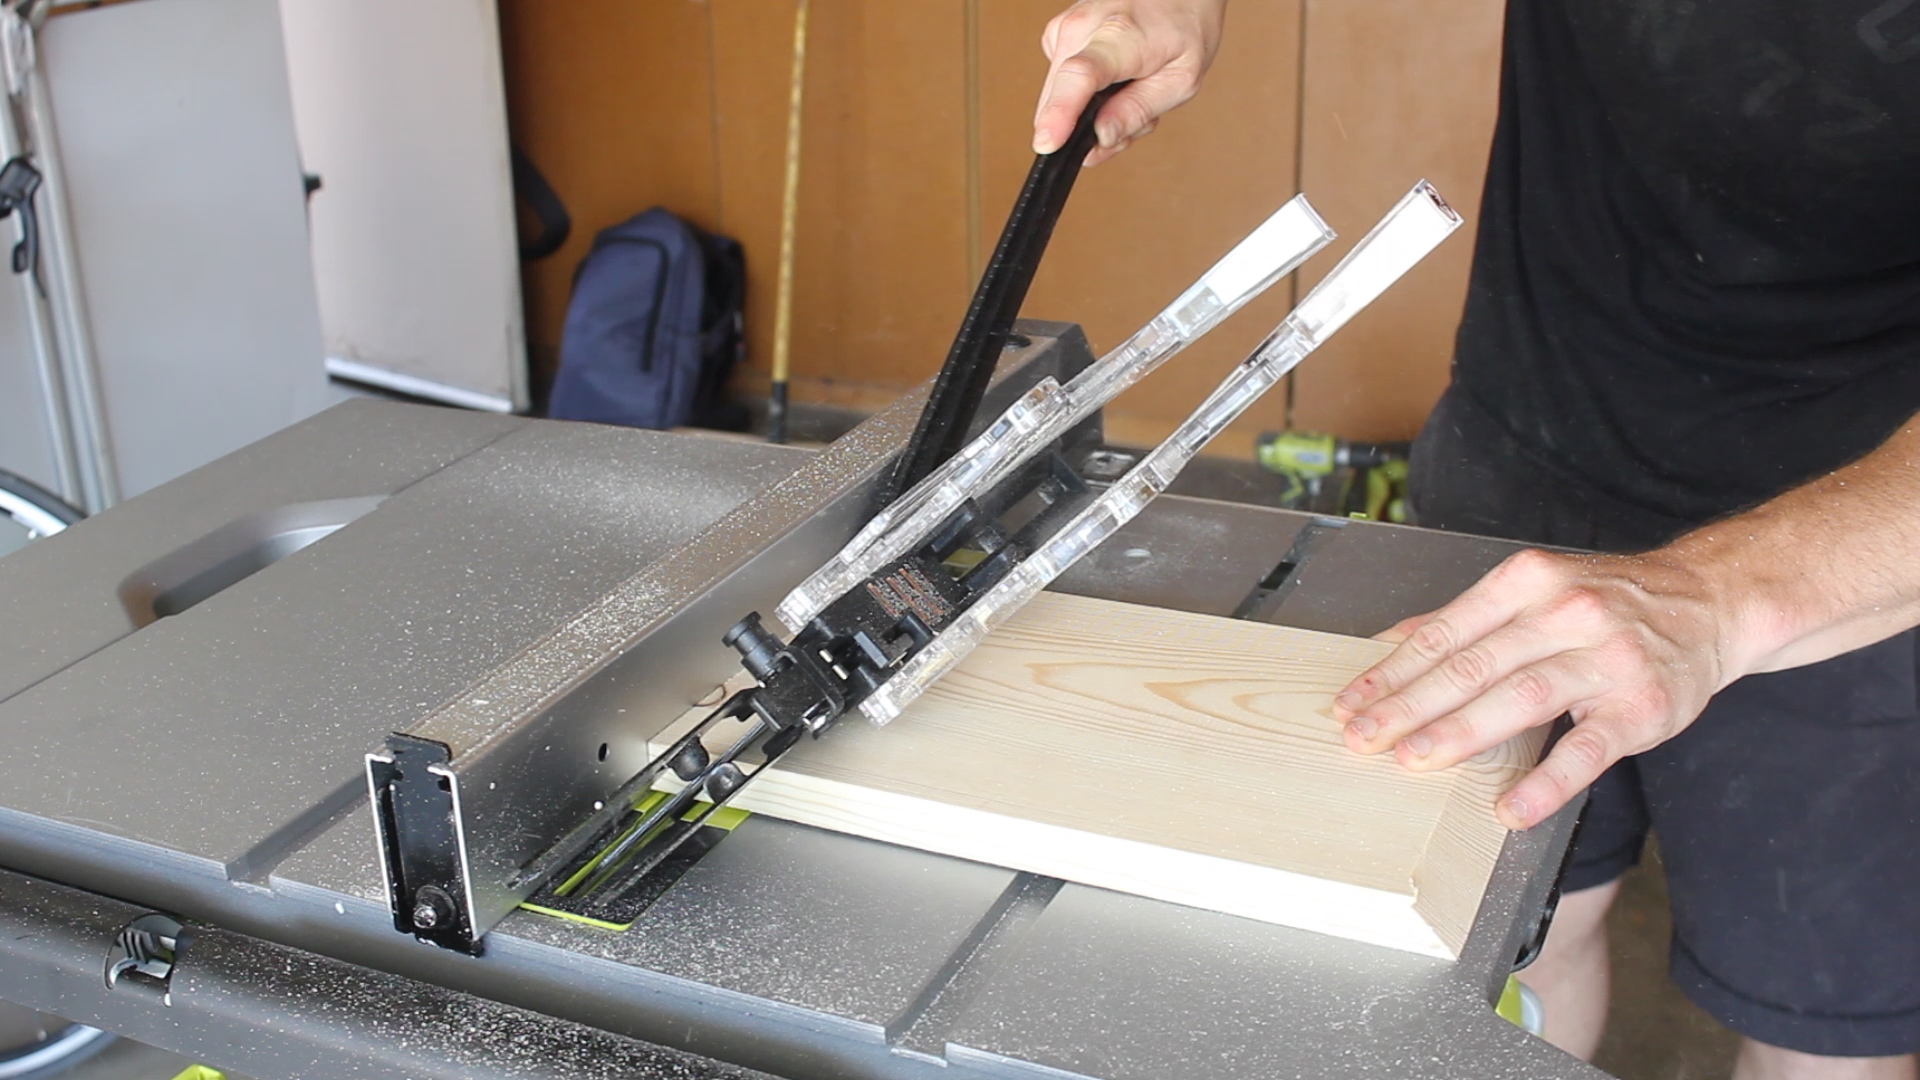
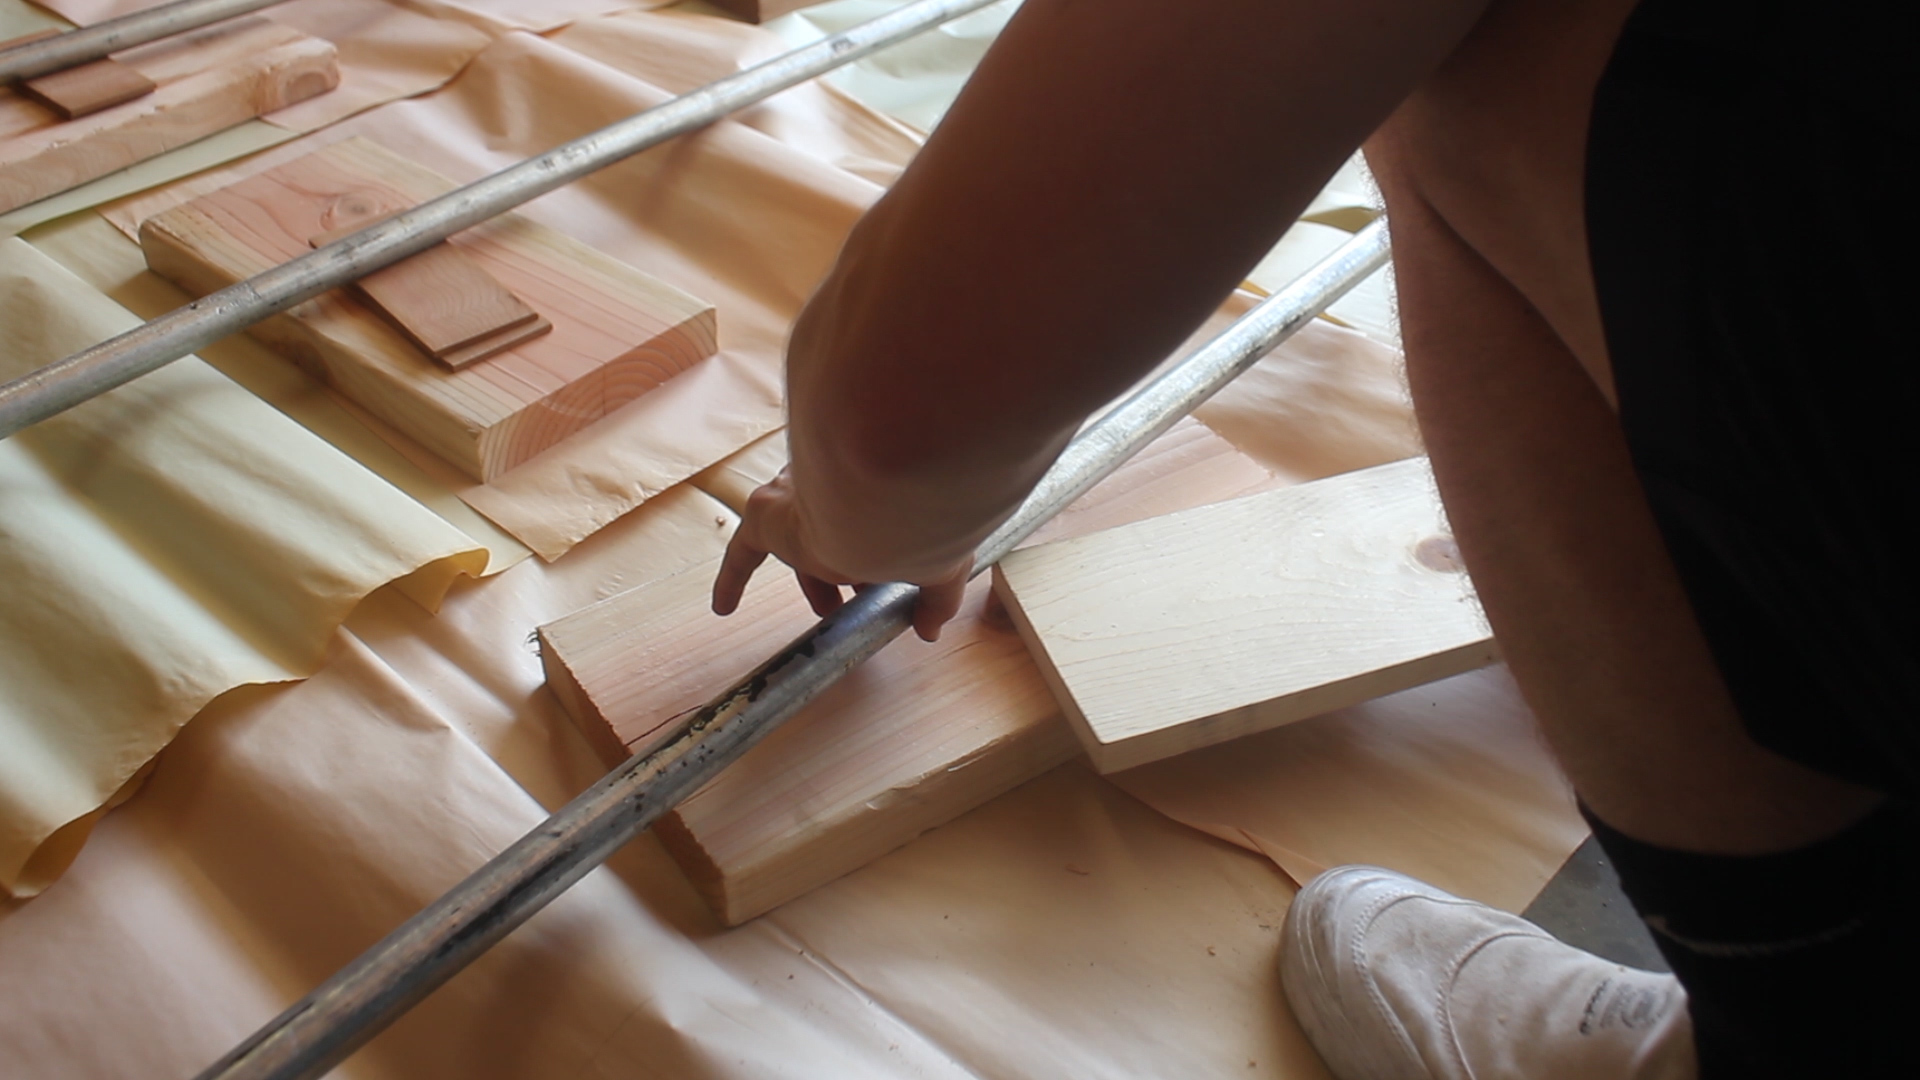
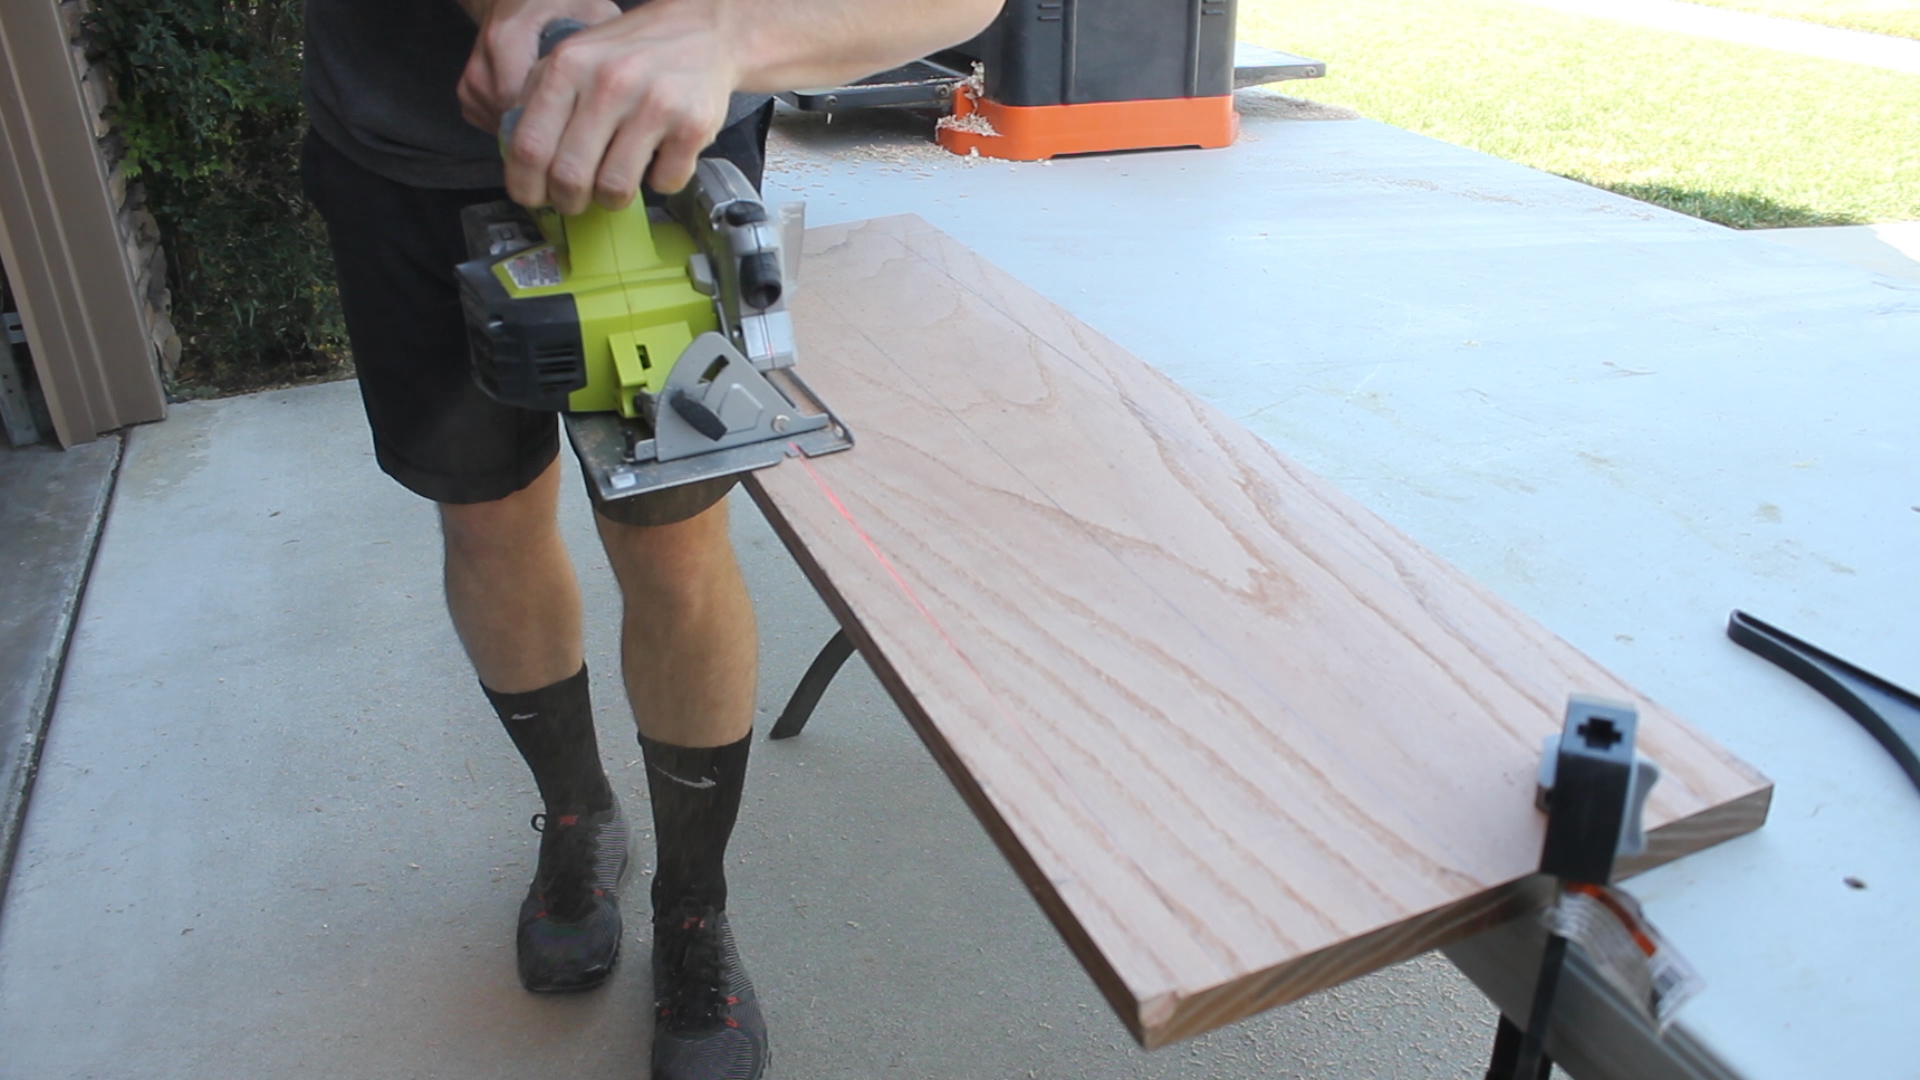
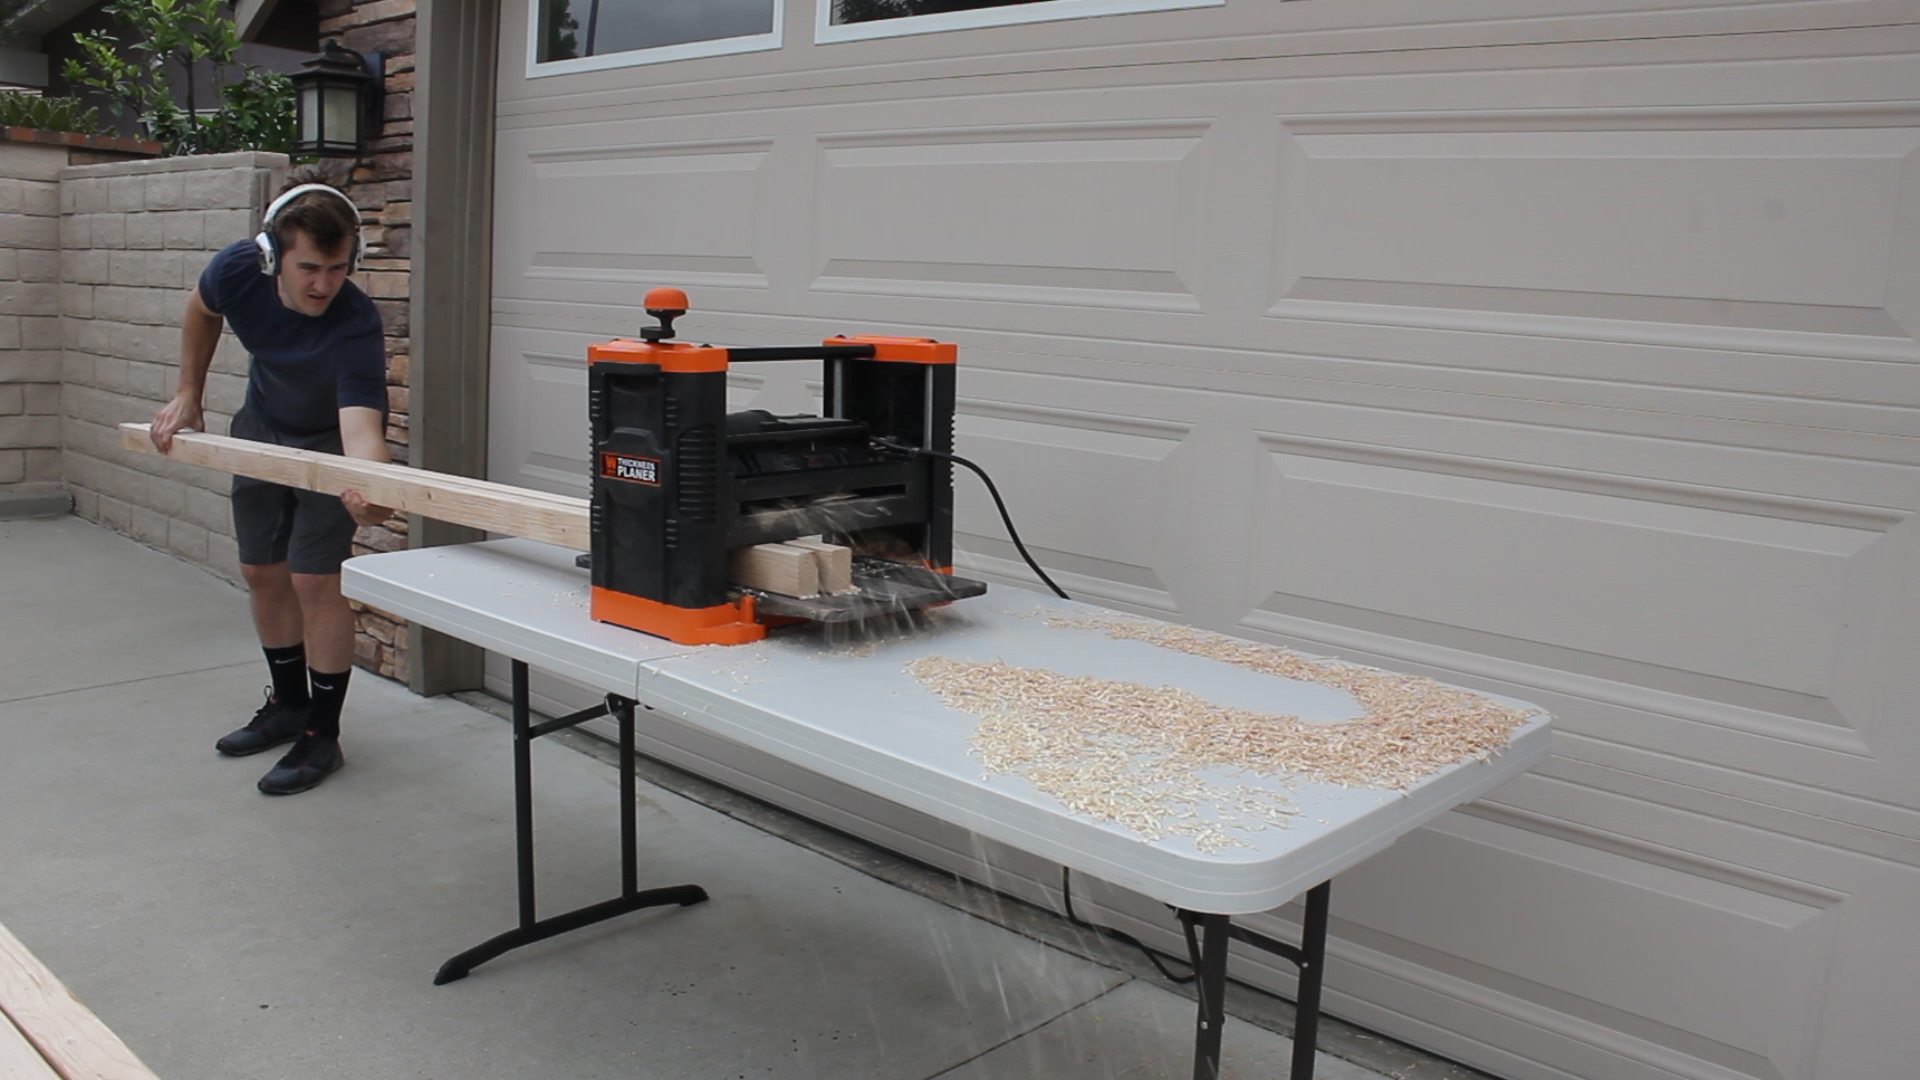
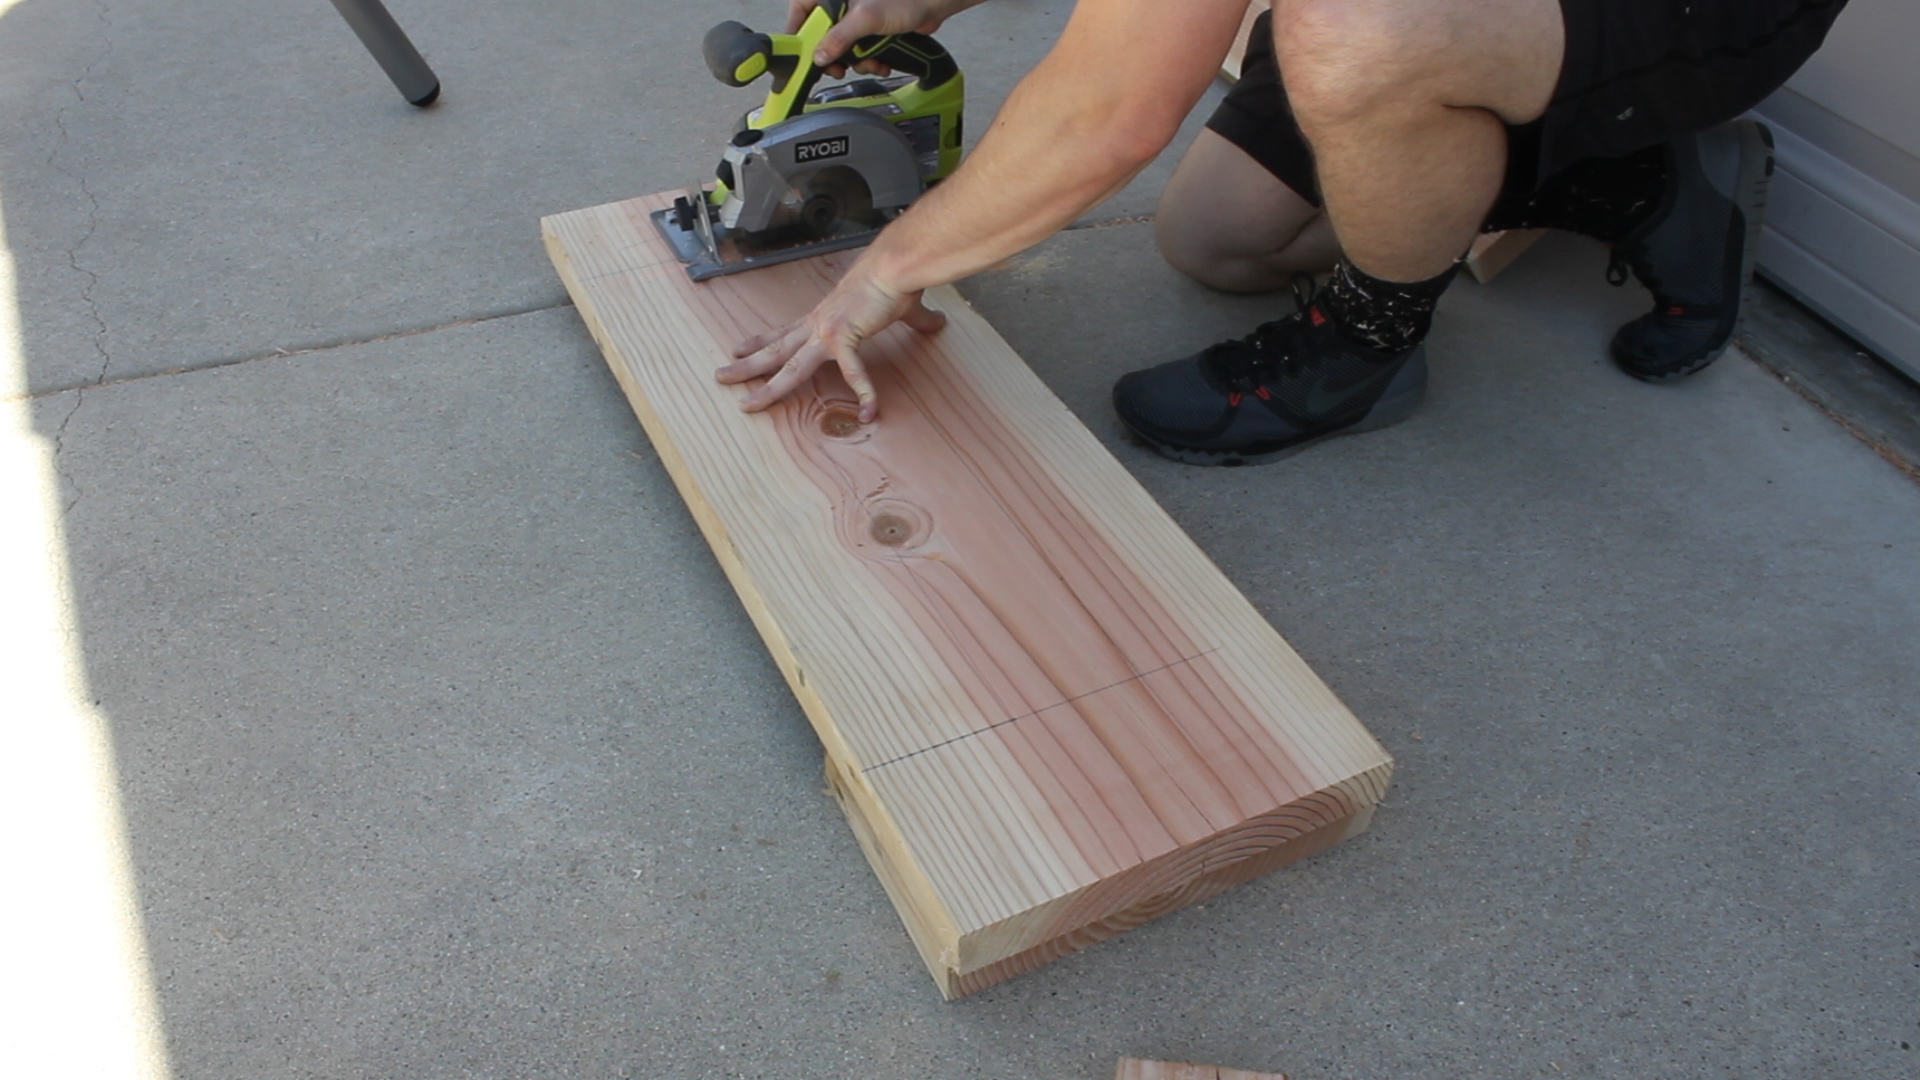
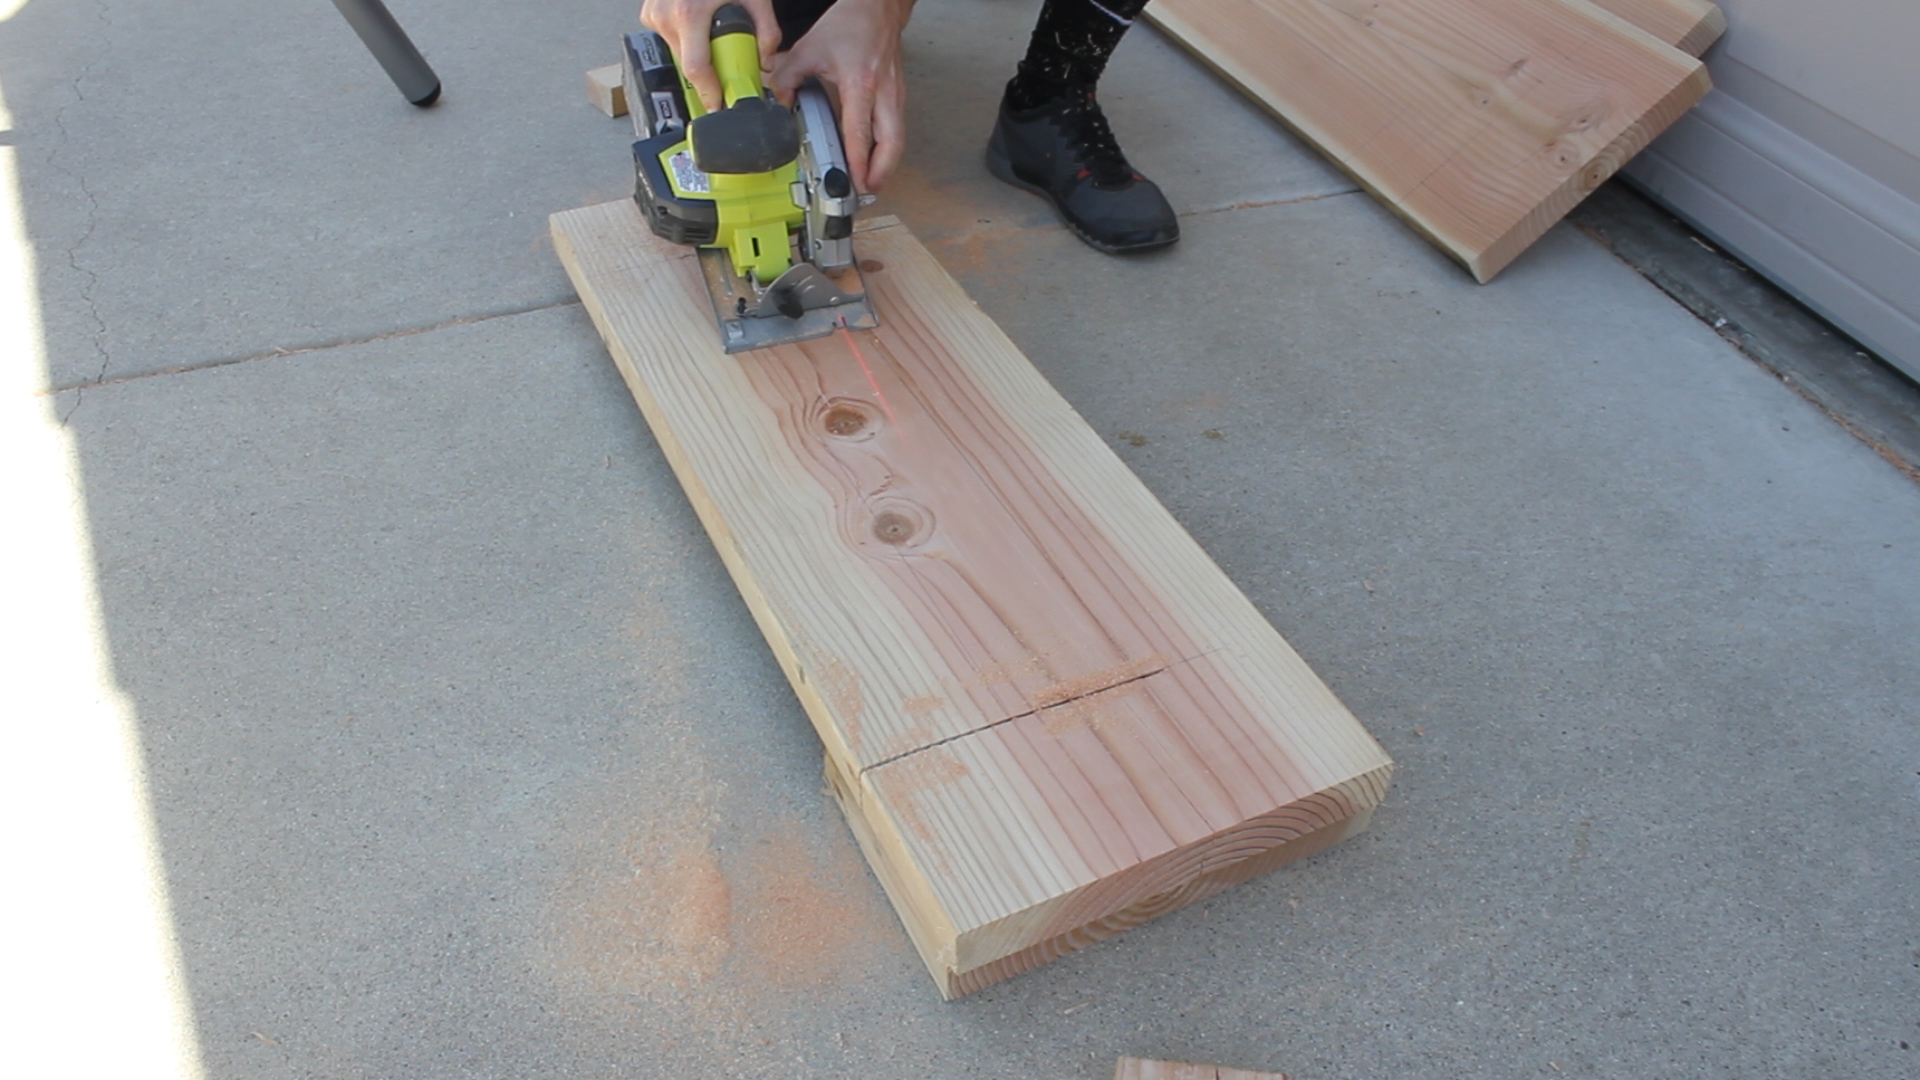
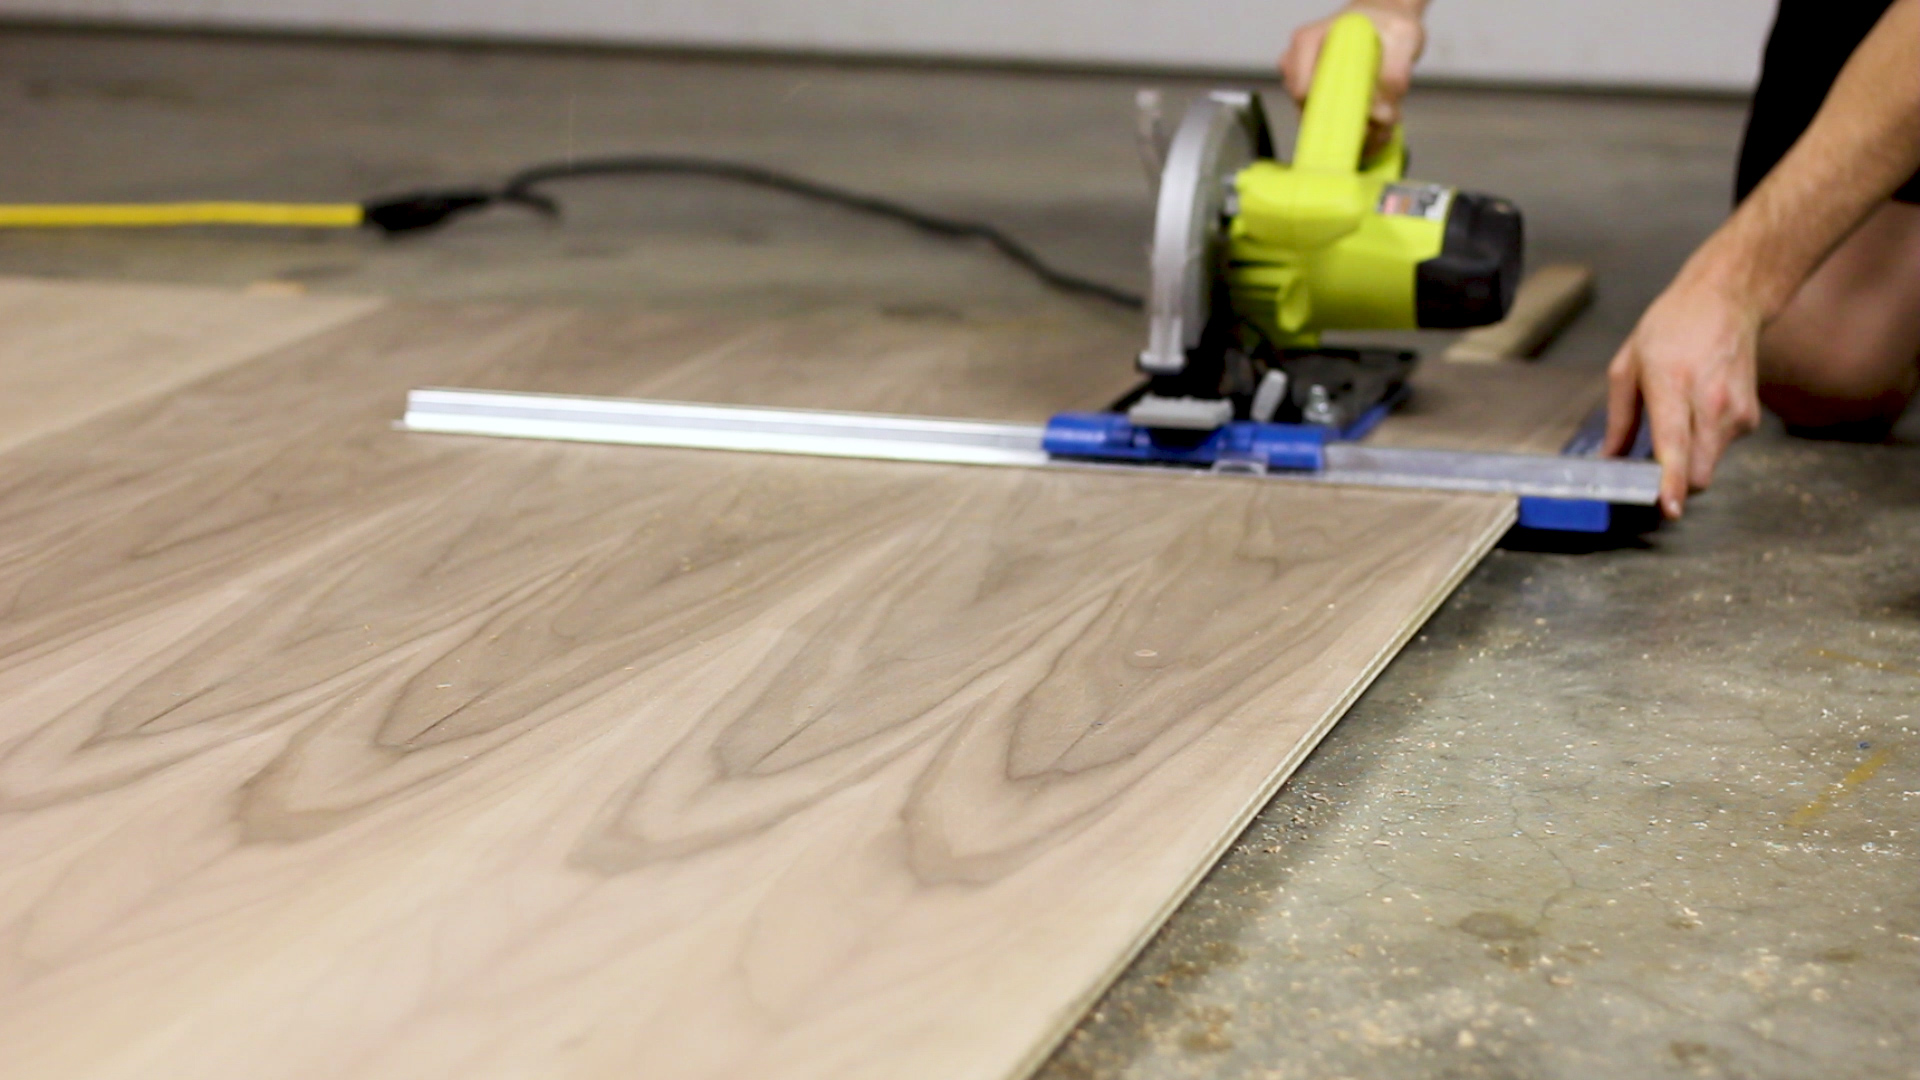
It was easiest for me to rip long pieces that I could then cut down into their final dimension on my miter saw. I used my rip cut and a circular saw to rip all of the long pieces (Pic 2), but you can do this on a table saw more easily if you have a bigger set up or partner or just use a straight edge. Pic 3 just shows the pieces stacked.


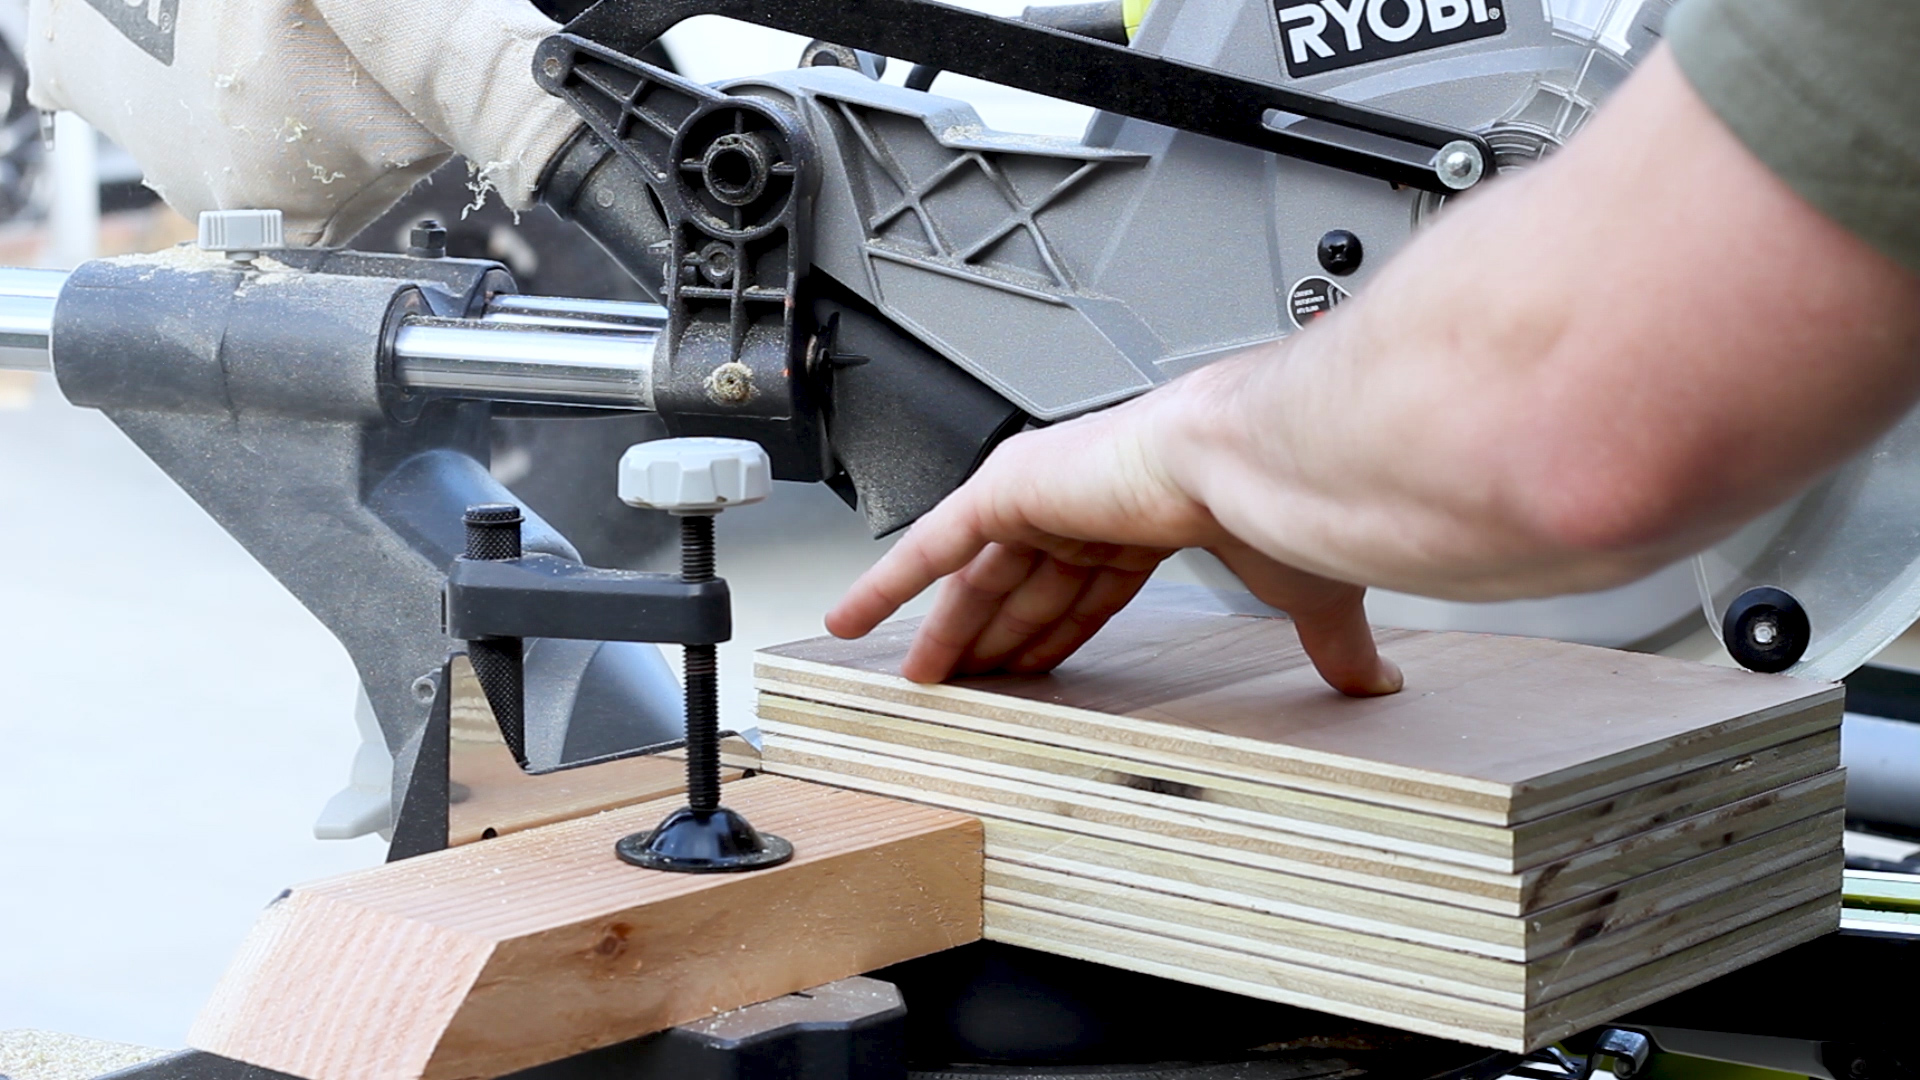
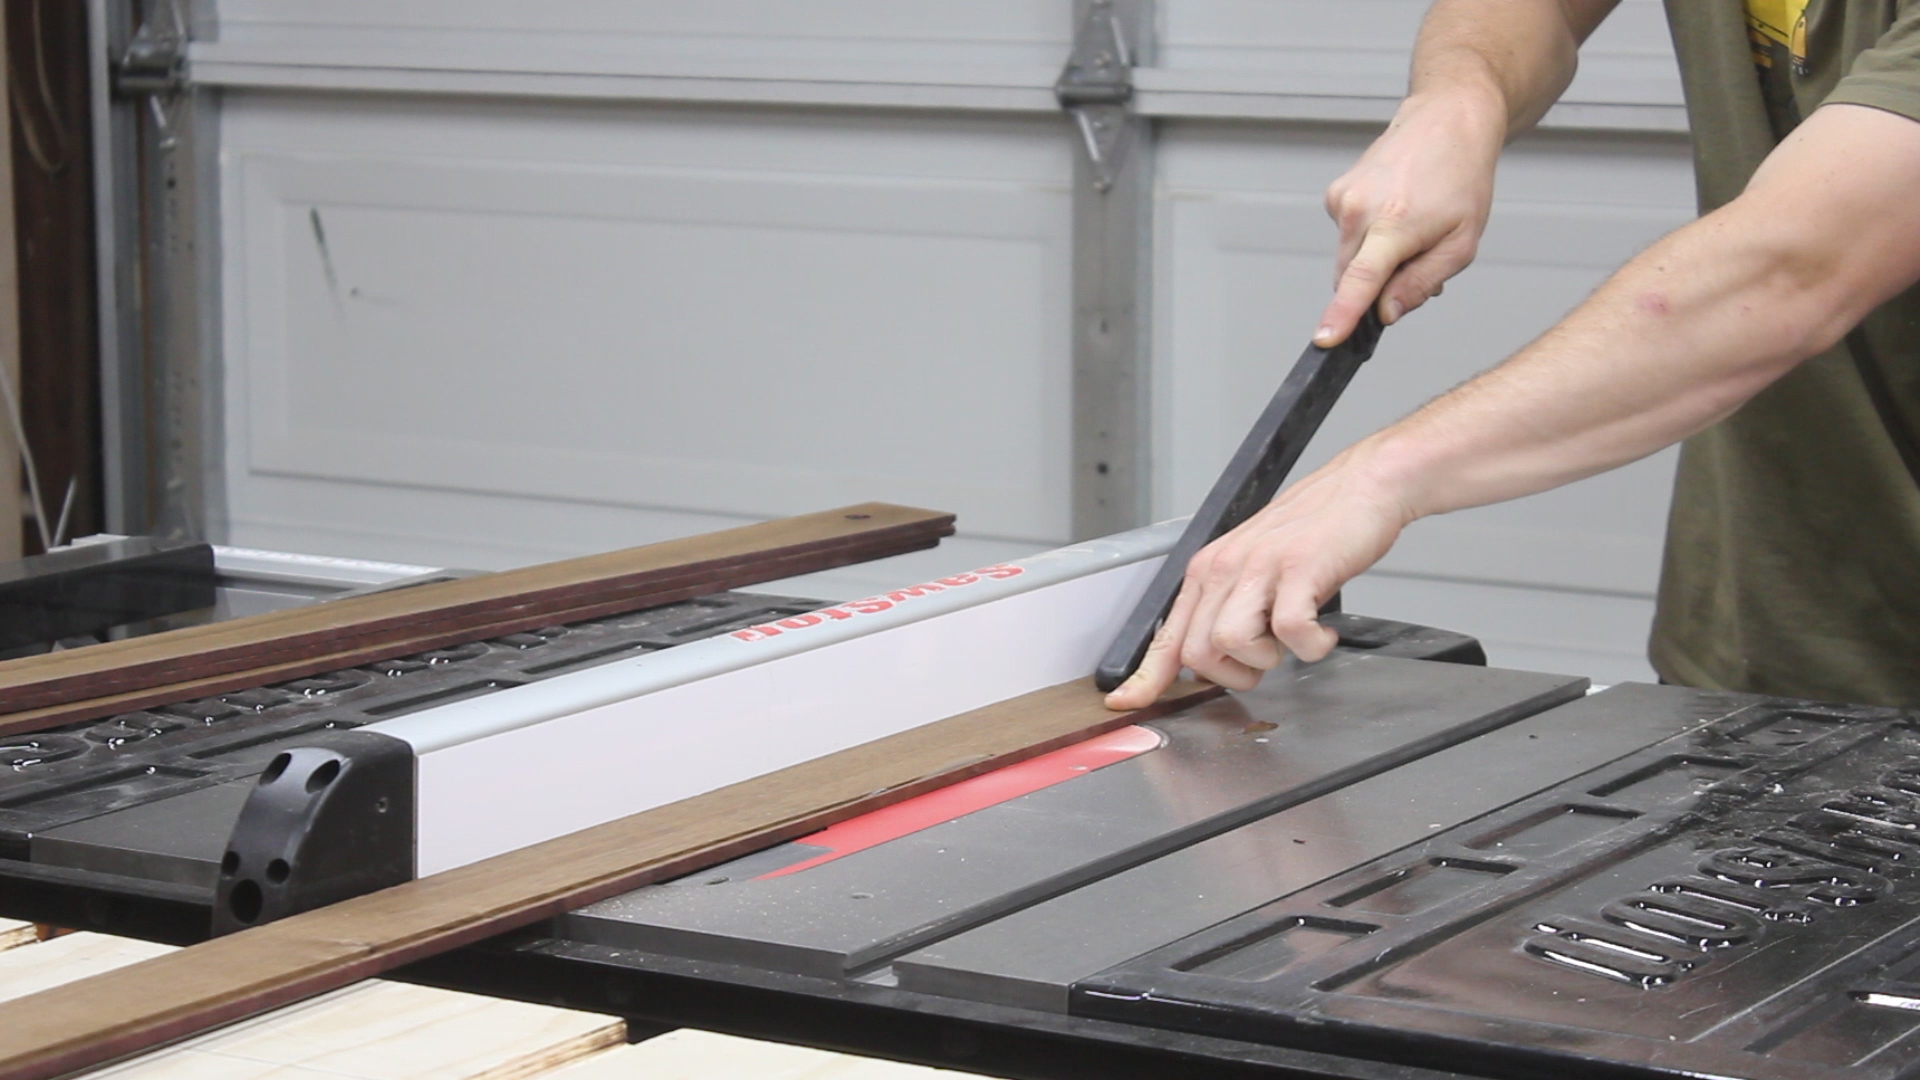
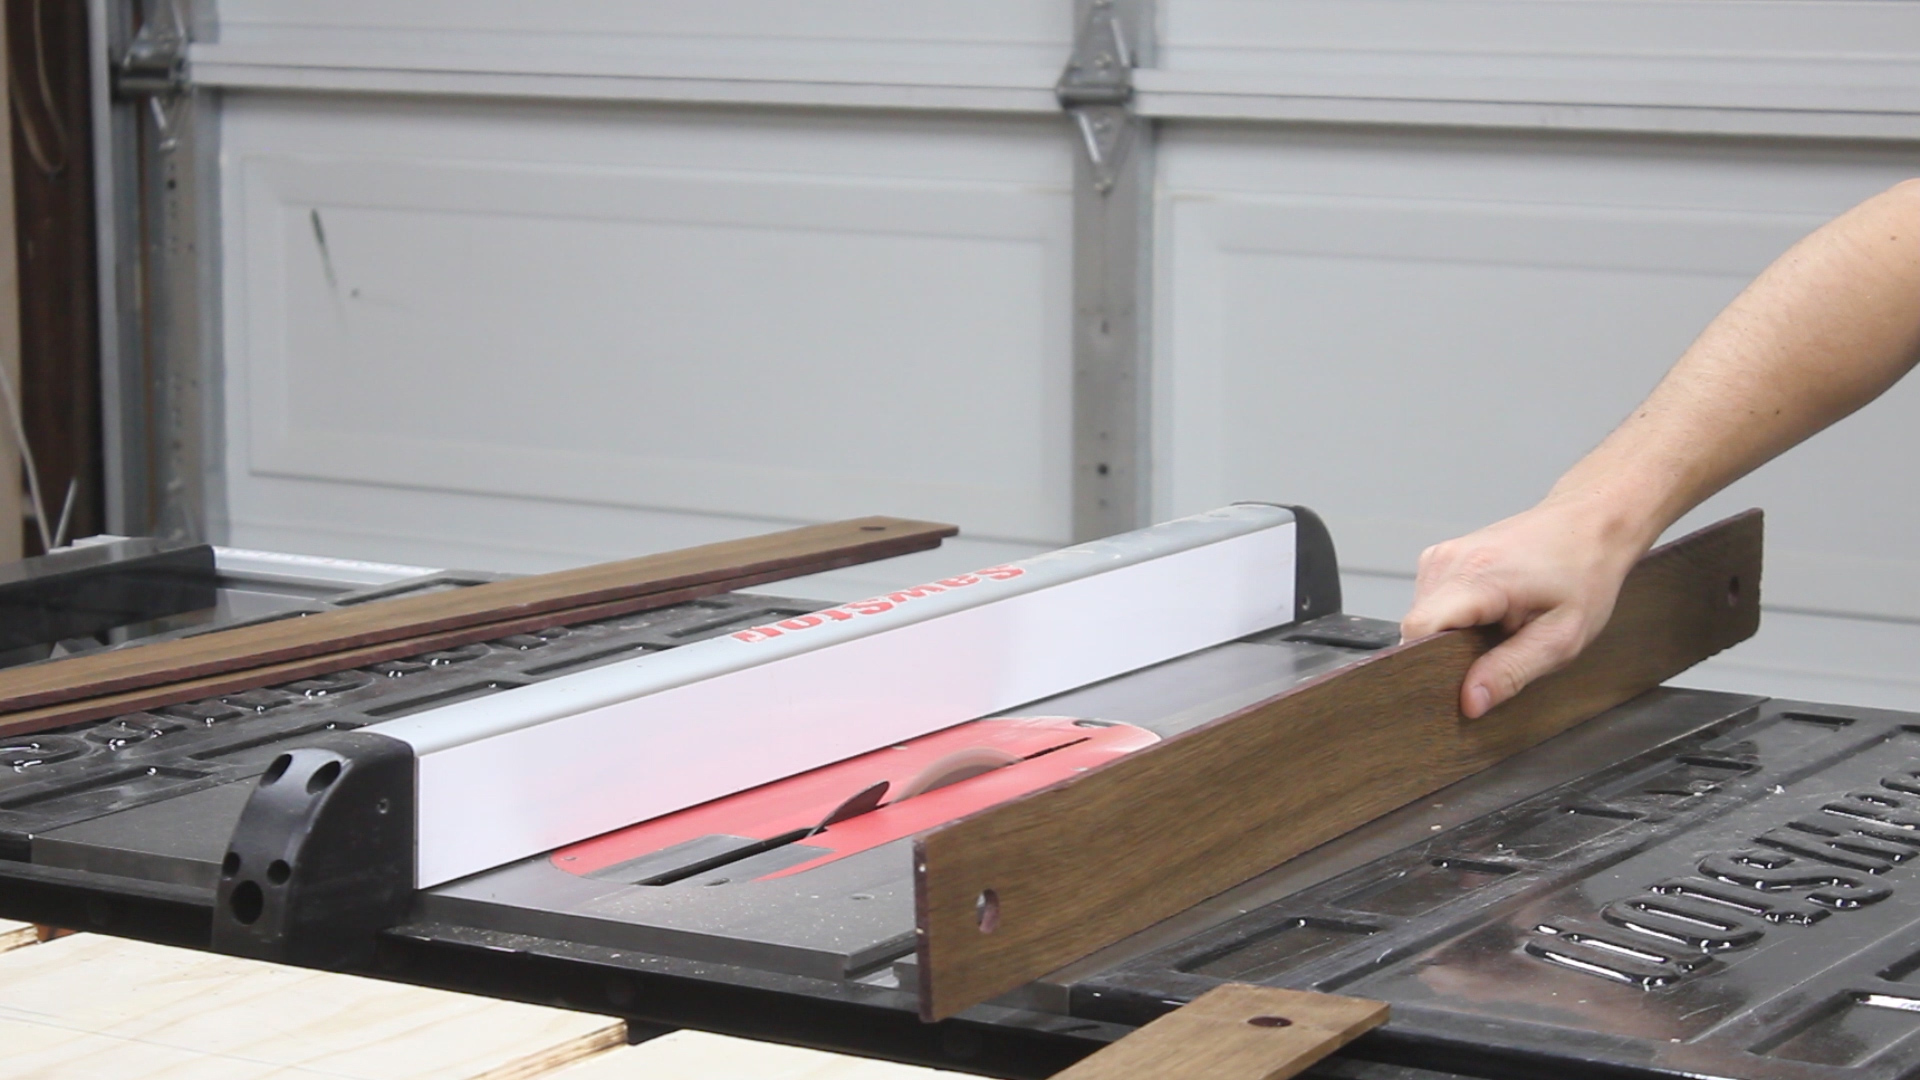
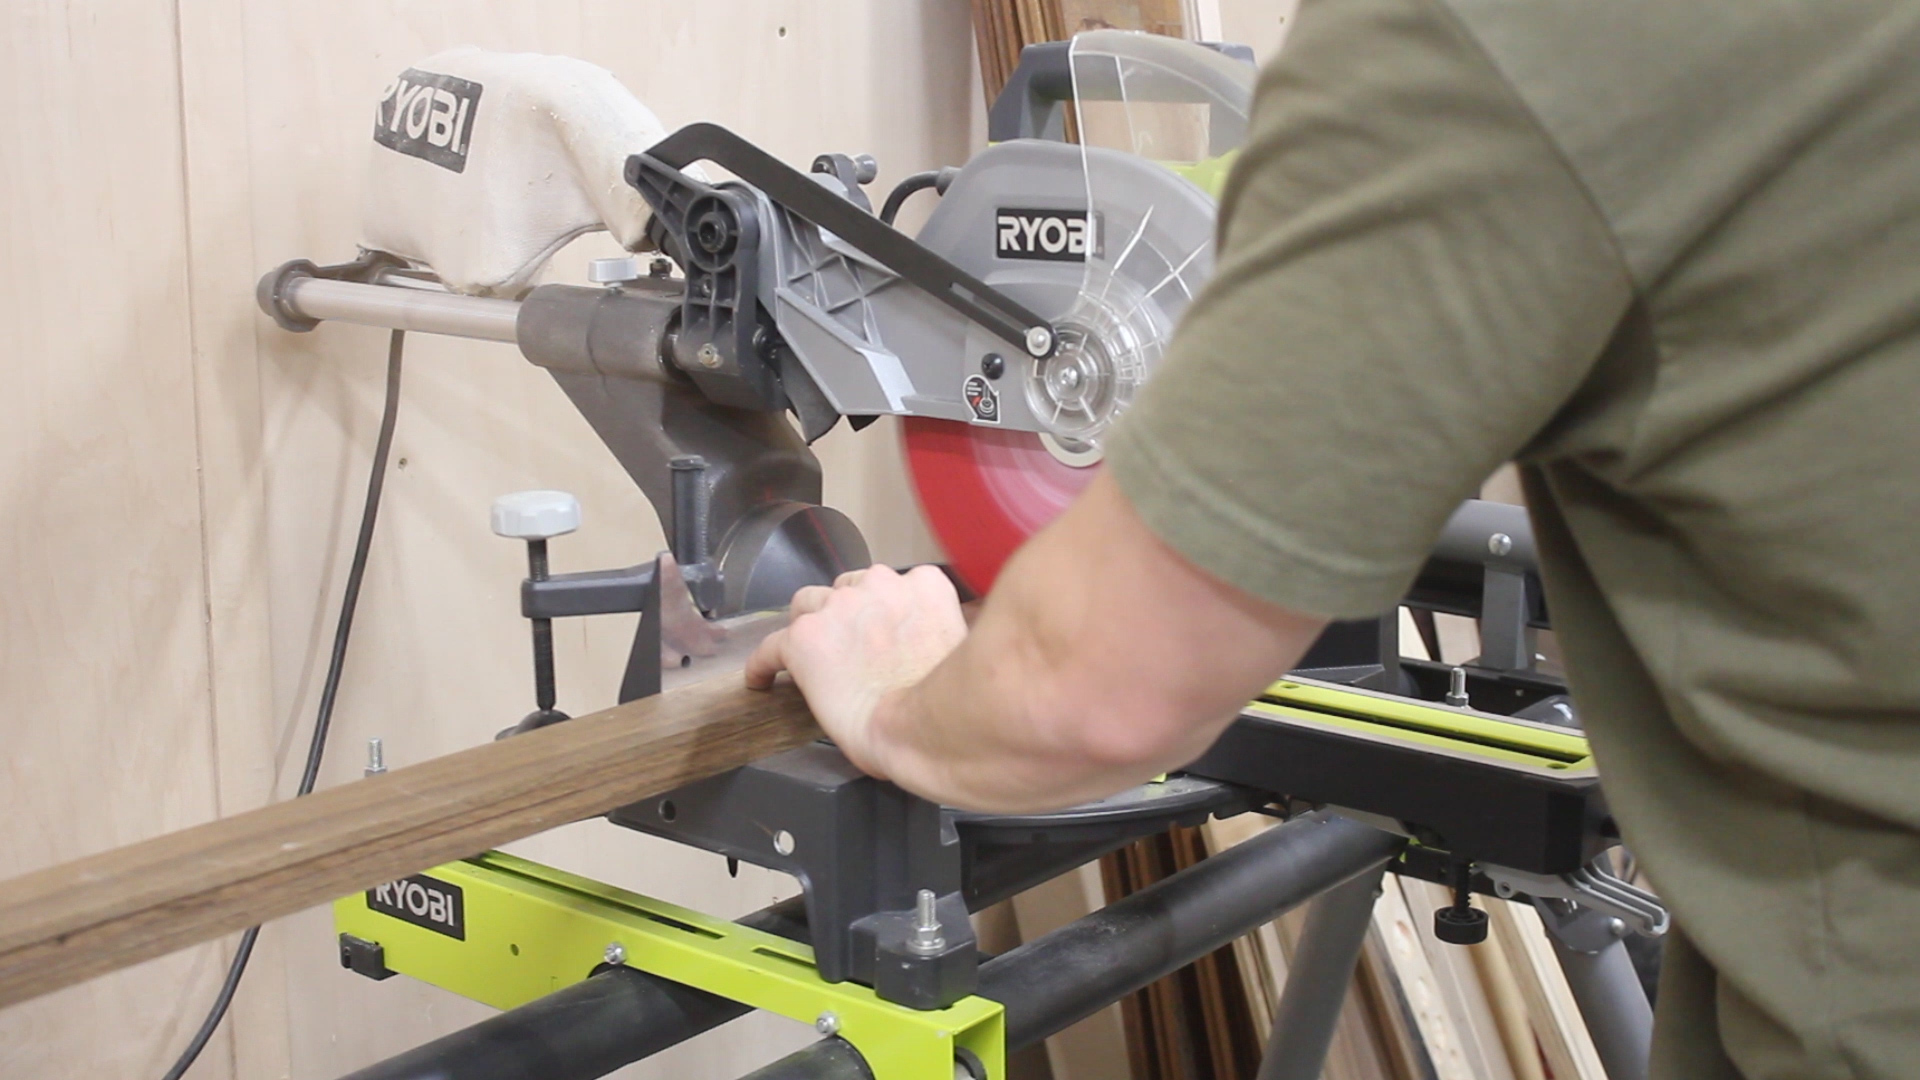
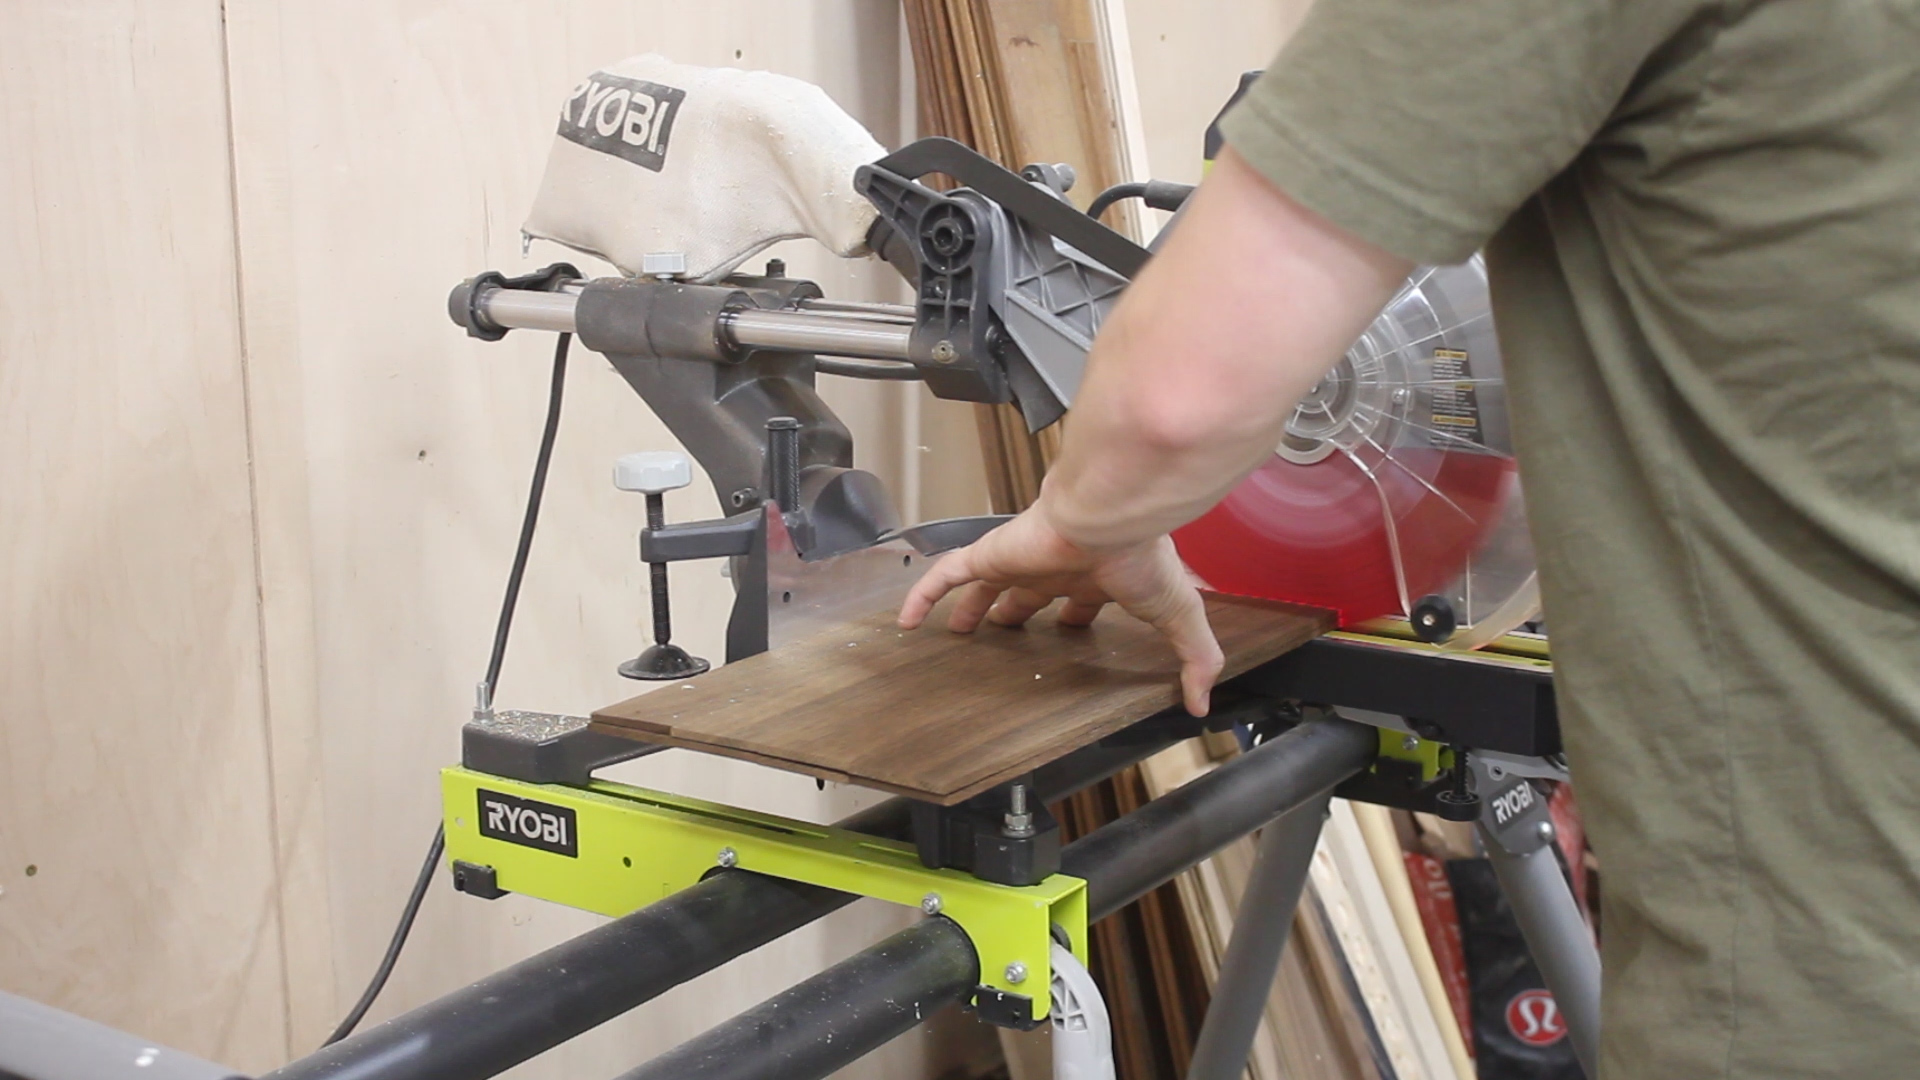
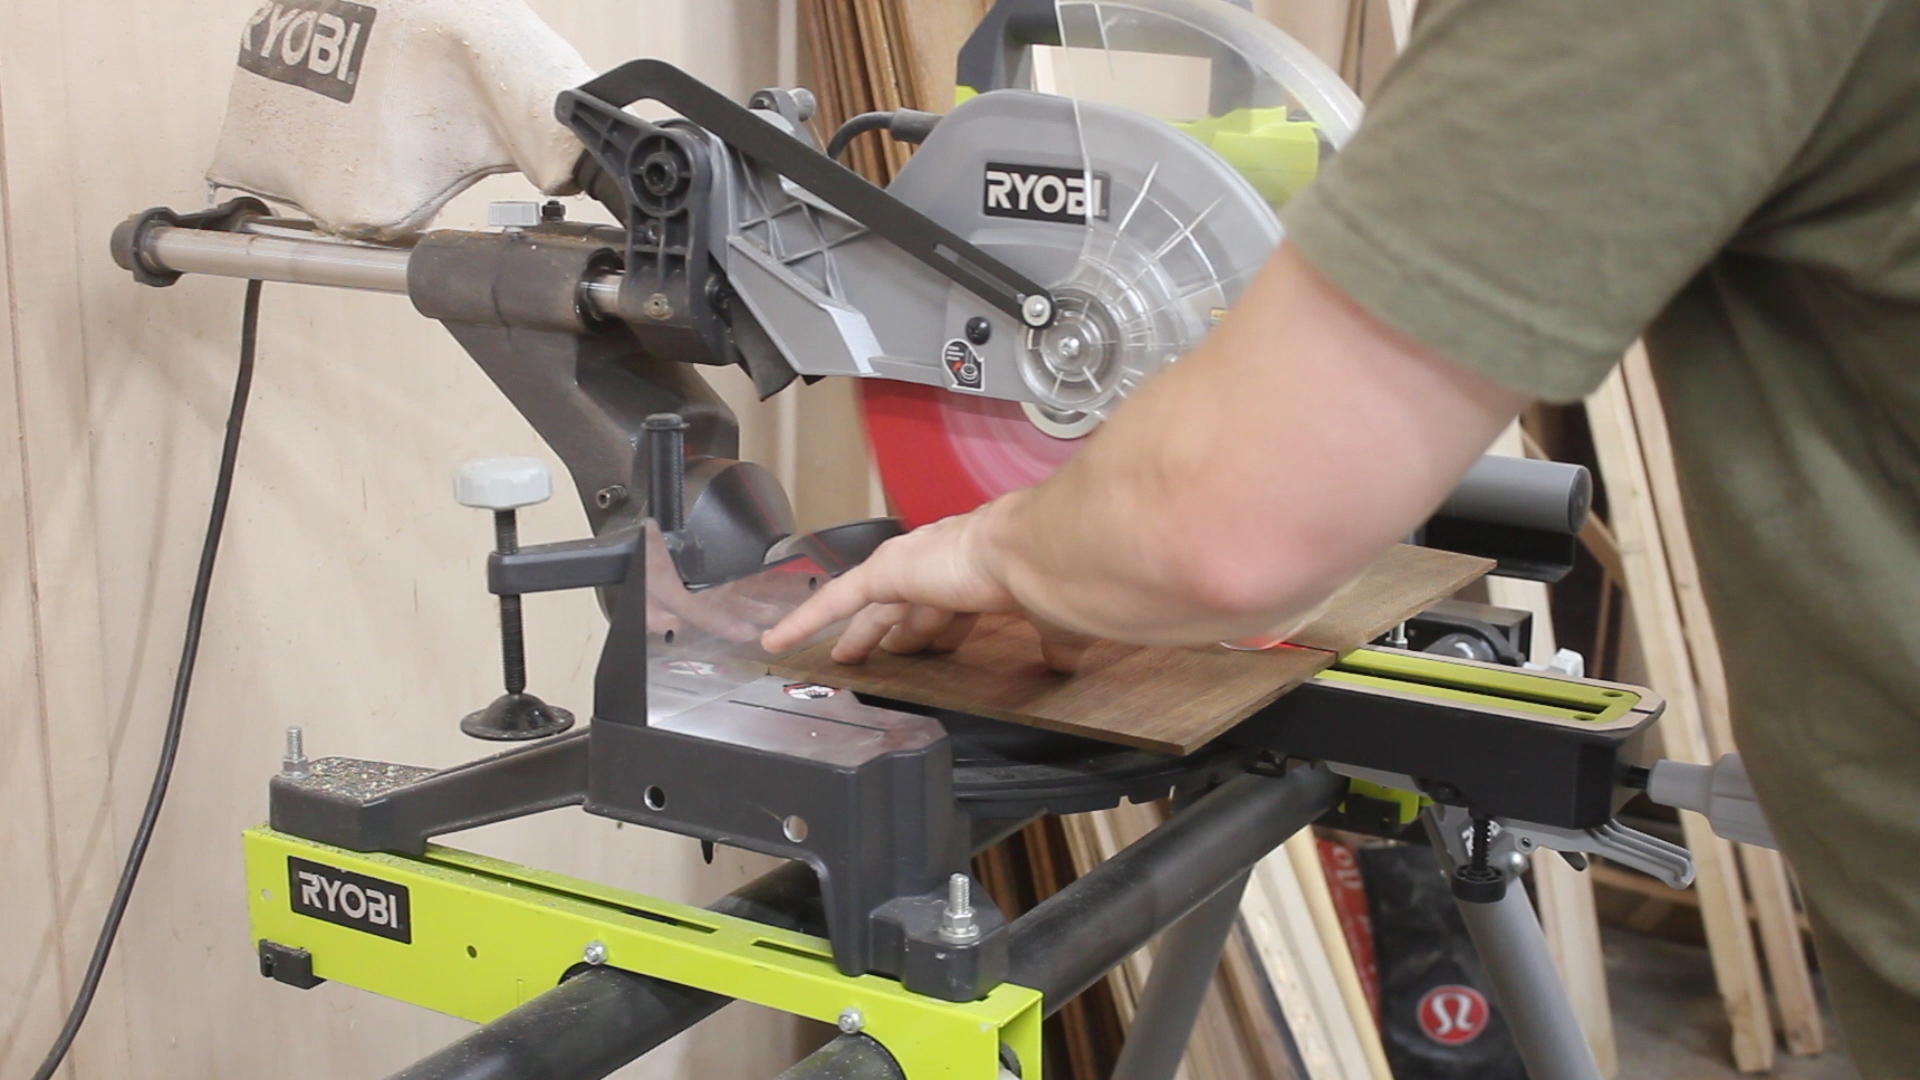
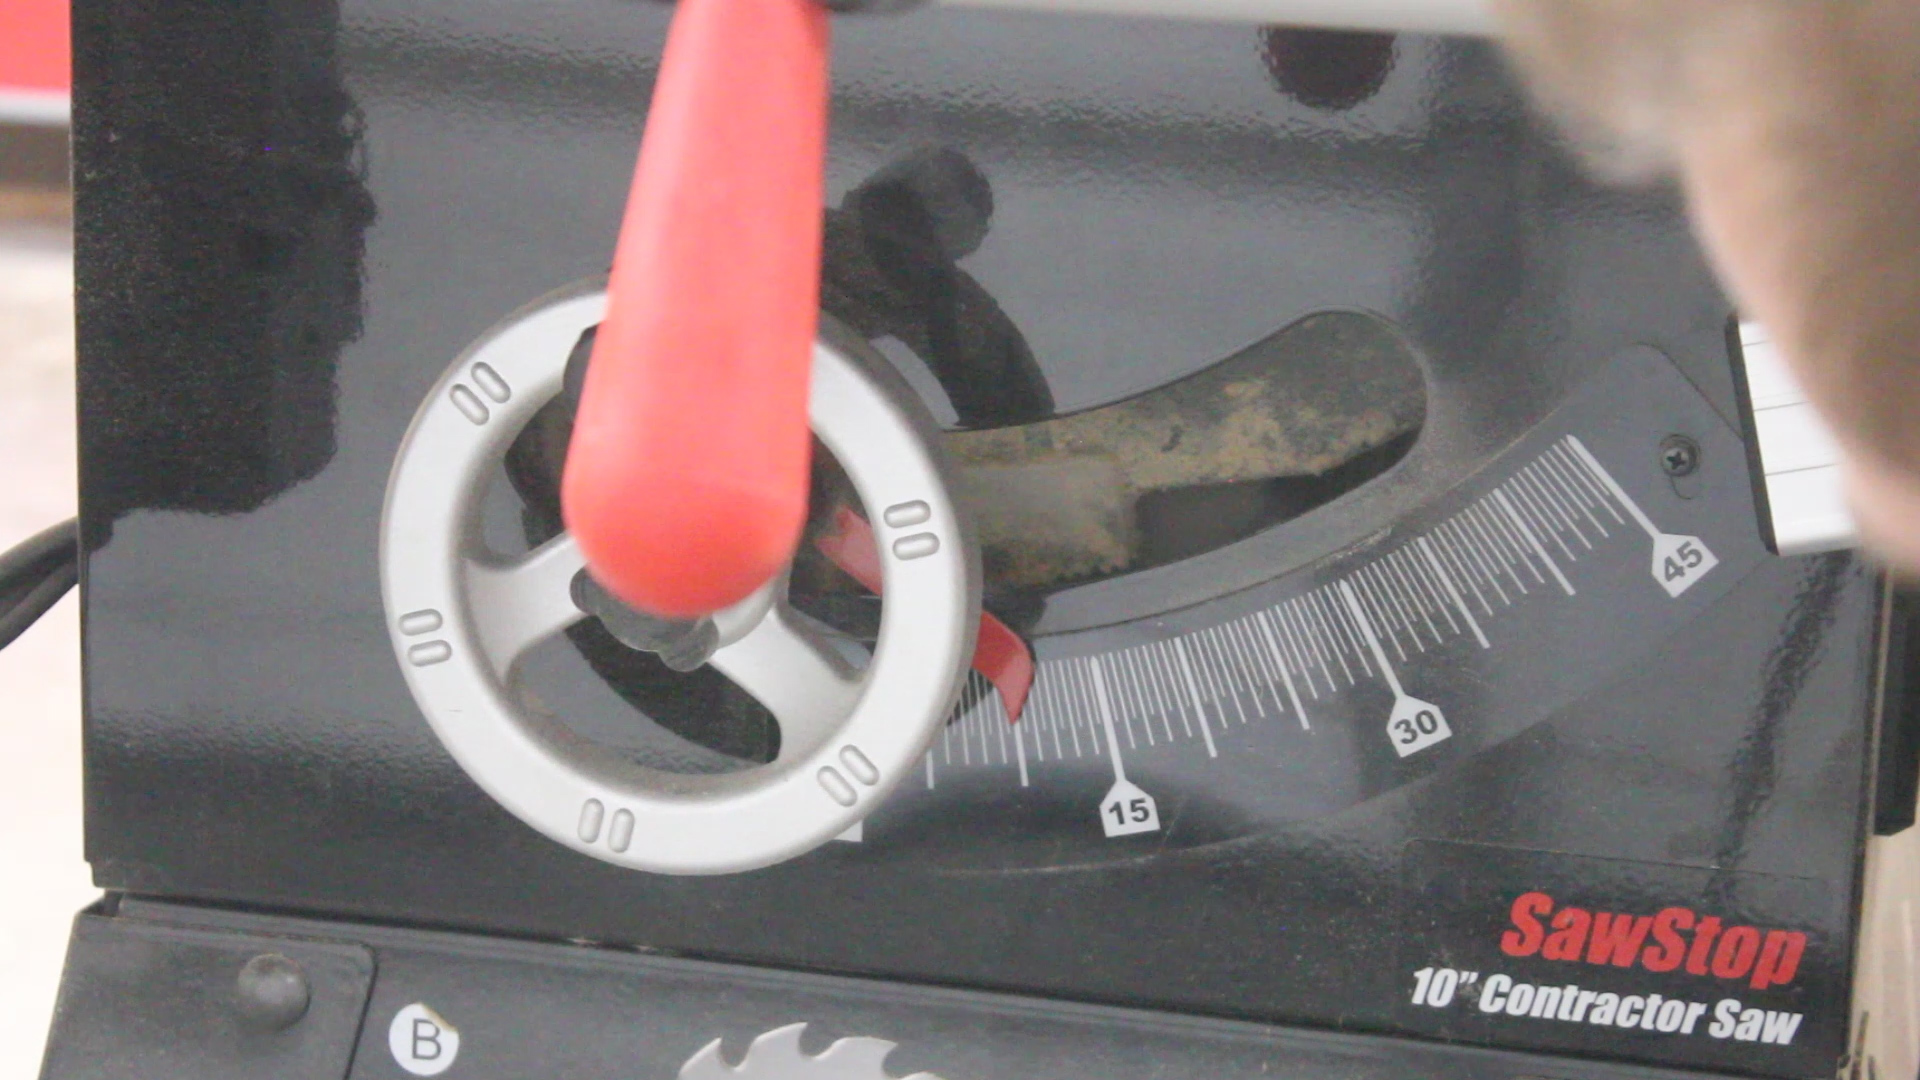
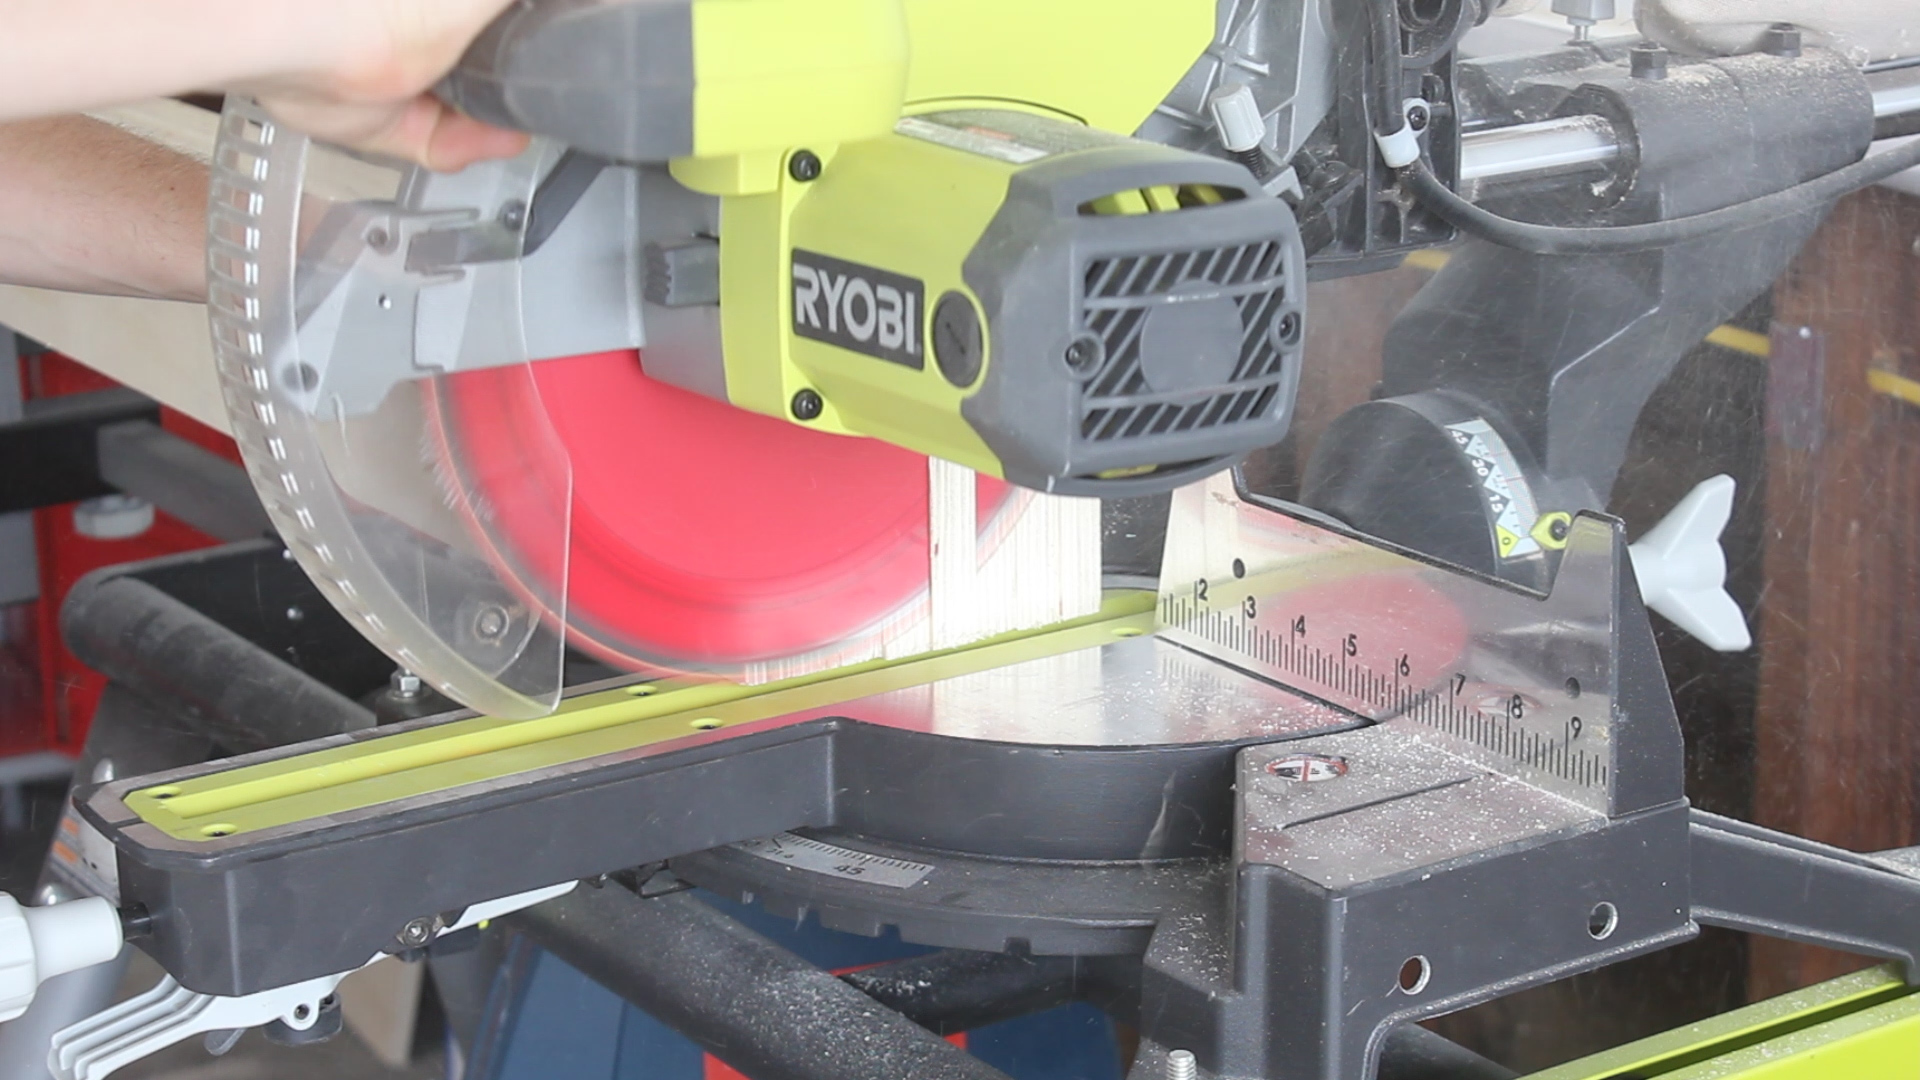
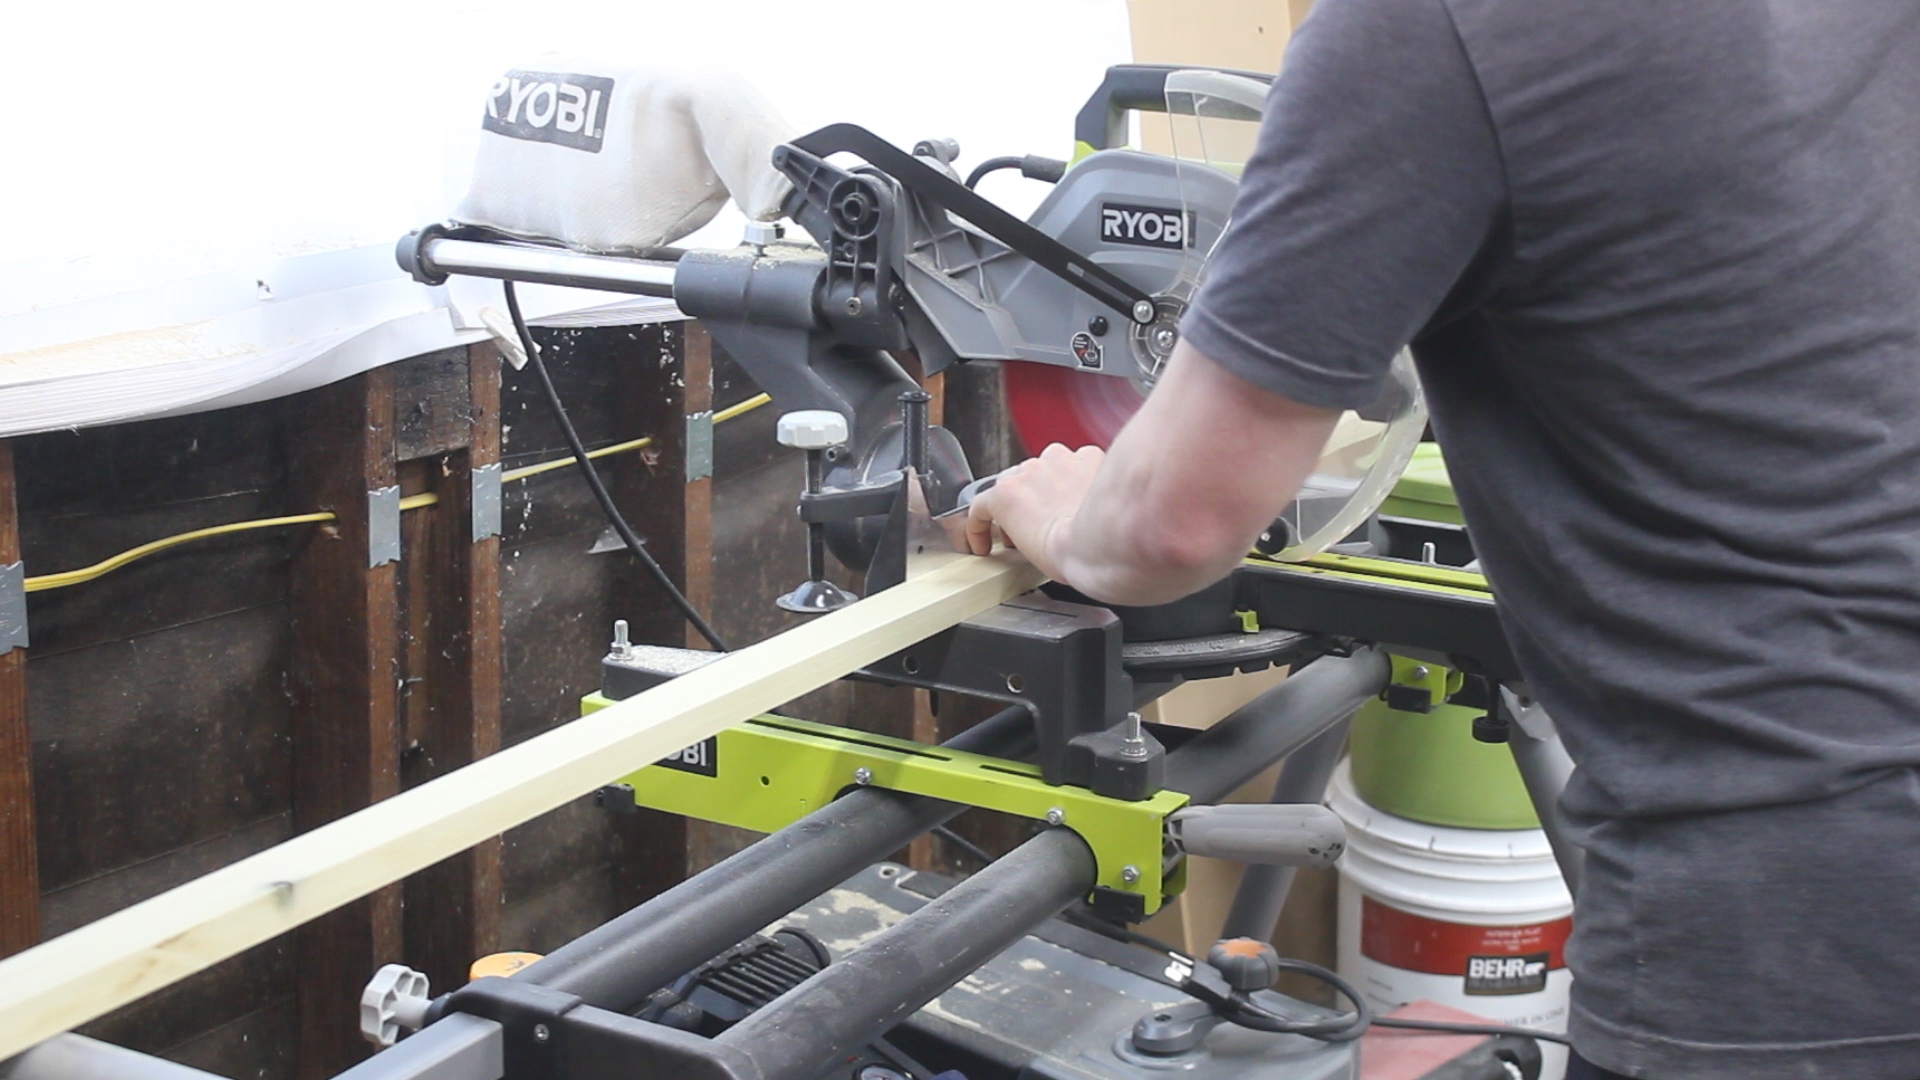
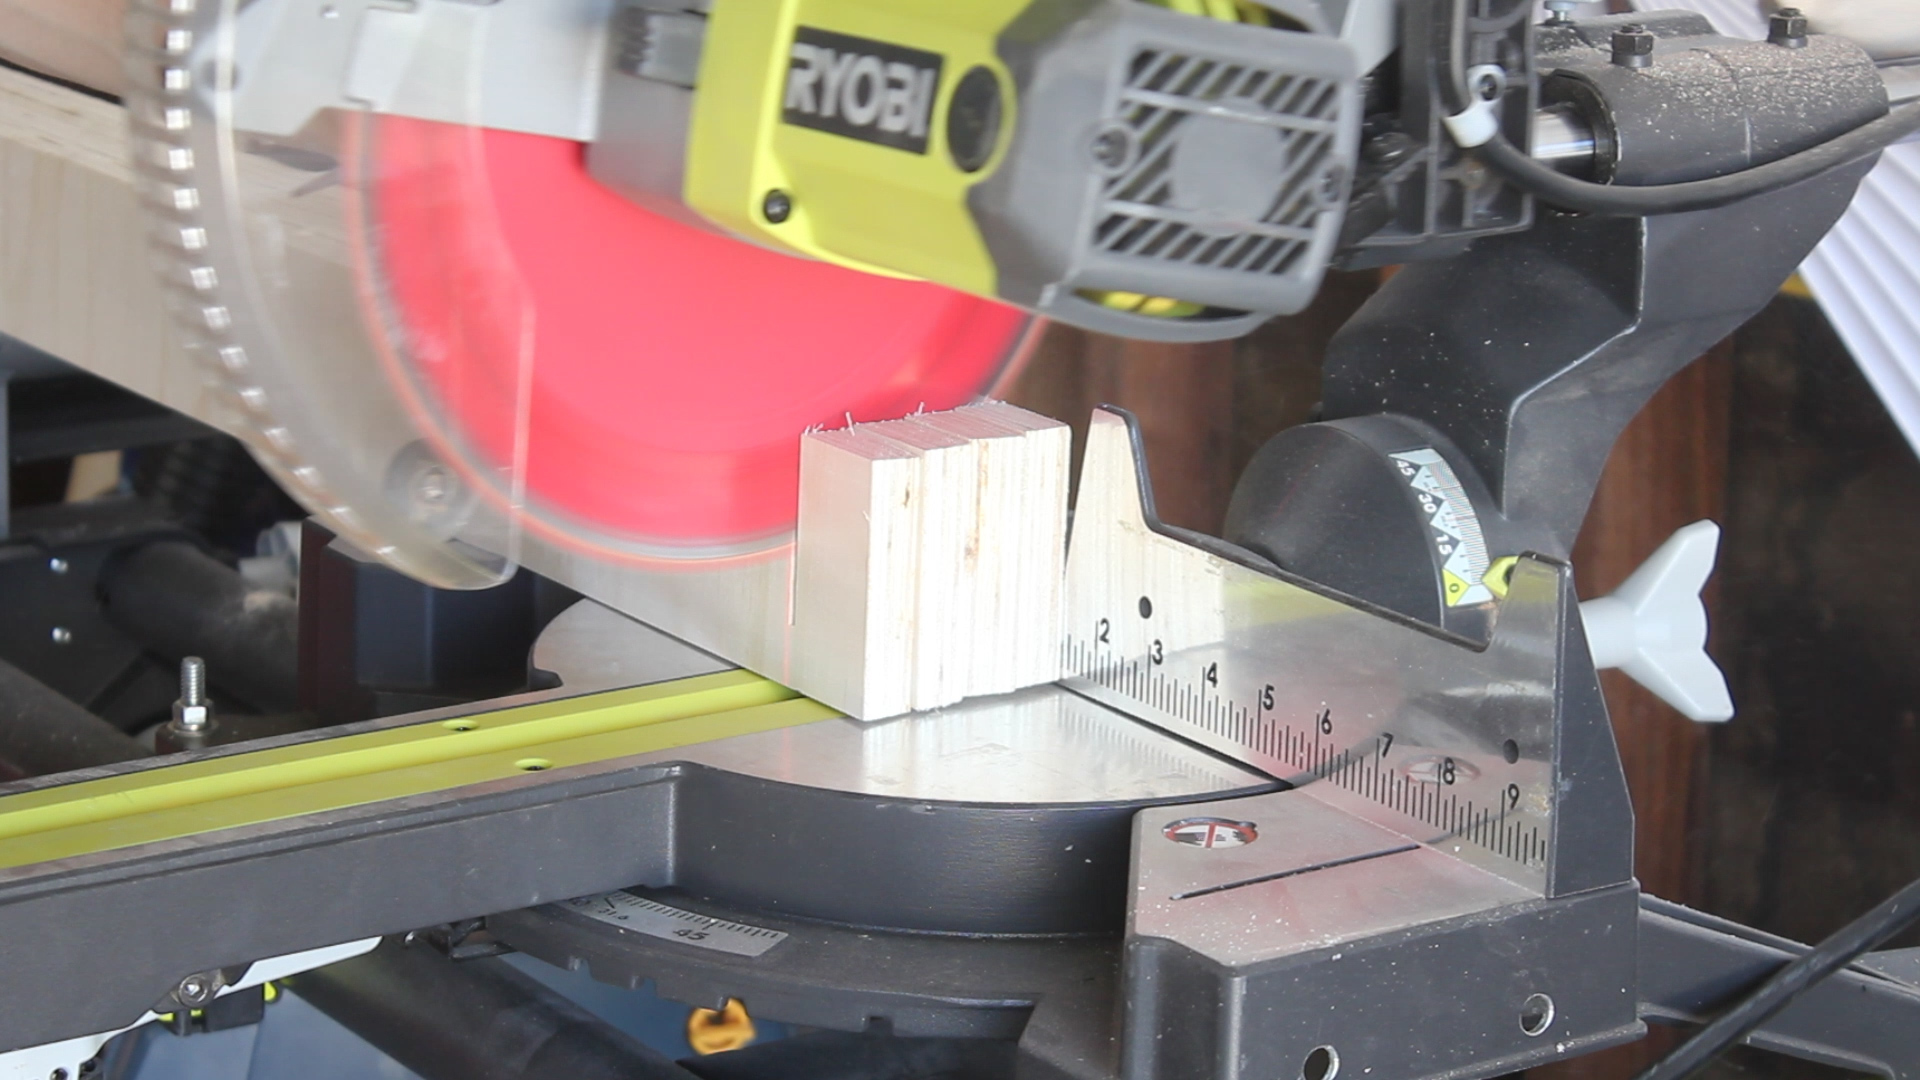
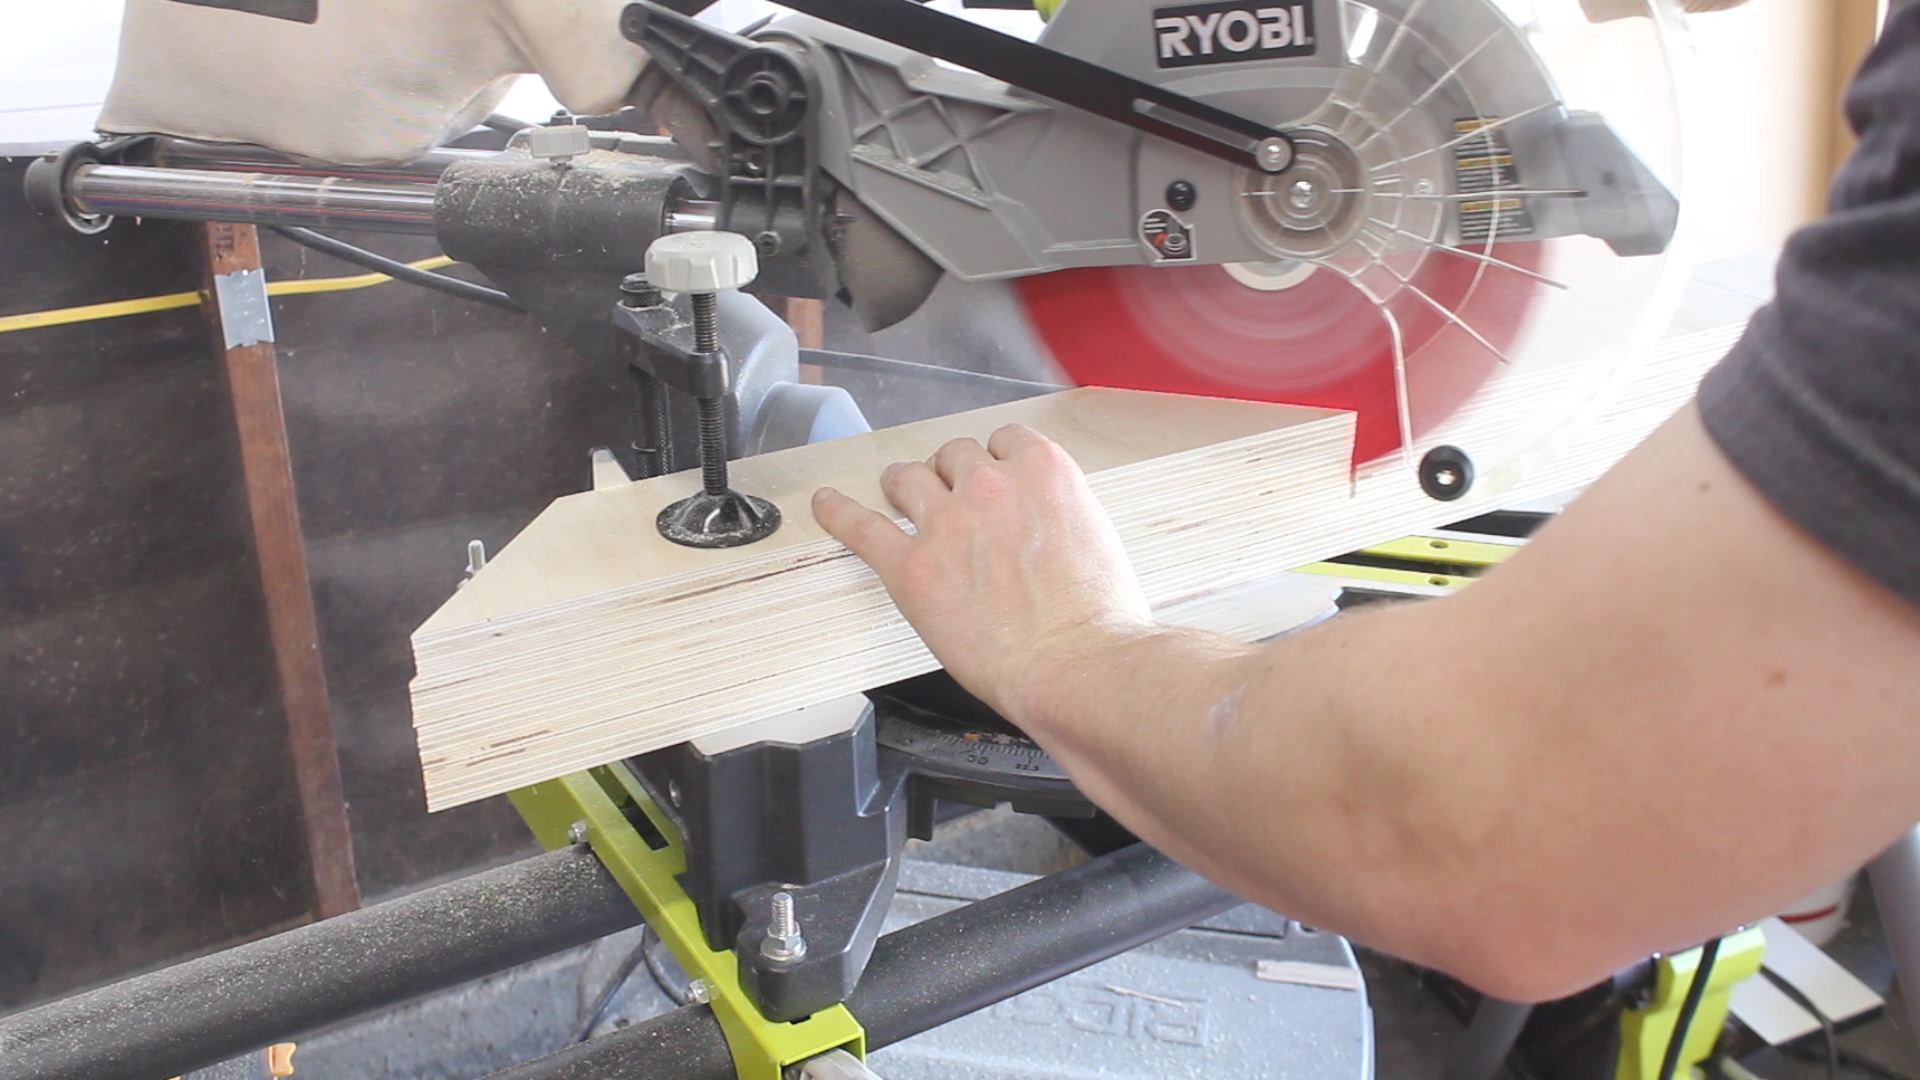
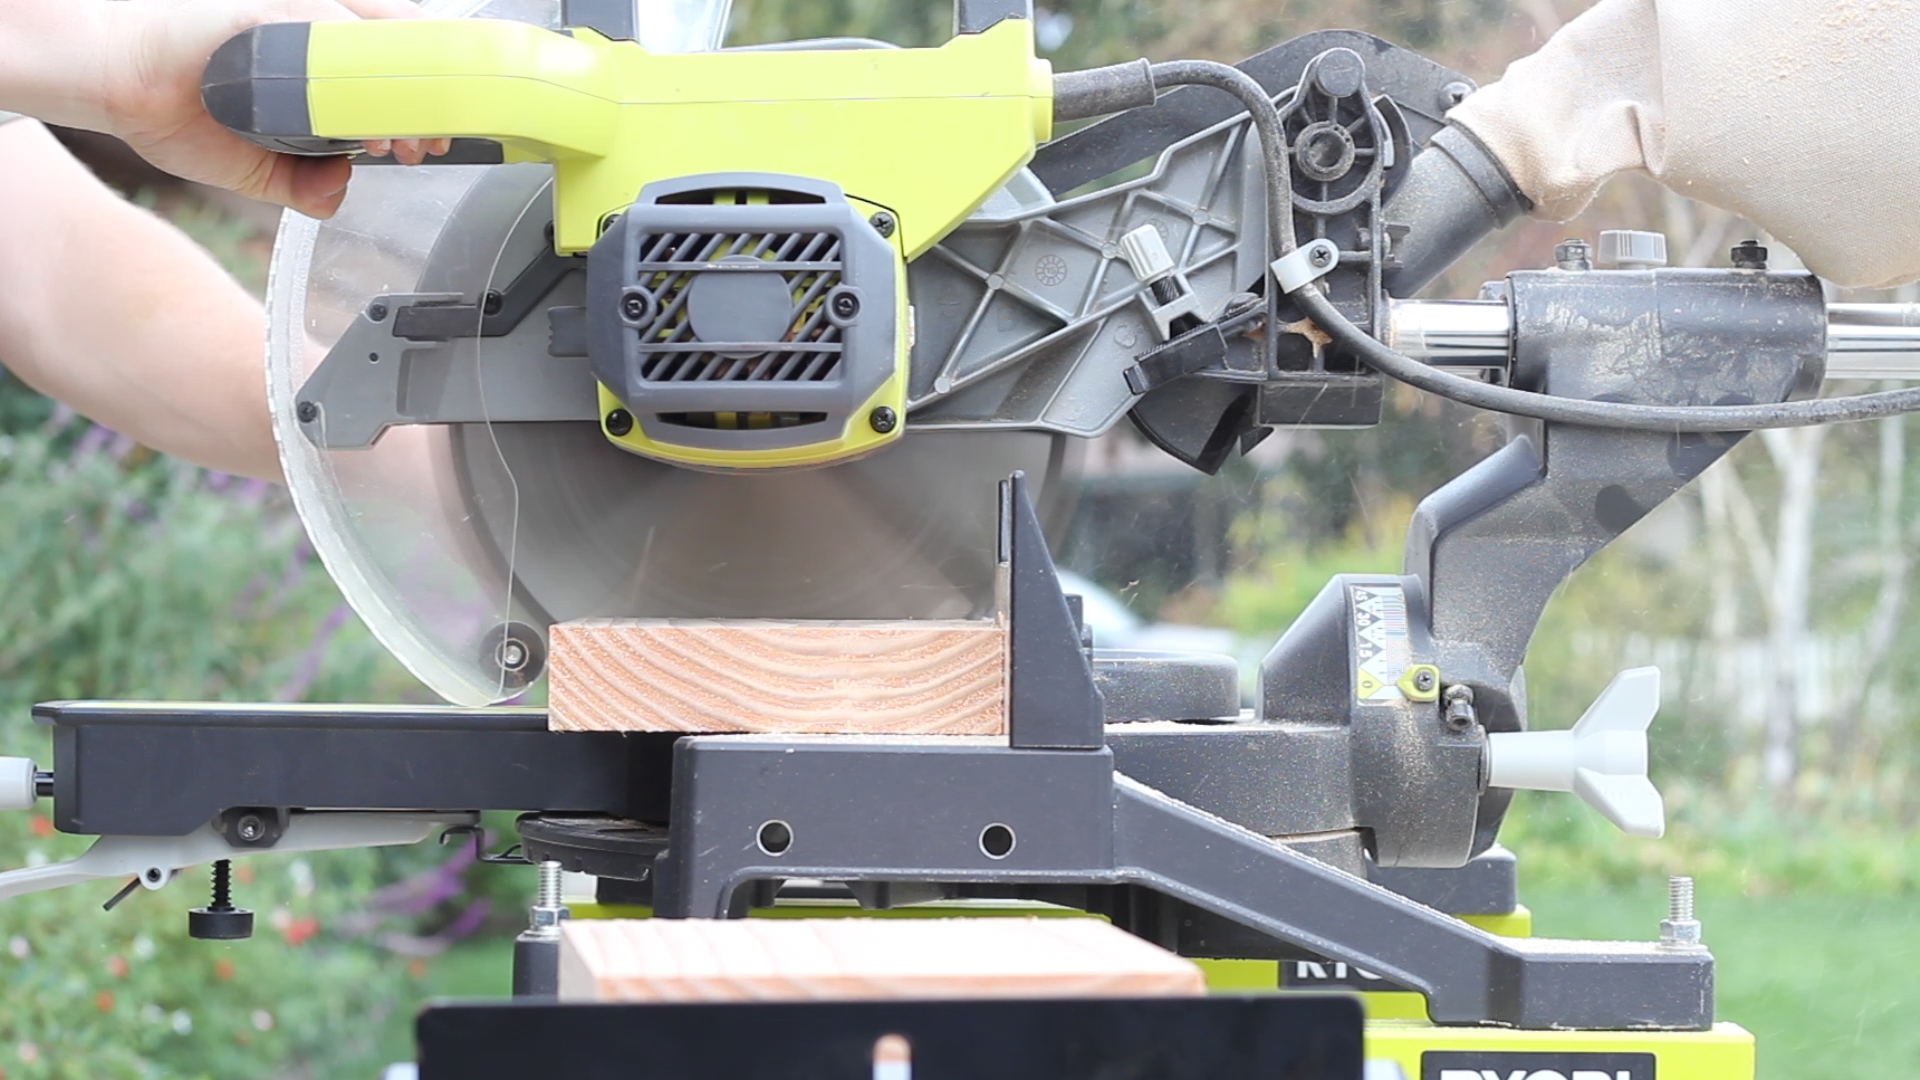
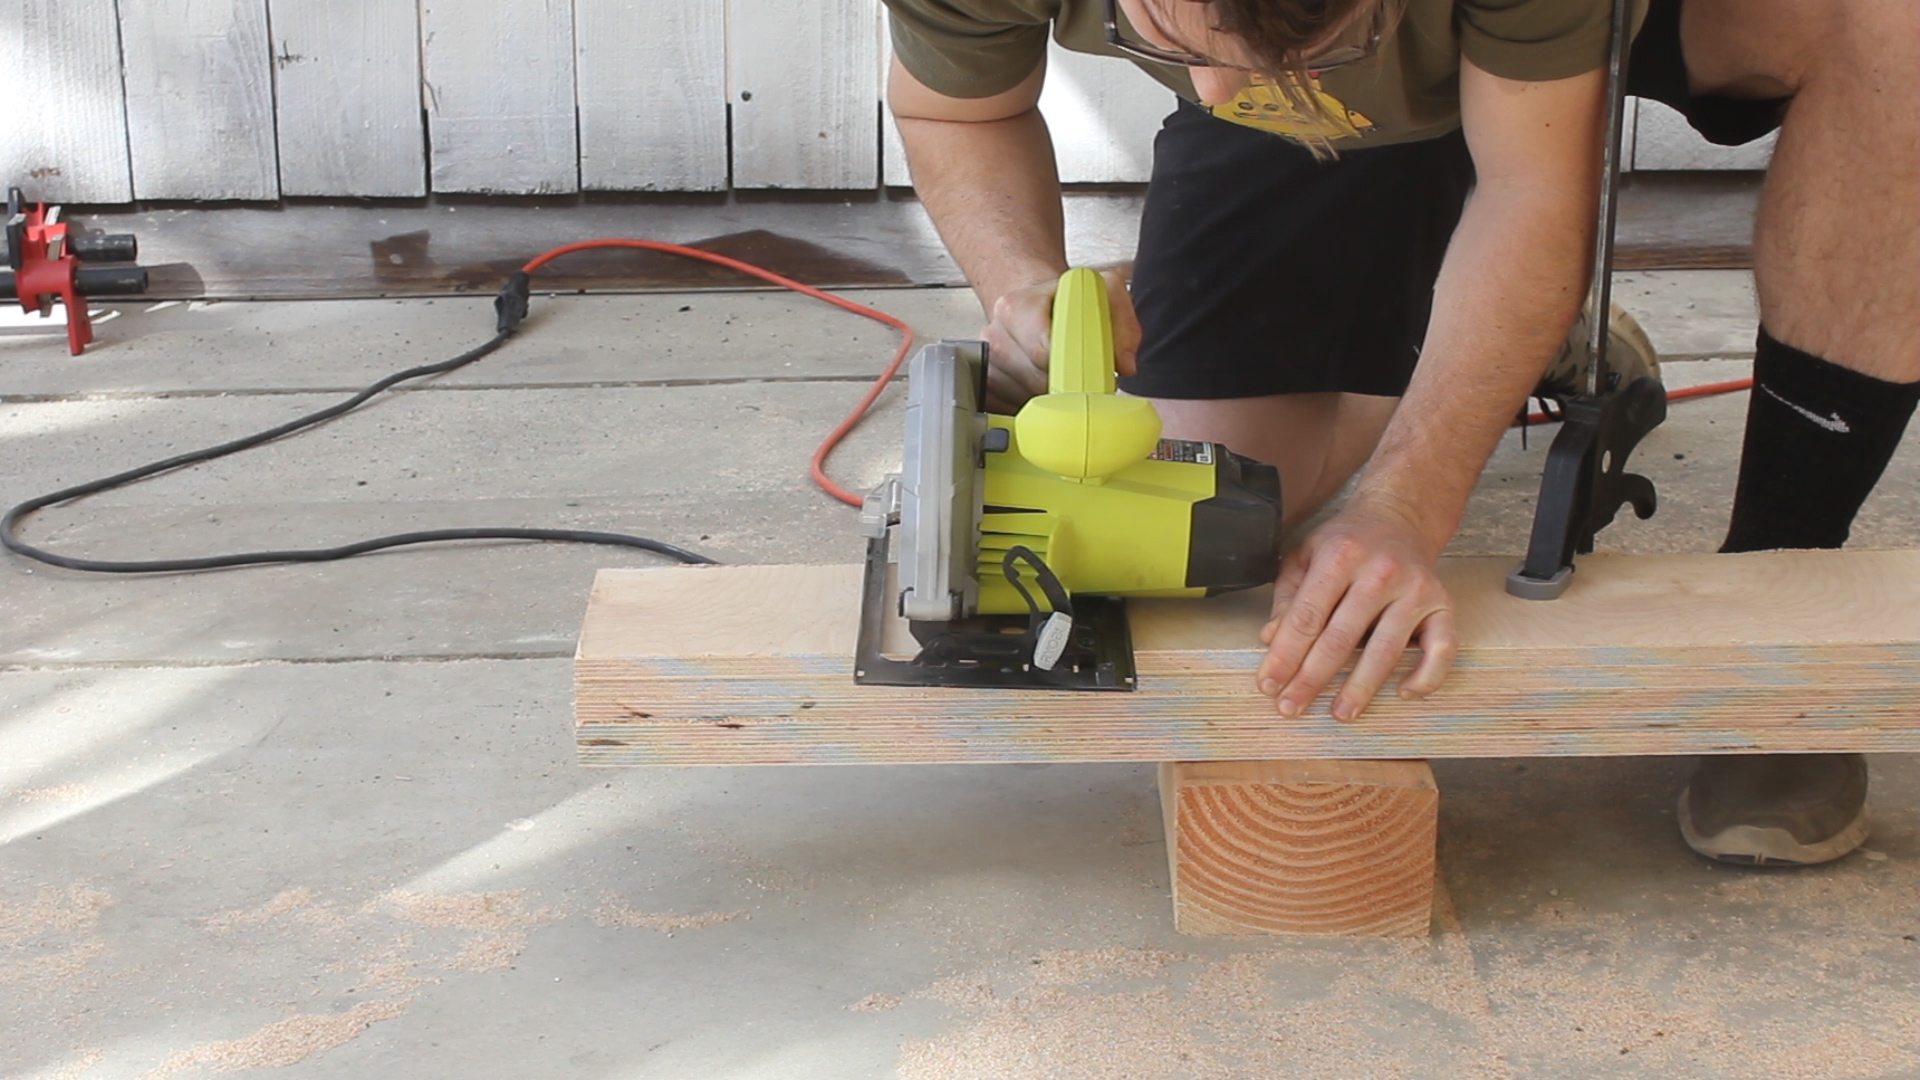
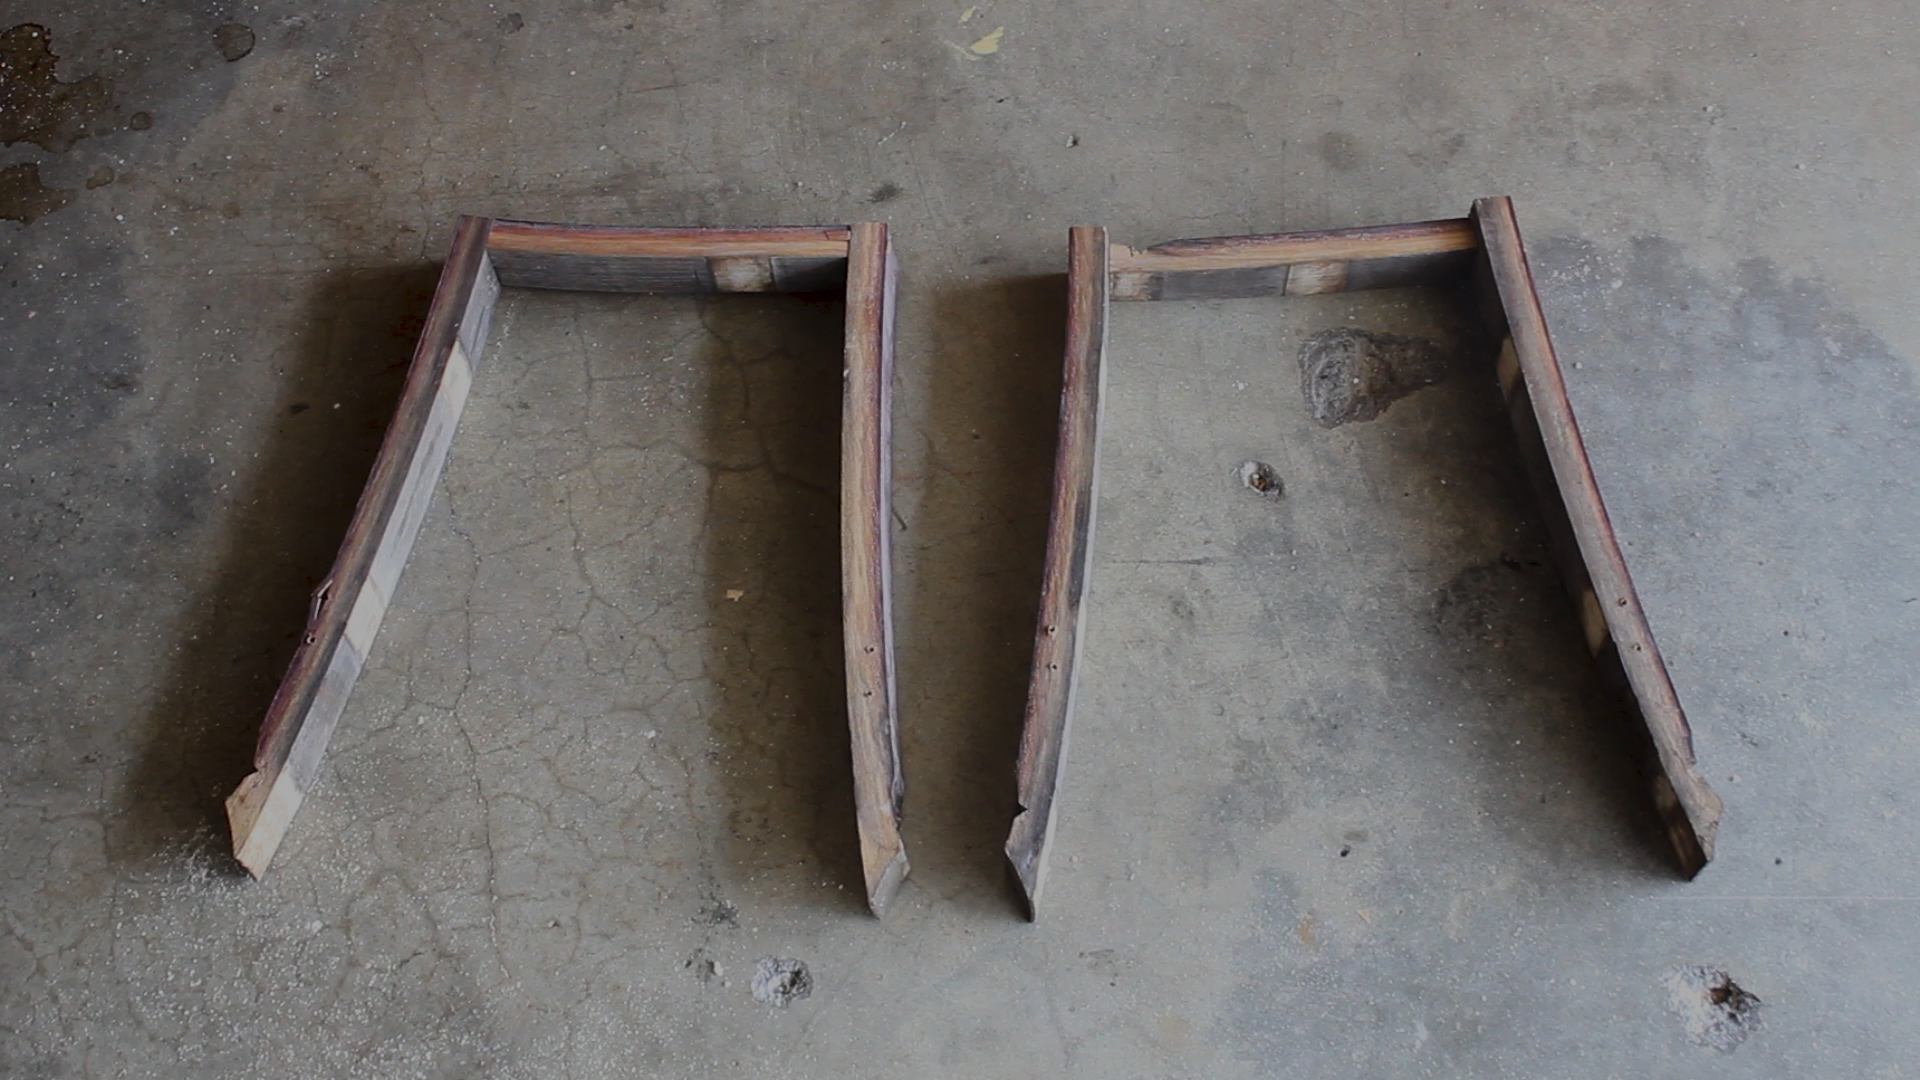
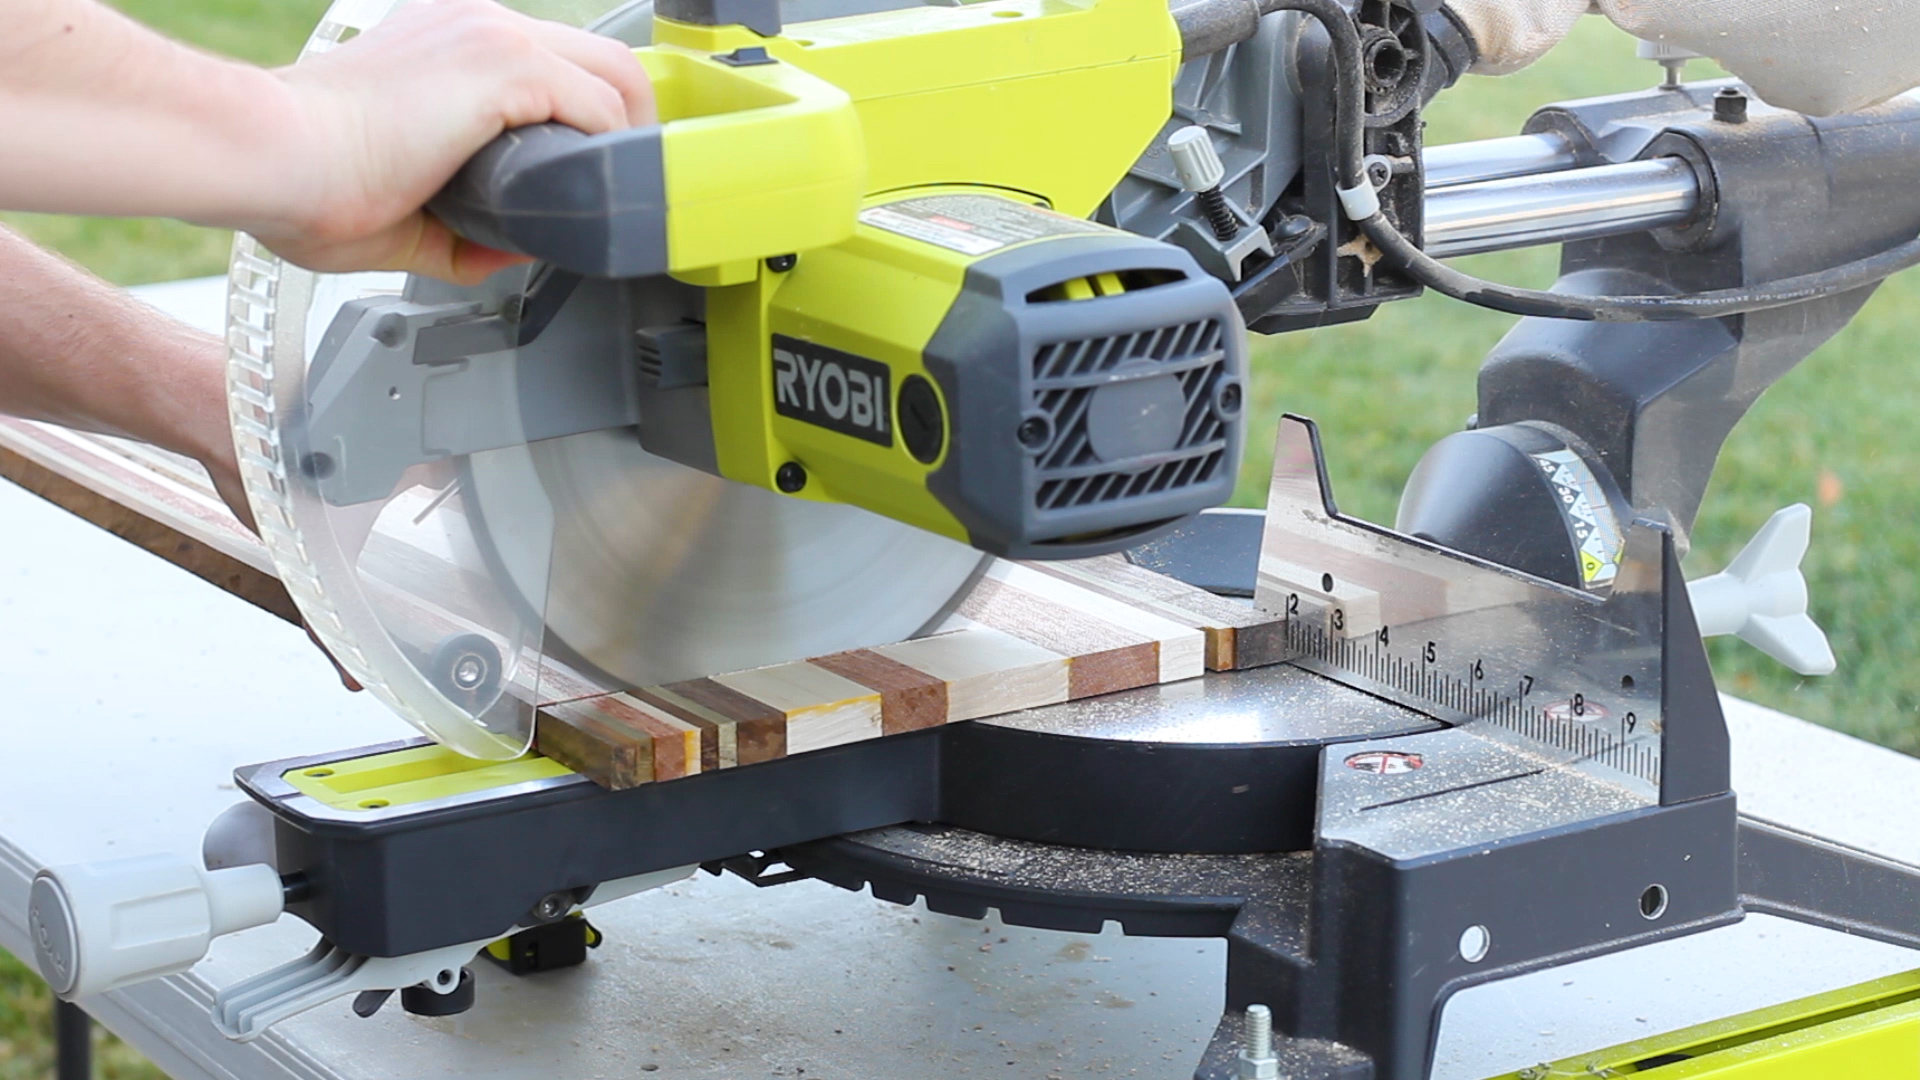
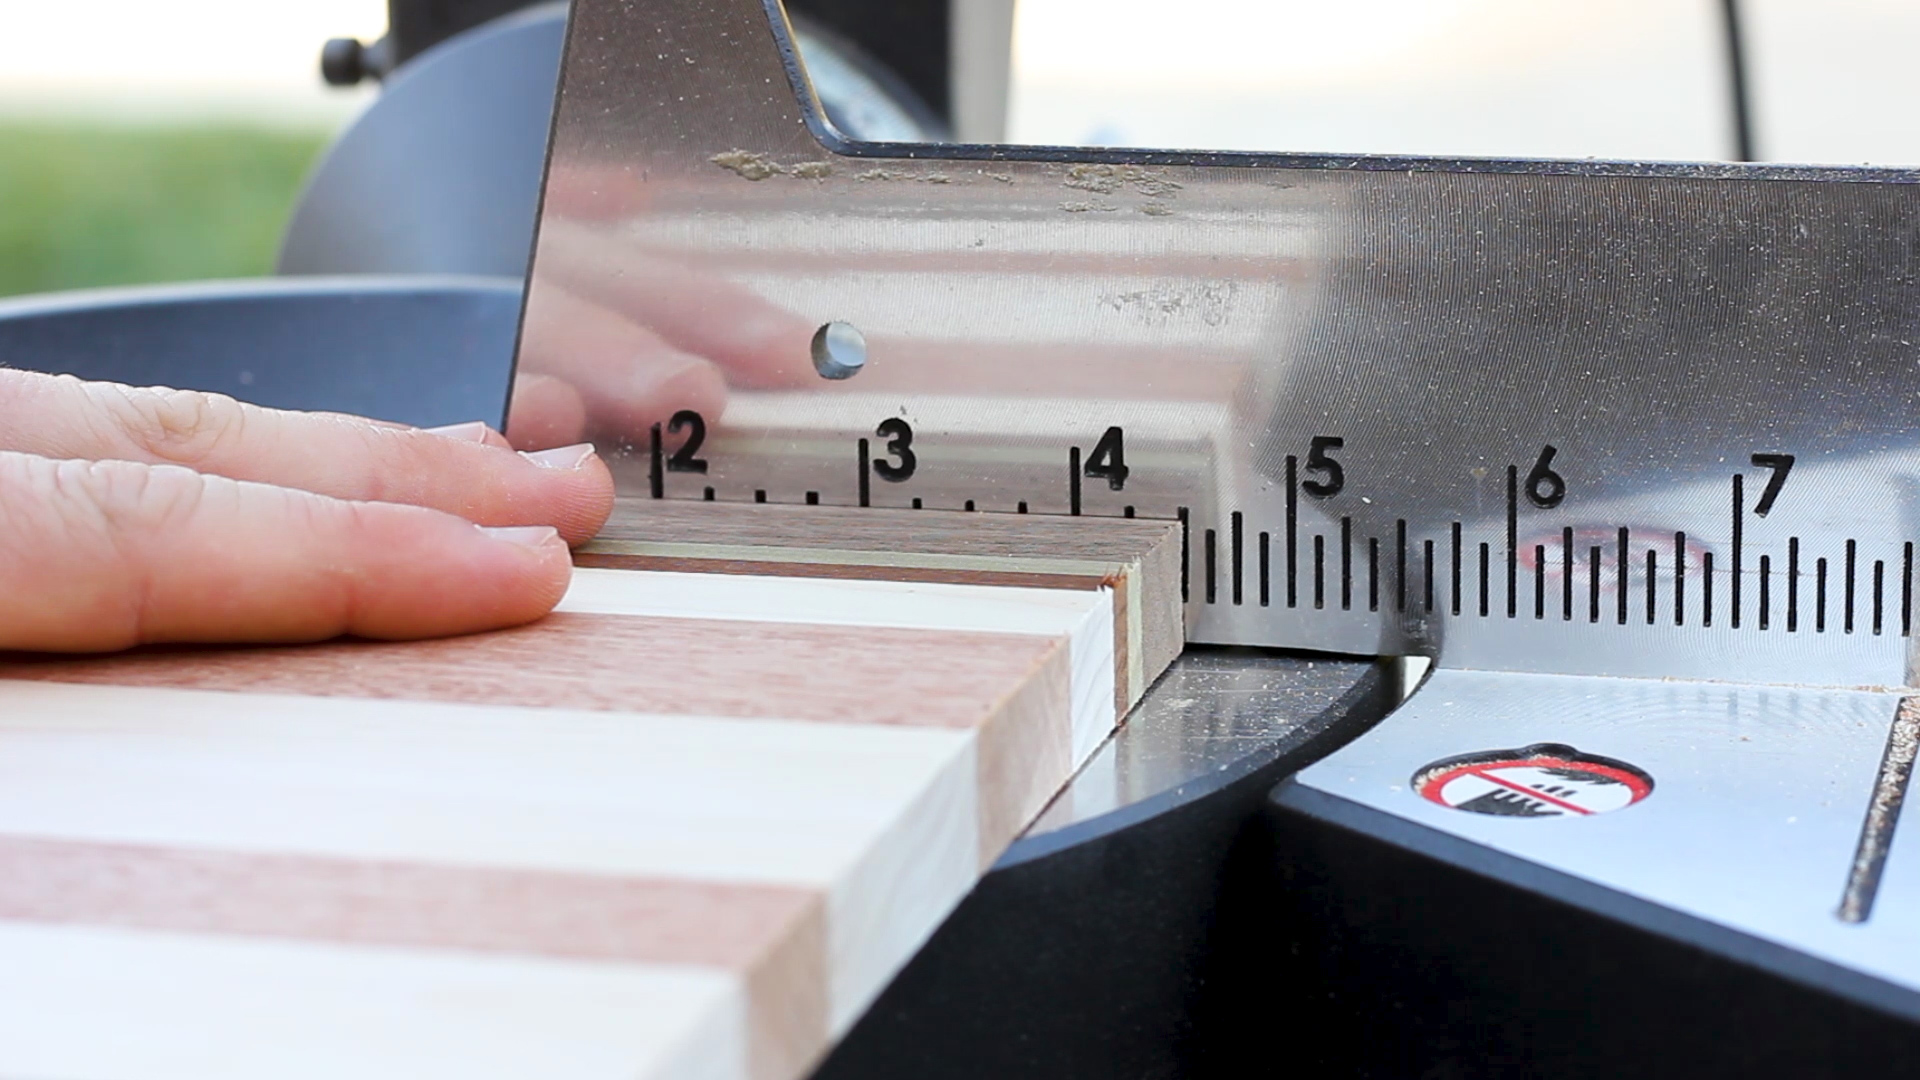
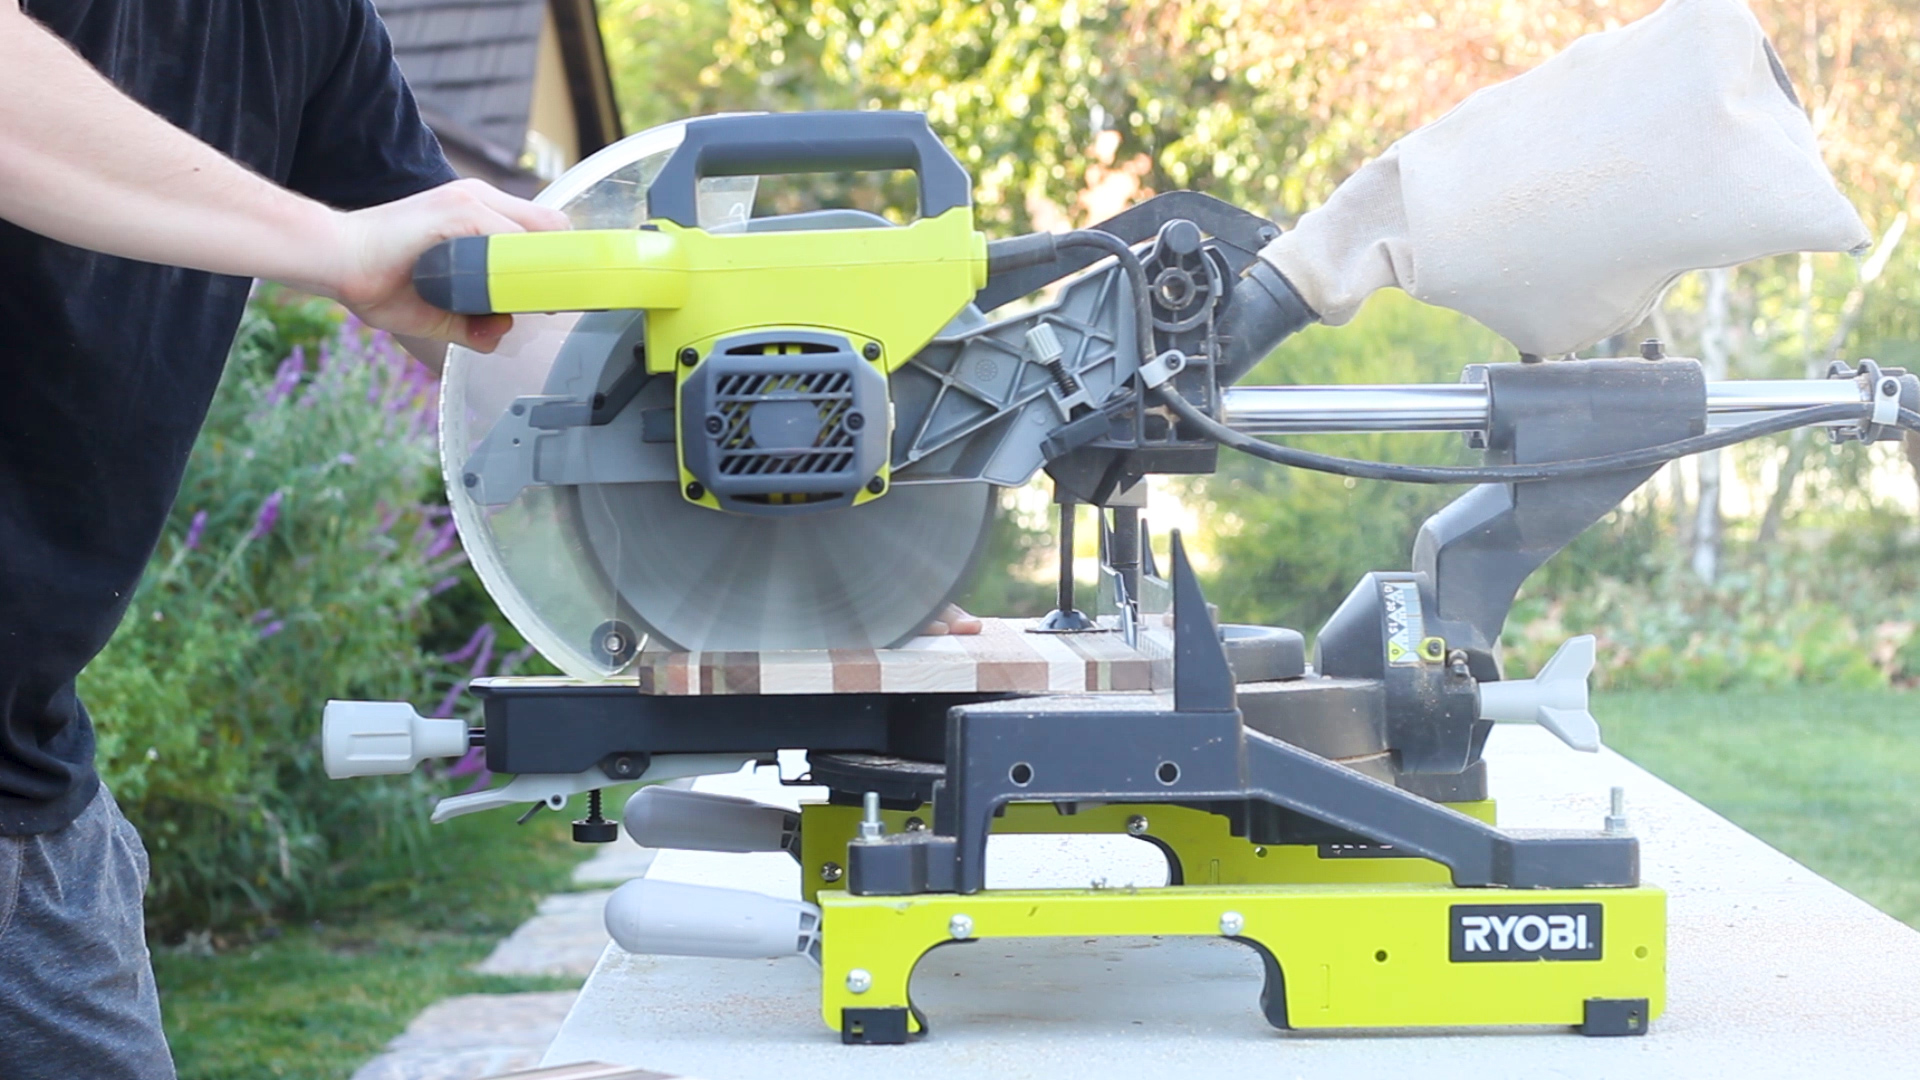
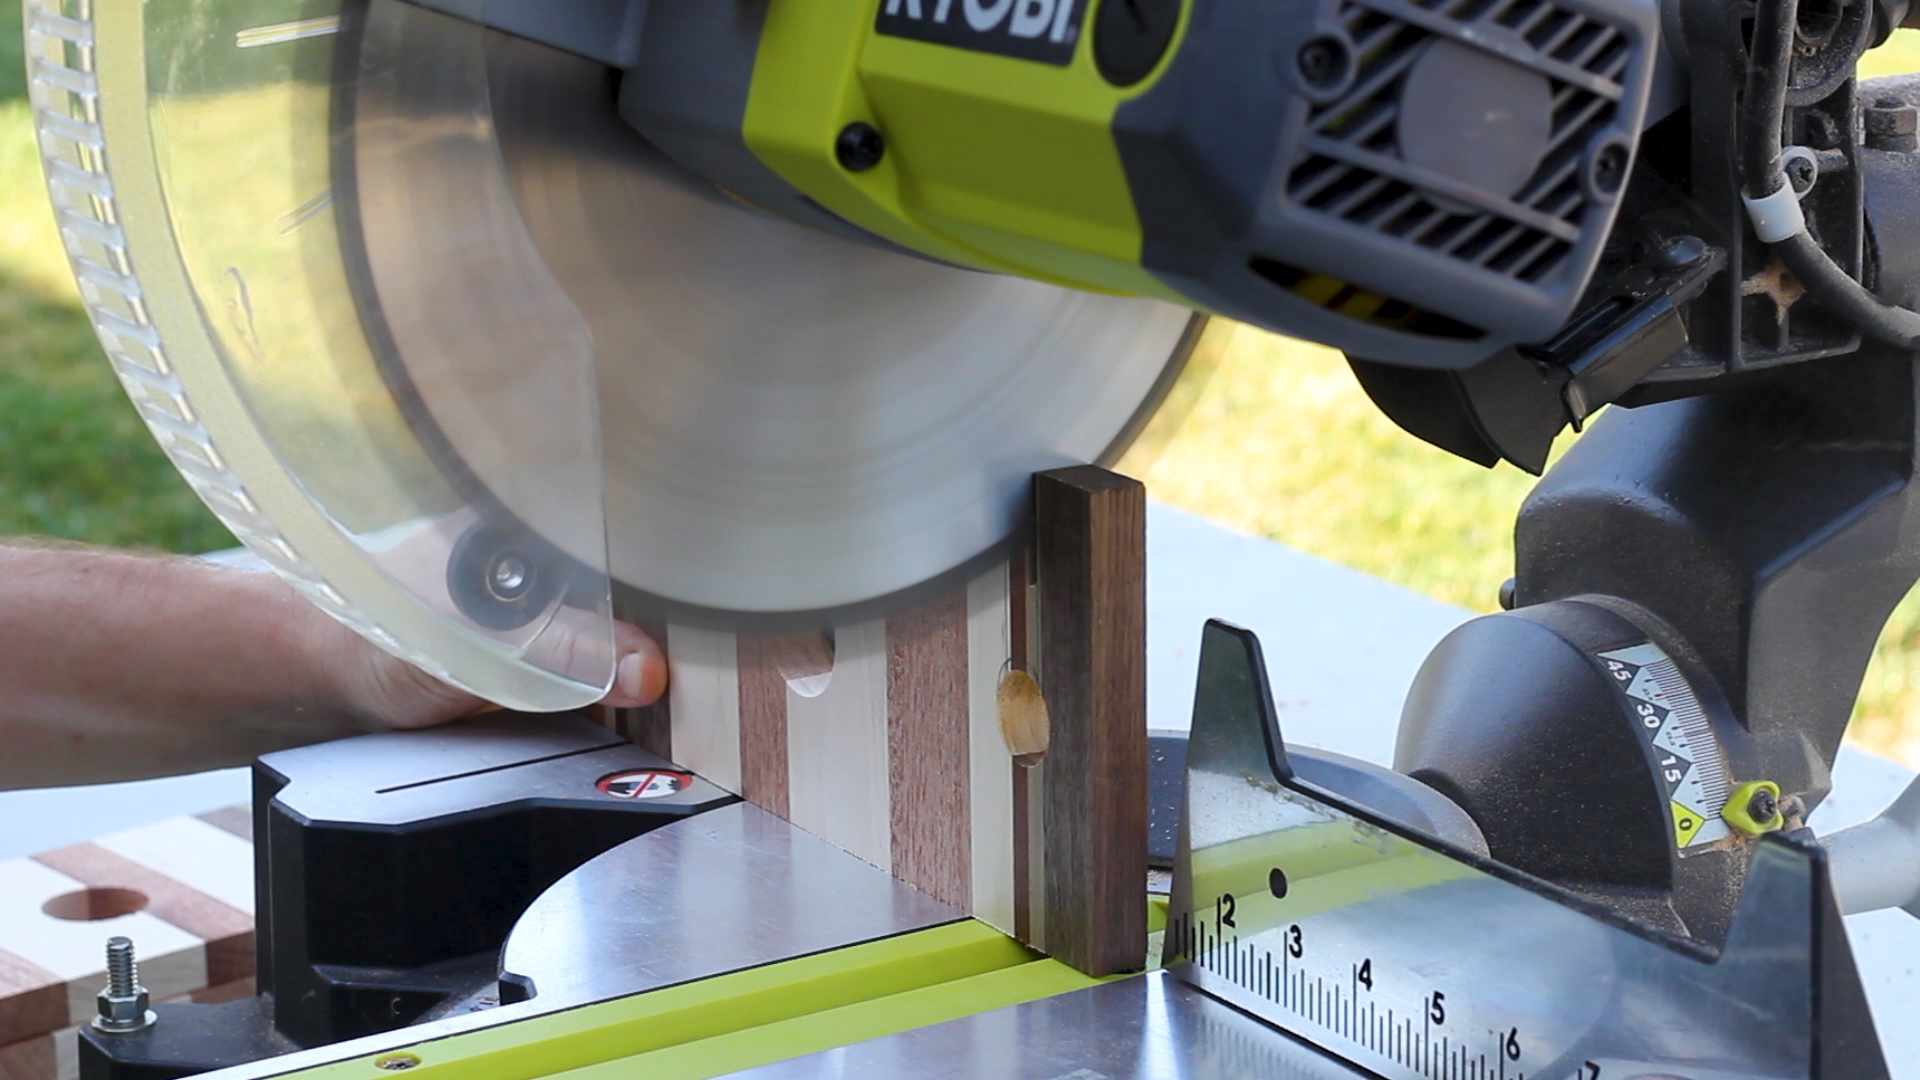
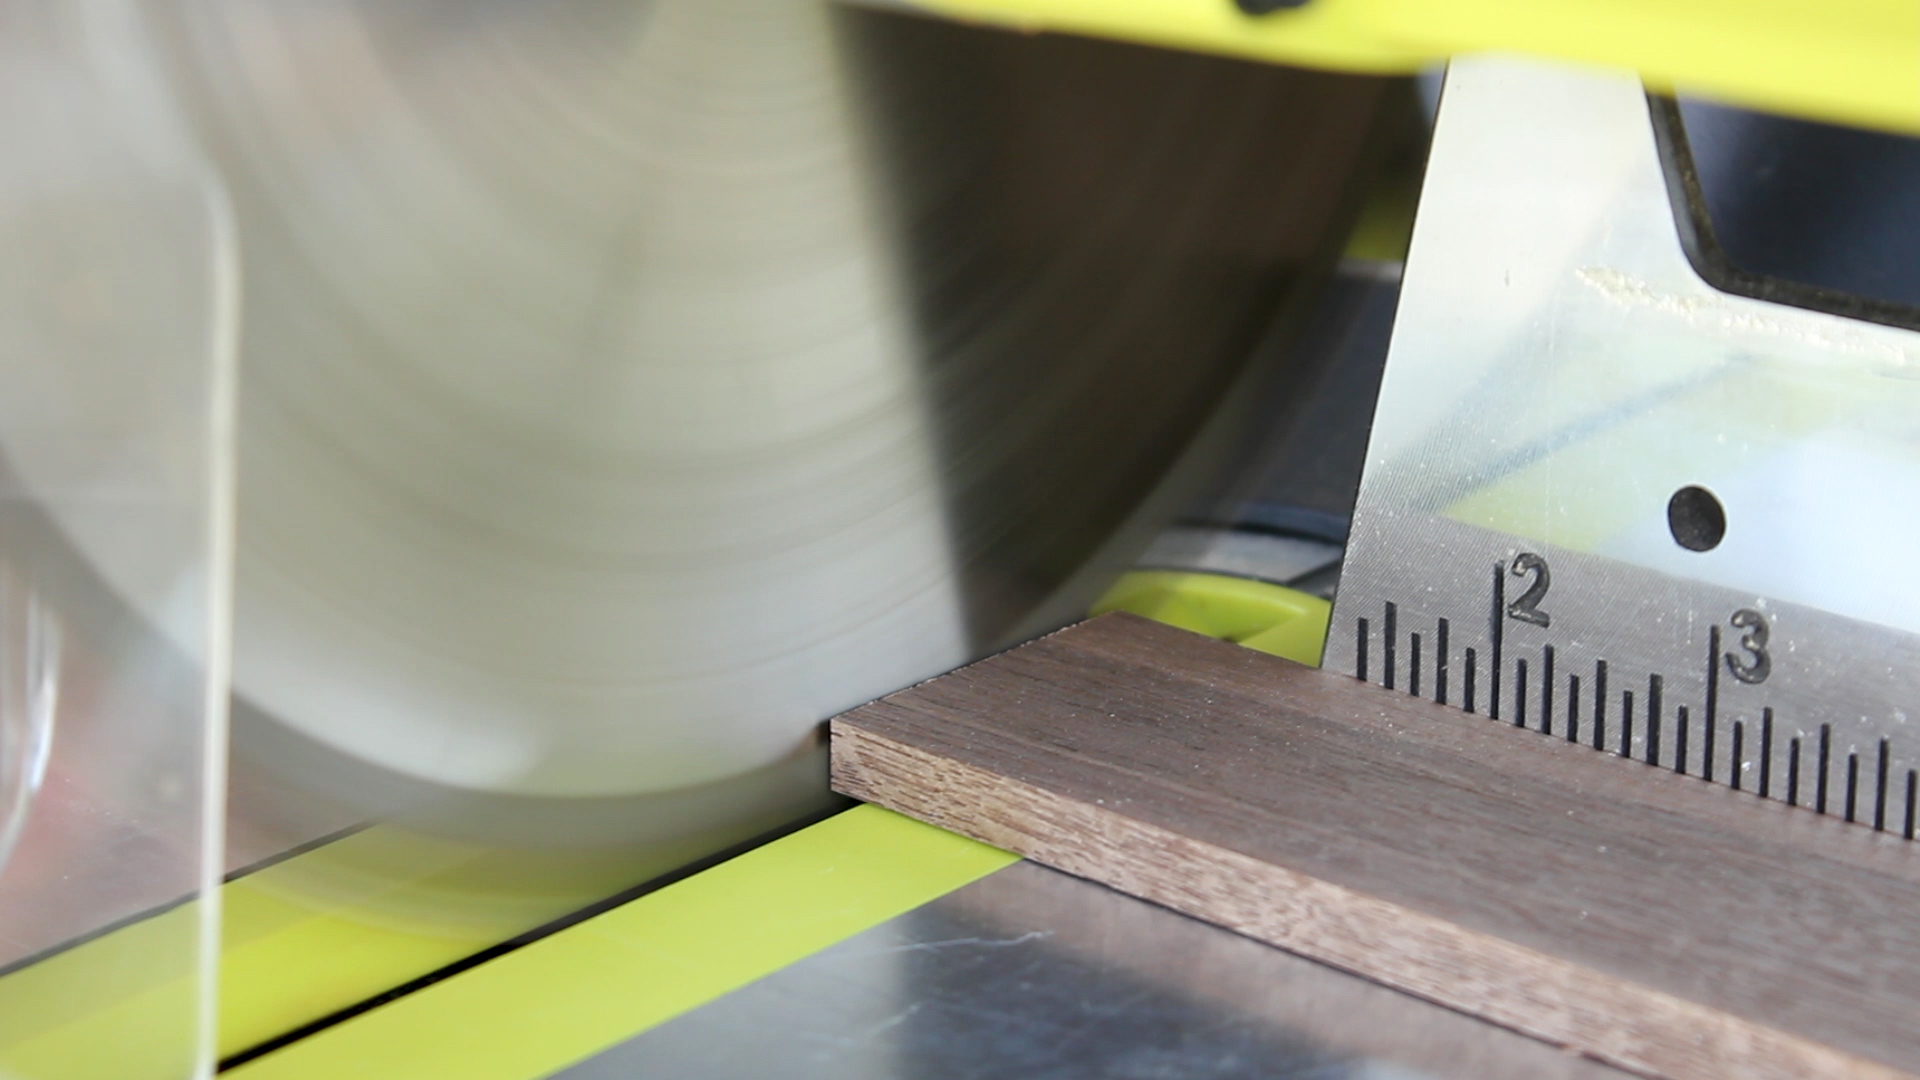
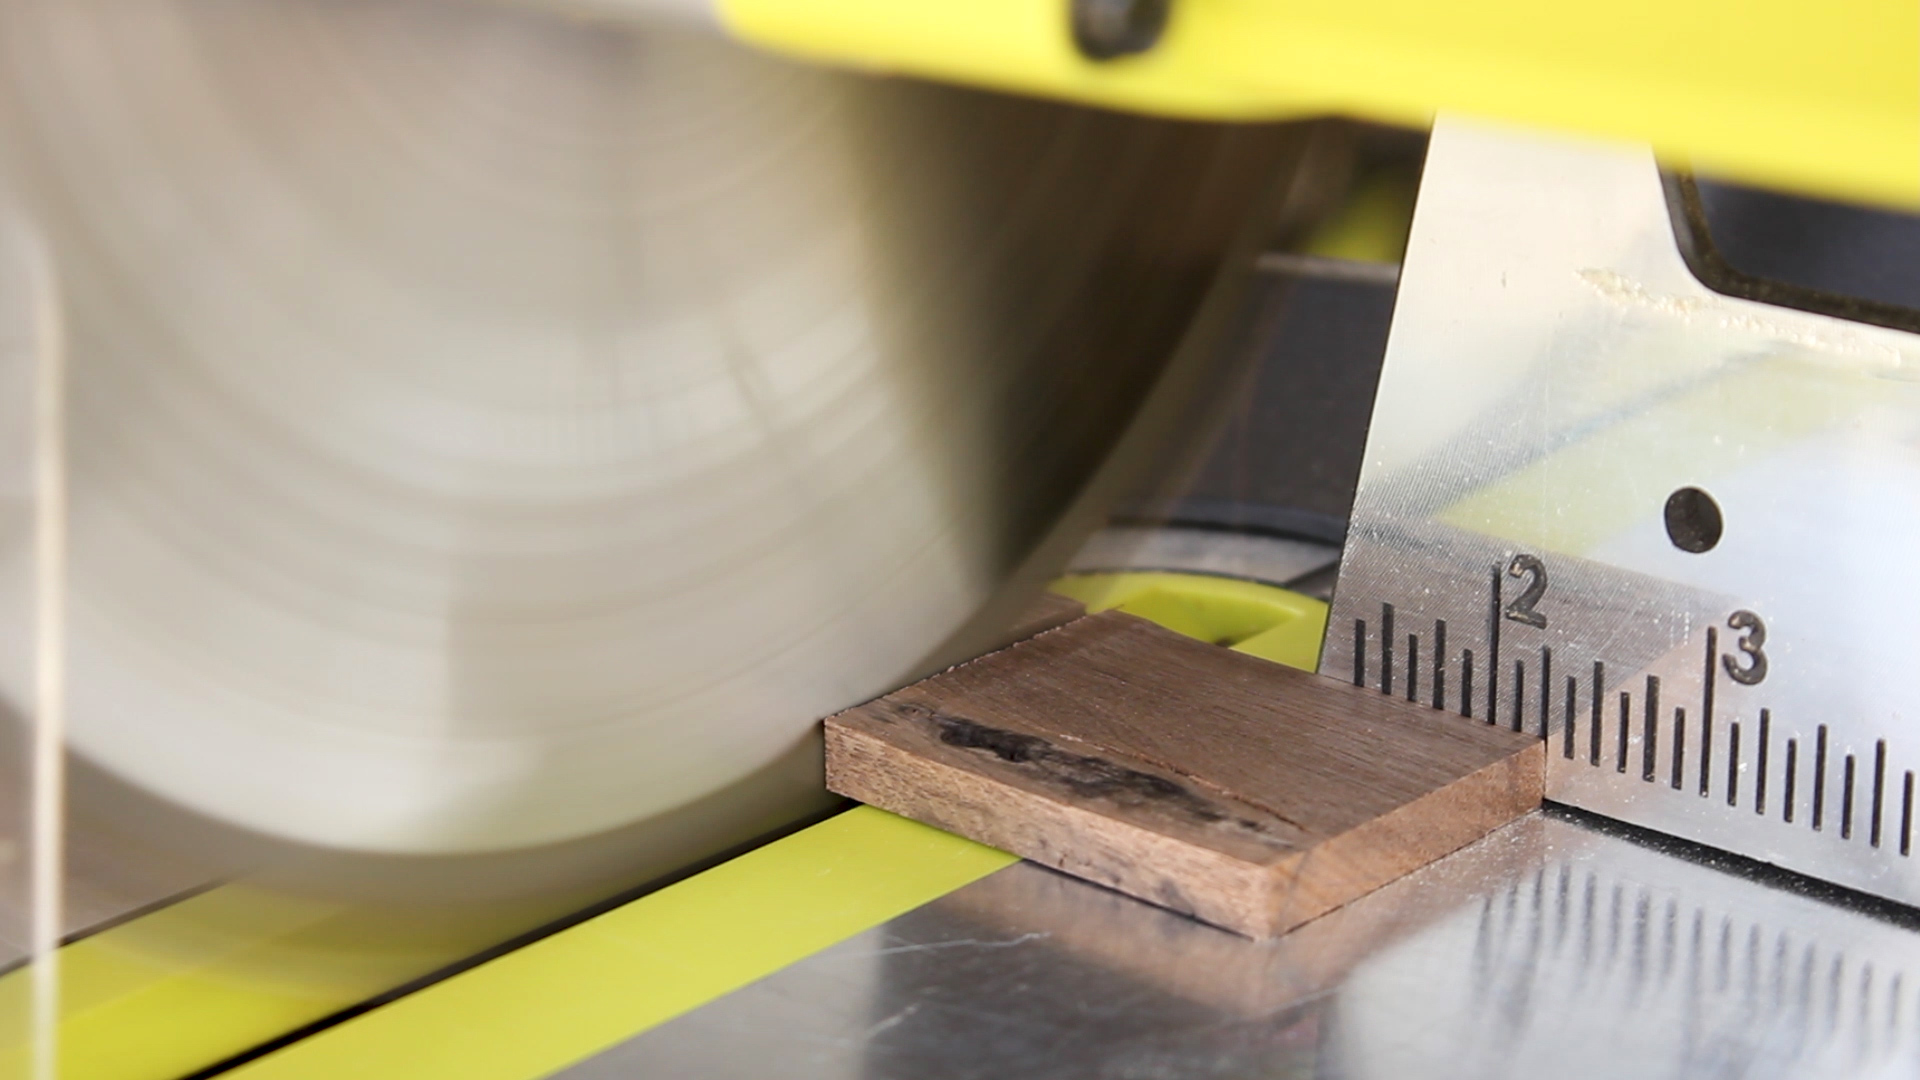
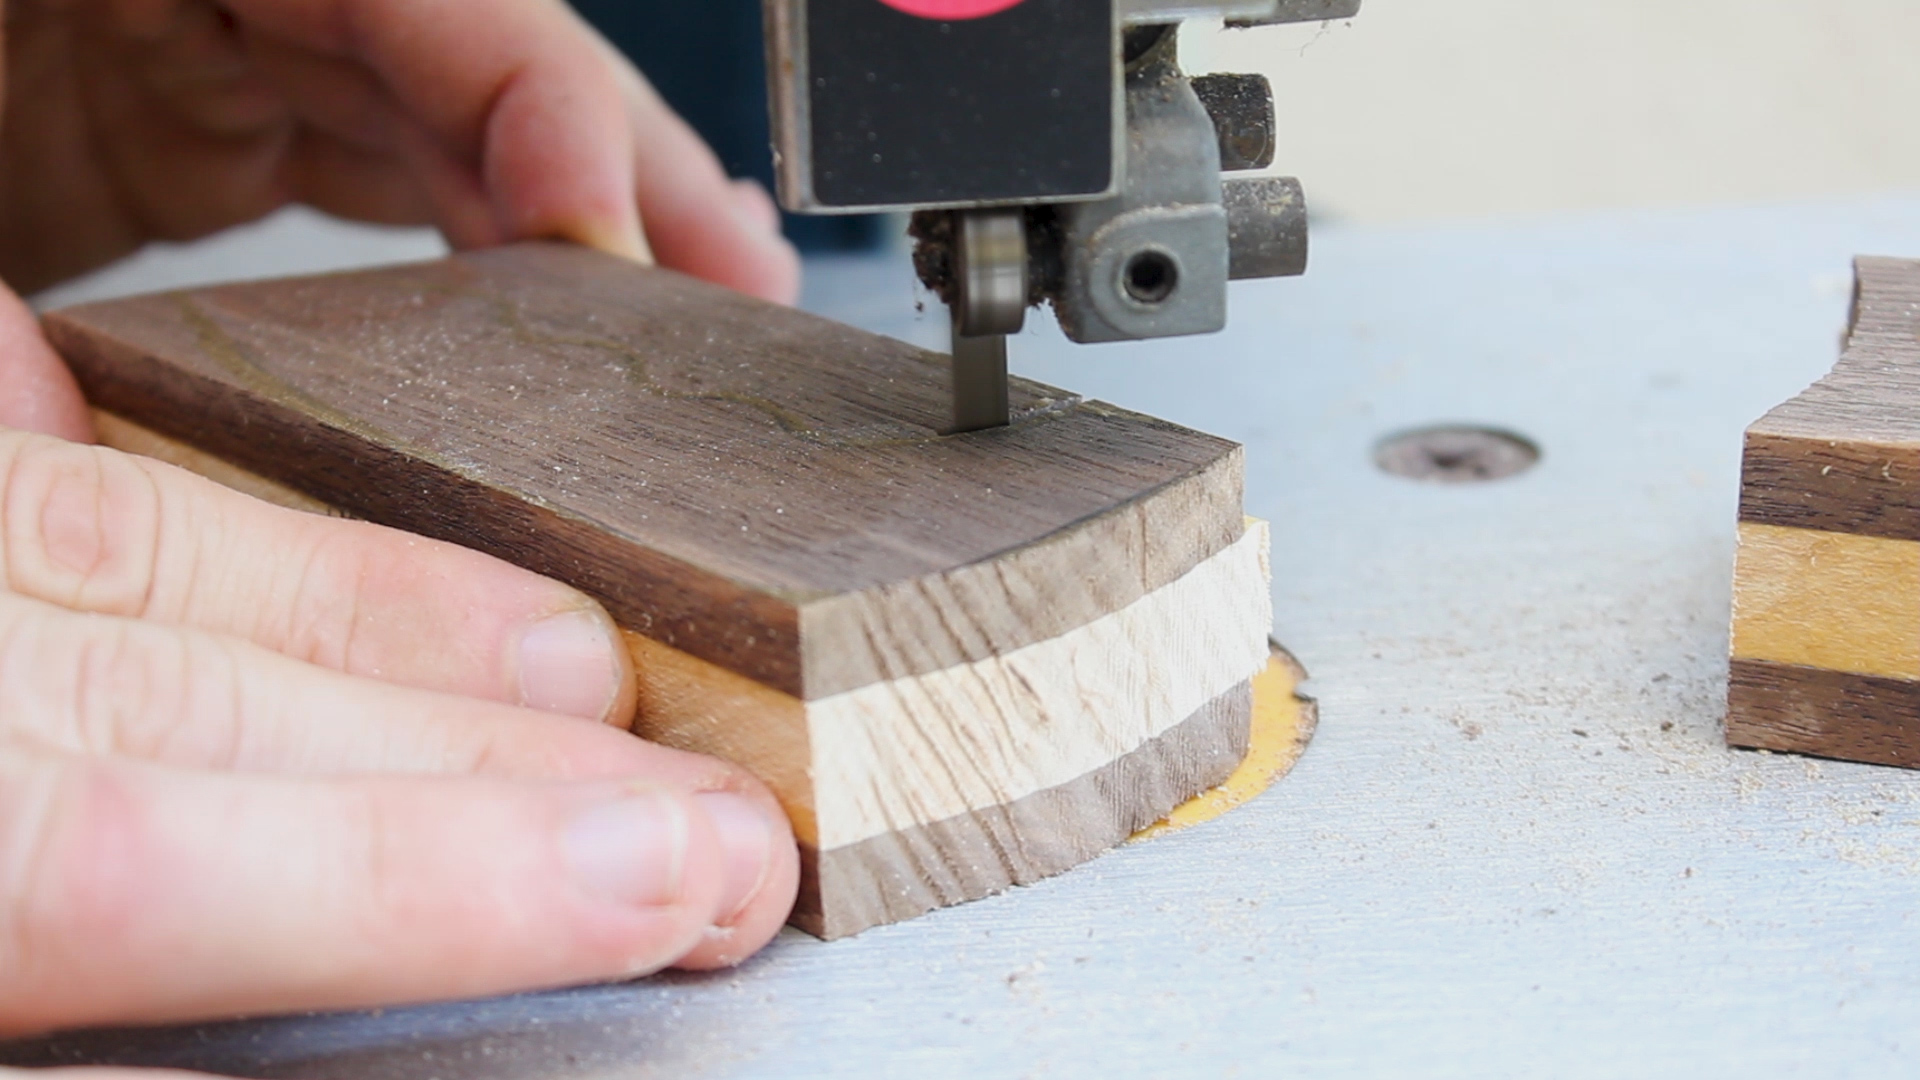
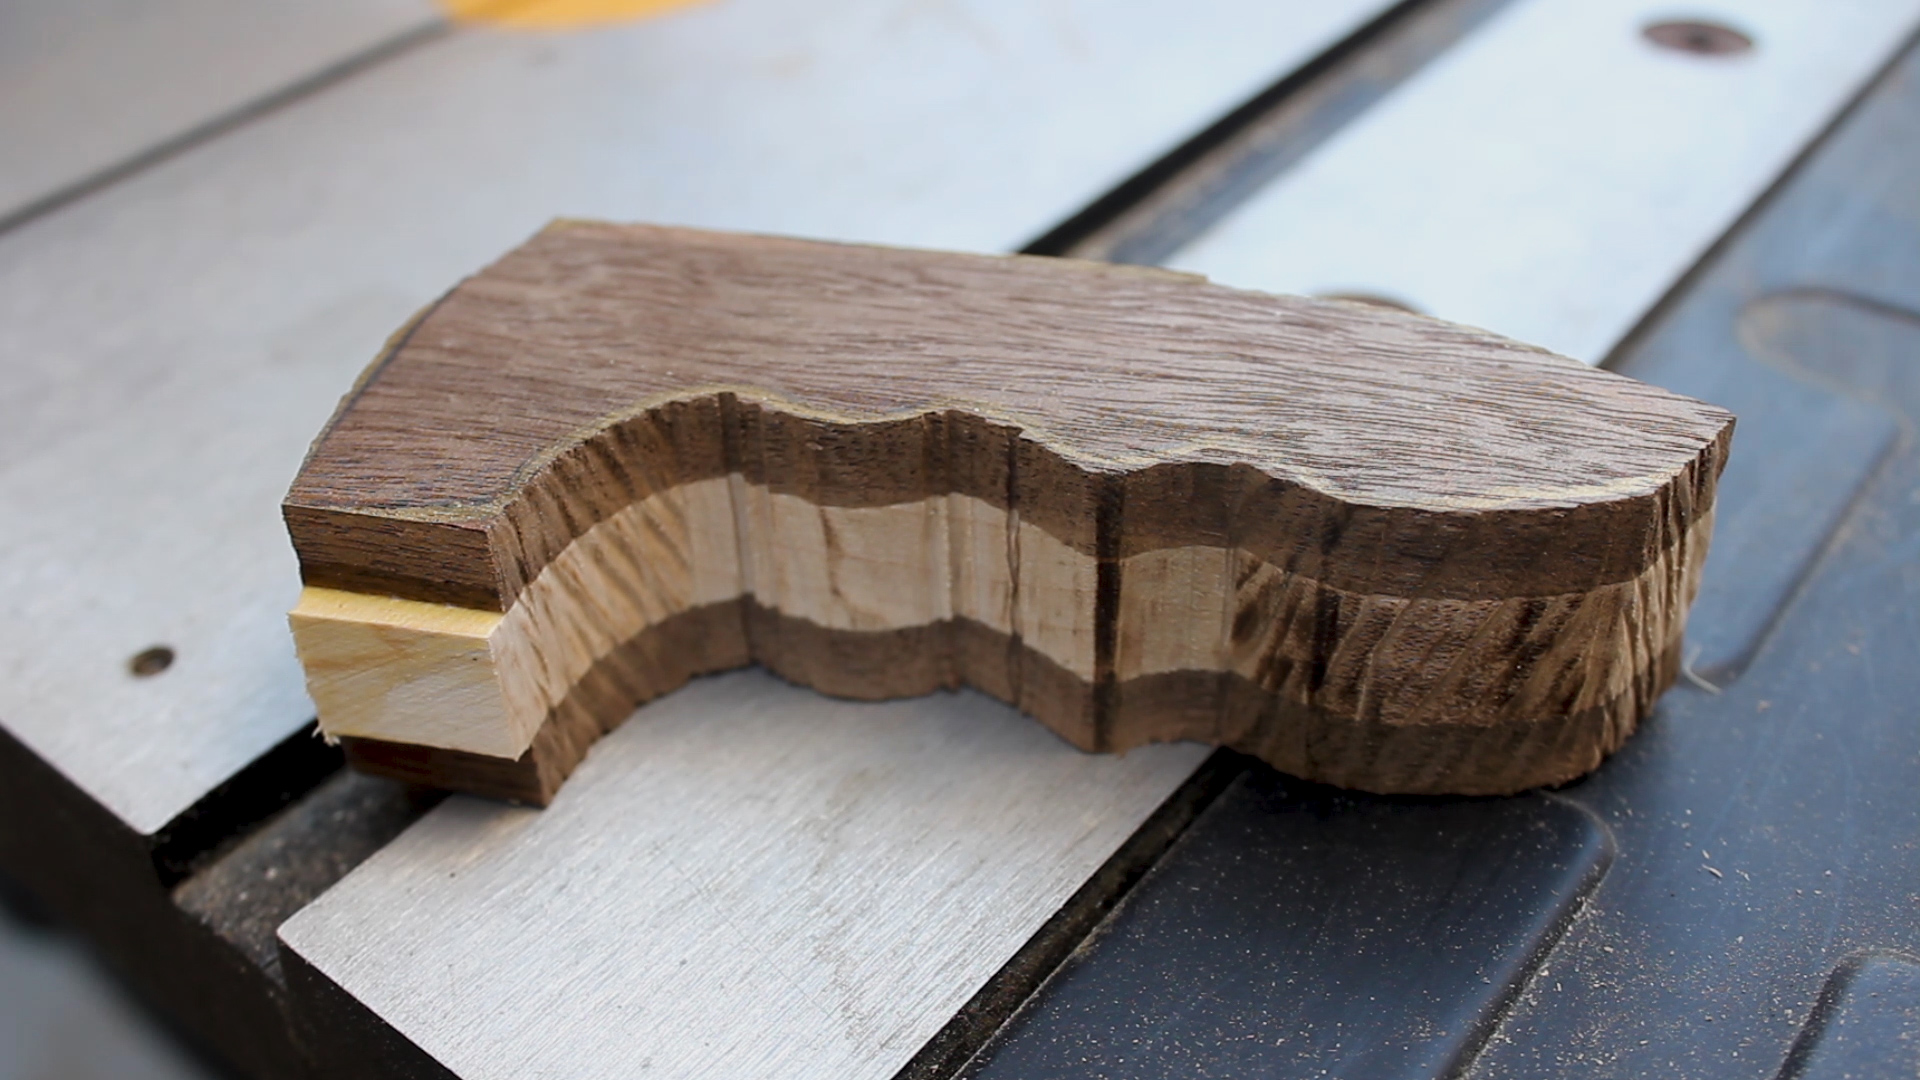
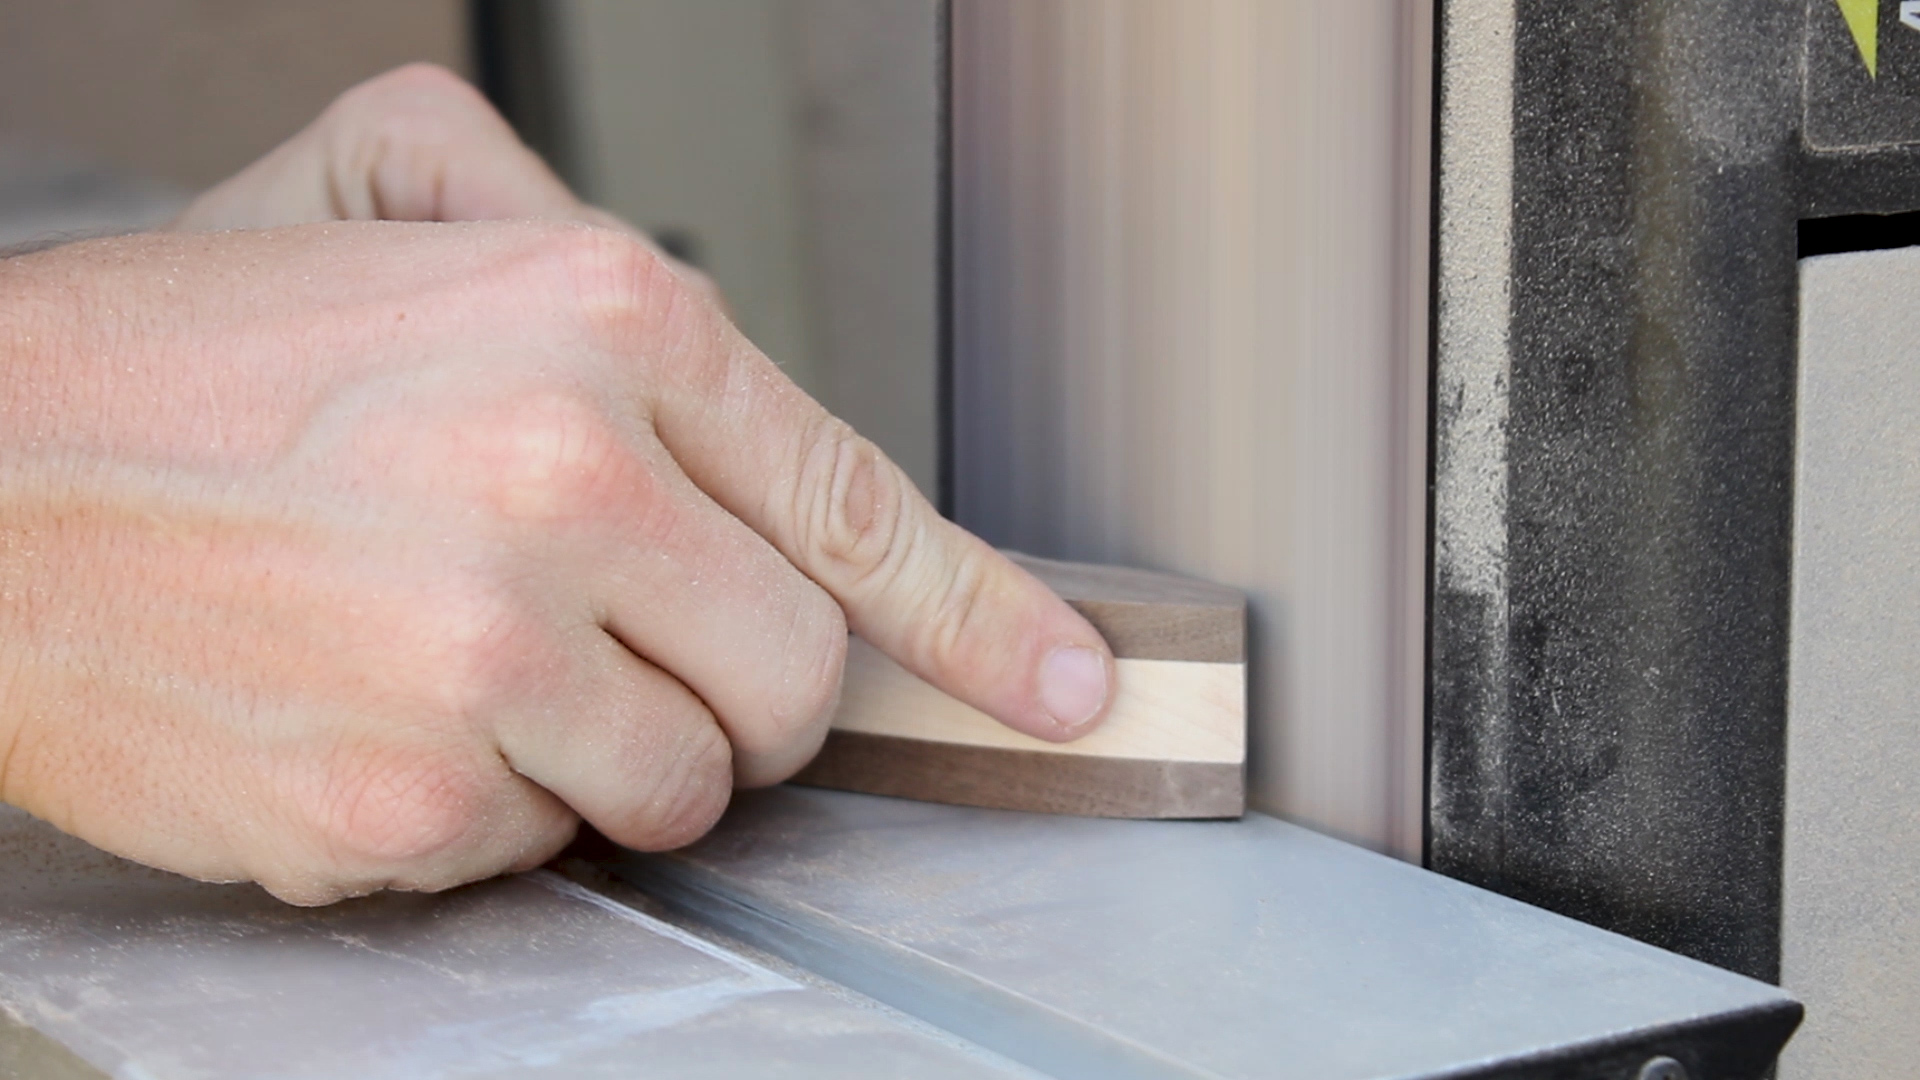
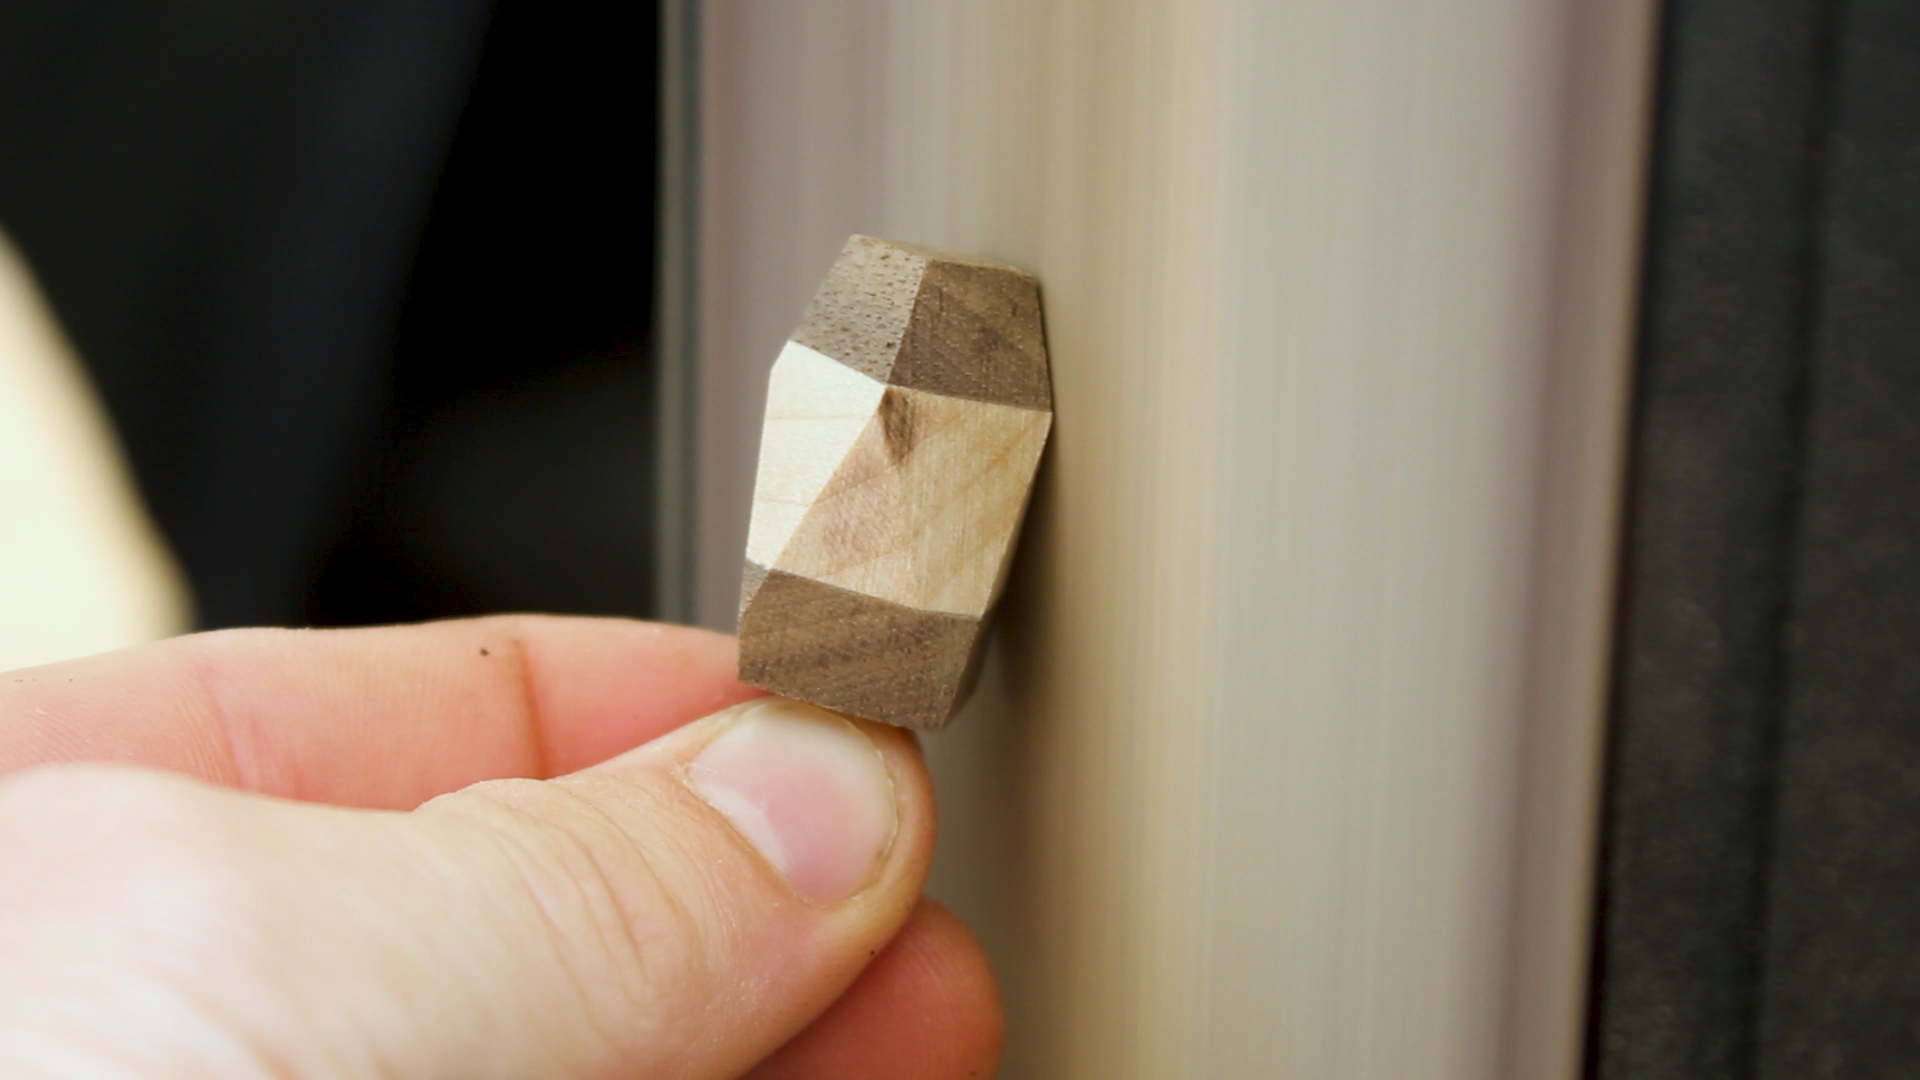
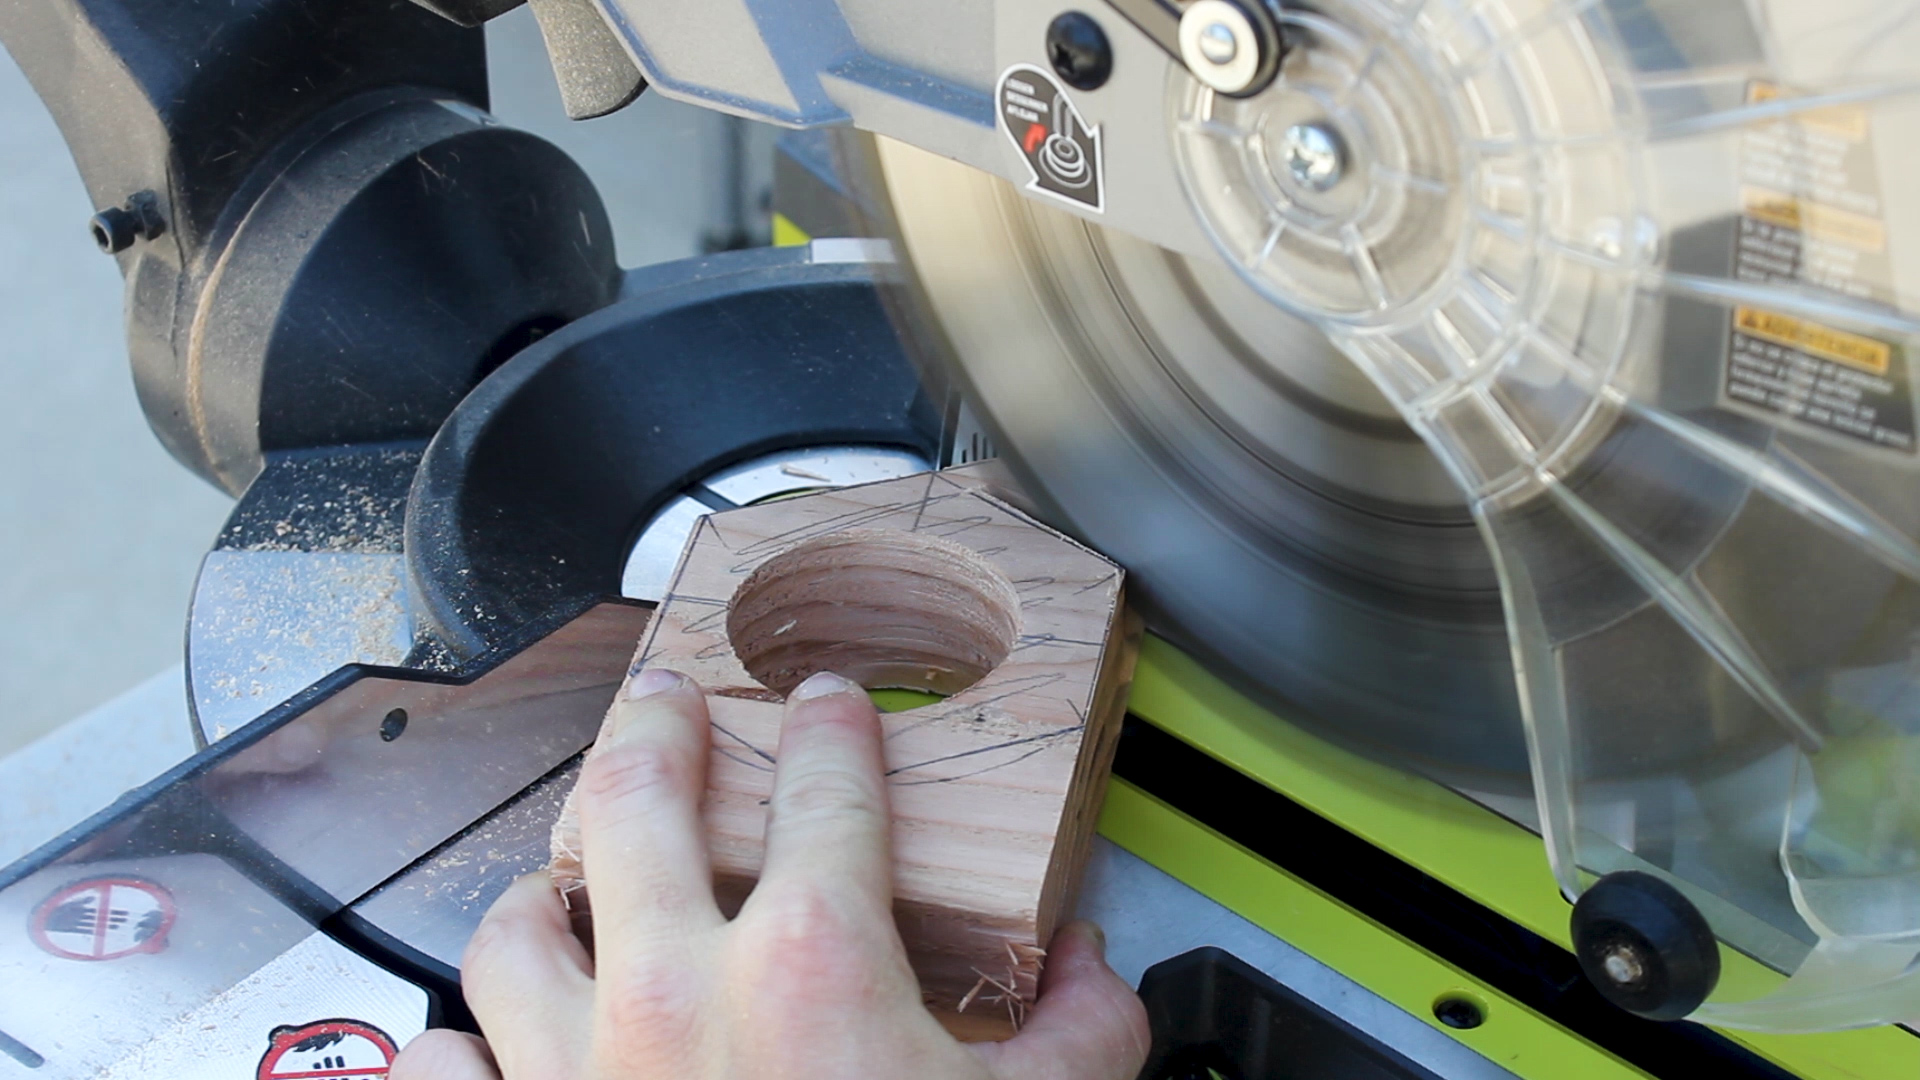
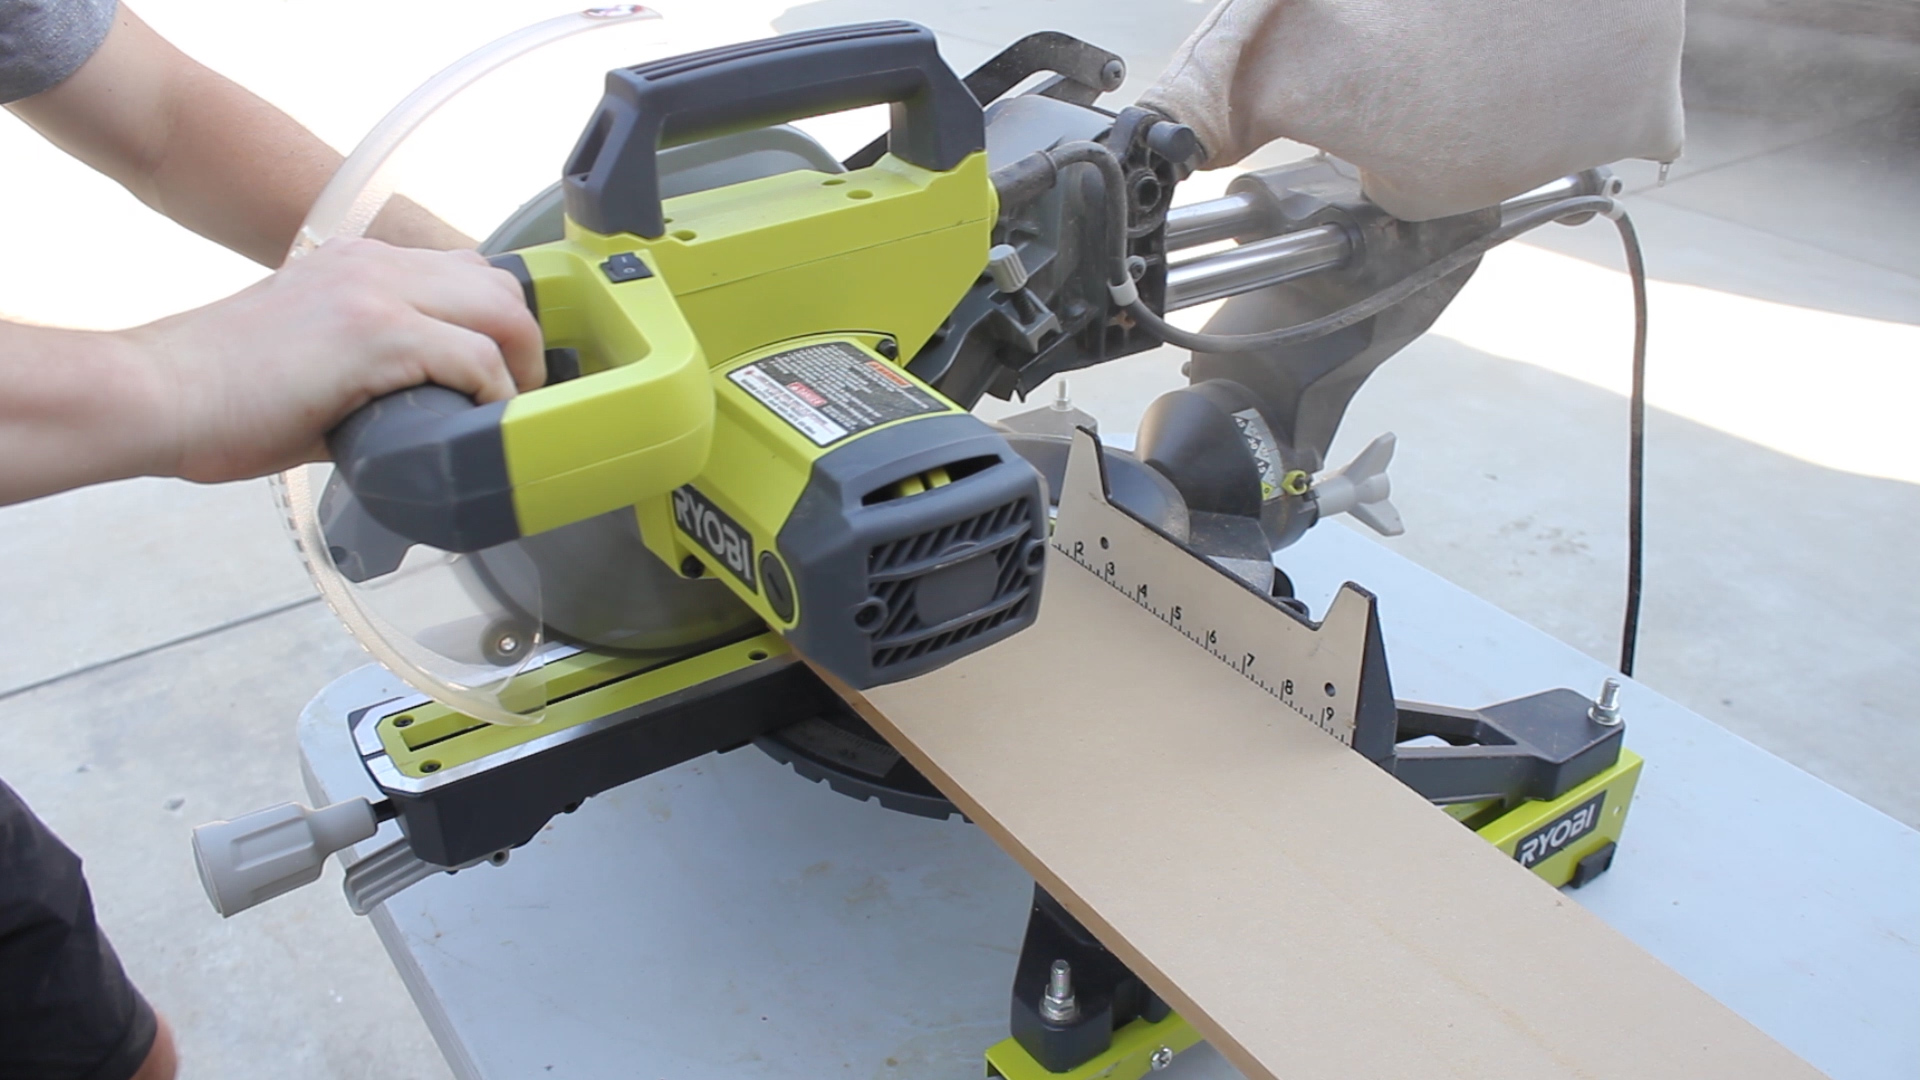
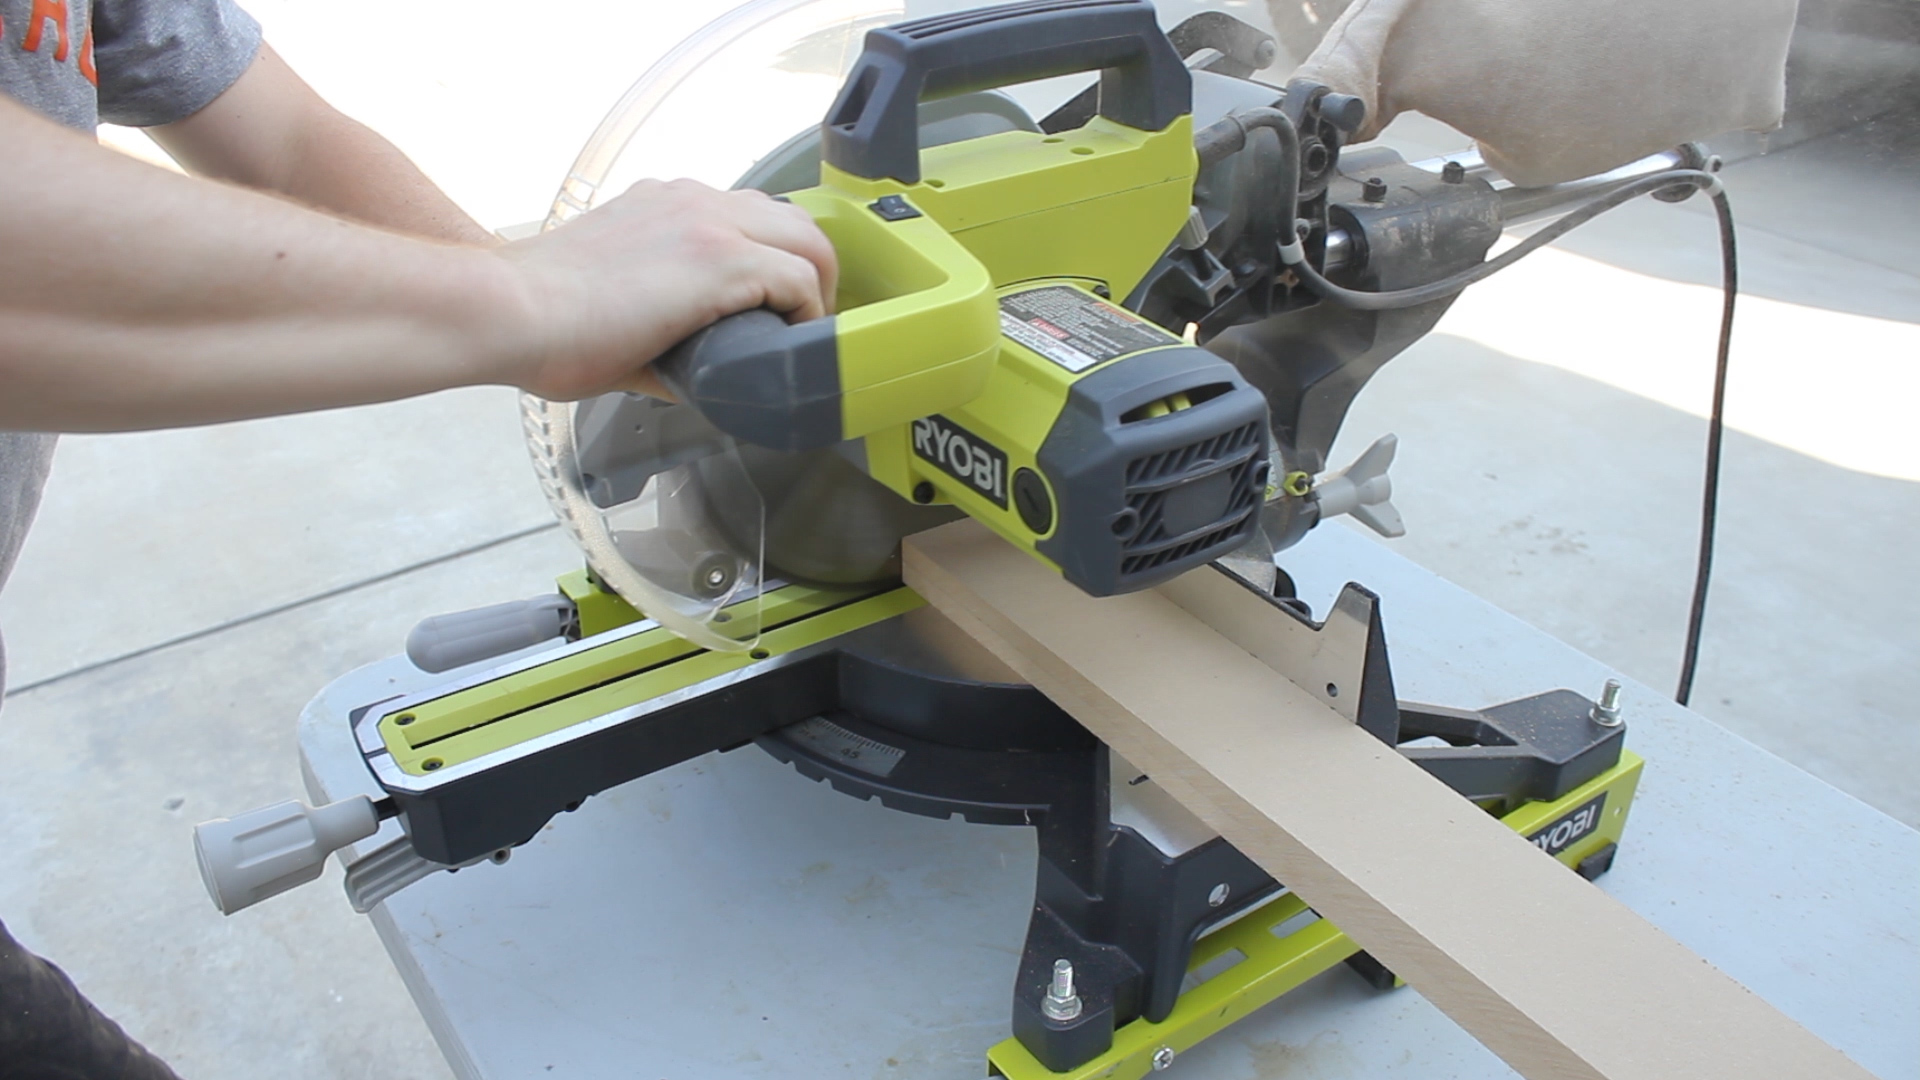
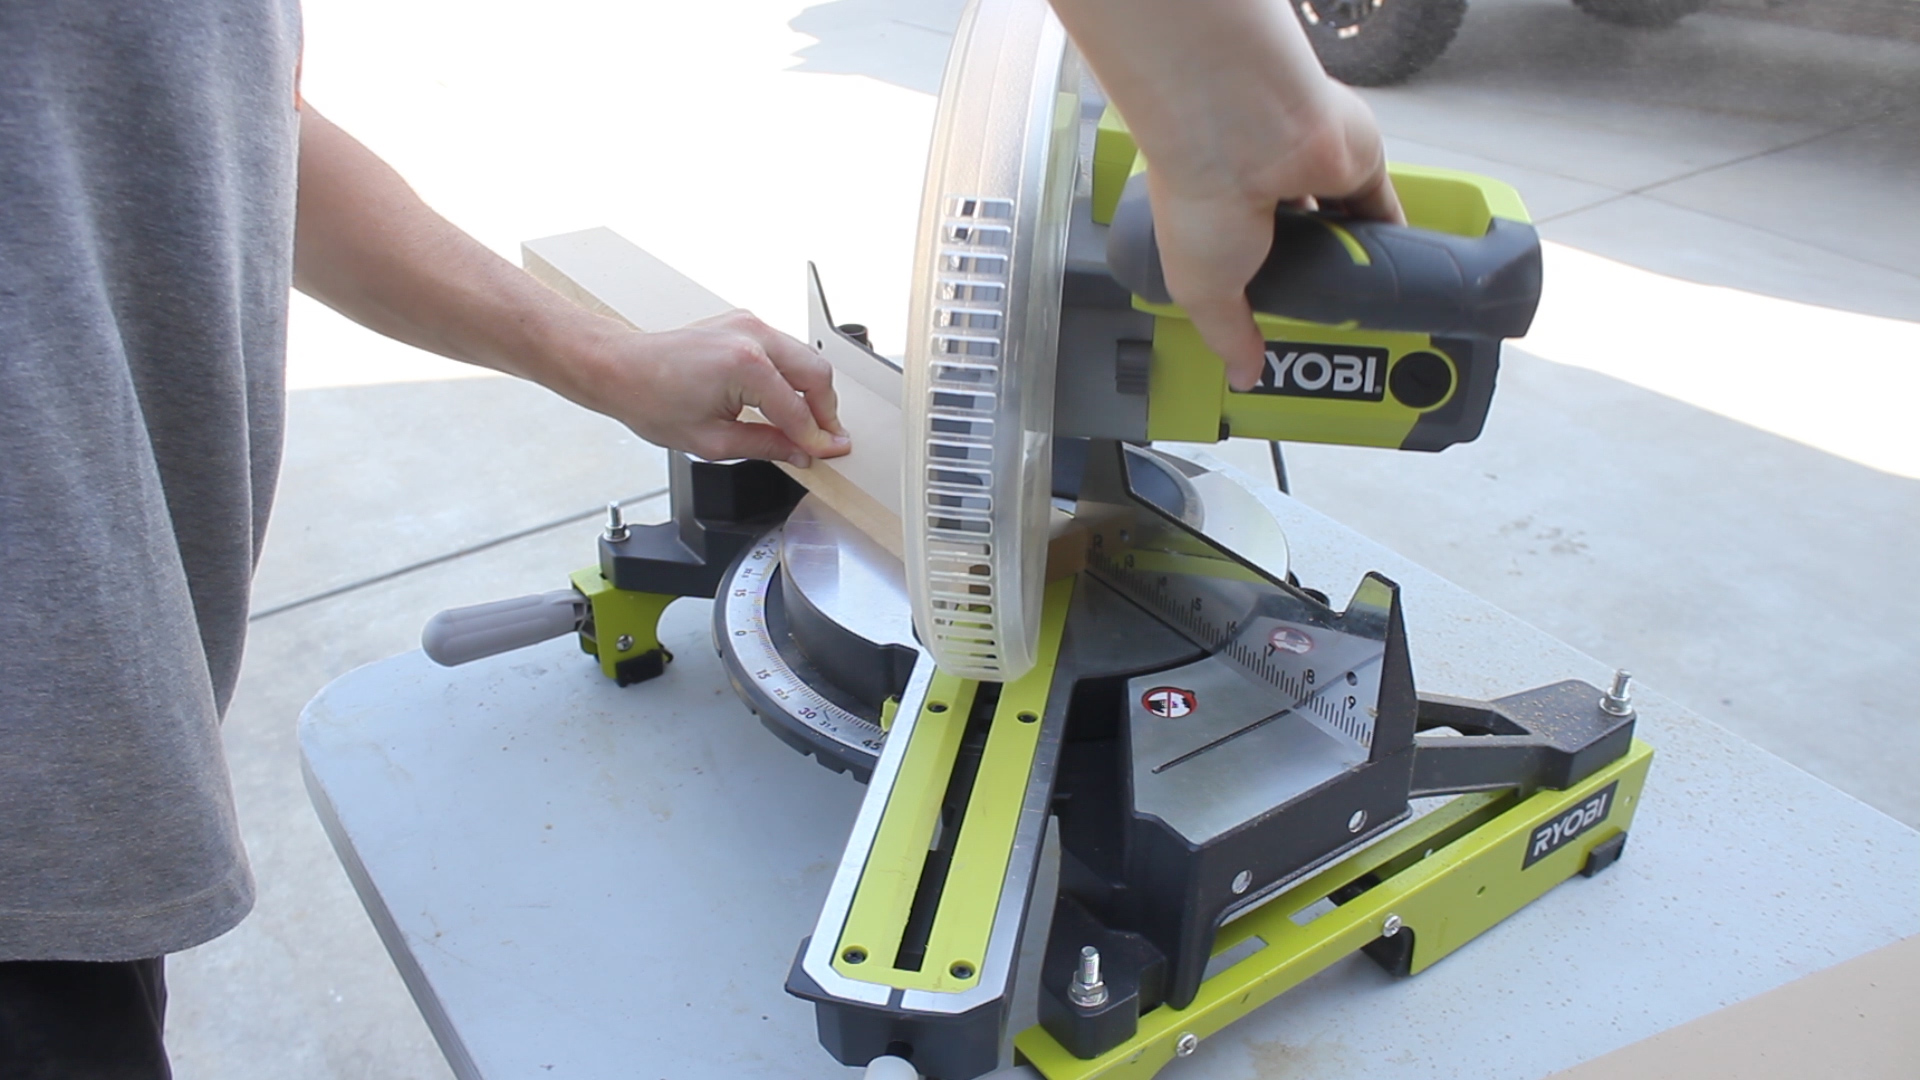
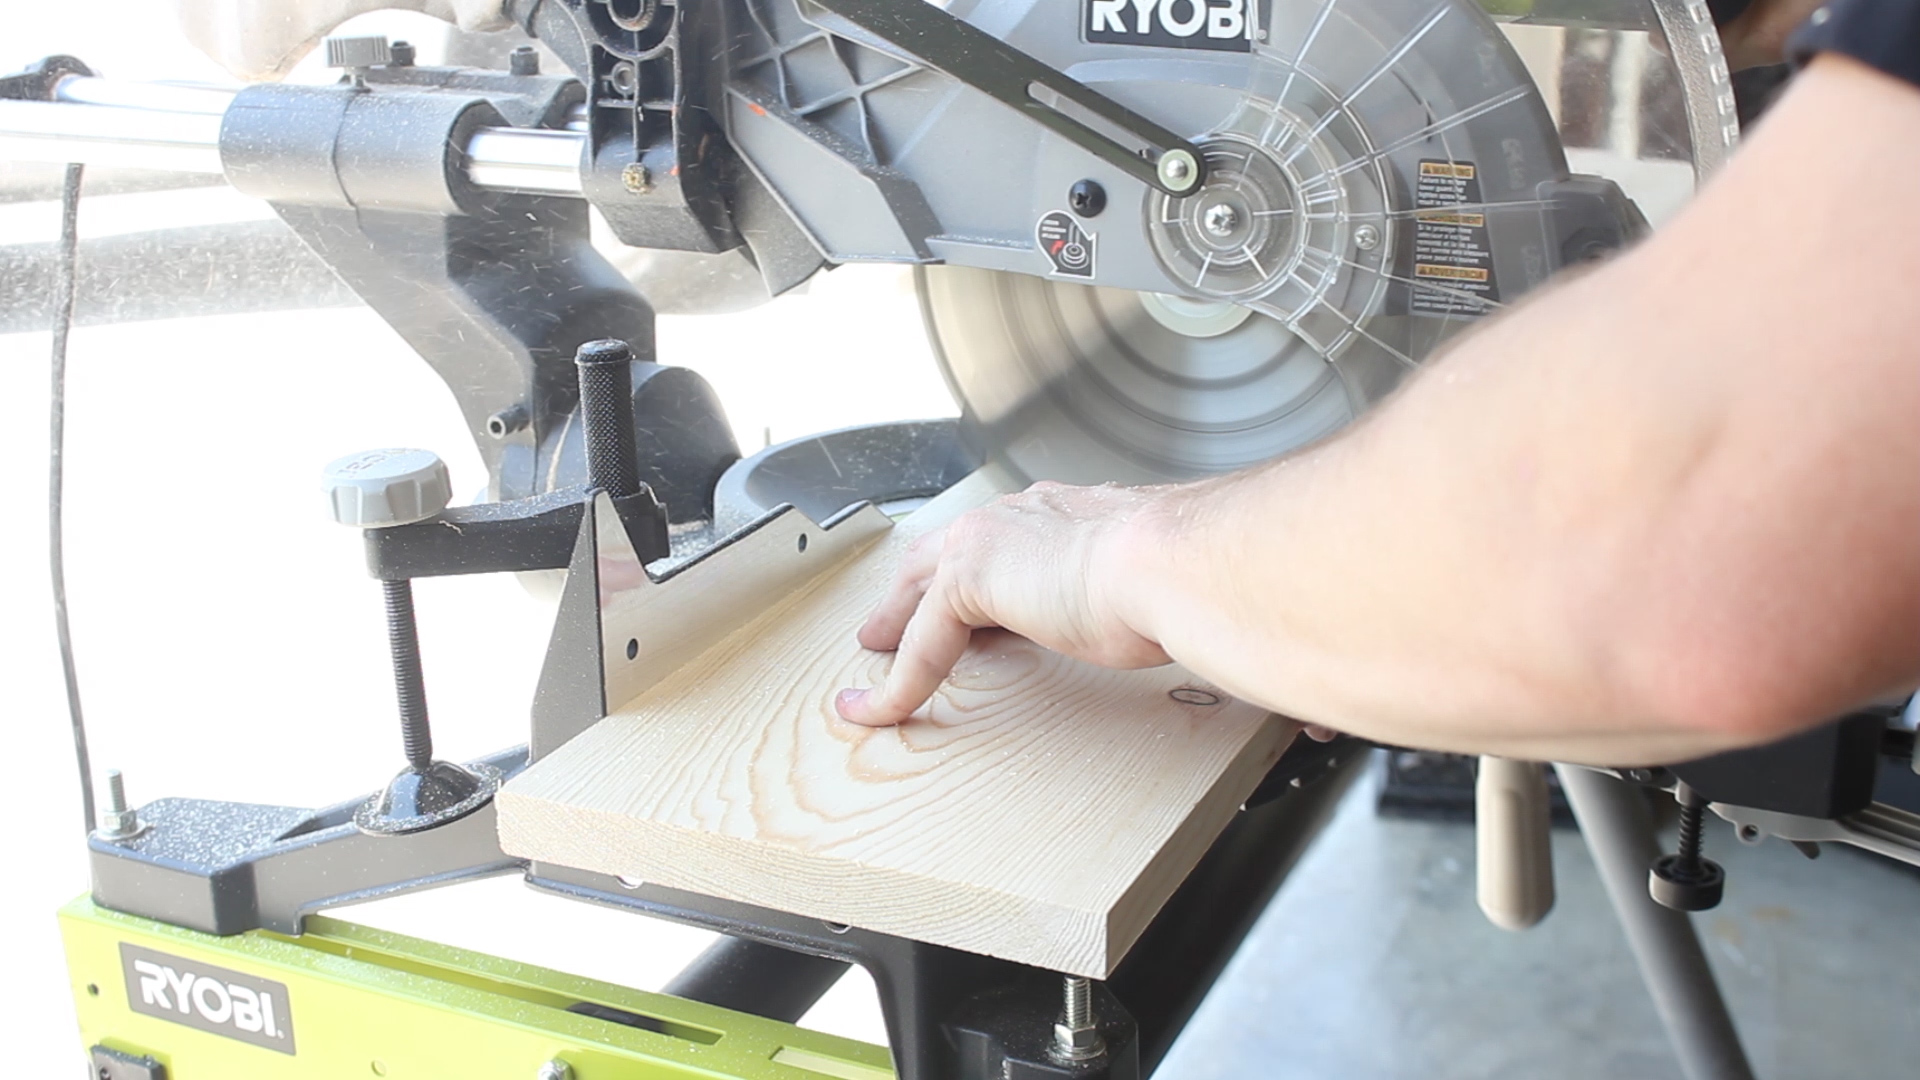
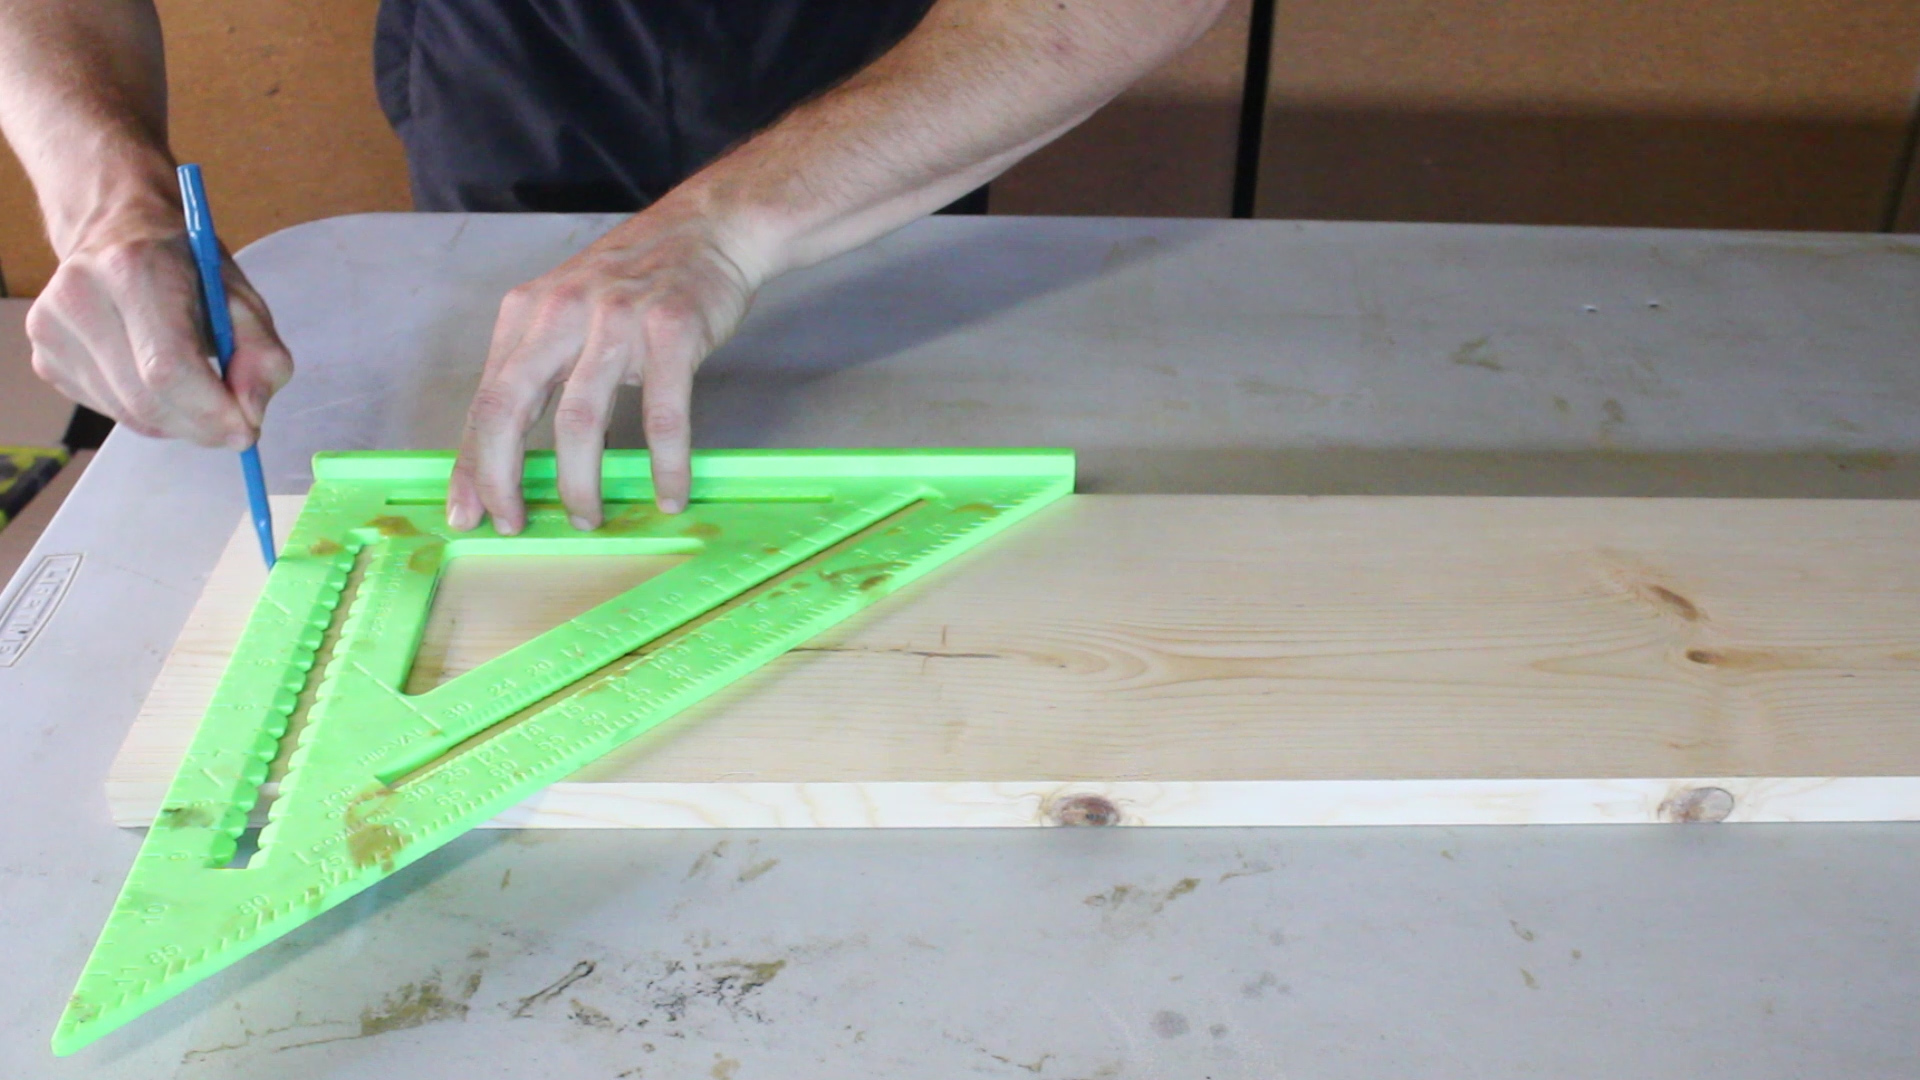
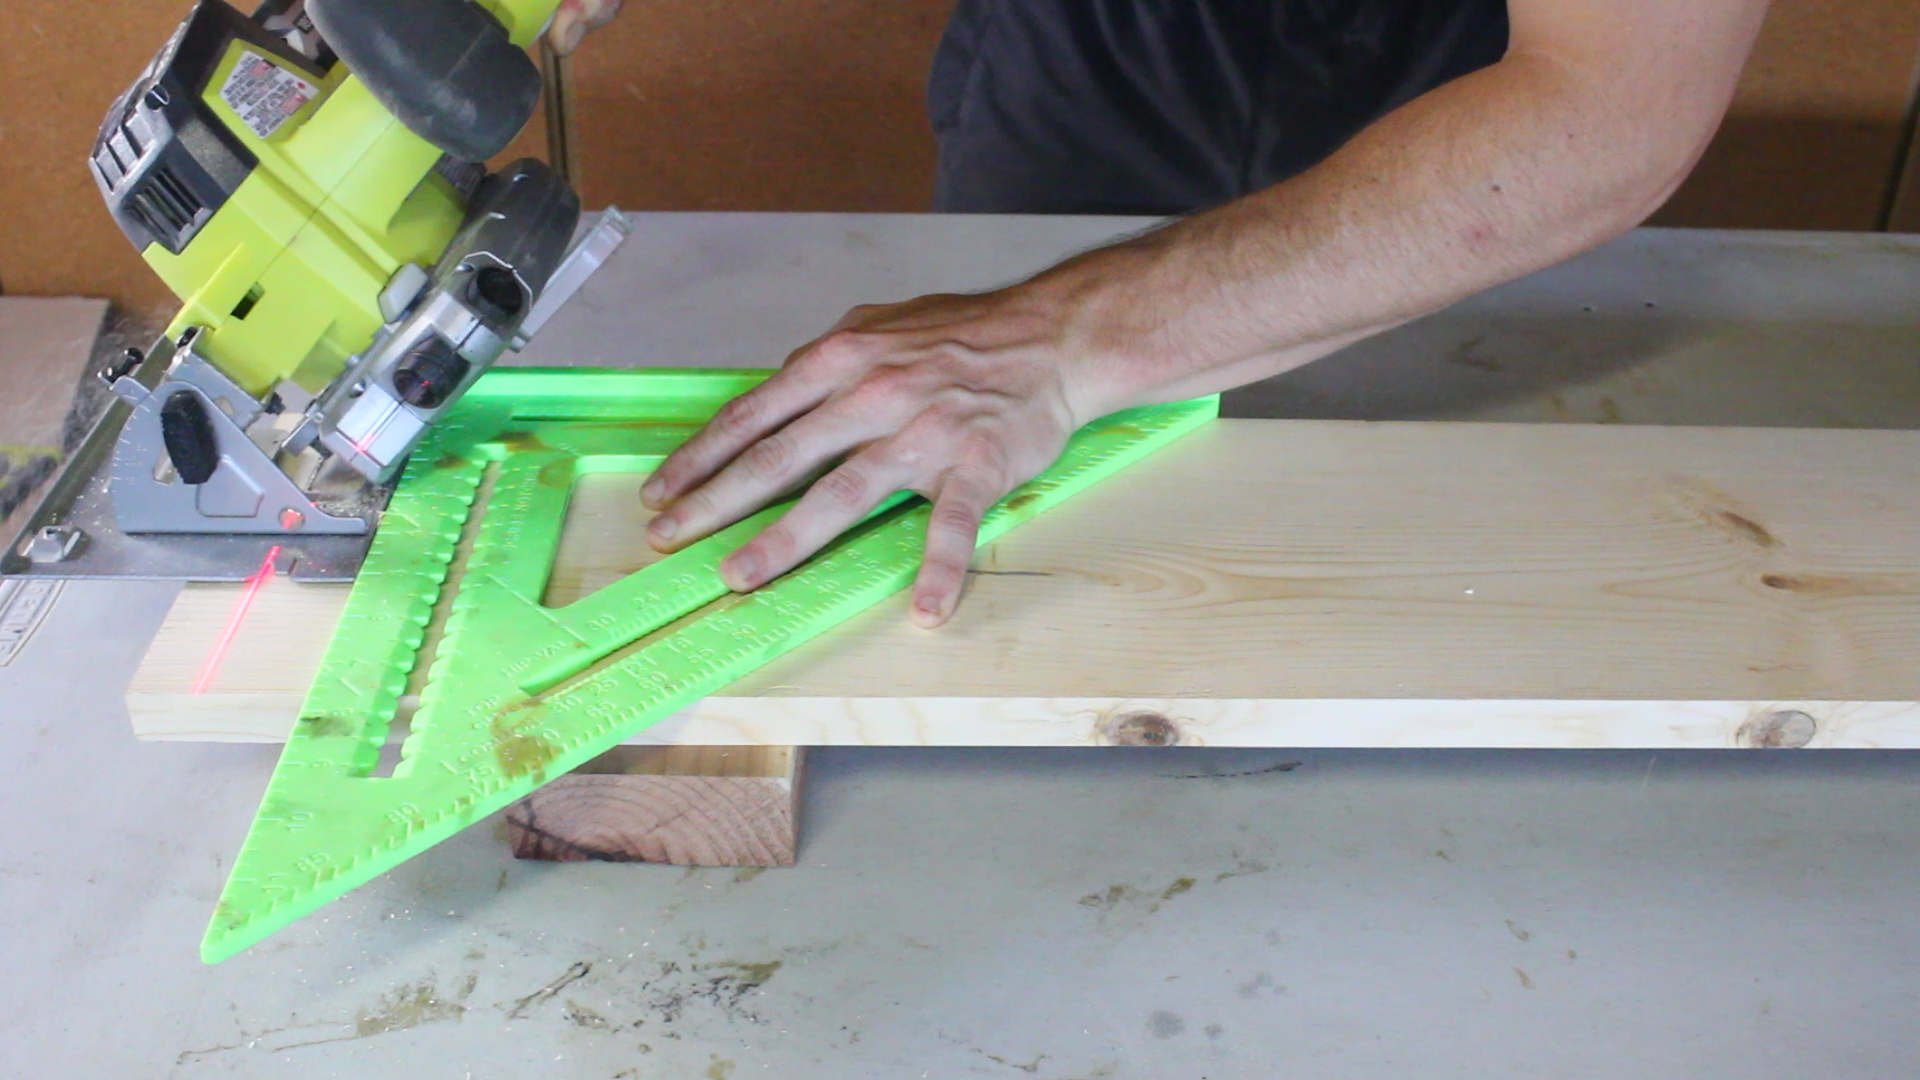
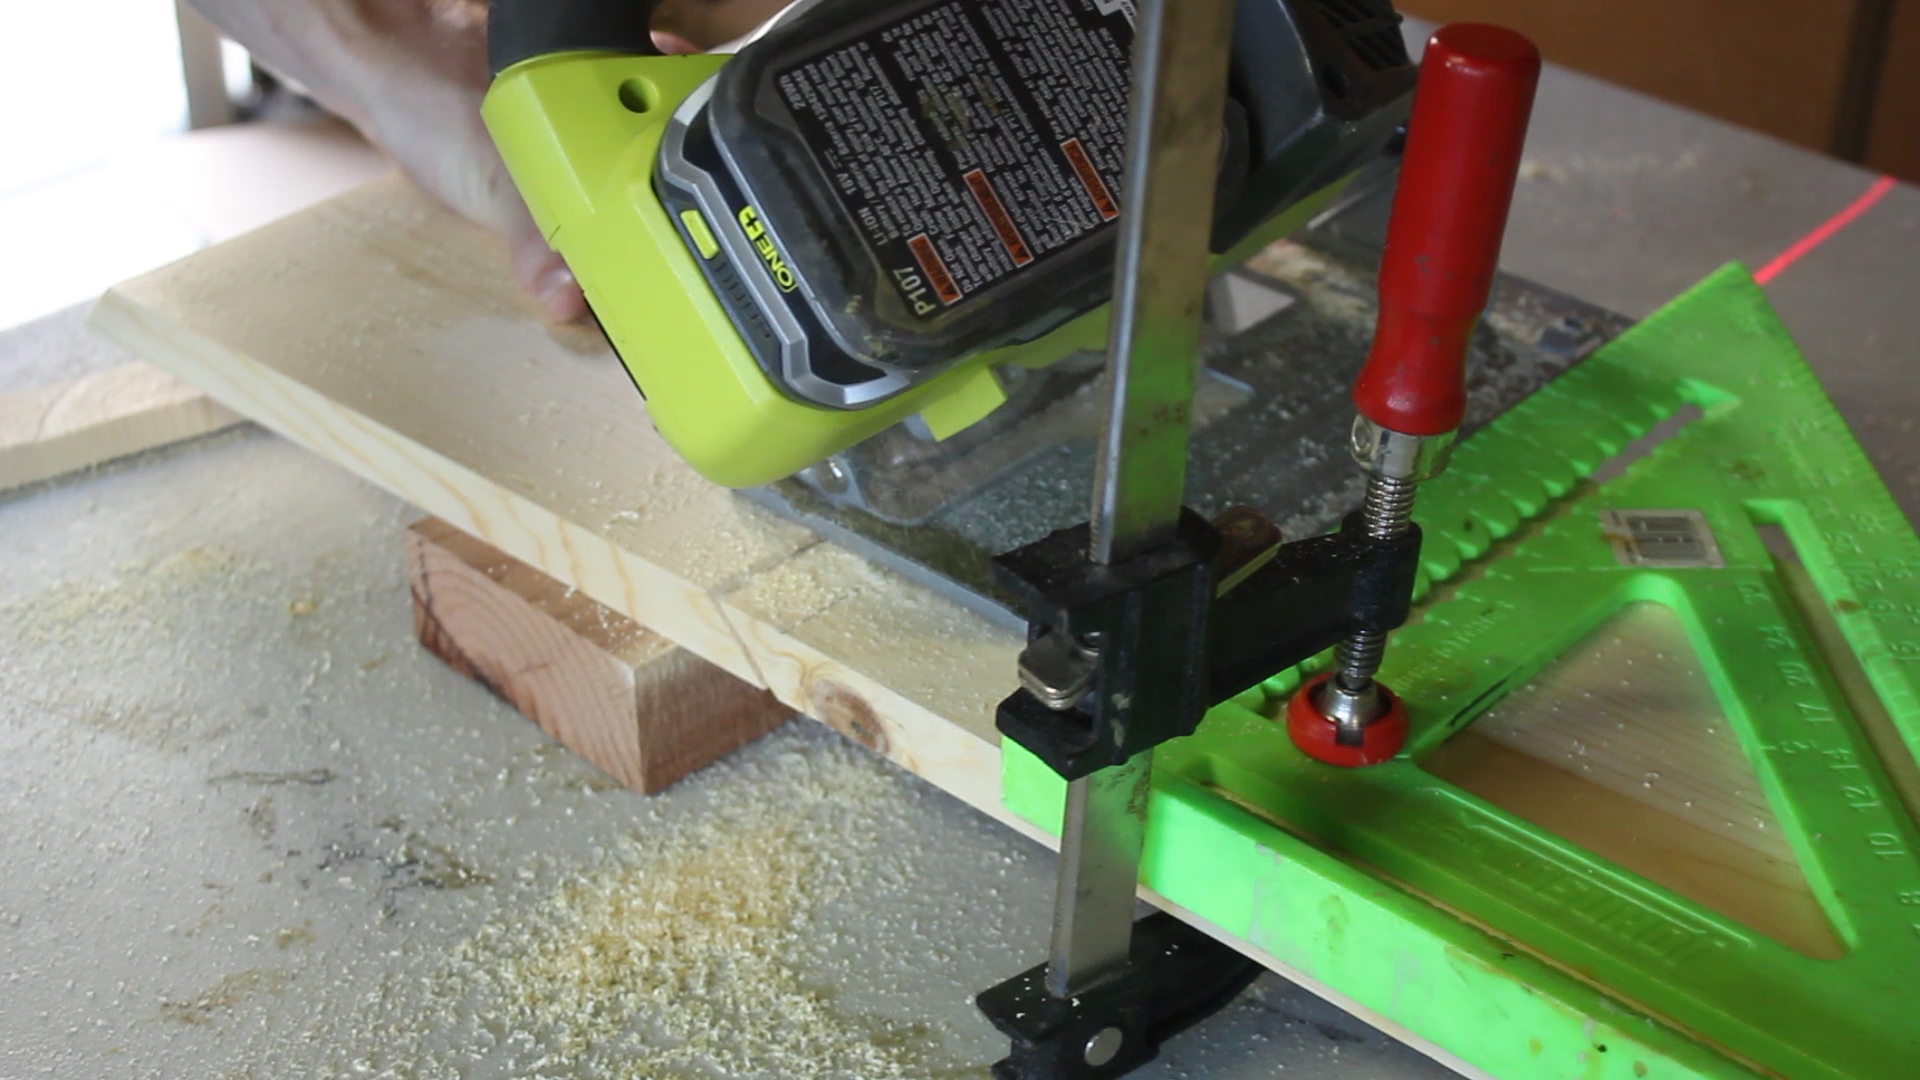
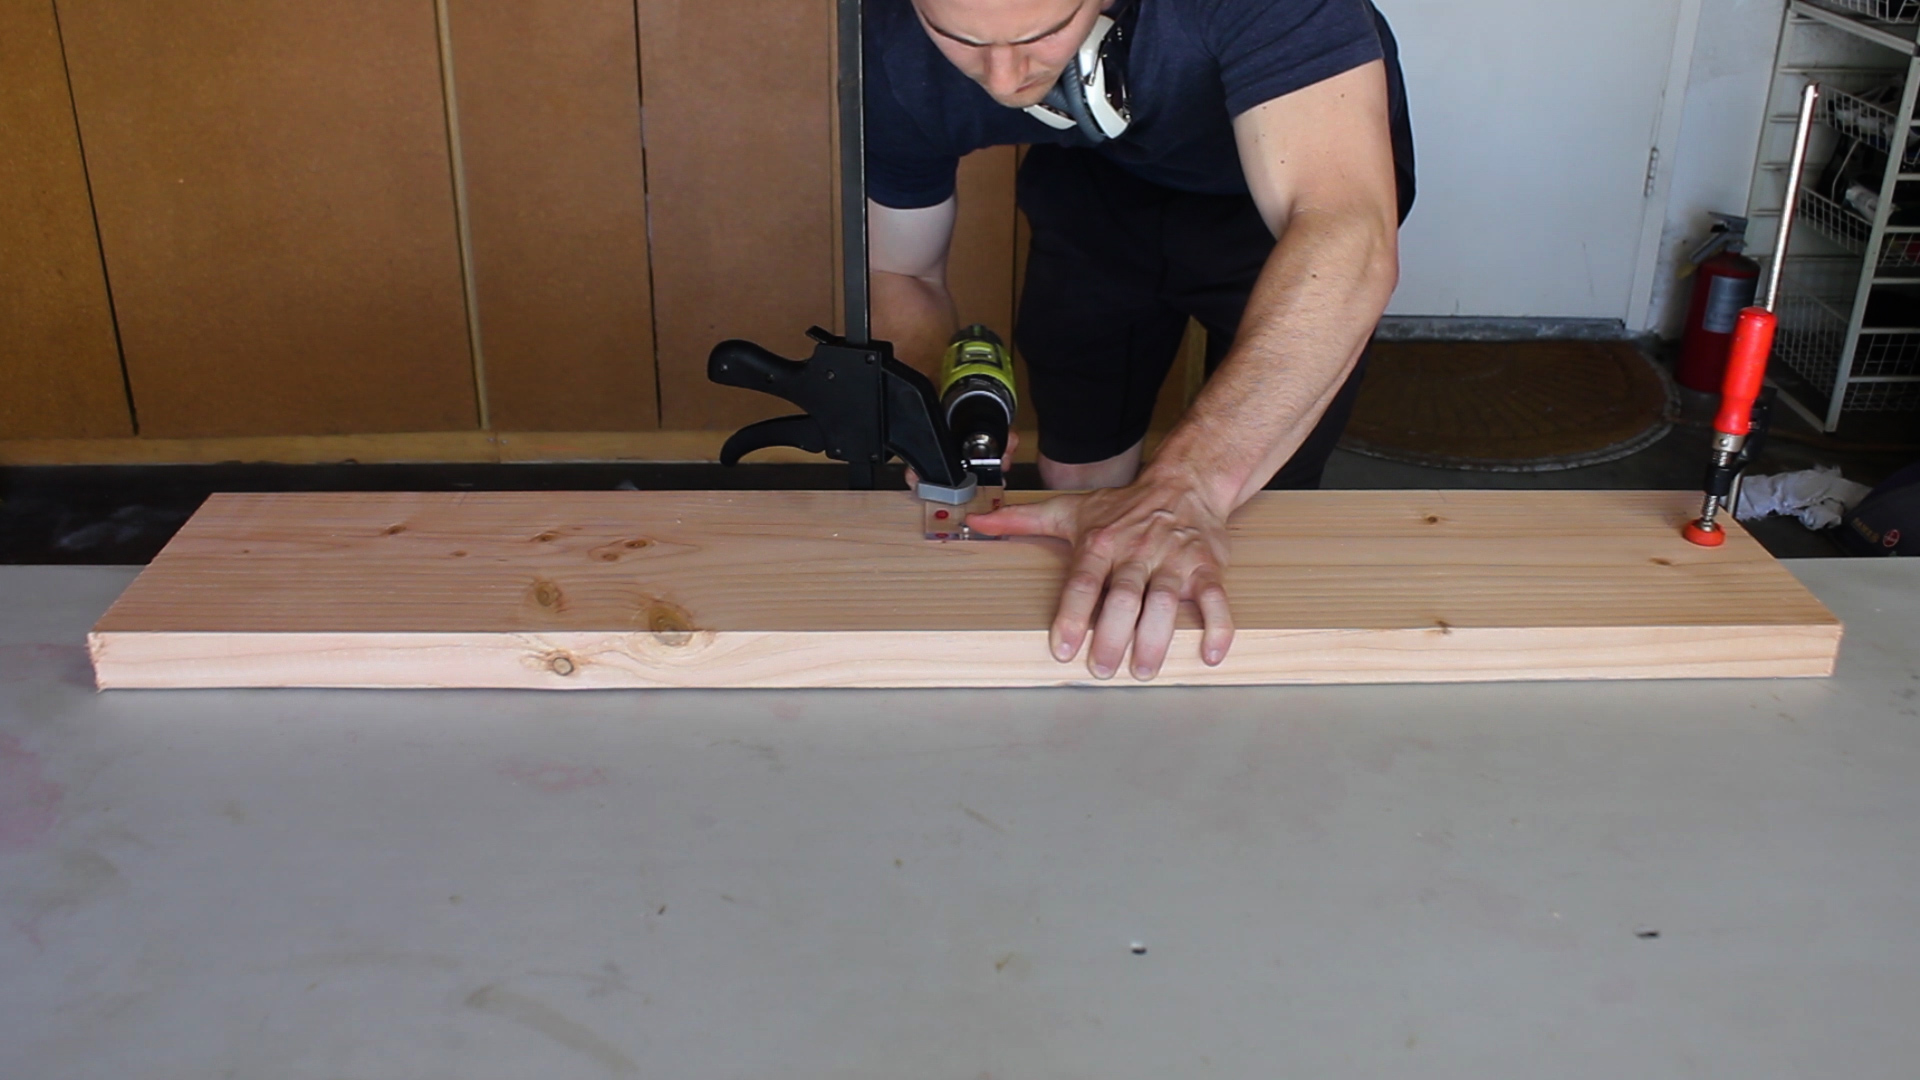
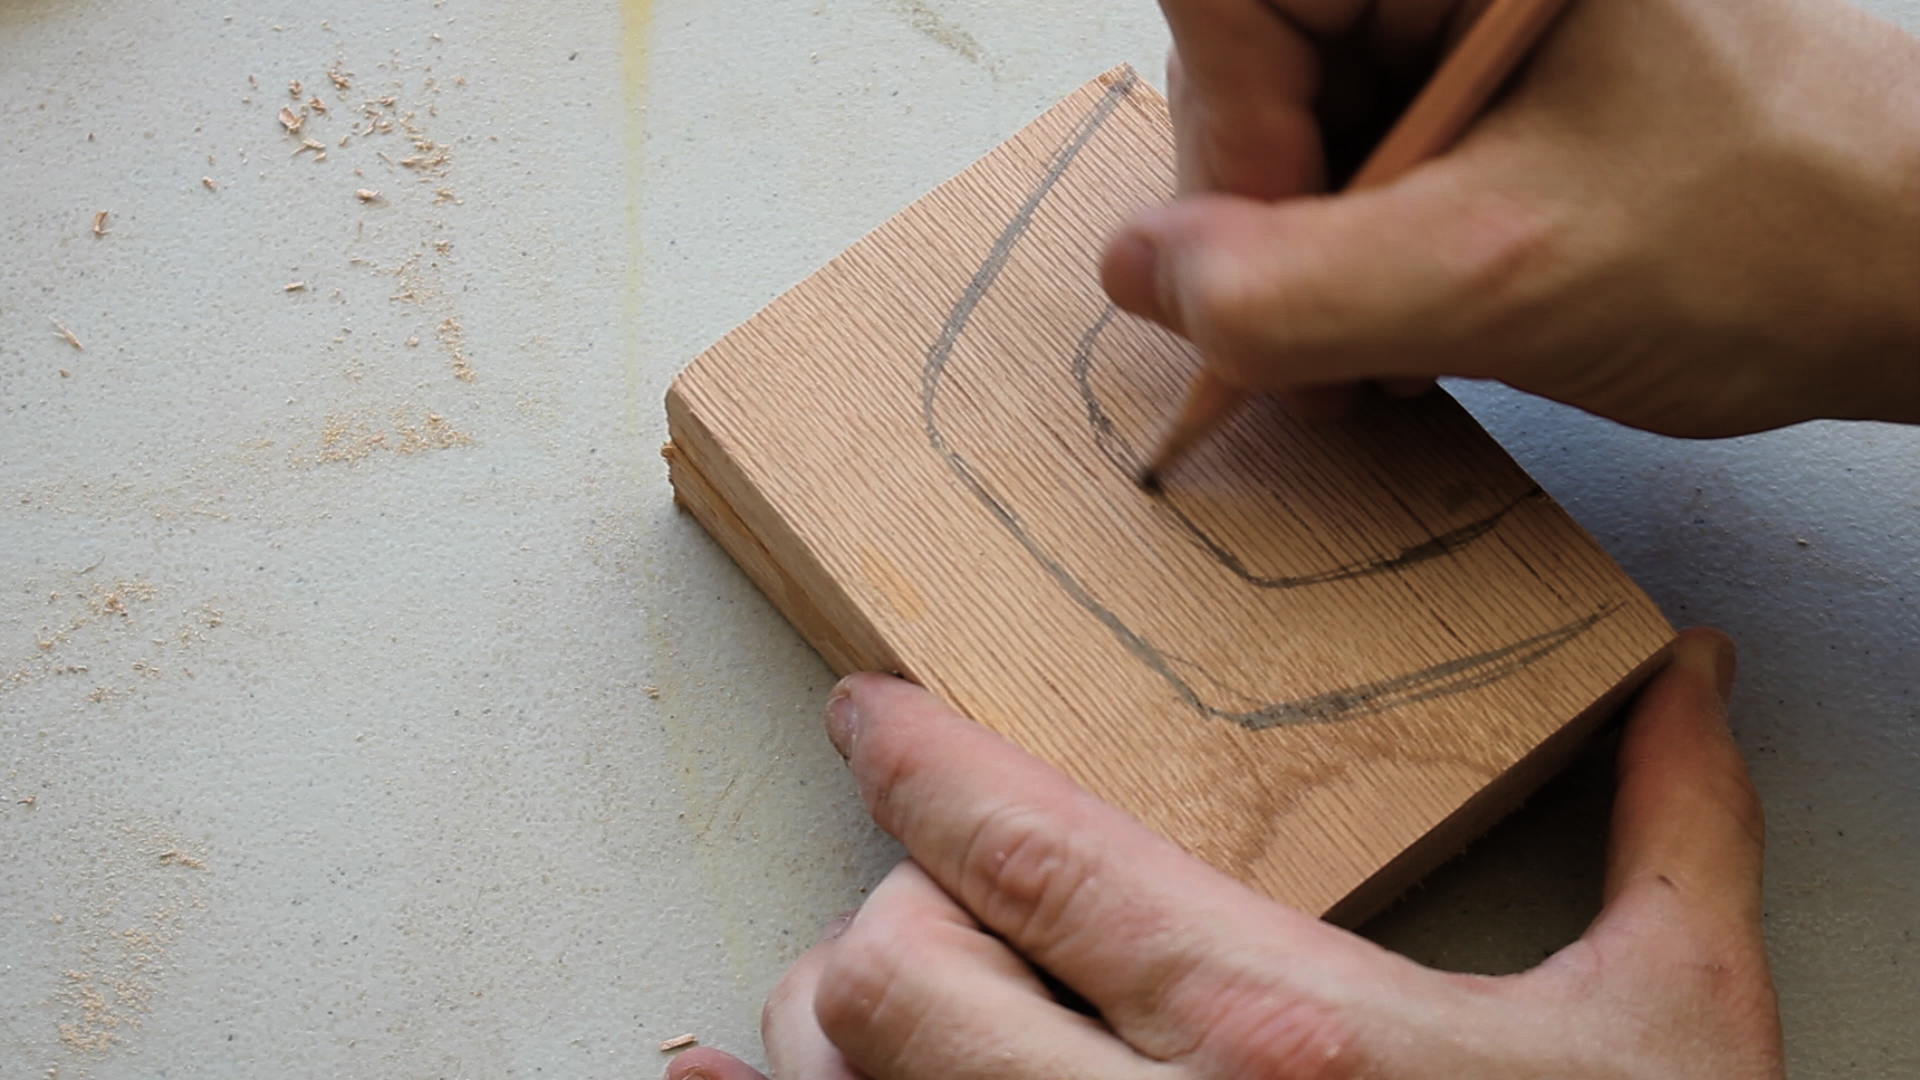
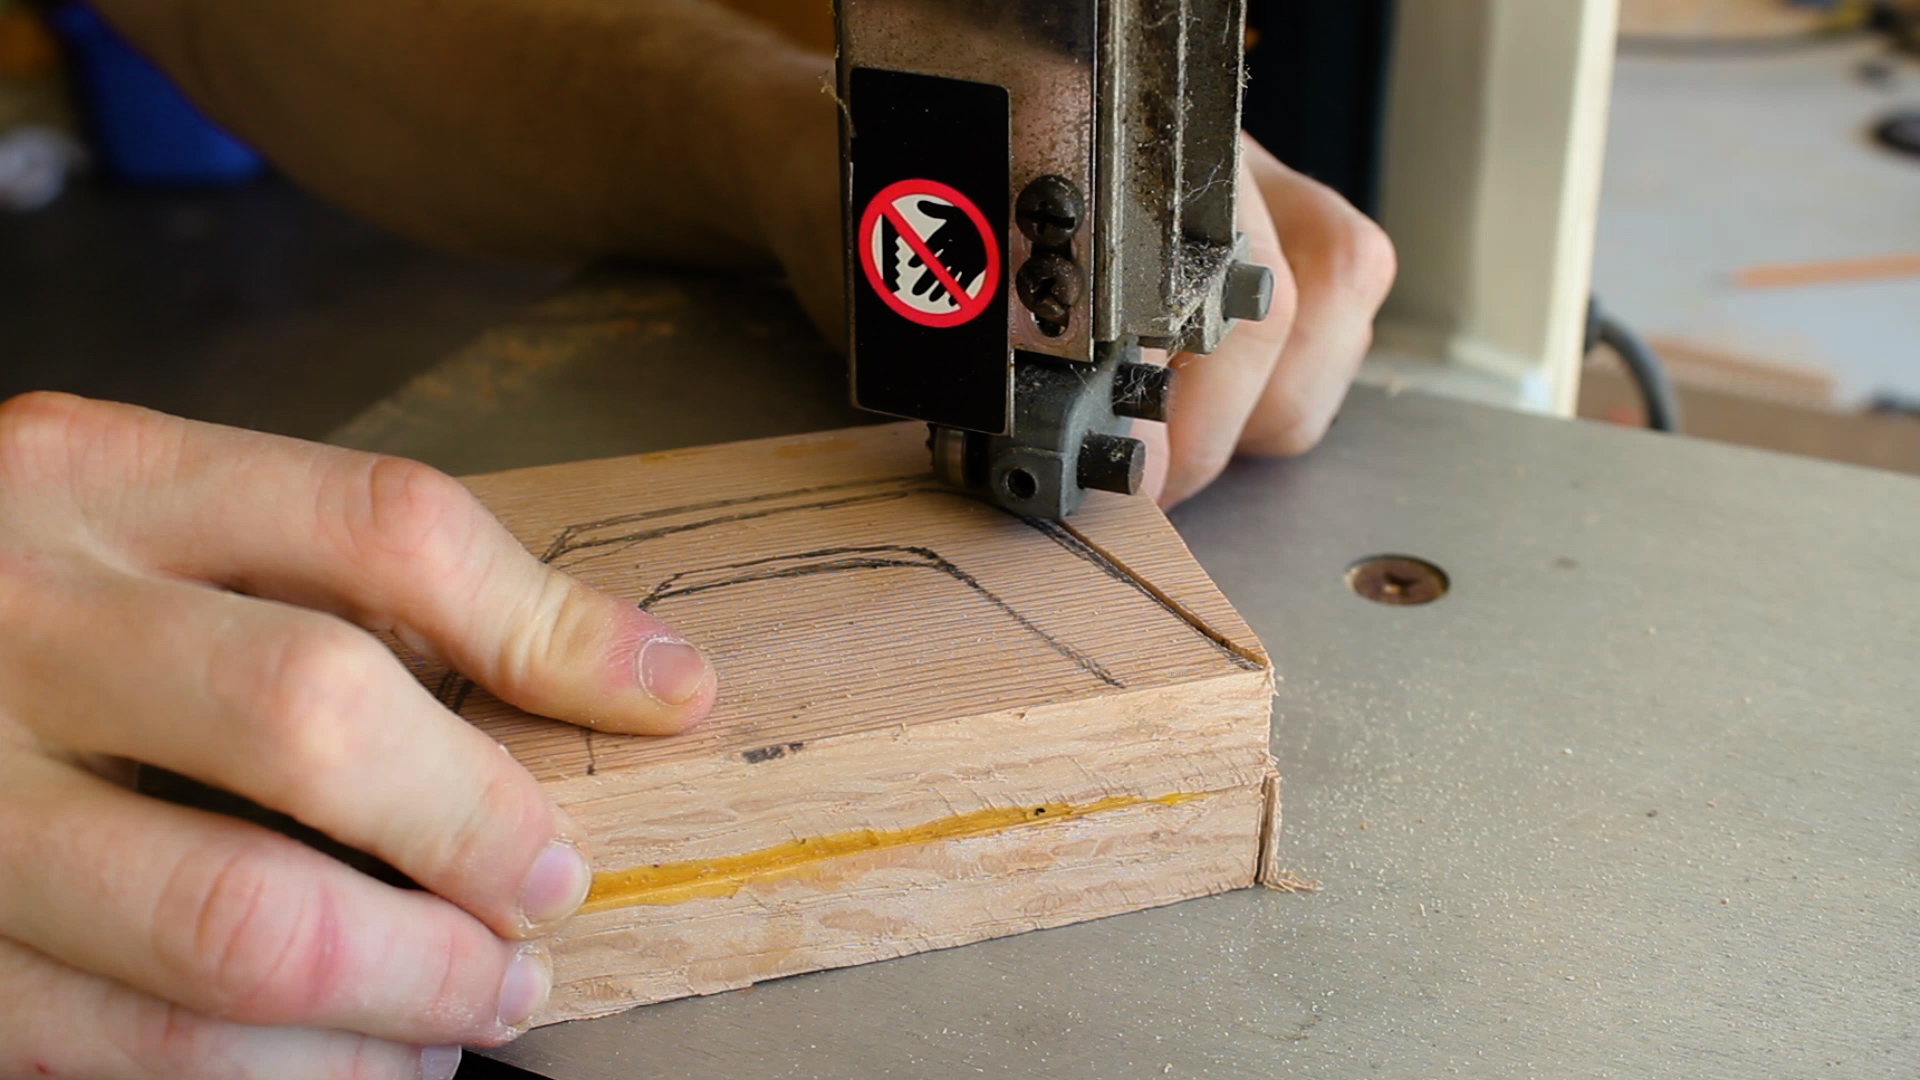
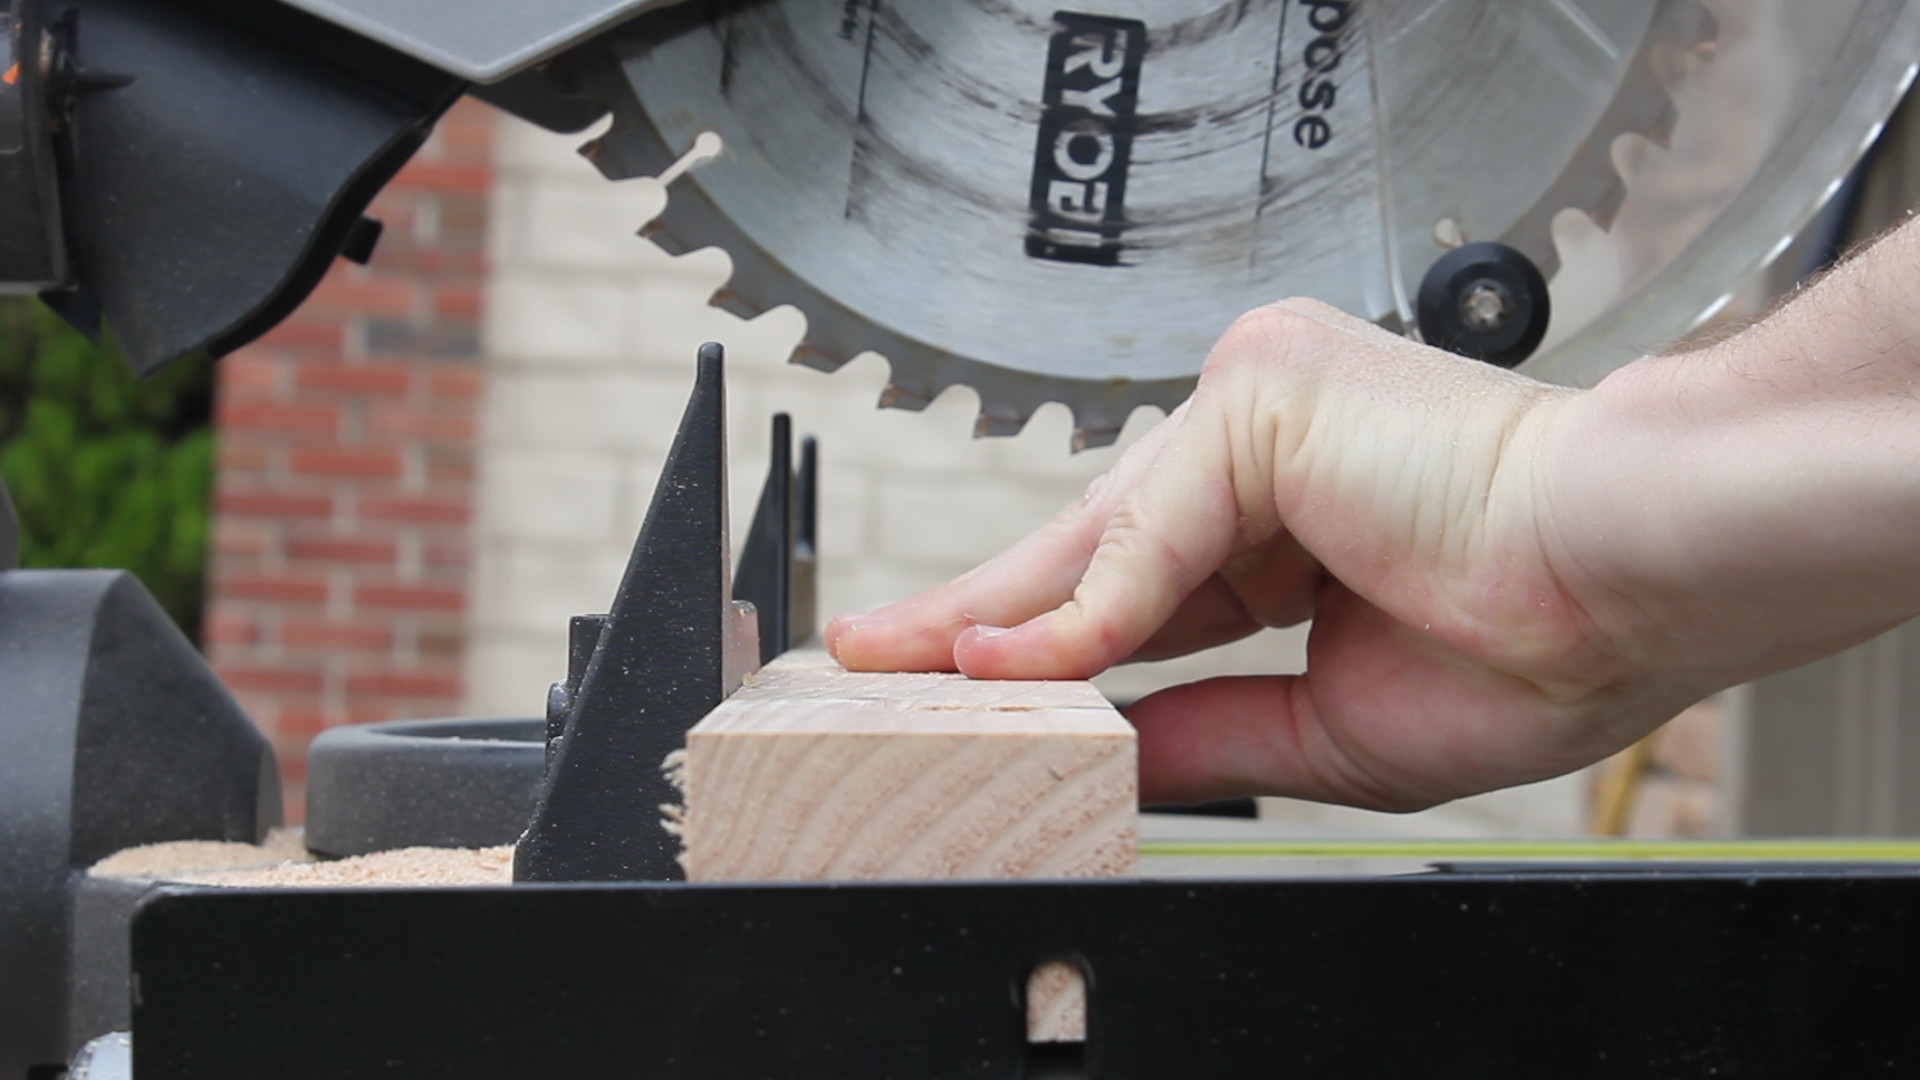
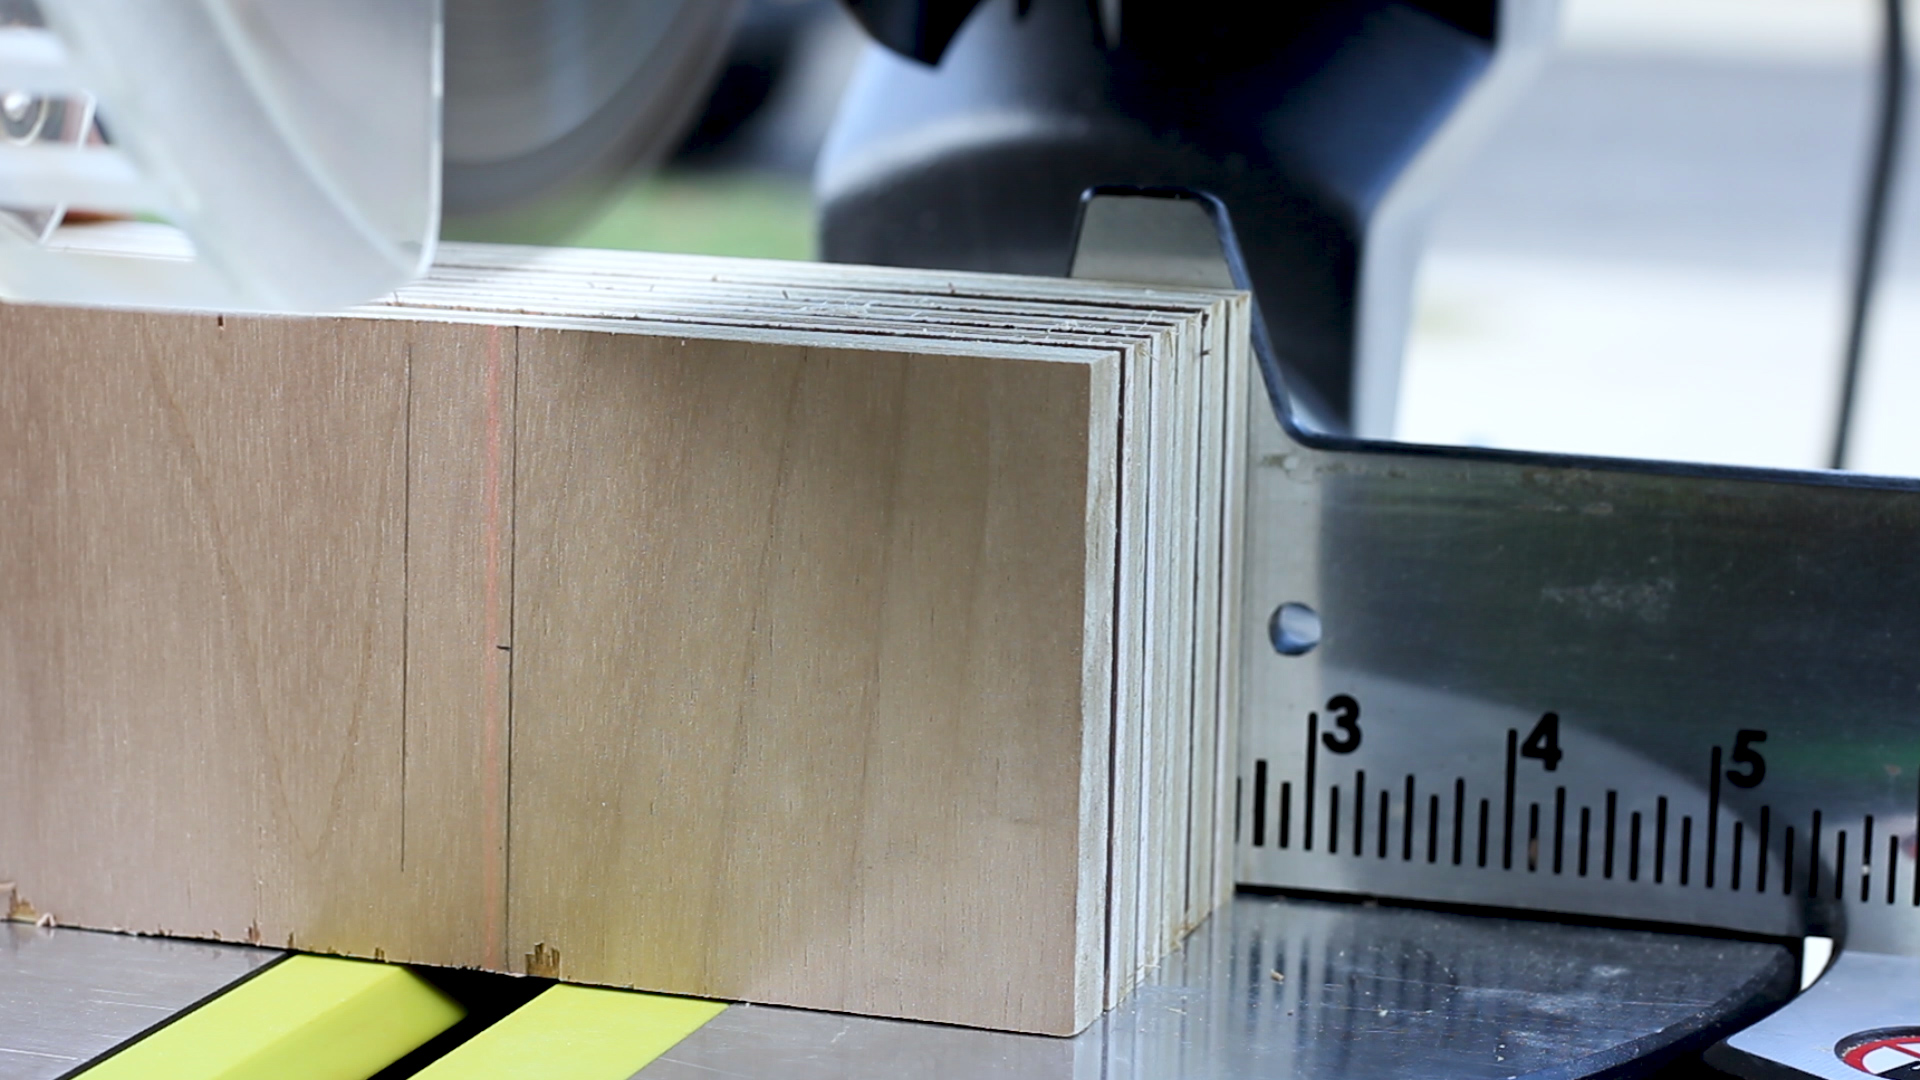
I set up stops on my miter saw (Pic 1) to rip down all of the various pieces (you'll see all the cuts in the next step). One final cut to do was to make angled cuts on the two end pieces so that they formed pentagons (Pic 2). I needed to do this for a total of 12 cuts (6 totes x 2 end pieces for each). I cut away the excess triangles on my miter saw in Pic 3 - it was easiest to cut six pieces at once to get one side, then flip the pieces over and make the same cut on the other side individually.
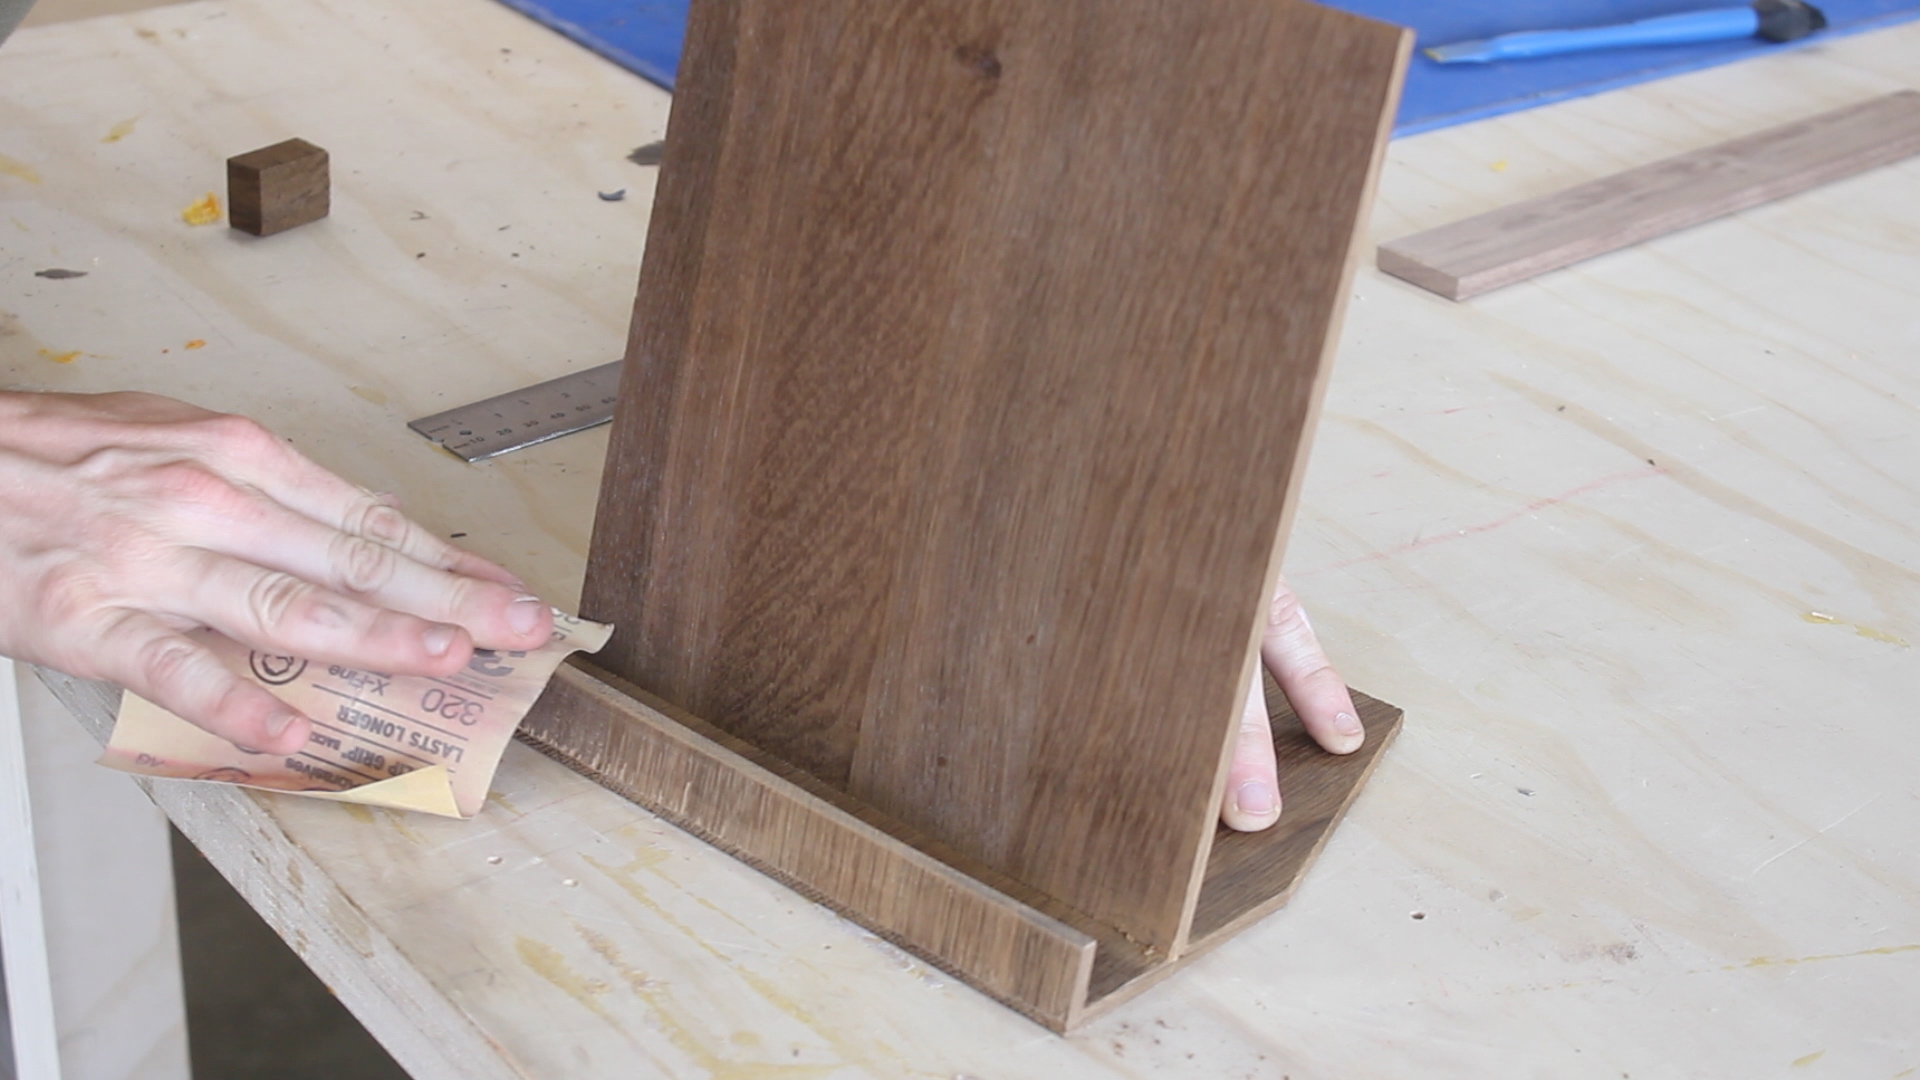
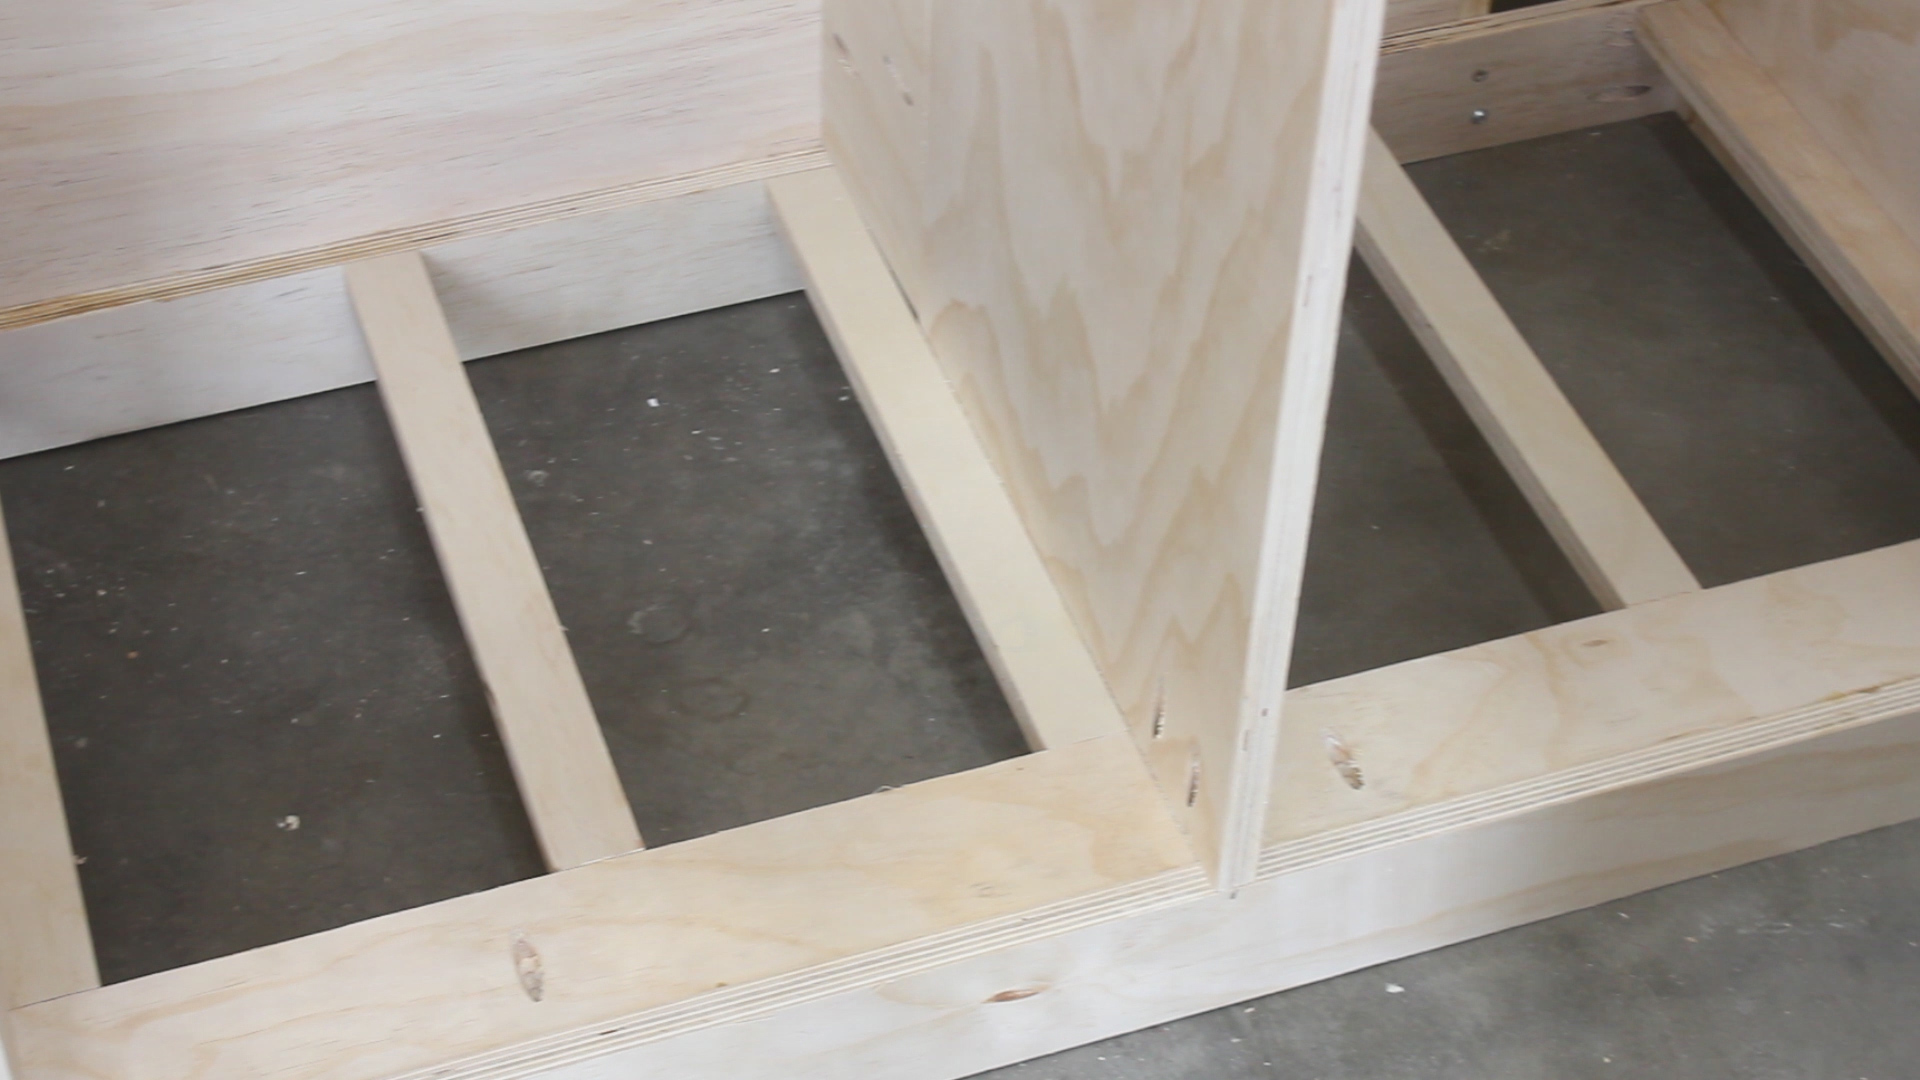
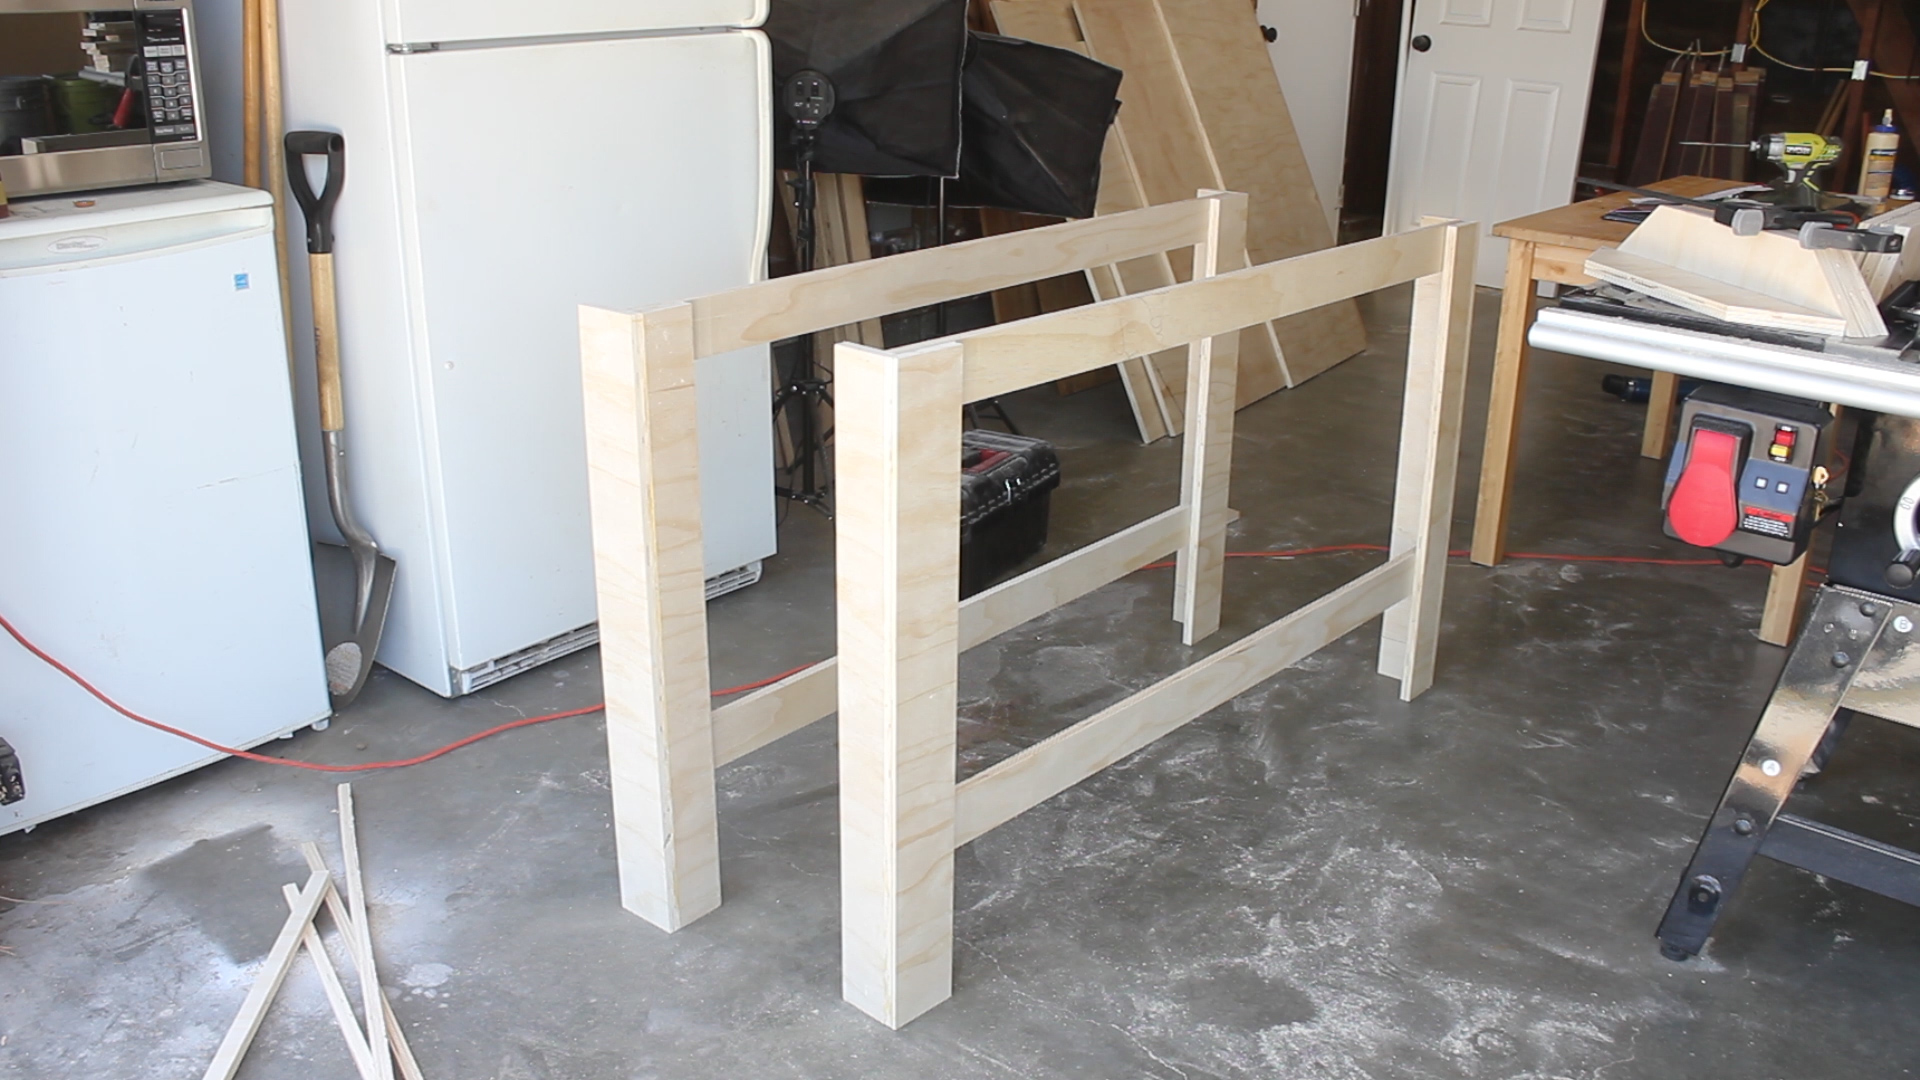
NOTE - The design of my cuts had all four of my outside walls going to the ground, with the base of it being sandwiched between all four pieces, versus the base piece being the entire bottom and my four walls resting on top if it (if that makes sense?).
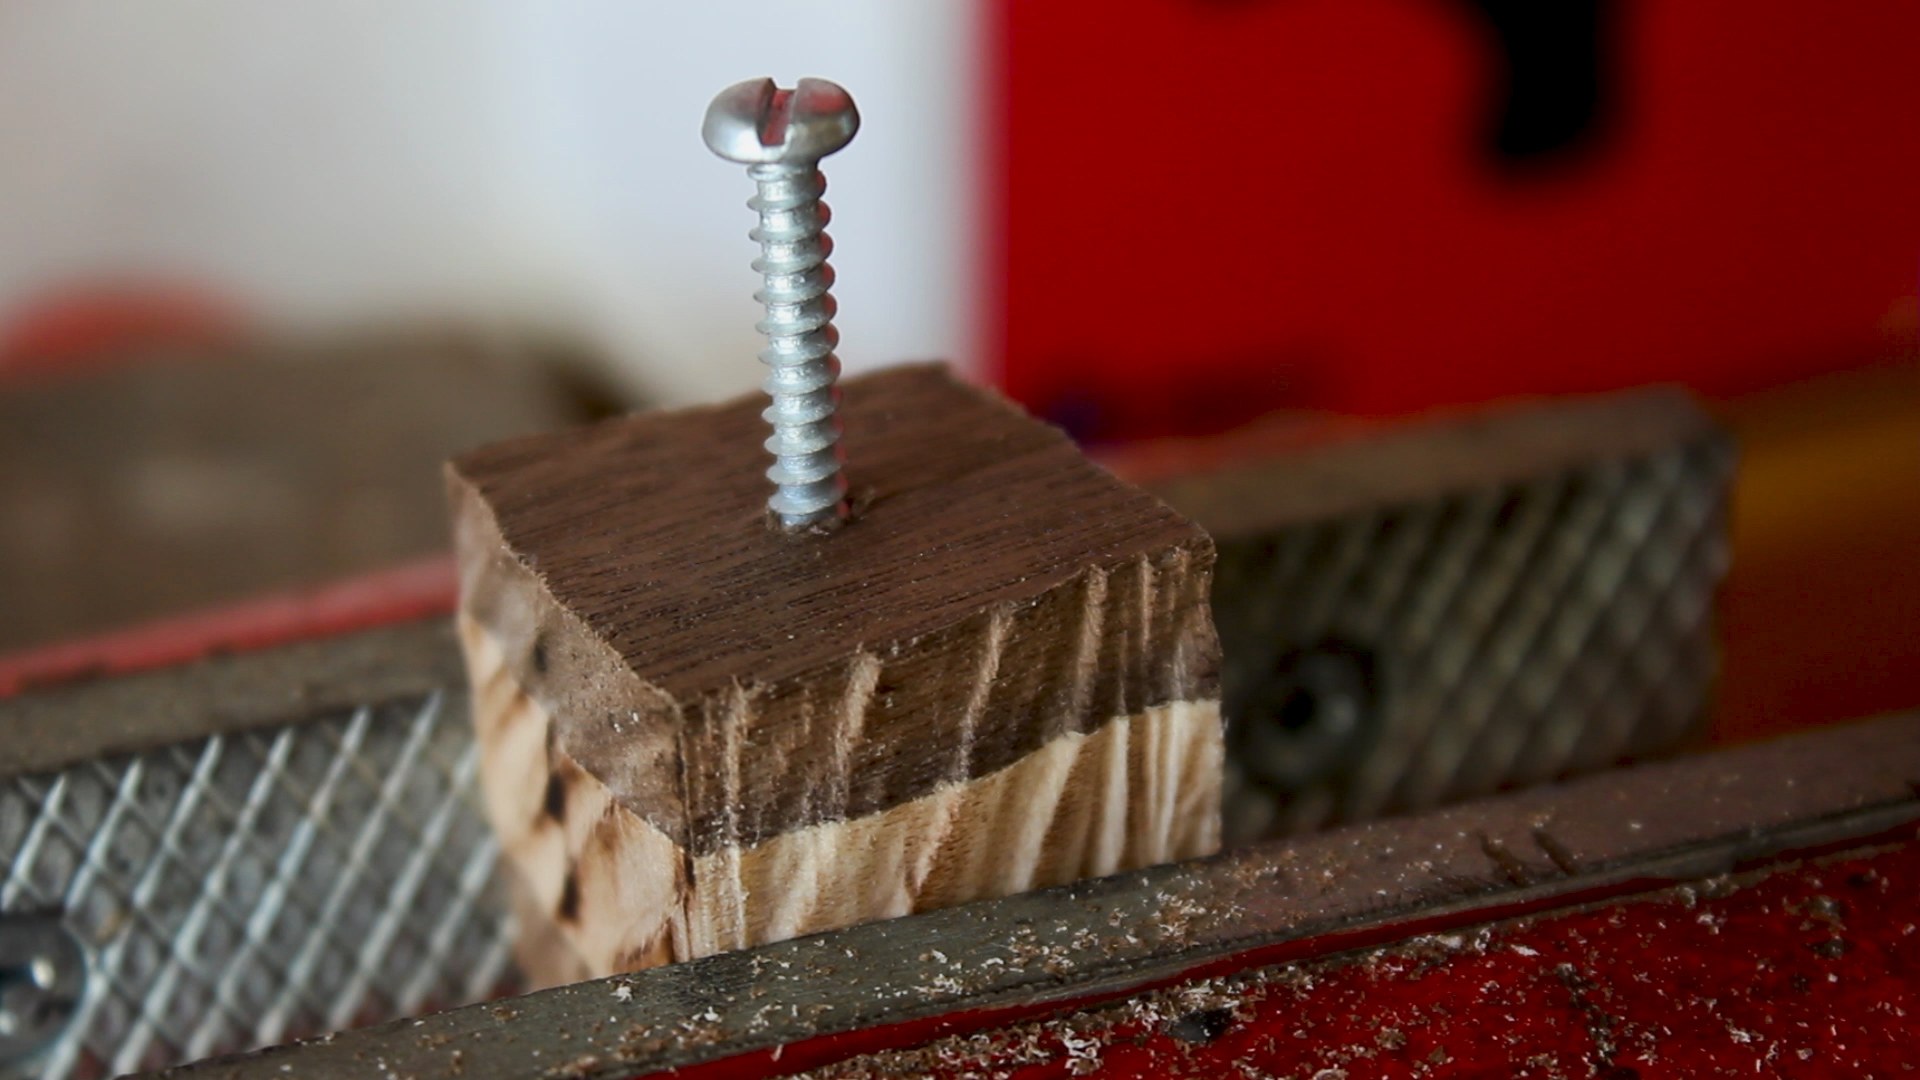
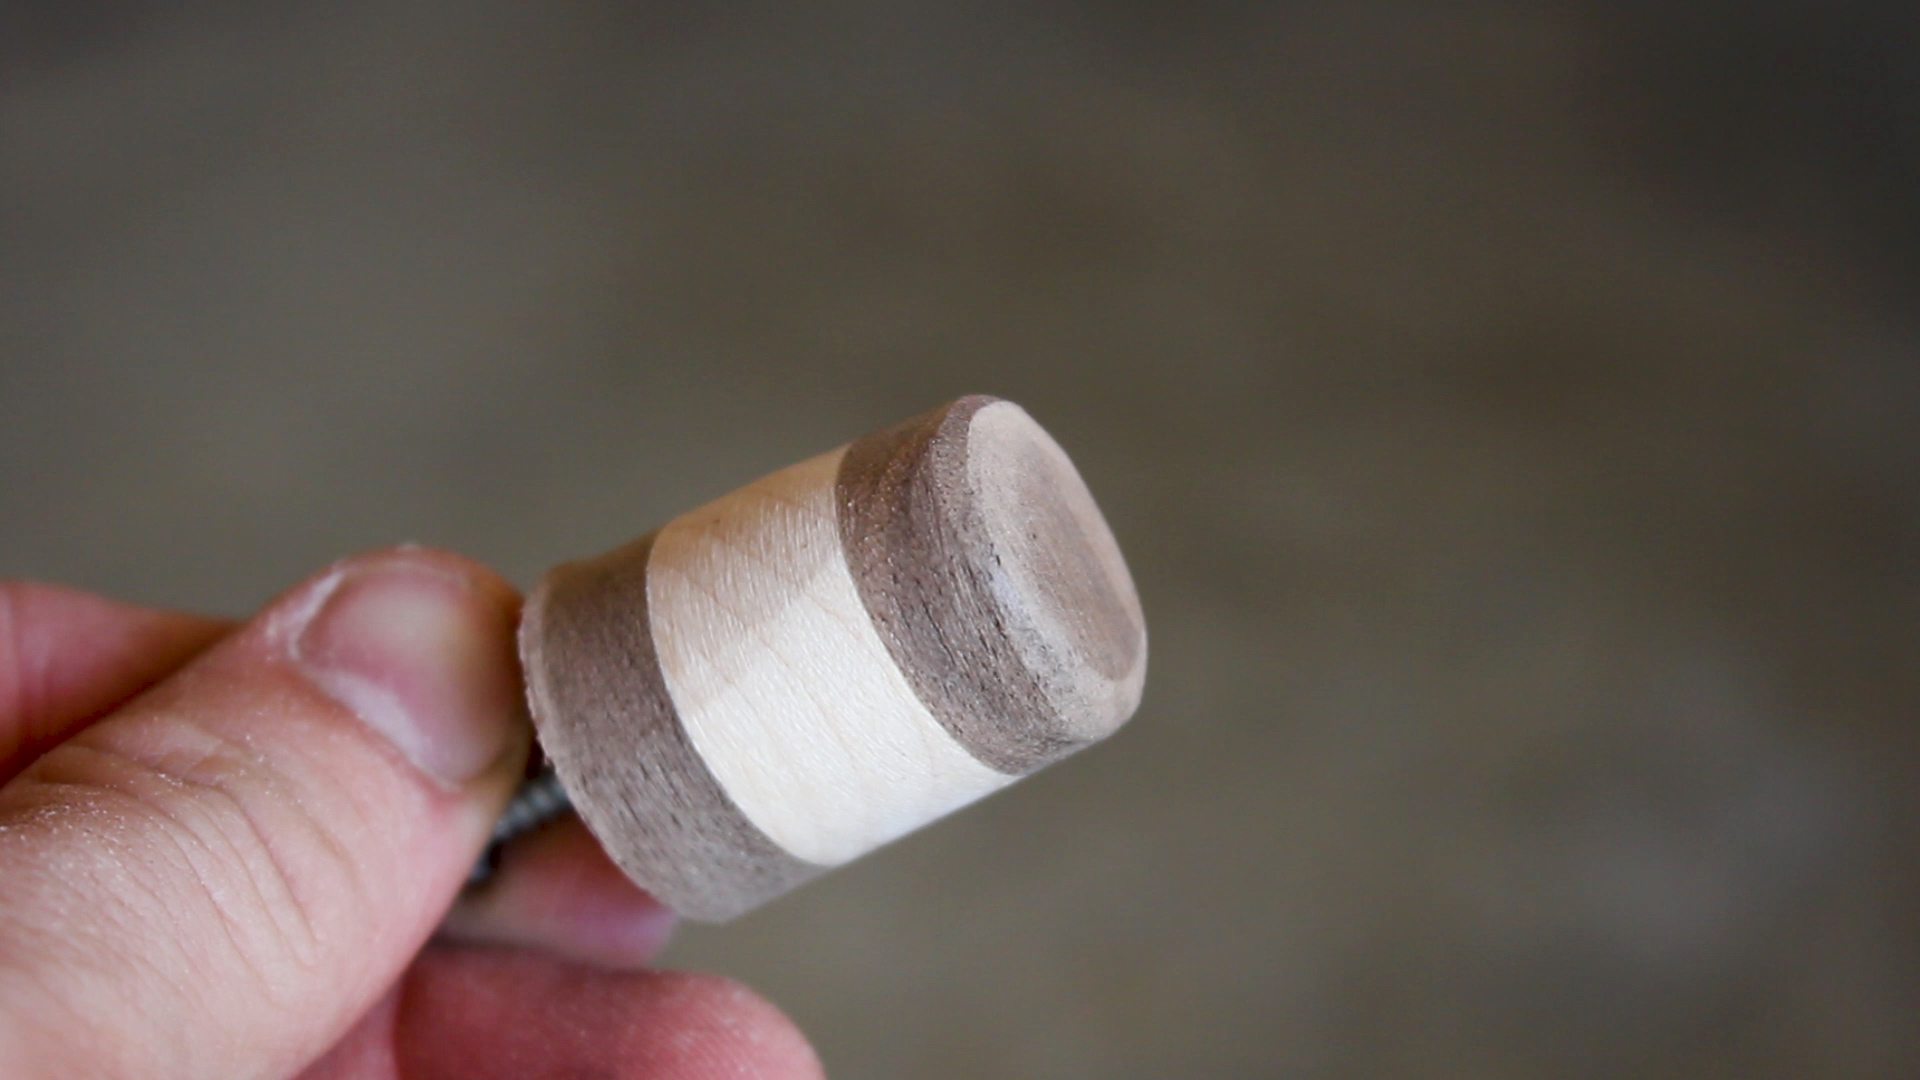
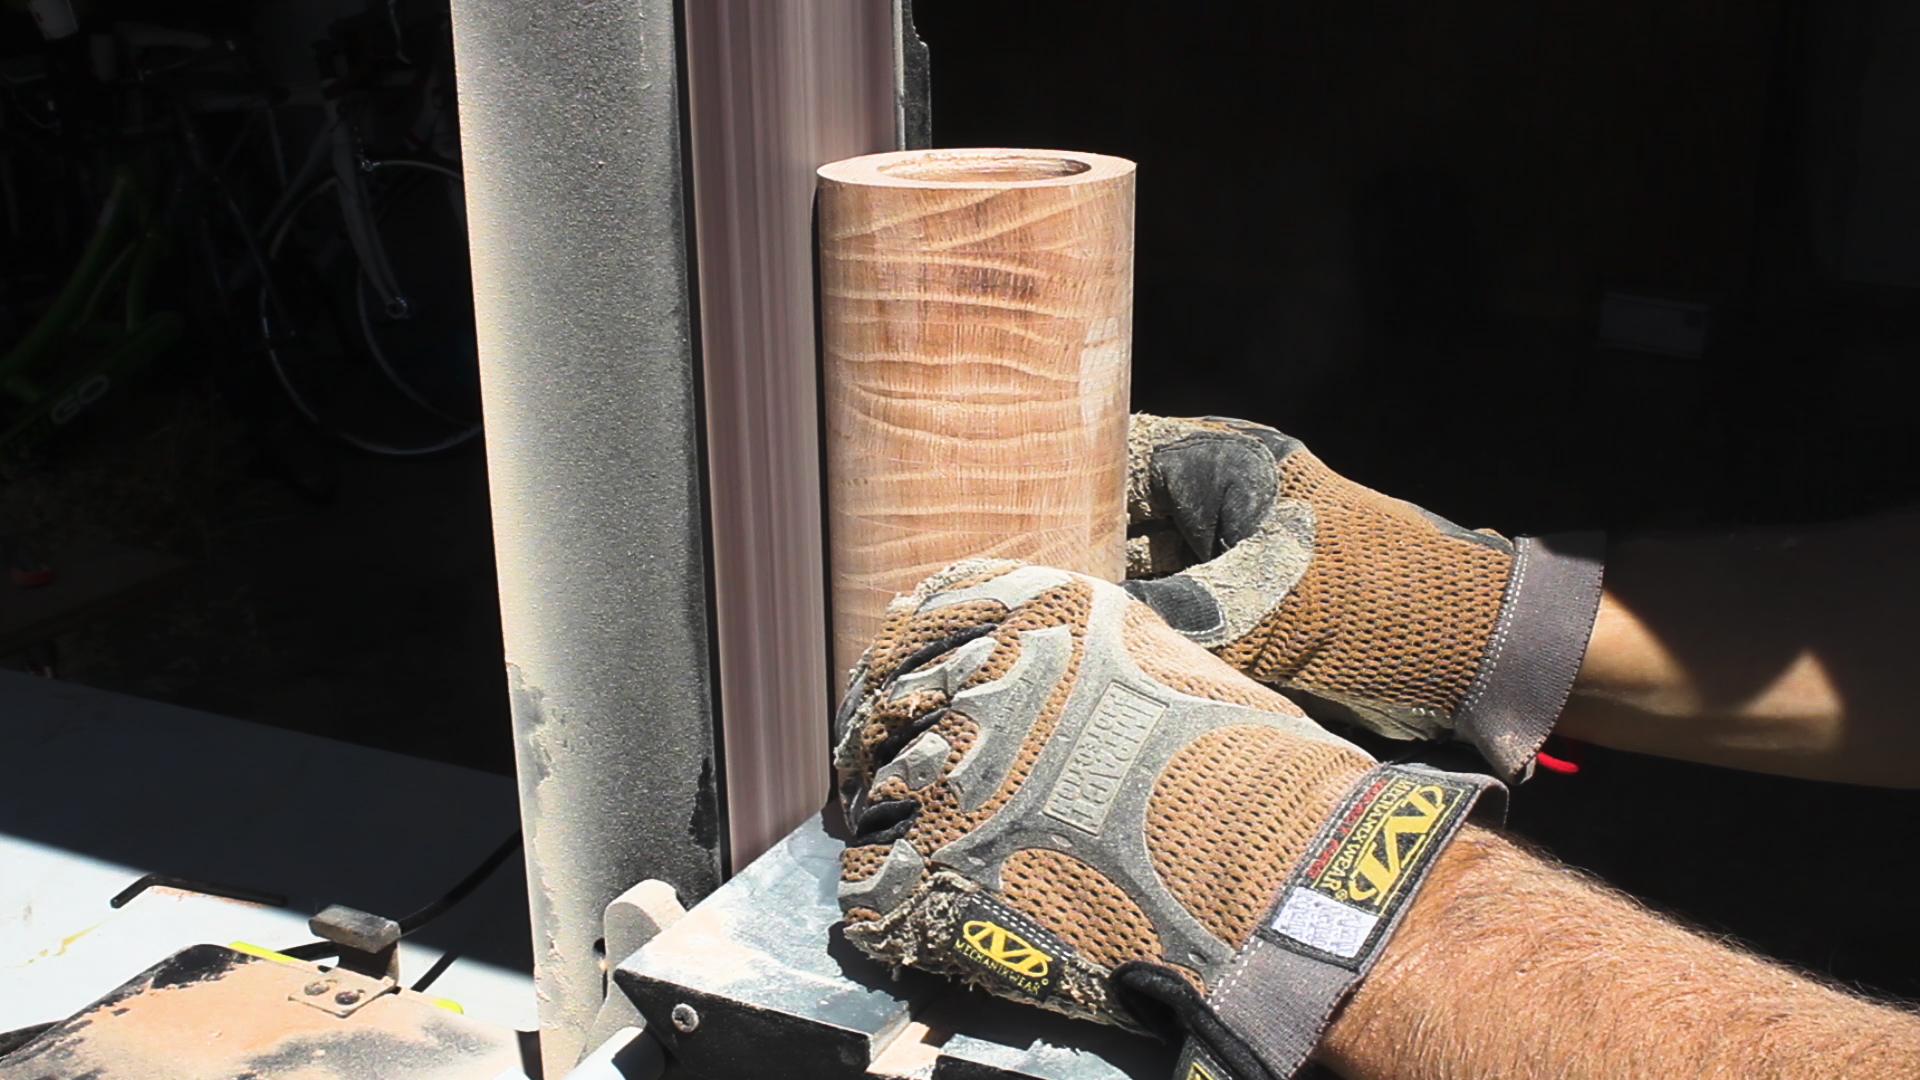
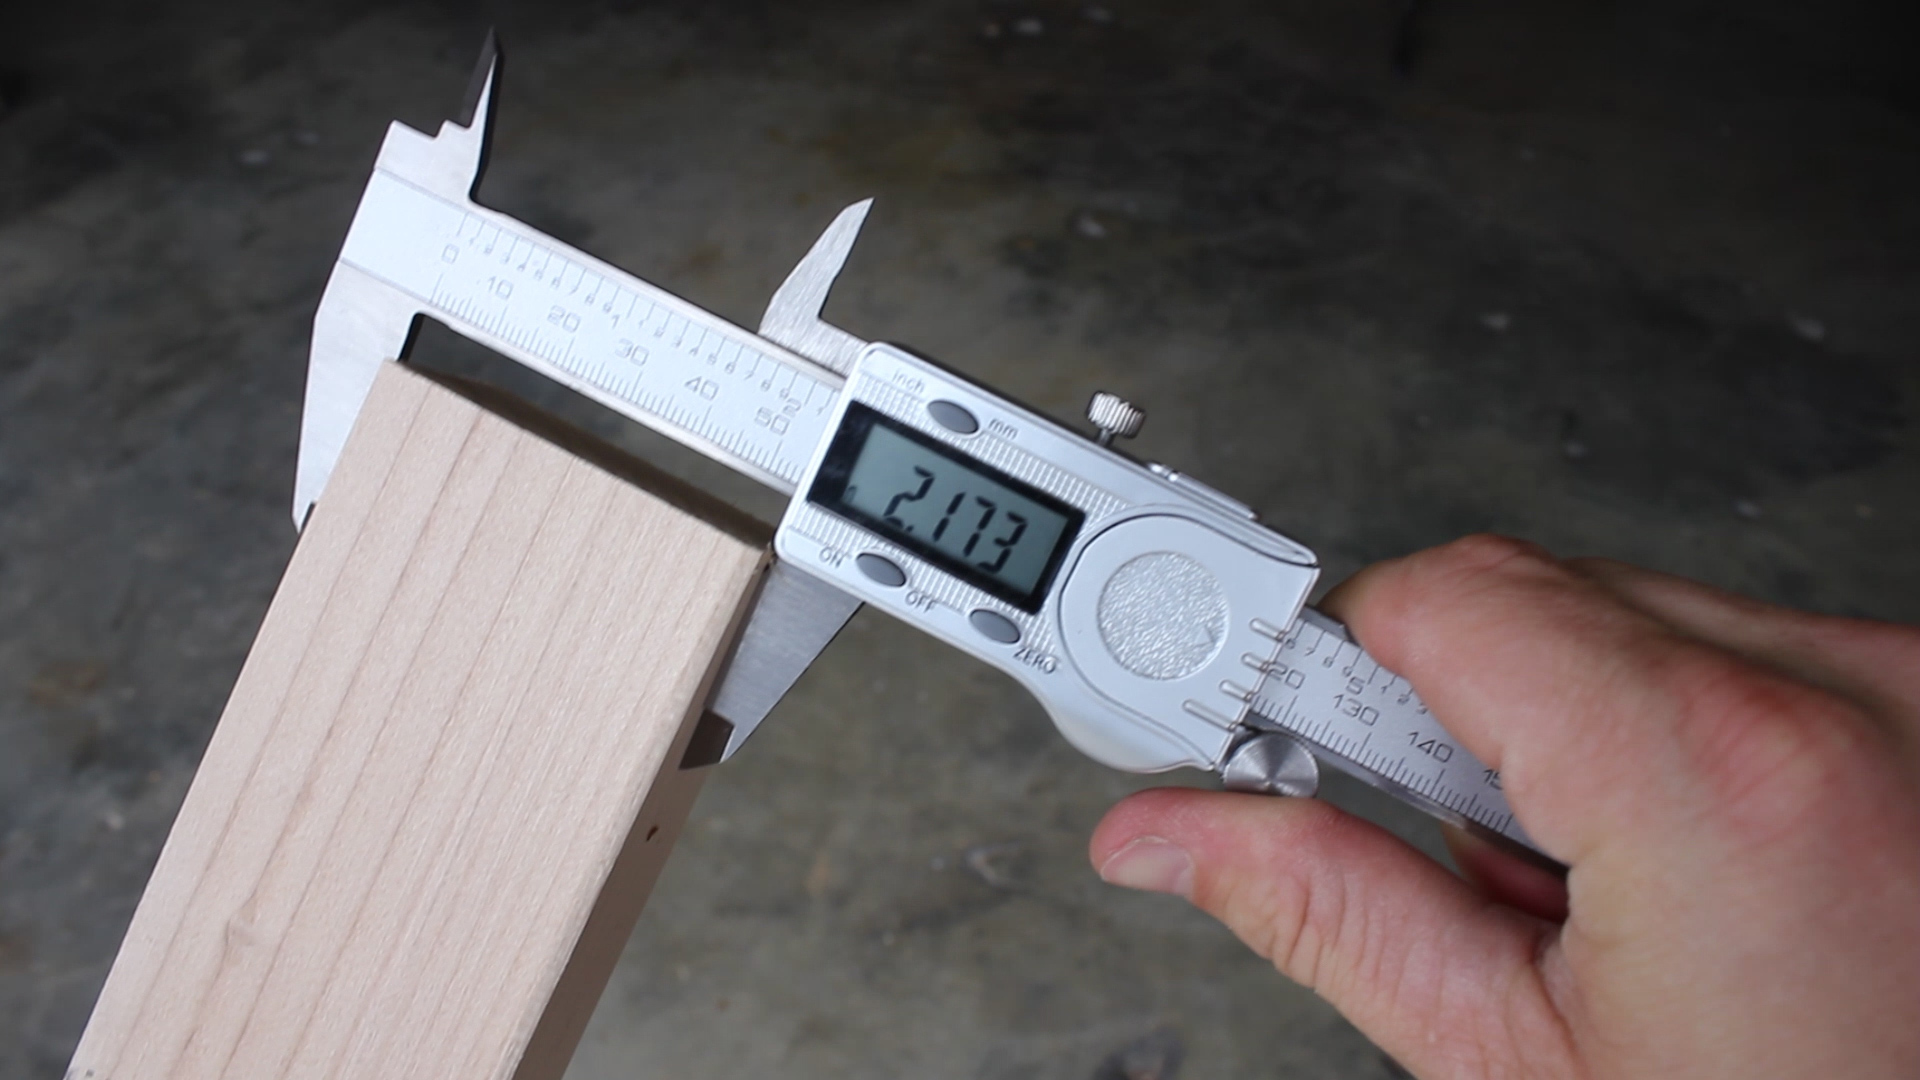
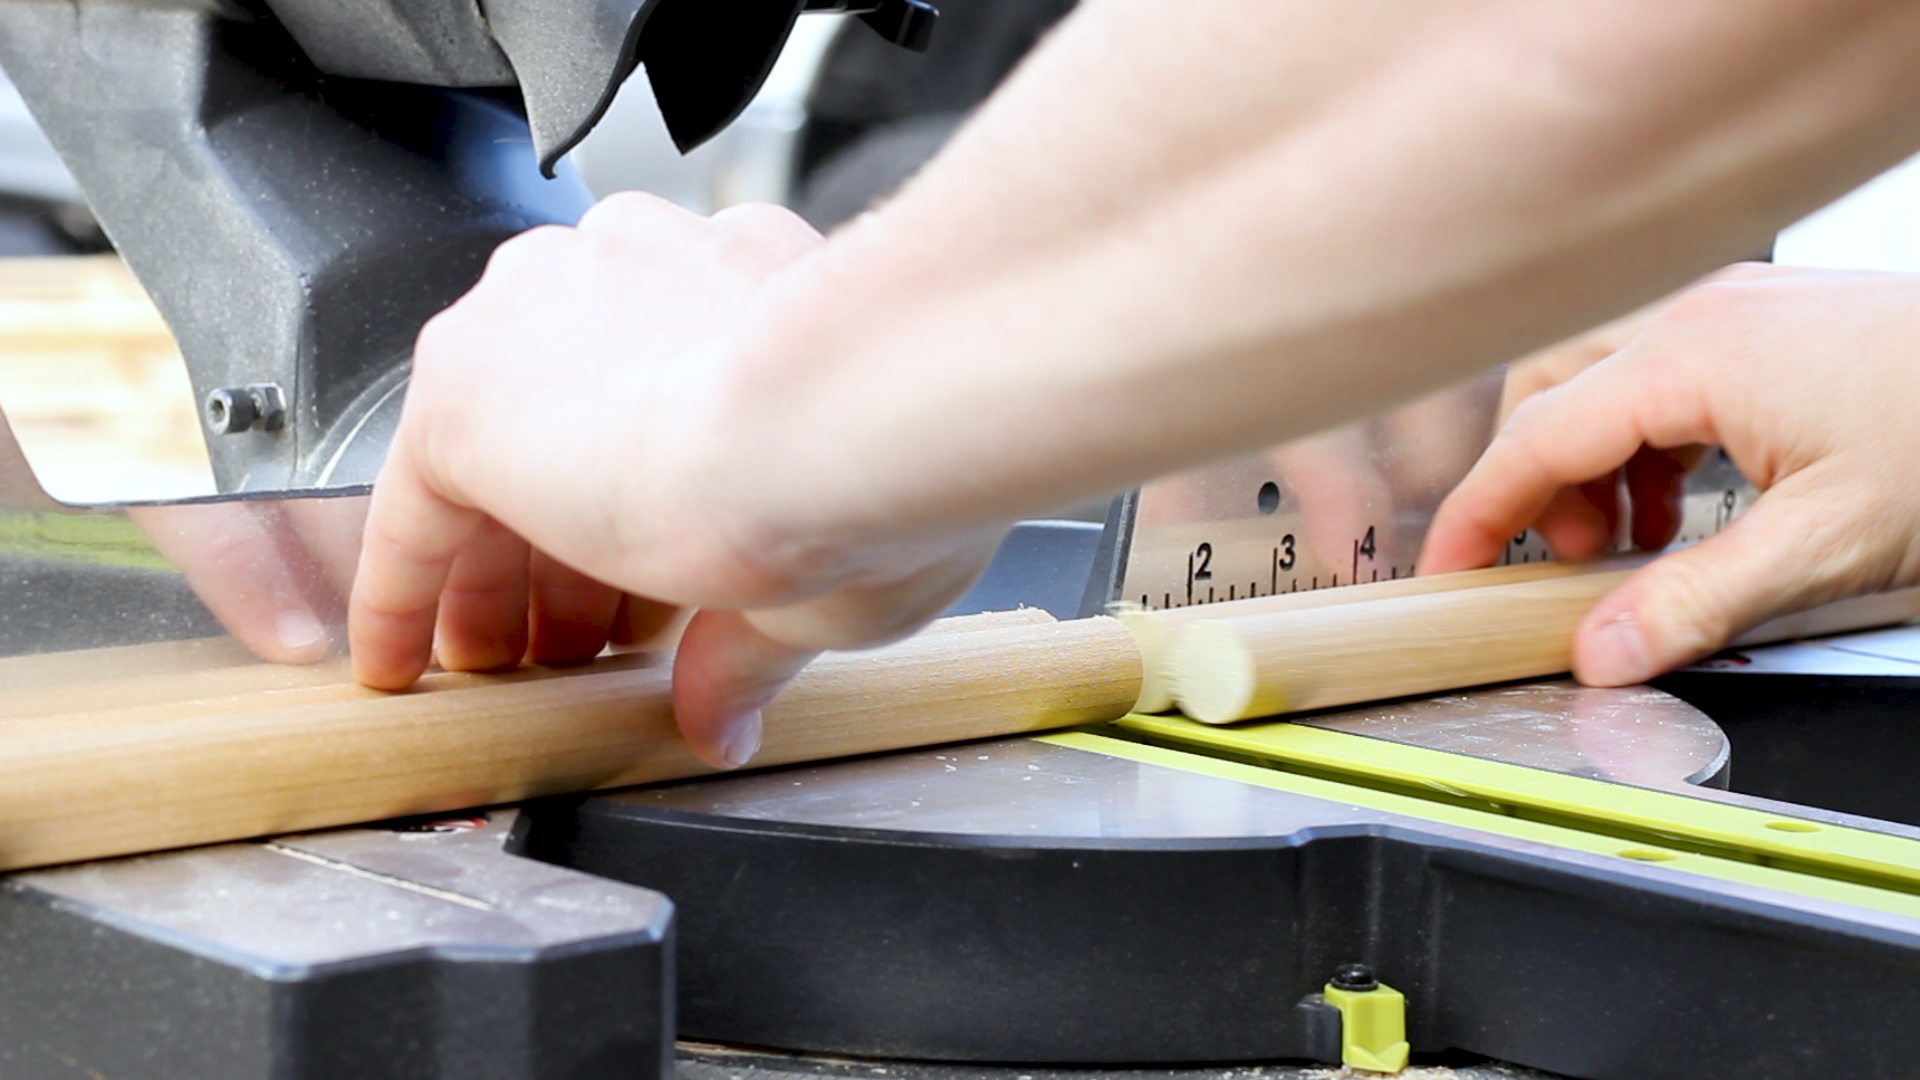
Pic 4 shows me cutting the dowel lengths - which were the length of my tote + 1" to account for the width of the two half inch ends.
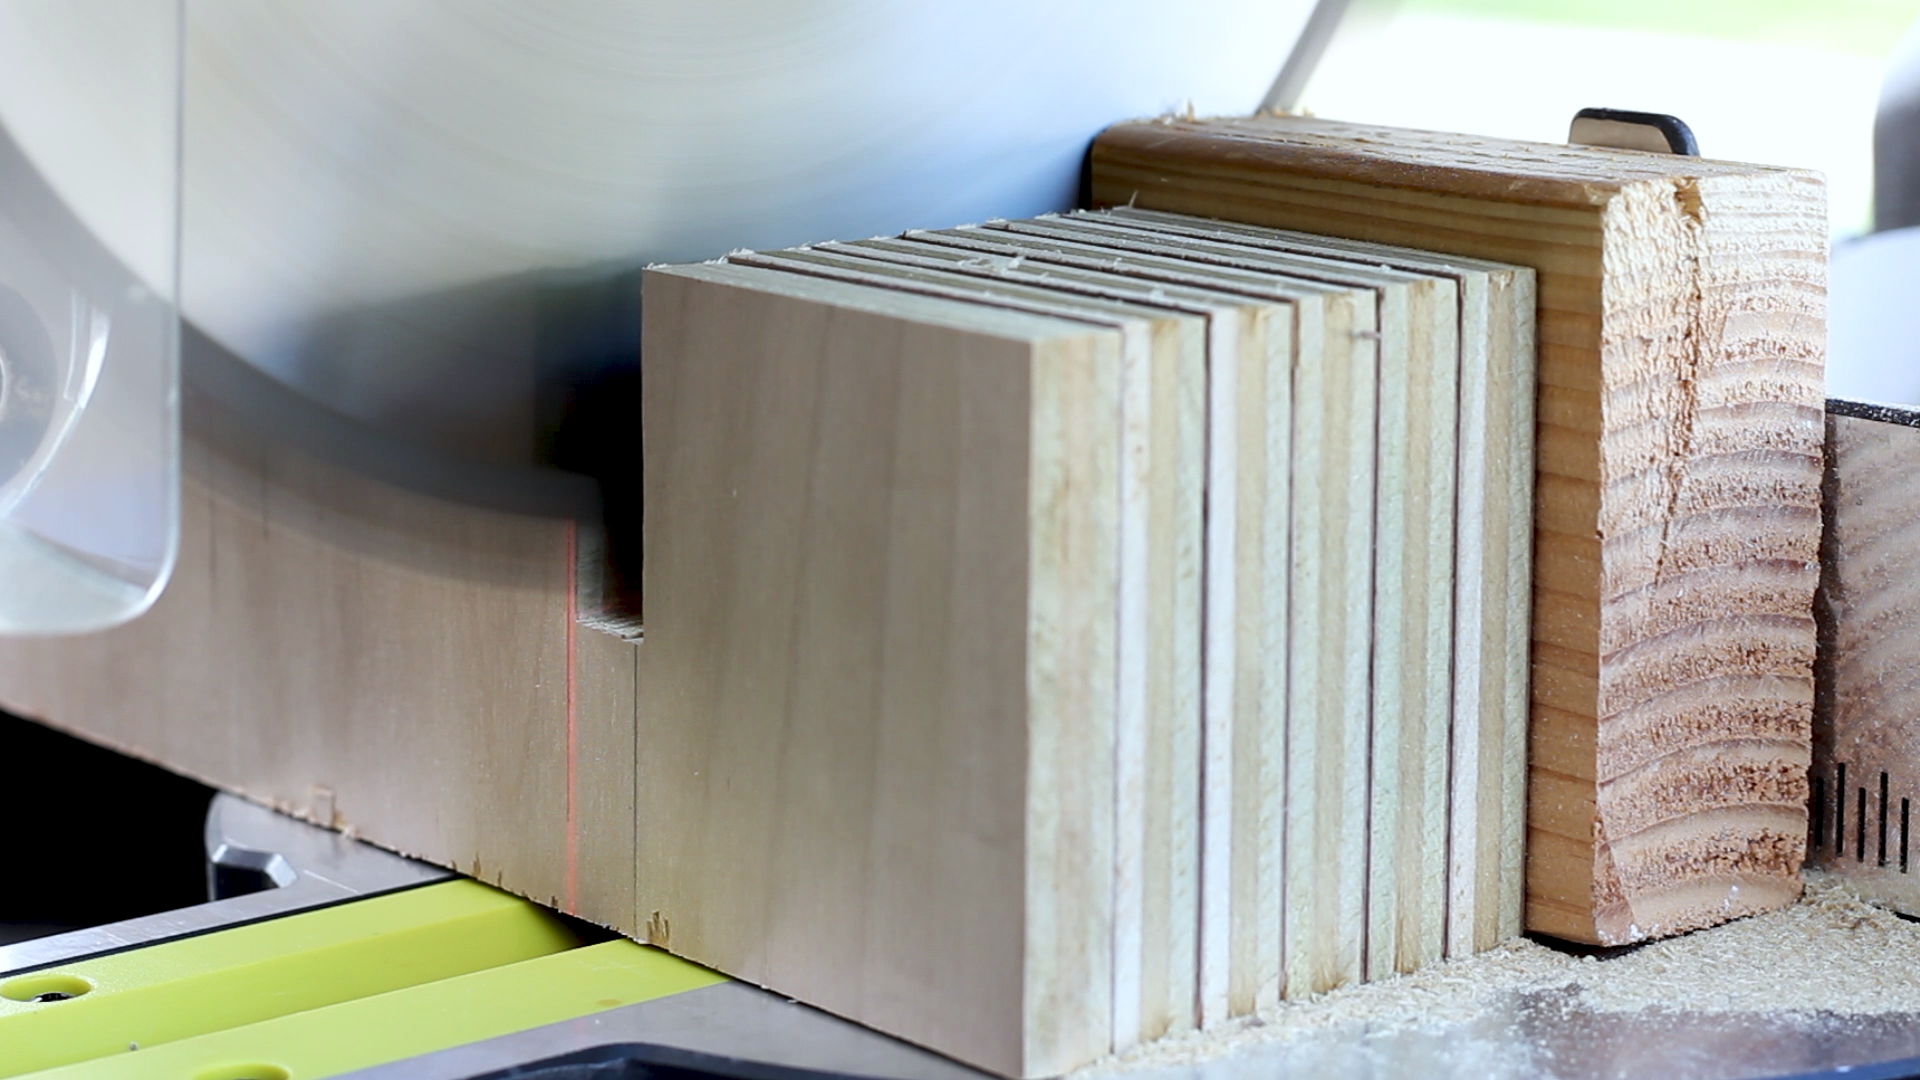

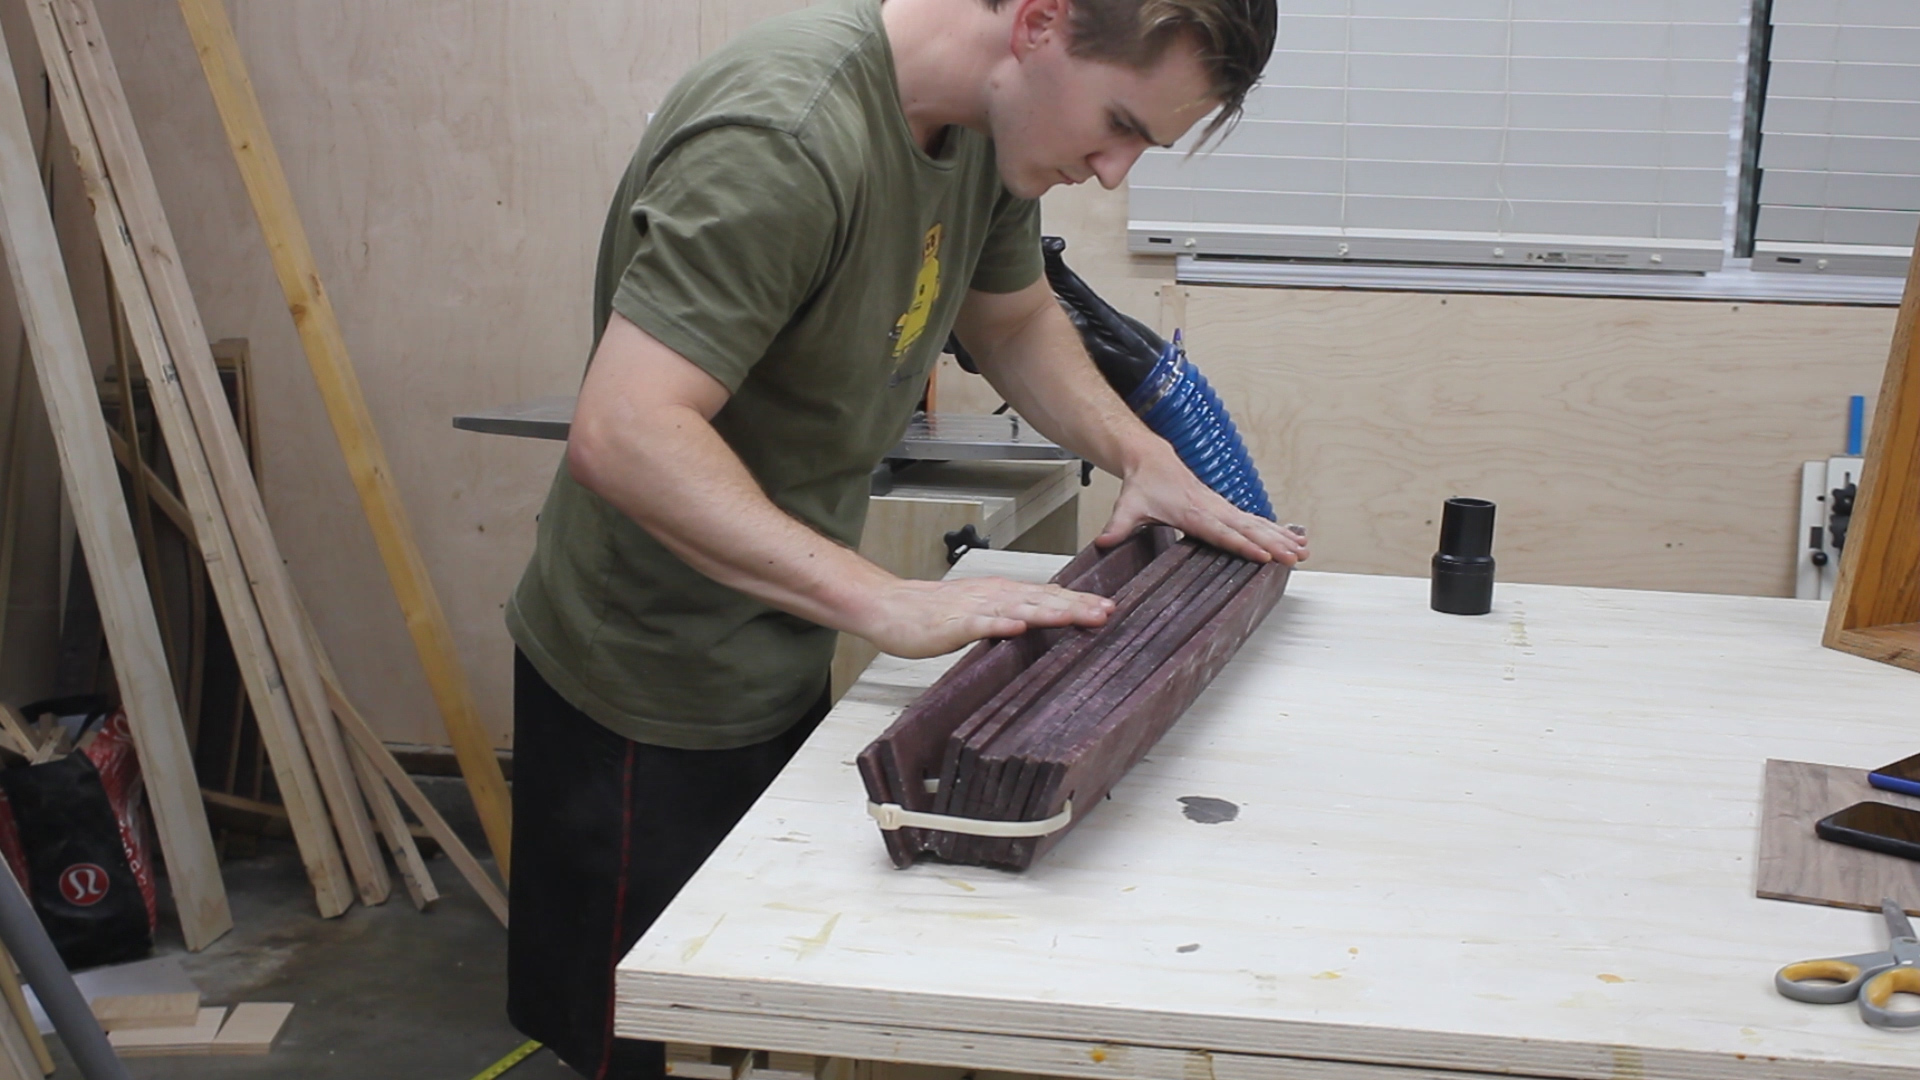
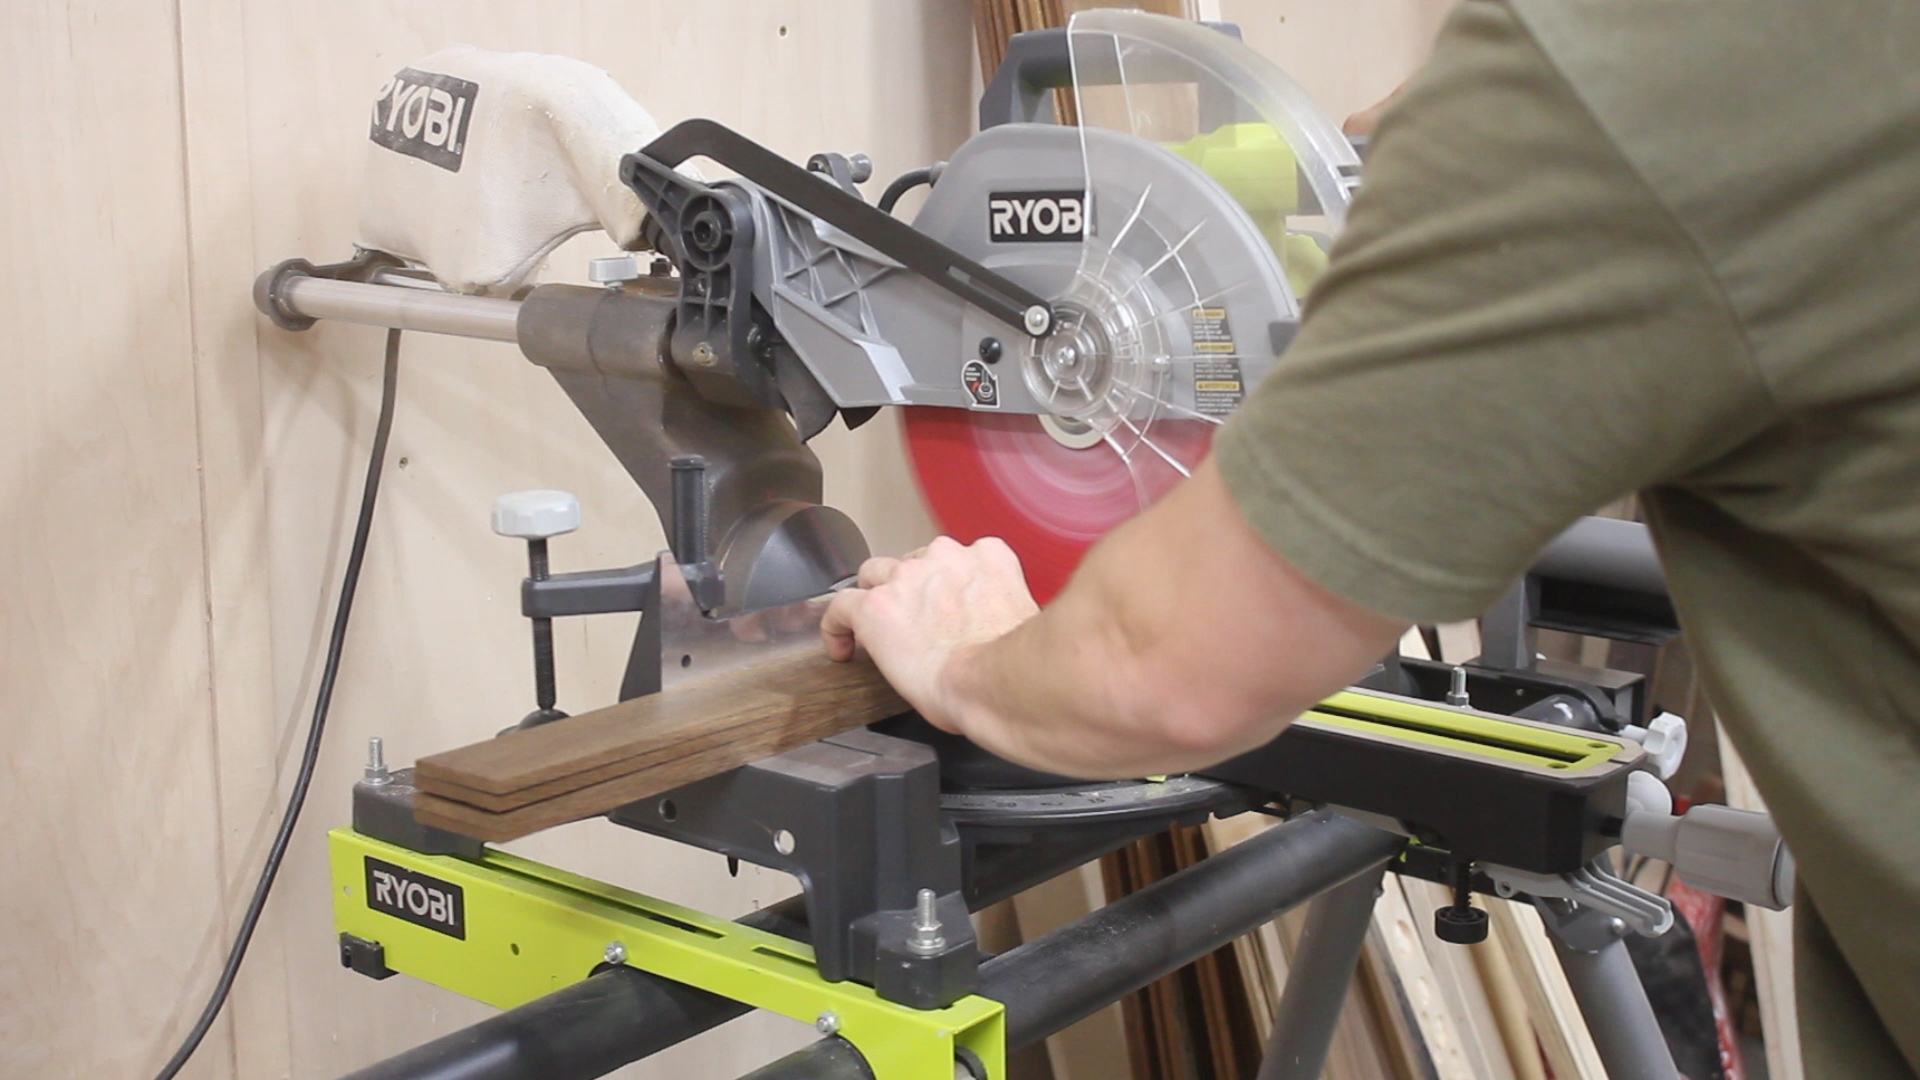
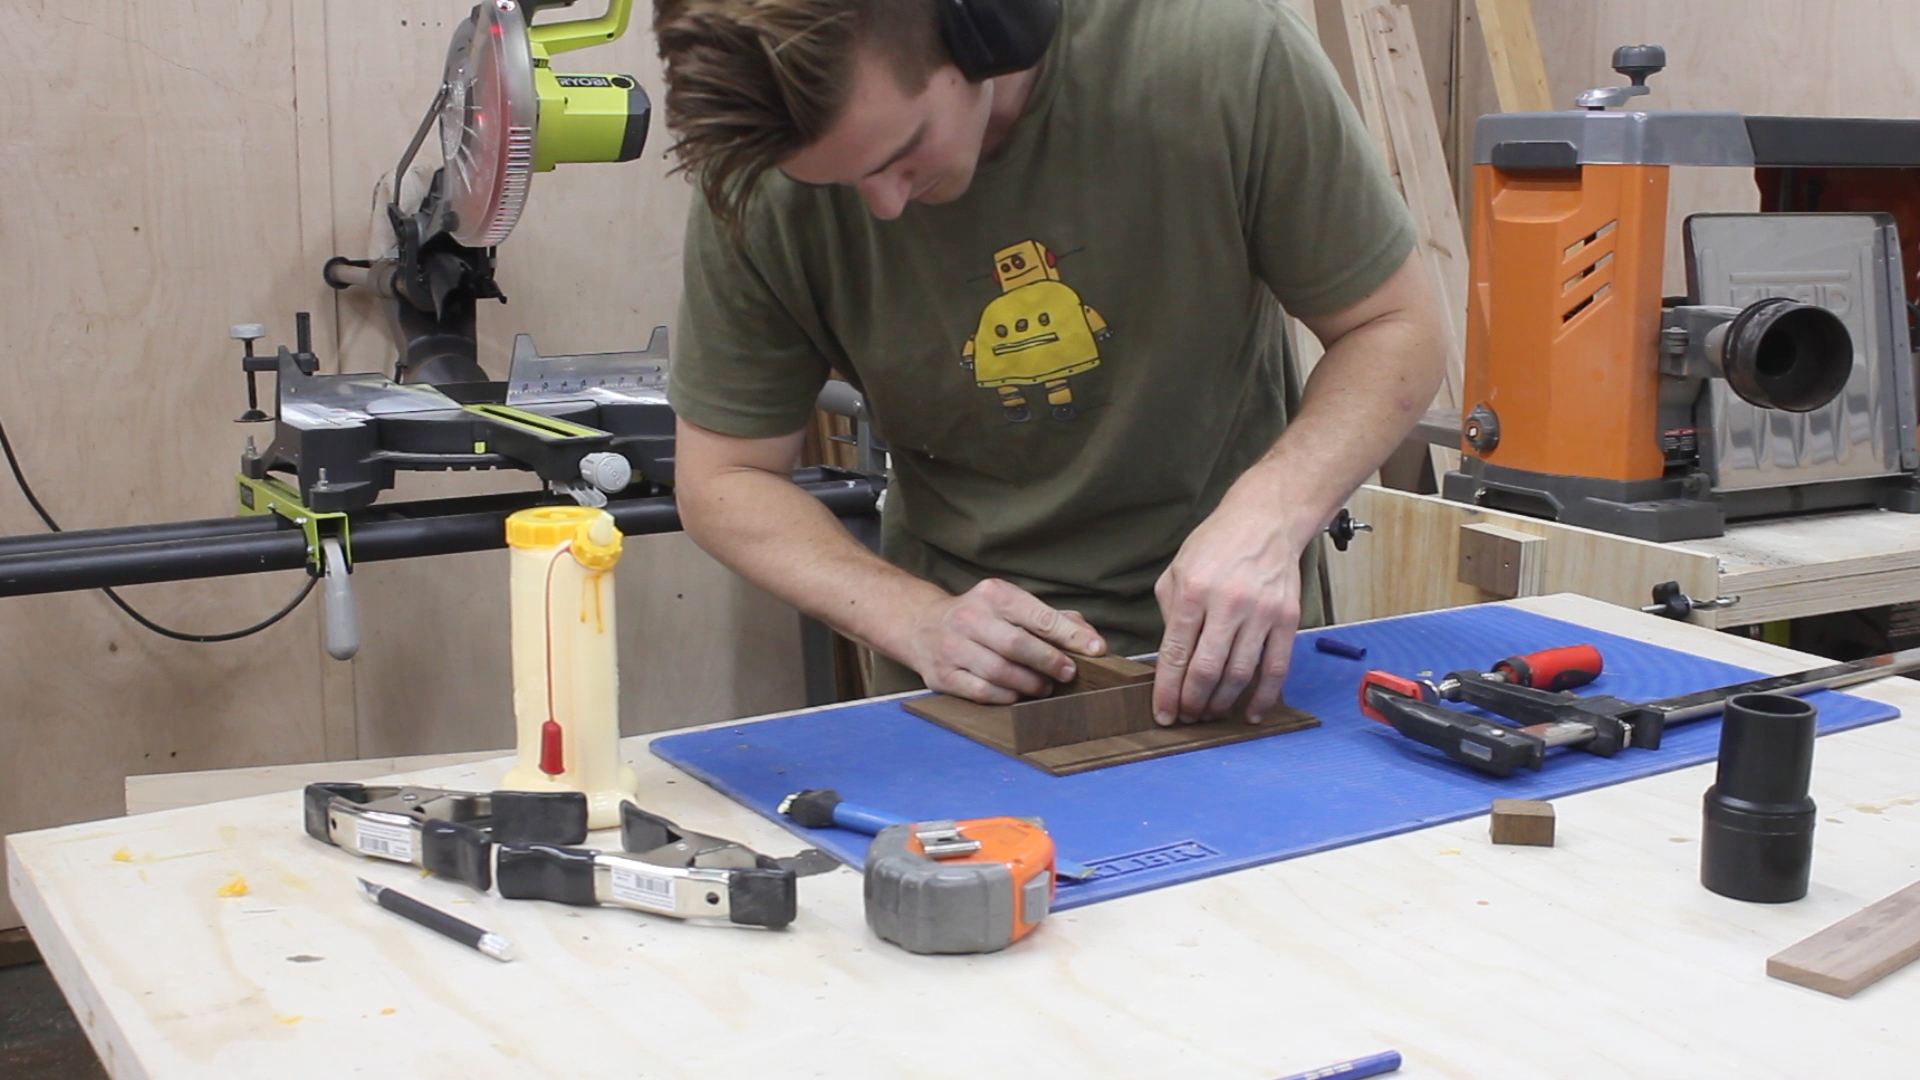
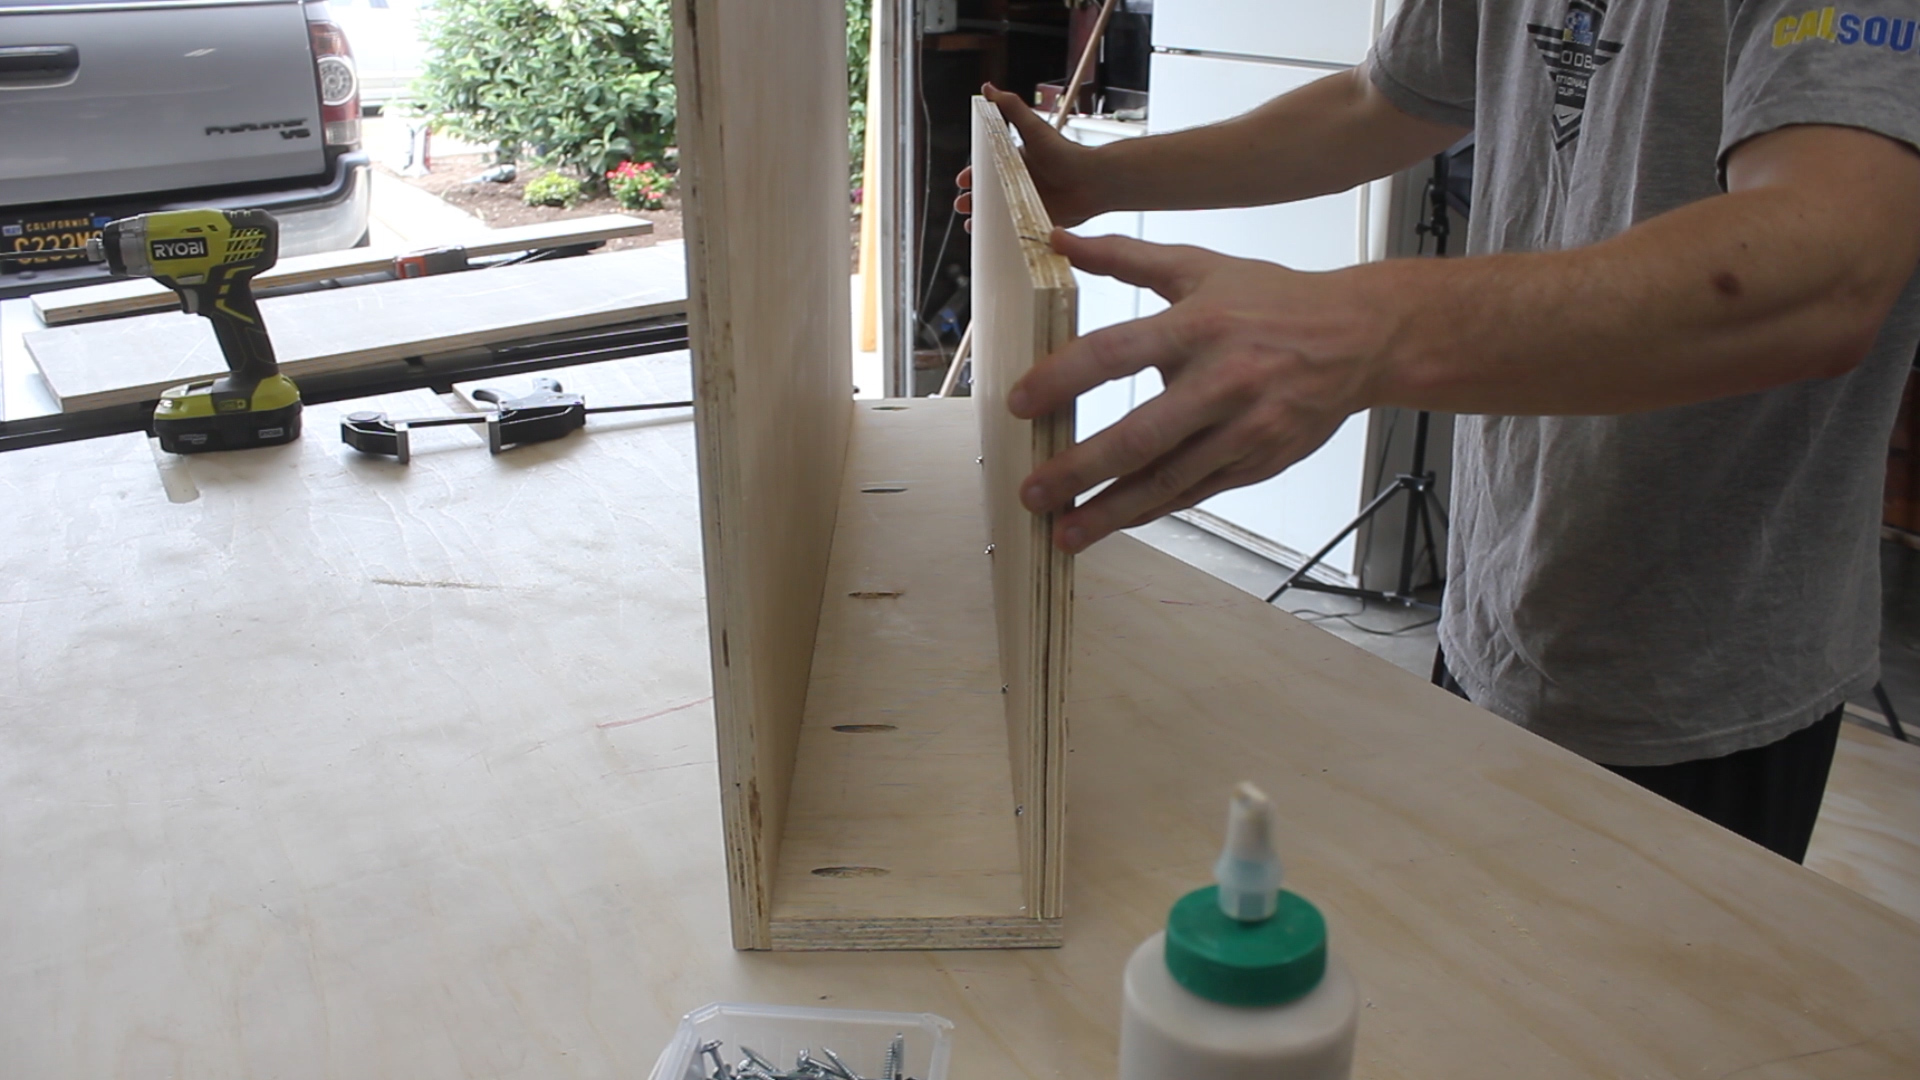
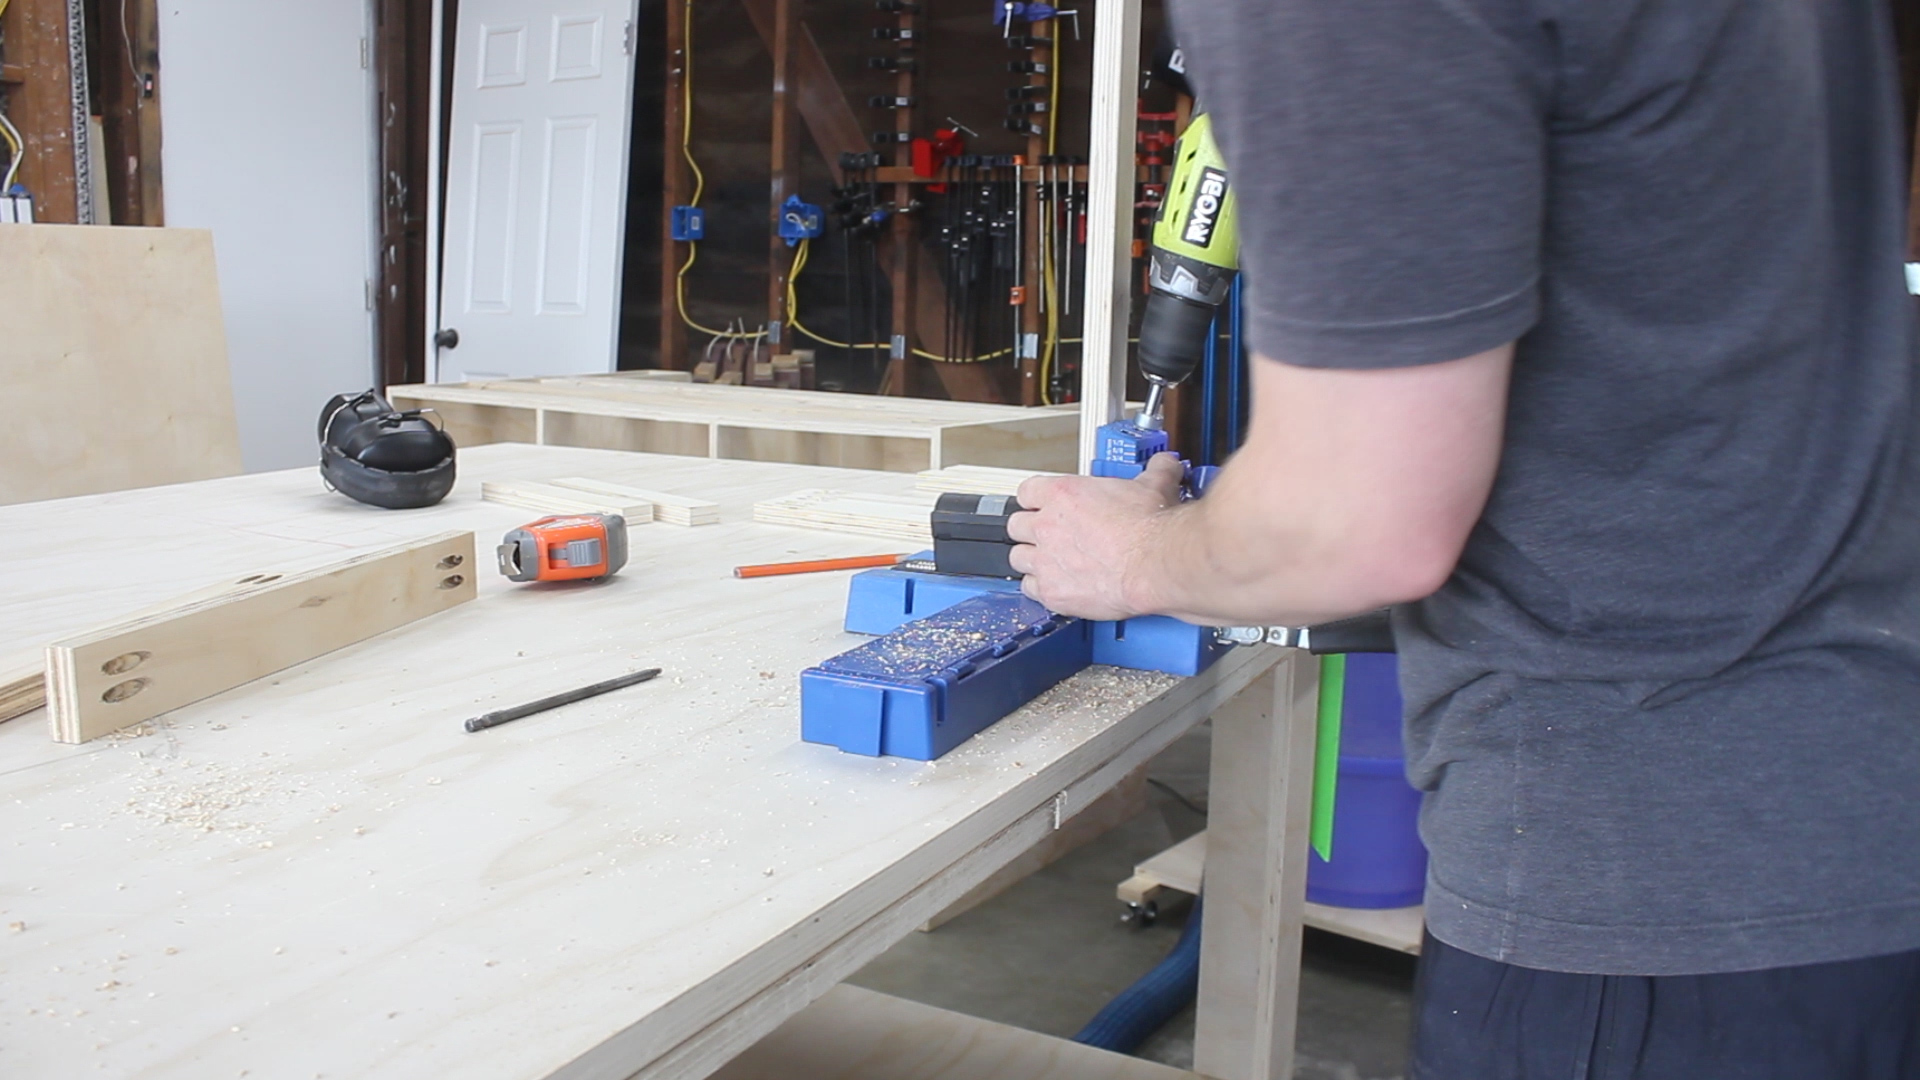
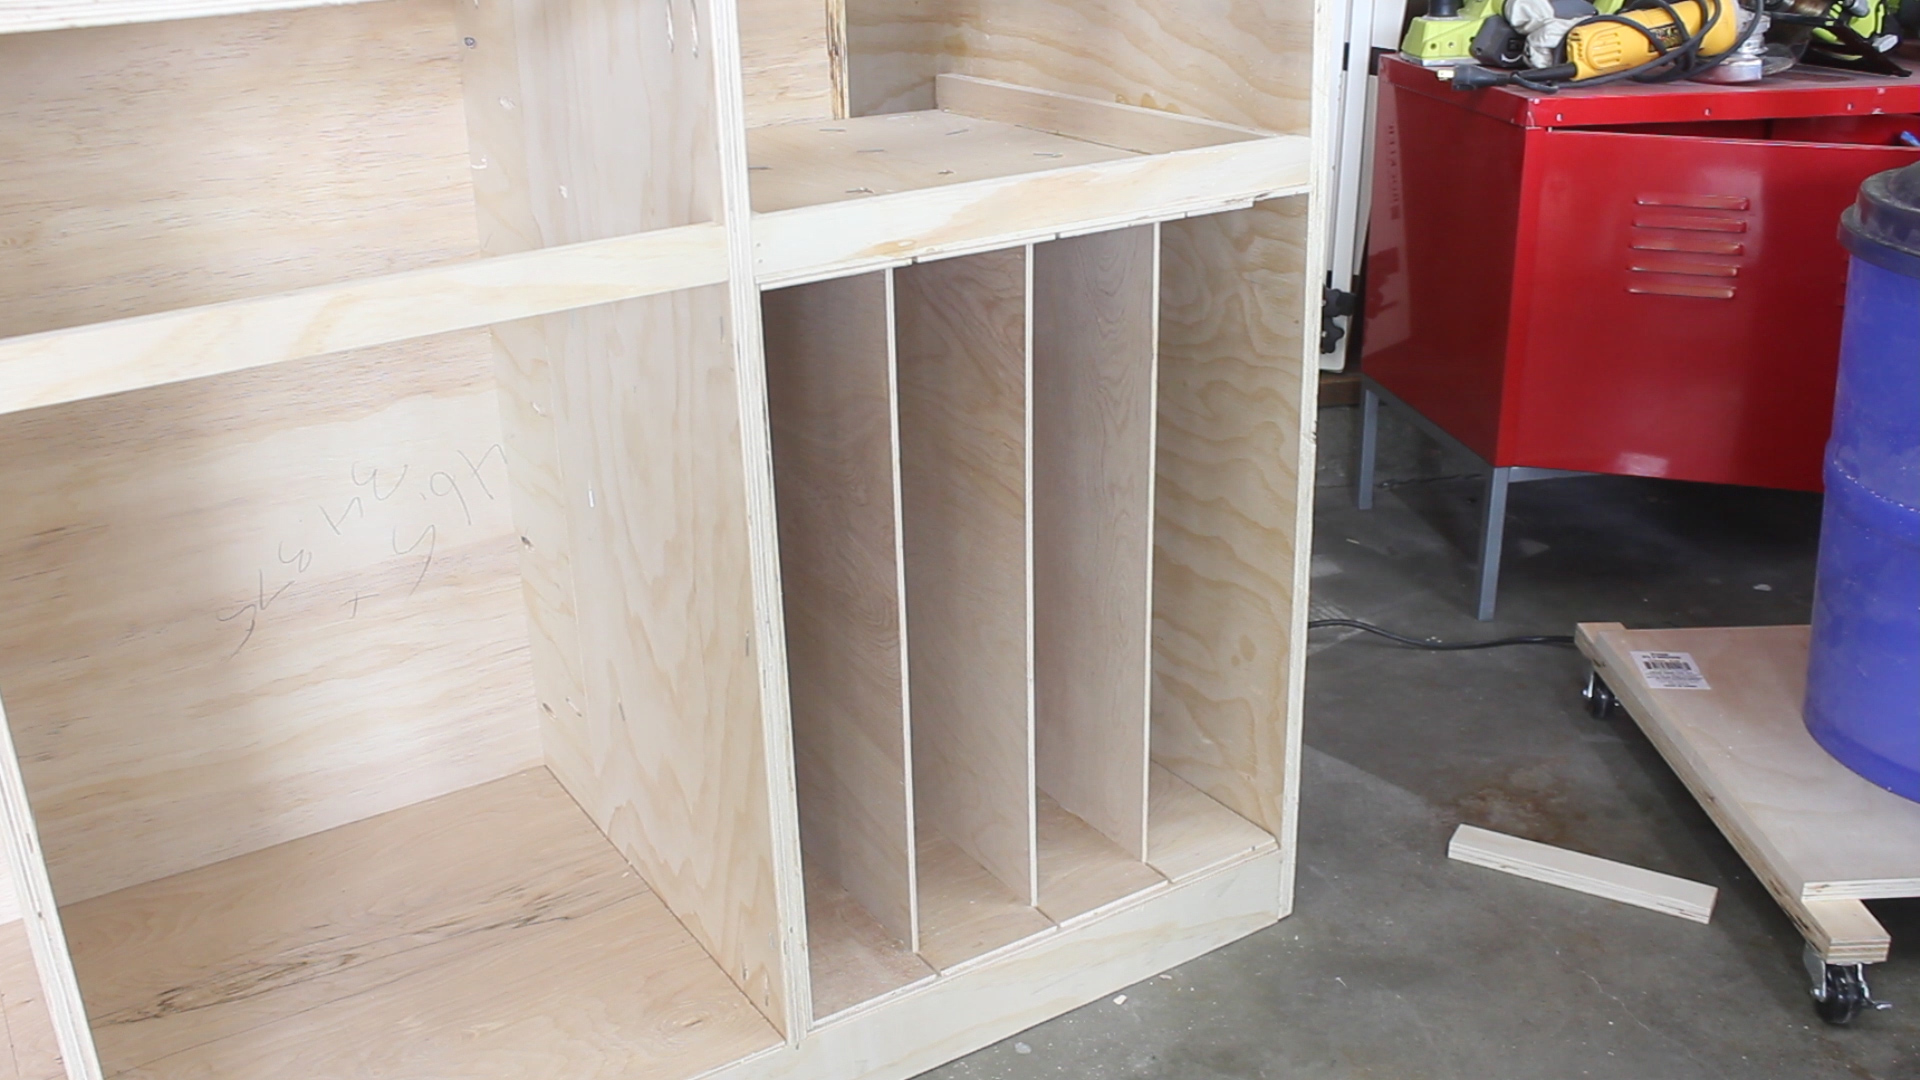
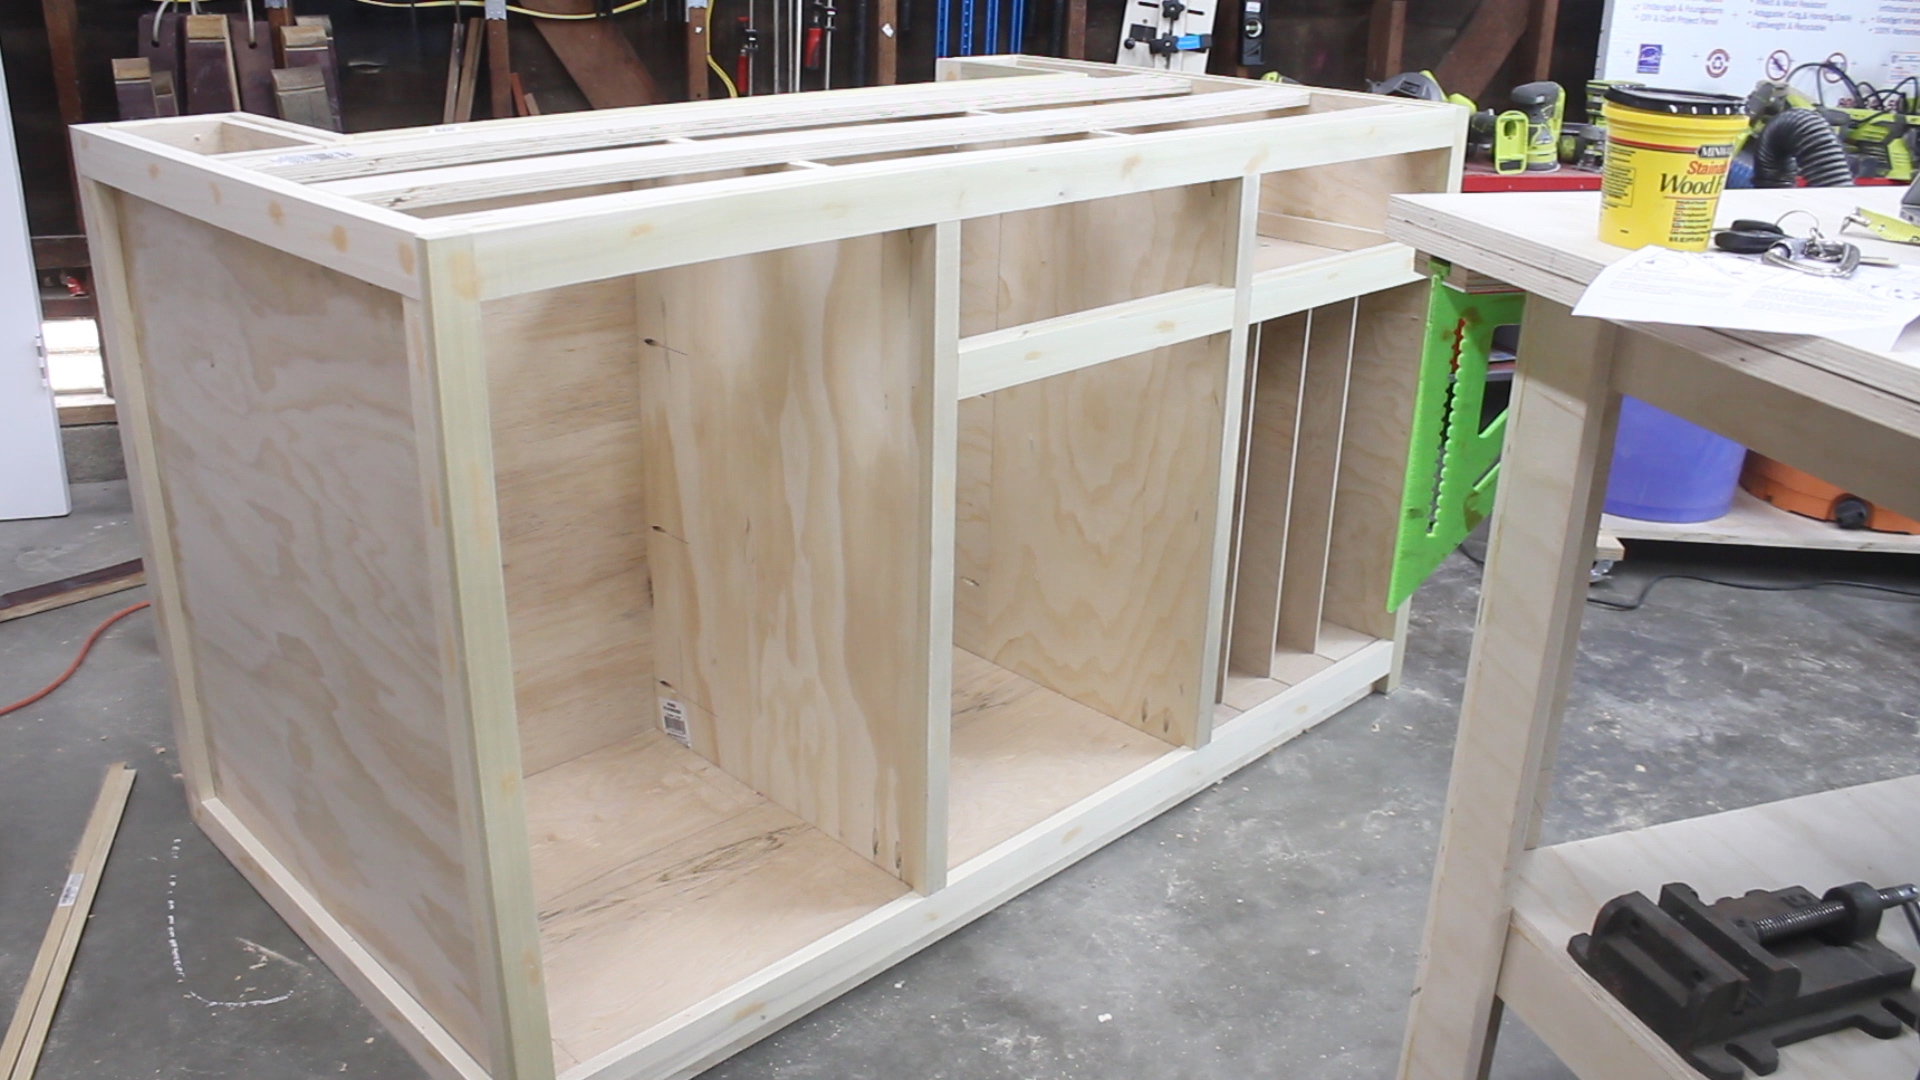
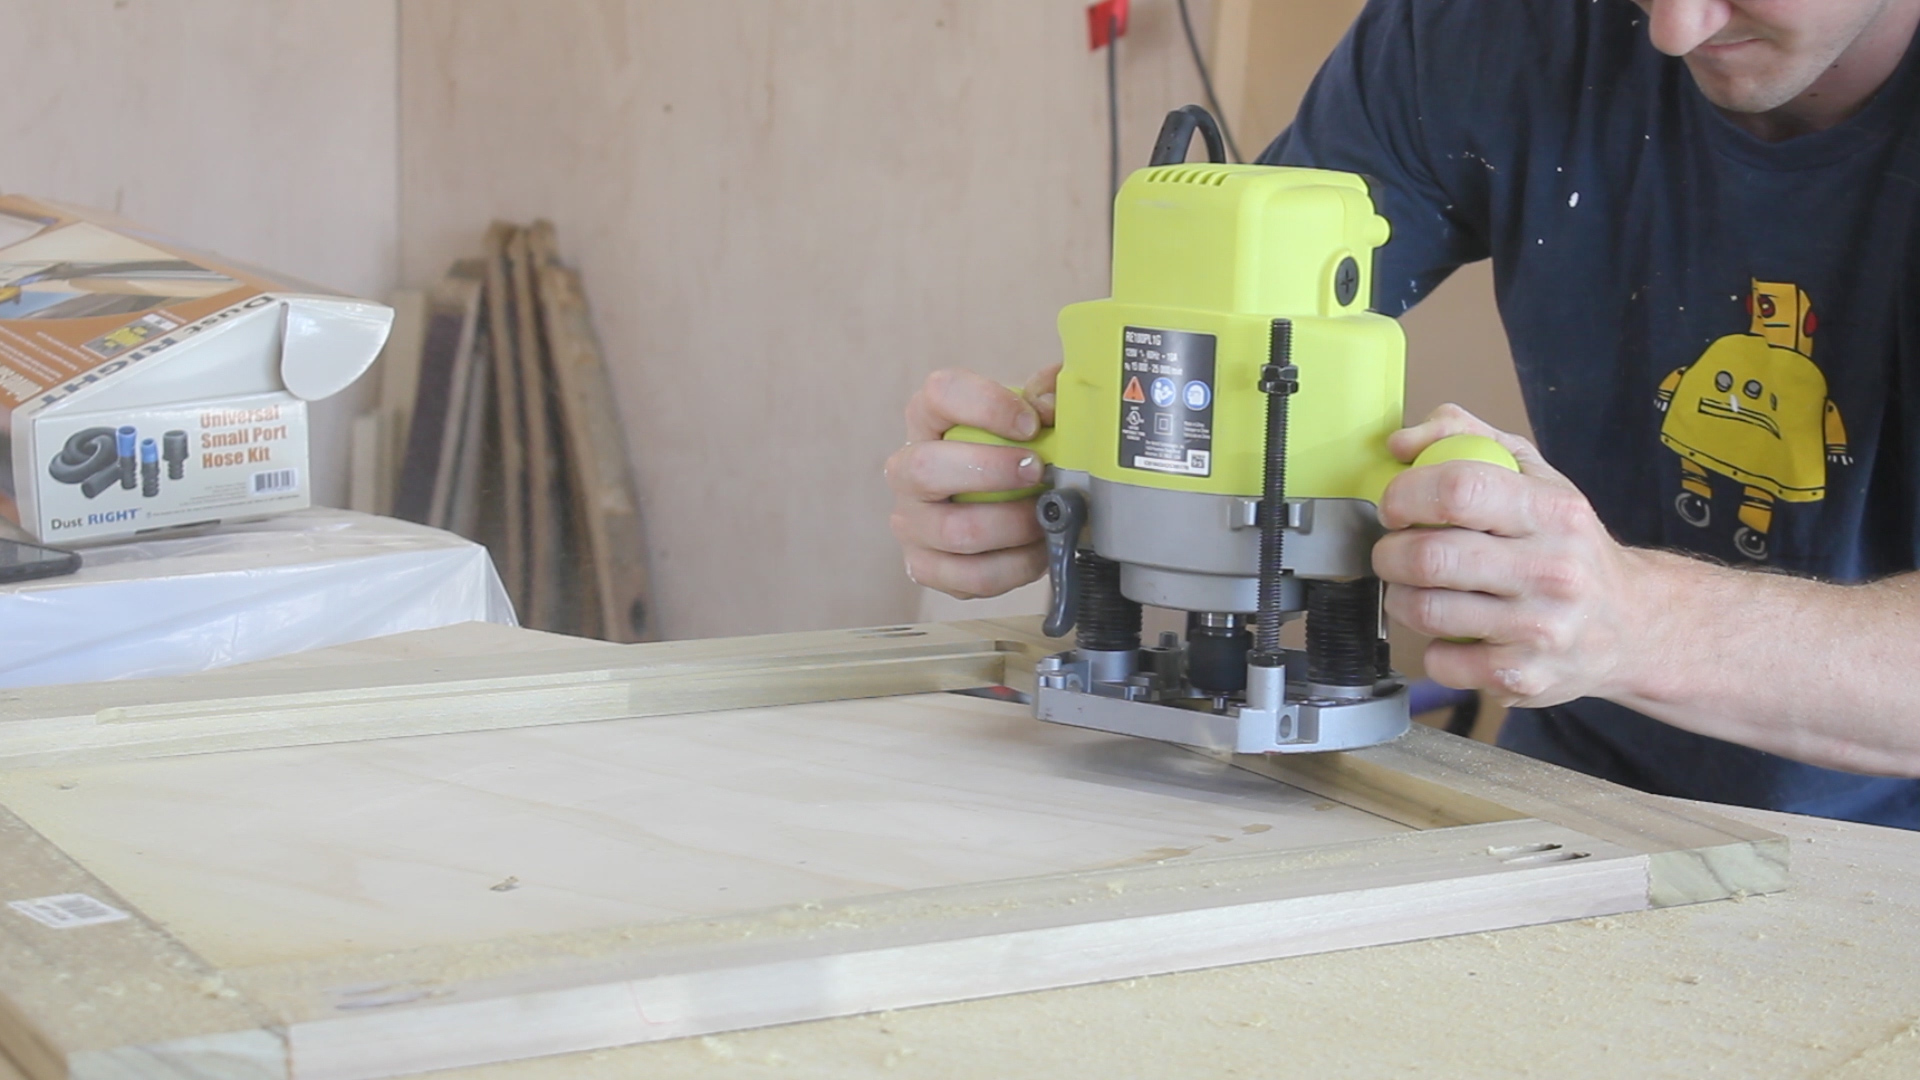
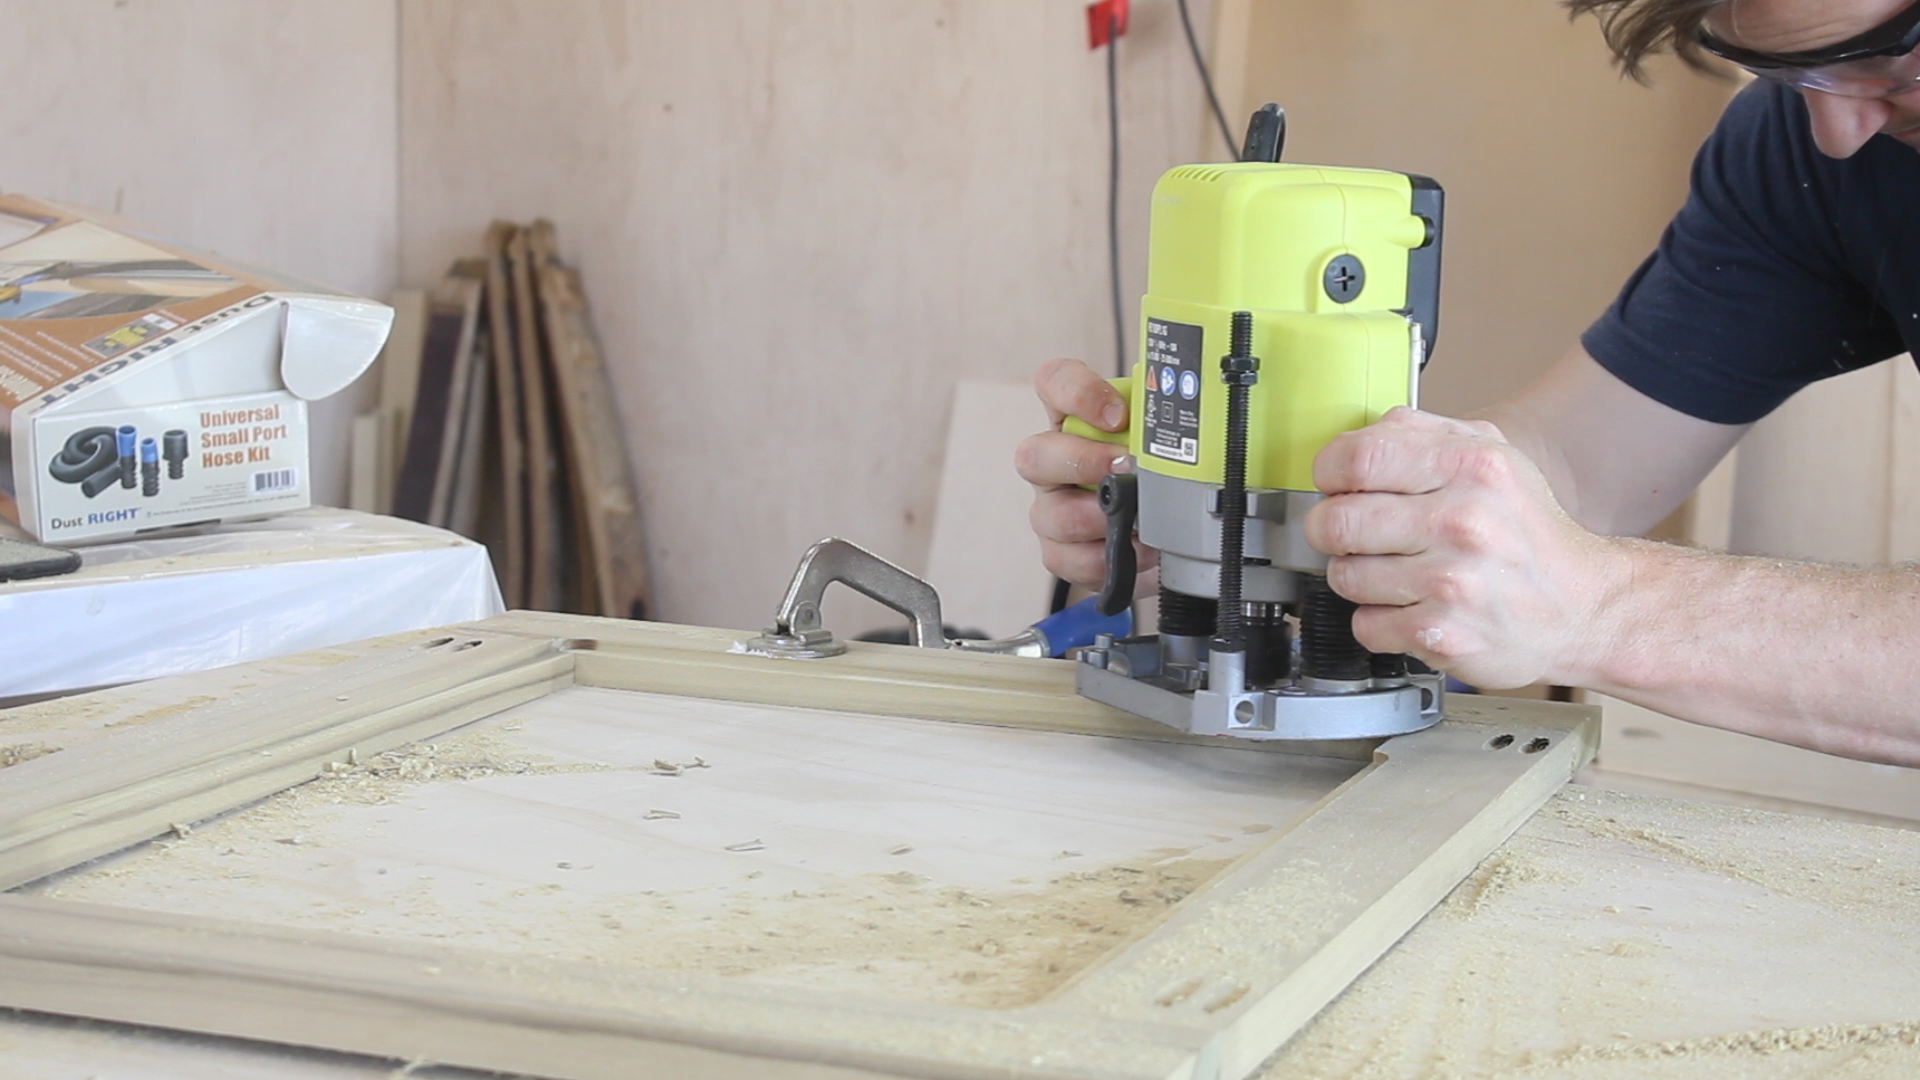
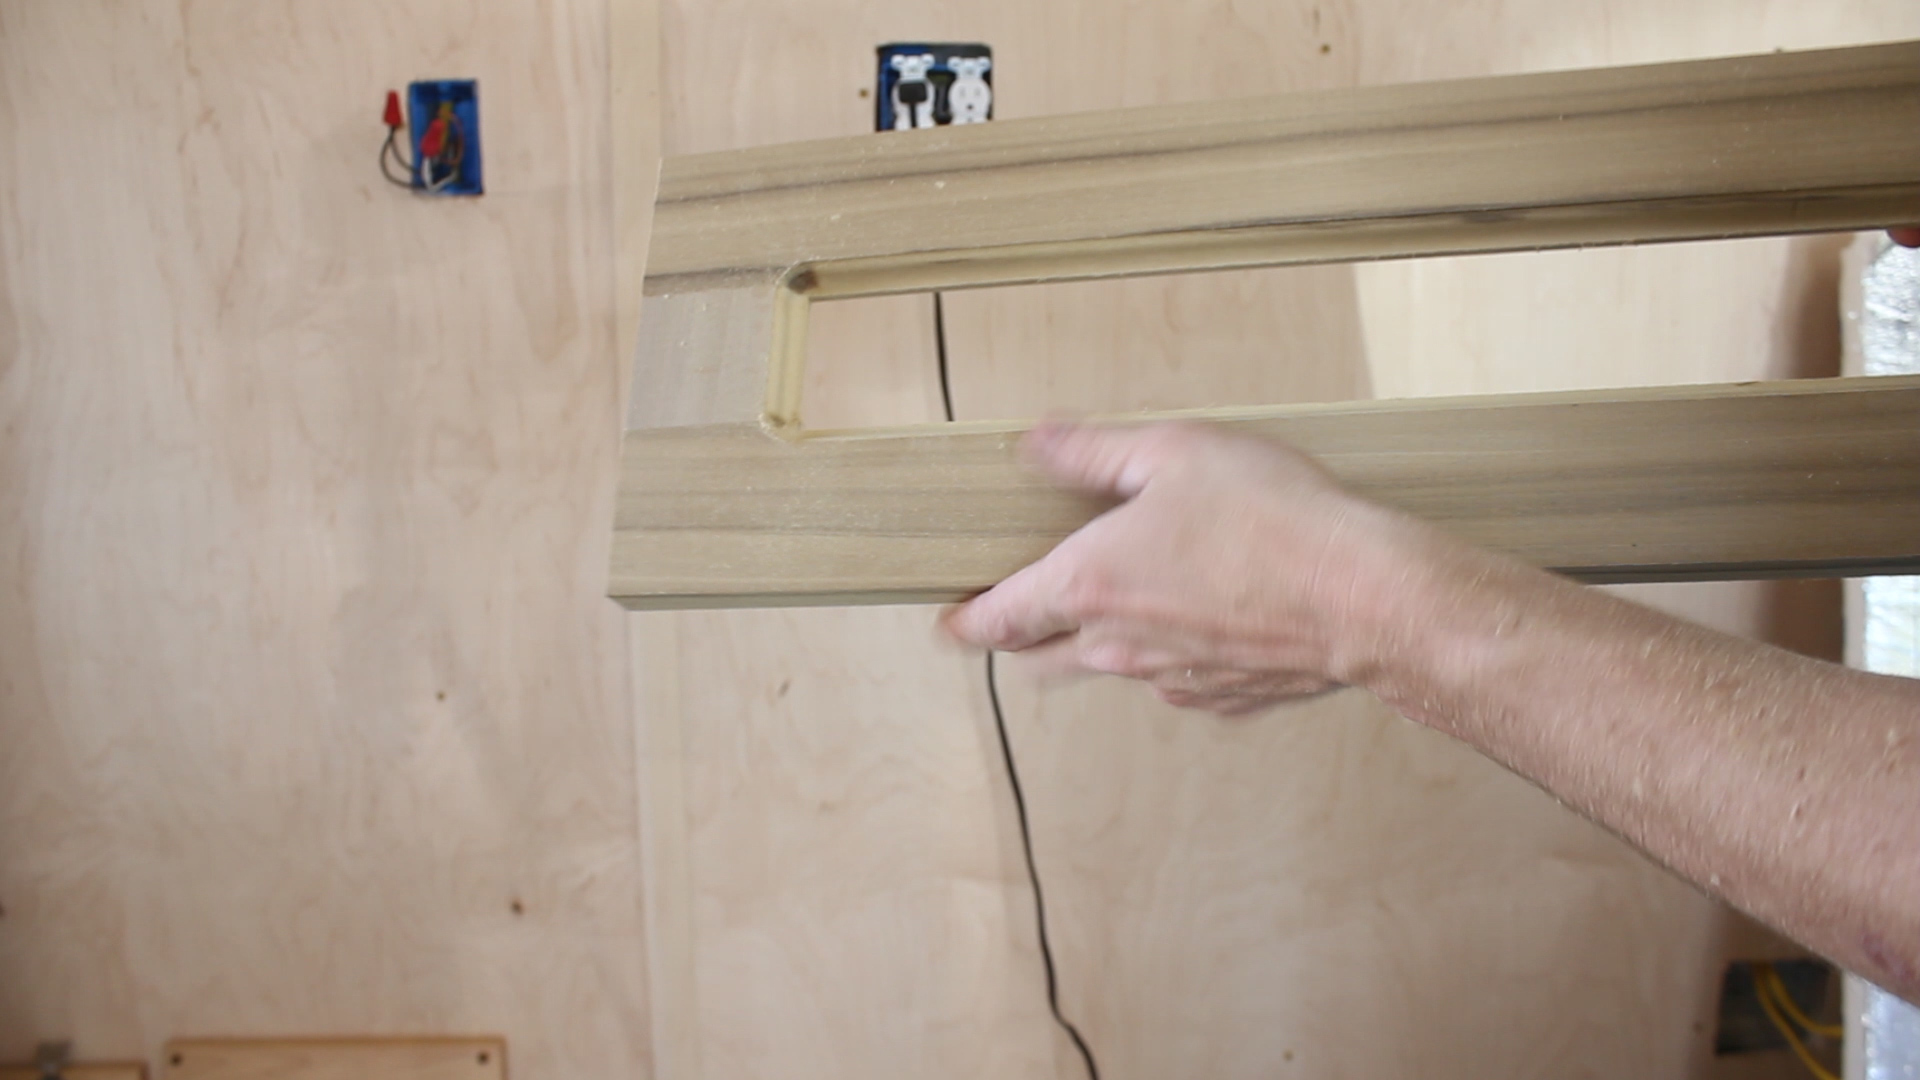
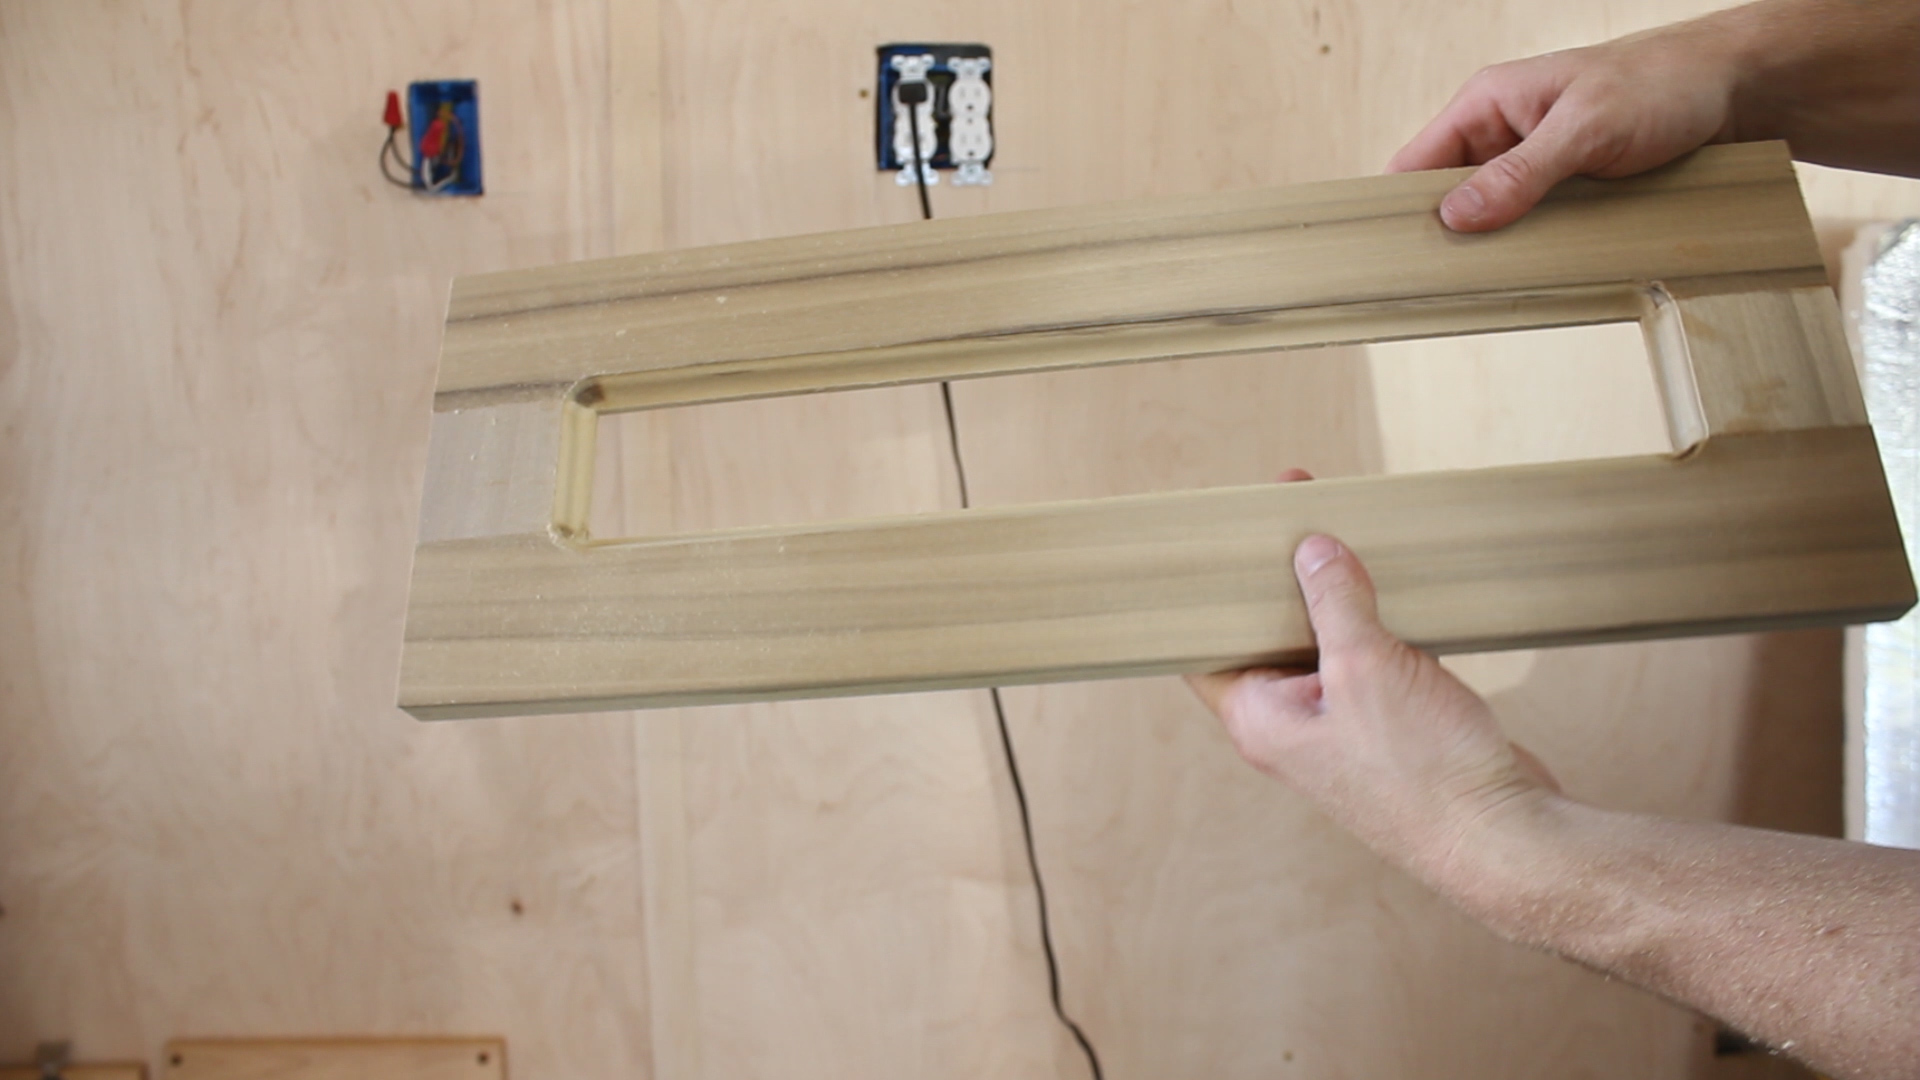
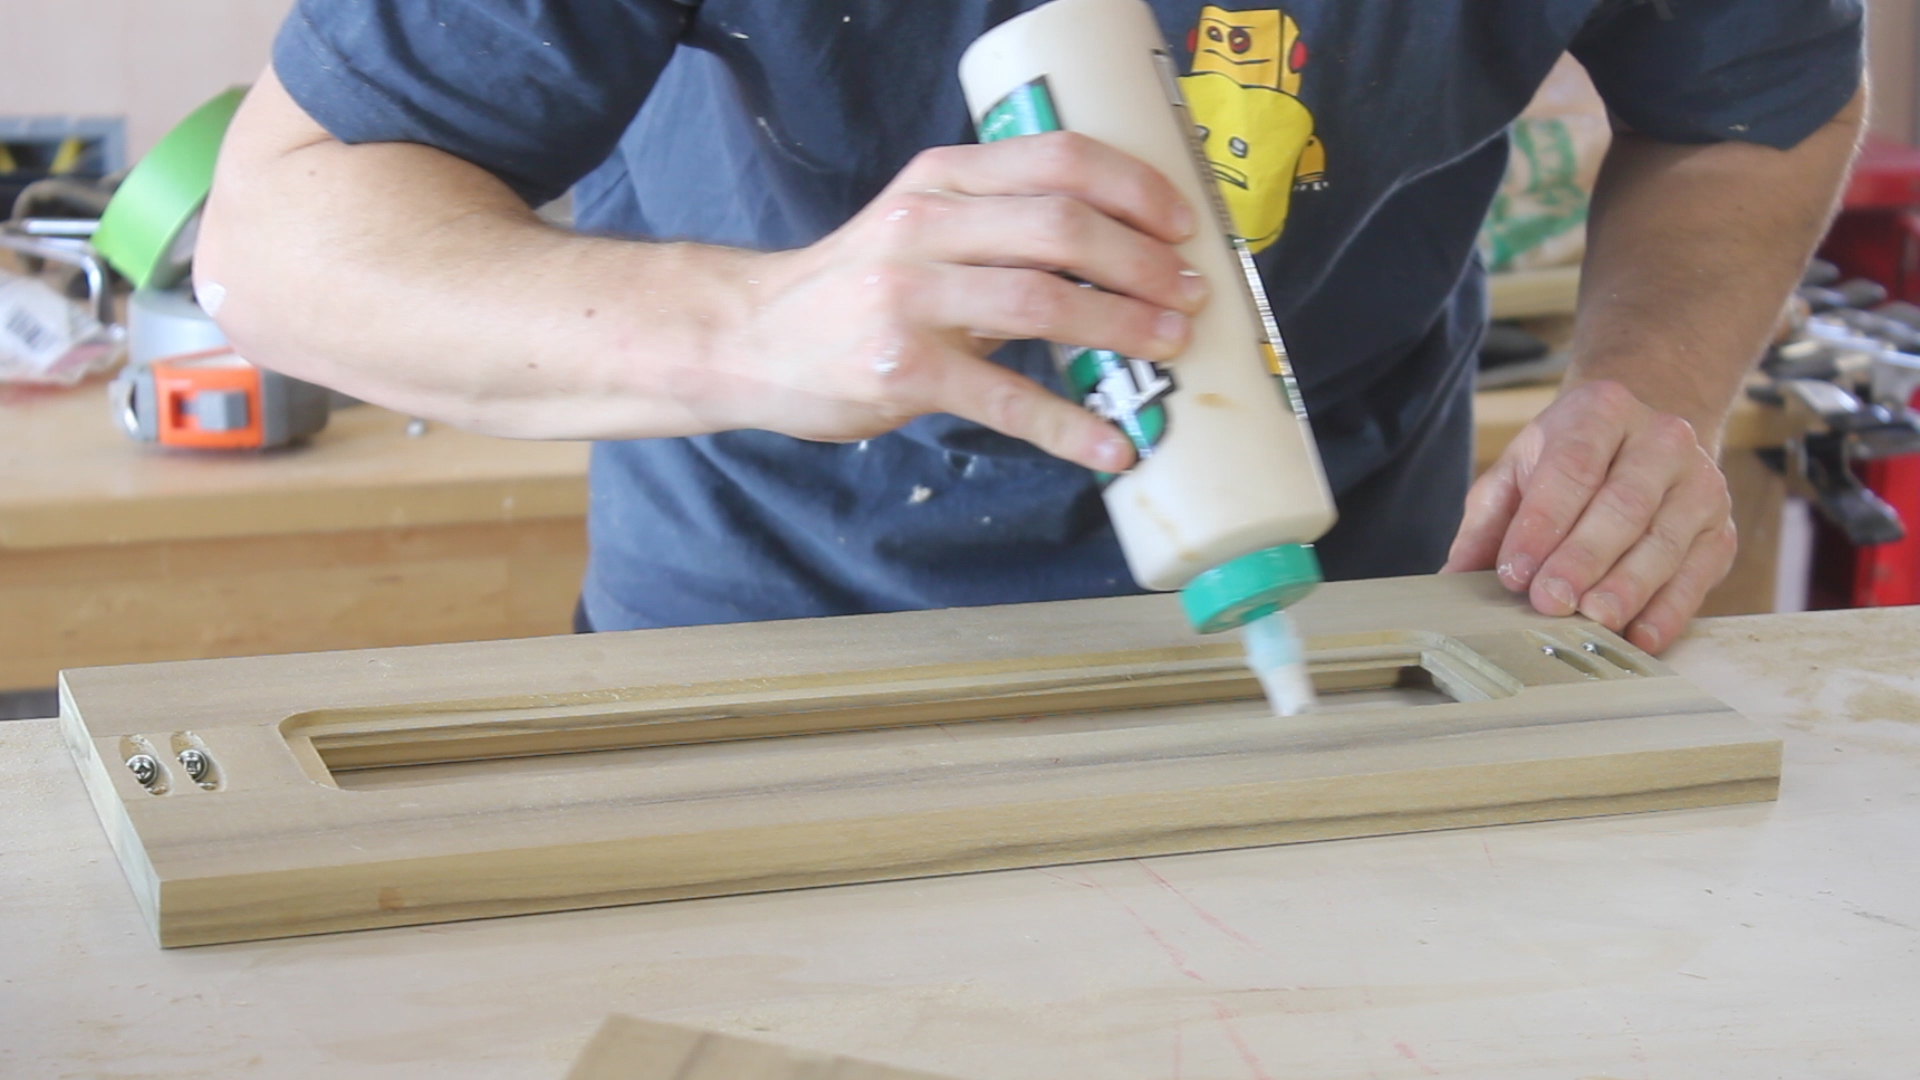
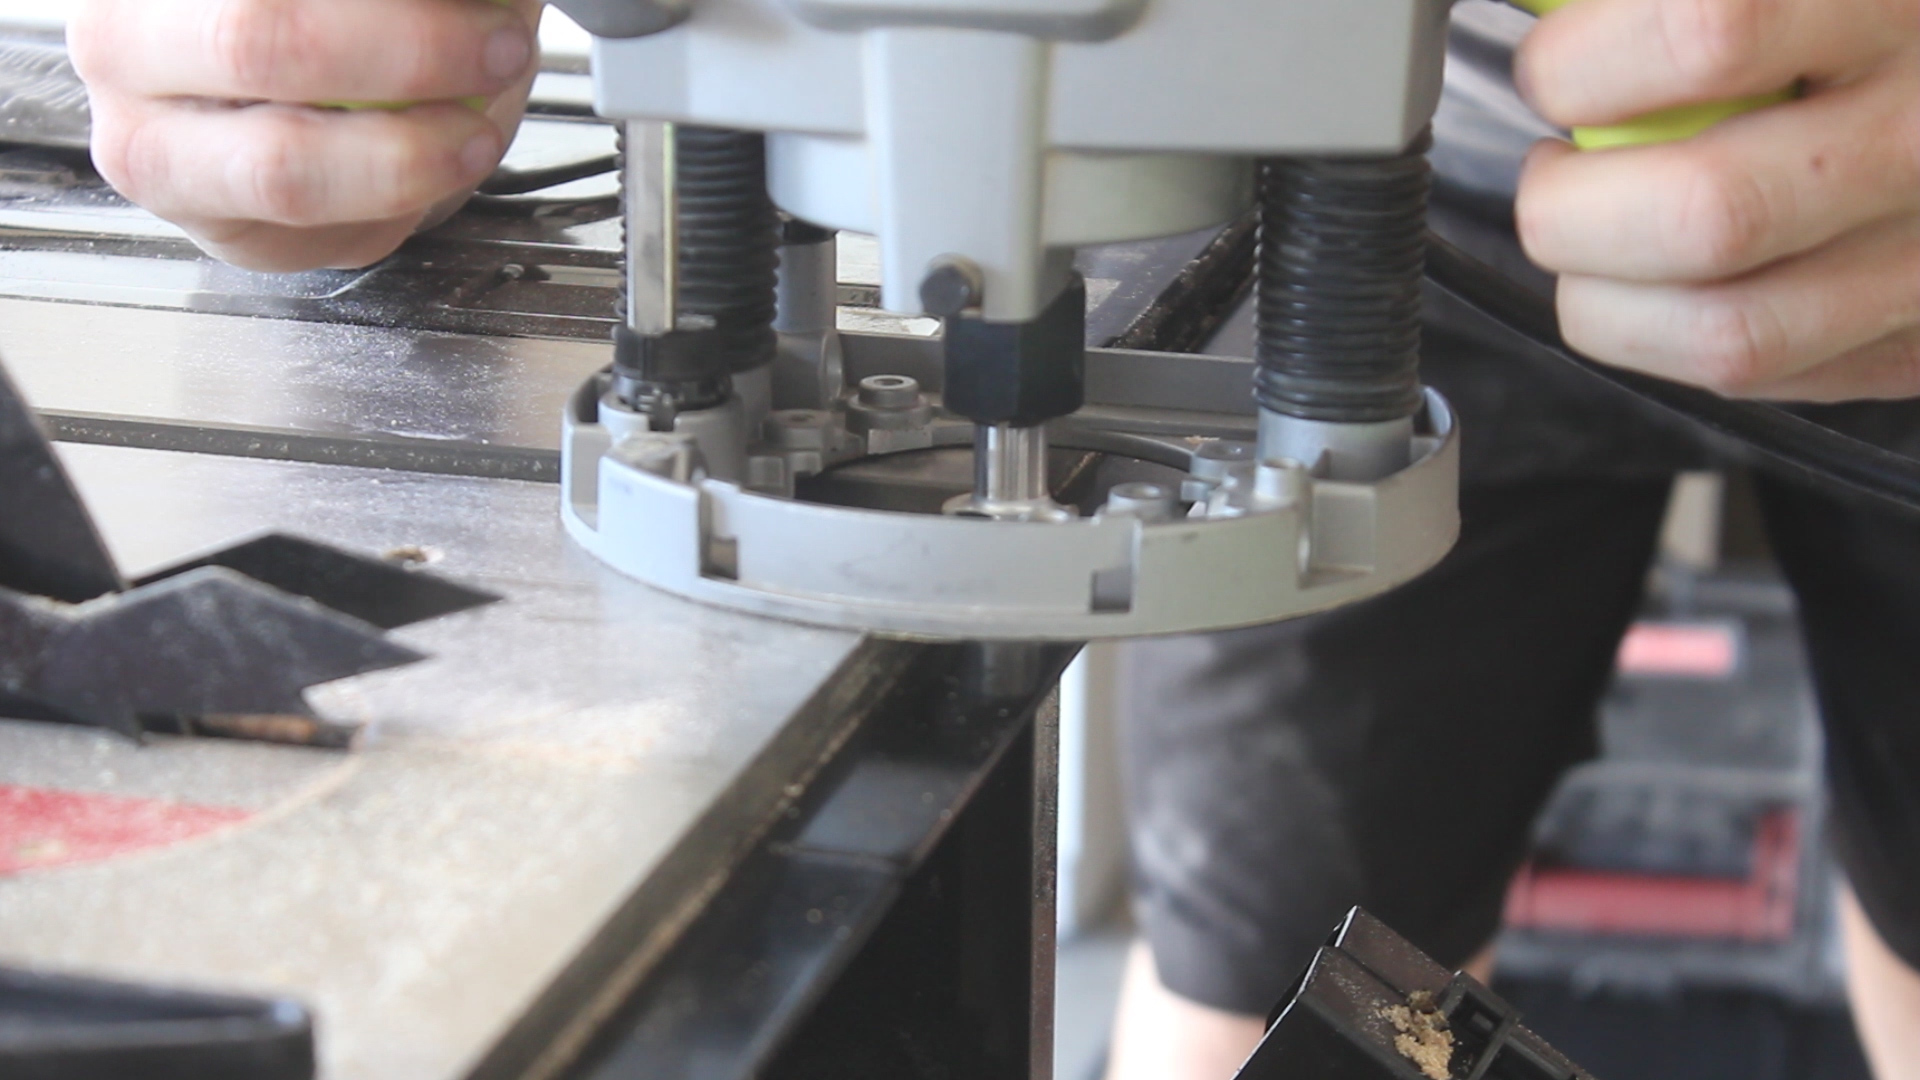
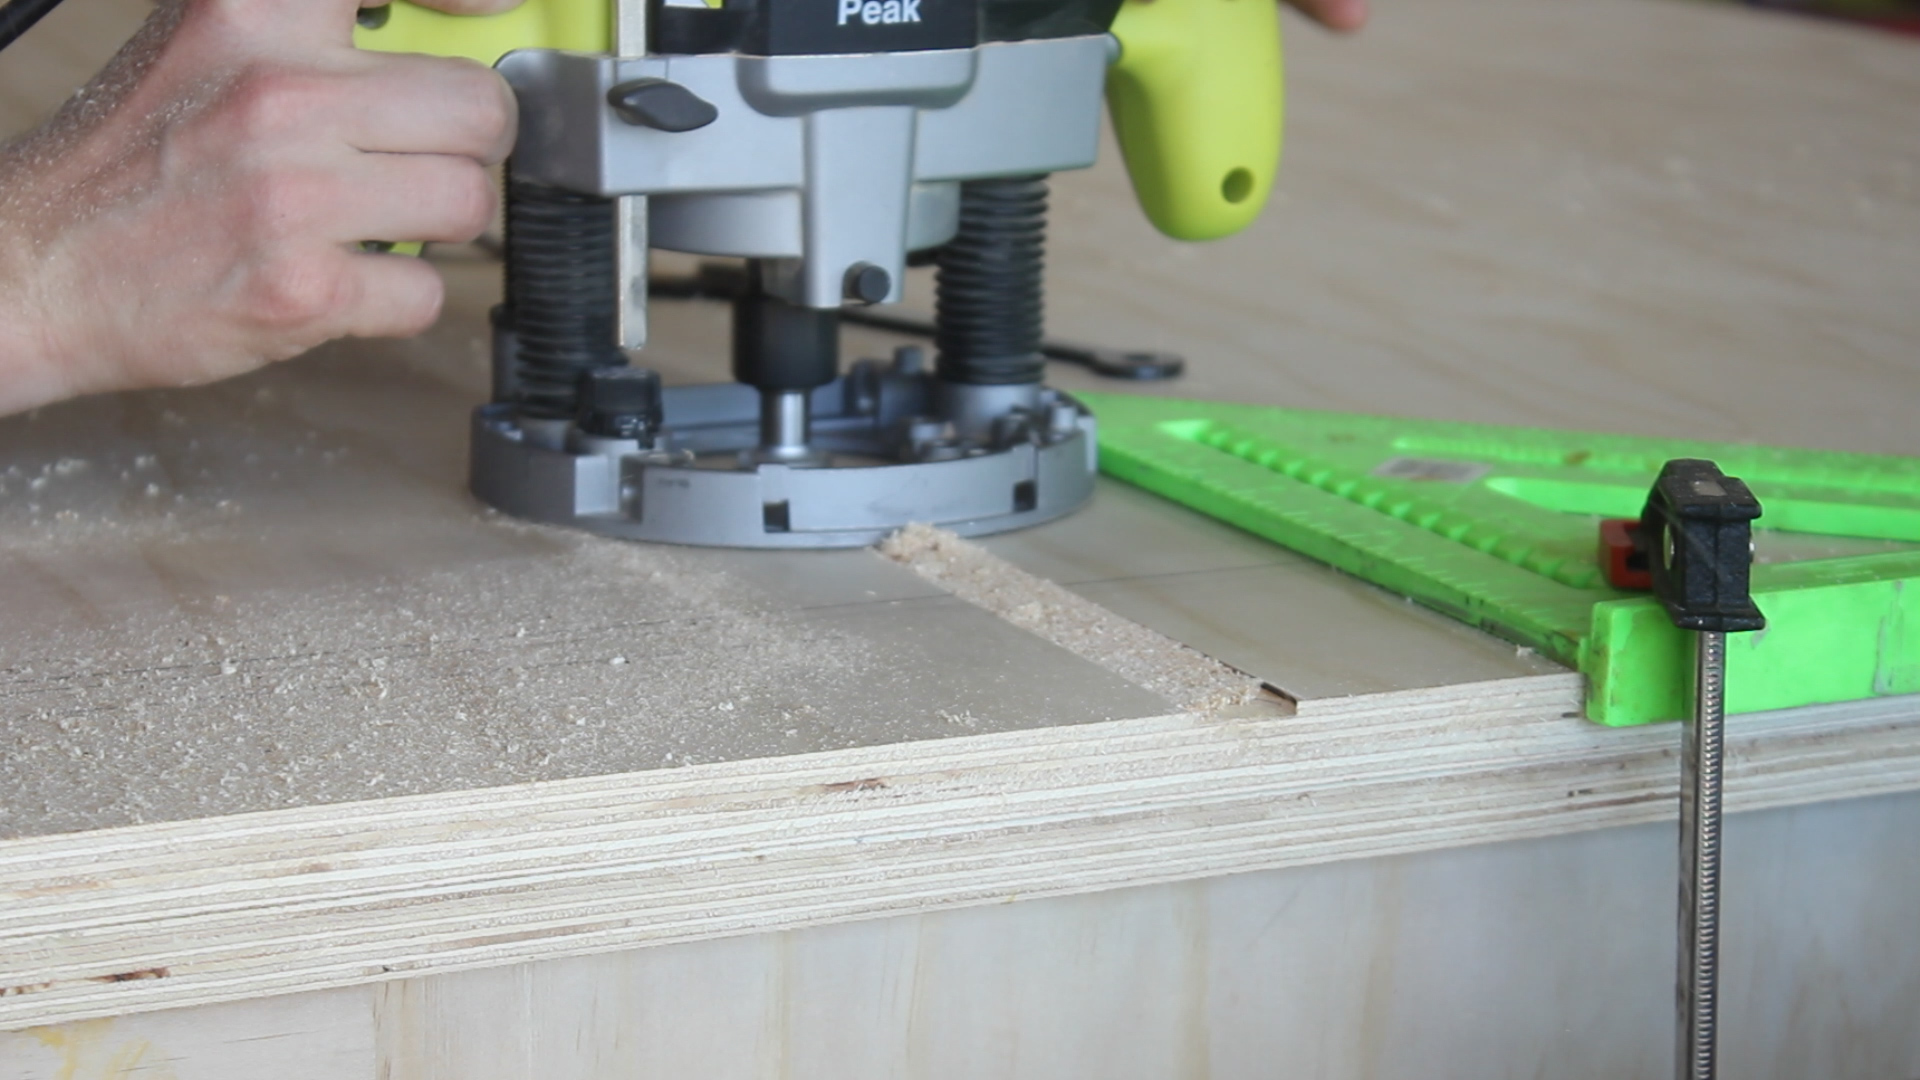
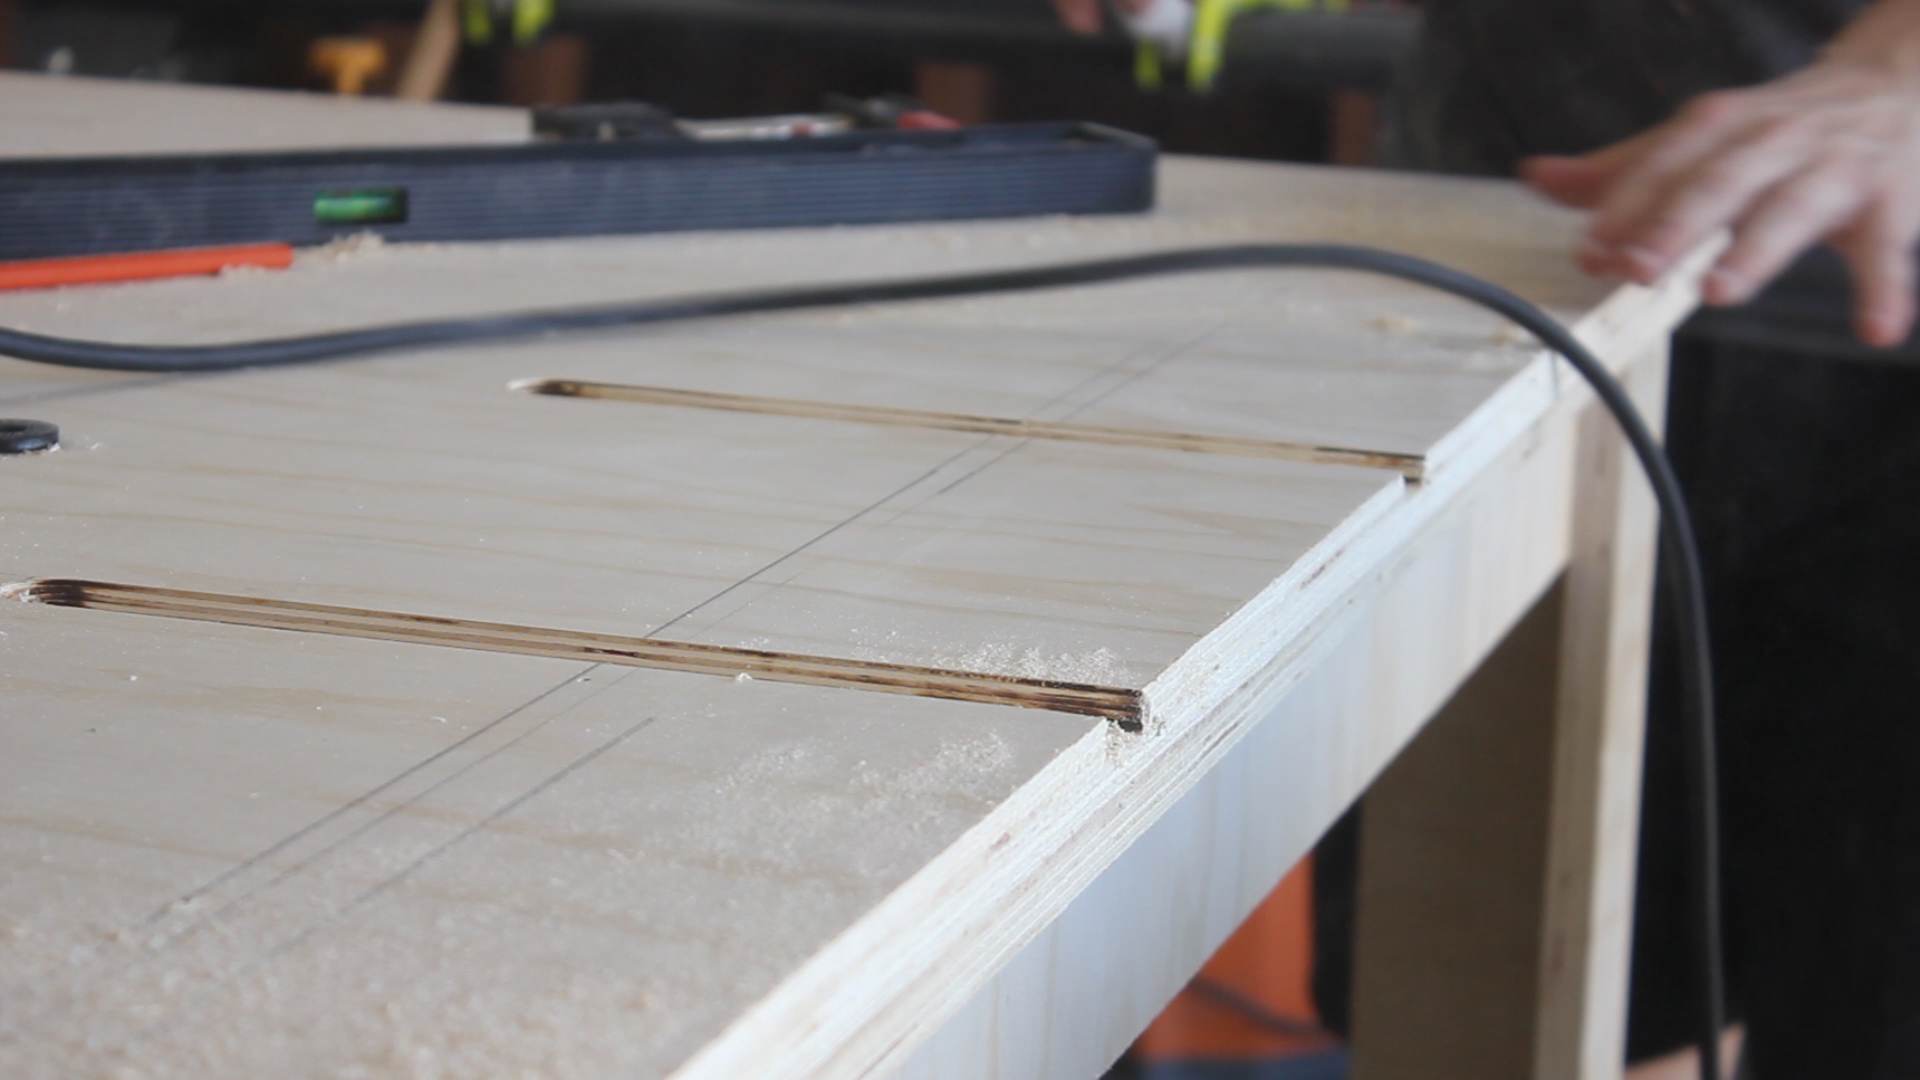
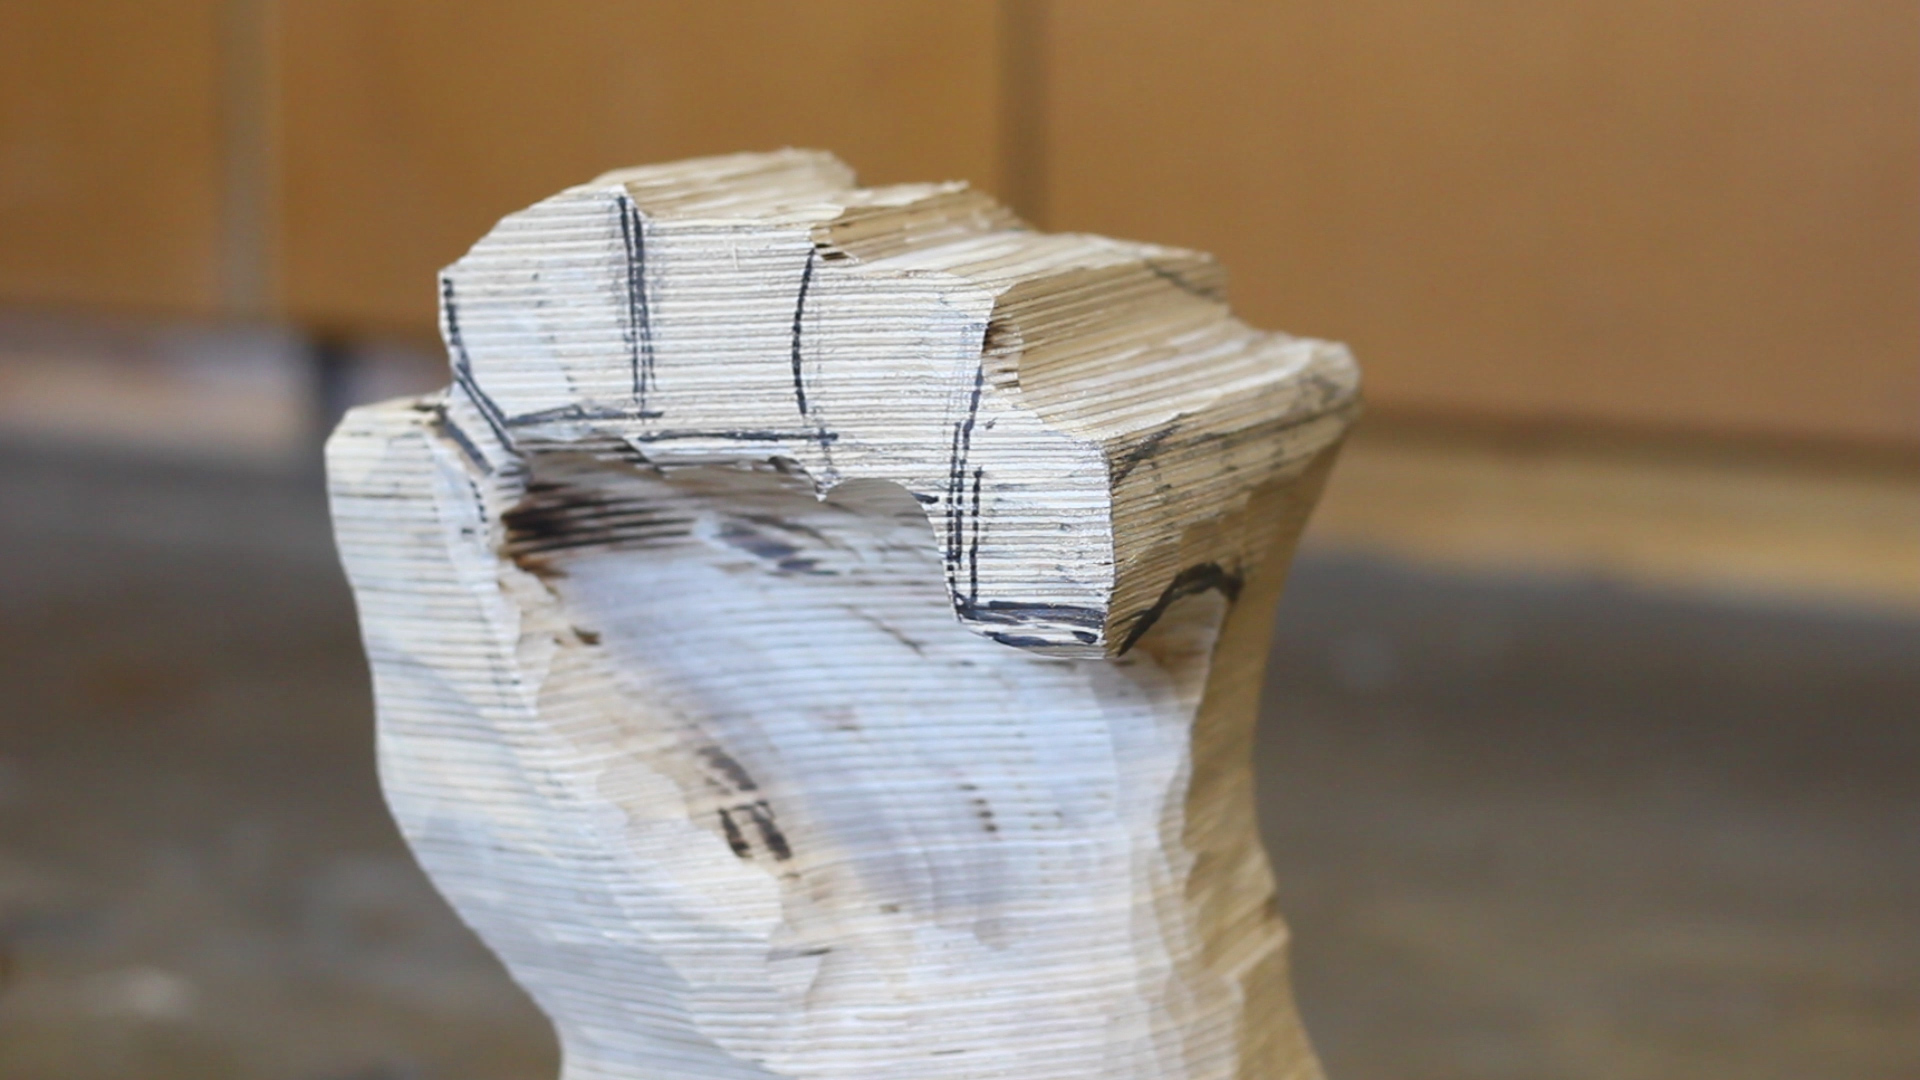
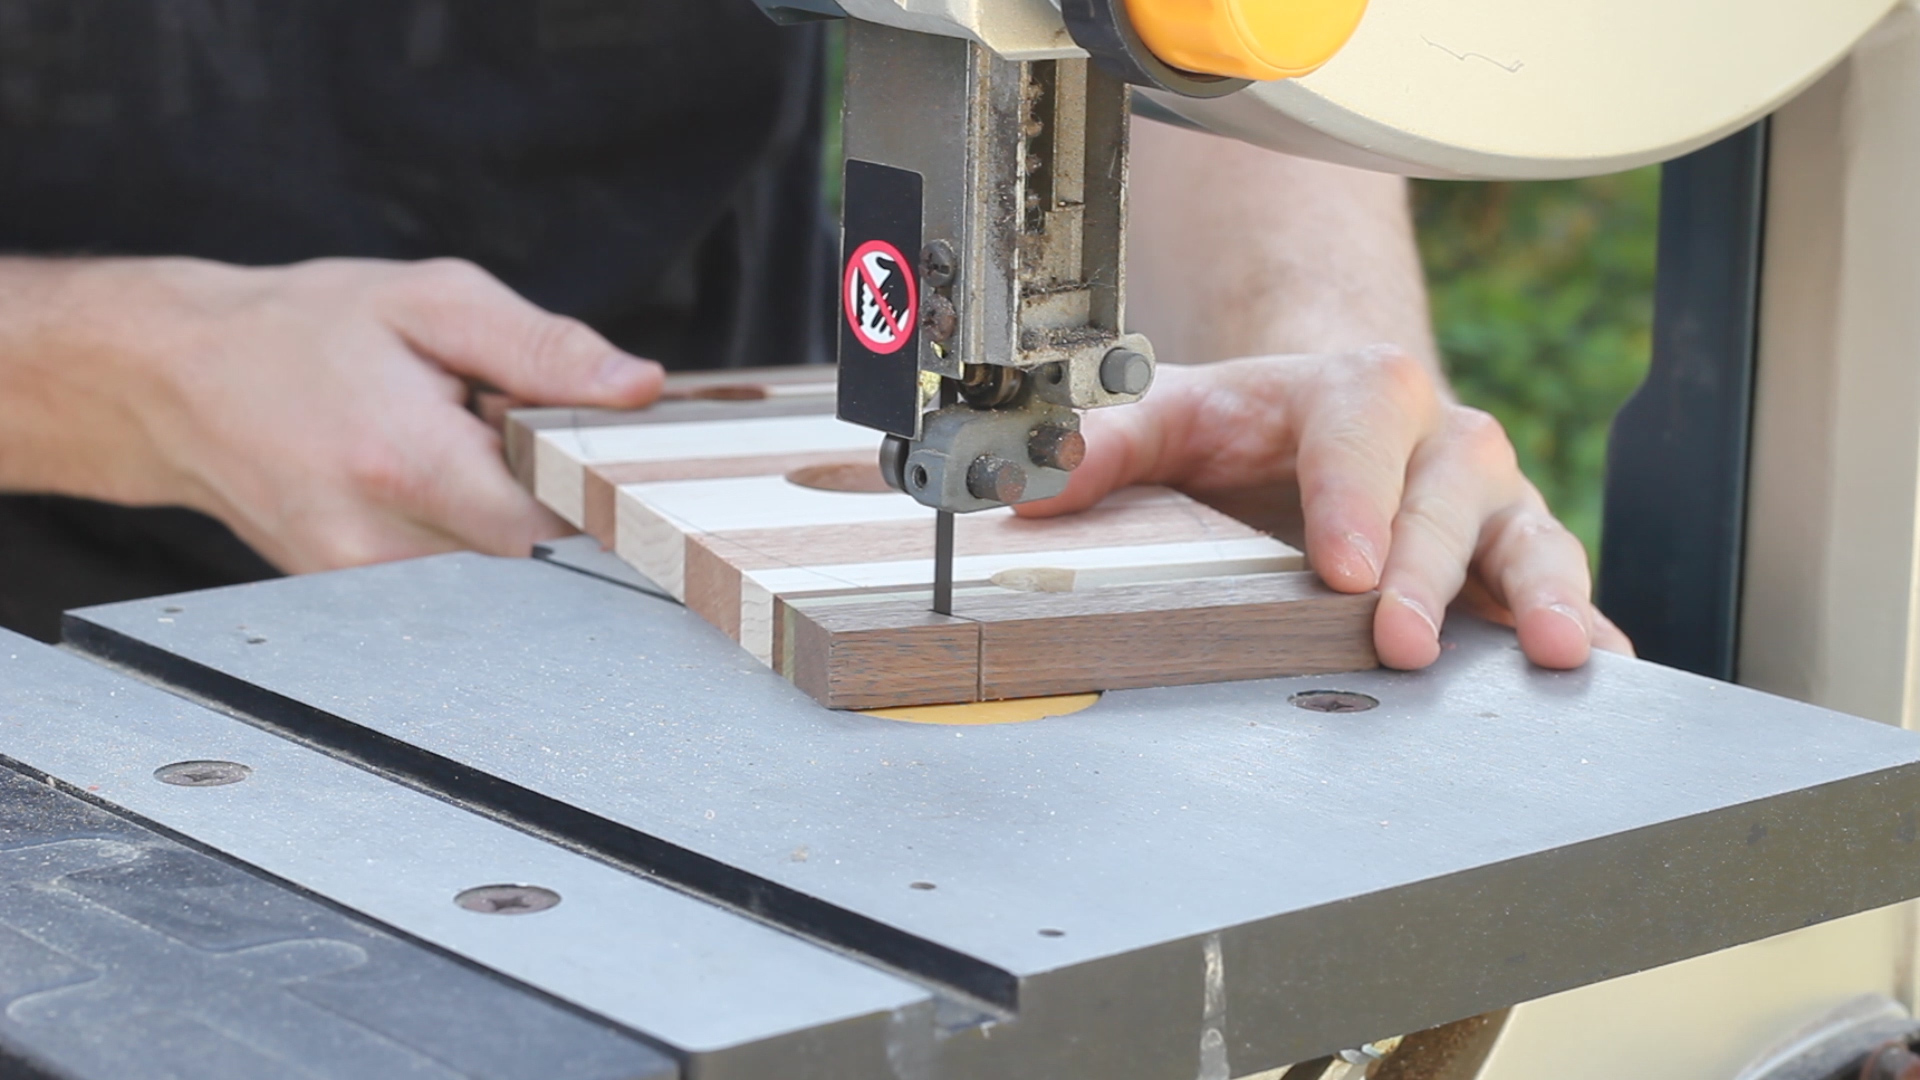
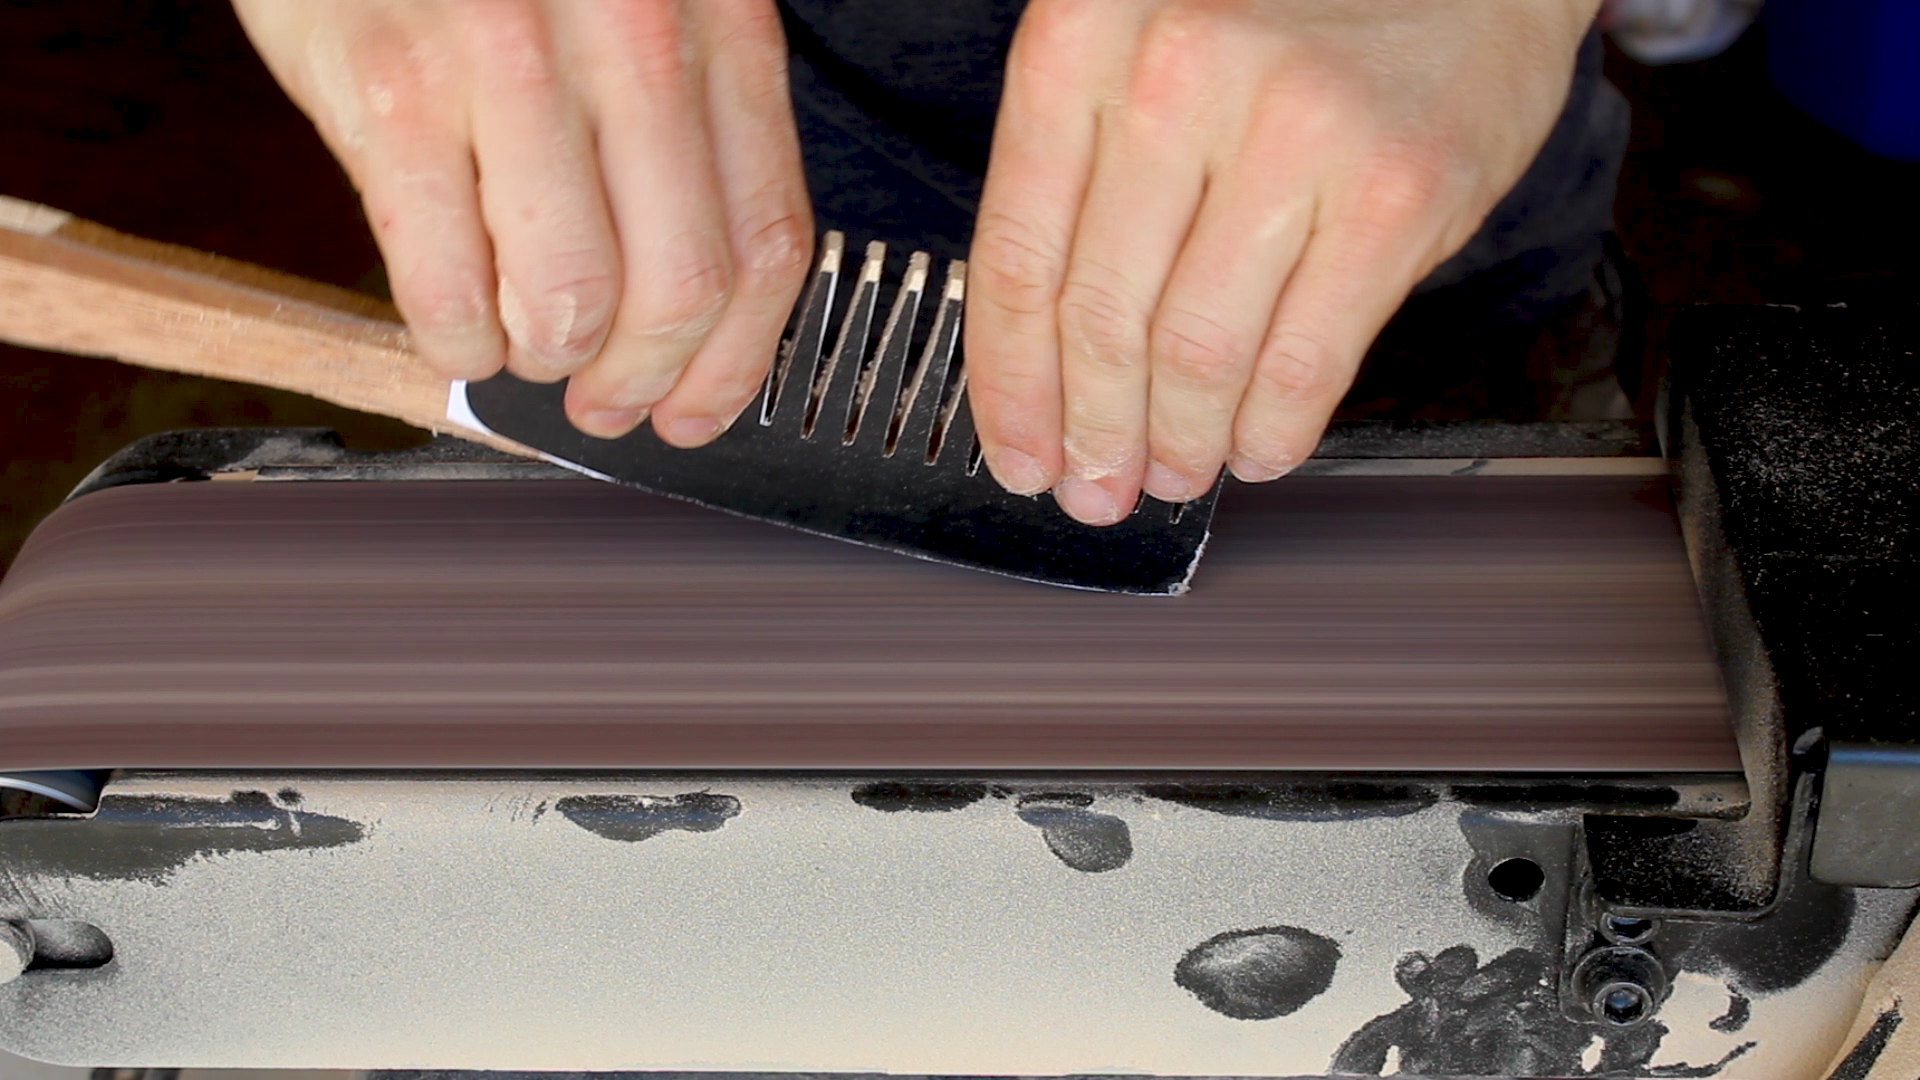
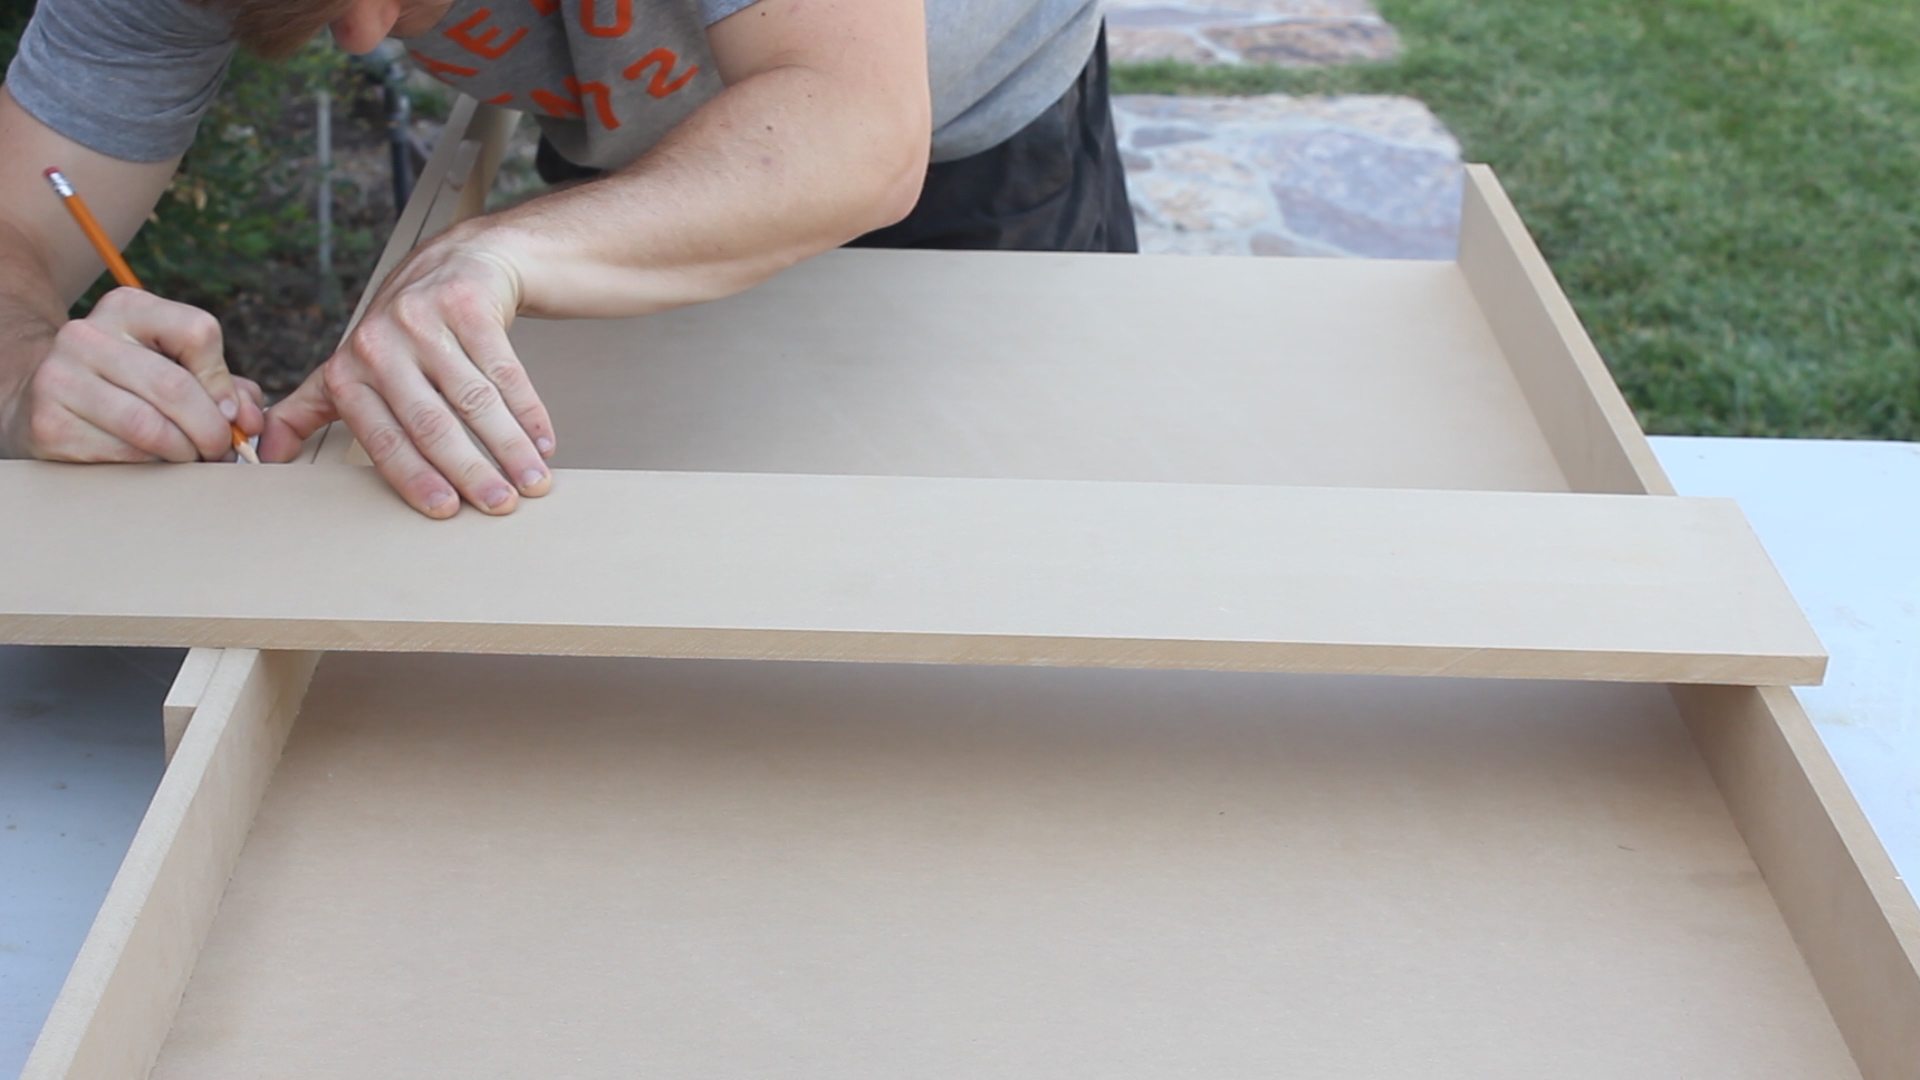
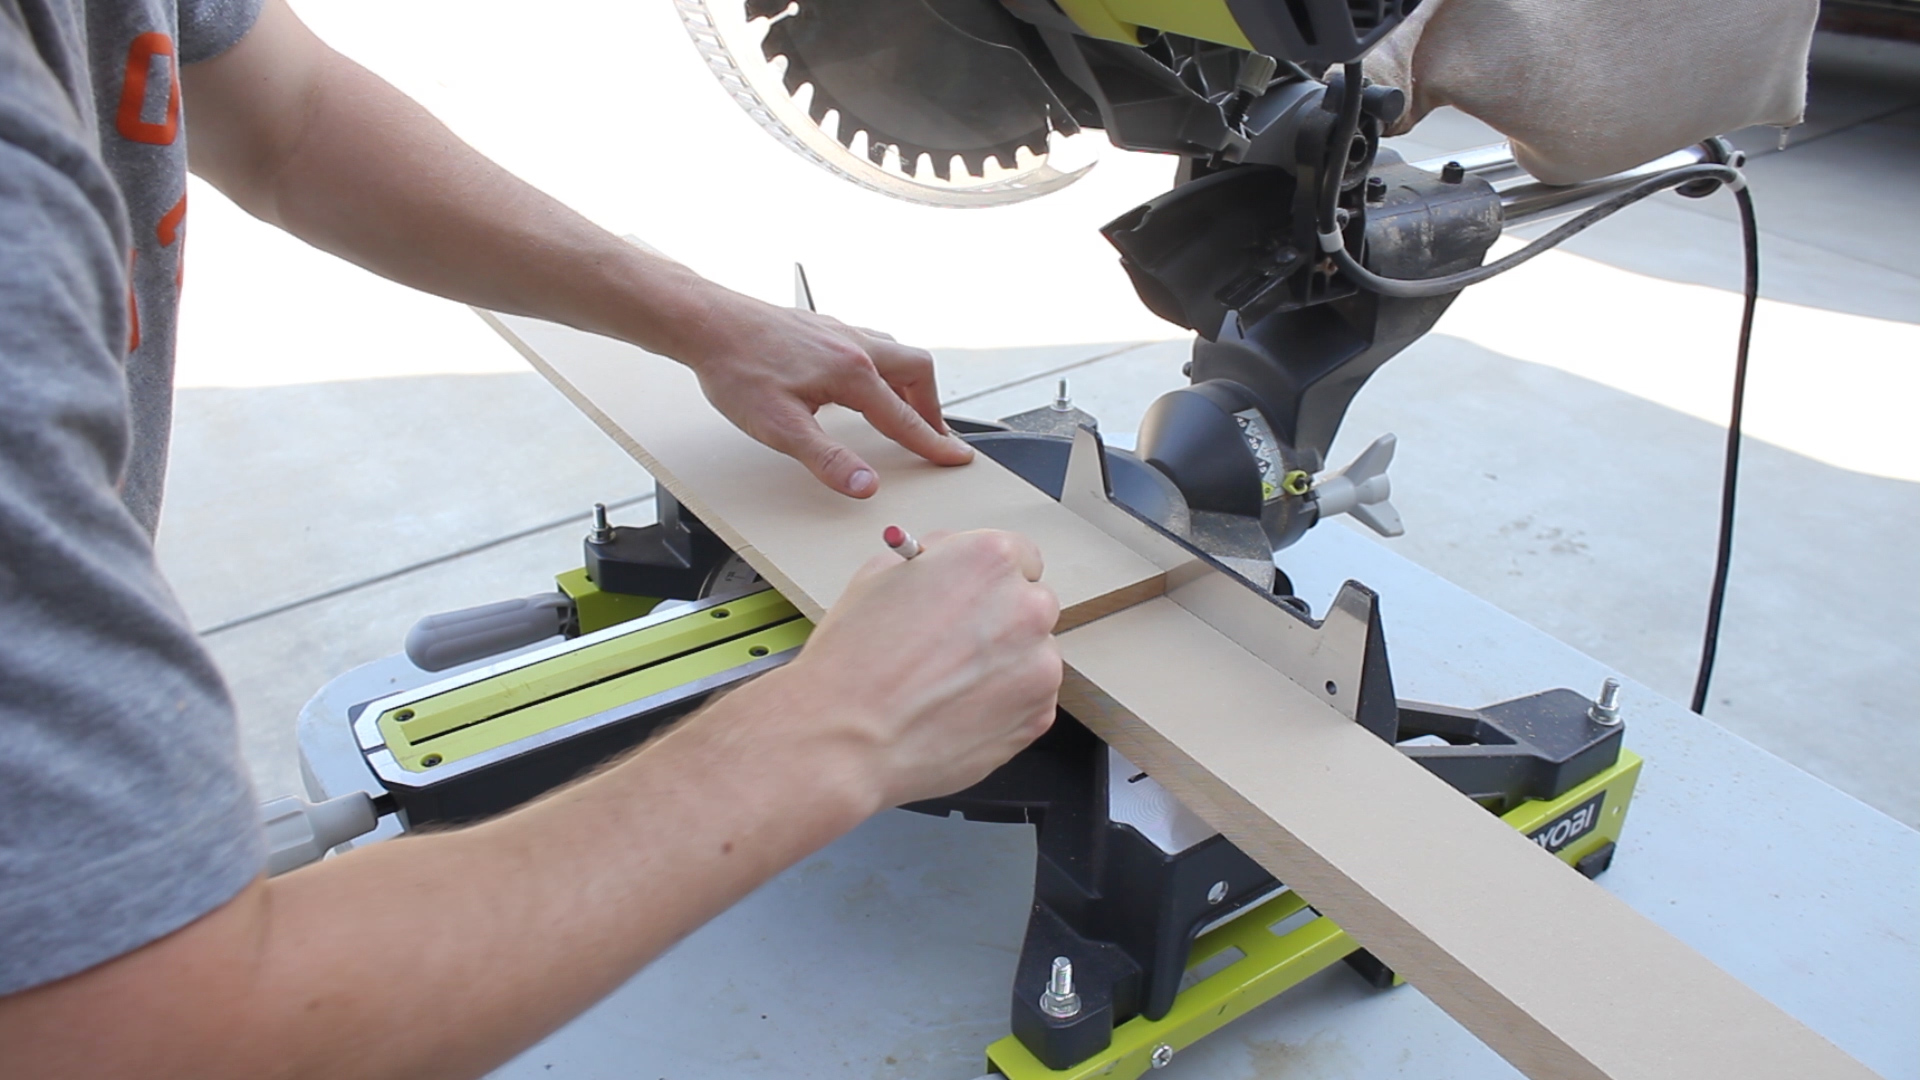
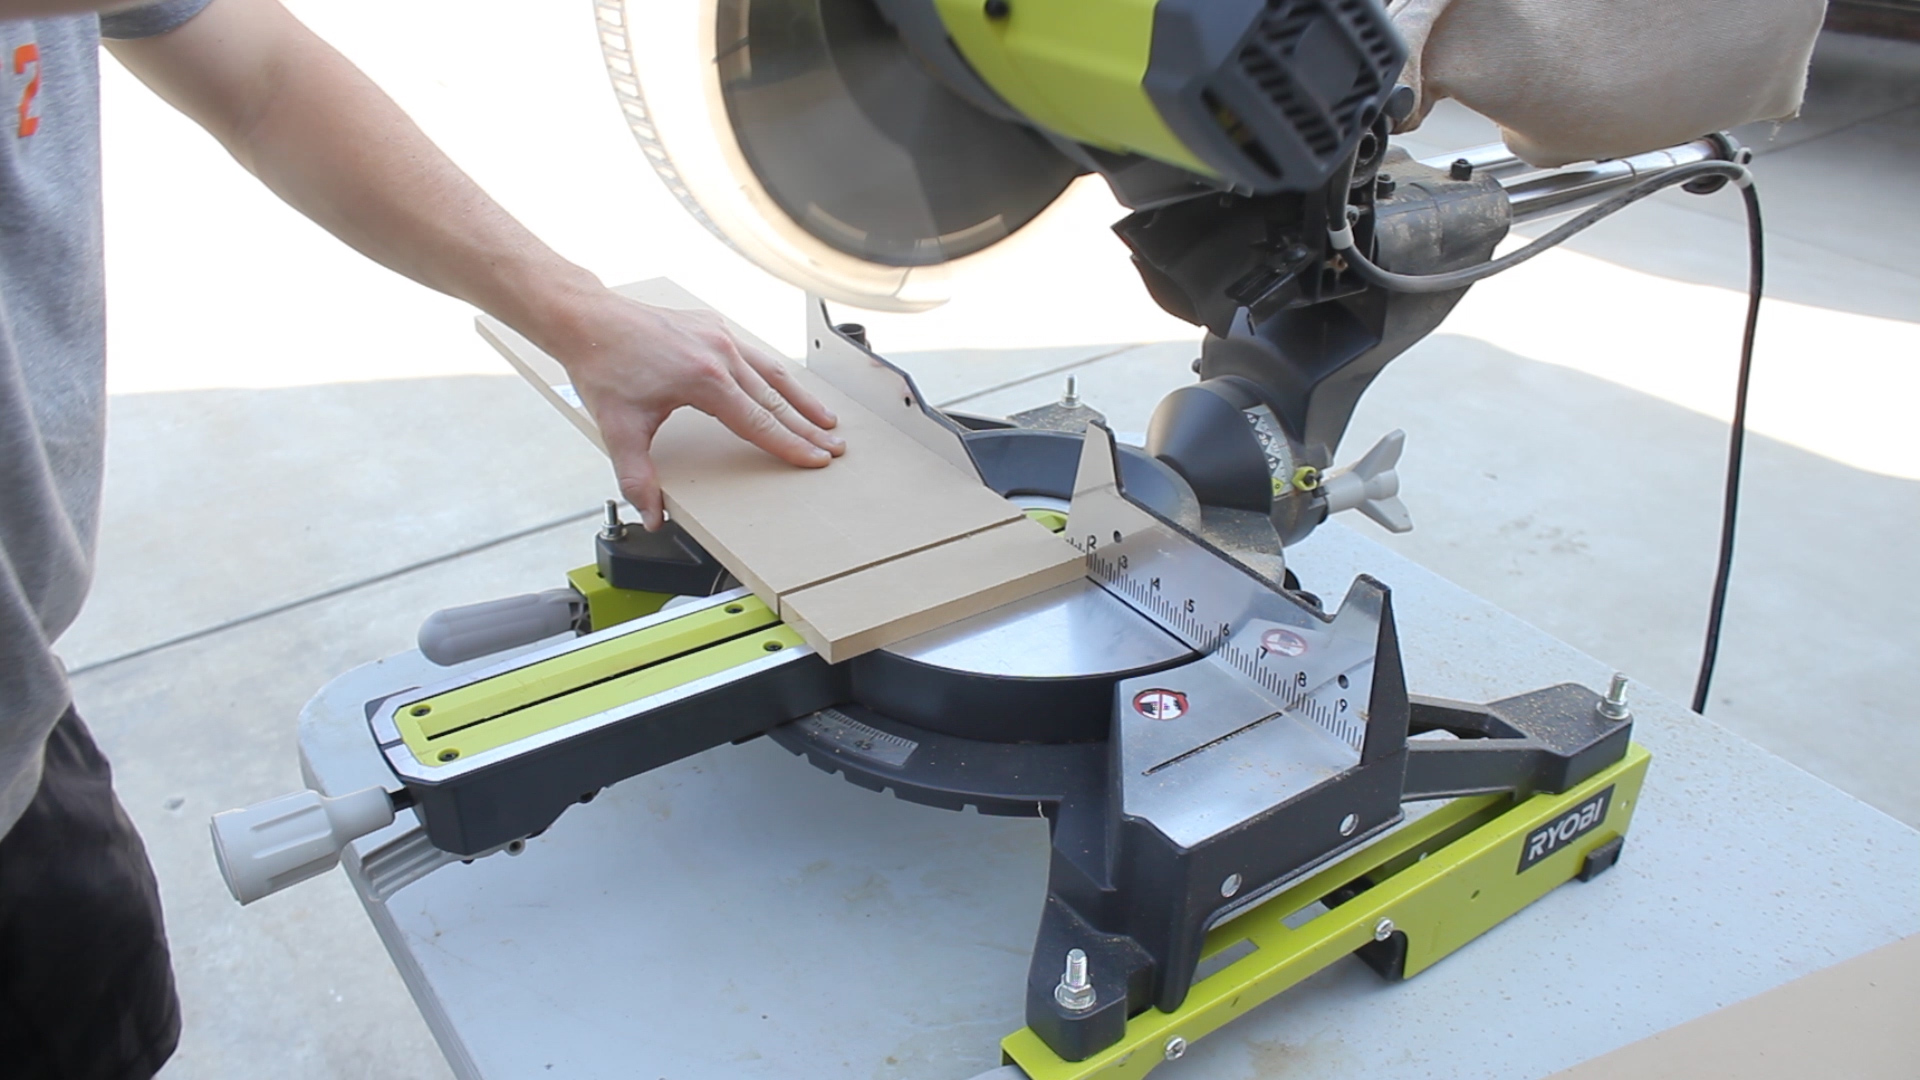
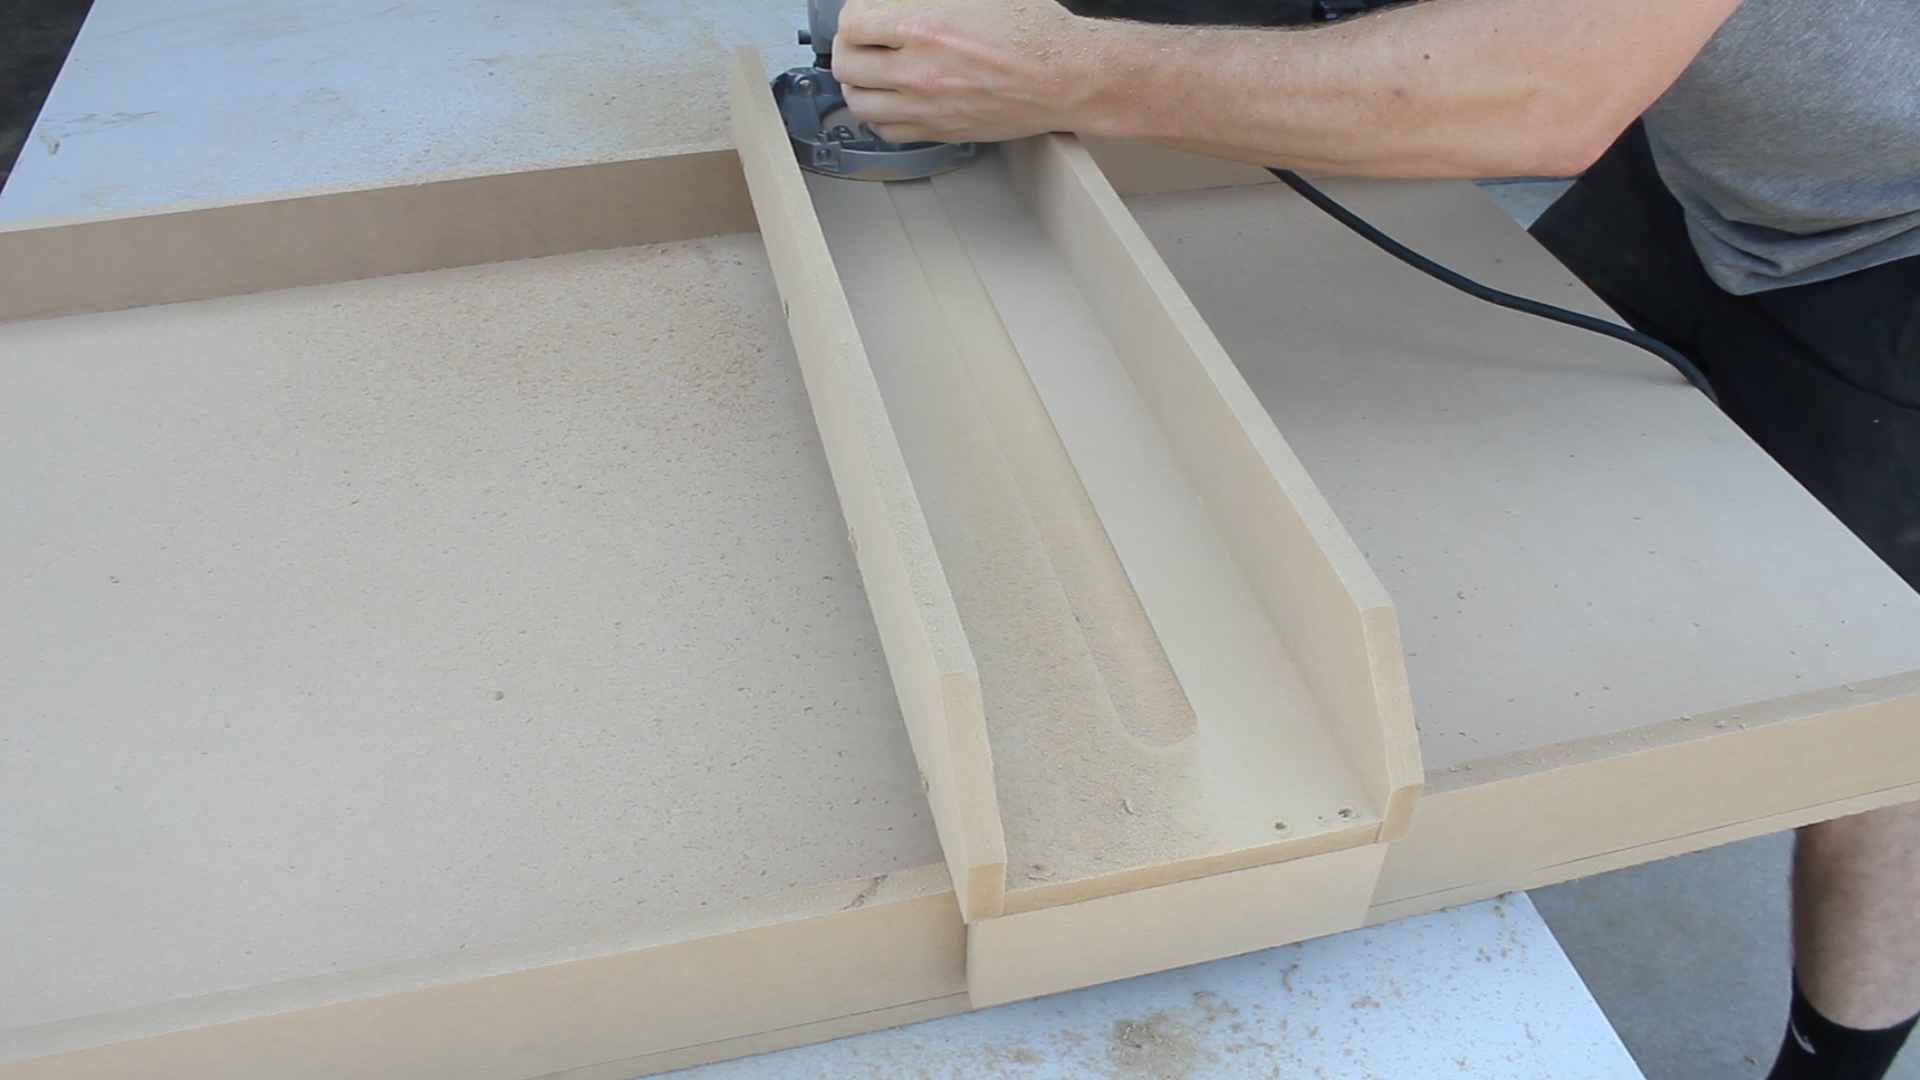
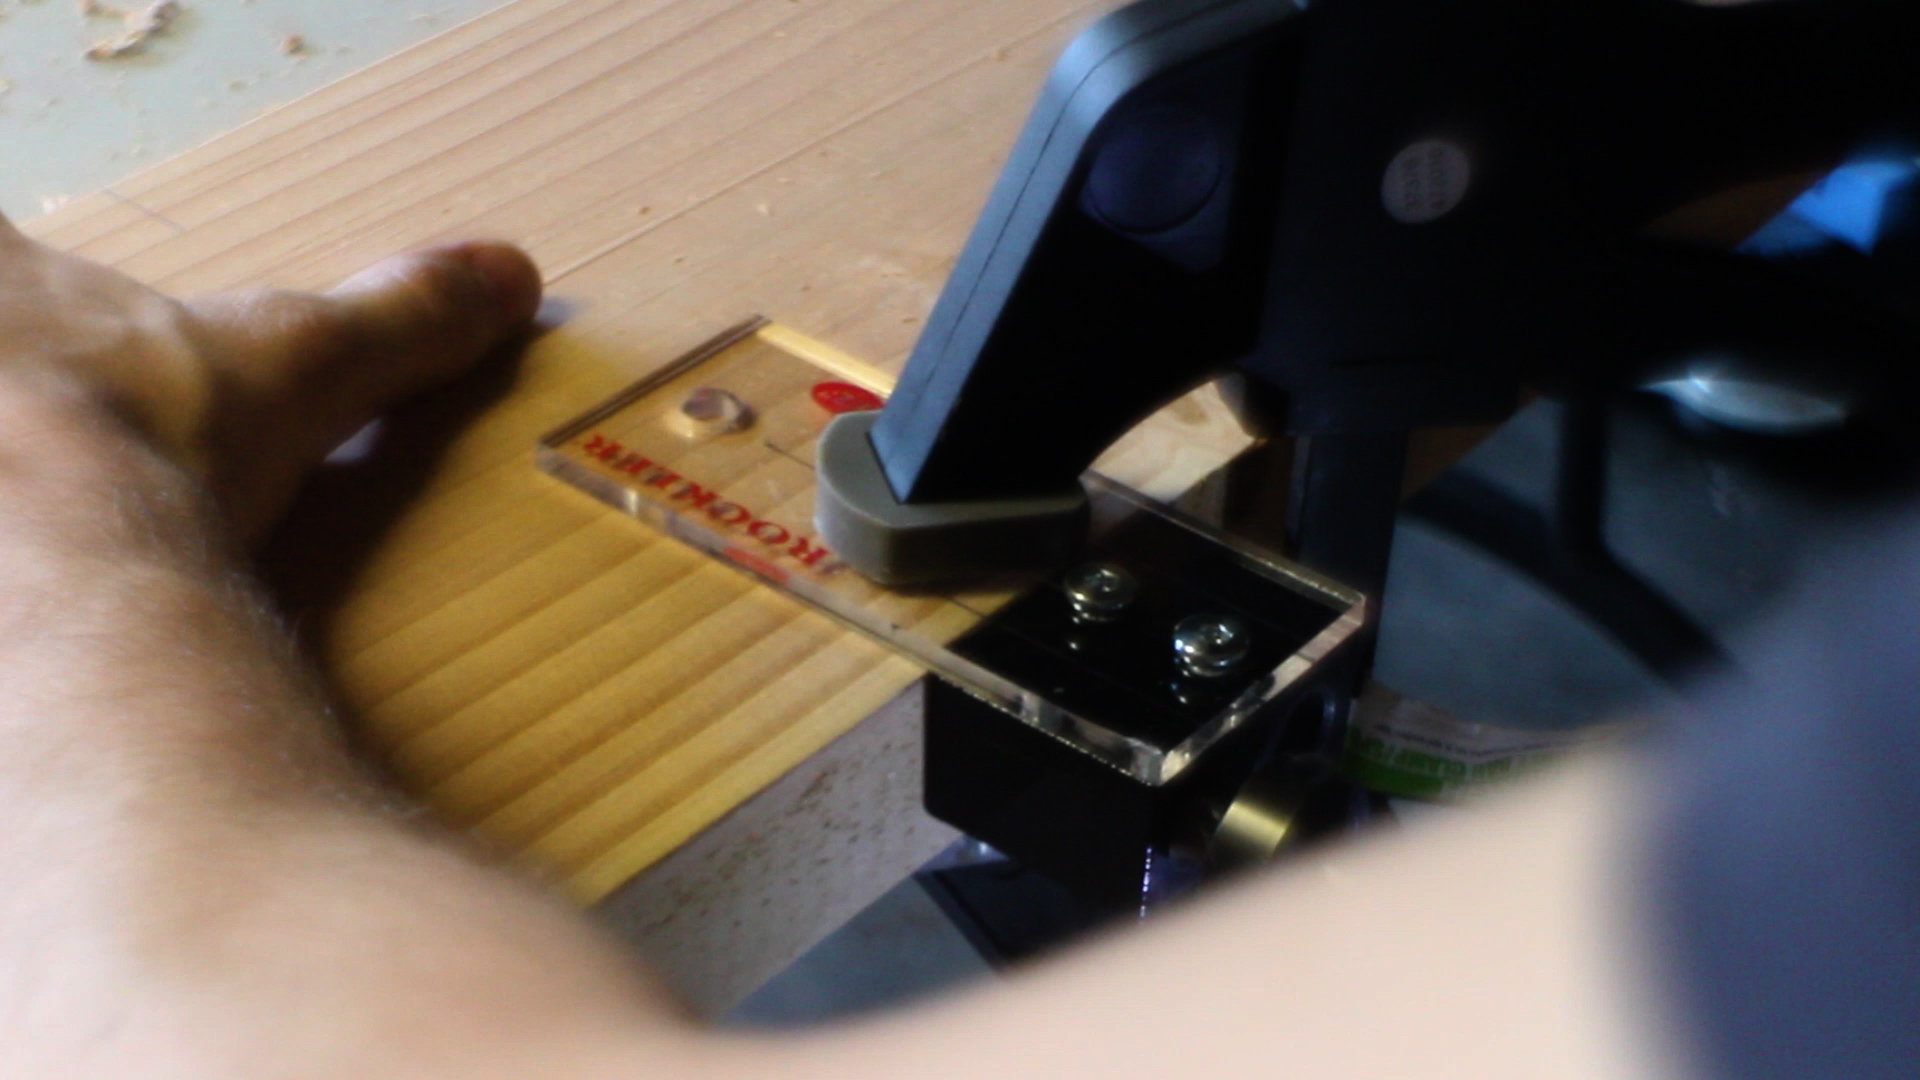
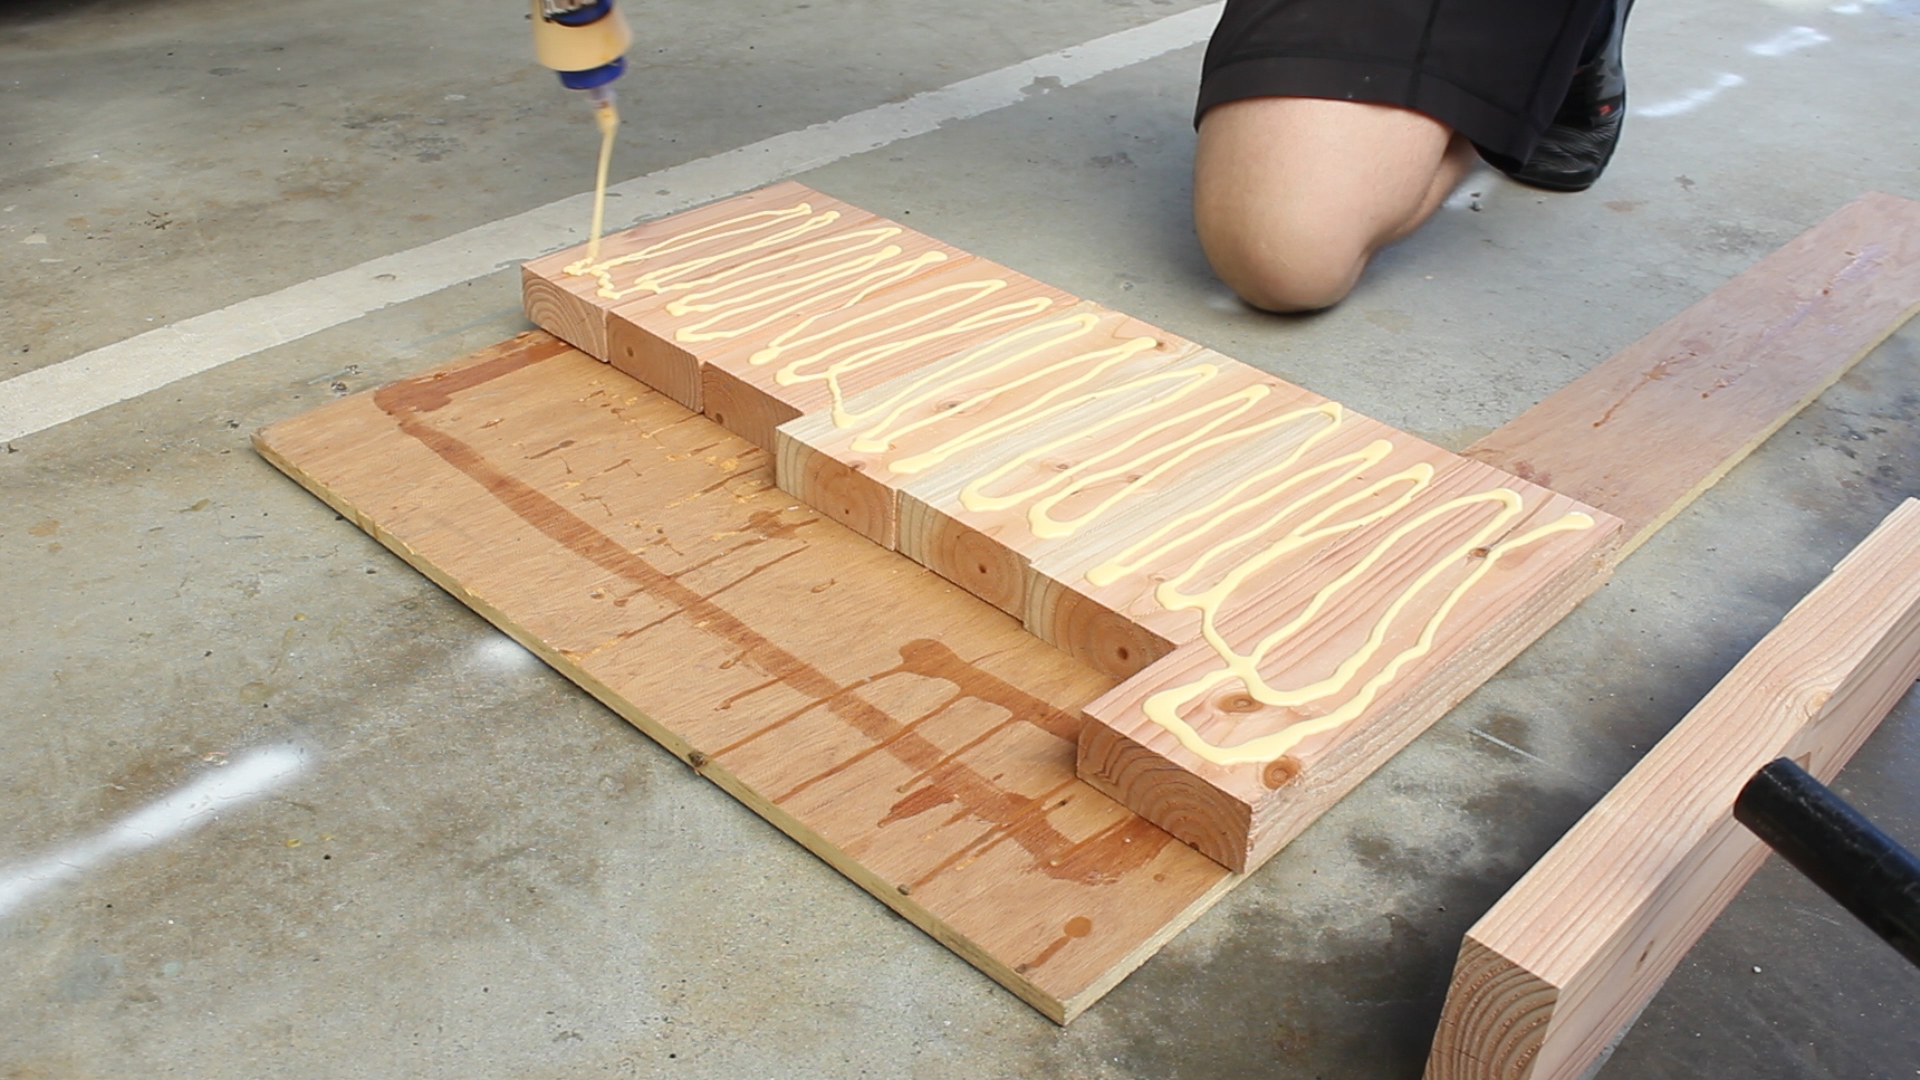
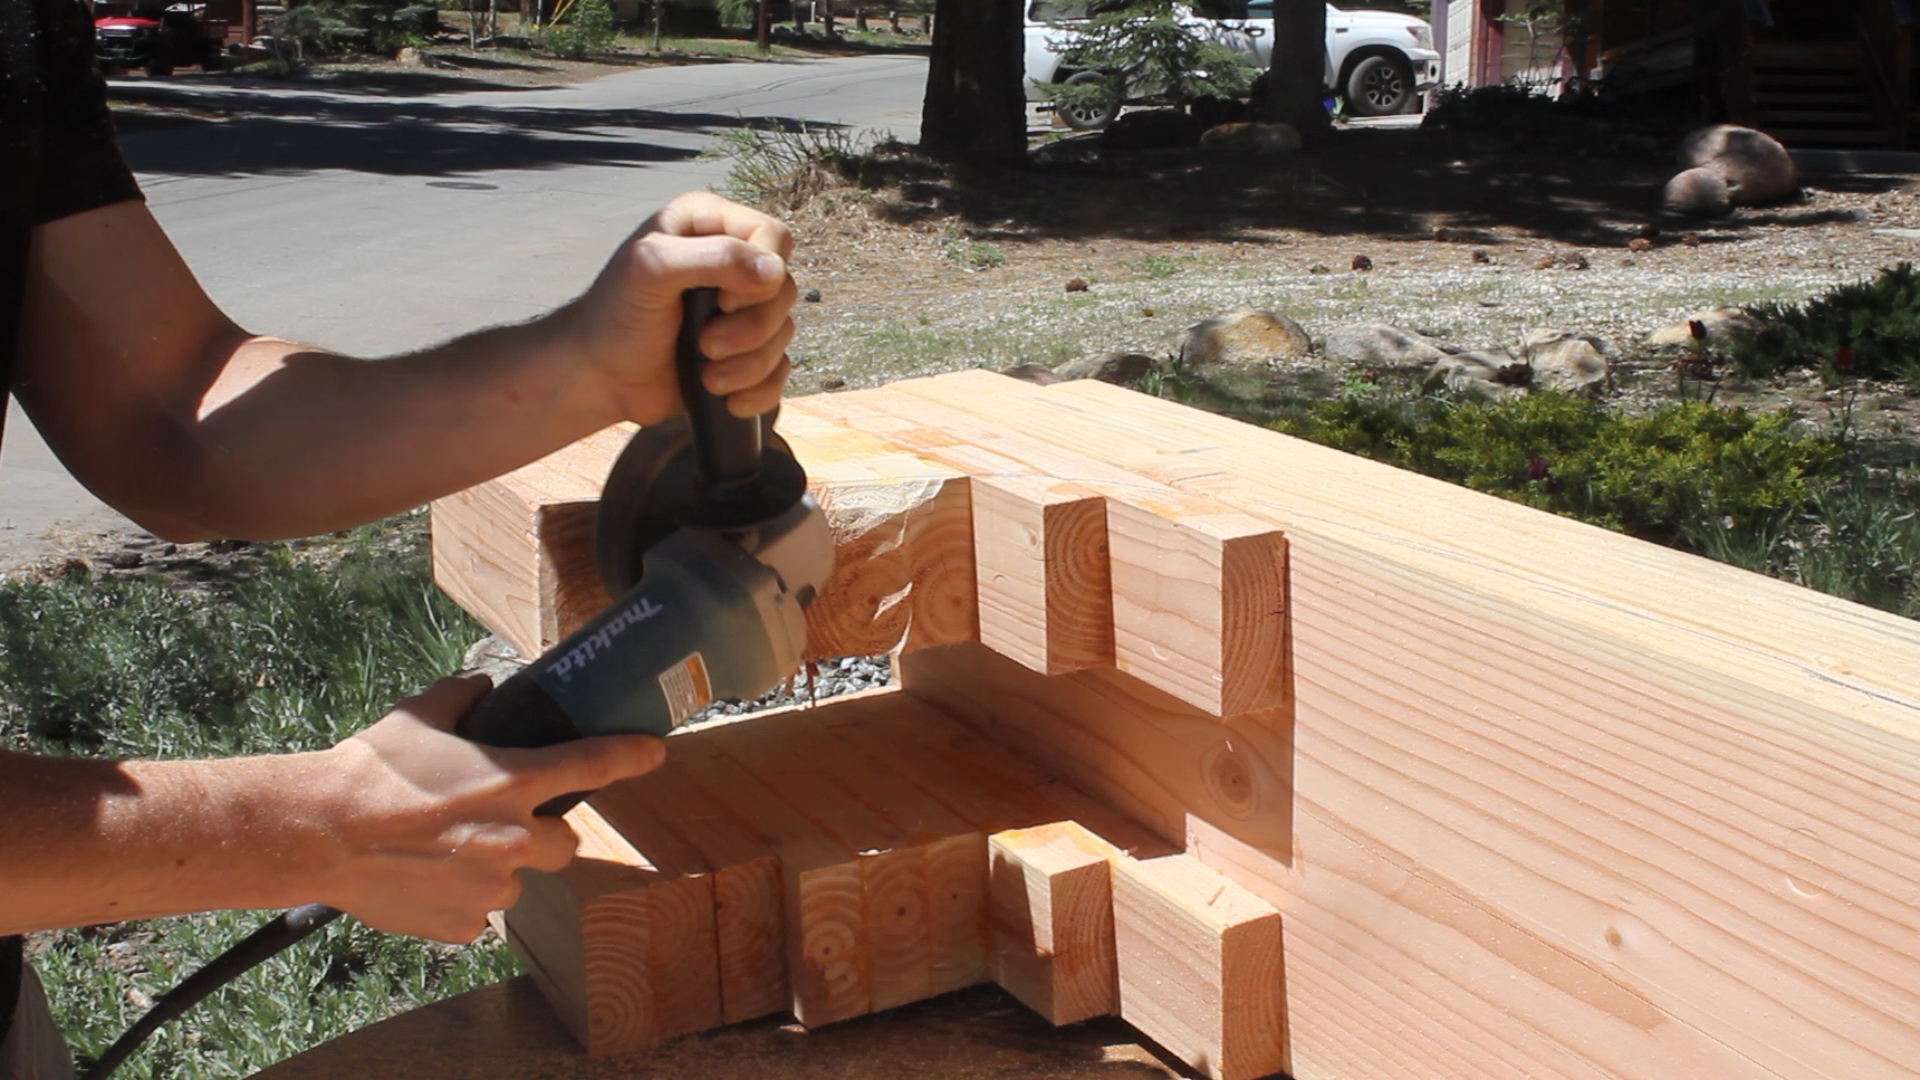
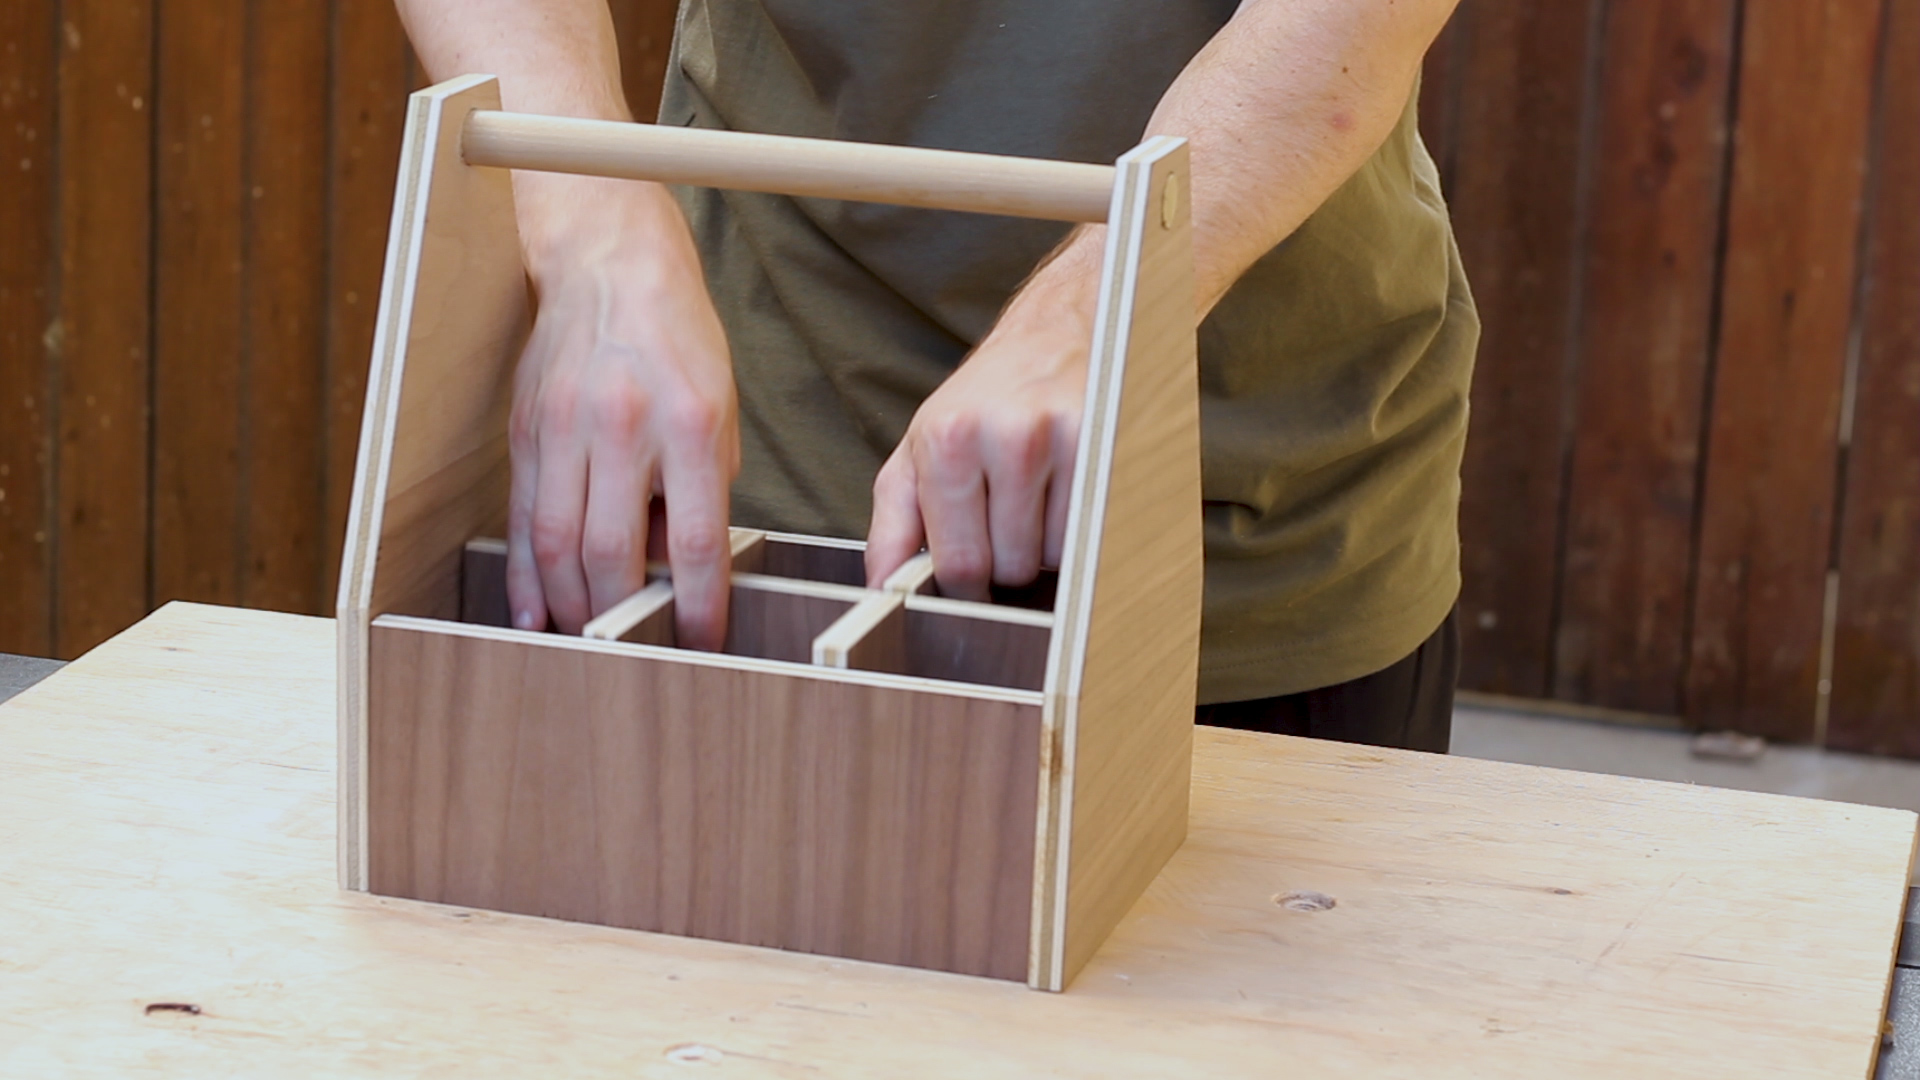
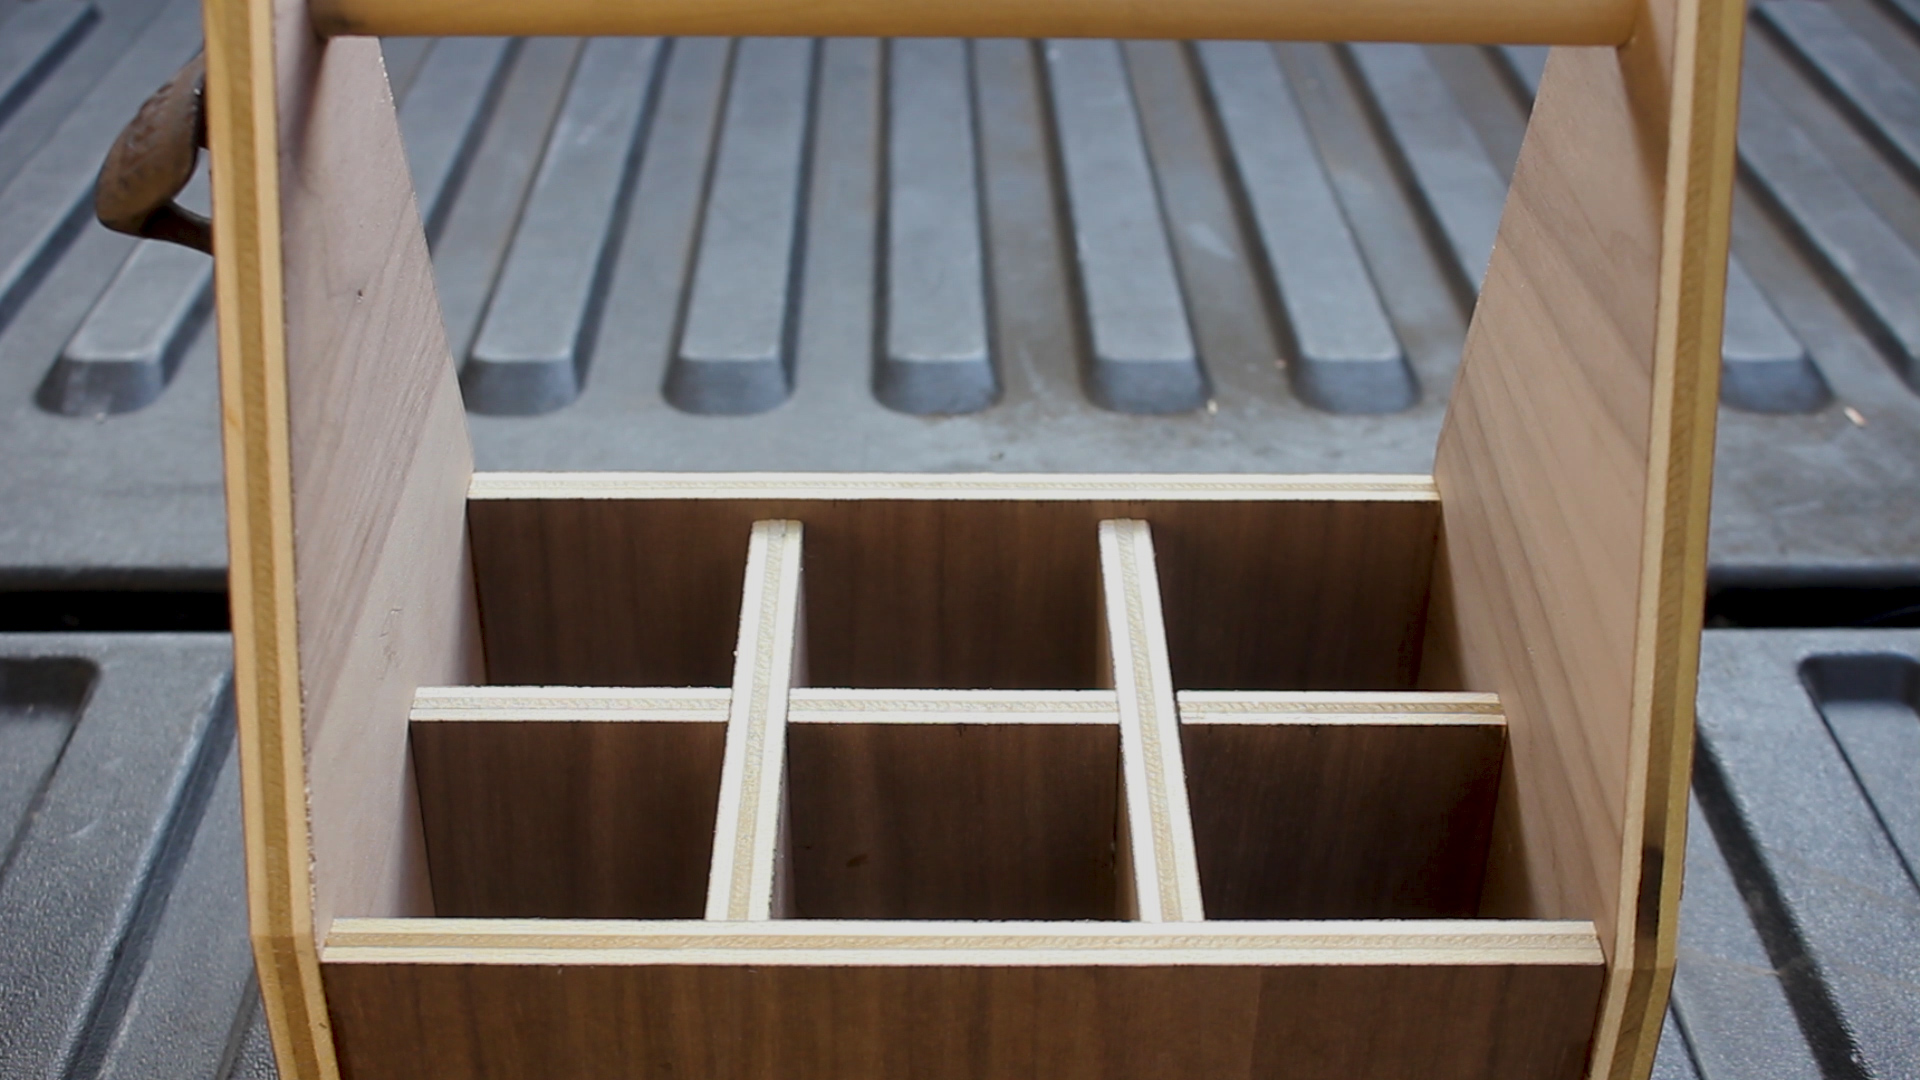
Pic 1 shows how I would take my three middle pieces and combine them to form a single piece that divided the tote into 6 quadrants. To do this, simply cut dados halfway into each piece so that they can fit together snuggly.
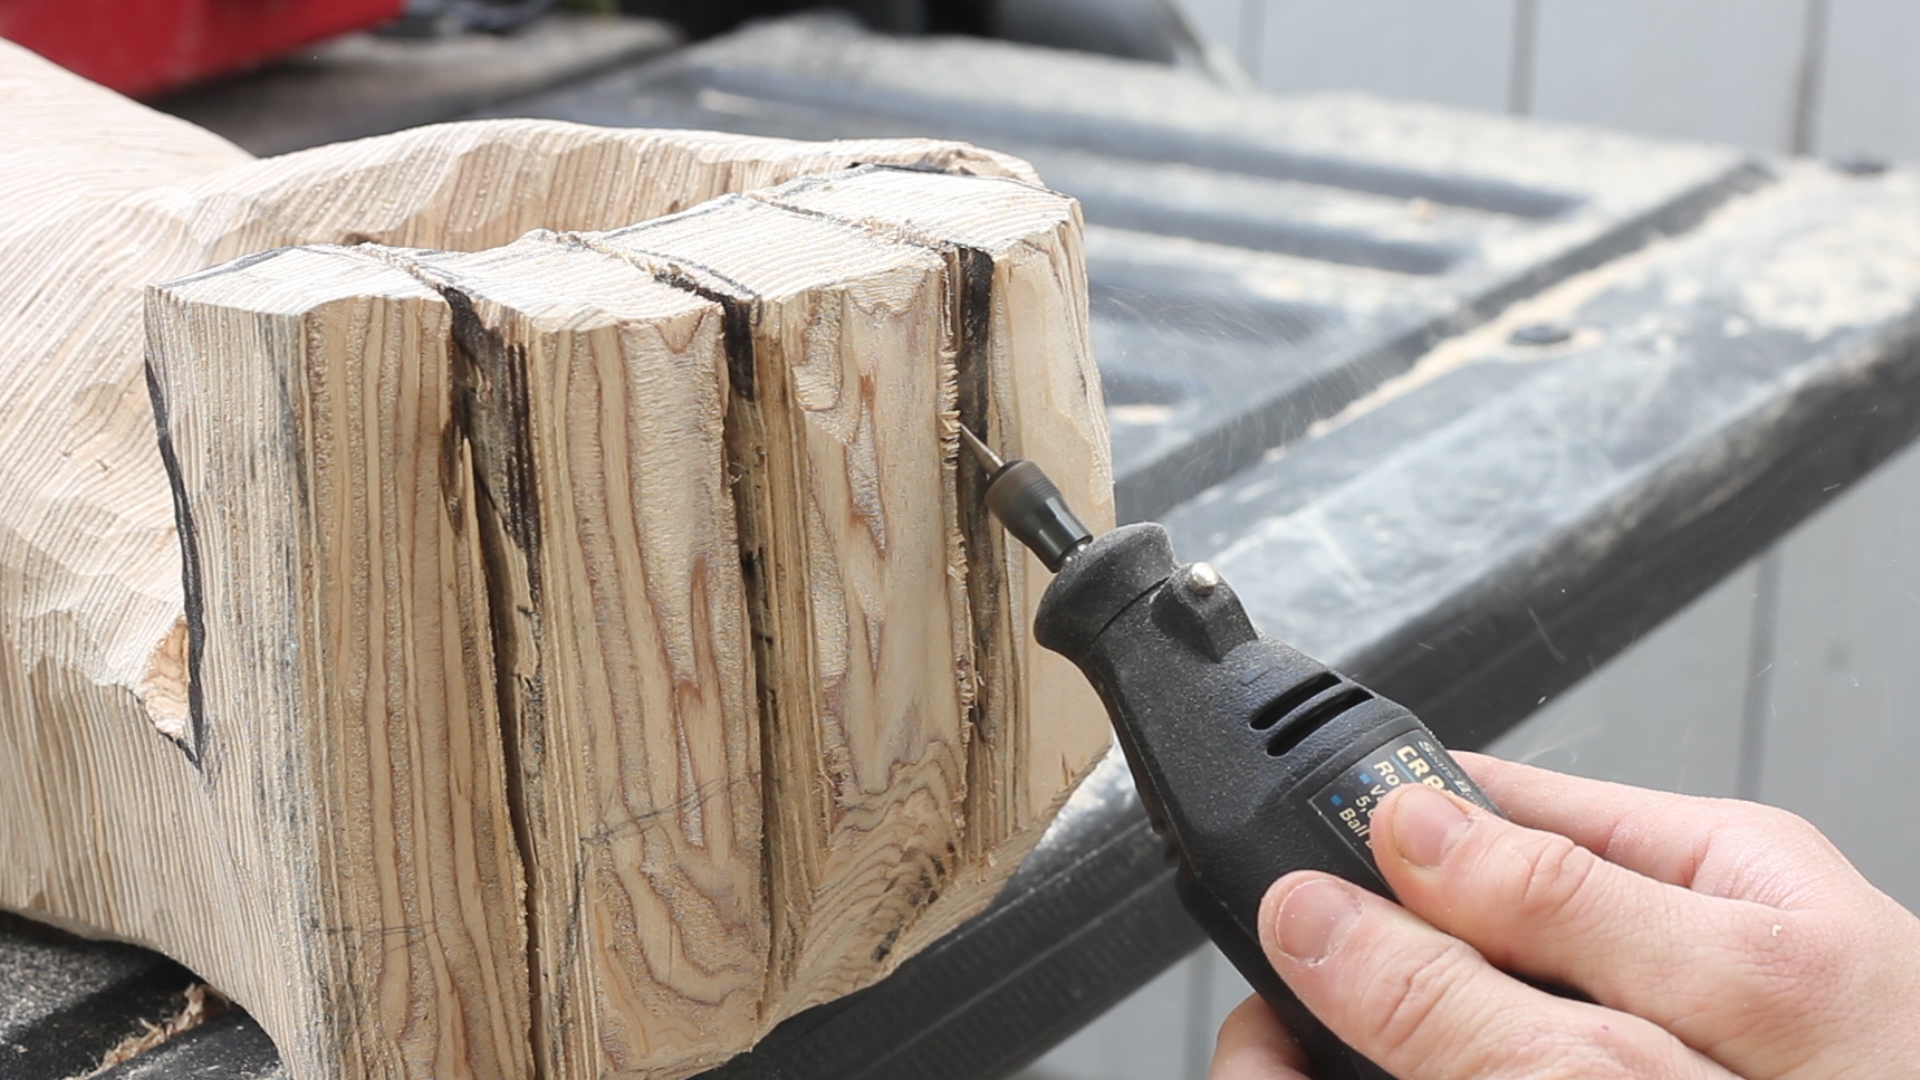
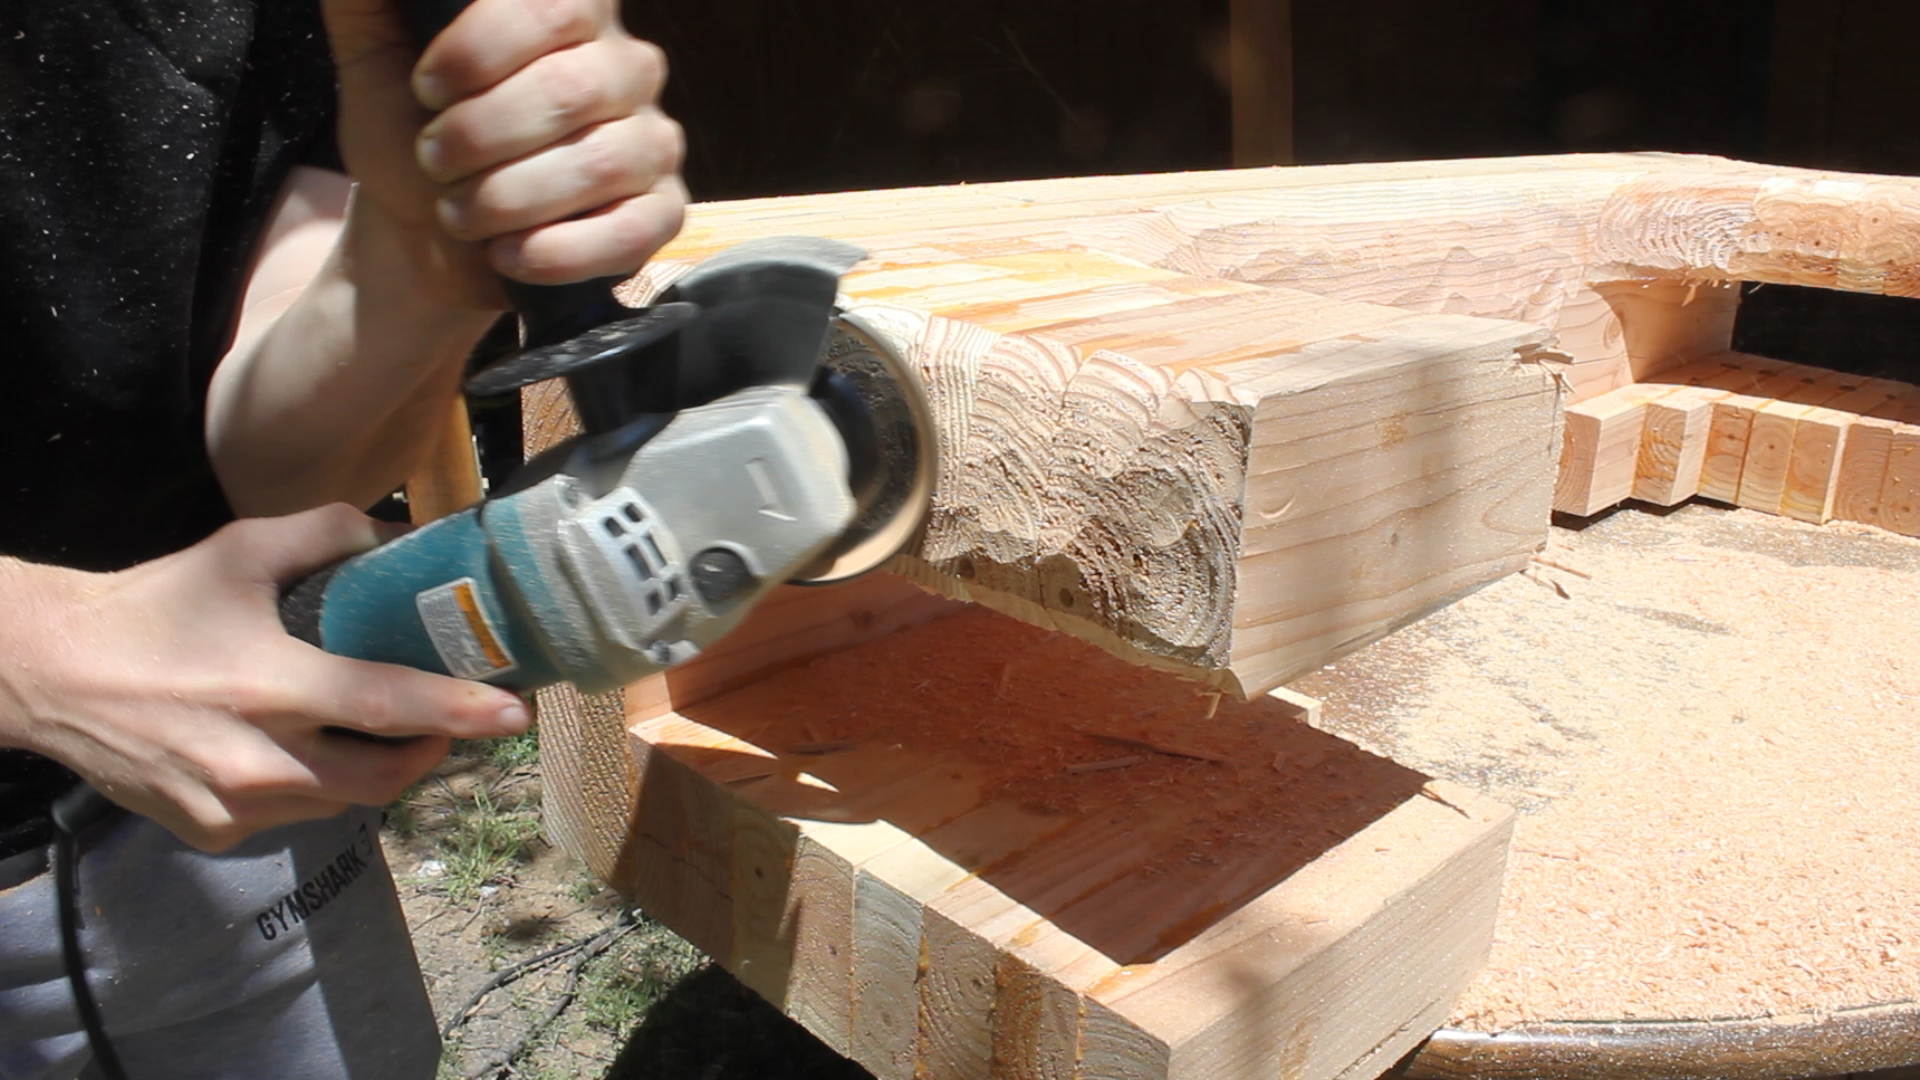
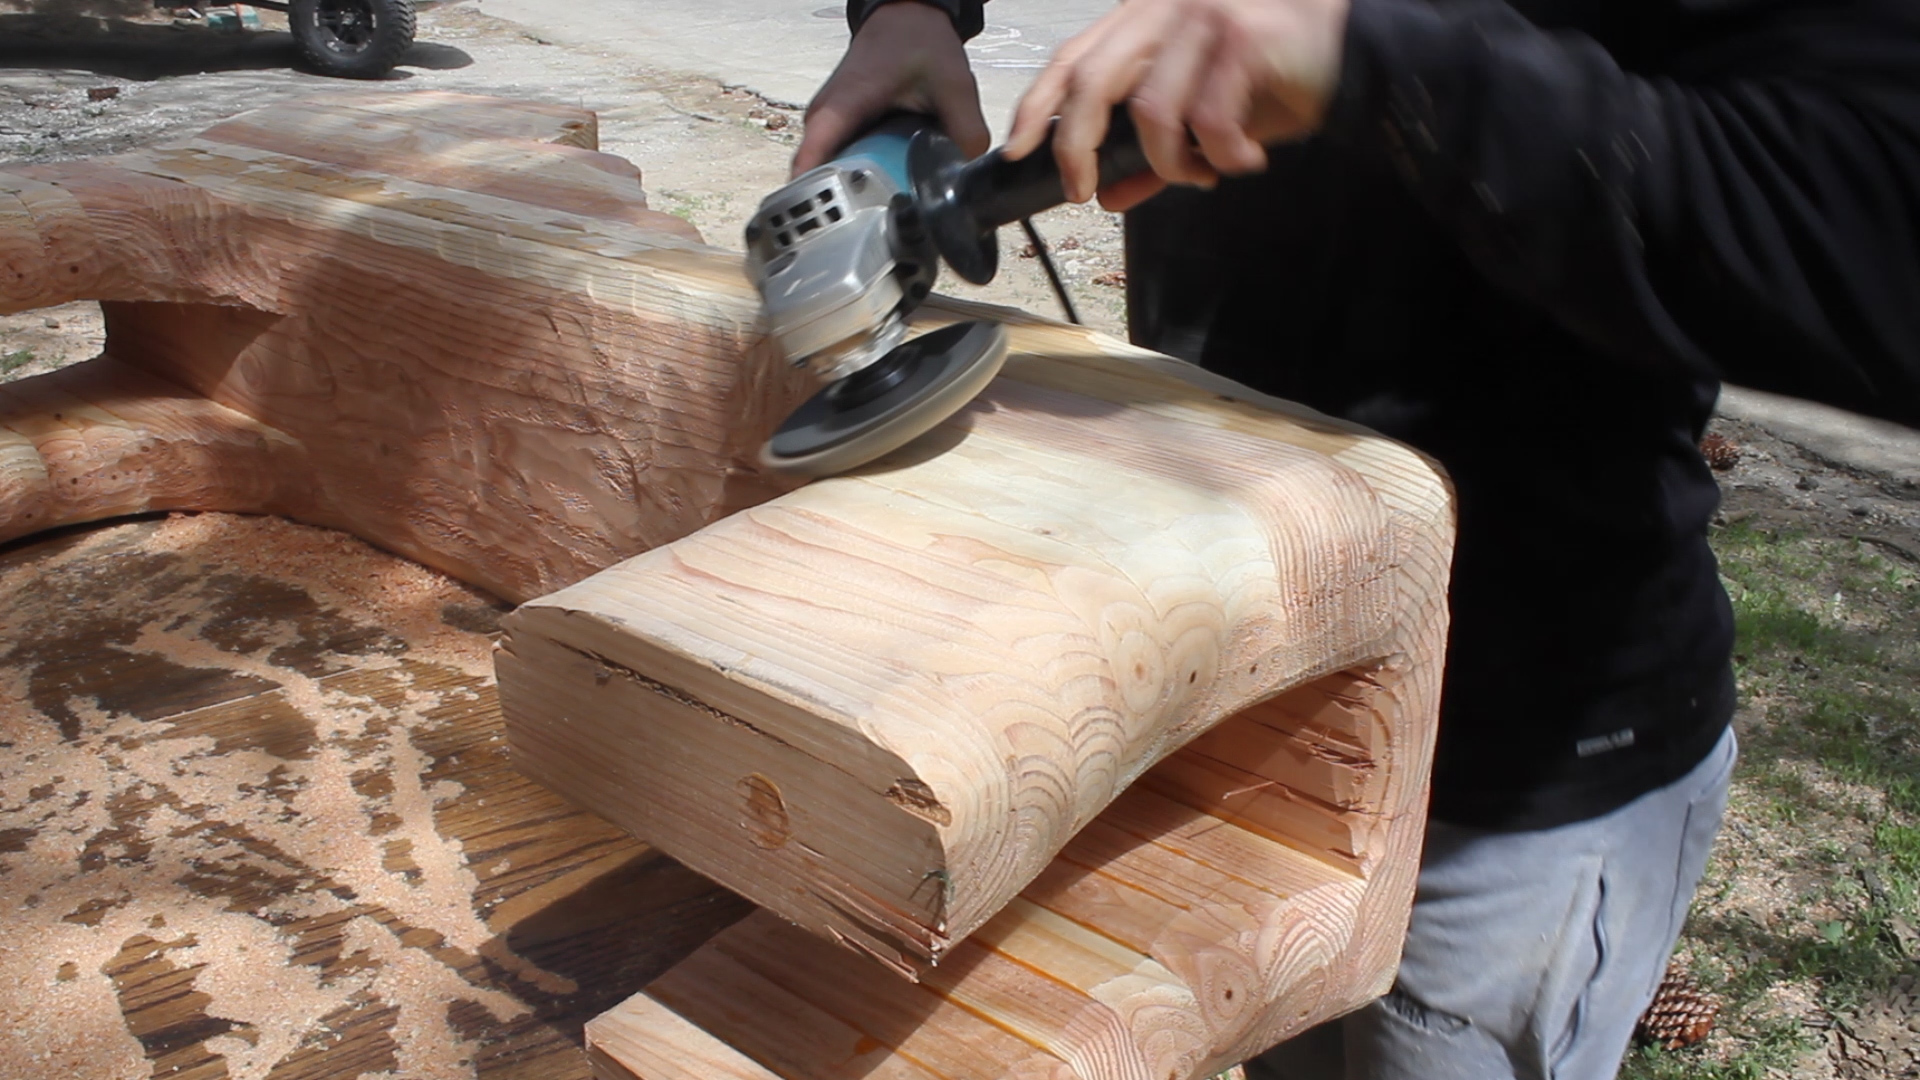
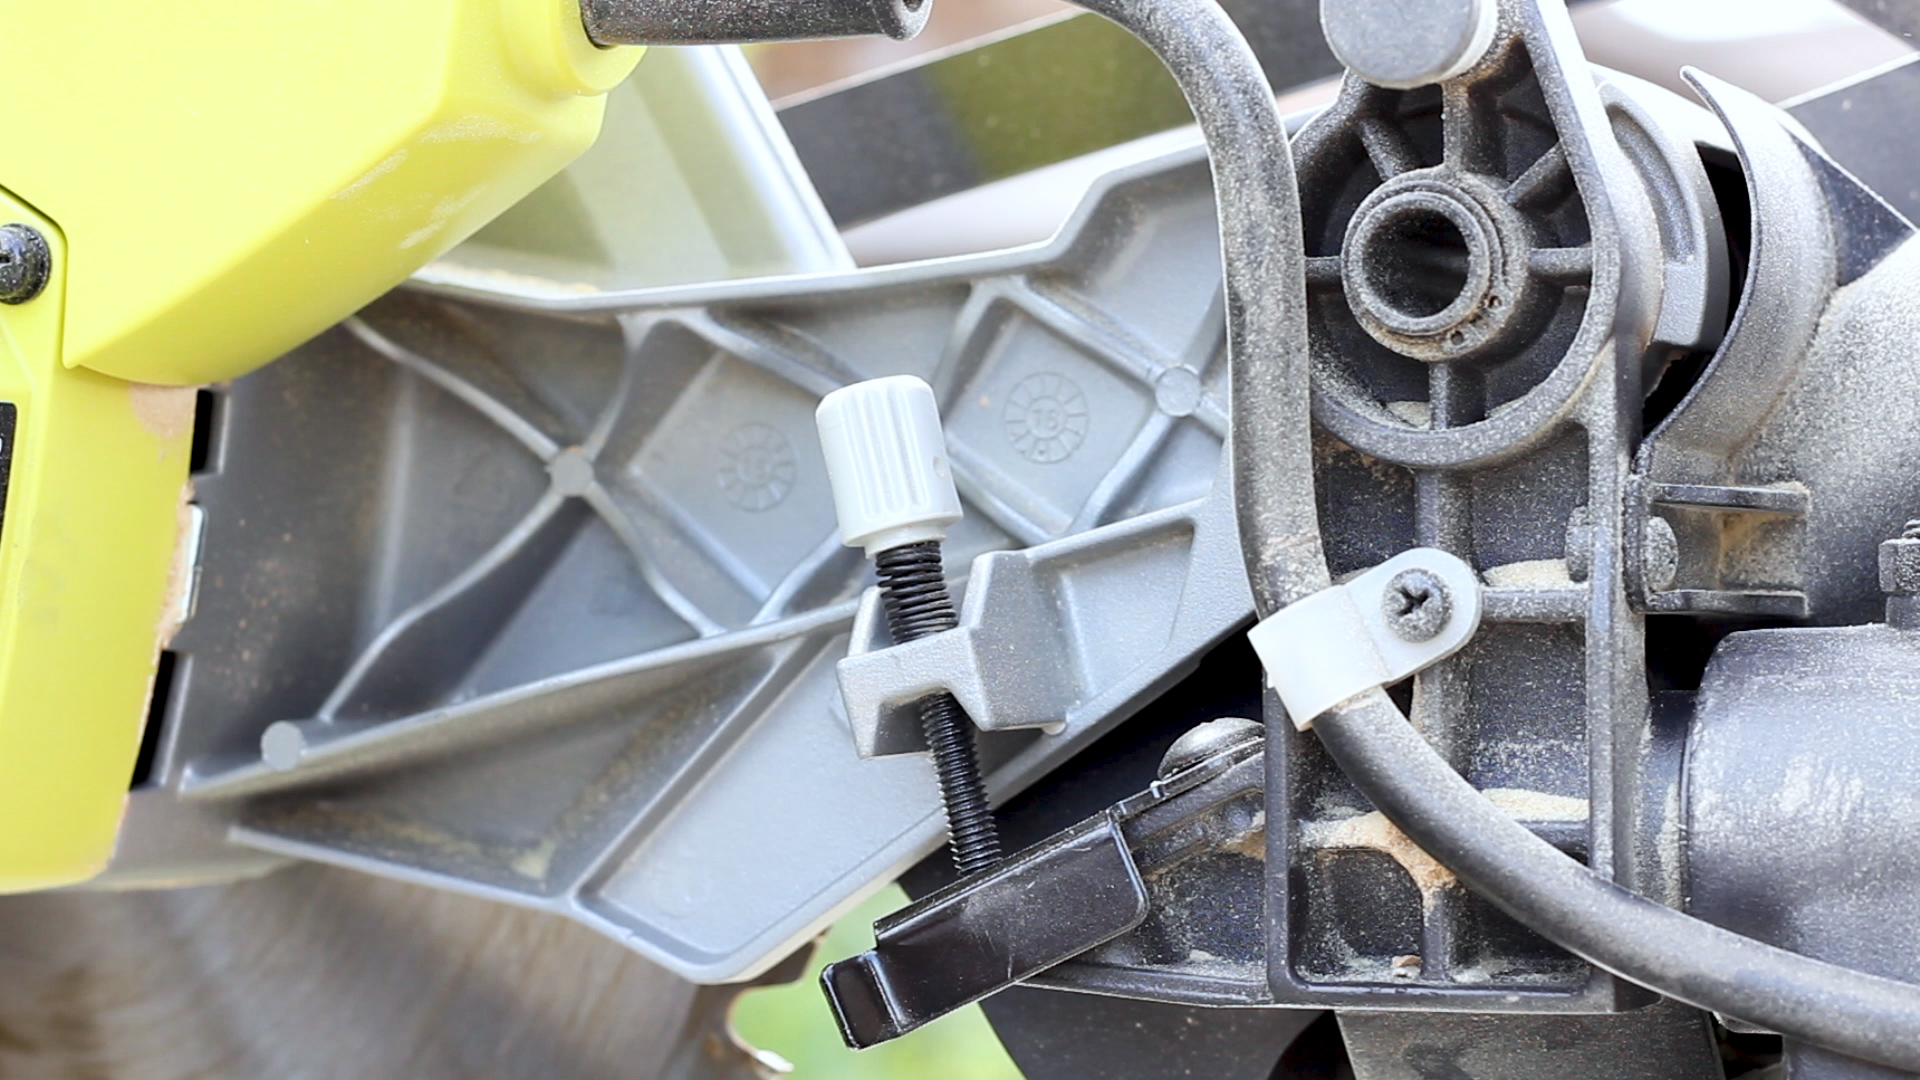
Most, if not all miter saws, have stops in place that you can set (Pics 2-3) so that you can make cuts to a certain depth. I measured out how deep I wanted to cut into my pieces, set that stop, and then packed together my pieces to make repeatable cuts until I had "hogged" out the right amount of material (about 1/2" wide to match the plywood thickness) in Pics 4-5. You can also do this with a band saw if you have one or a jigsaw (which might be messier).
One thing to note is that when you do cuts that don't go all of the way through, you'll want set up a throw away piece in the back (You can see it in Pic 5) so that you can push your saw blade all of the way through and get an even cut. Hard to explain, but makes sense if you try it.
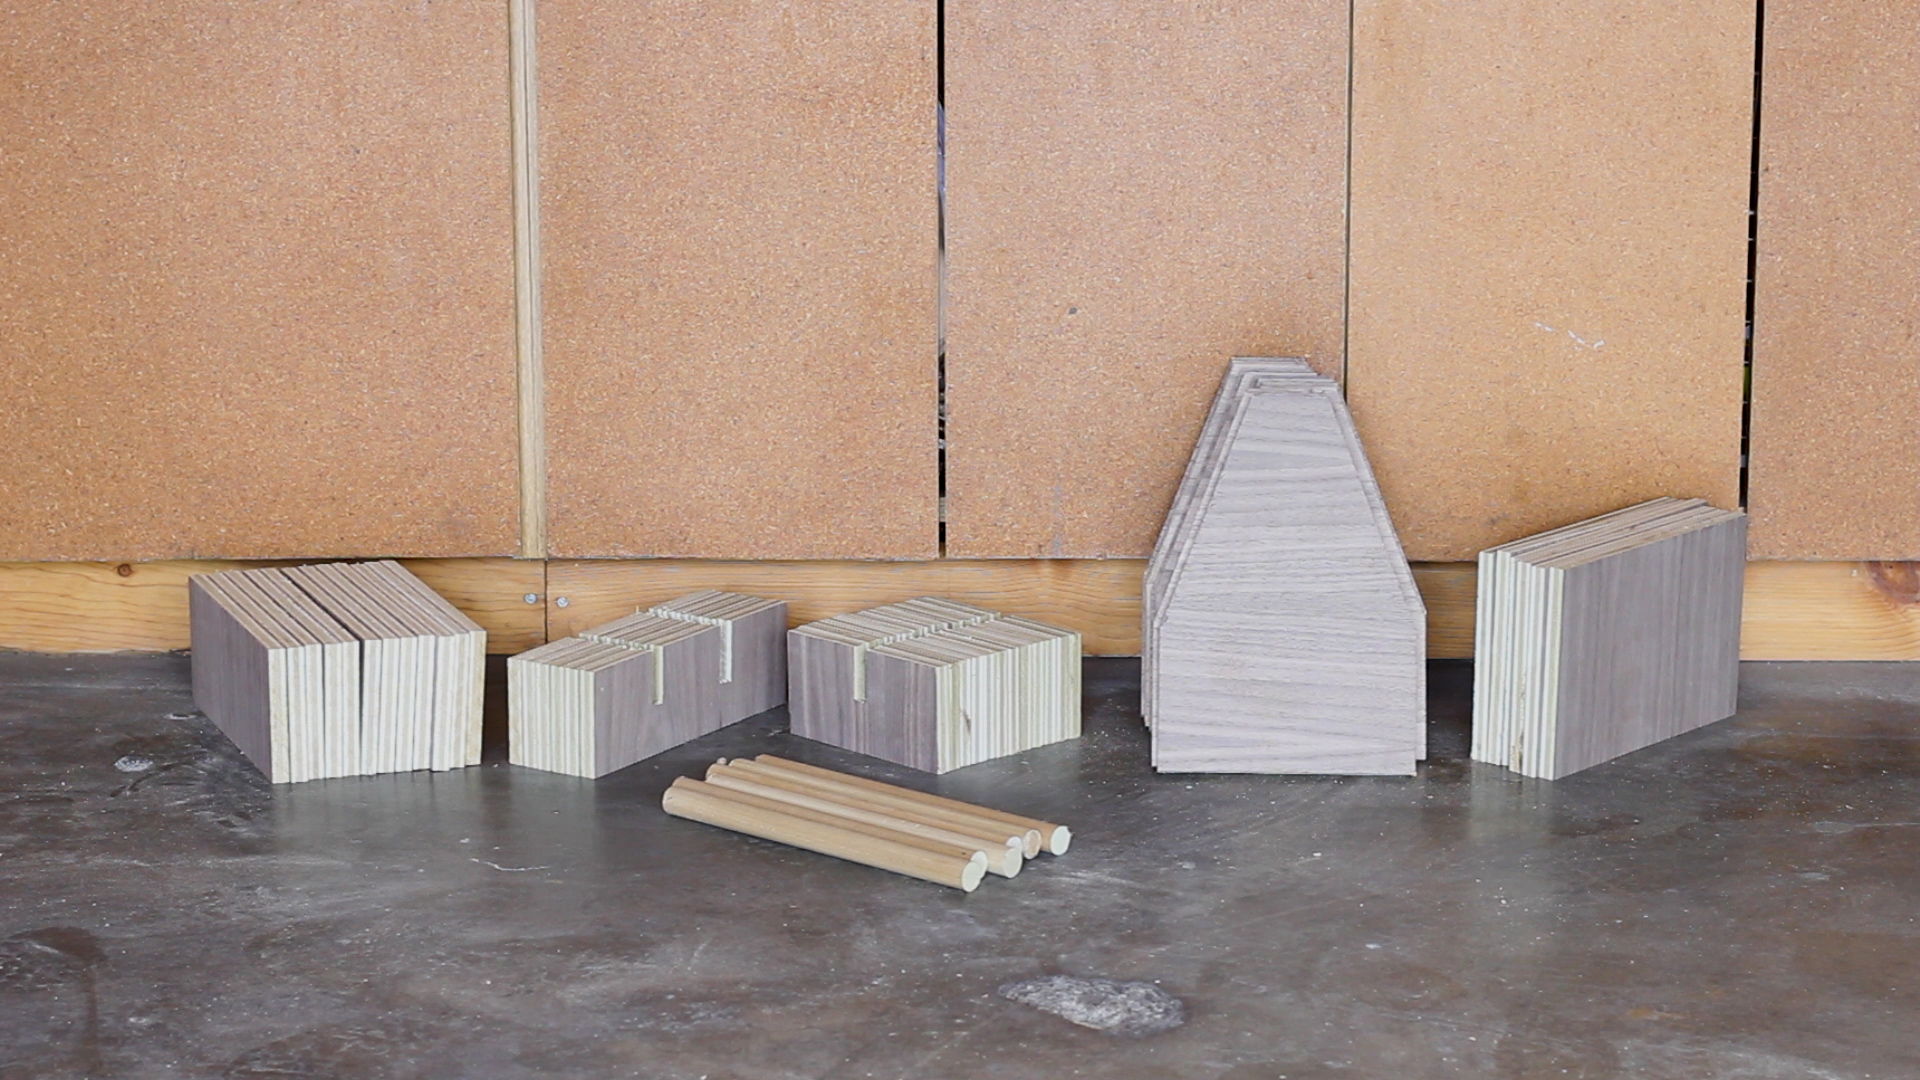
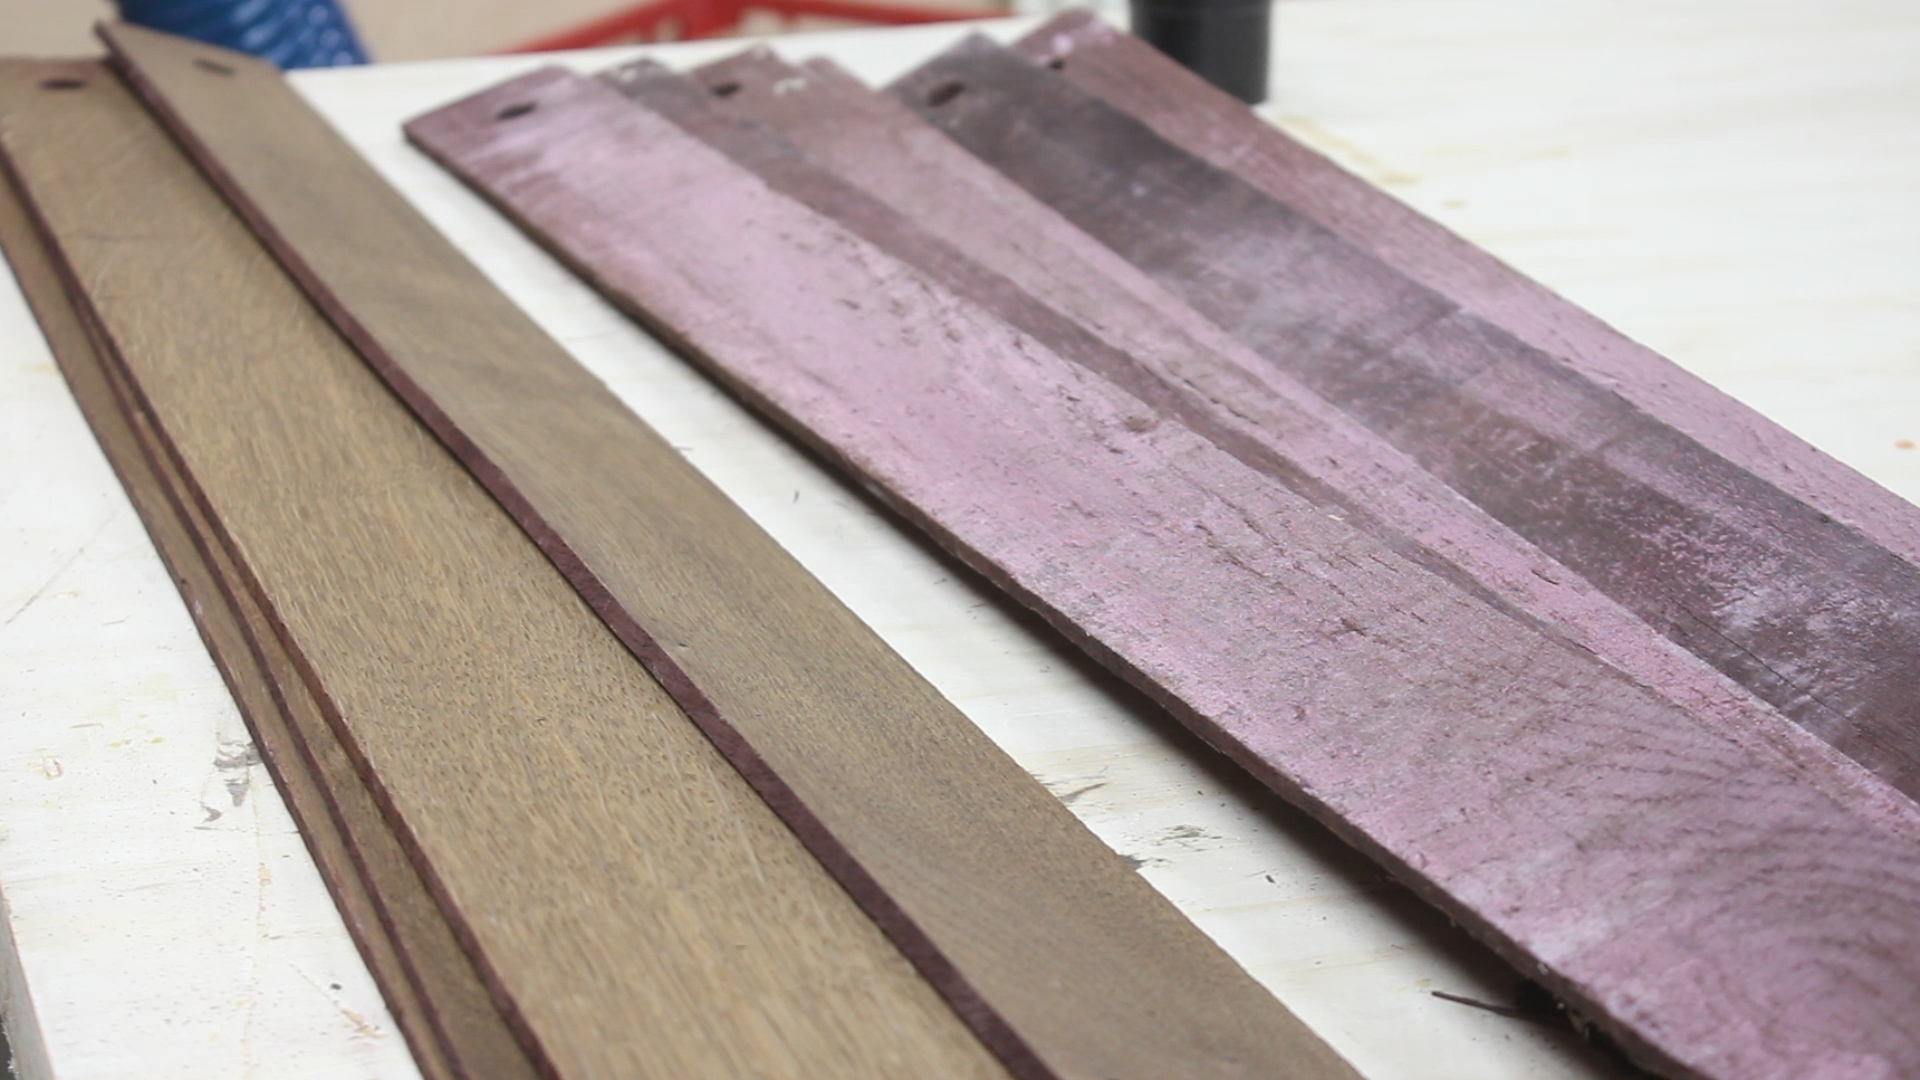
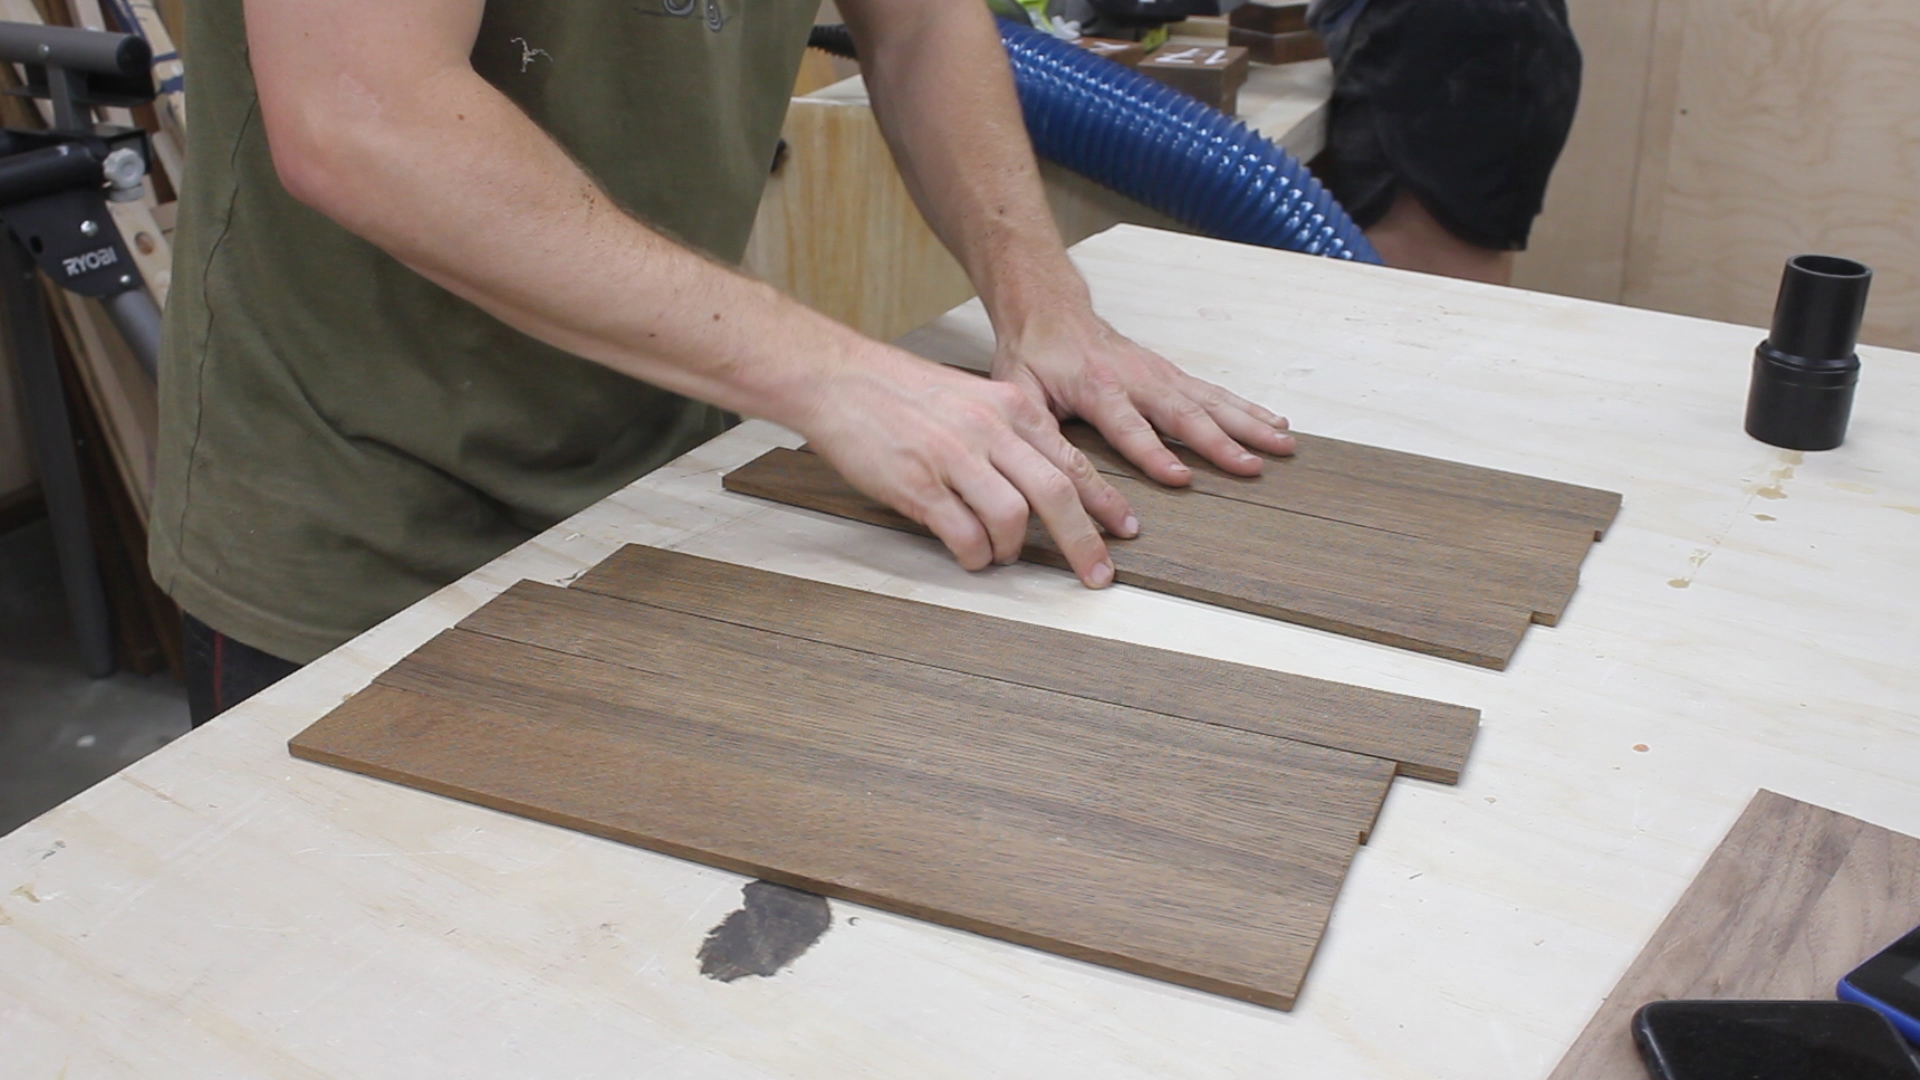
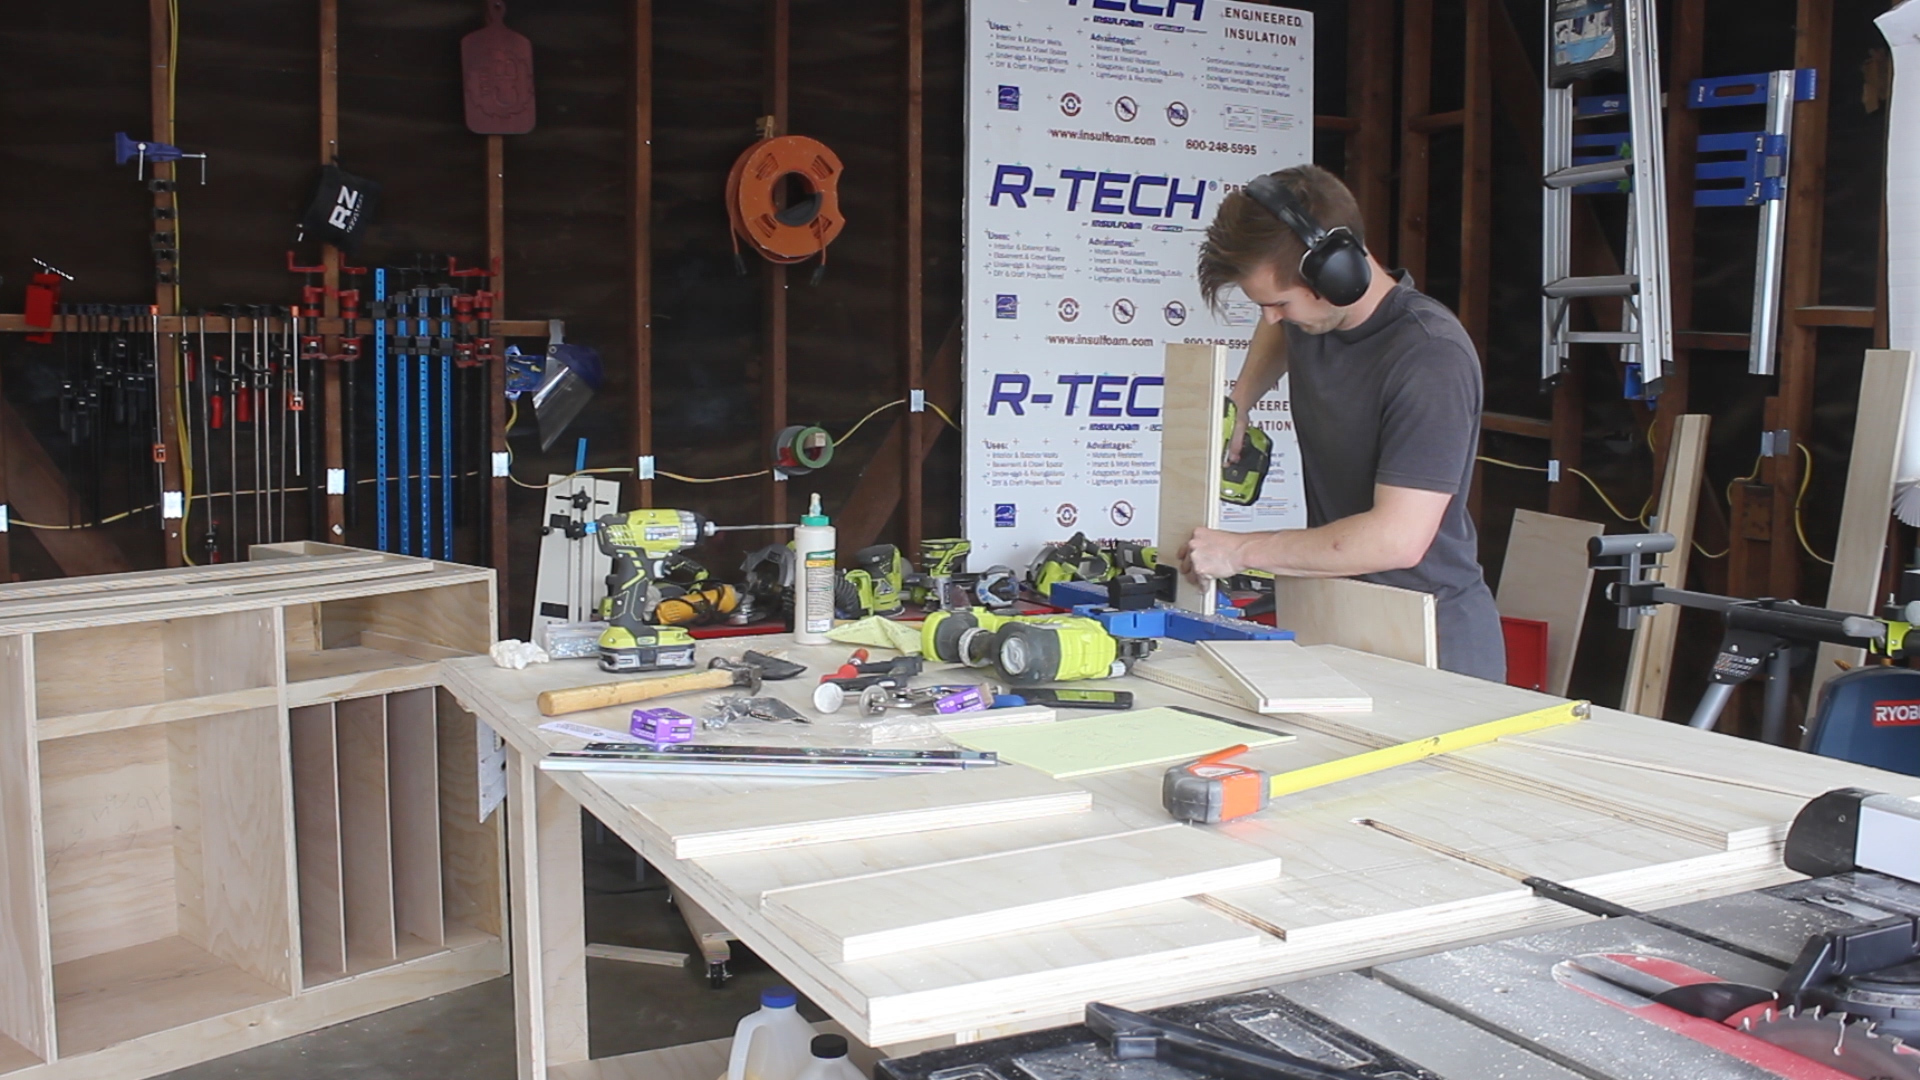
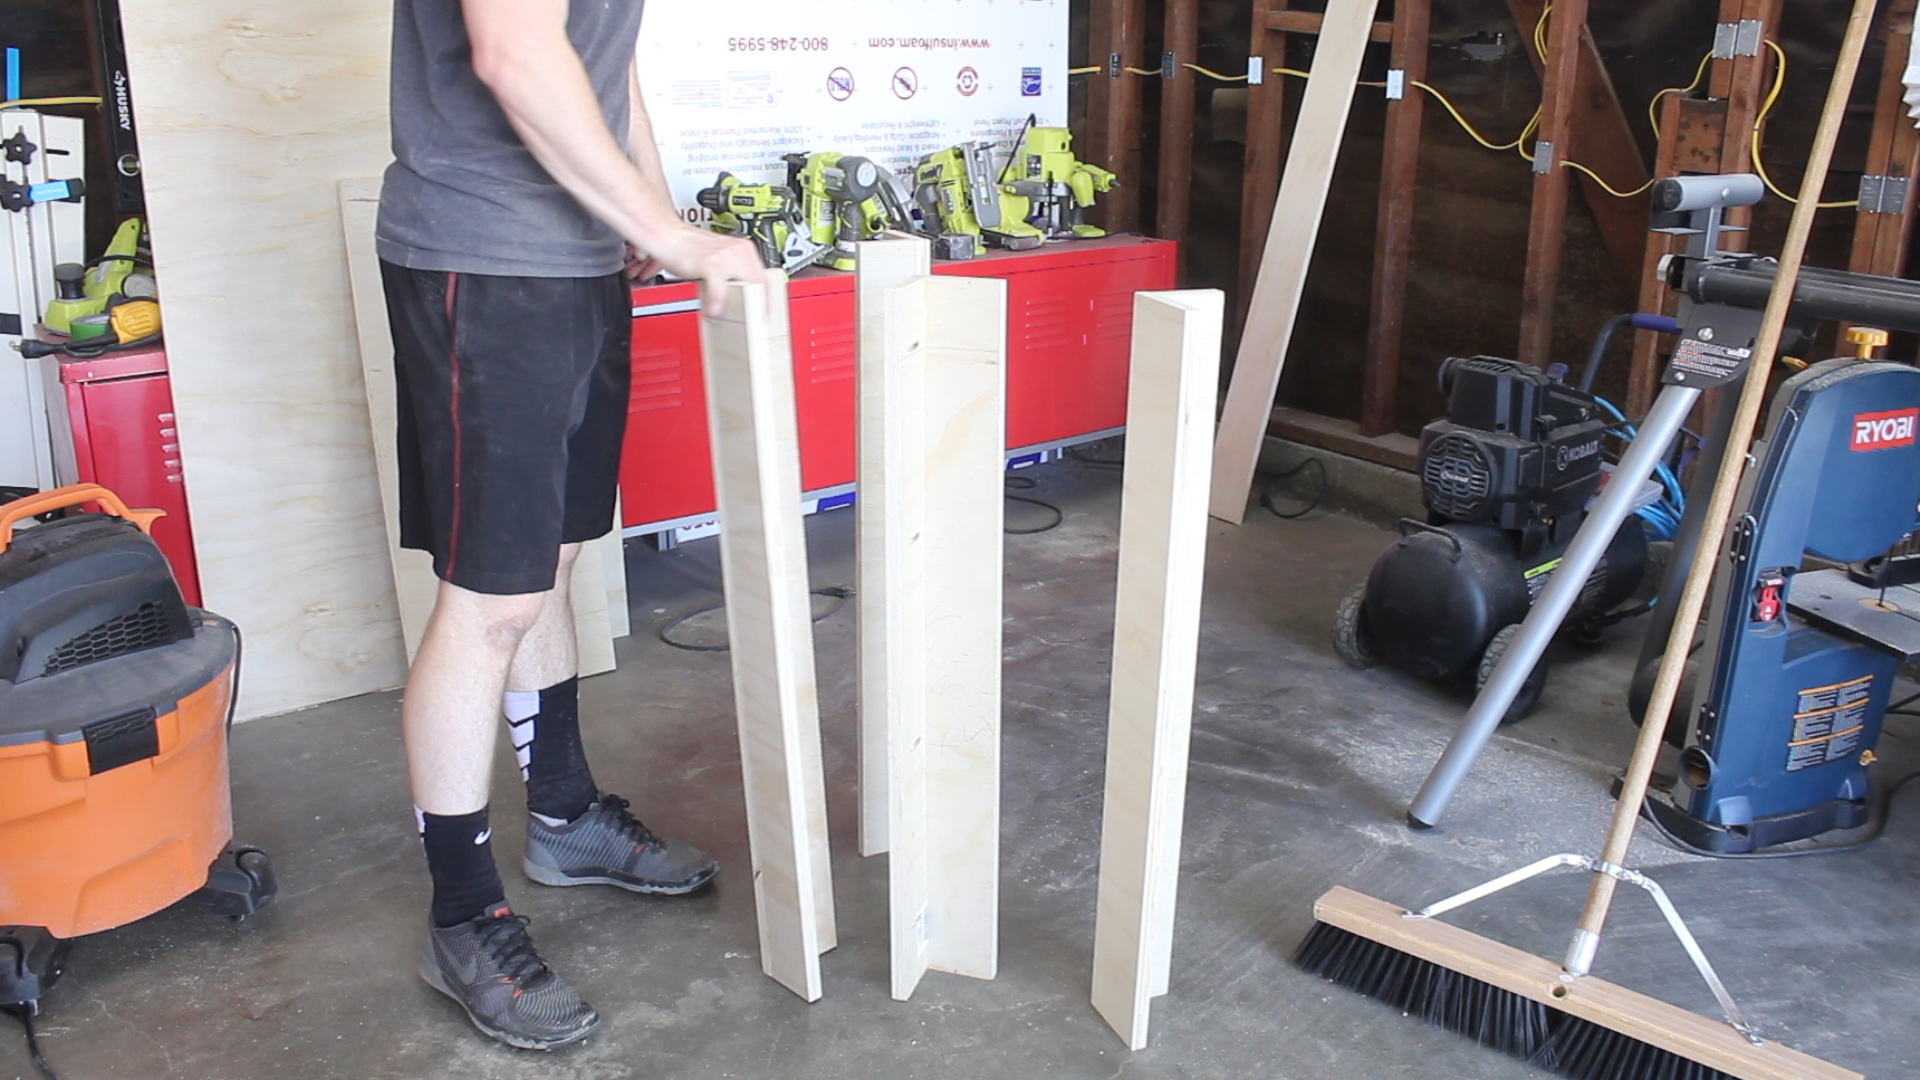
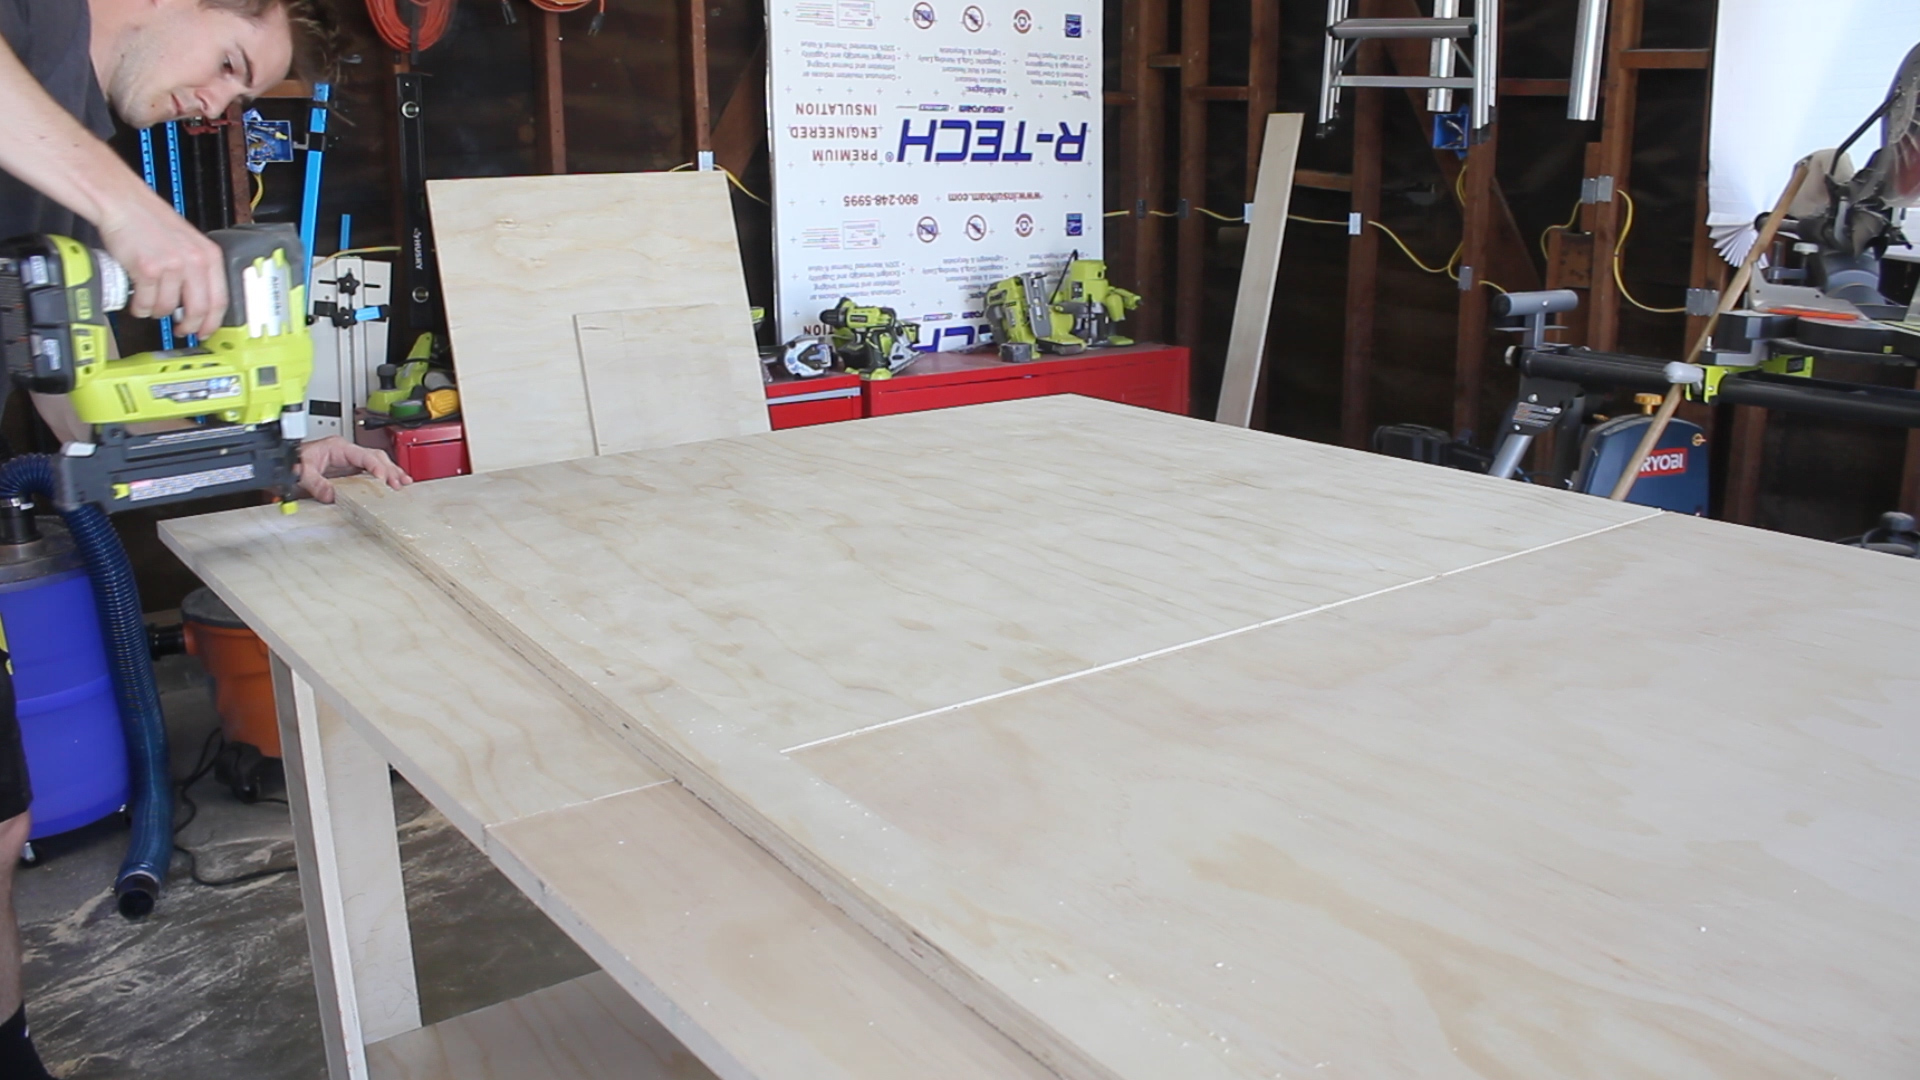
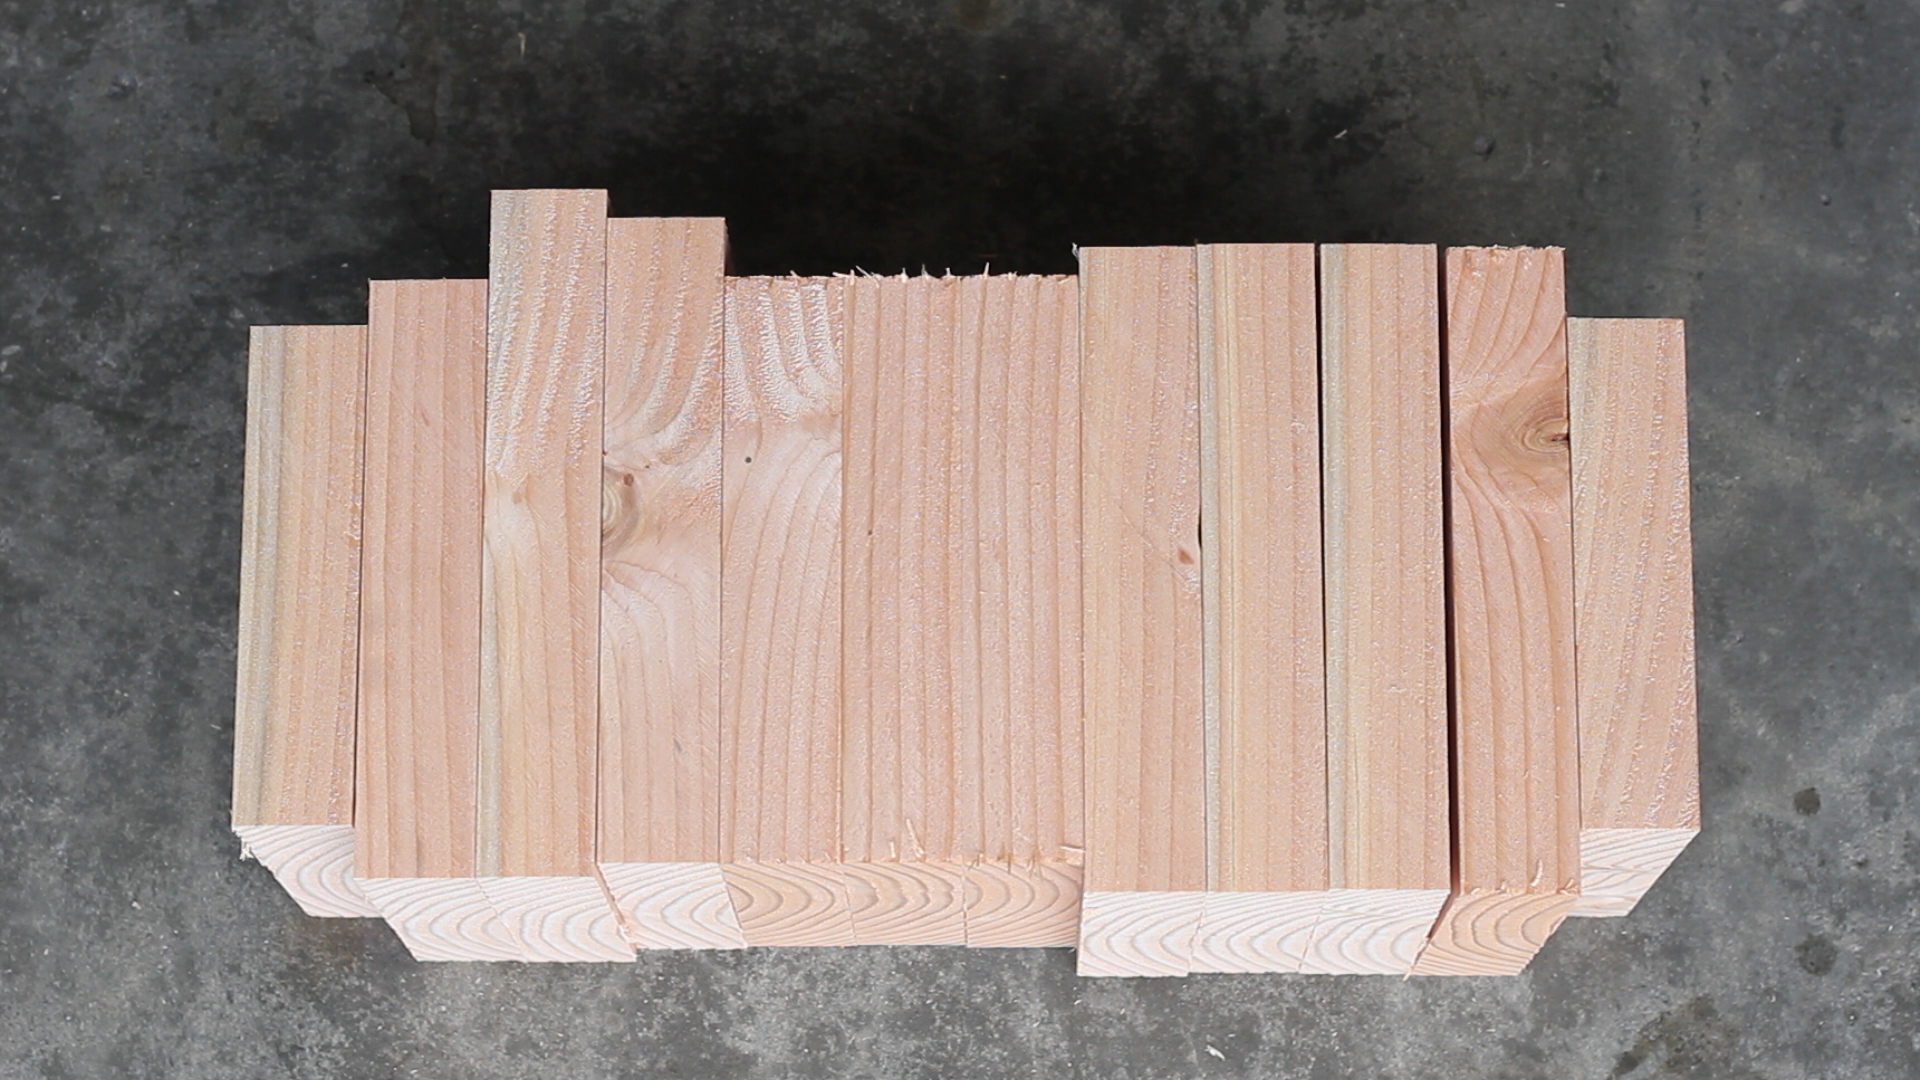
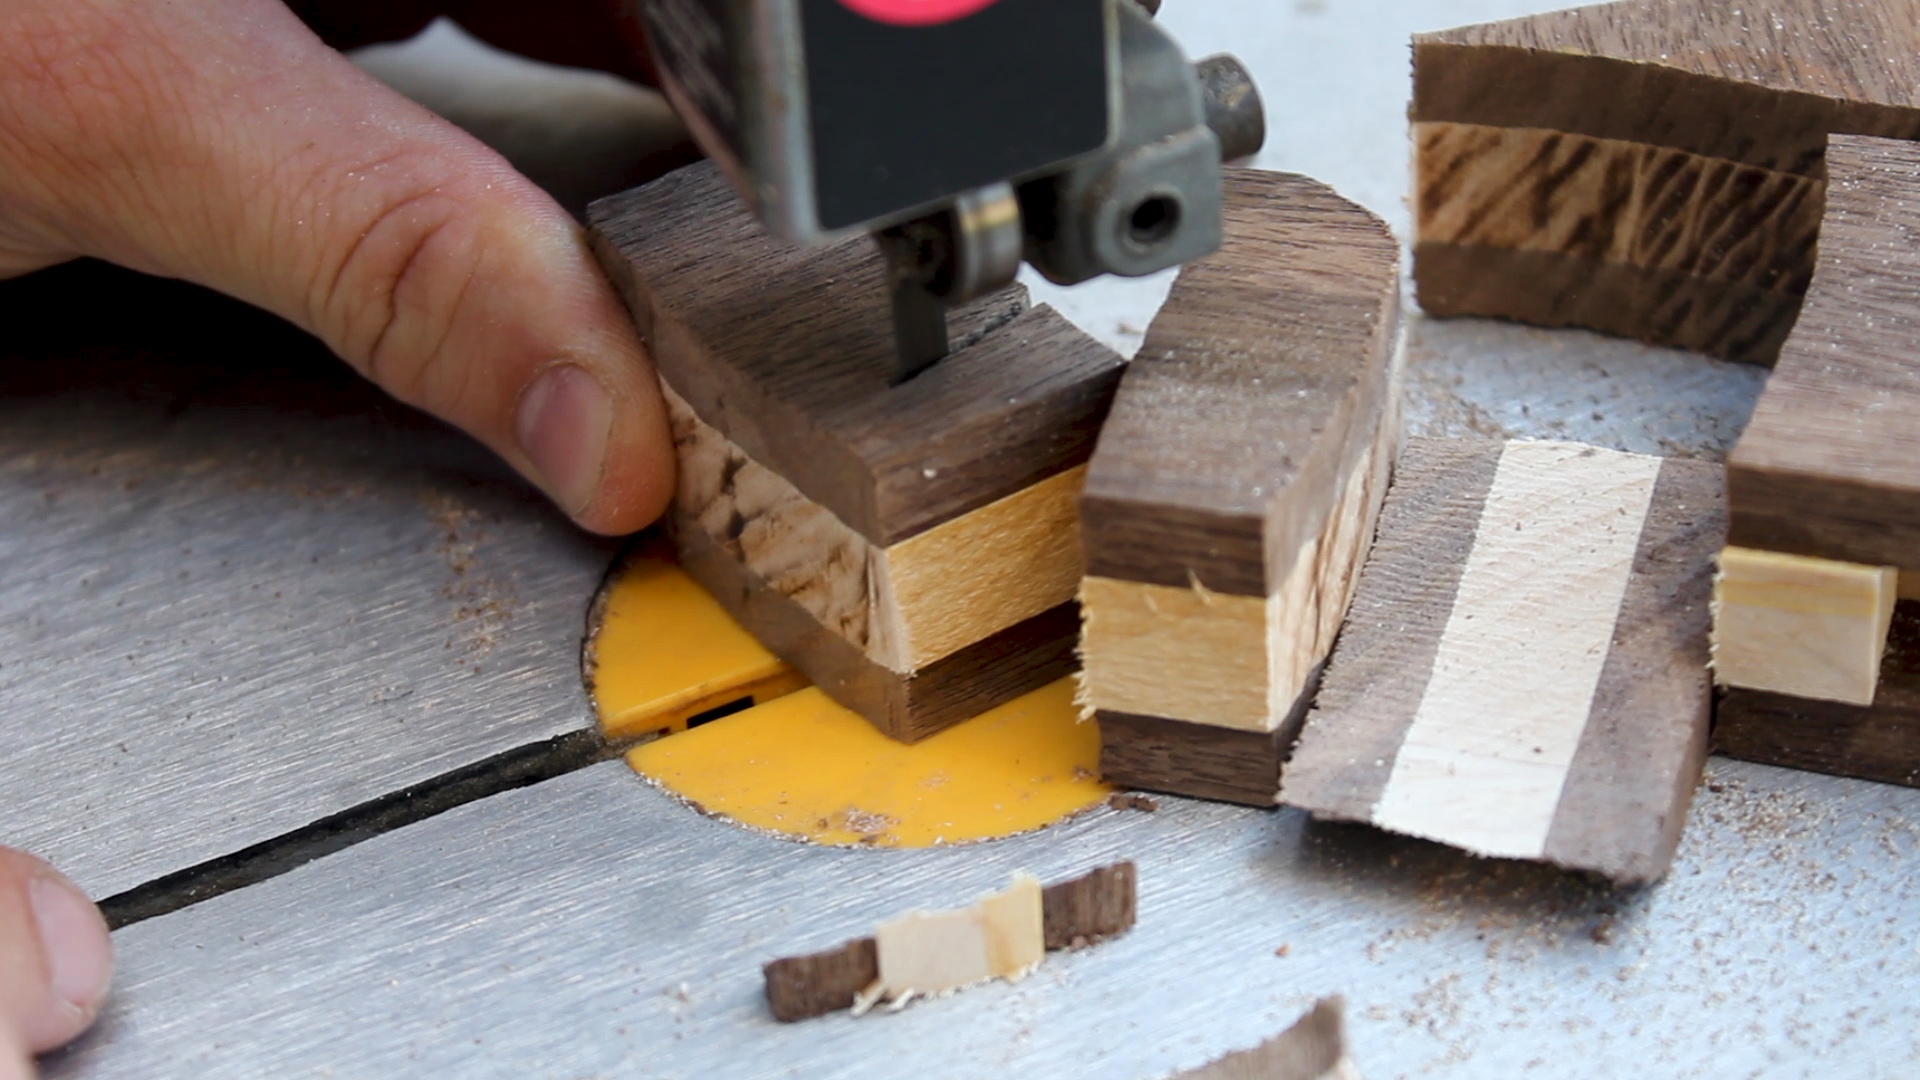
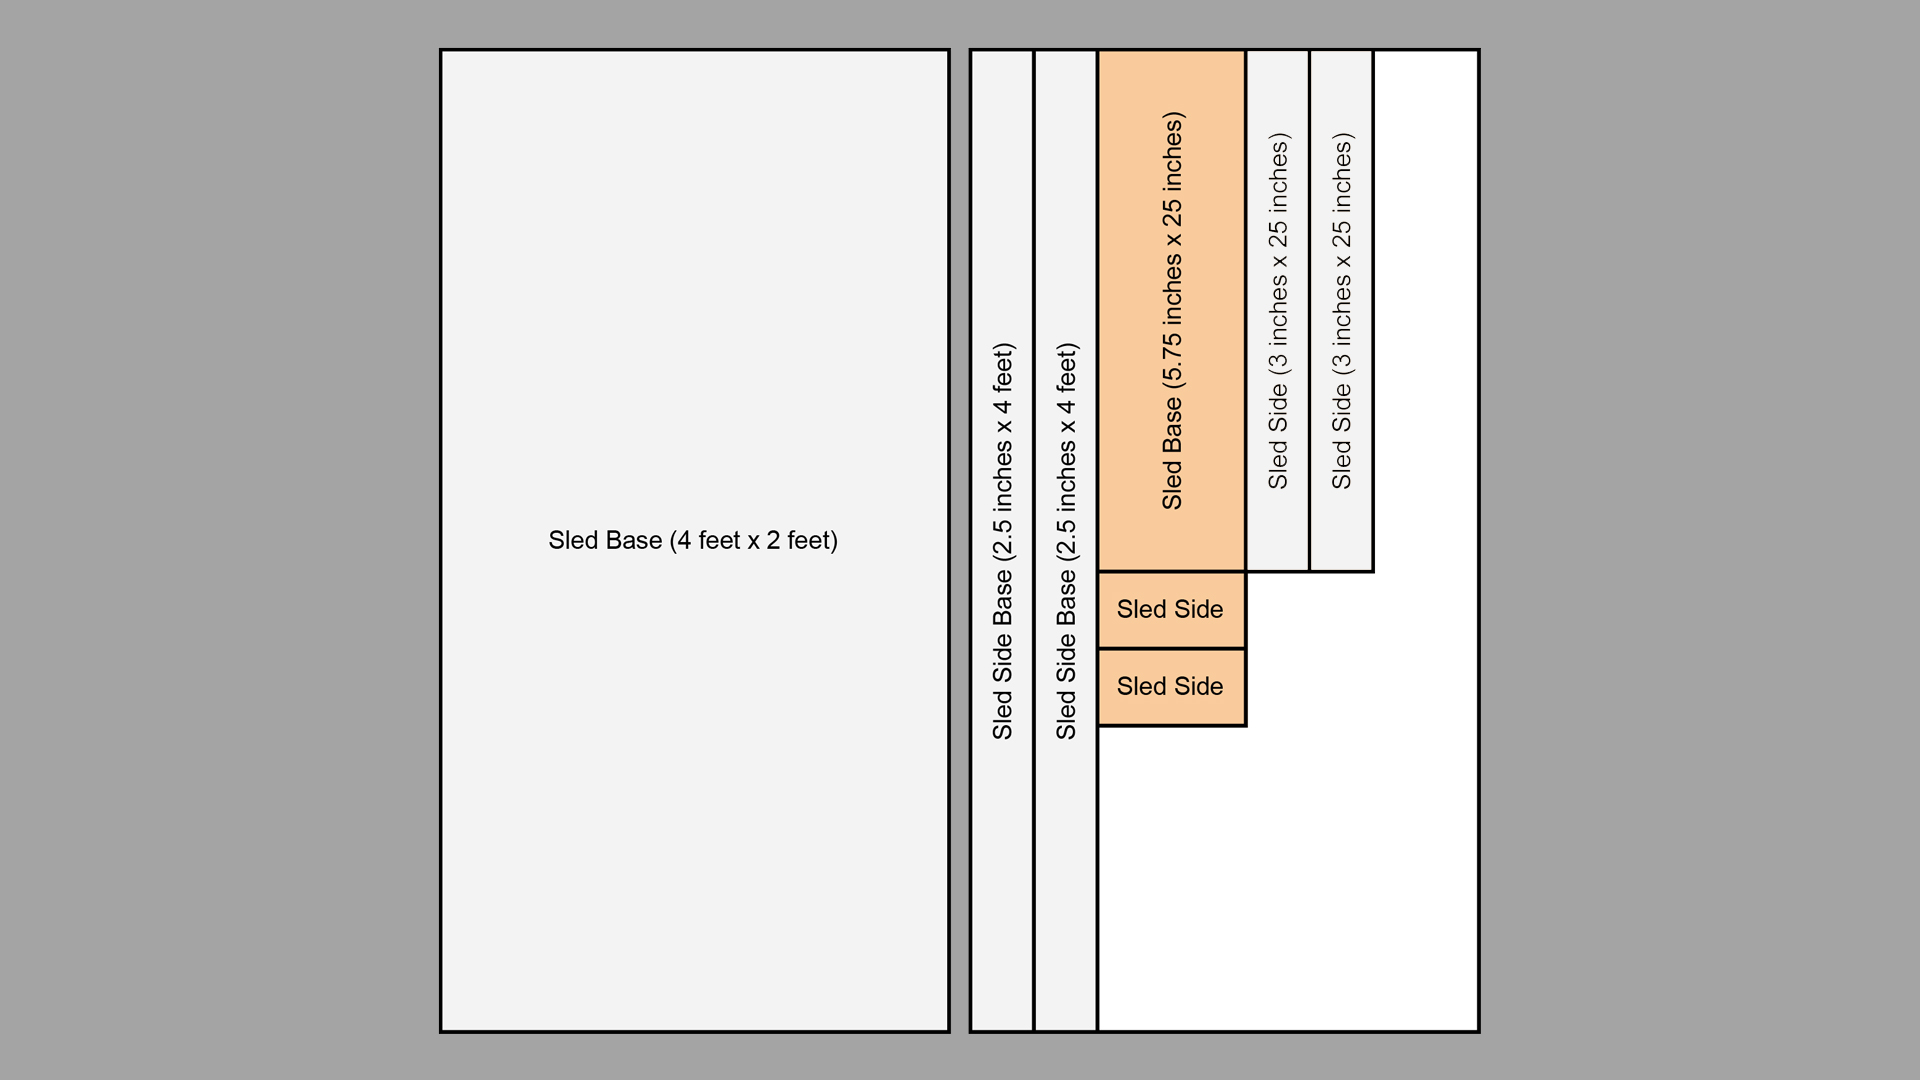
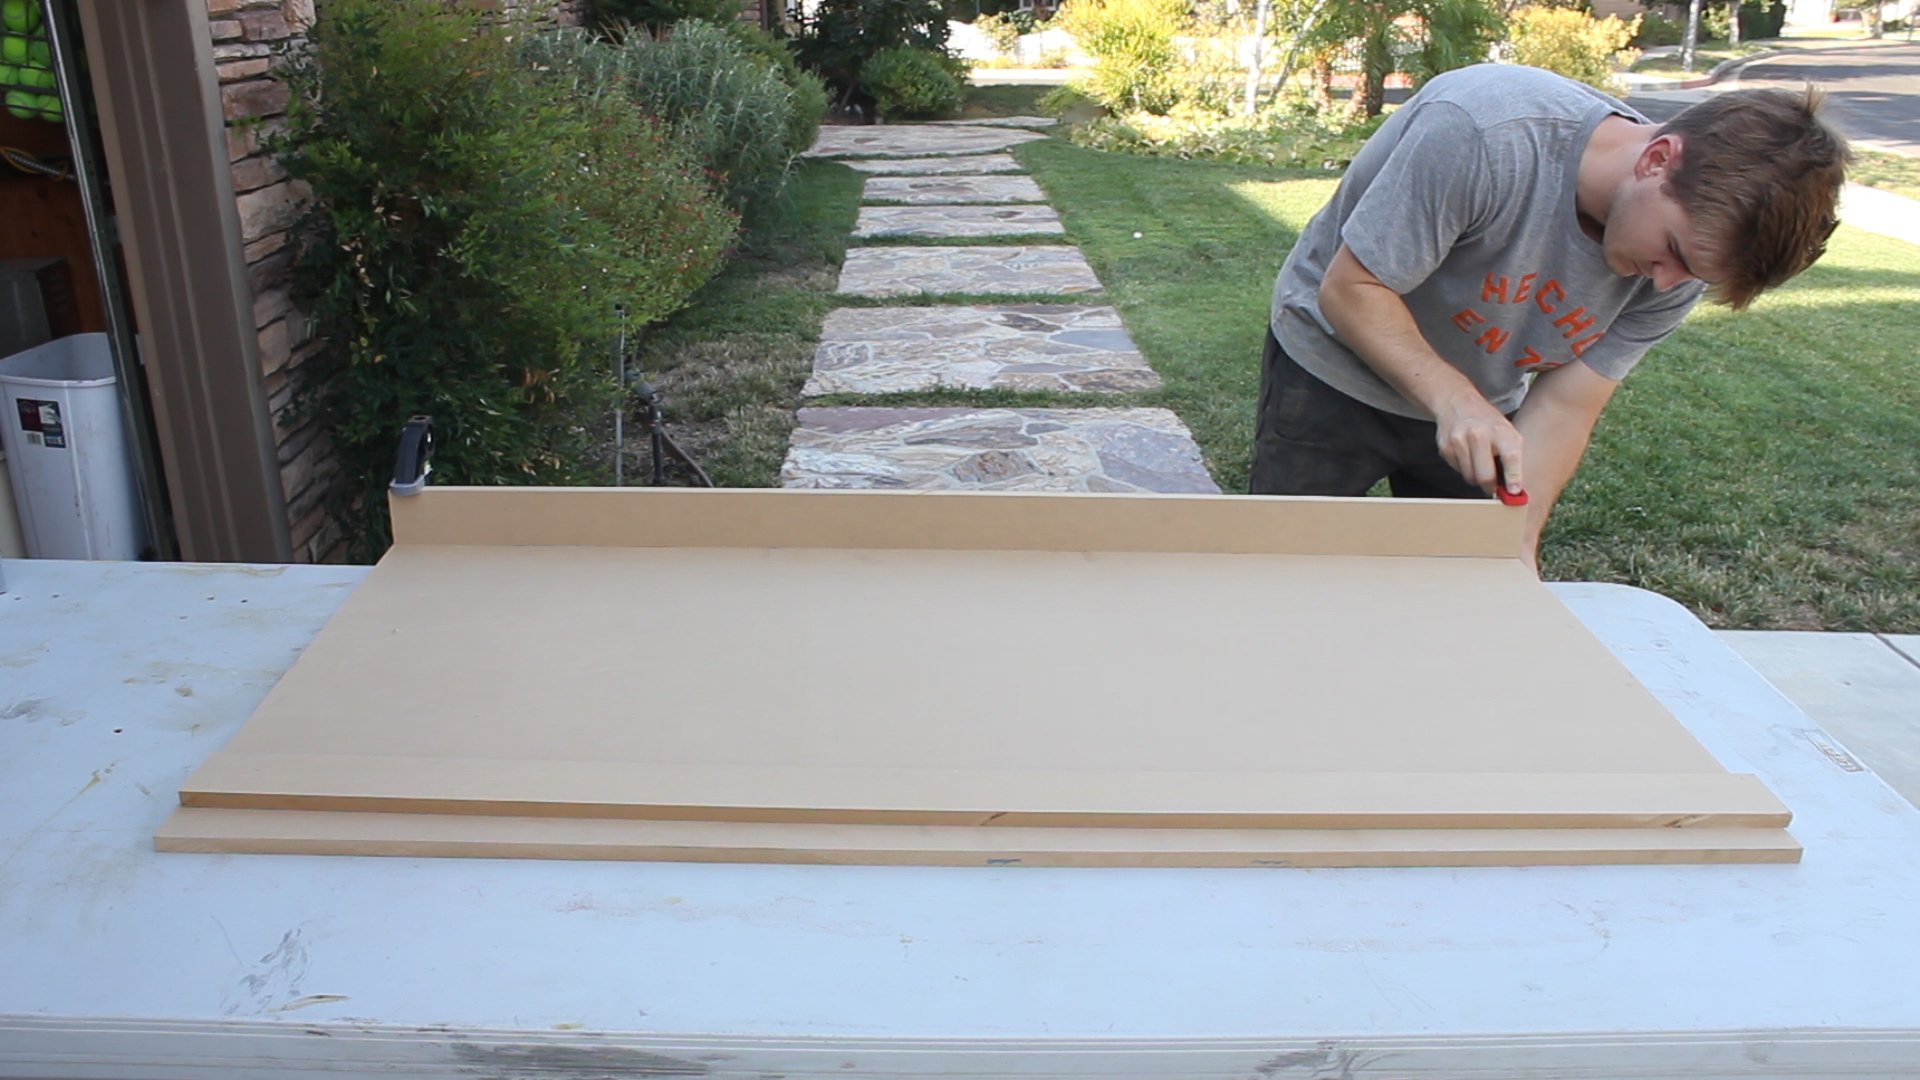
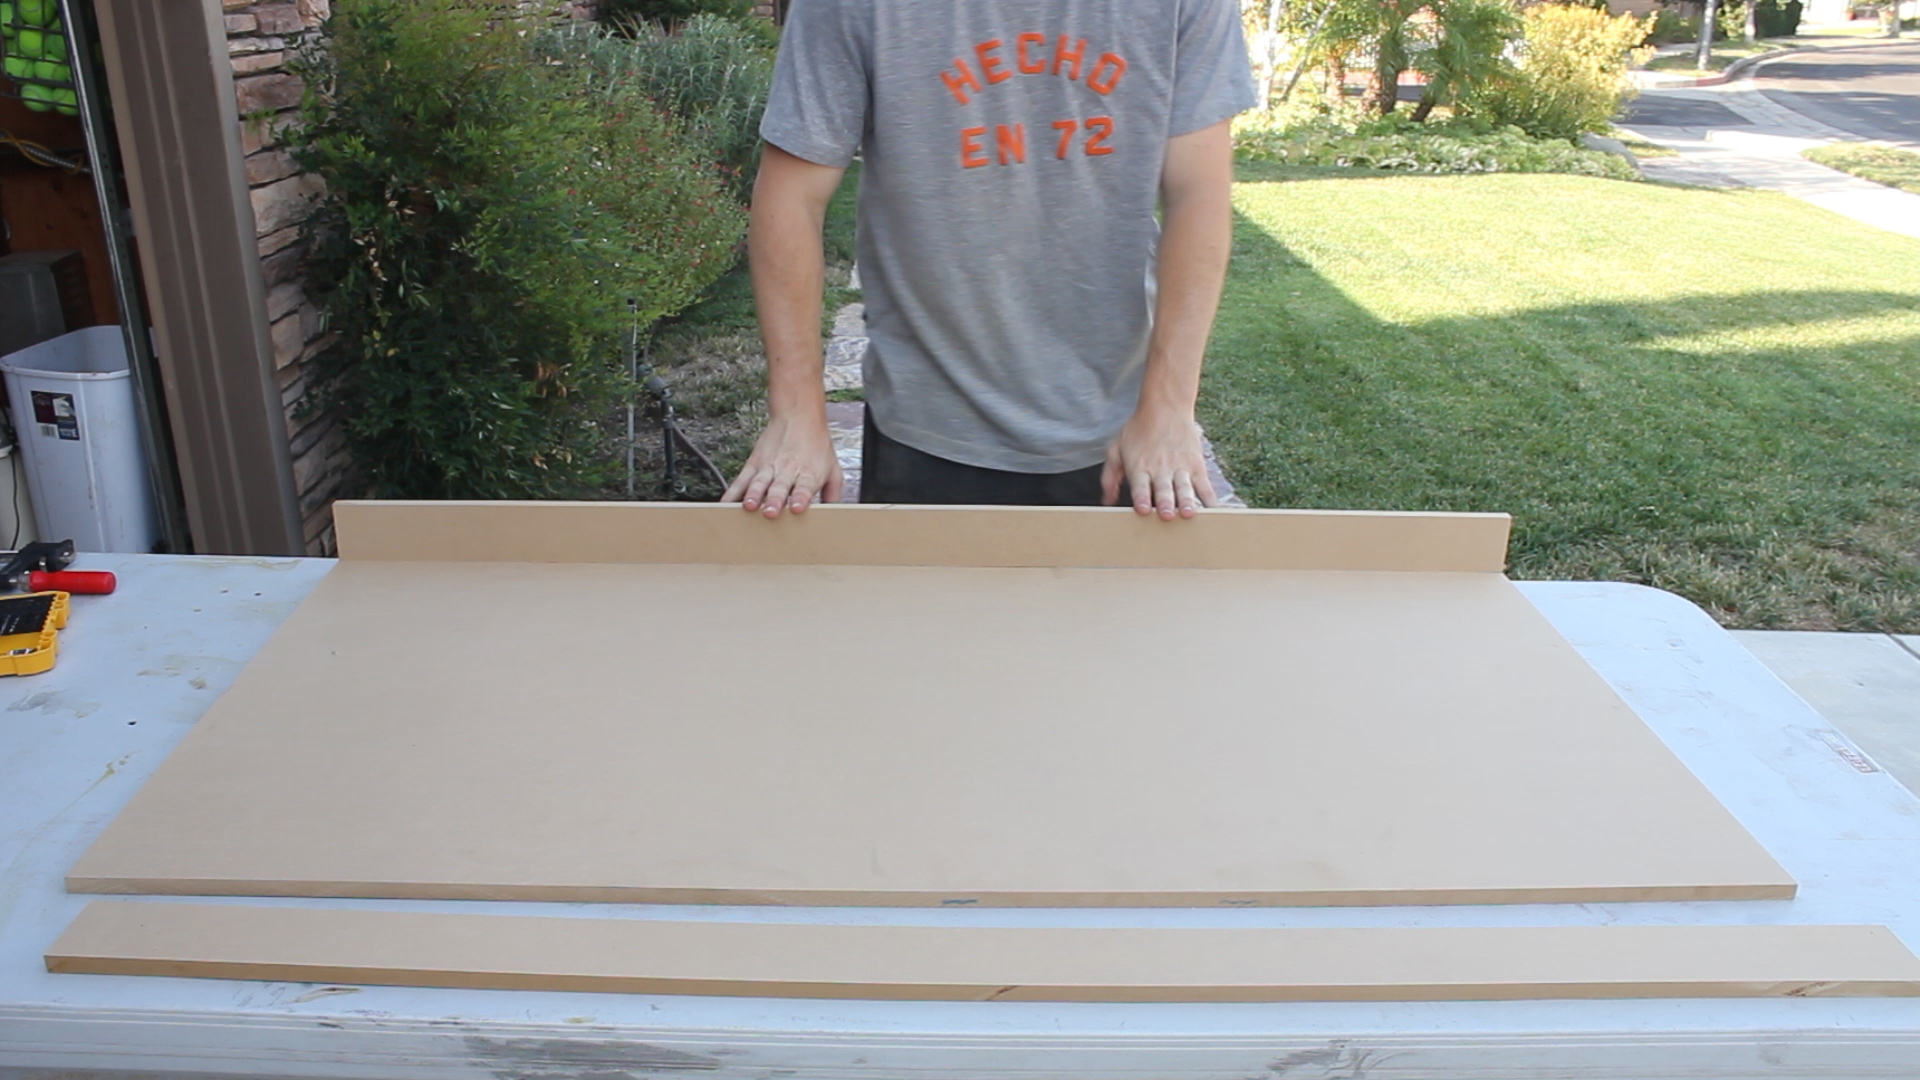
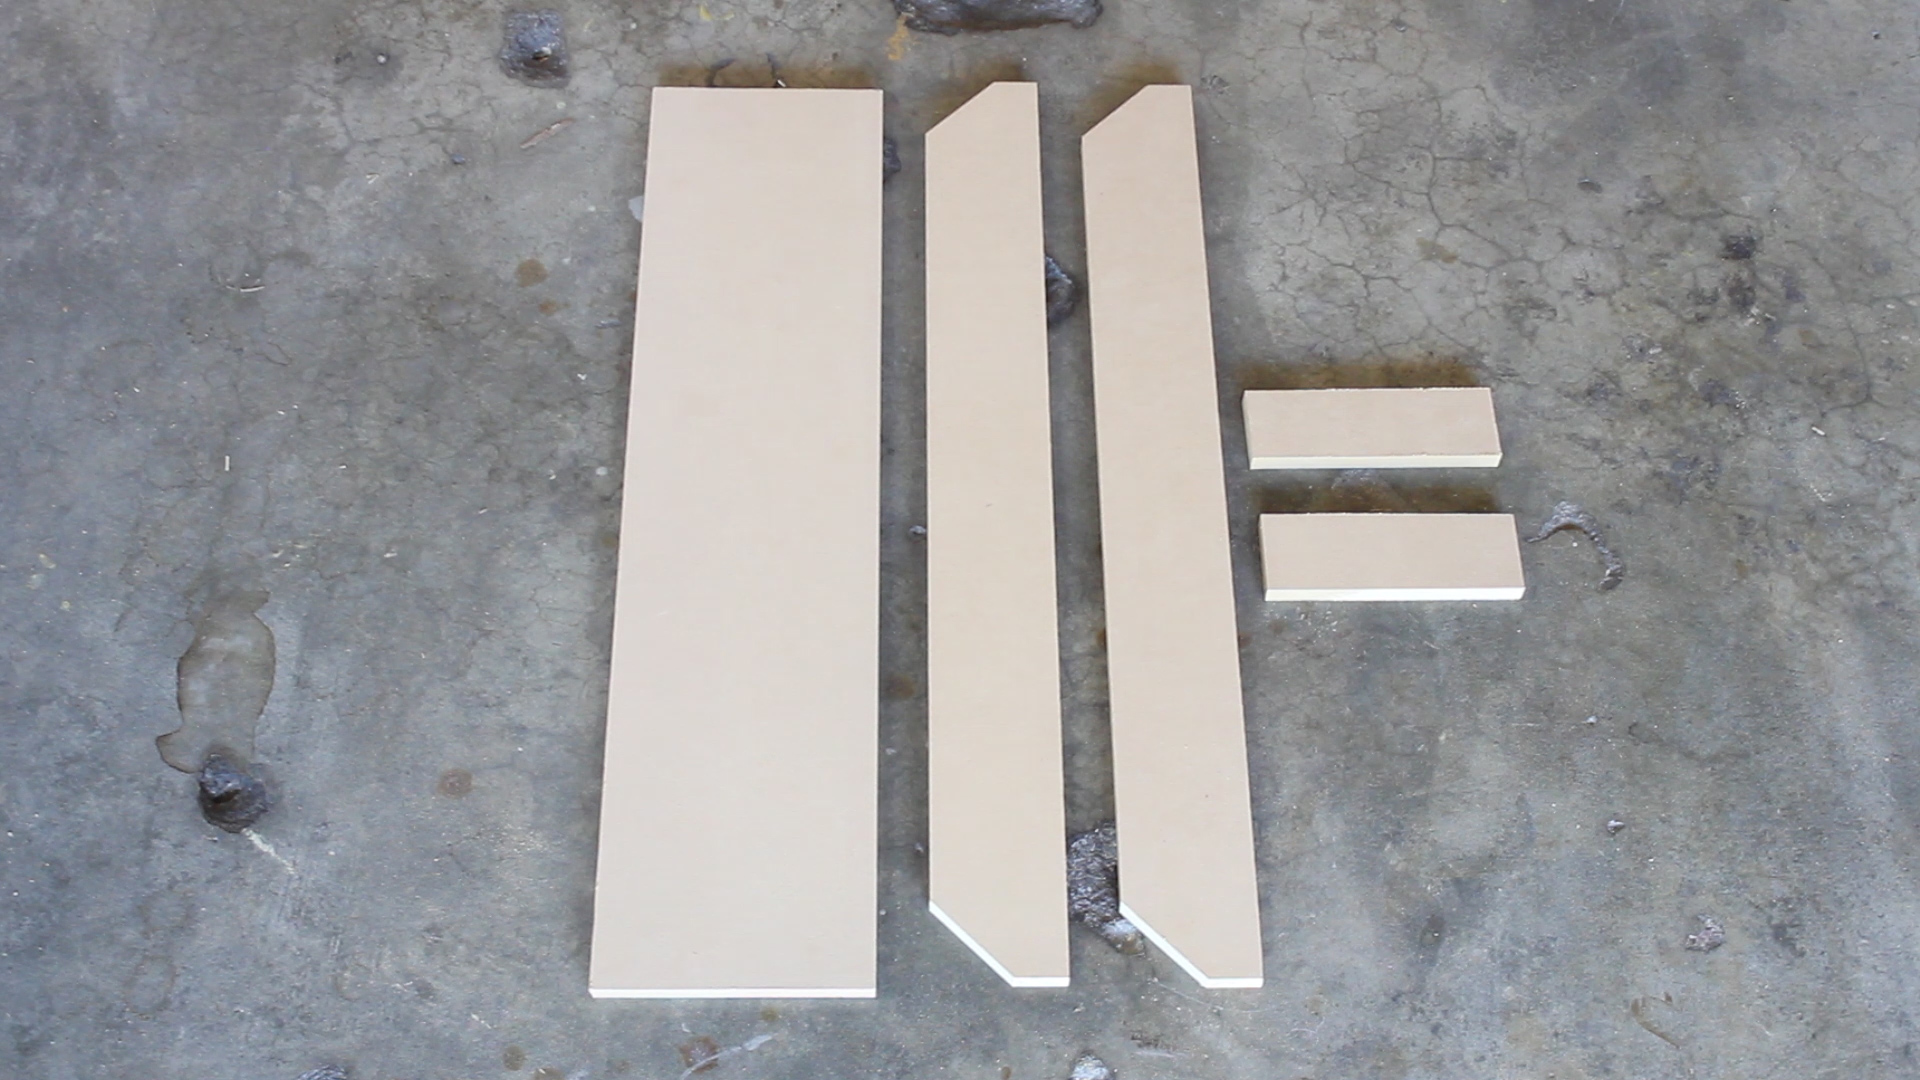
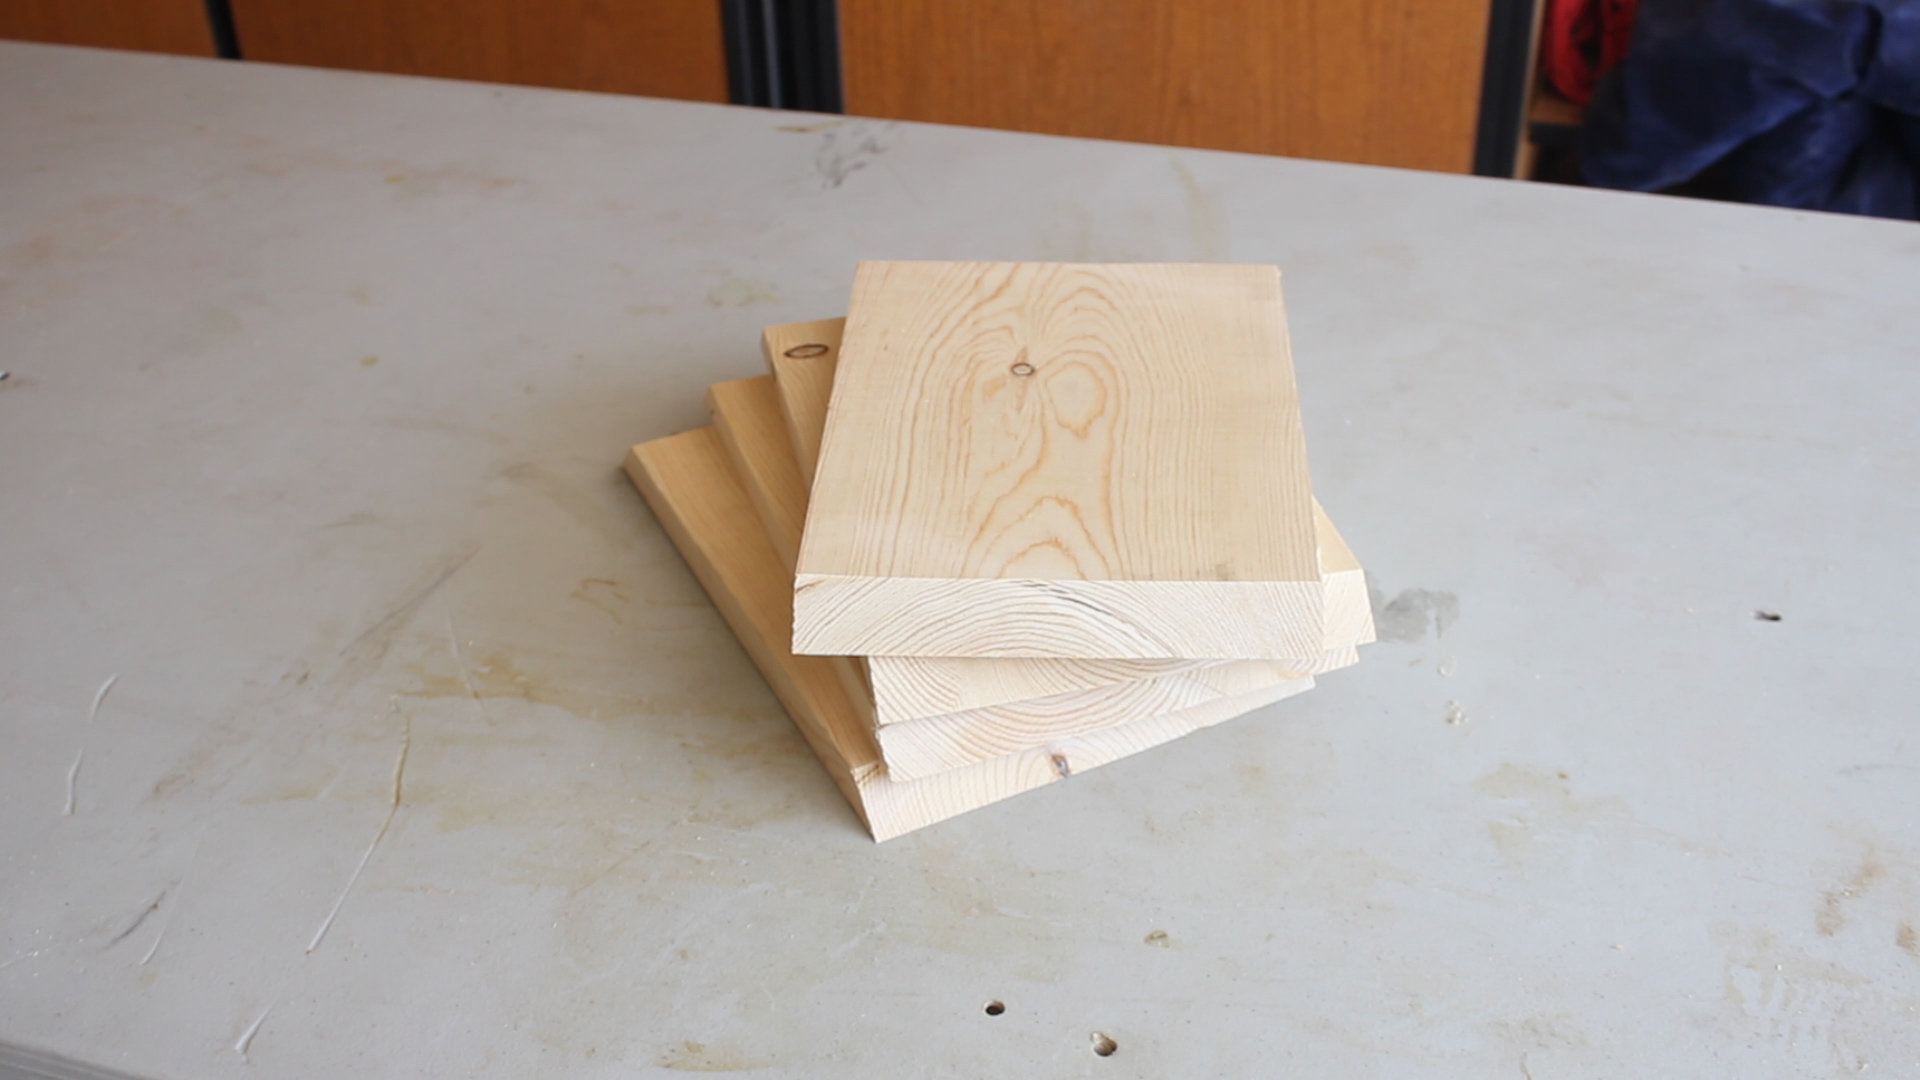
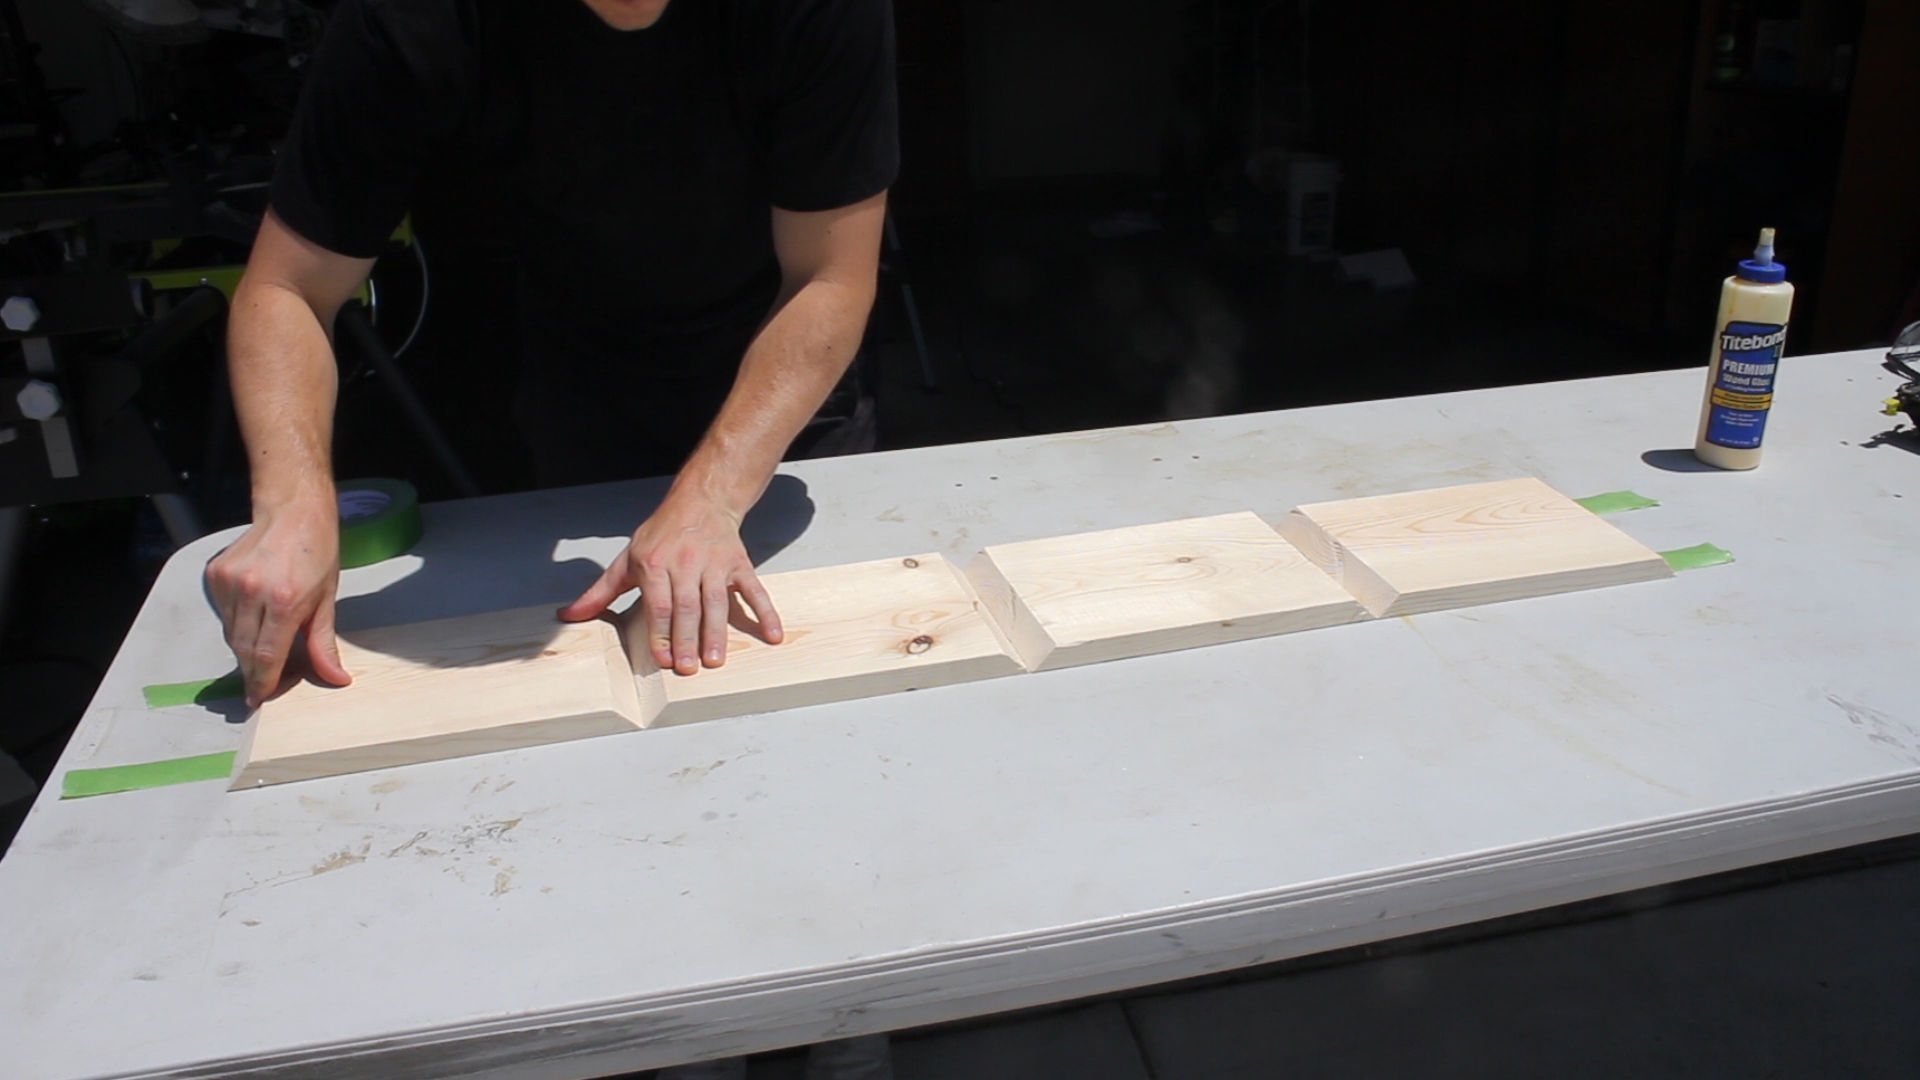
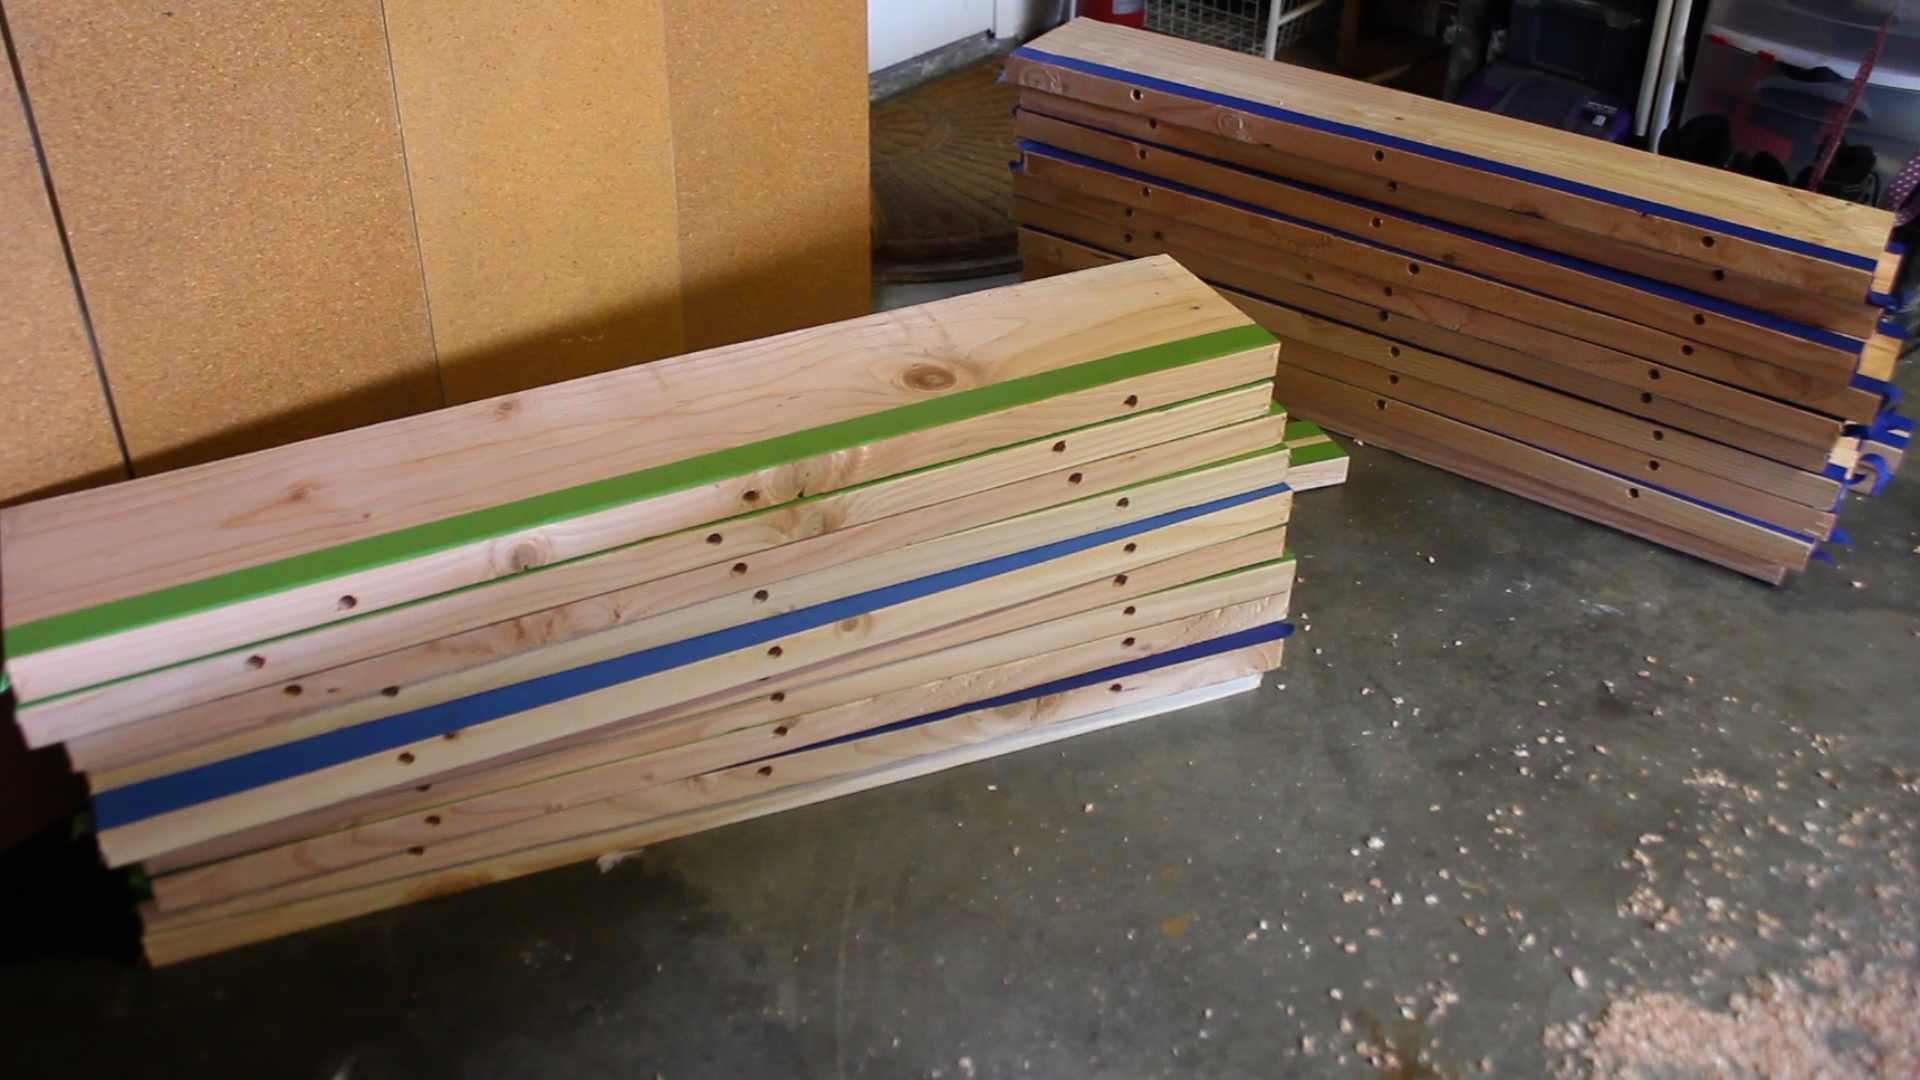
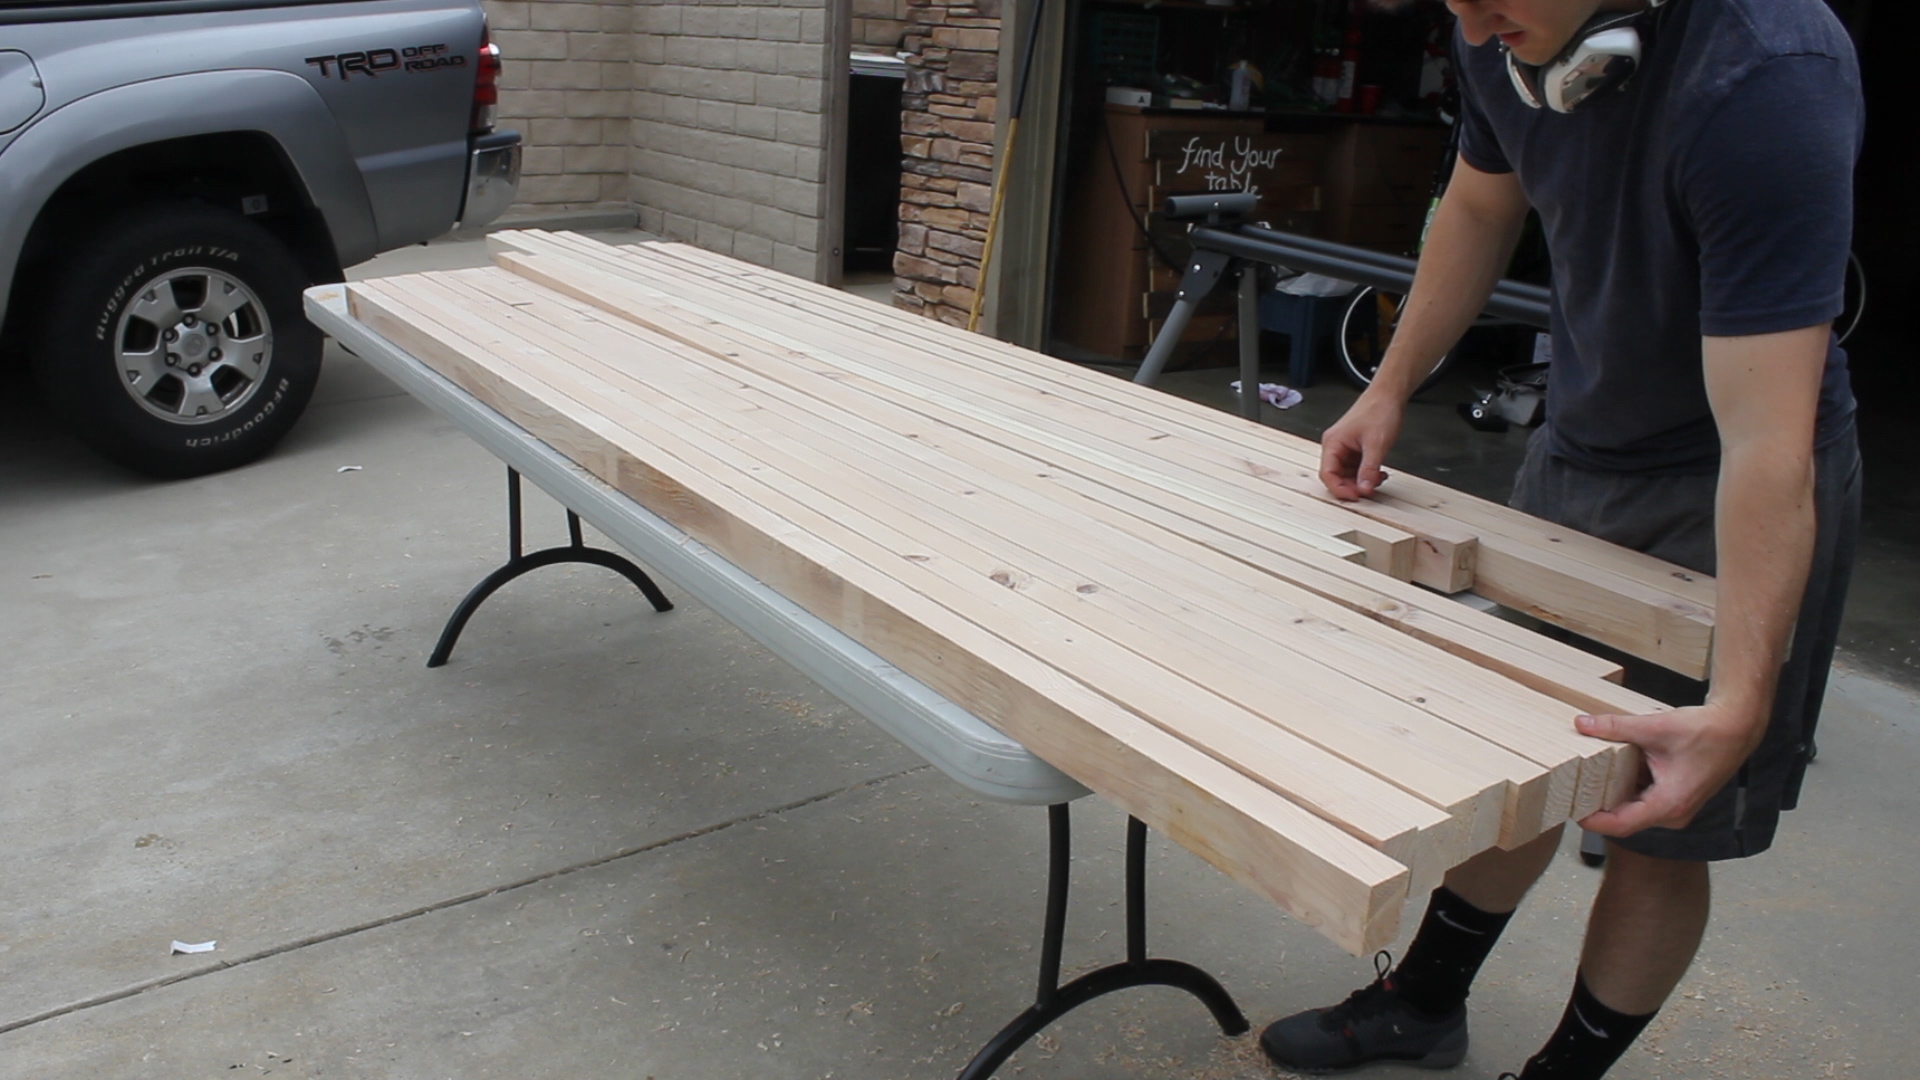
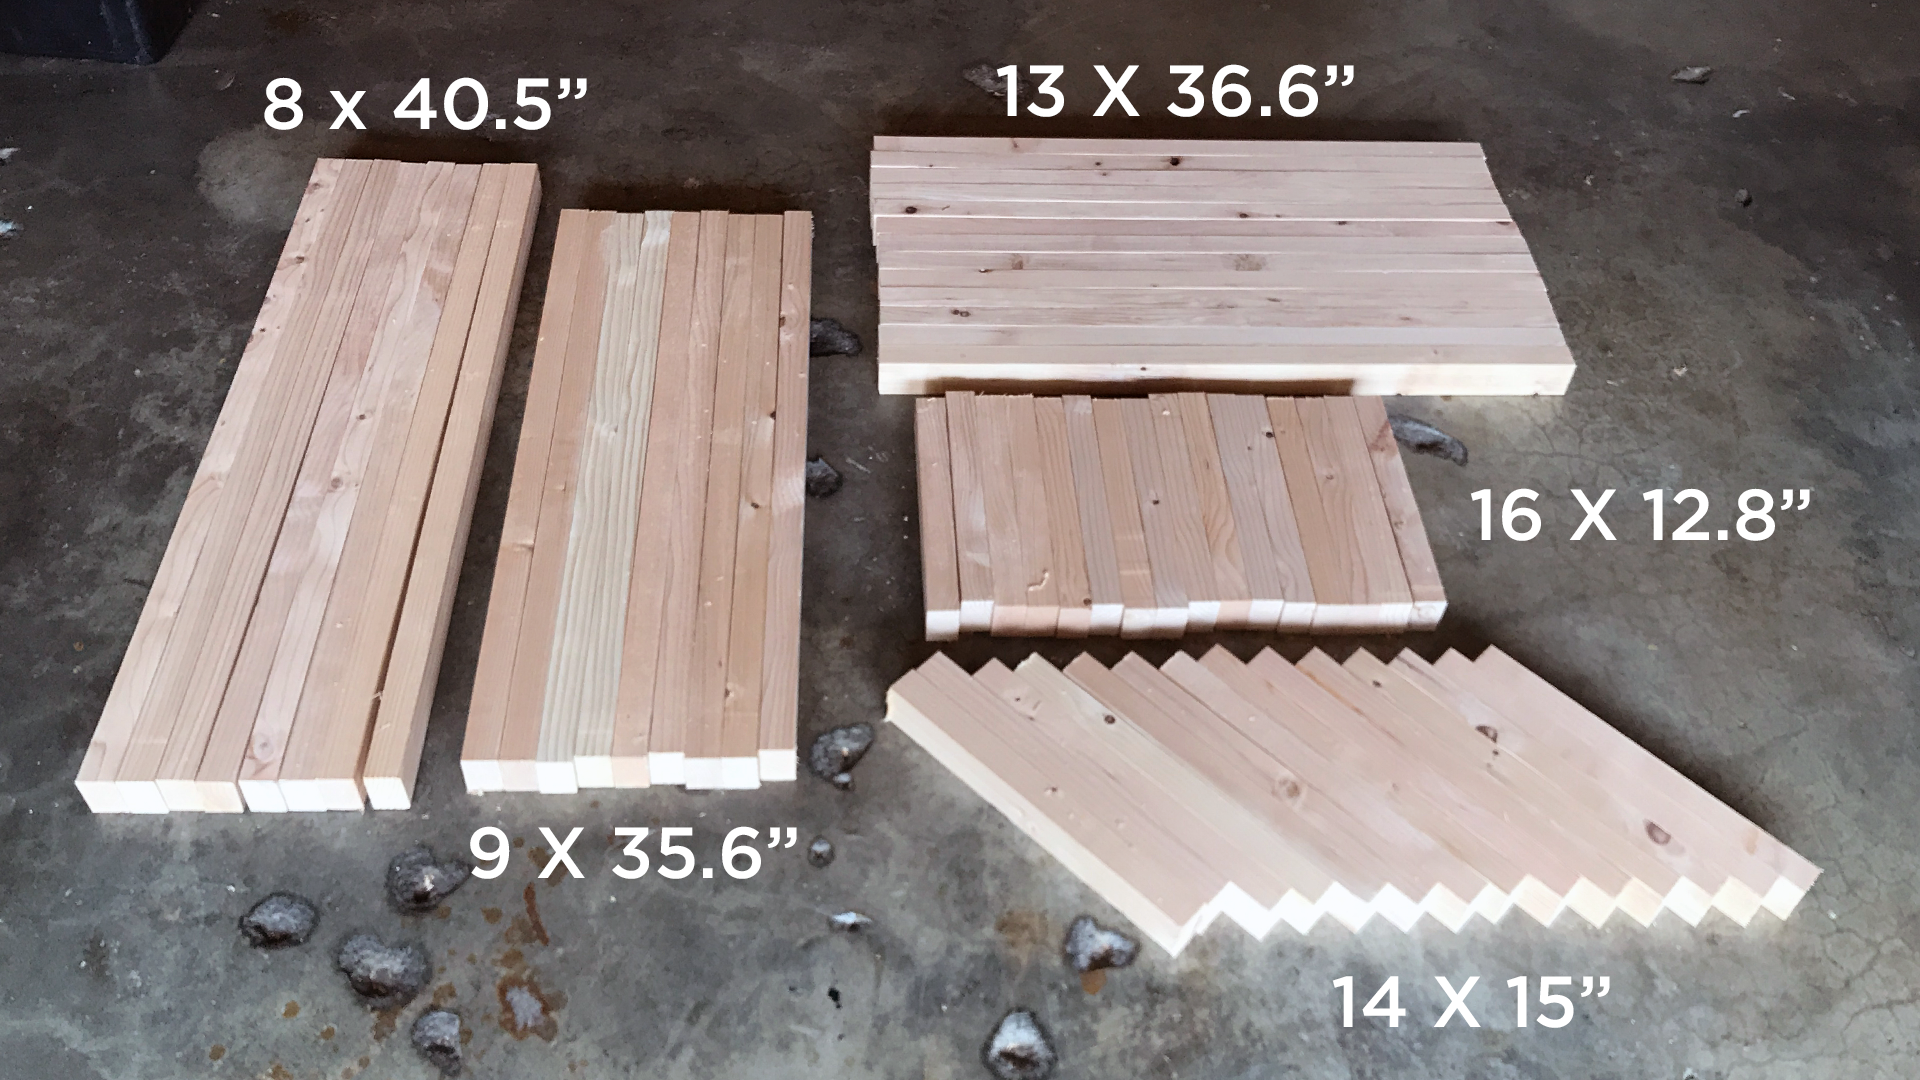
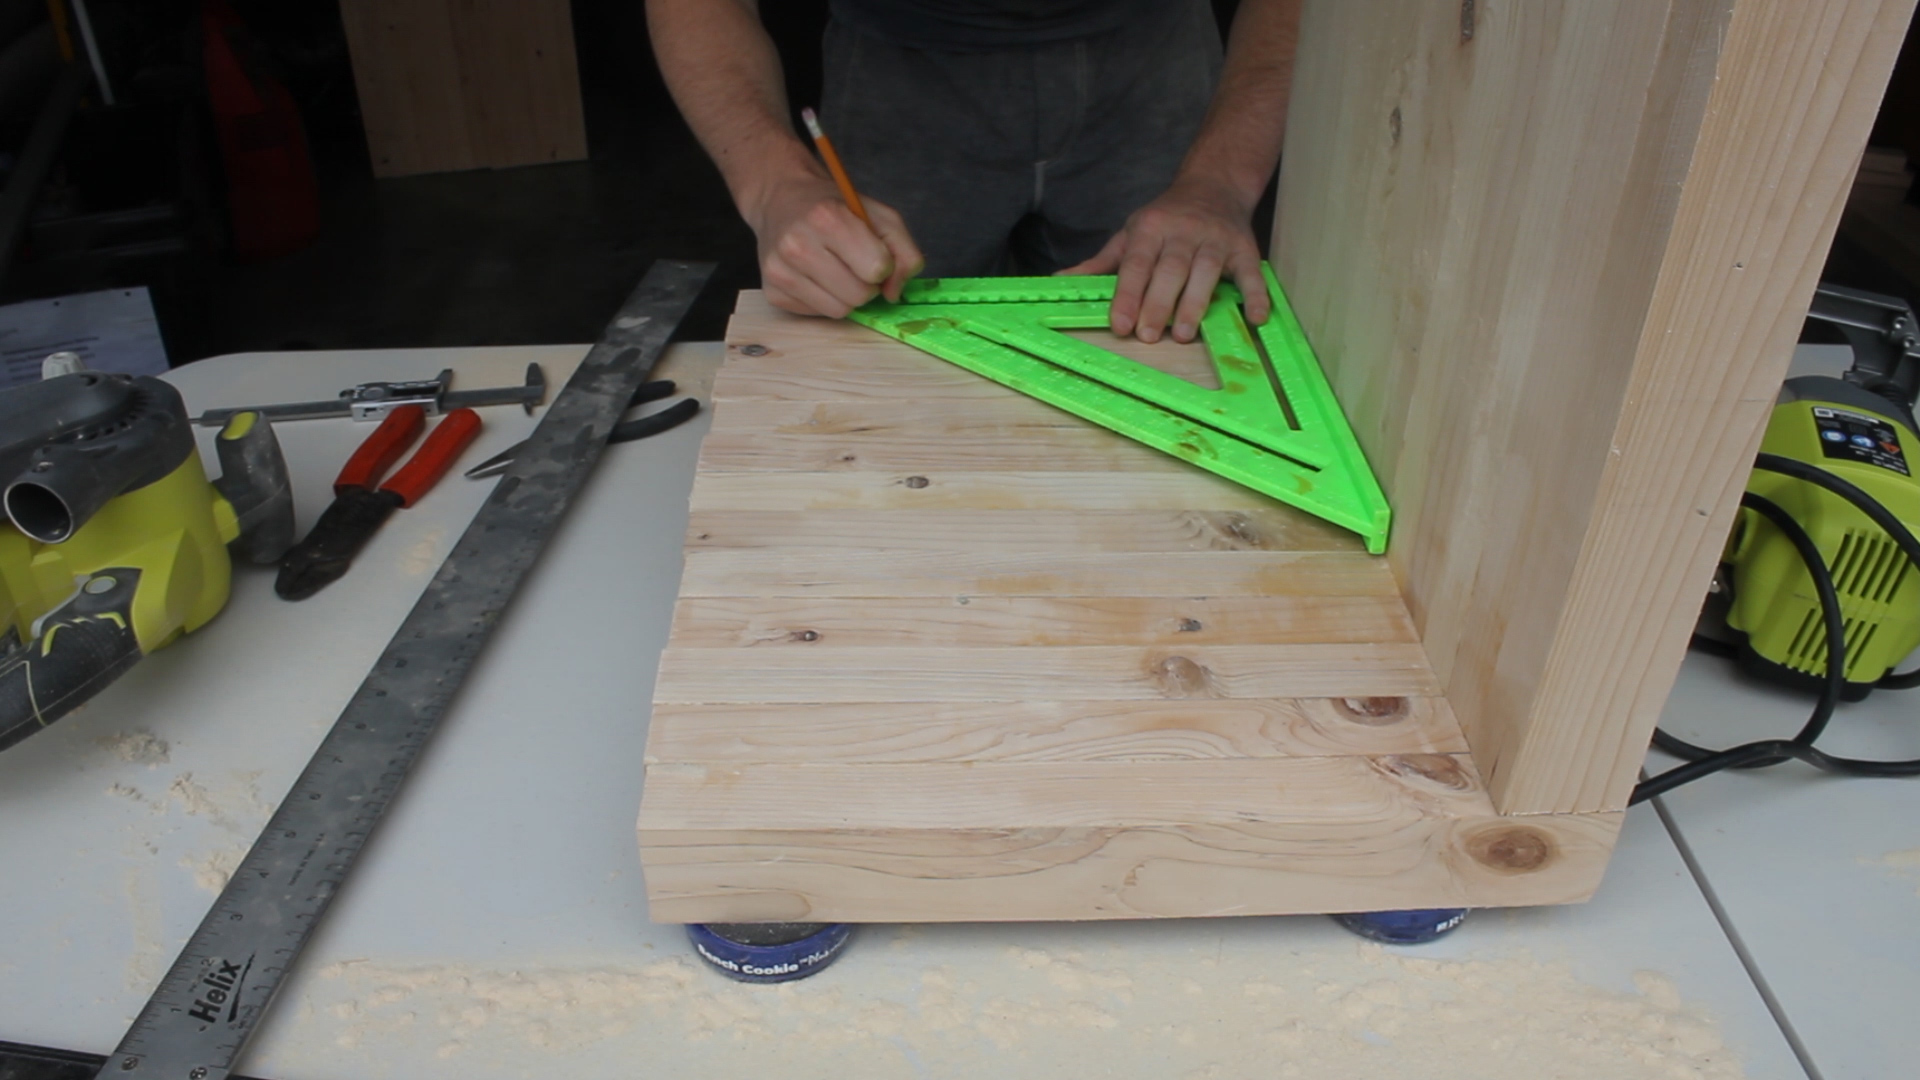
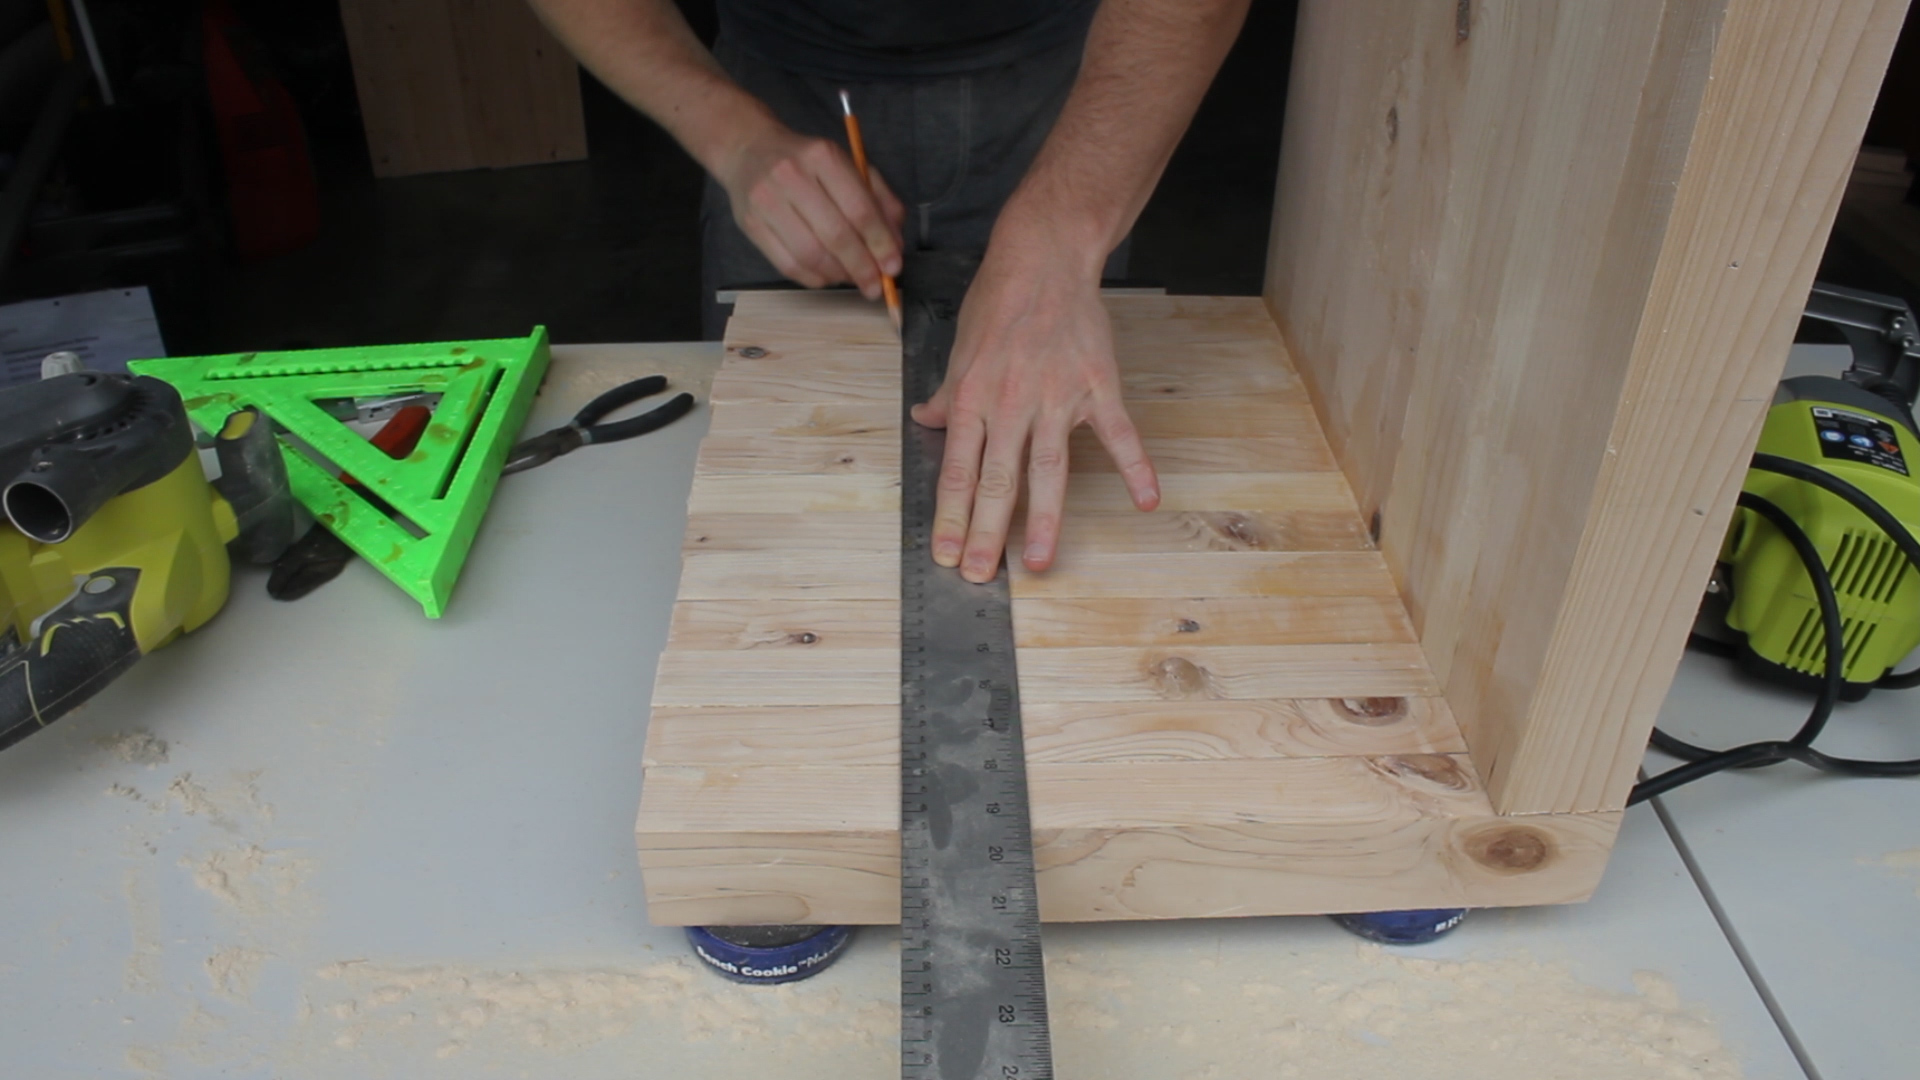
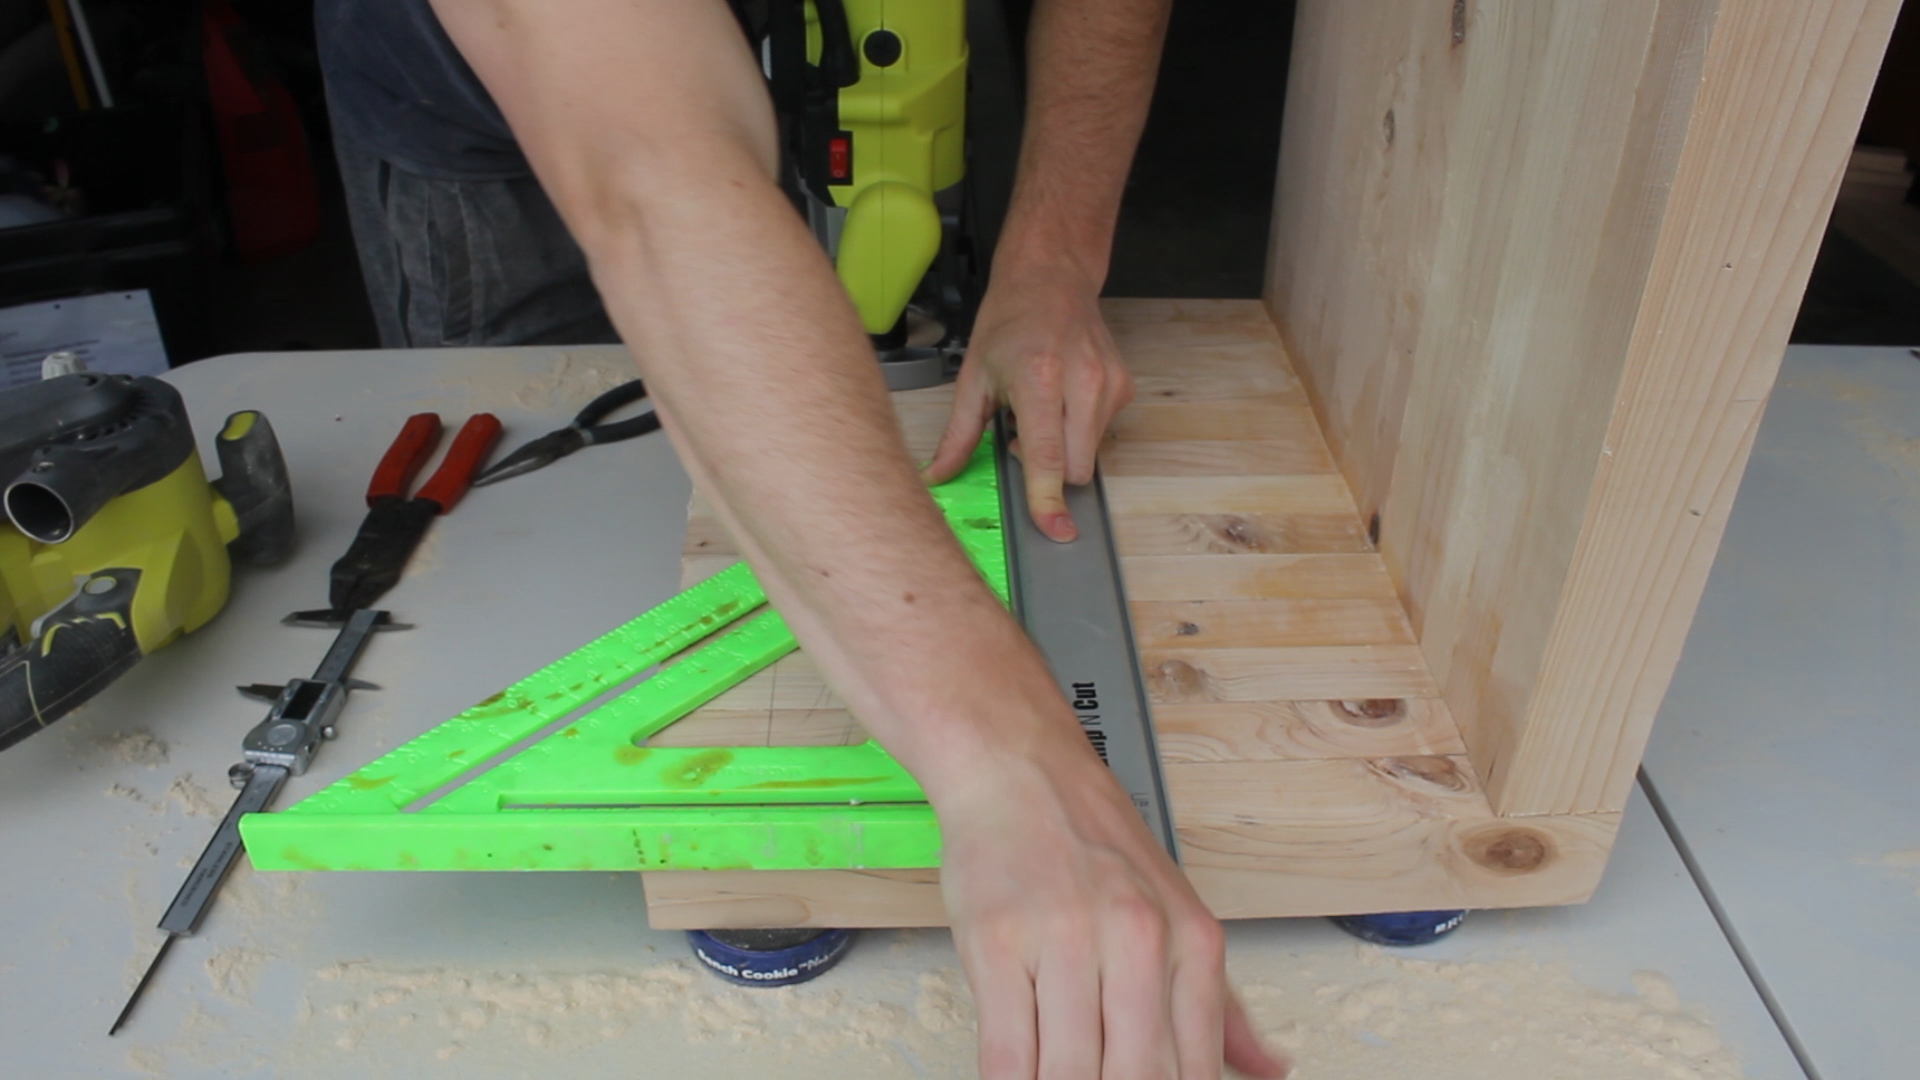
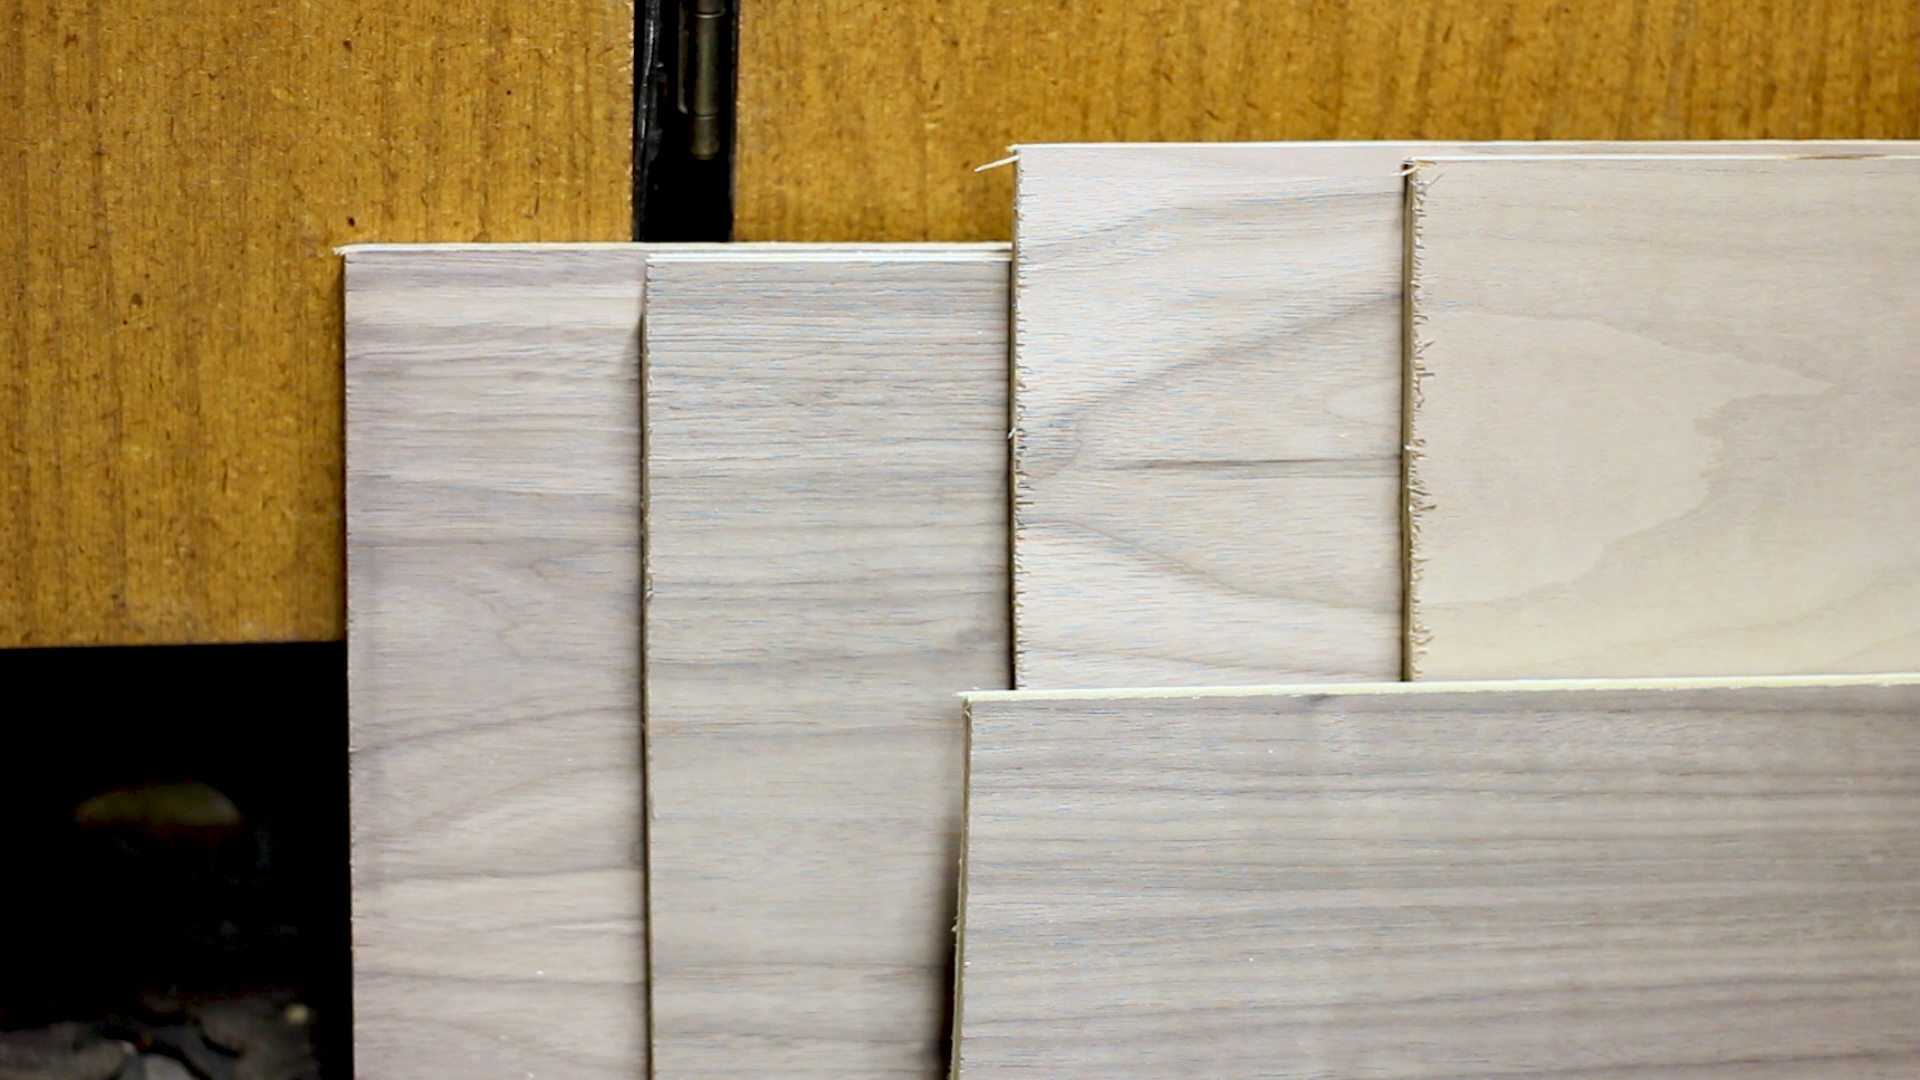
Pic 1 shows all of the cut pieces for my 6 caddies.
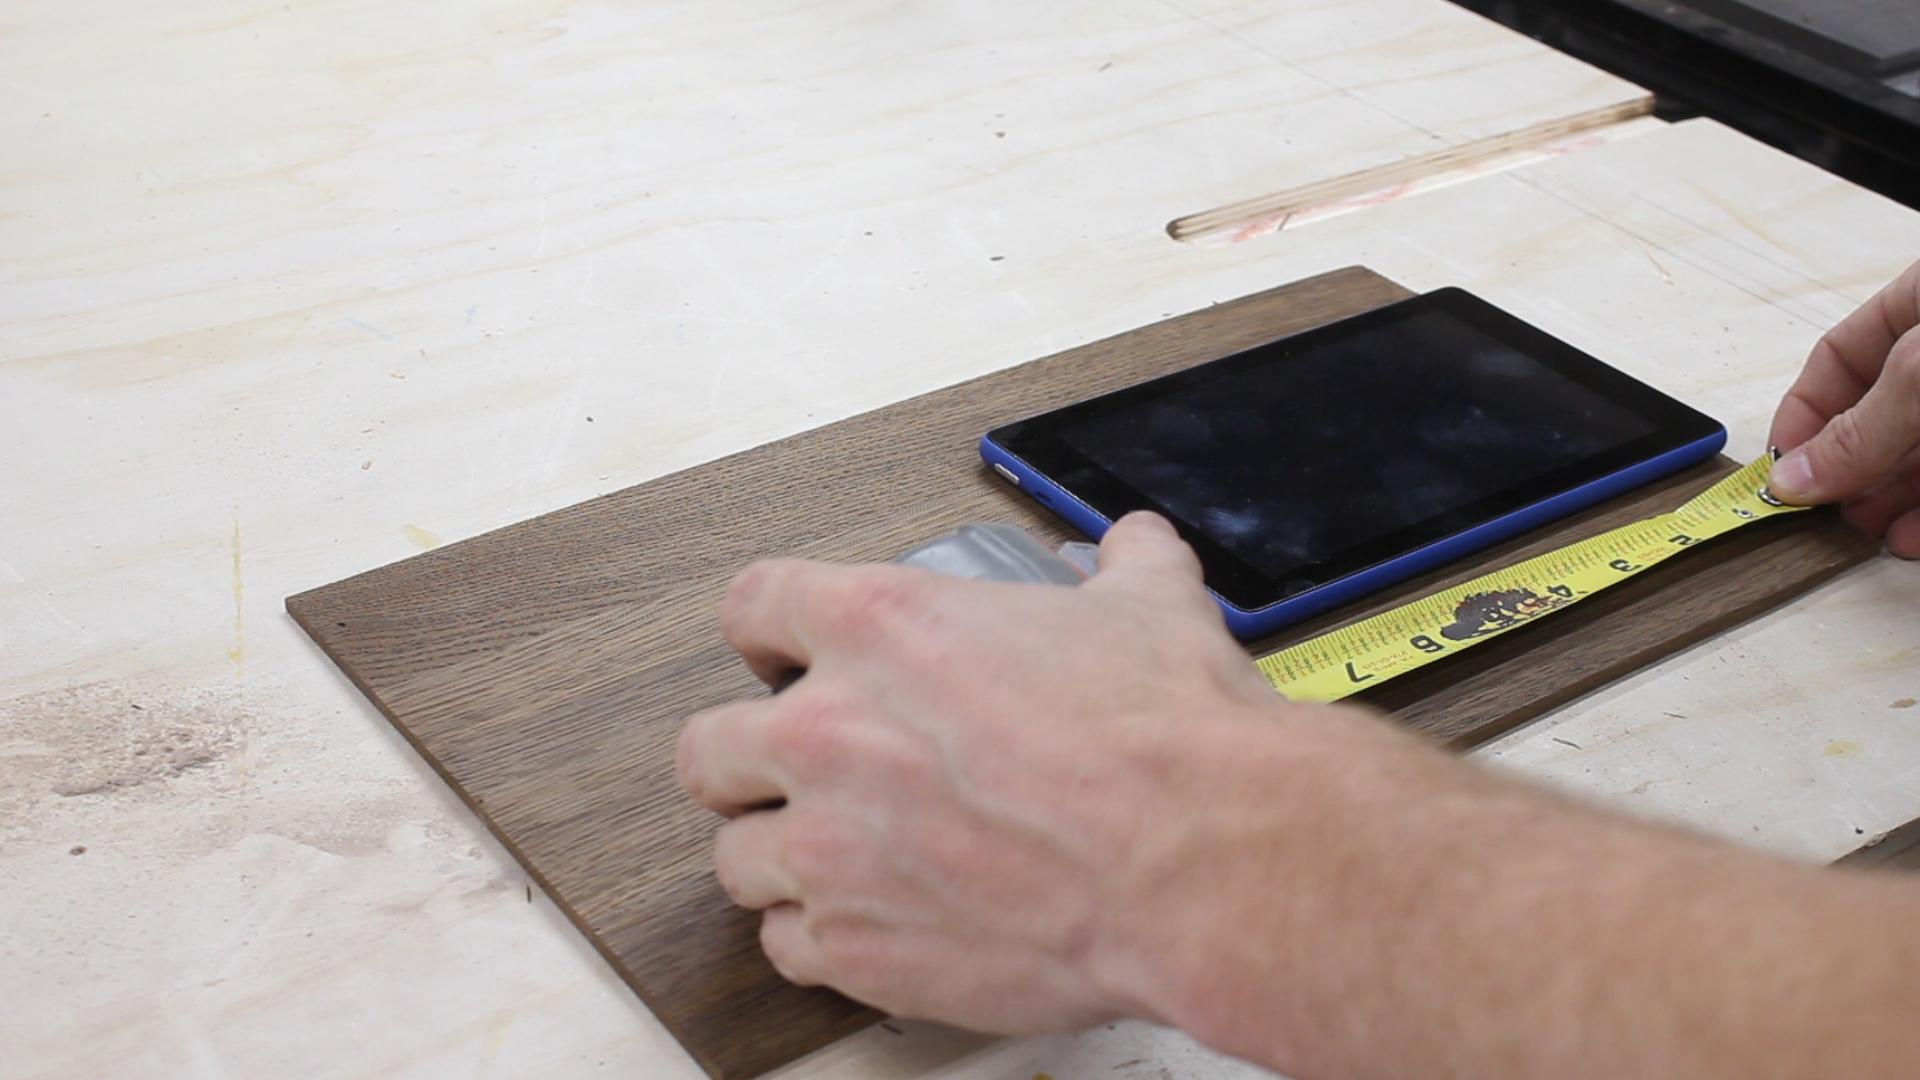
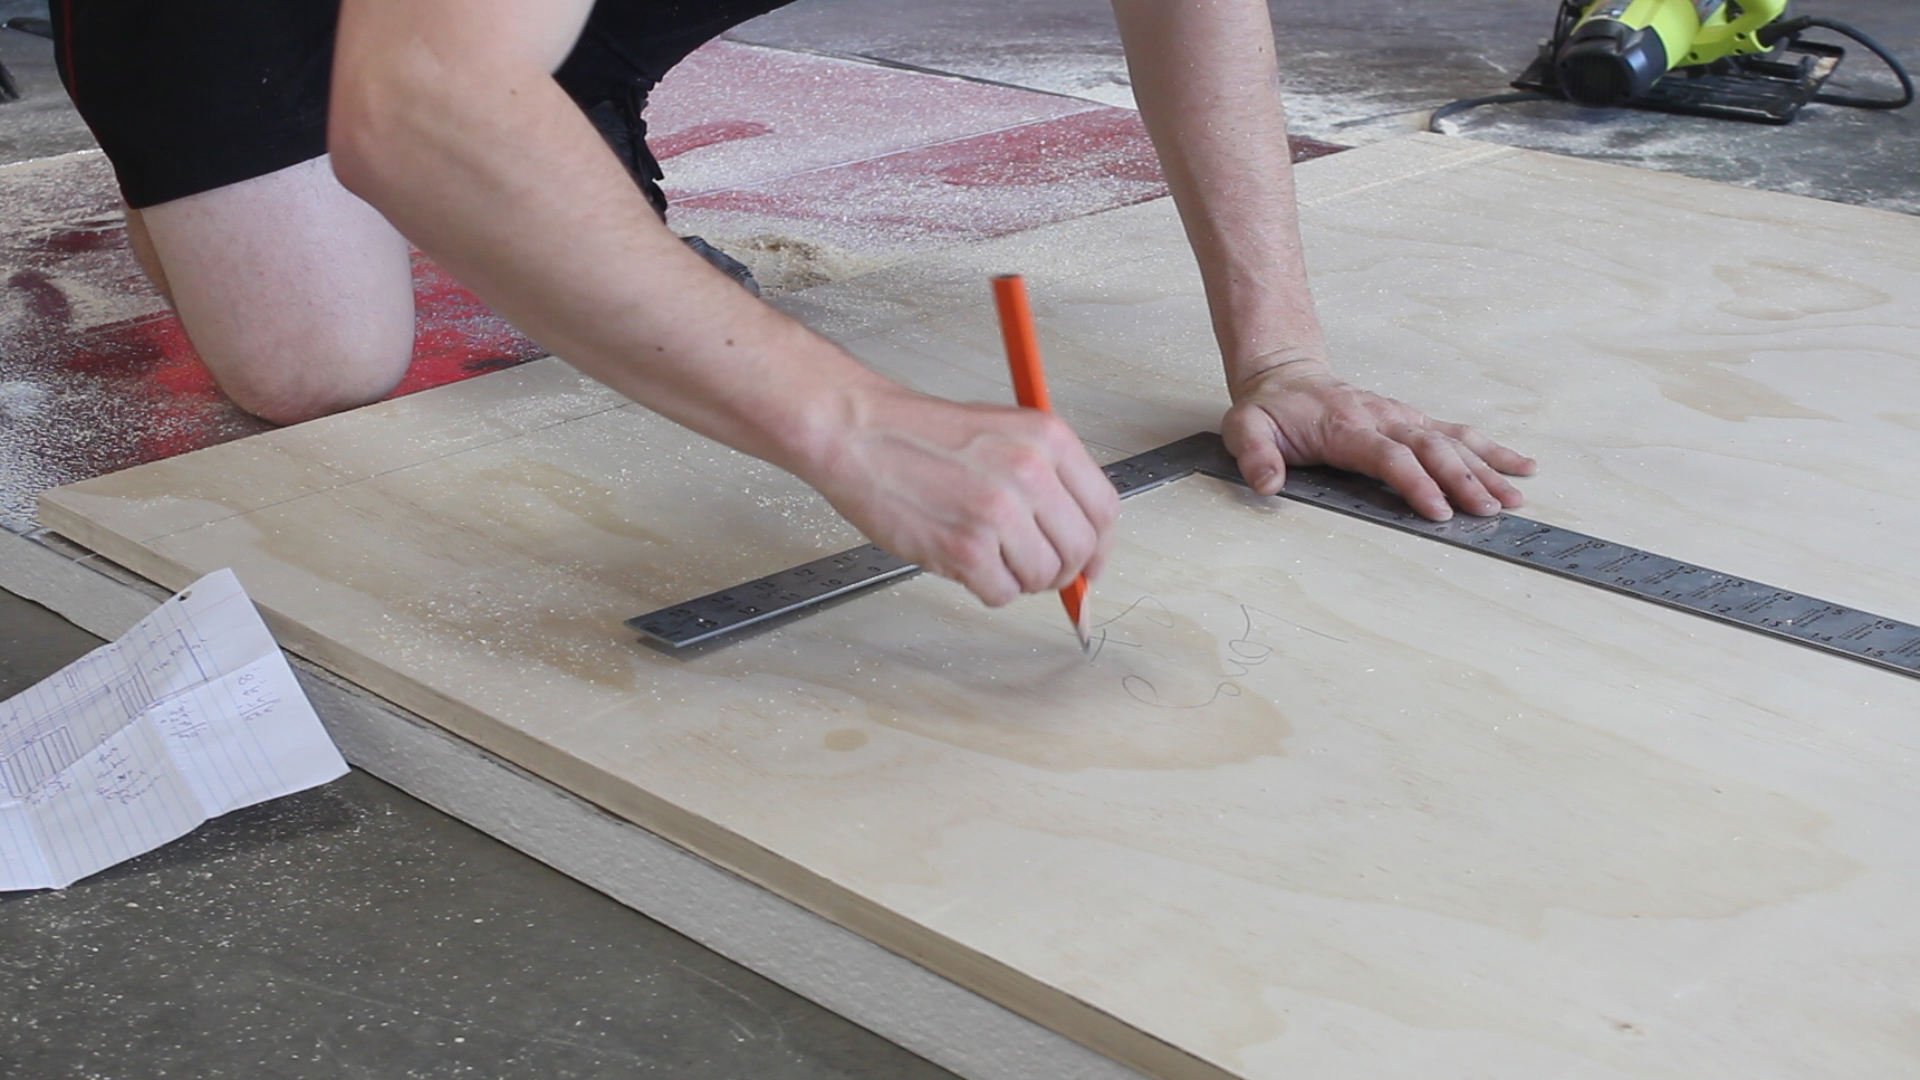
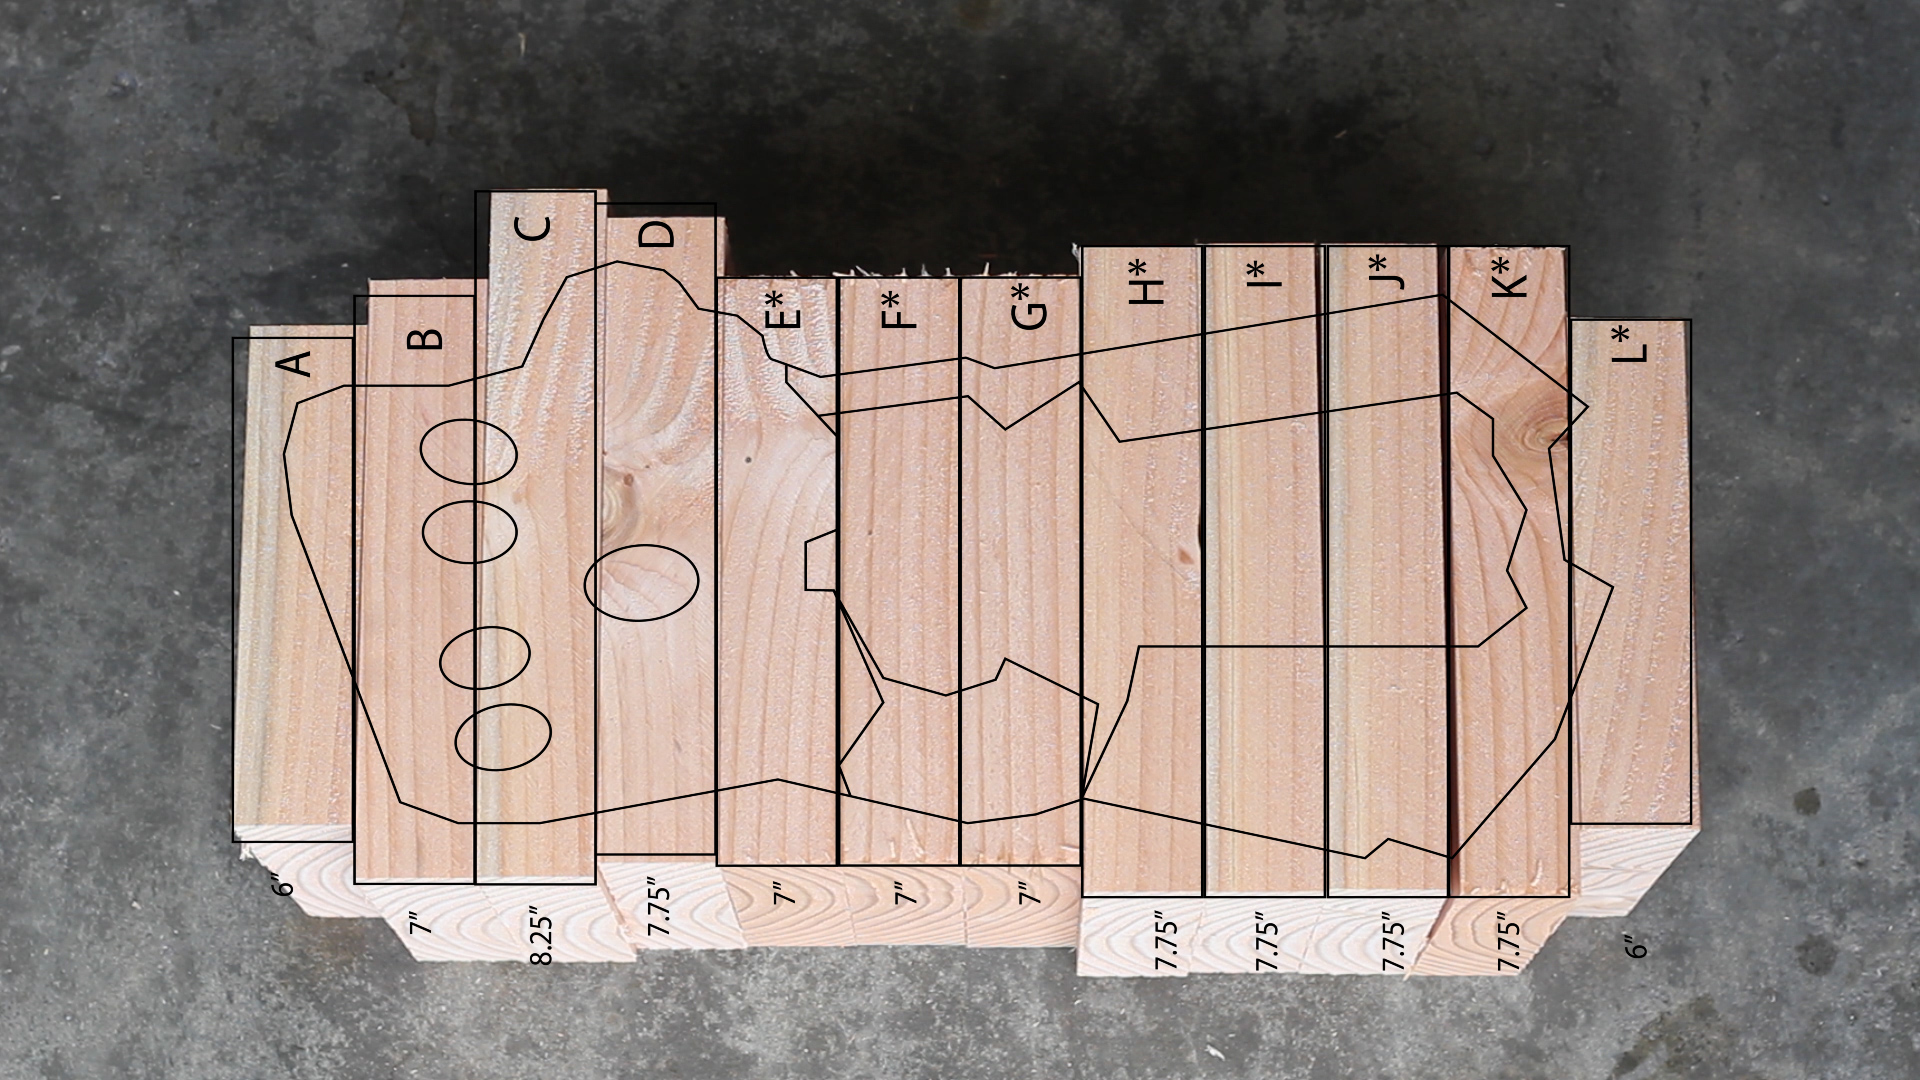
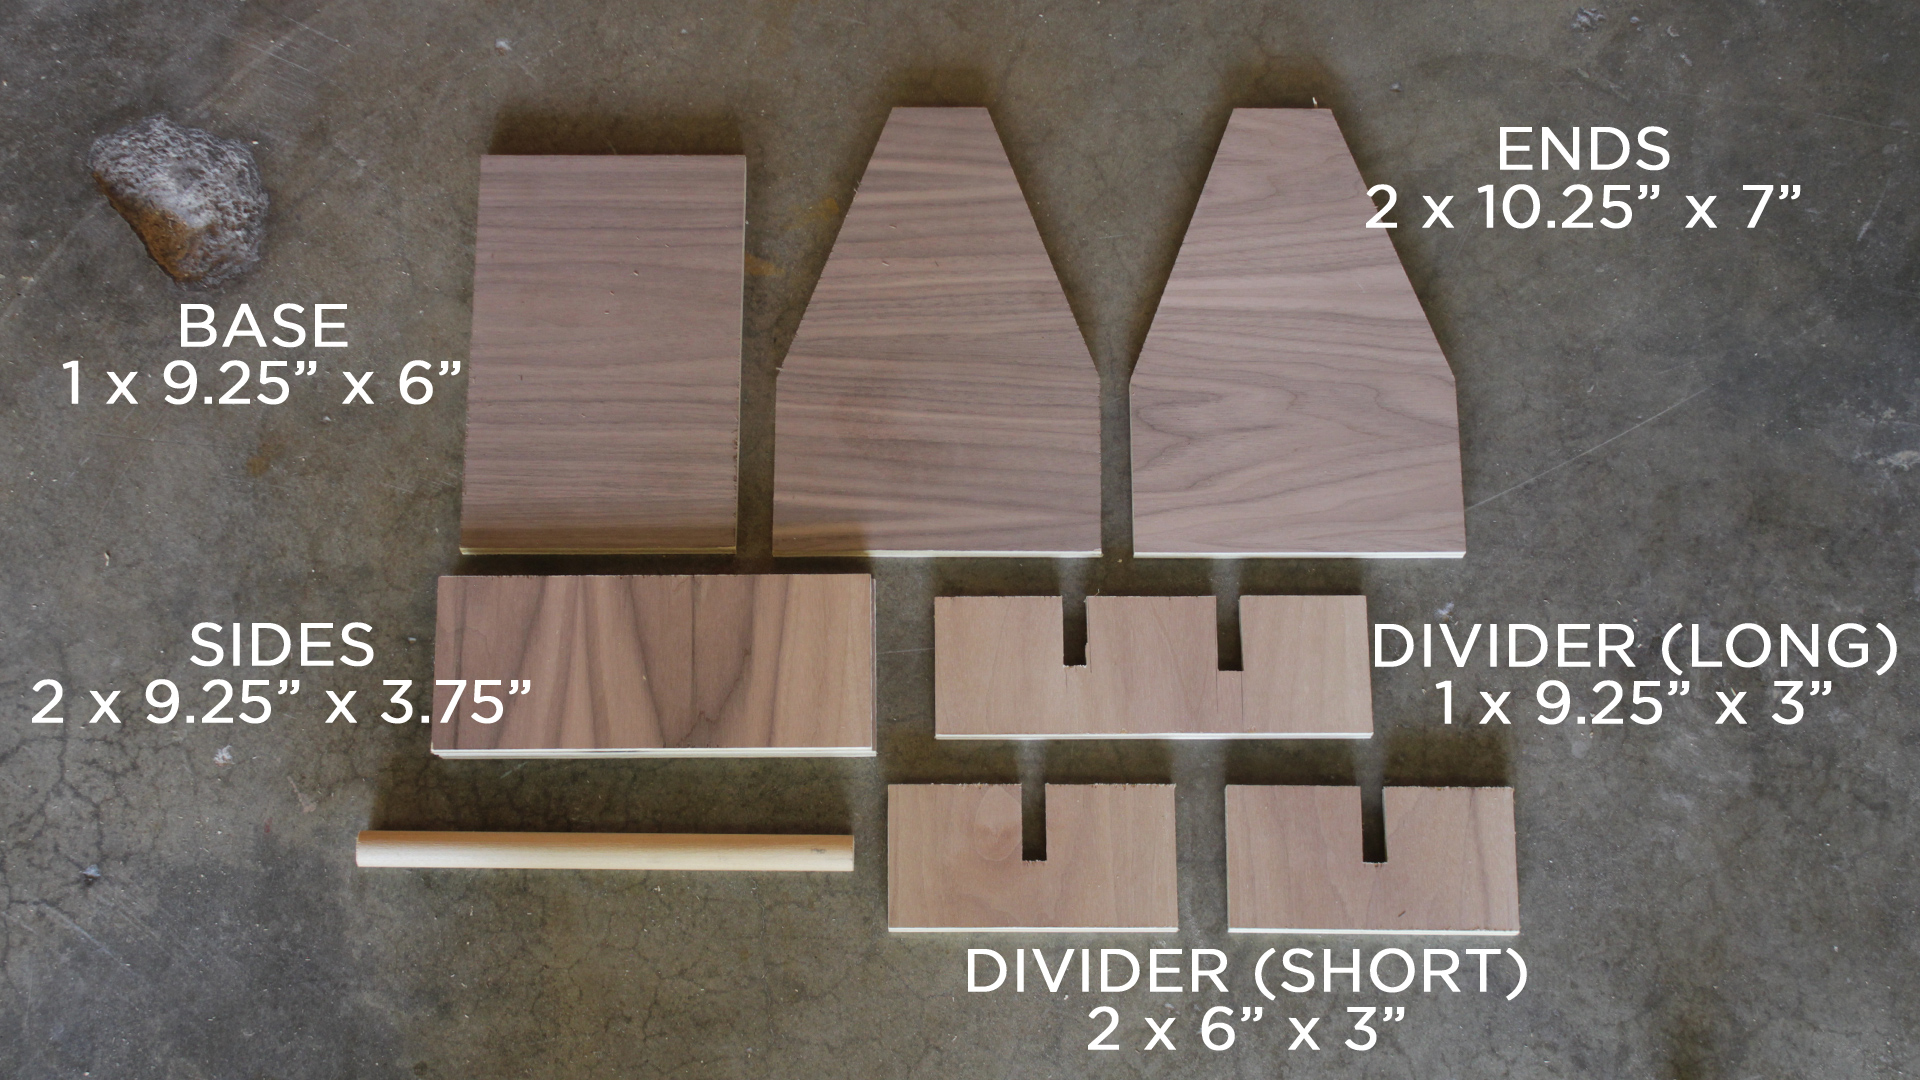
Pic 2 shows the pieces necessary for A SINGLE TOTE and the dimensions I used. You can see dado cuts in the bottom right pieces that I mentioned in the previous step.
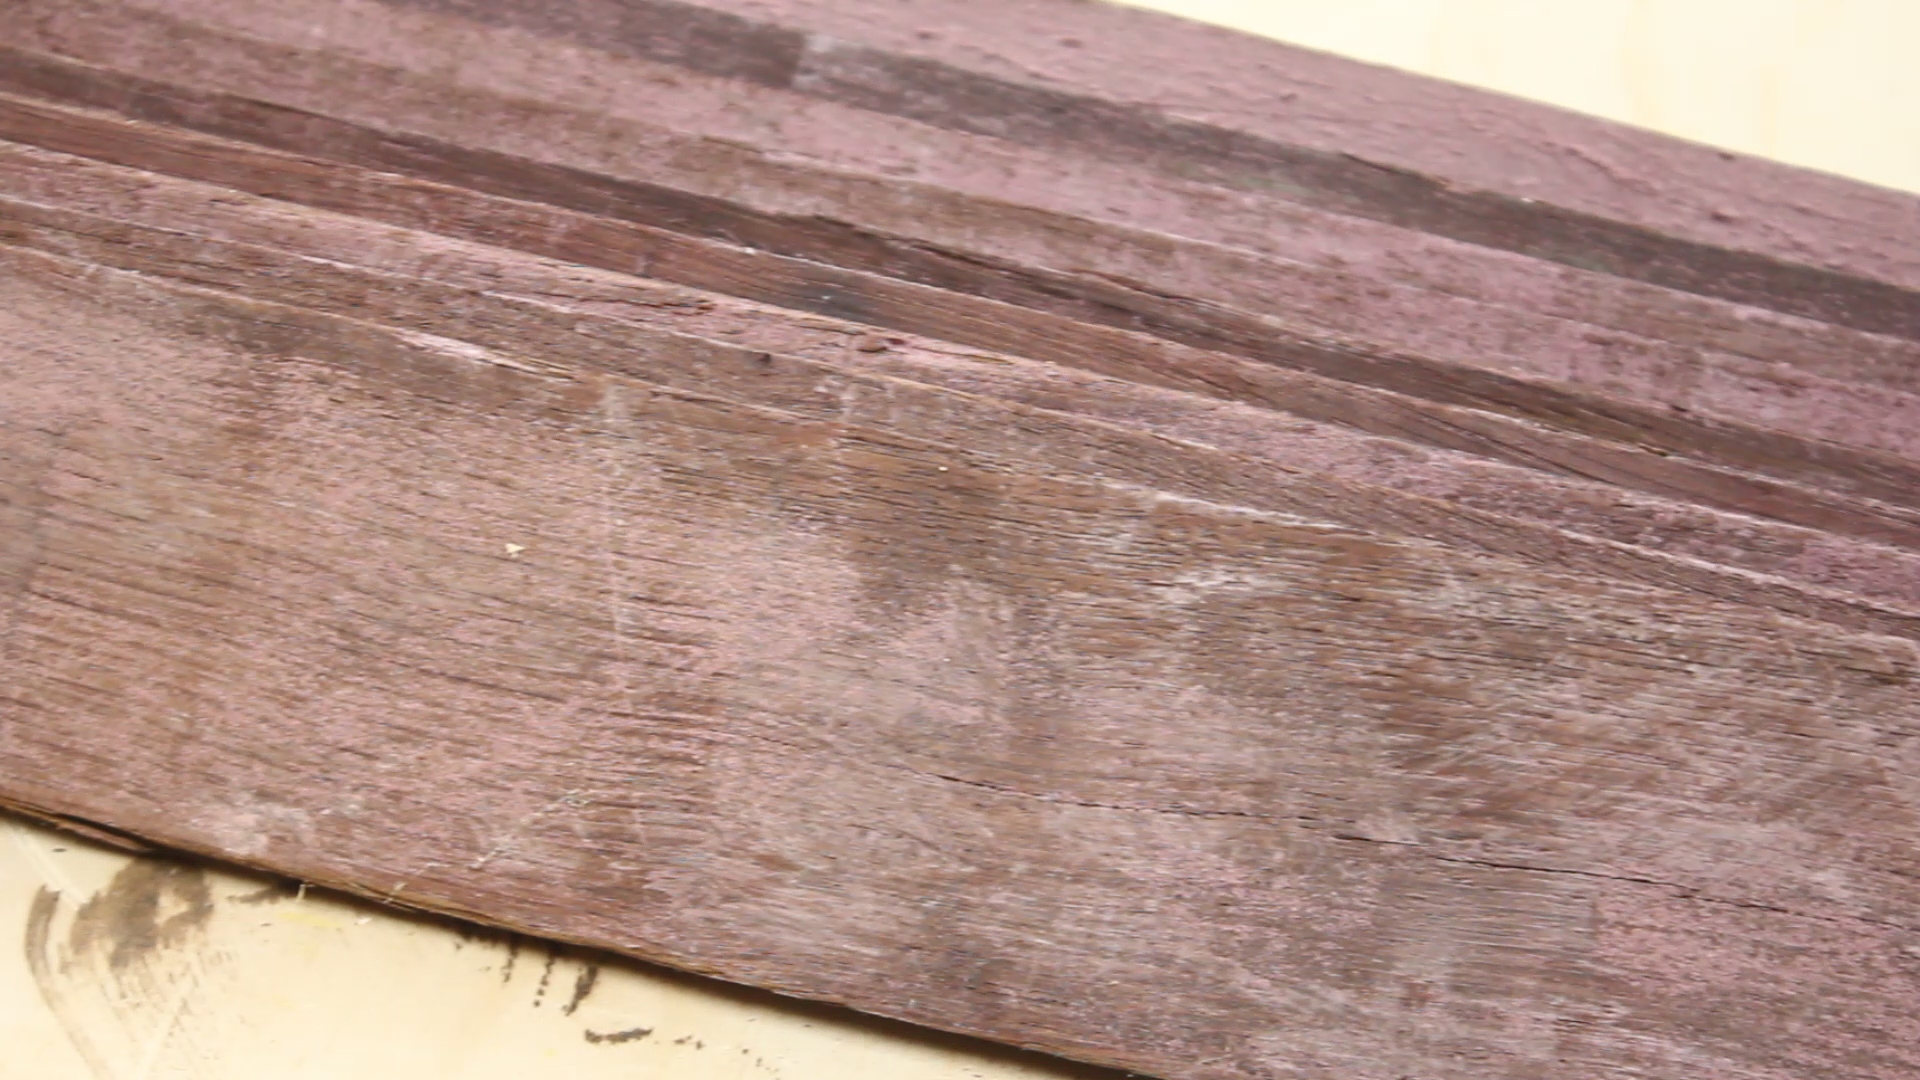
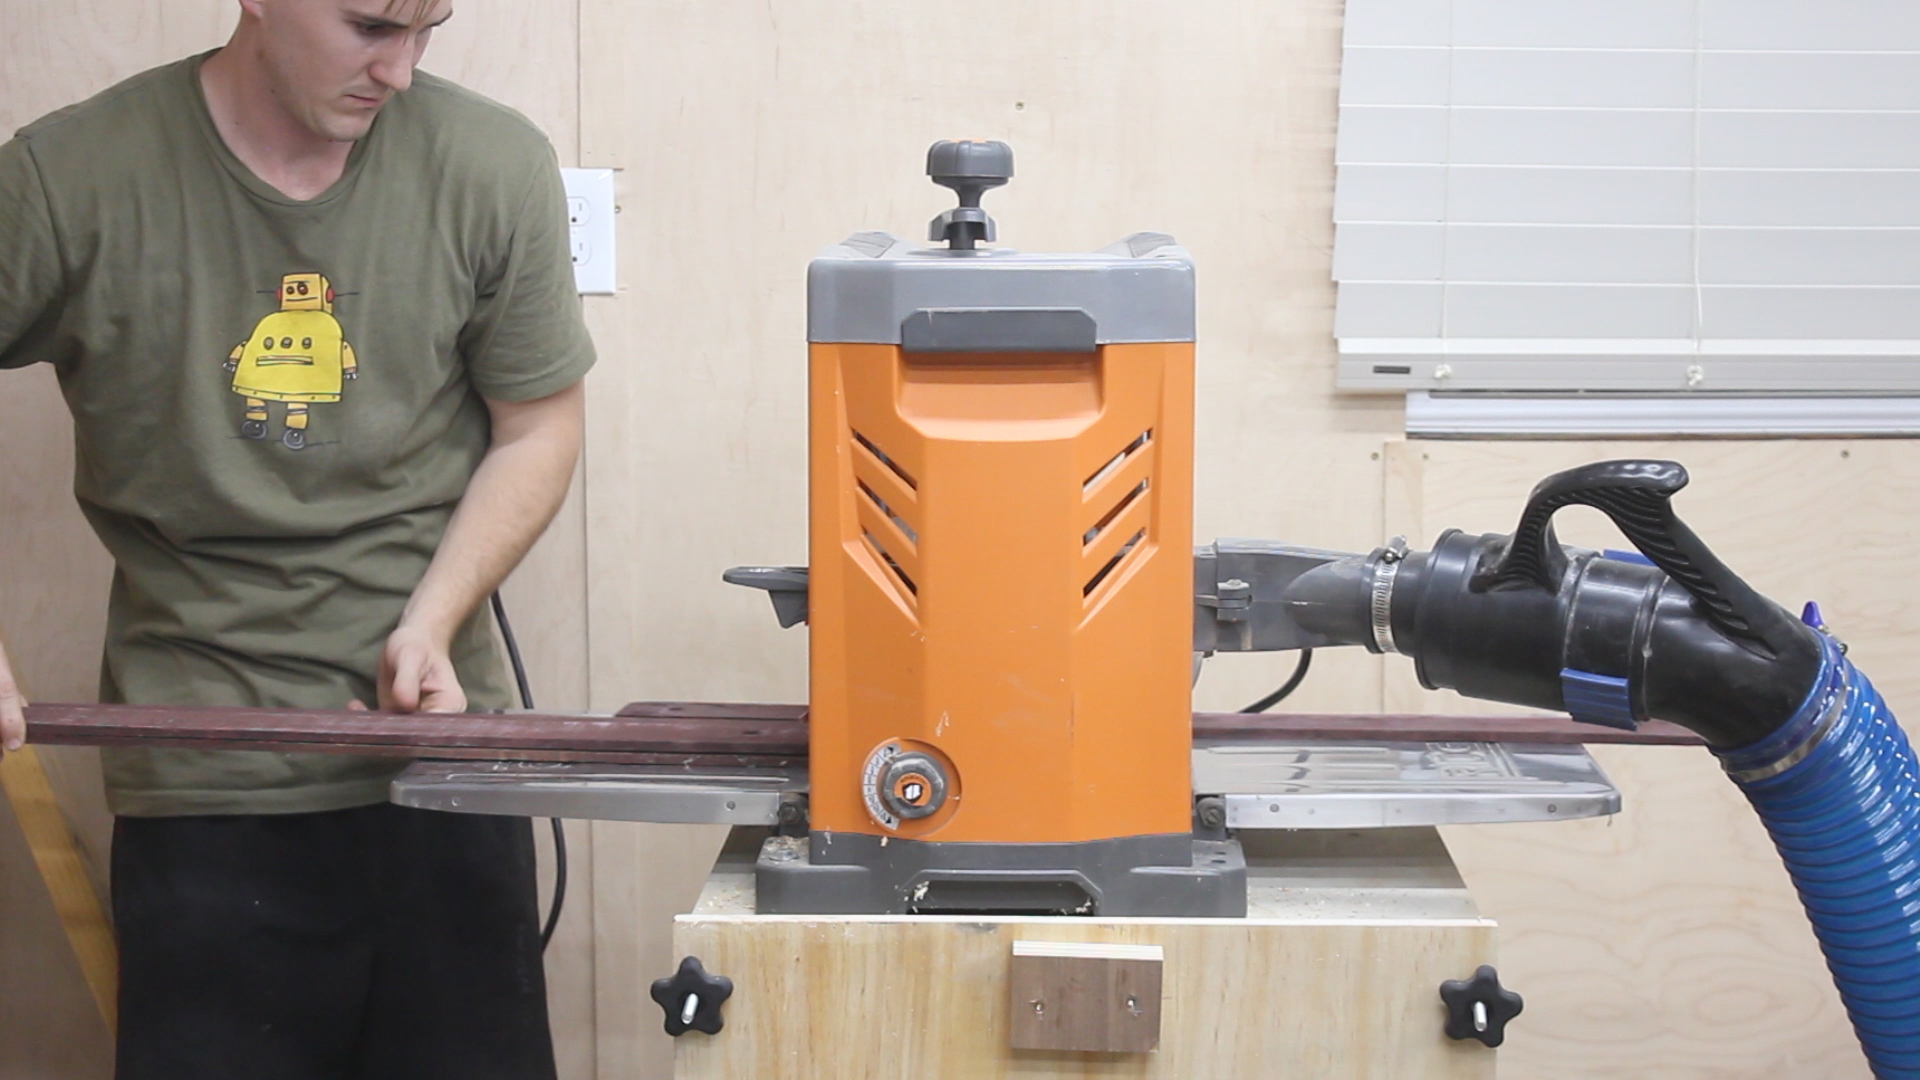
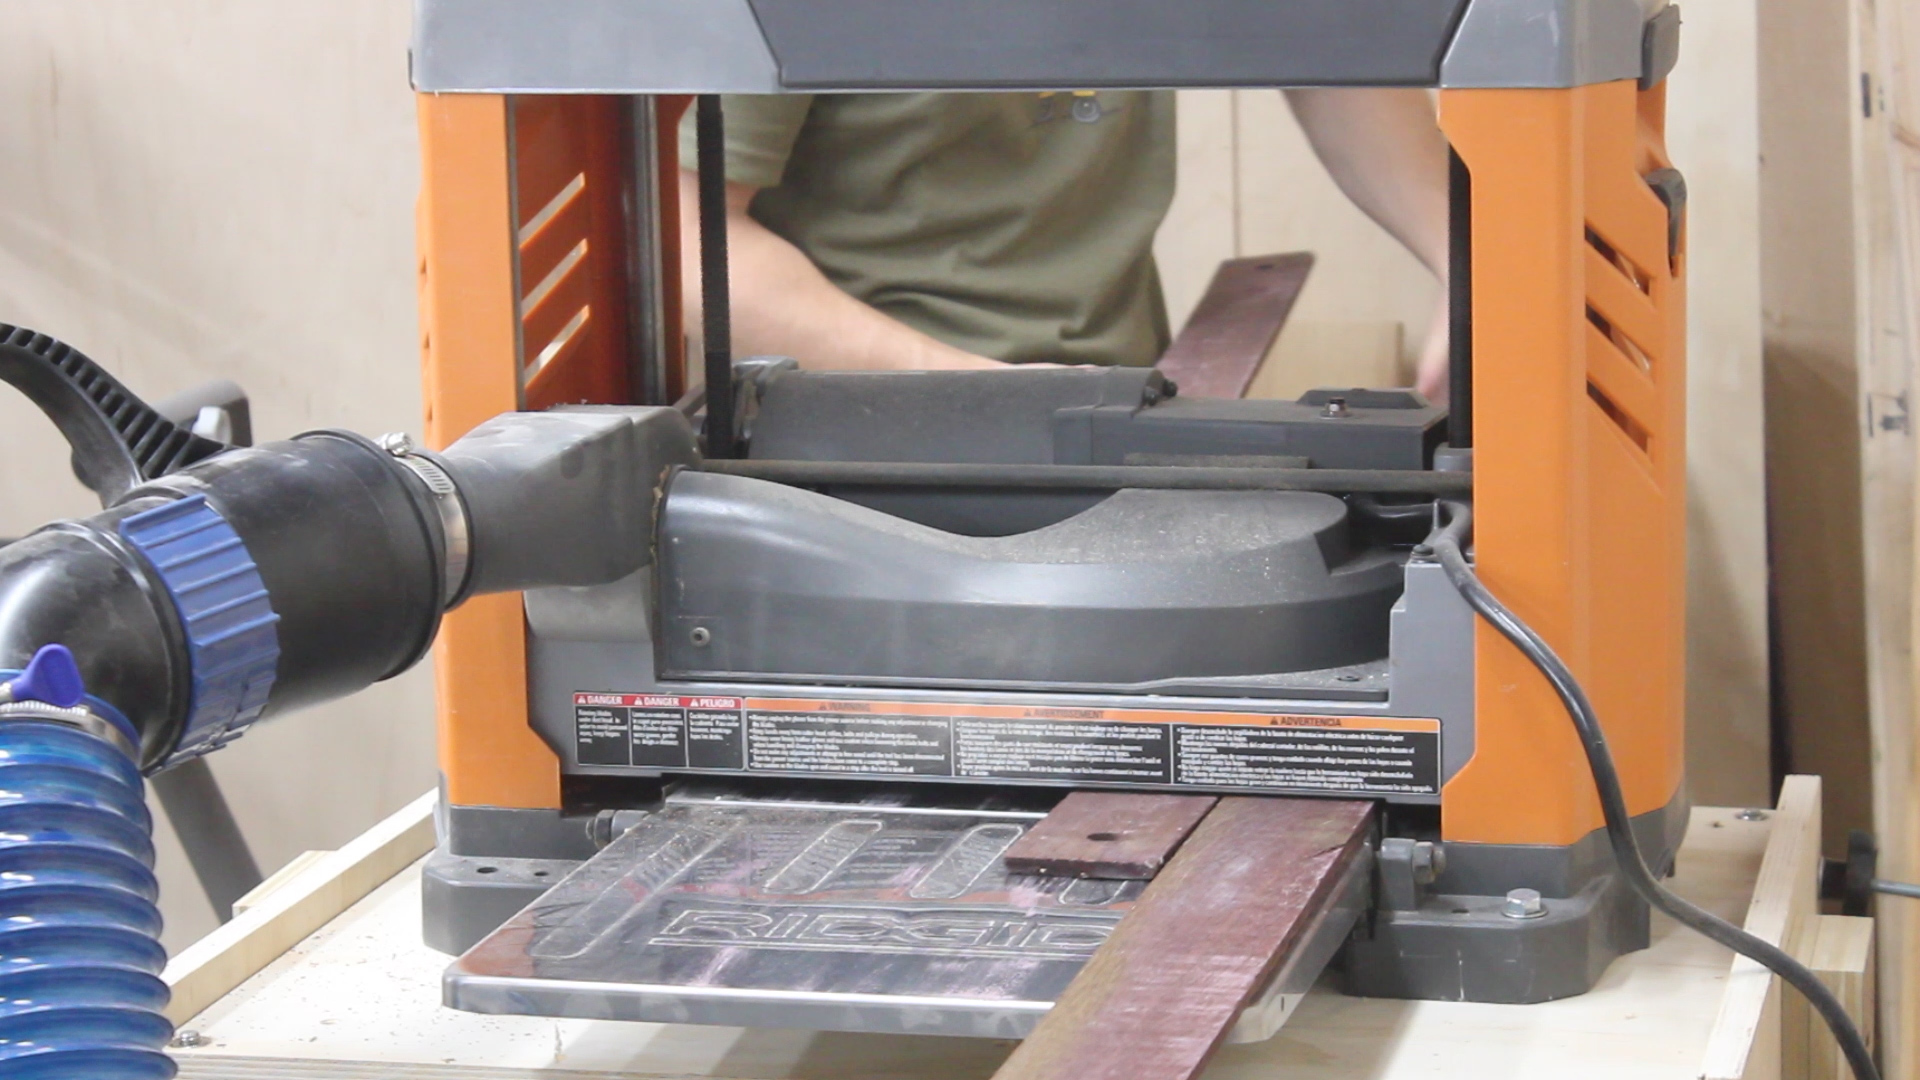
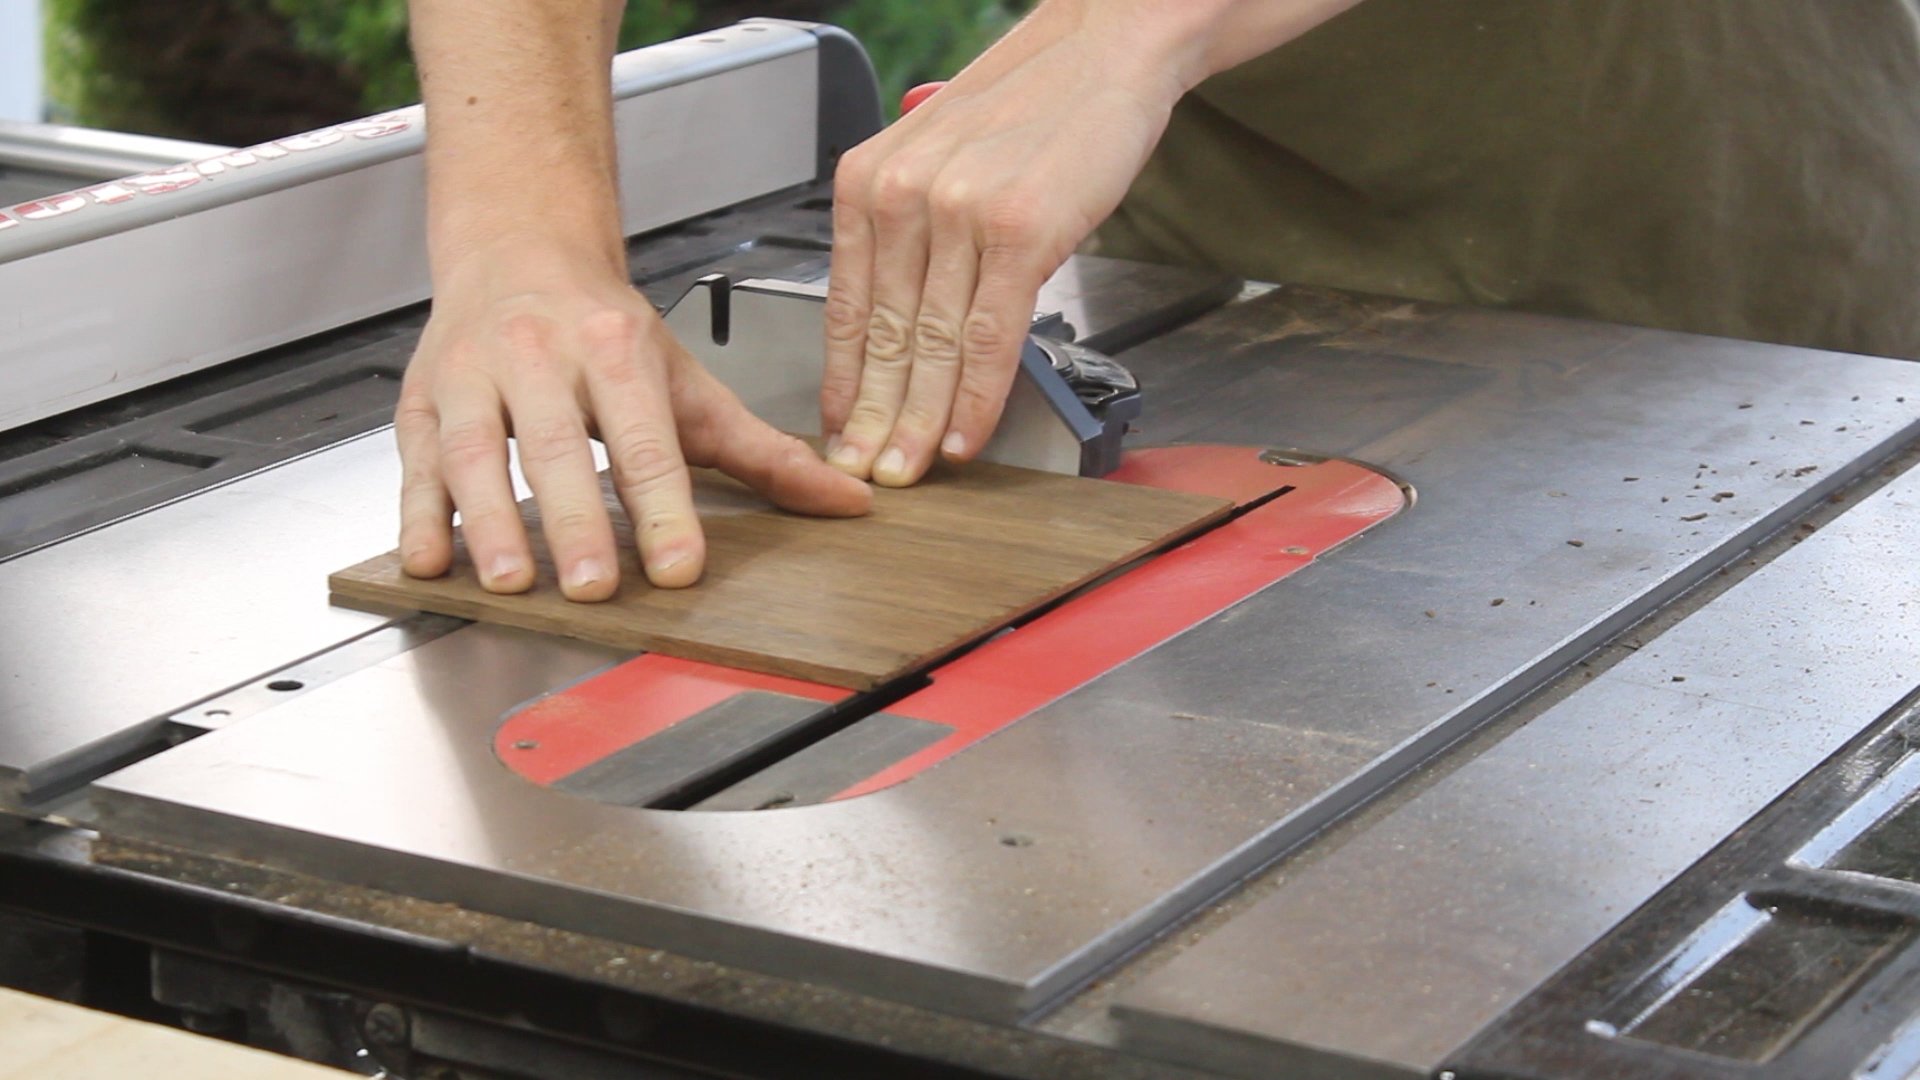
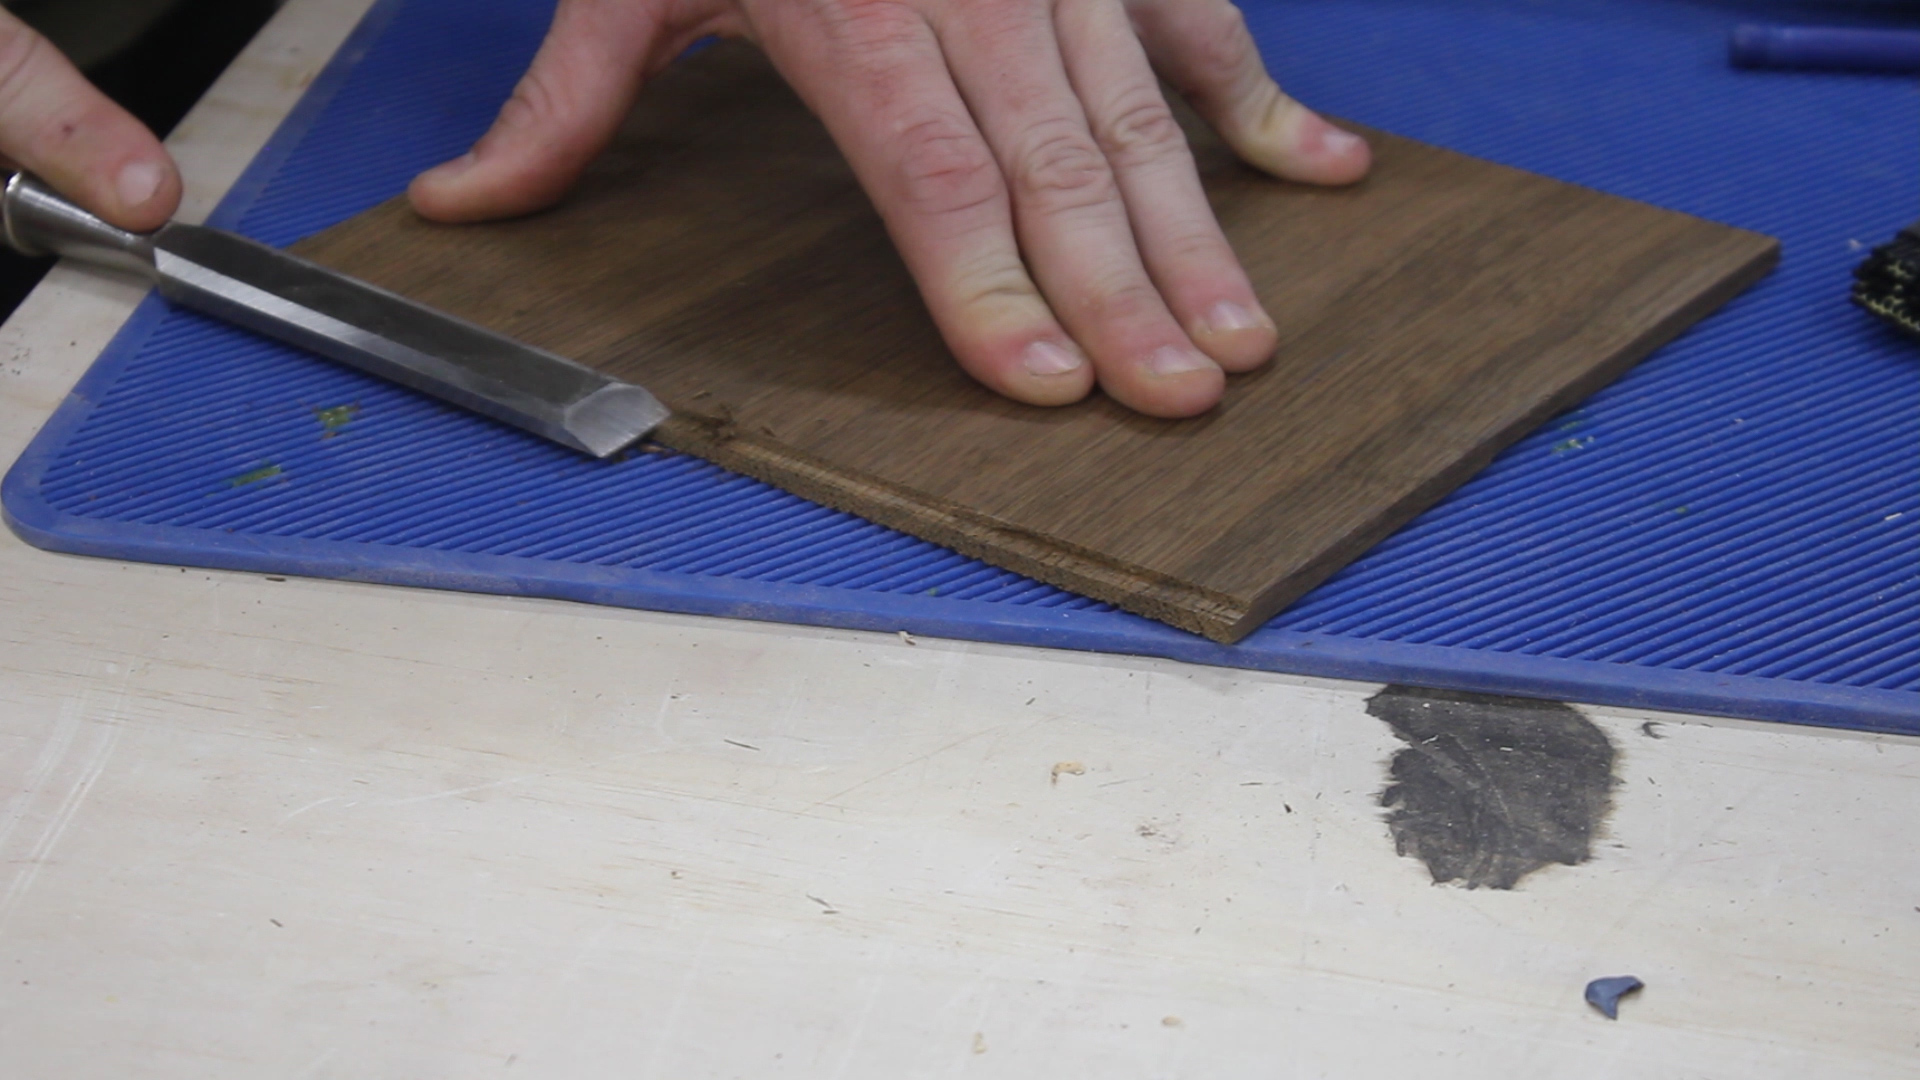
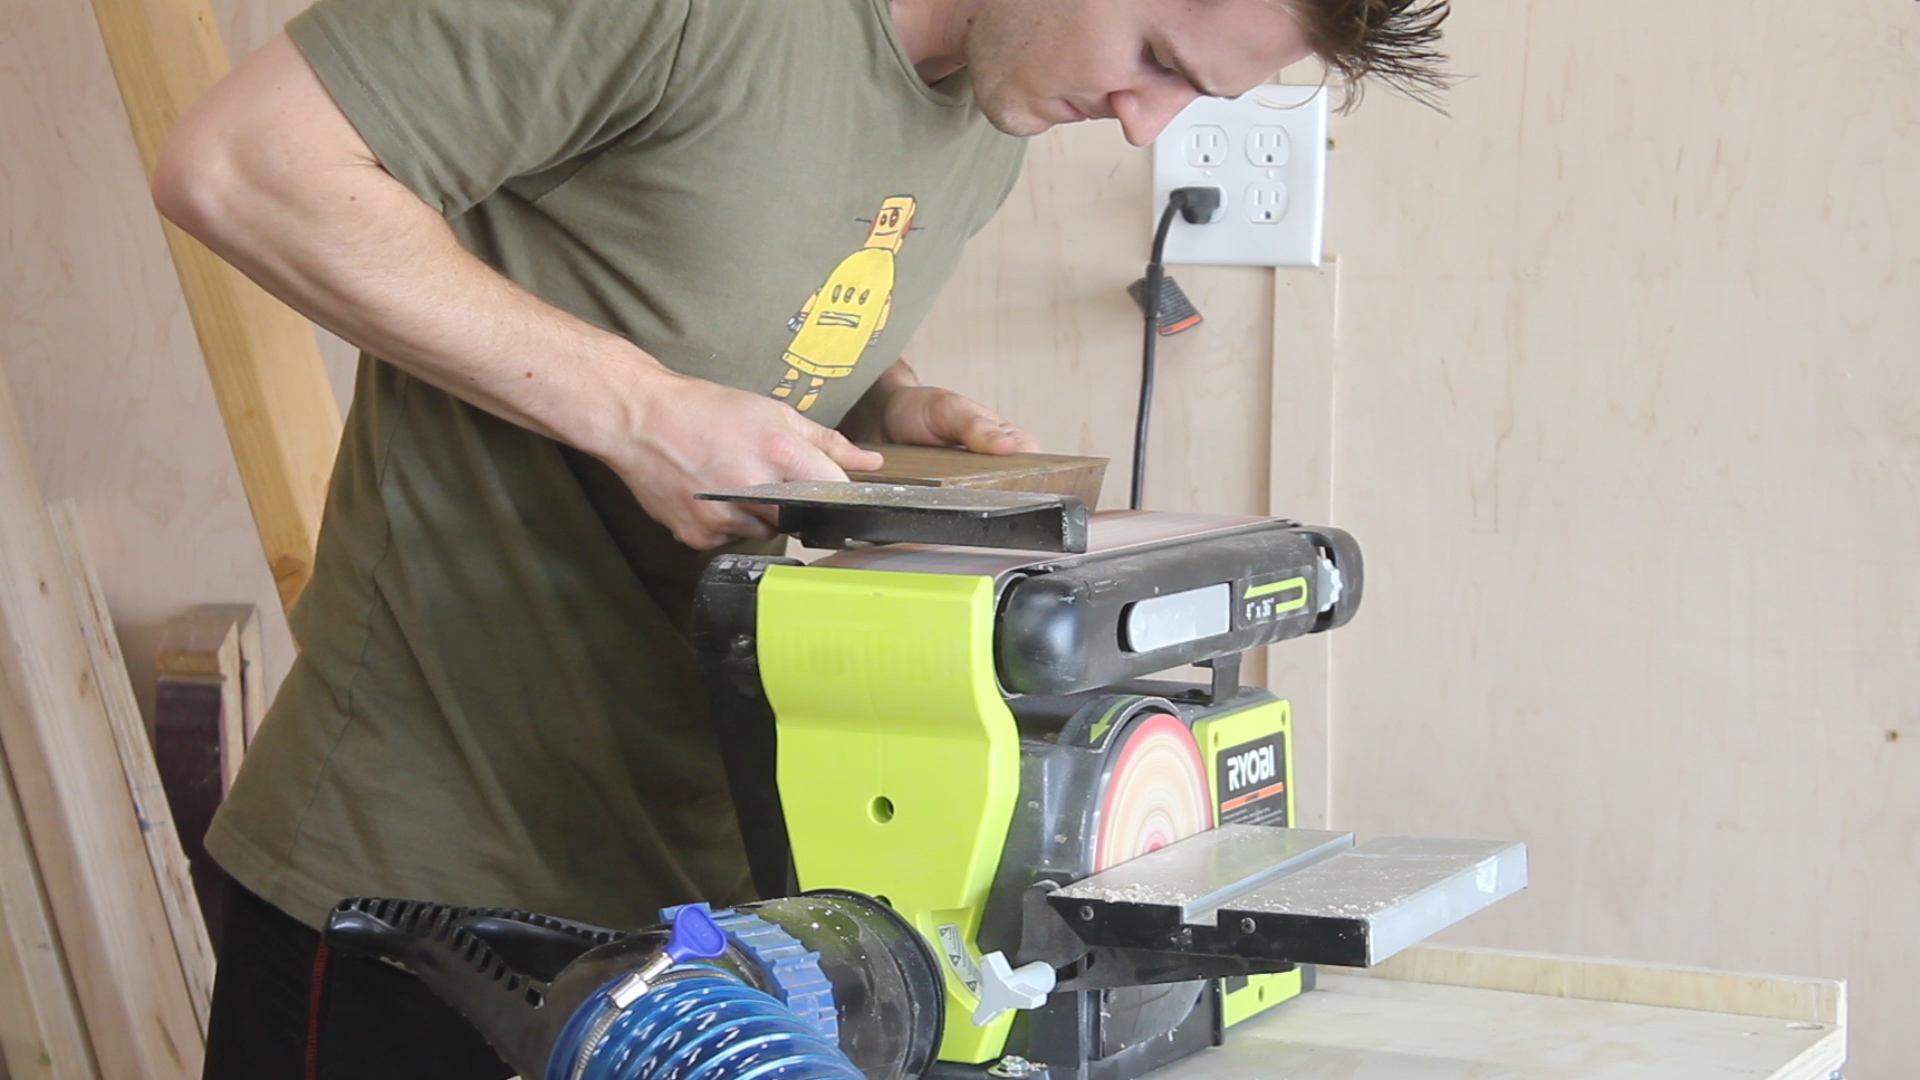
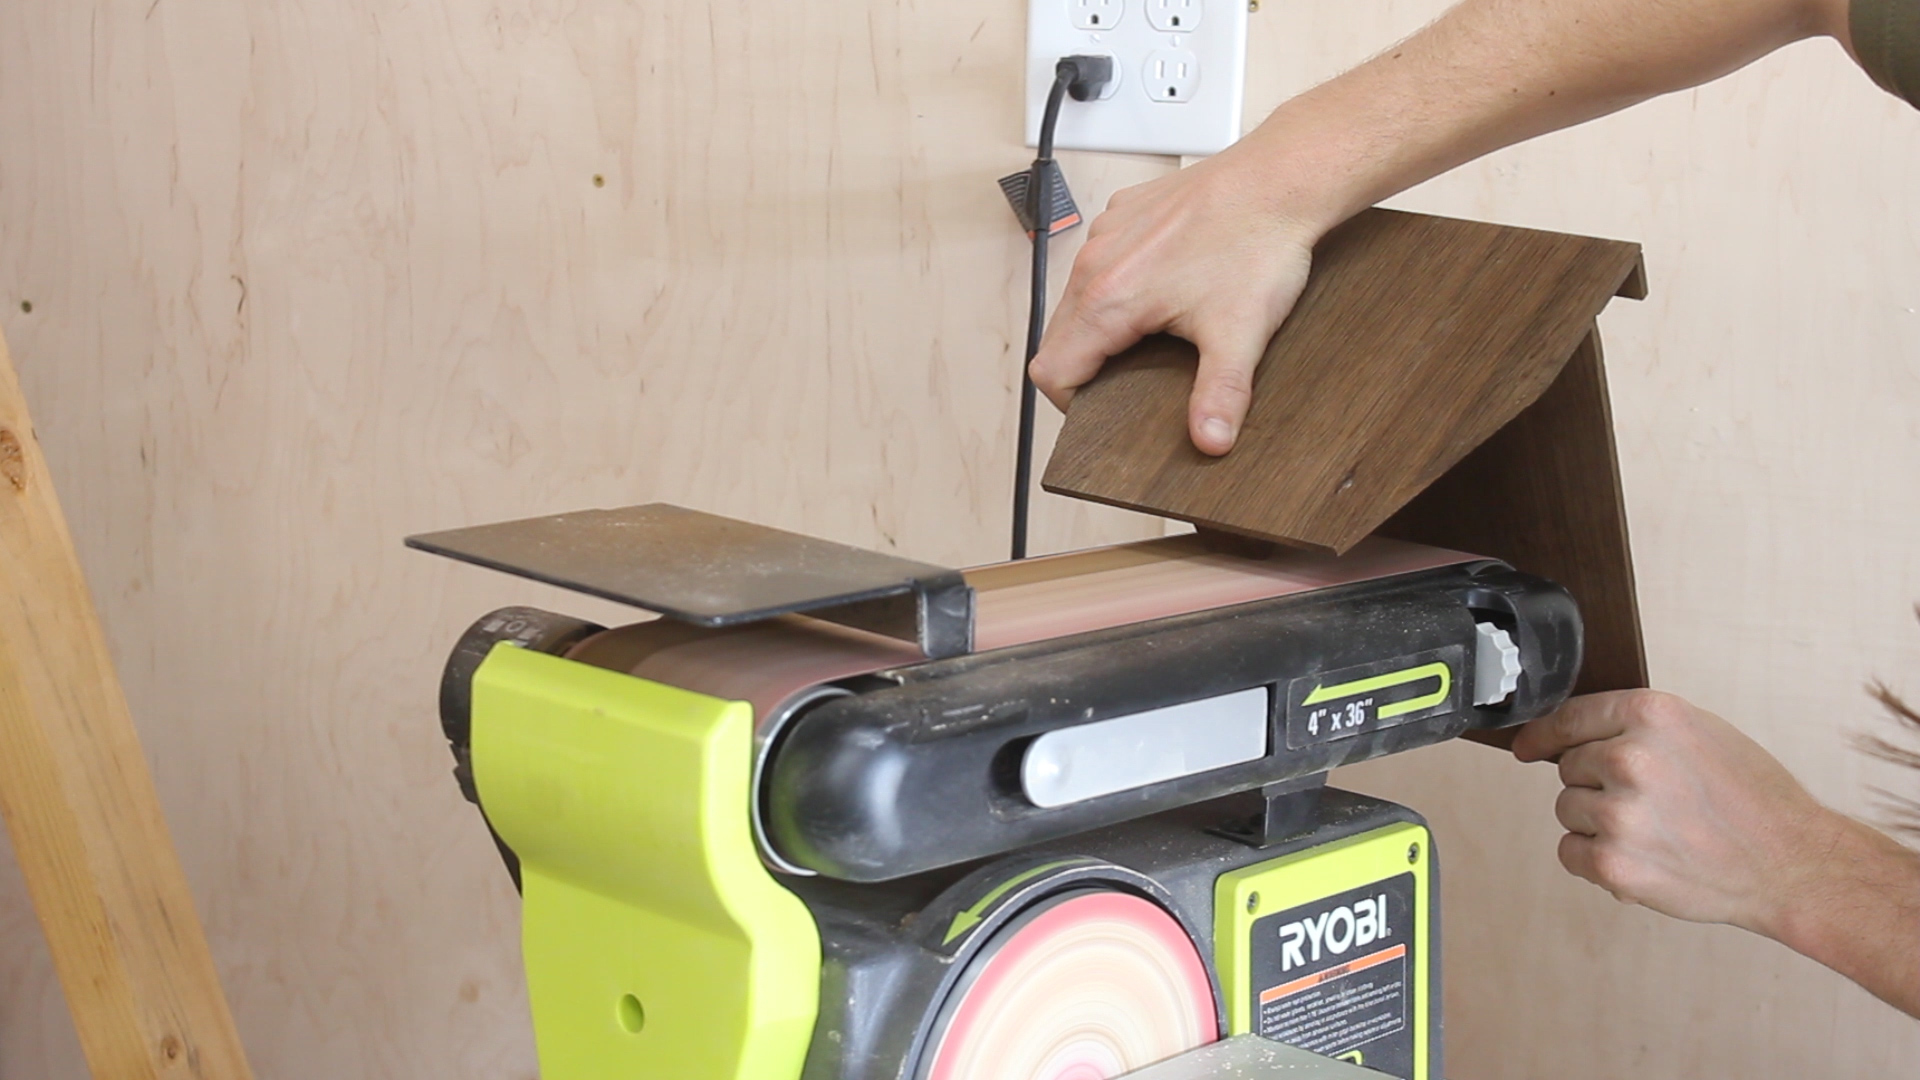
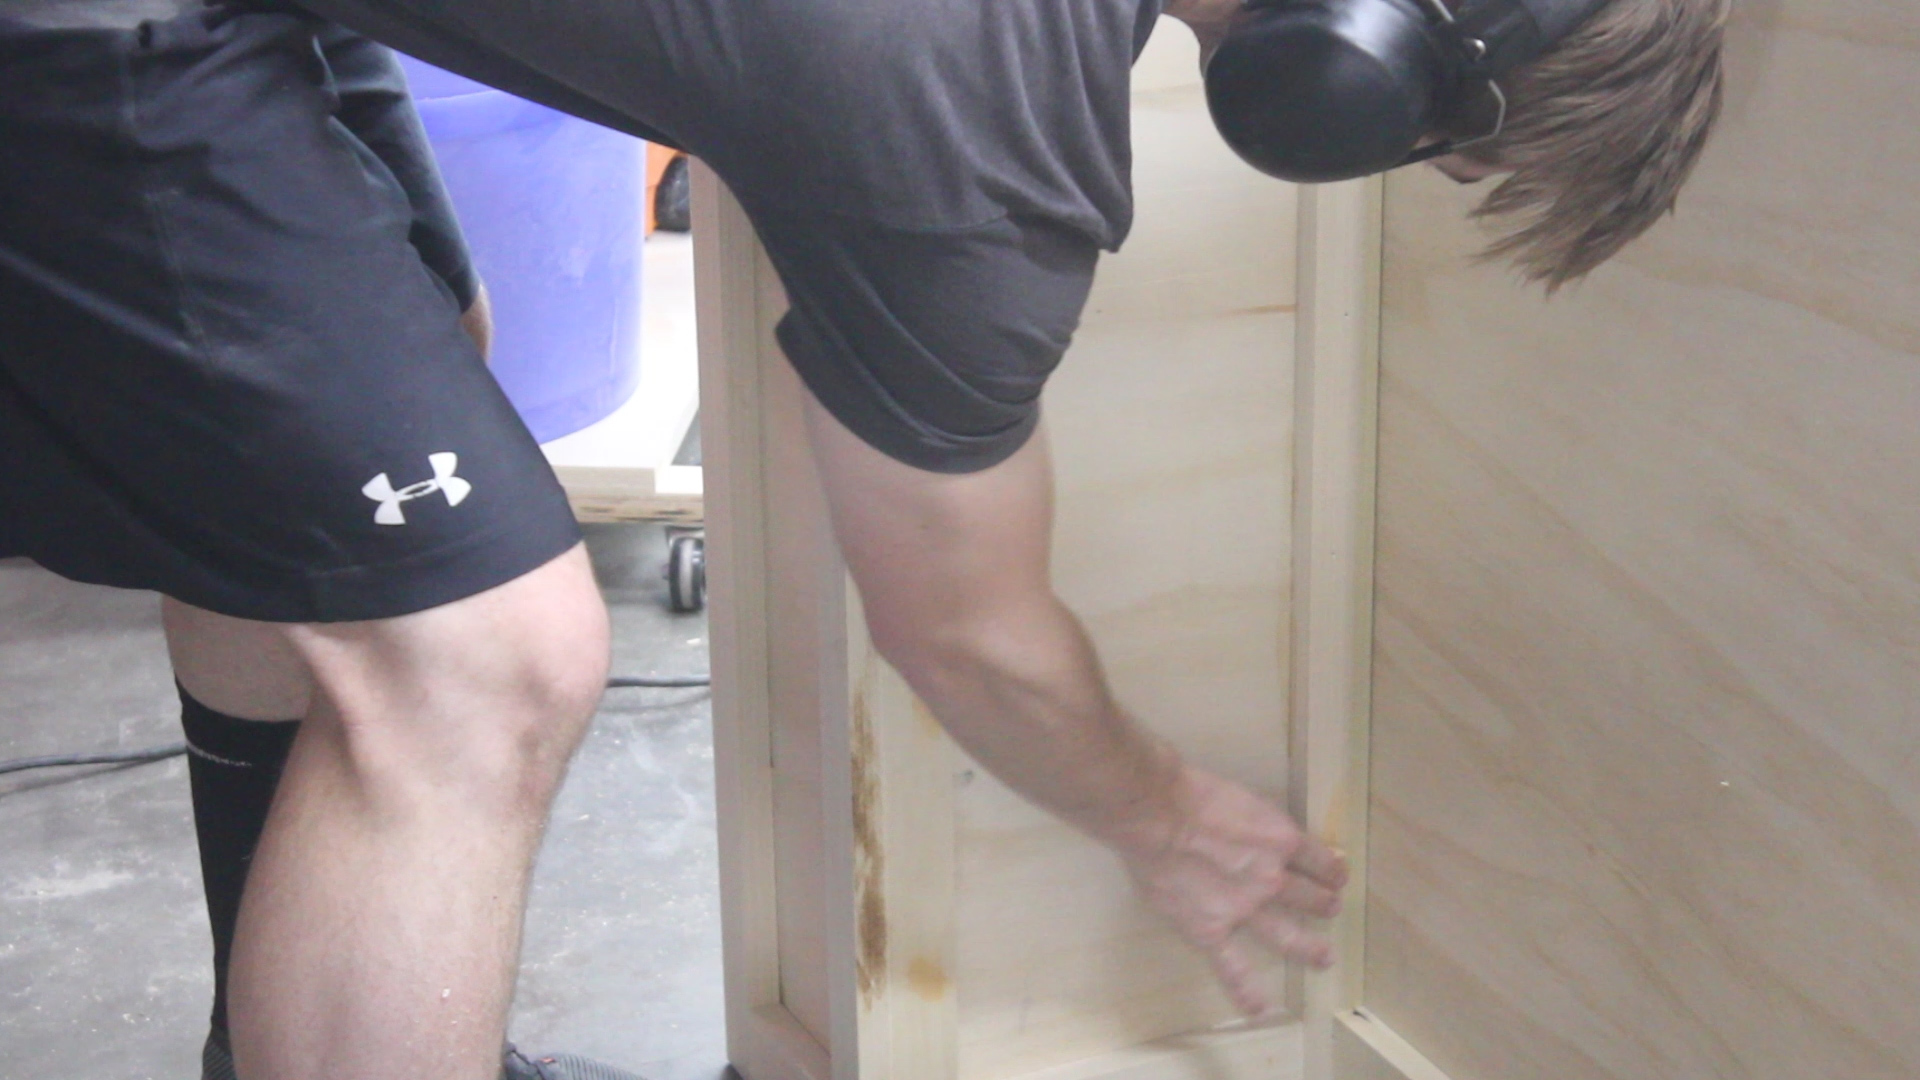
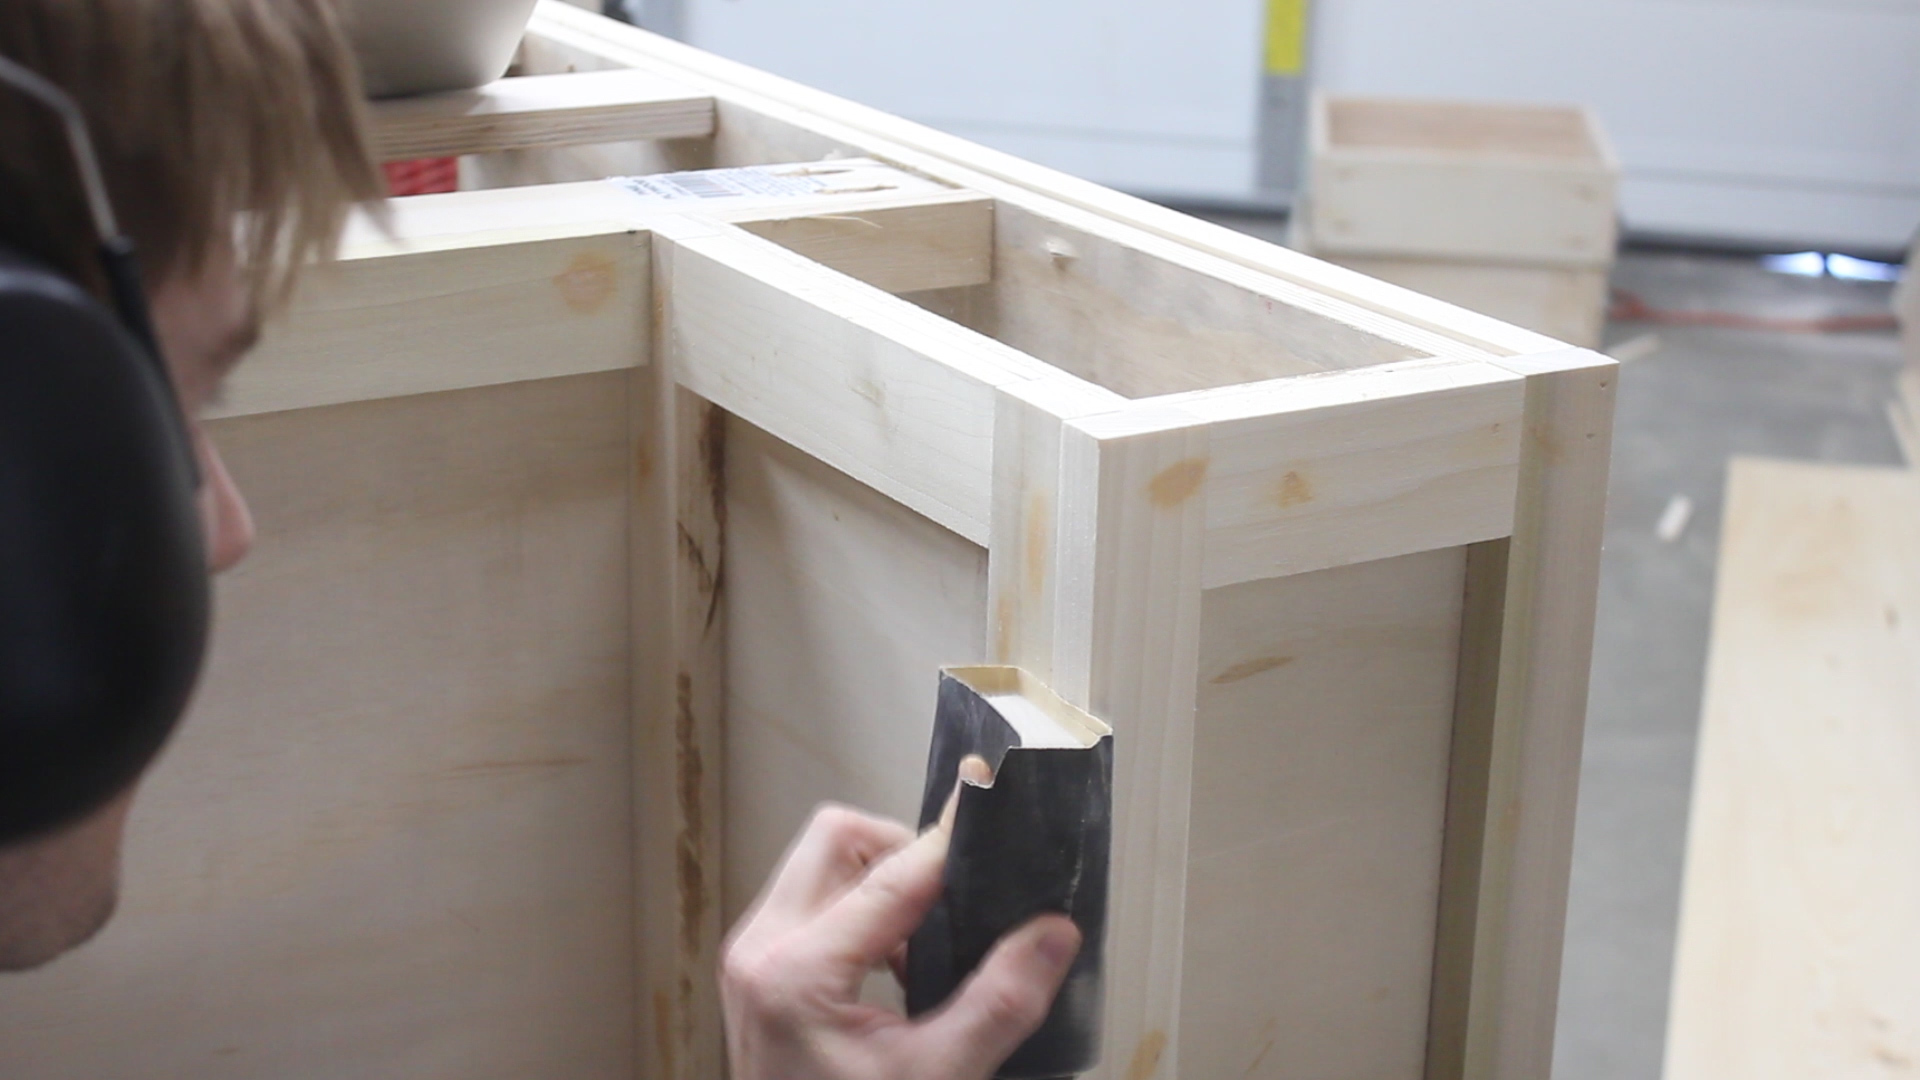
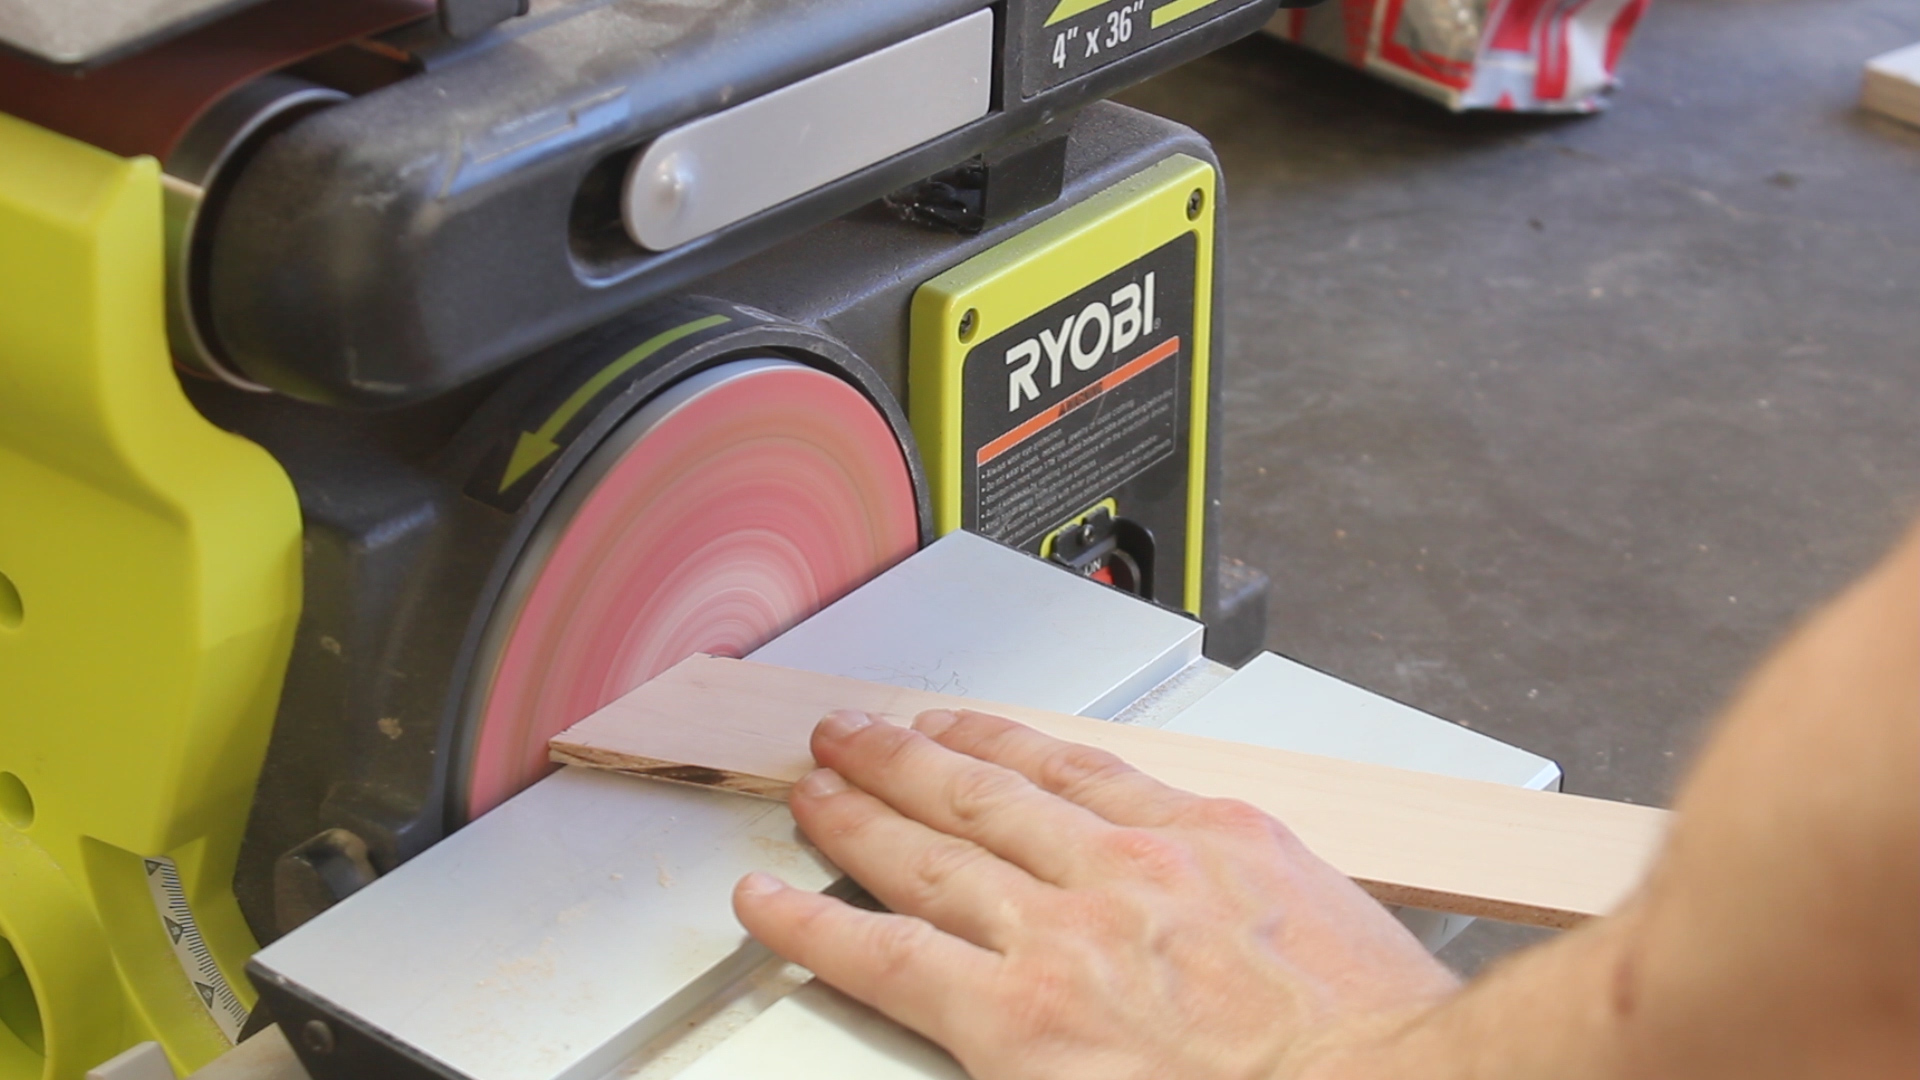
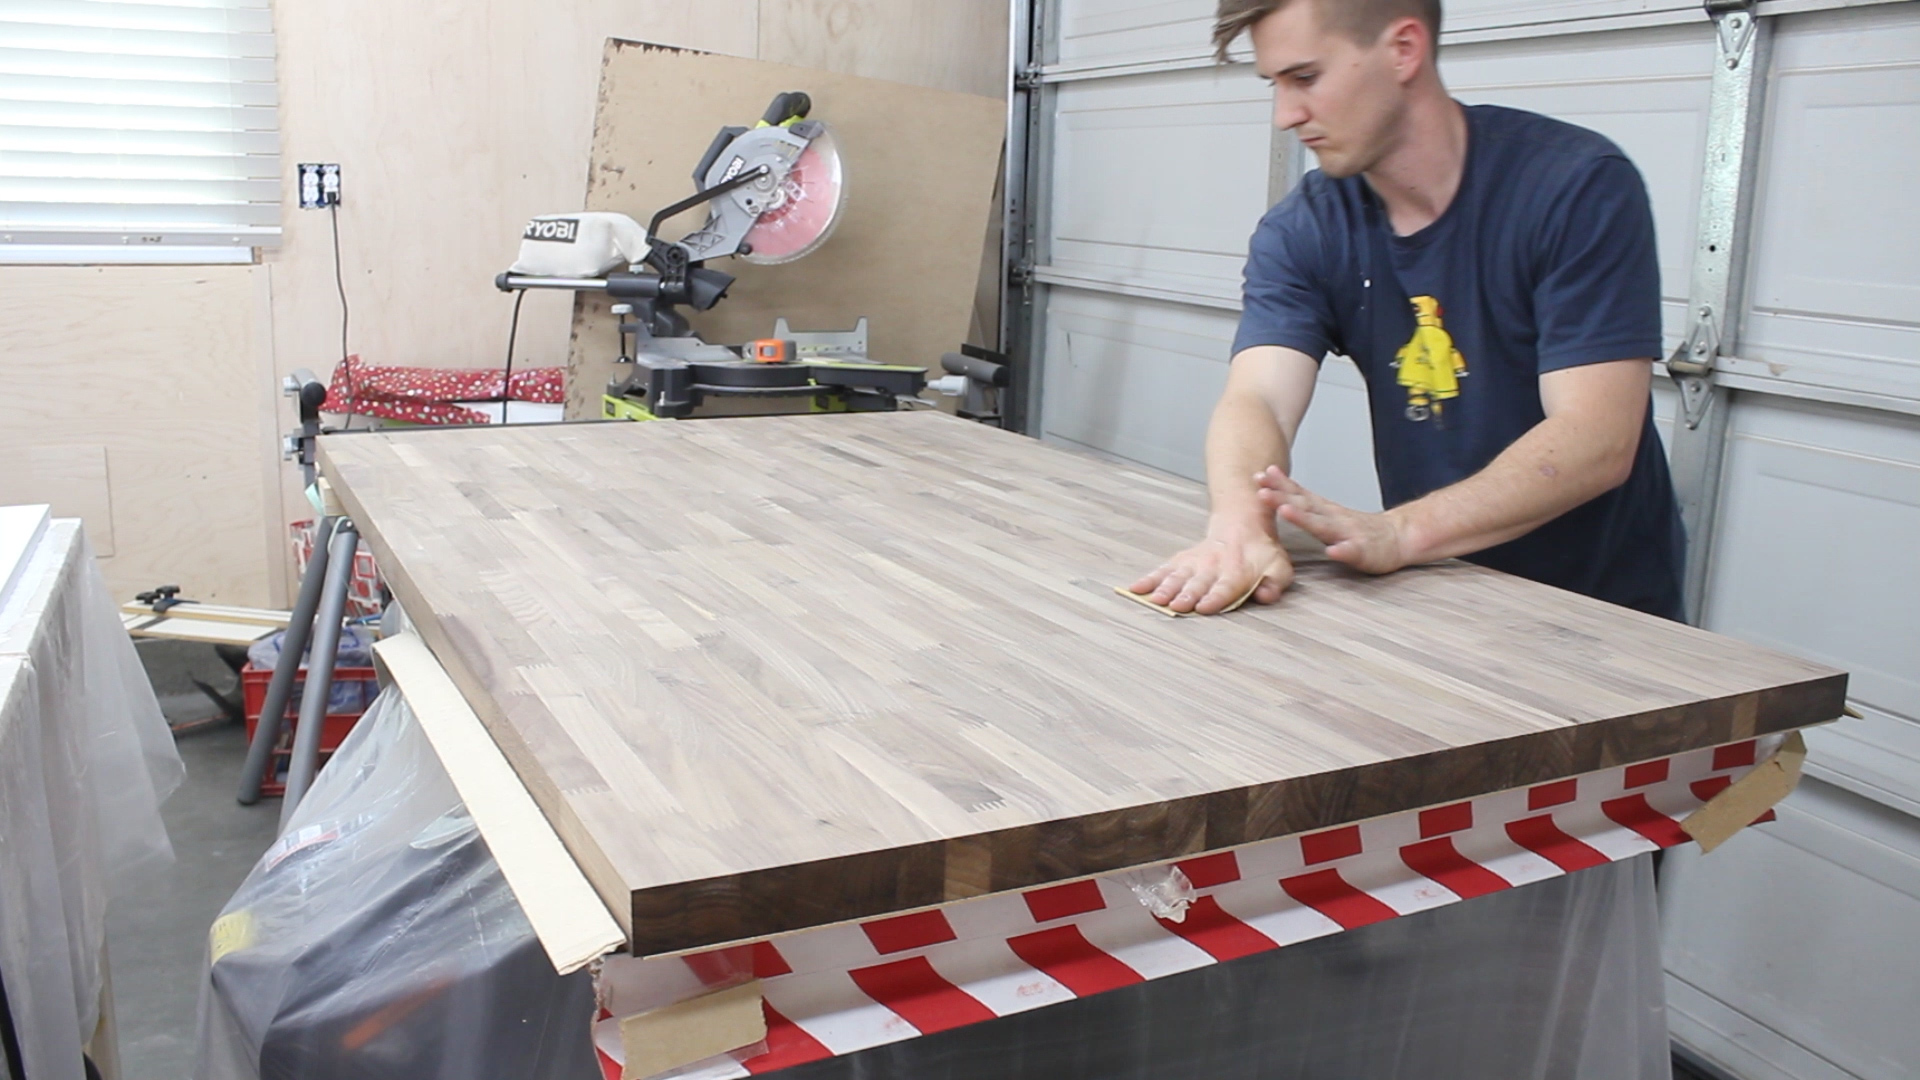
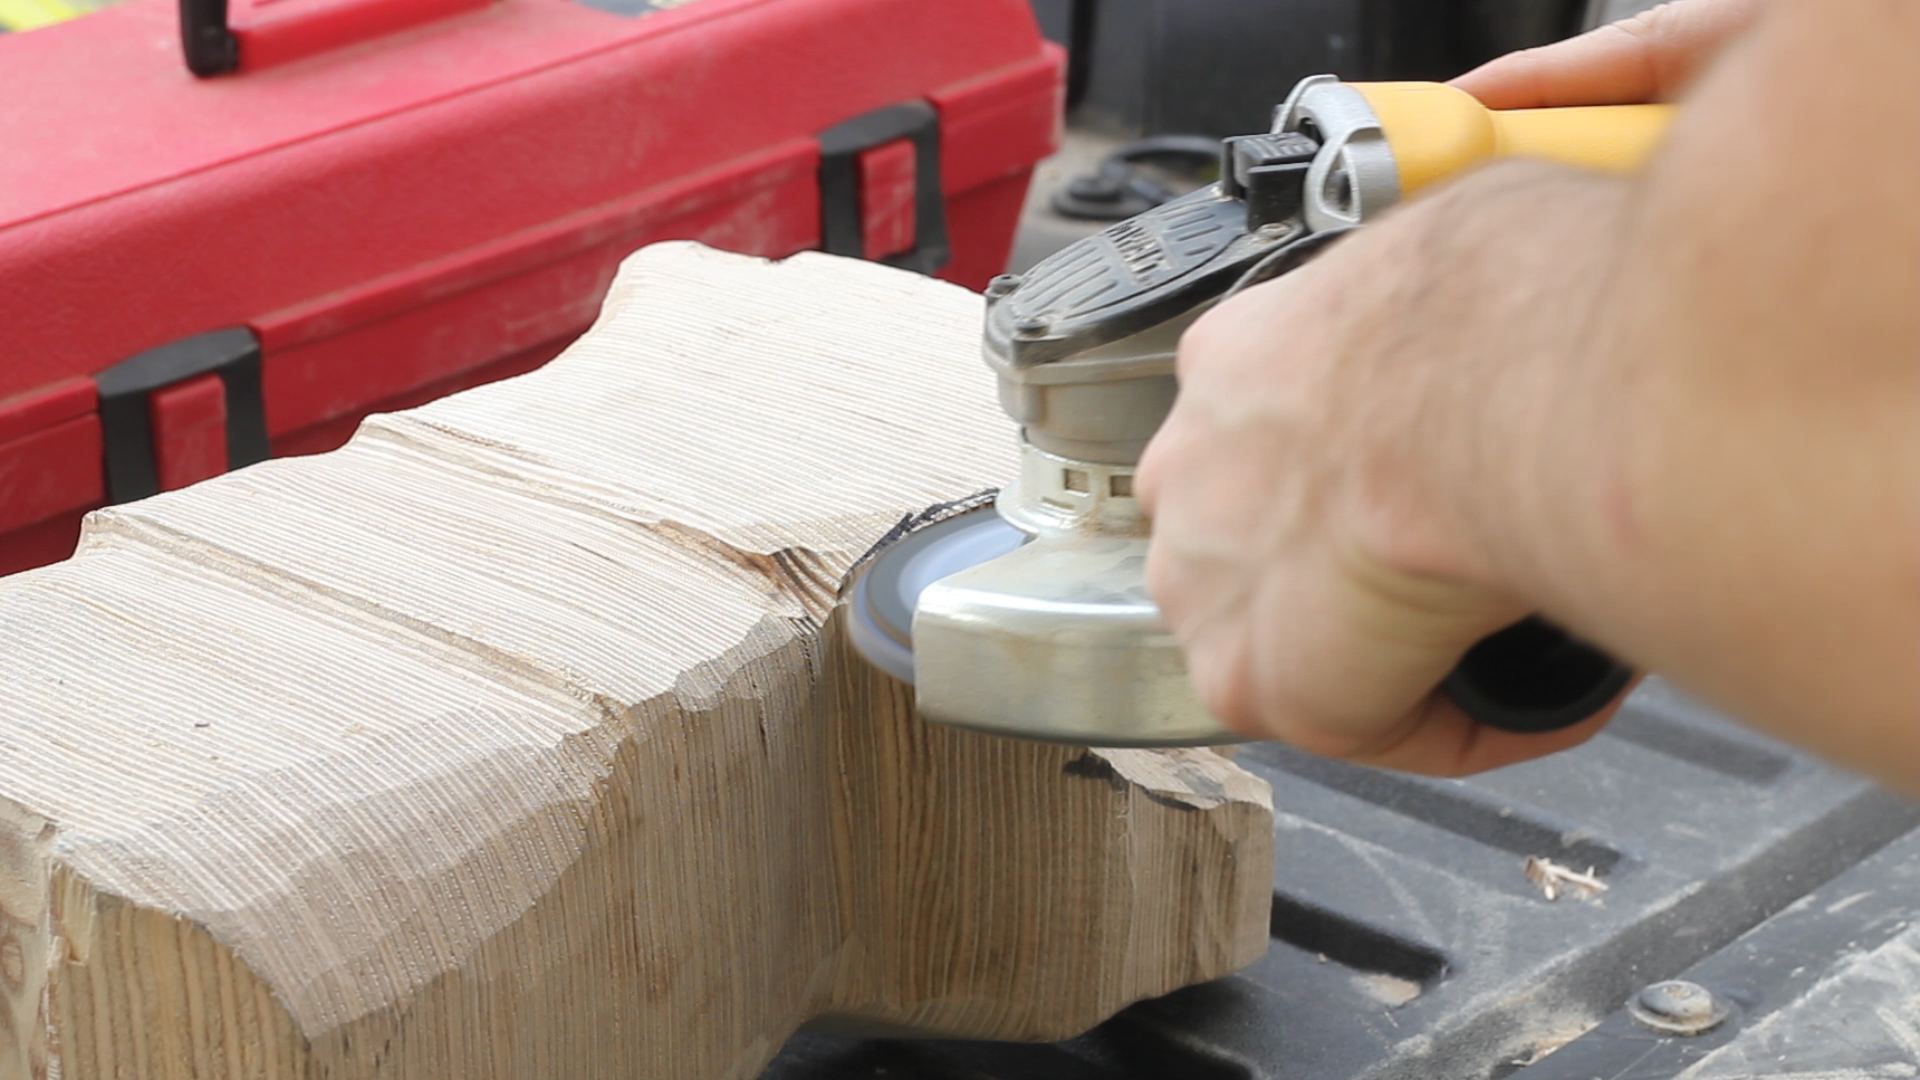
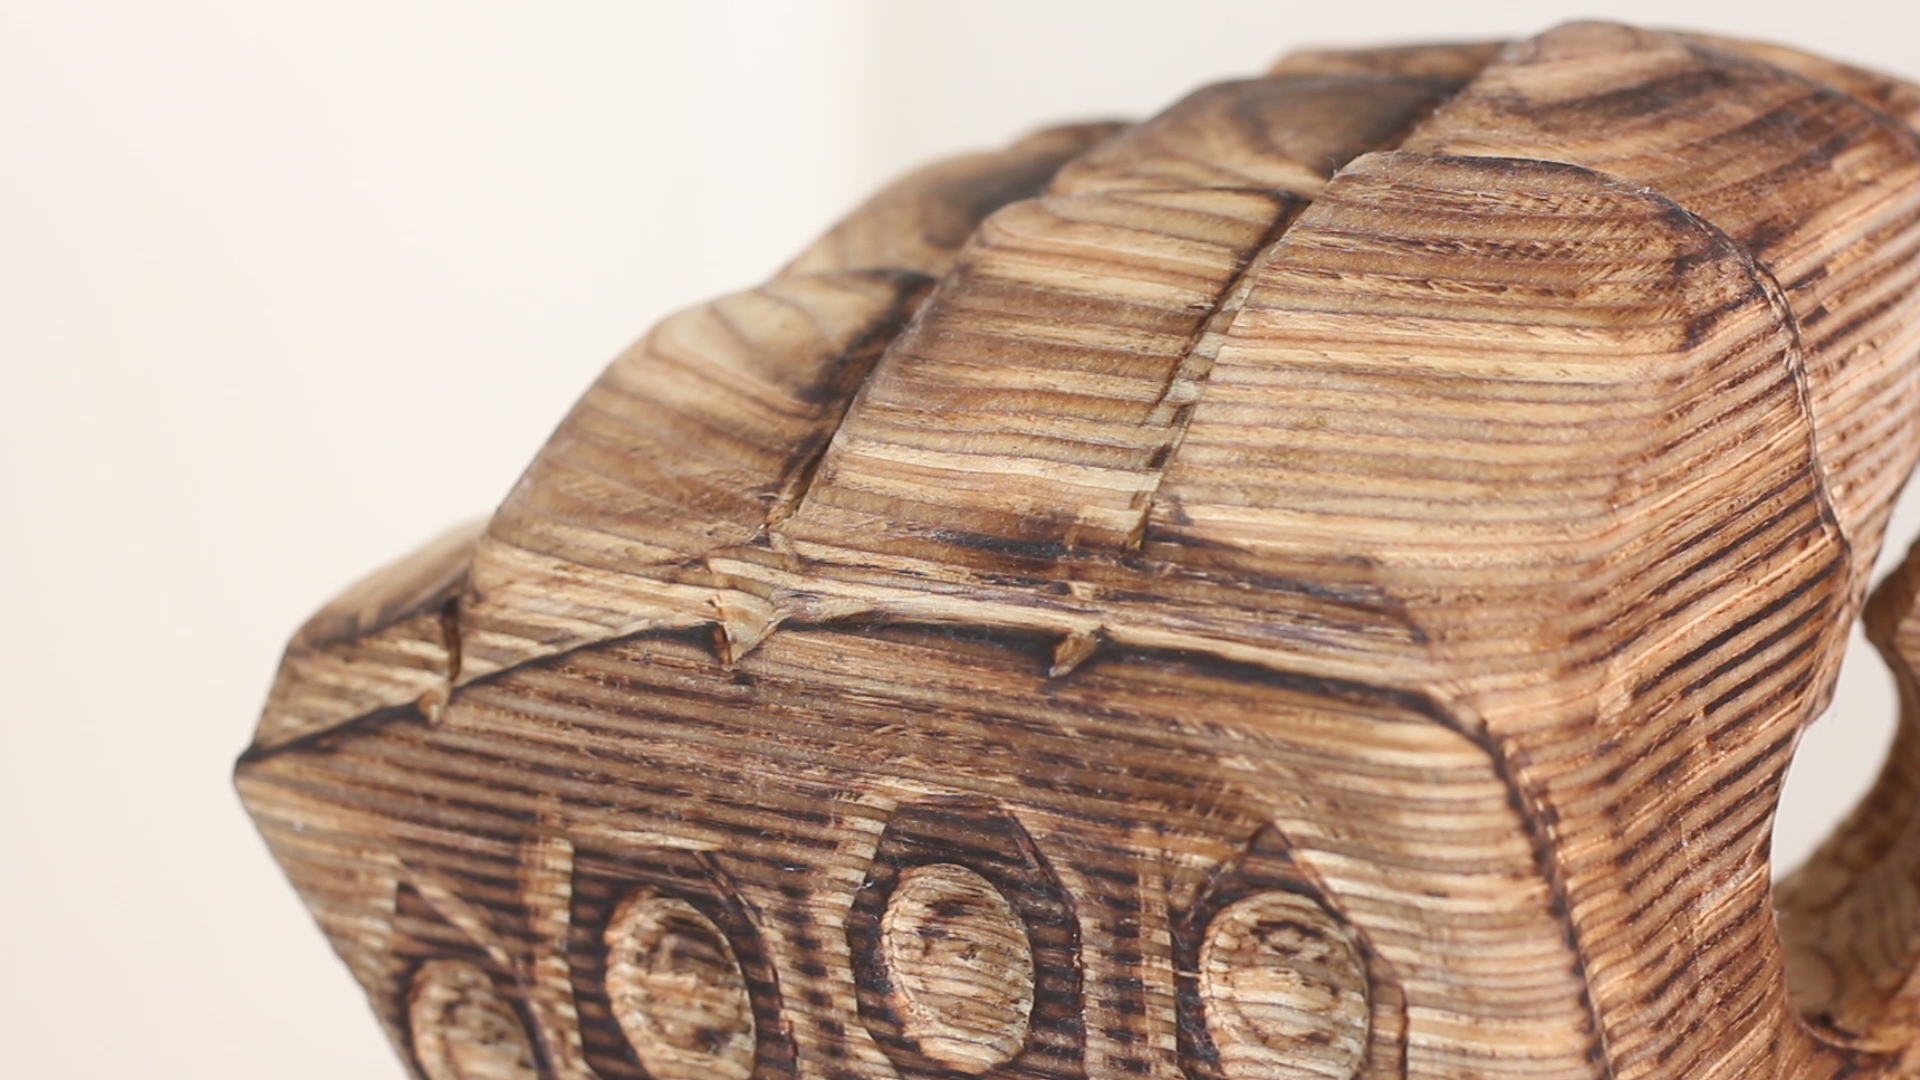
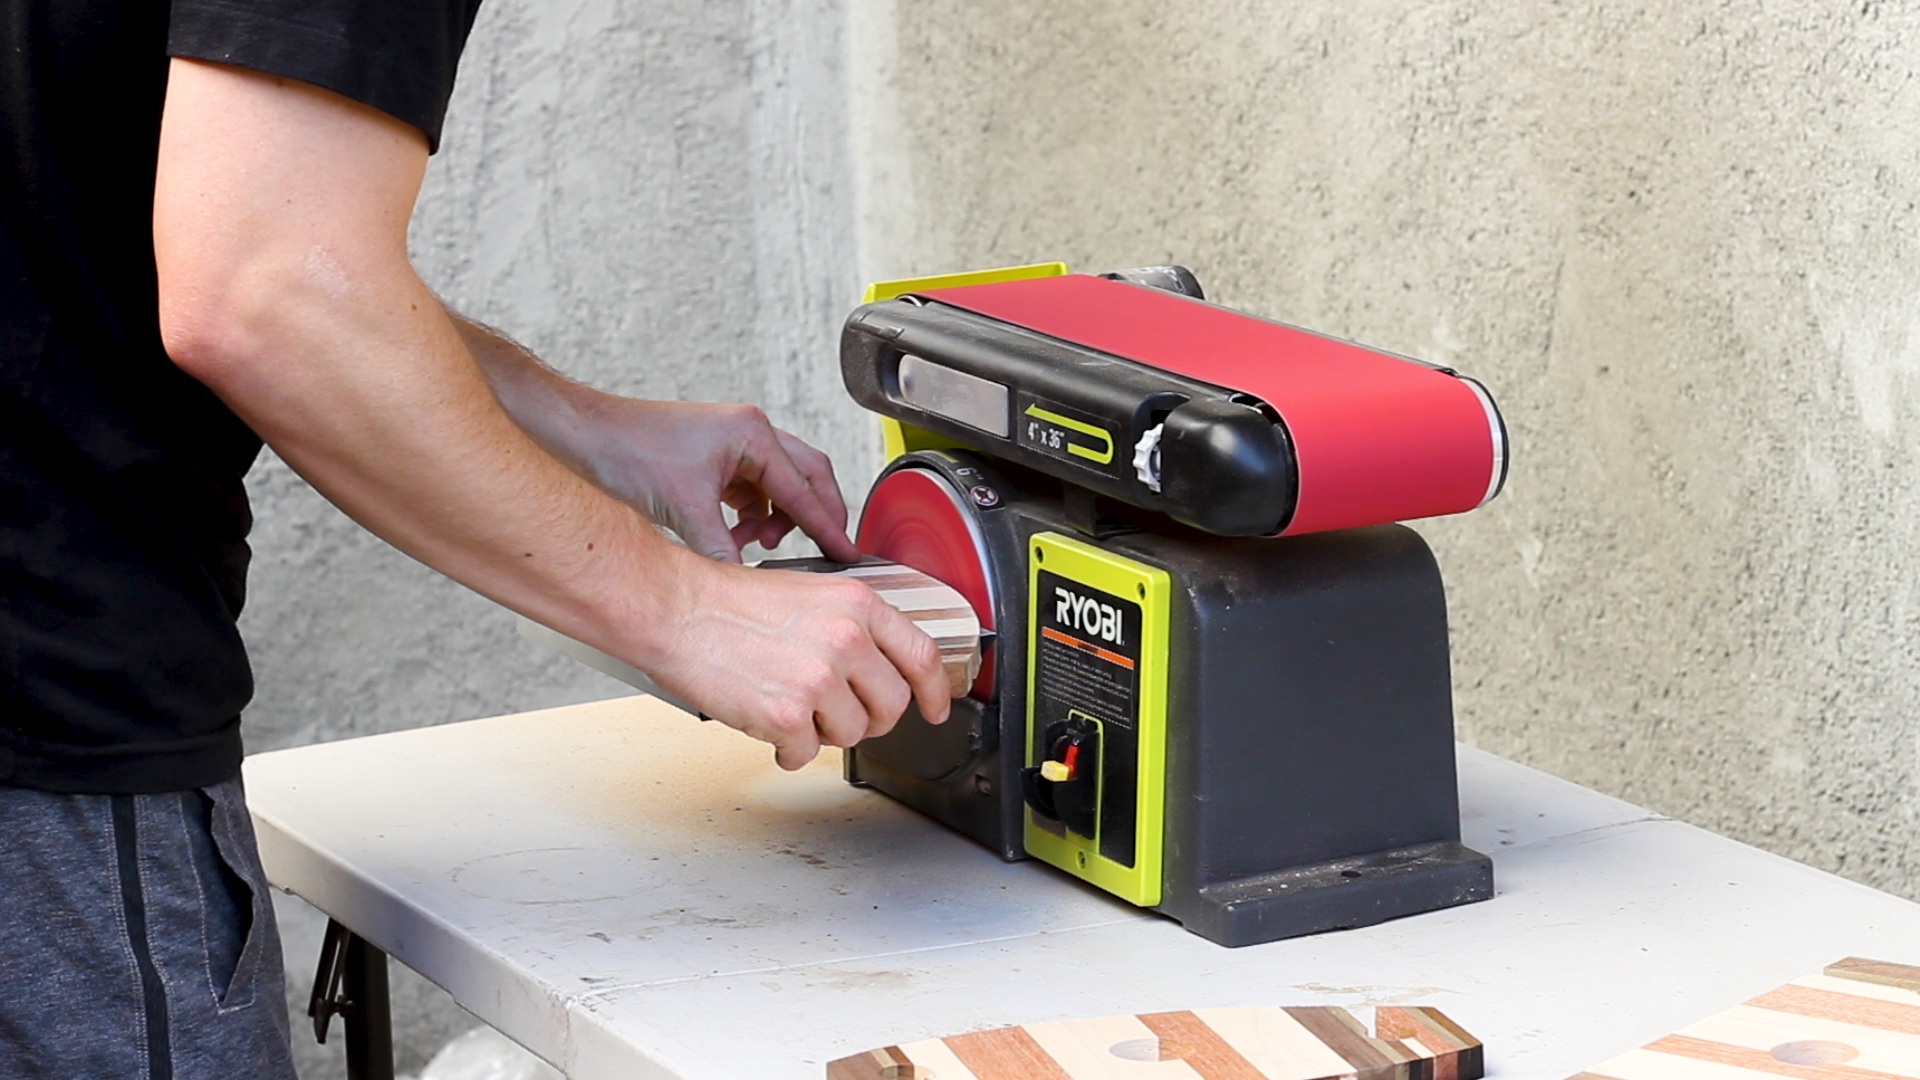
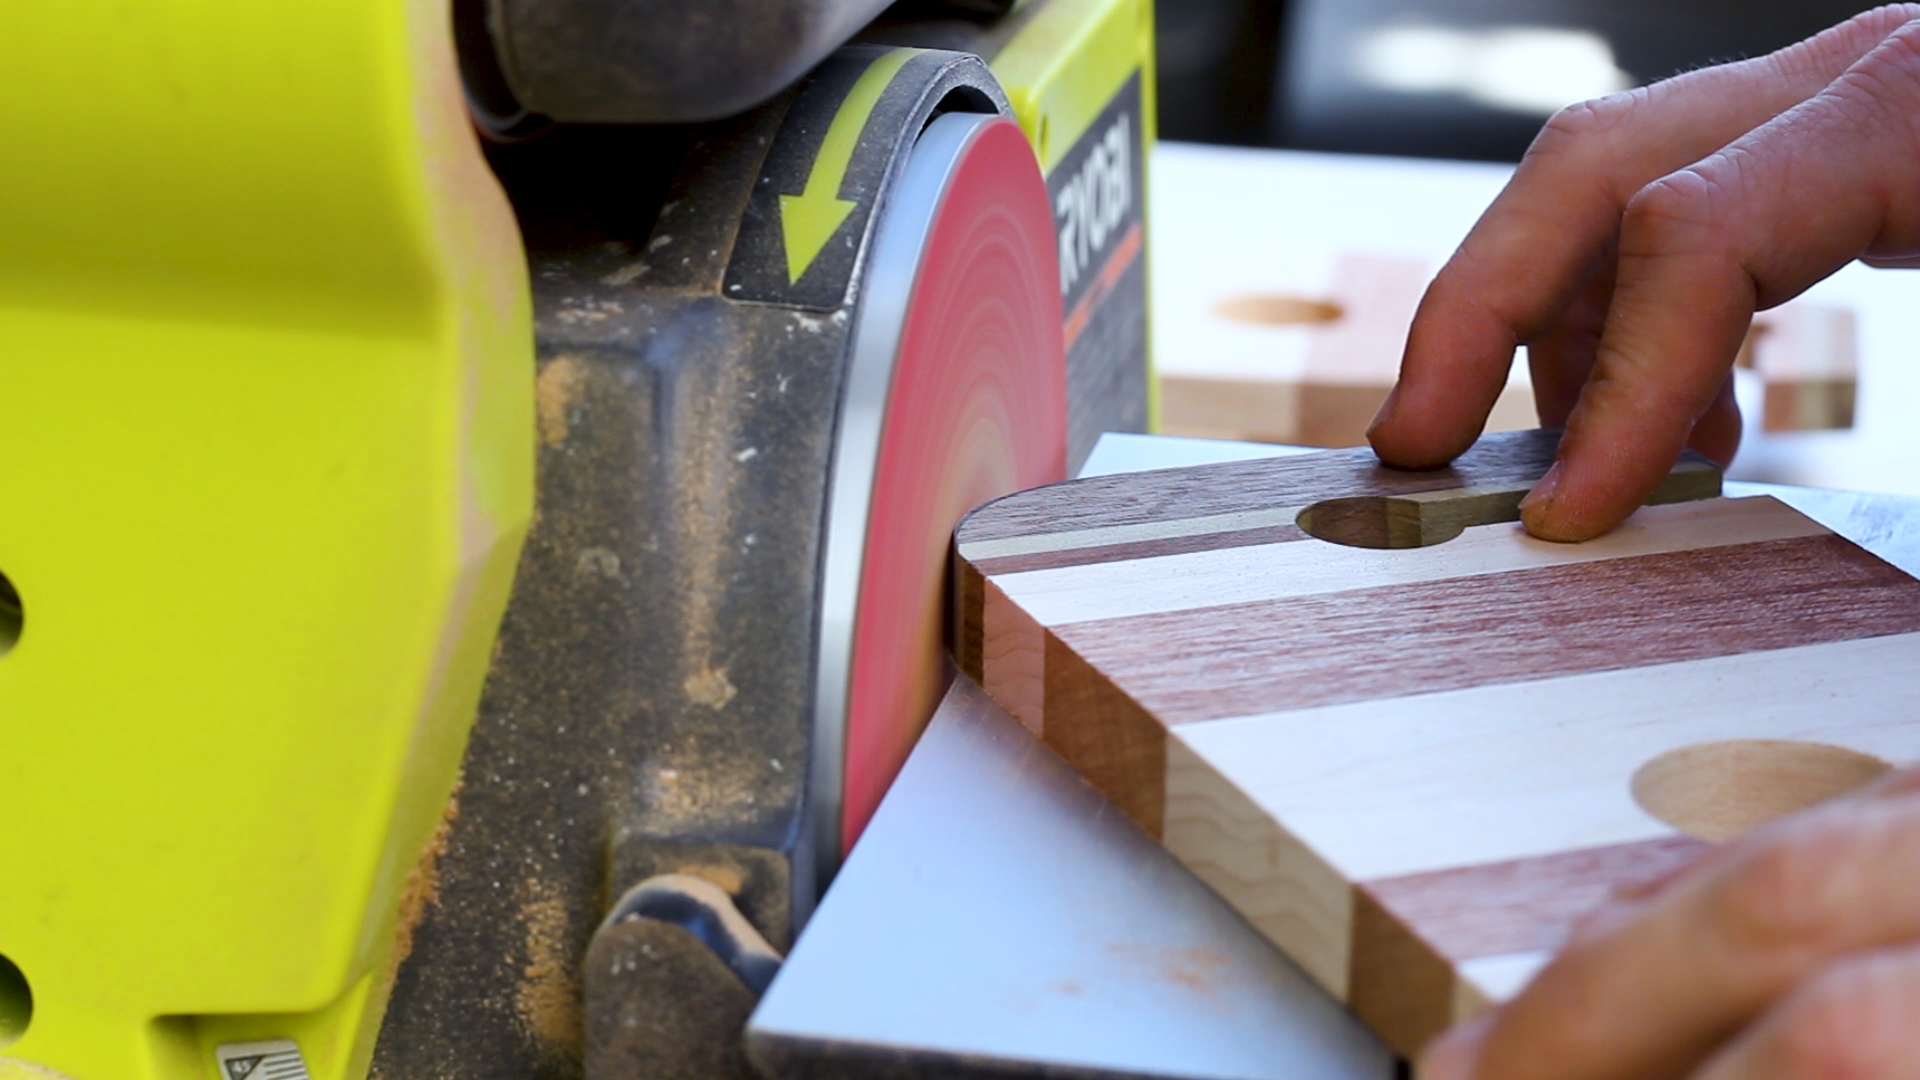
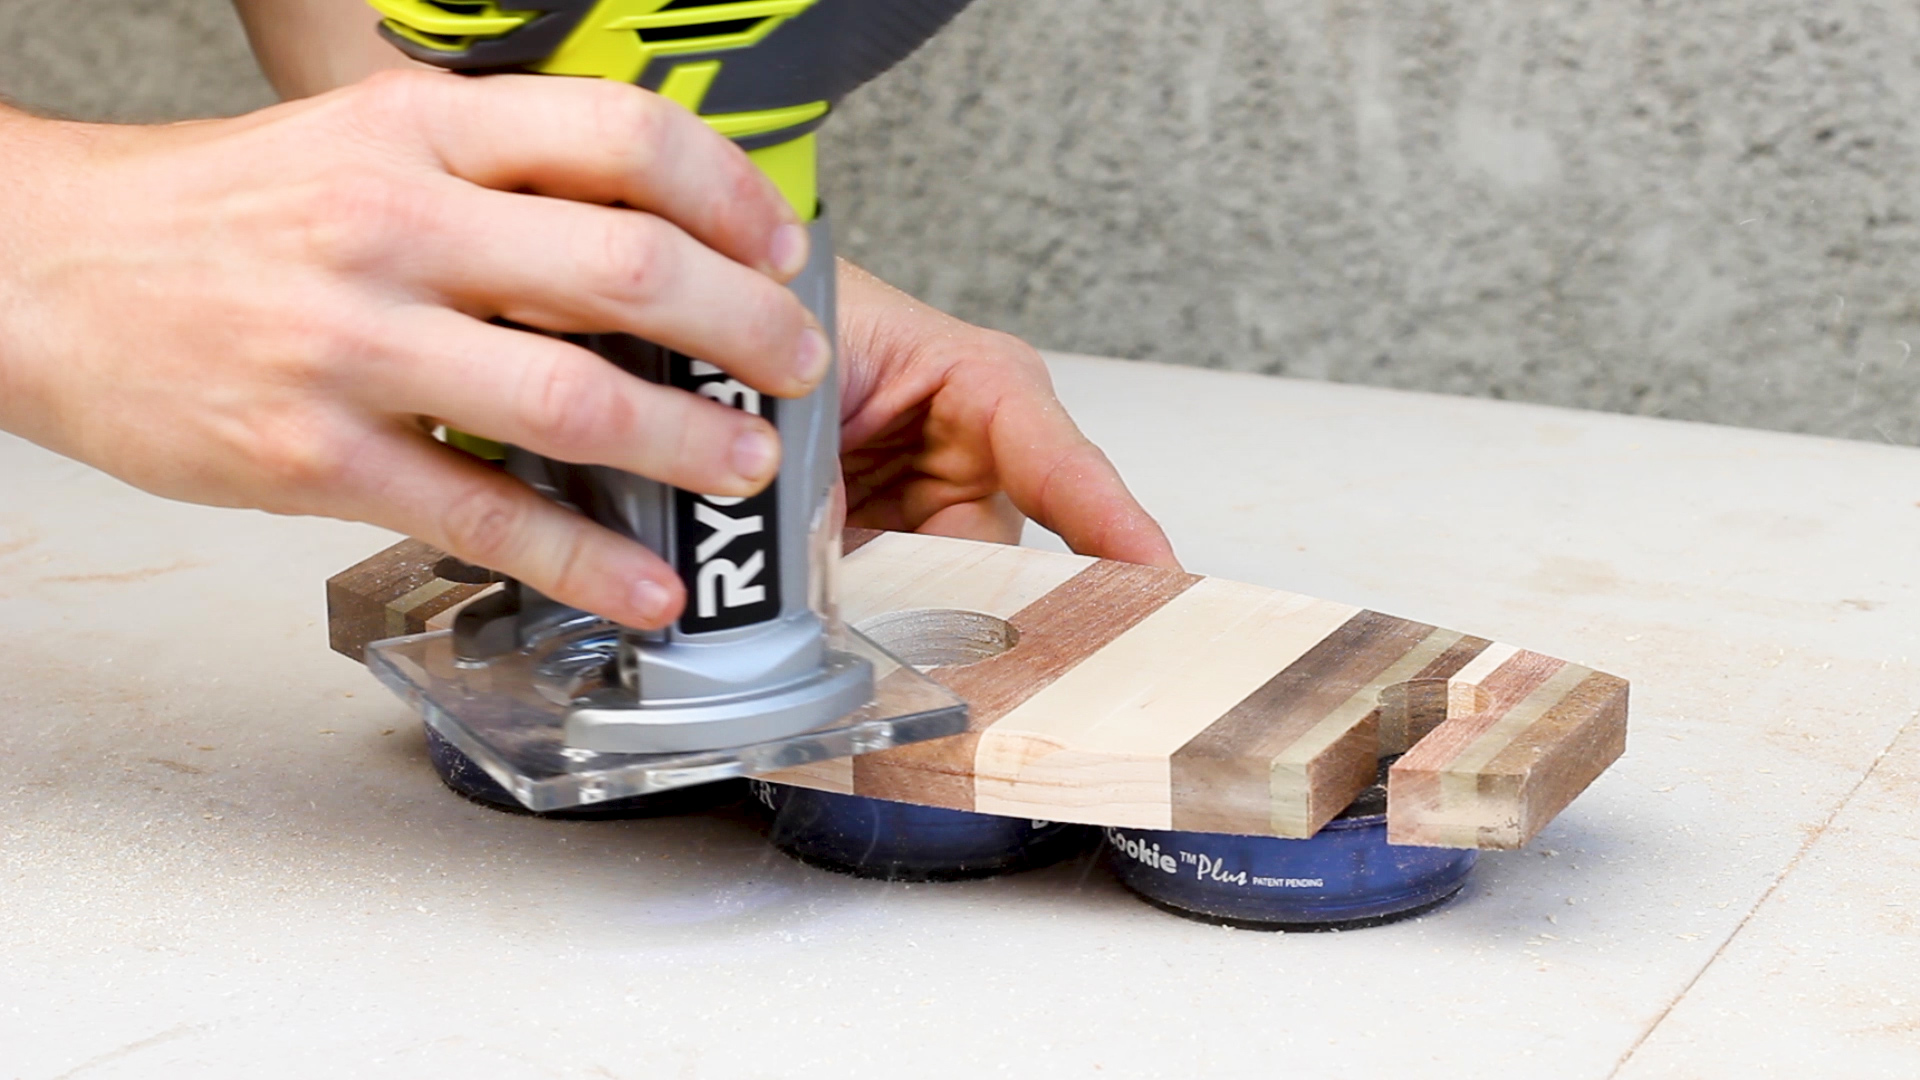
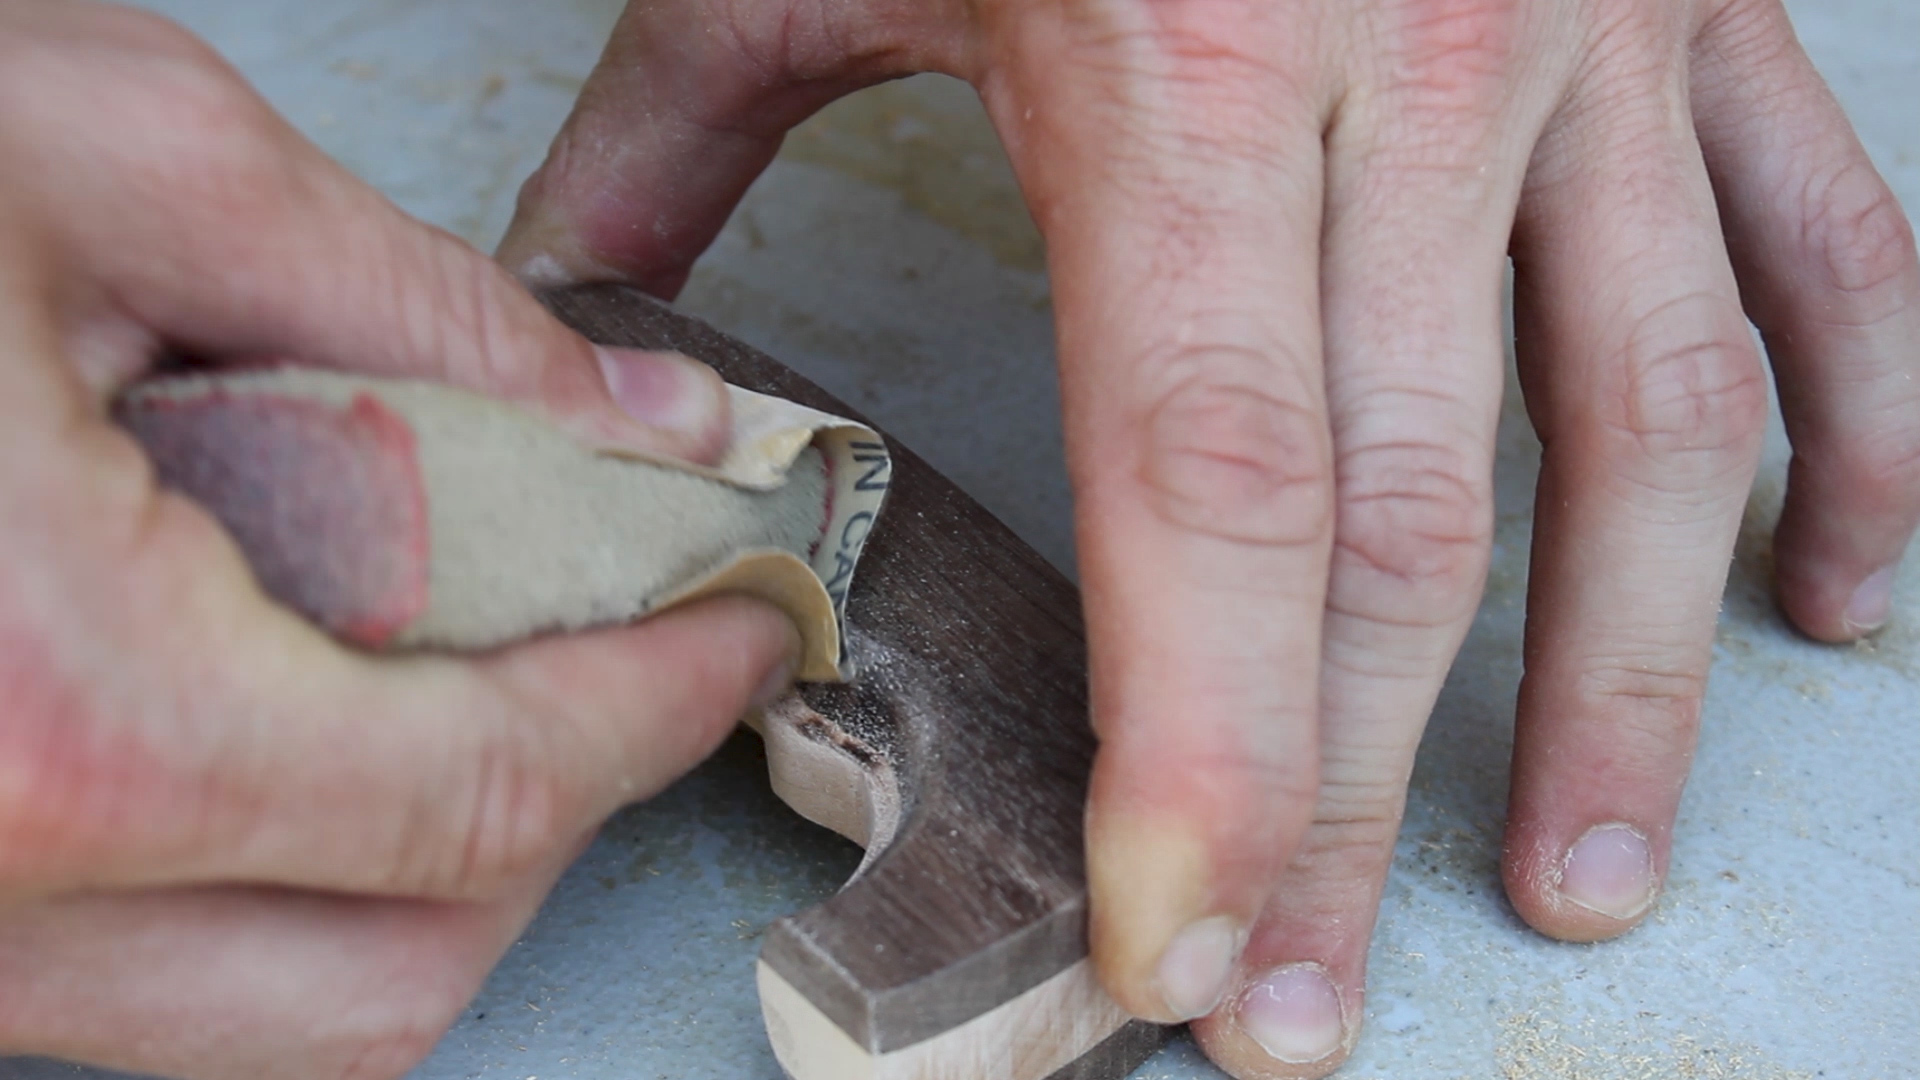
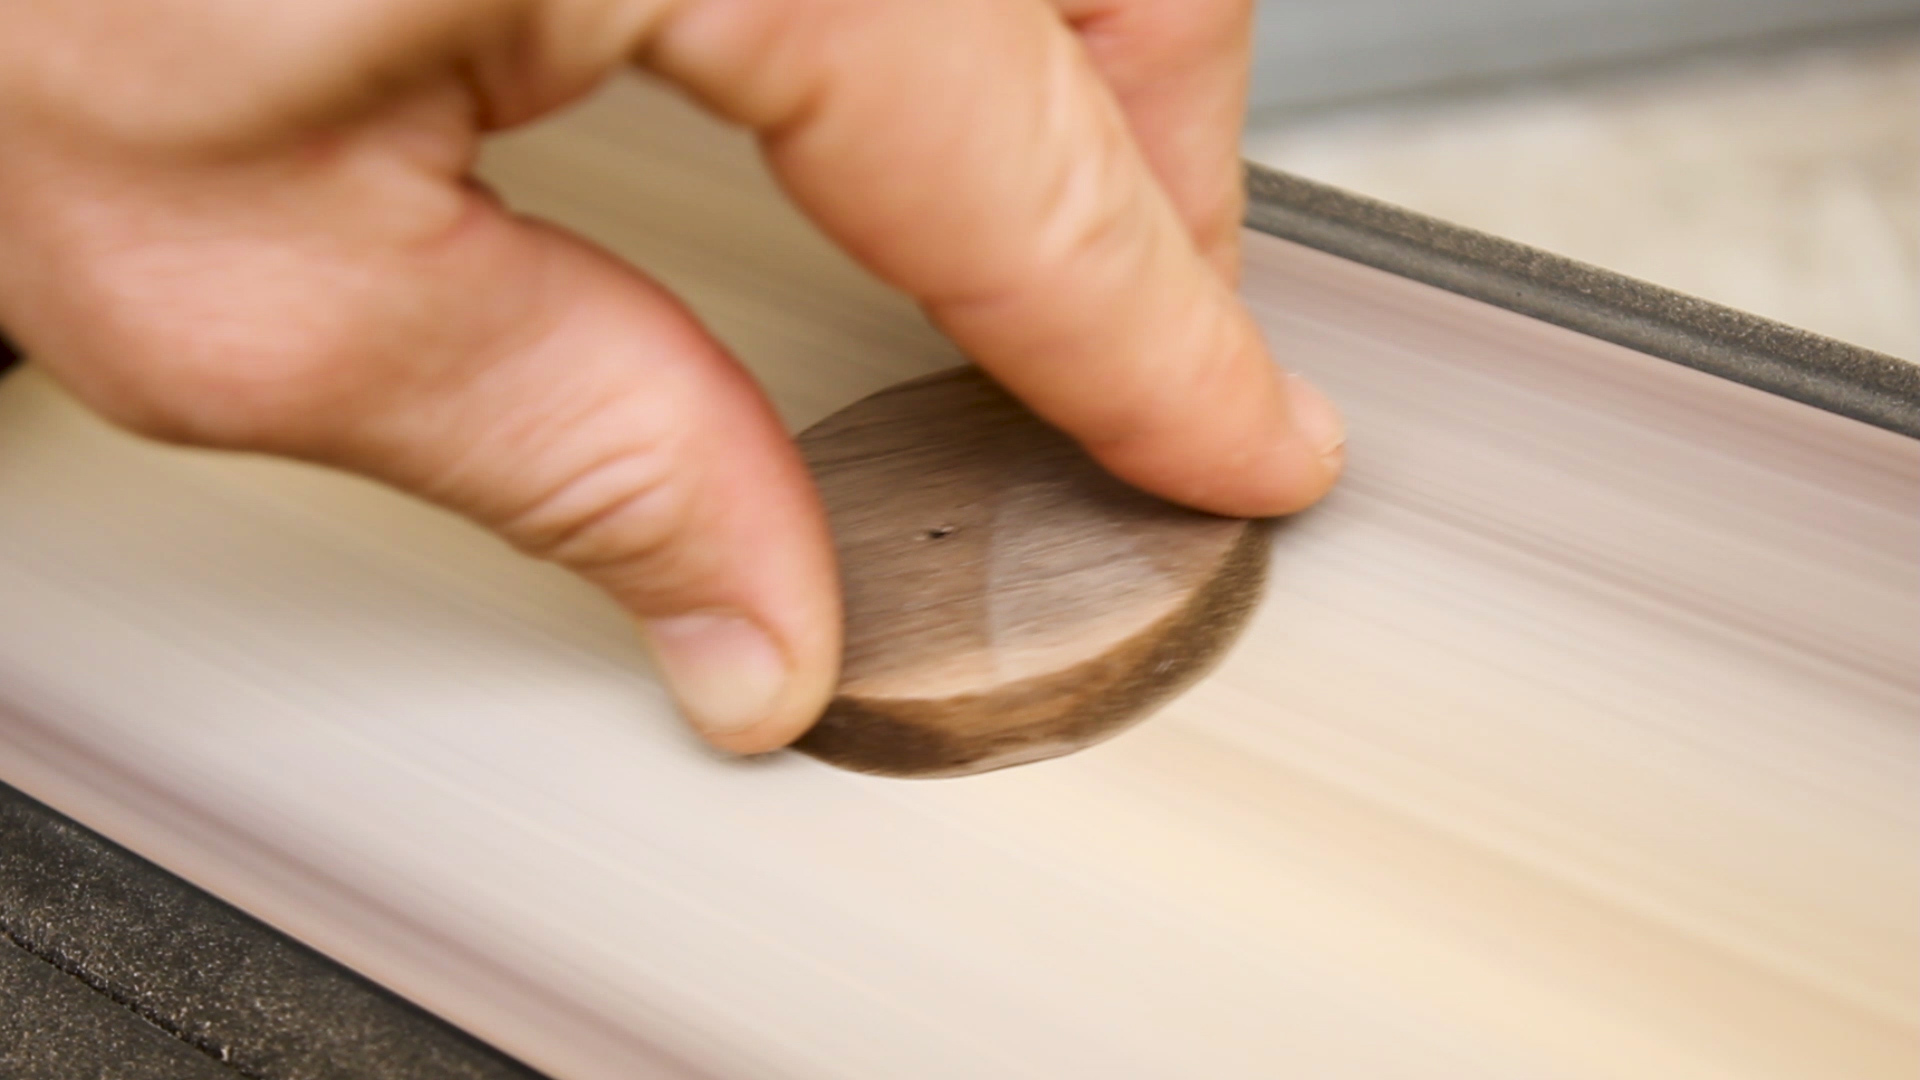
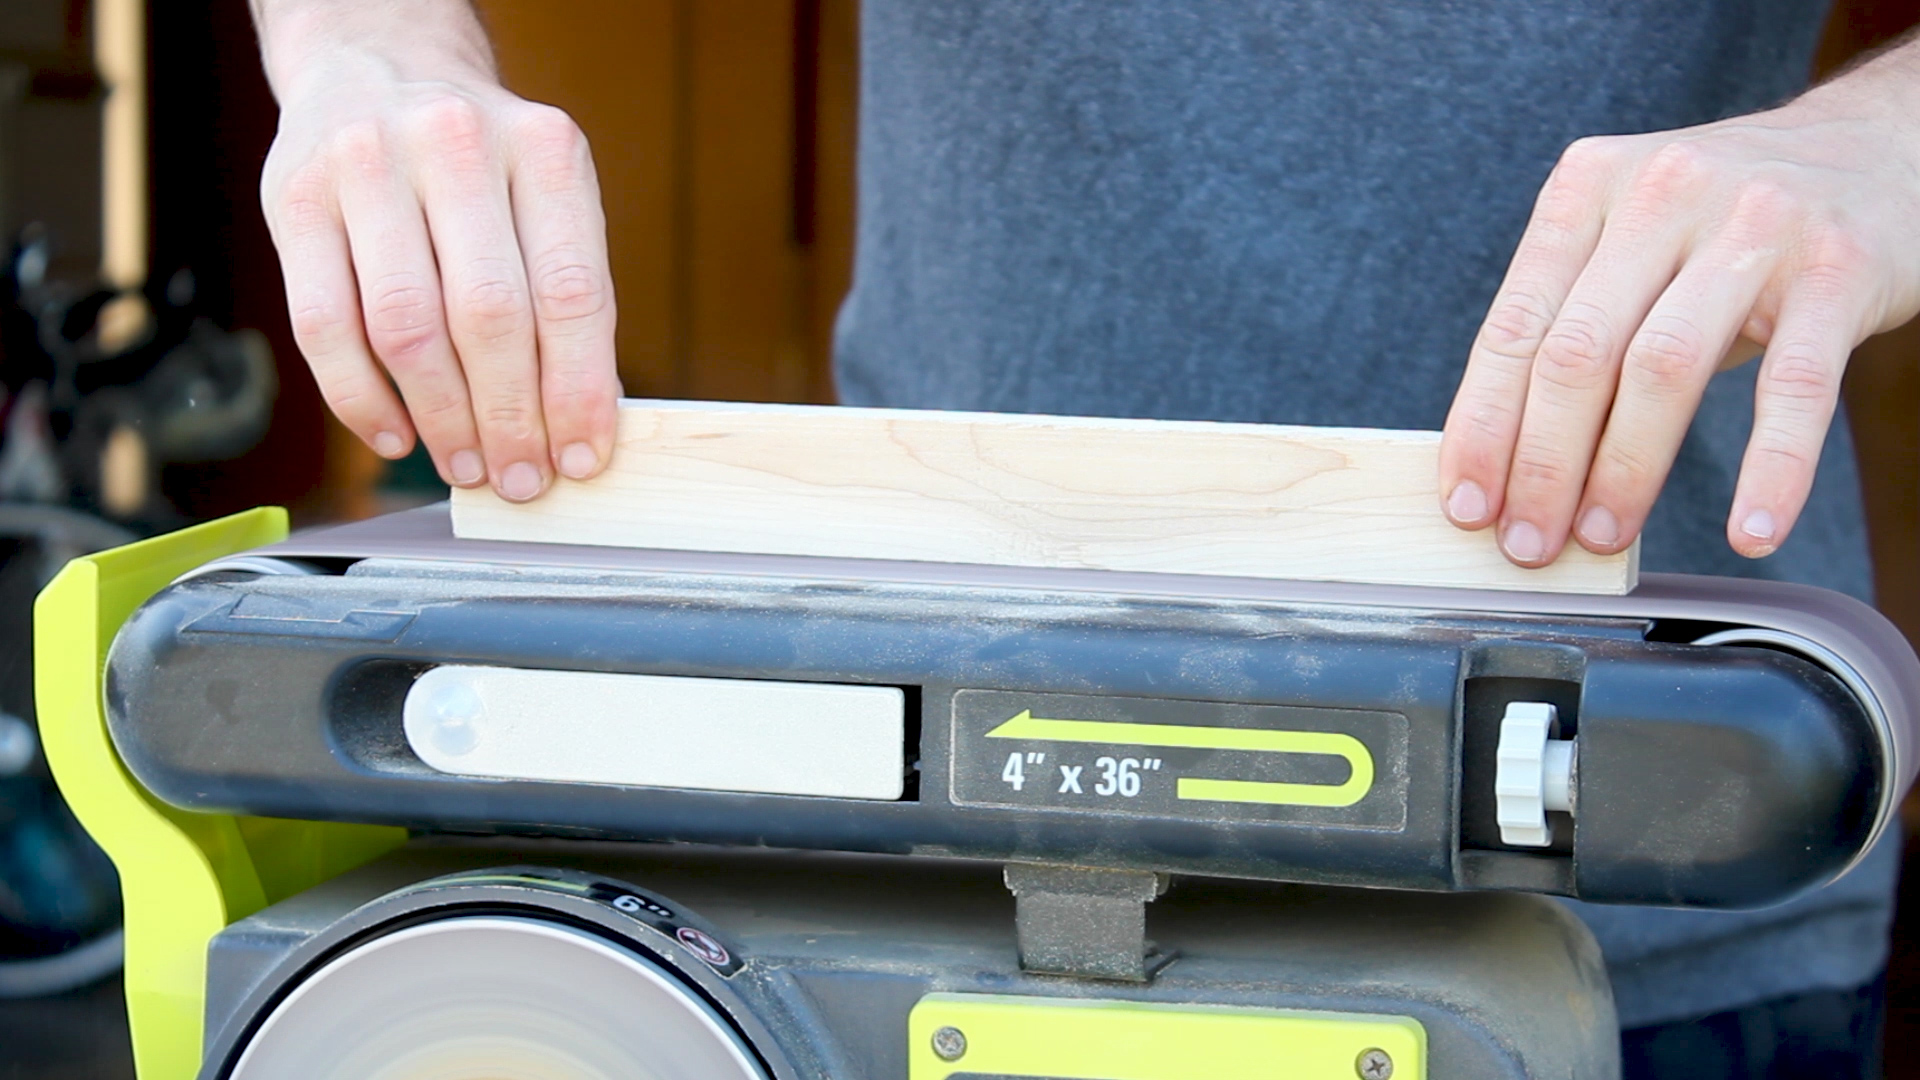
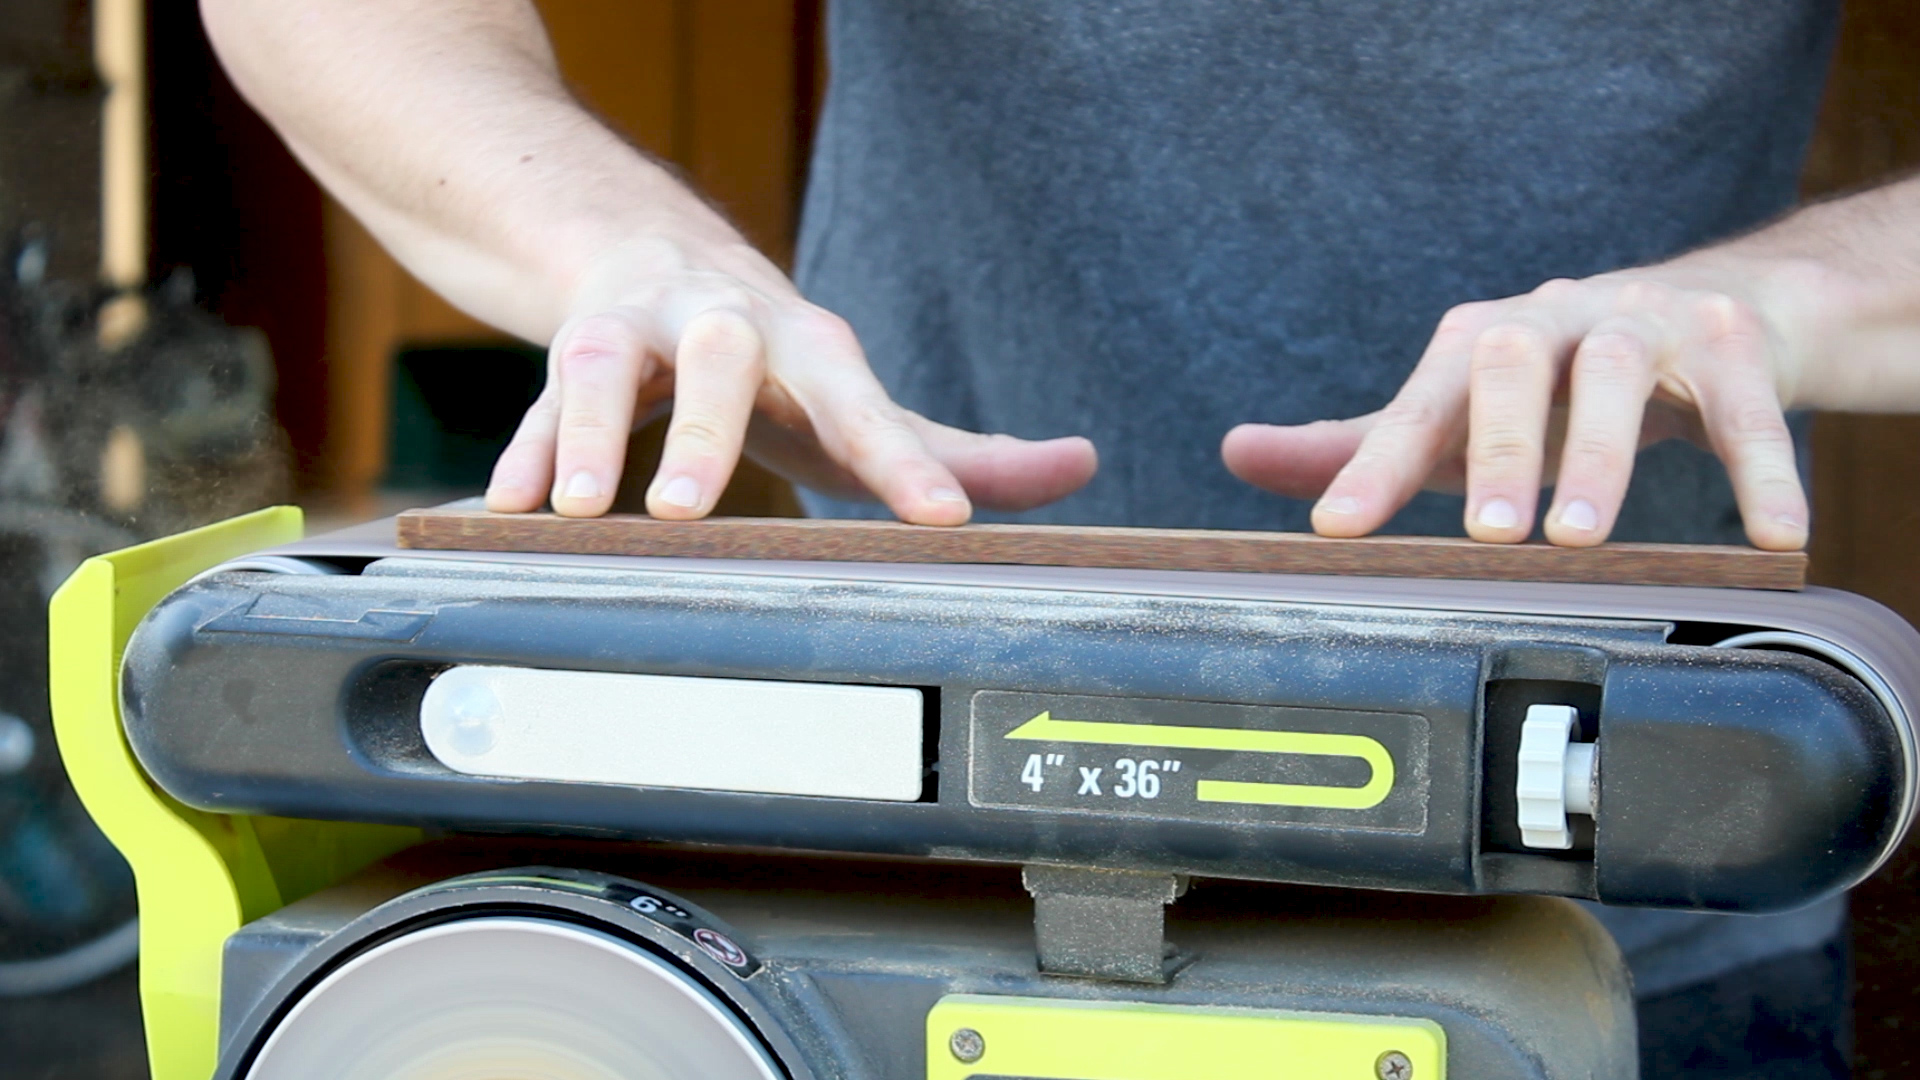
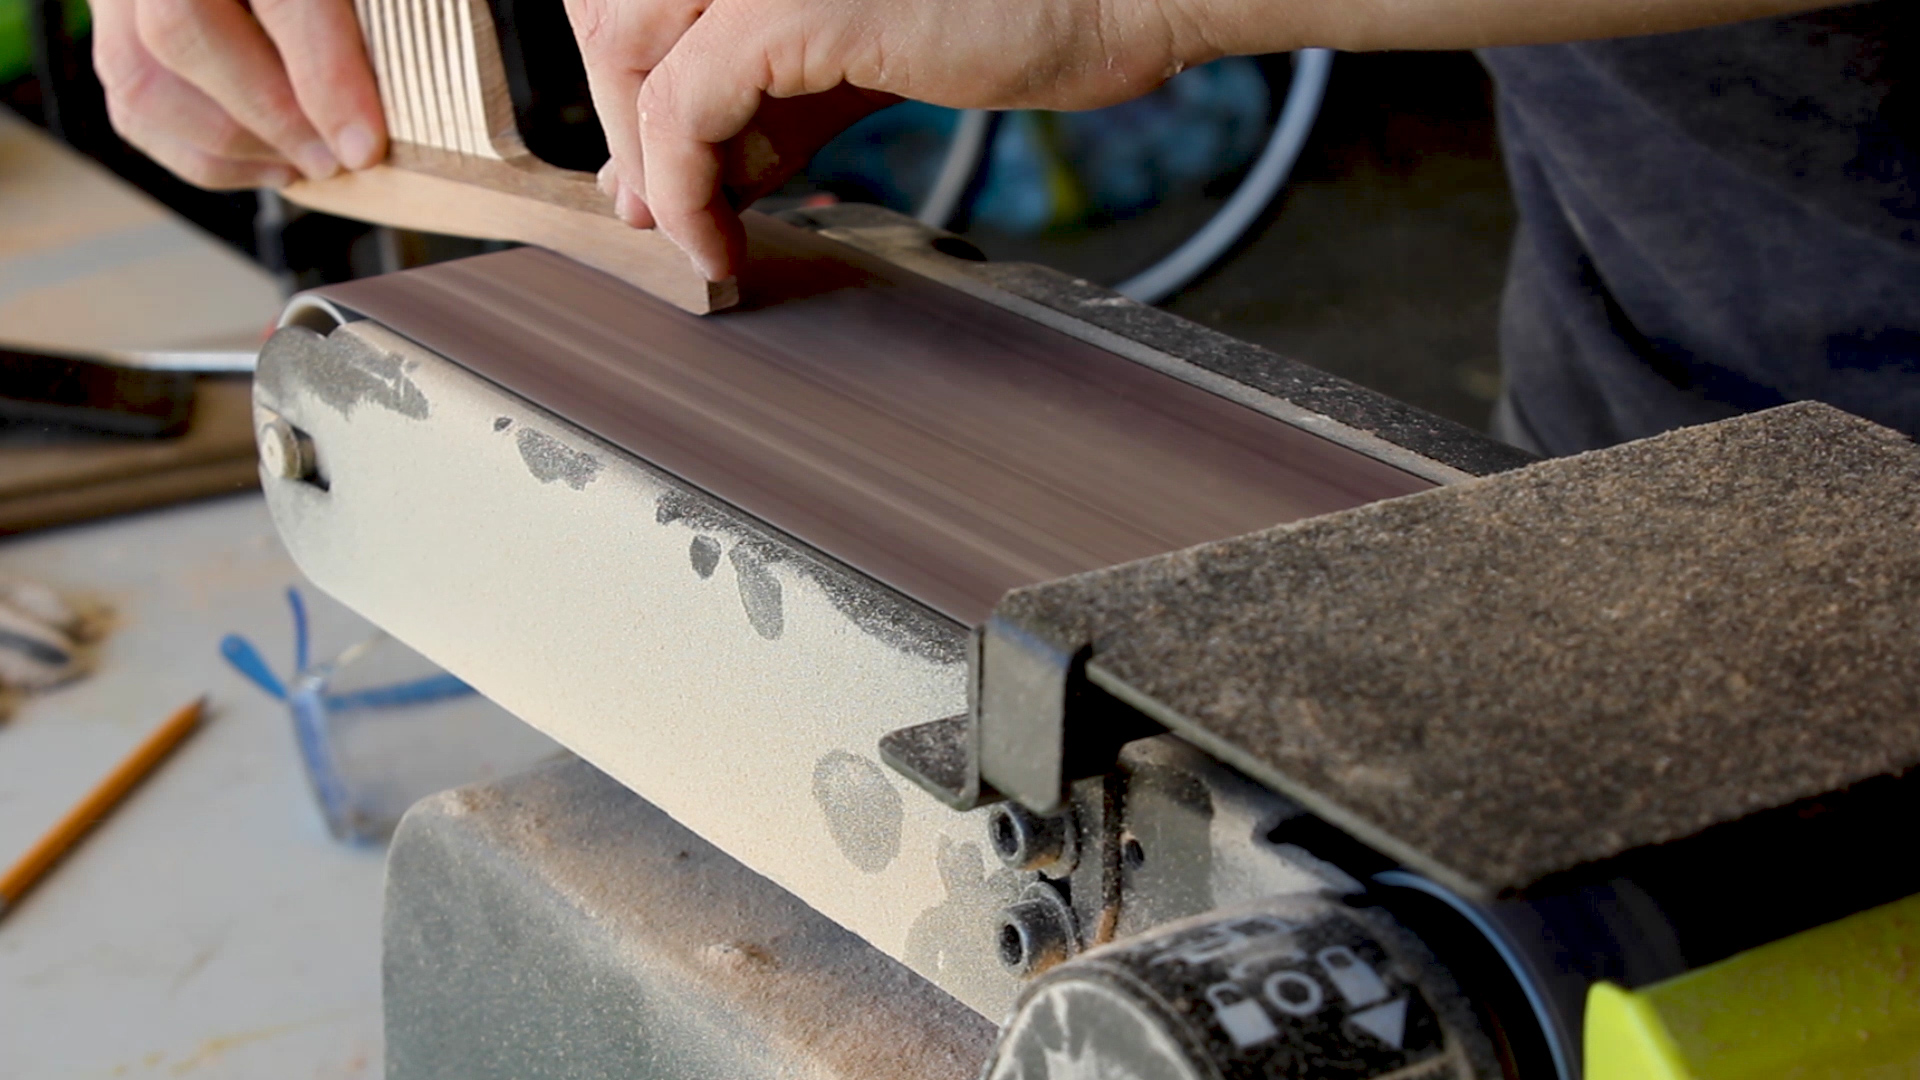
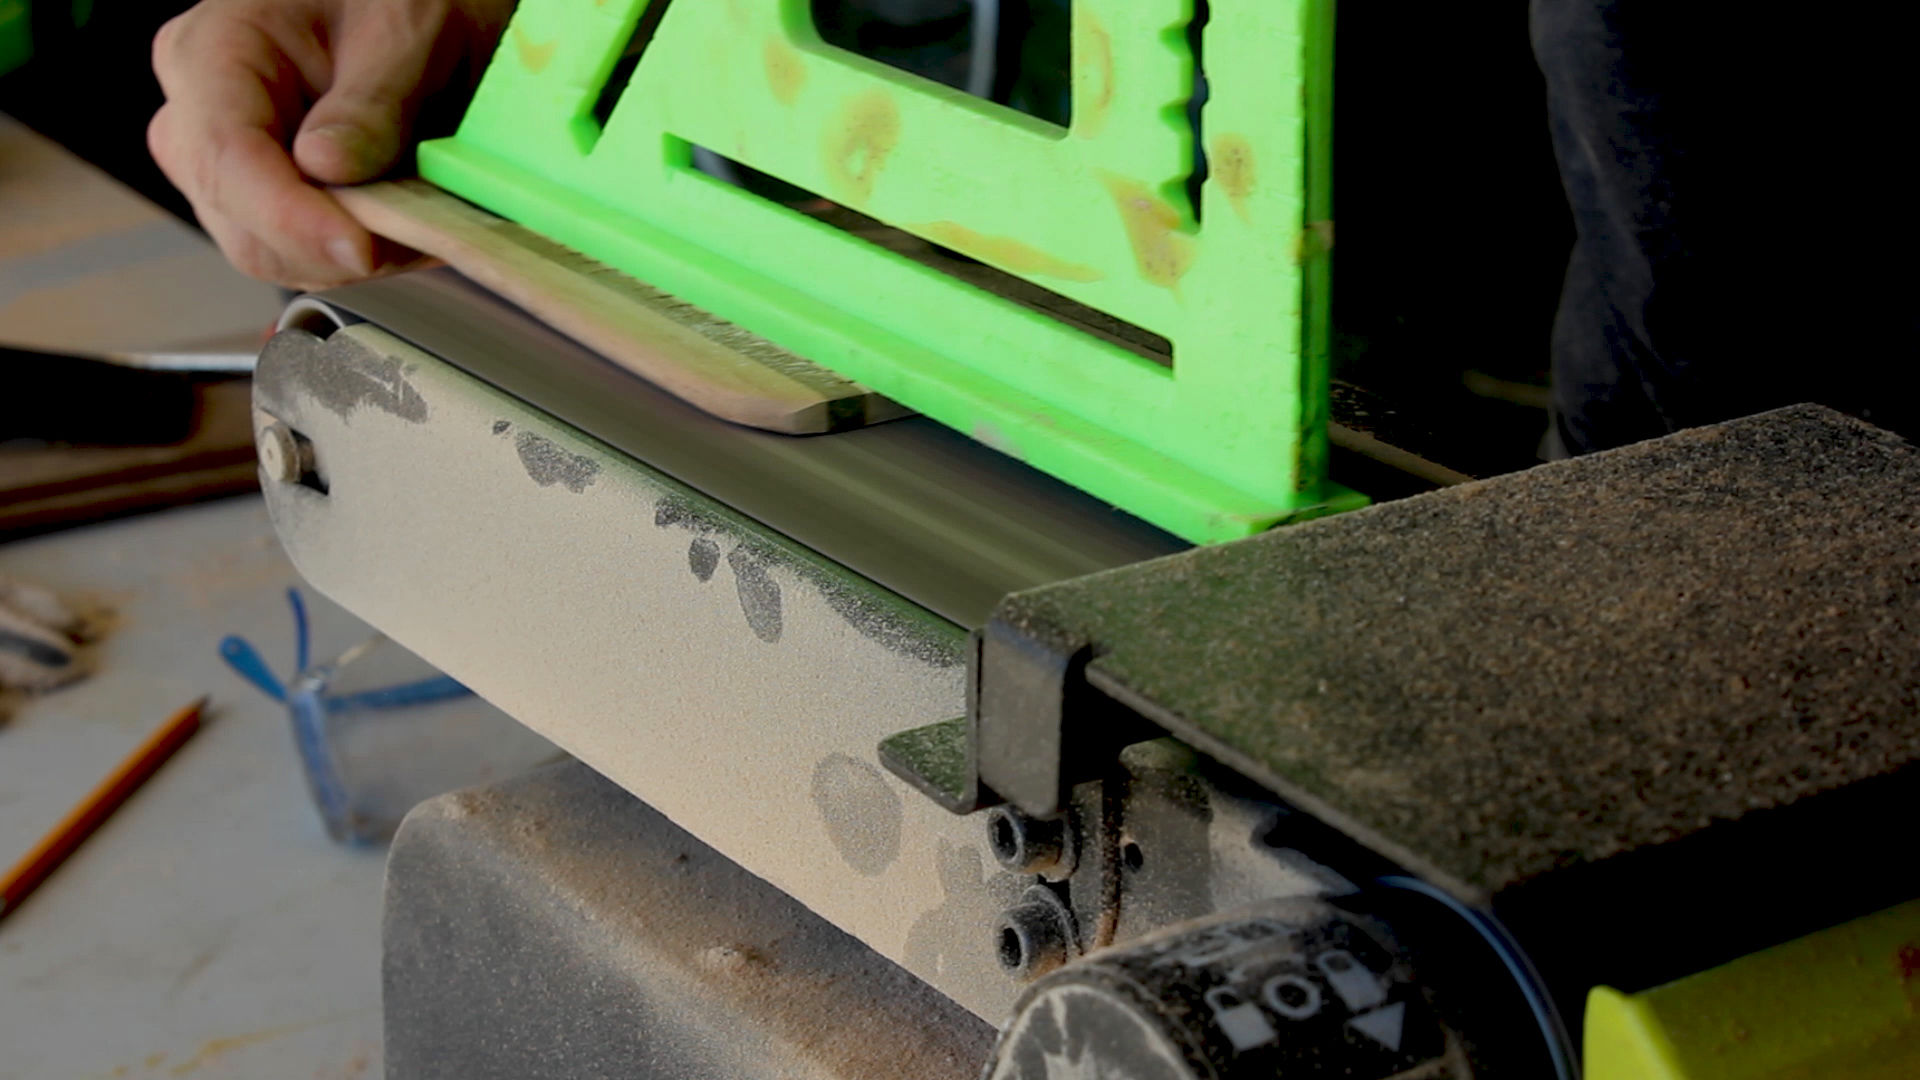
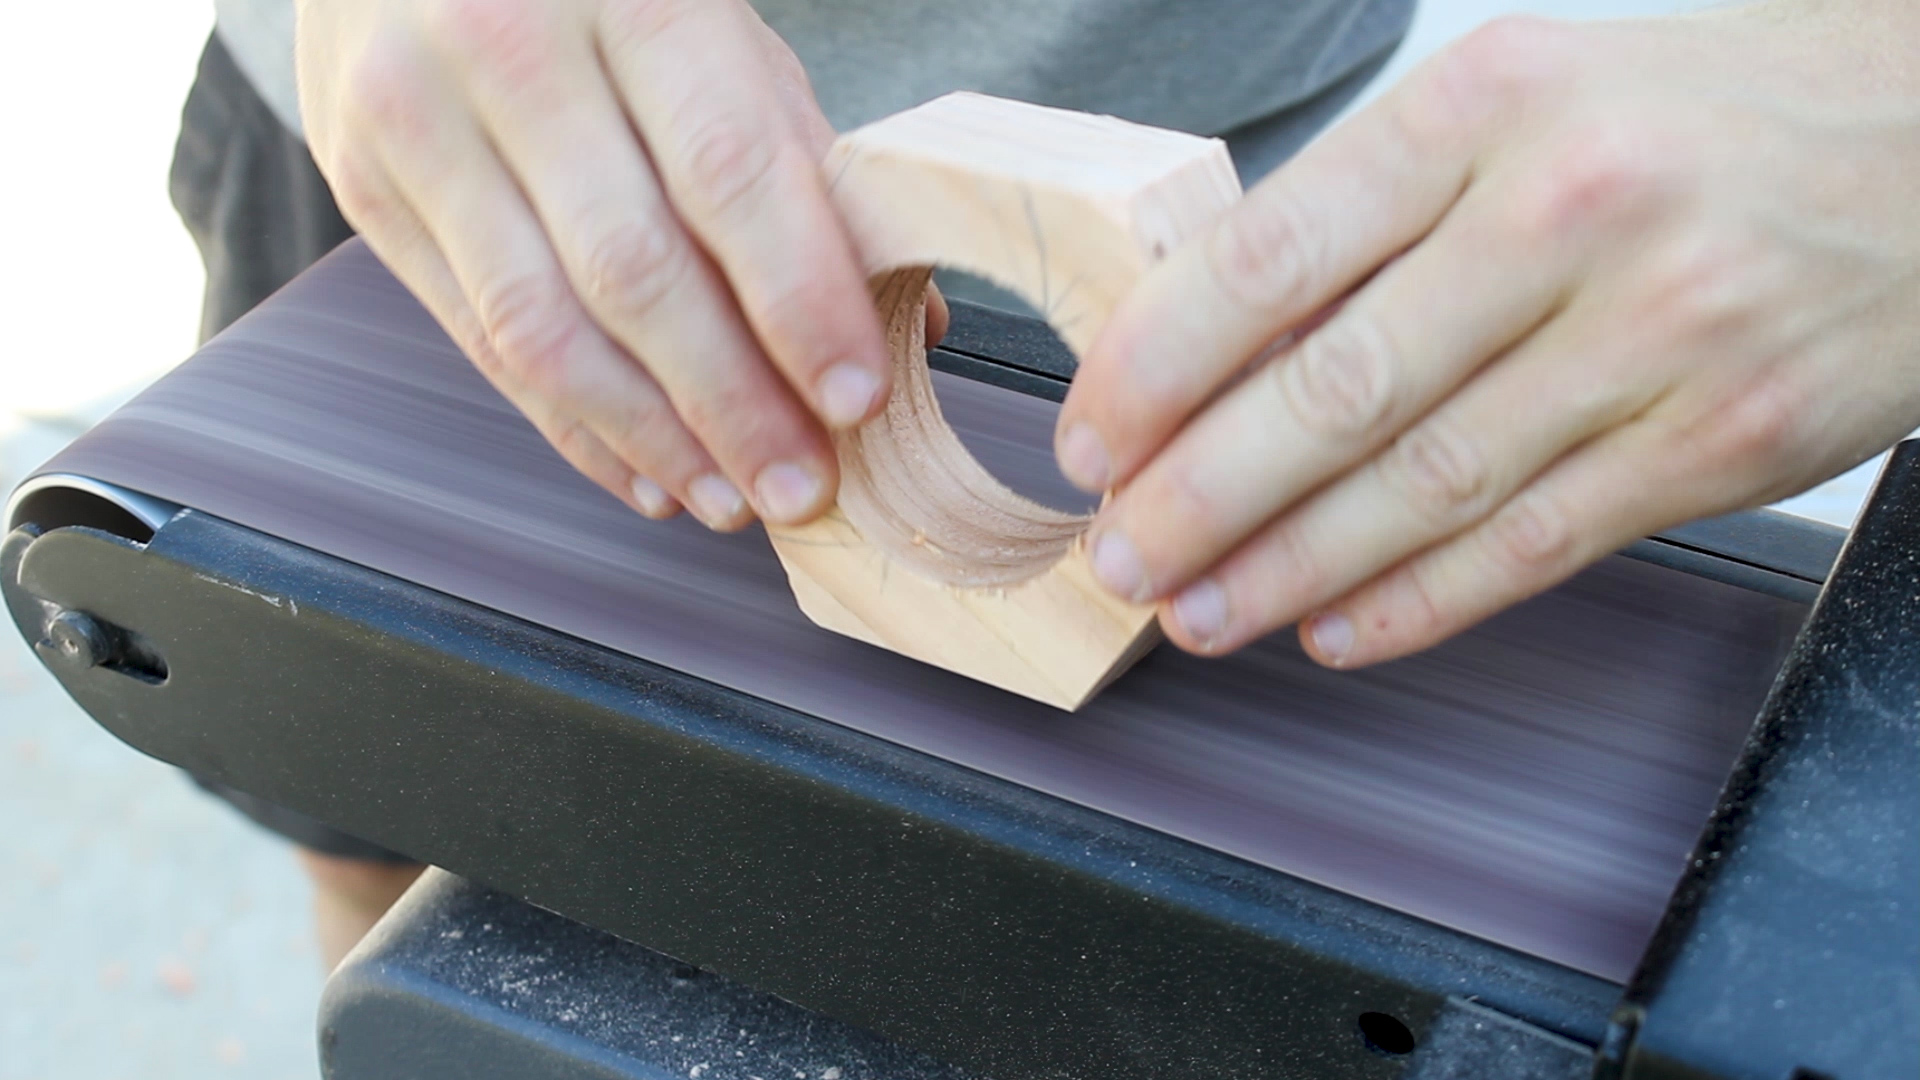
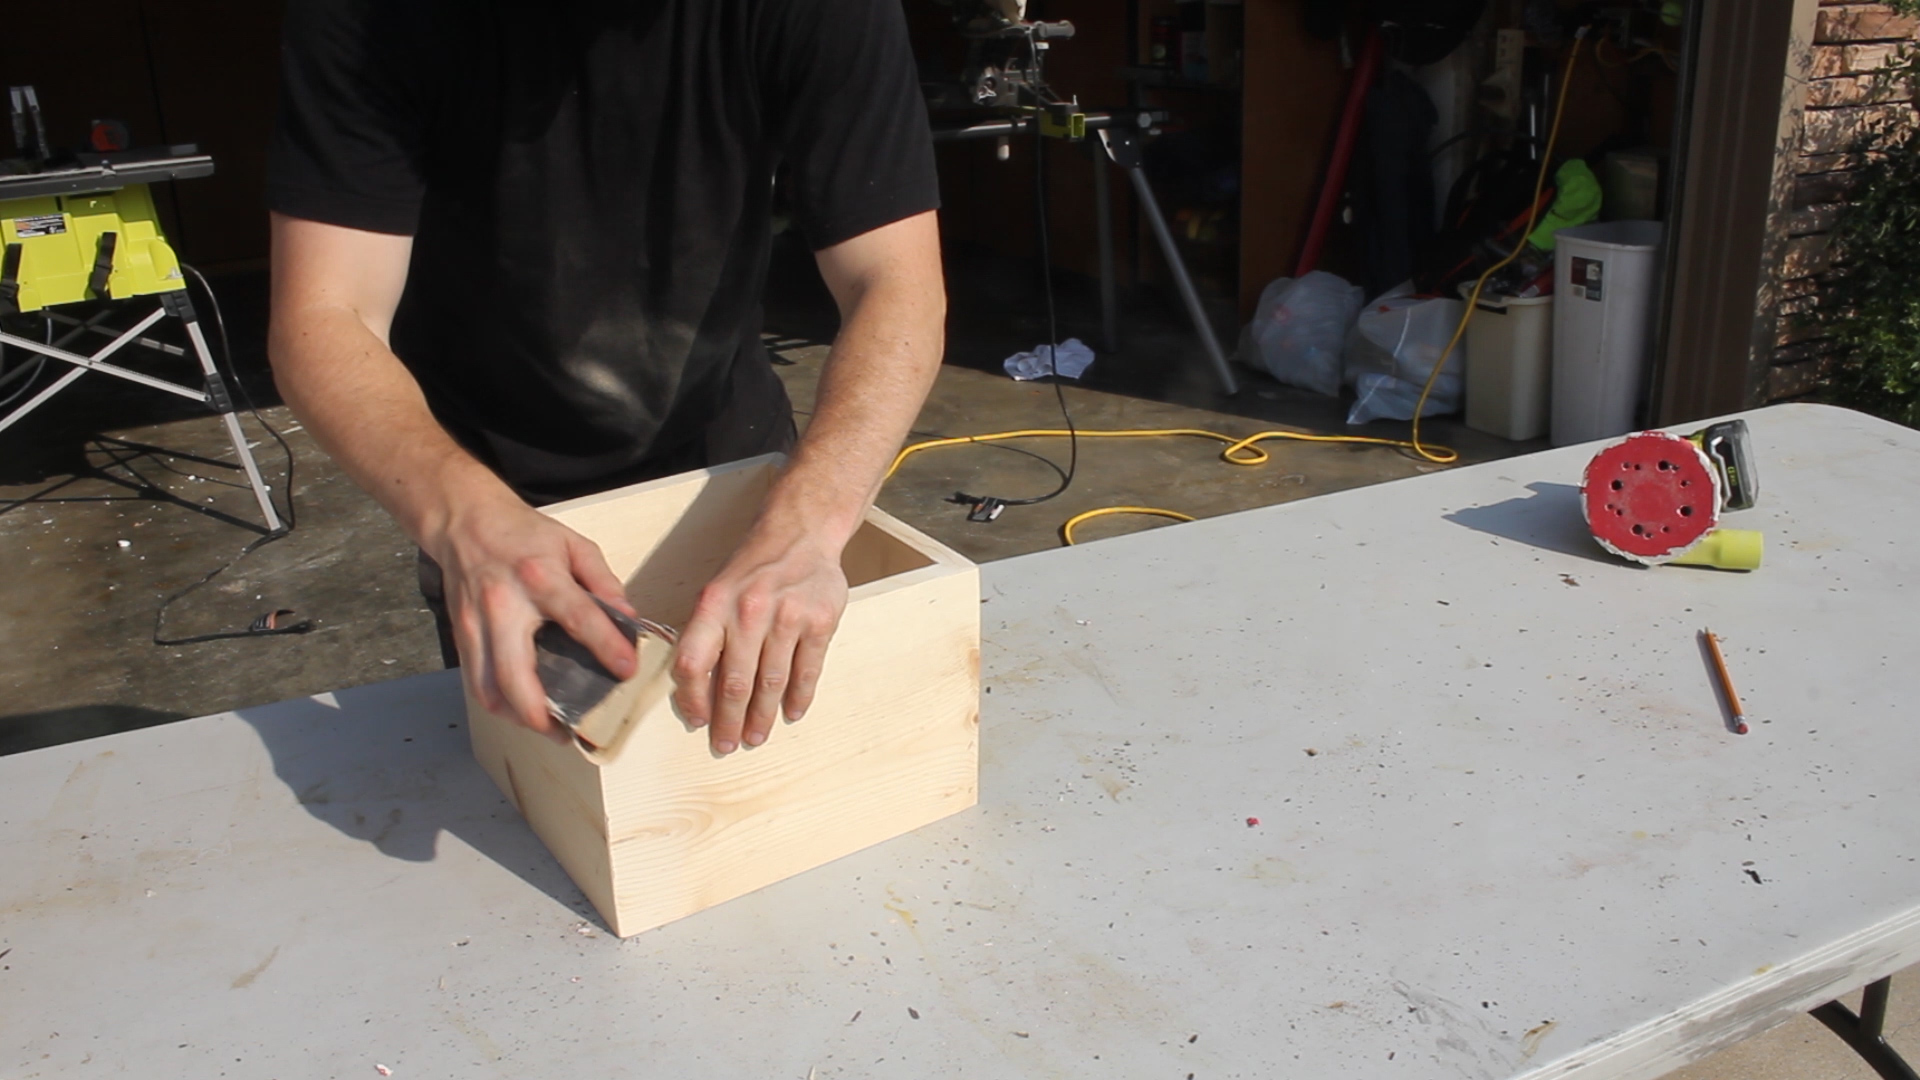
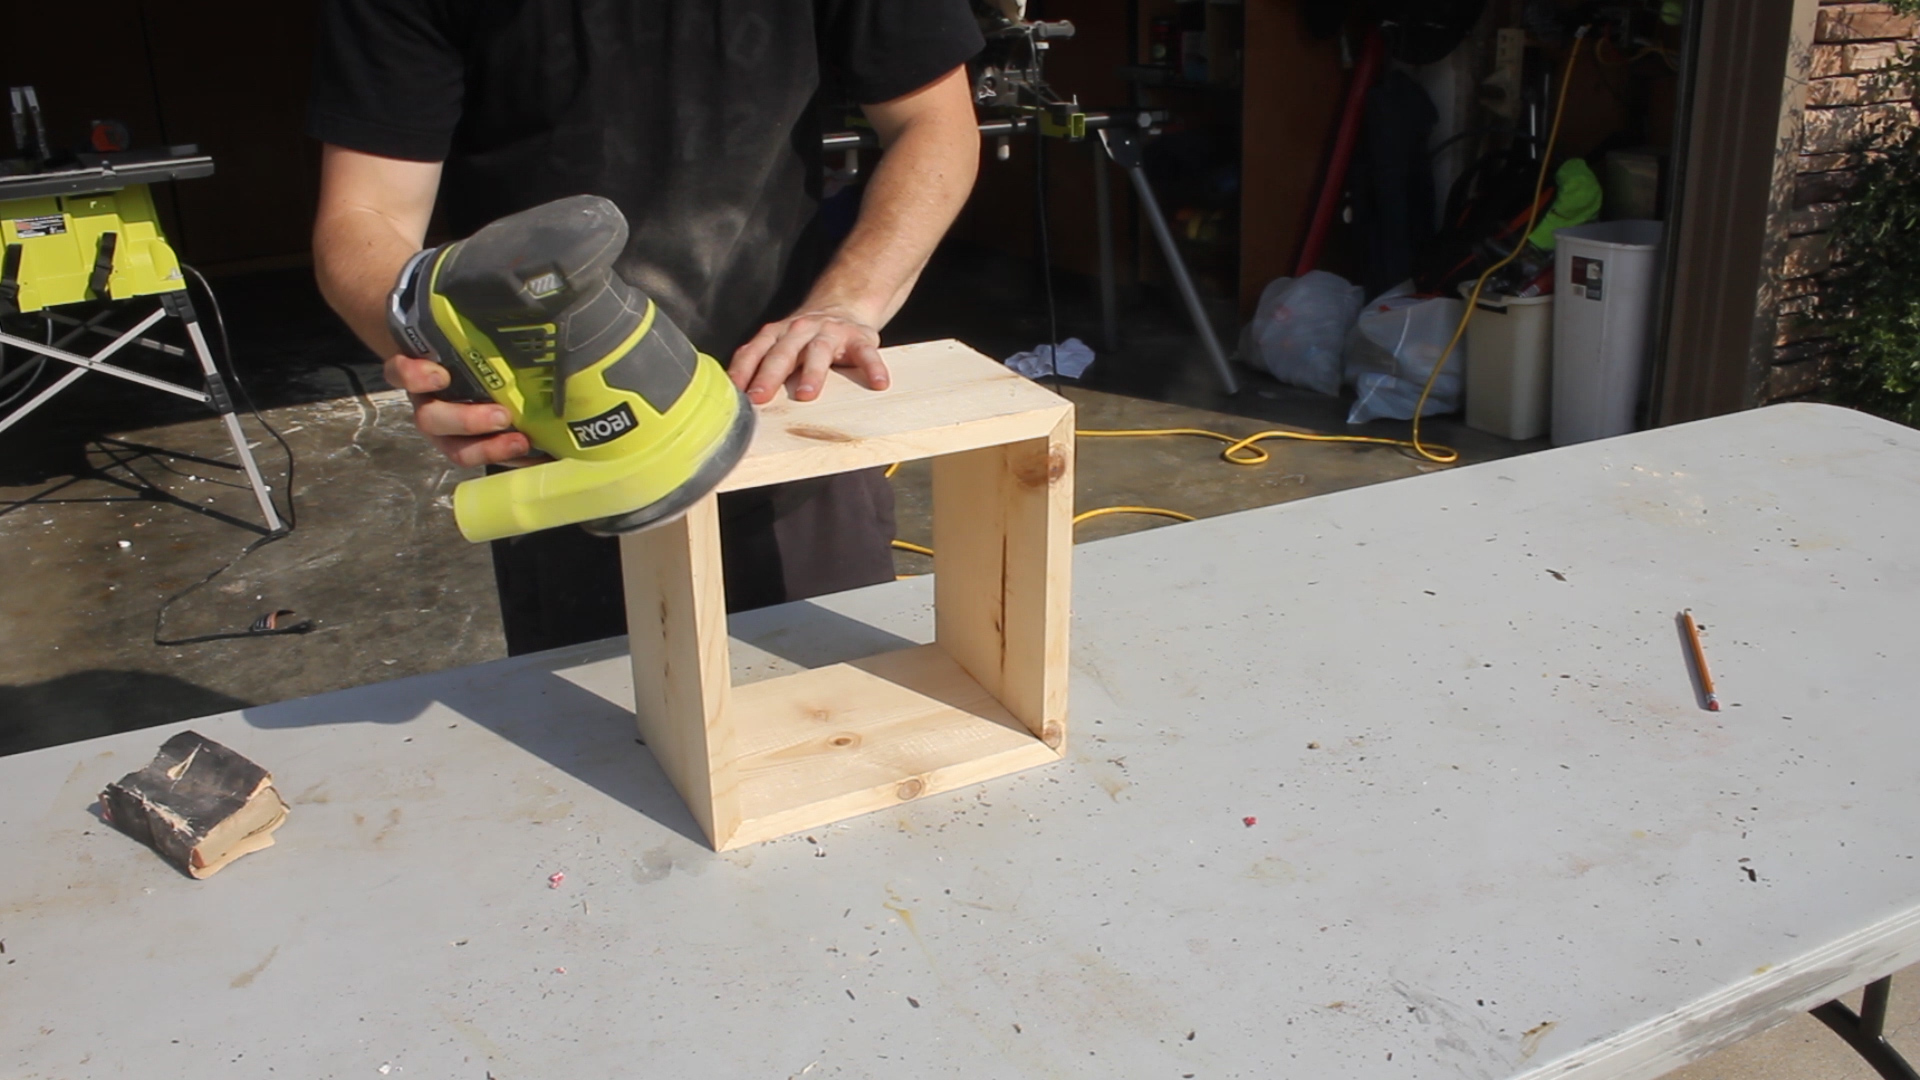
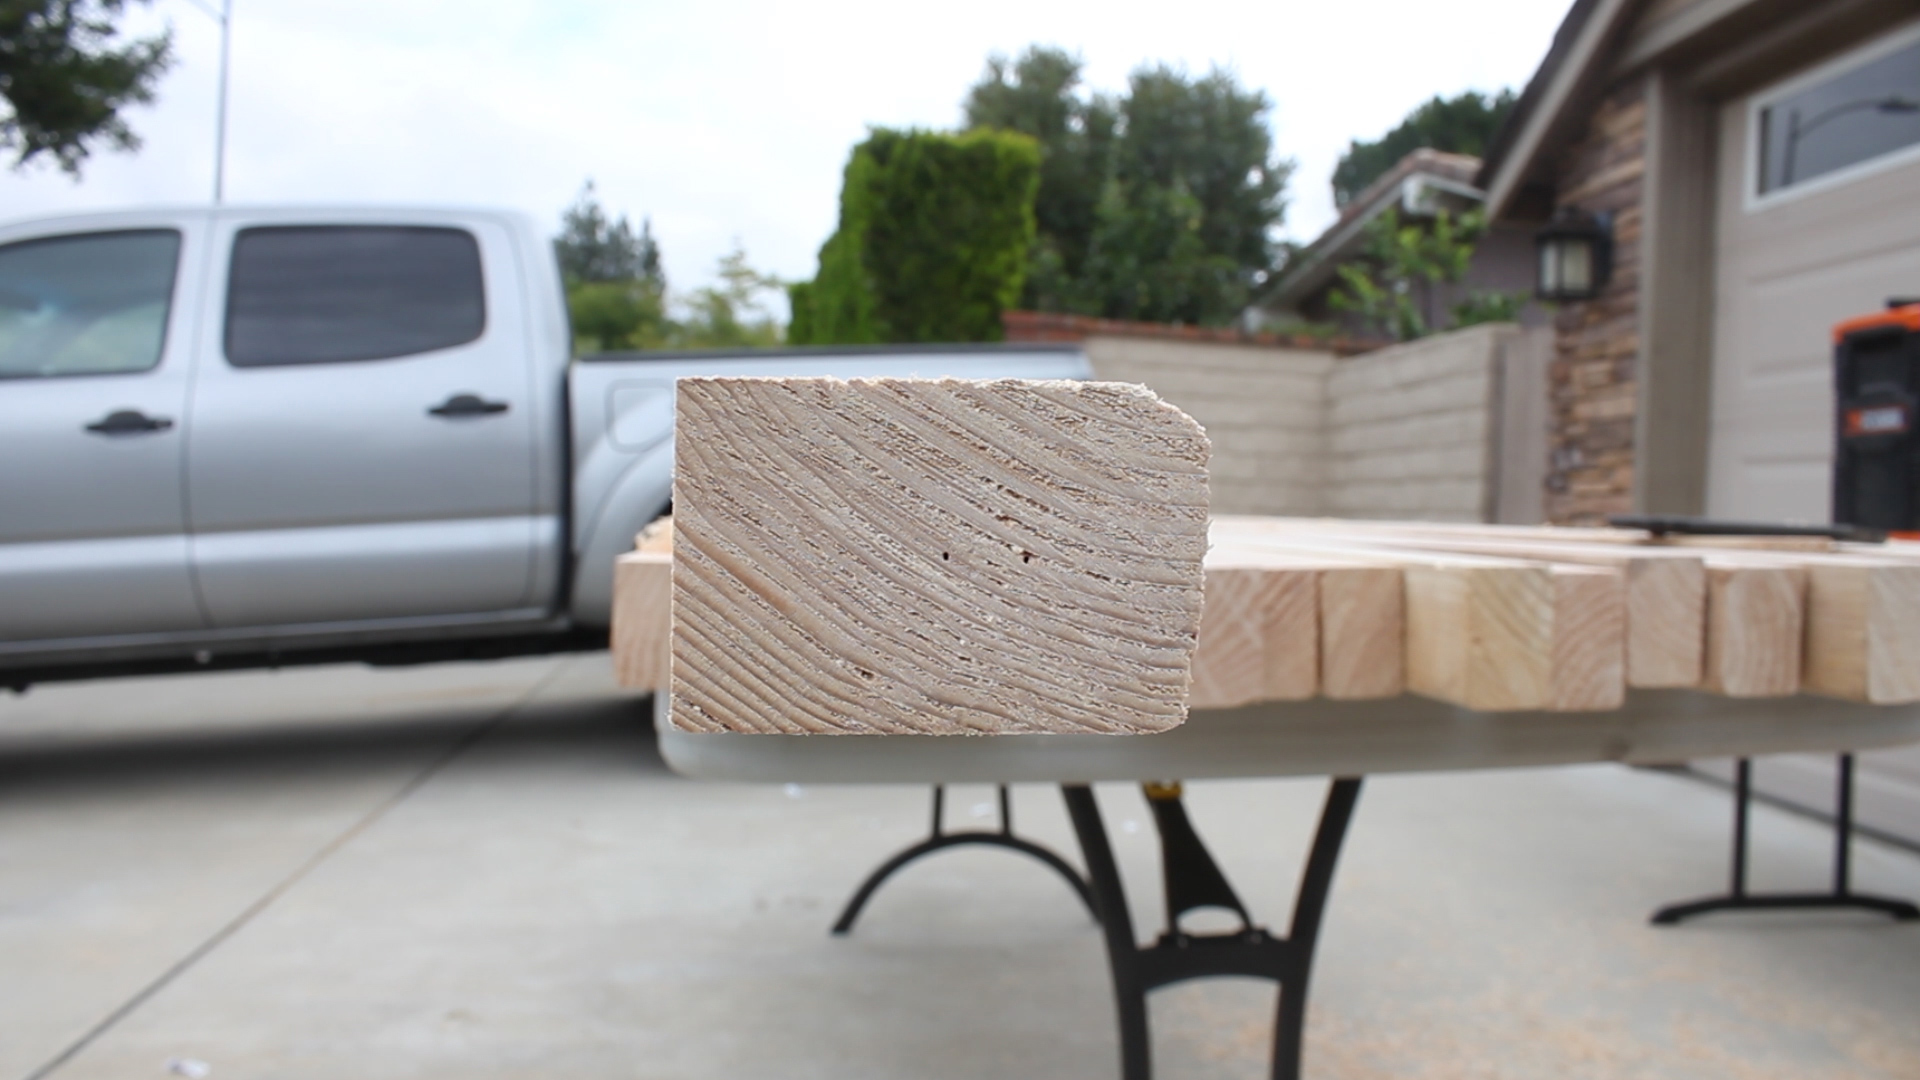
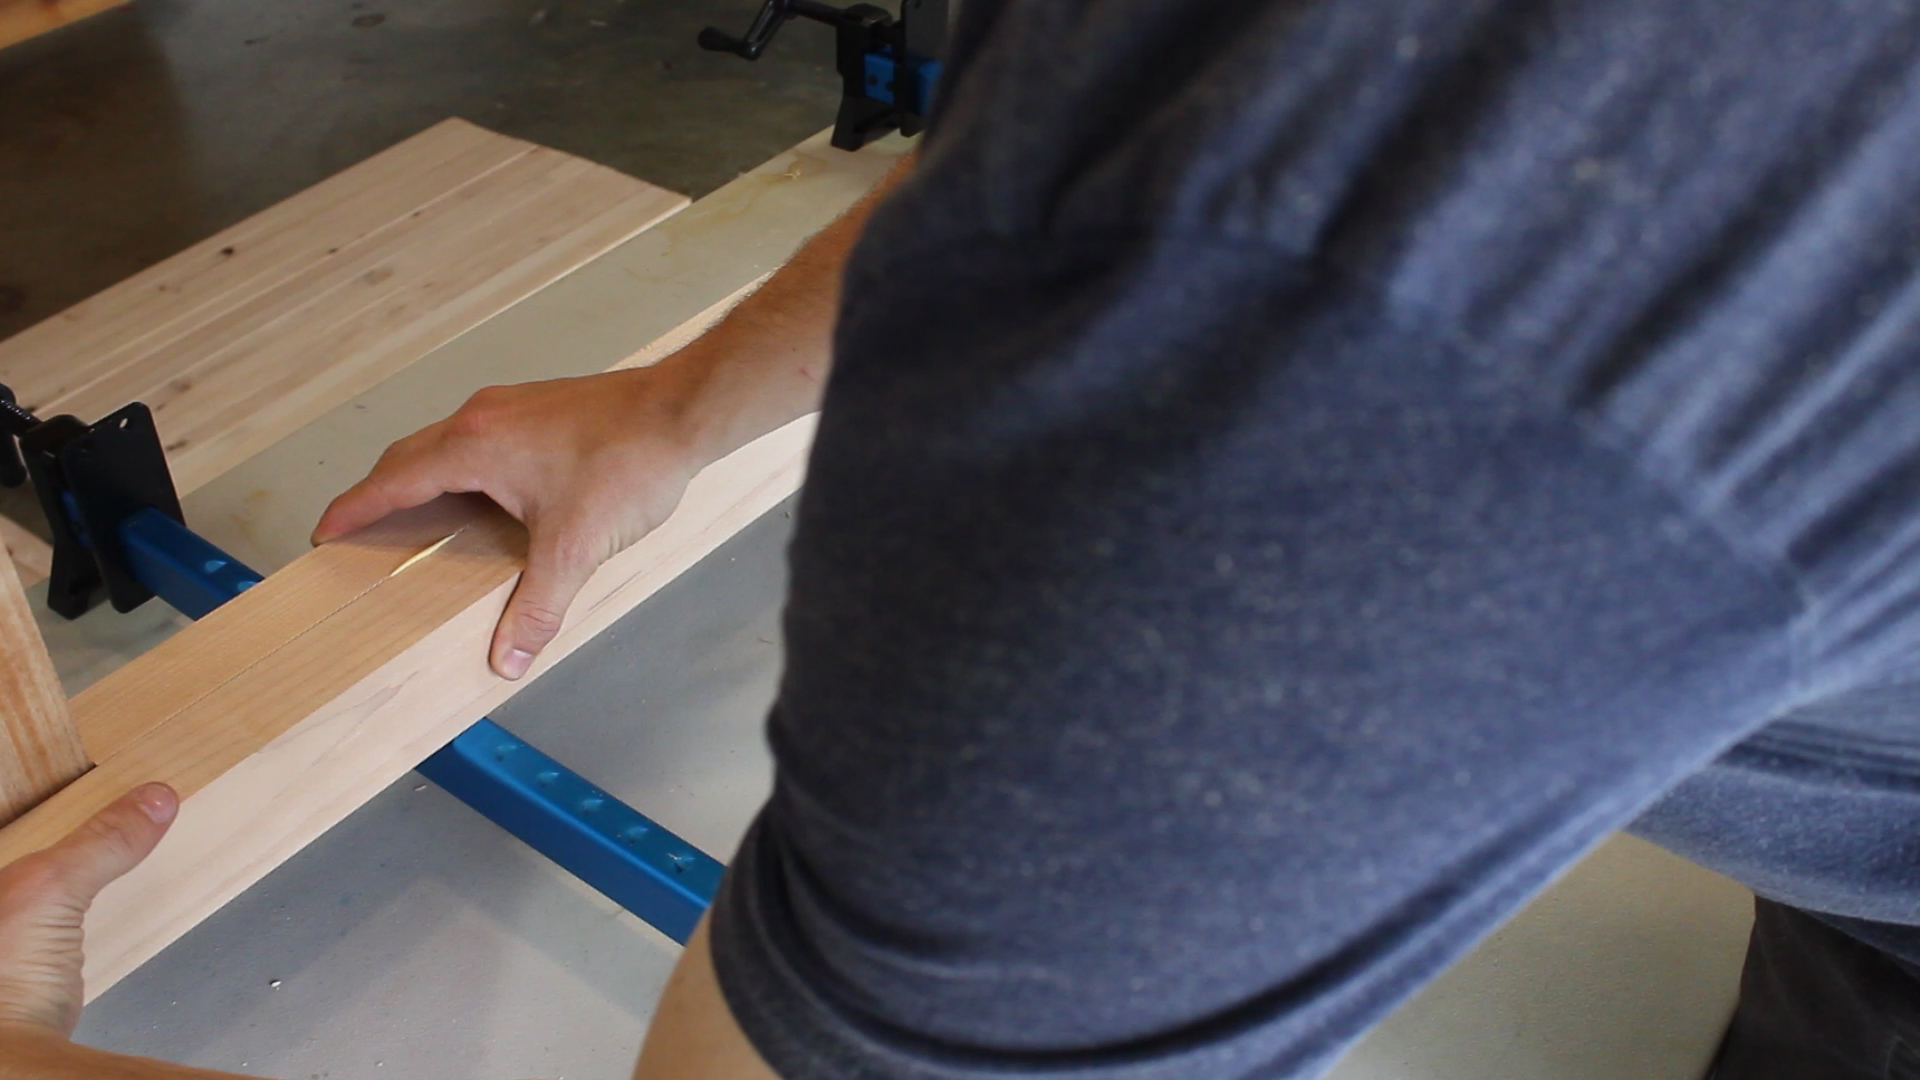
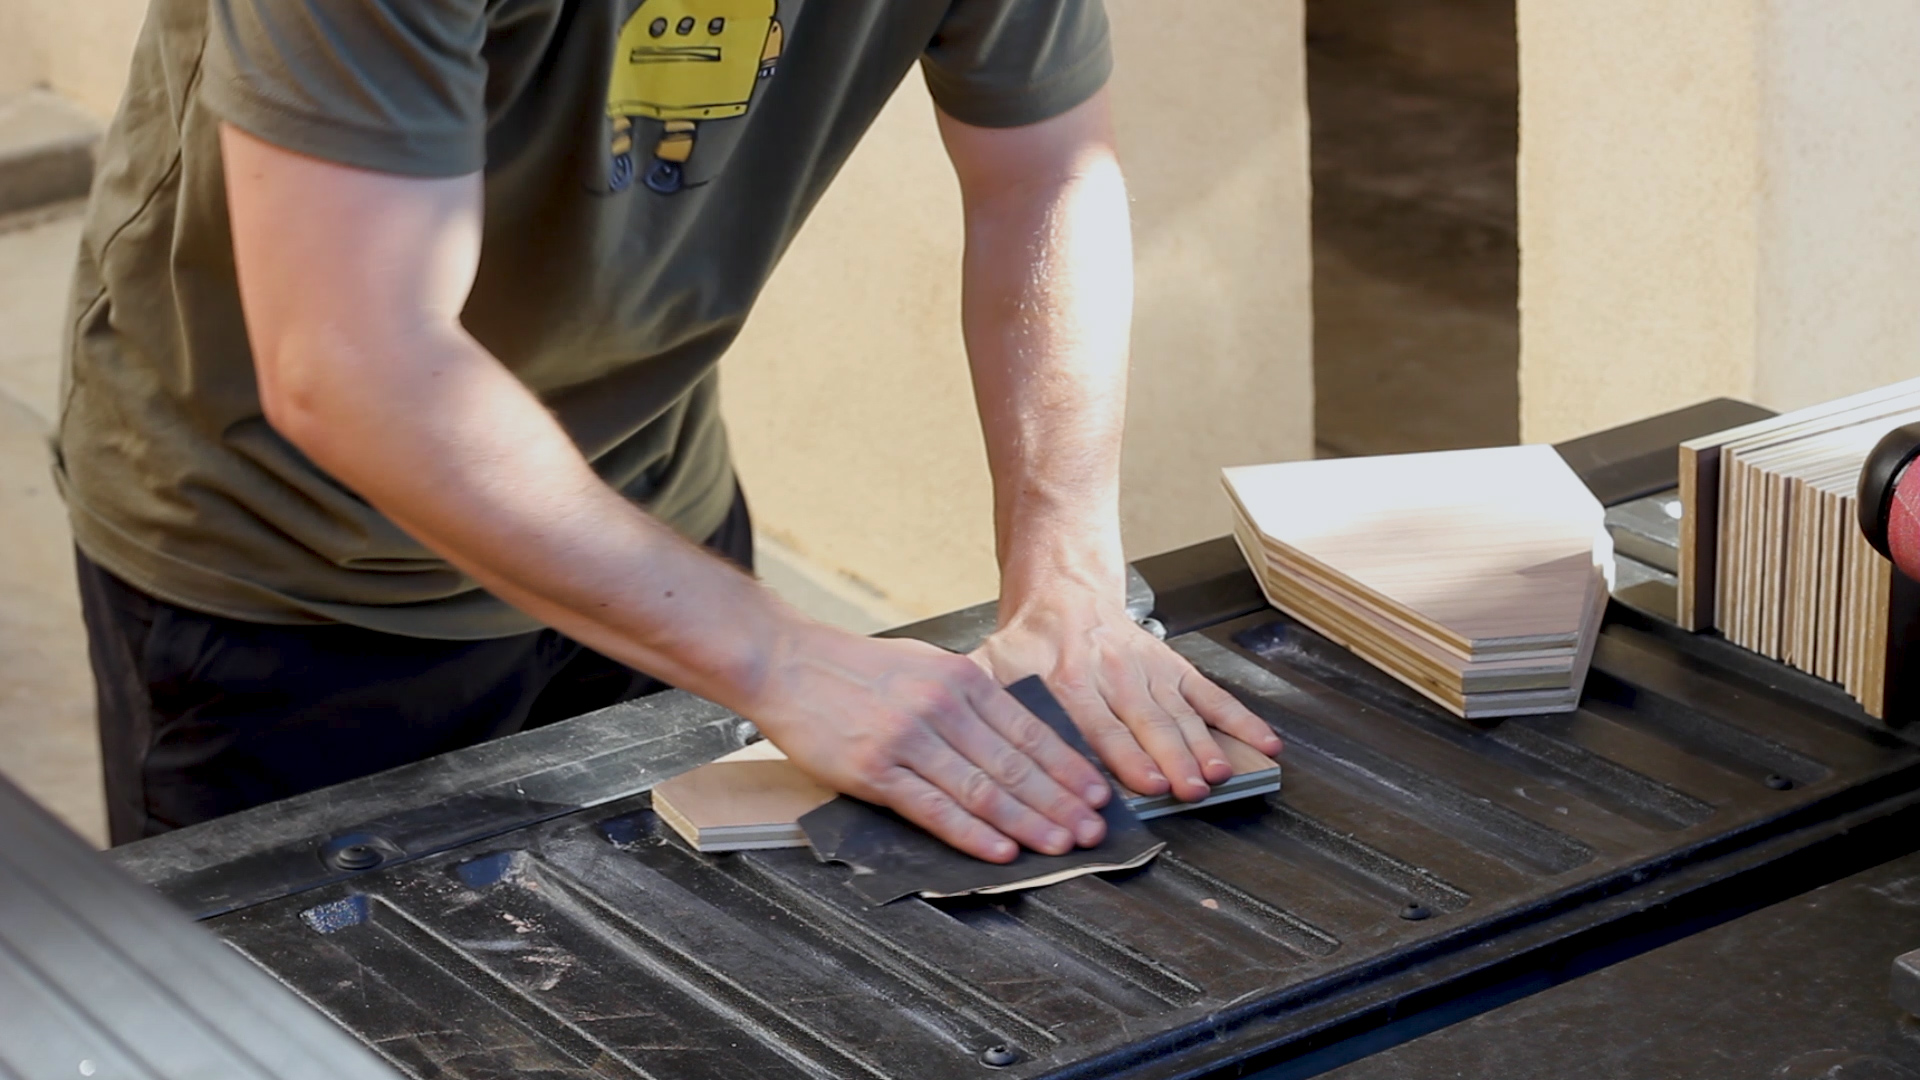
Pic 3 shows me just lightly sanding the outside edges of my pieces. Veneer is very thin and you can sand through it easily, so make sure you only do a very light pass (if at all) when you do so.
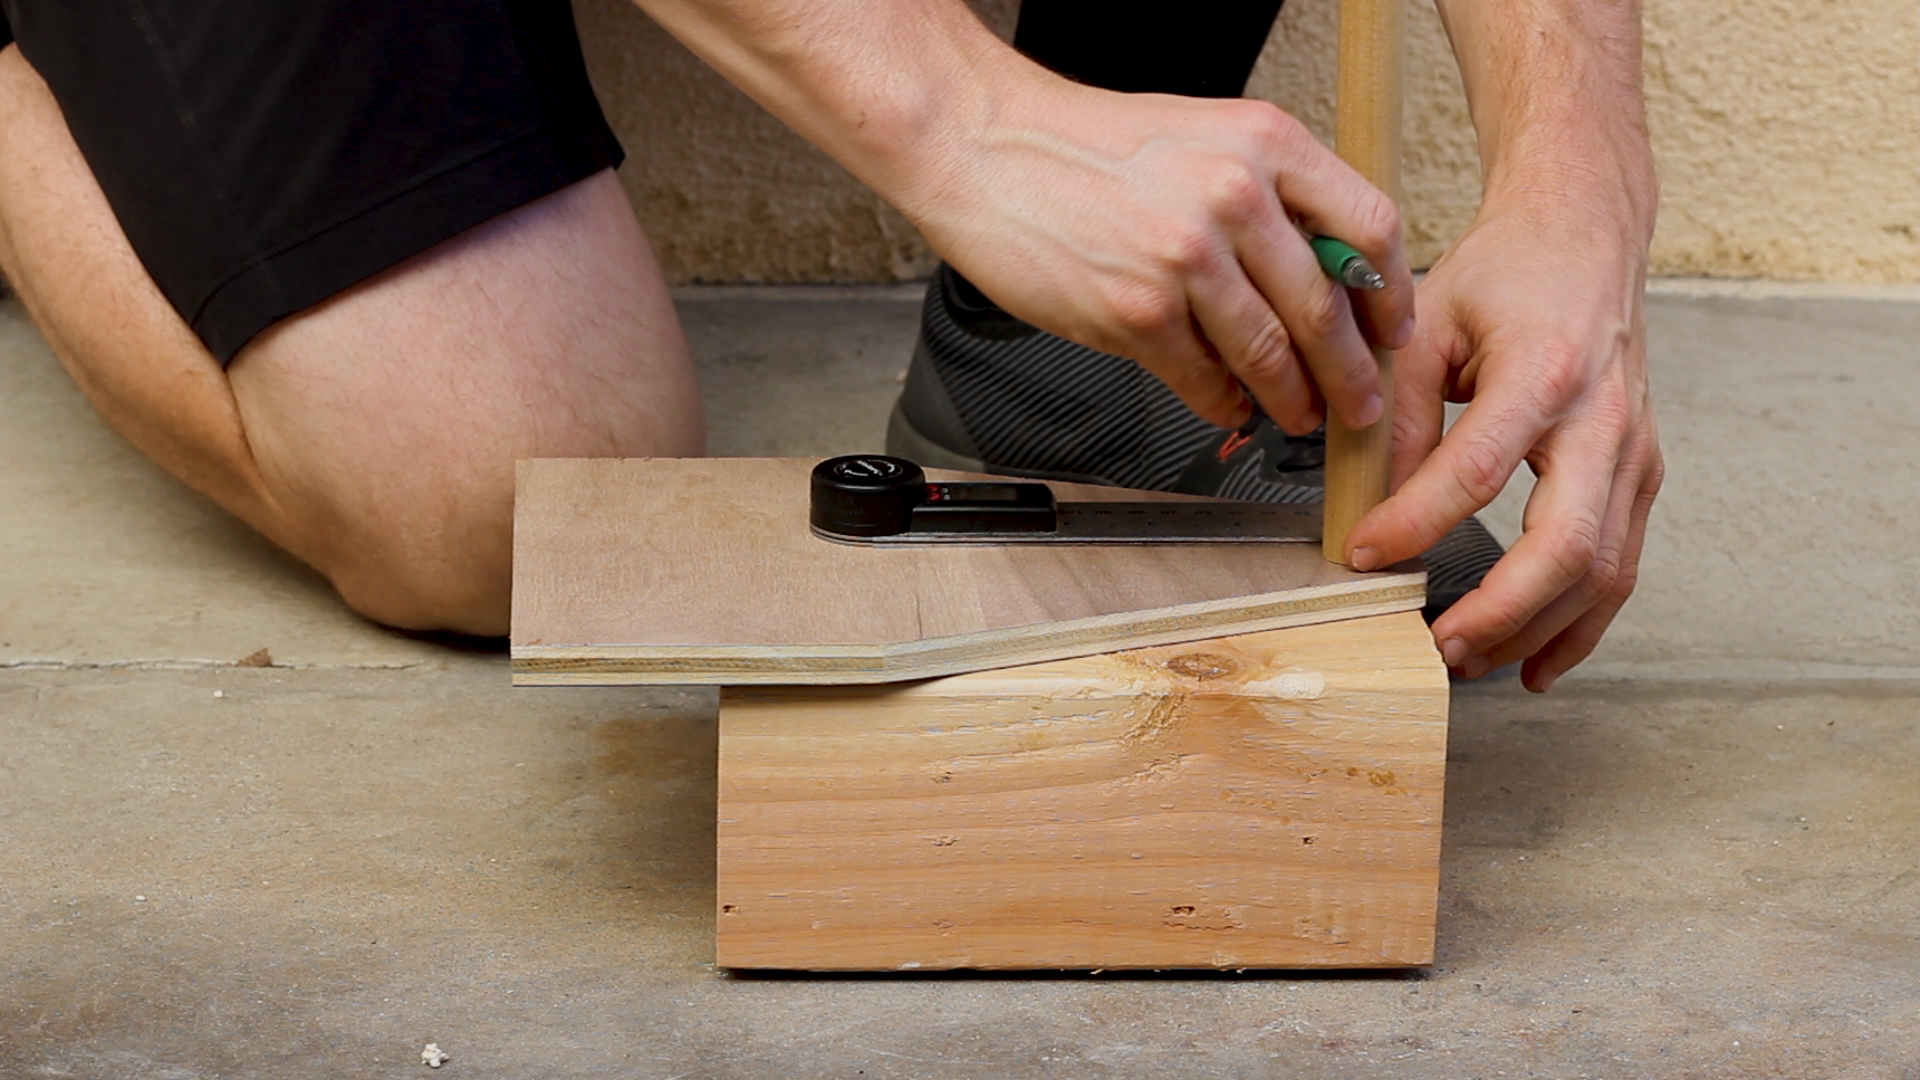
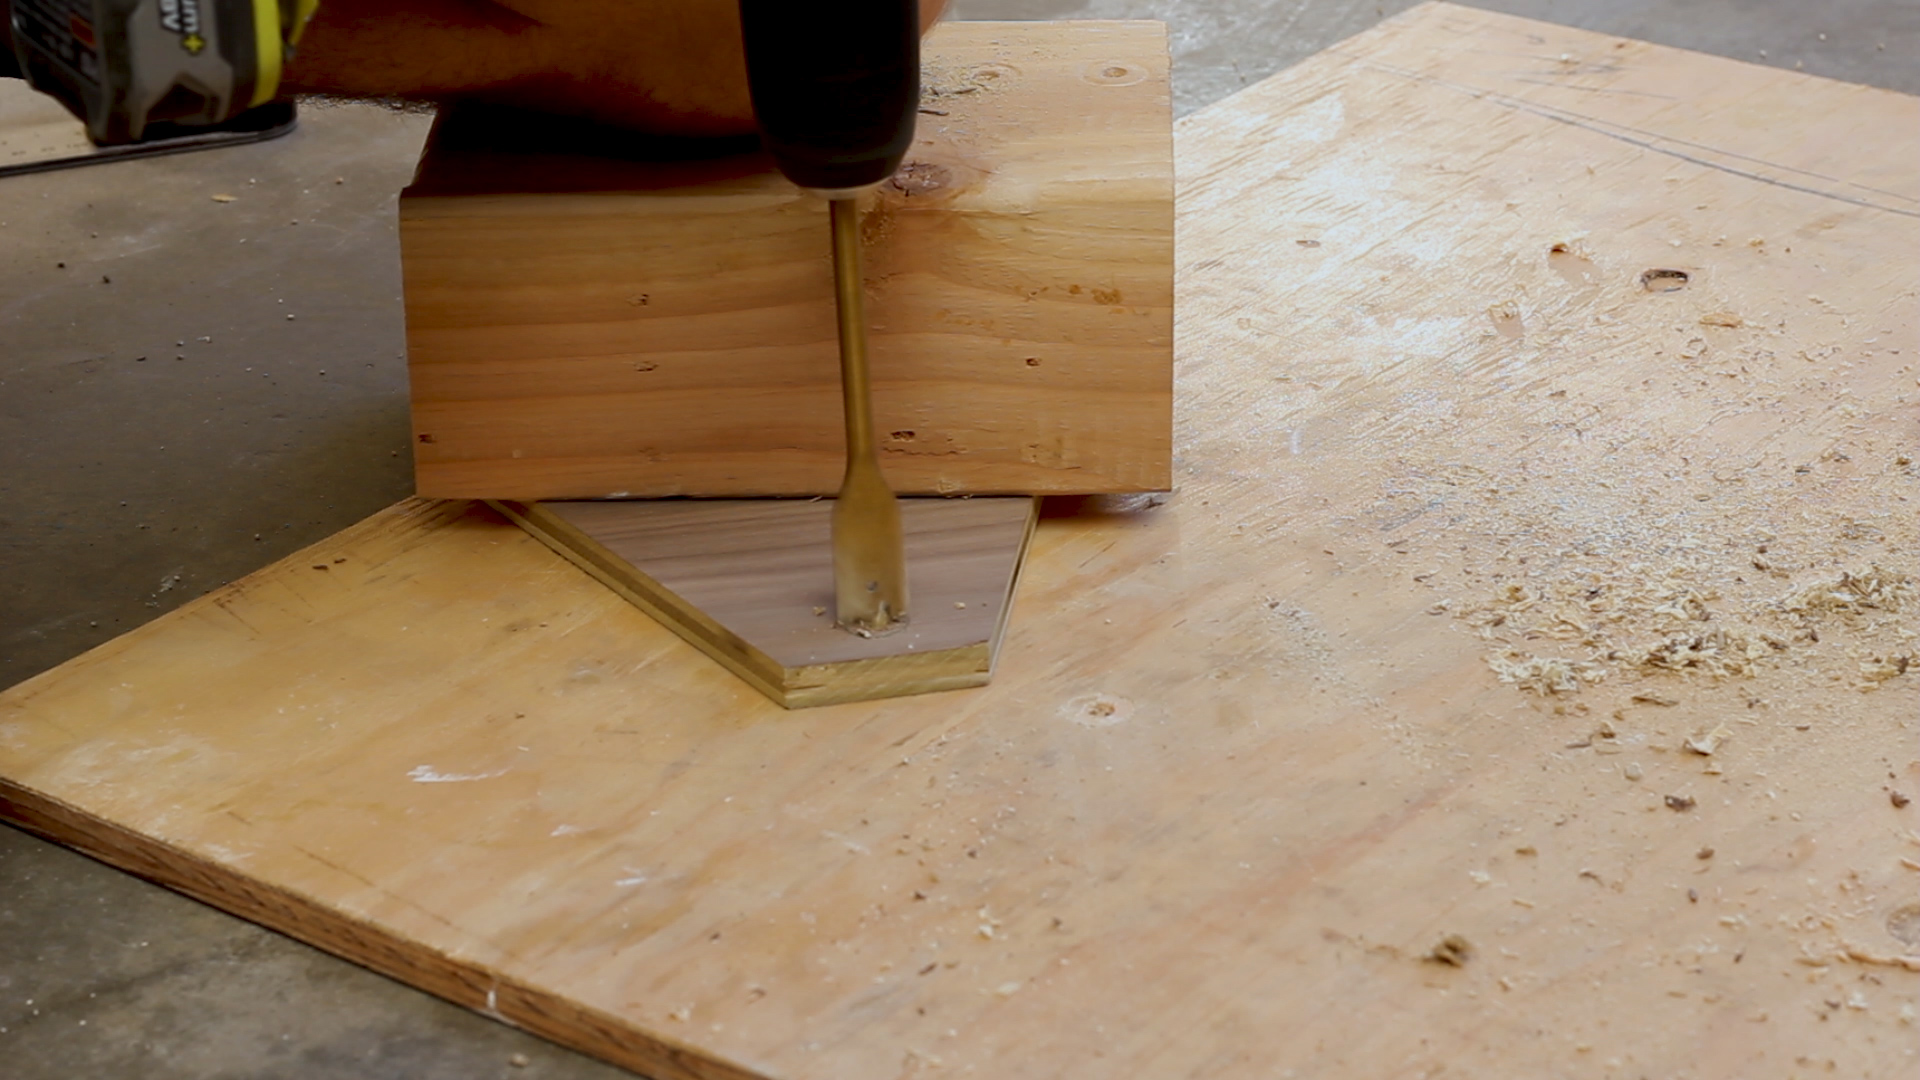
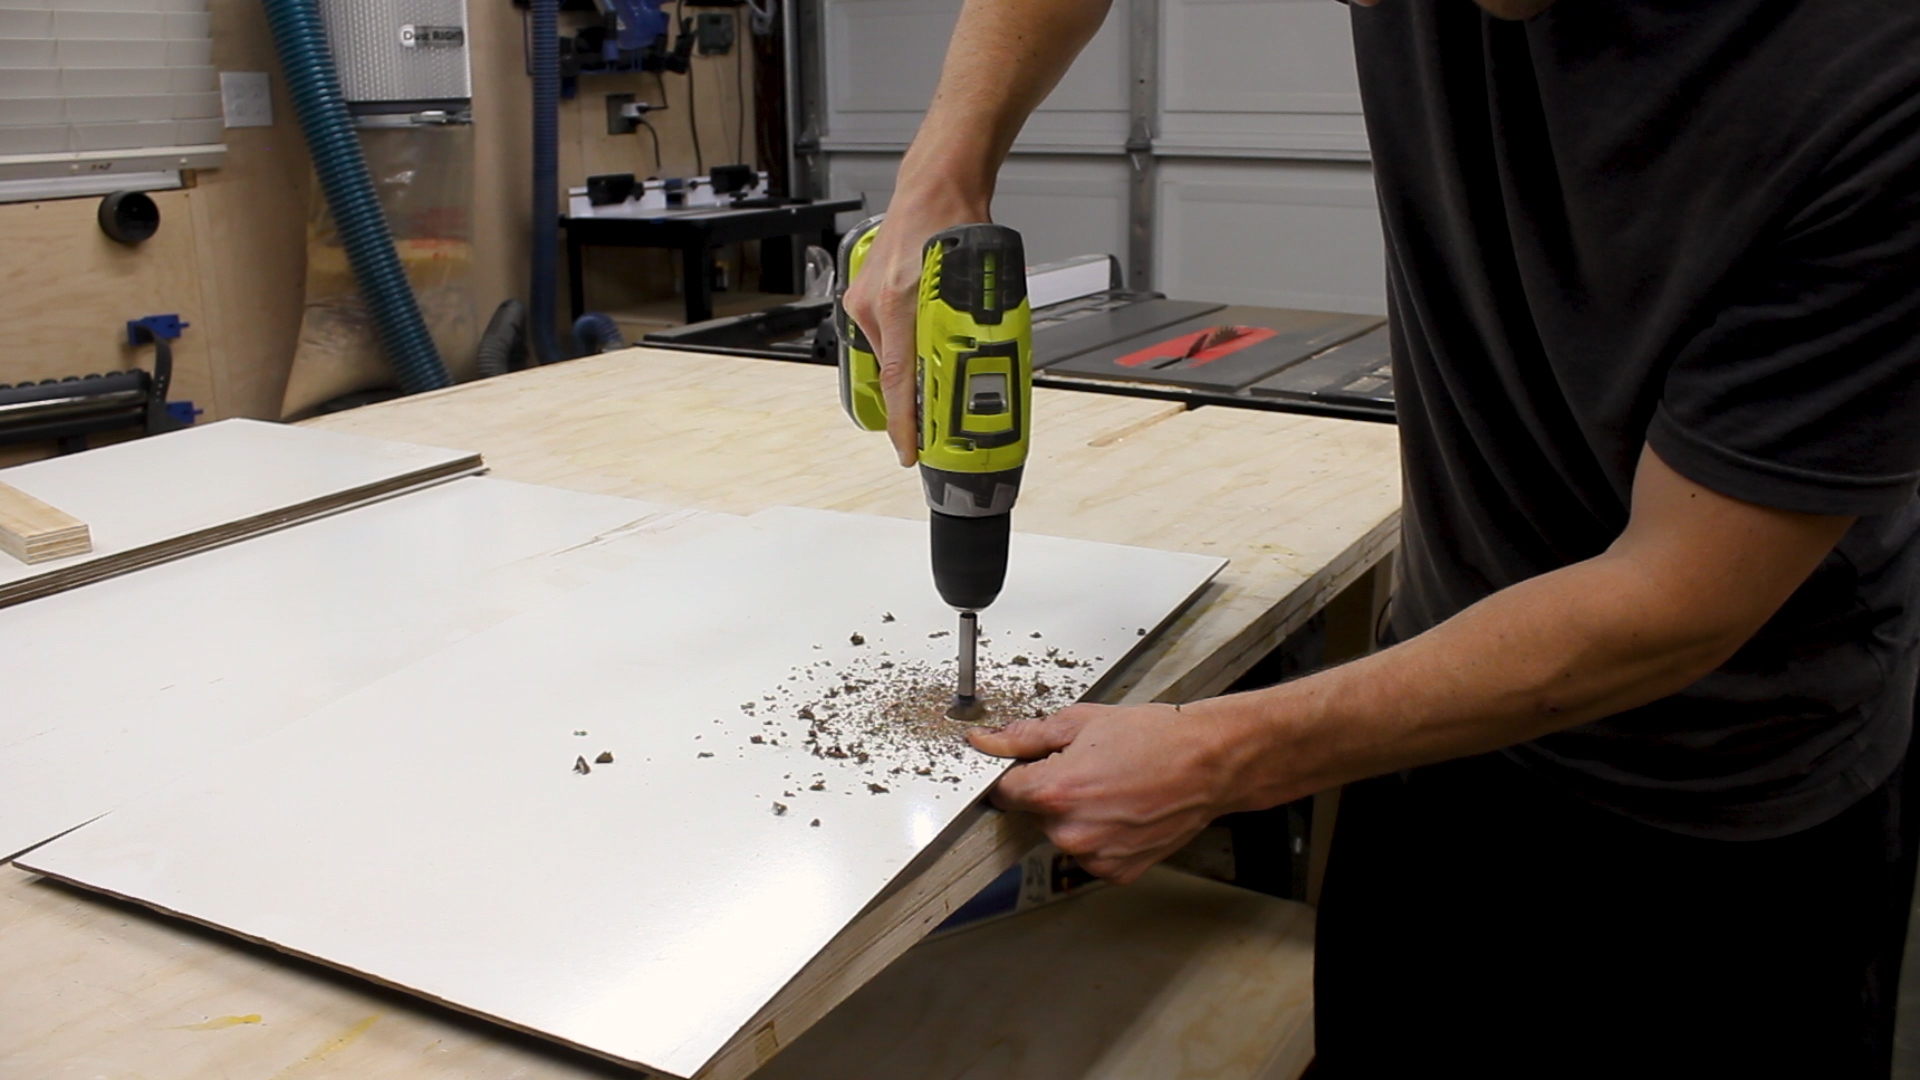
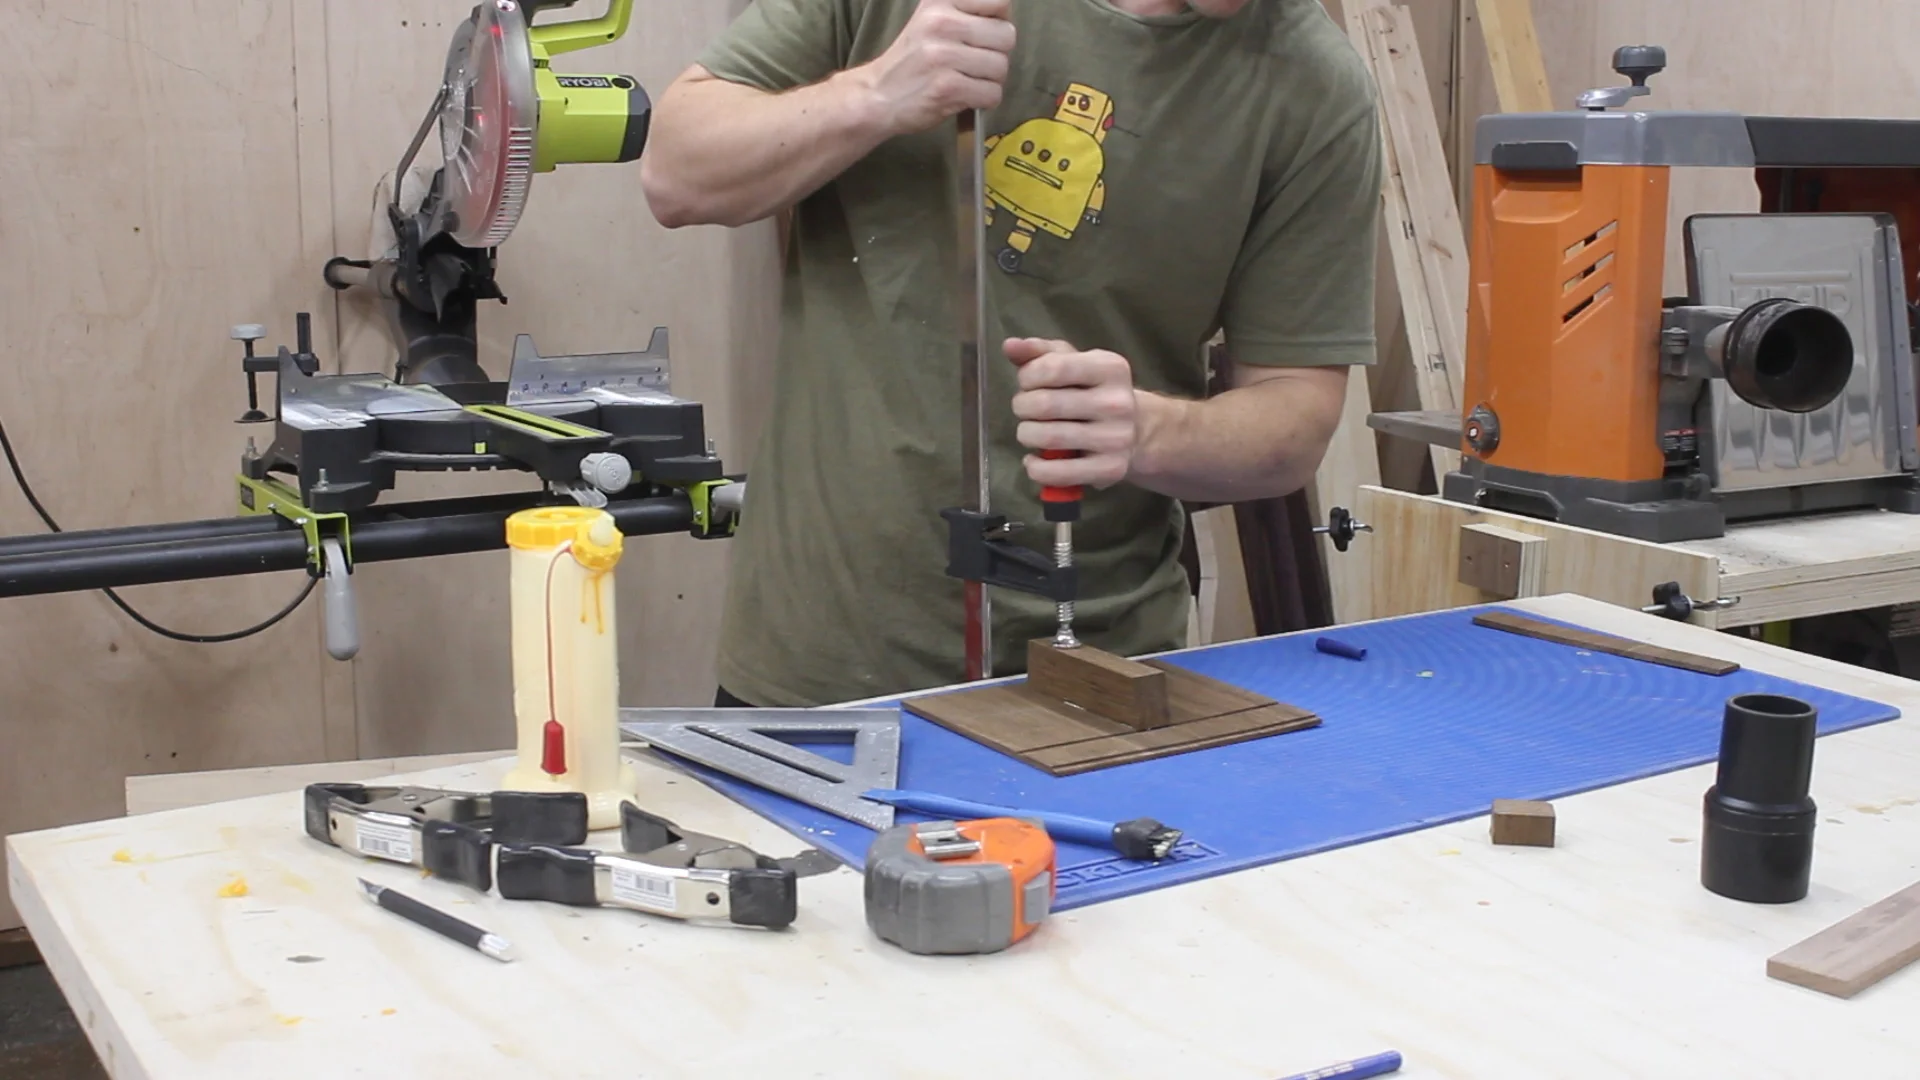
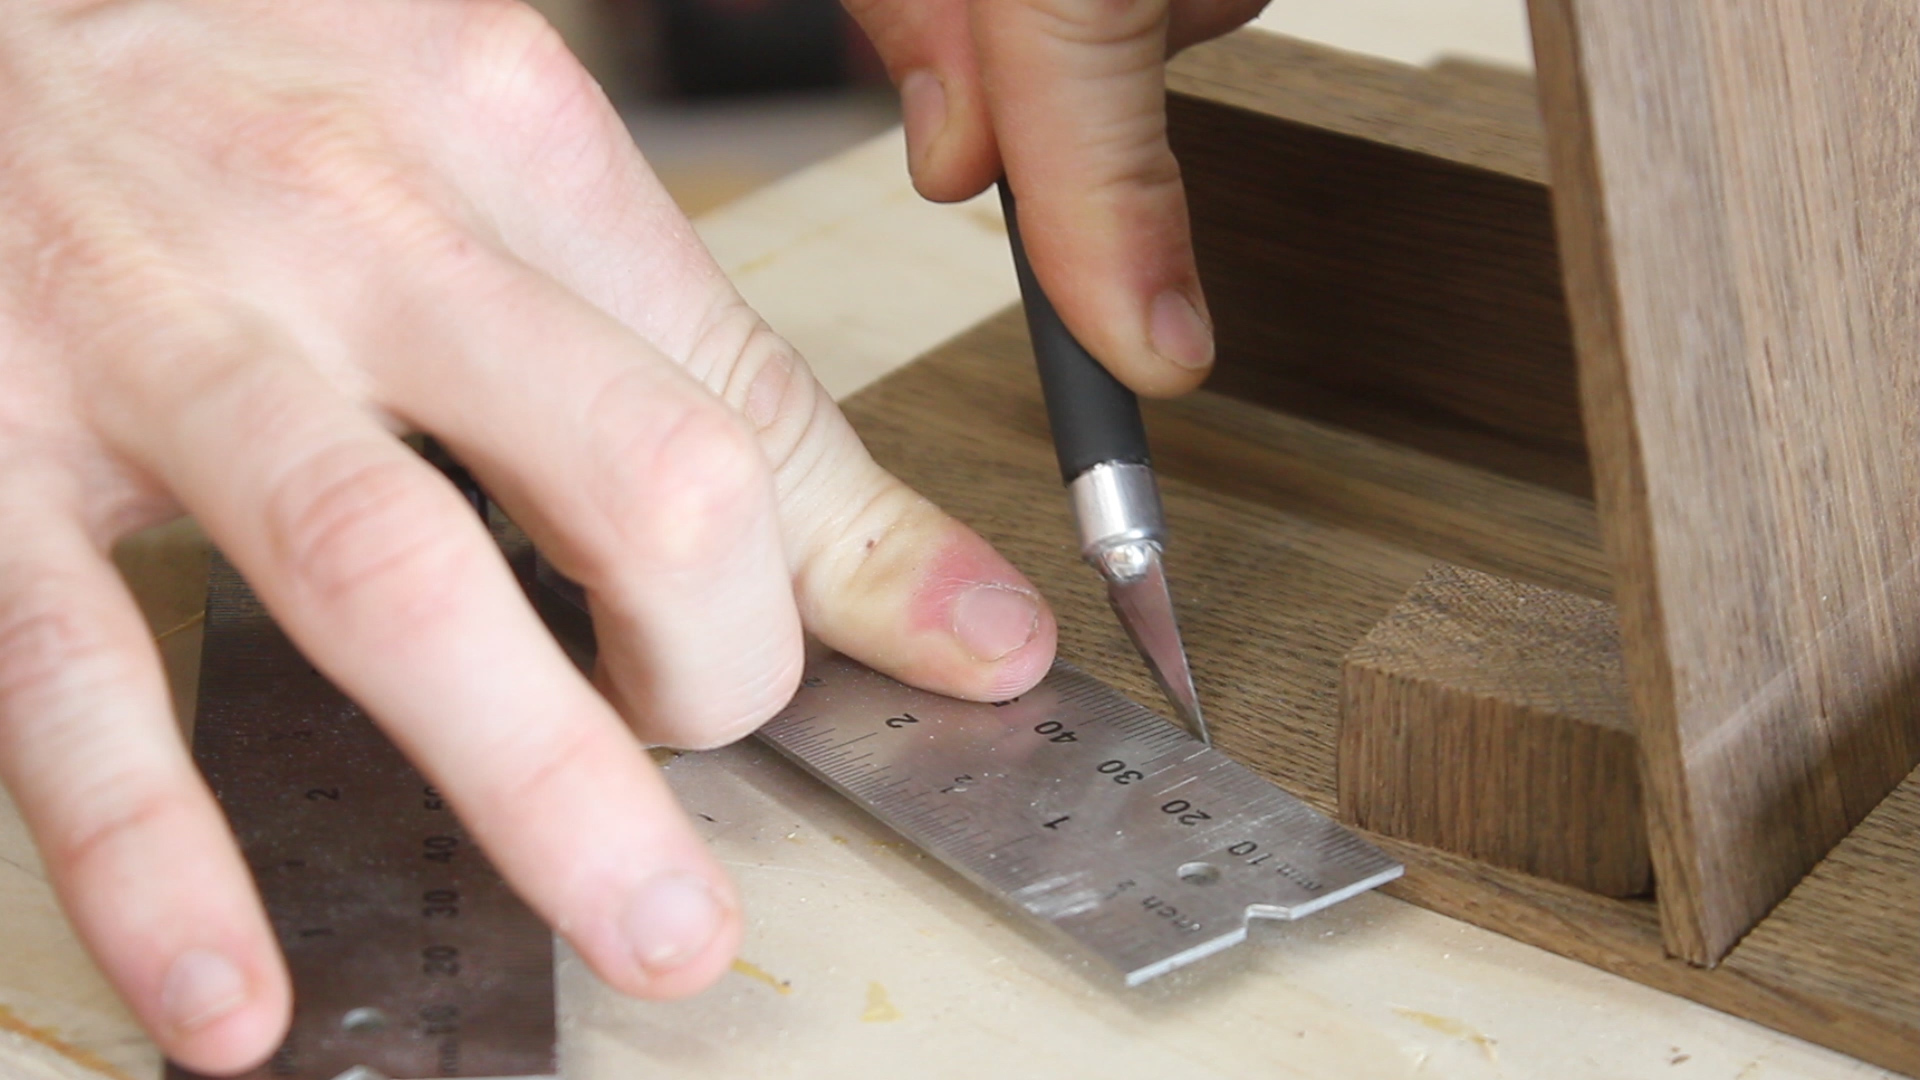
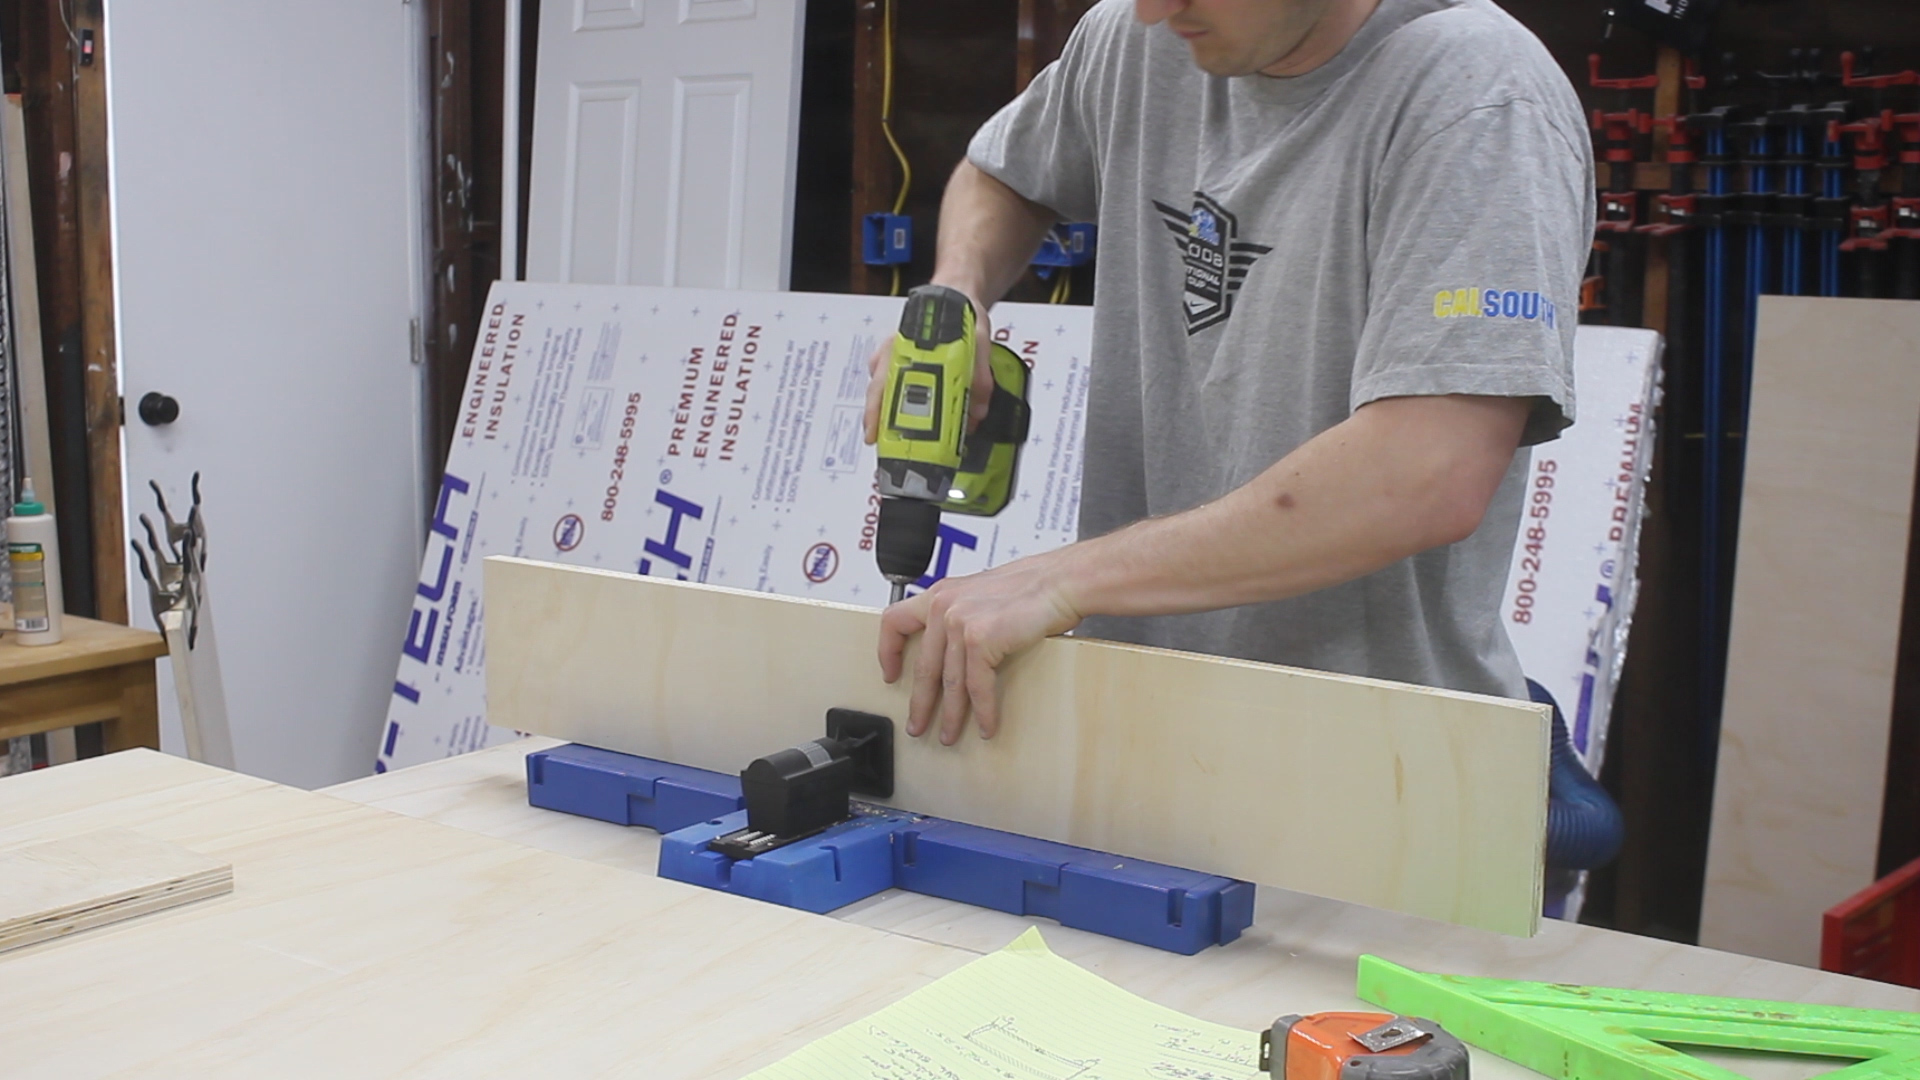
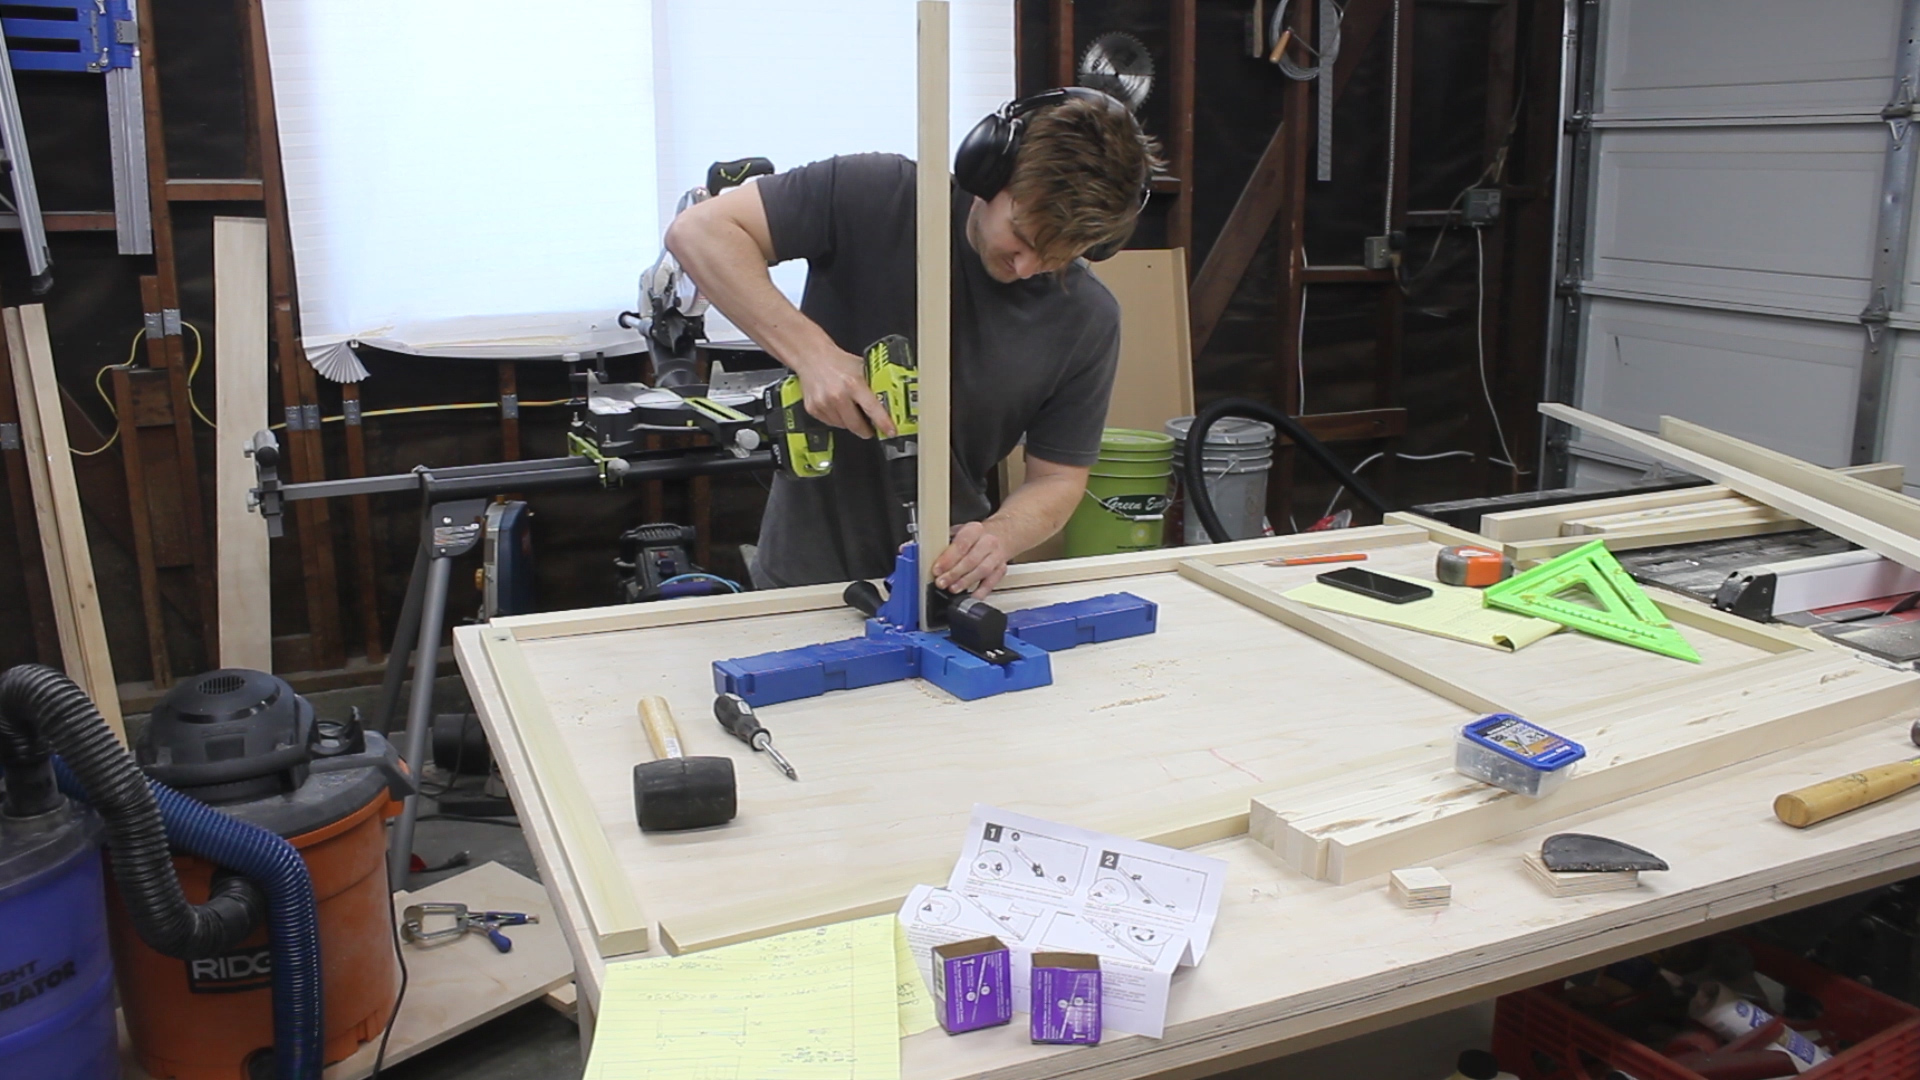
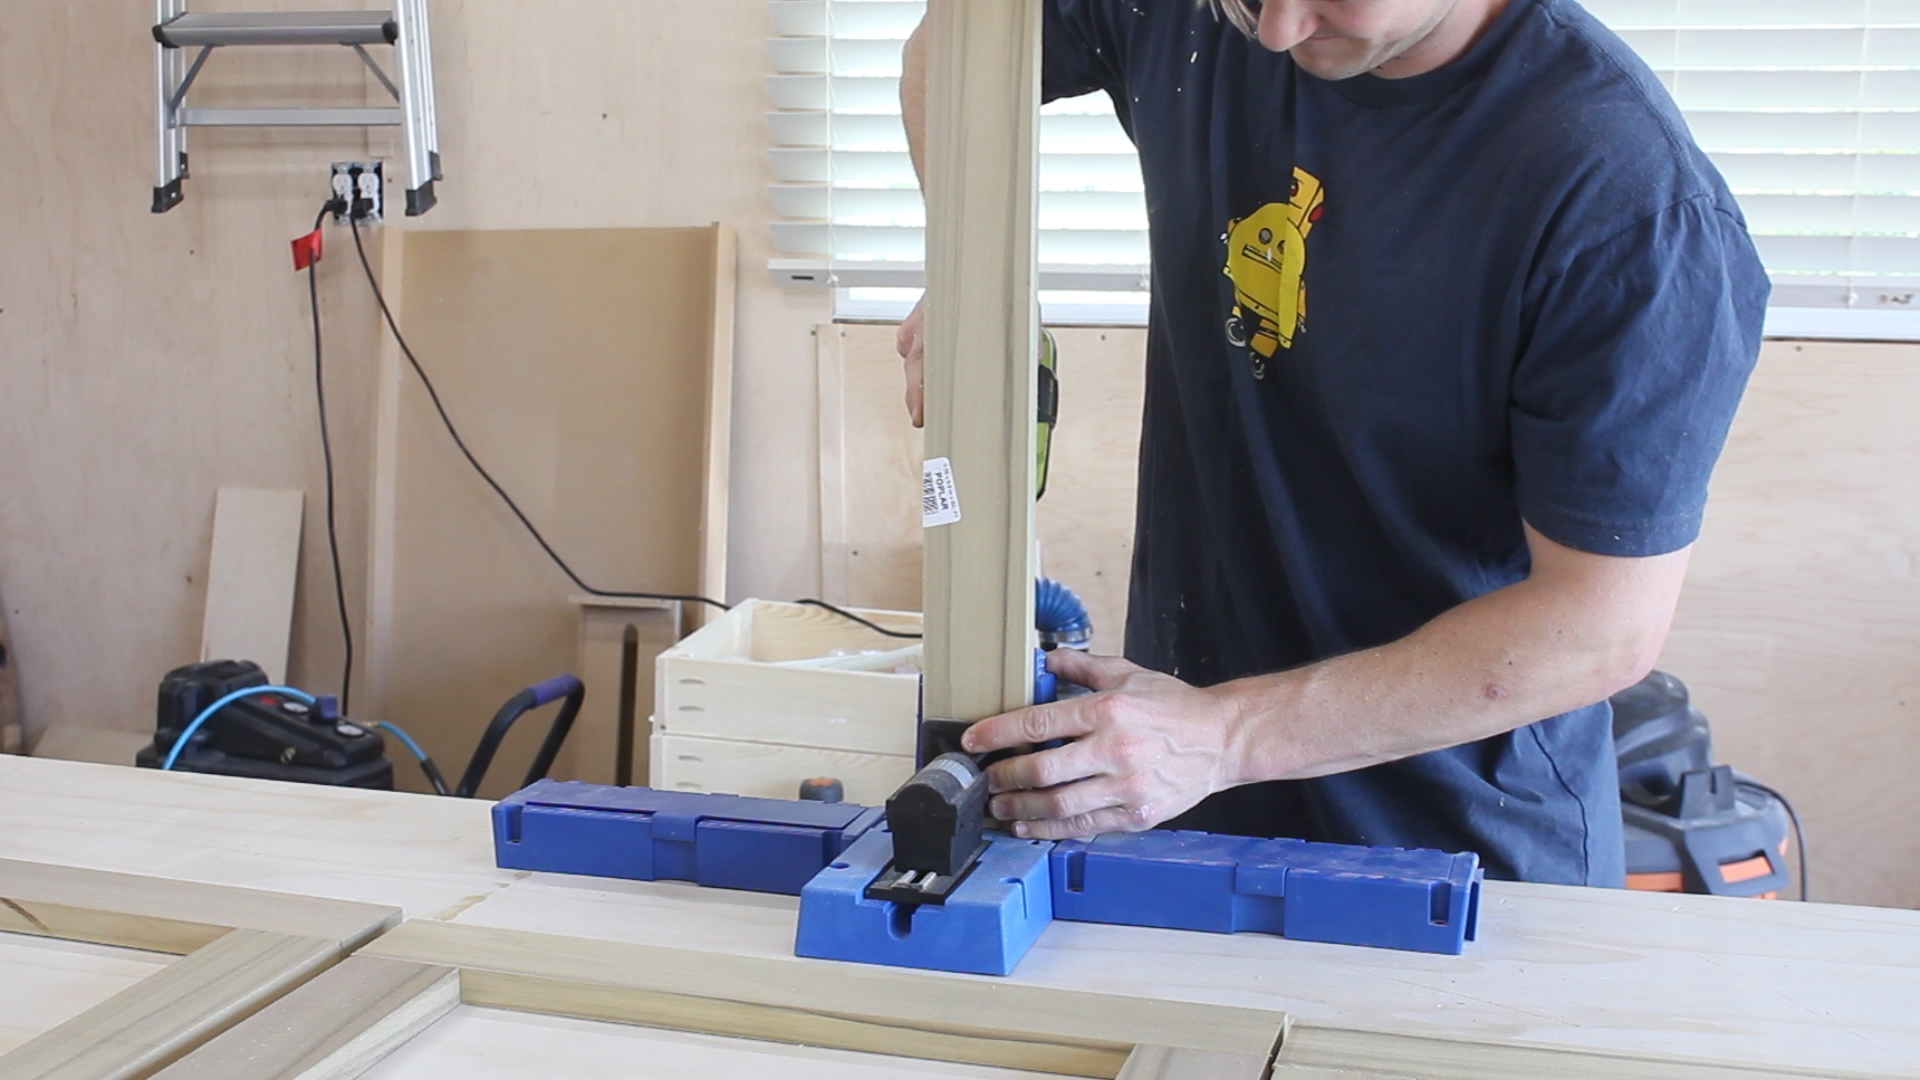
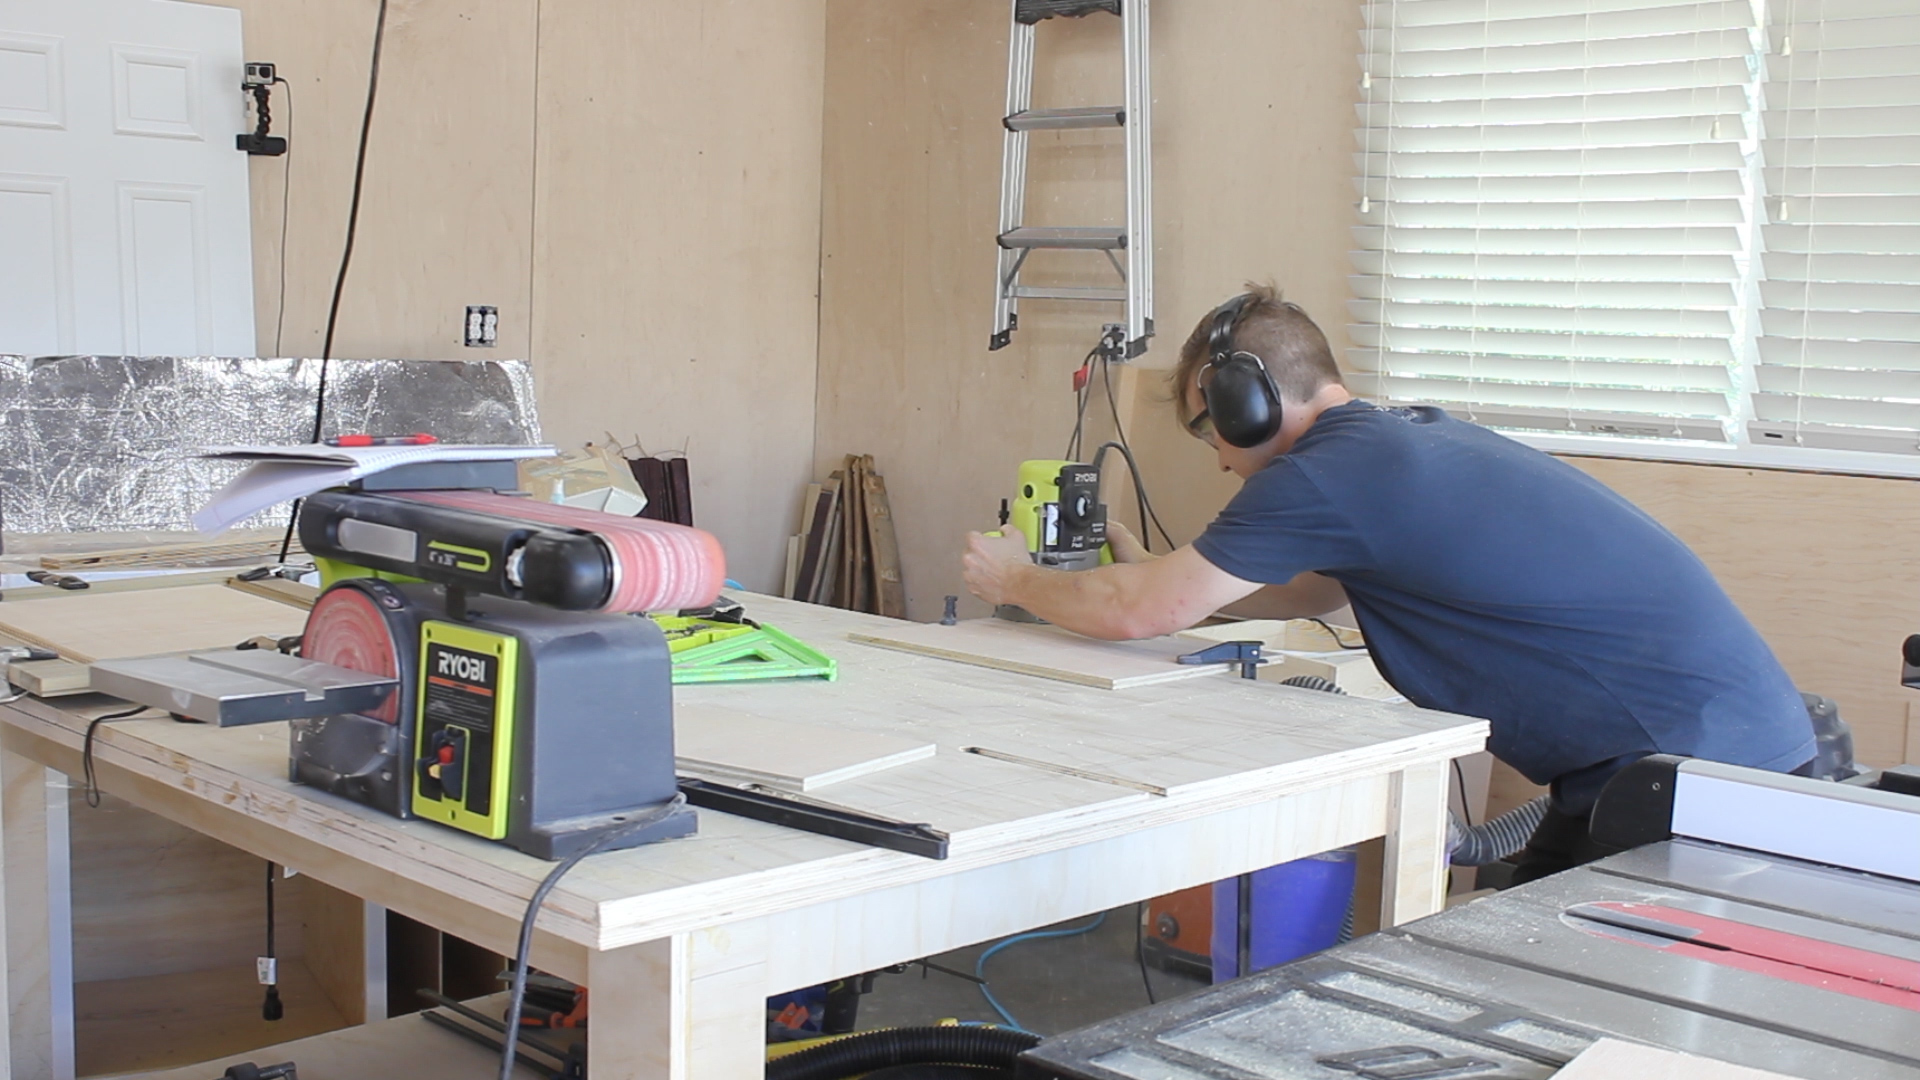
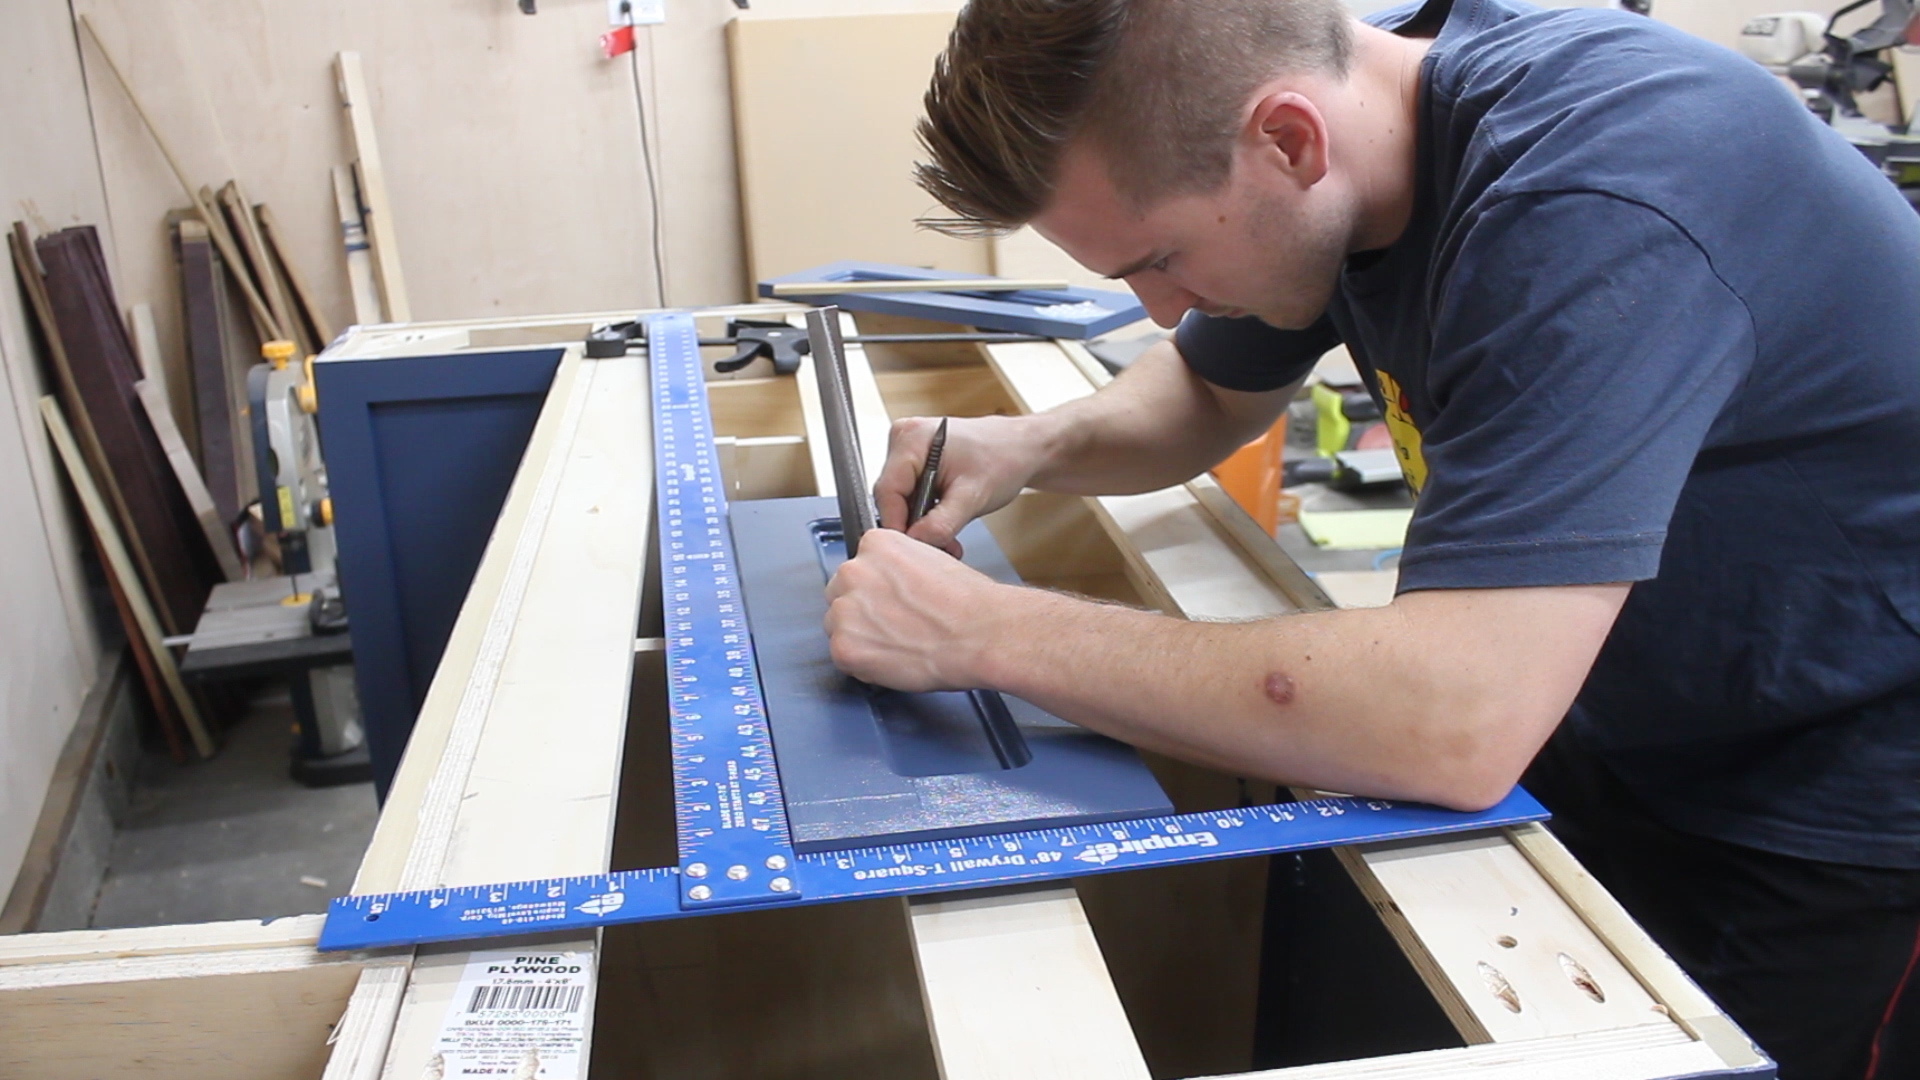
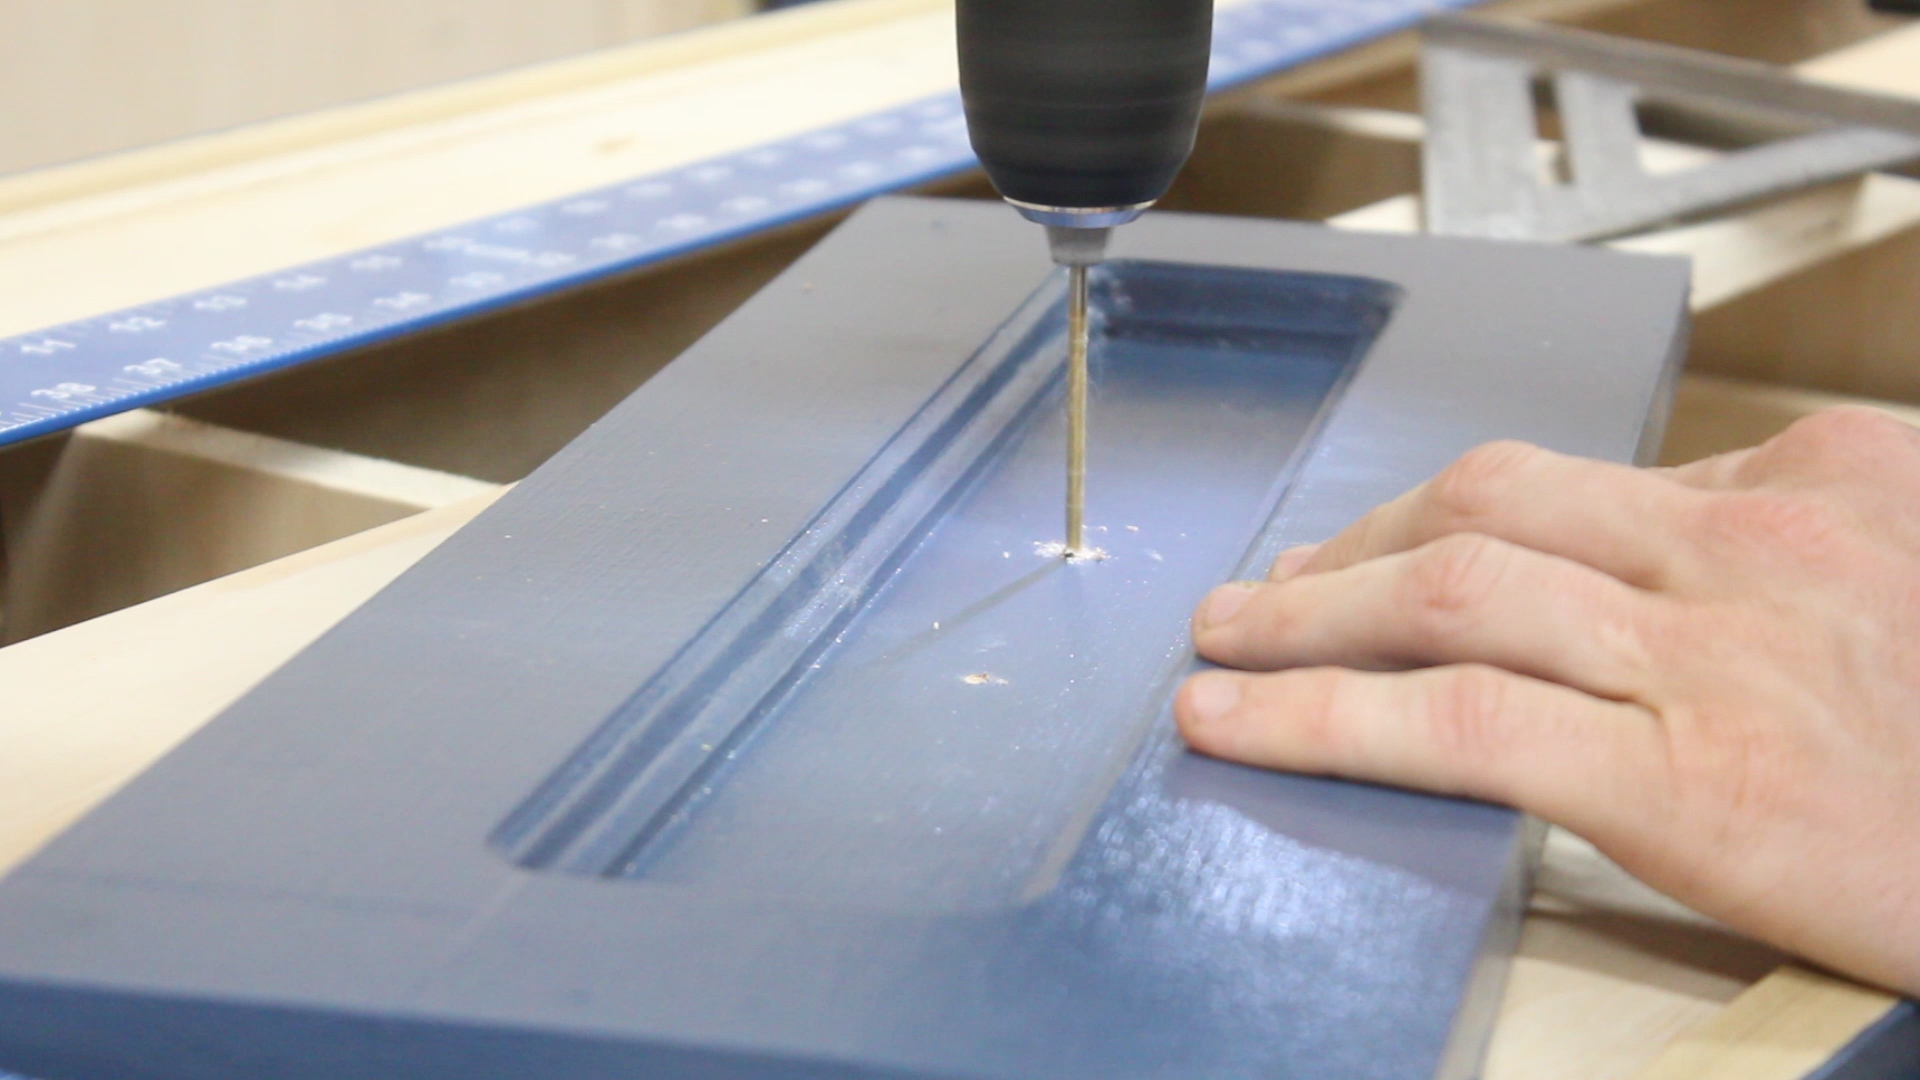
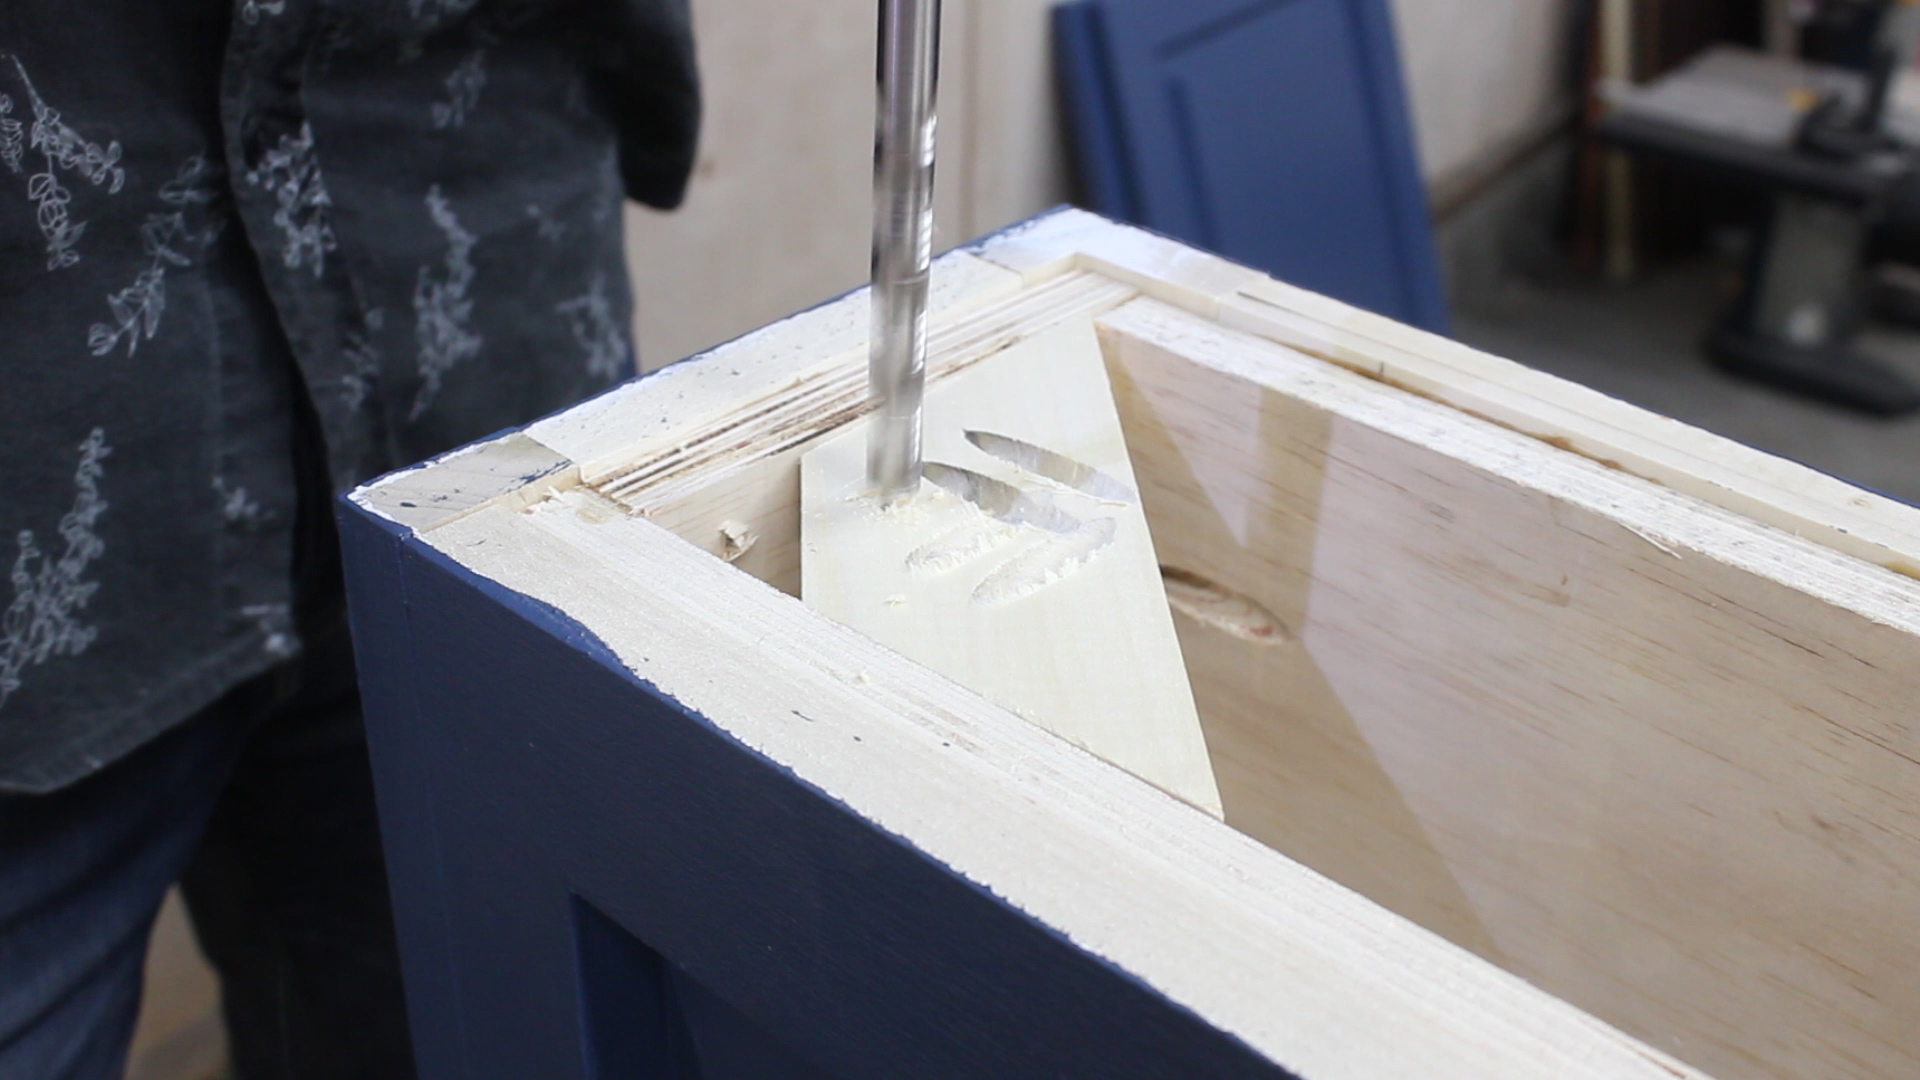
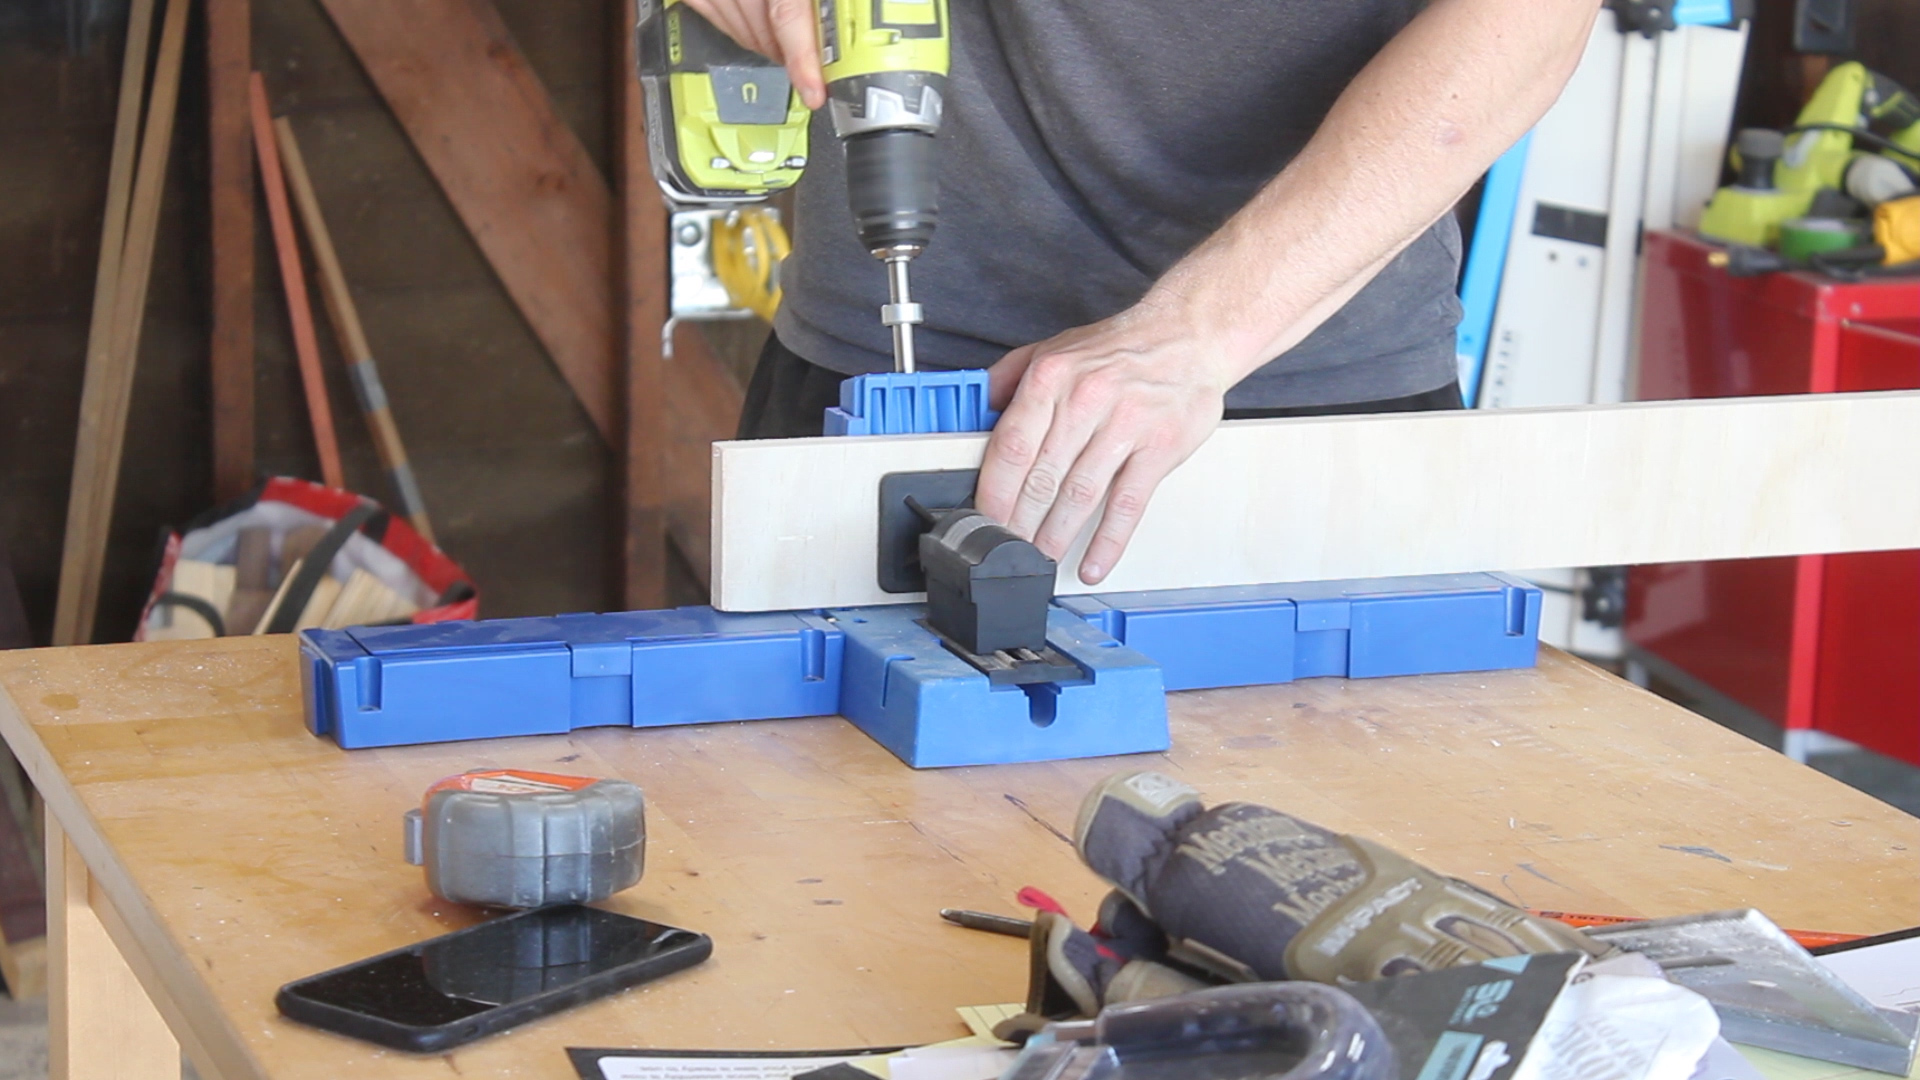
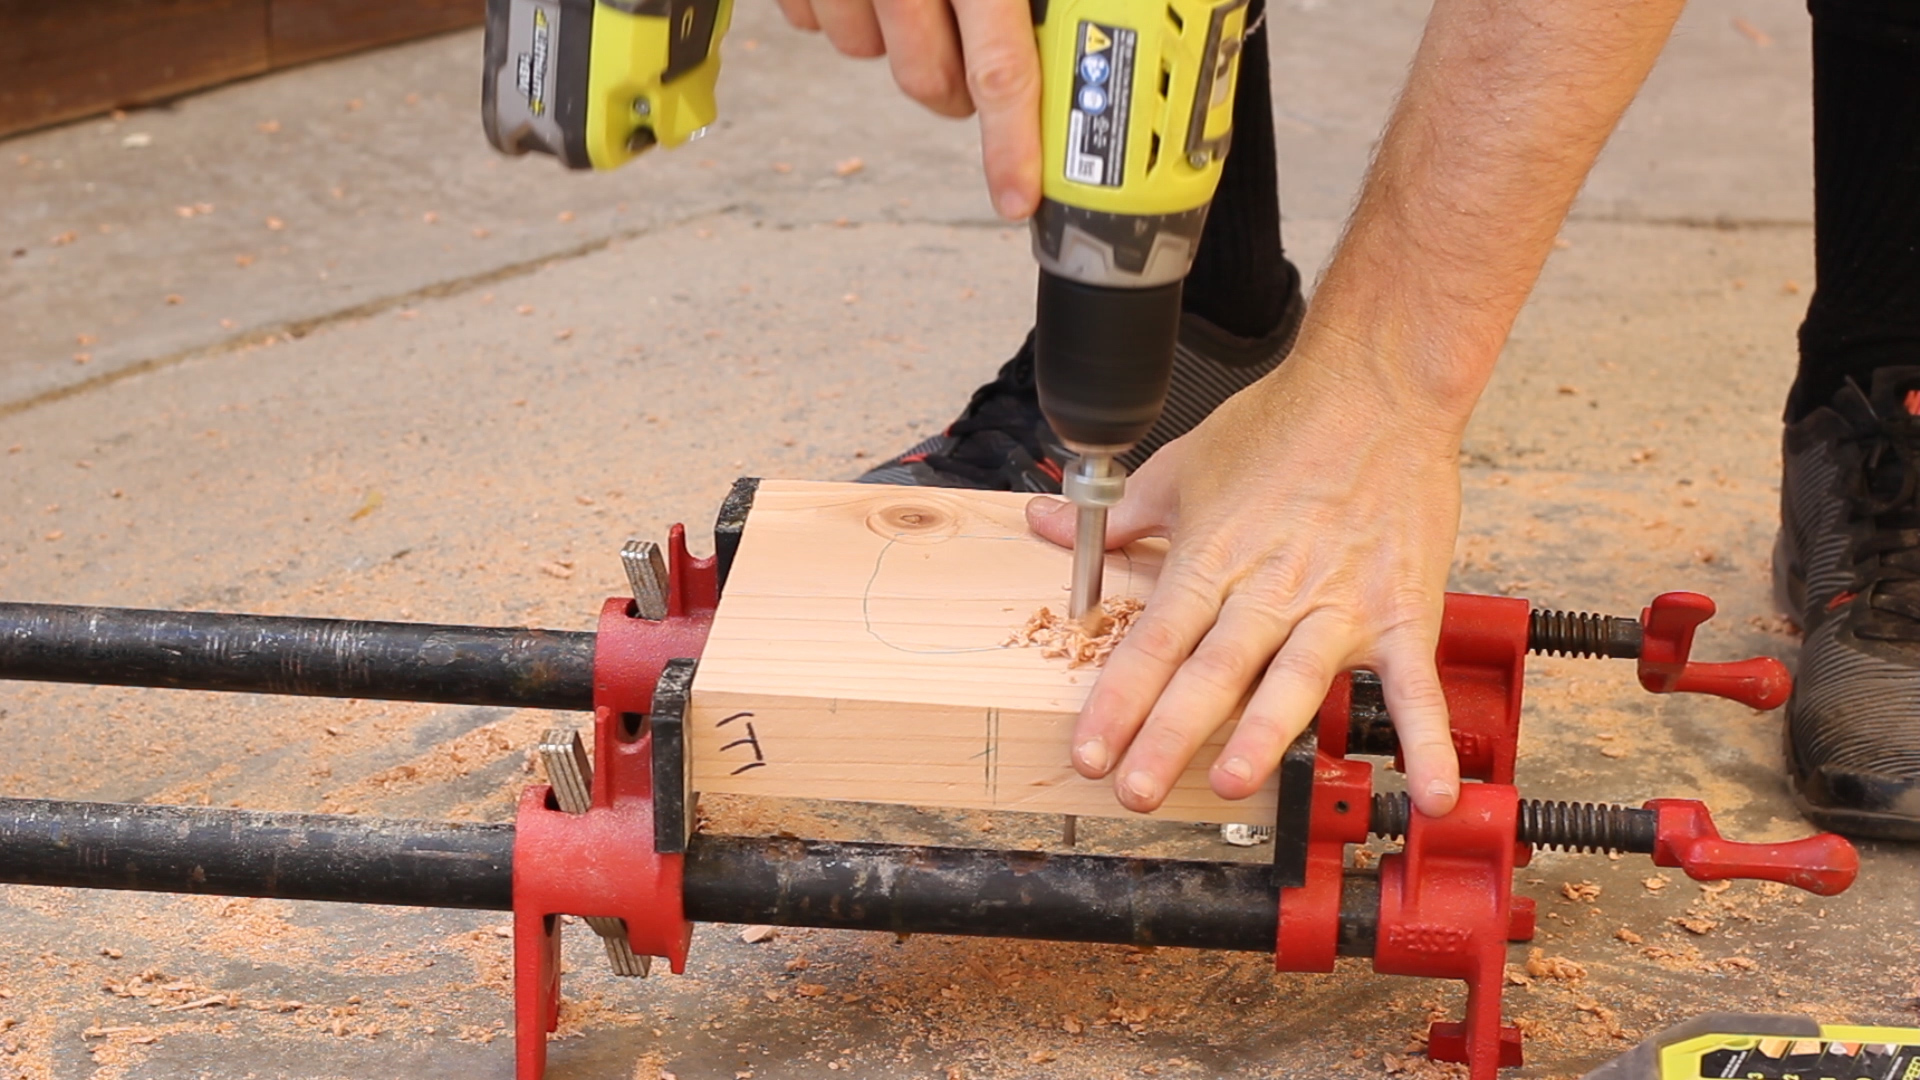
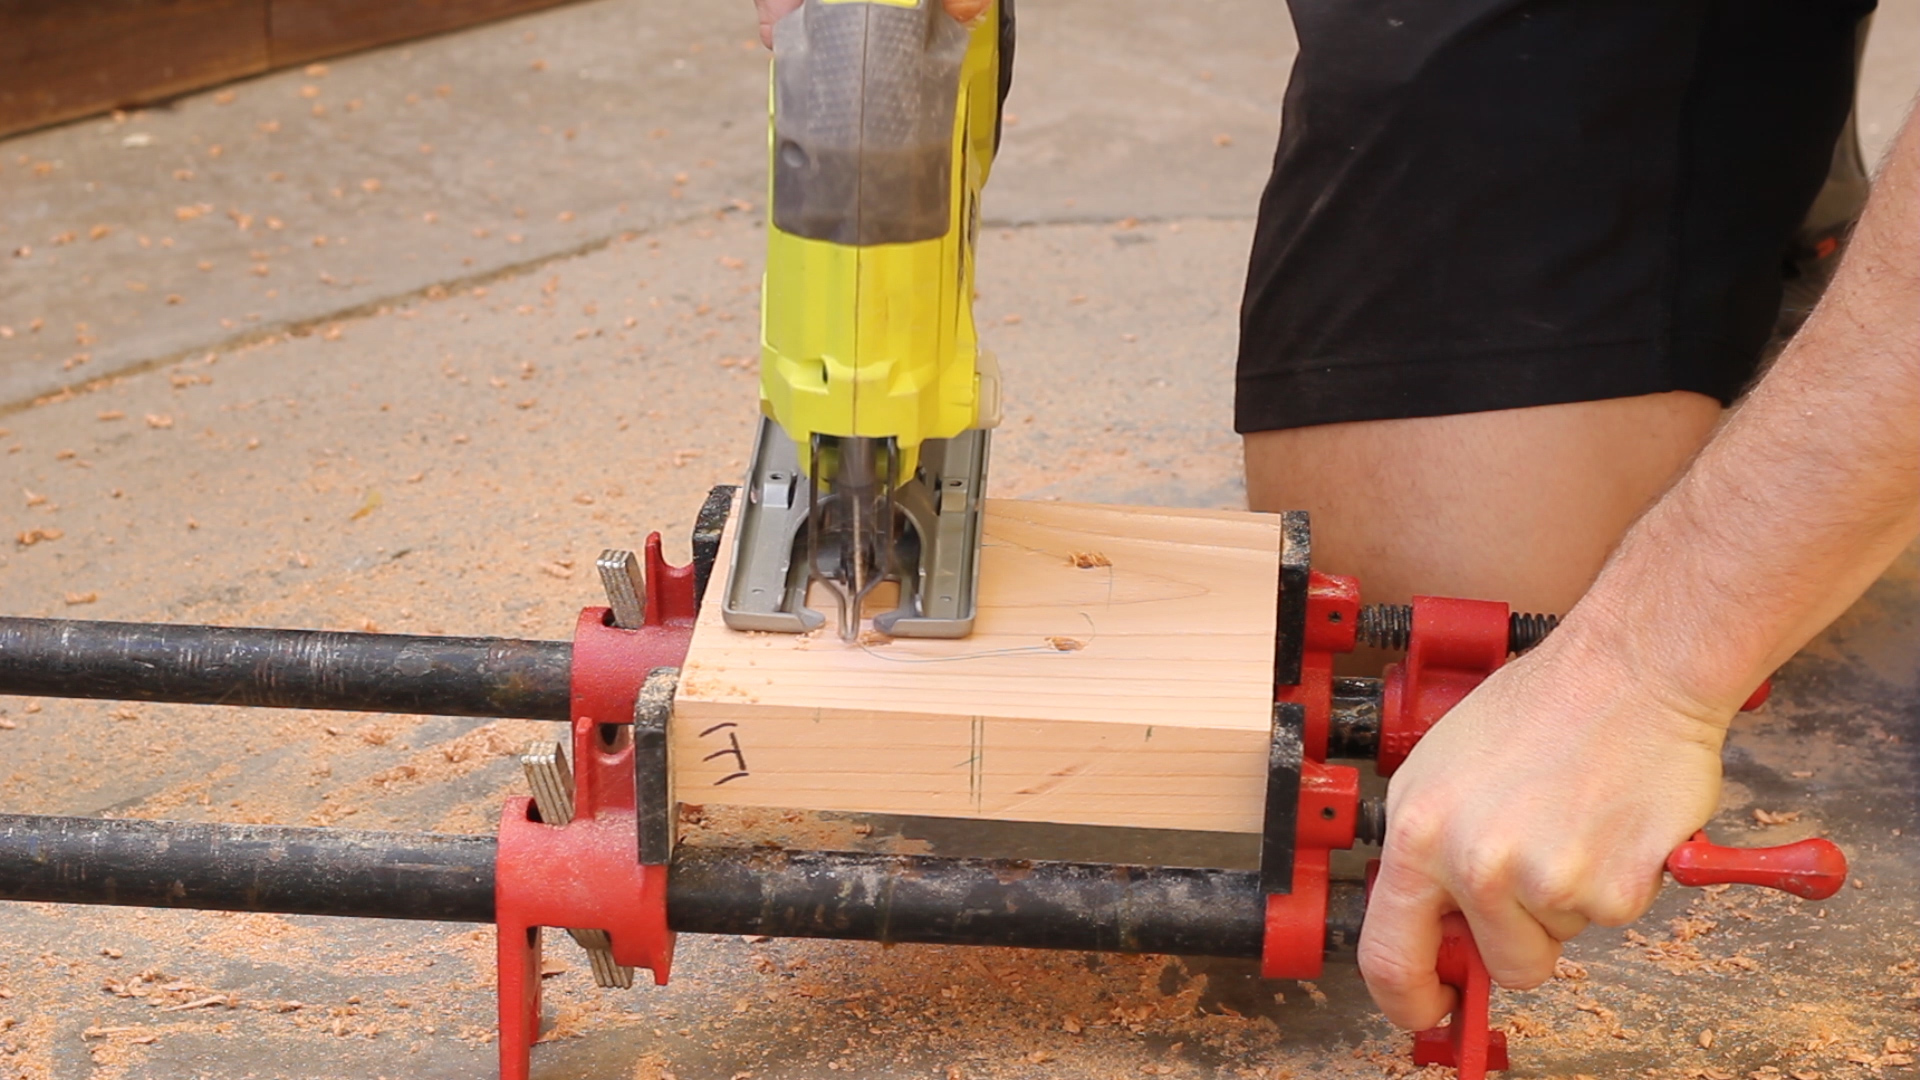
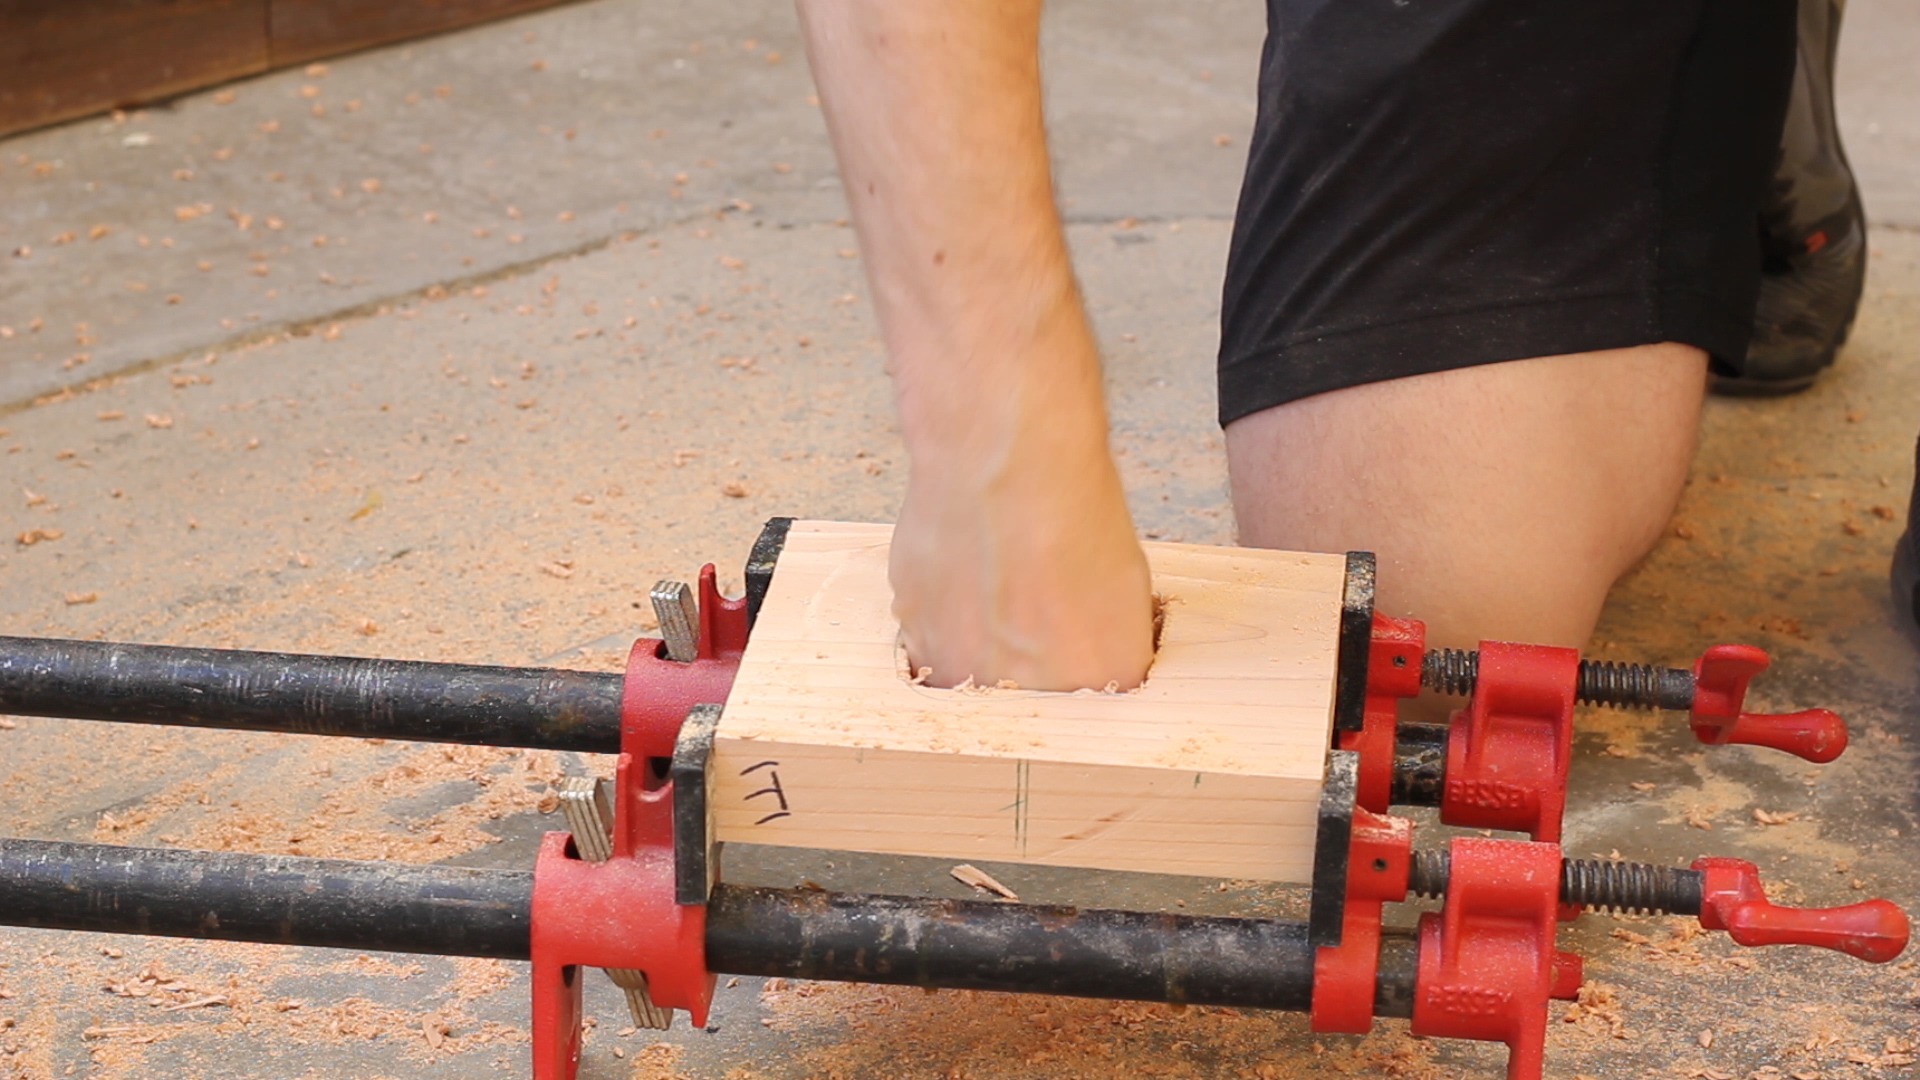
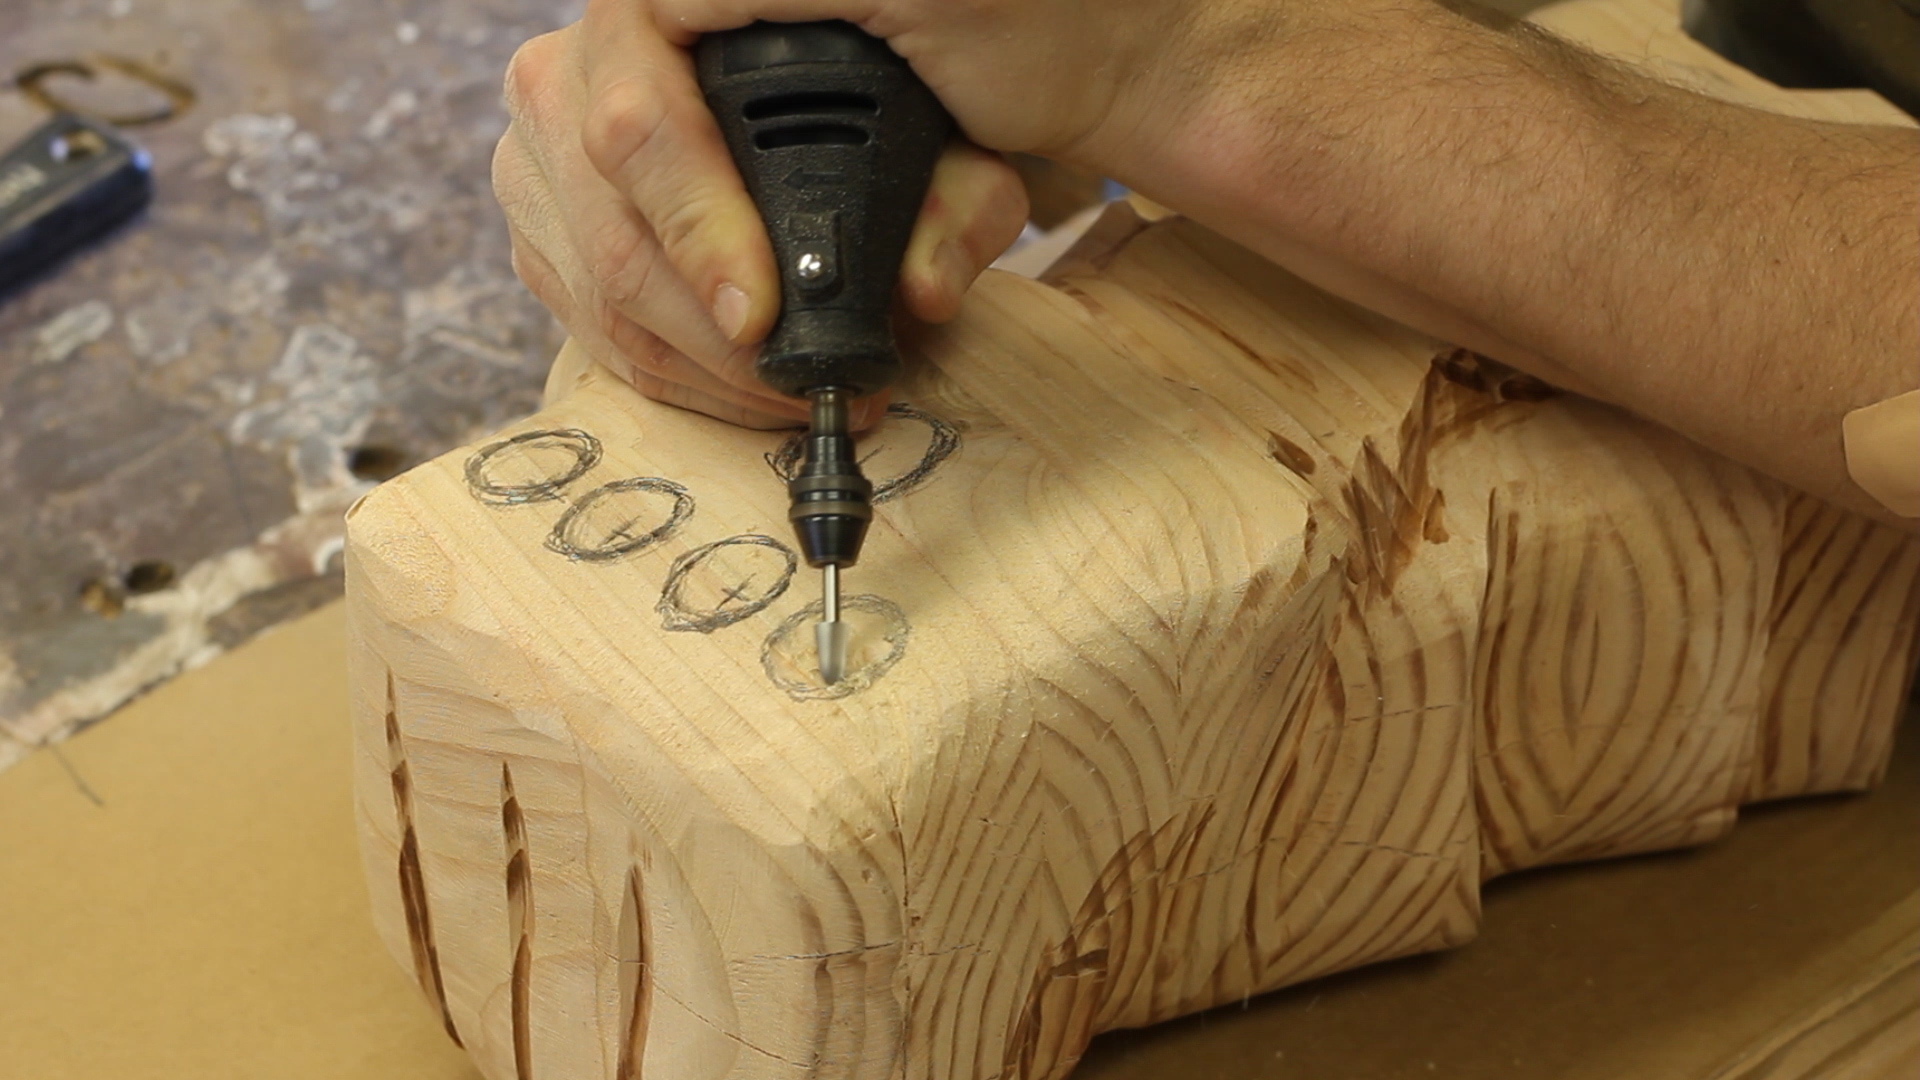
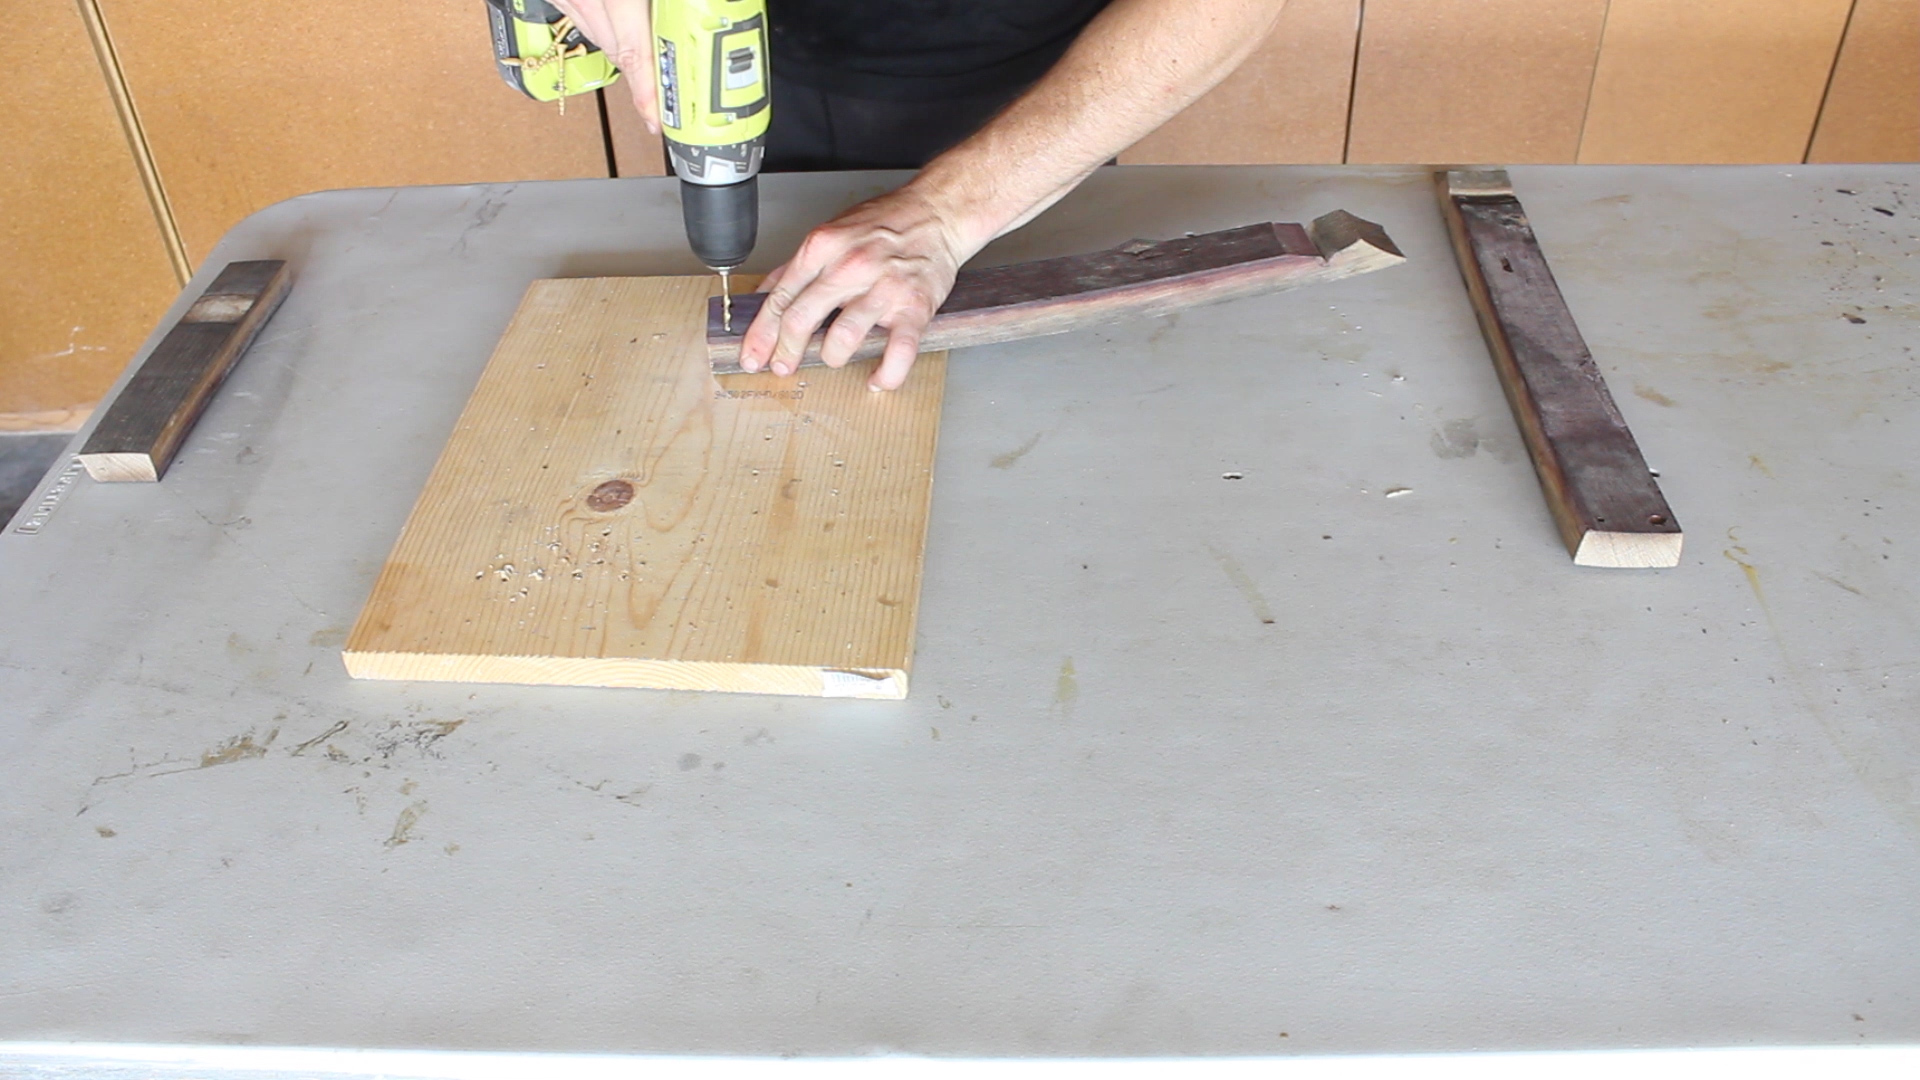
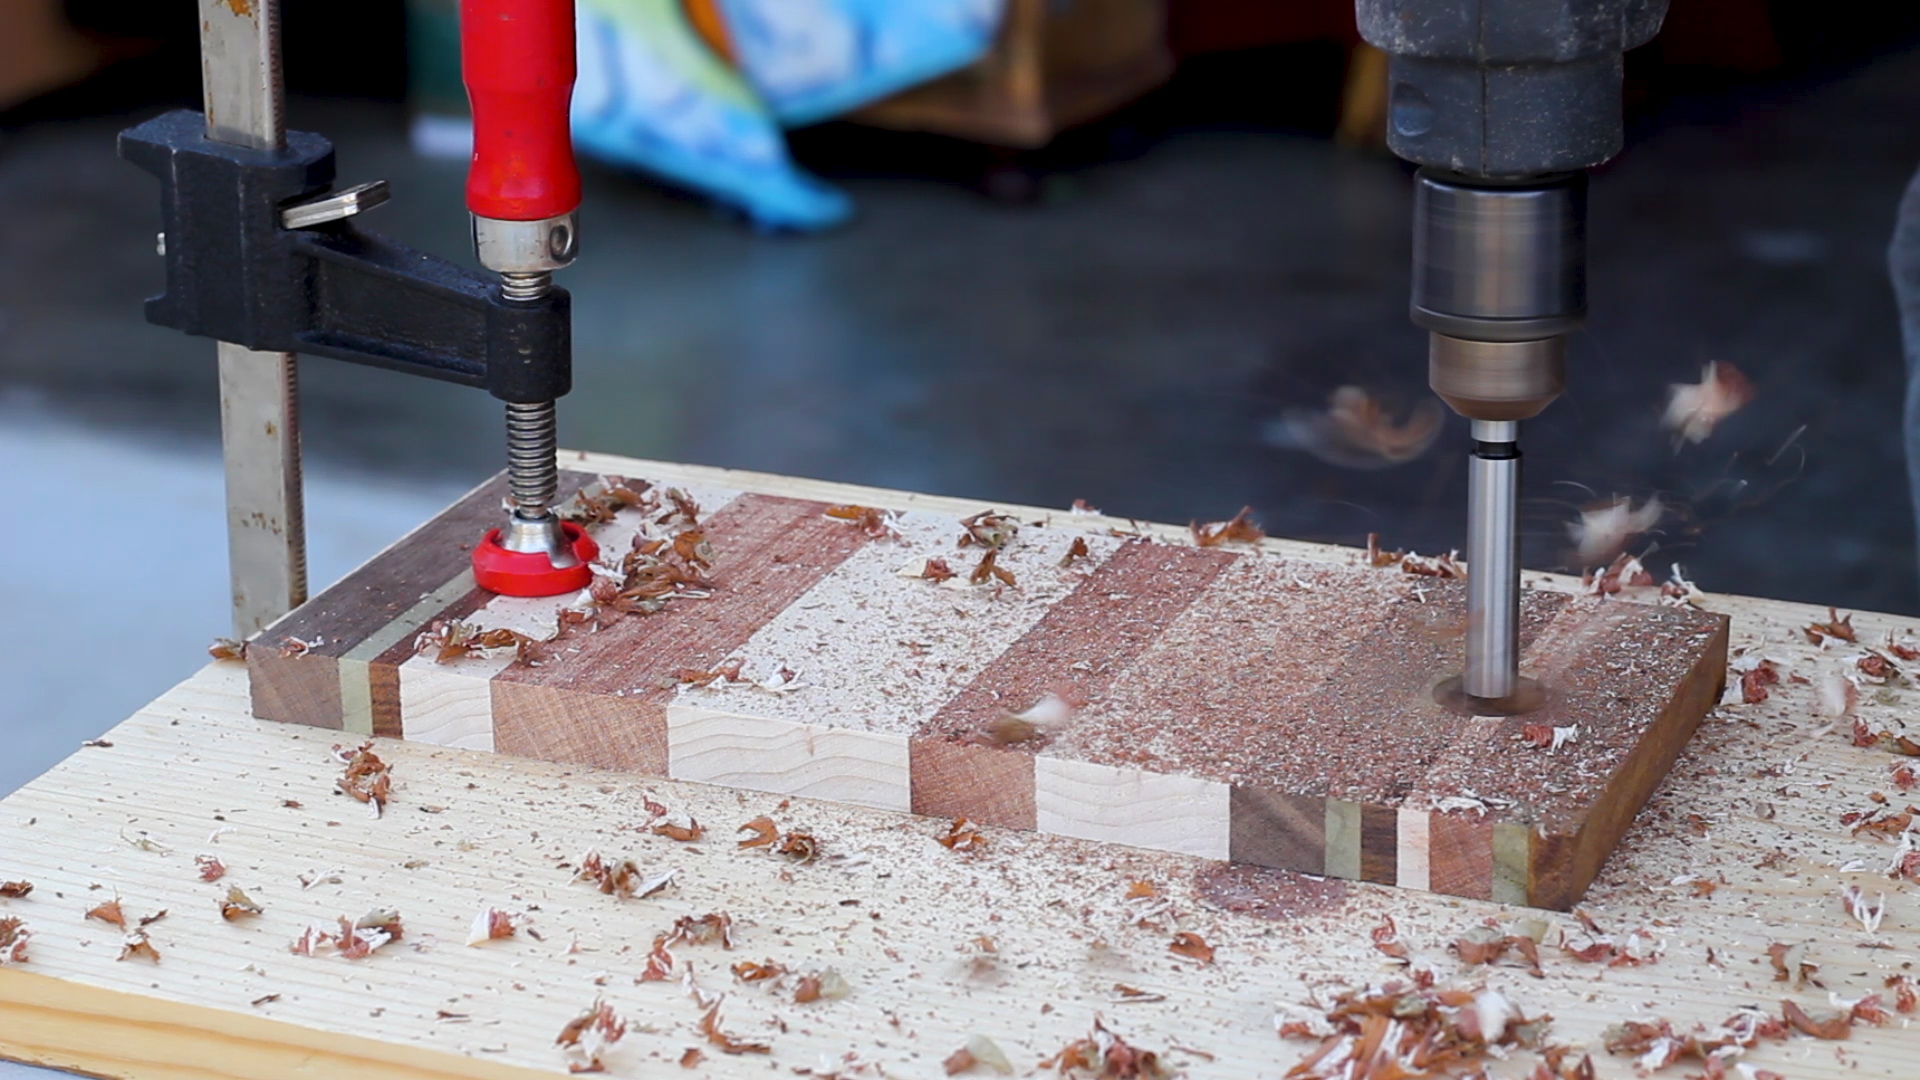
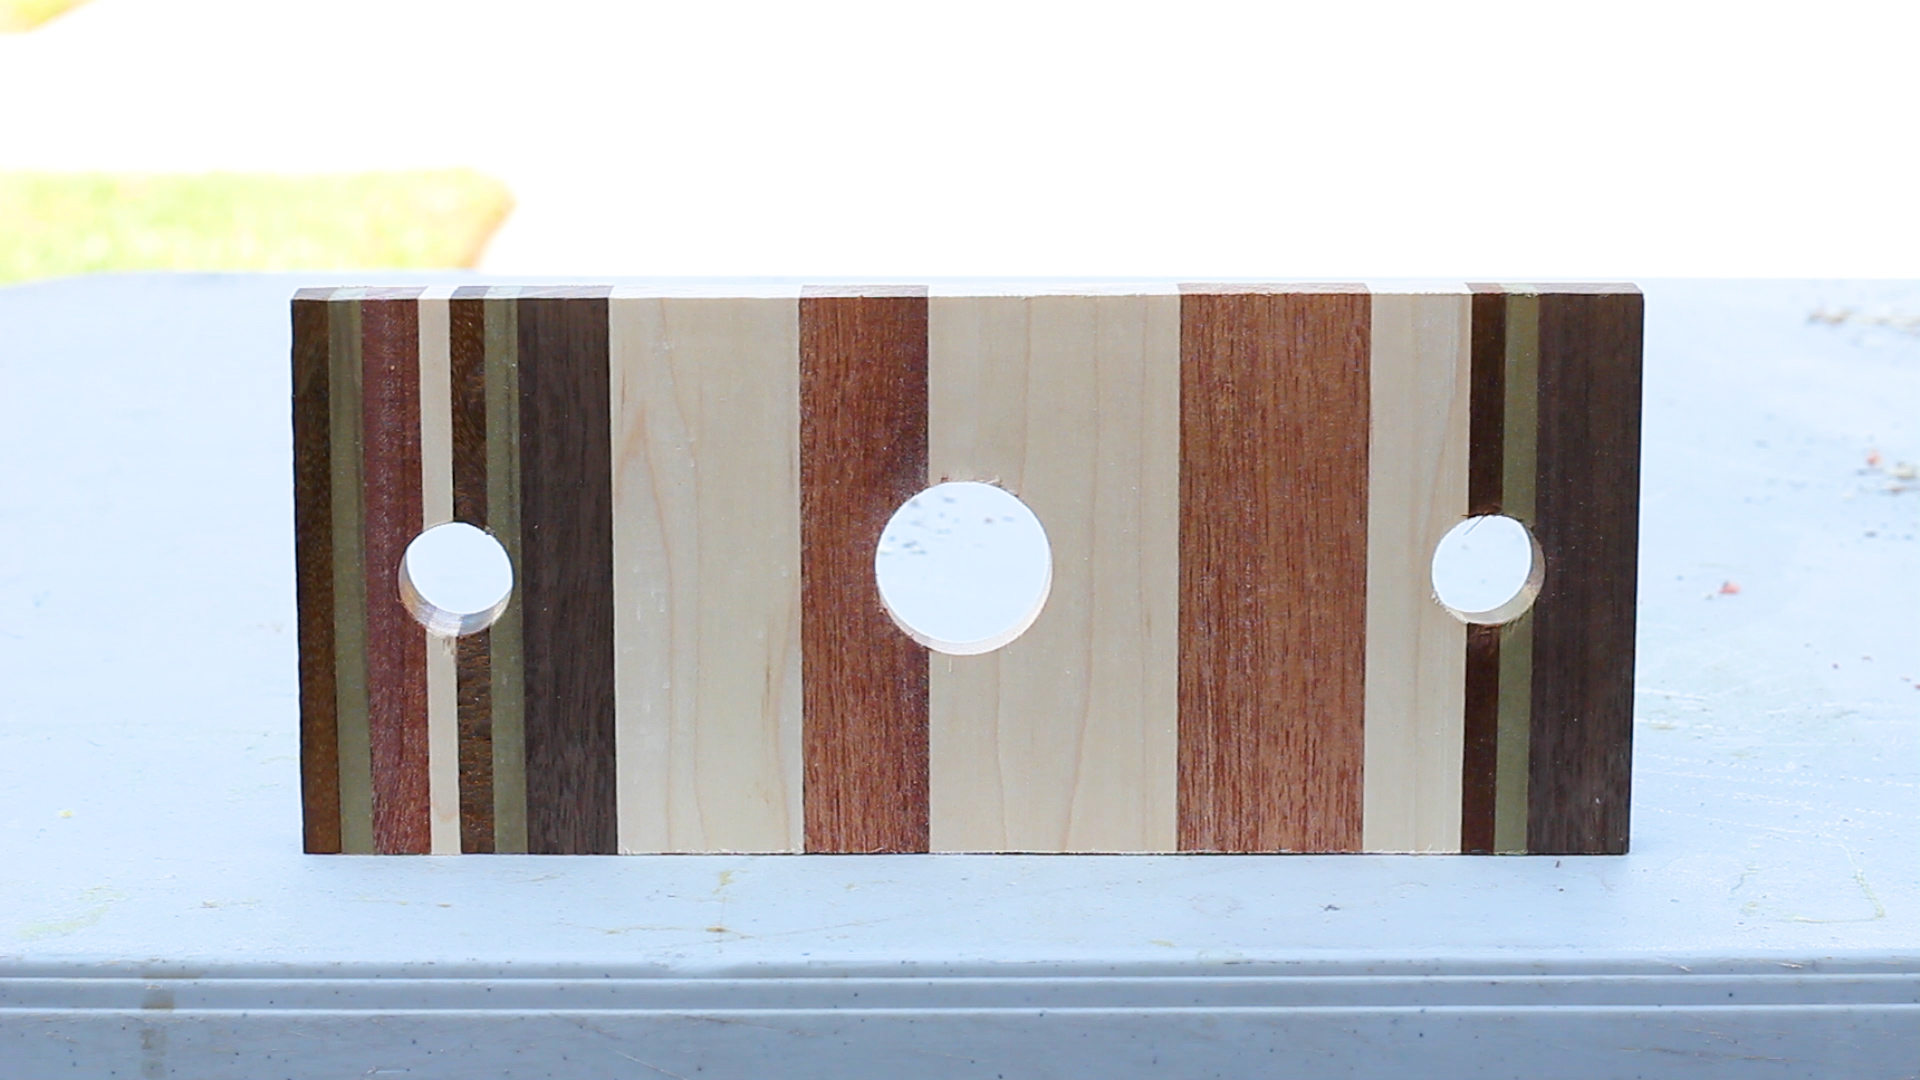
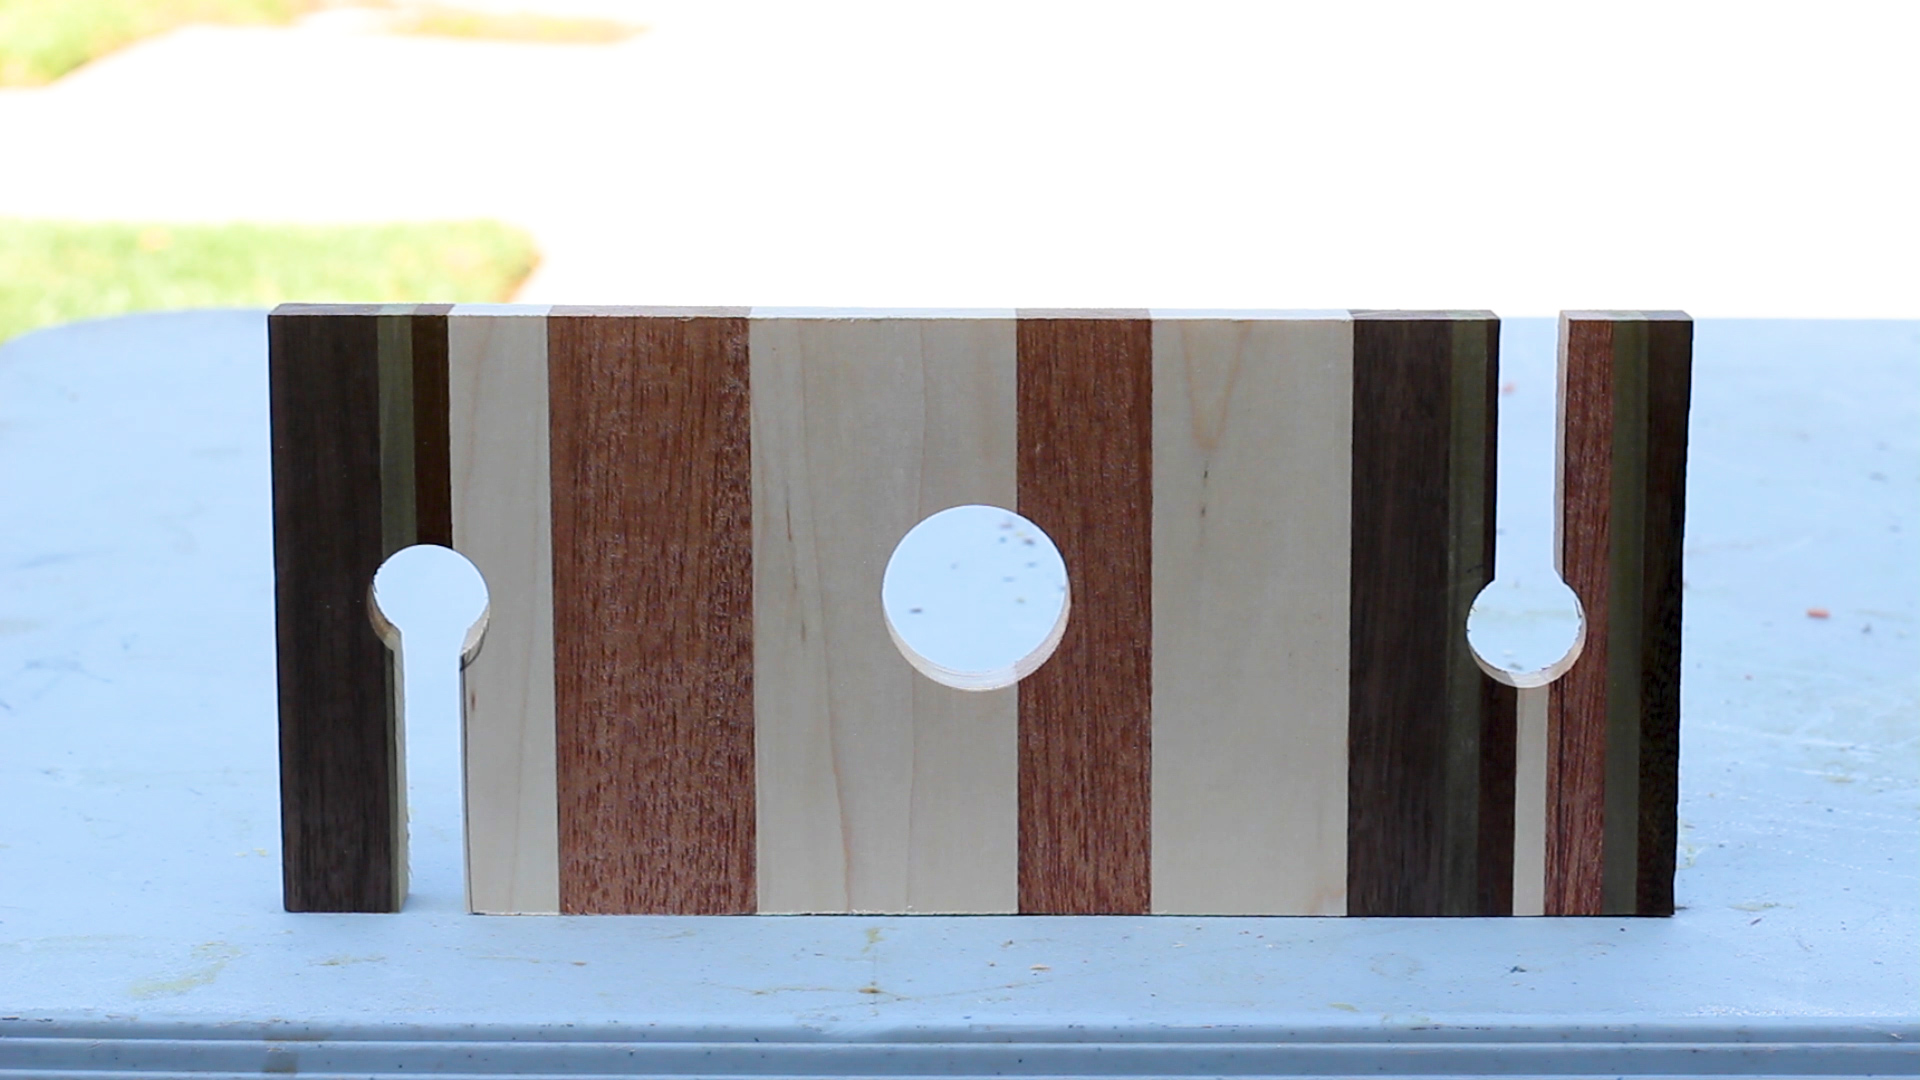
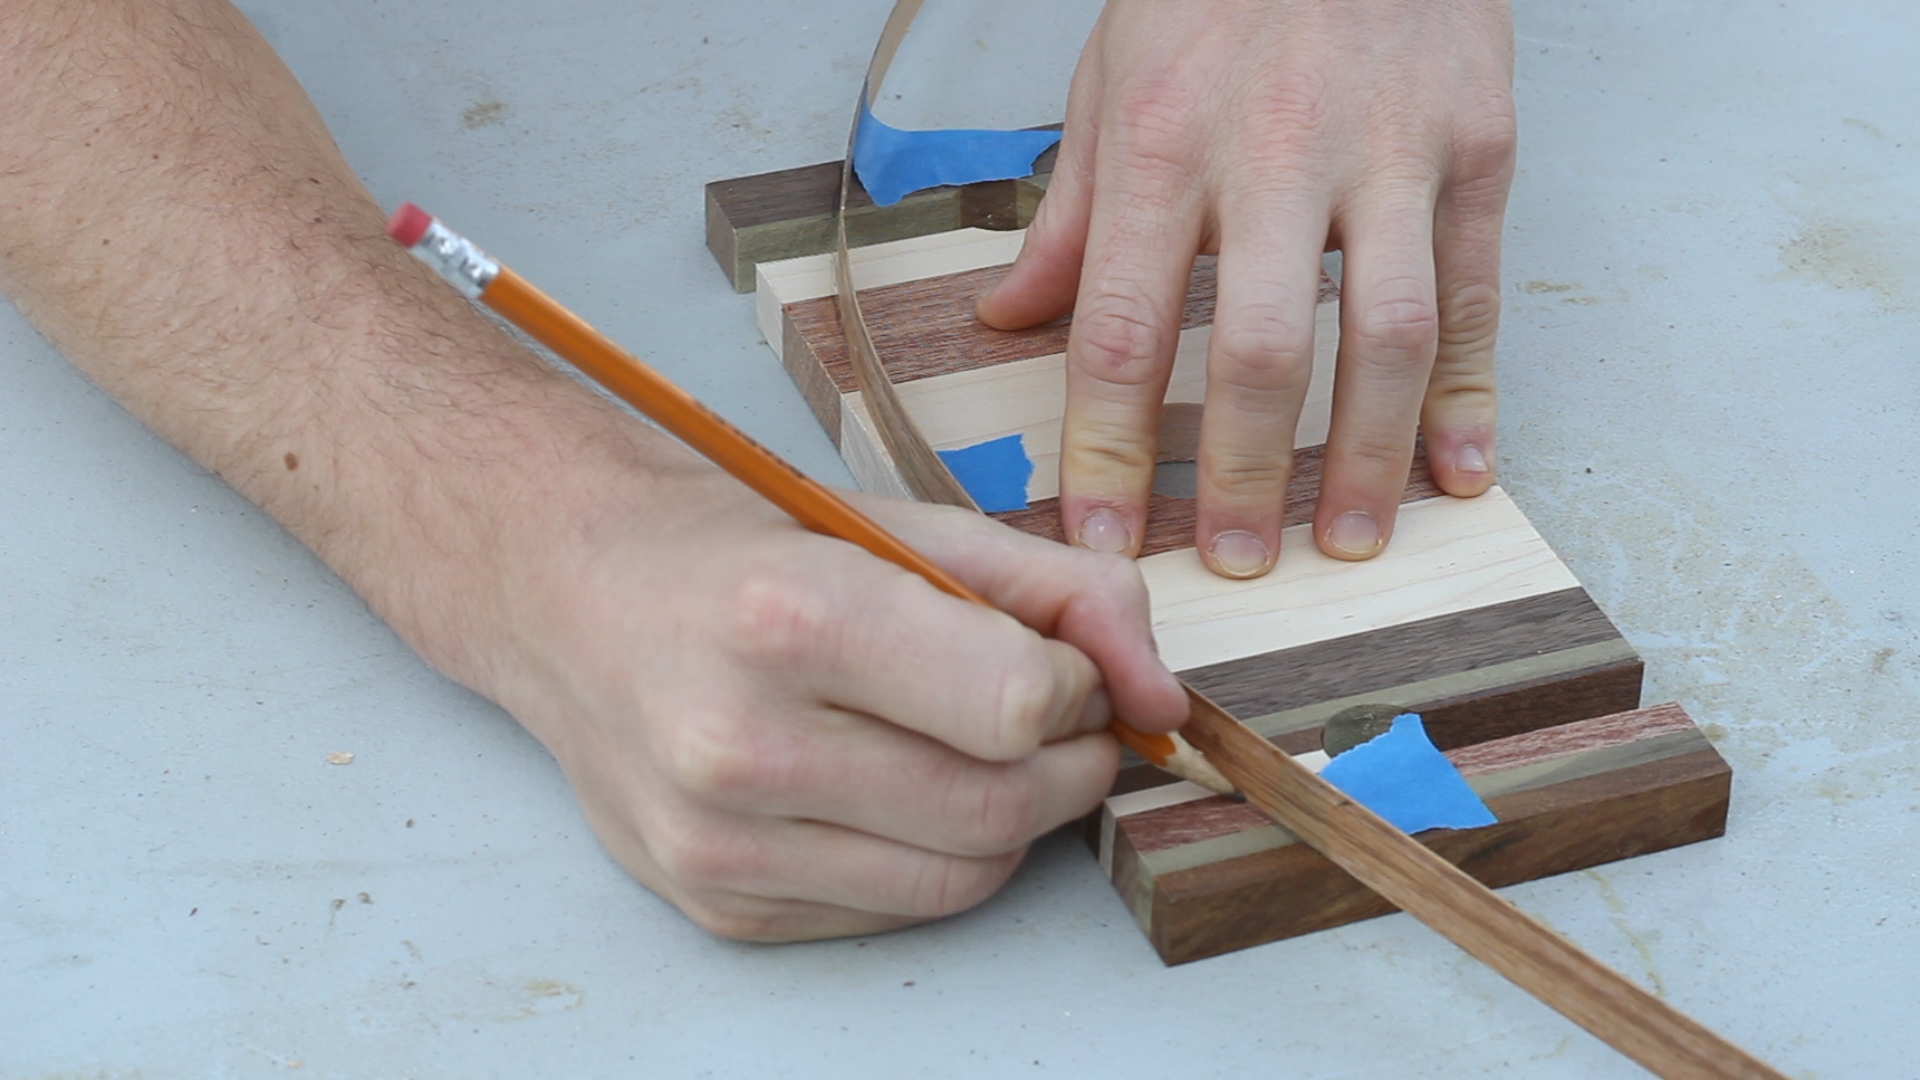
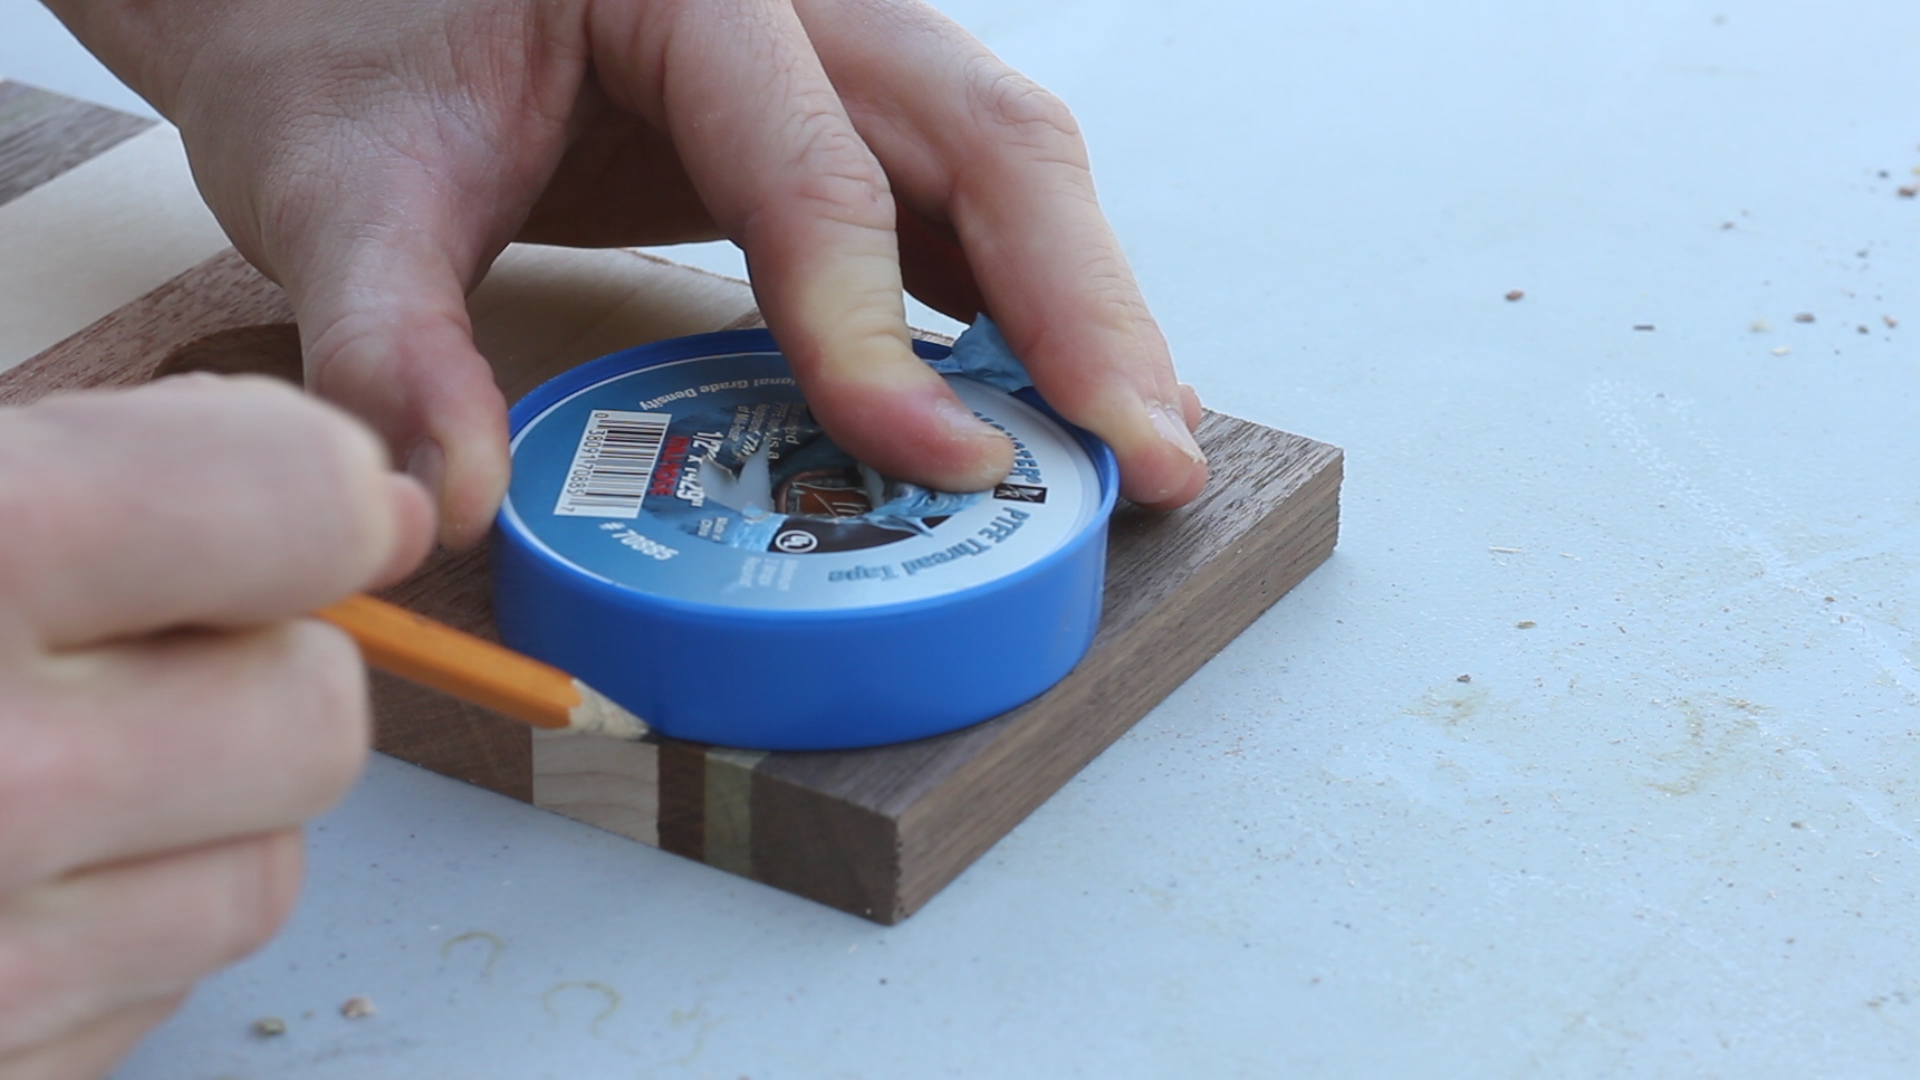
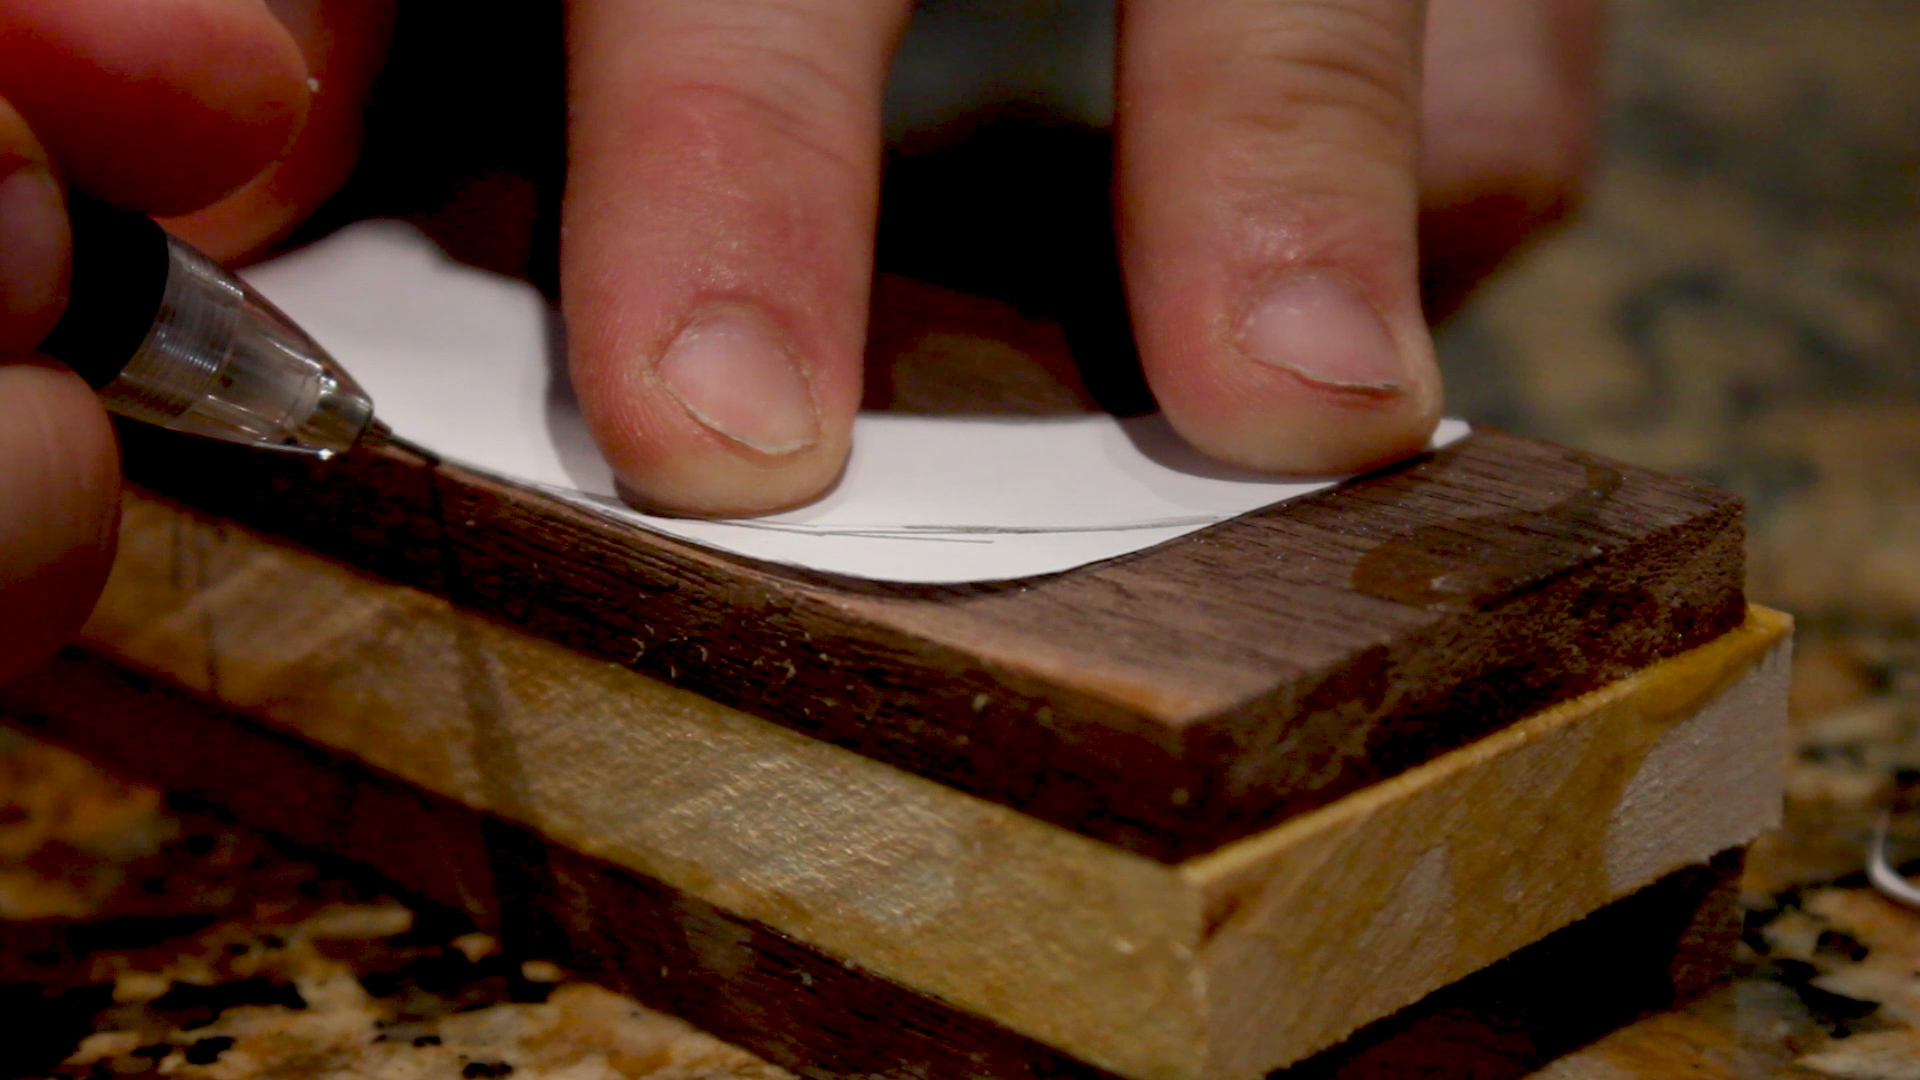
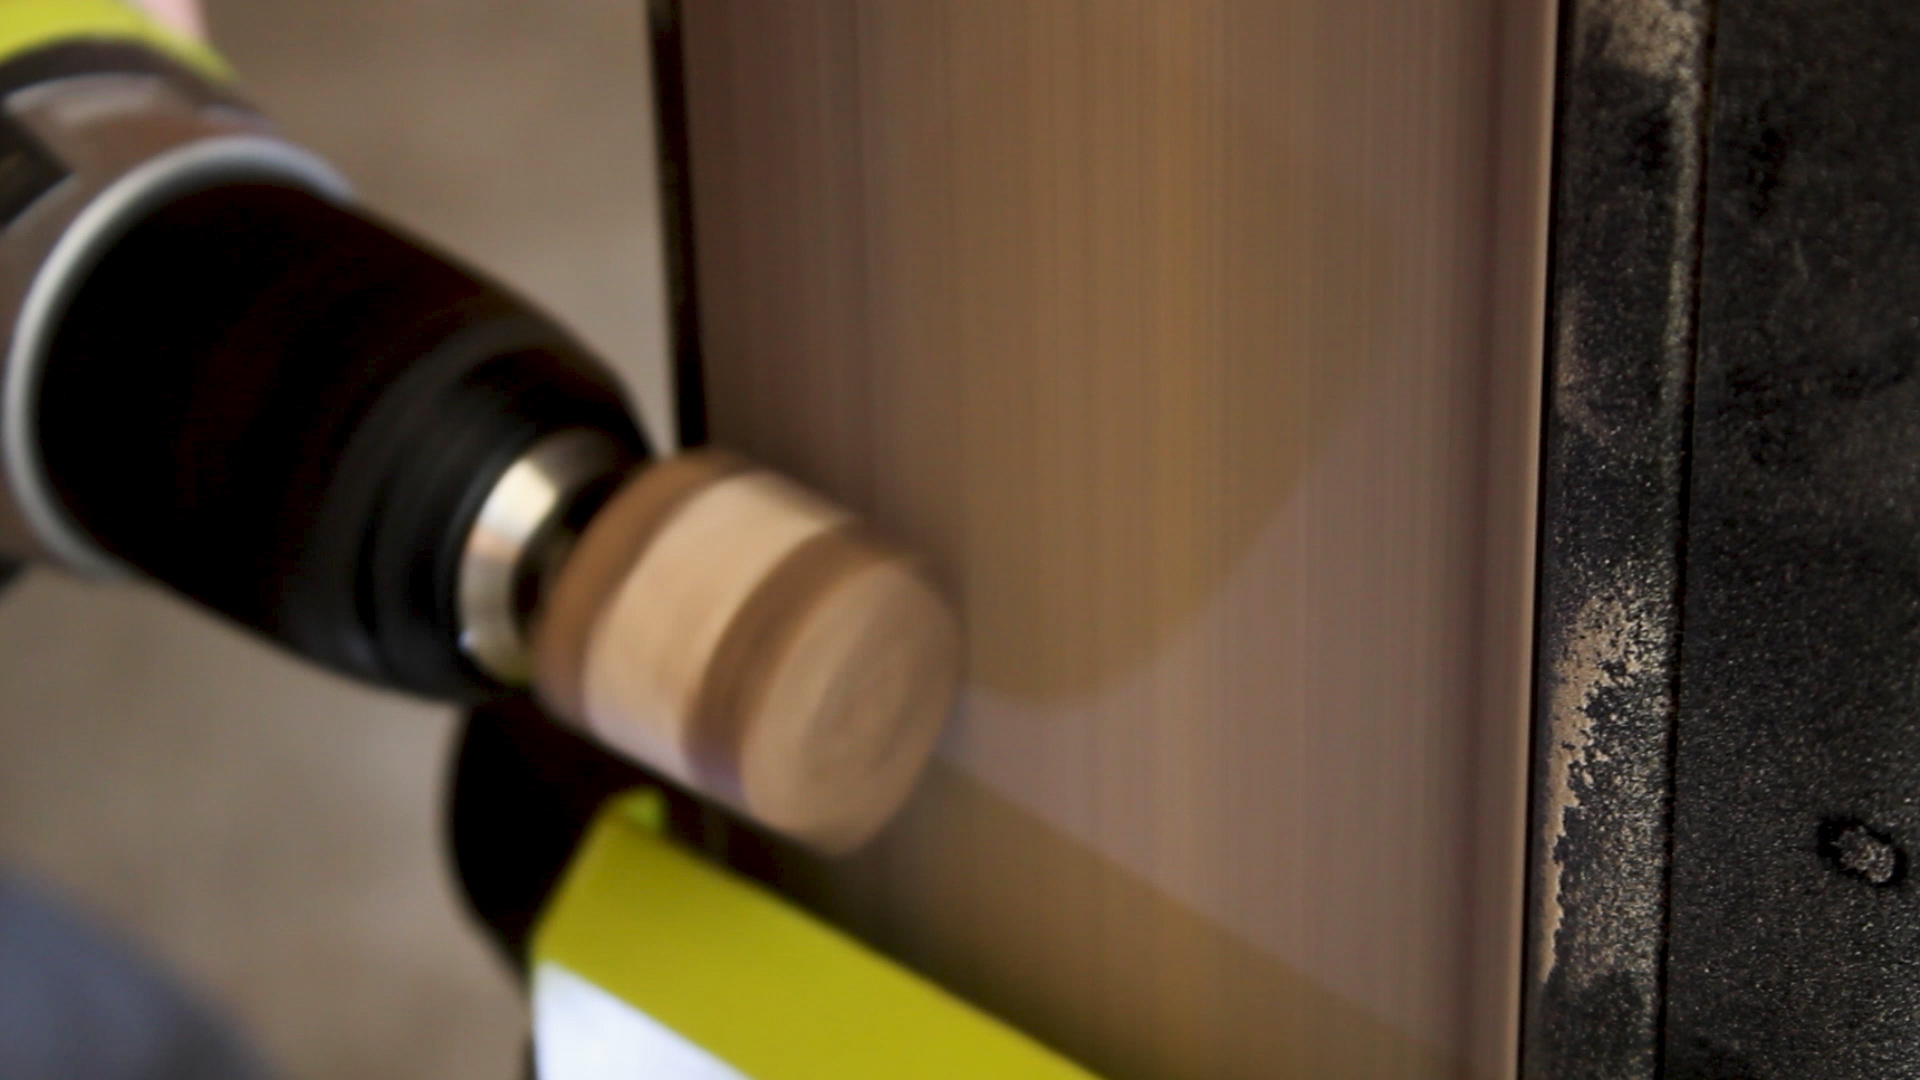
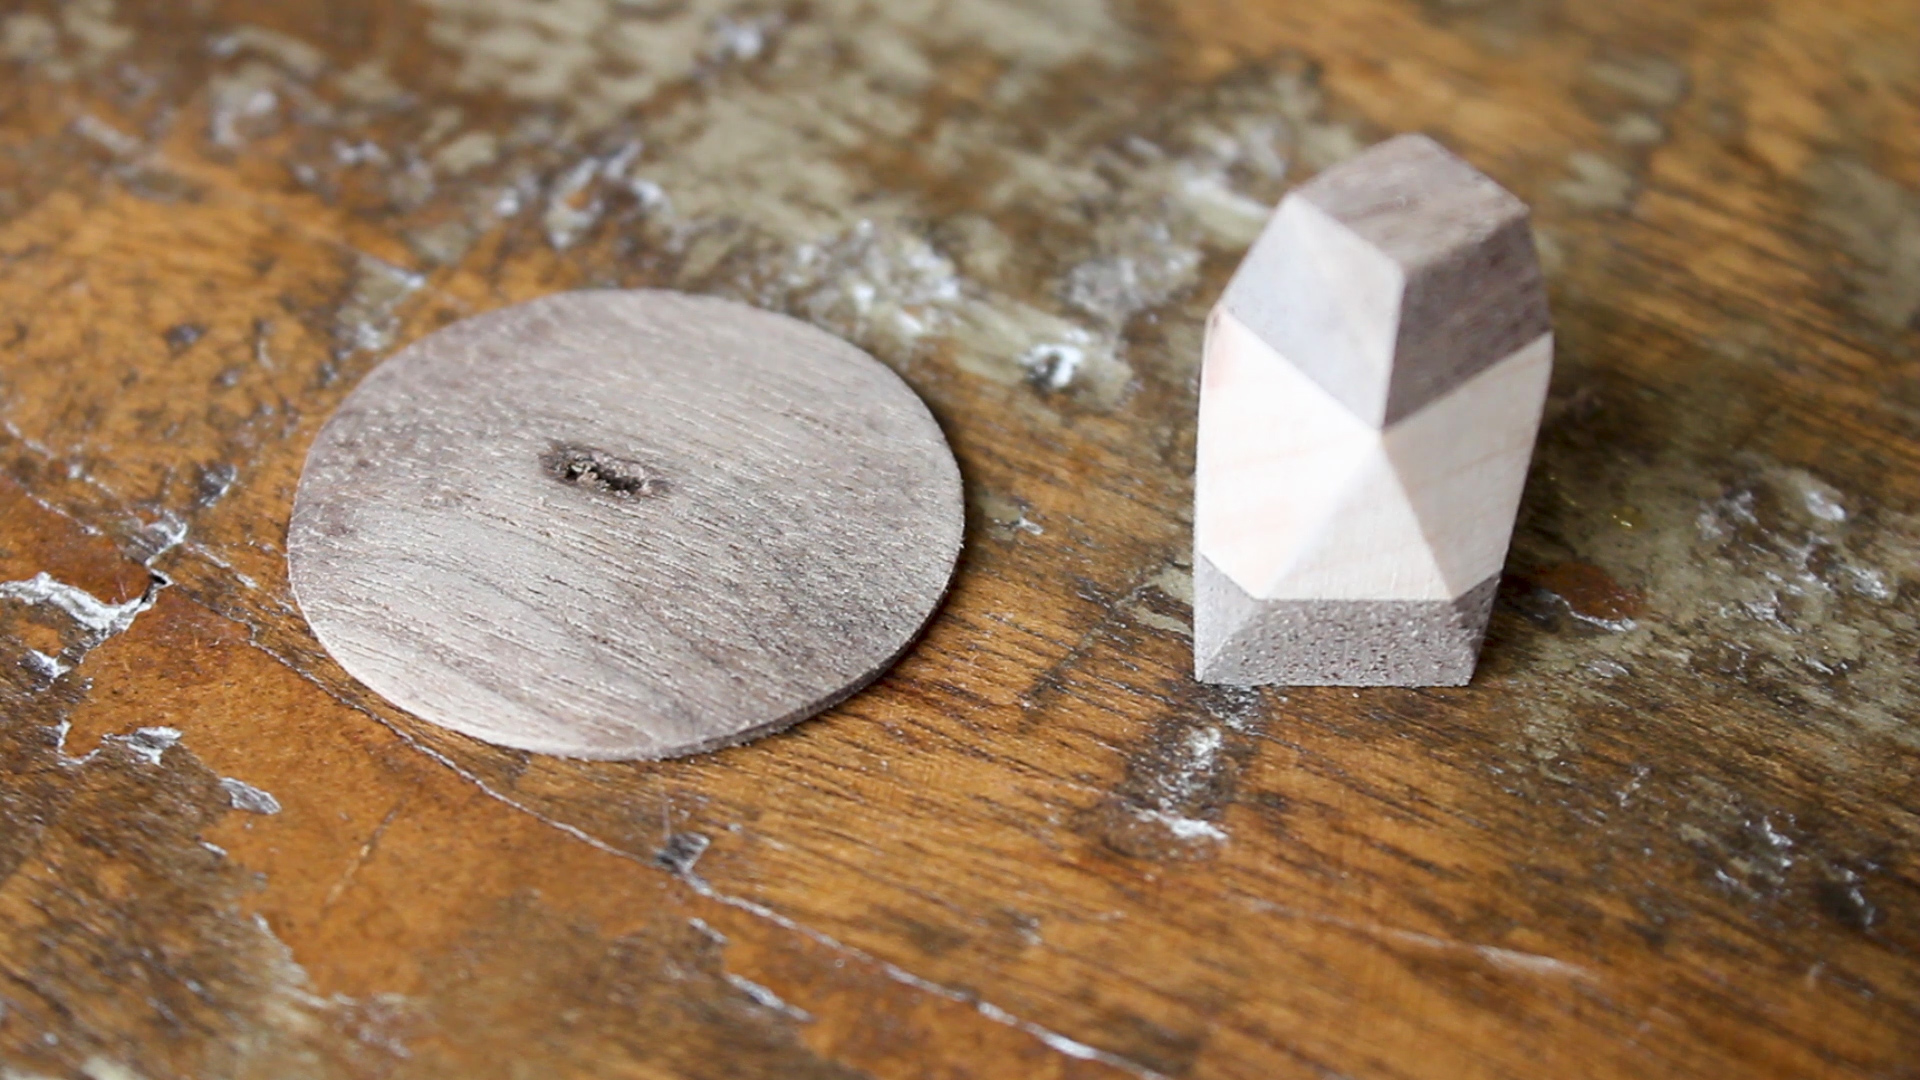
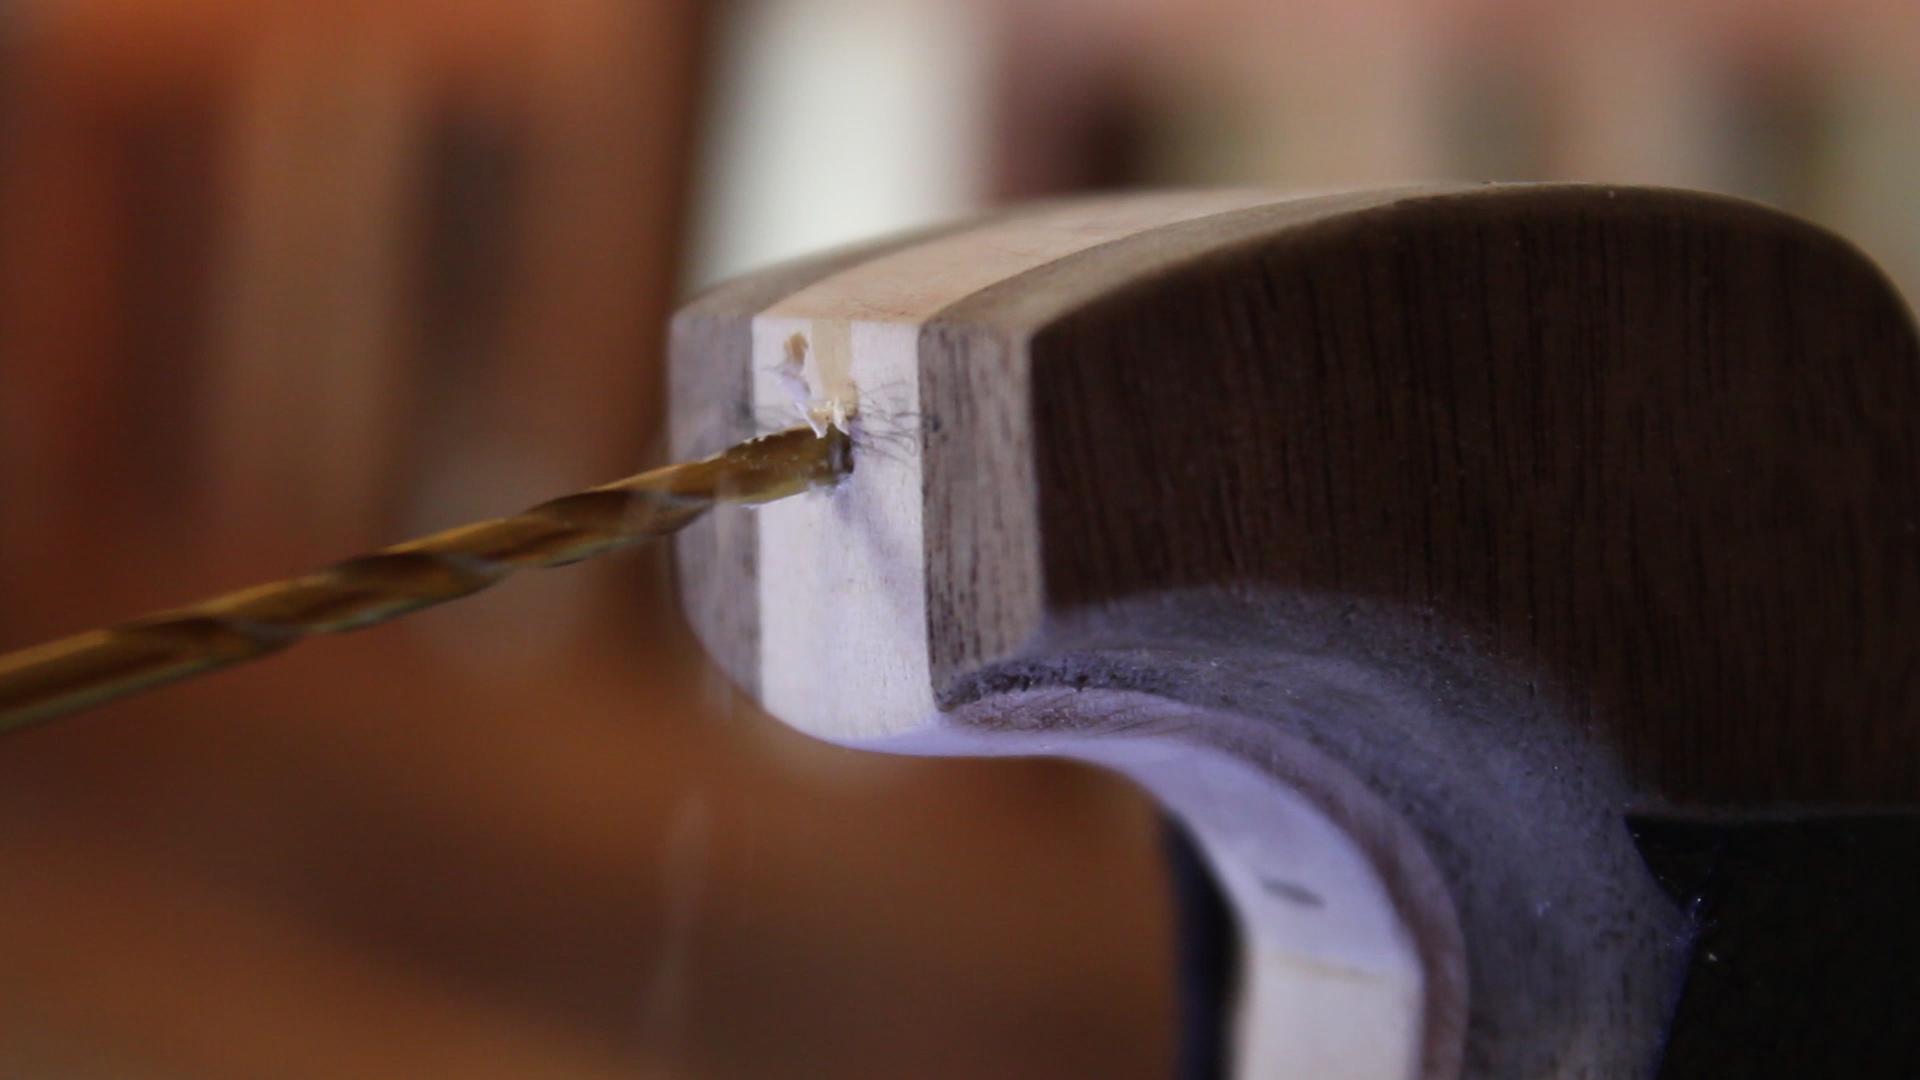
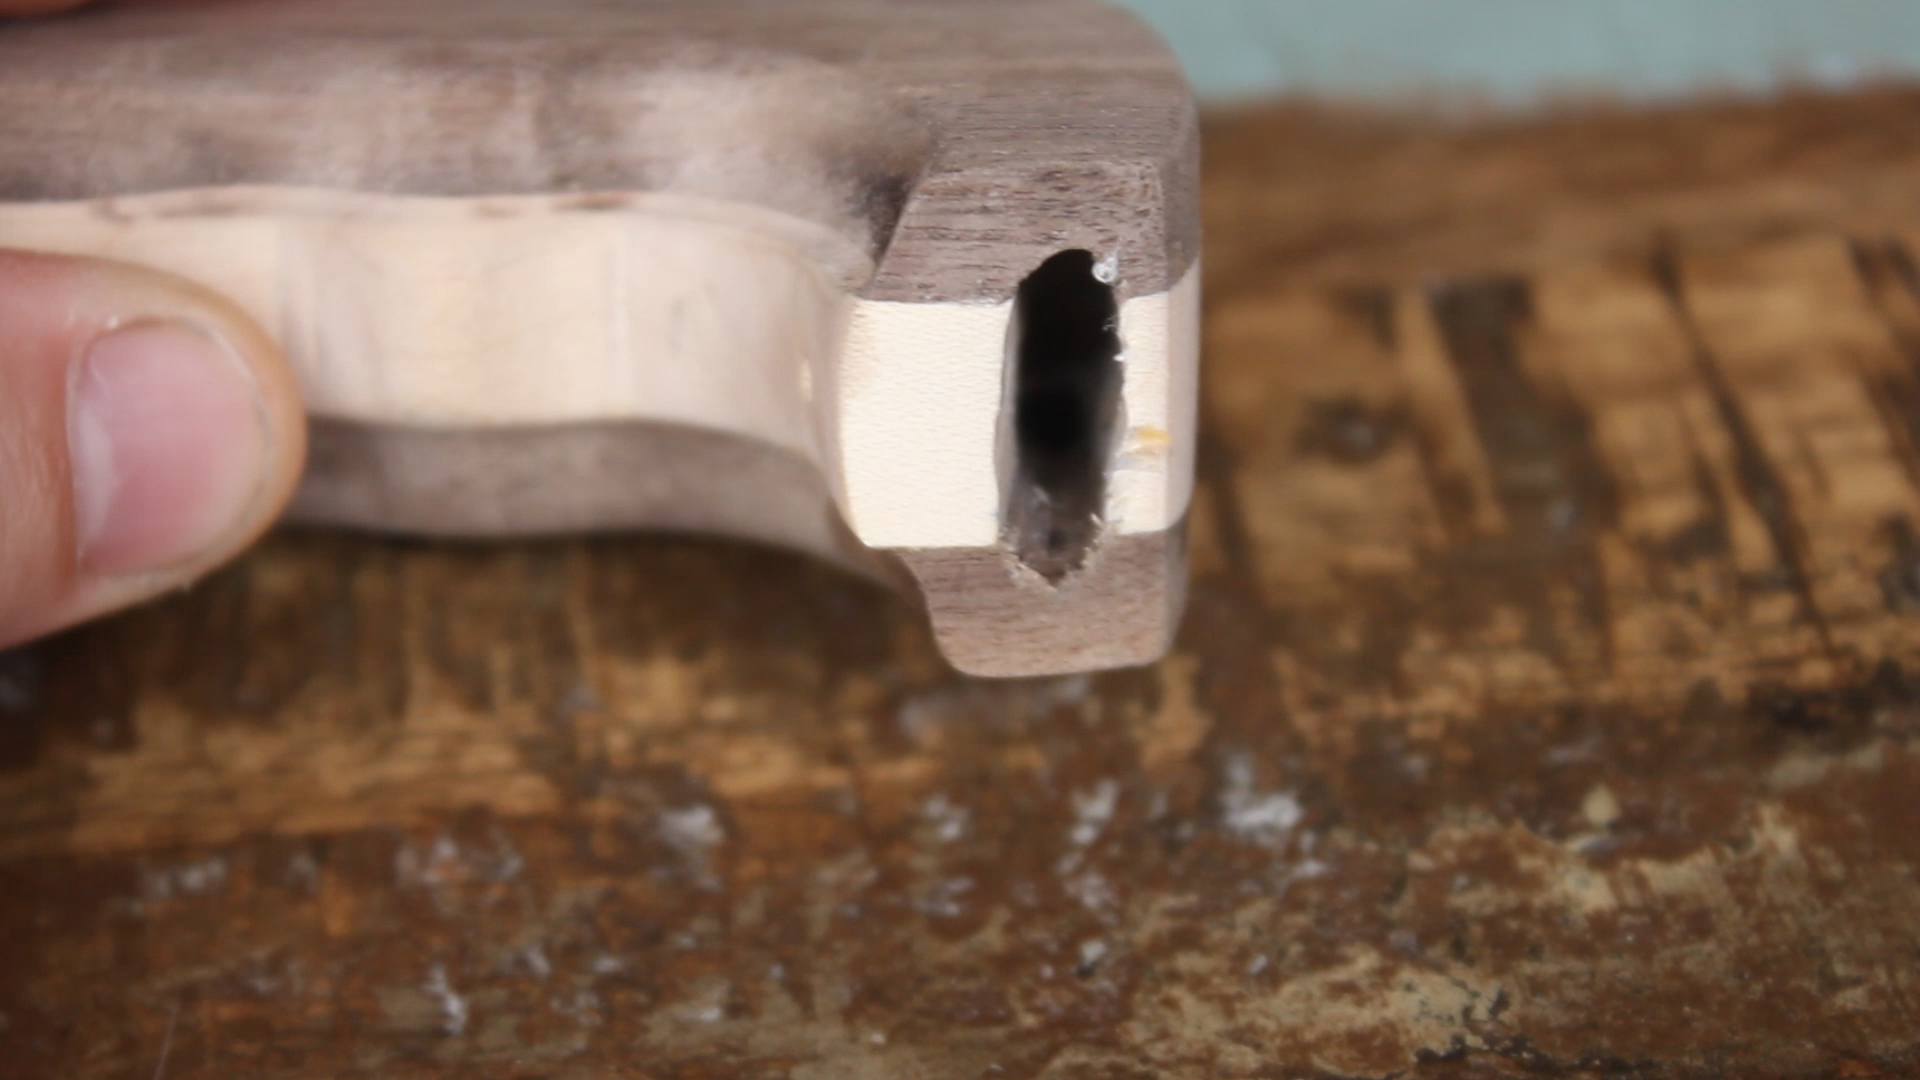
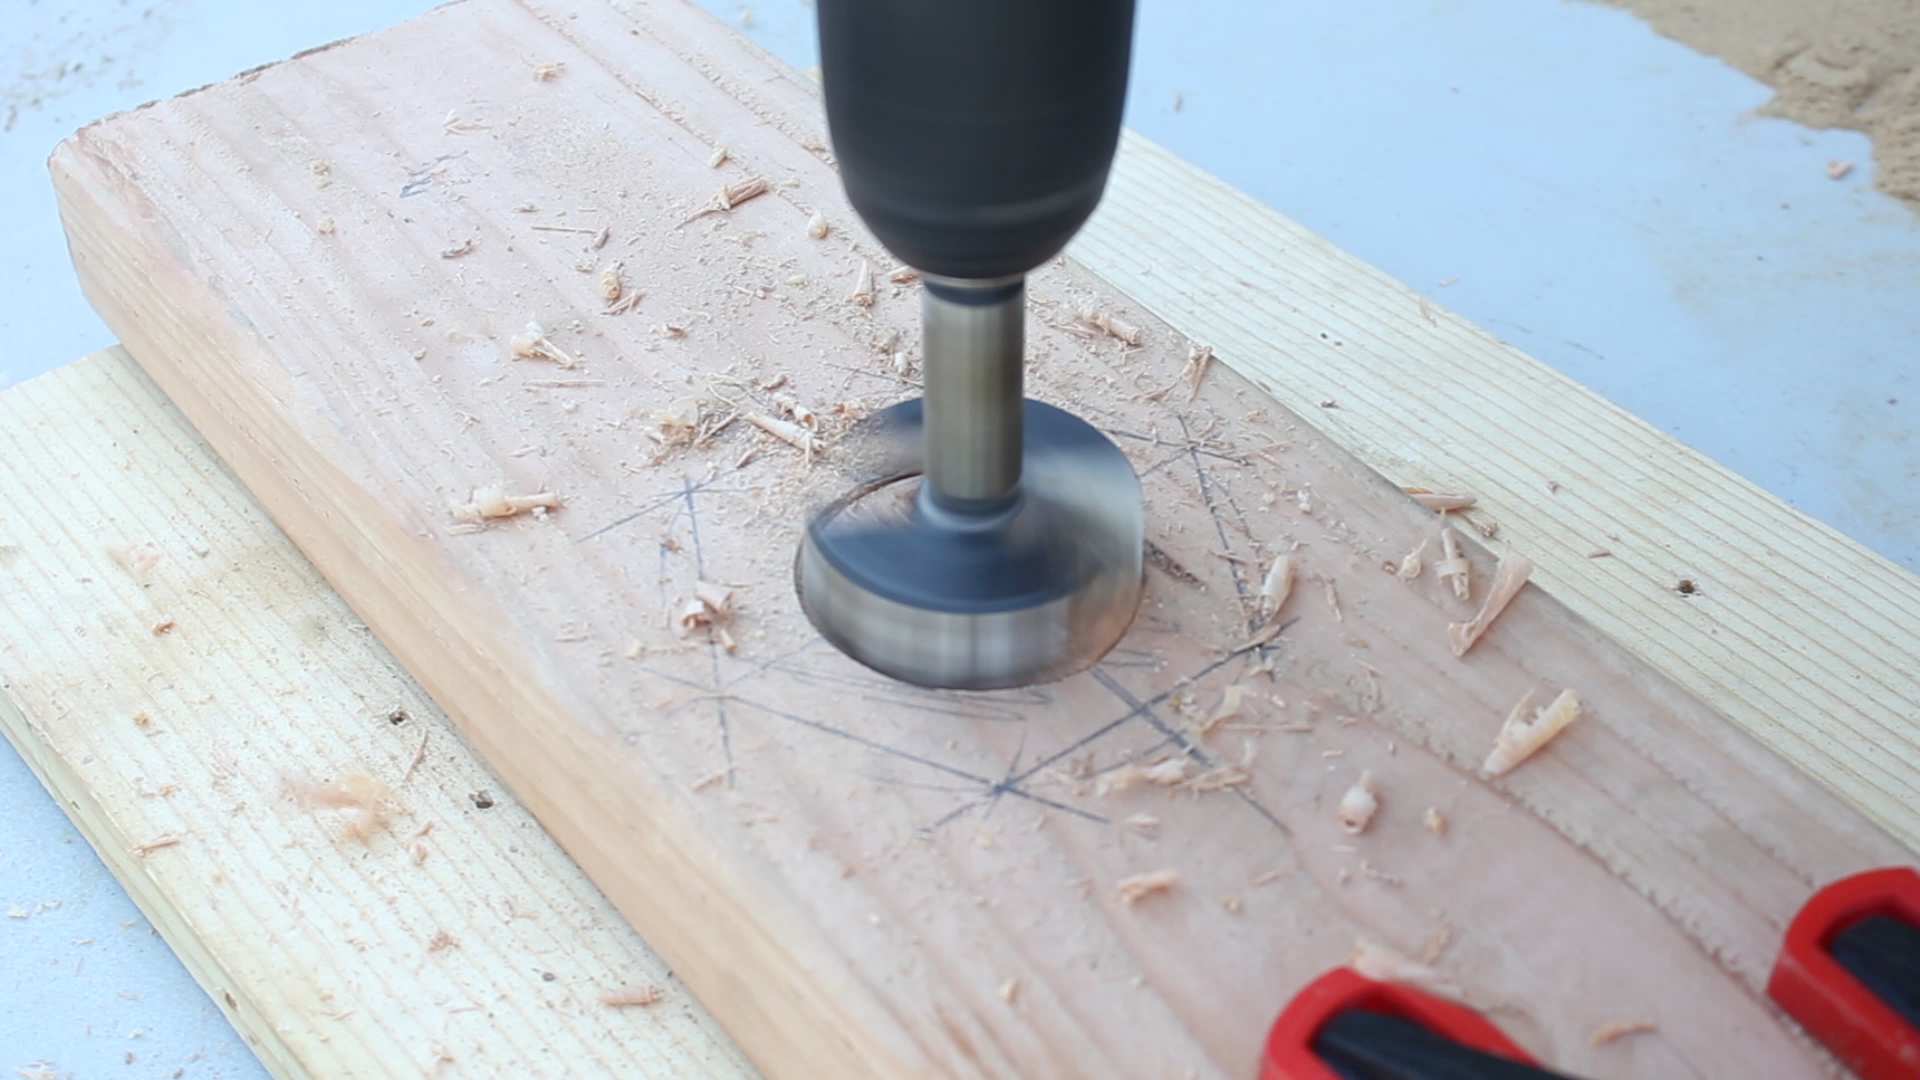
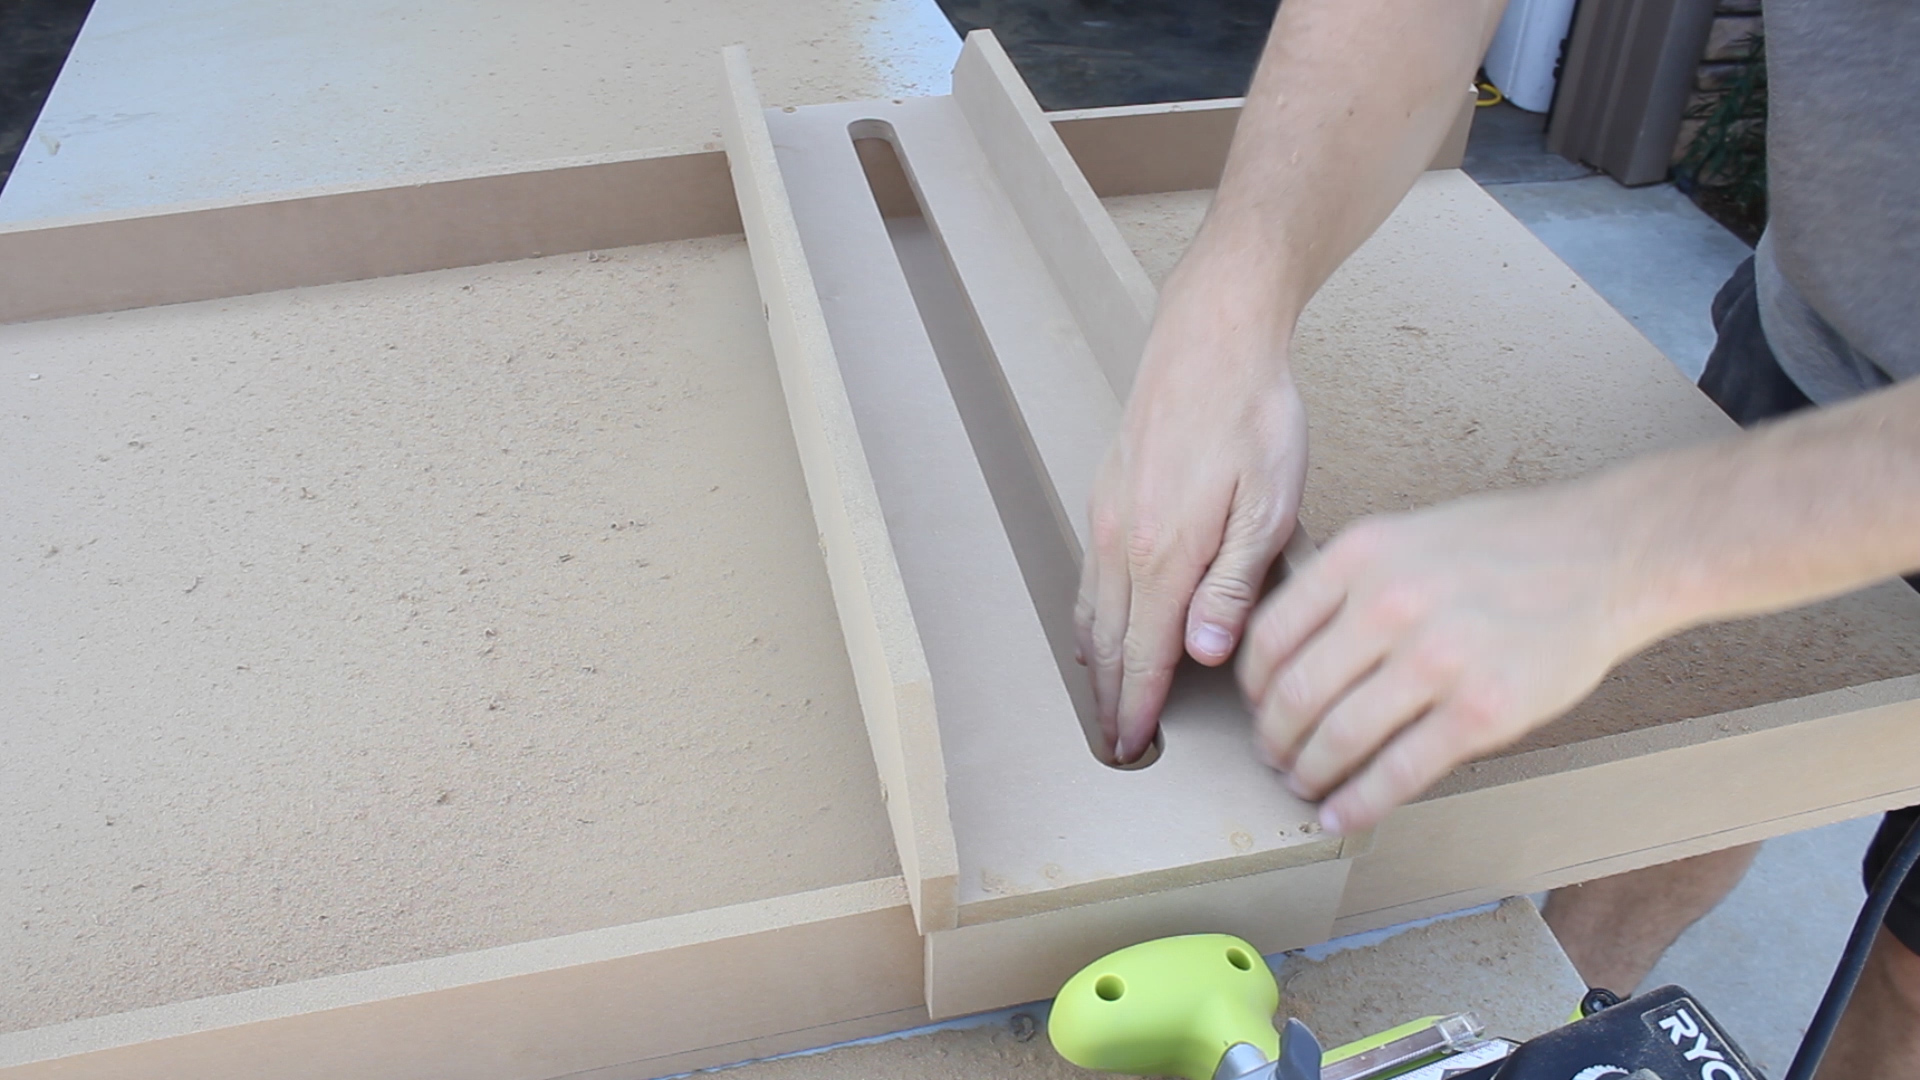
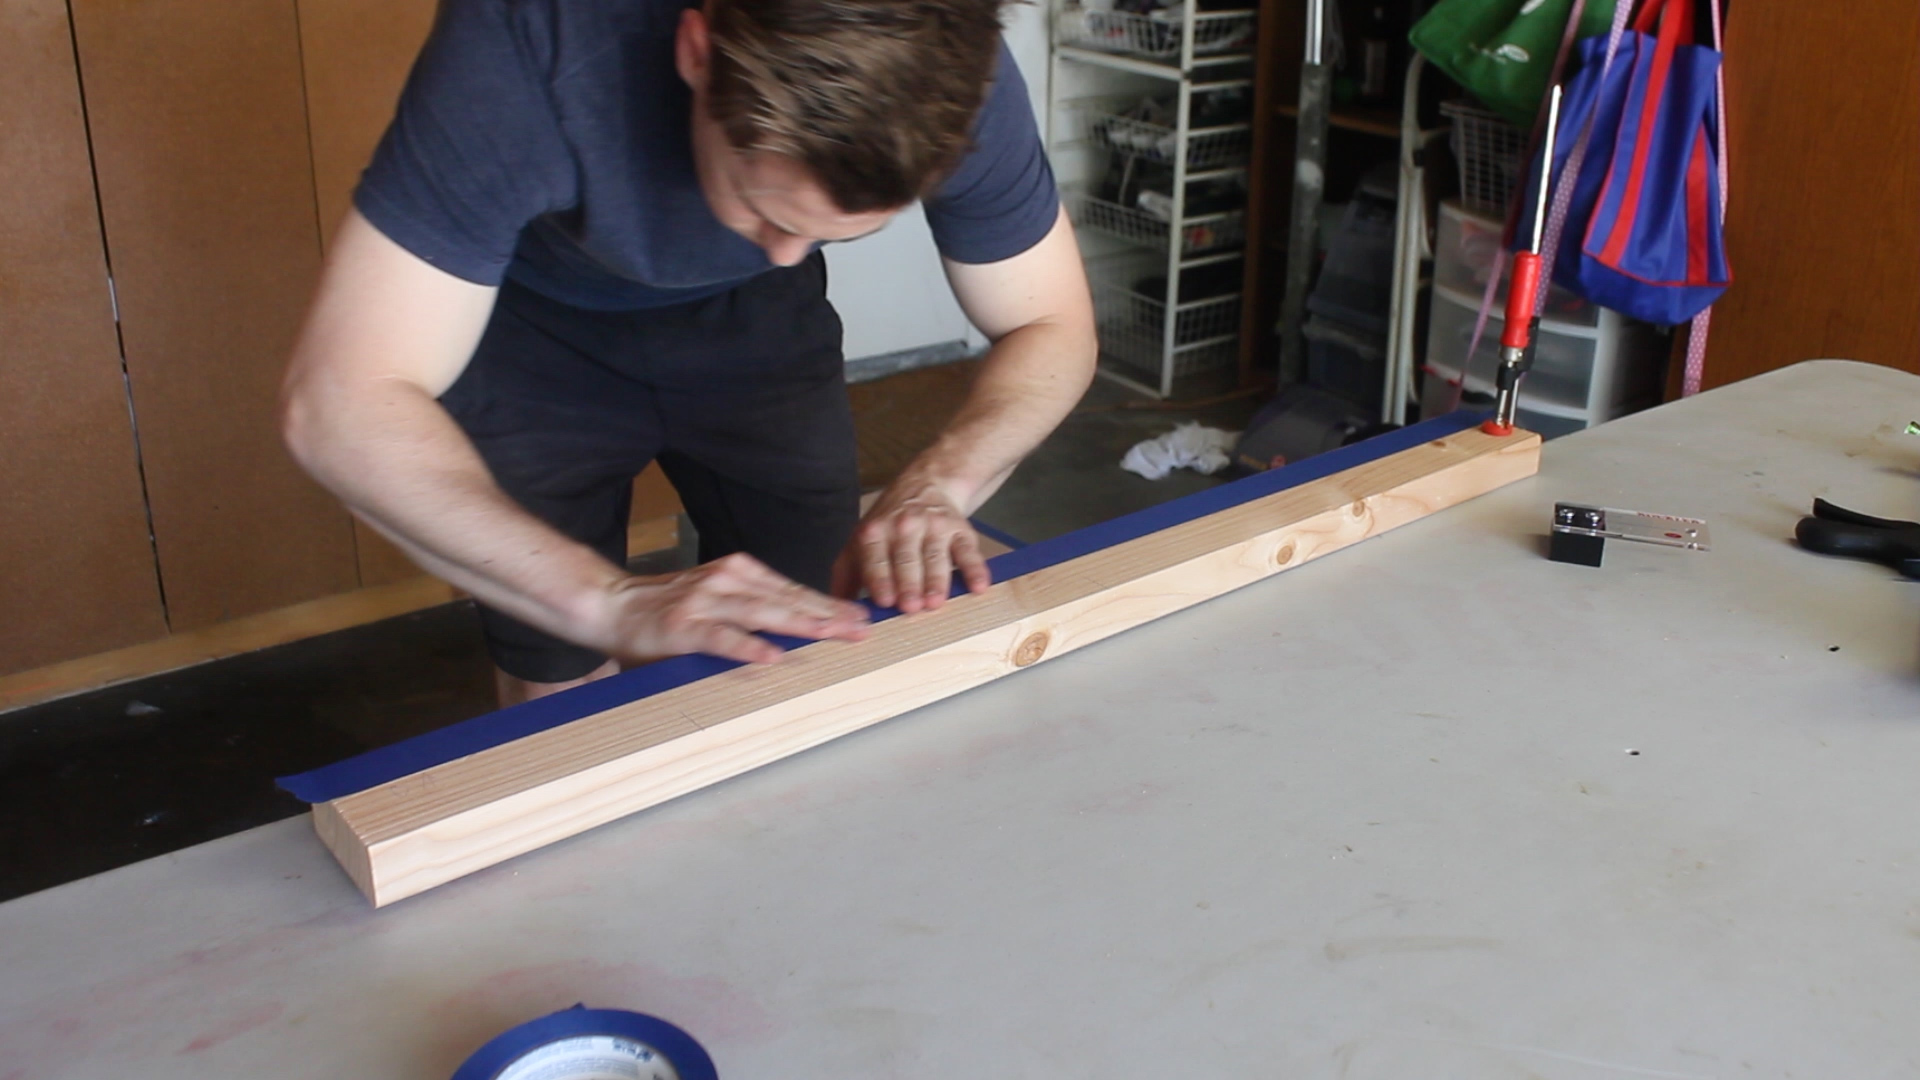
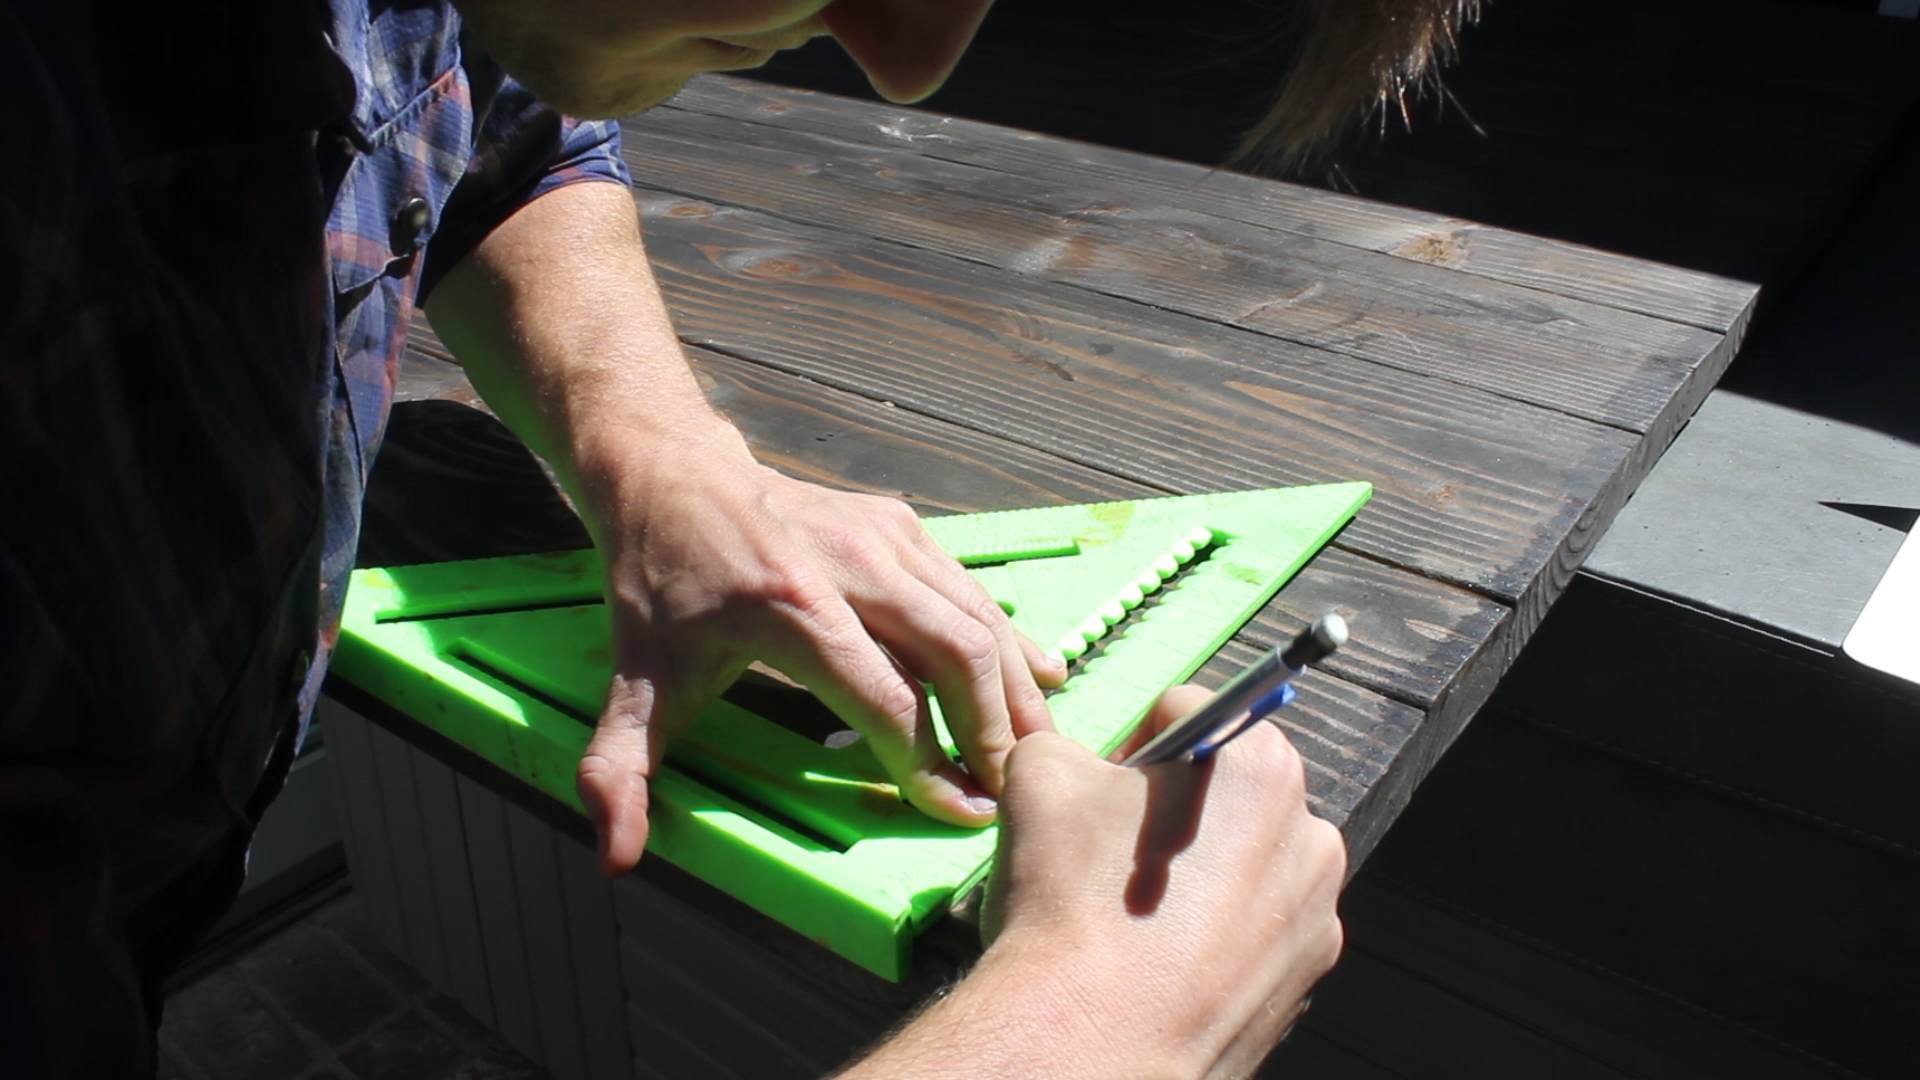
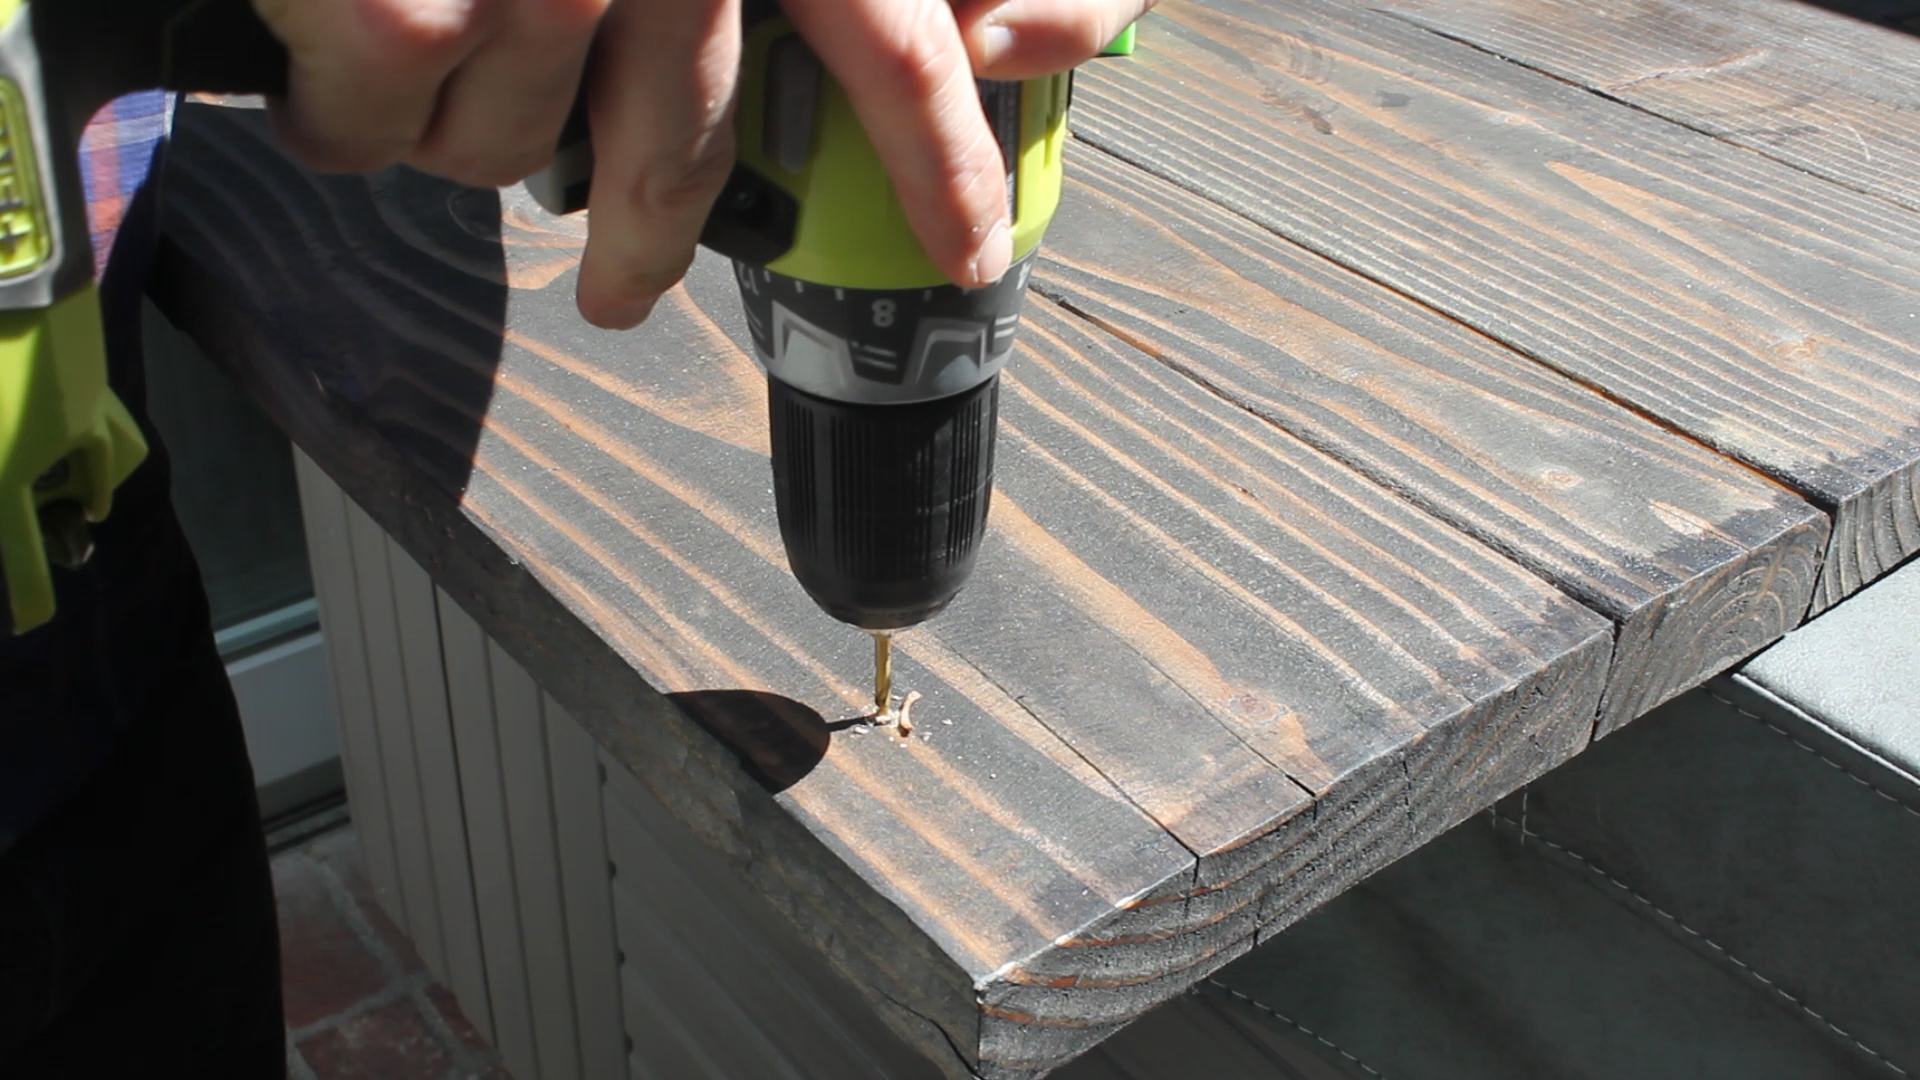
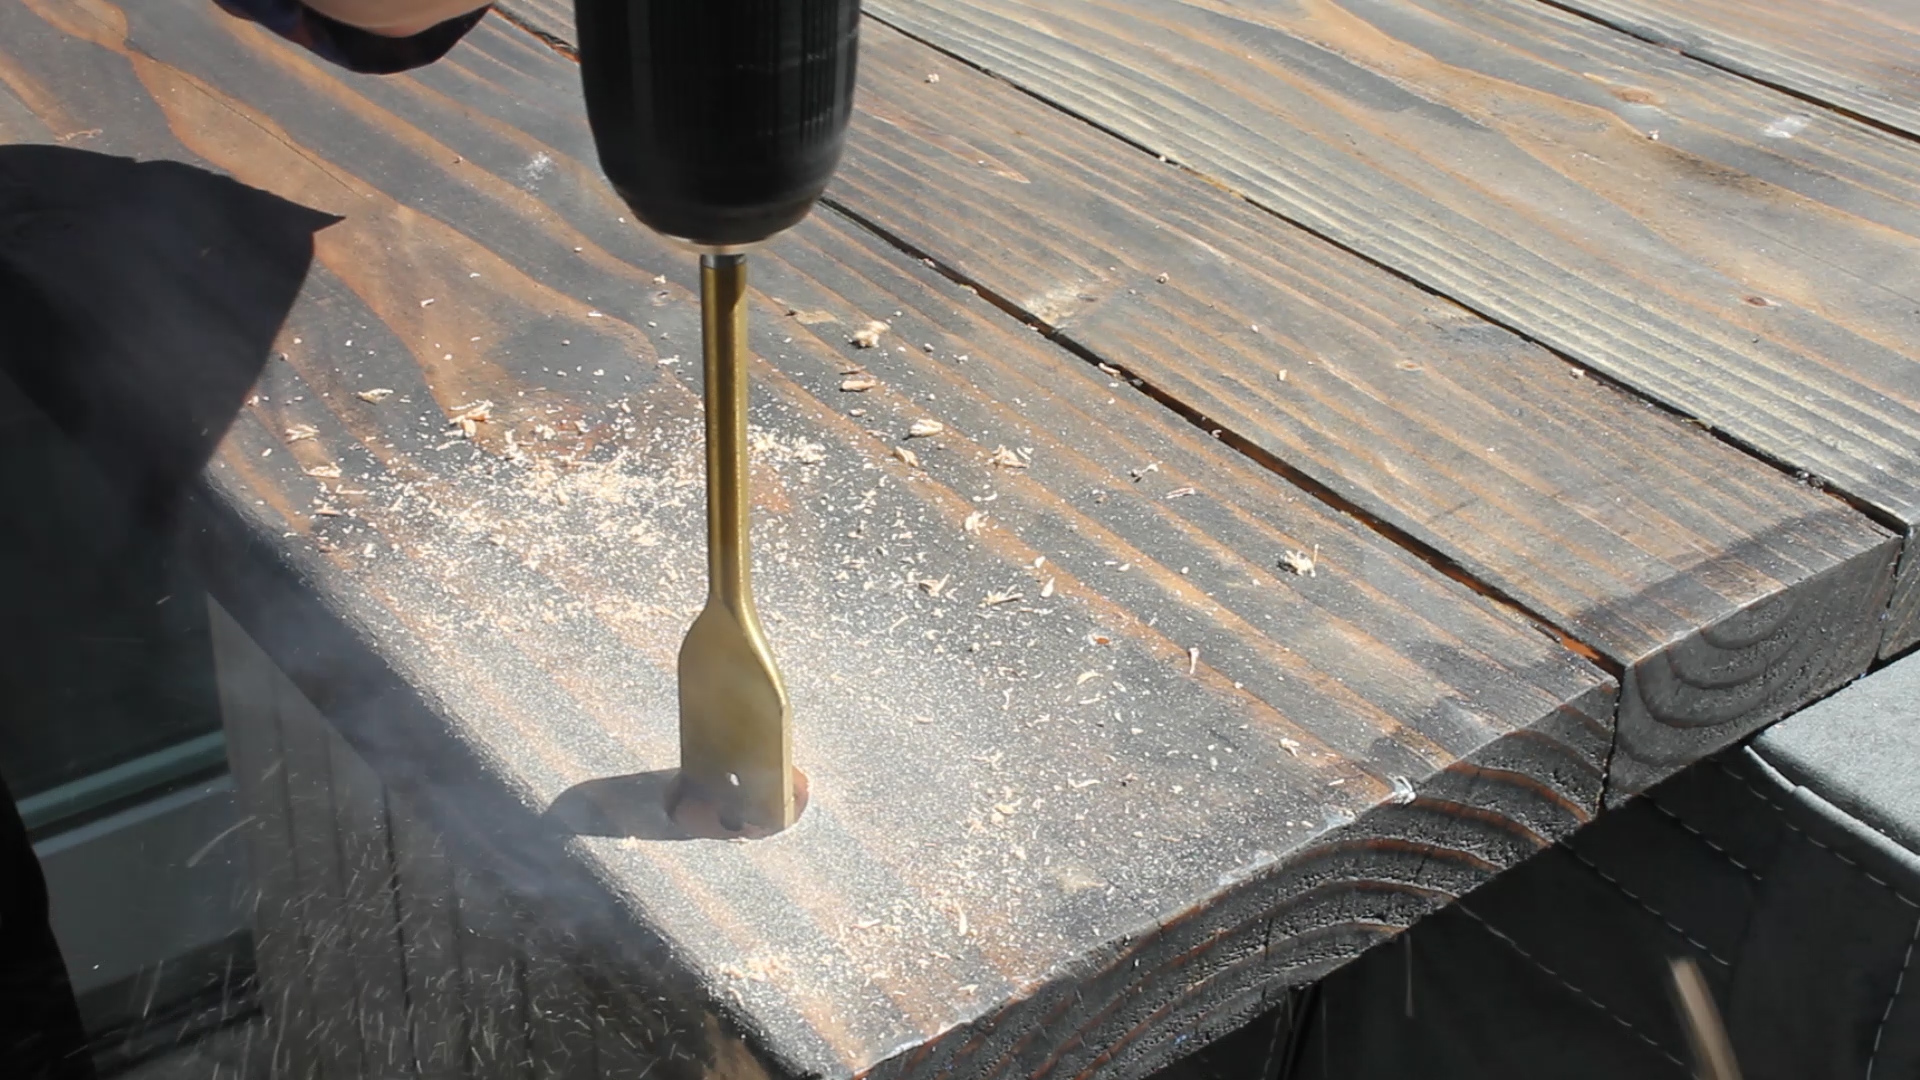
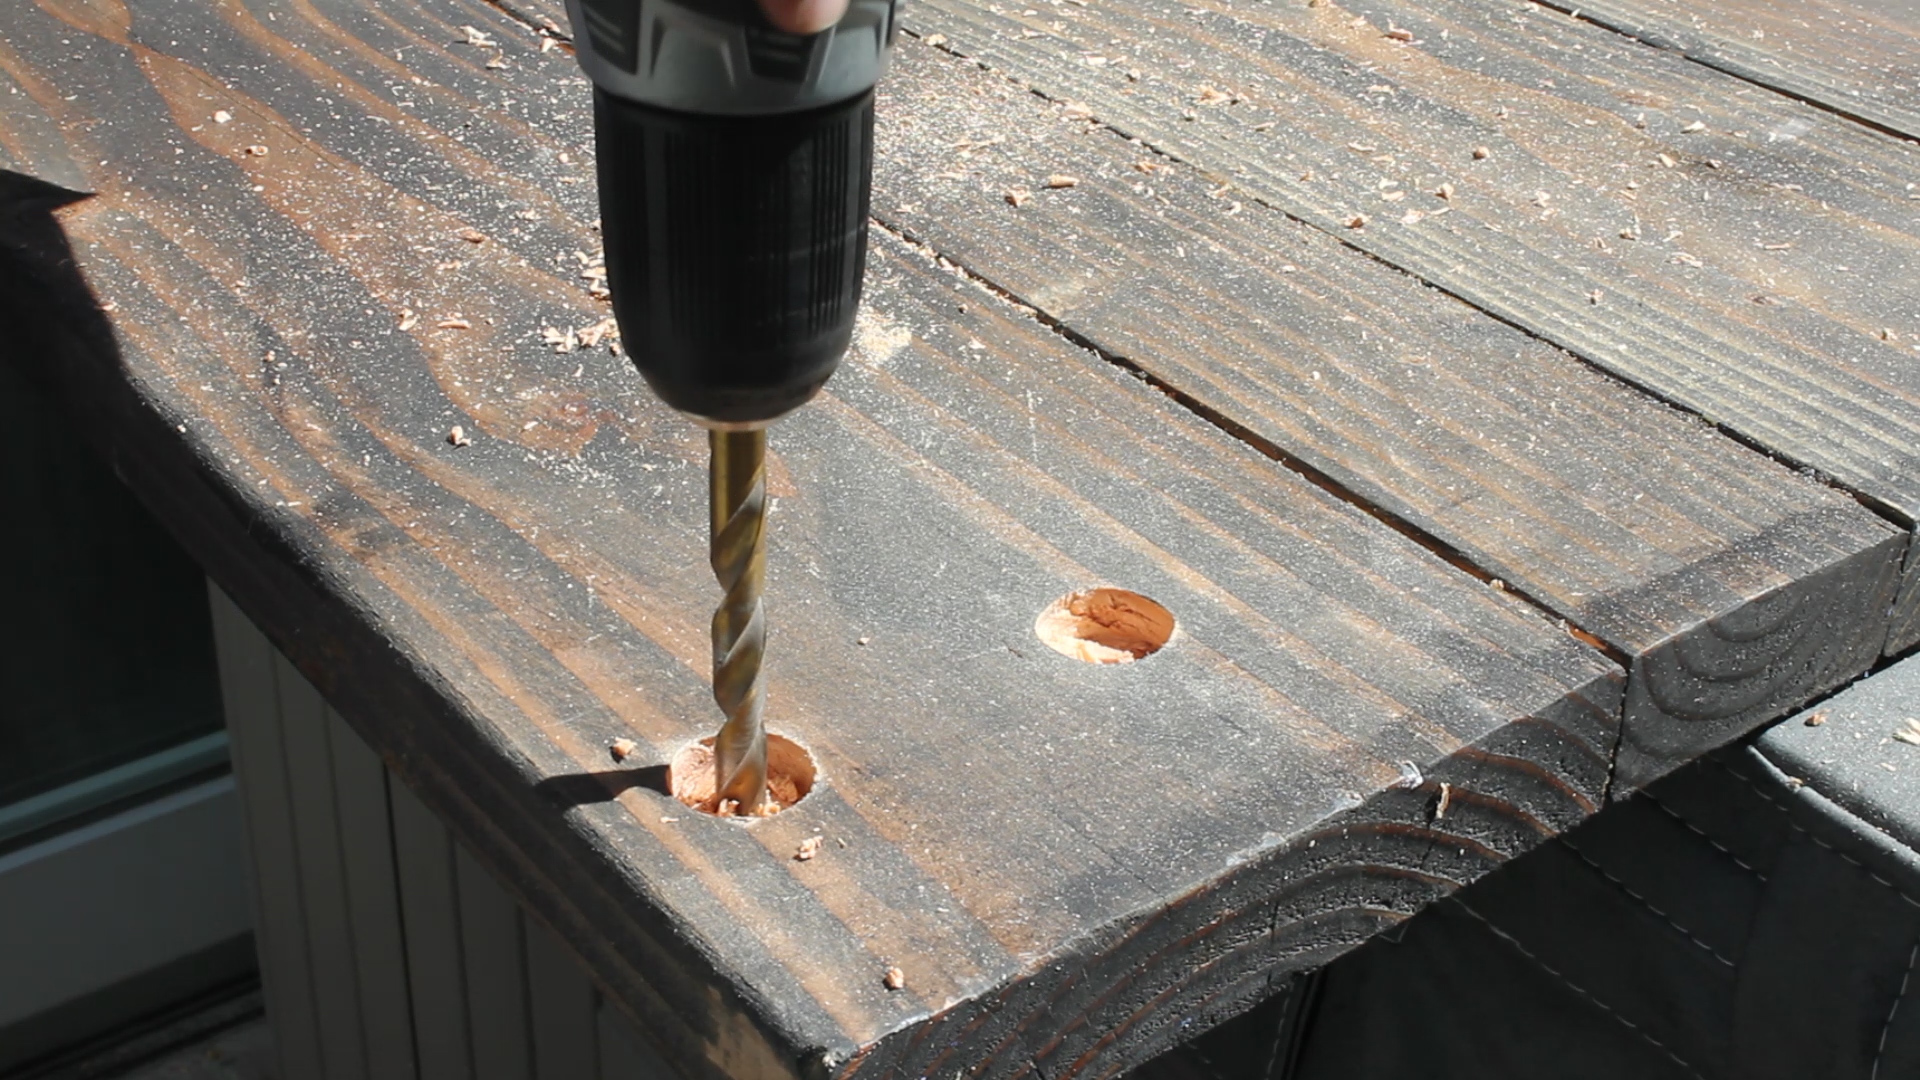
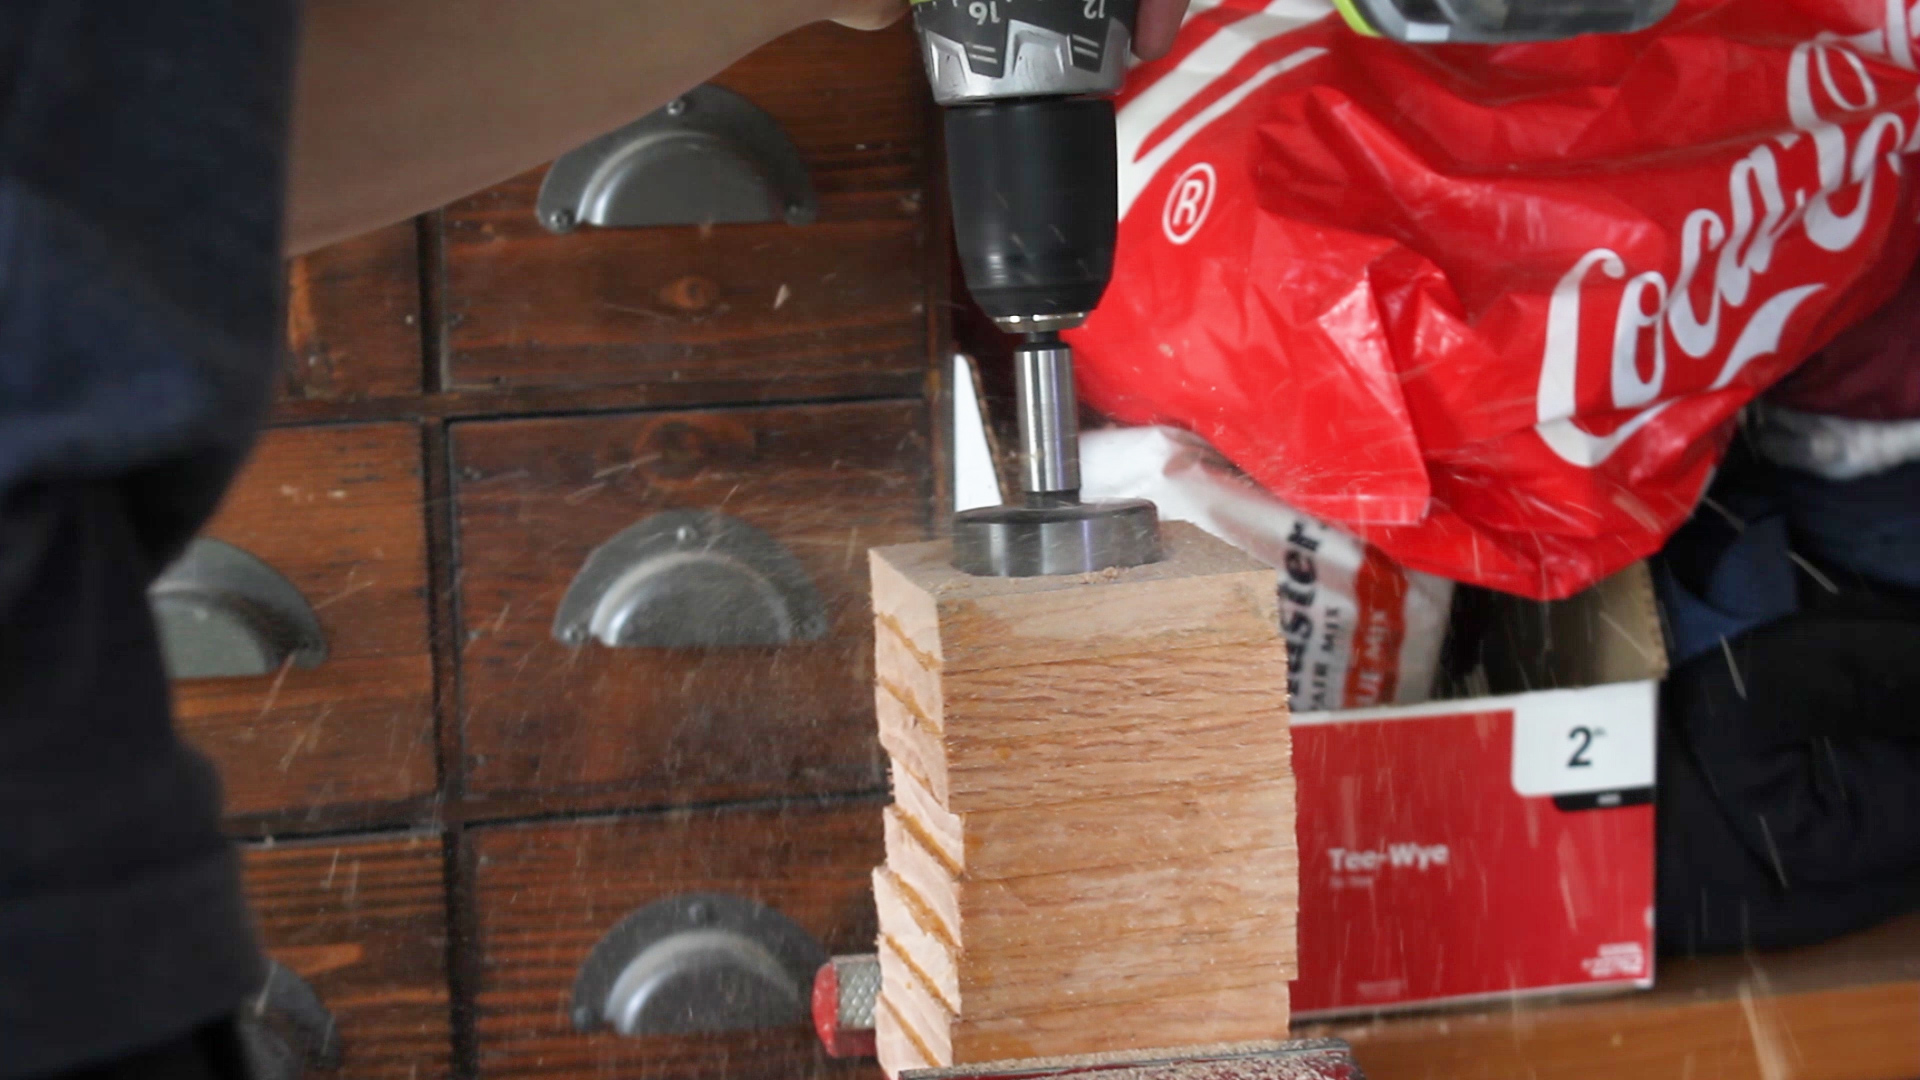
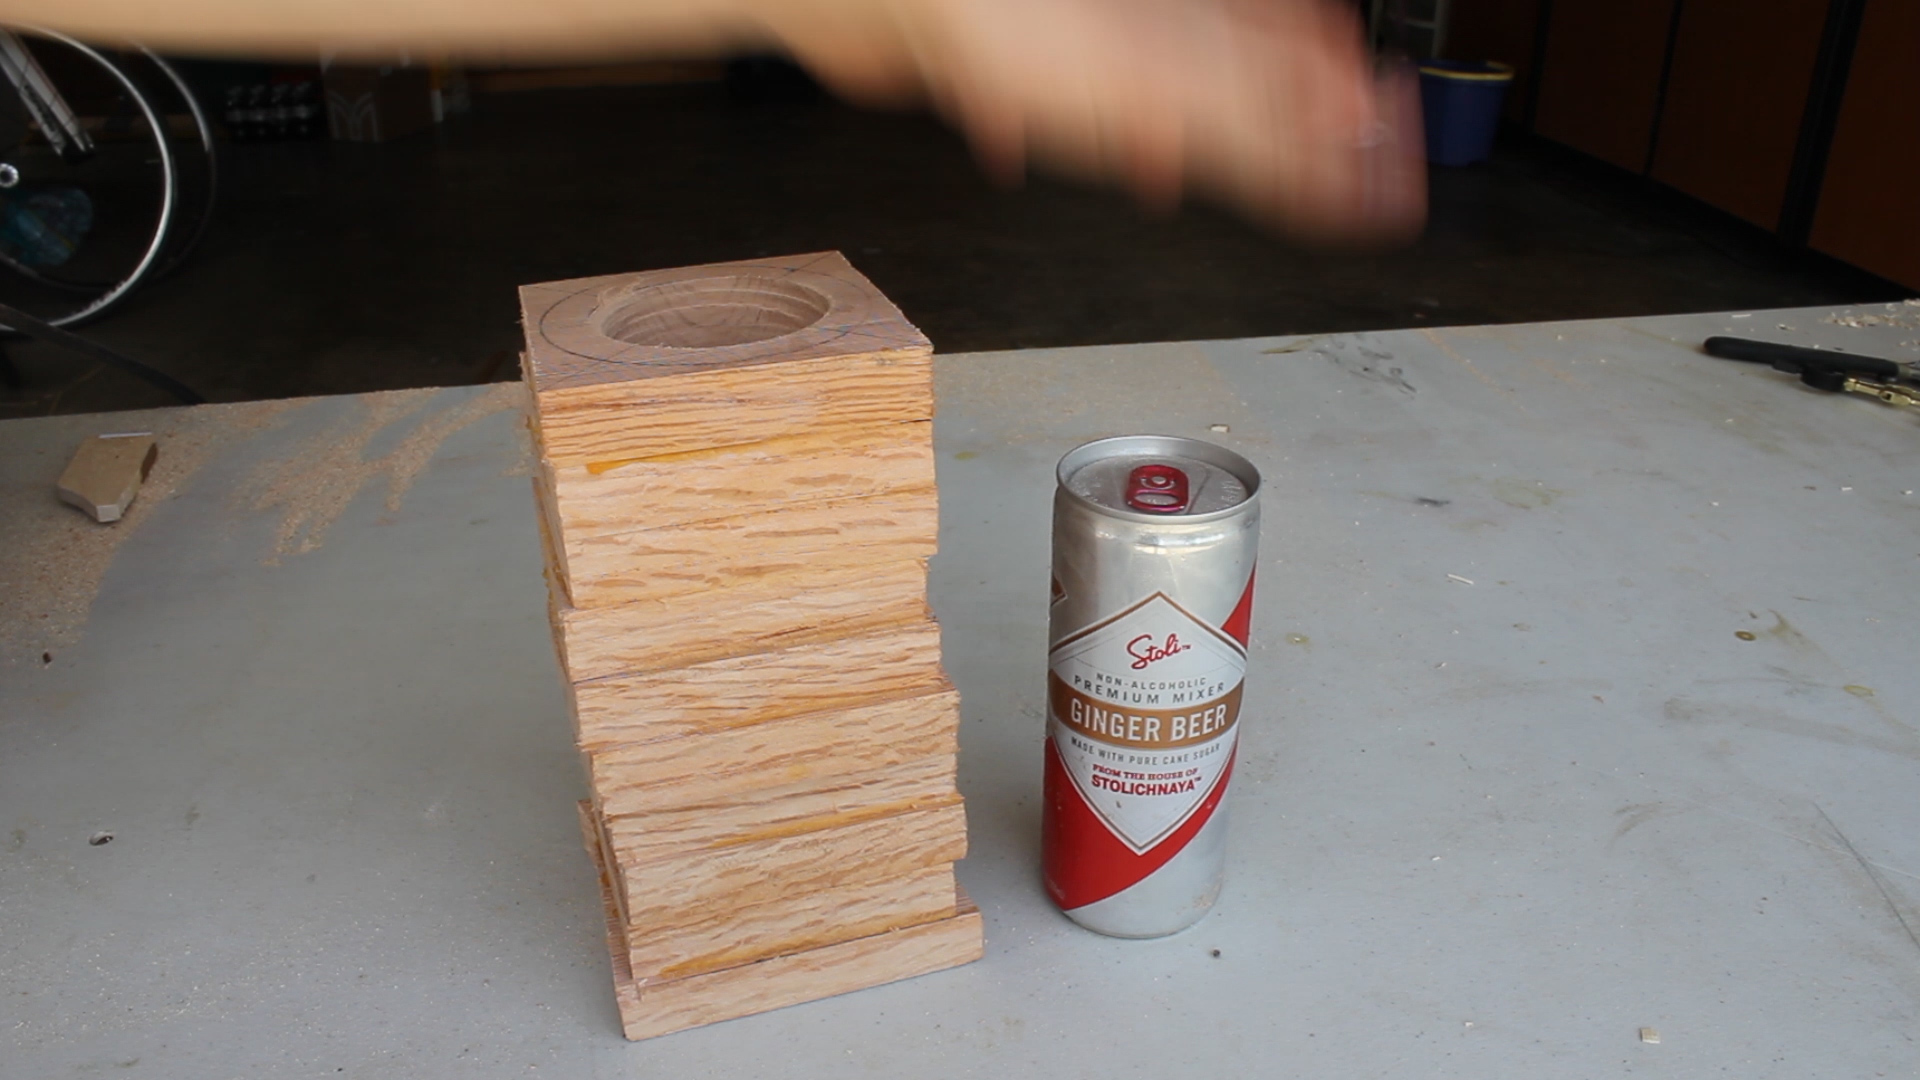
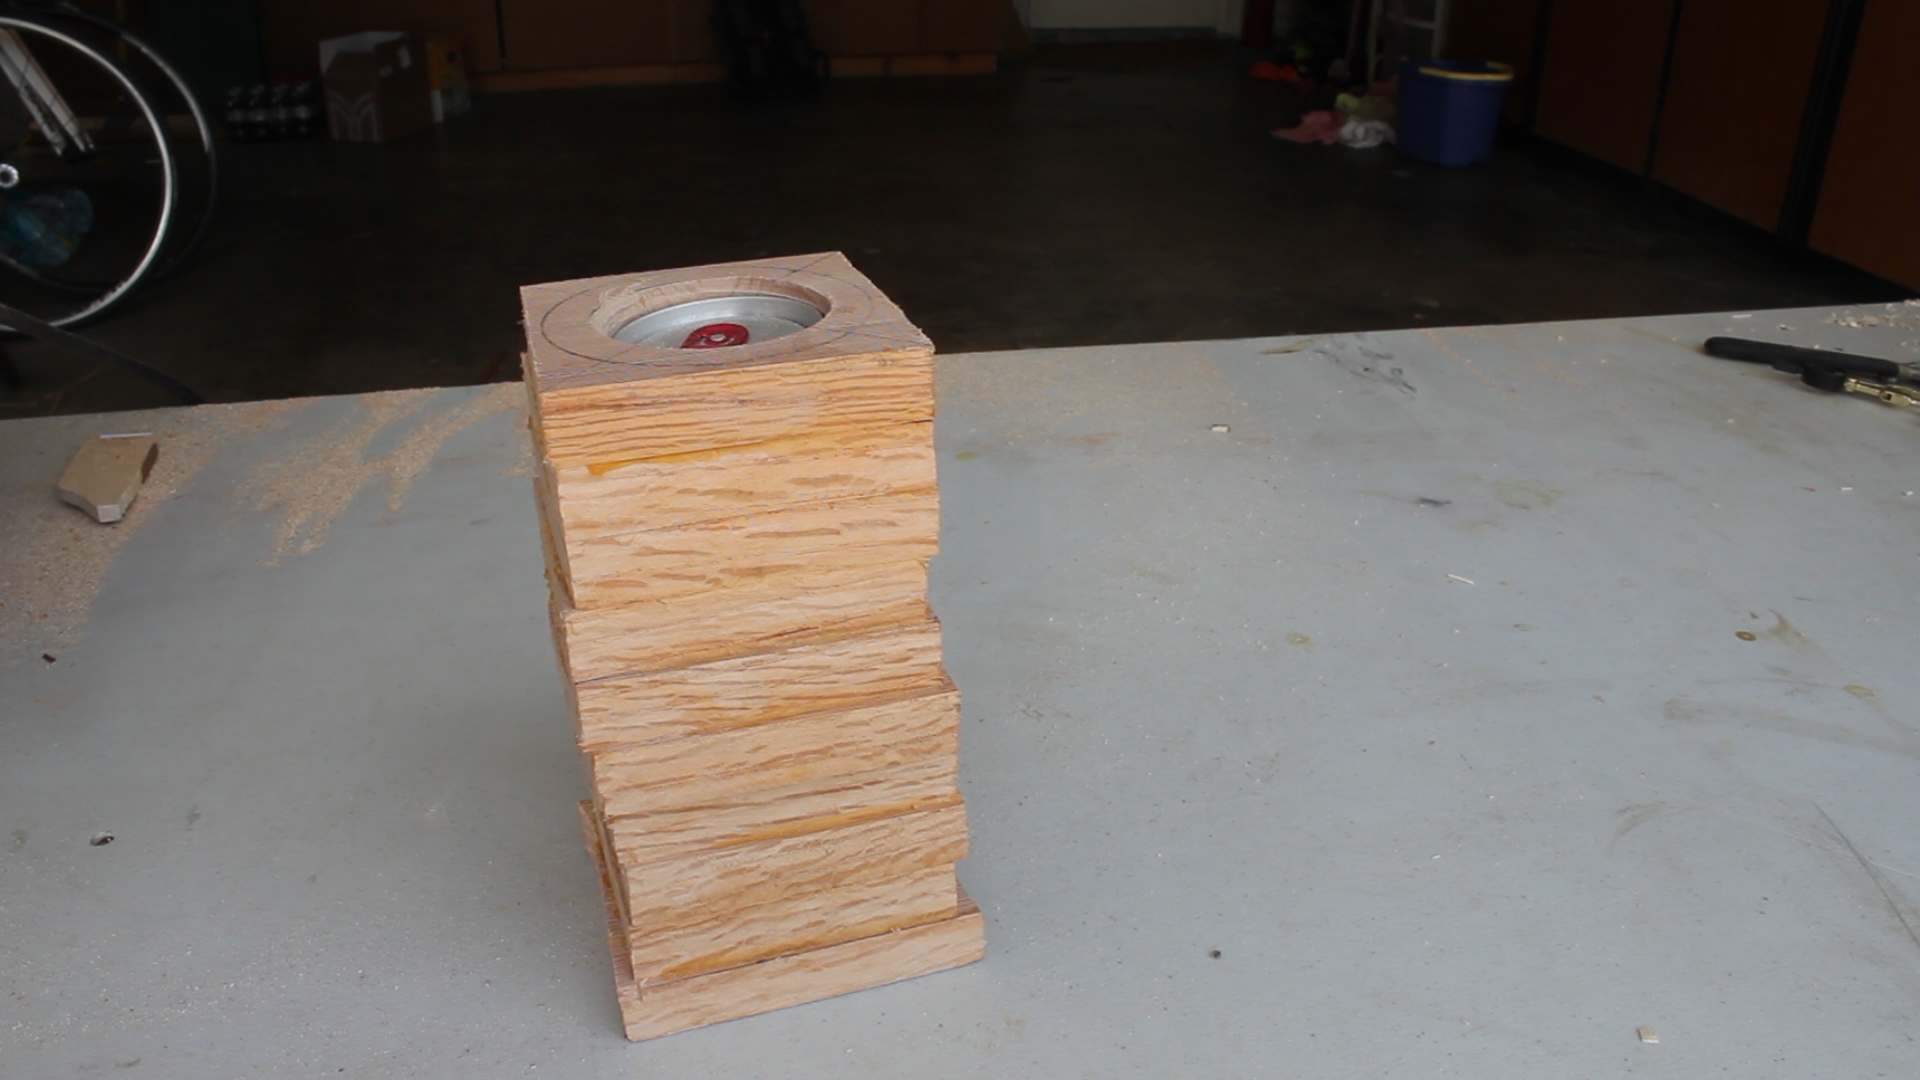
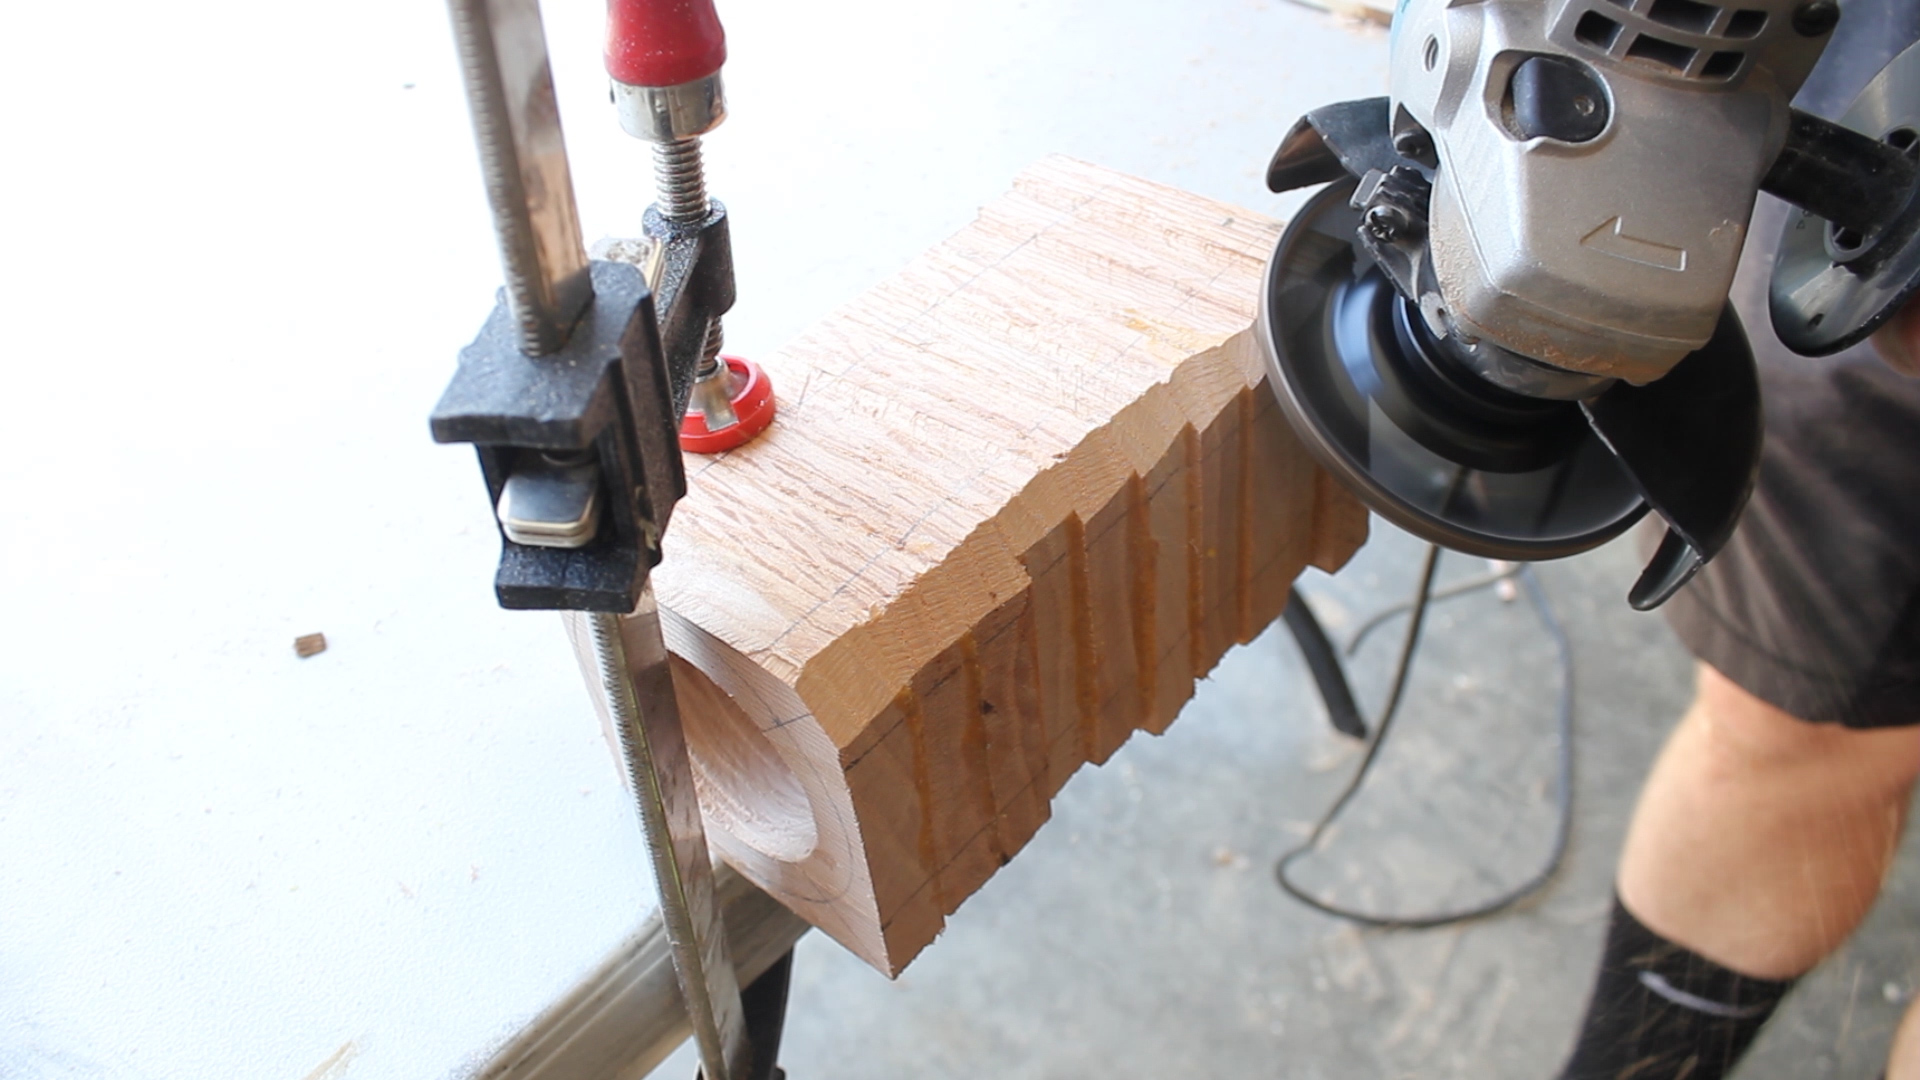
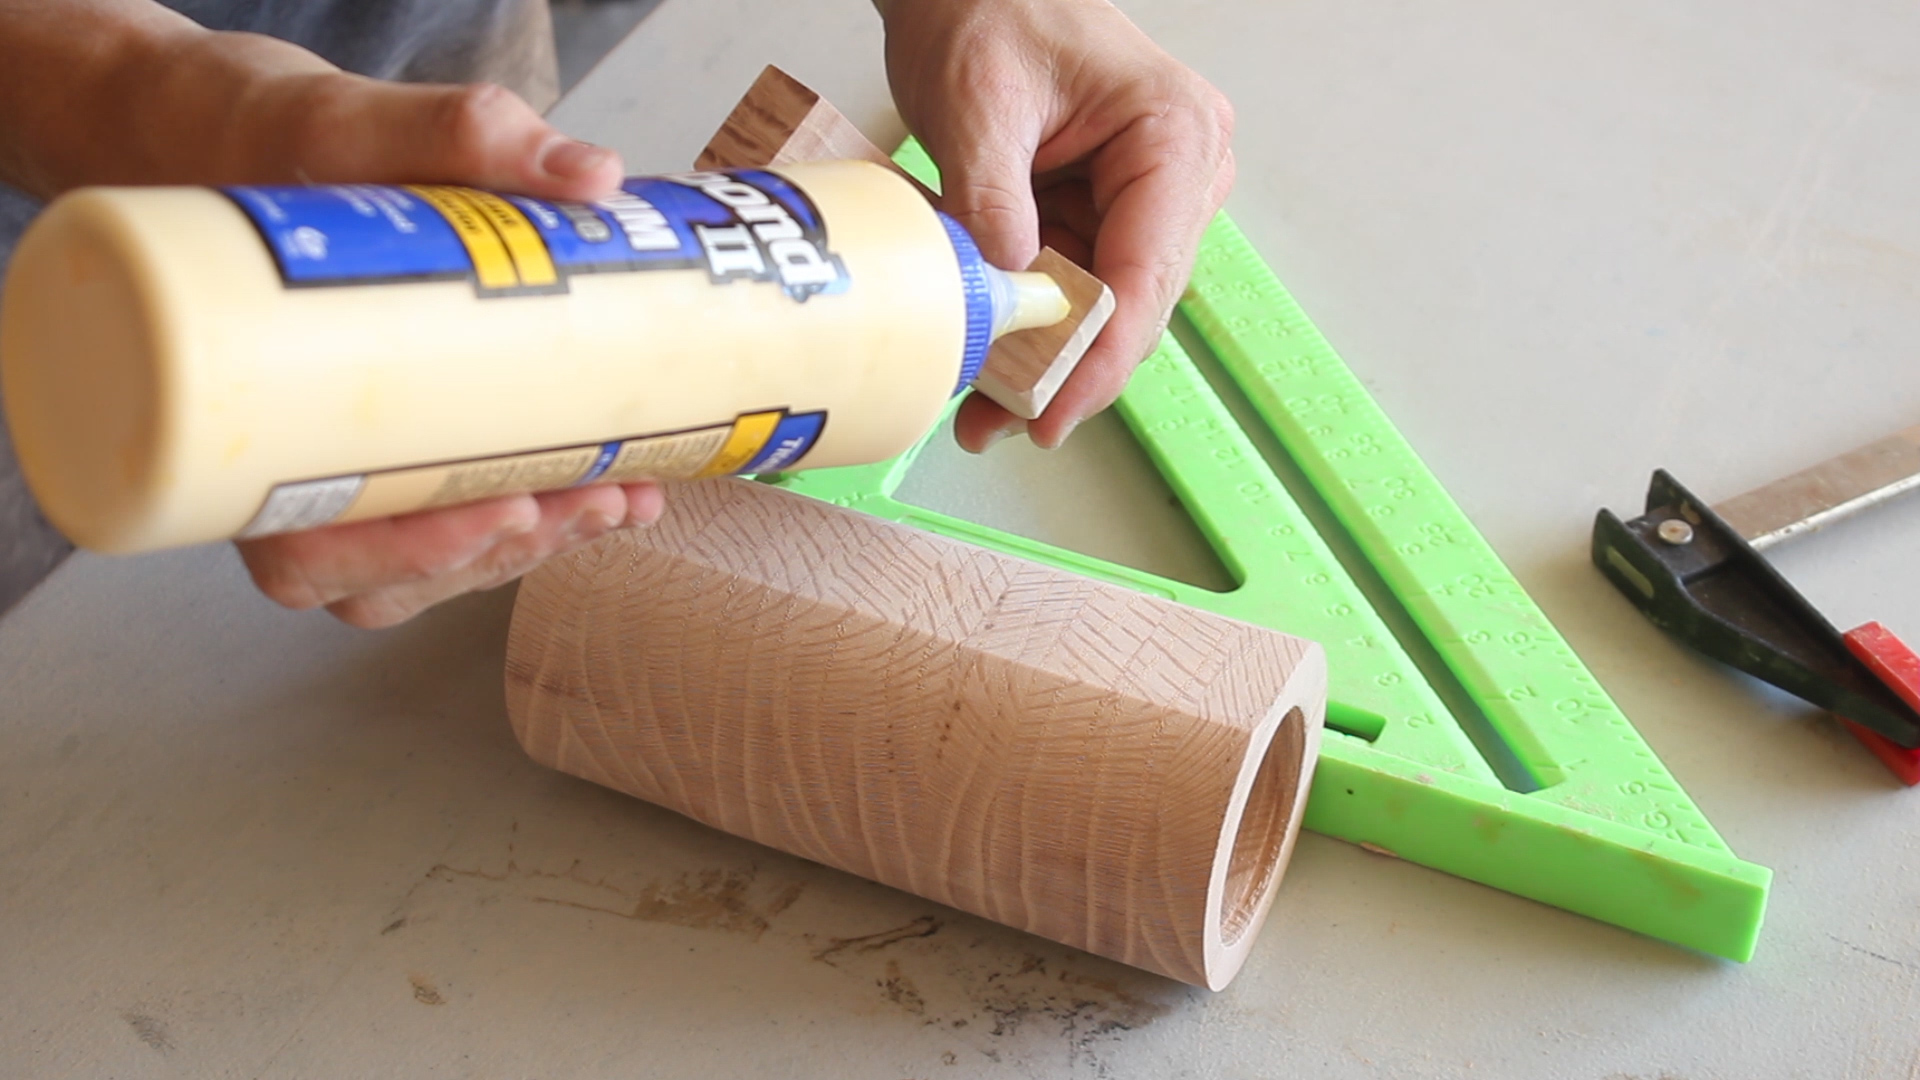
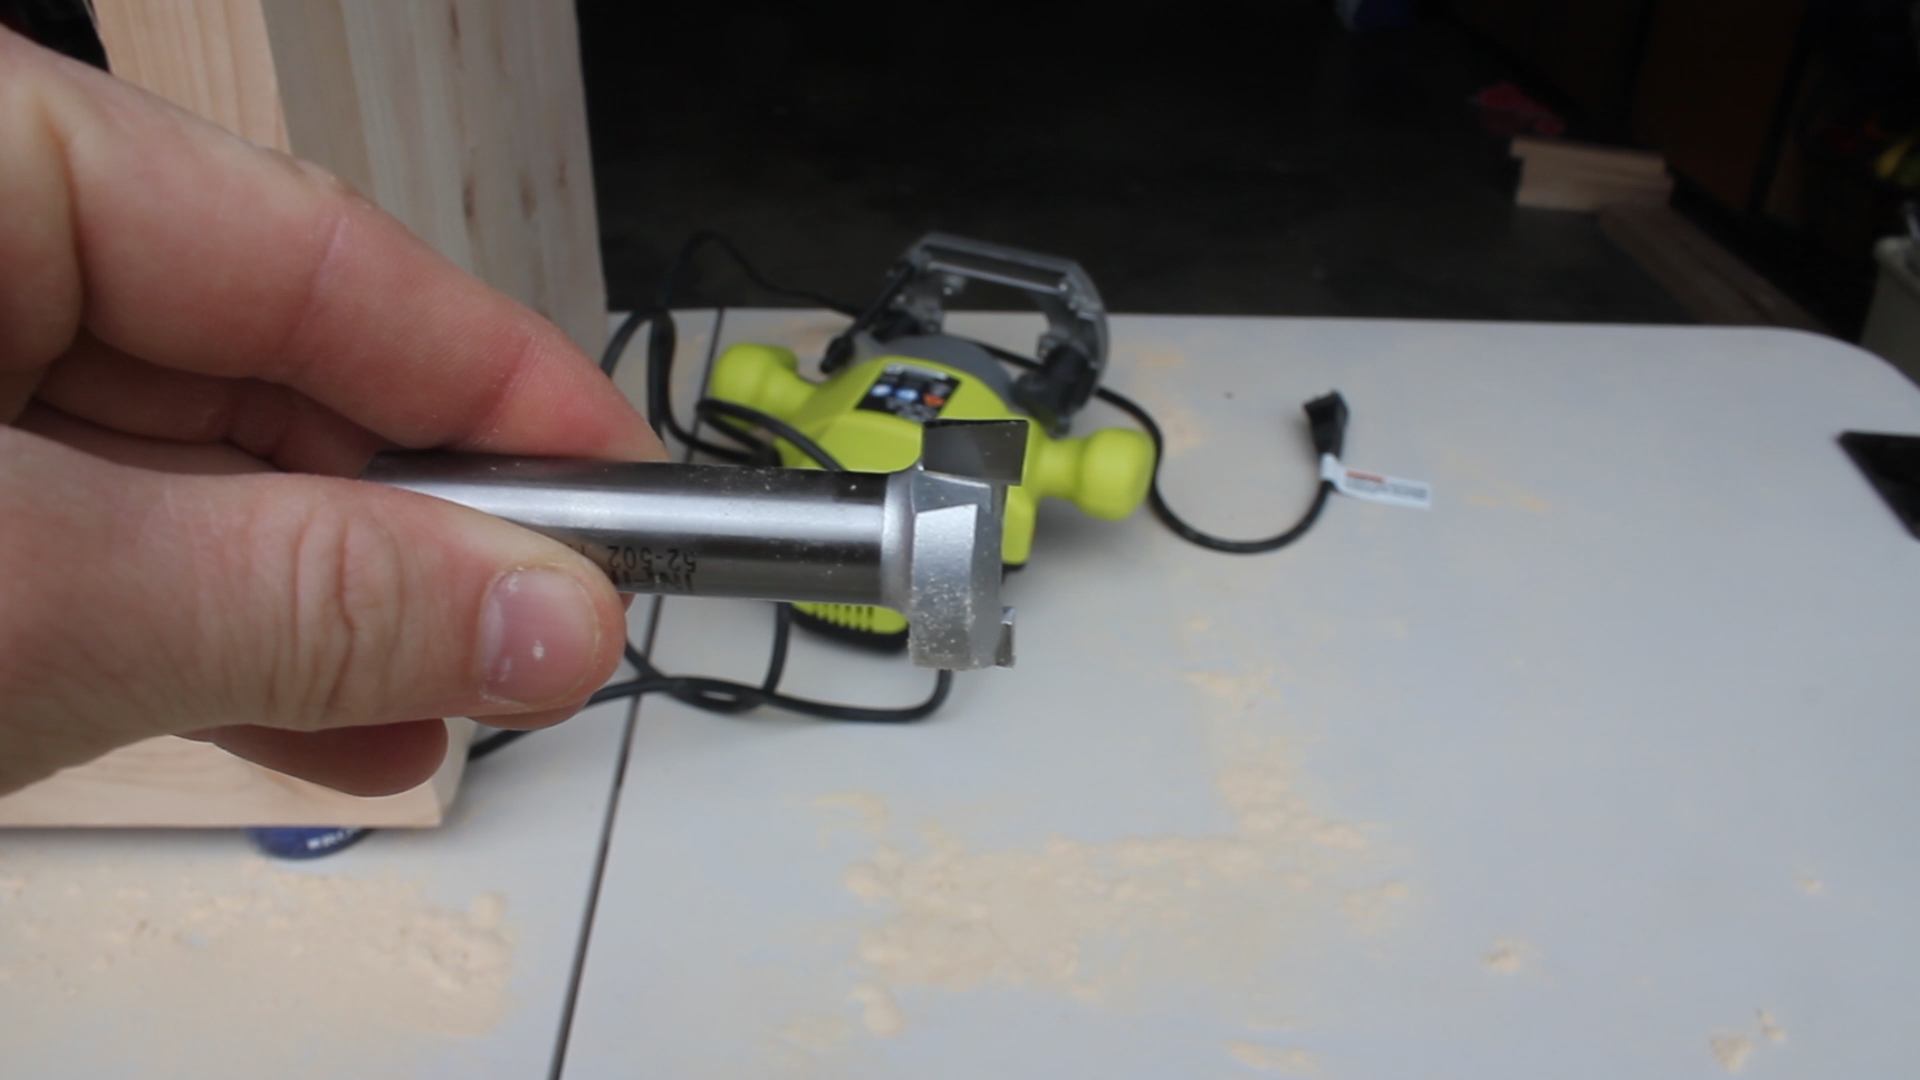
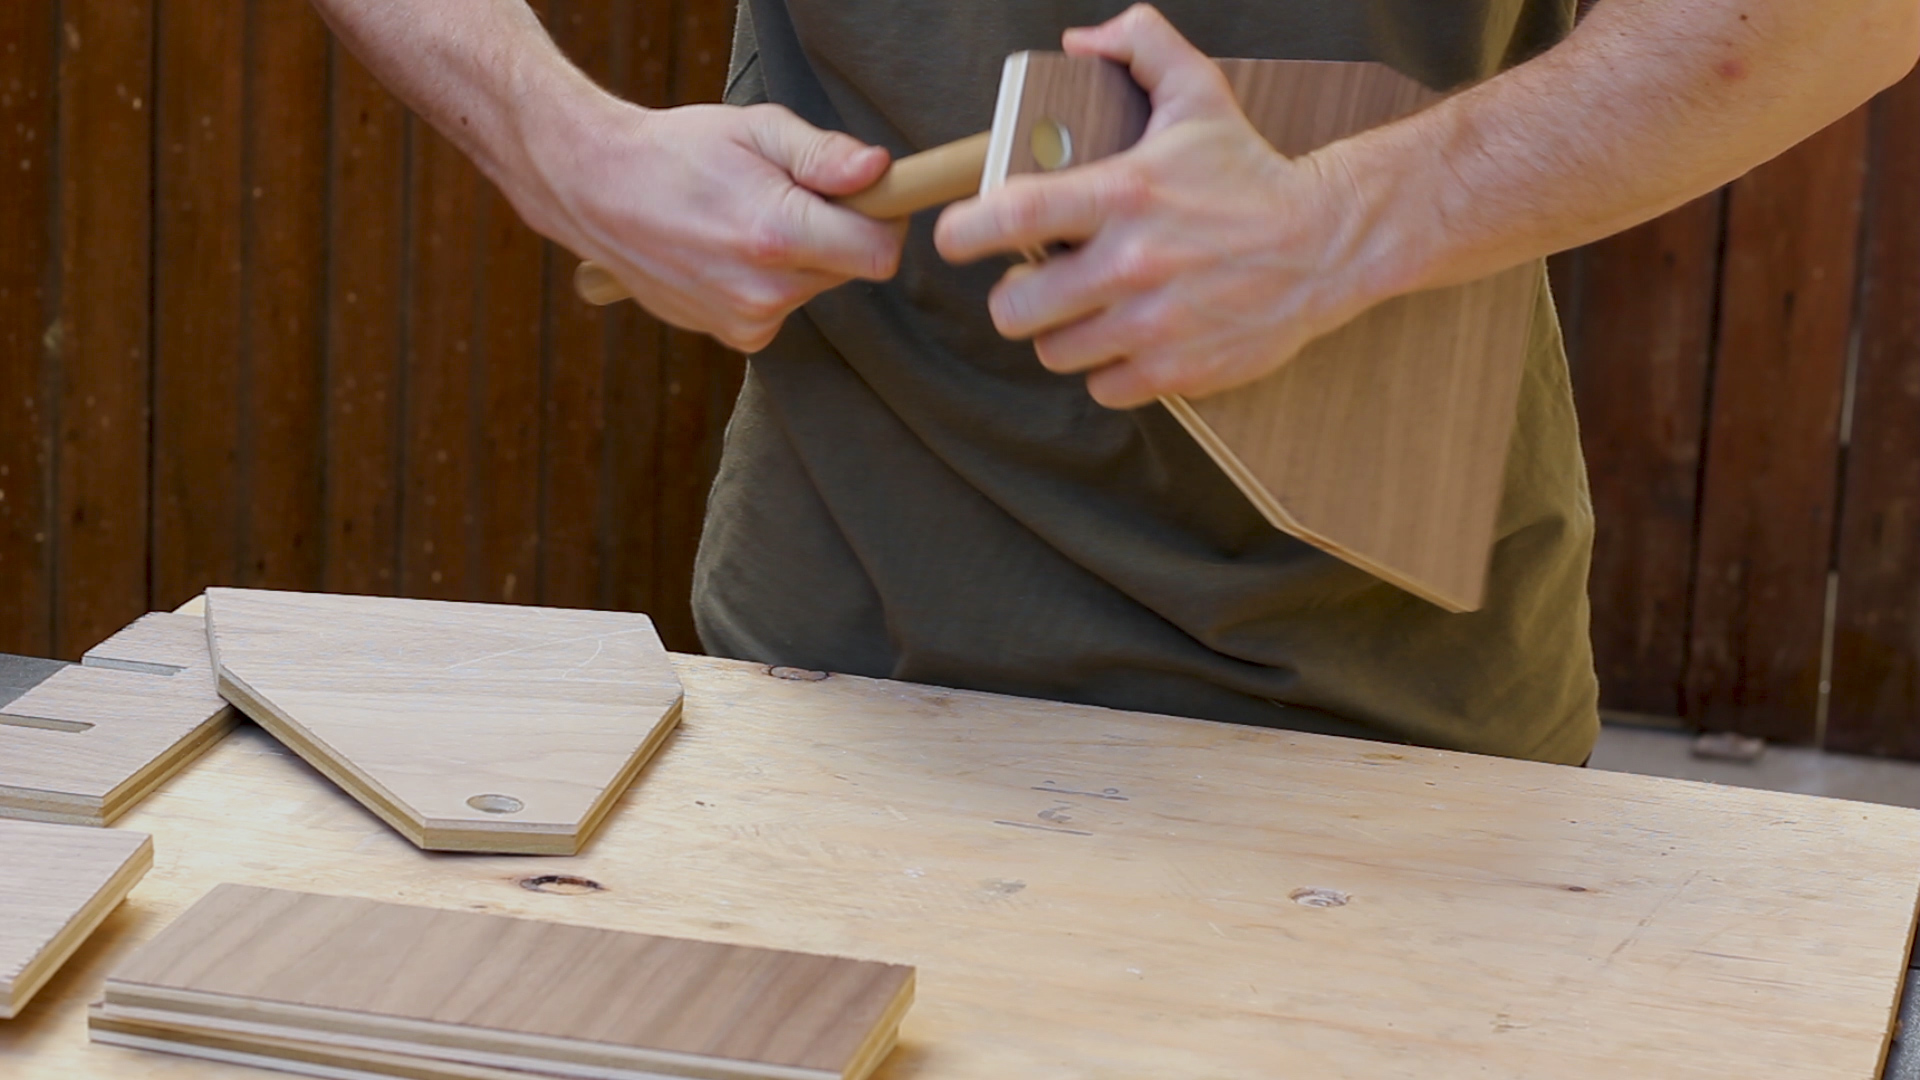
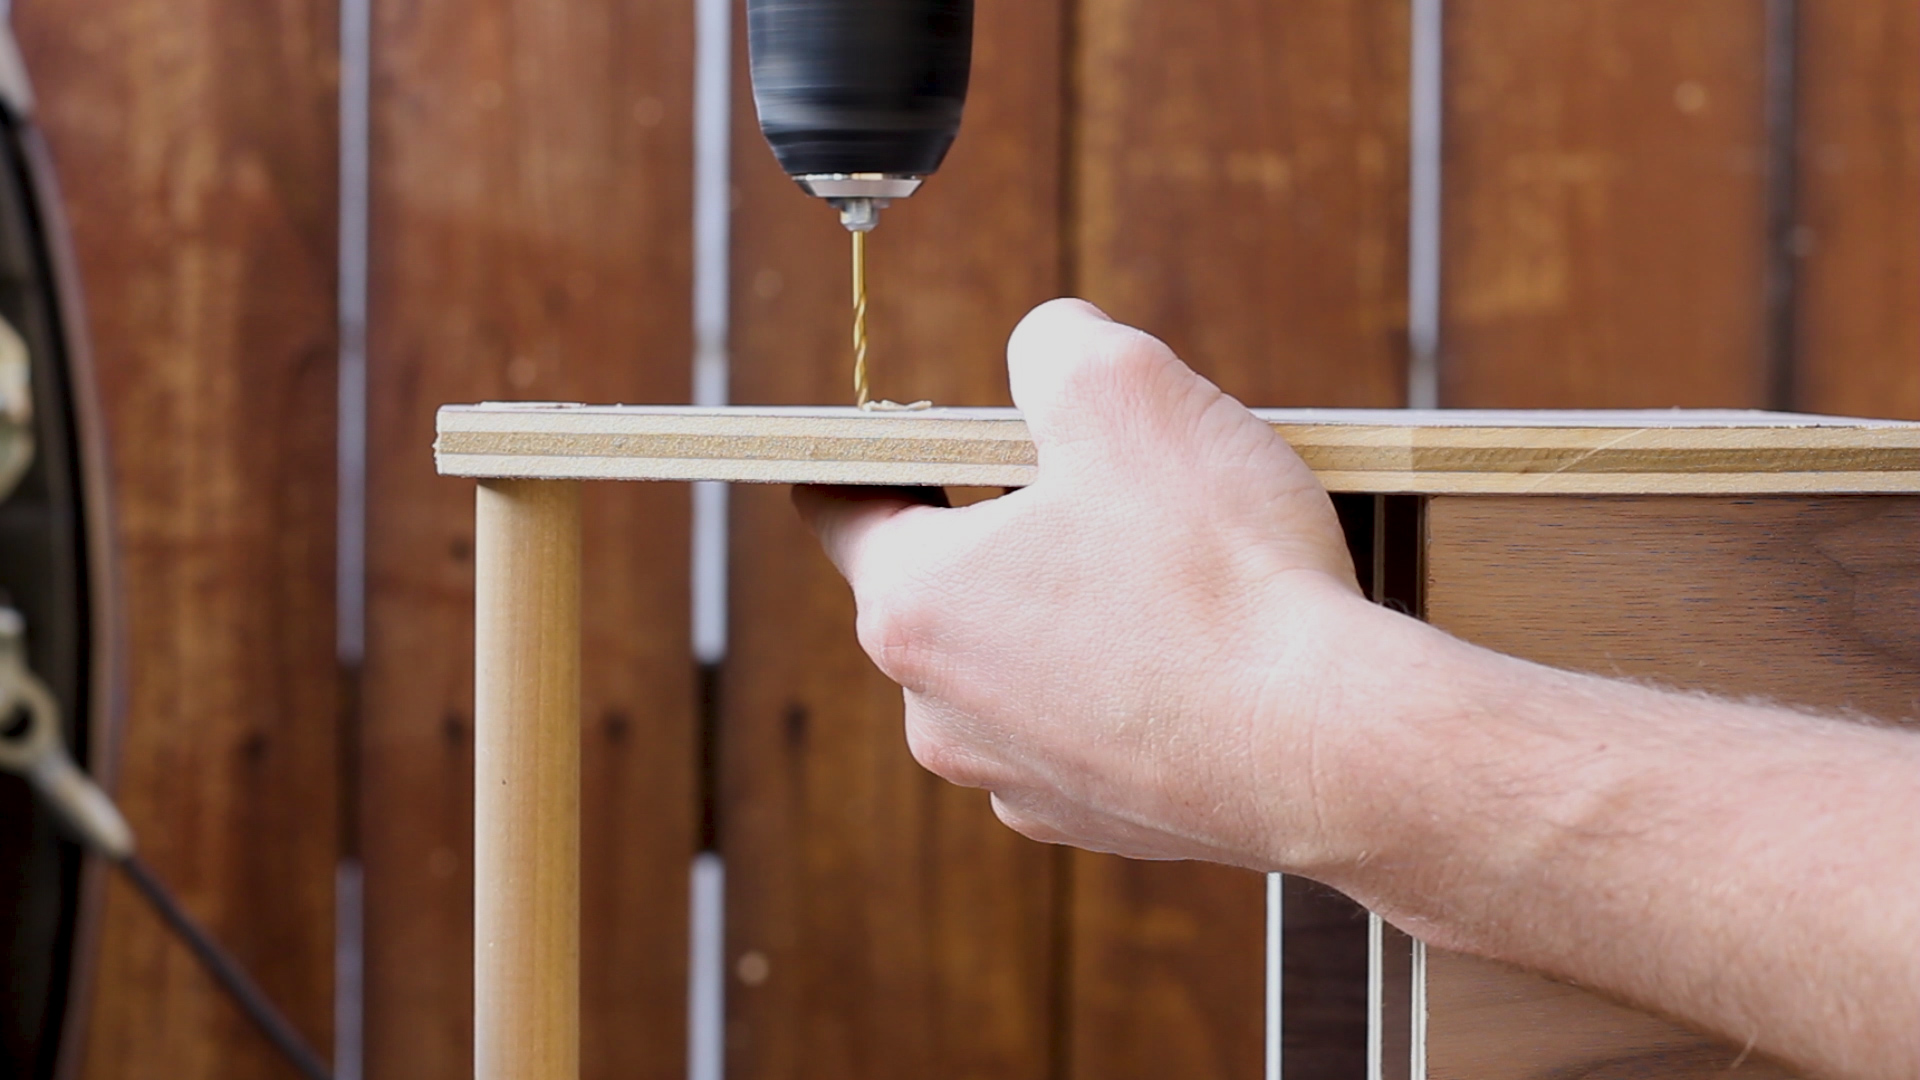
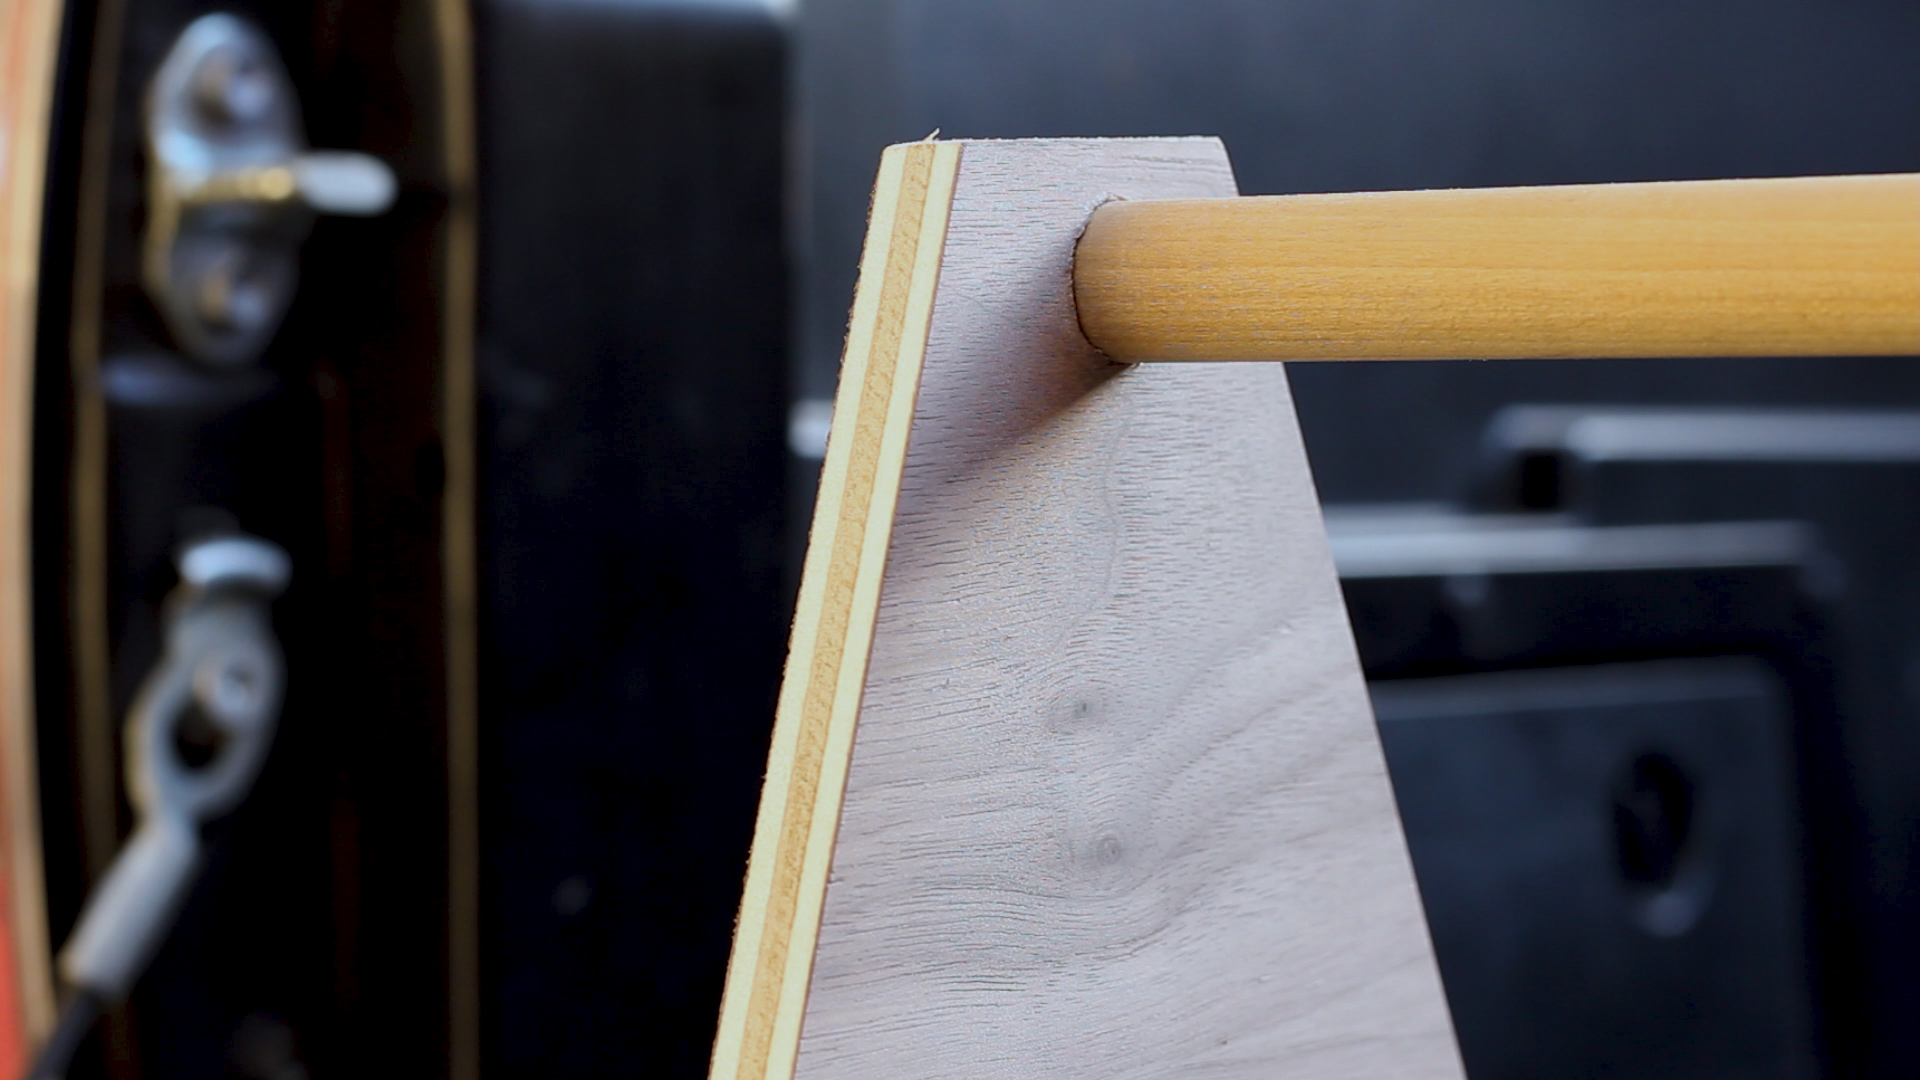
I measured out (Pic 1) and drilled a 3/4" hole on each end piece that would accept a 3/4" dowel.
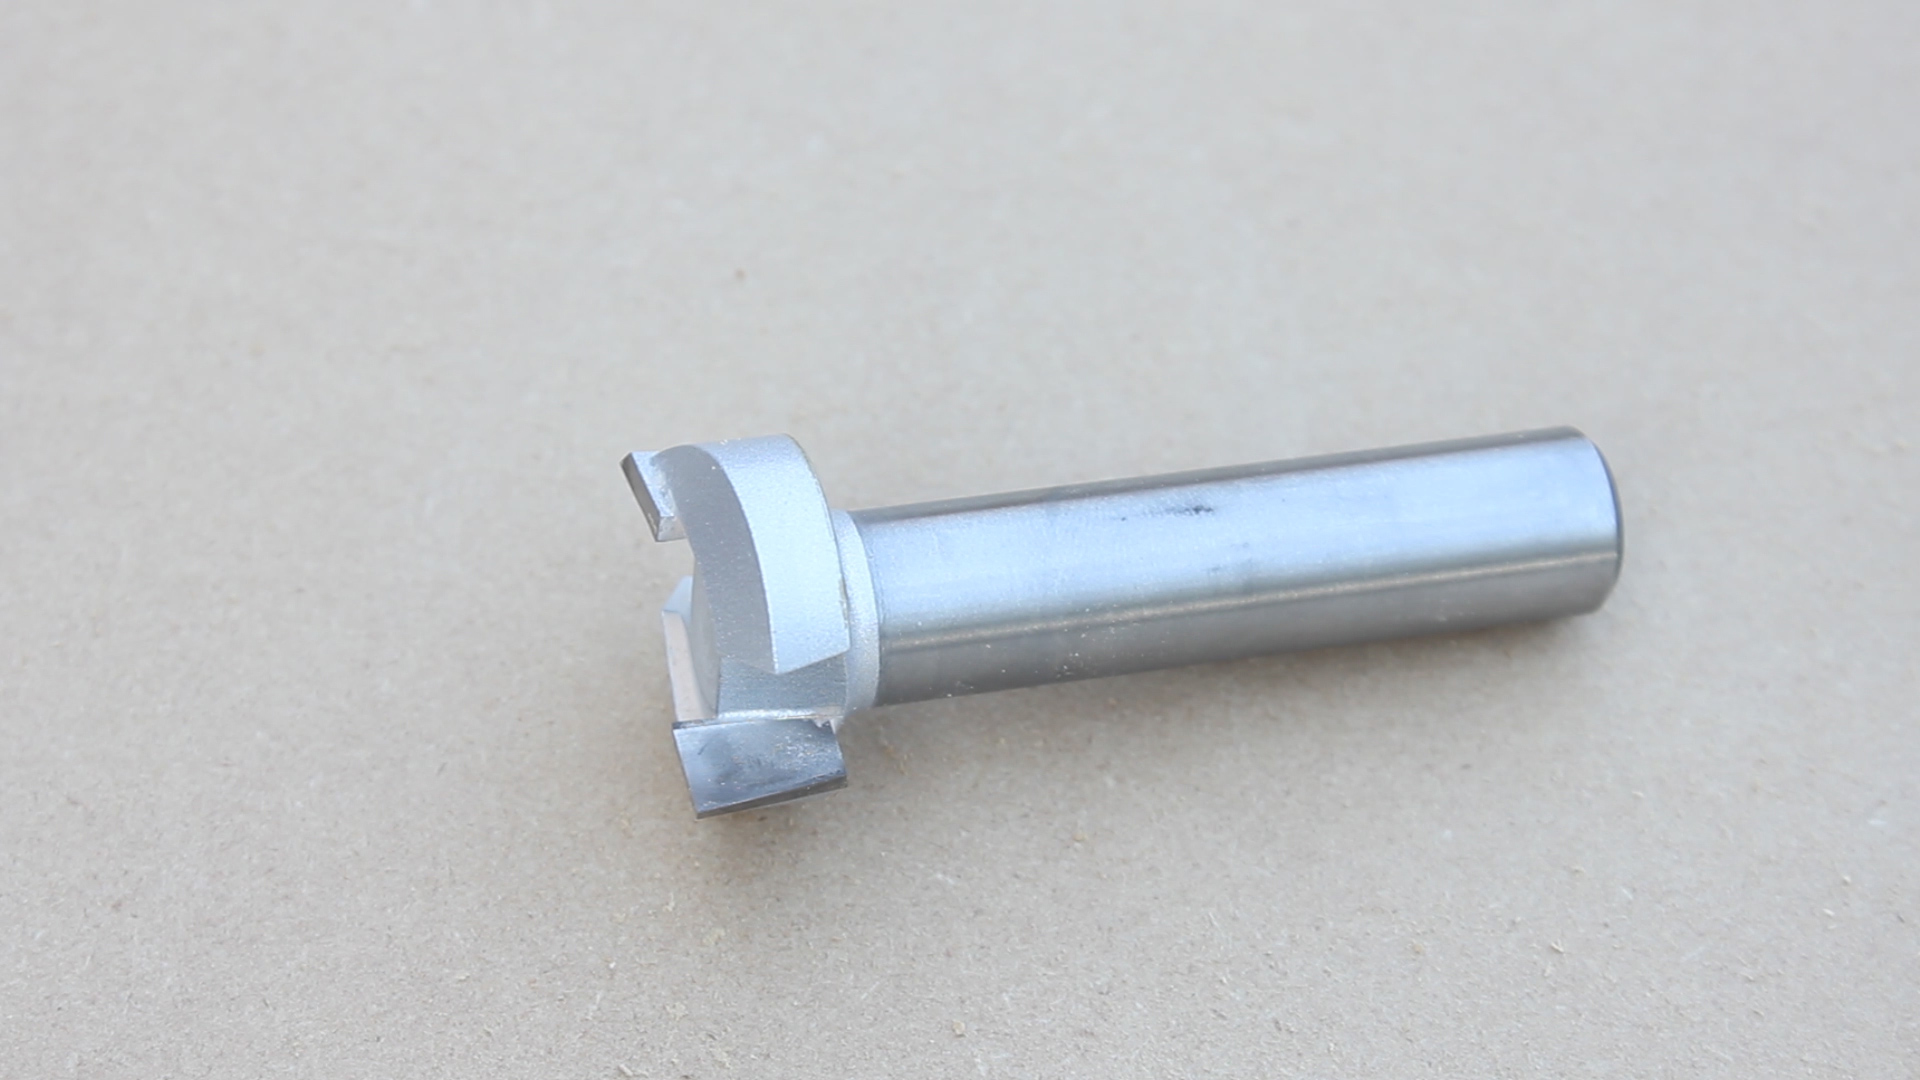
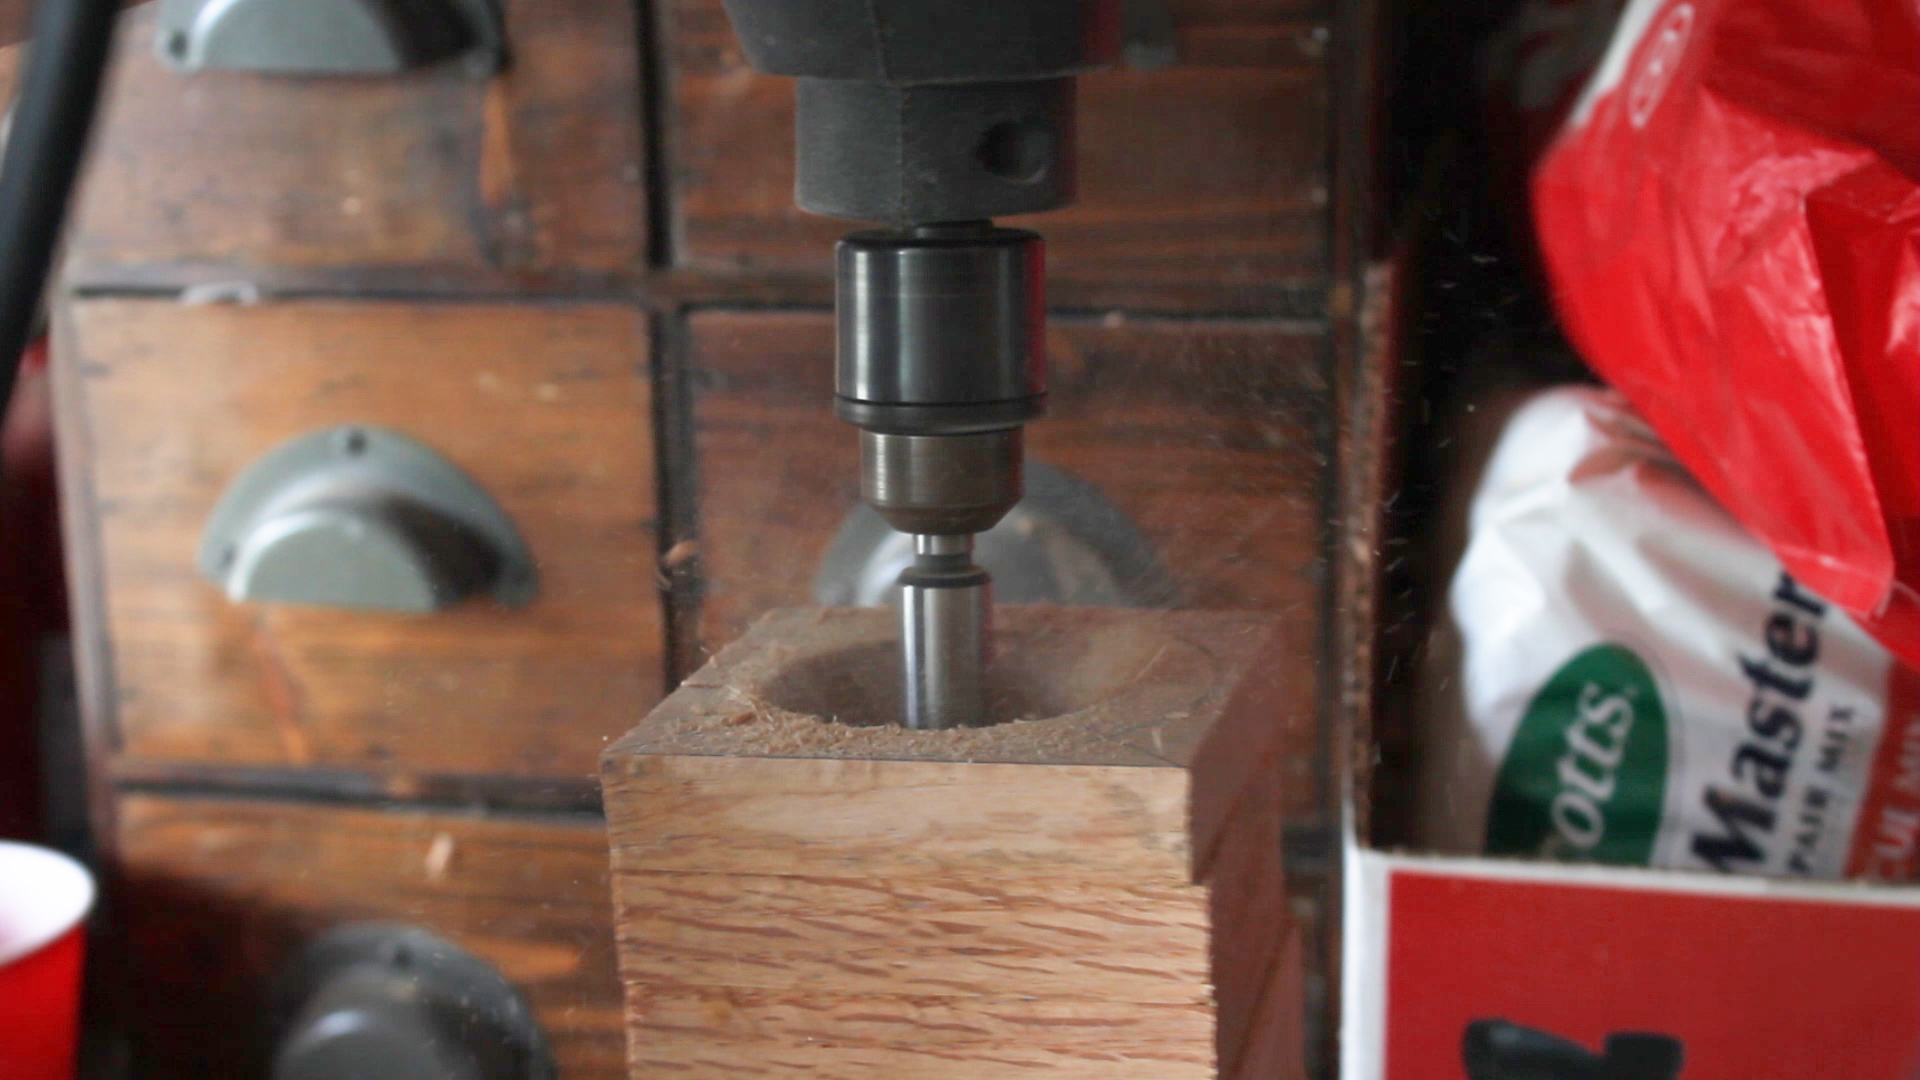
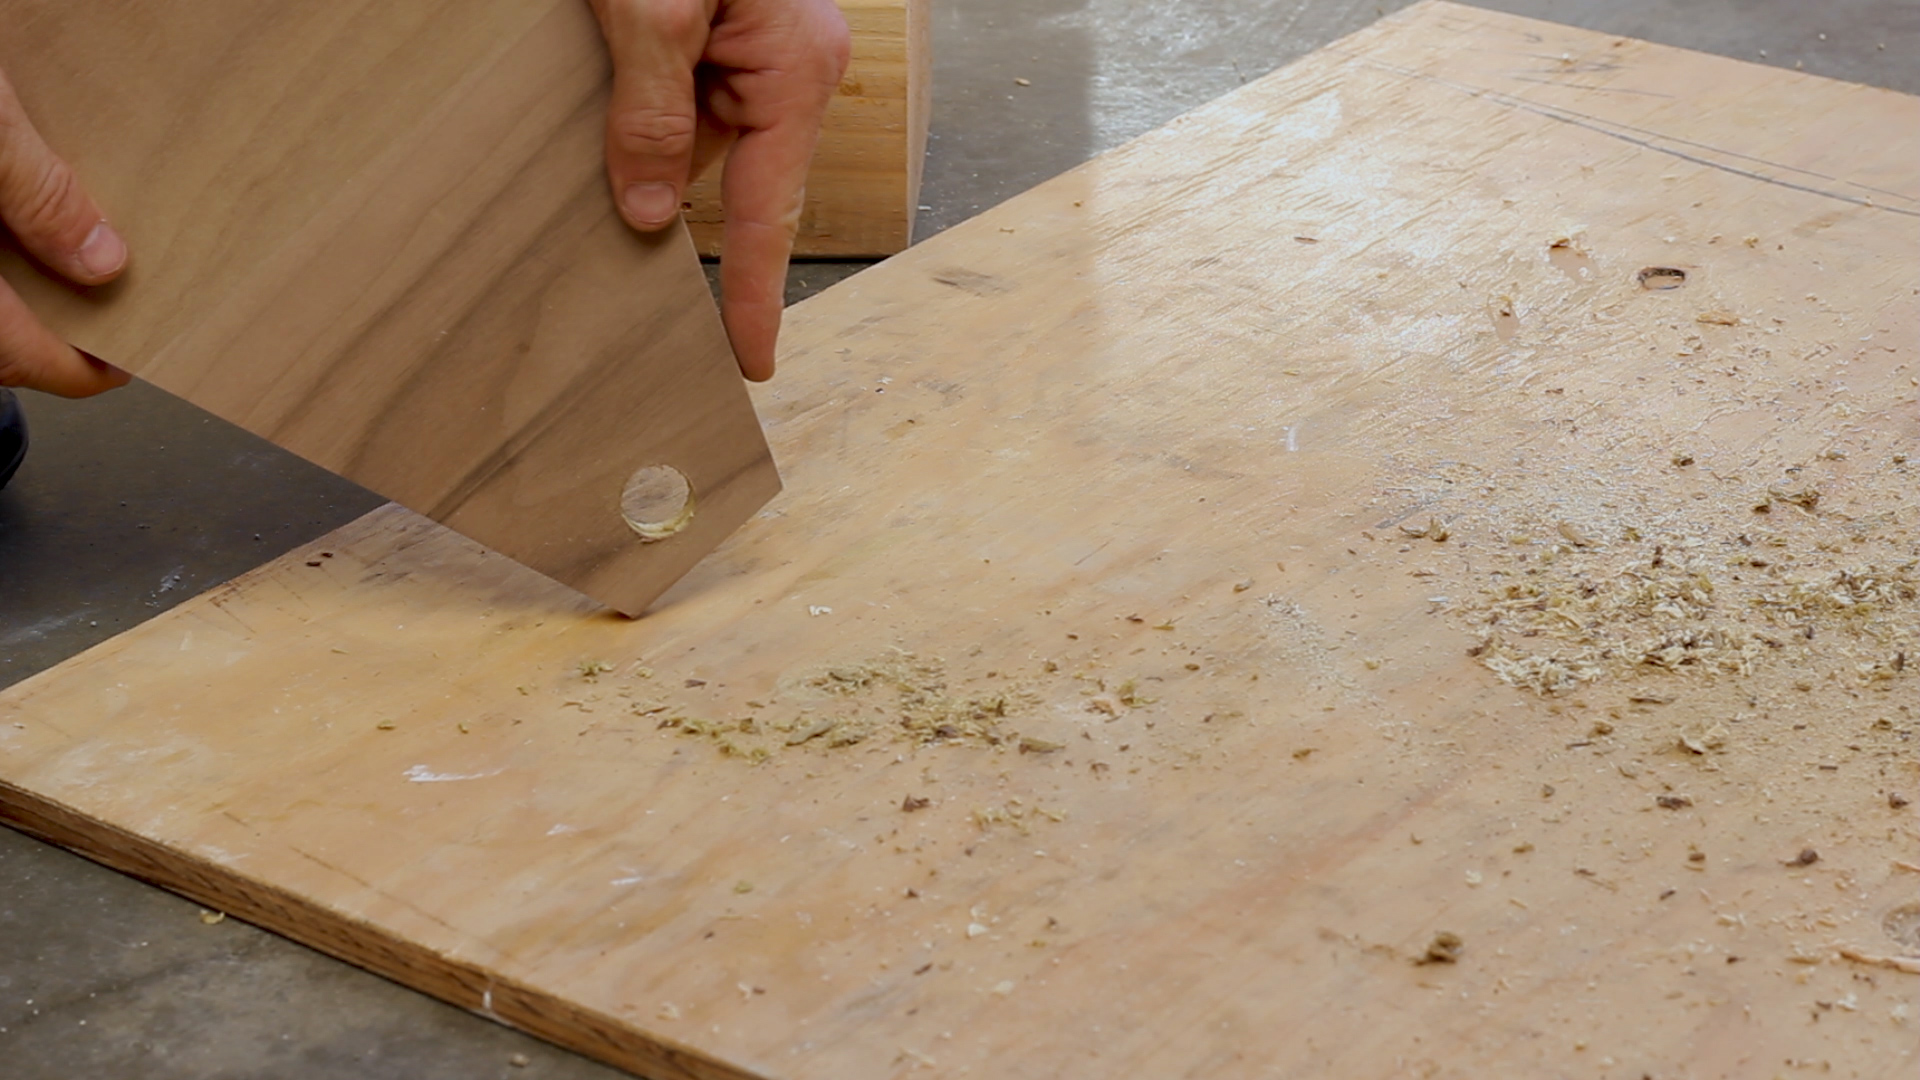
I used a 3/4" spade bit for this and my power drill, but you can use a drill press if you'd like and/or a Forstner bit to help make more repeatable cuts (Pic 2). The important thing here was to keep it even and clean and prevent tear out on both sides. You can use tape or if you do have the drill press this might be easier. However, without those, I found the best way was to drill 2/3 of the way through the piece, then flip it over and use the small pilot hole to drill from the other side. Pic 3 shows how cleanly the hole would come out.
The holes were very snug and I ended up not using glue to secure the dowel (you obviously can if you want to).
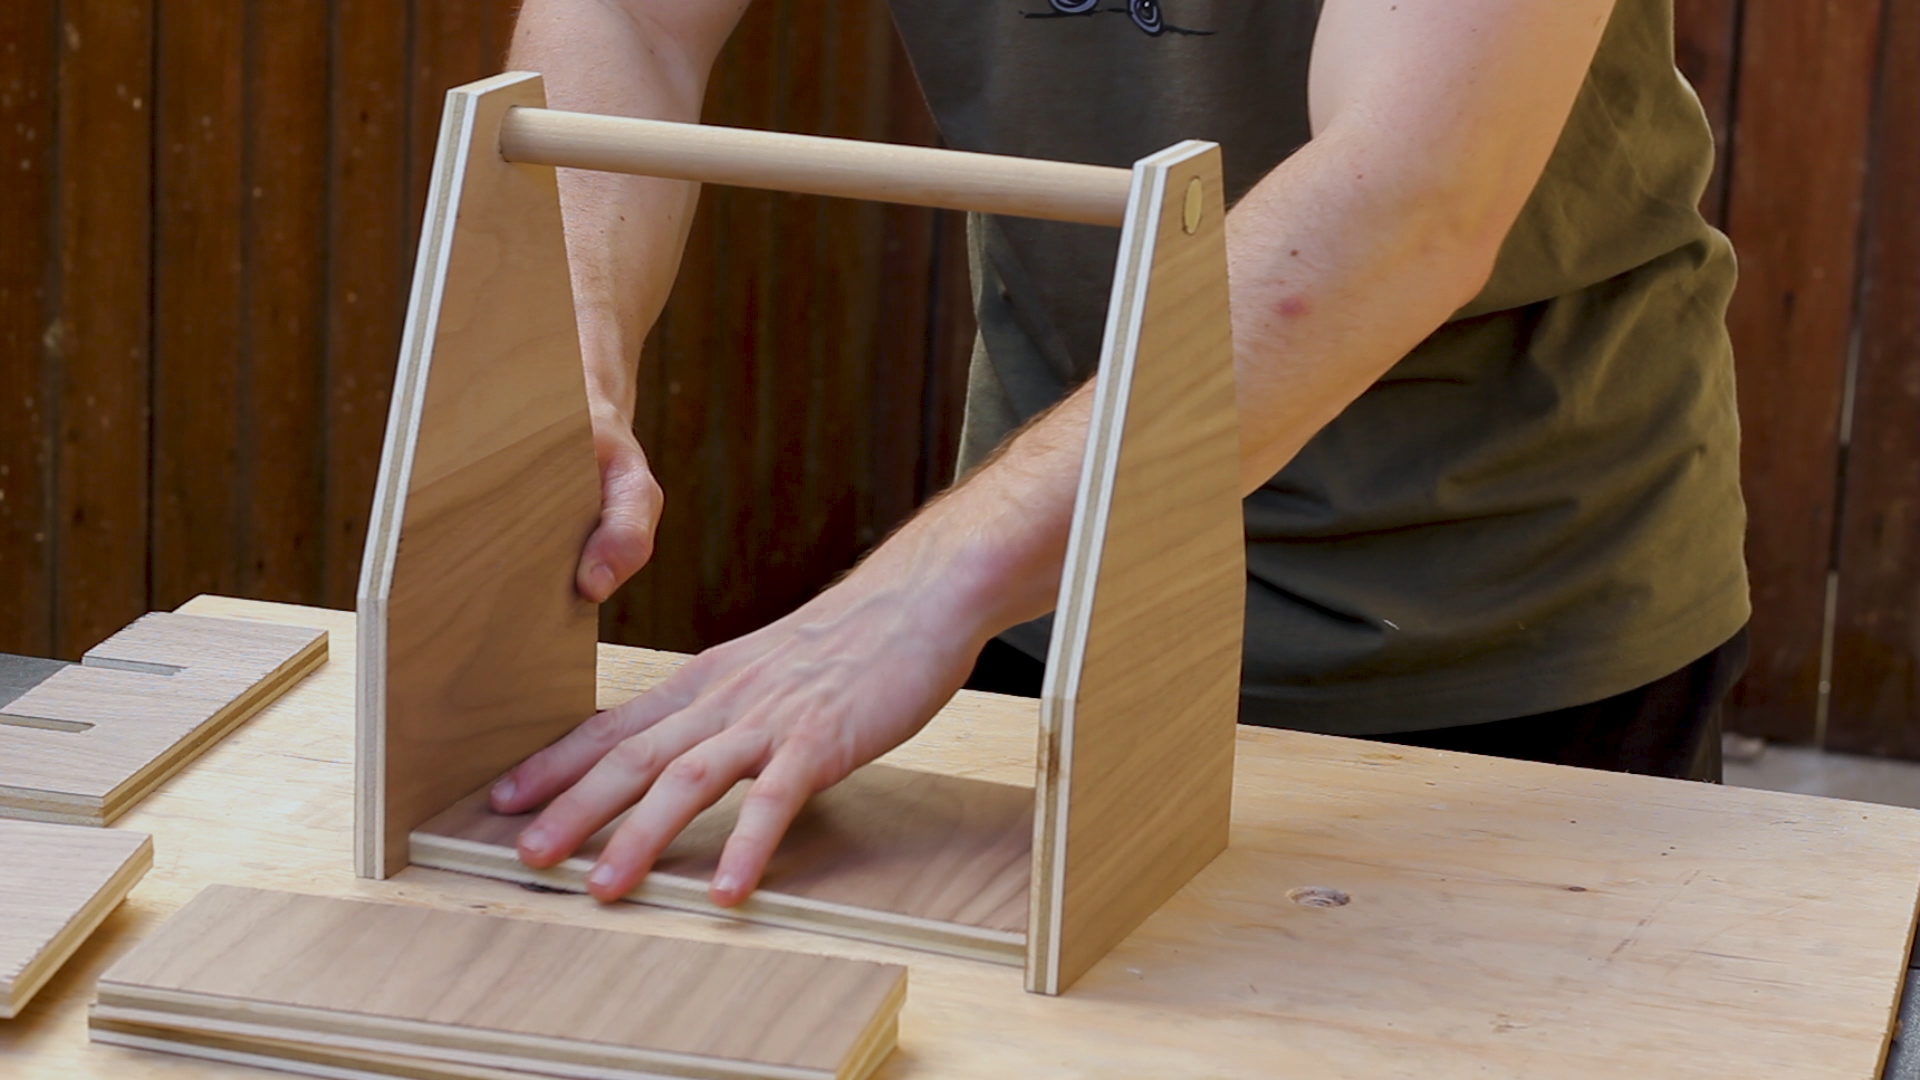
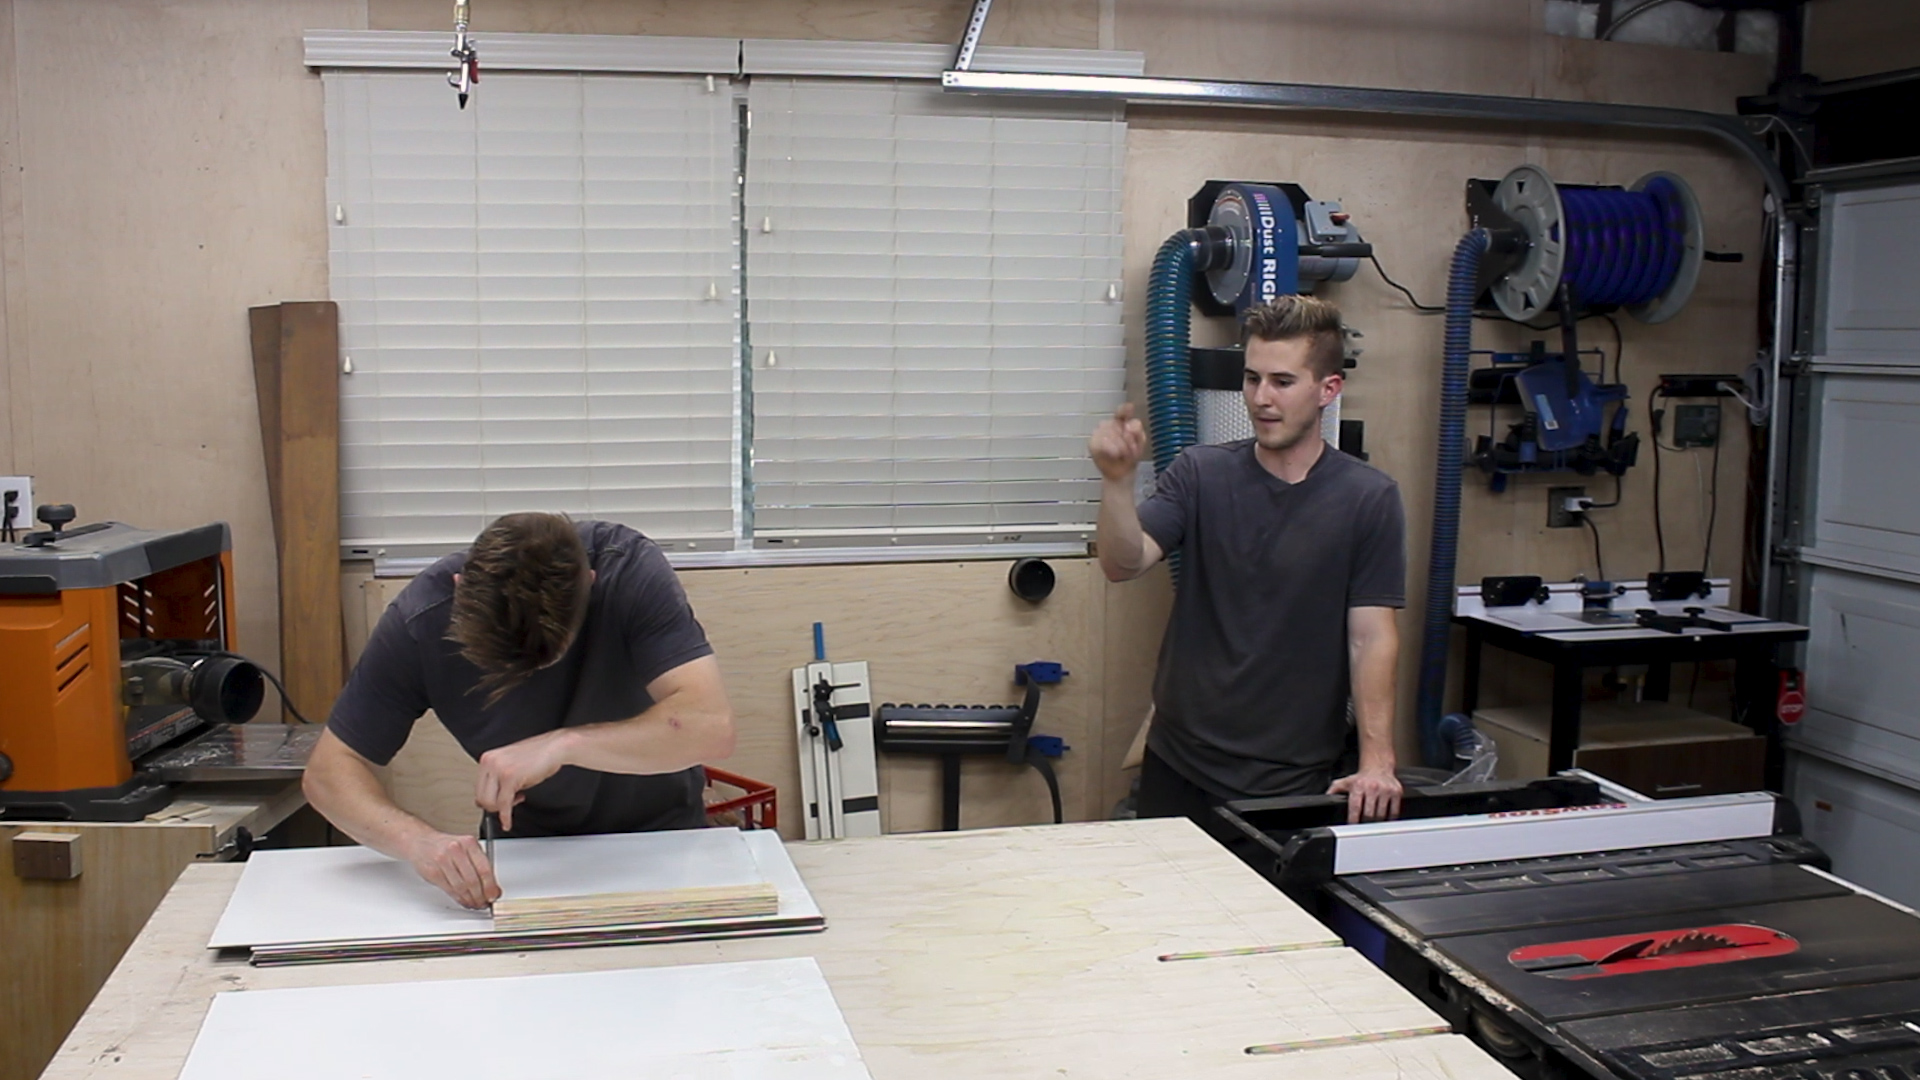
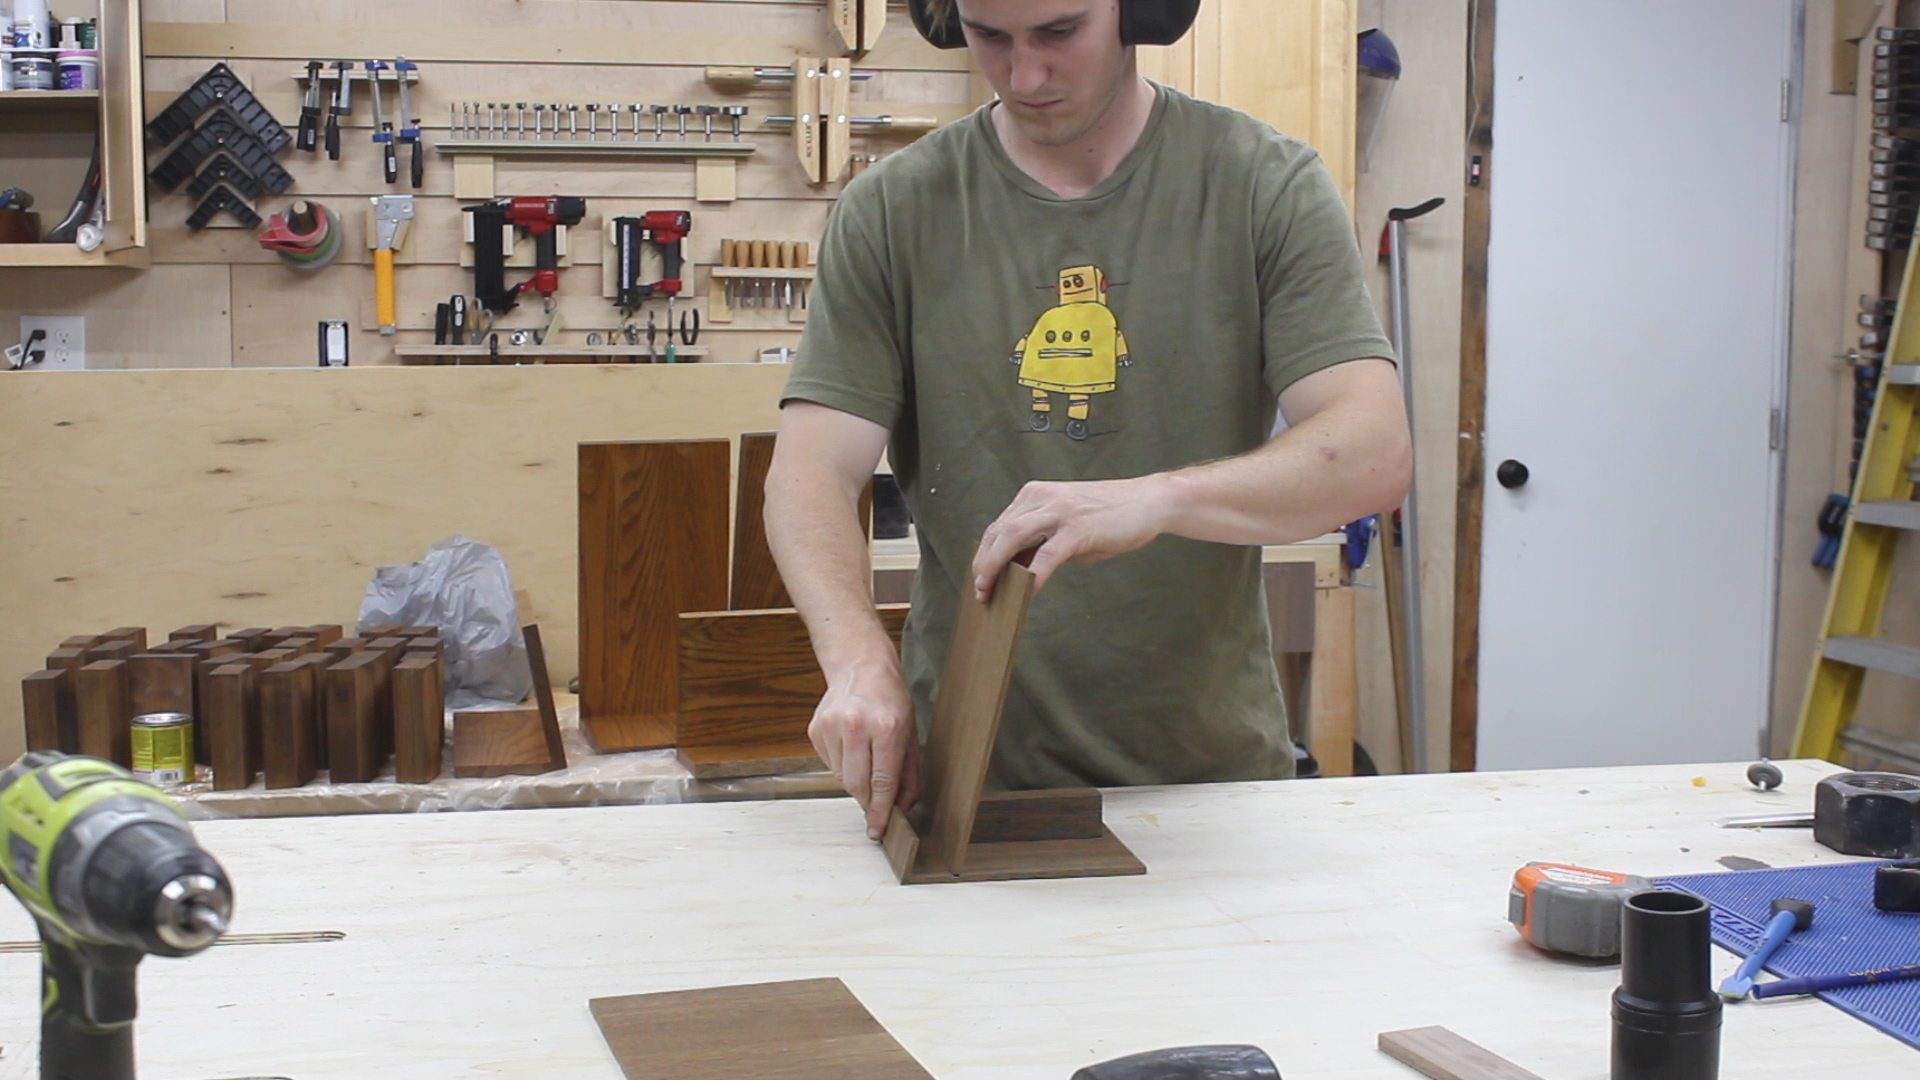
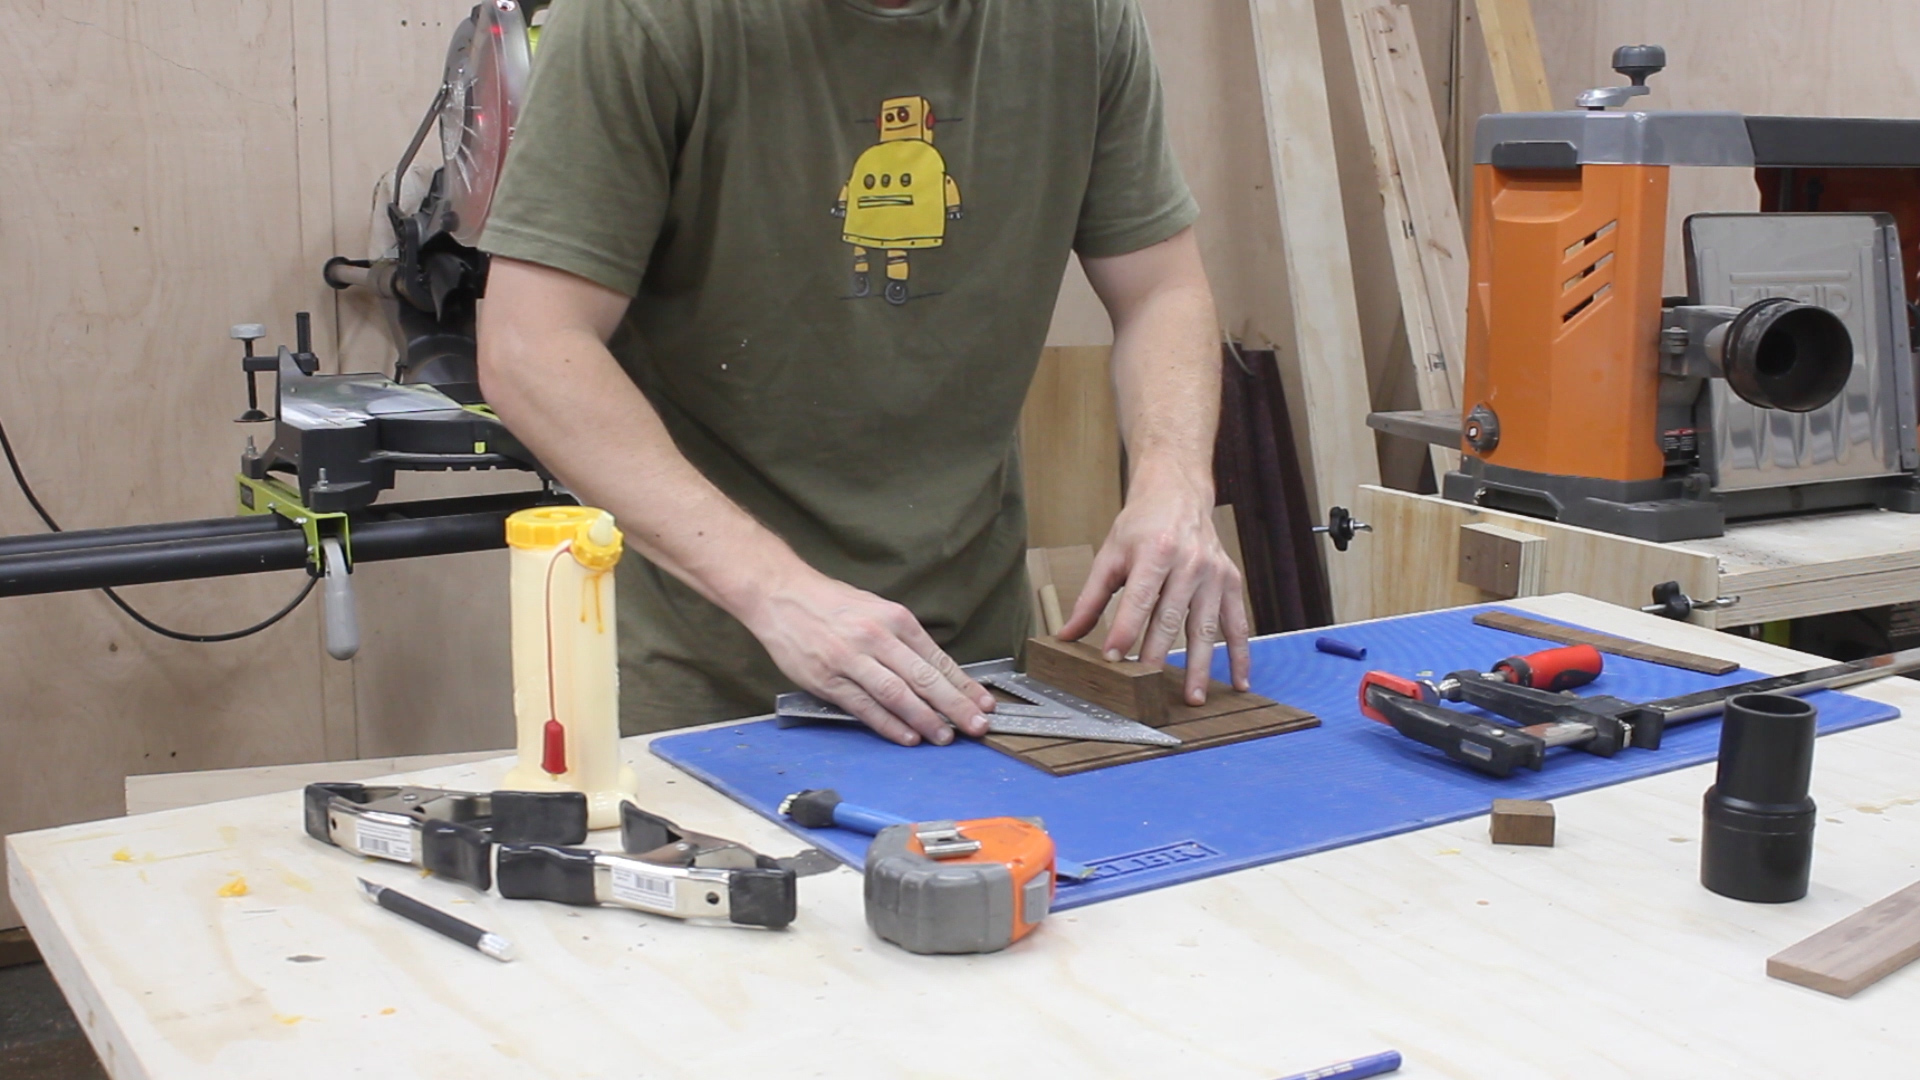
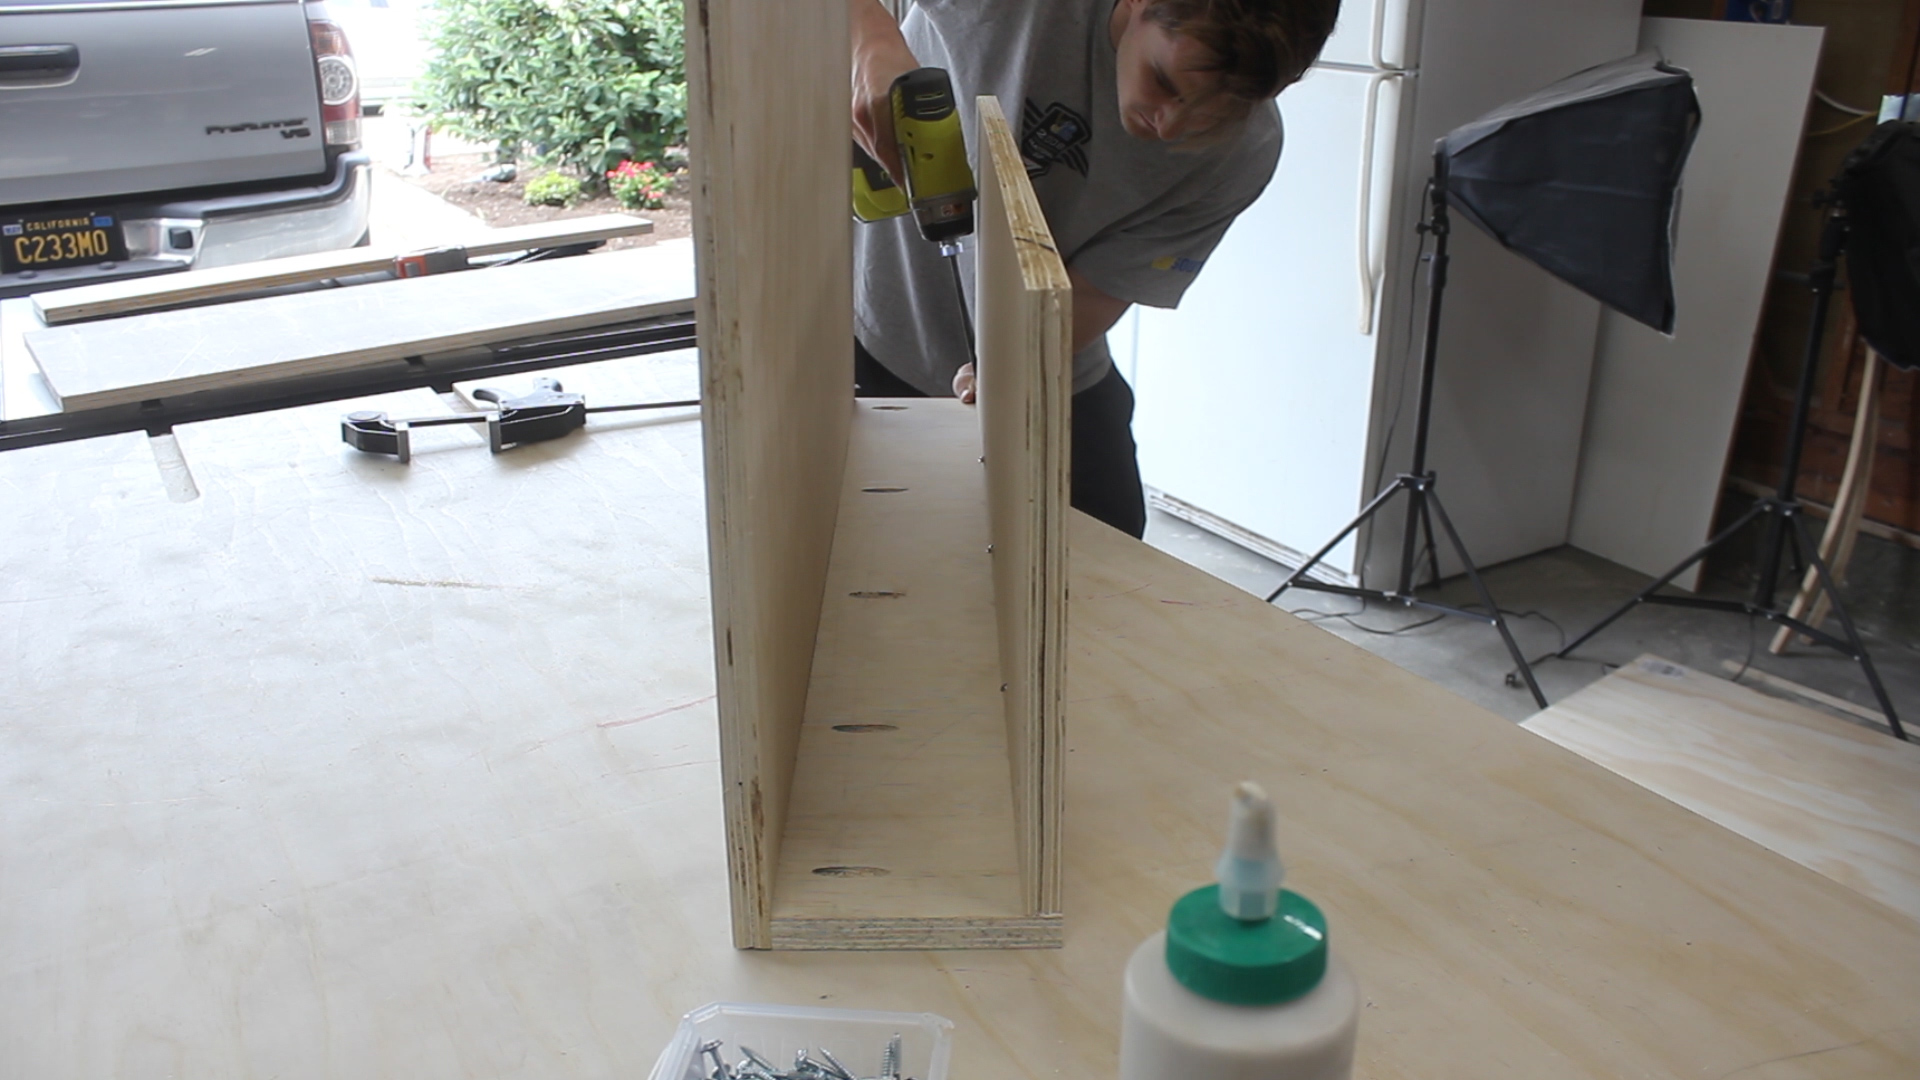
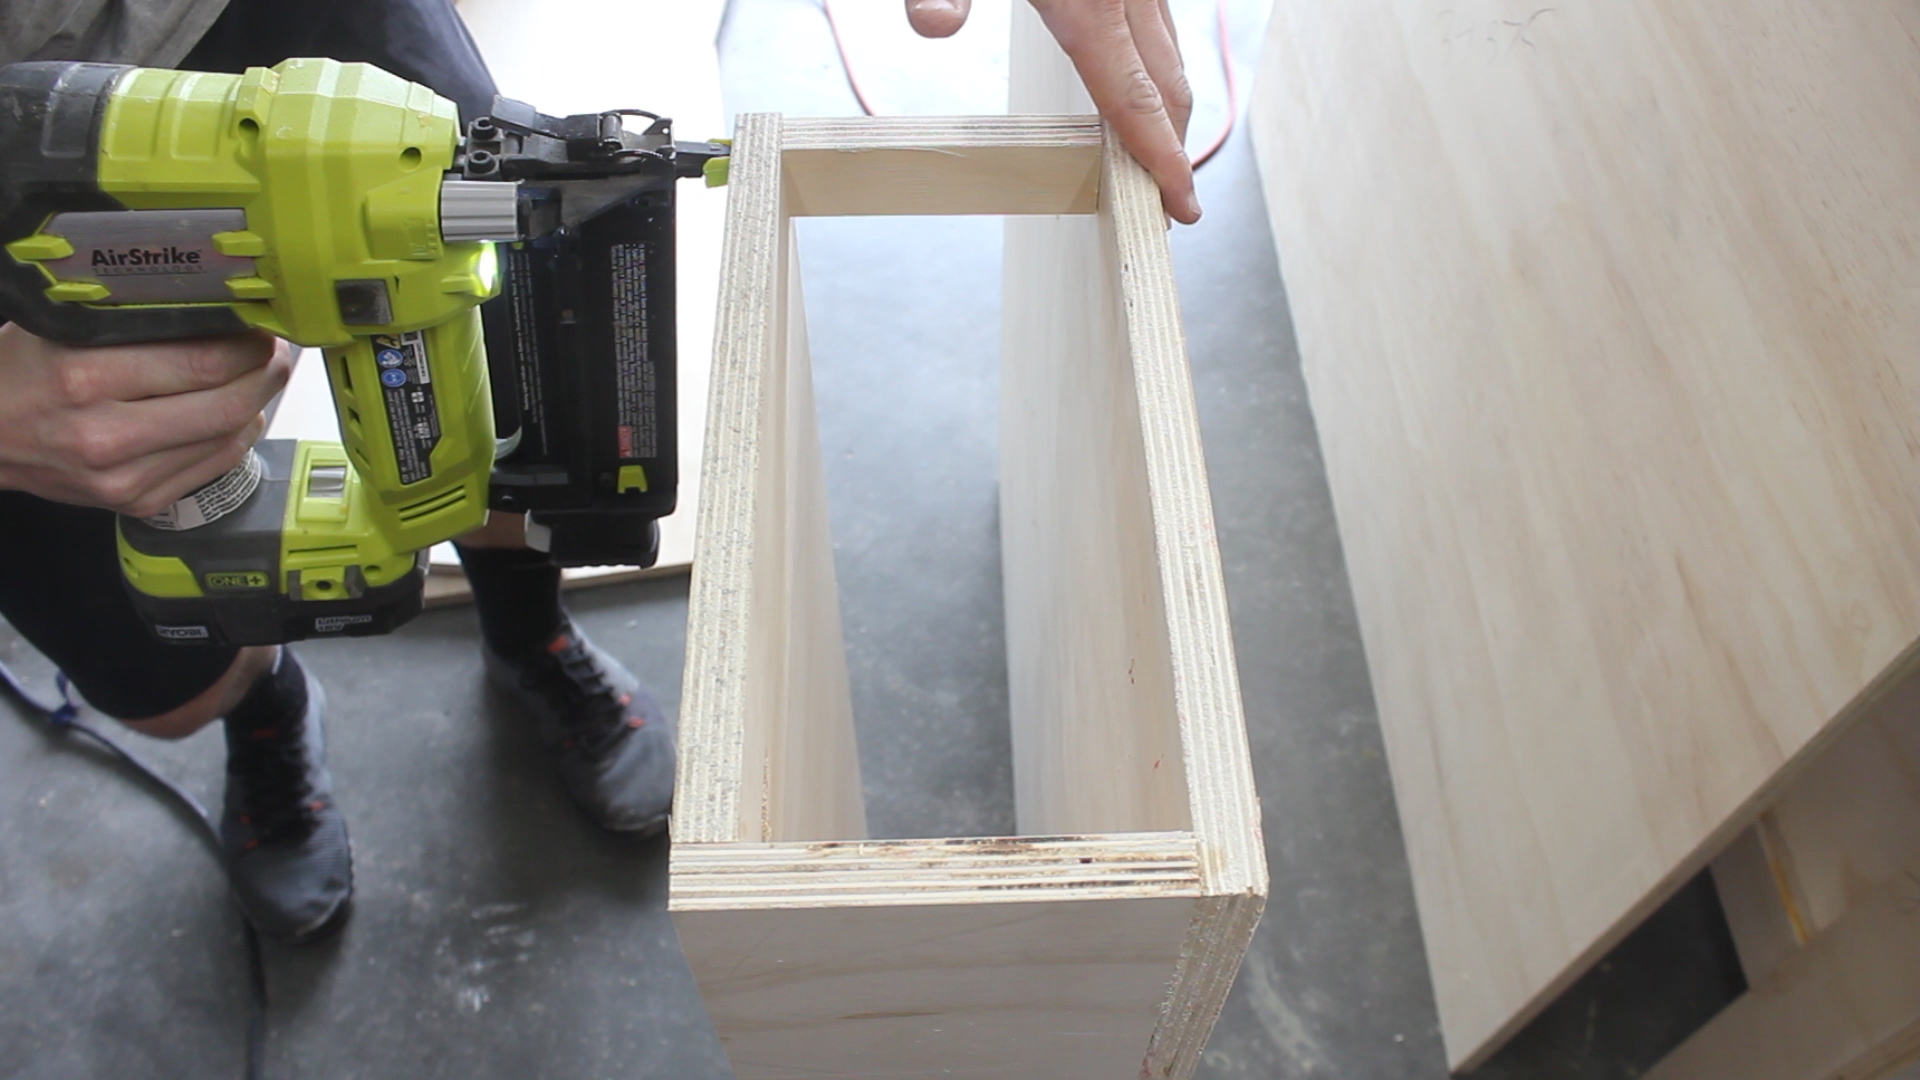
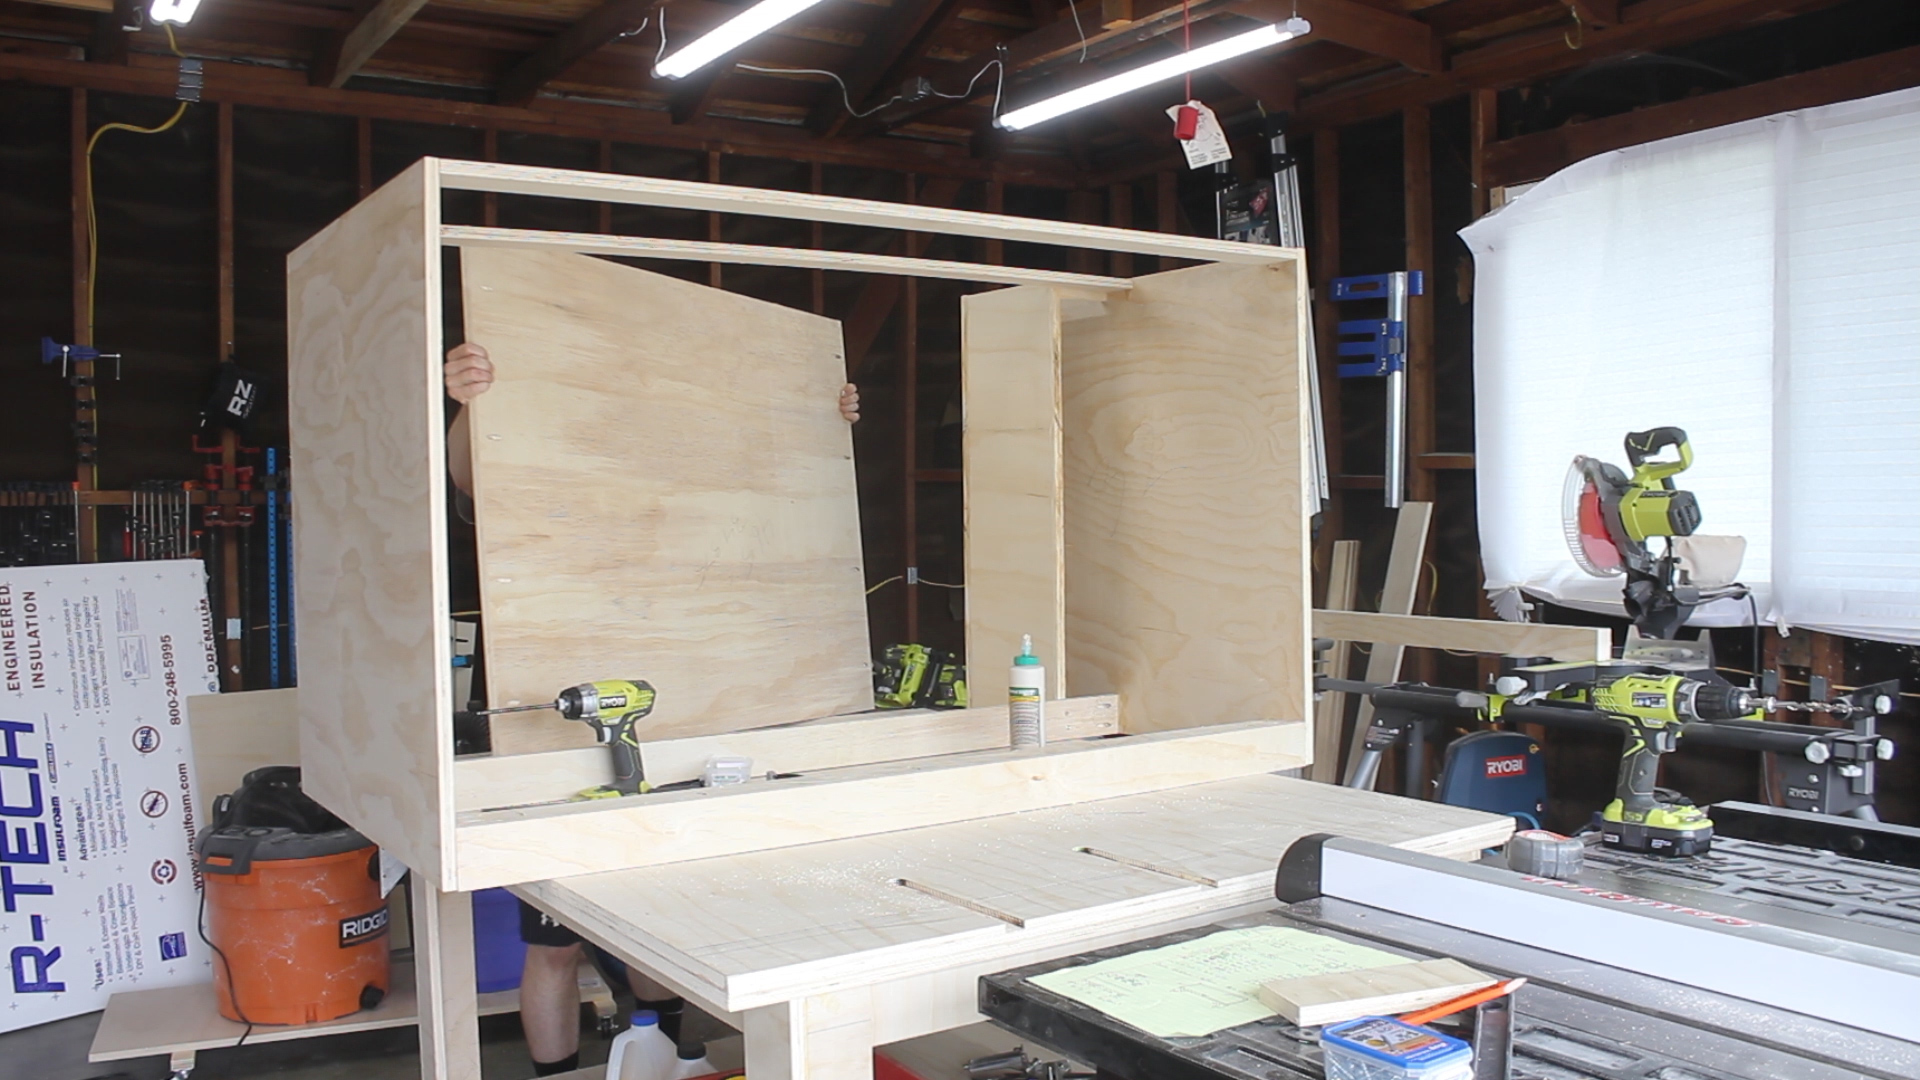
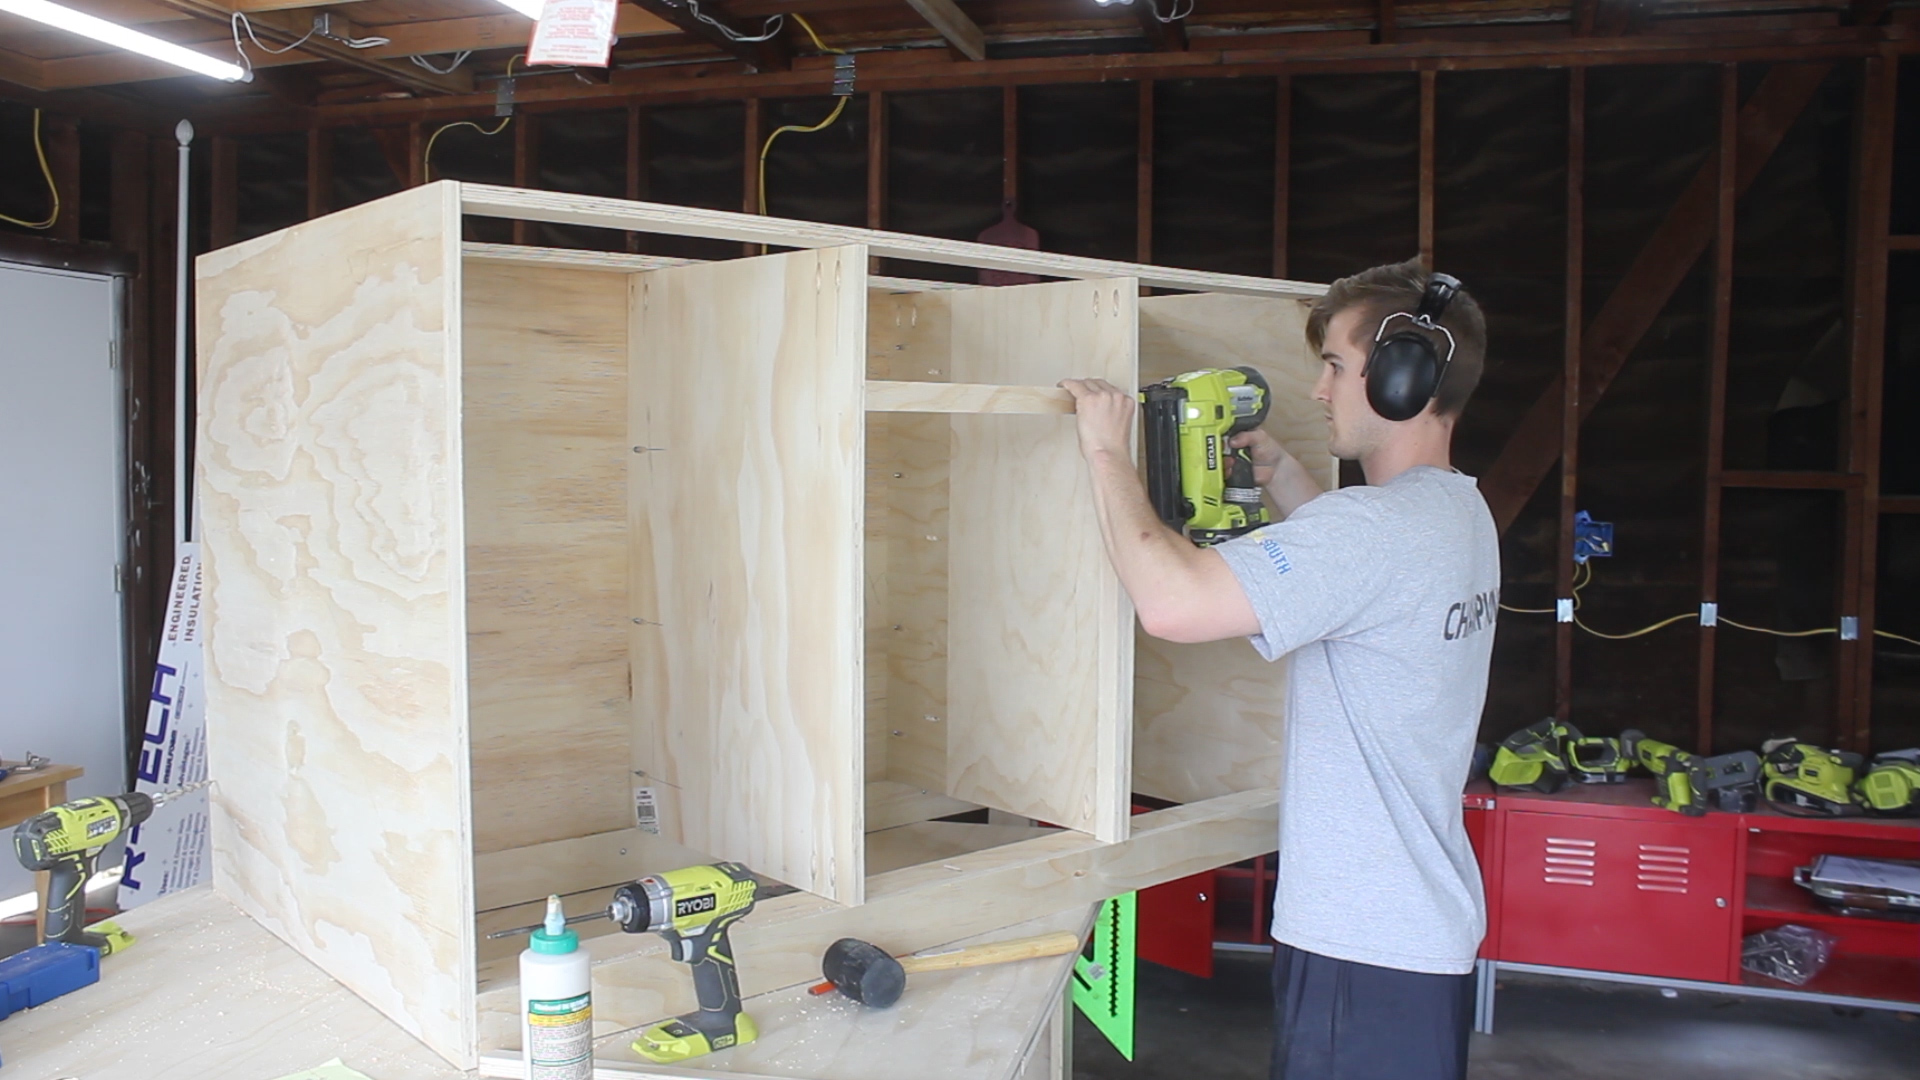
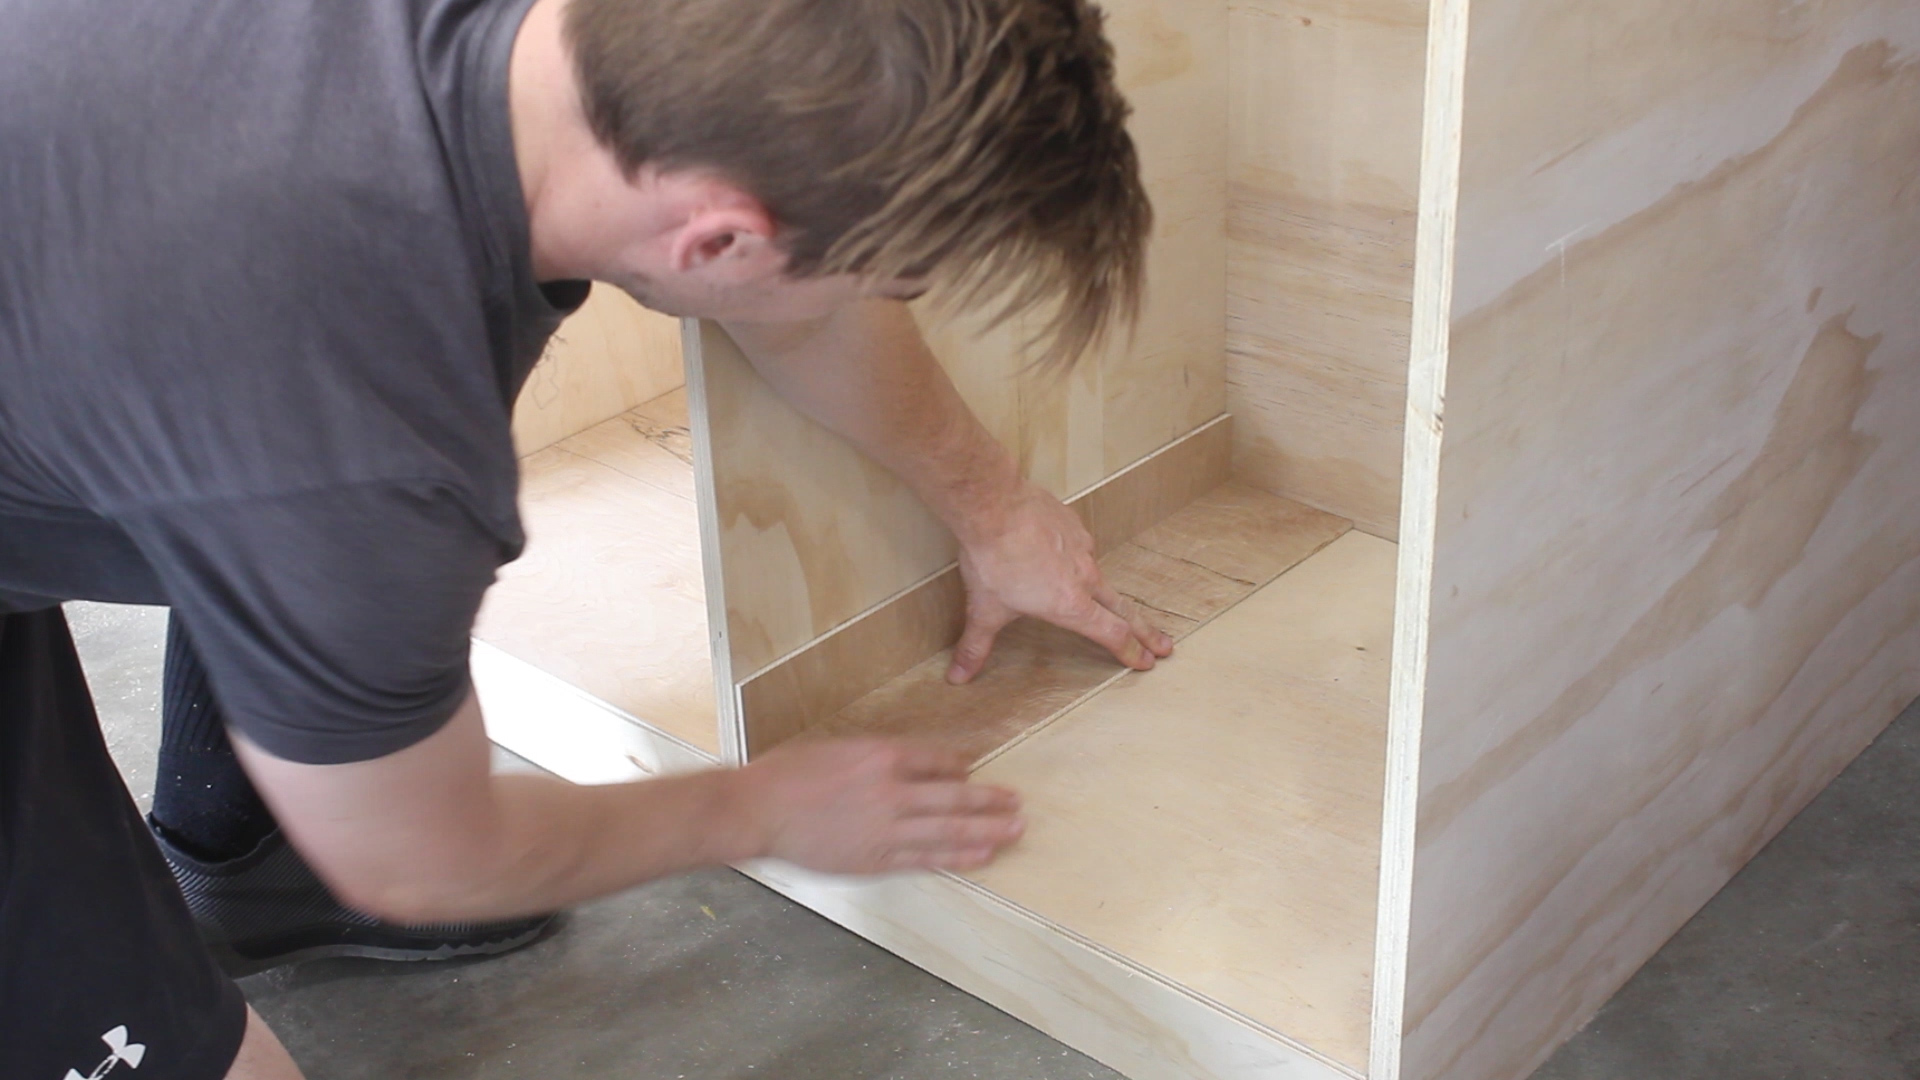
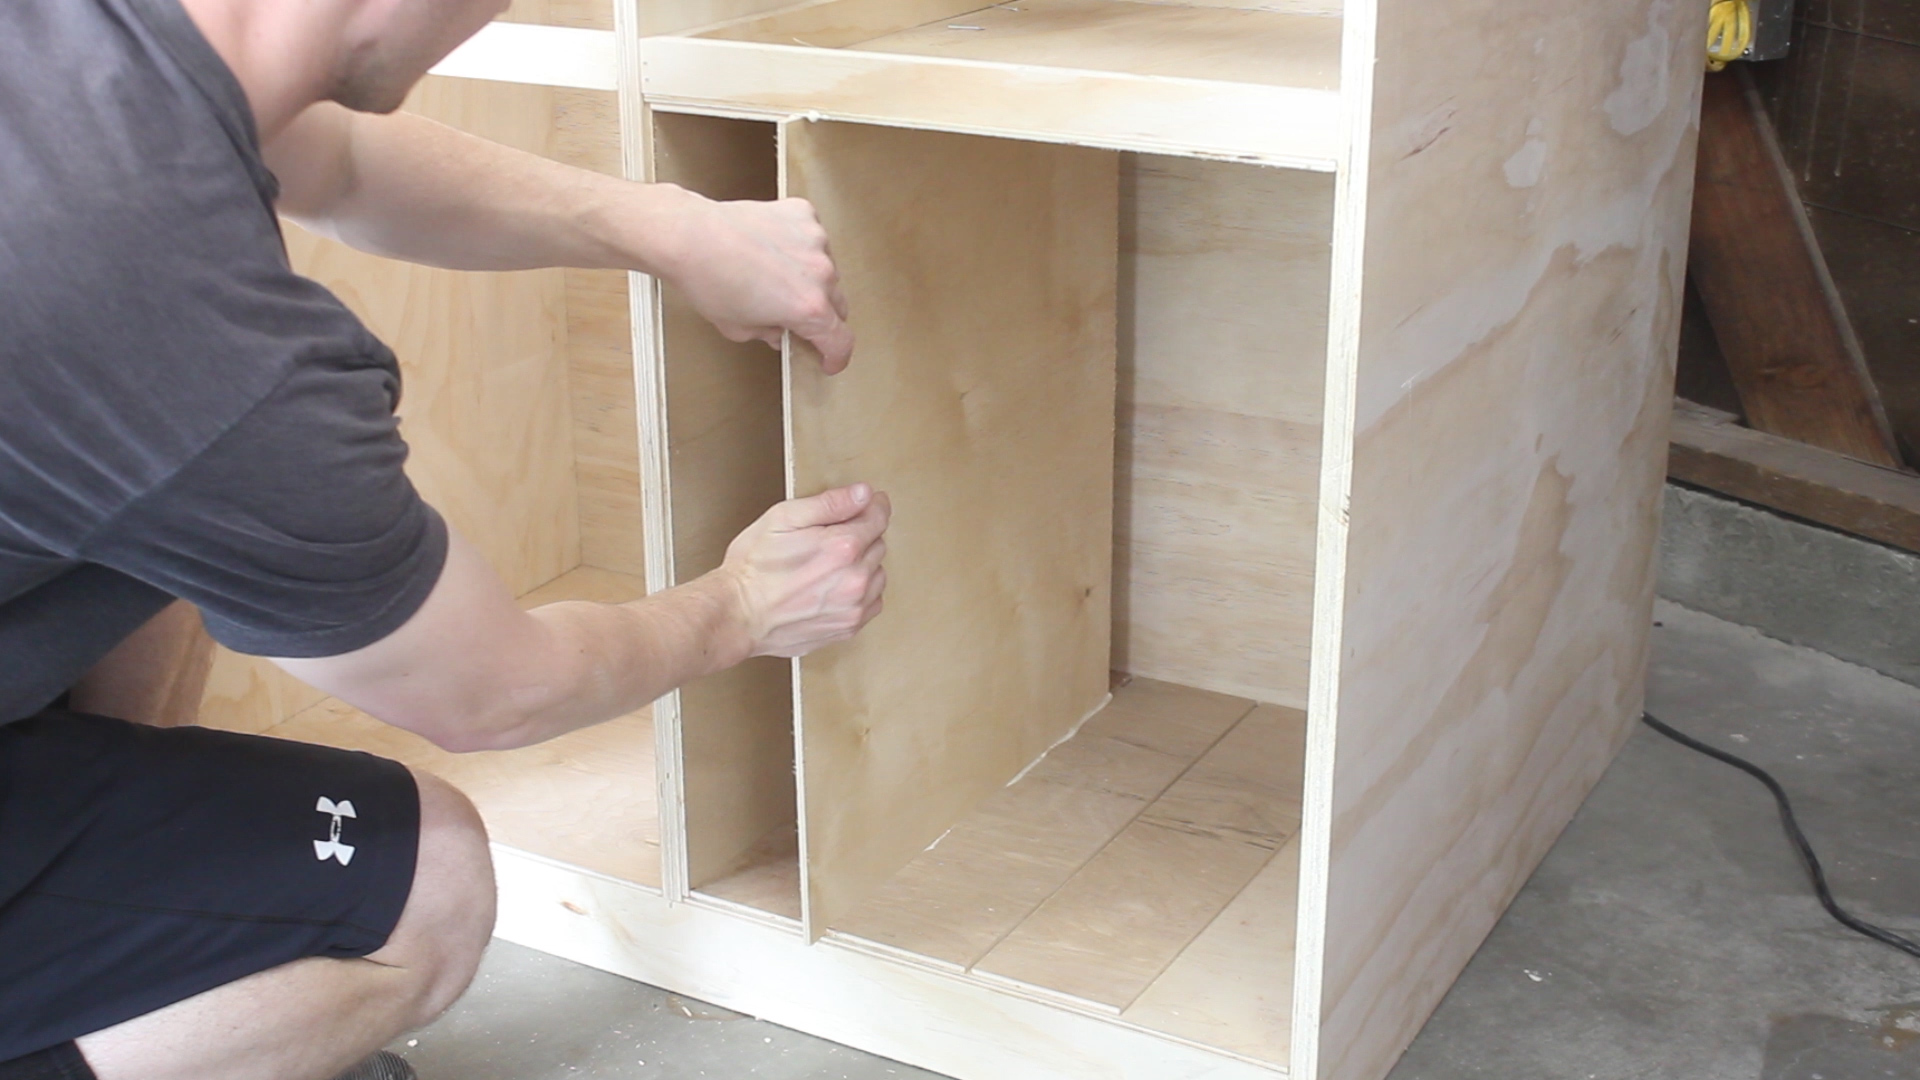
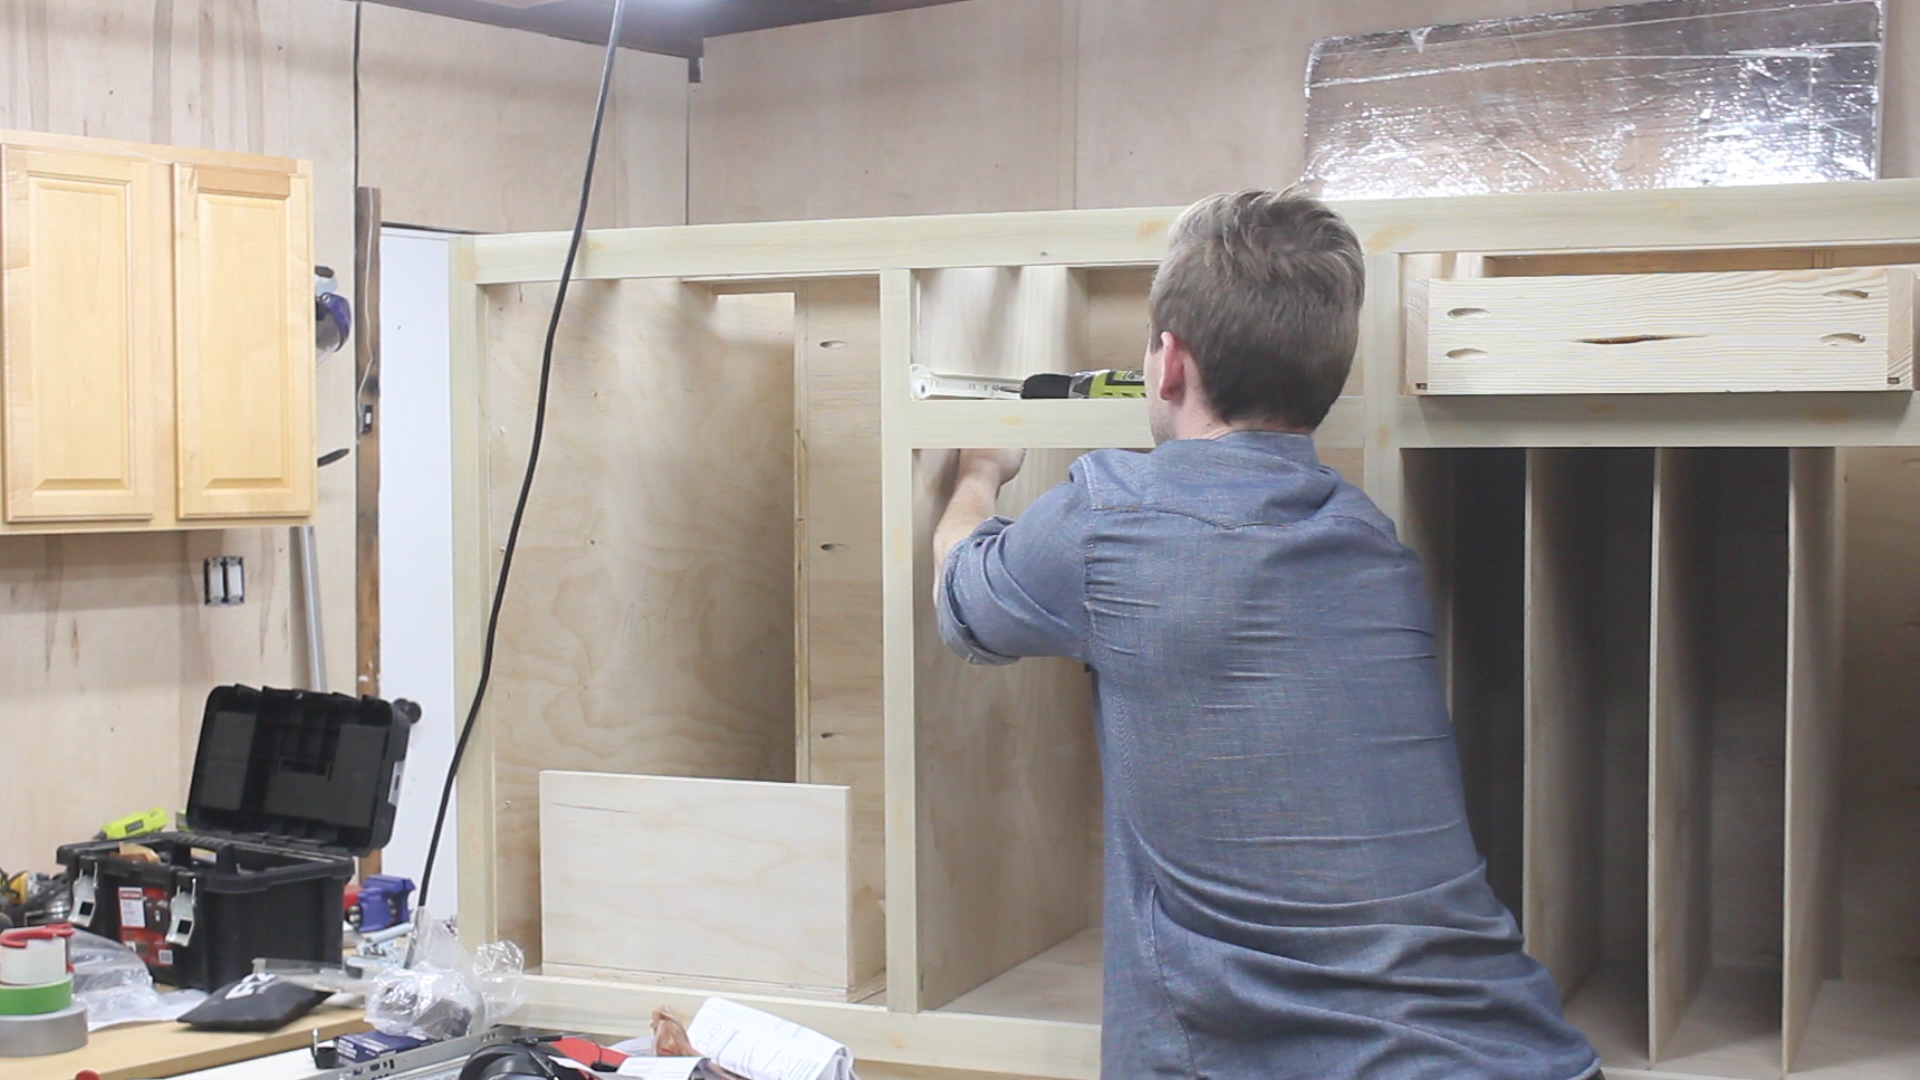
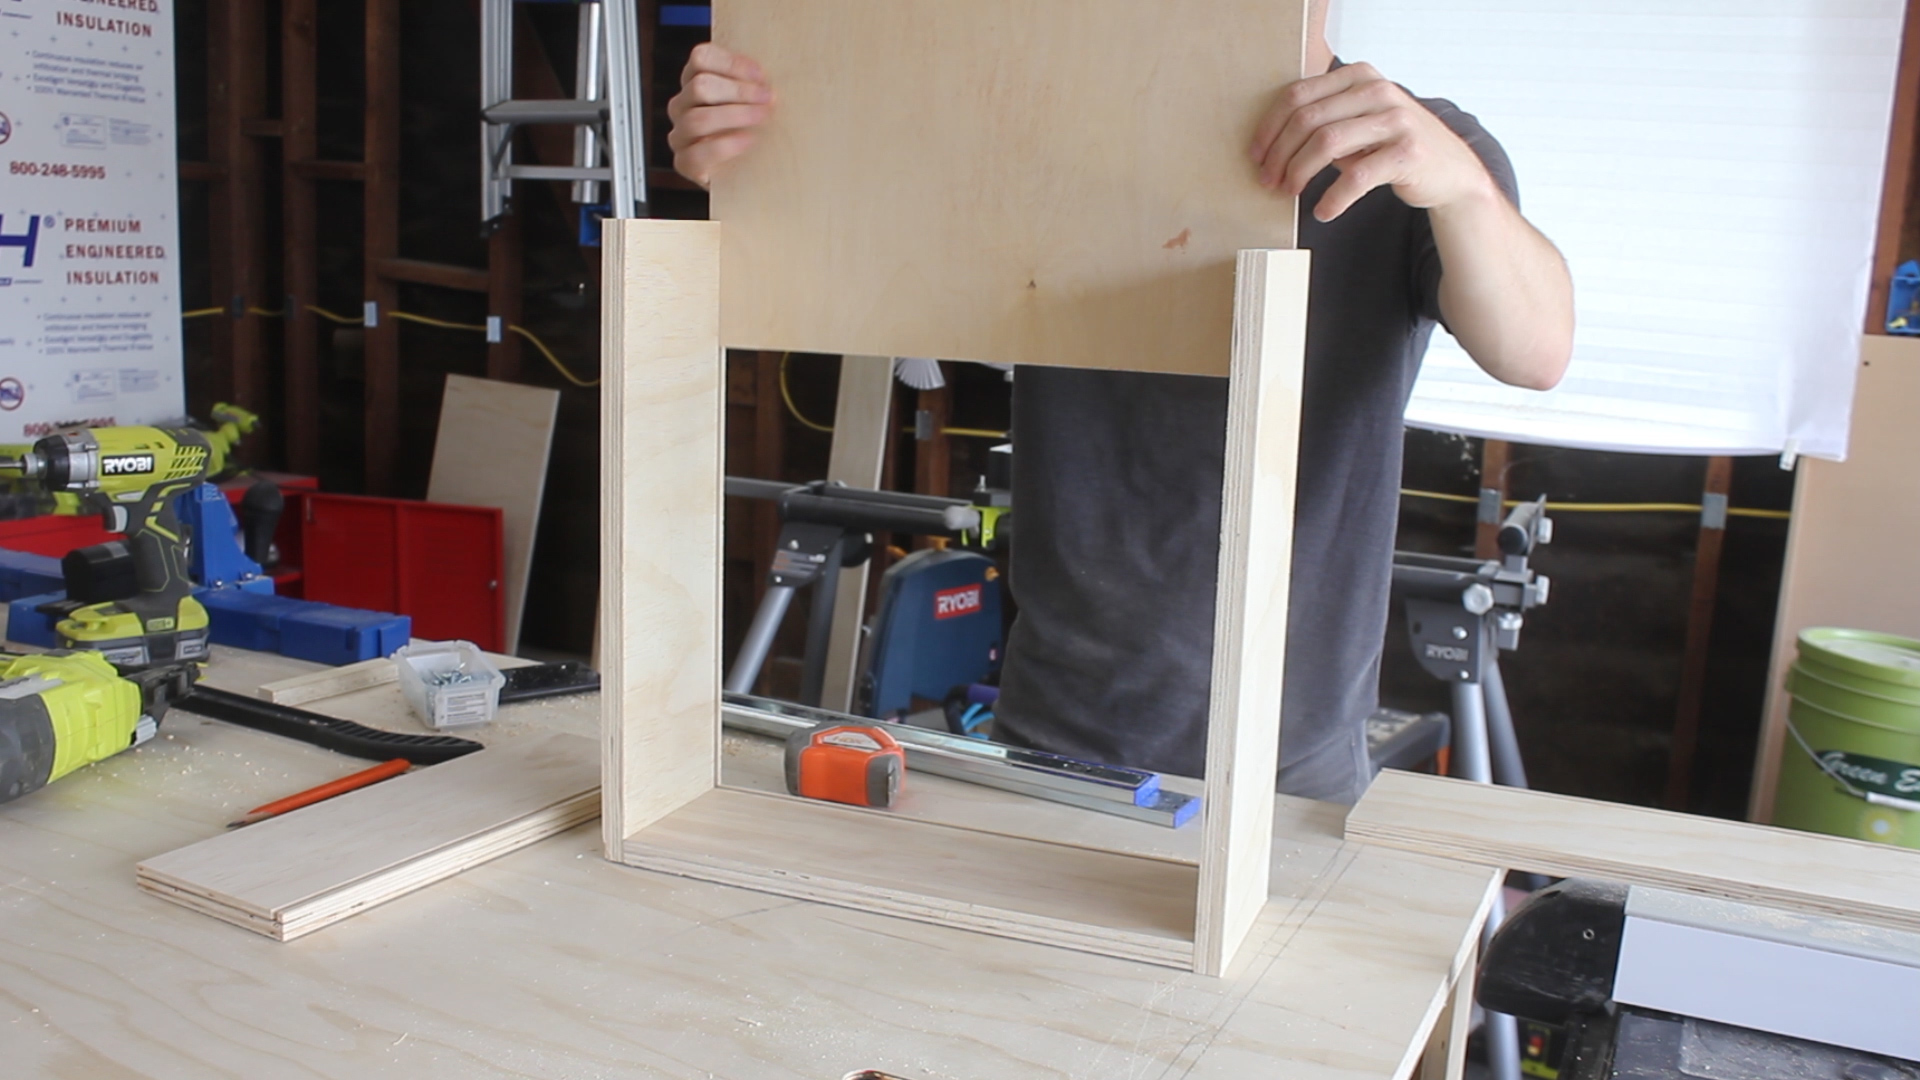
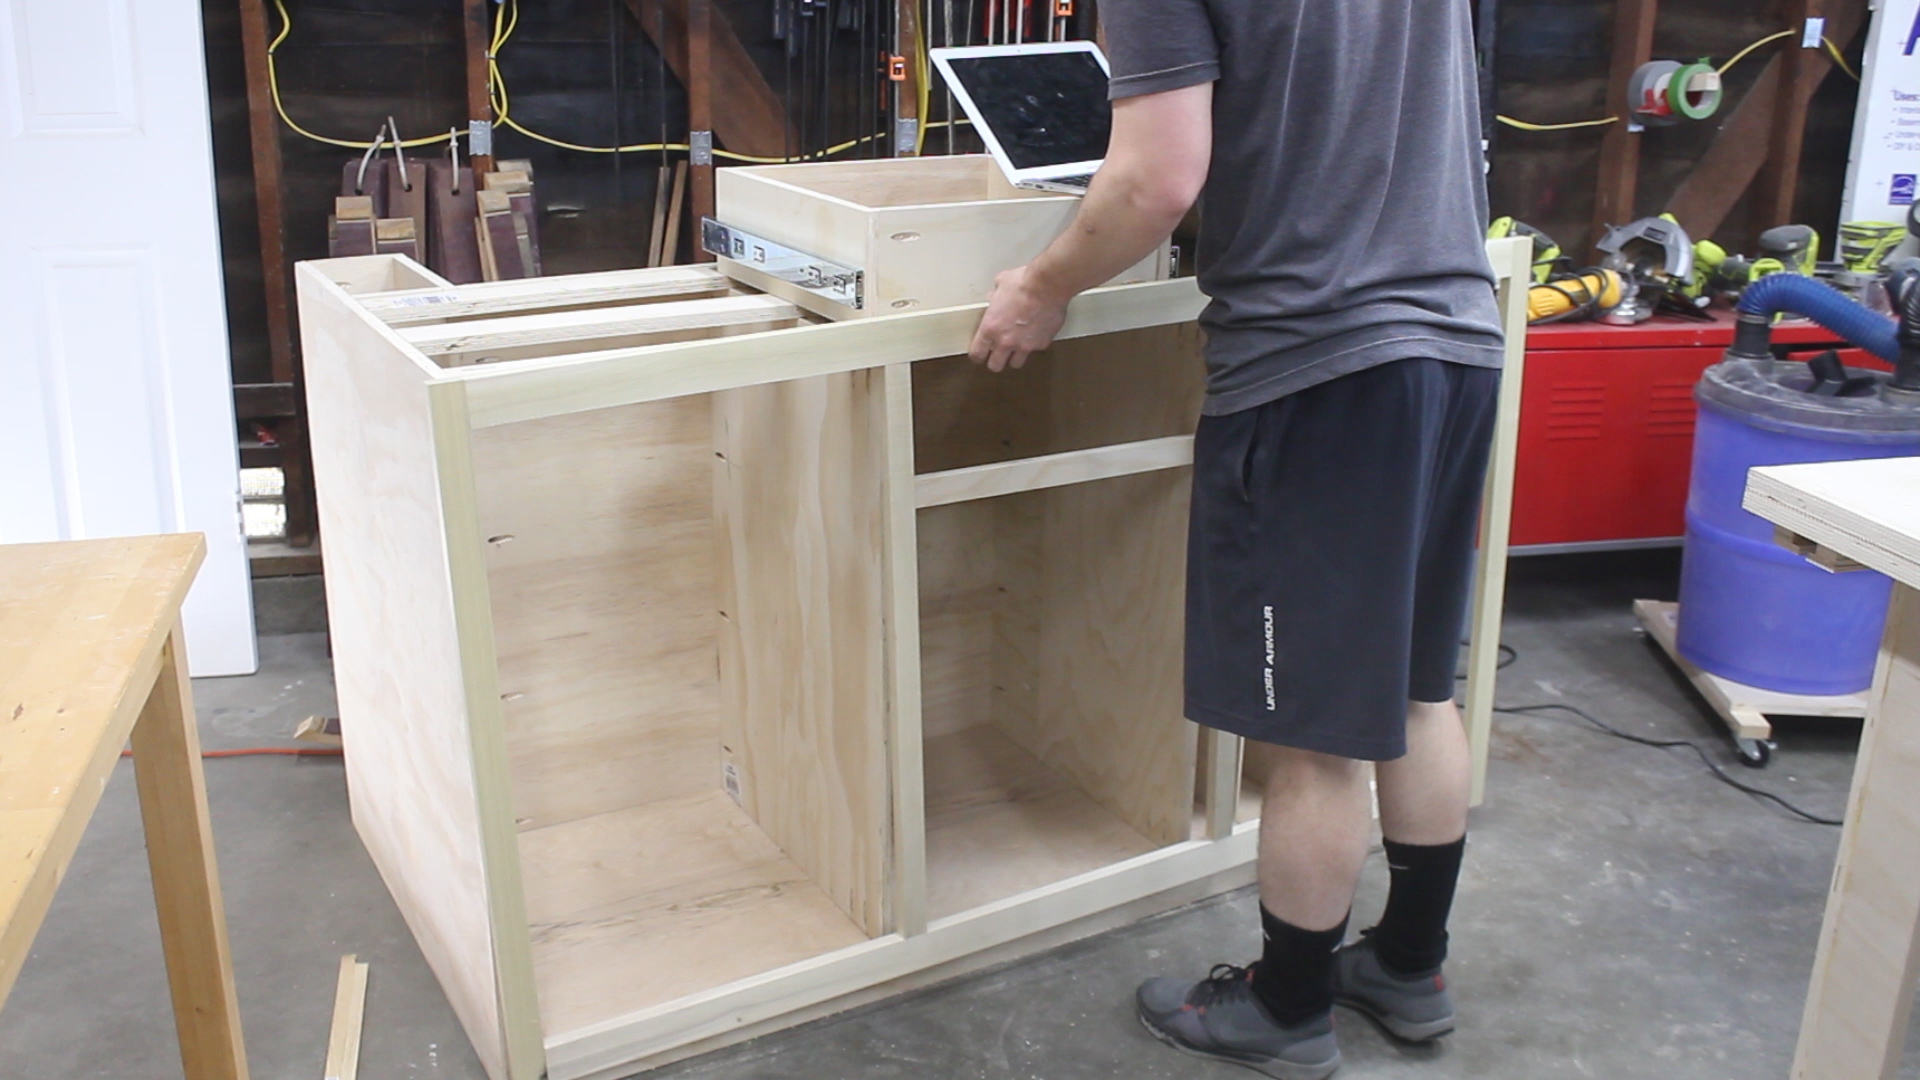
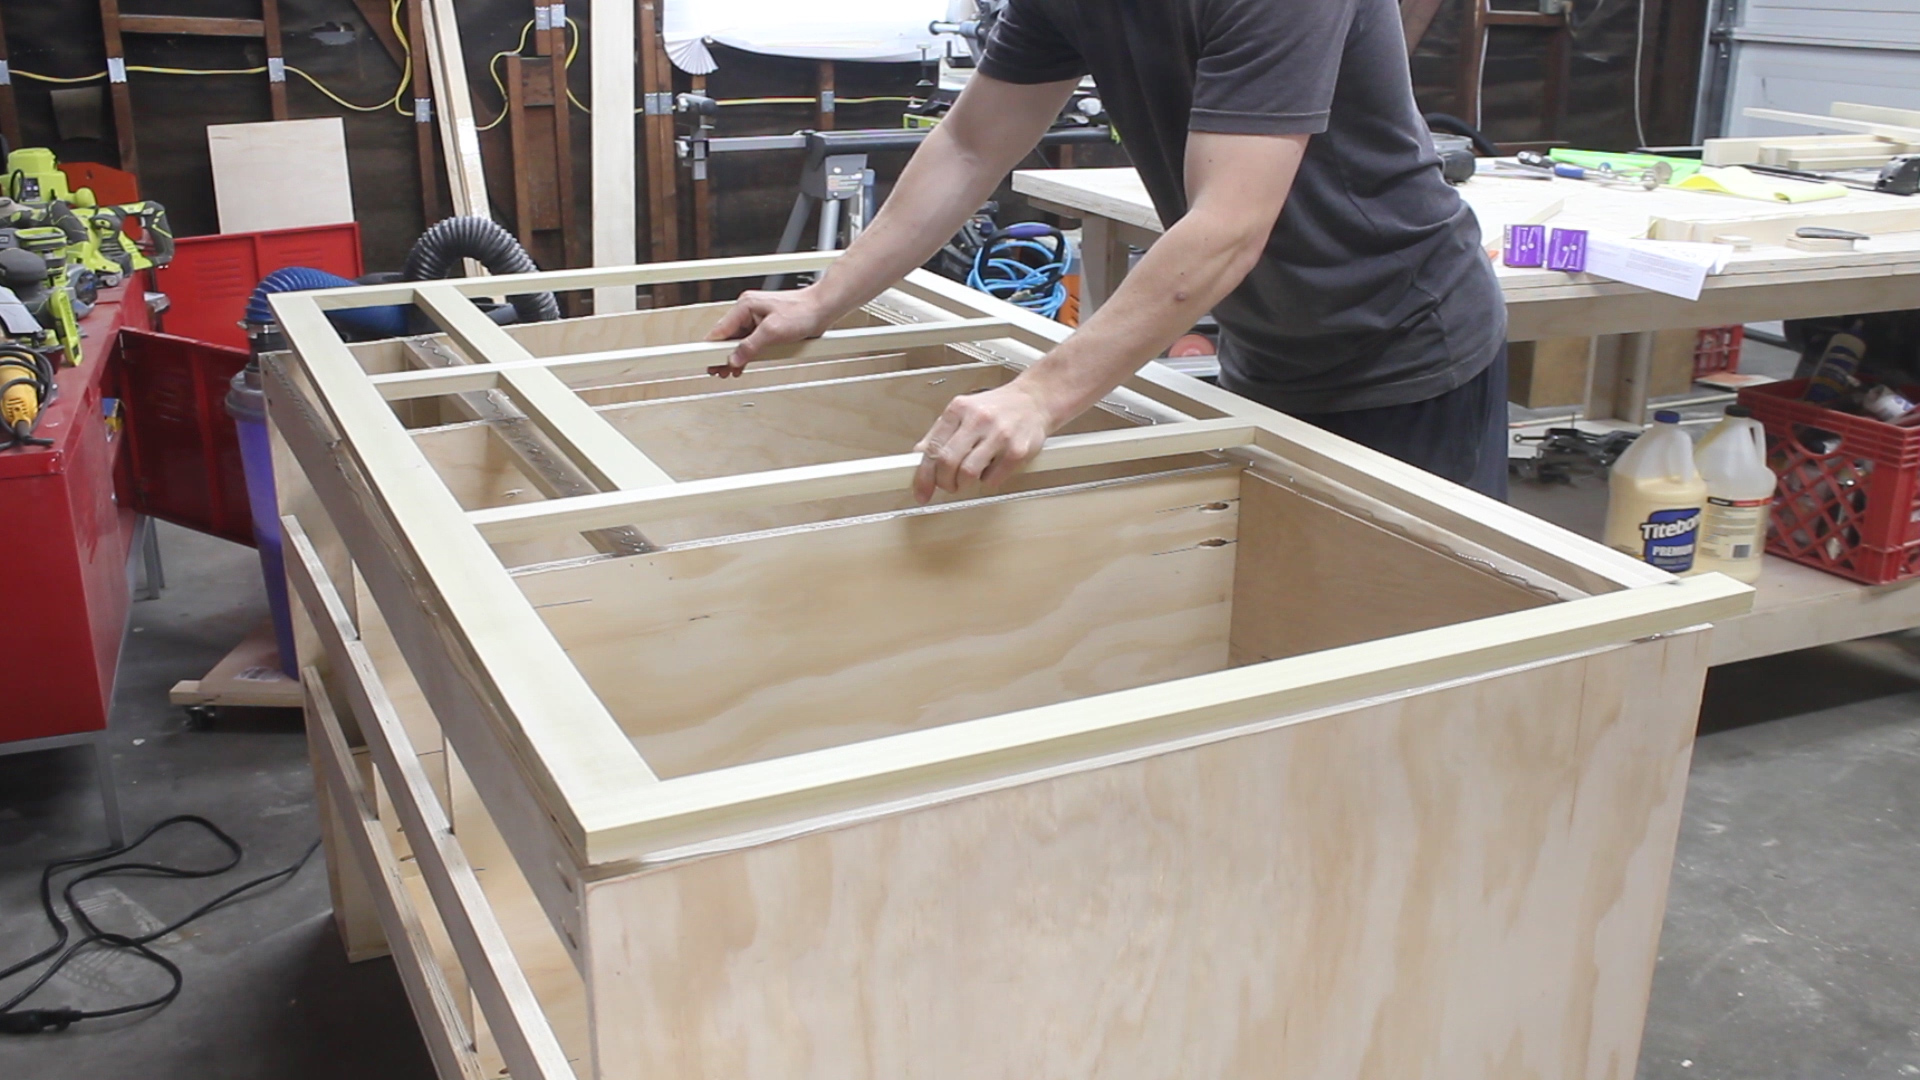
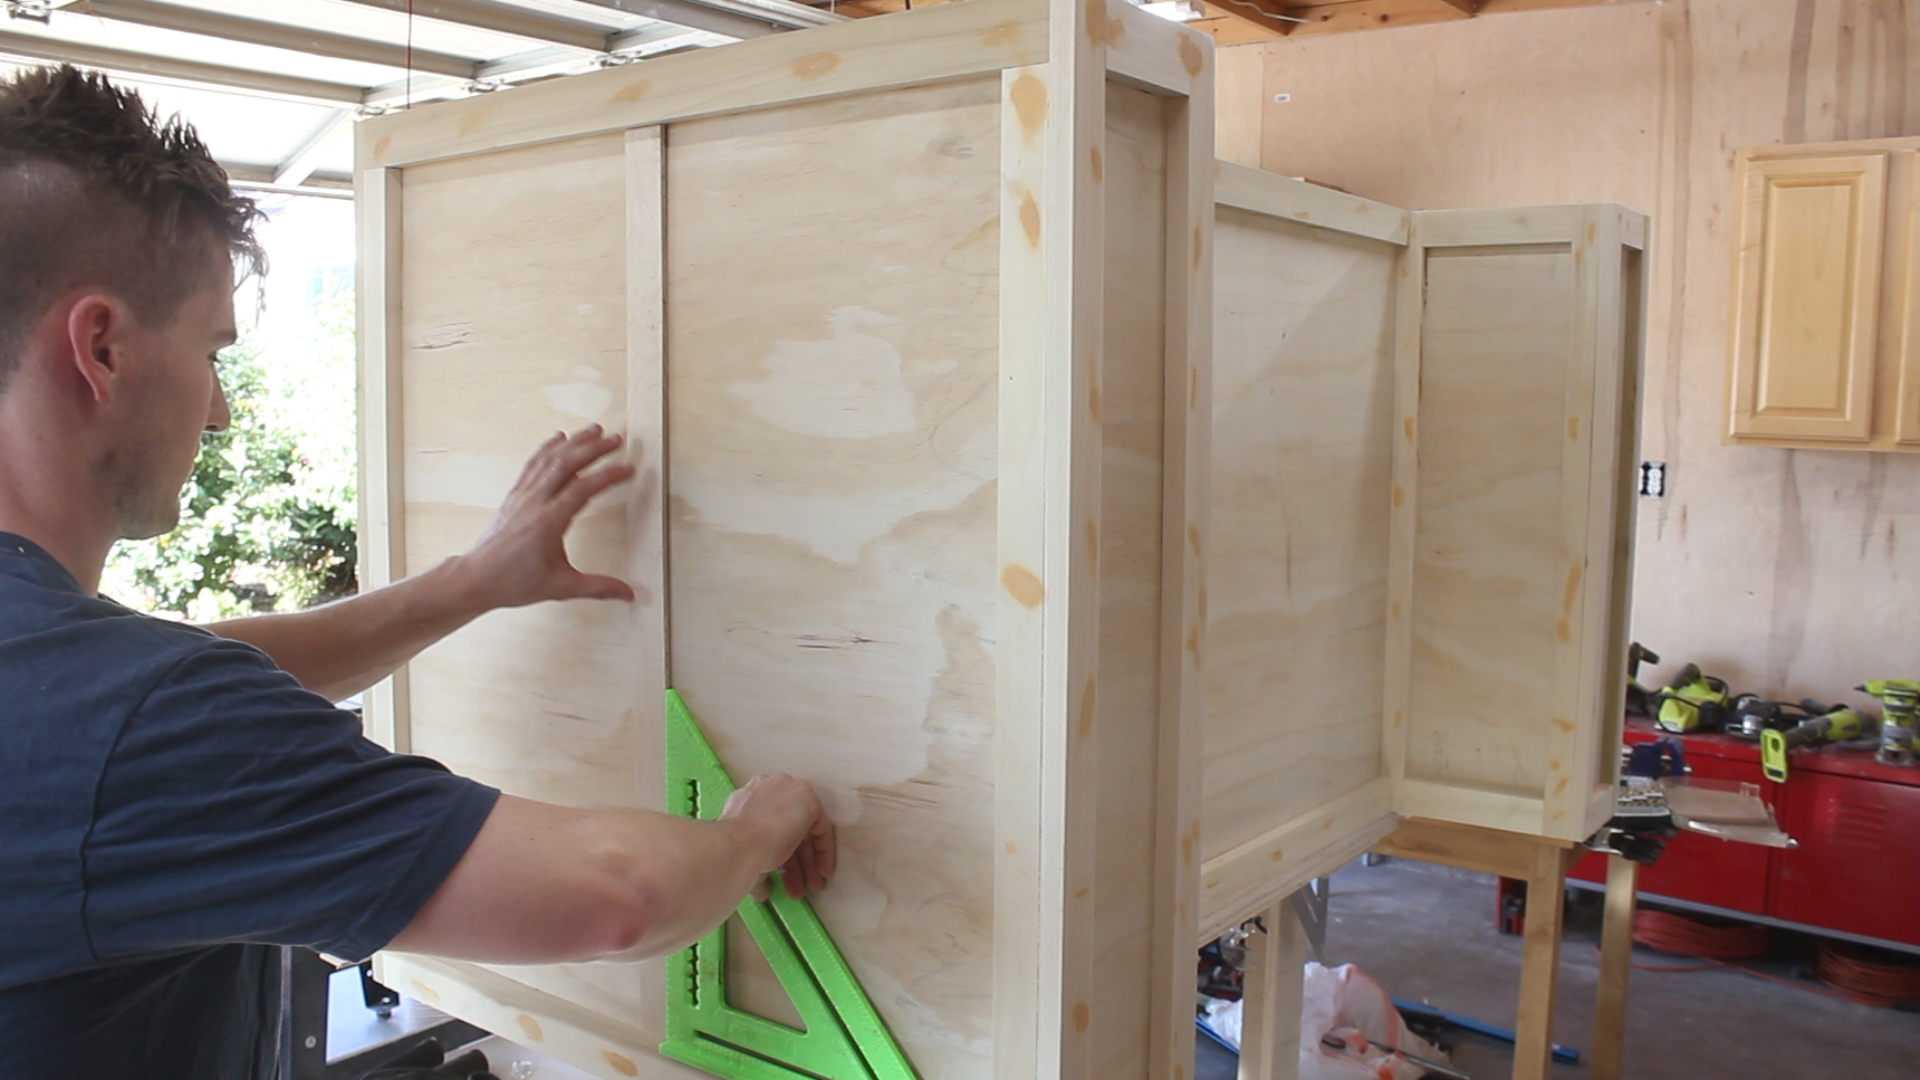
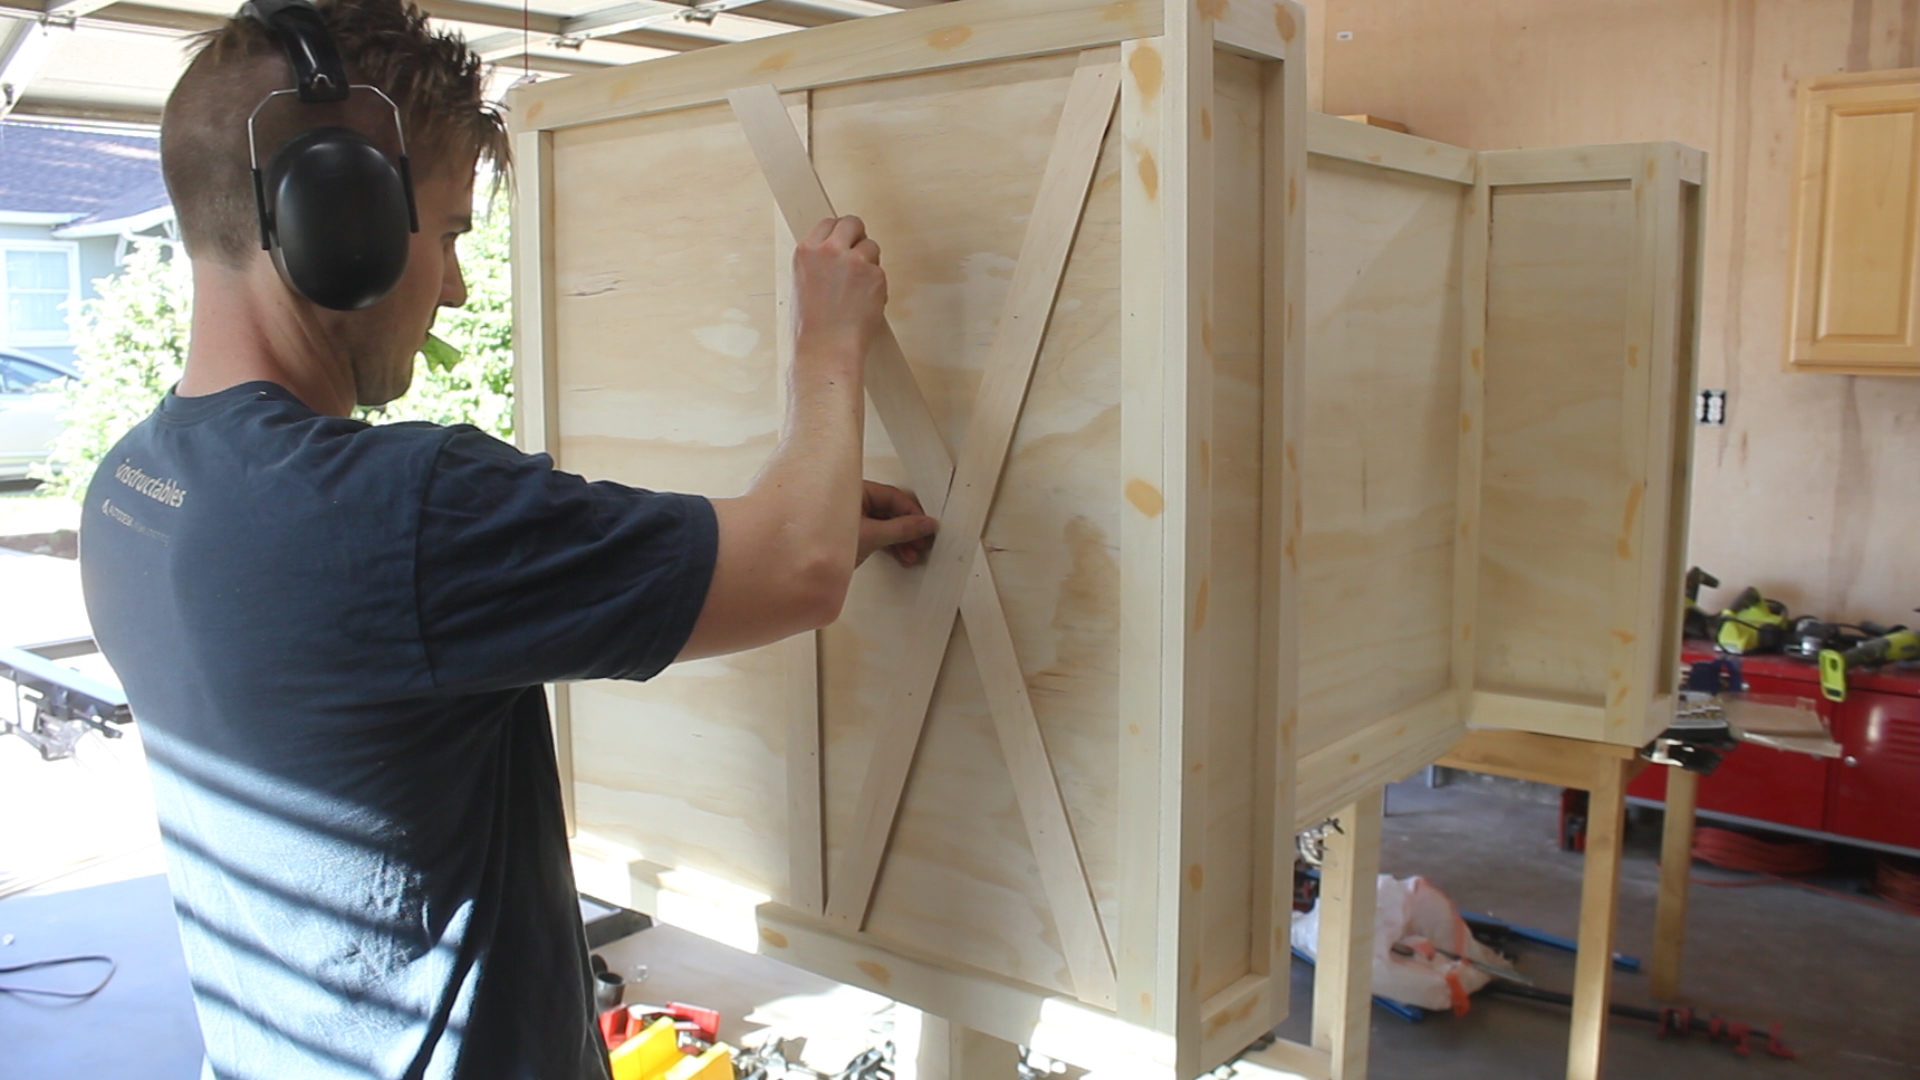
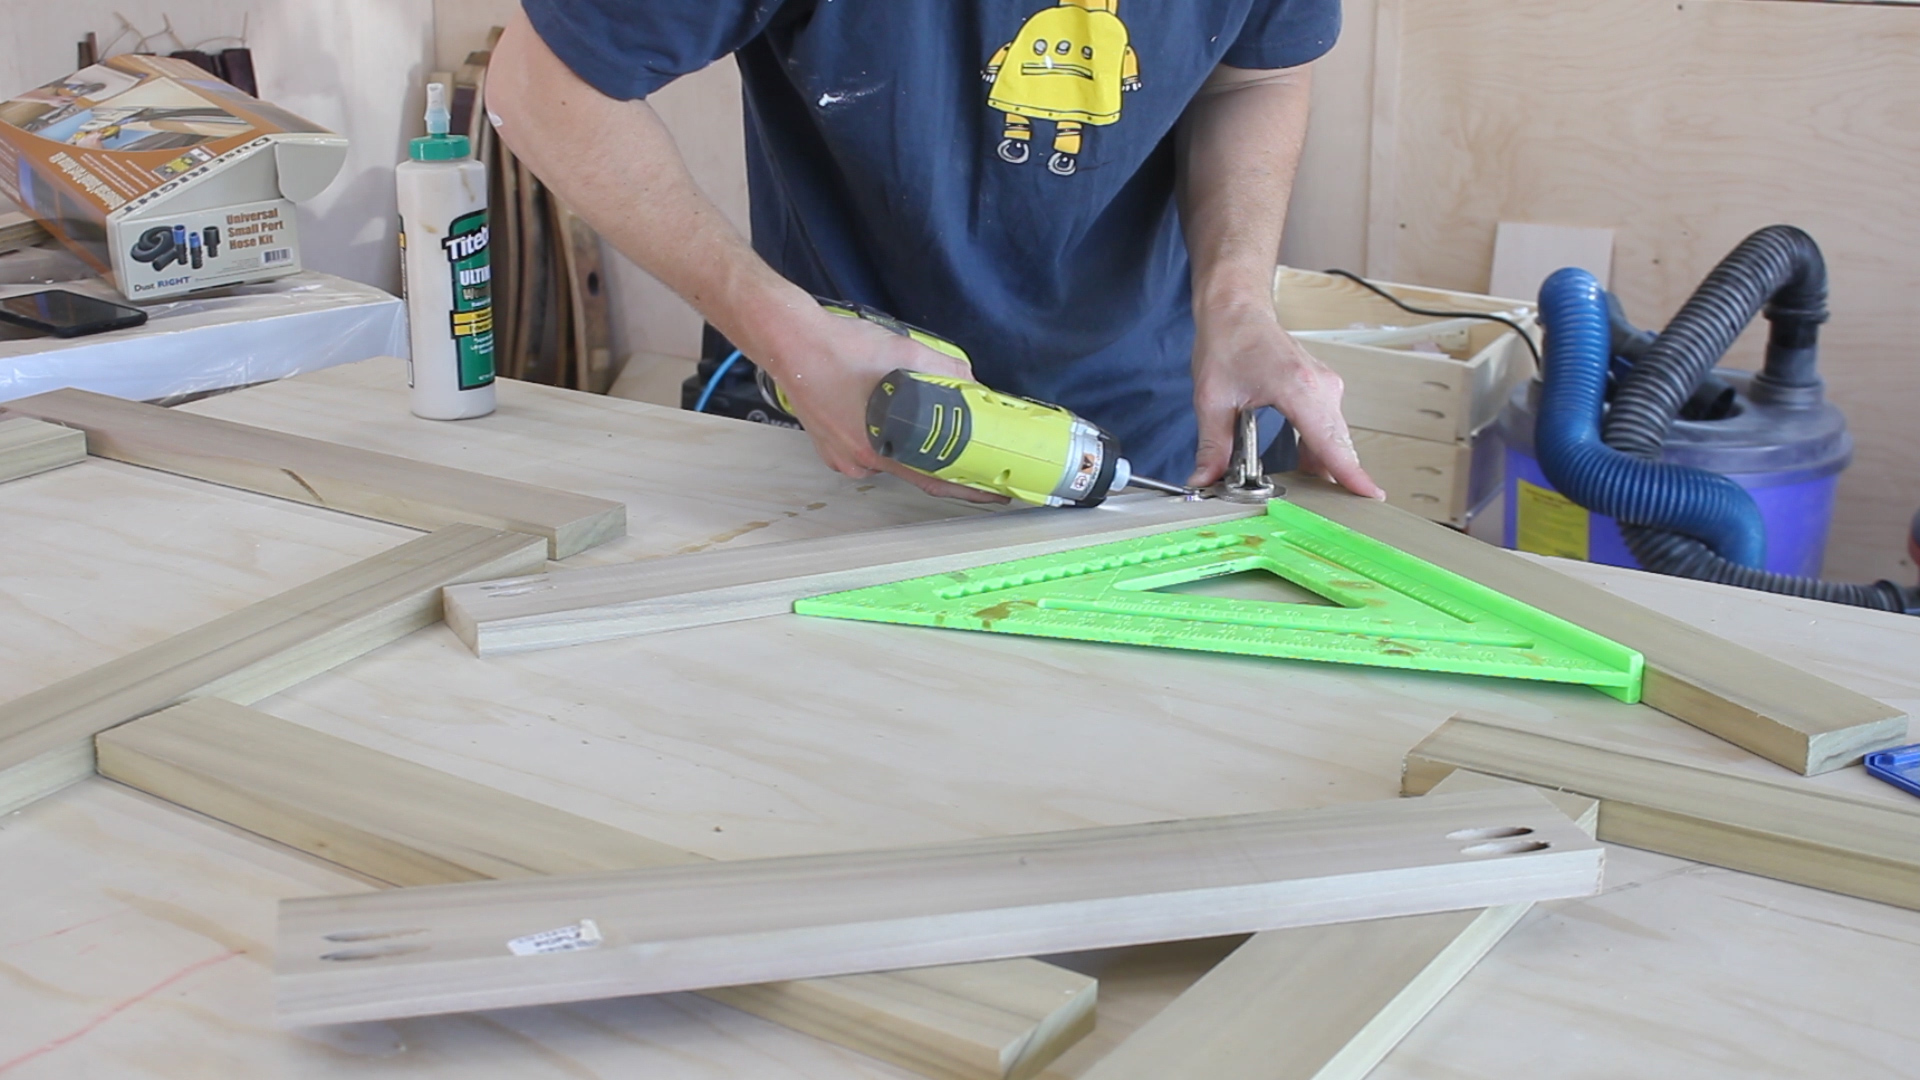
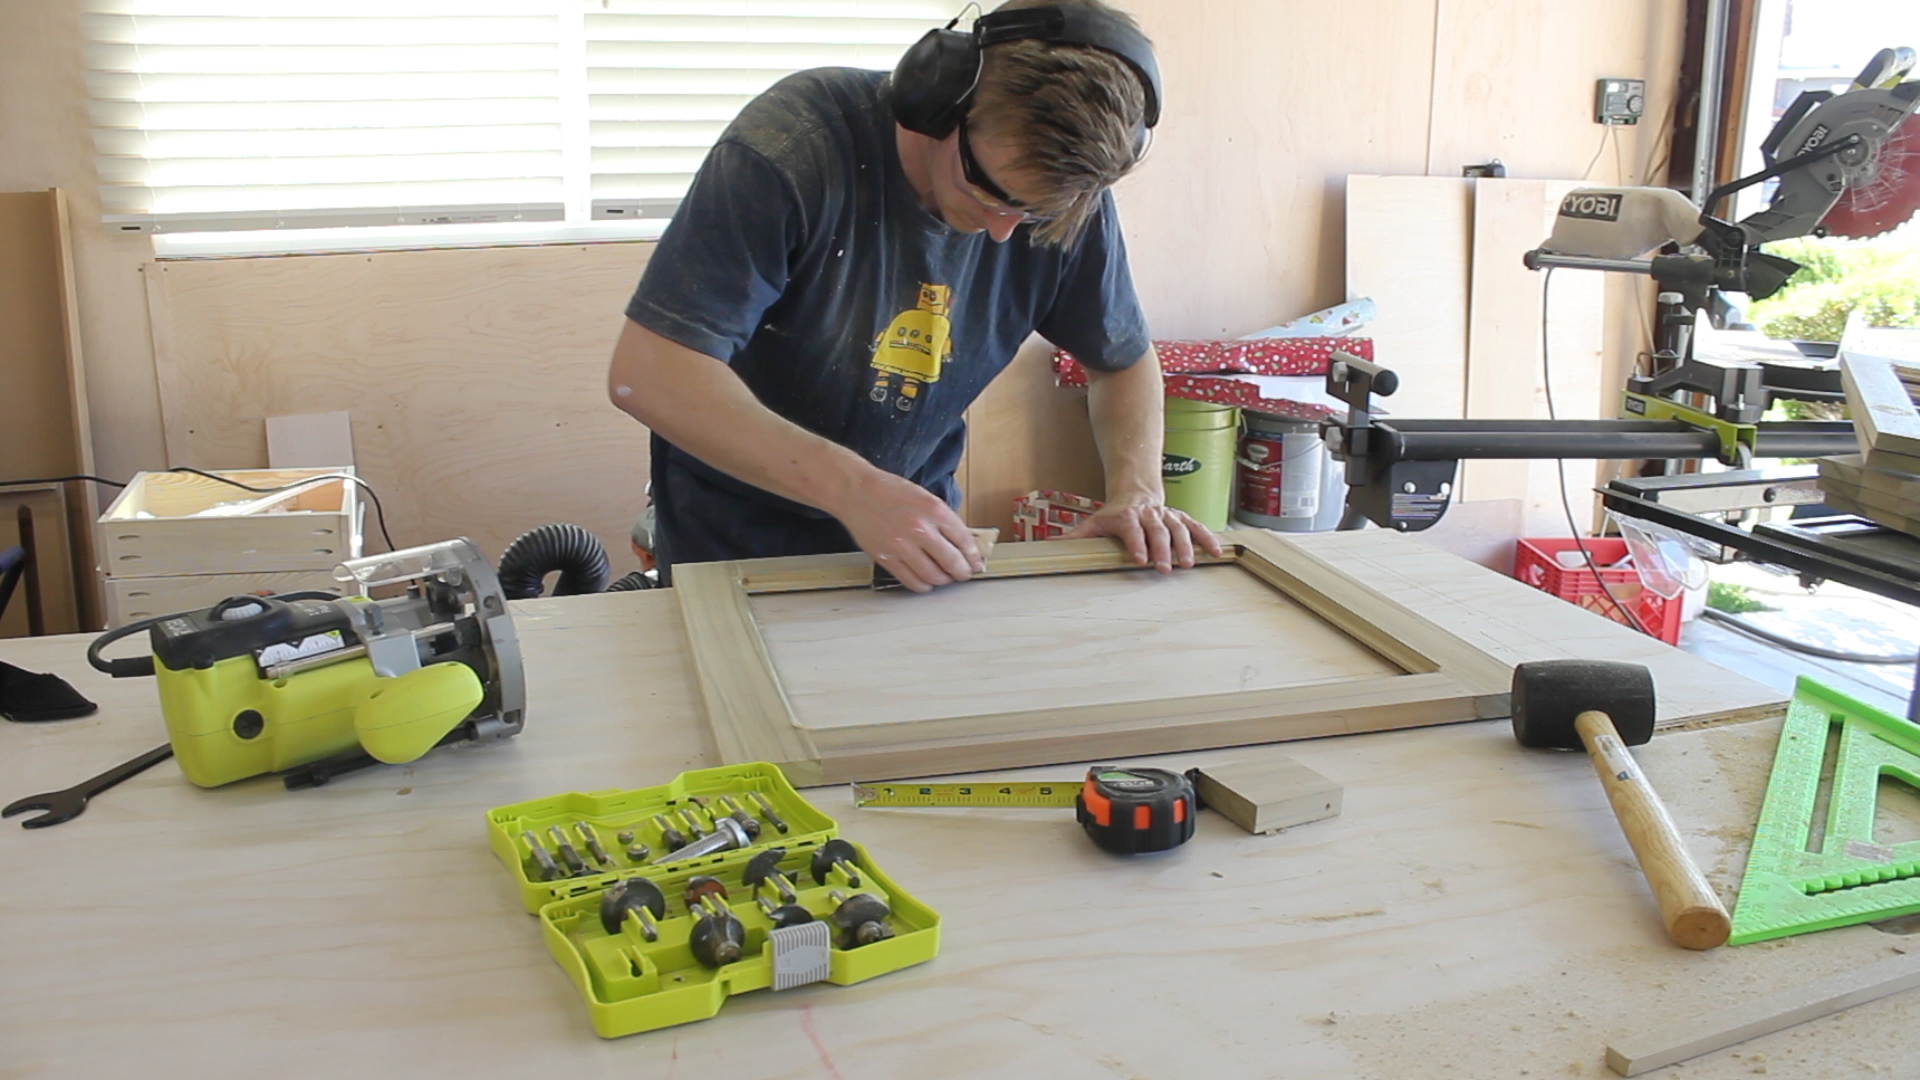
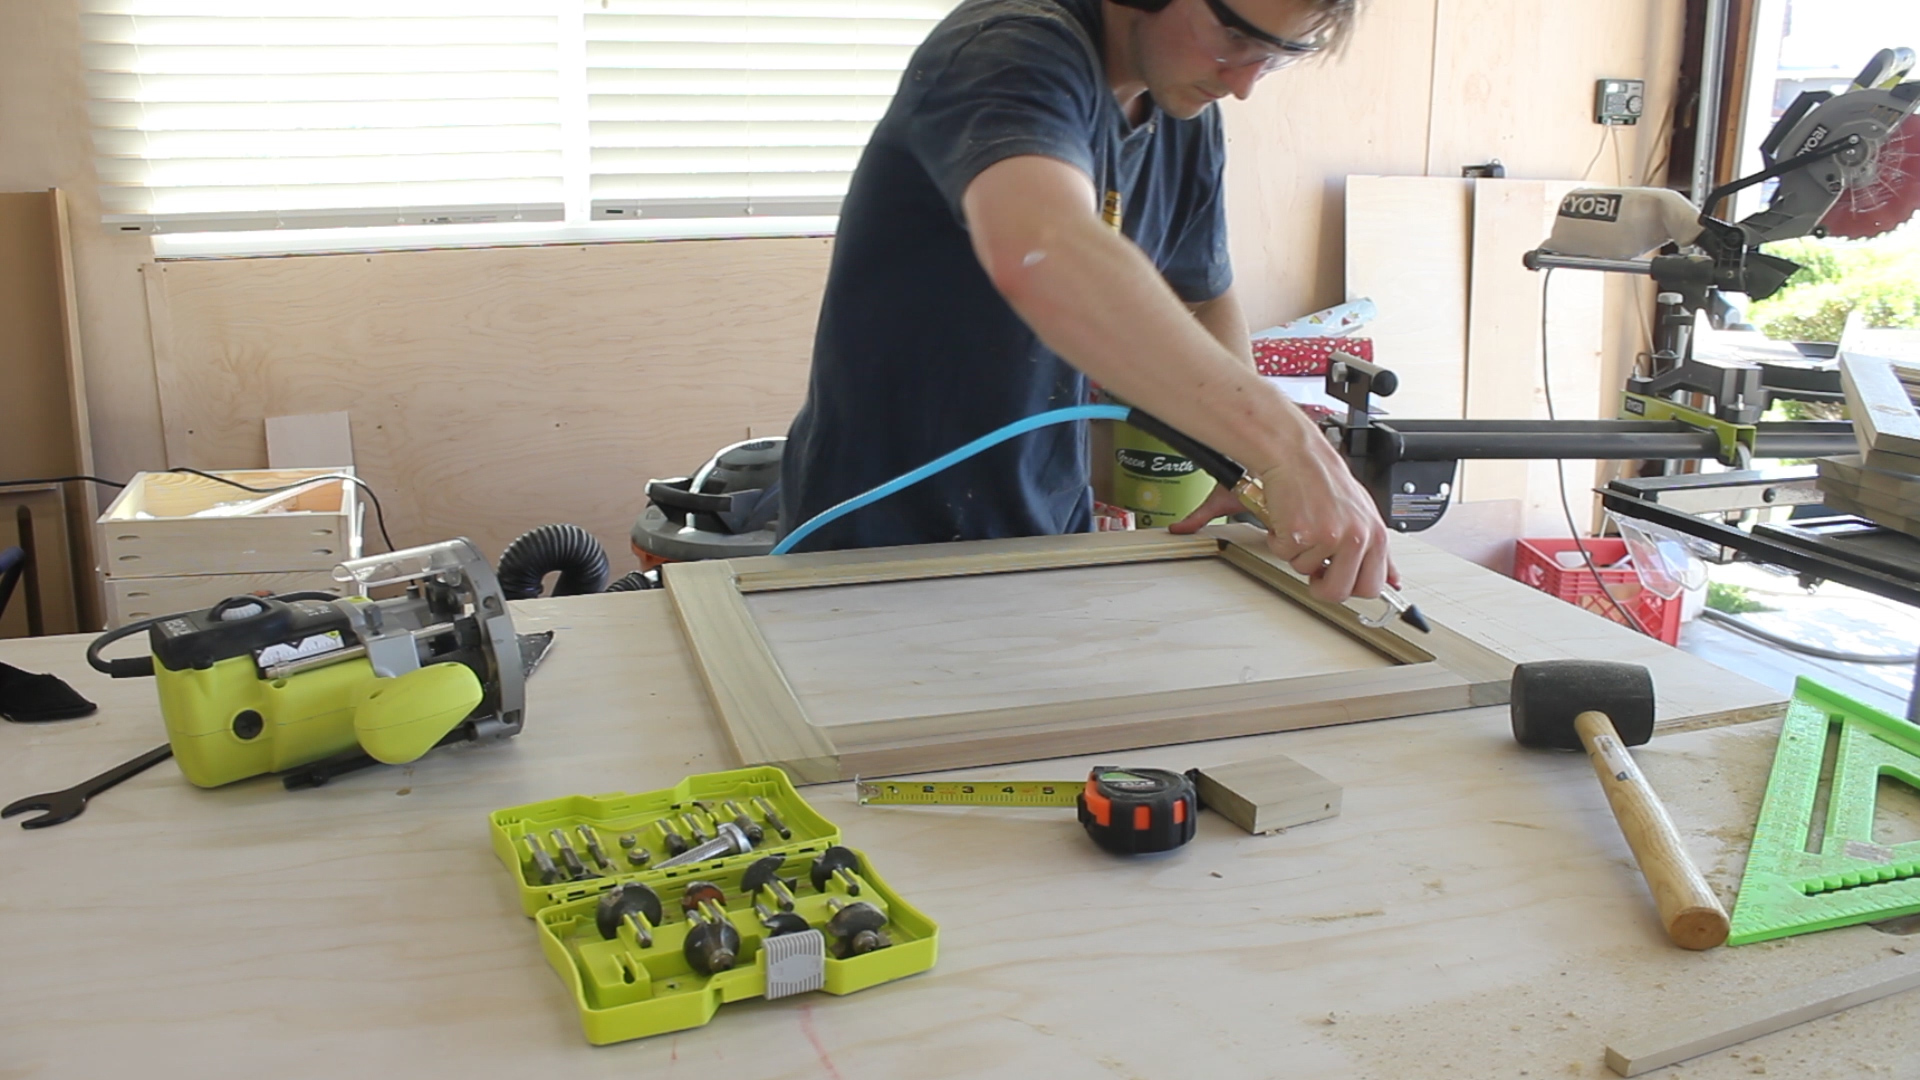
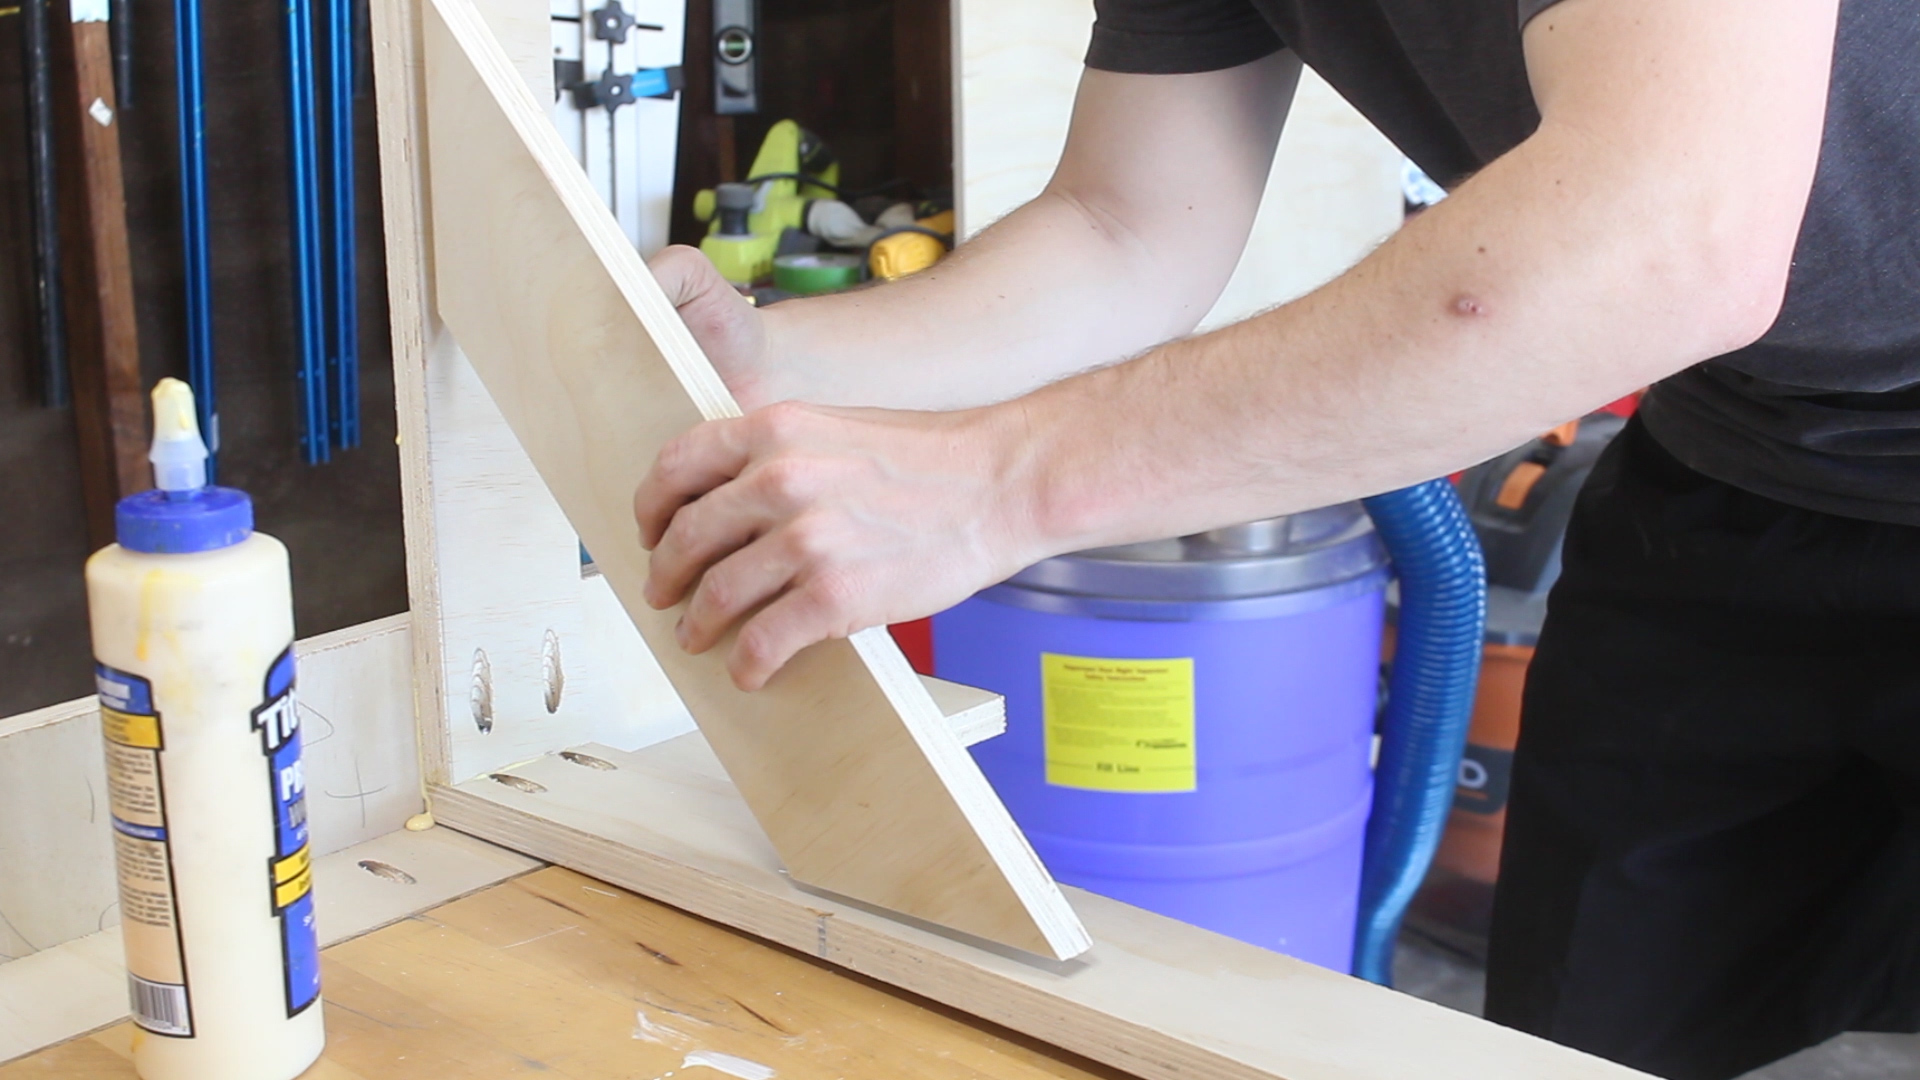
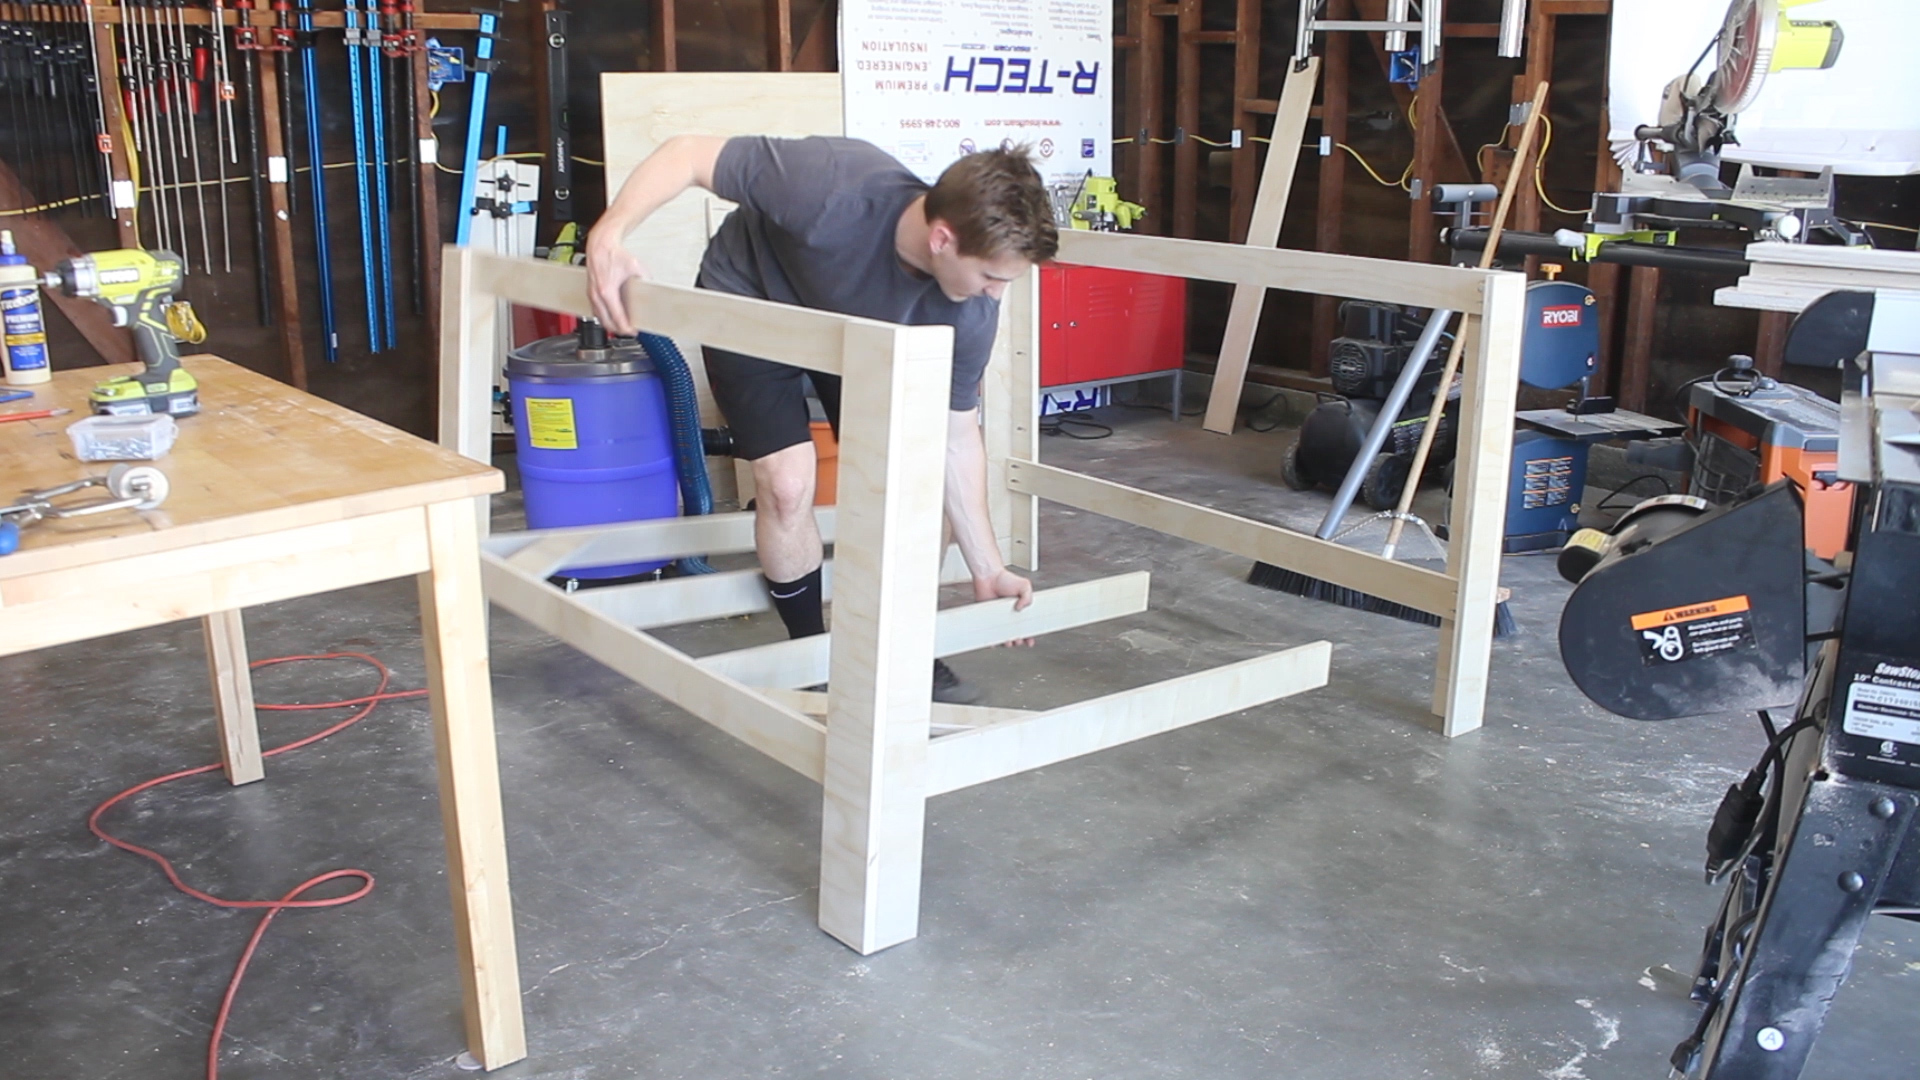
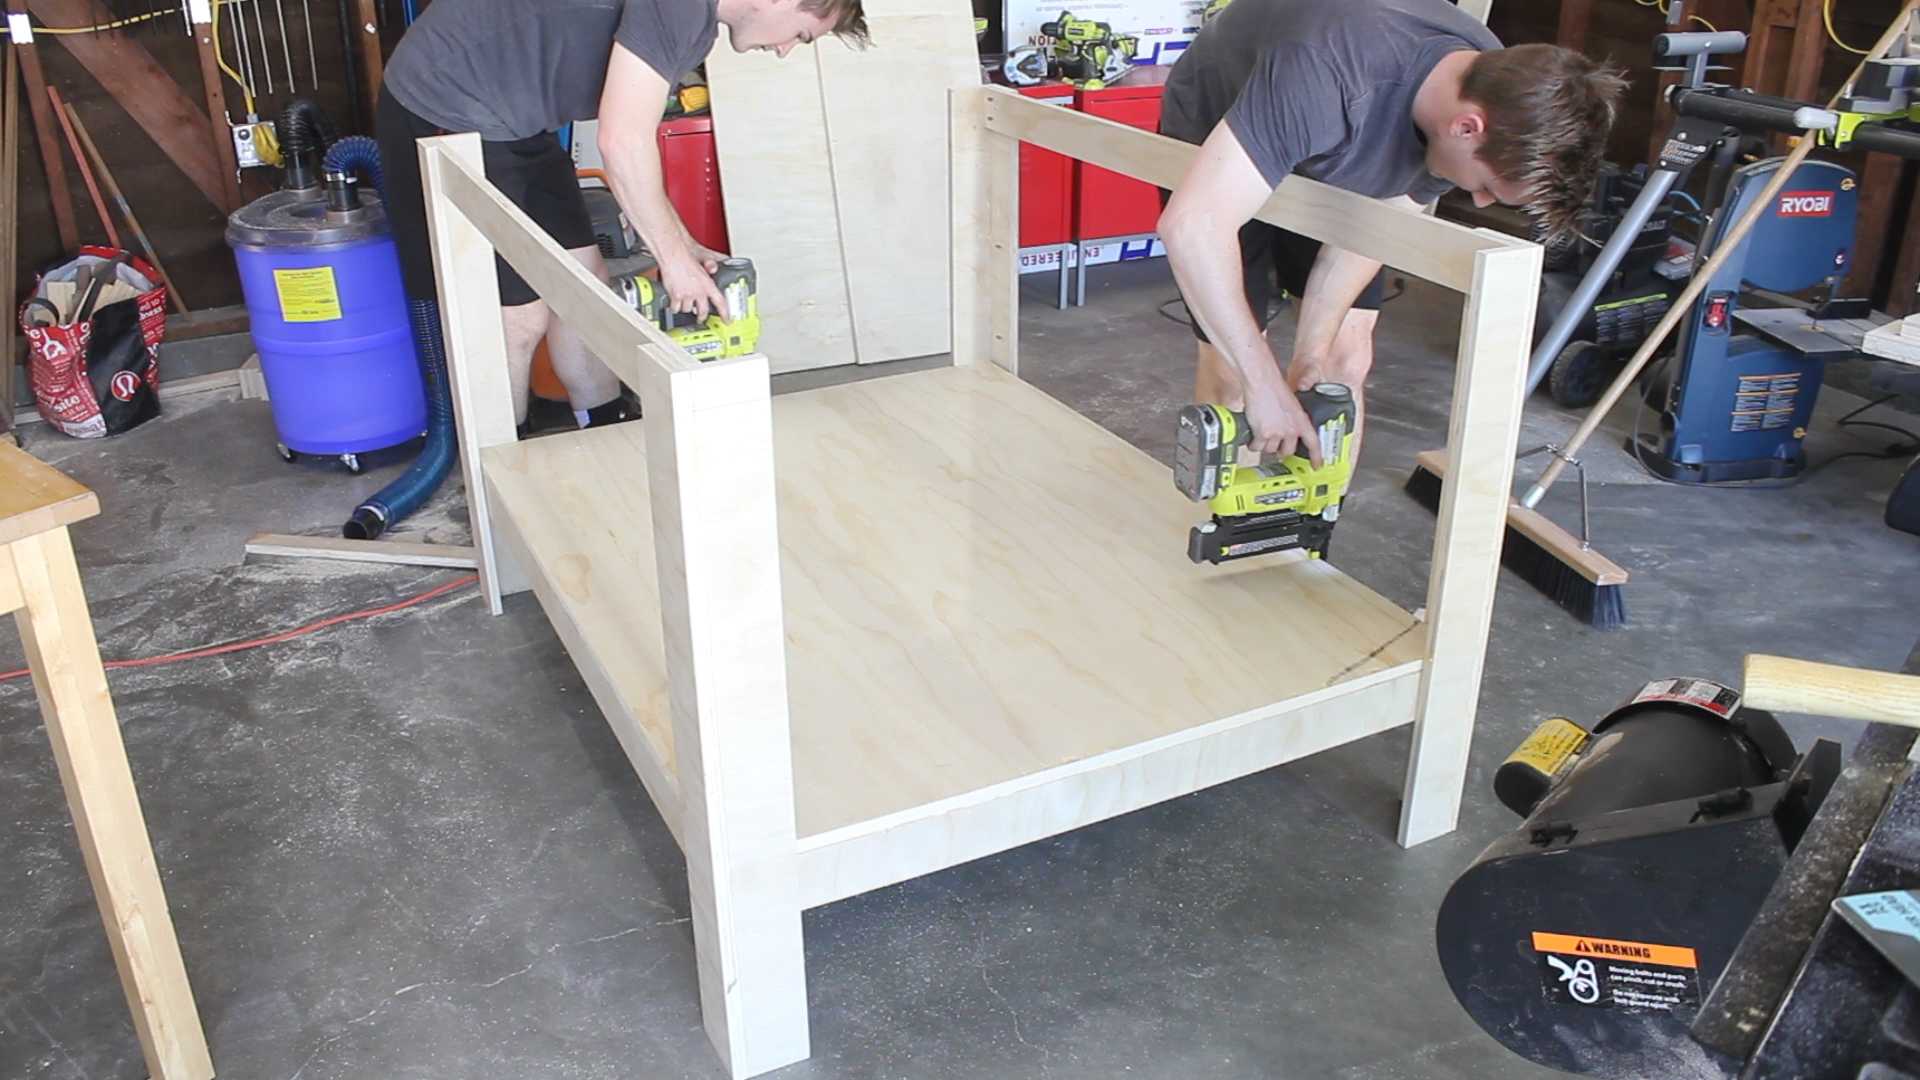
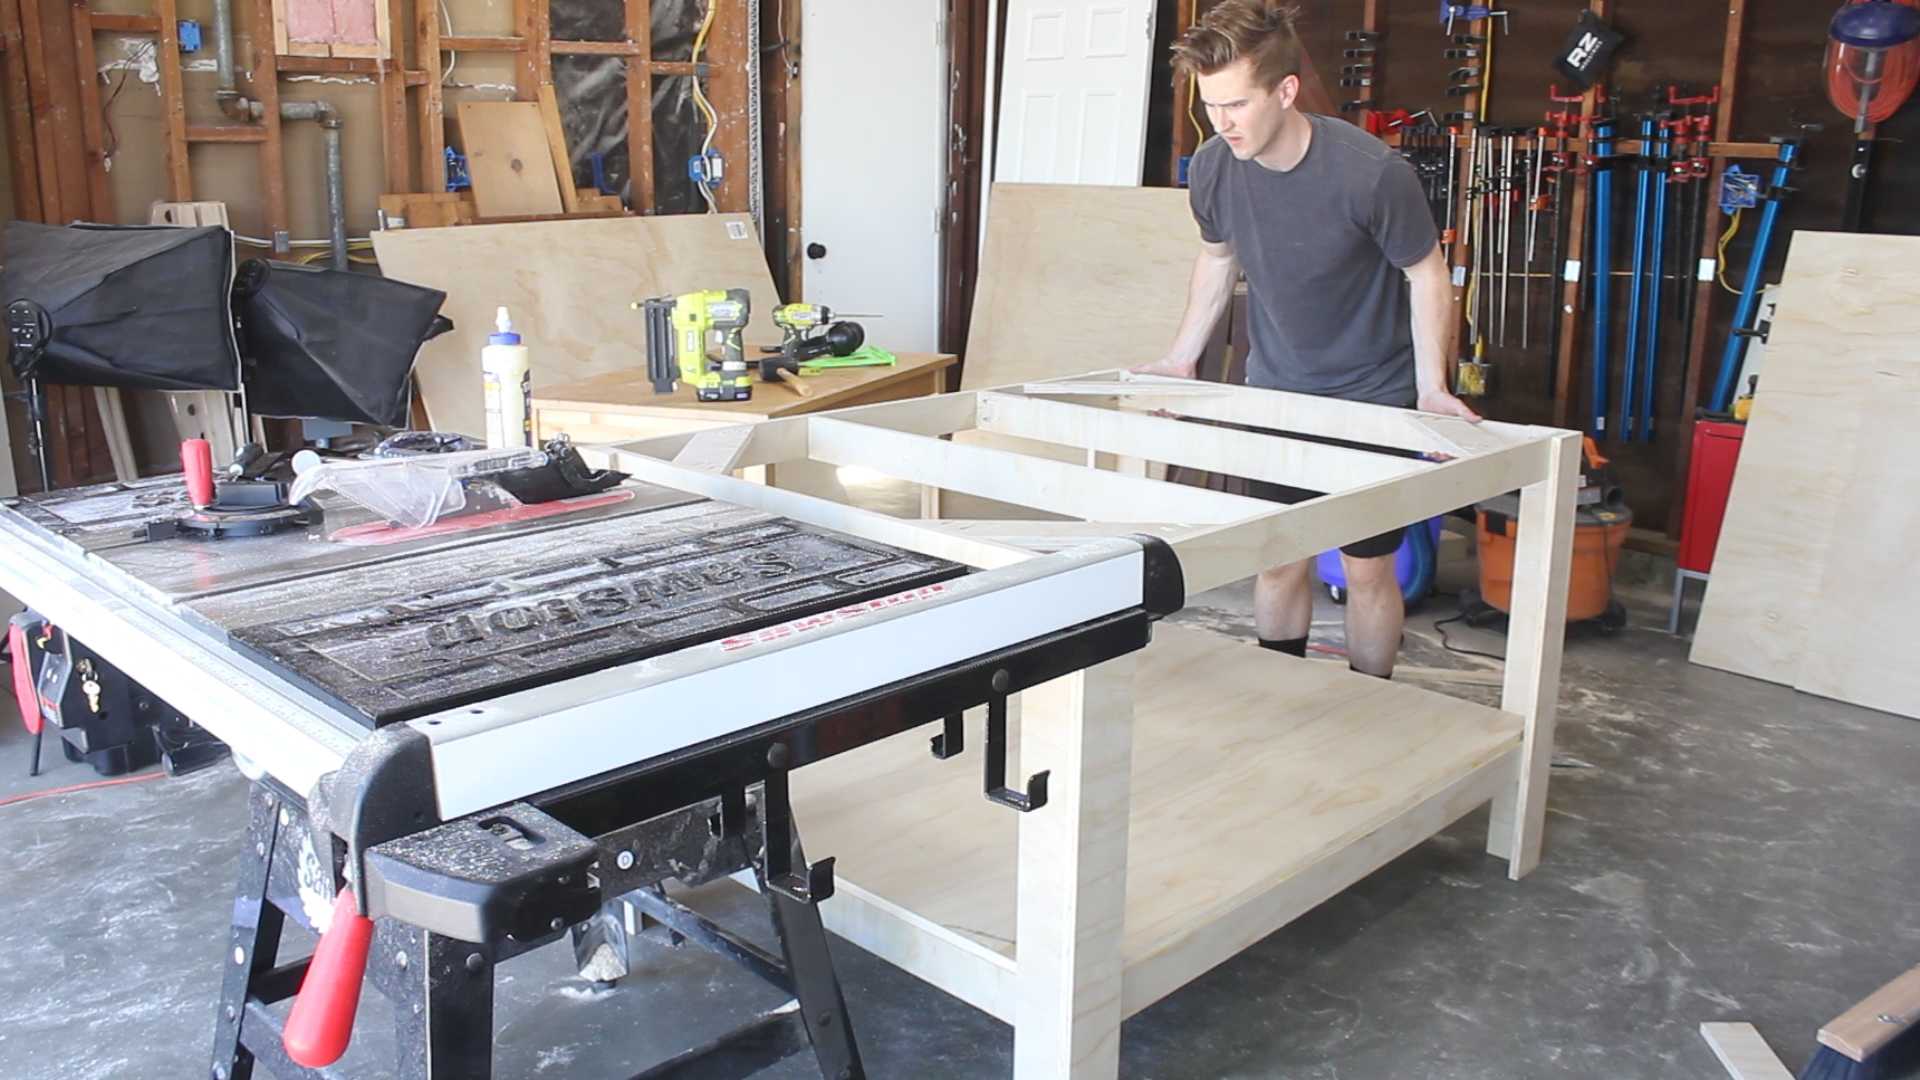
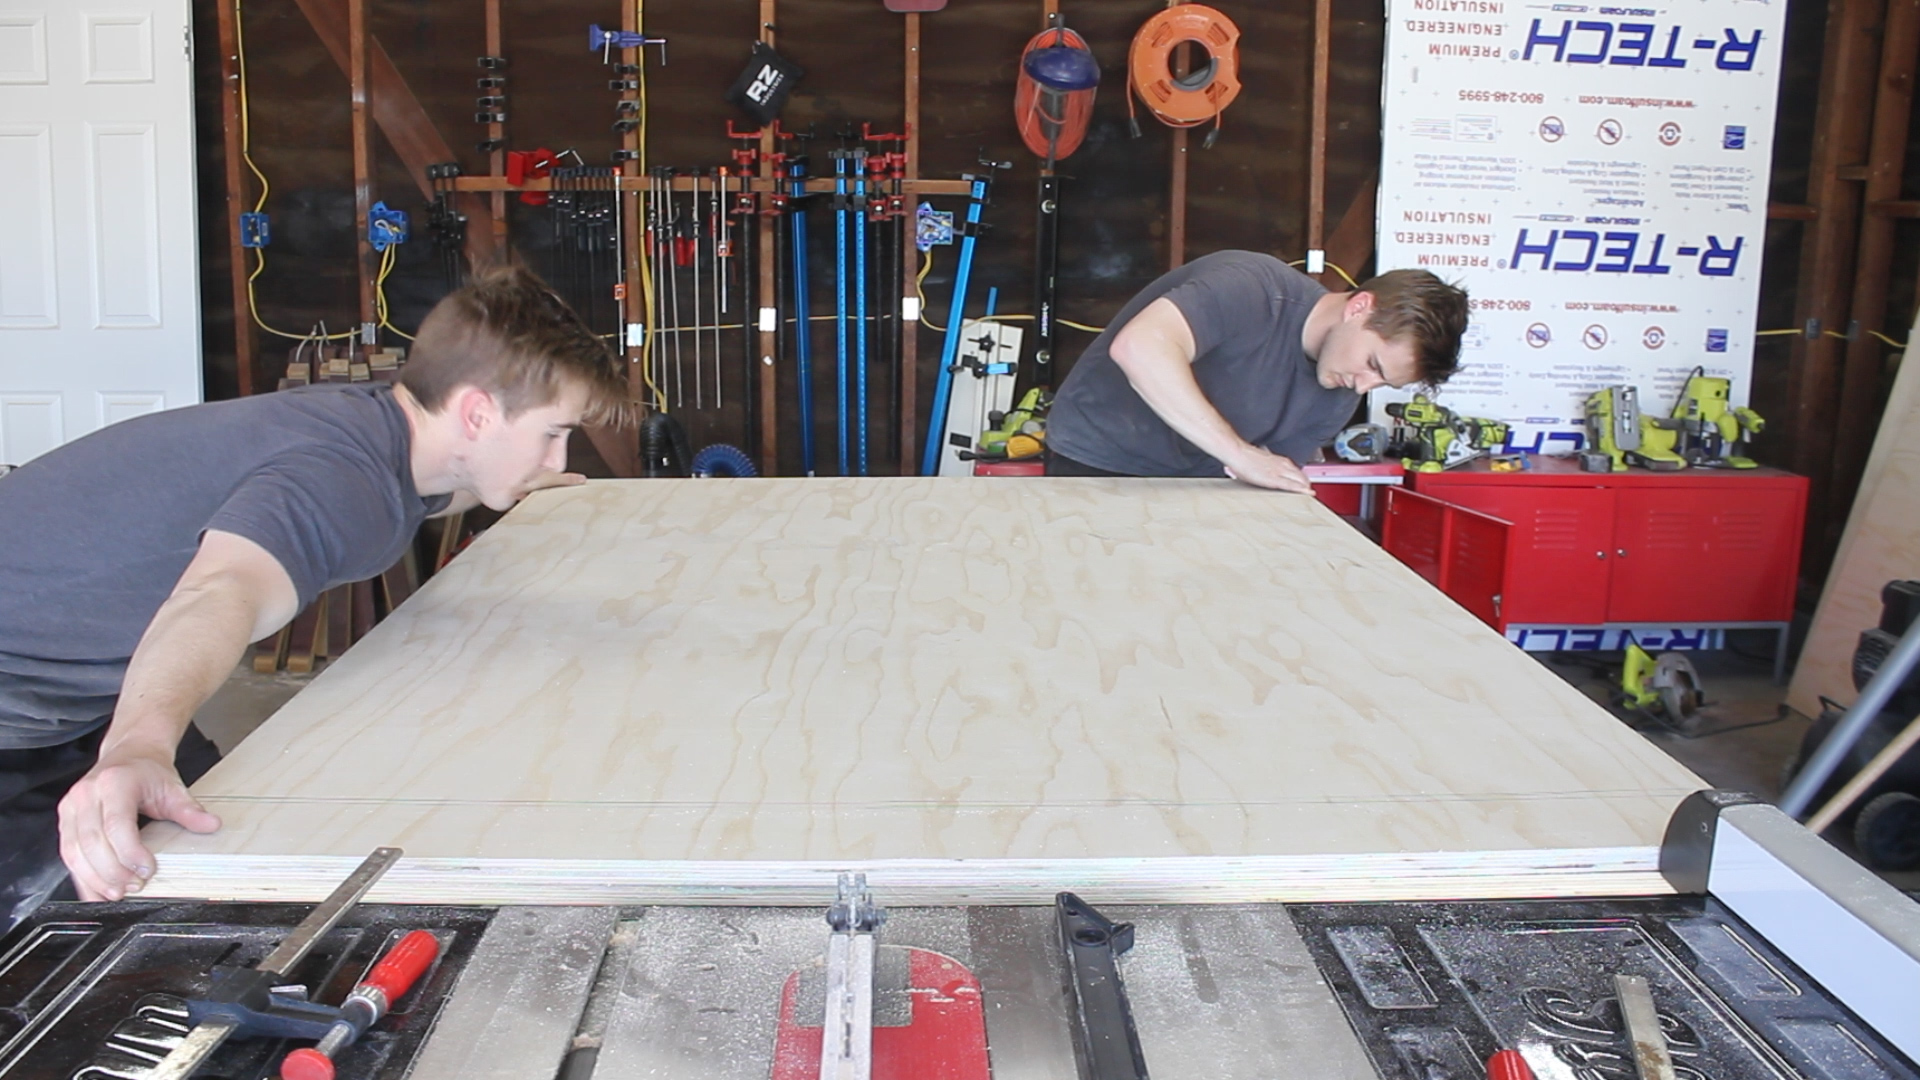
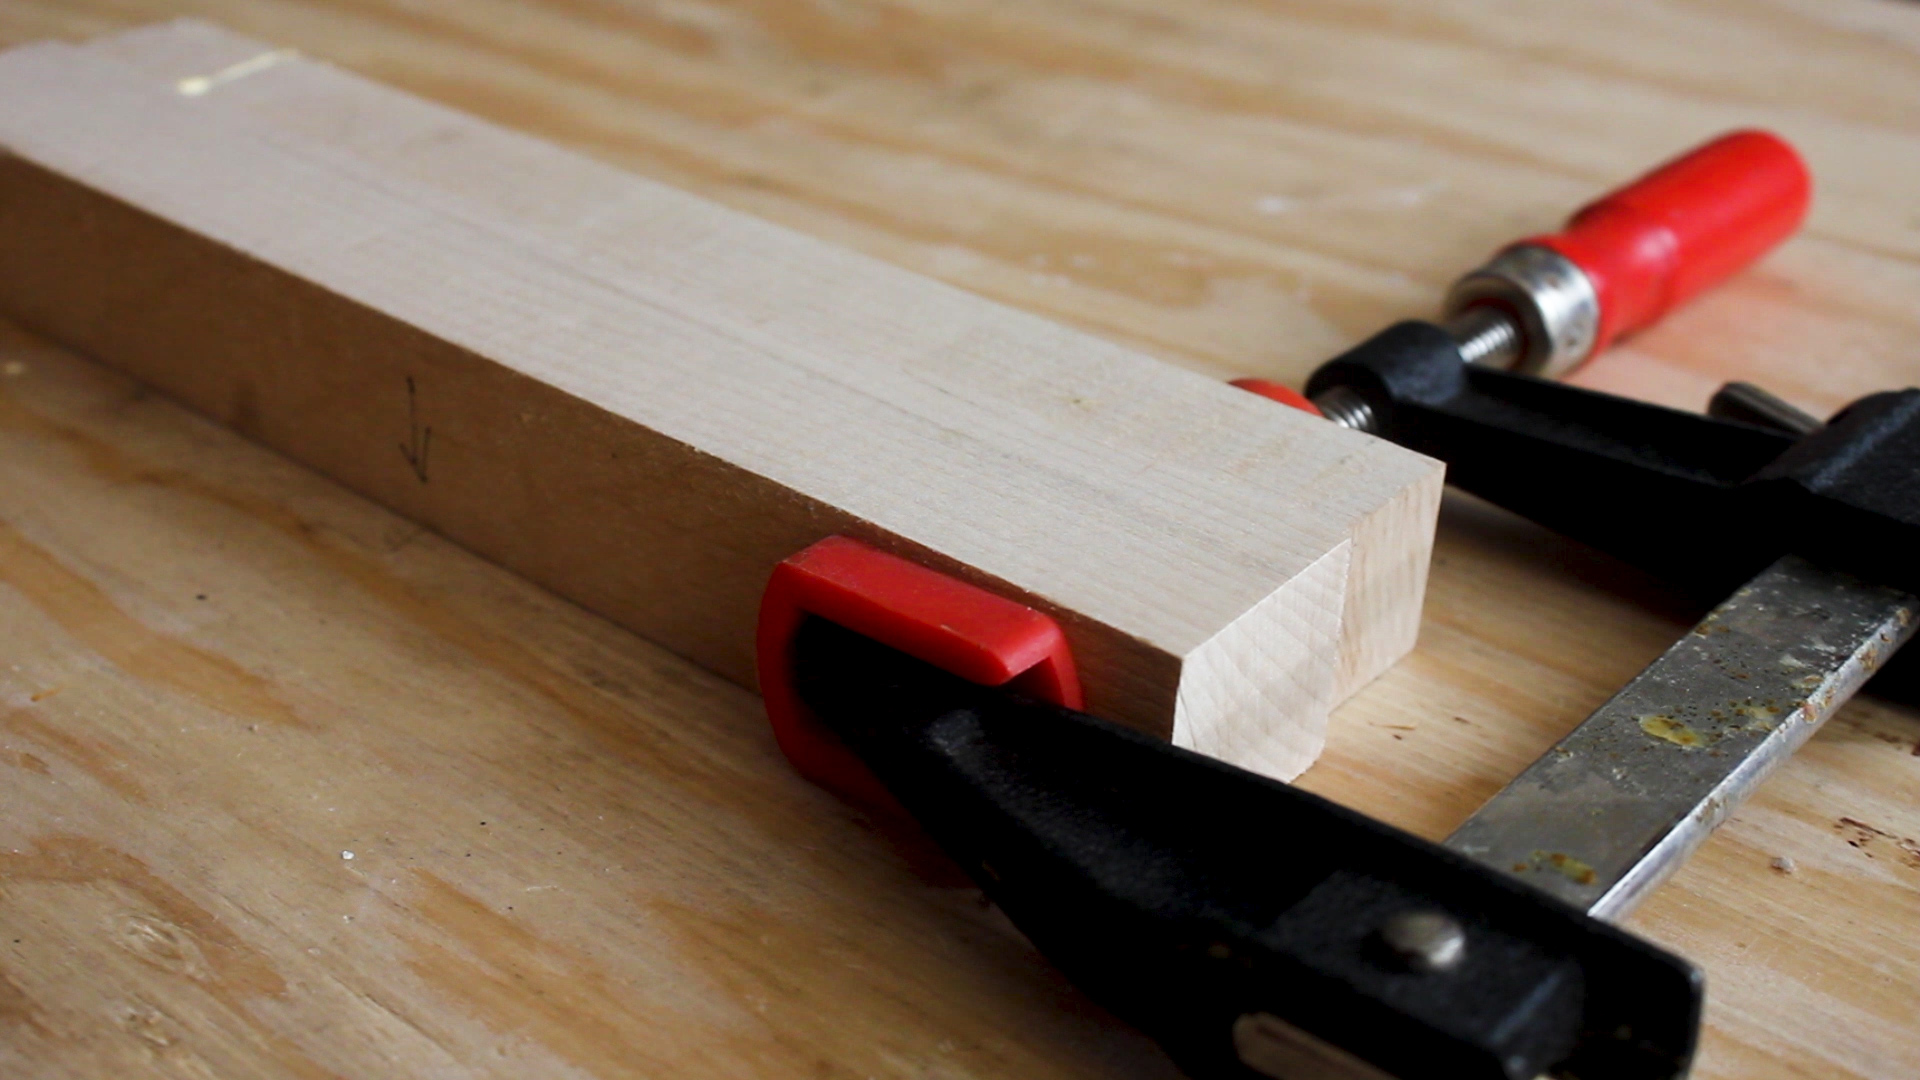
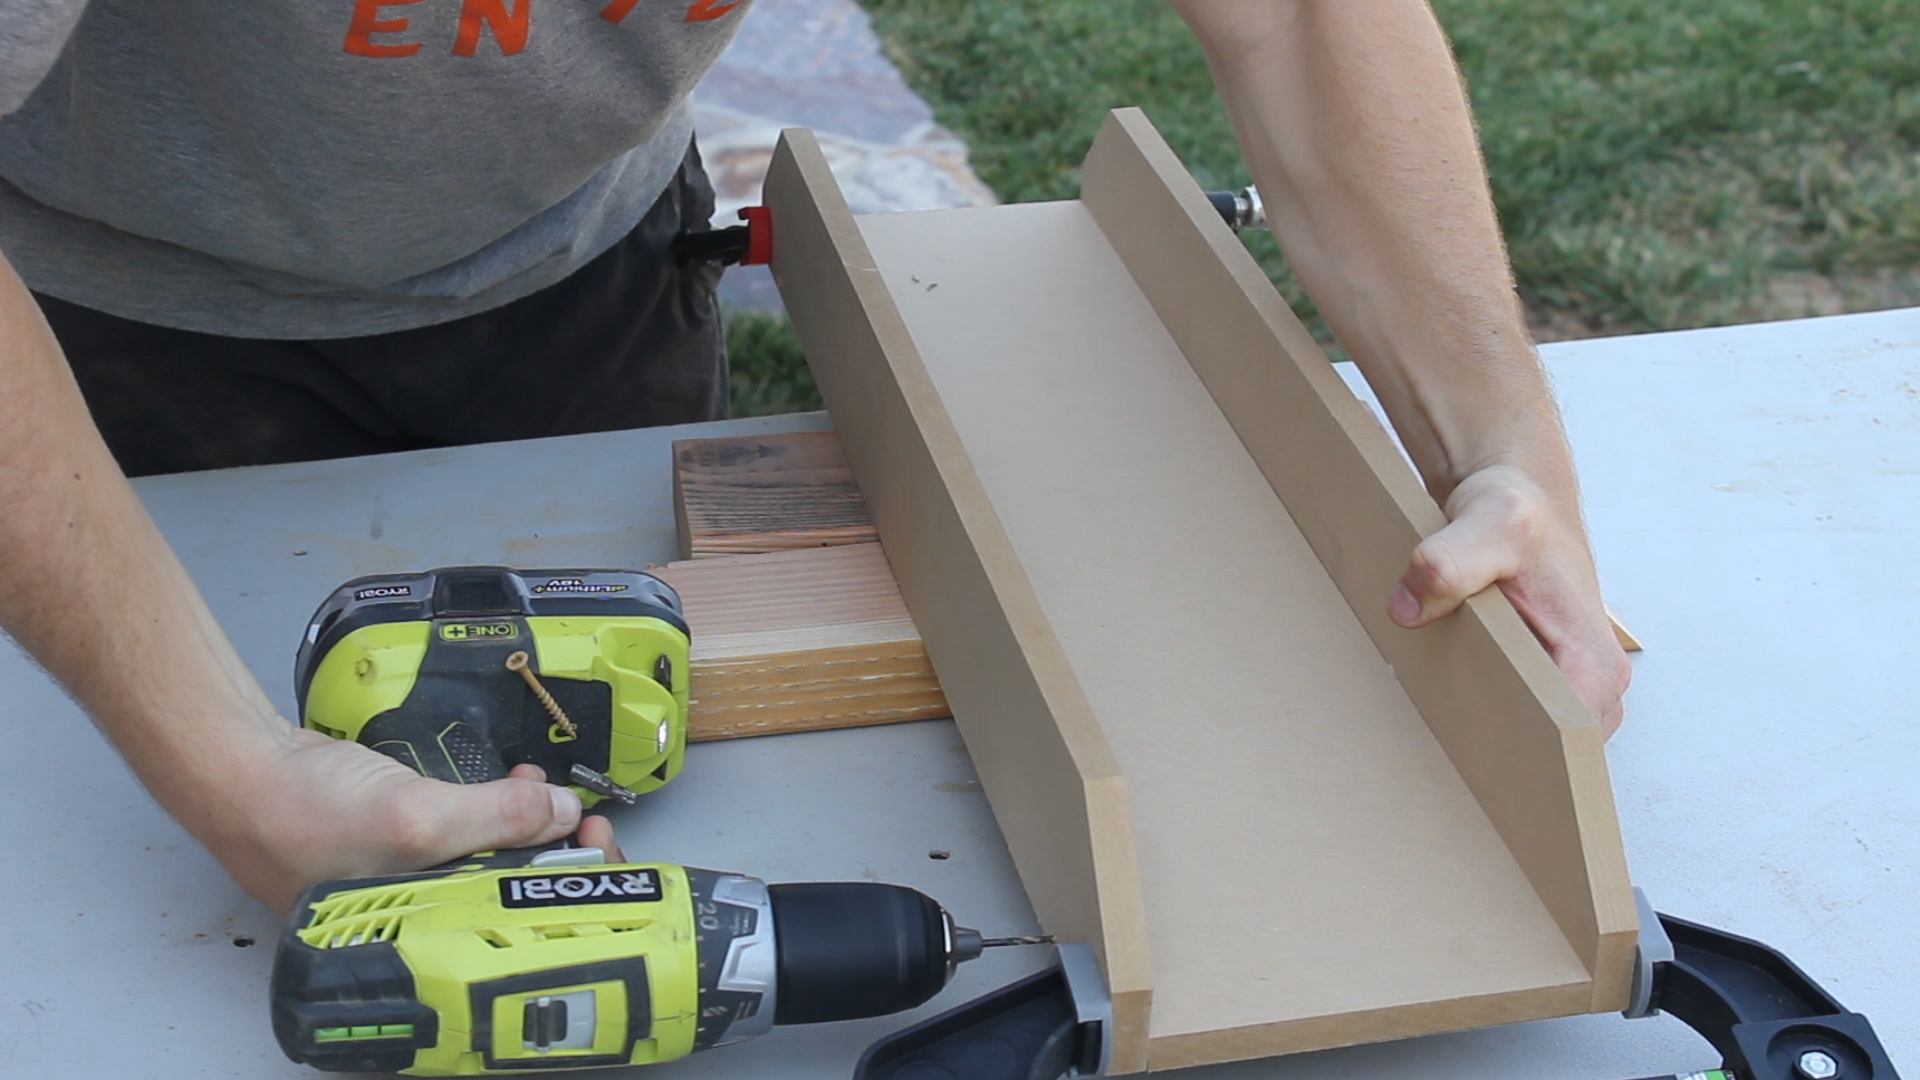
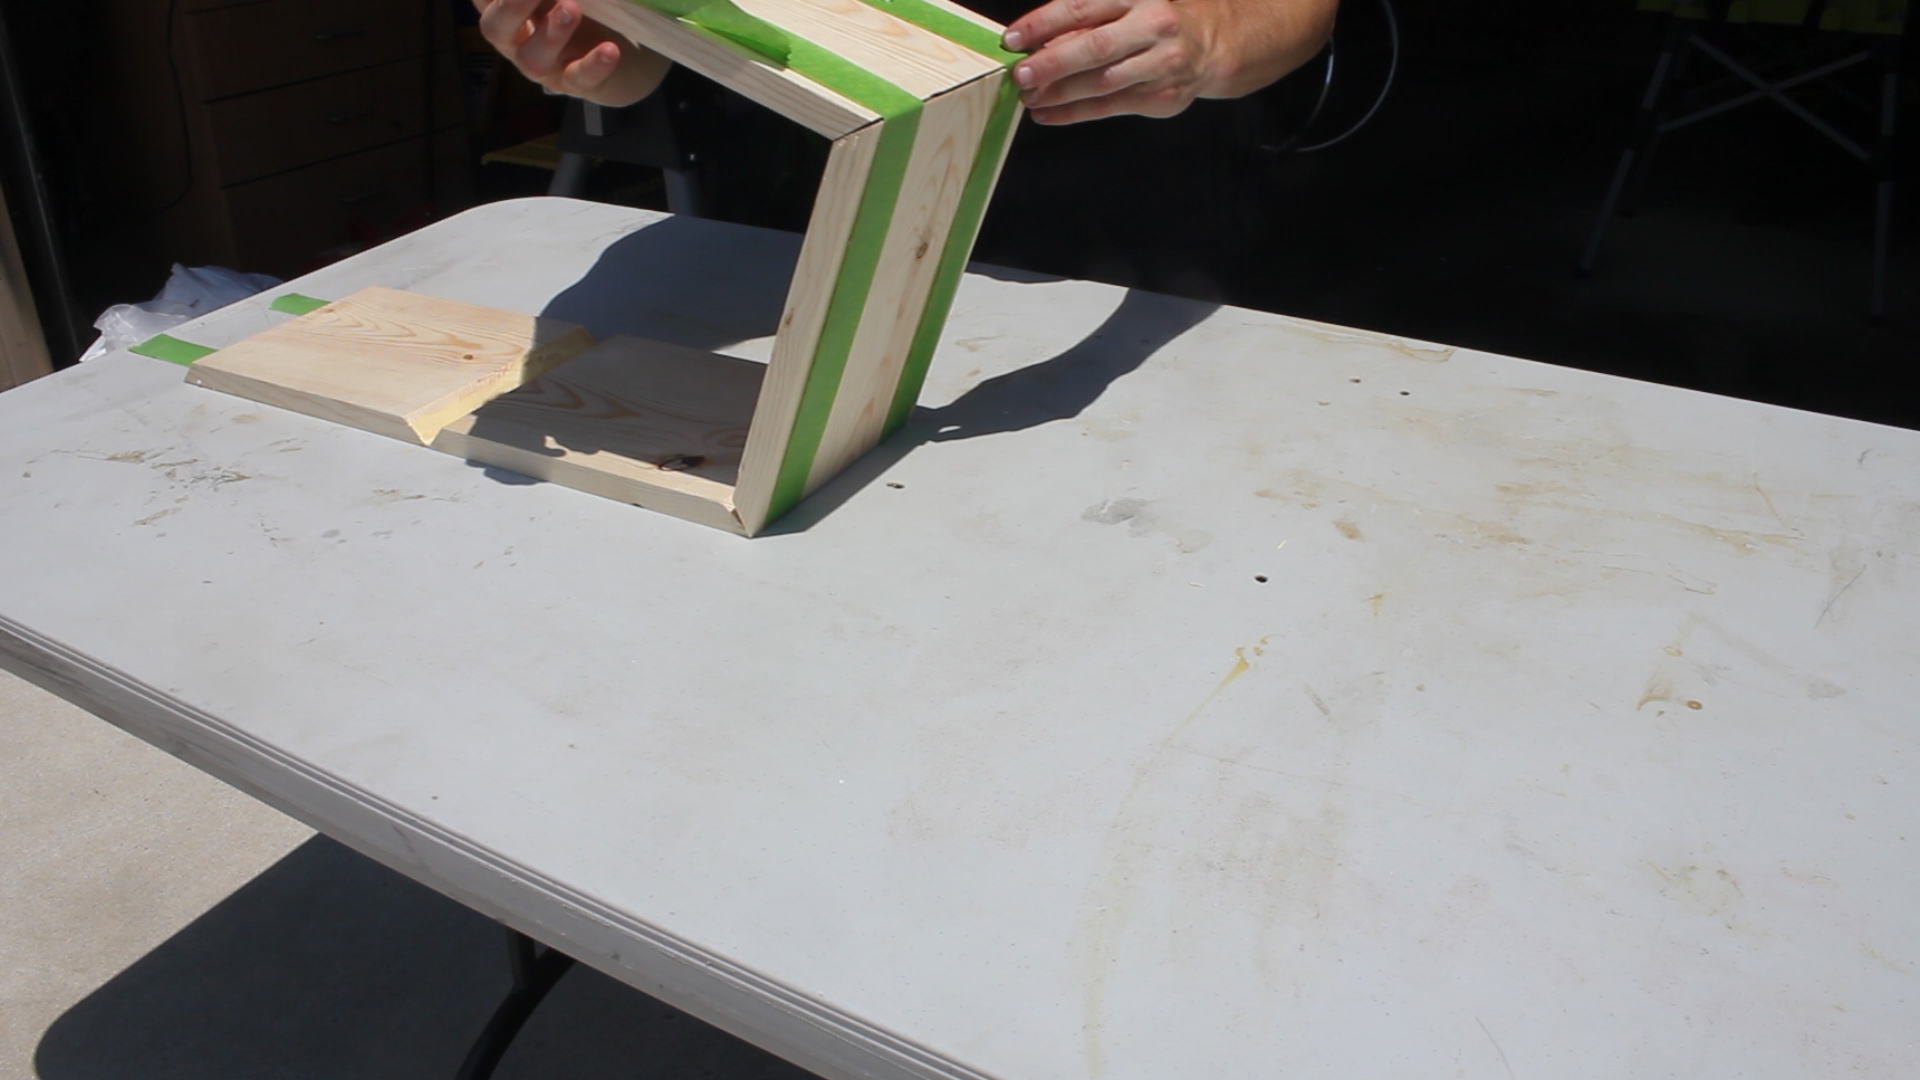
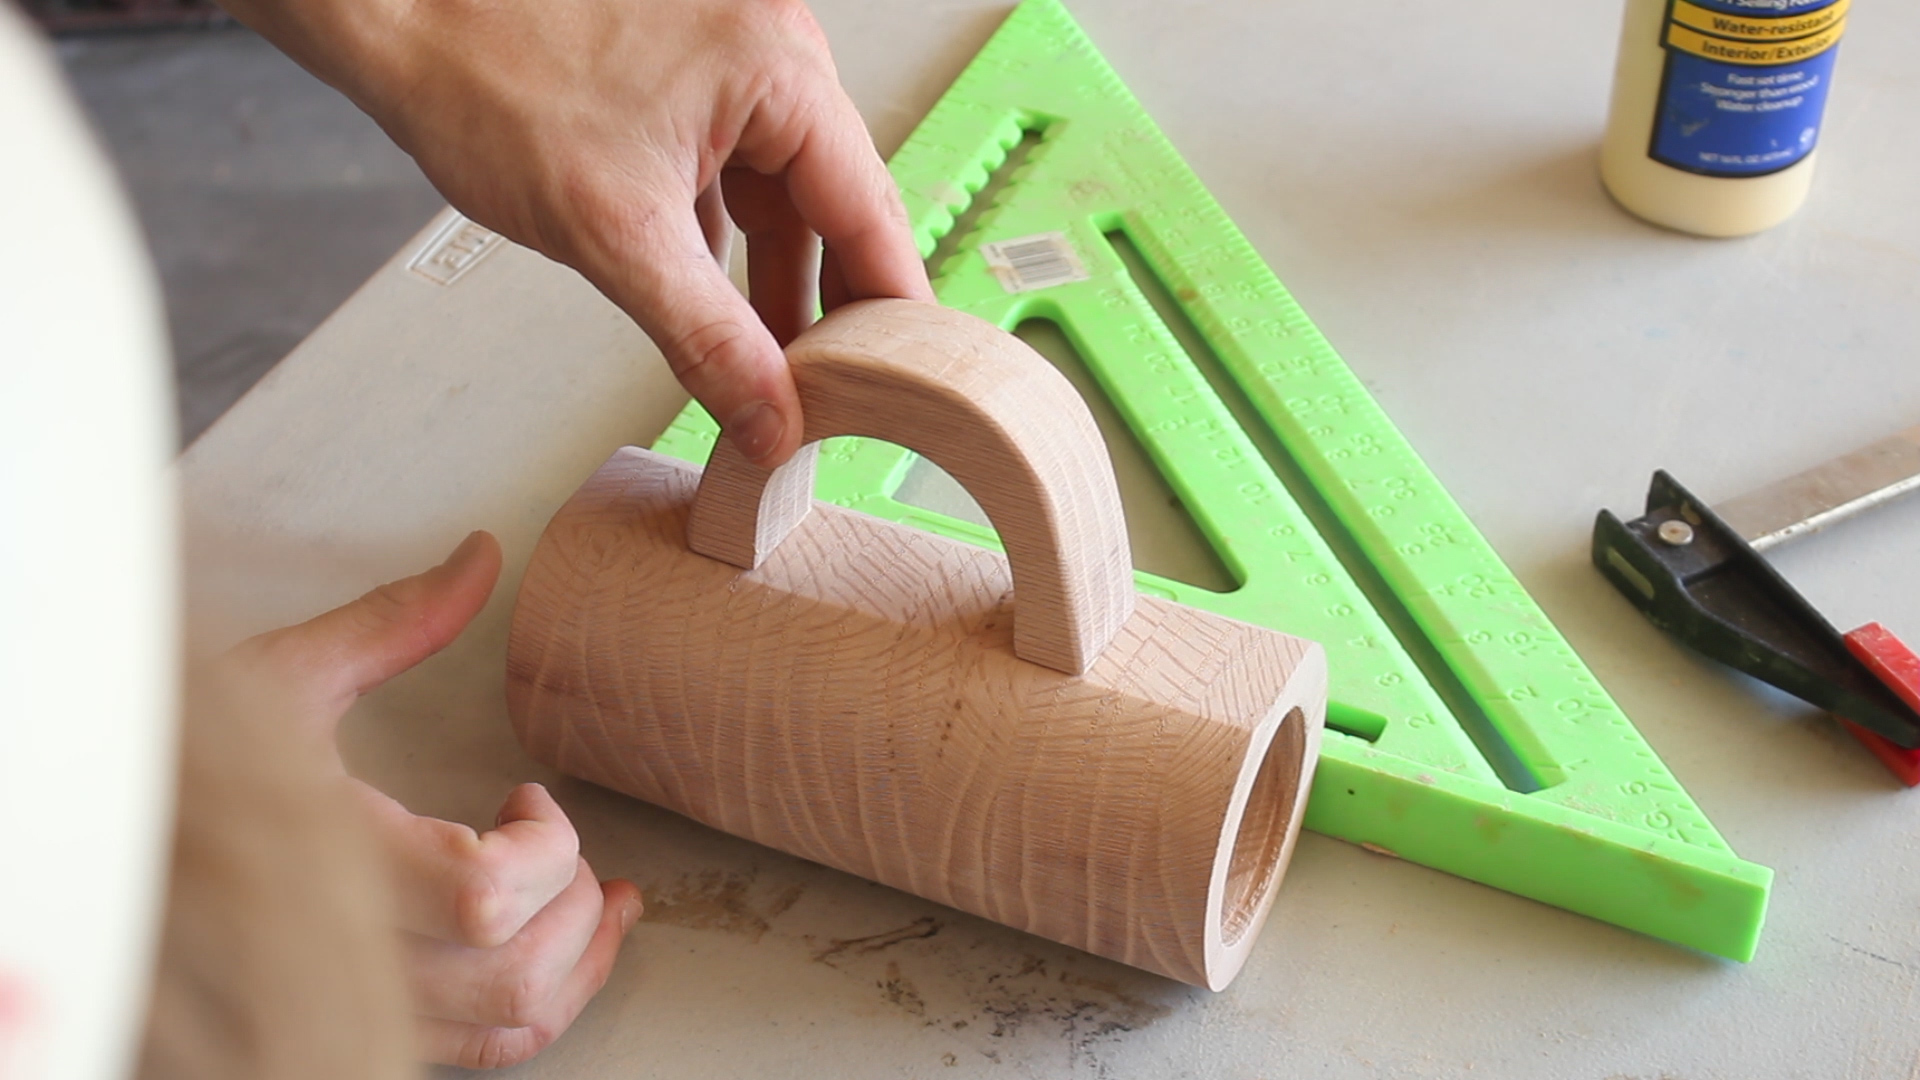
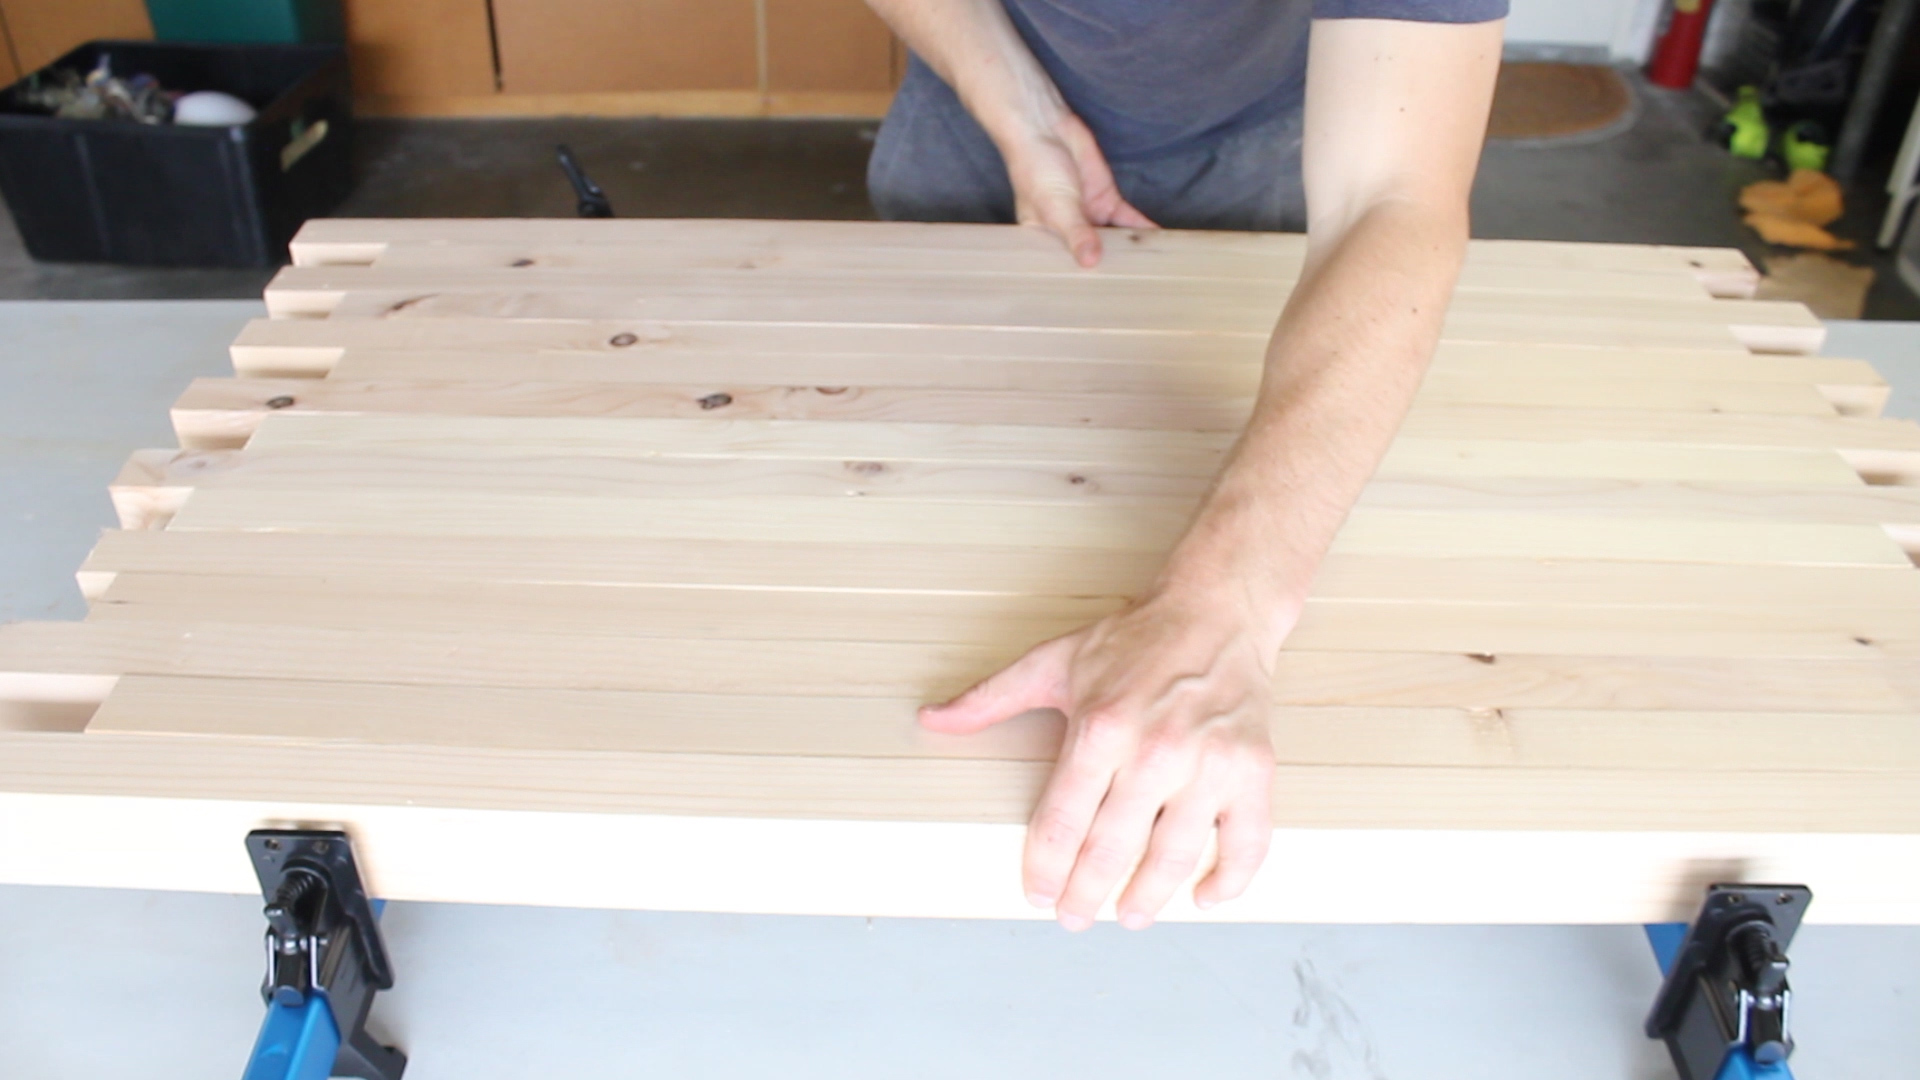
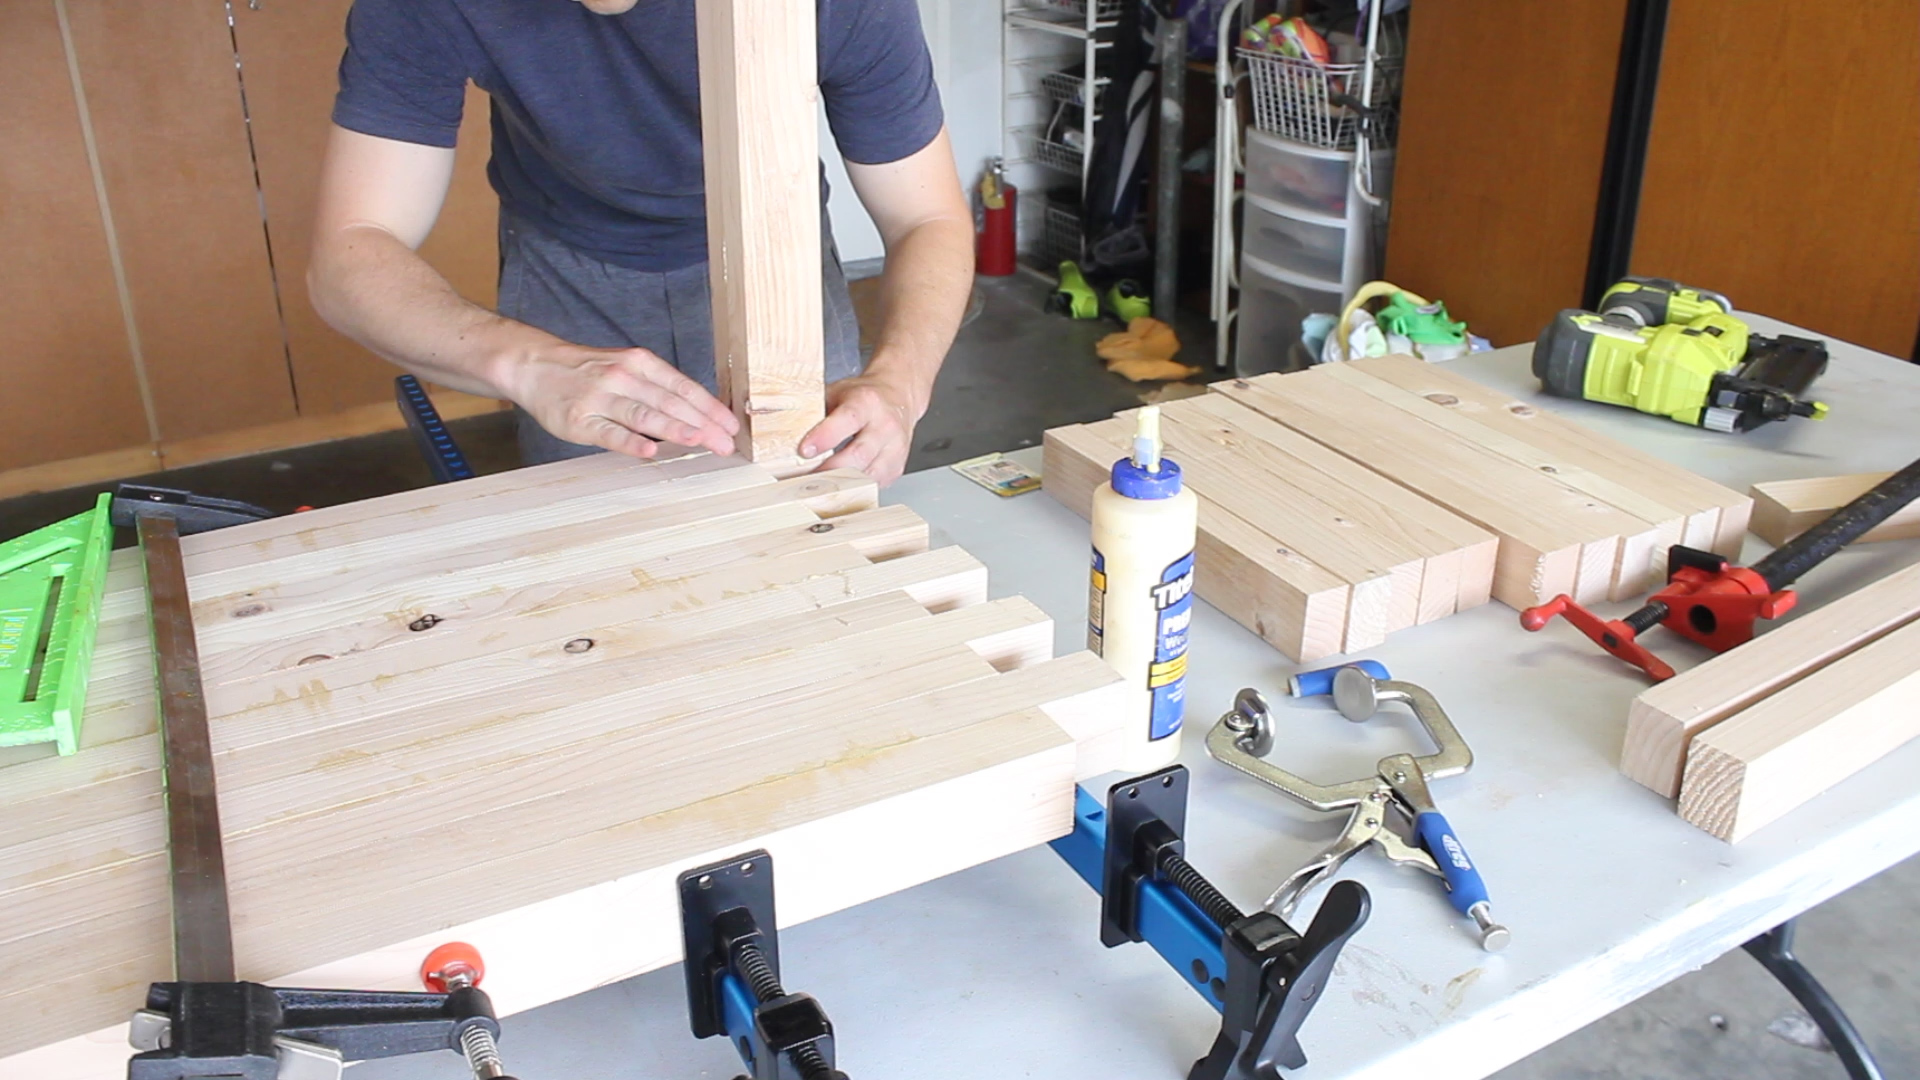
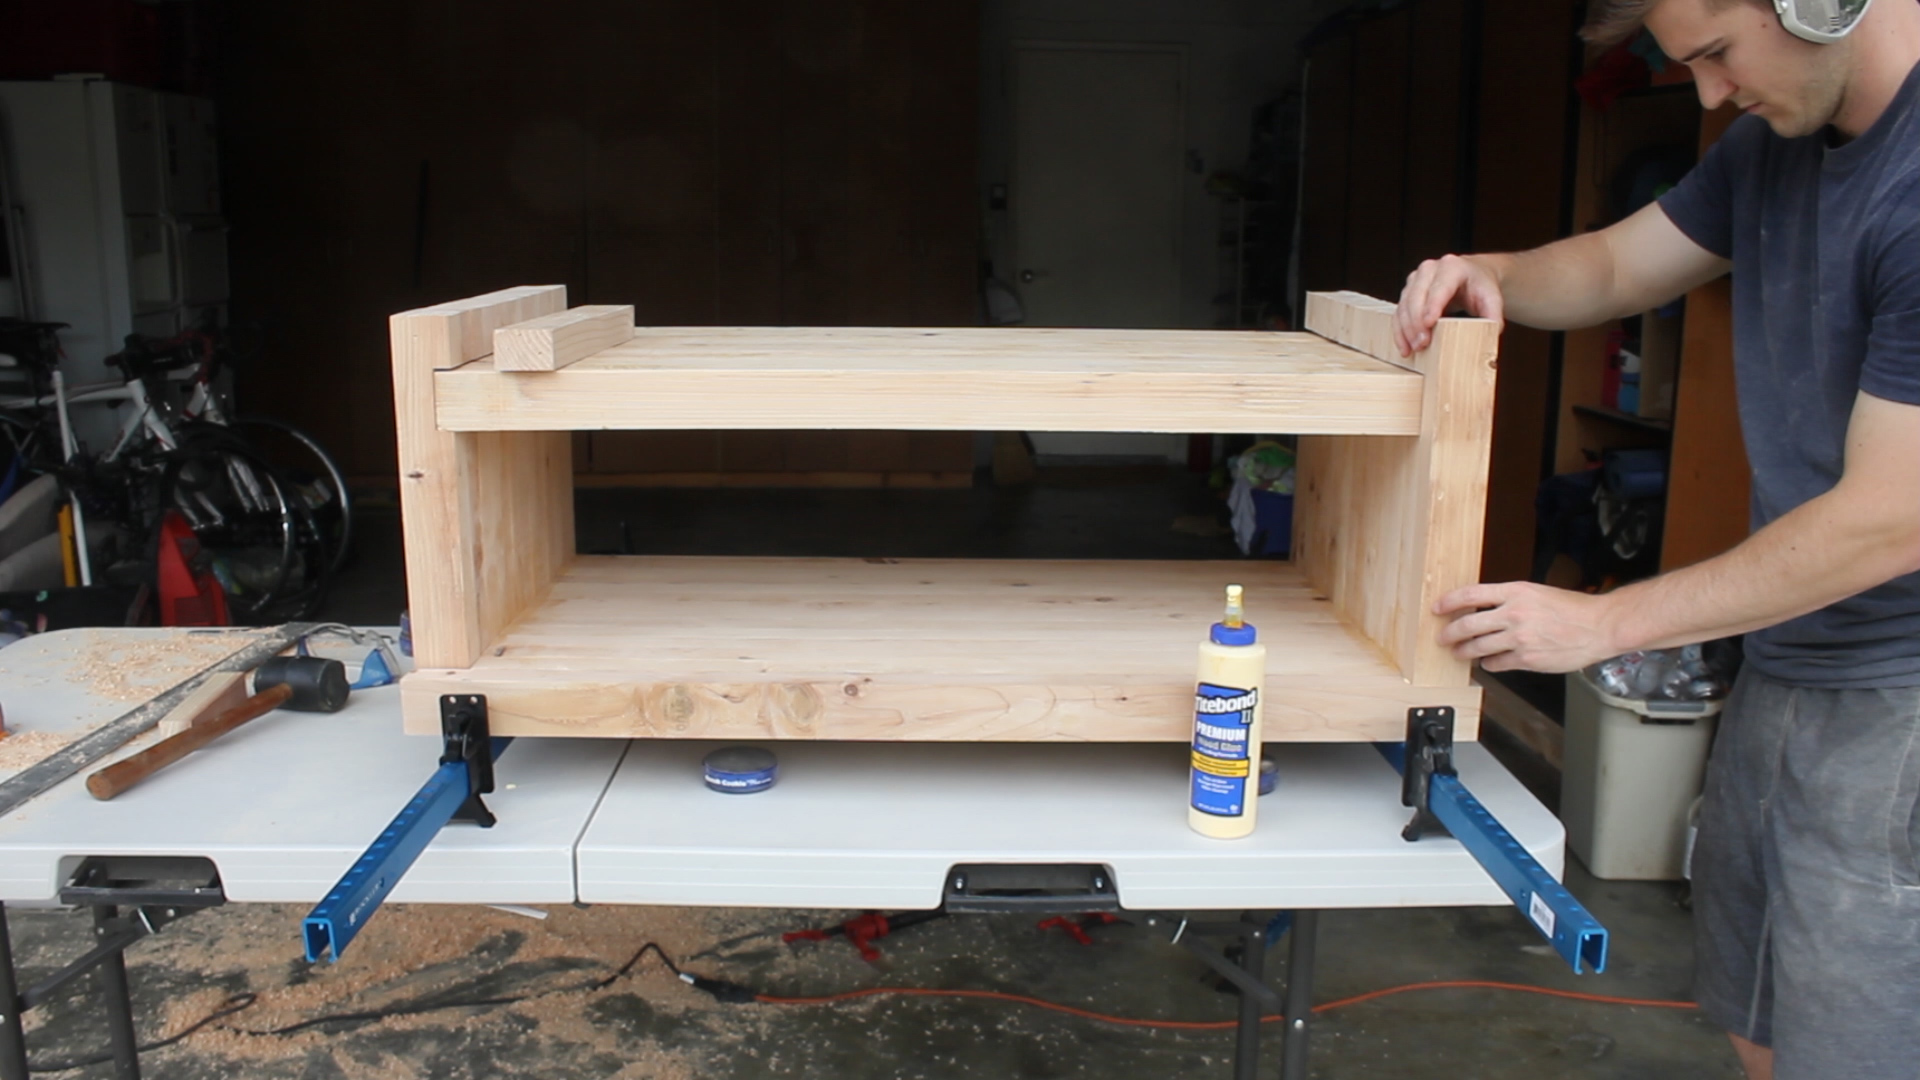
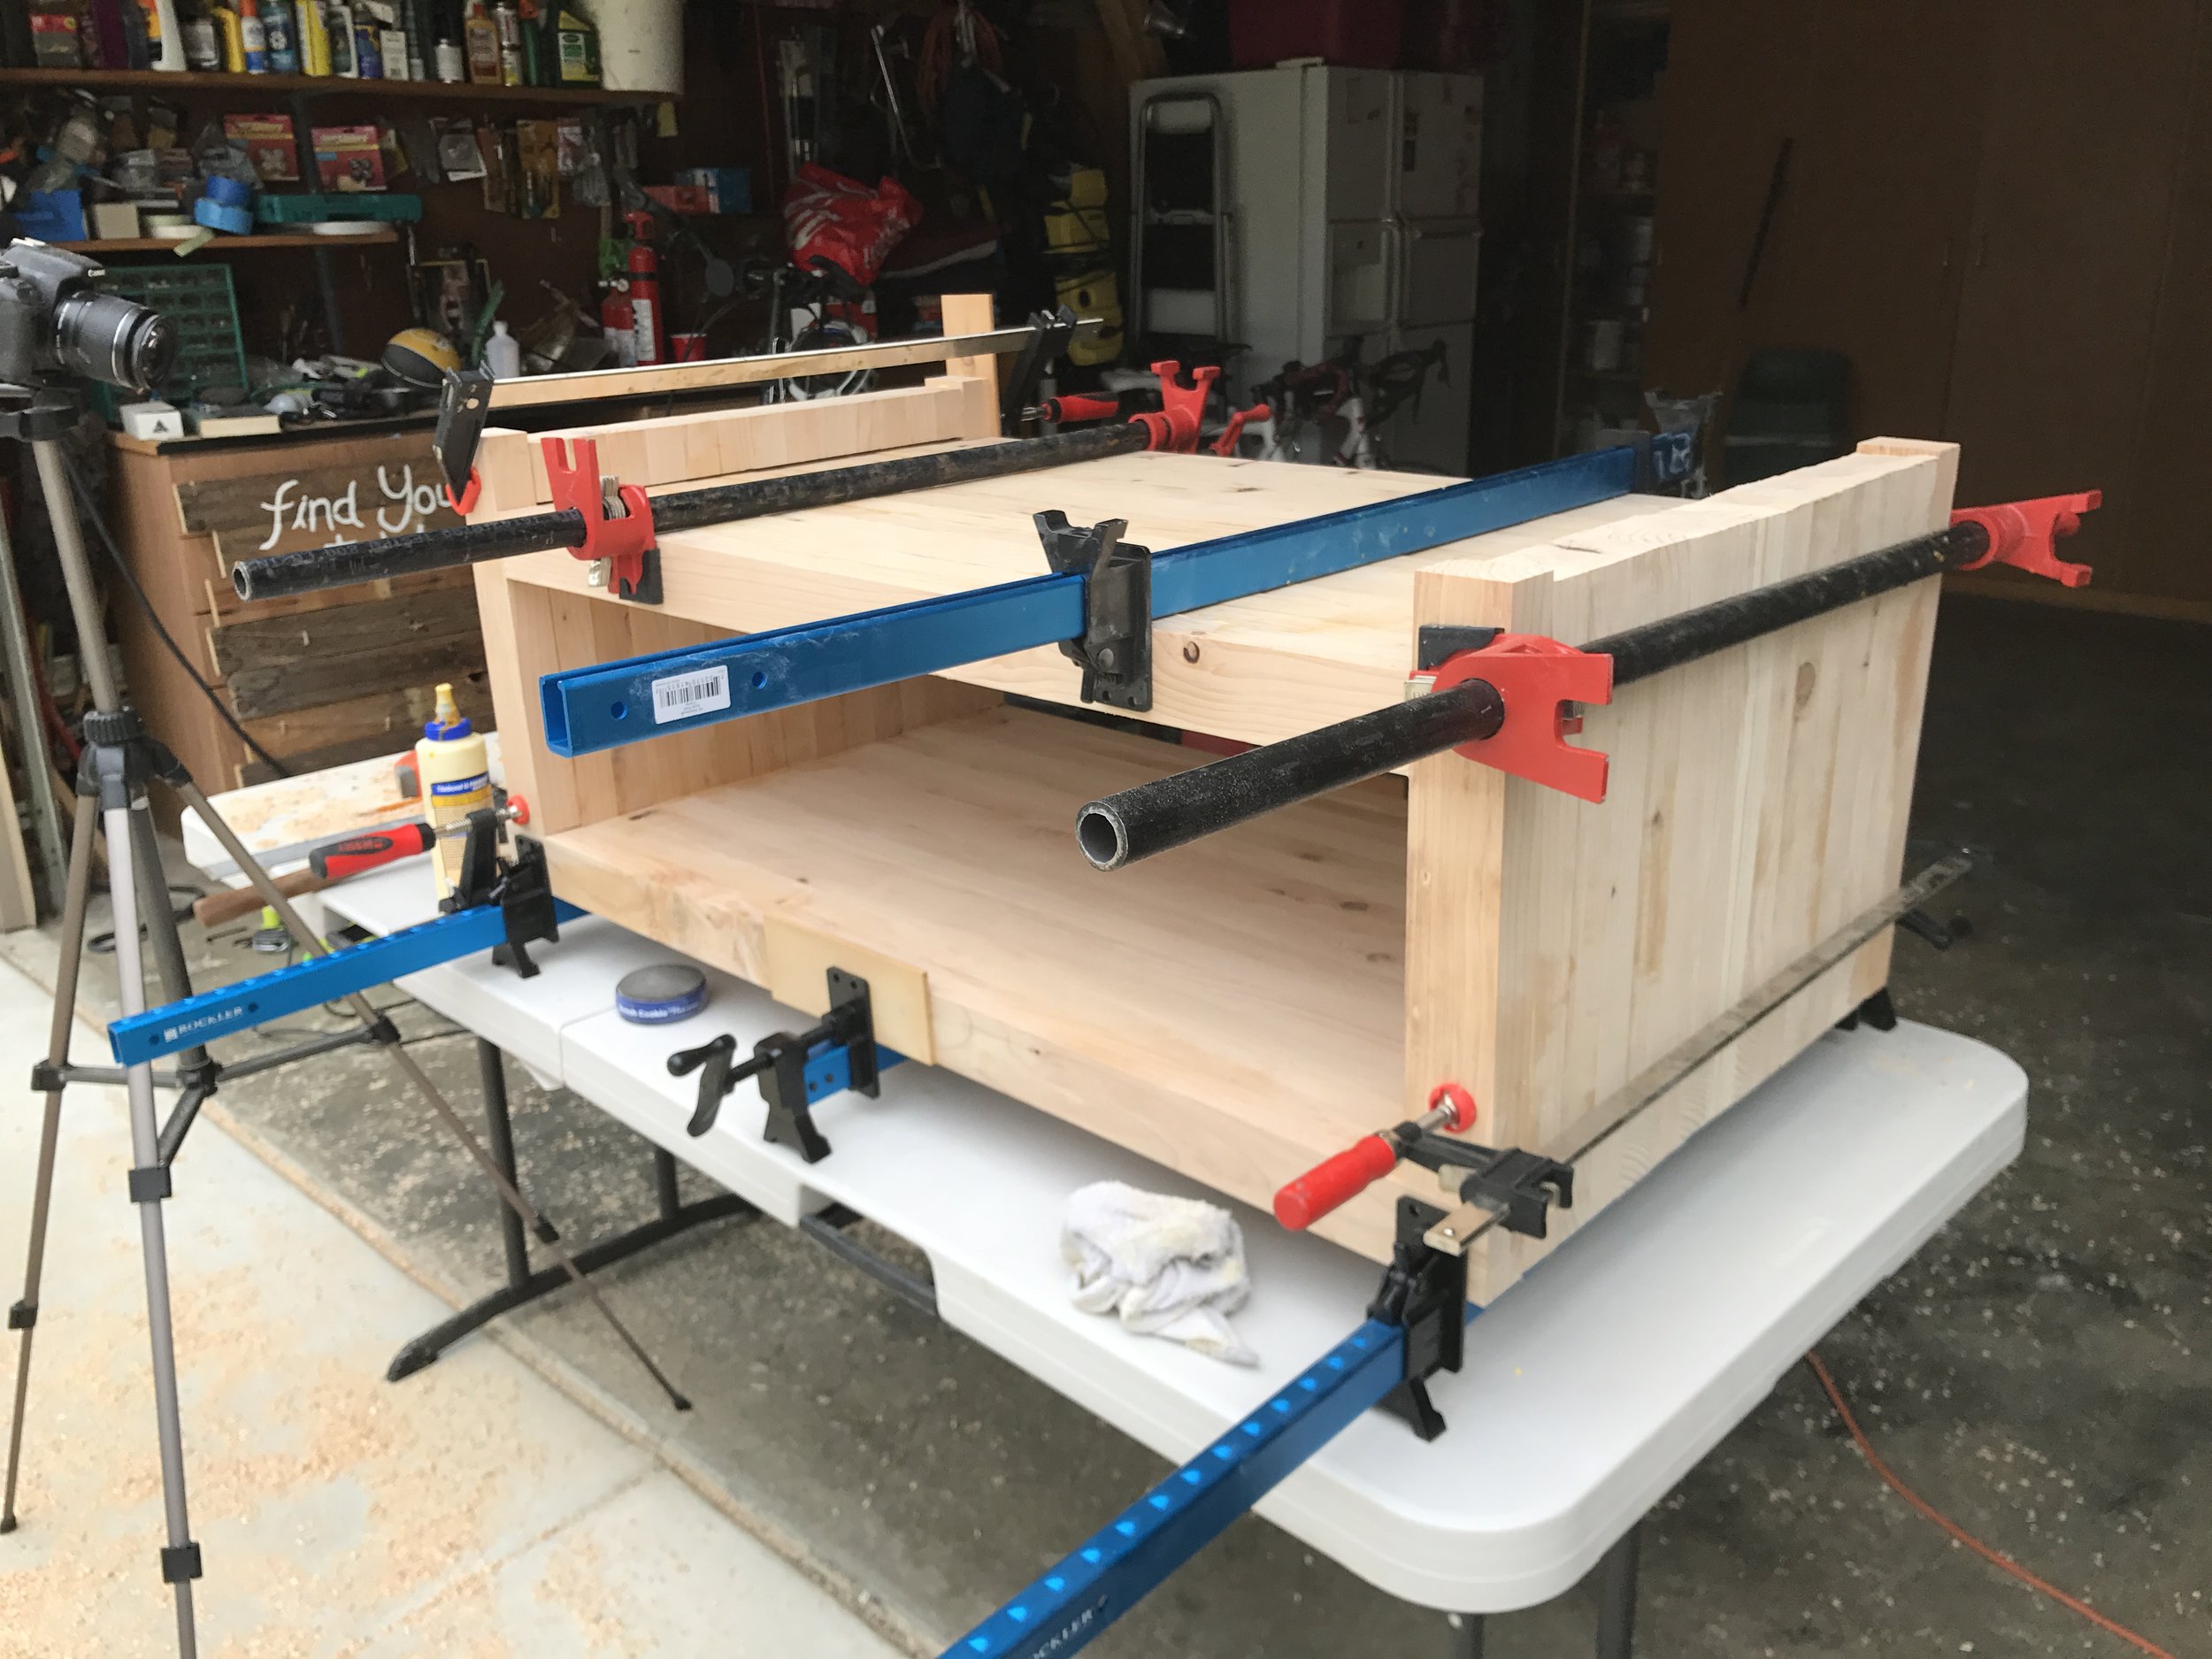
Pics 1-4 show me assembling all of the pieces before glue up to make sure it all fits together.
I was 99% sure if would, but you never know...
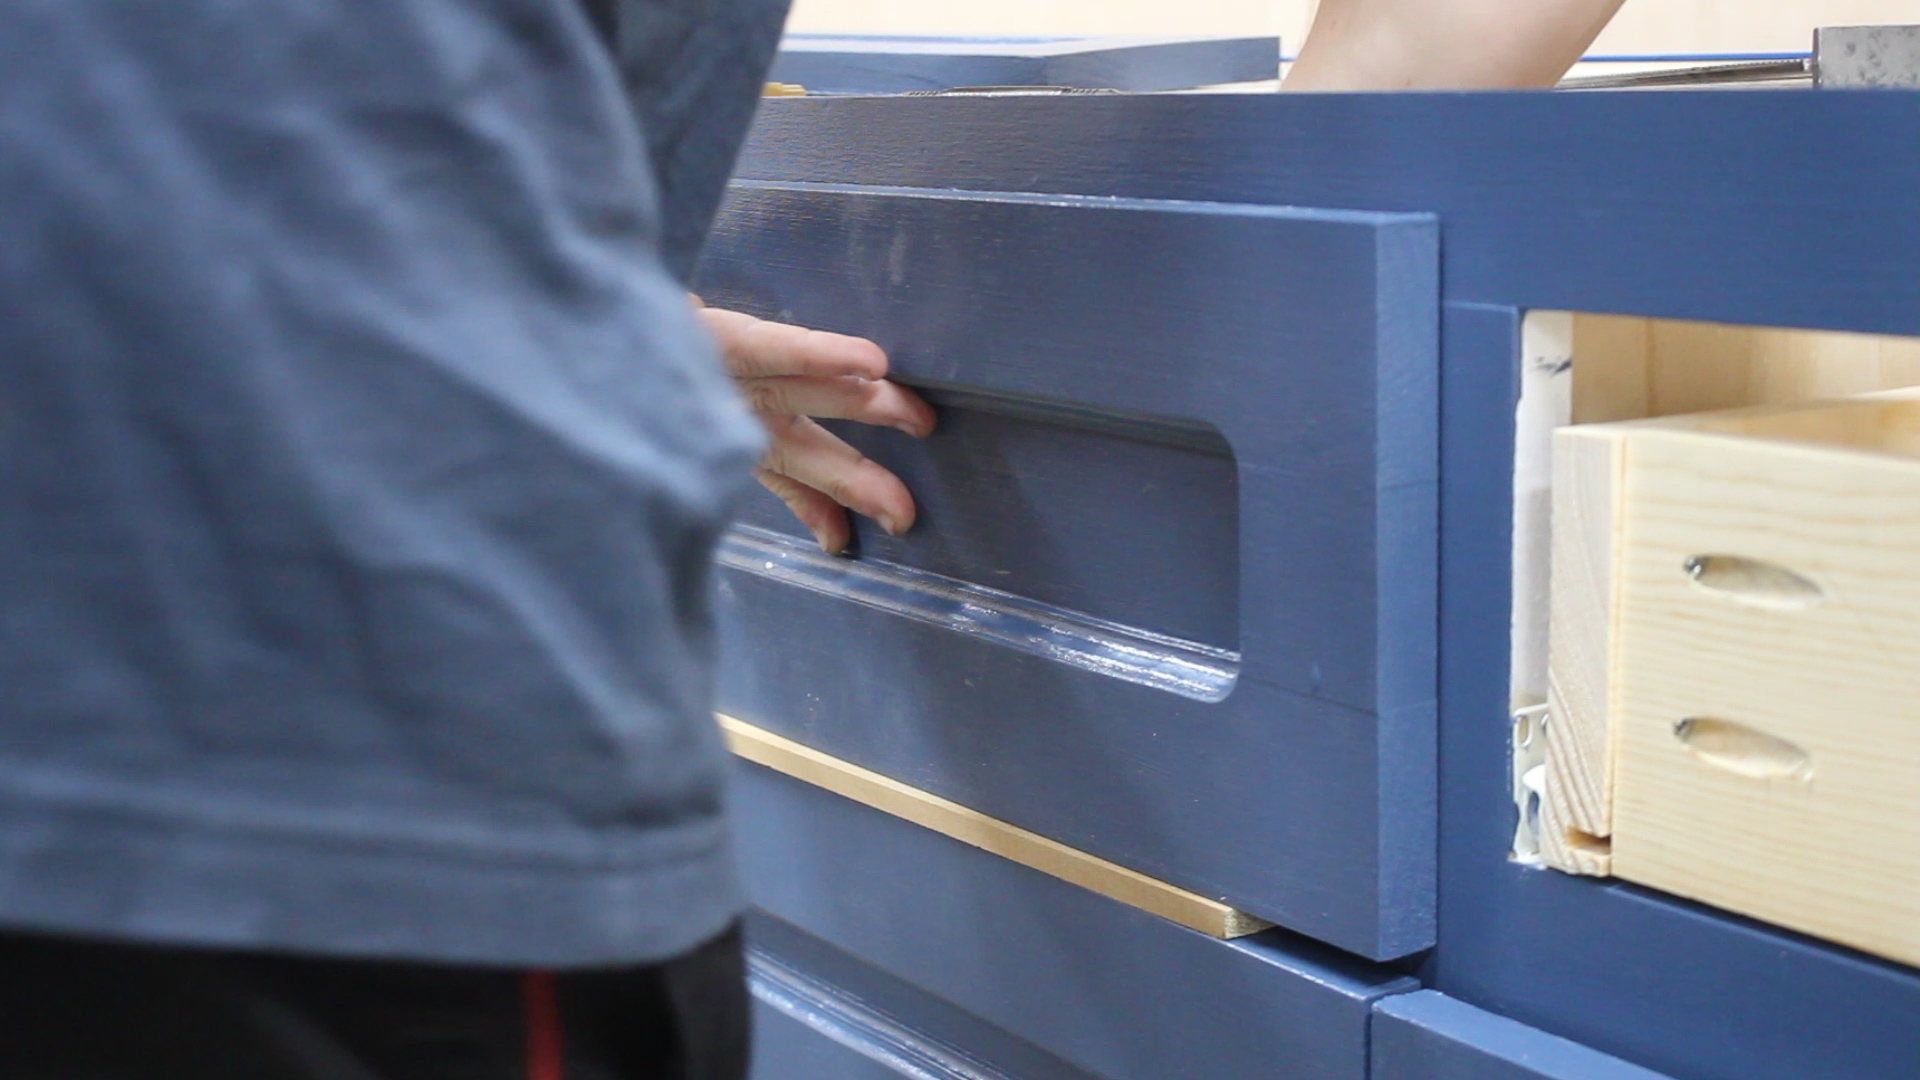
You can see how my four outside walls go all of the way to the bottom instead of sitting on top of the base - this was a design choice.

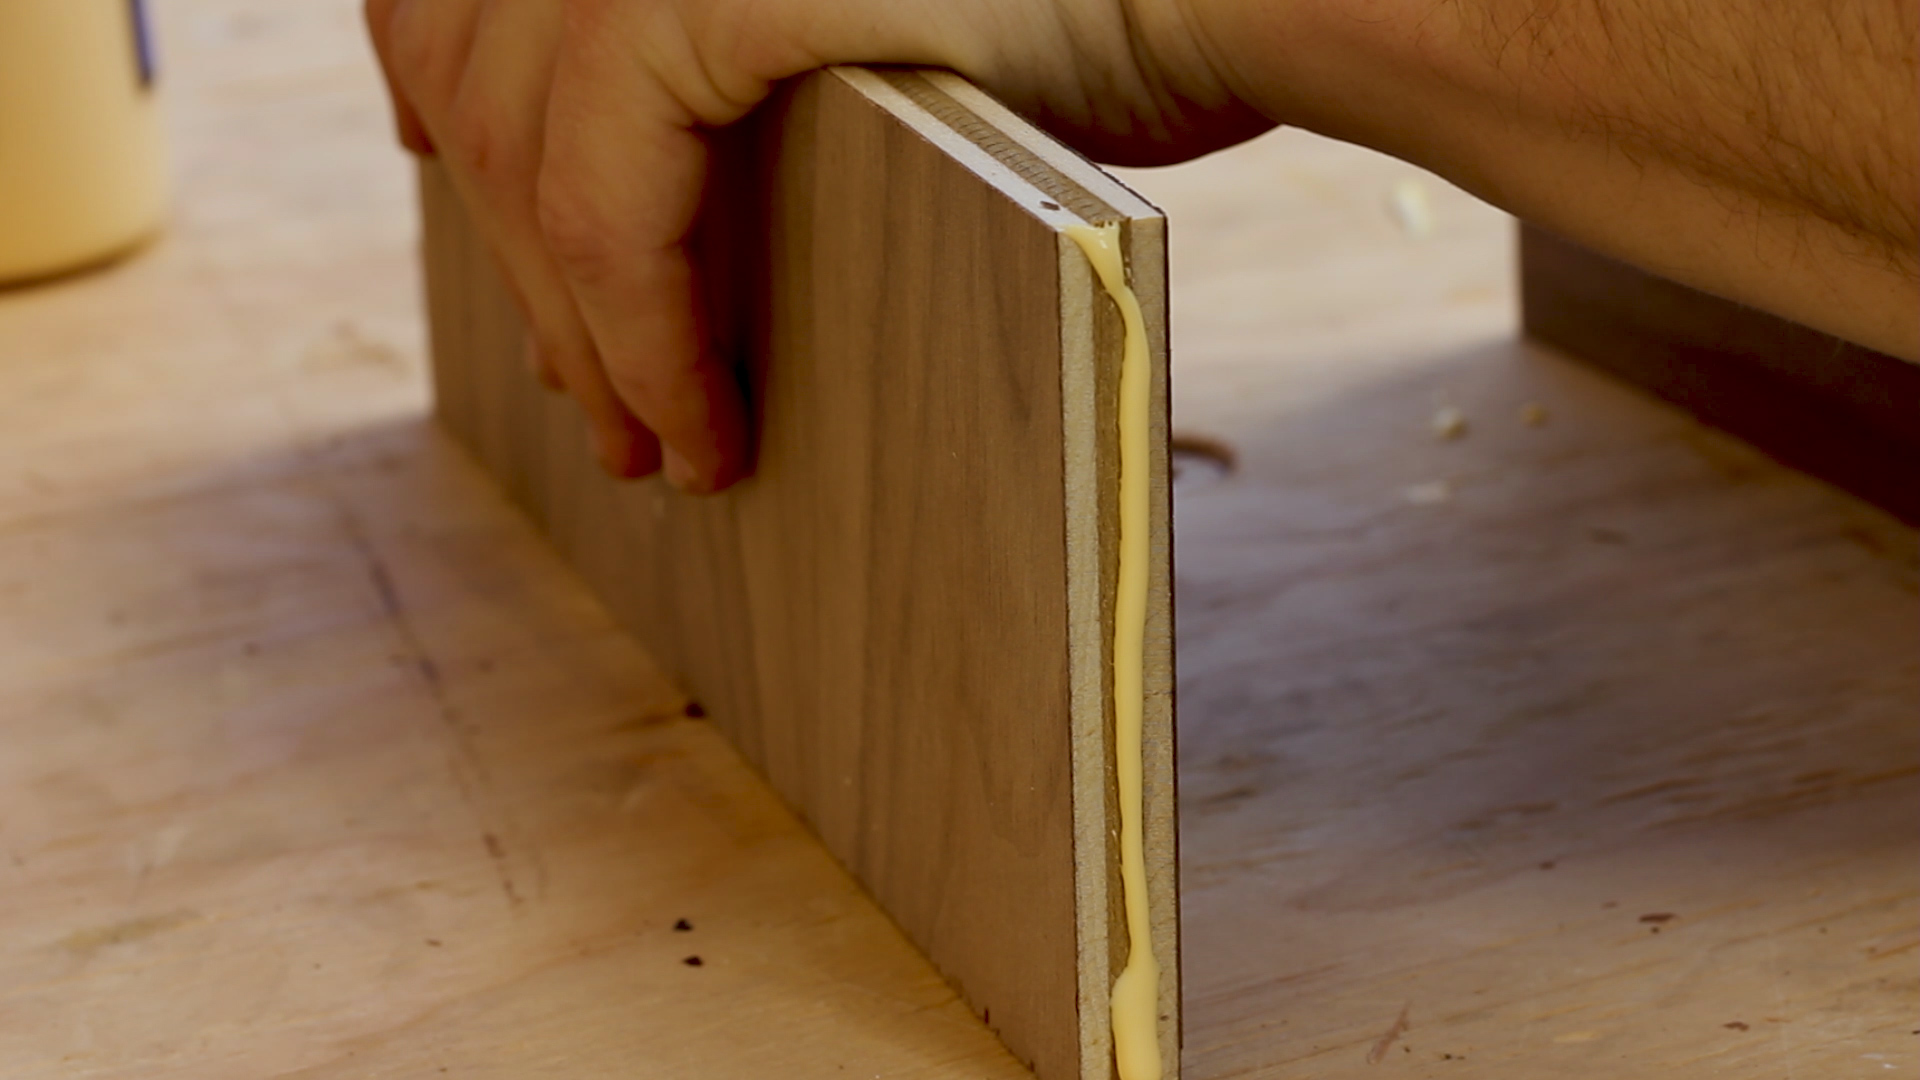
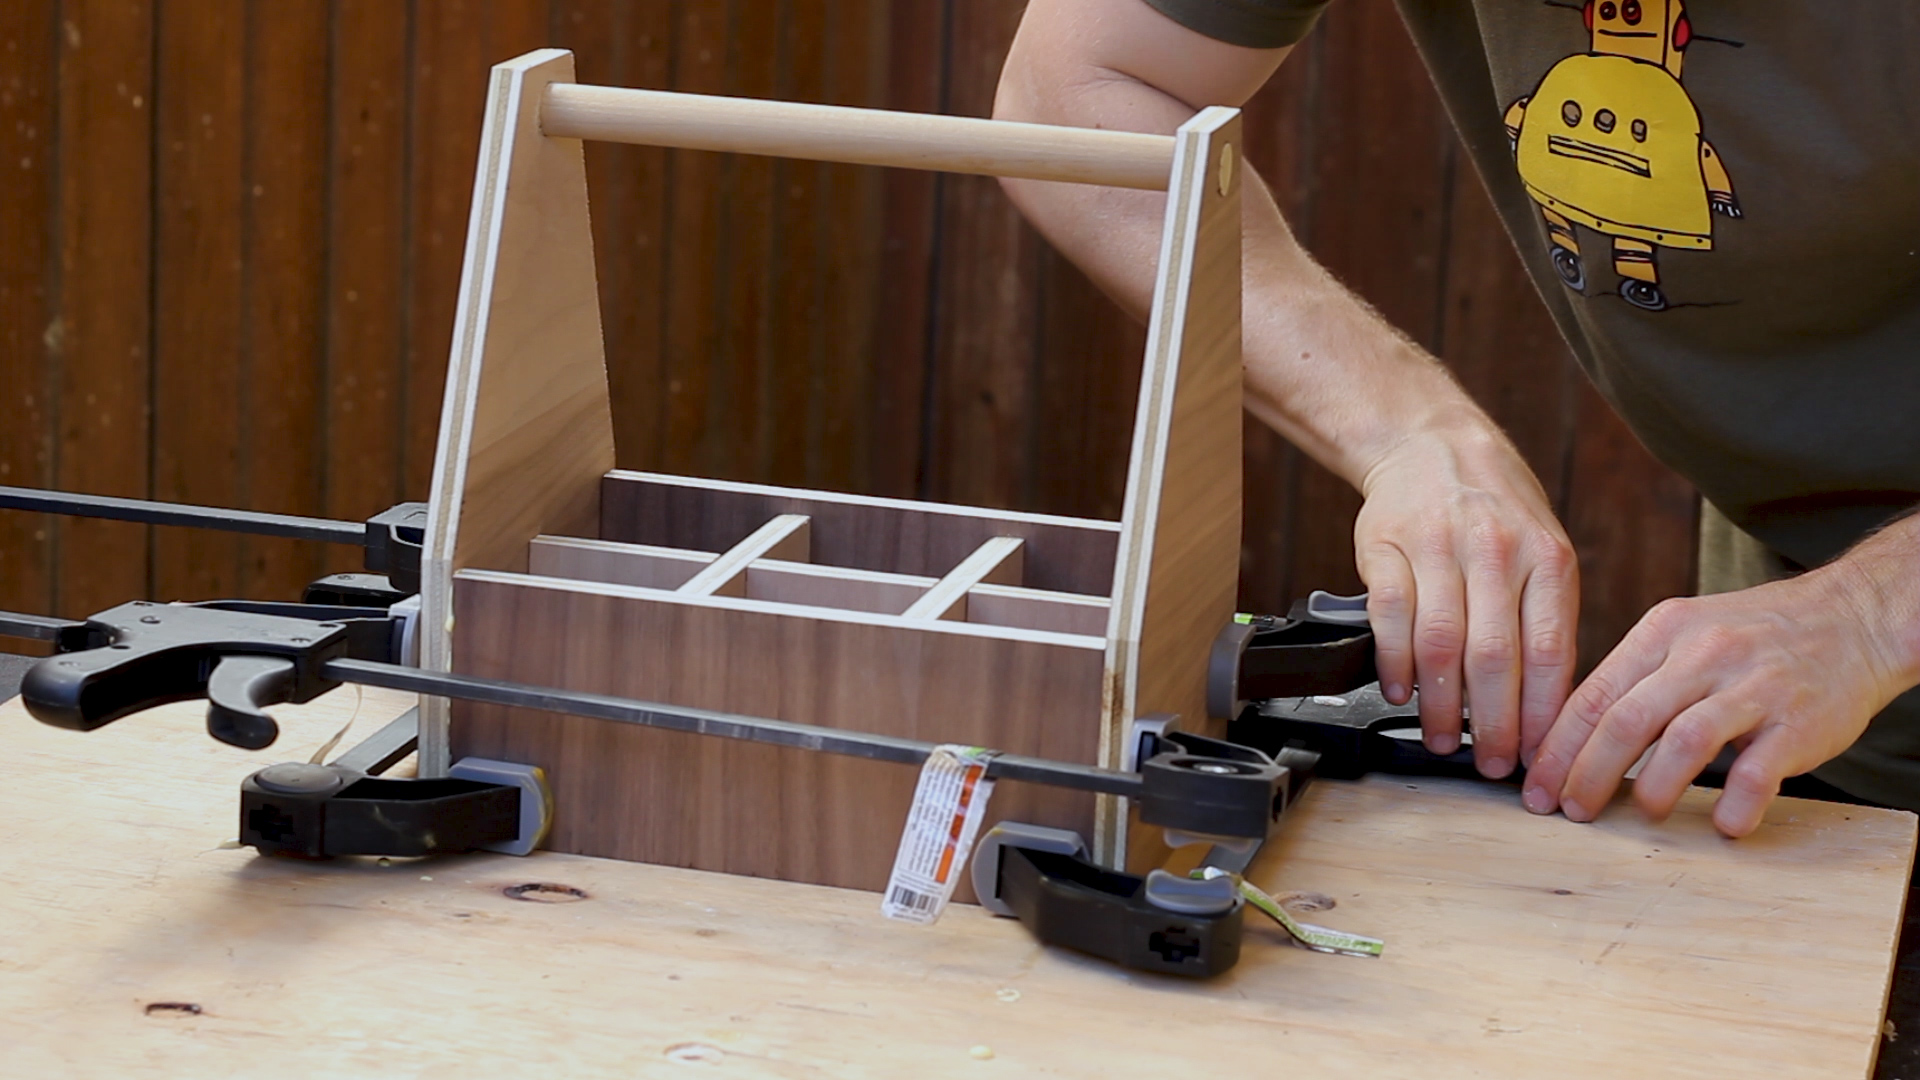
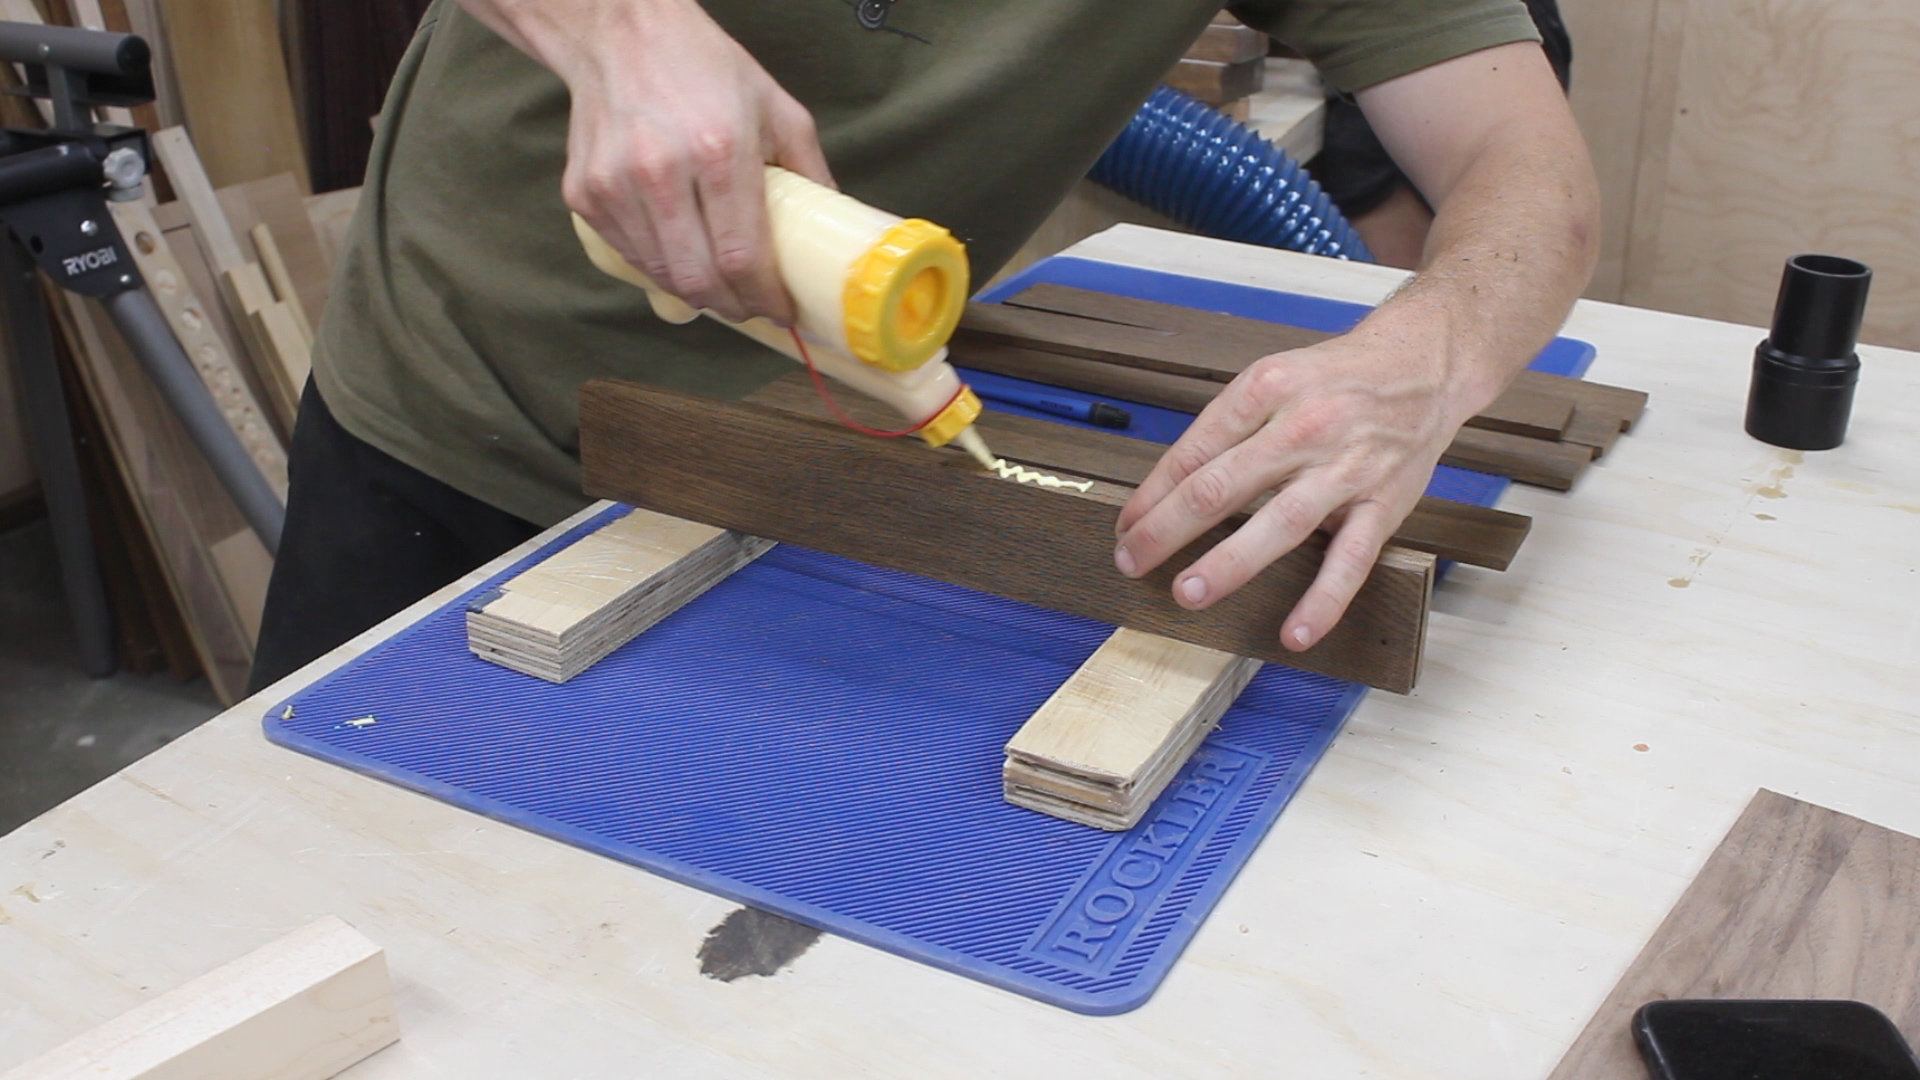
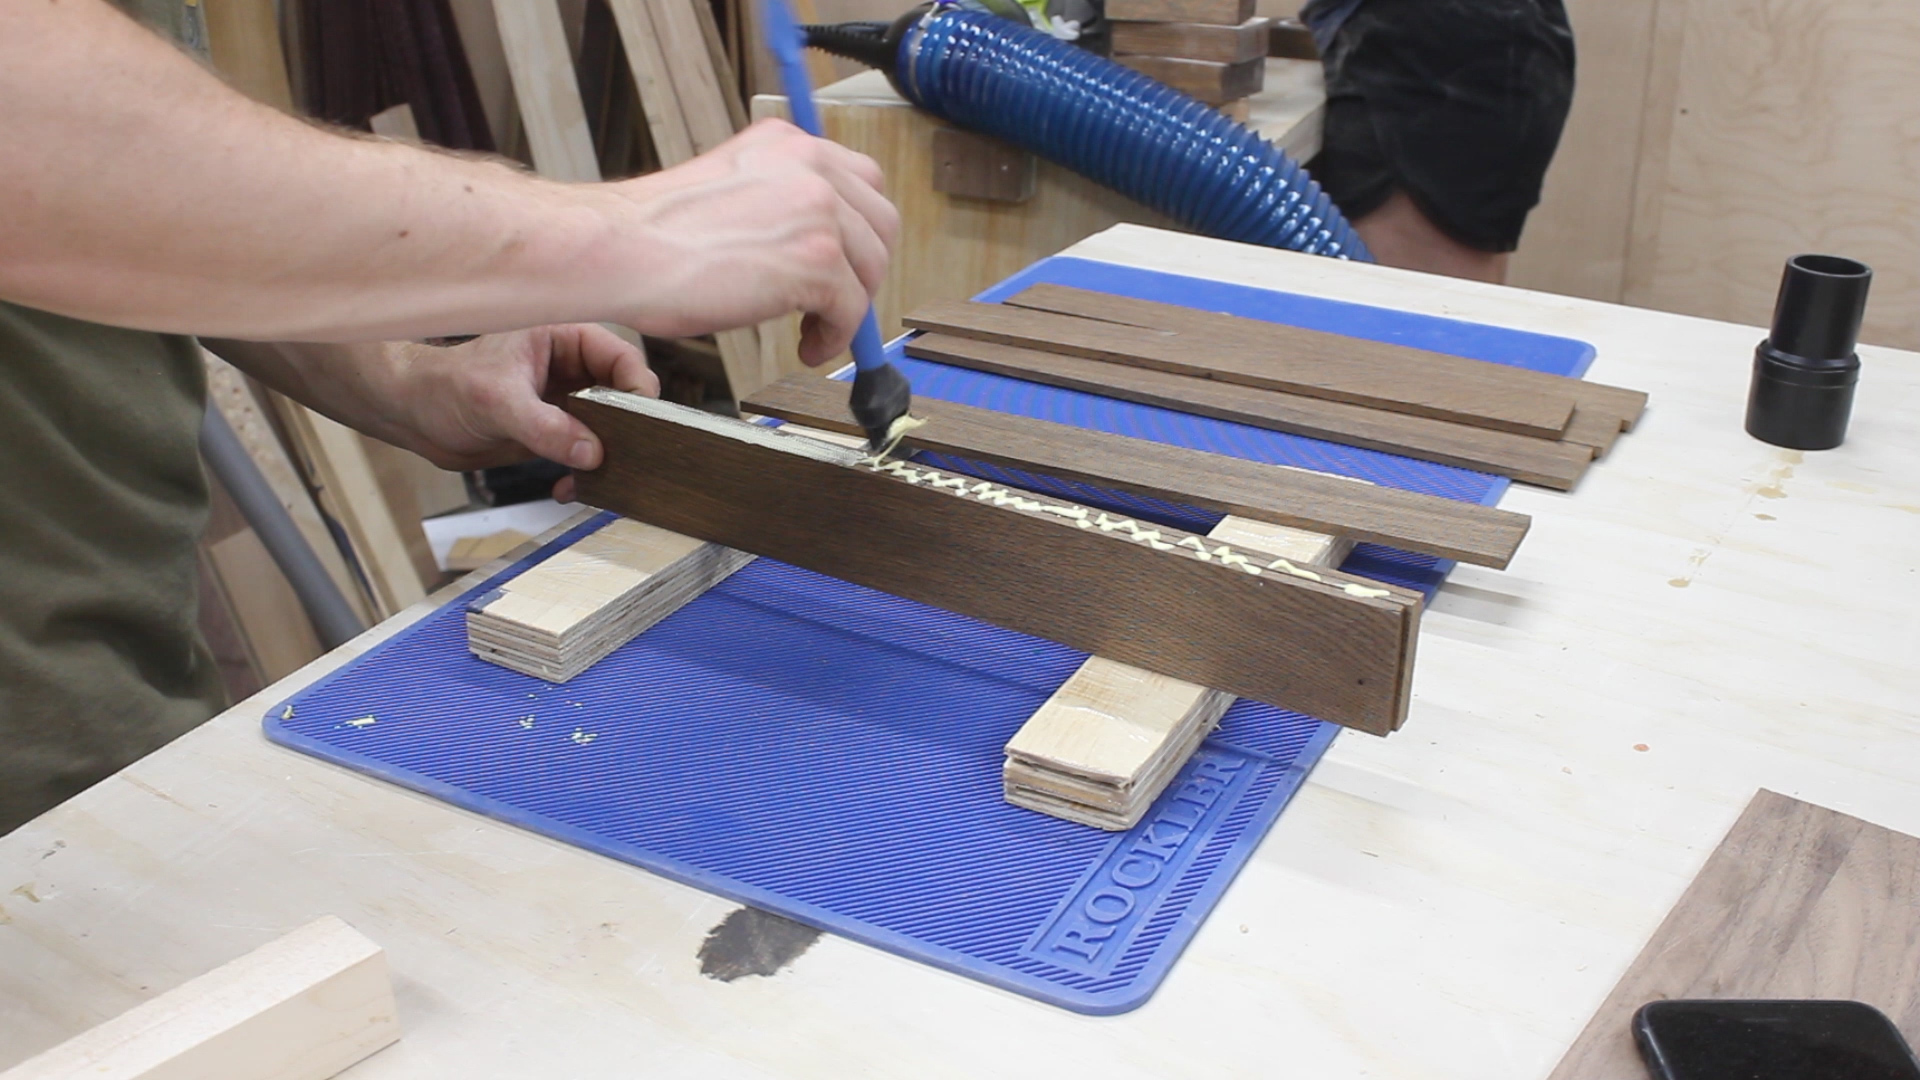
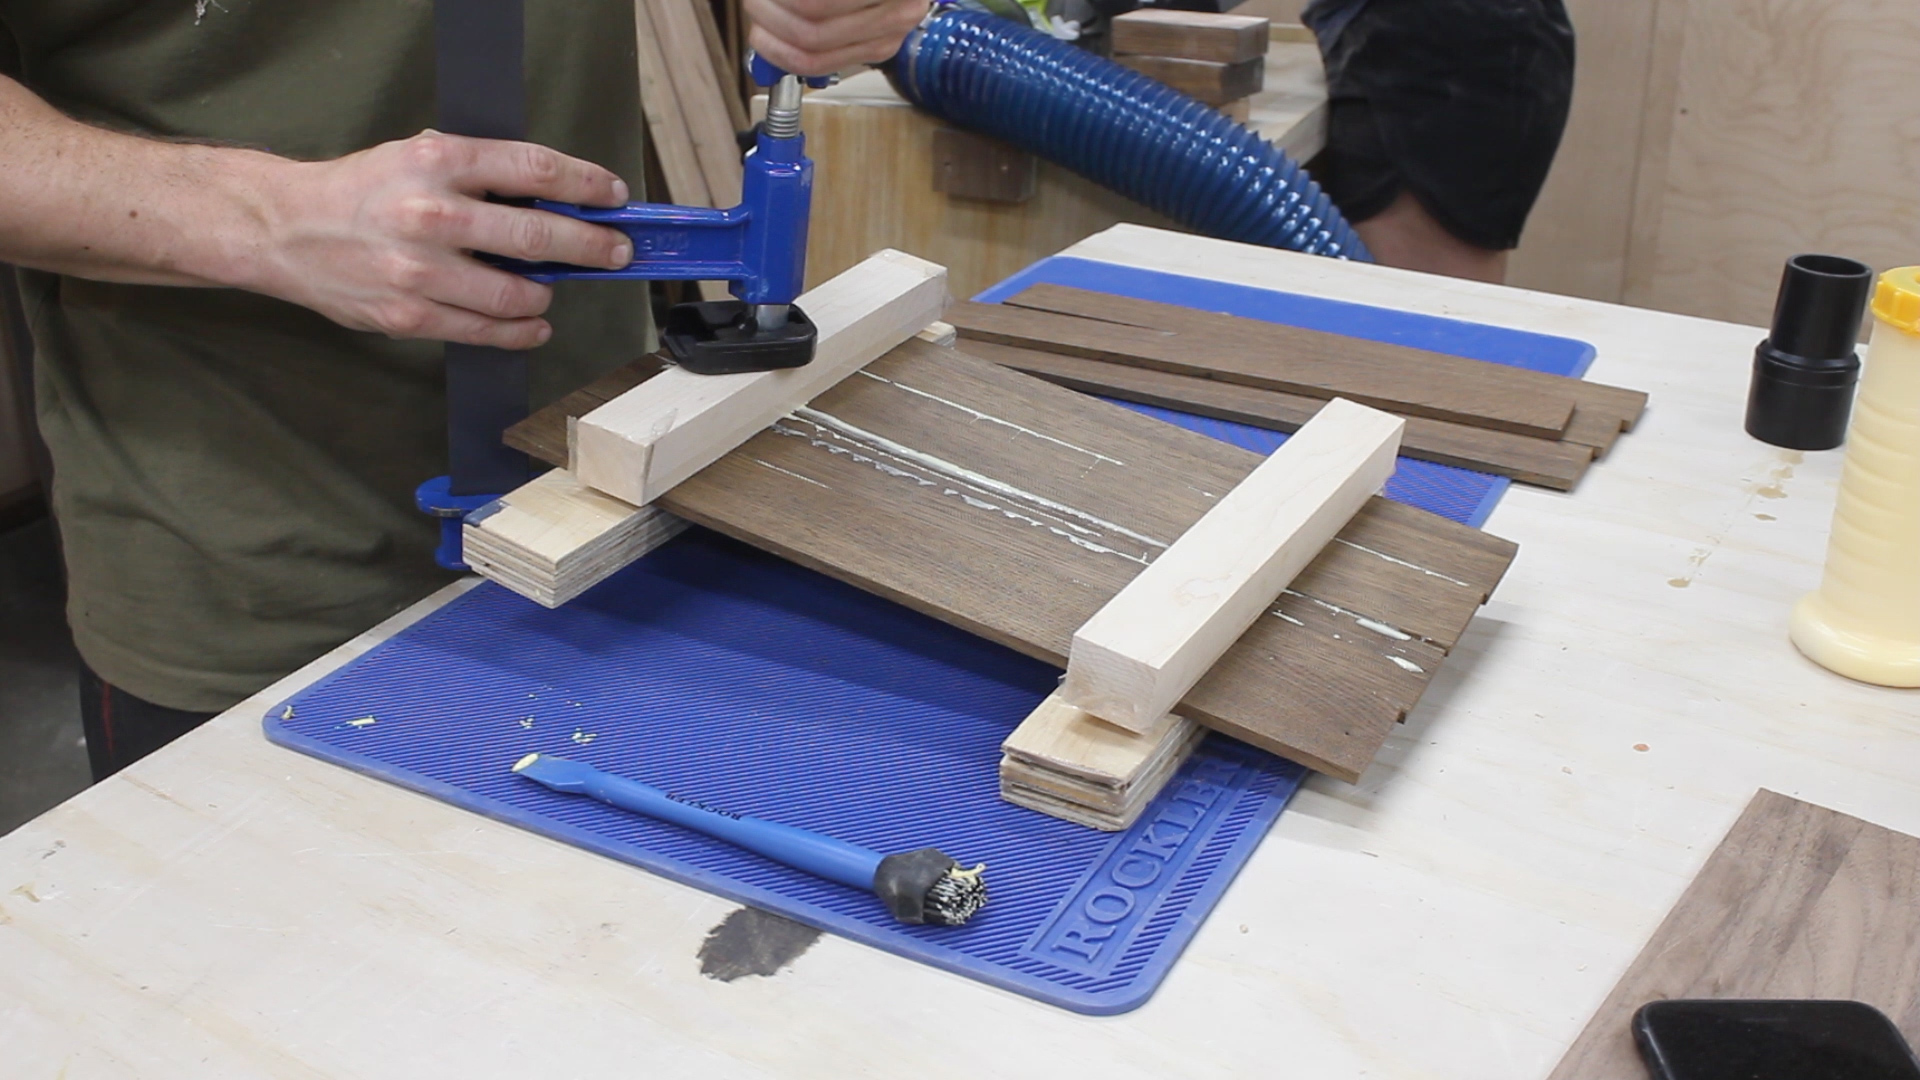
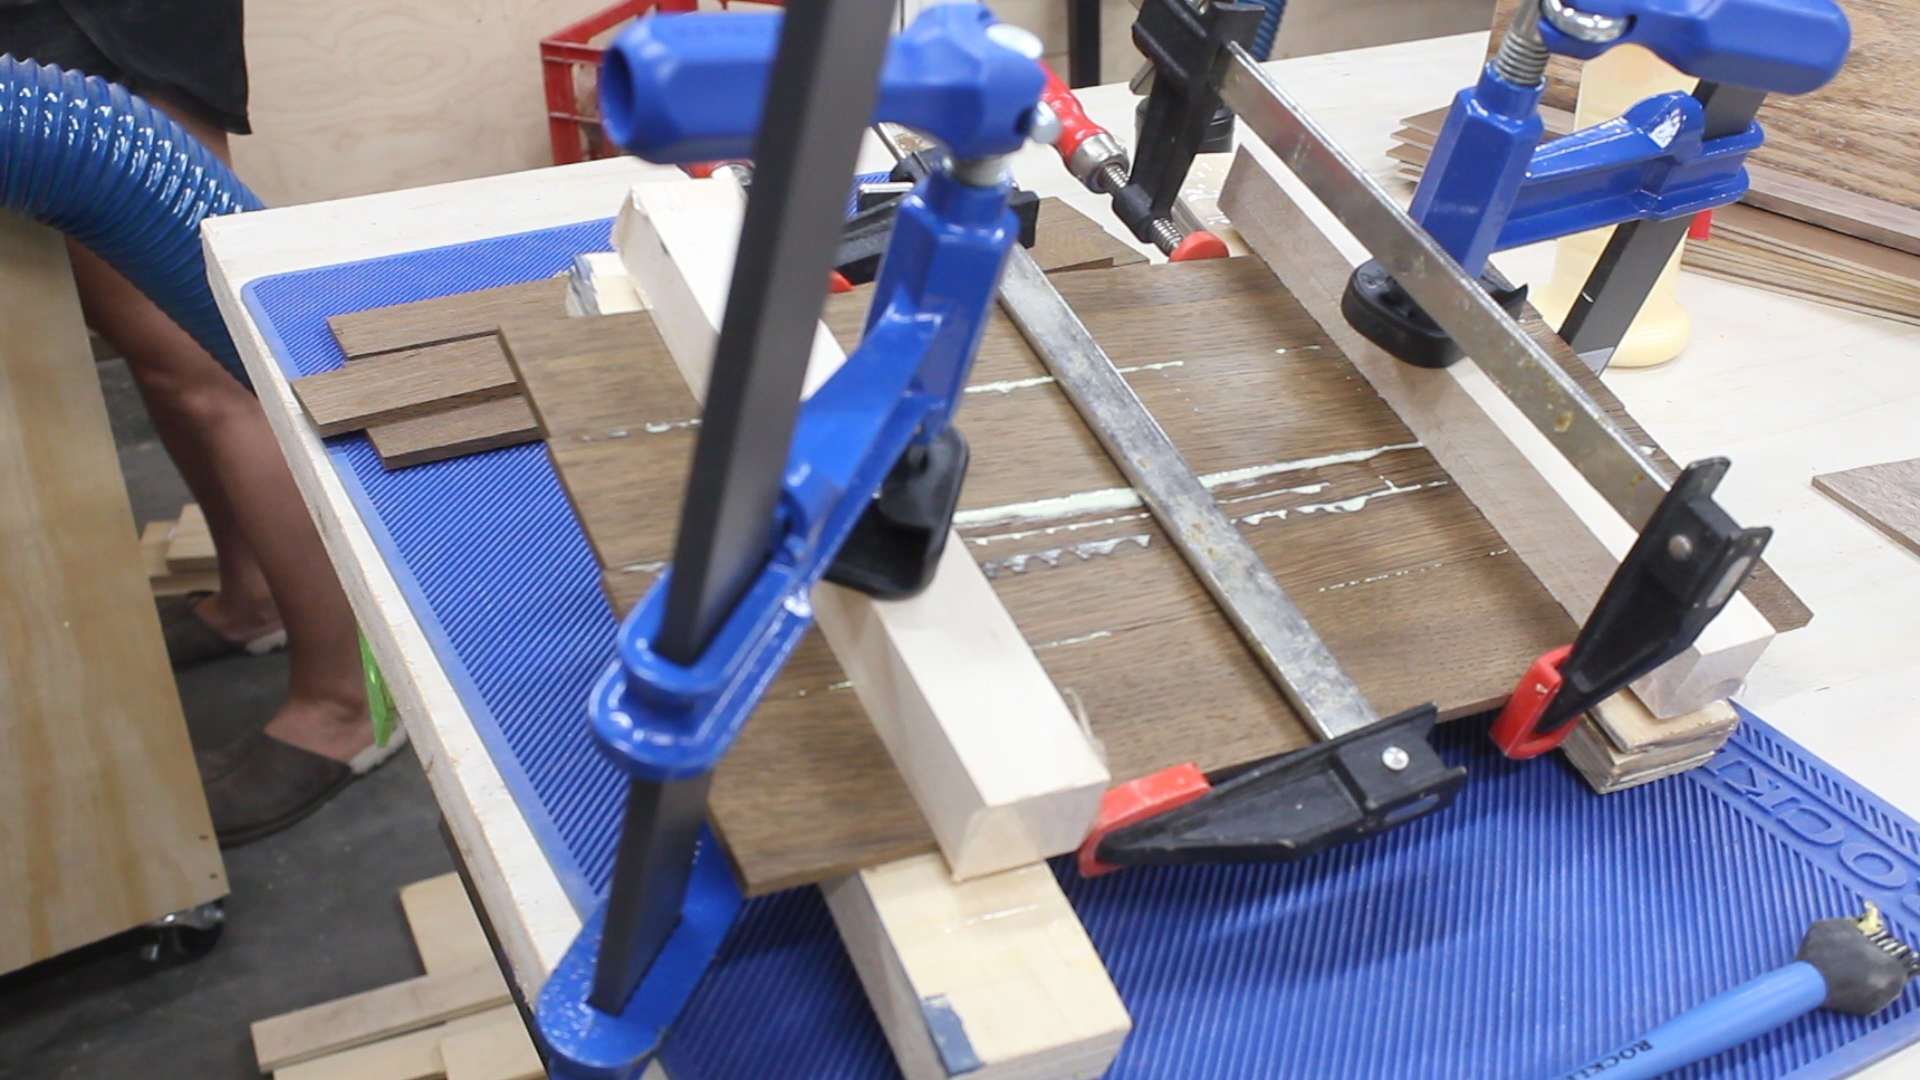
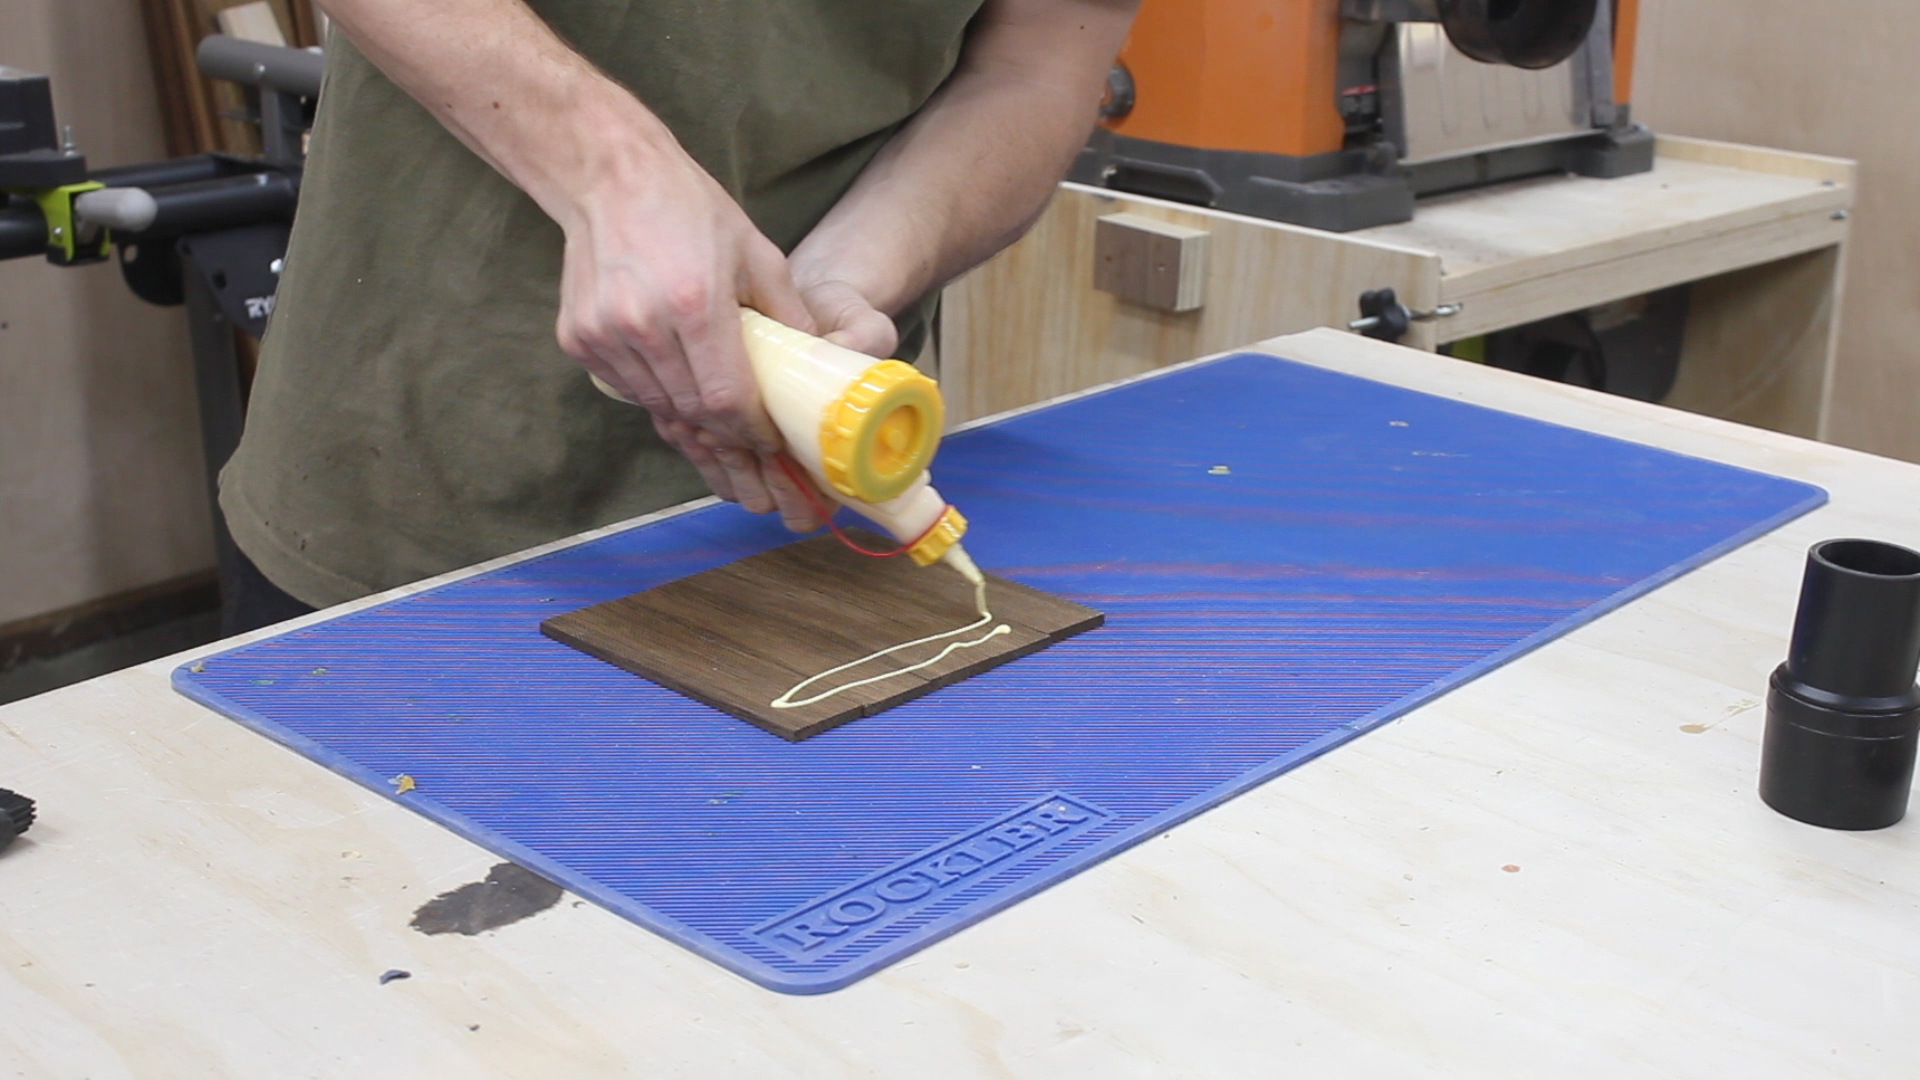
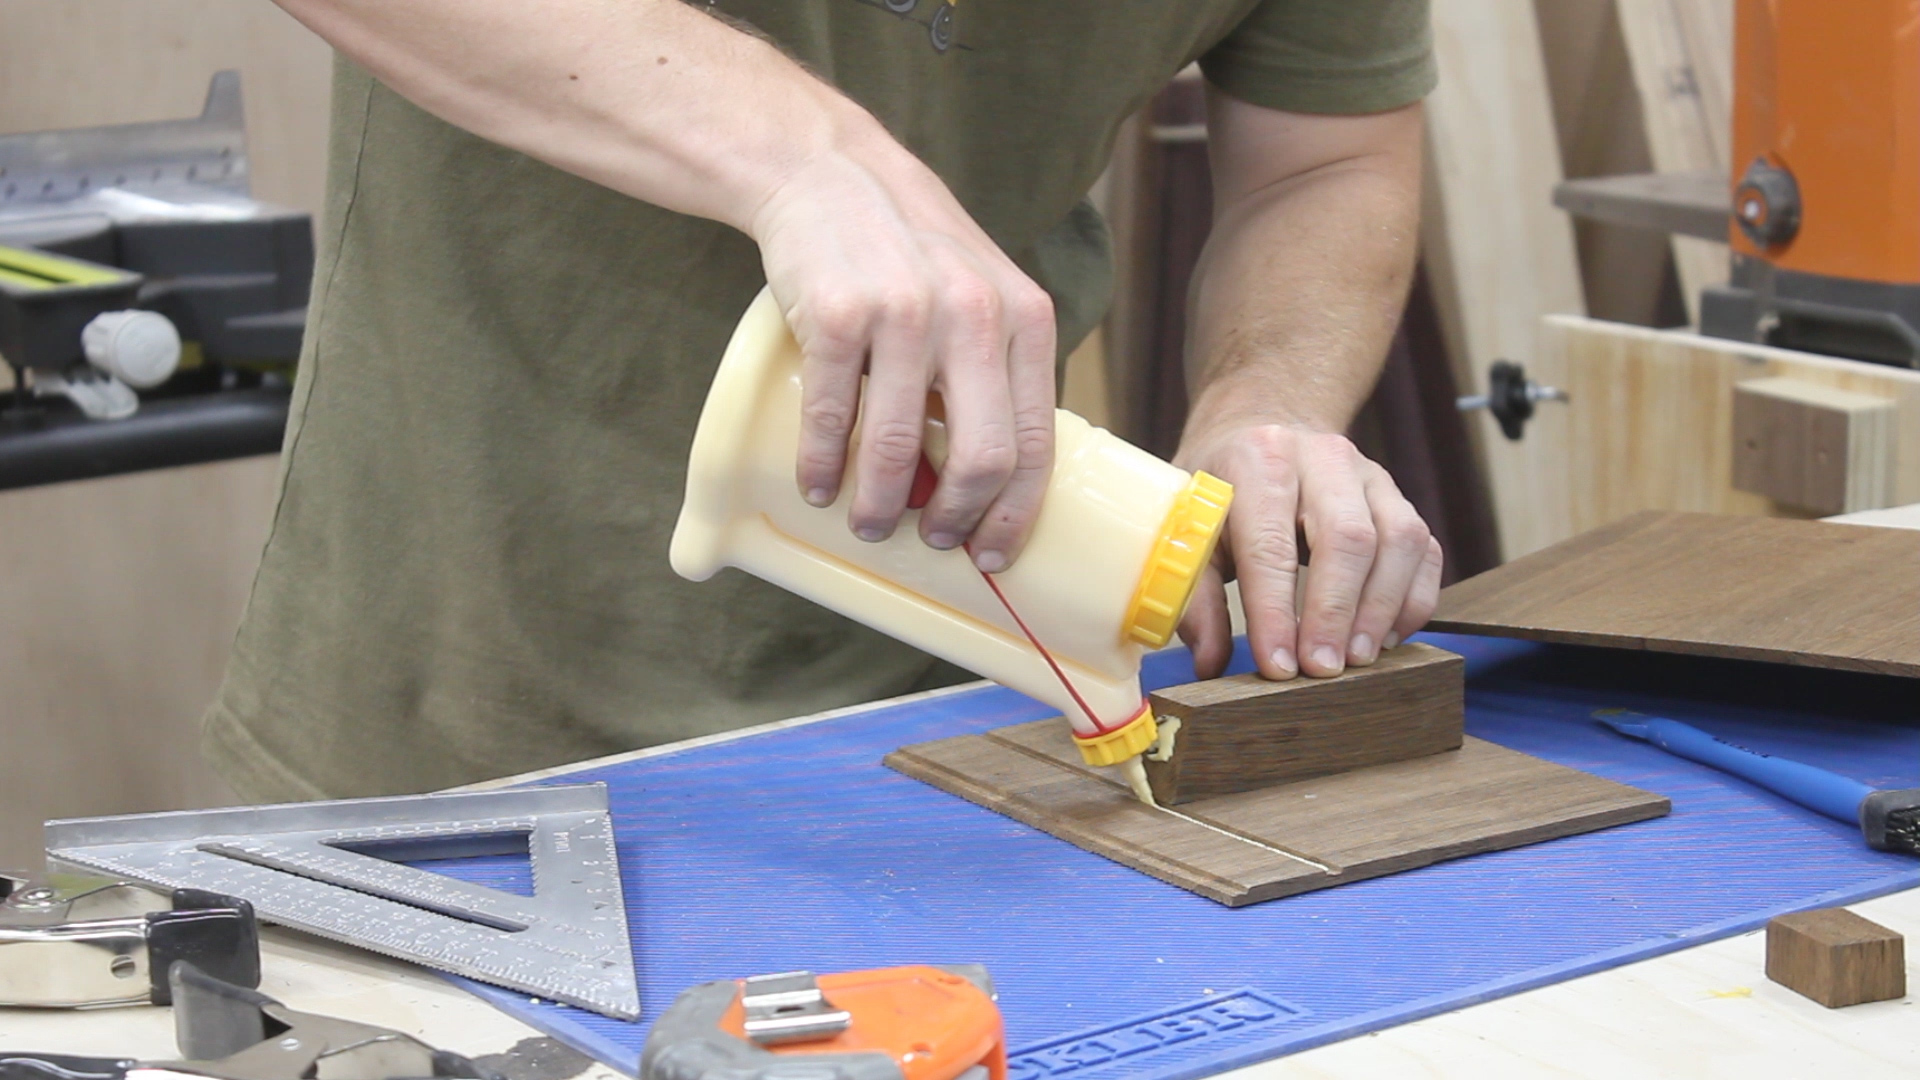
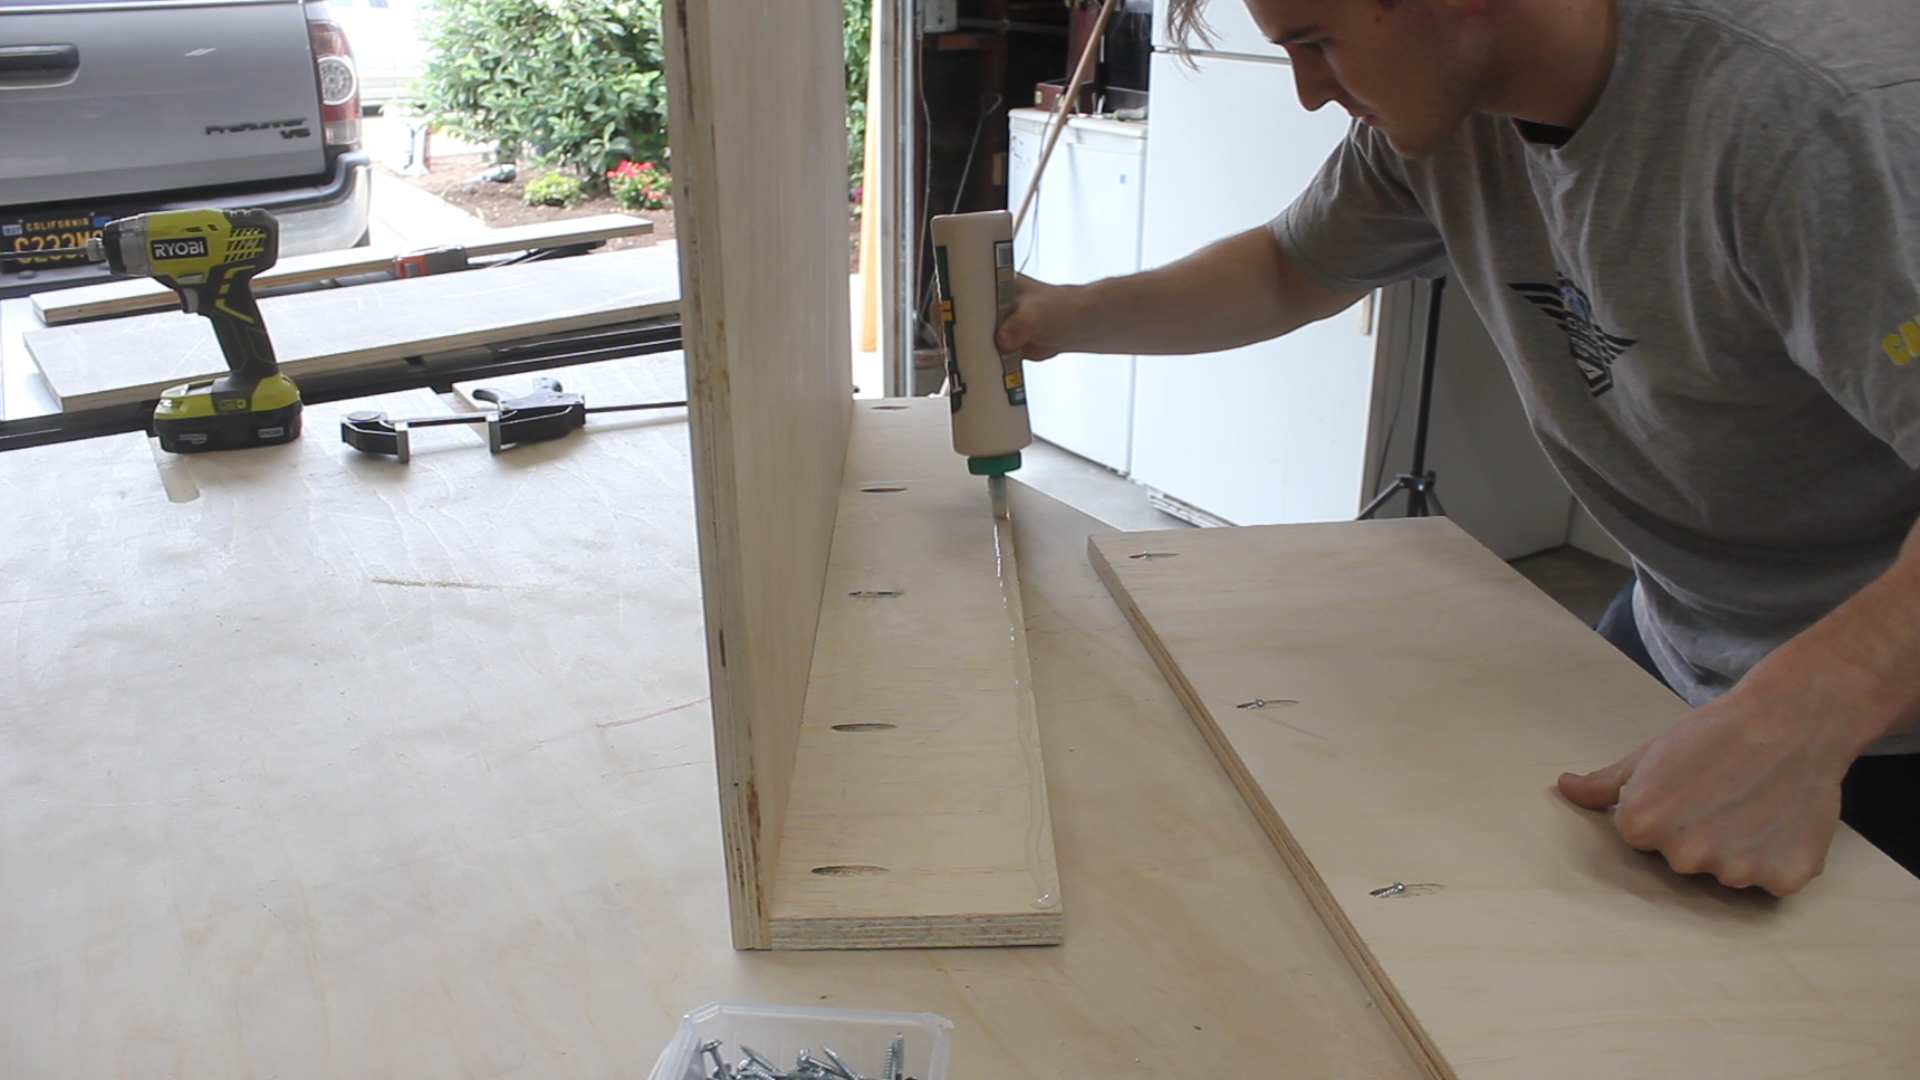
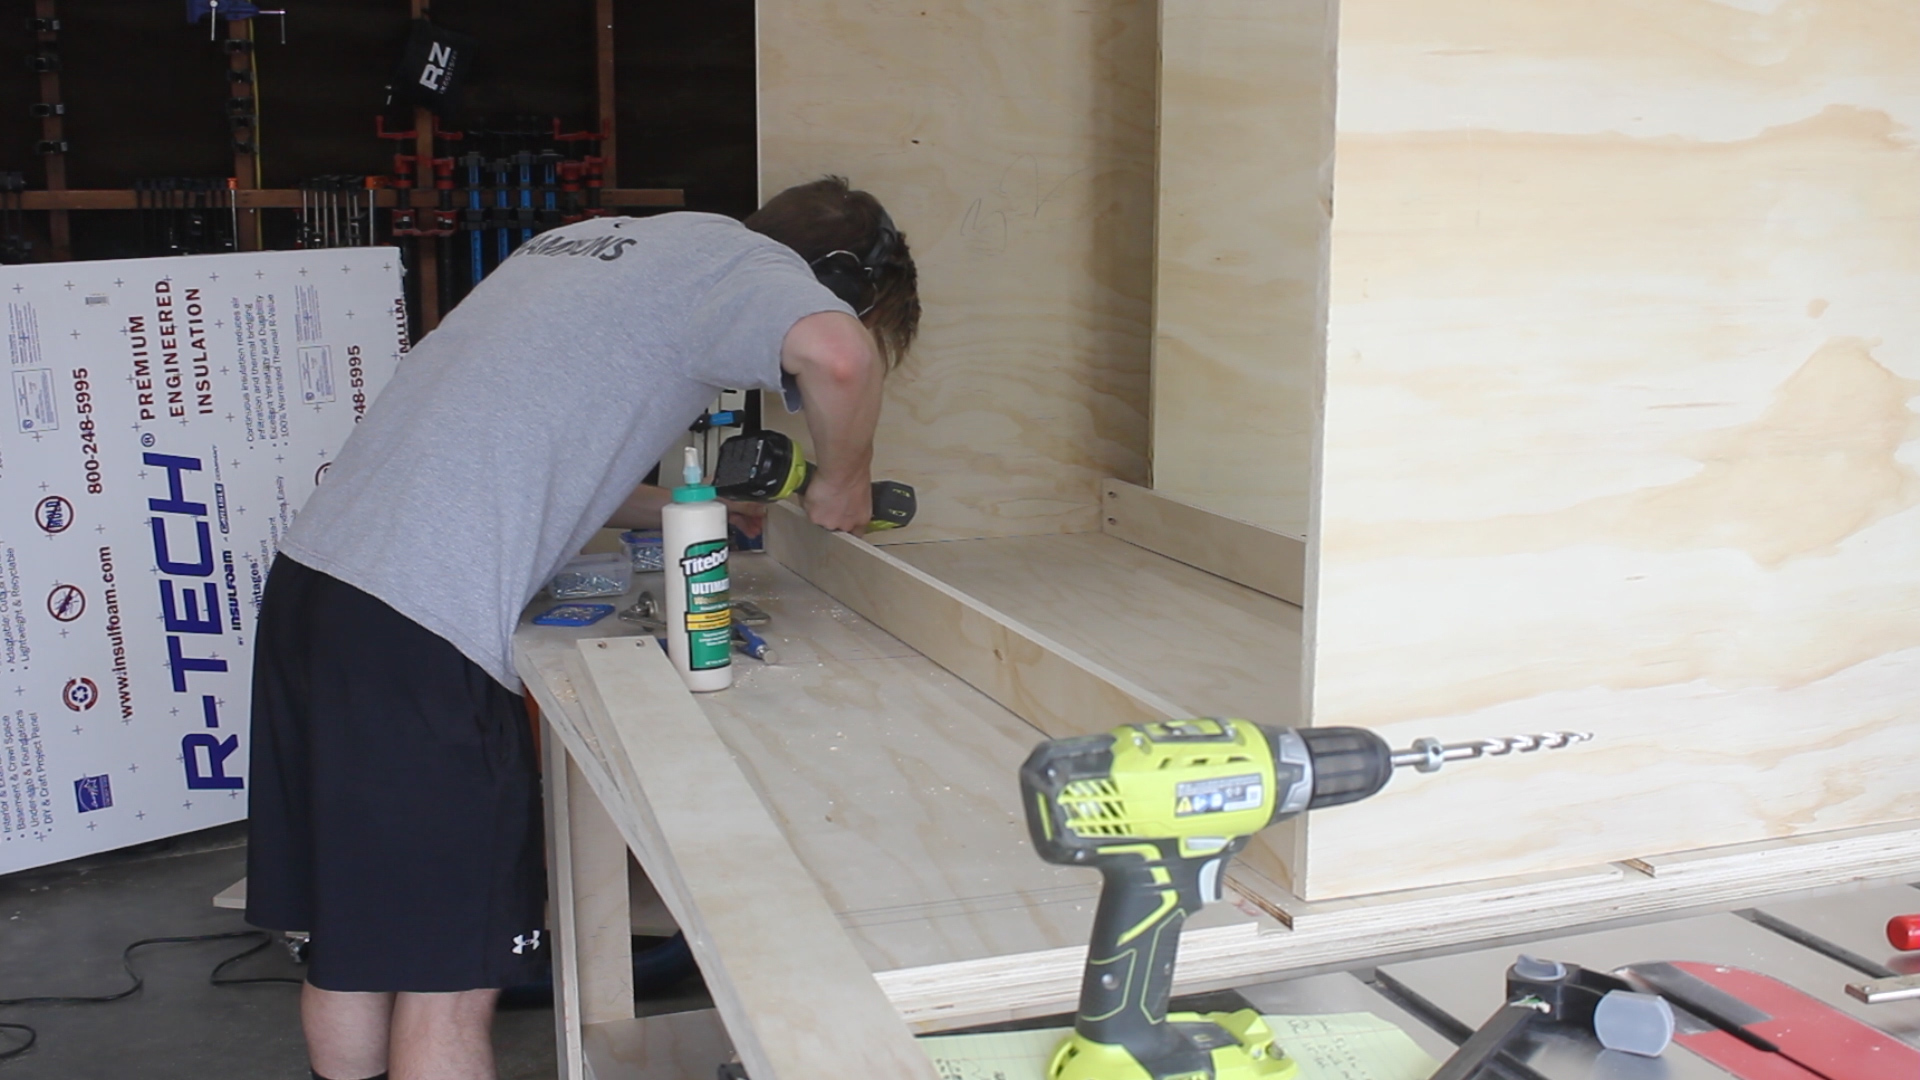
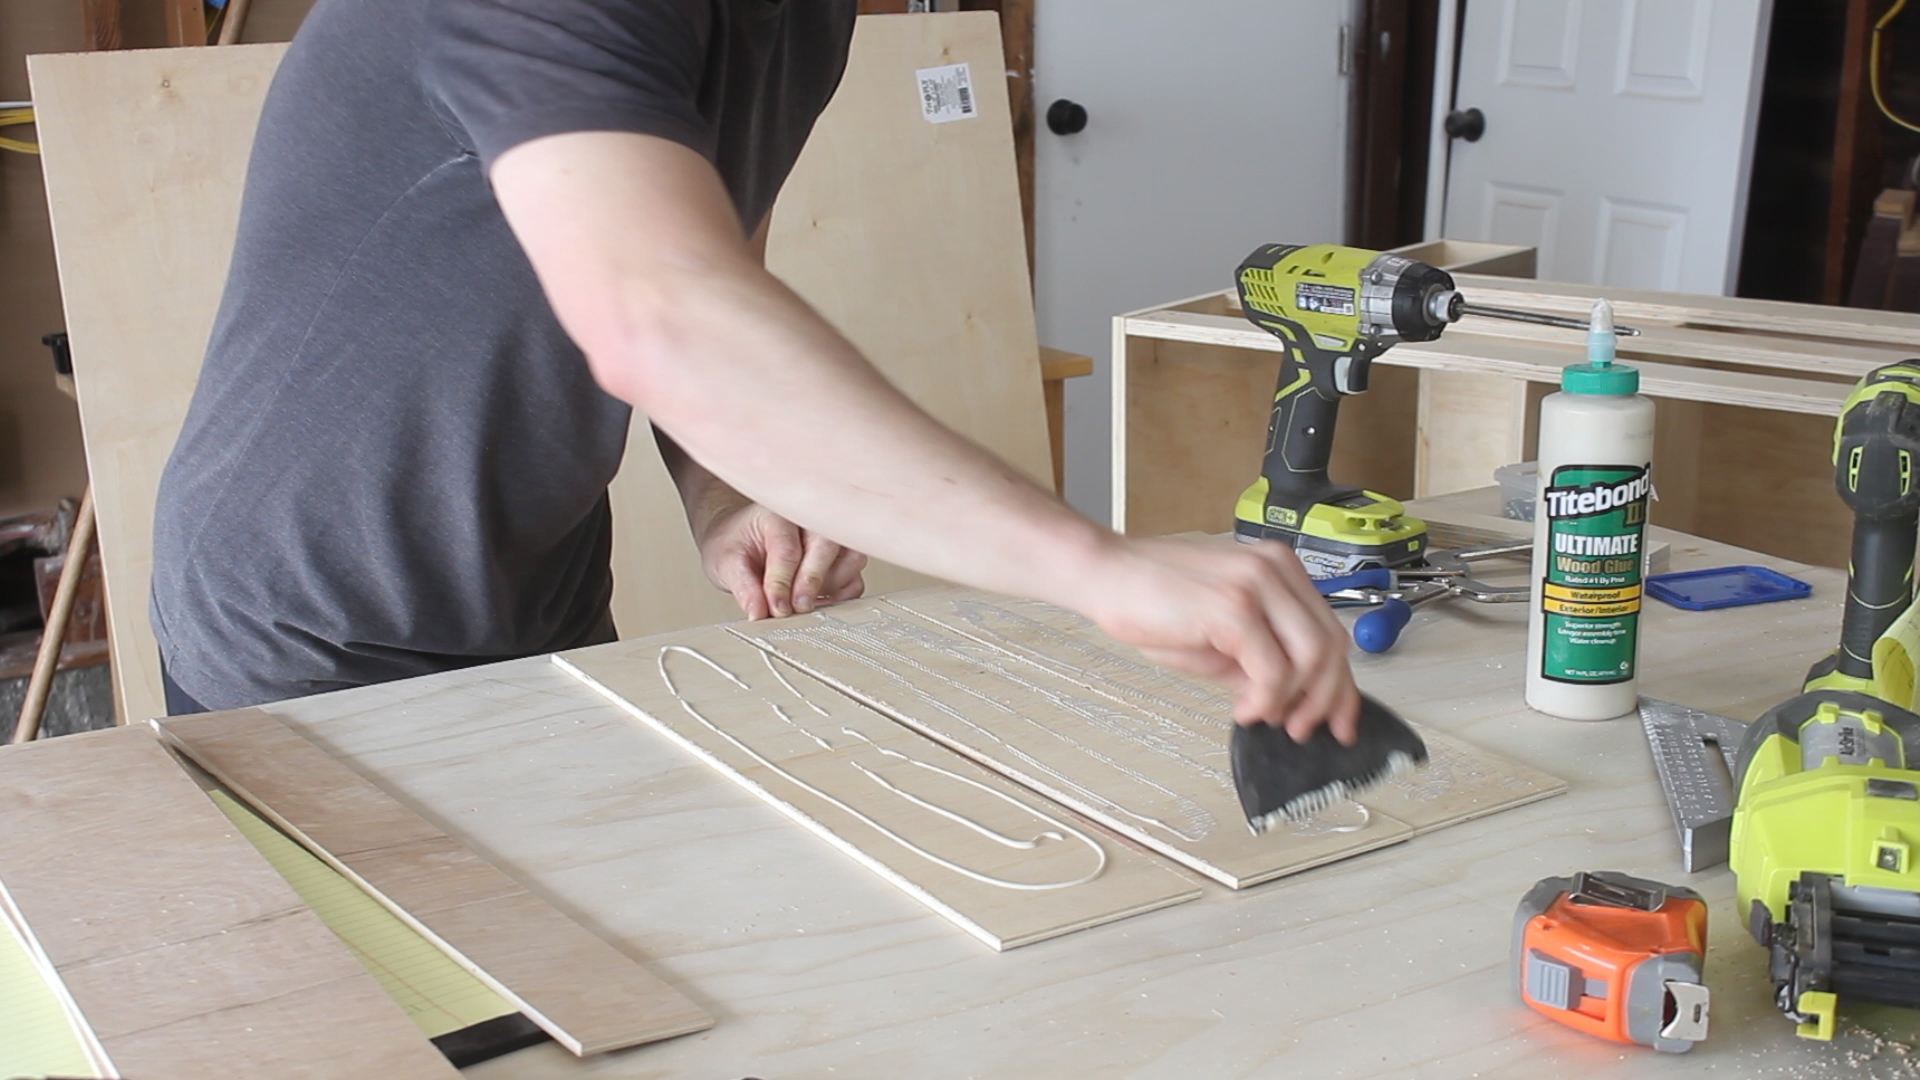
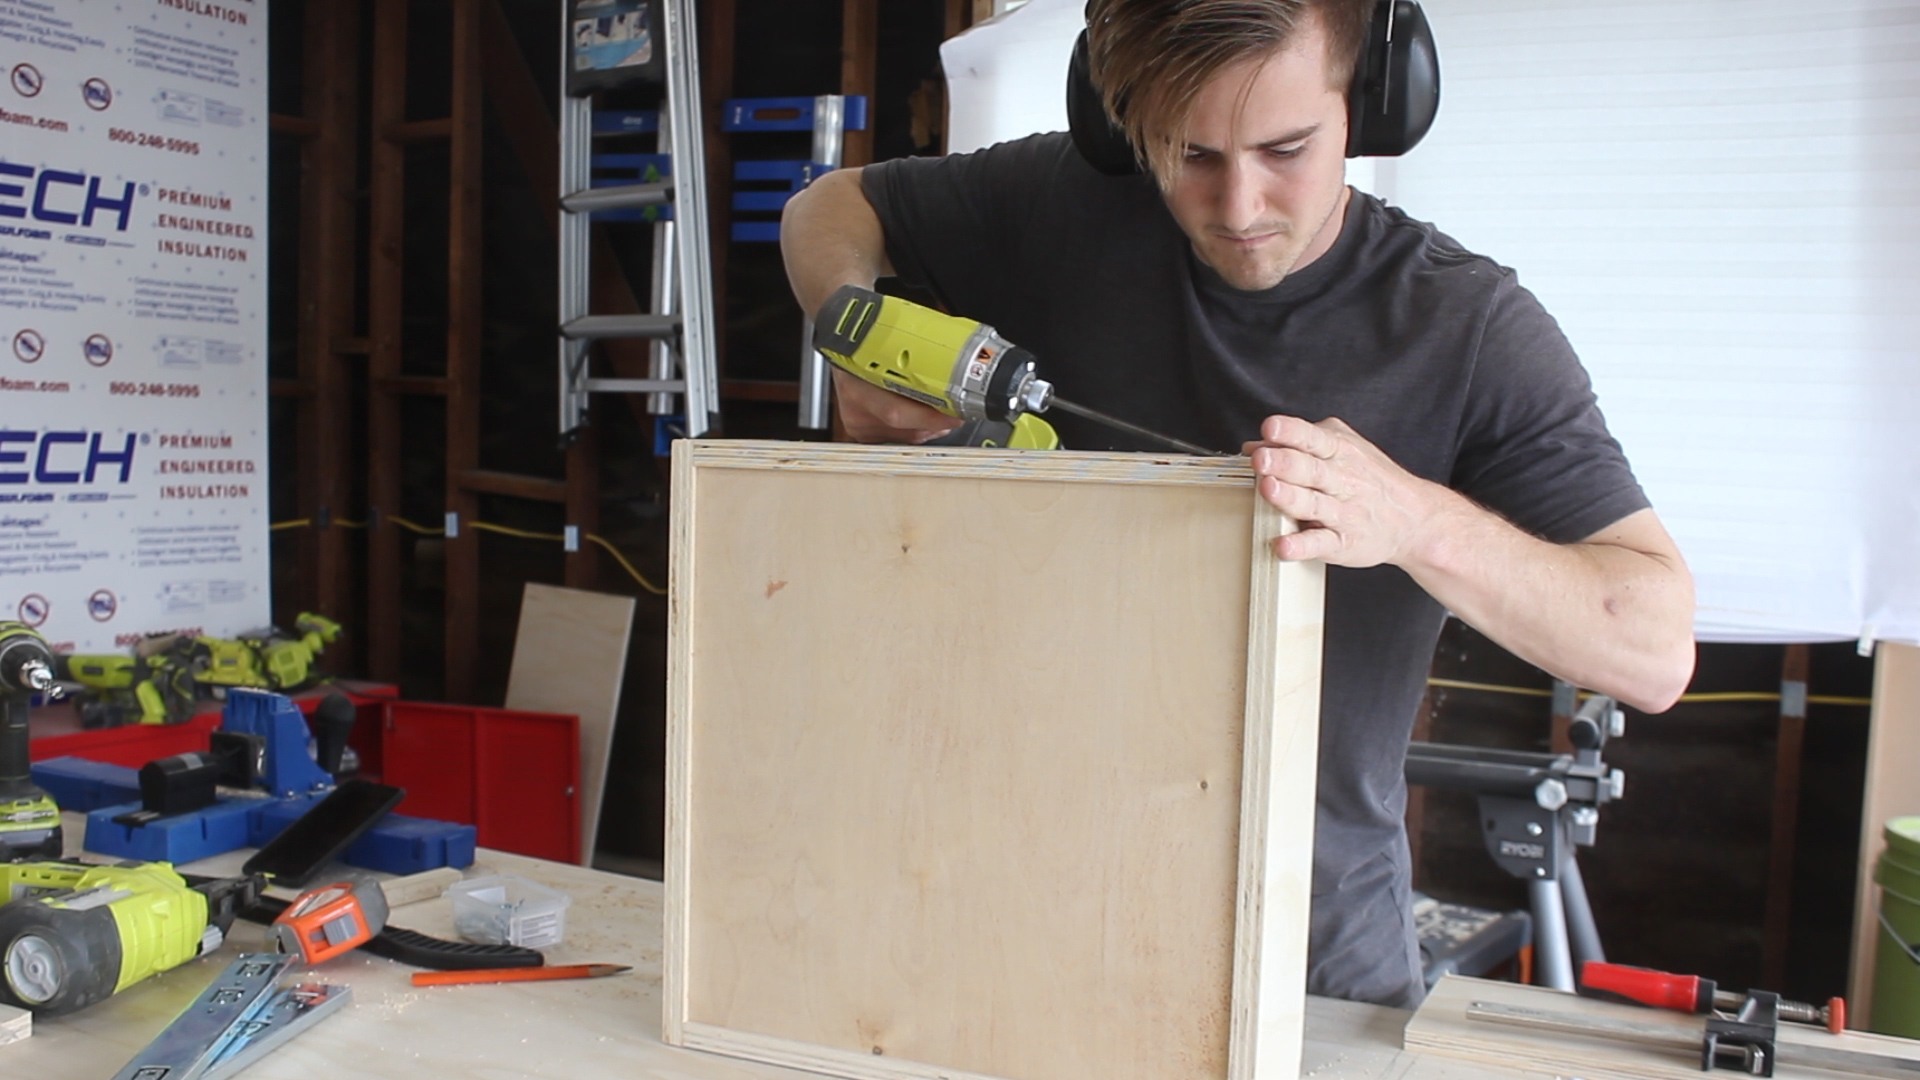
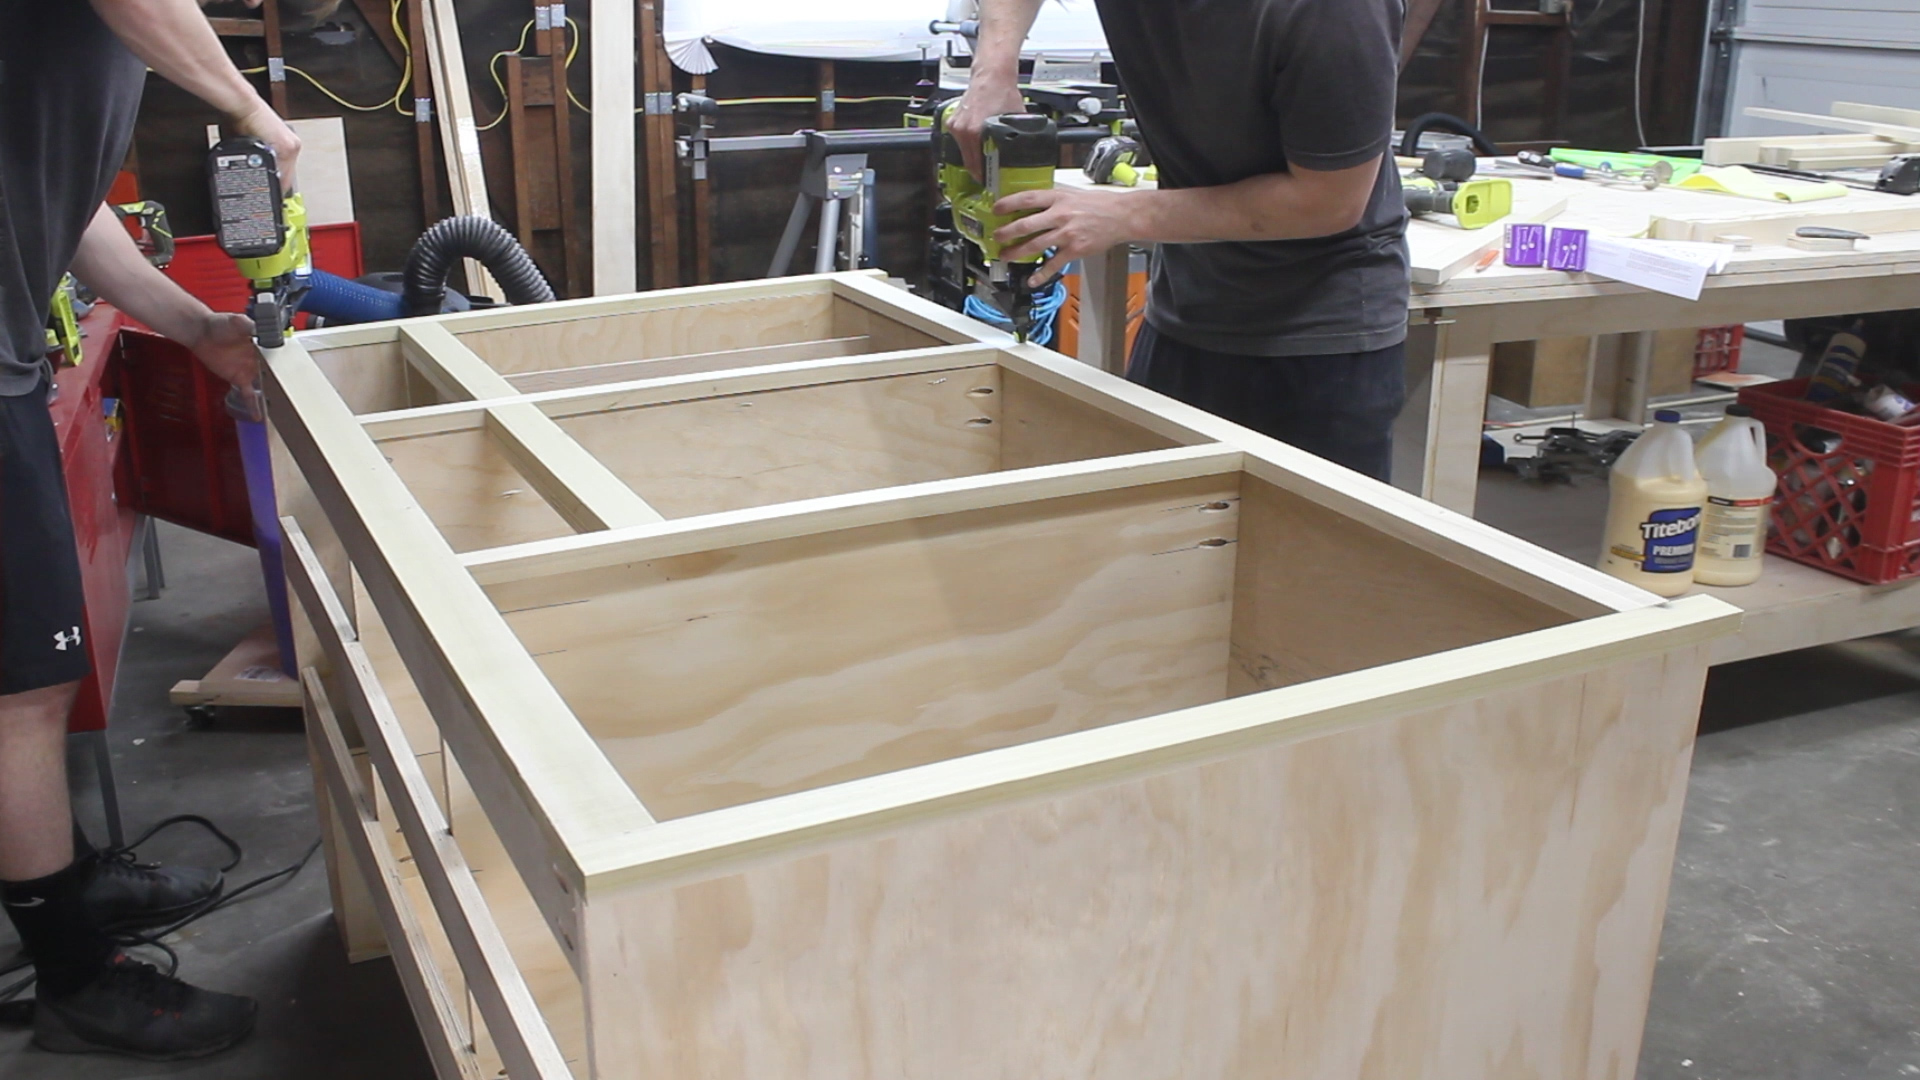
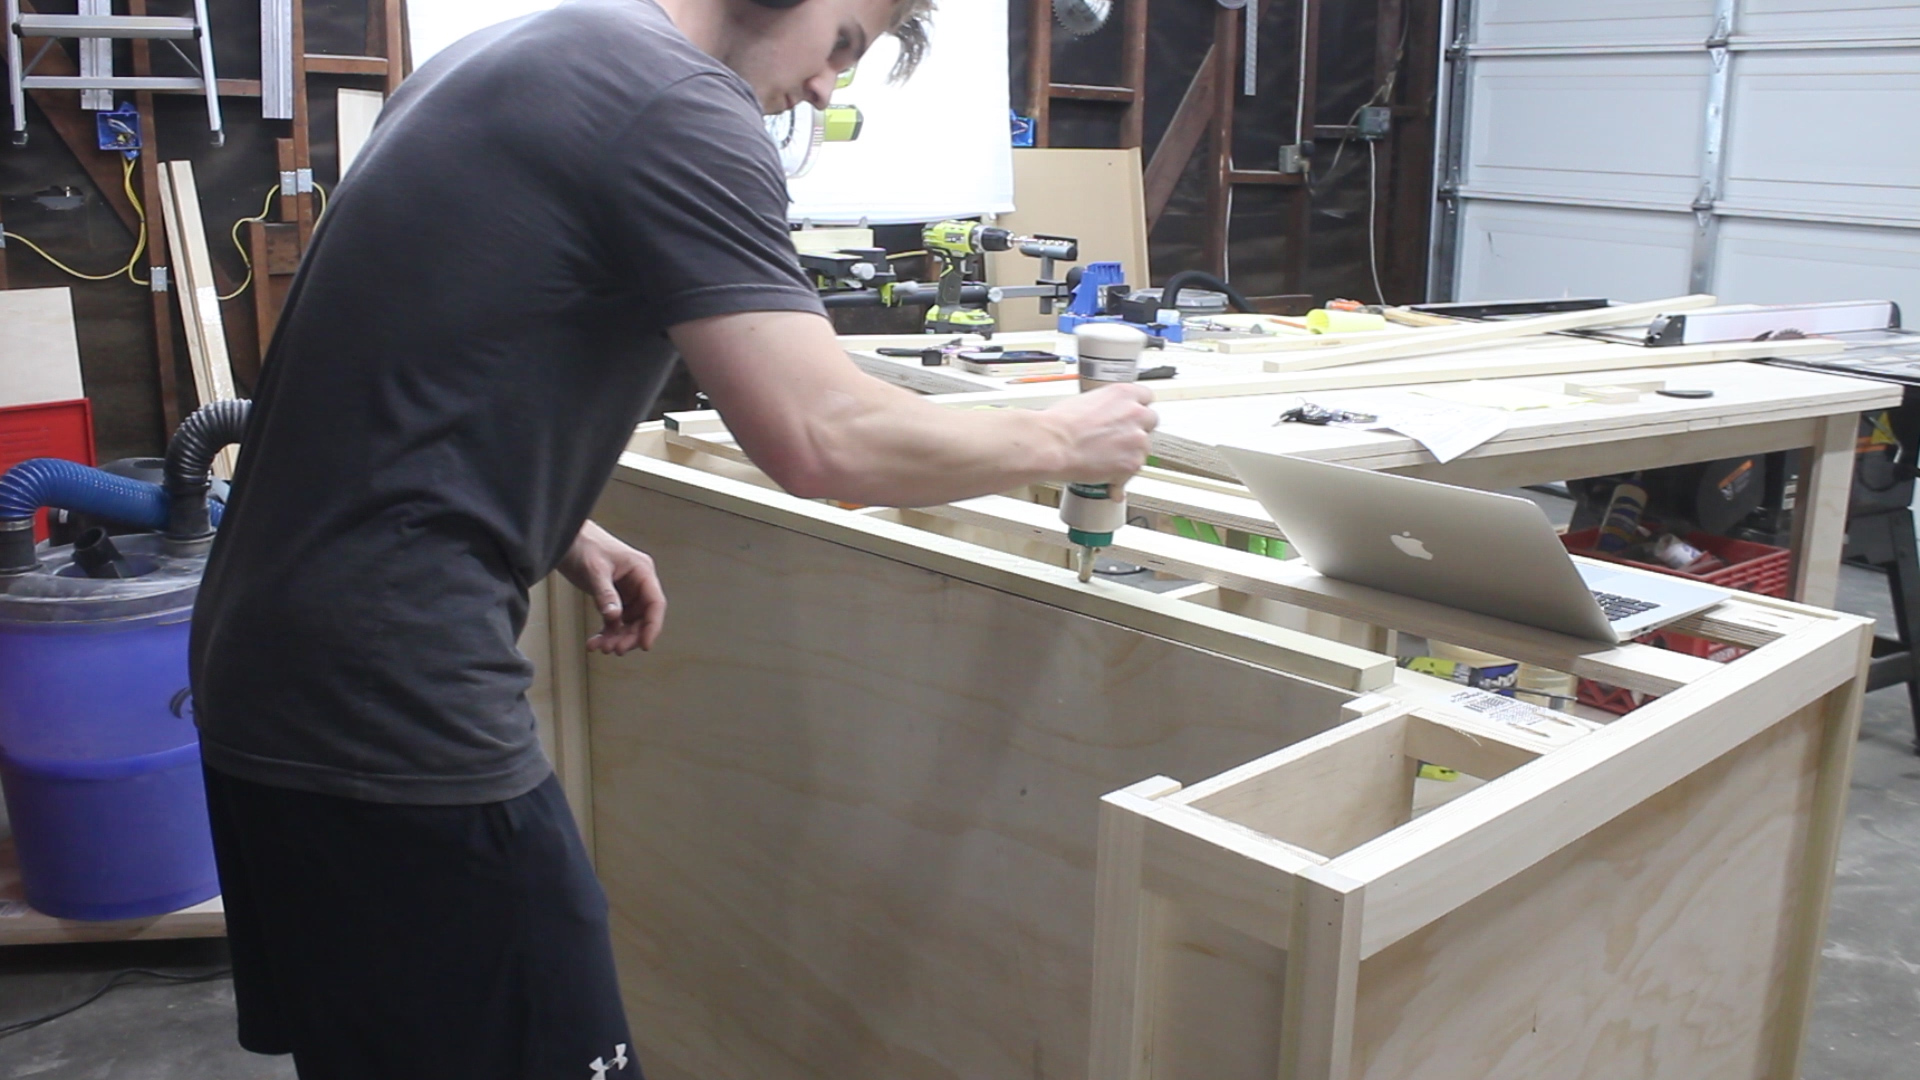
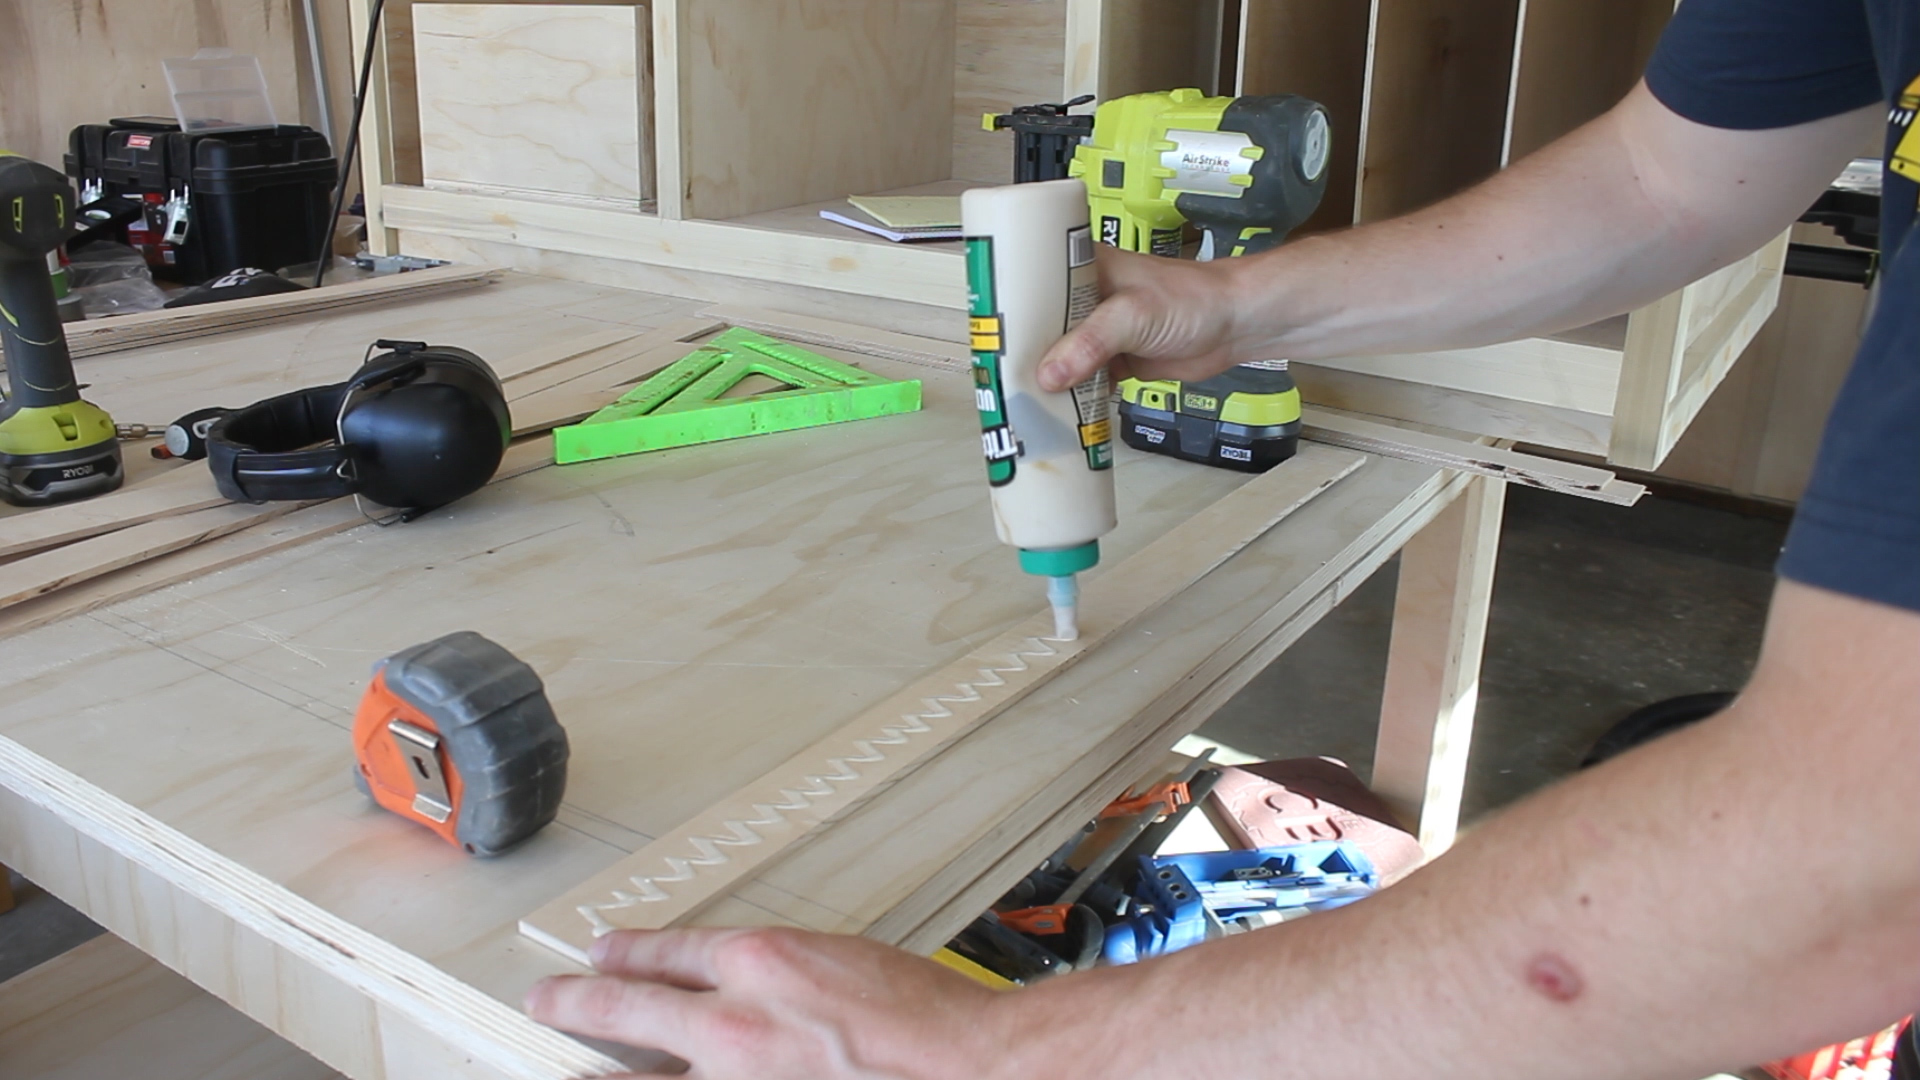
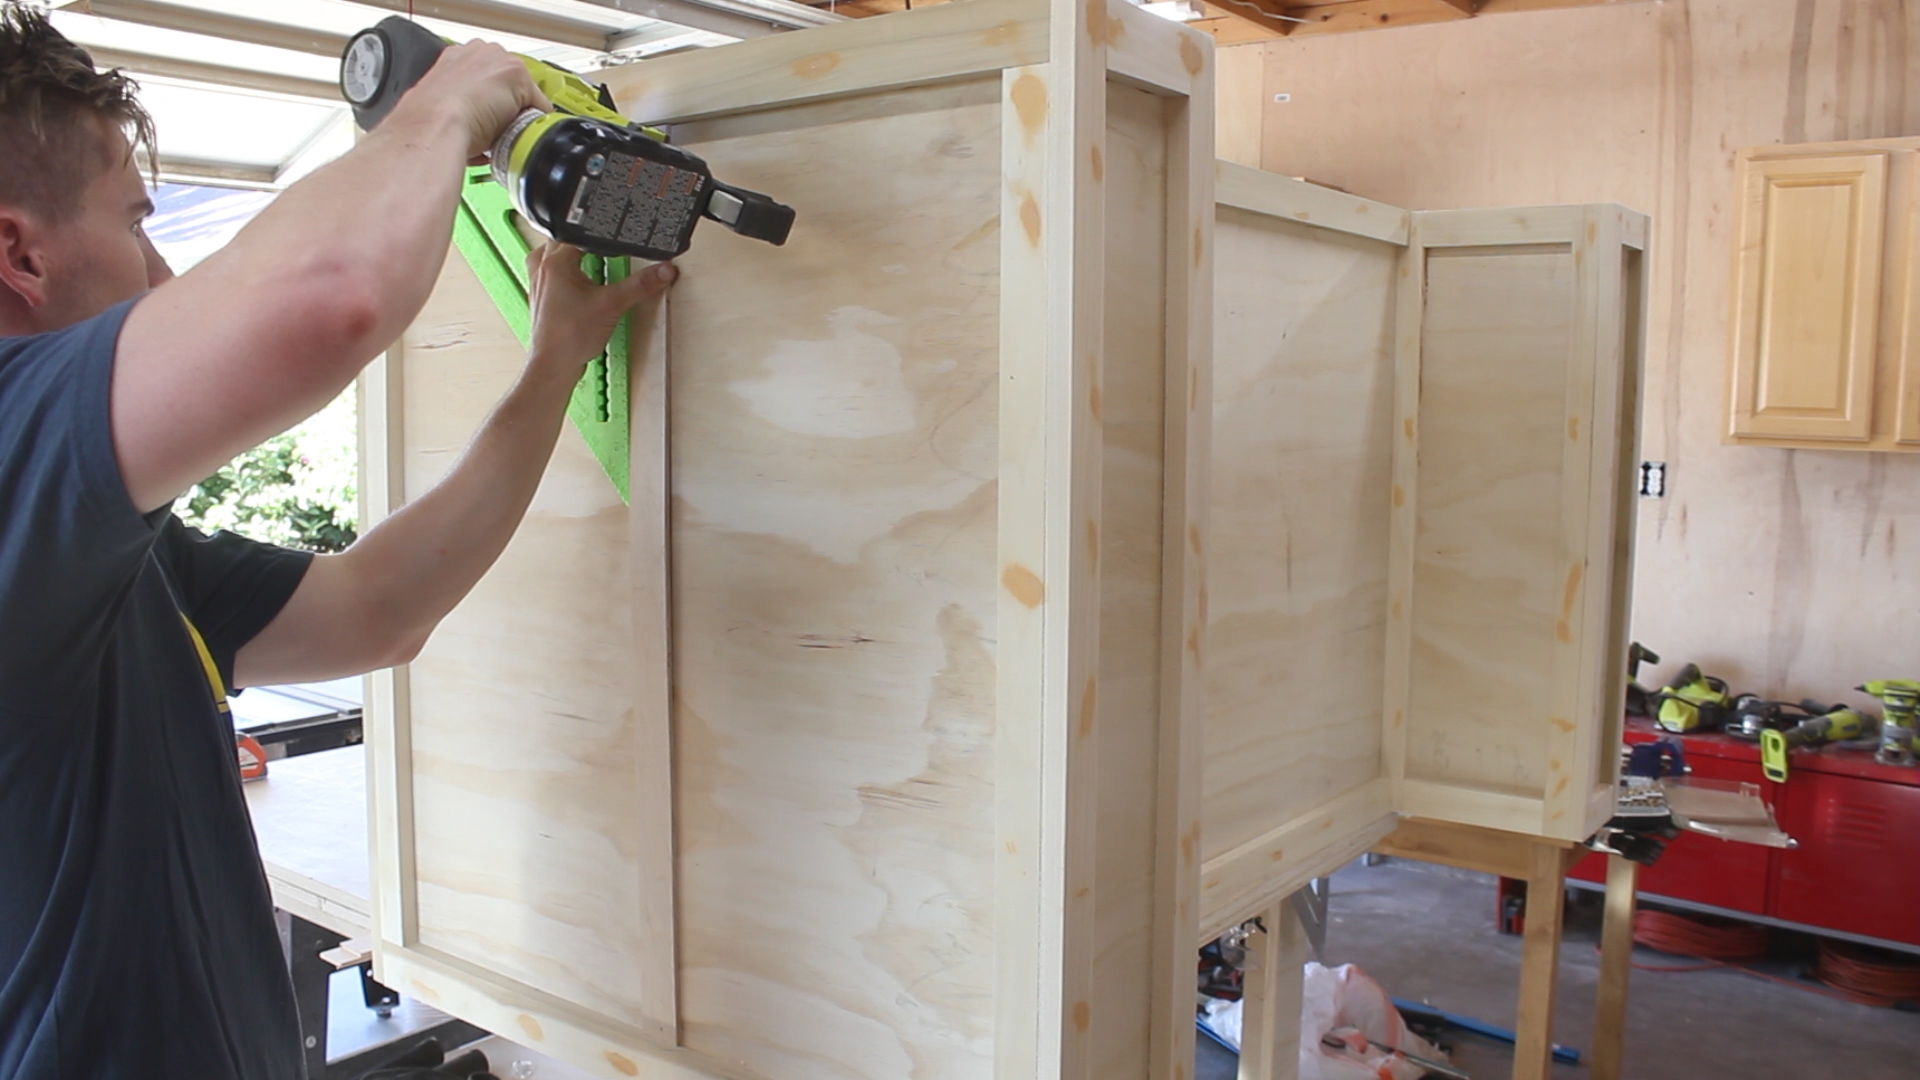
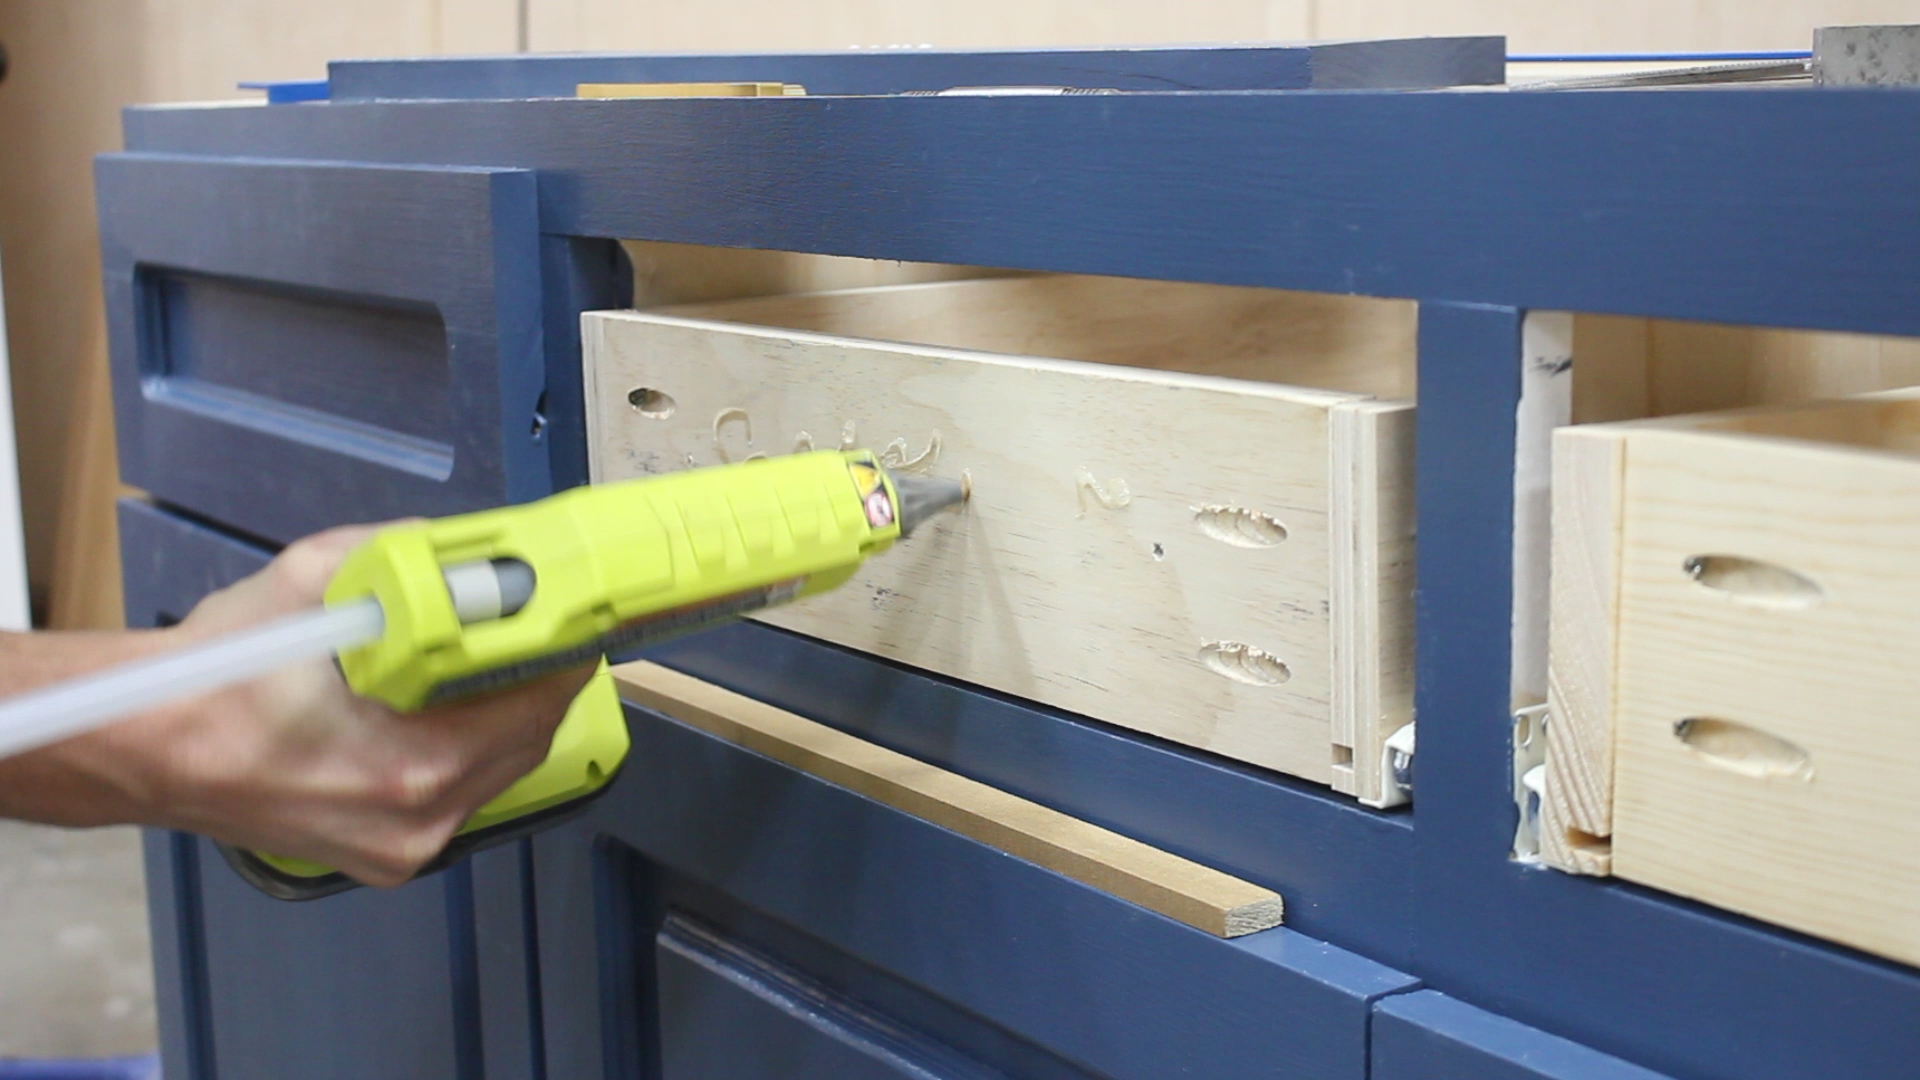
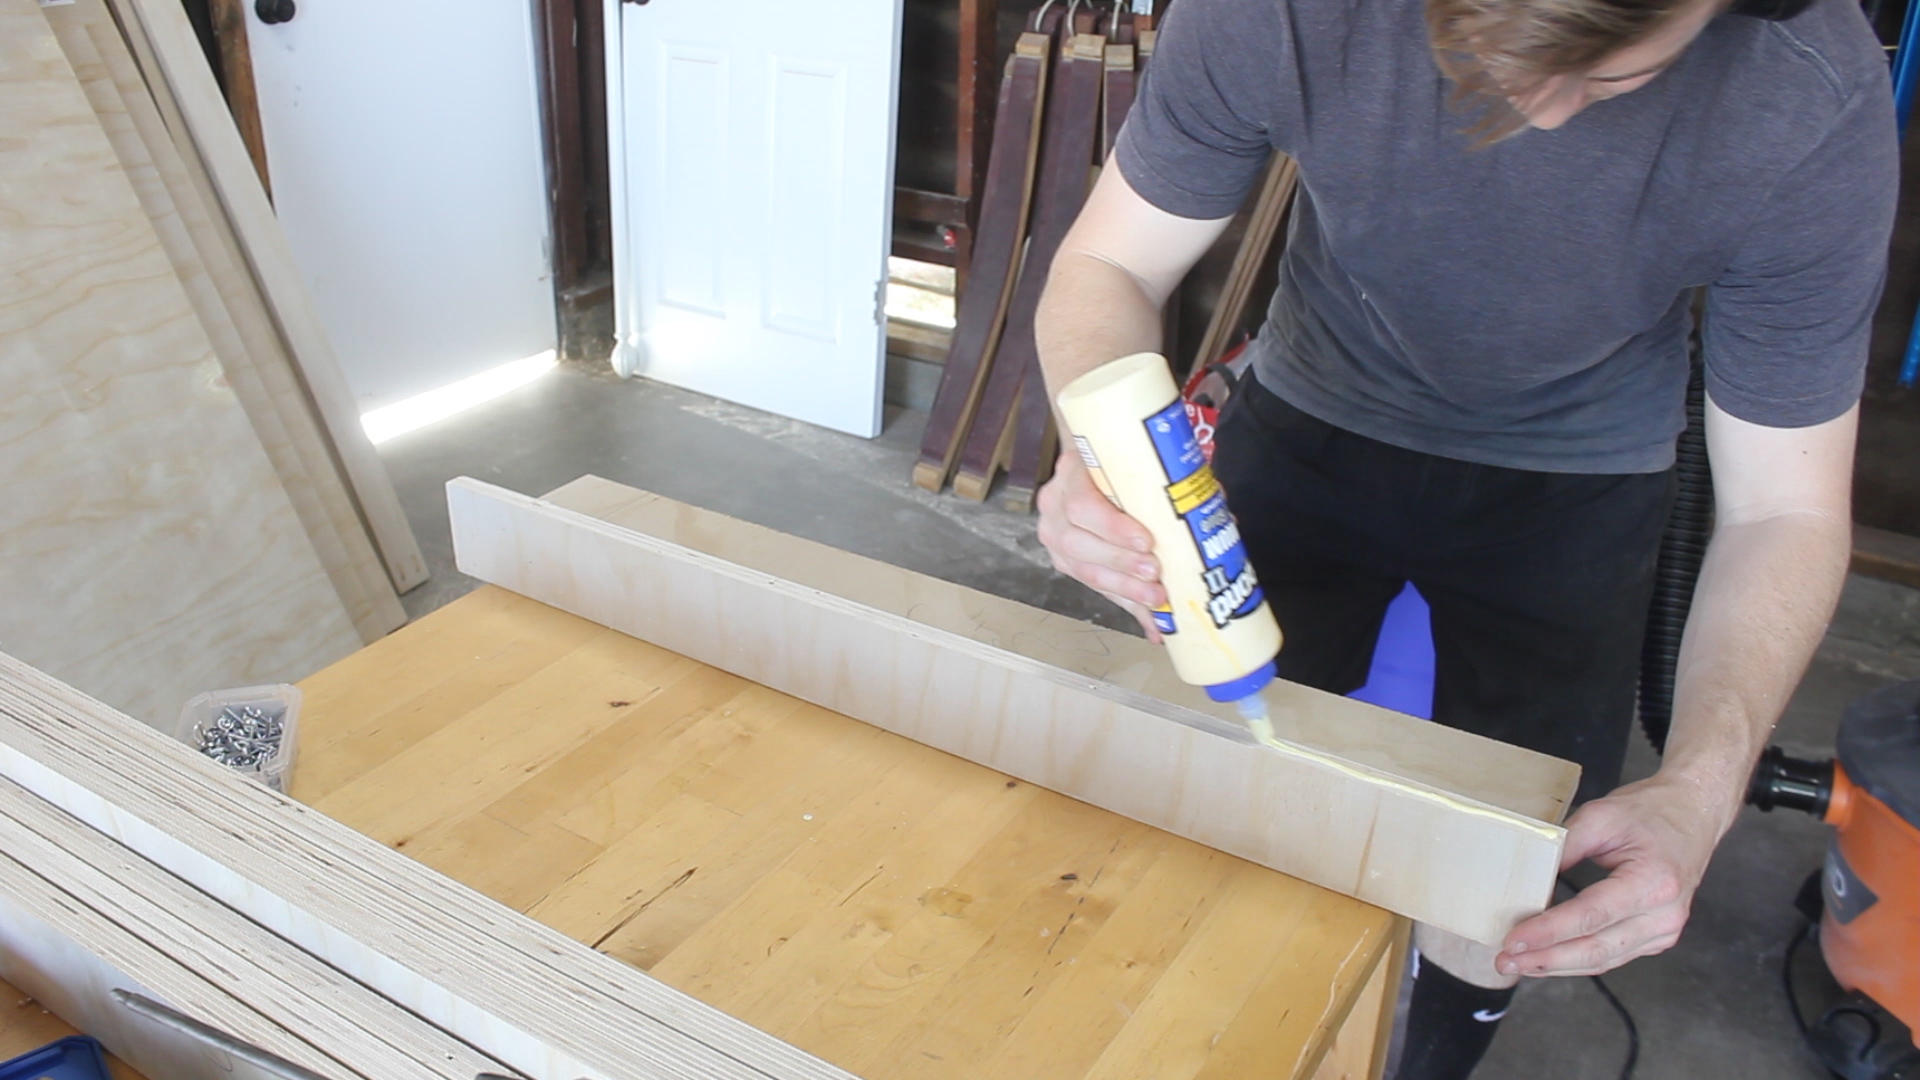
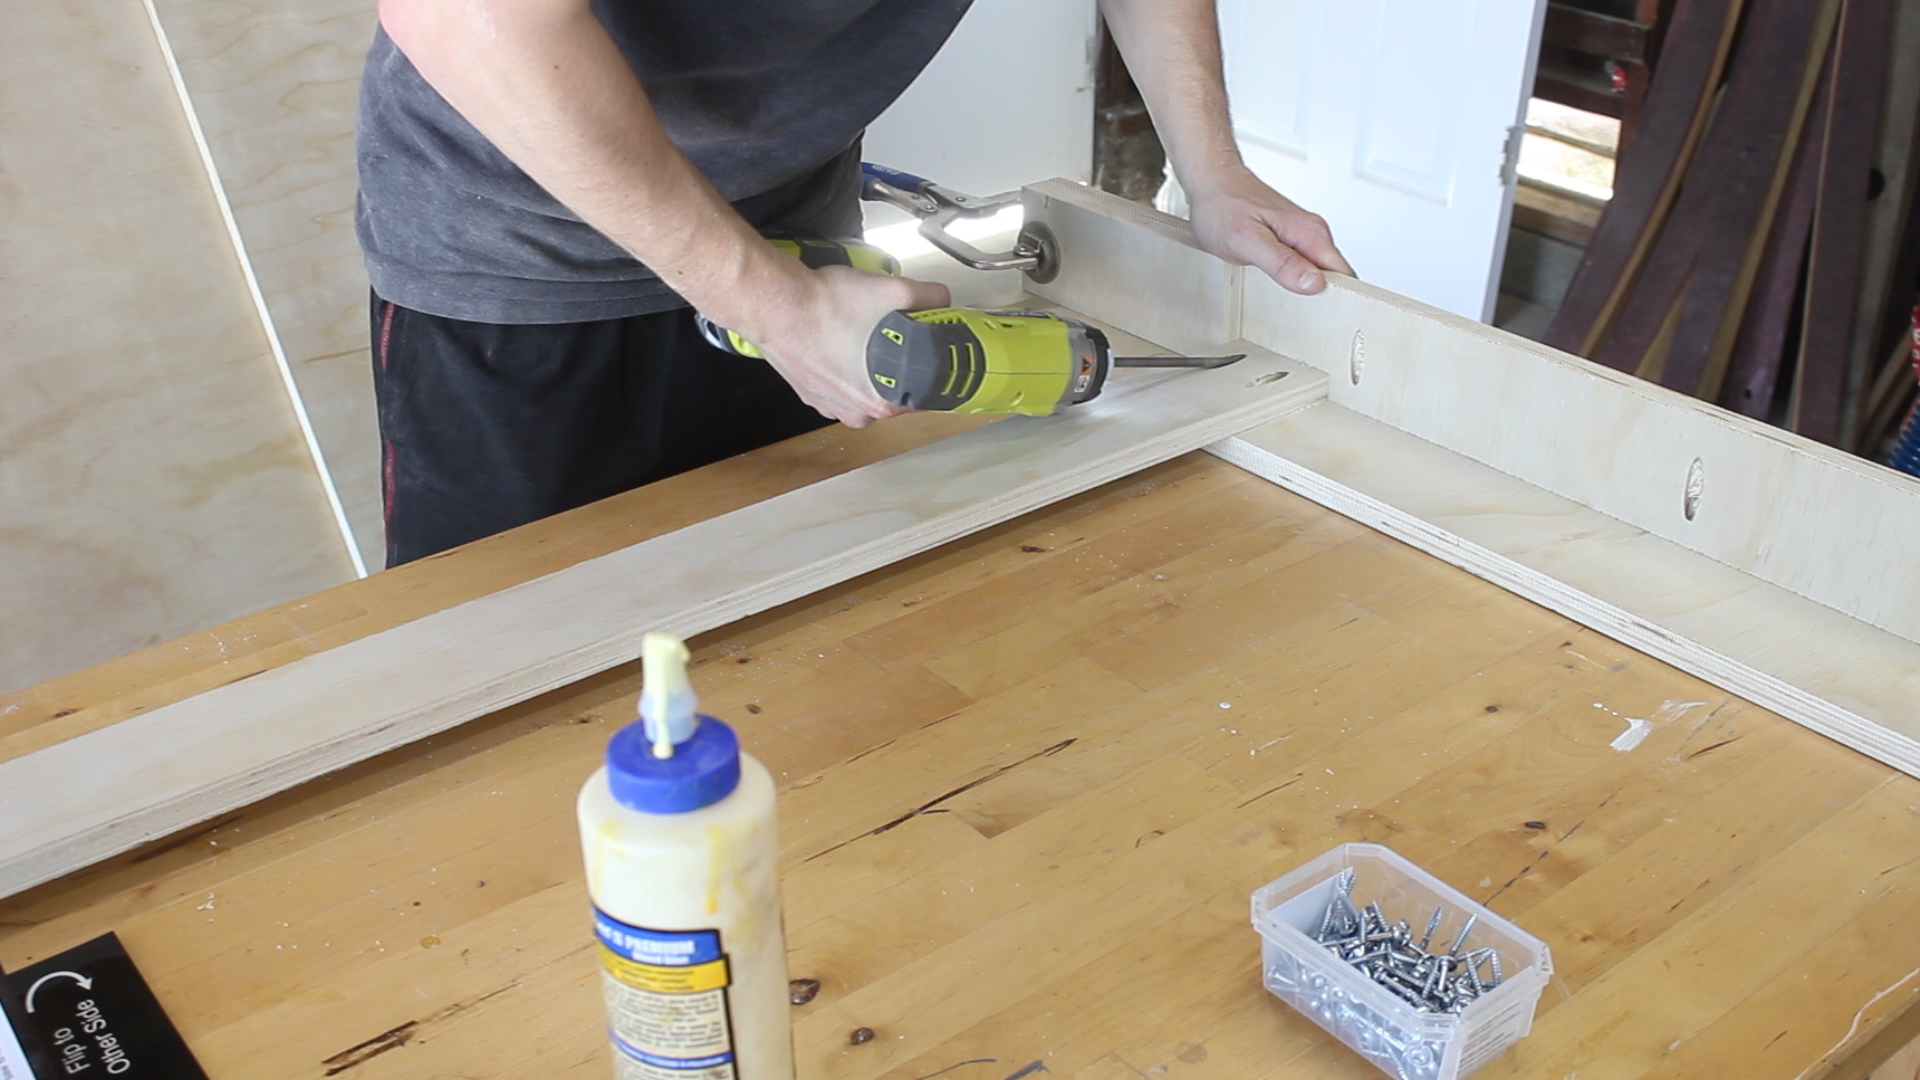
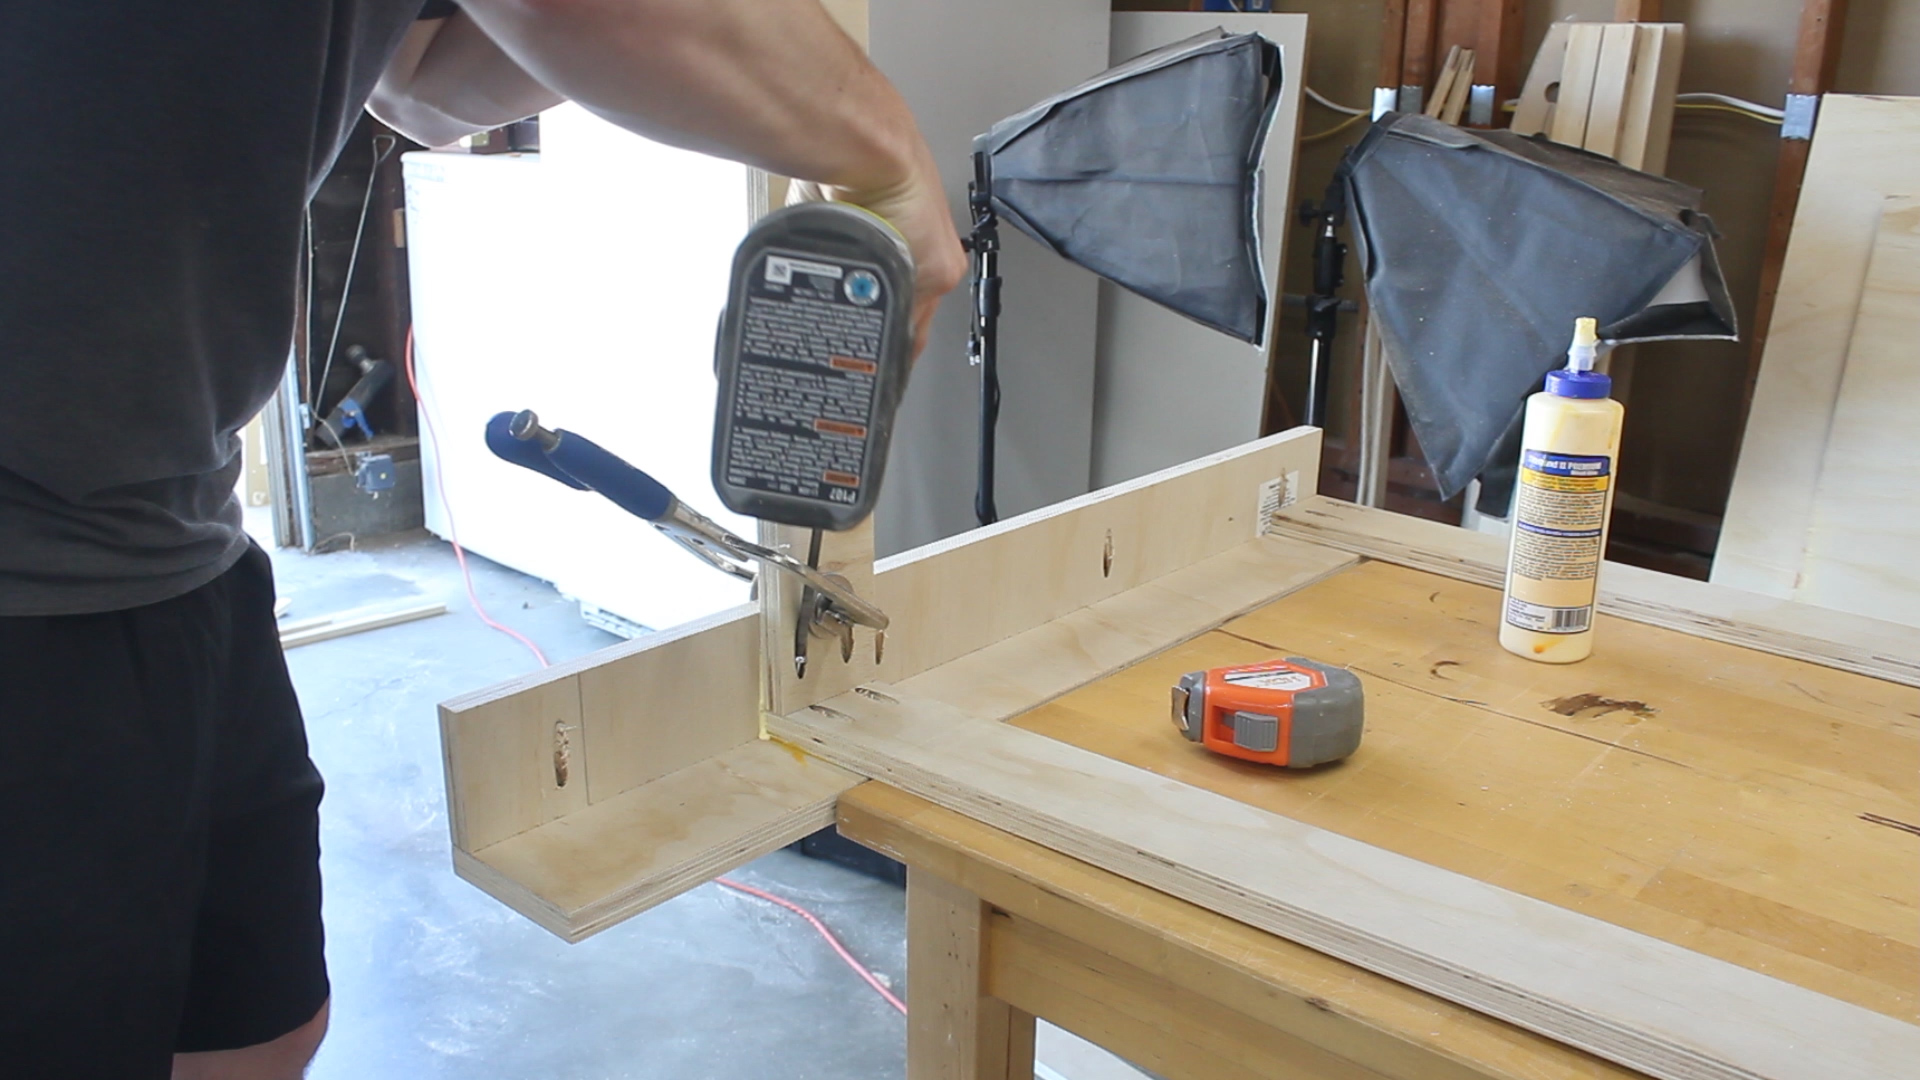
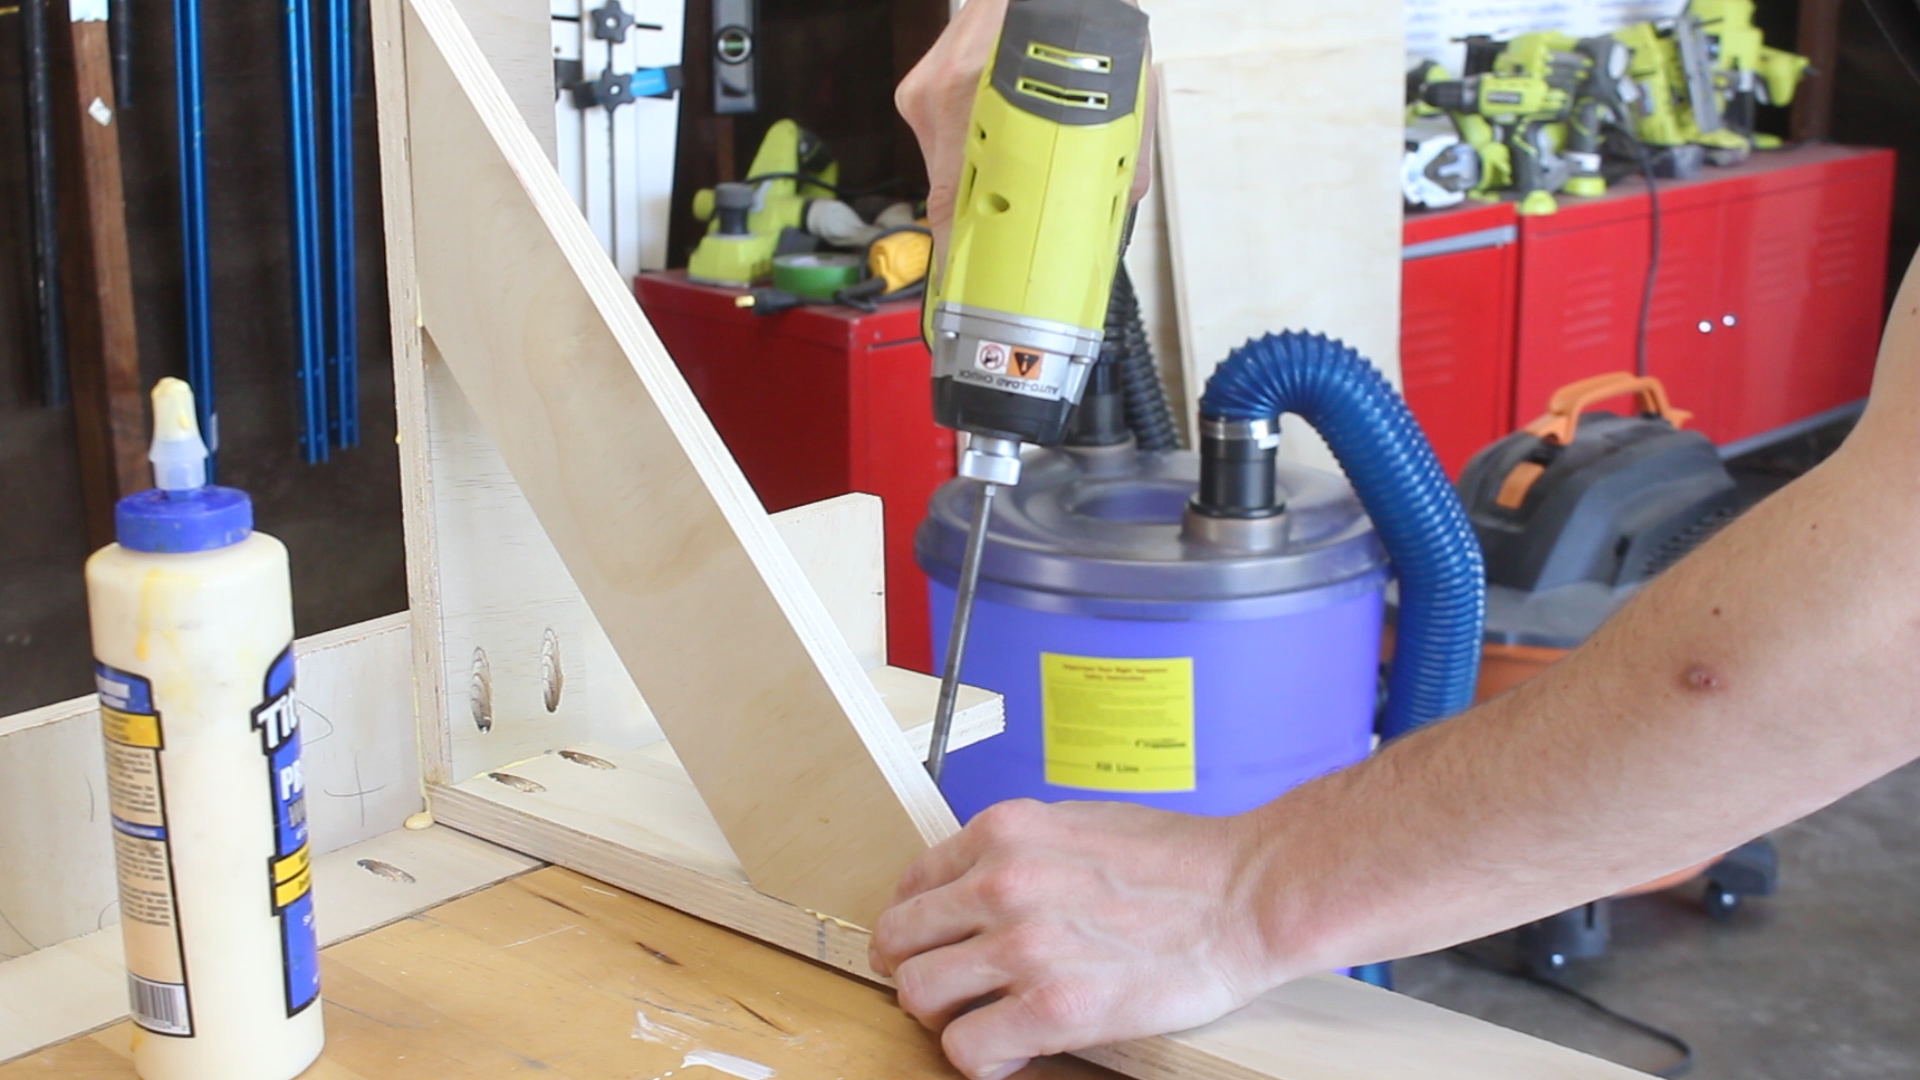
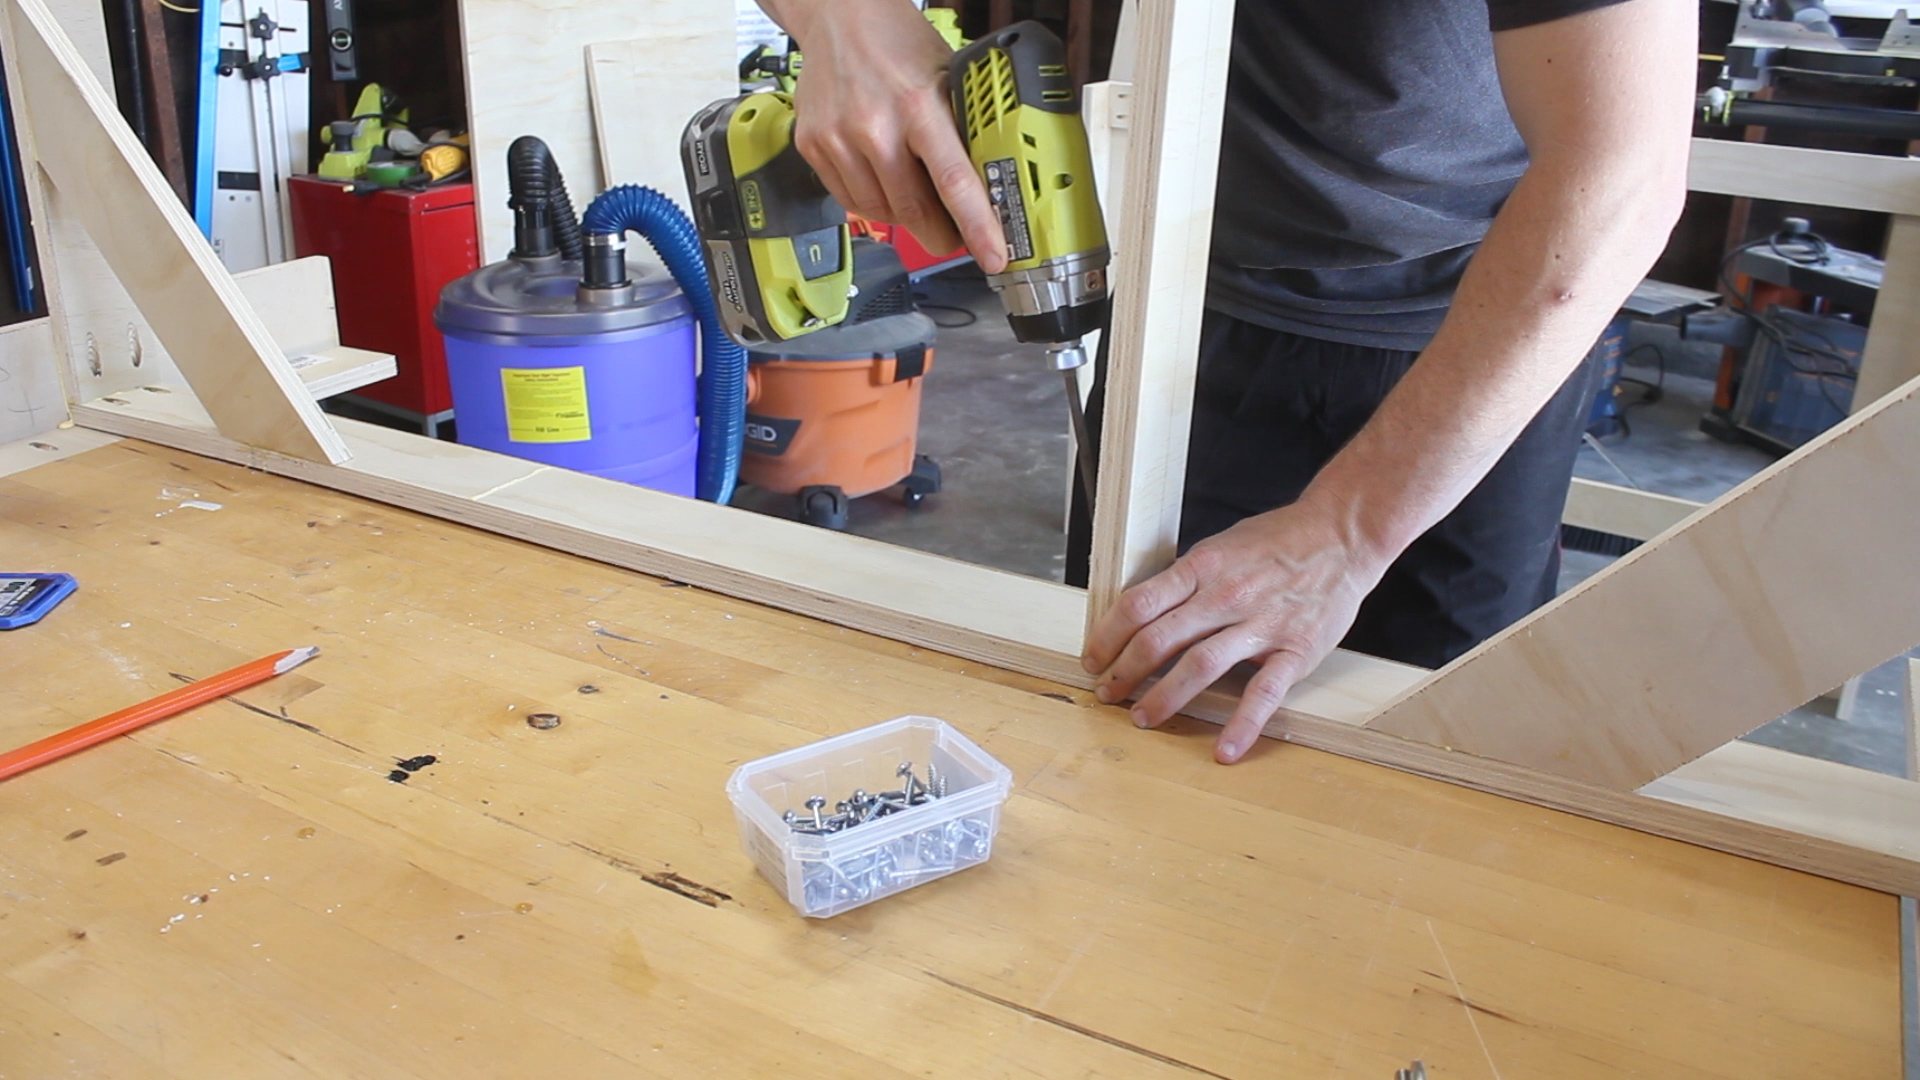
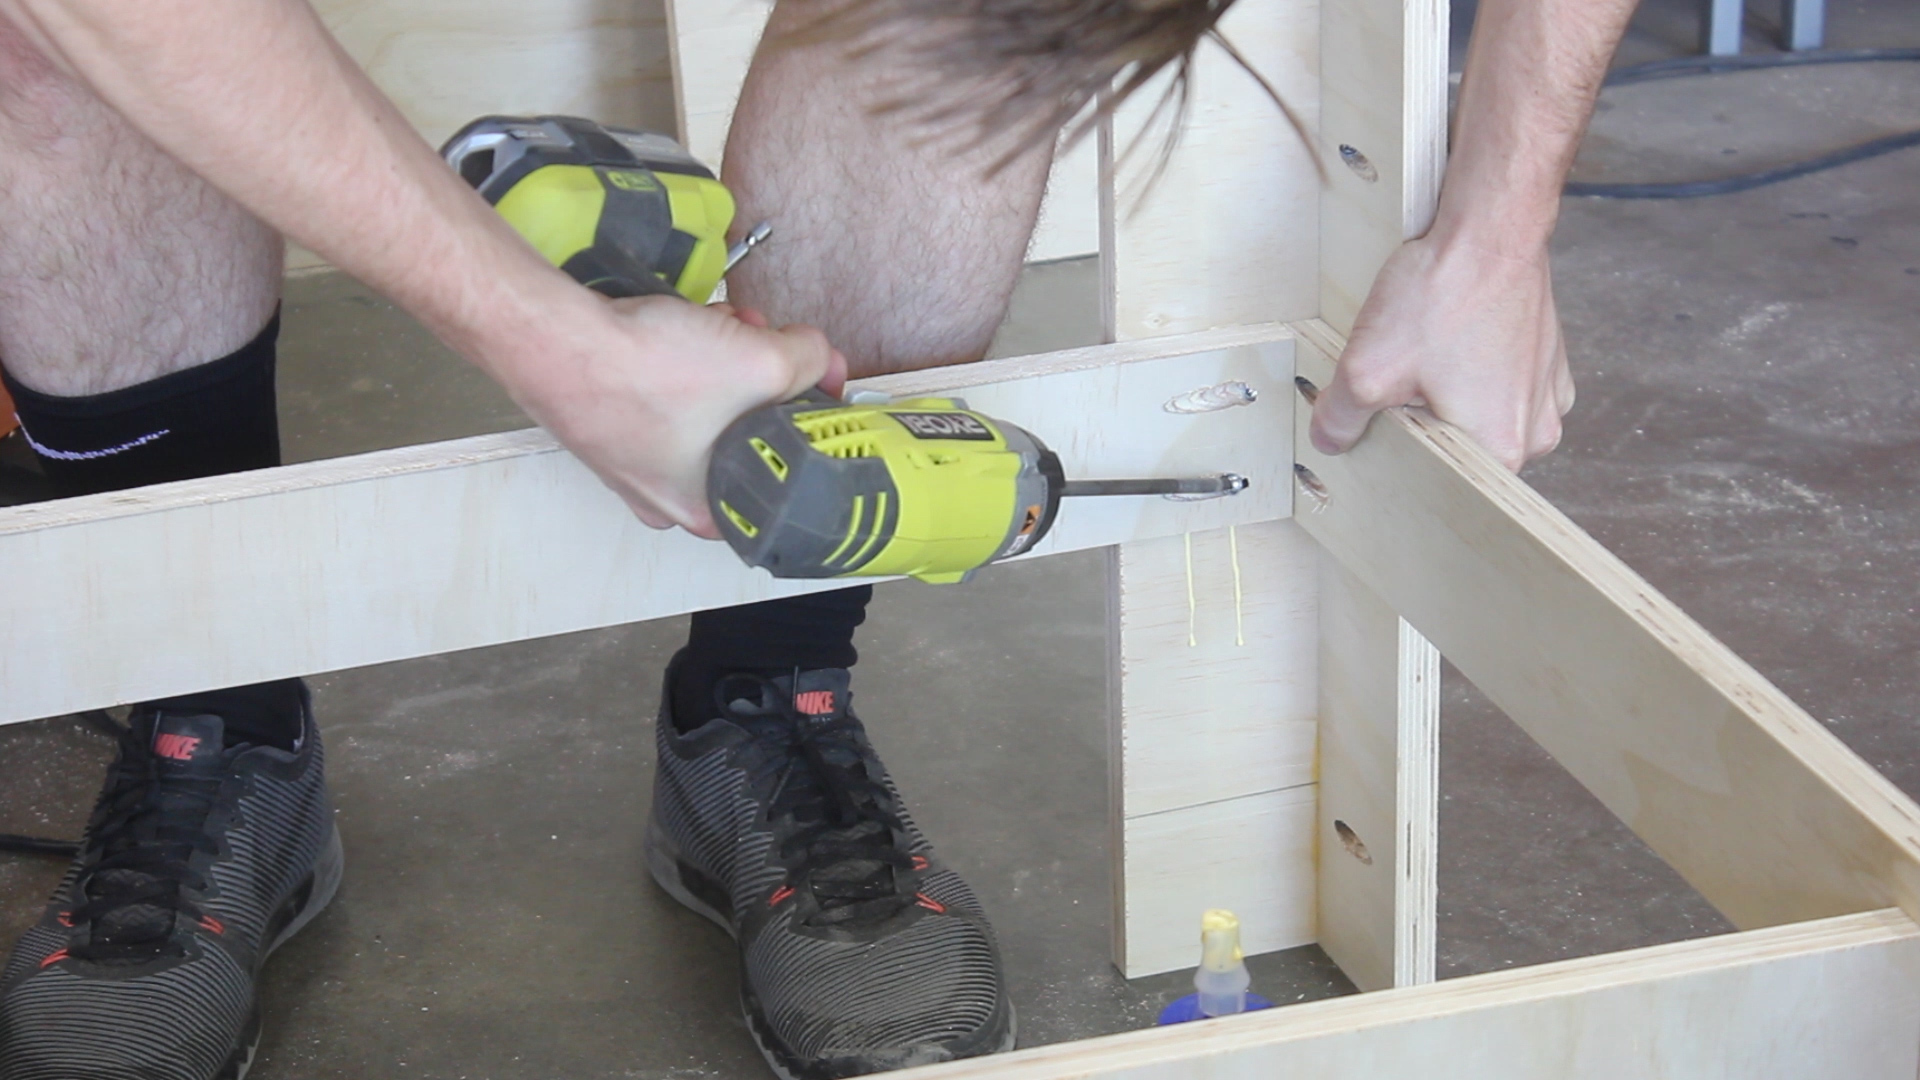
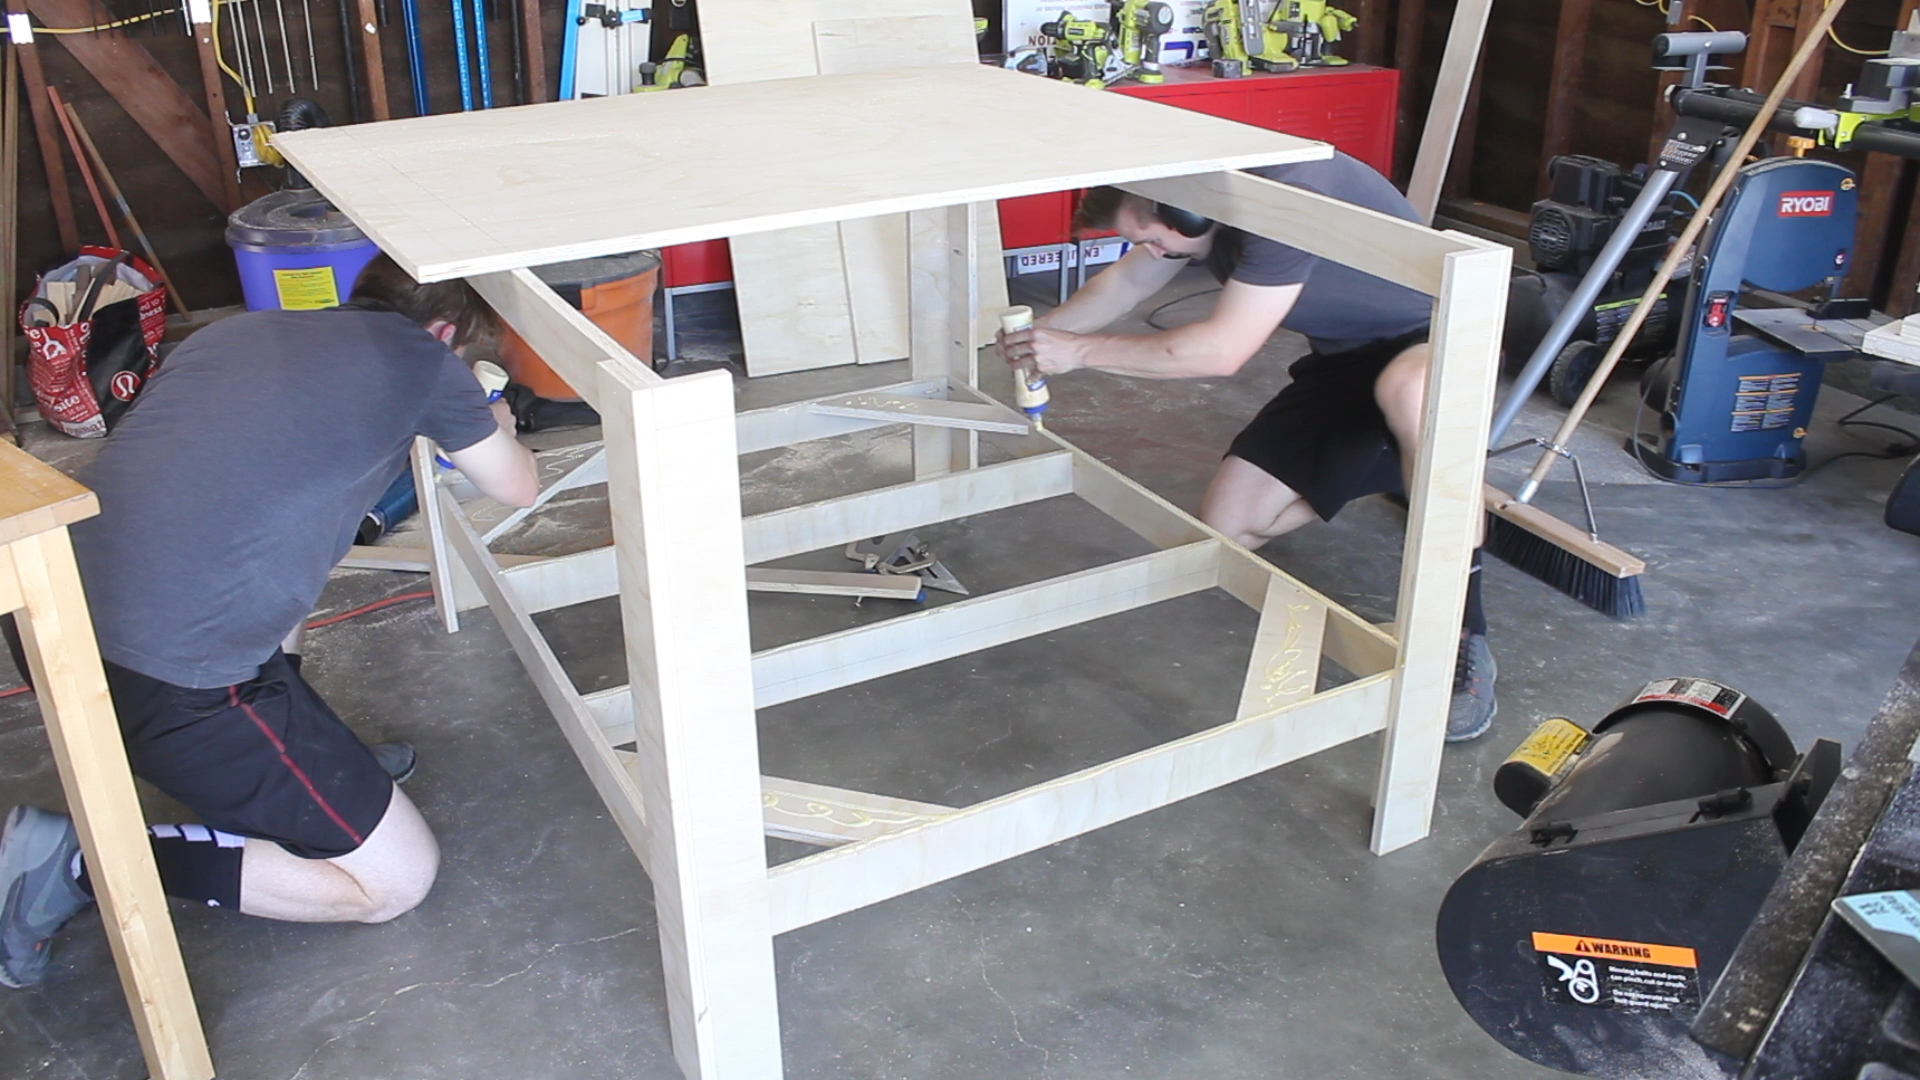
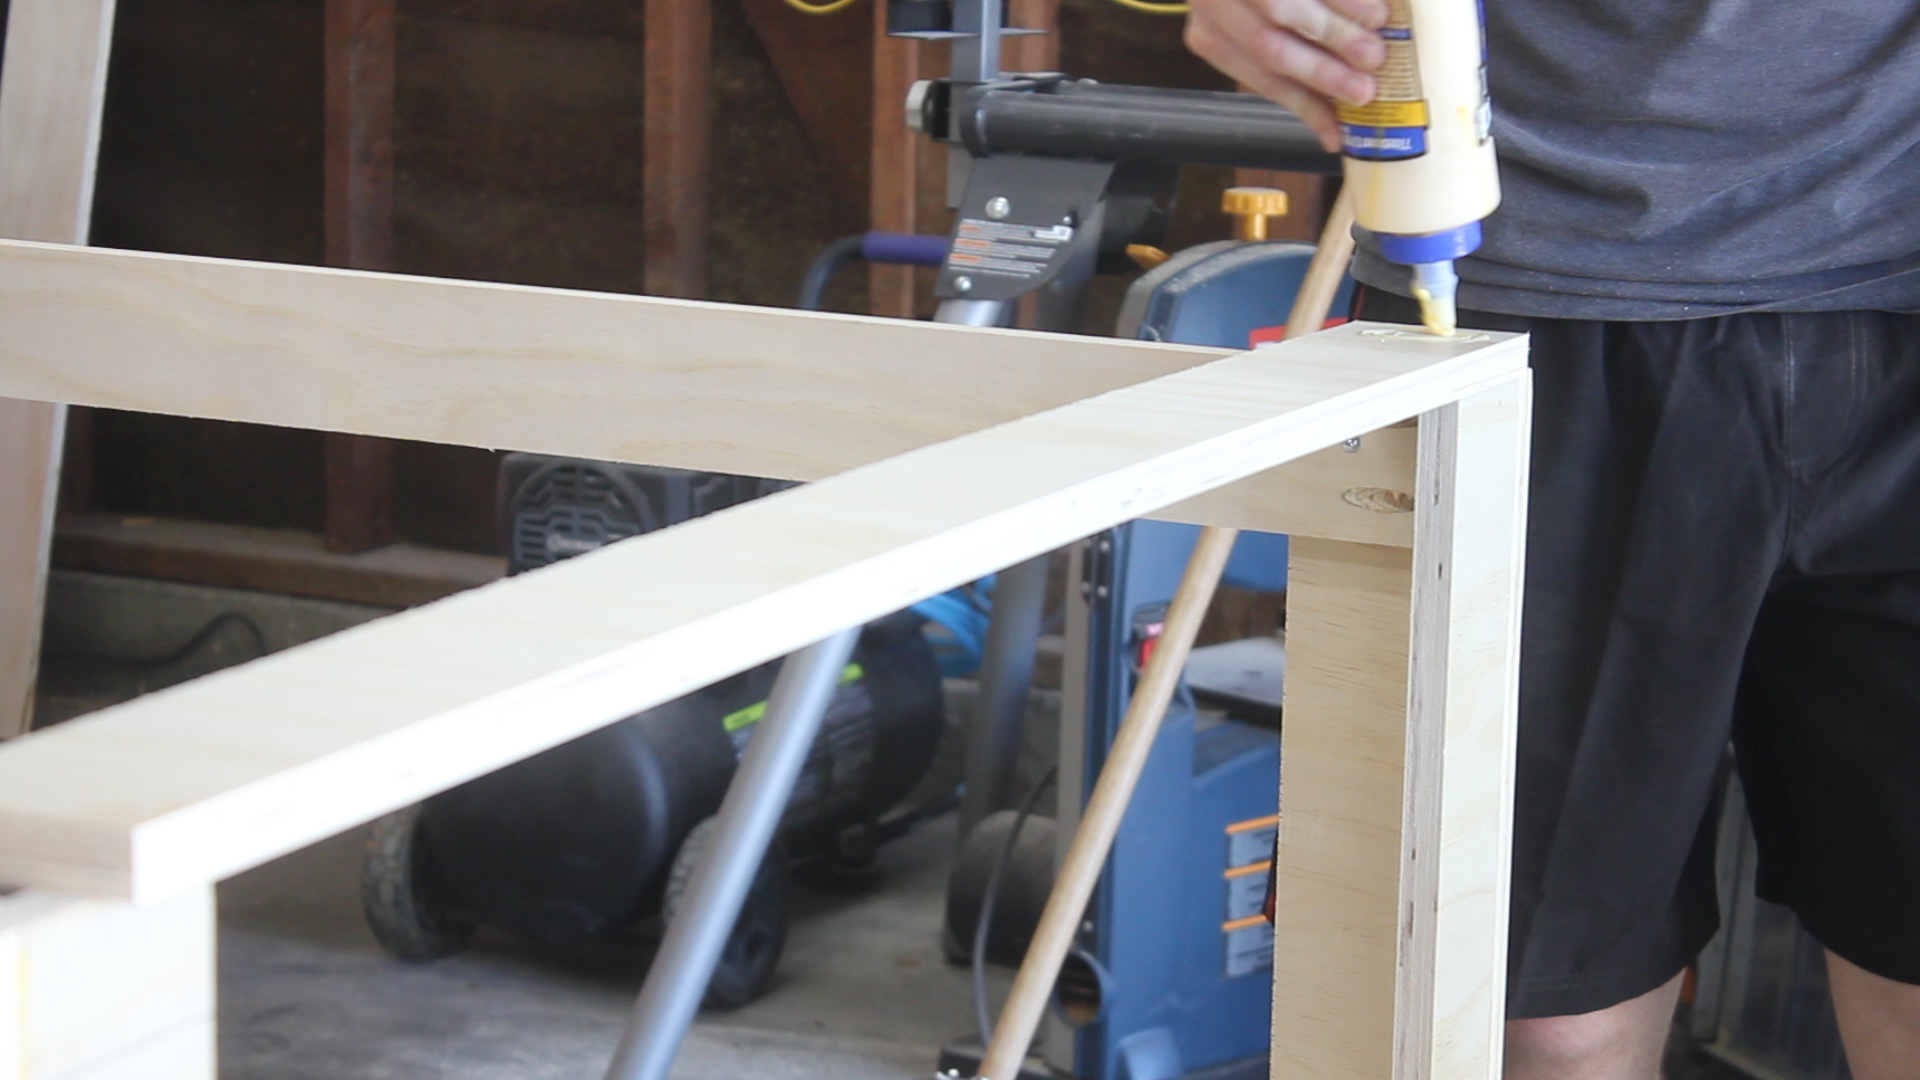
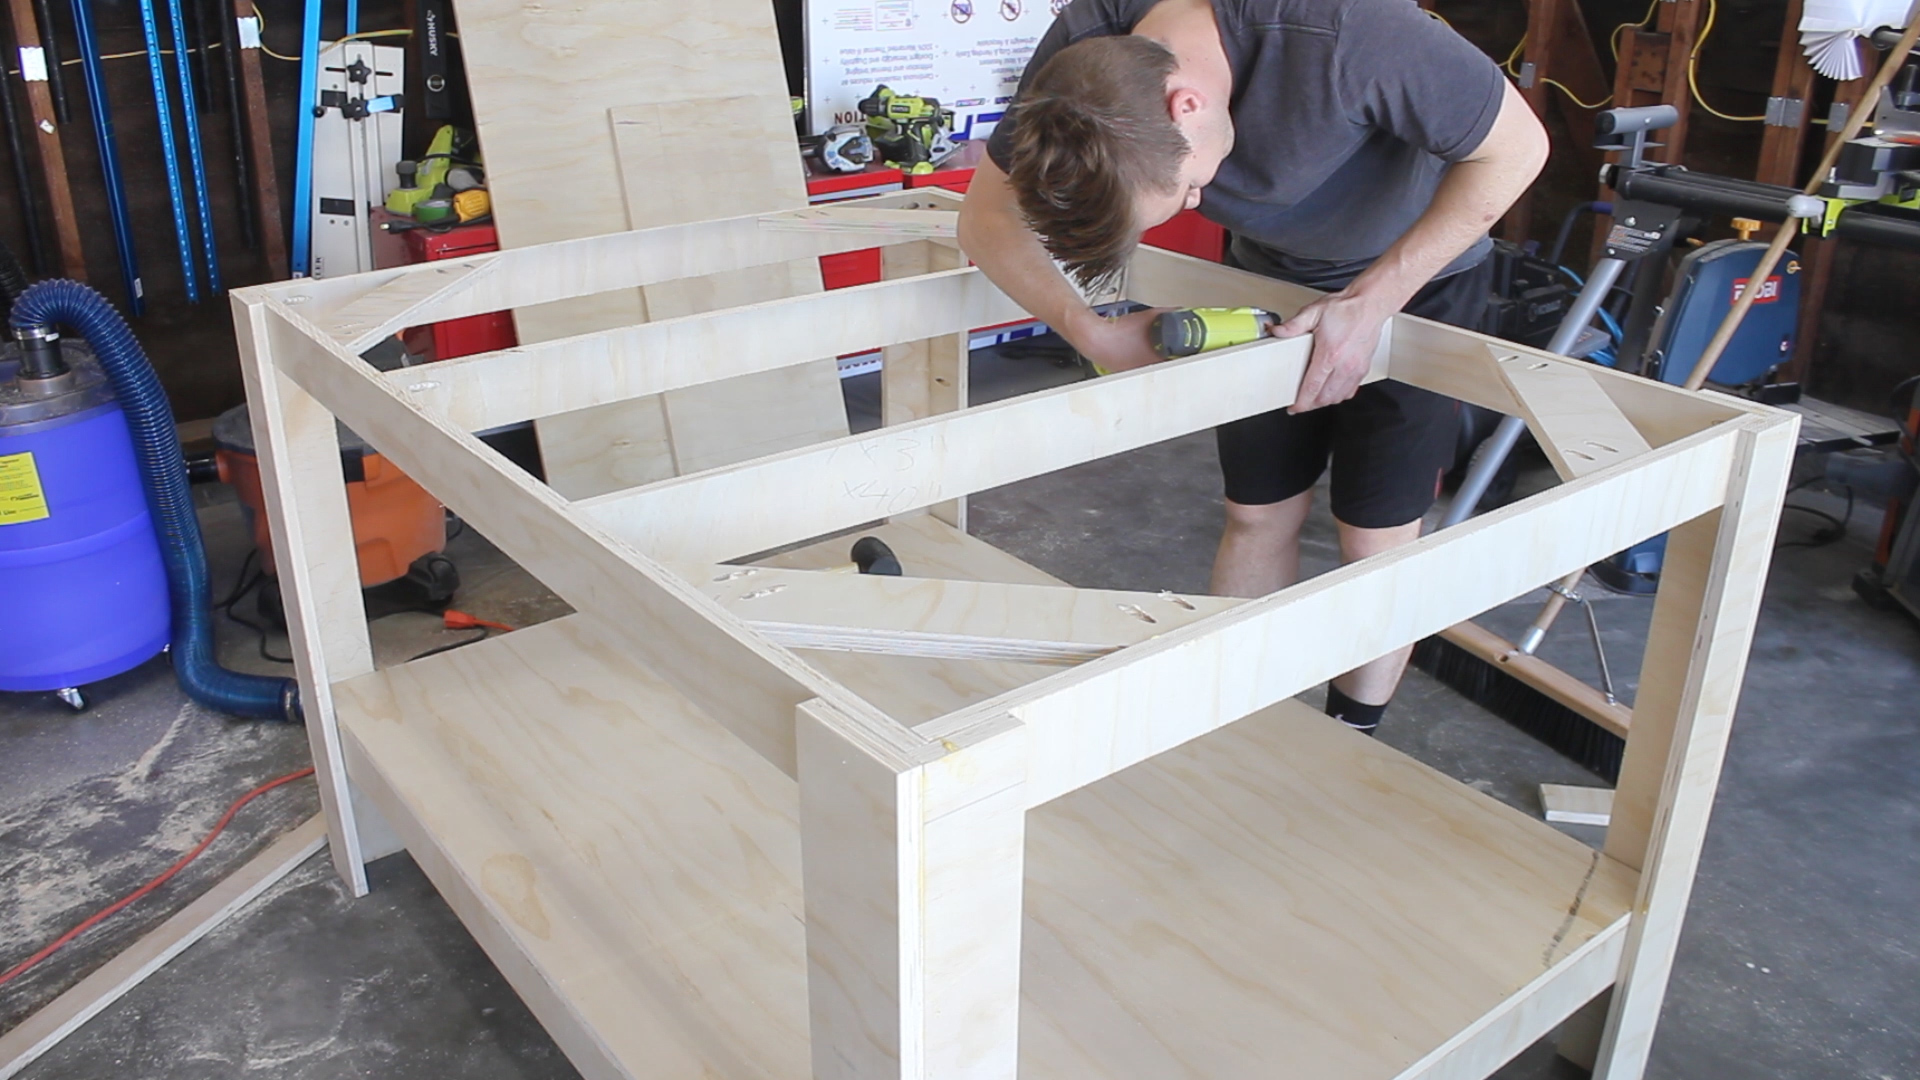
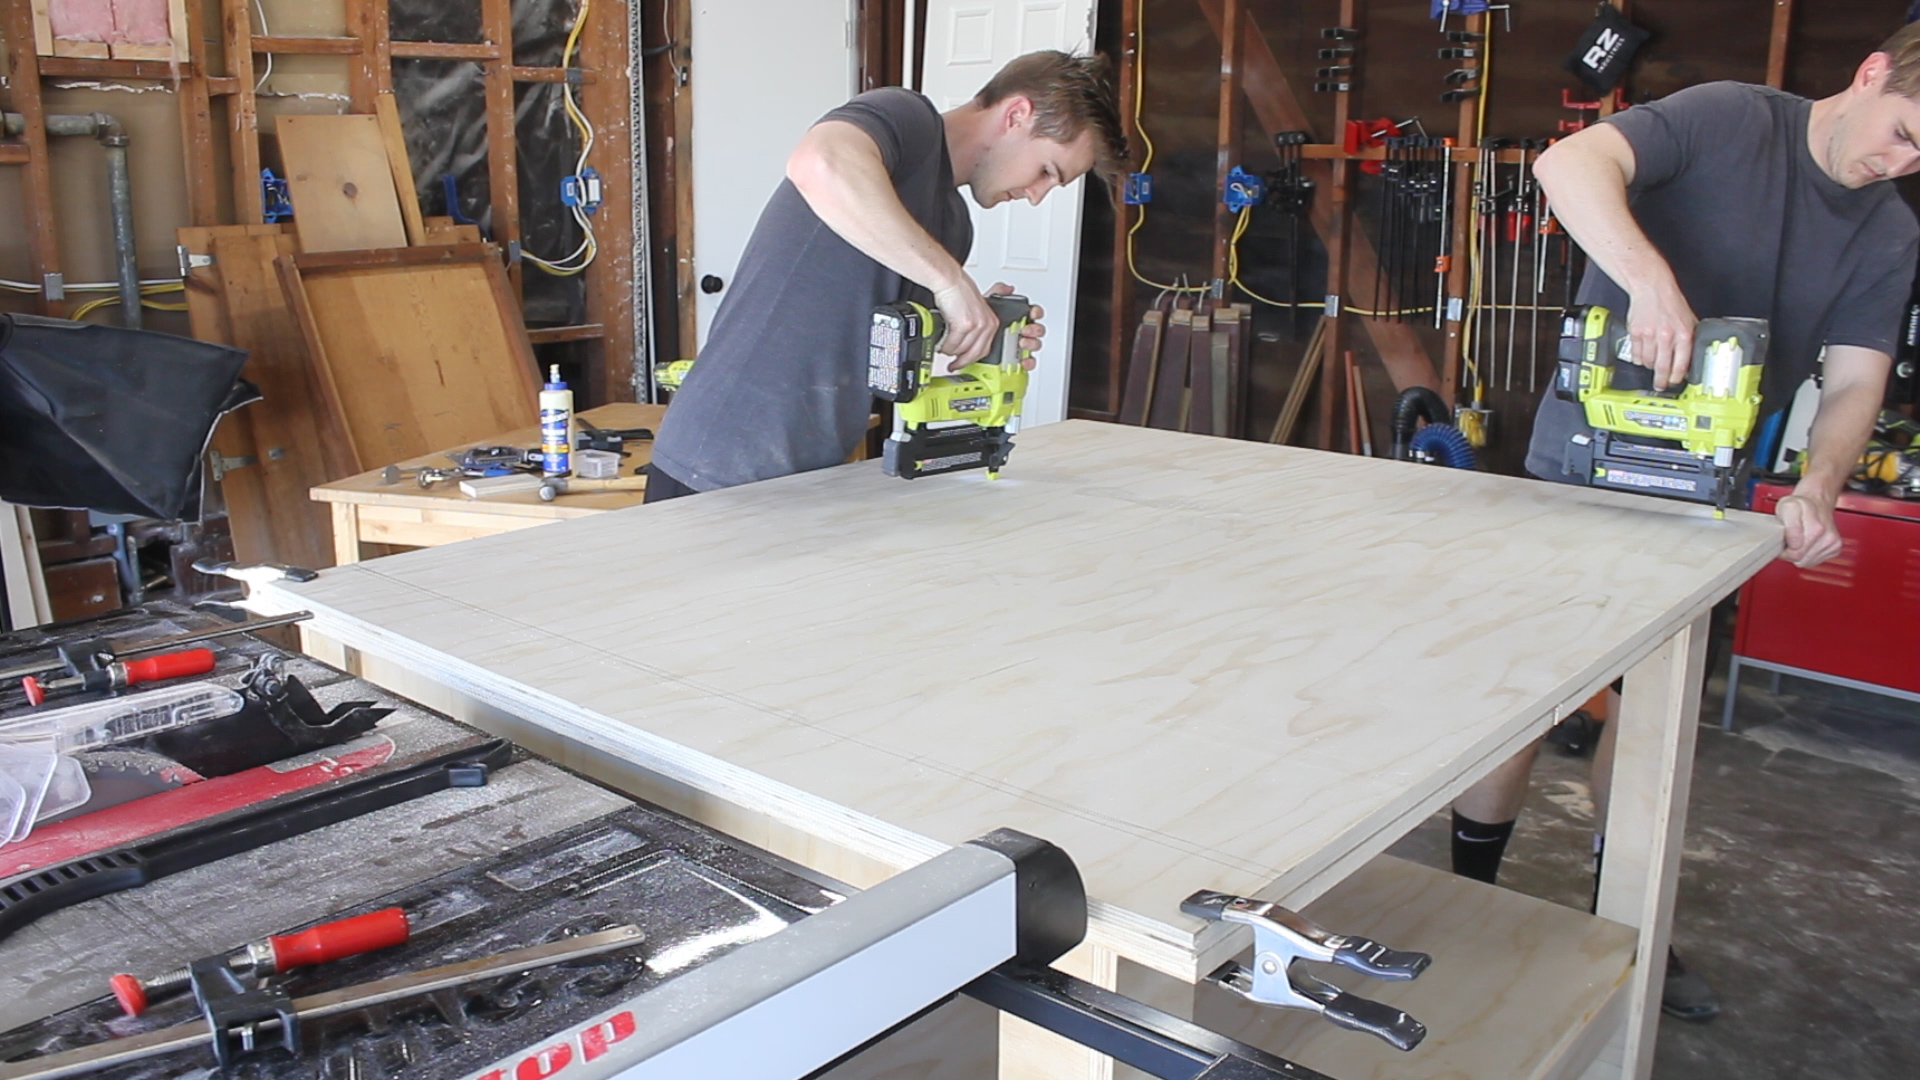
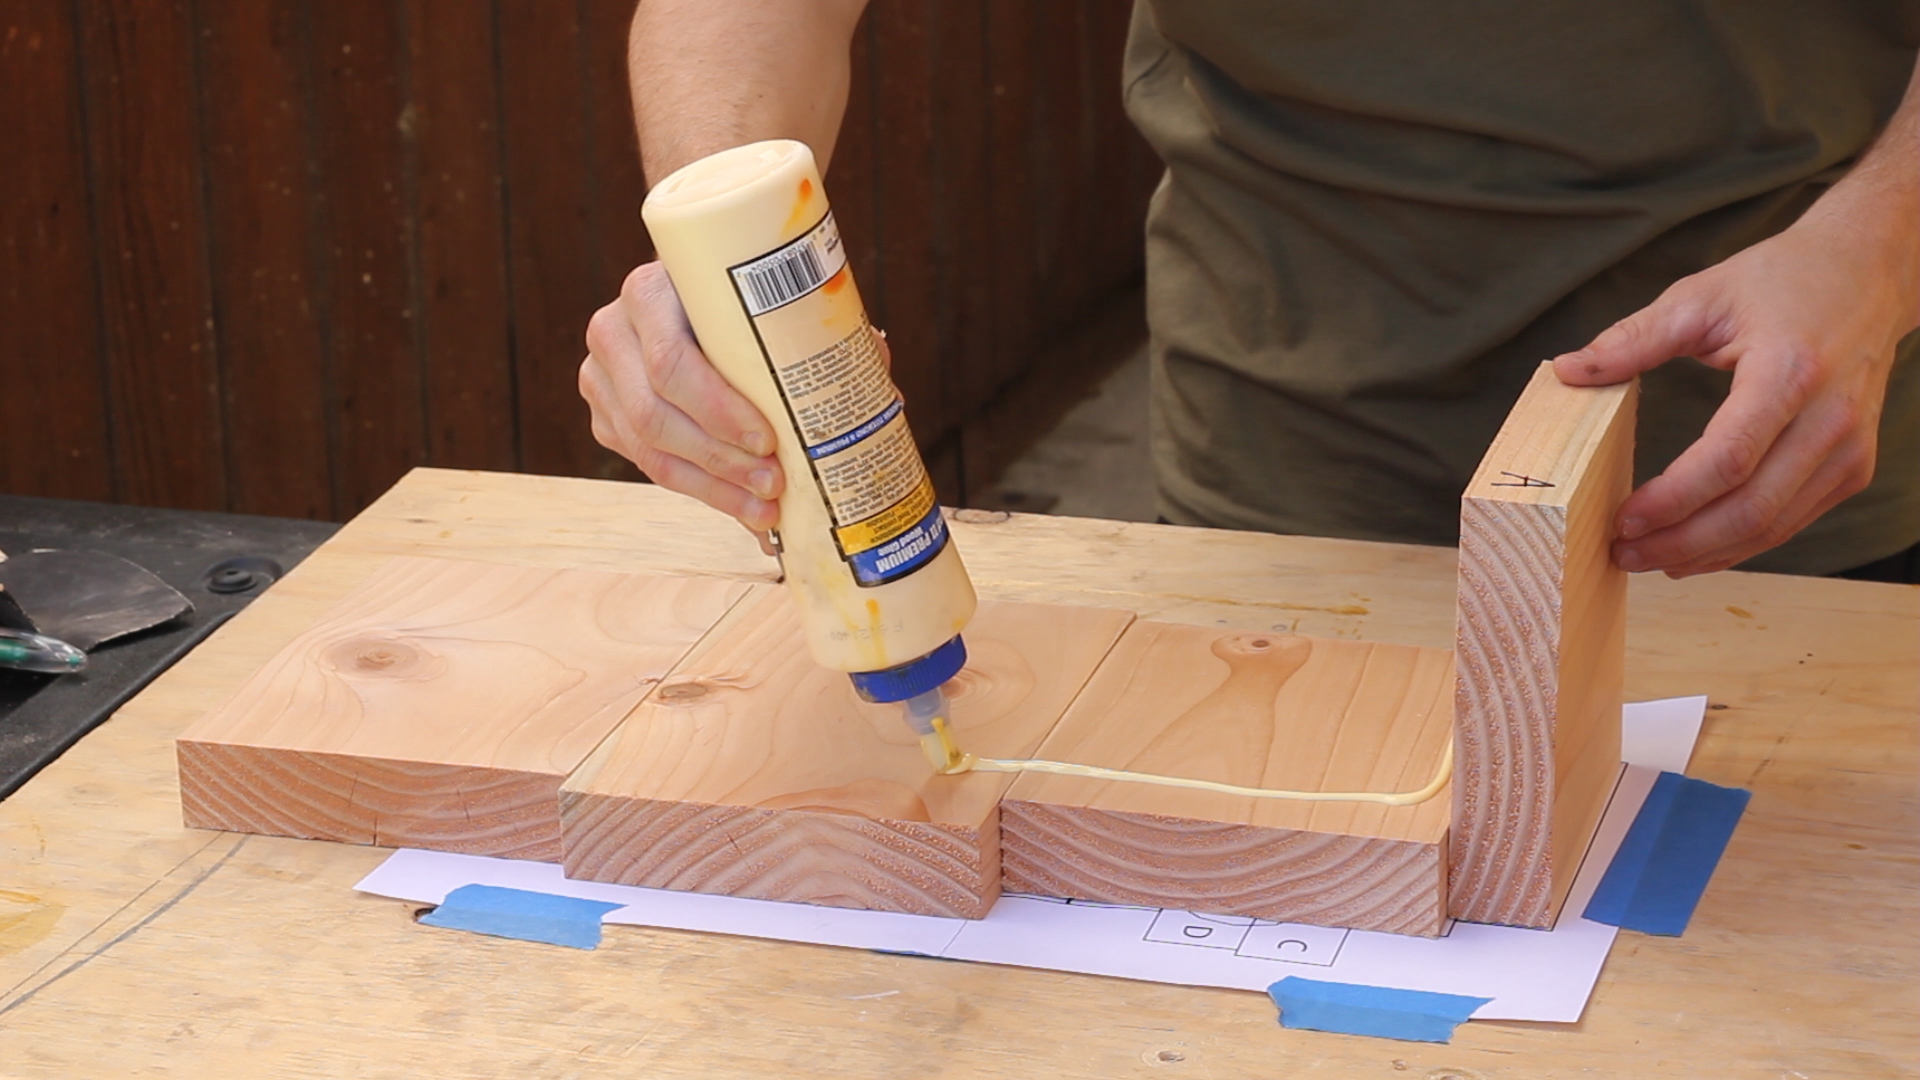
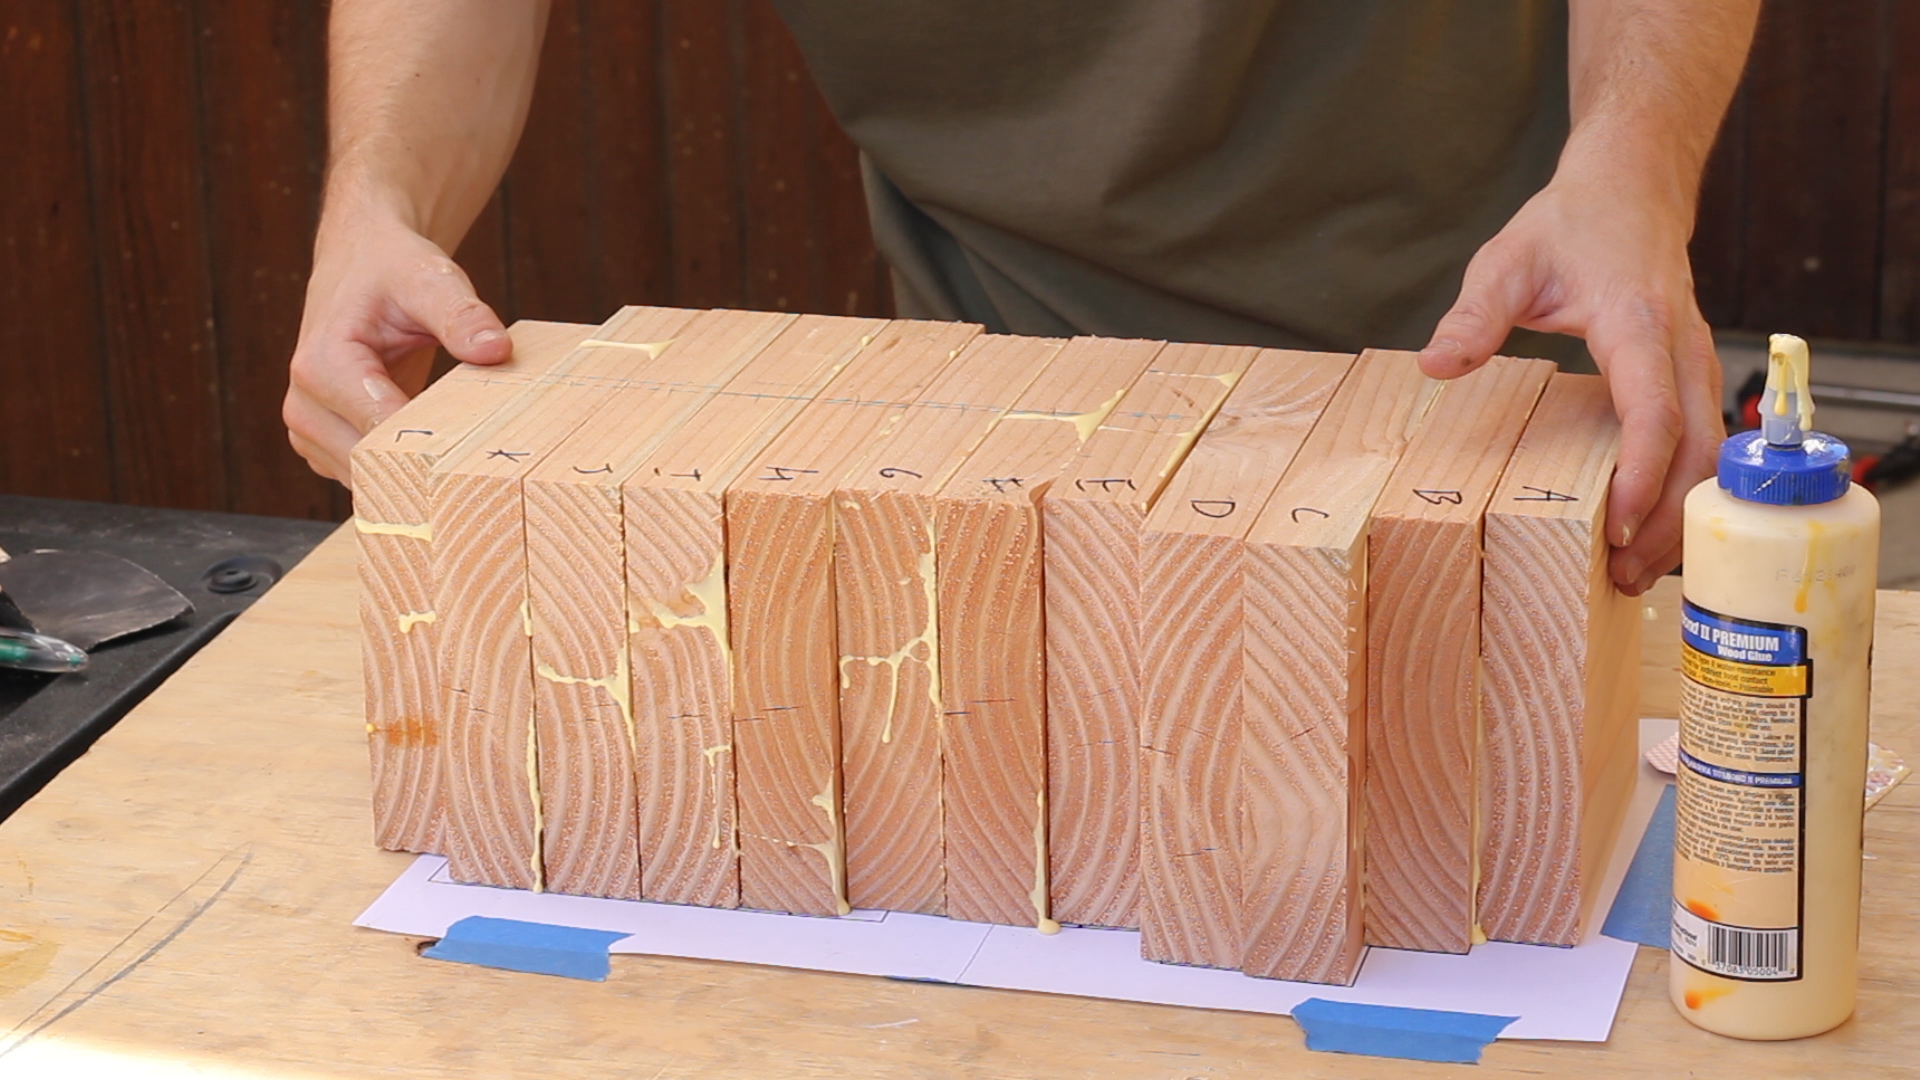
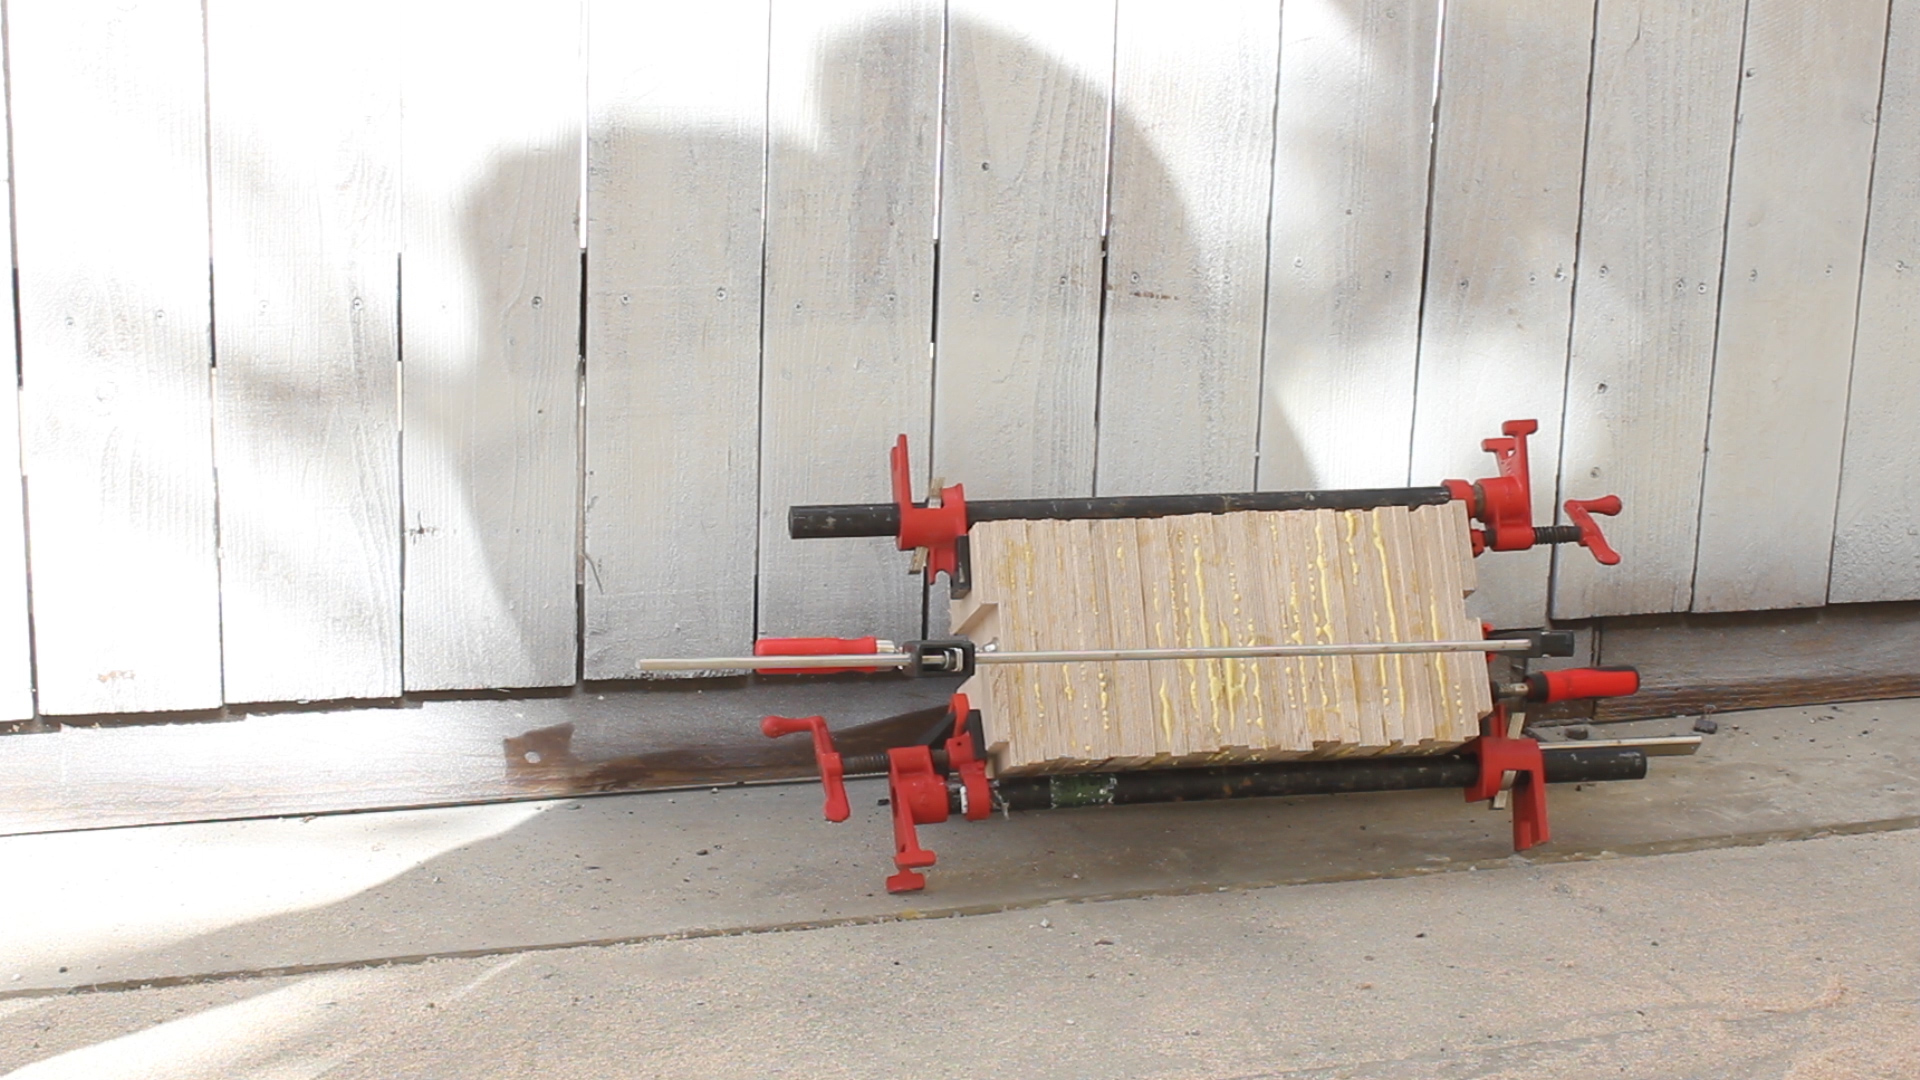
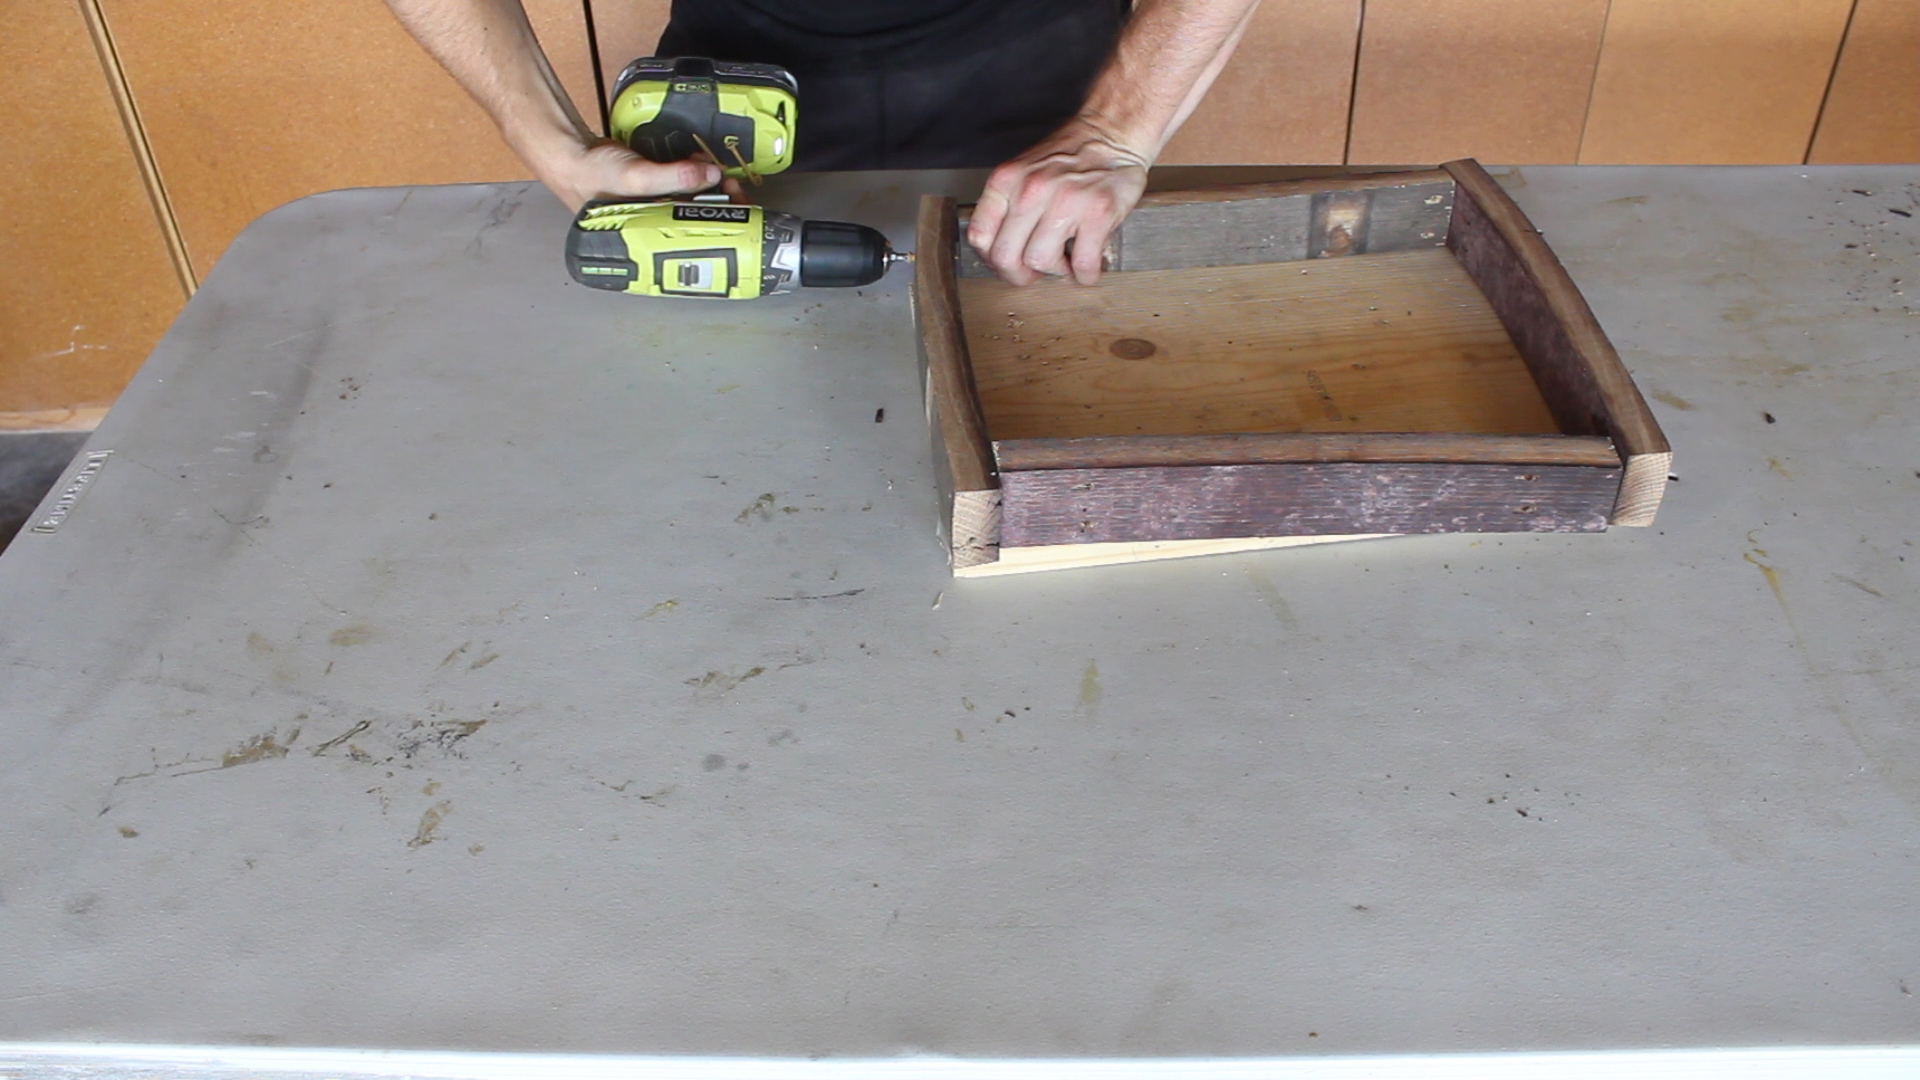
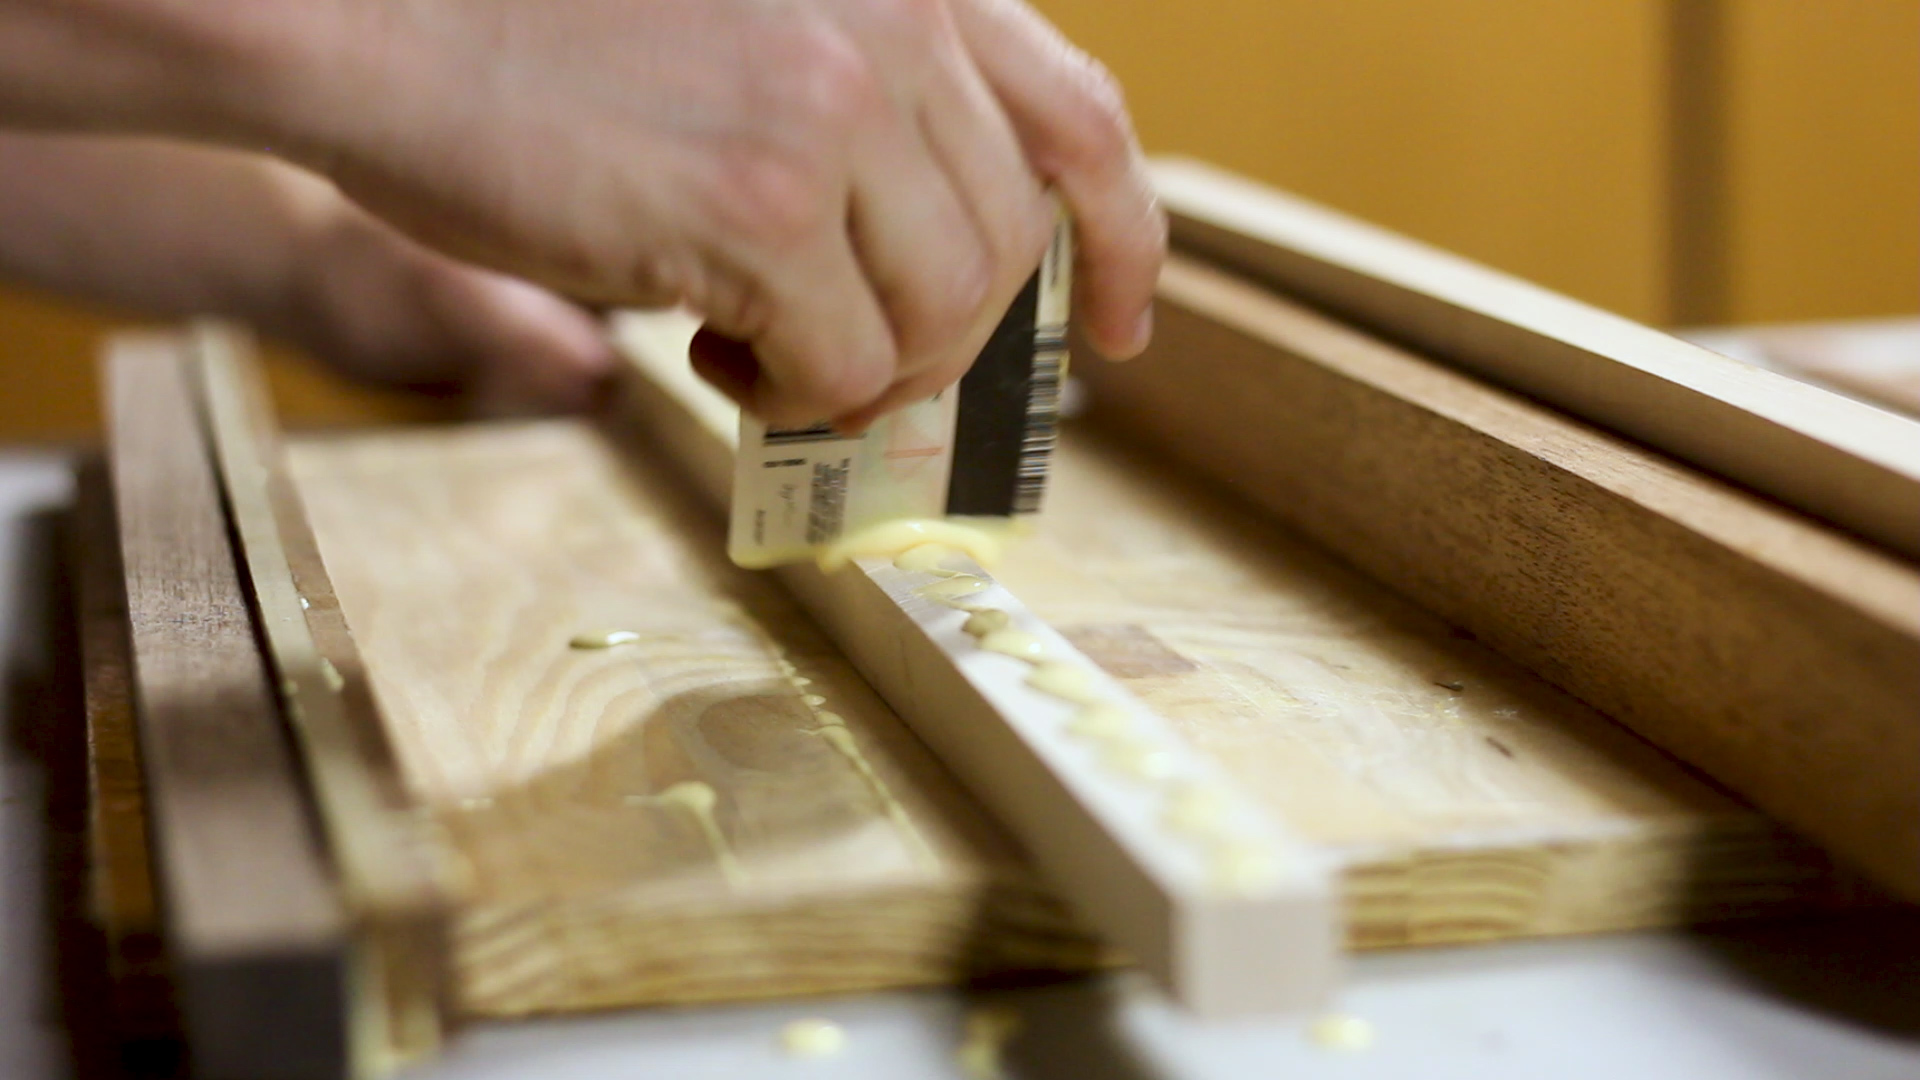
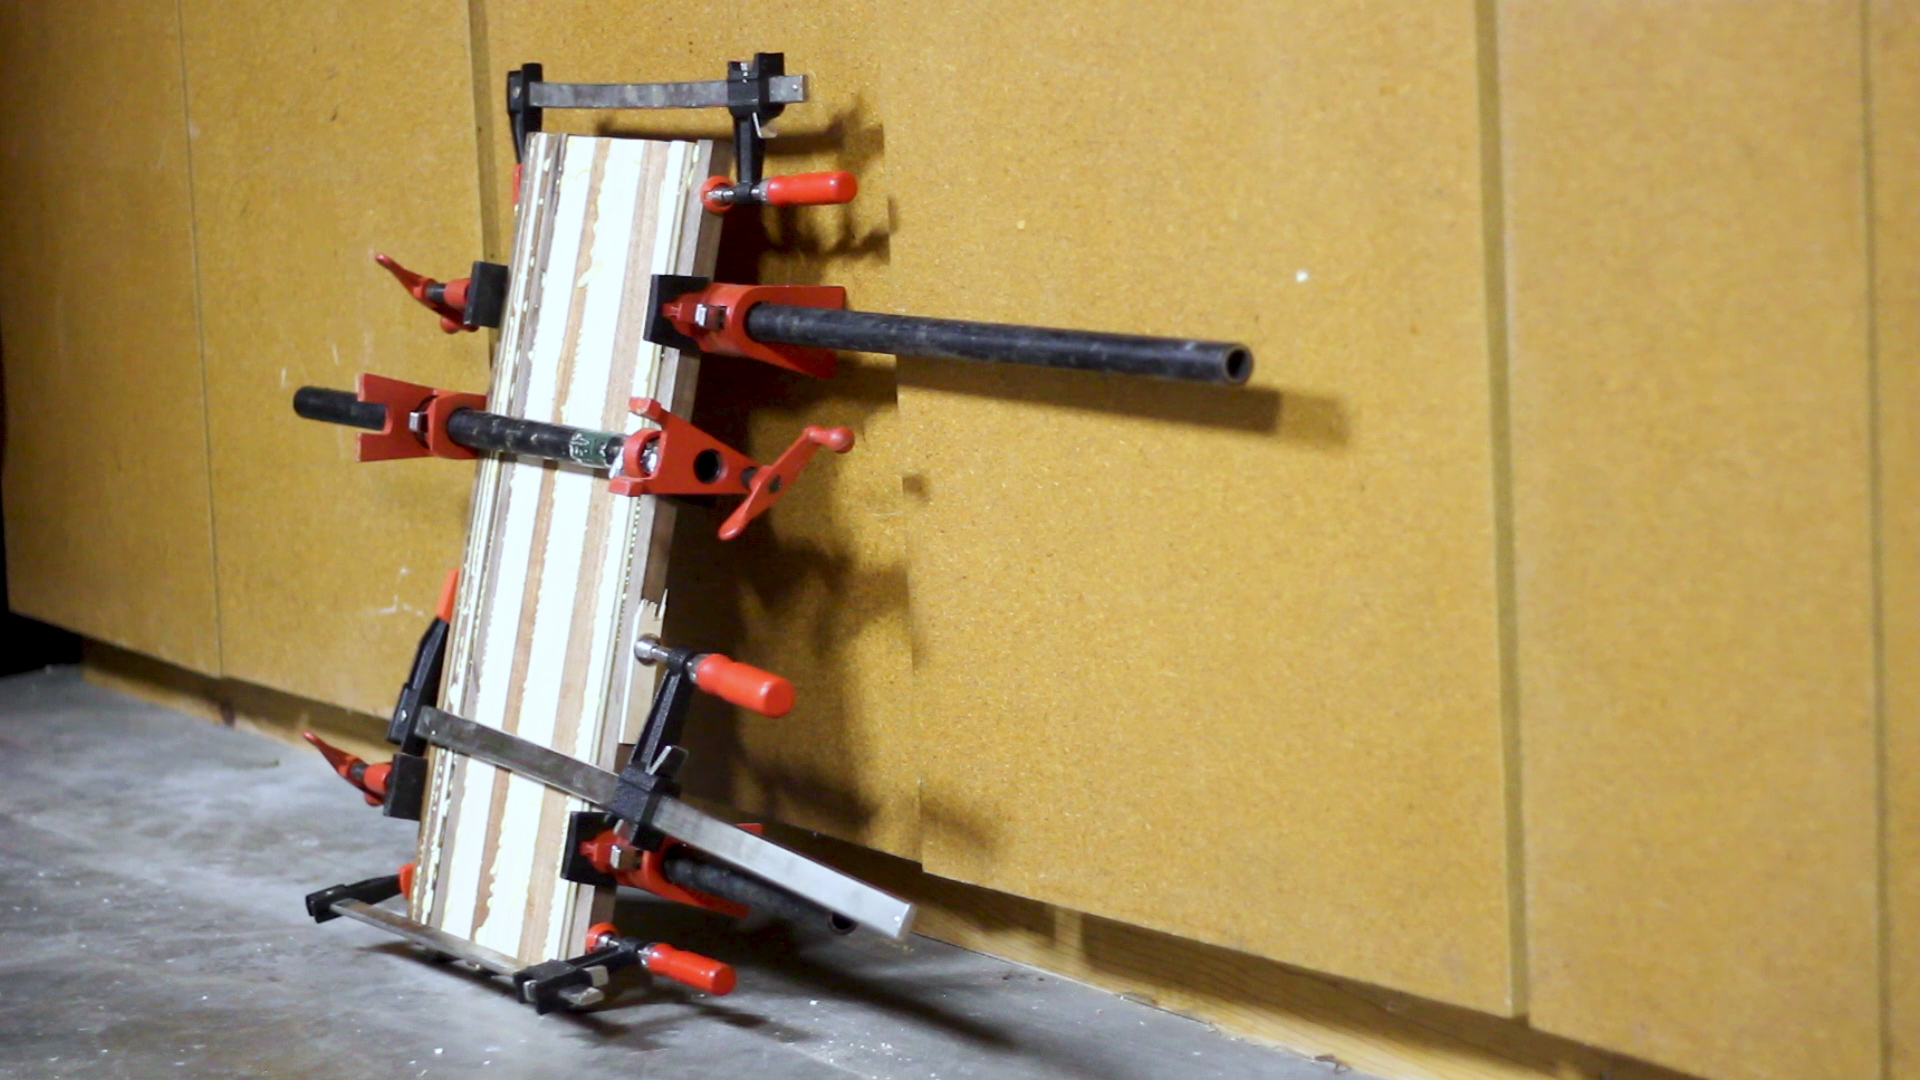
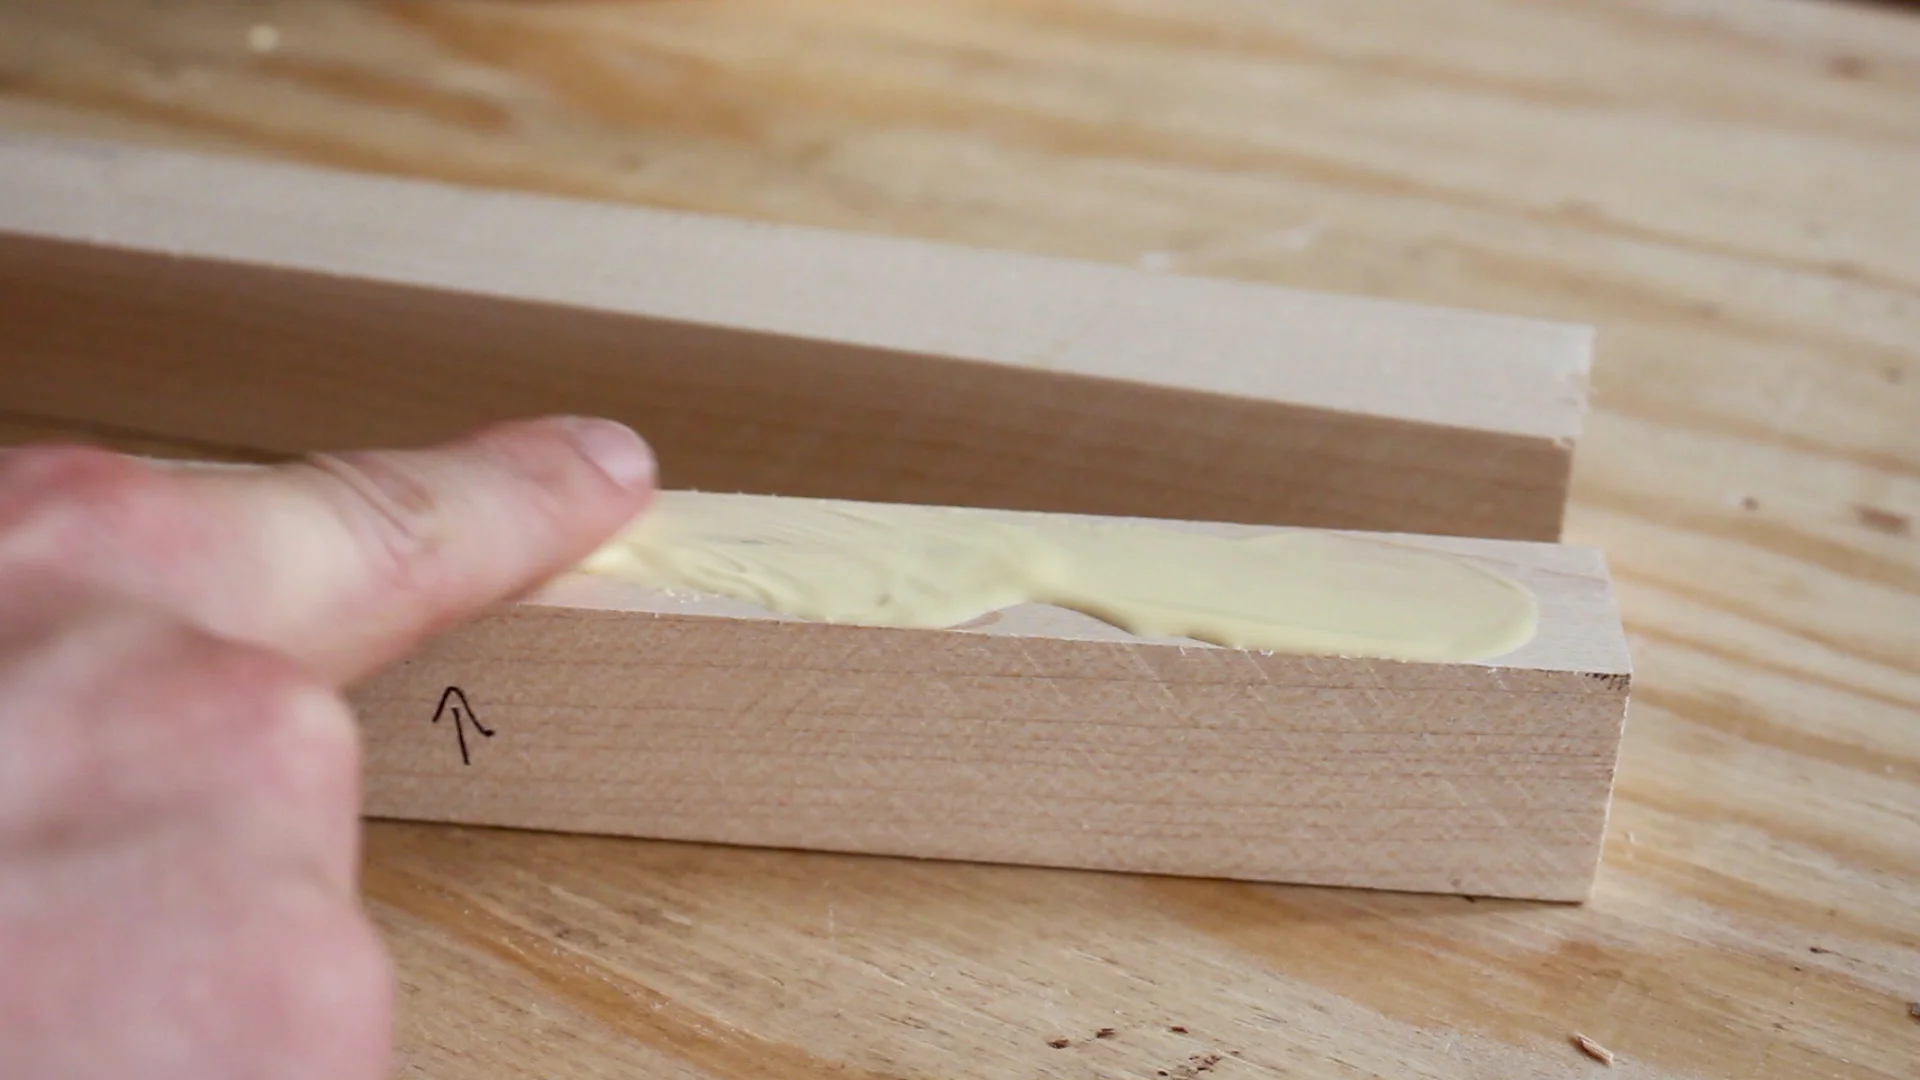
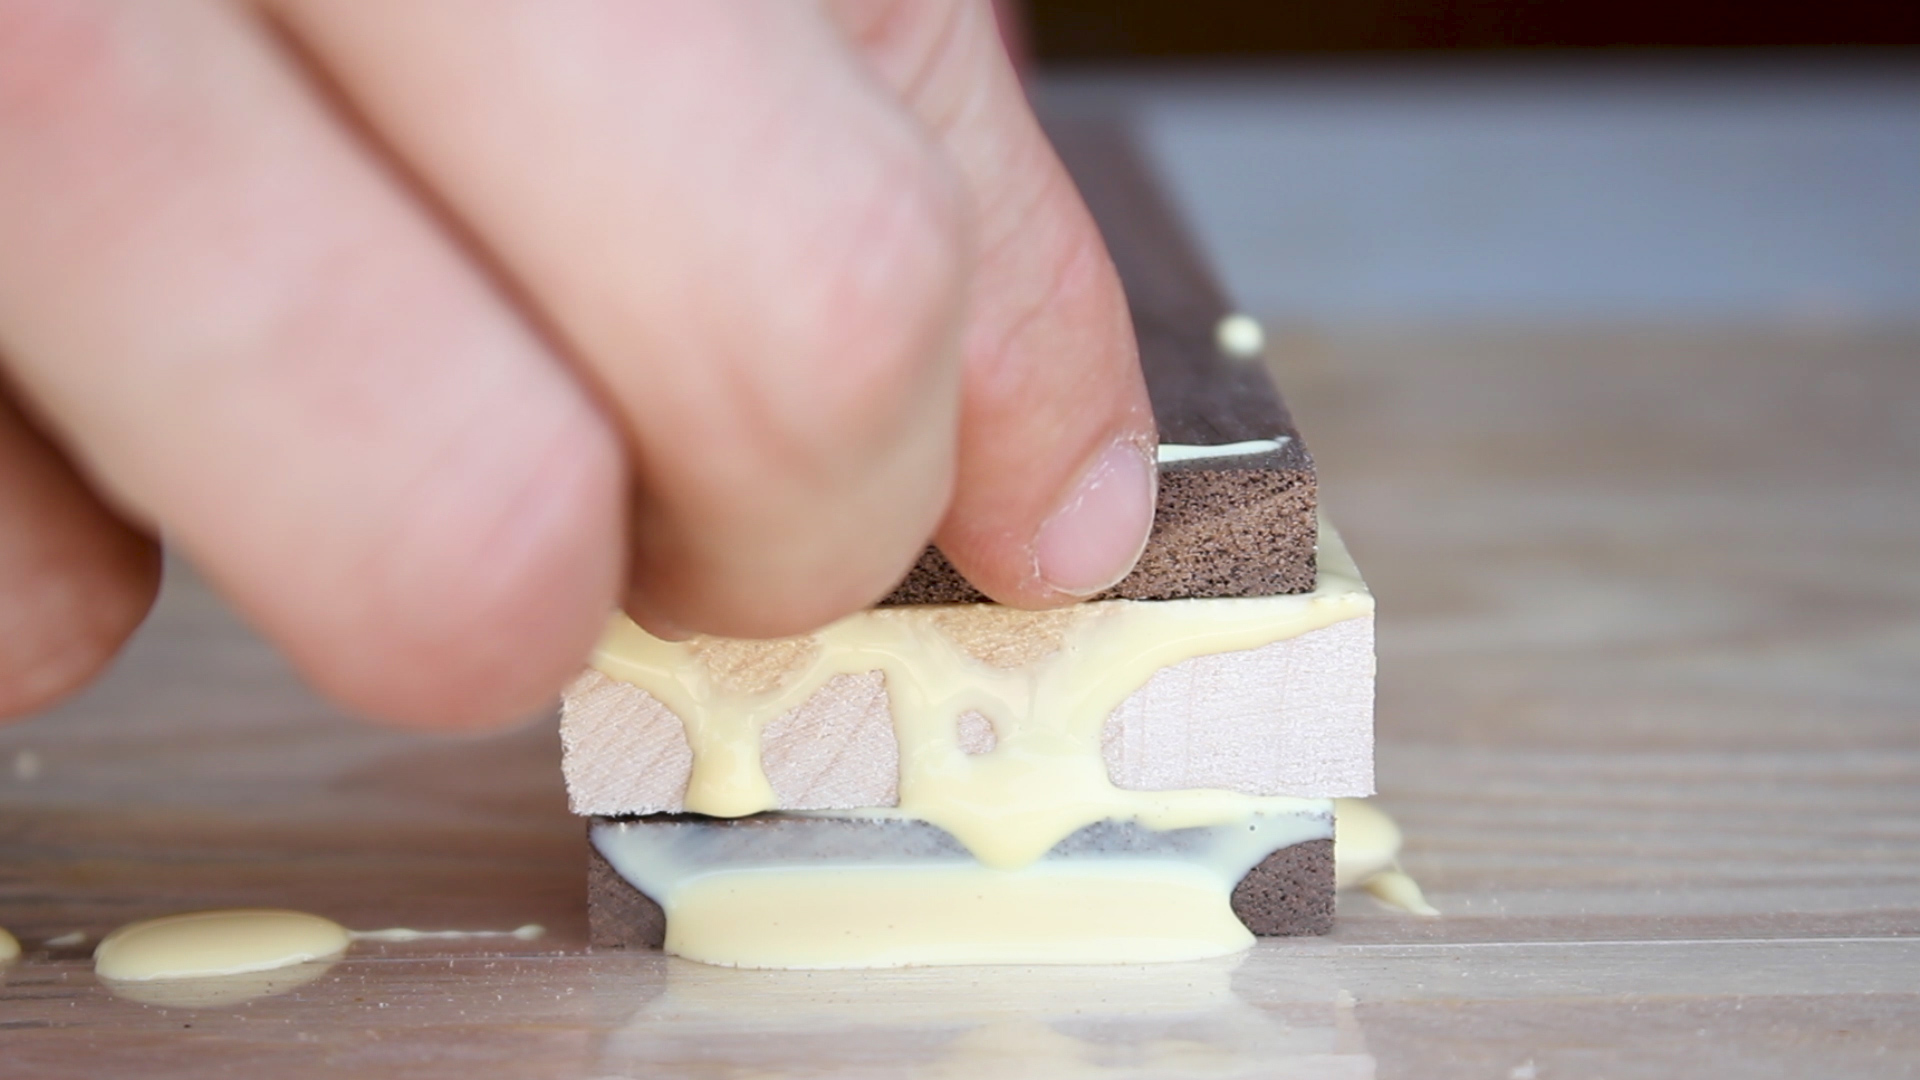
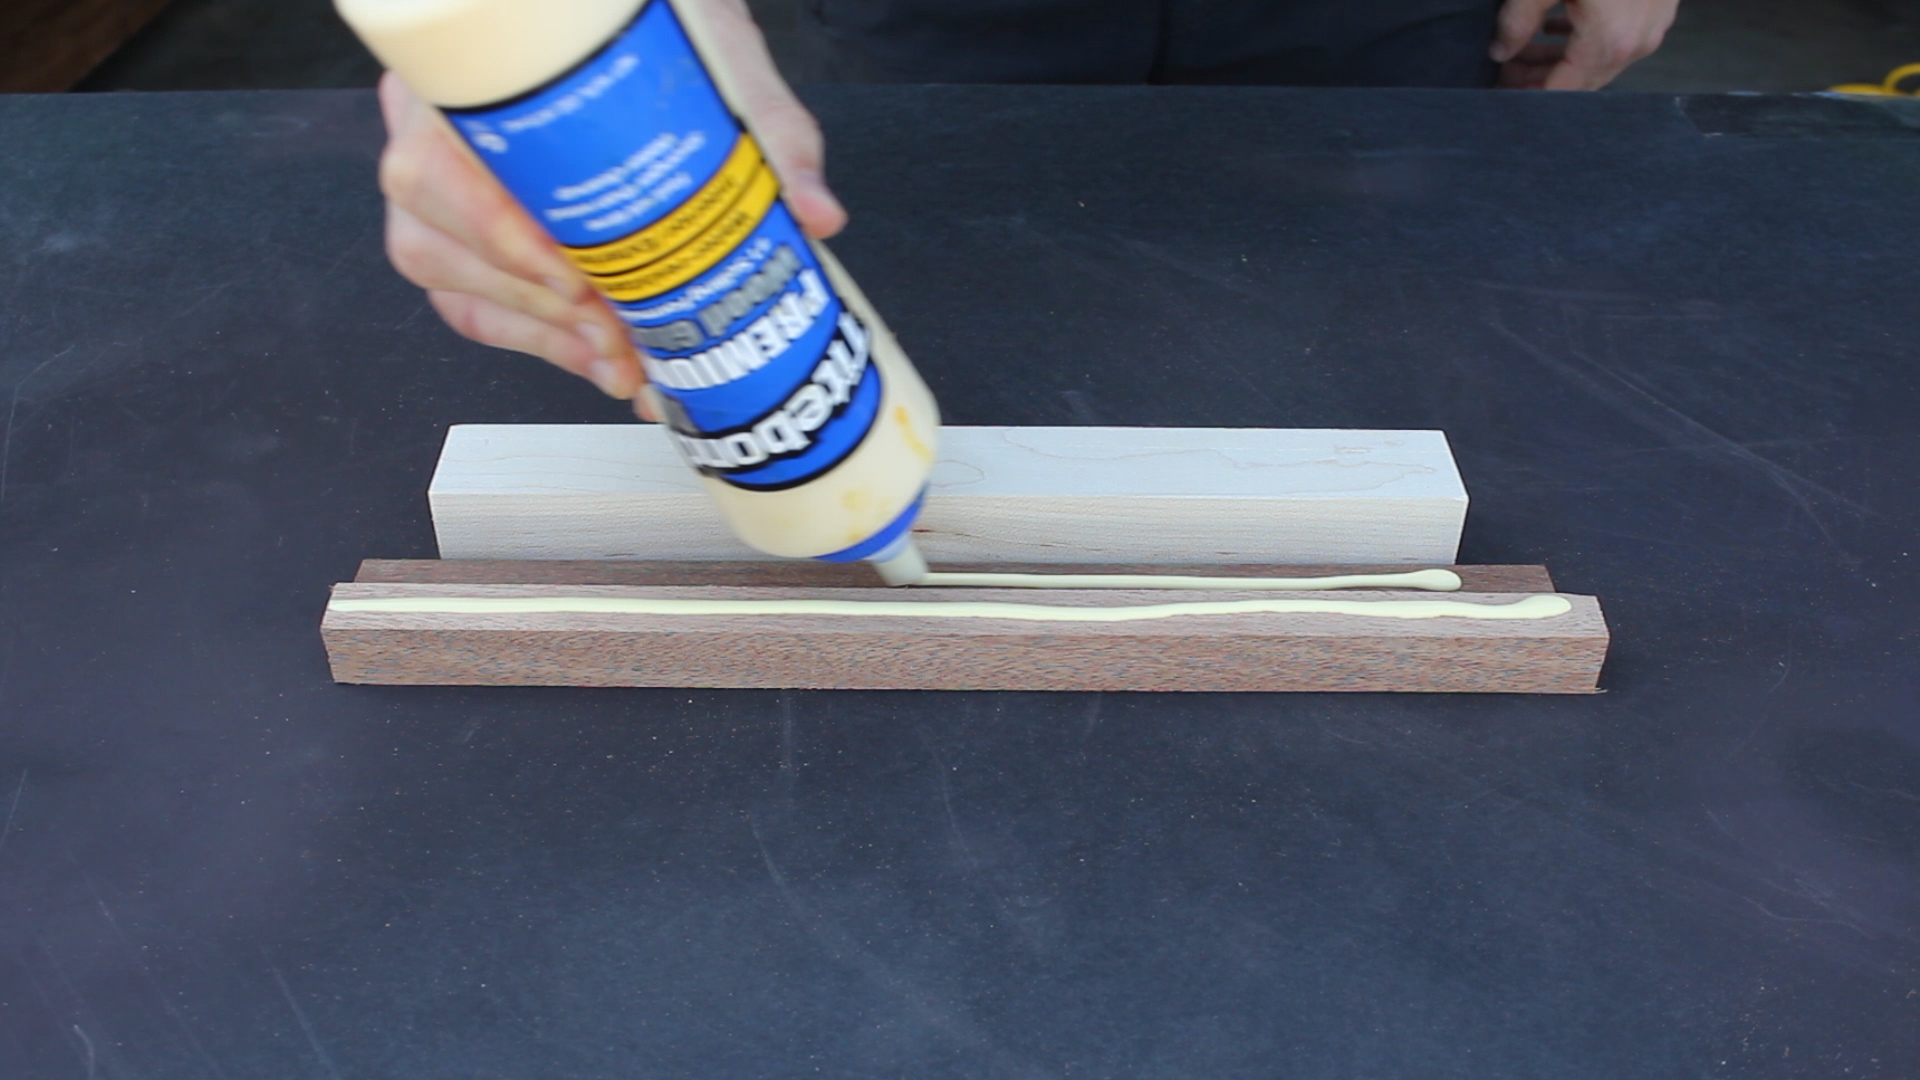
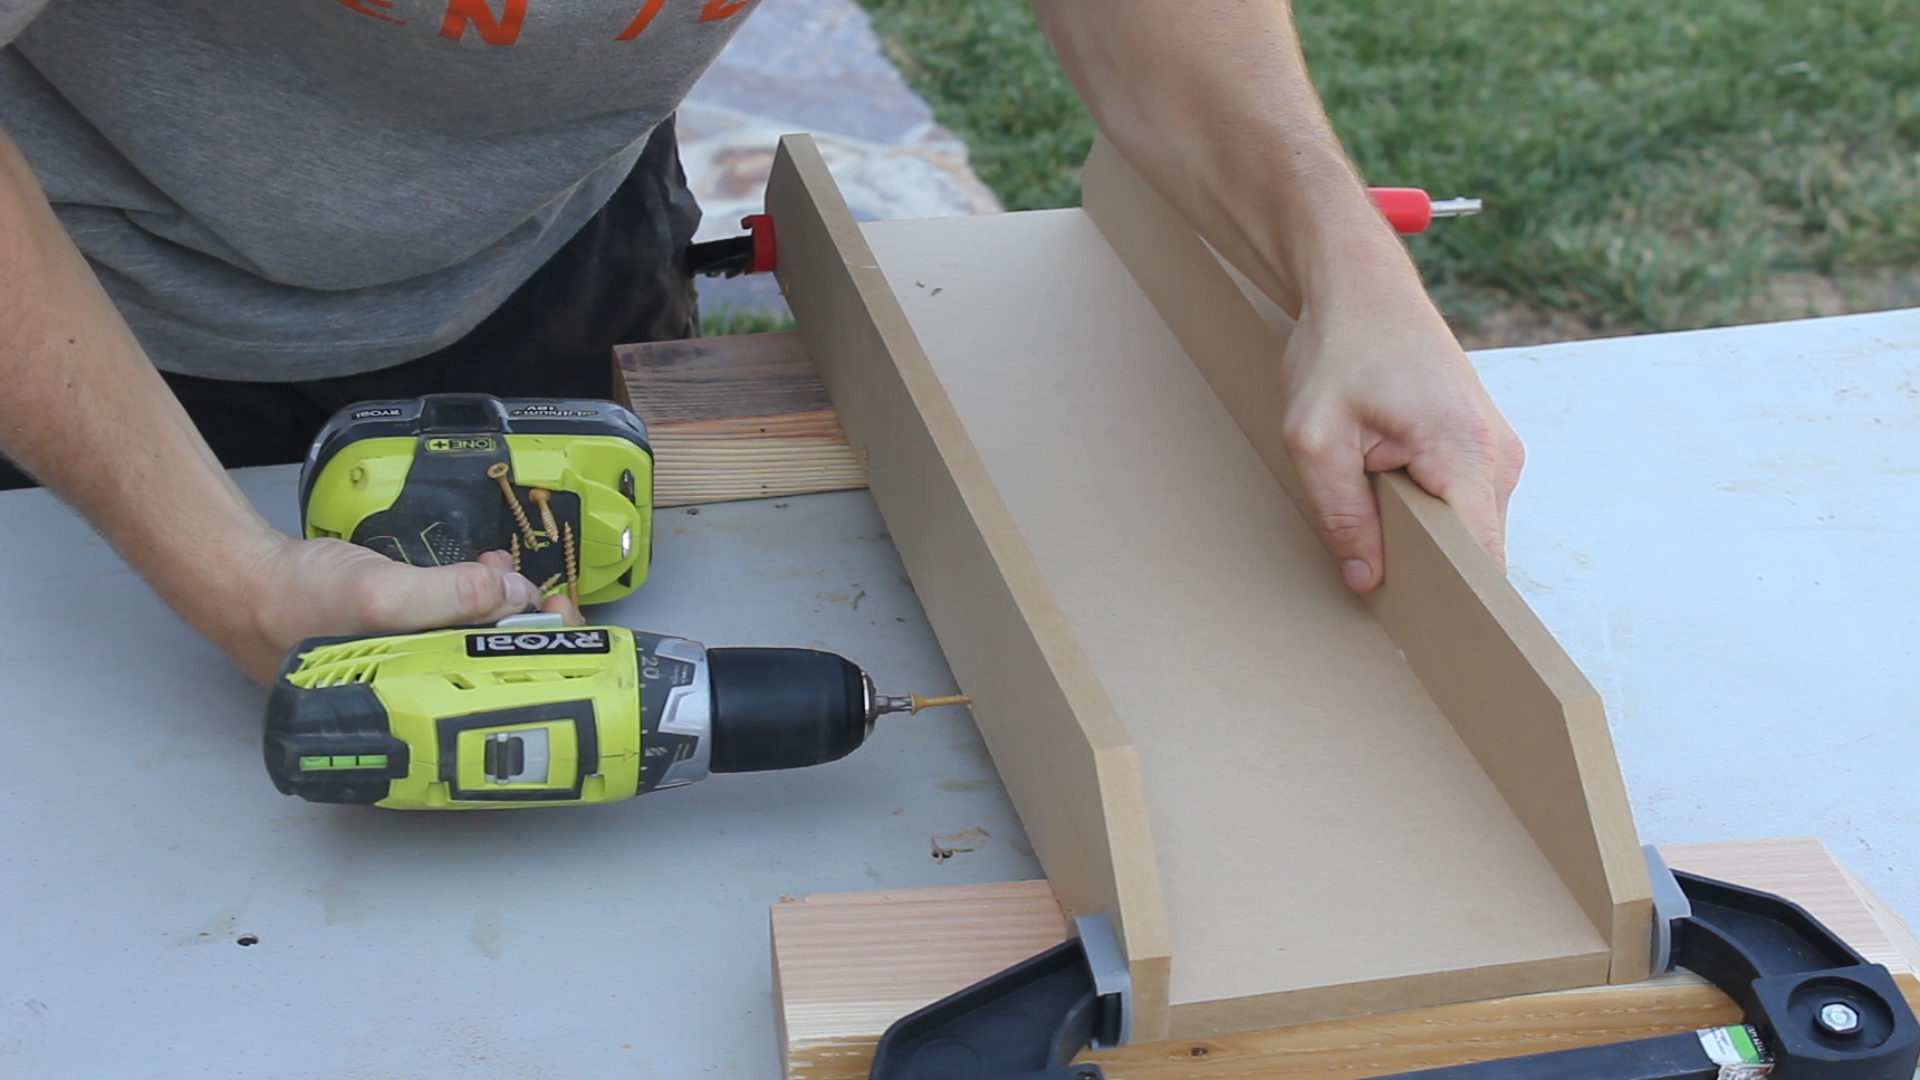
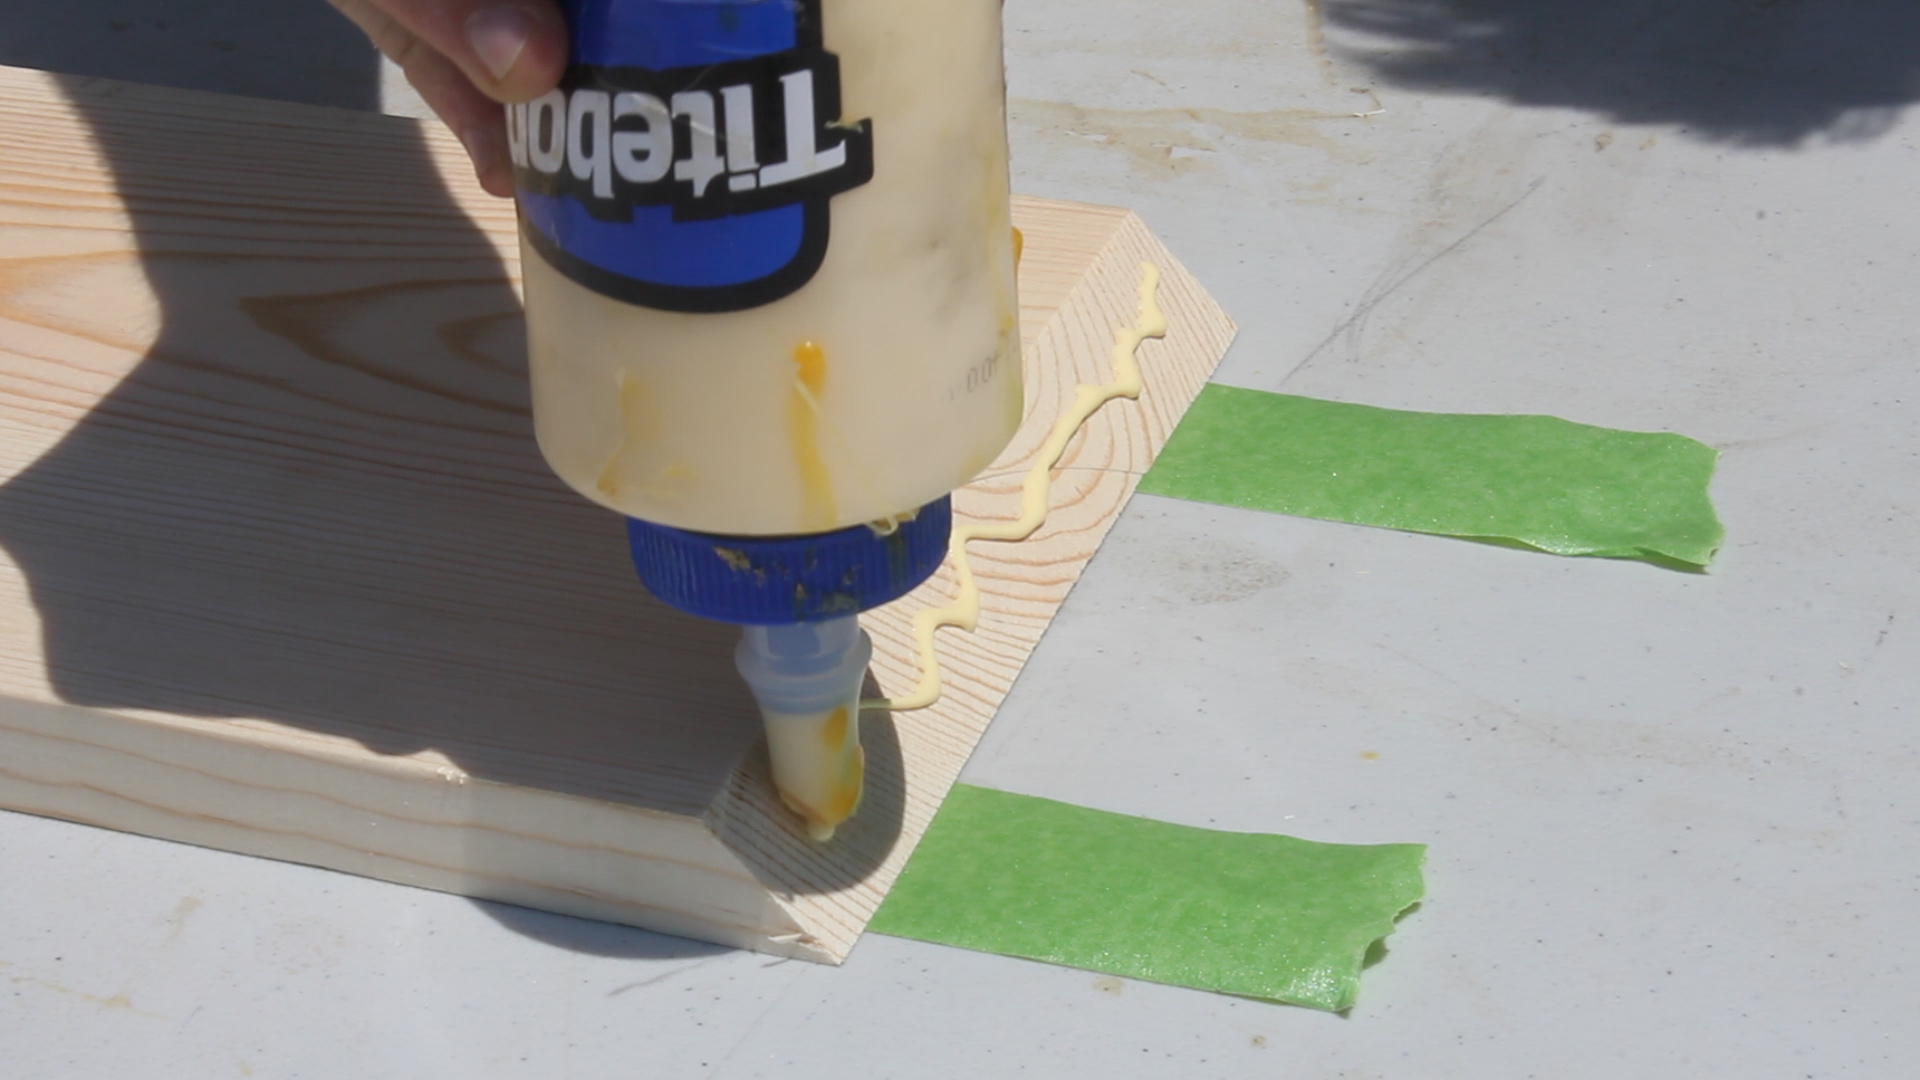
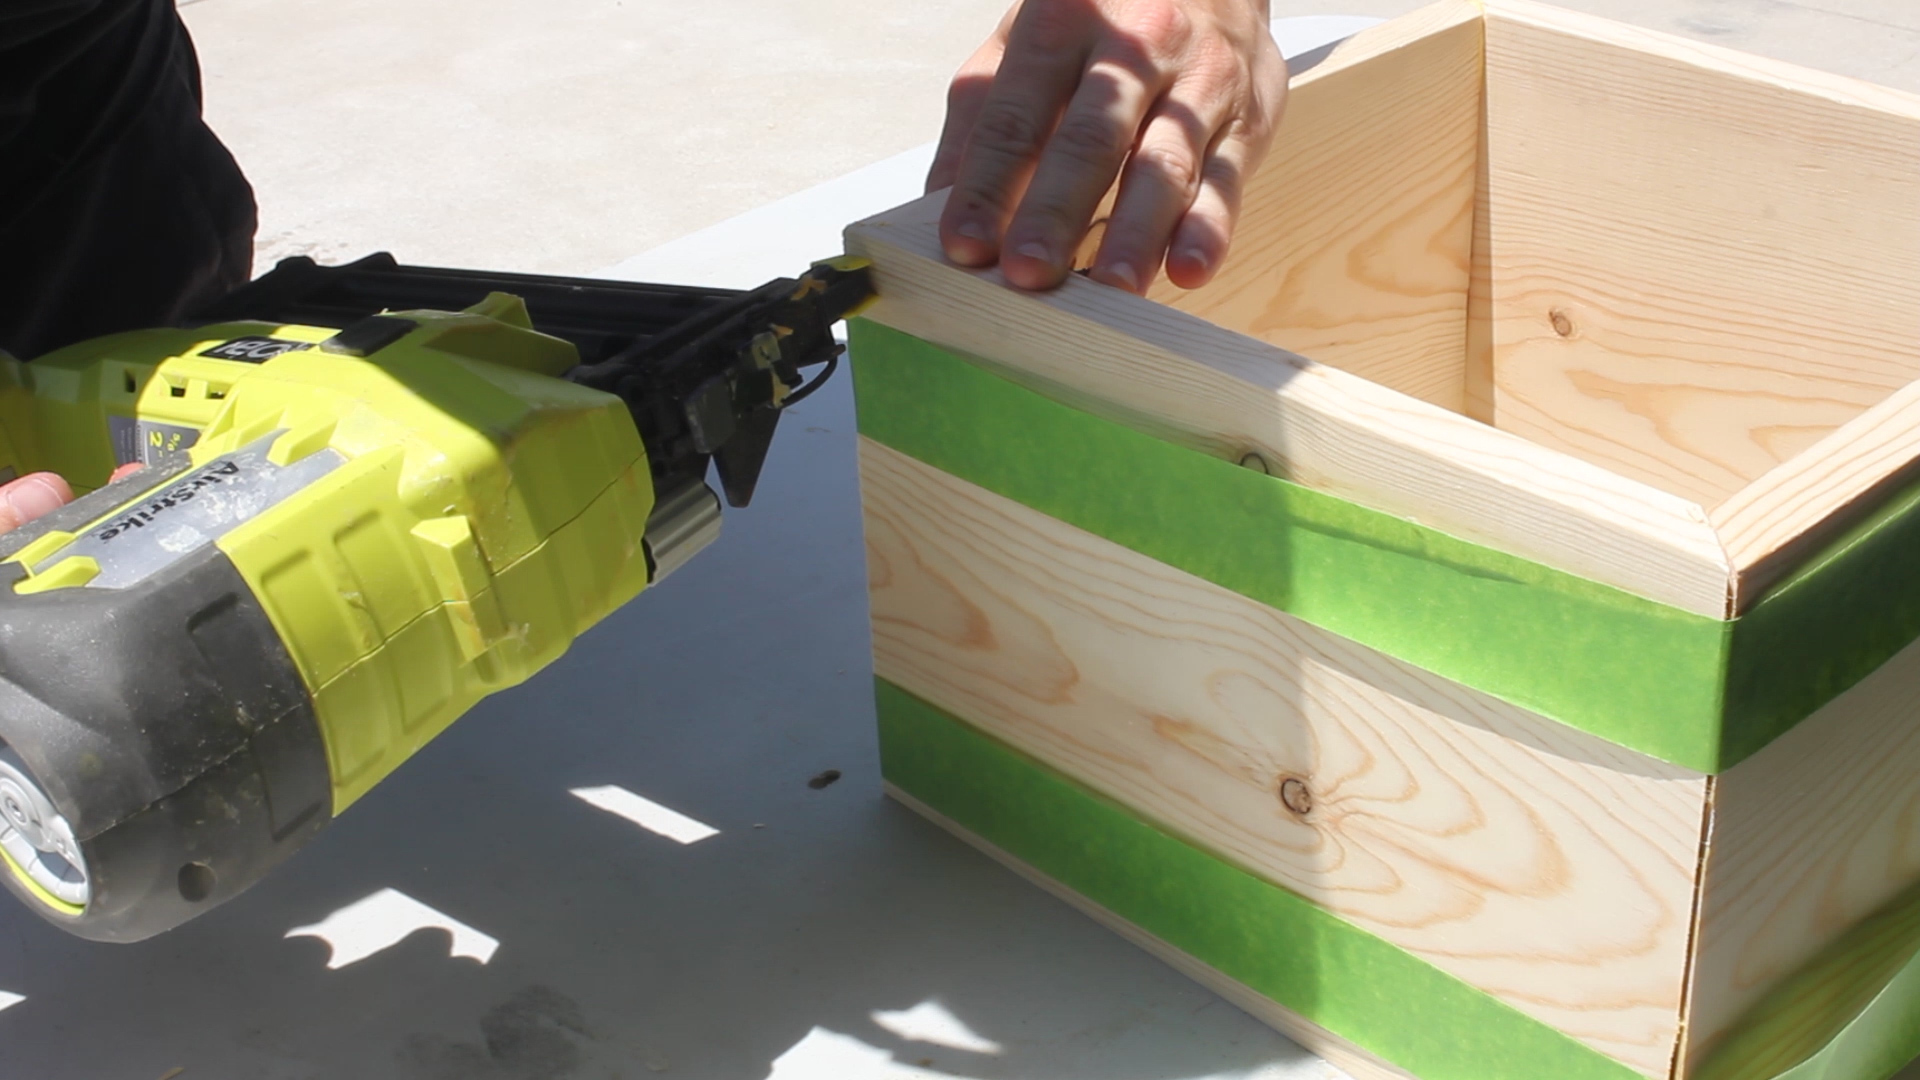
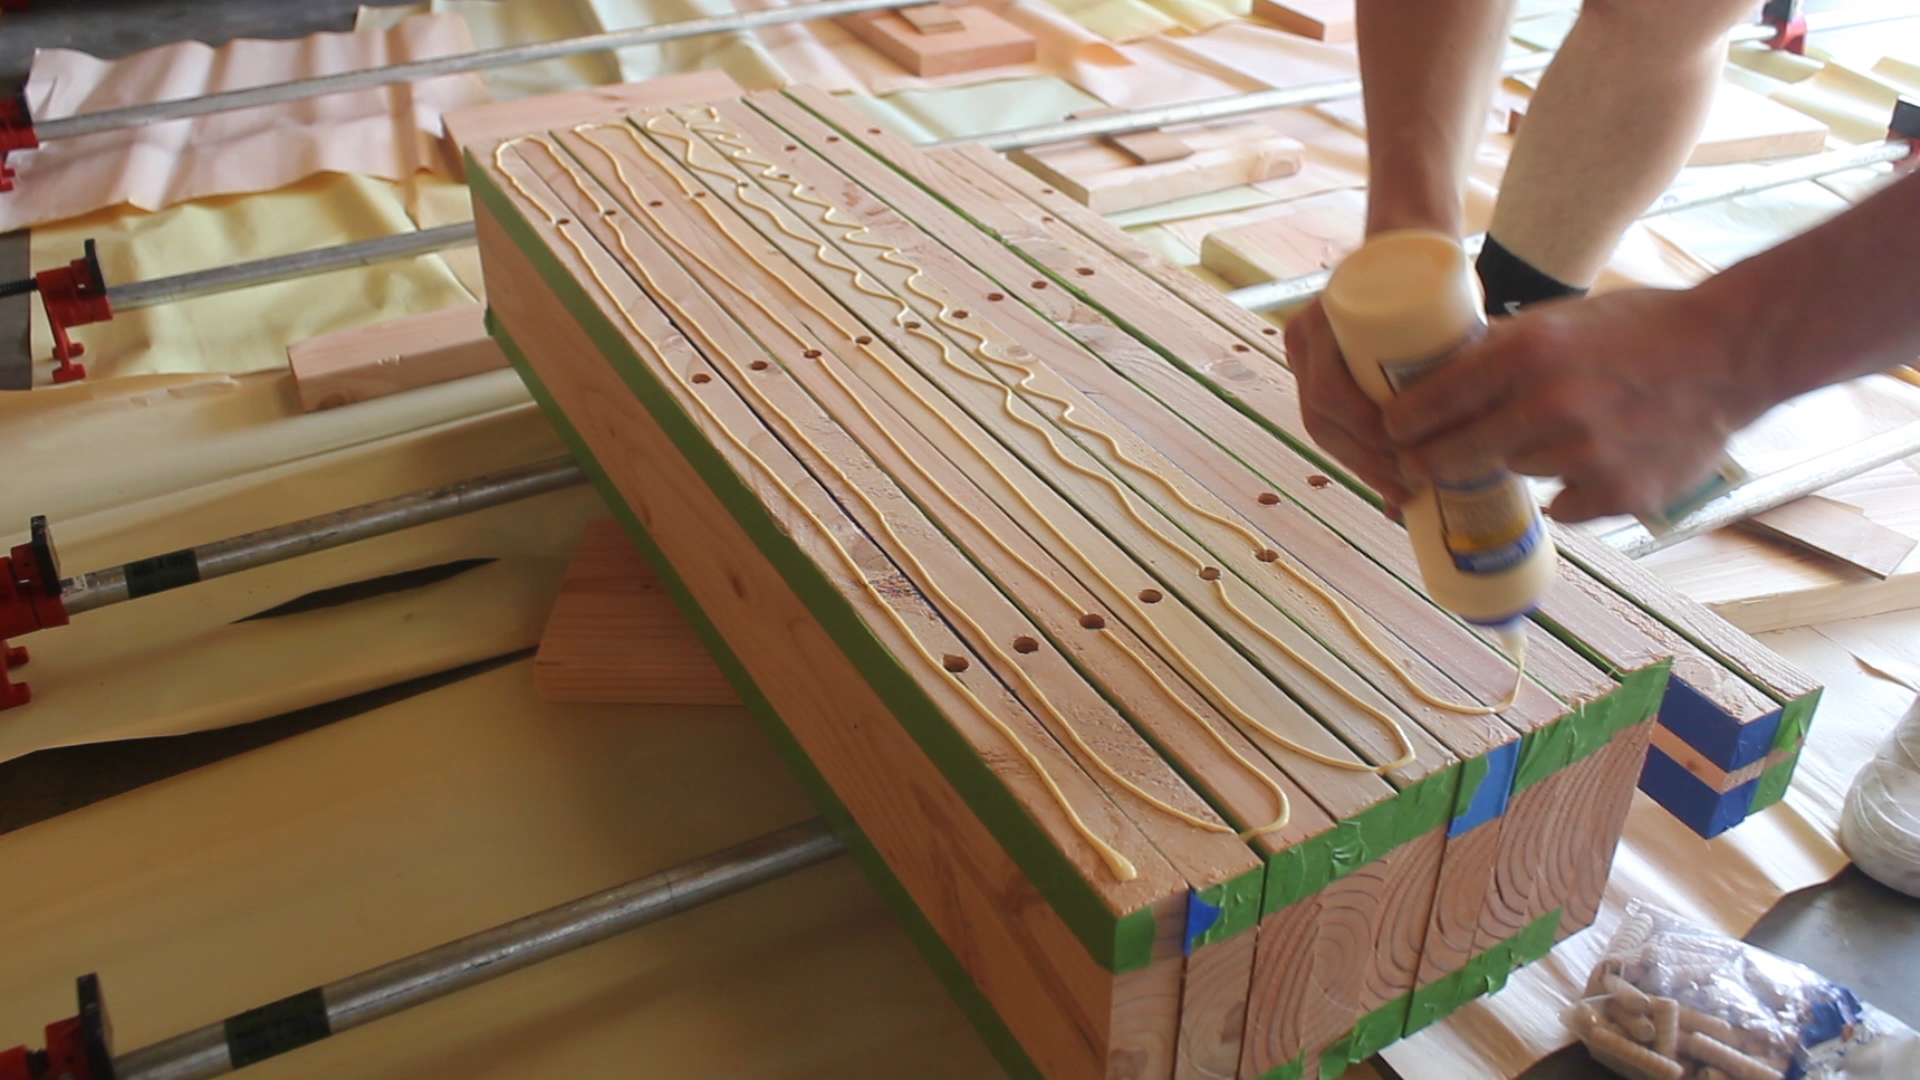
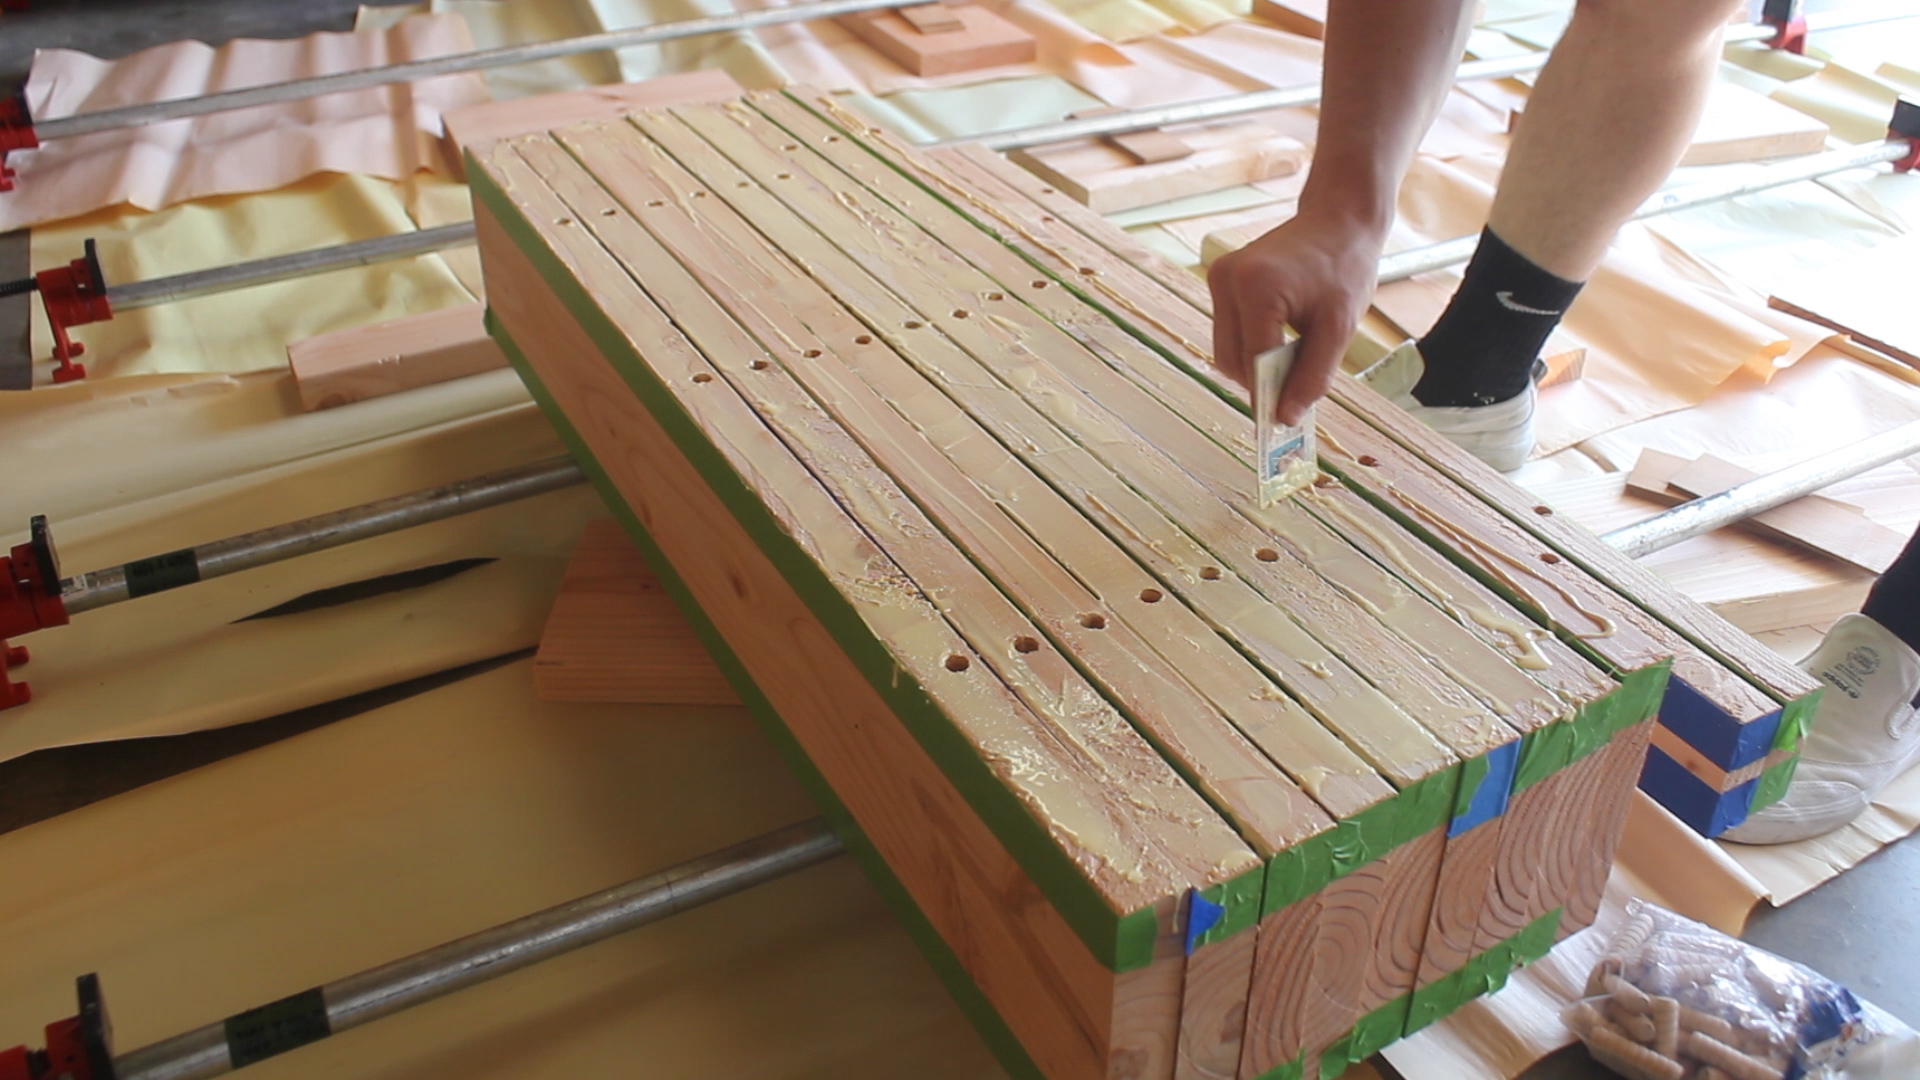
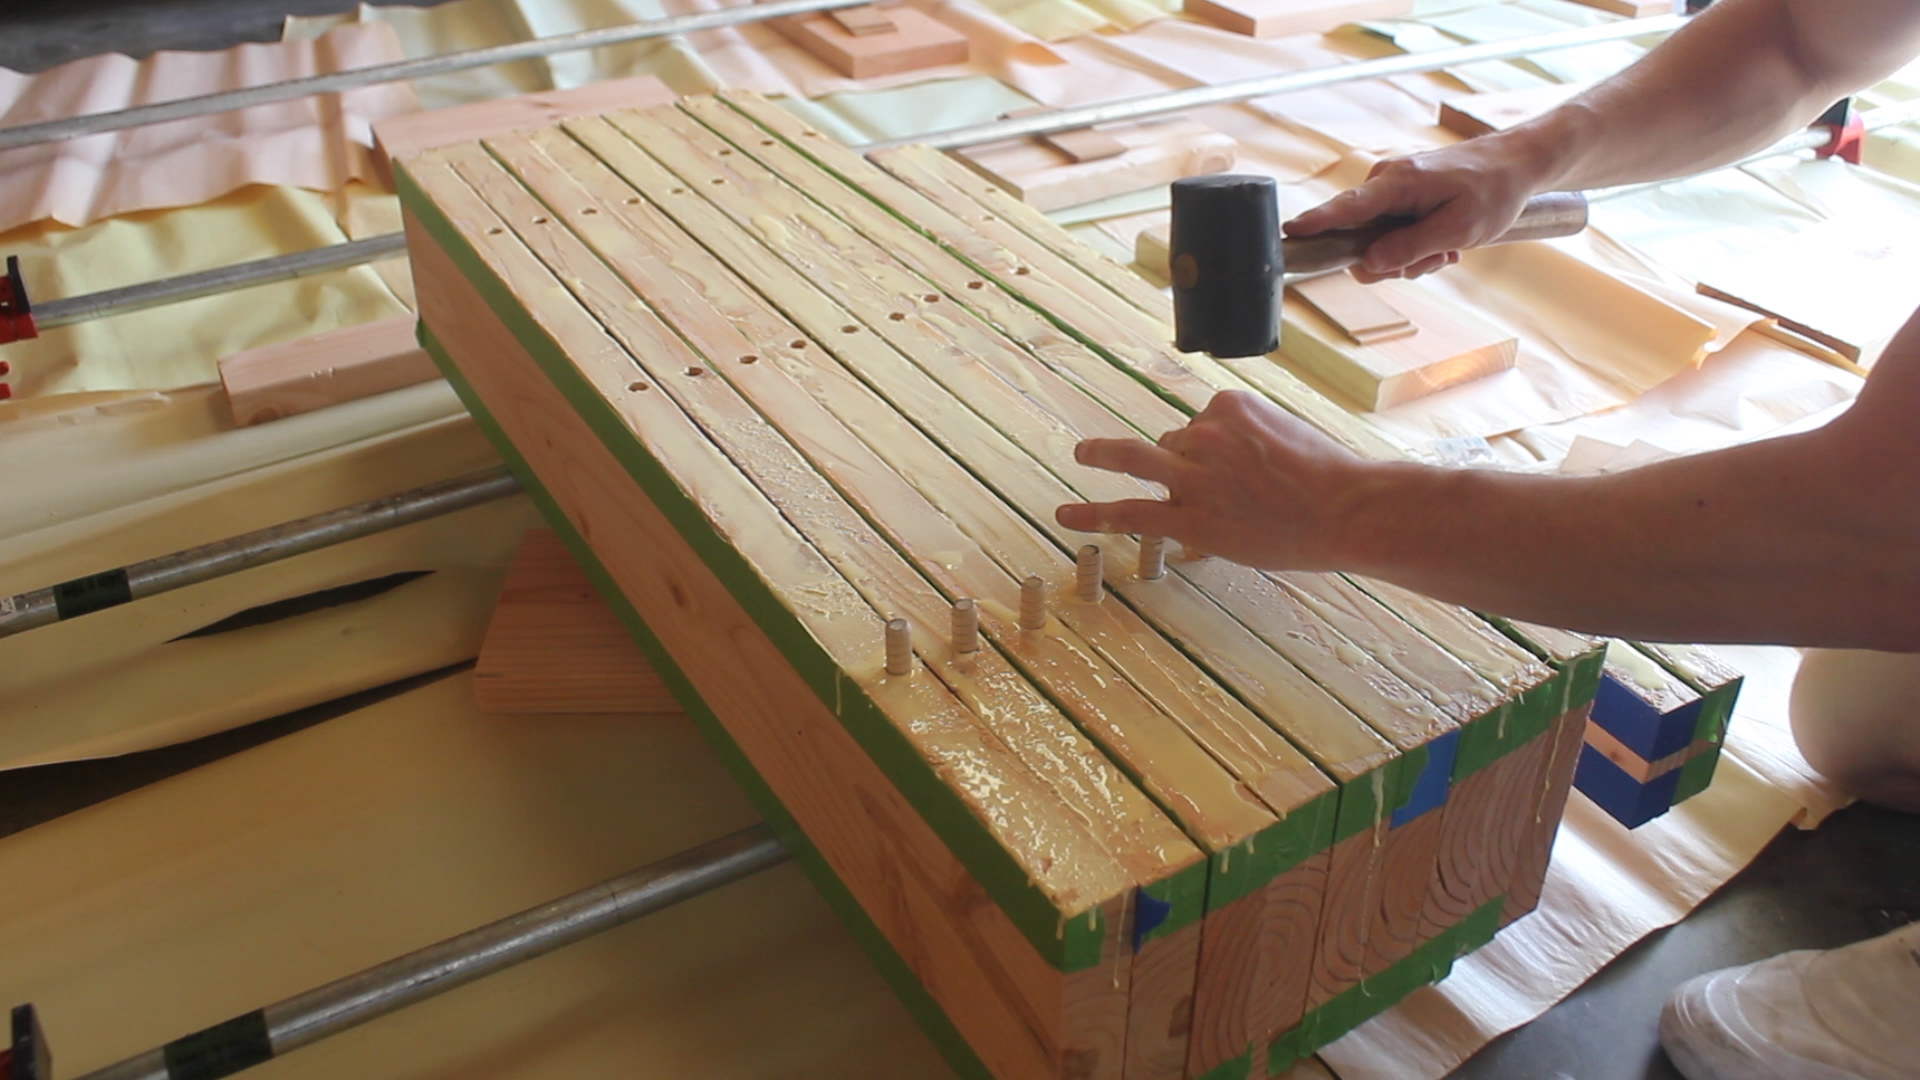
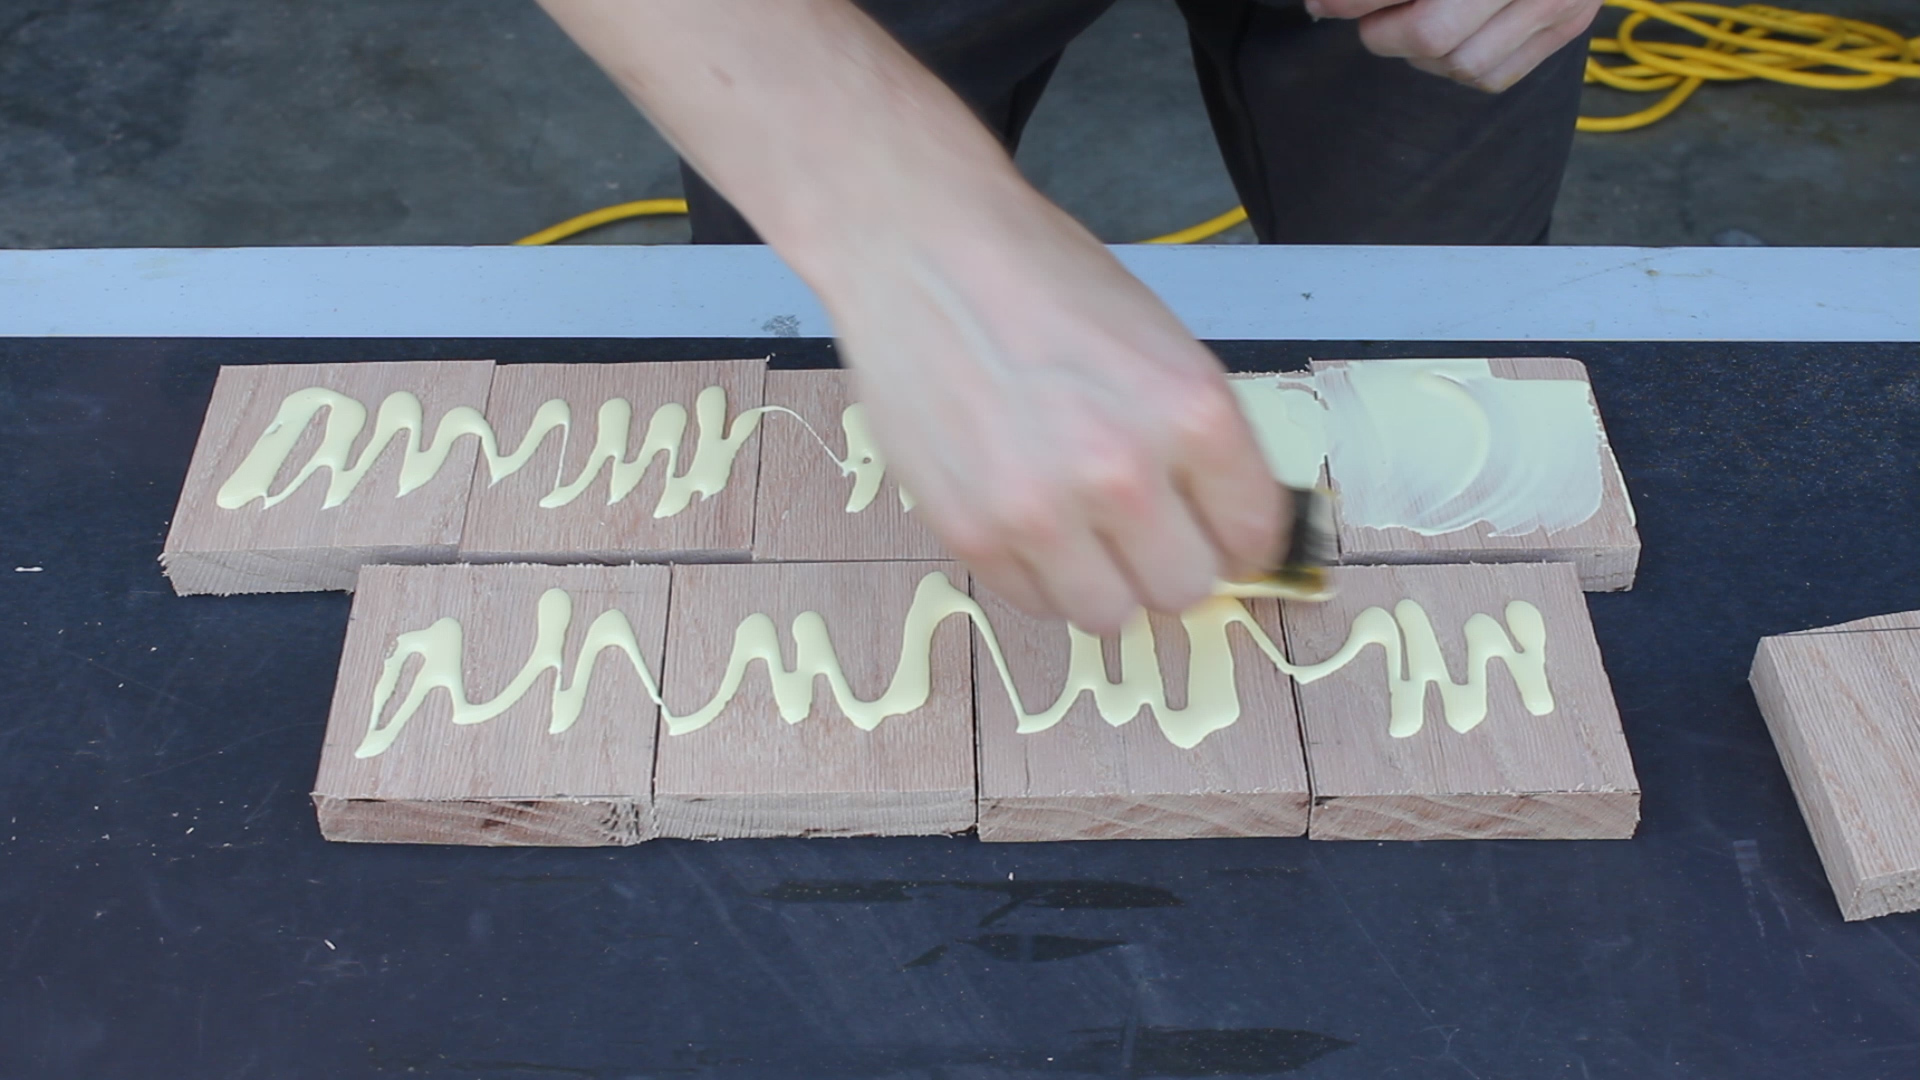
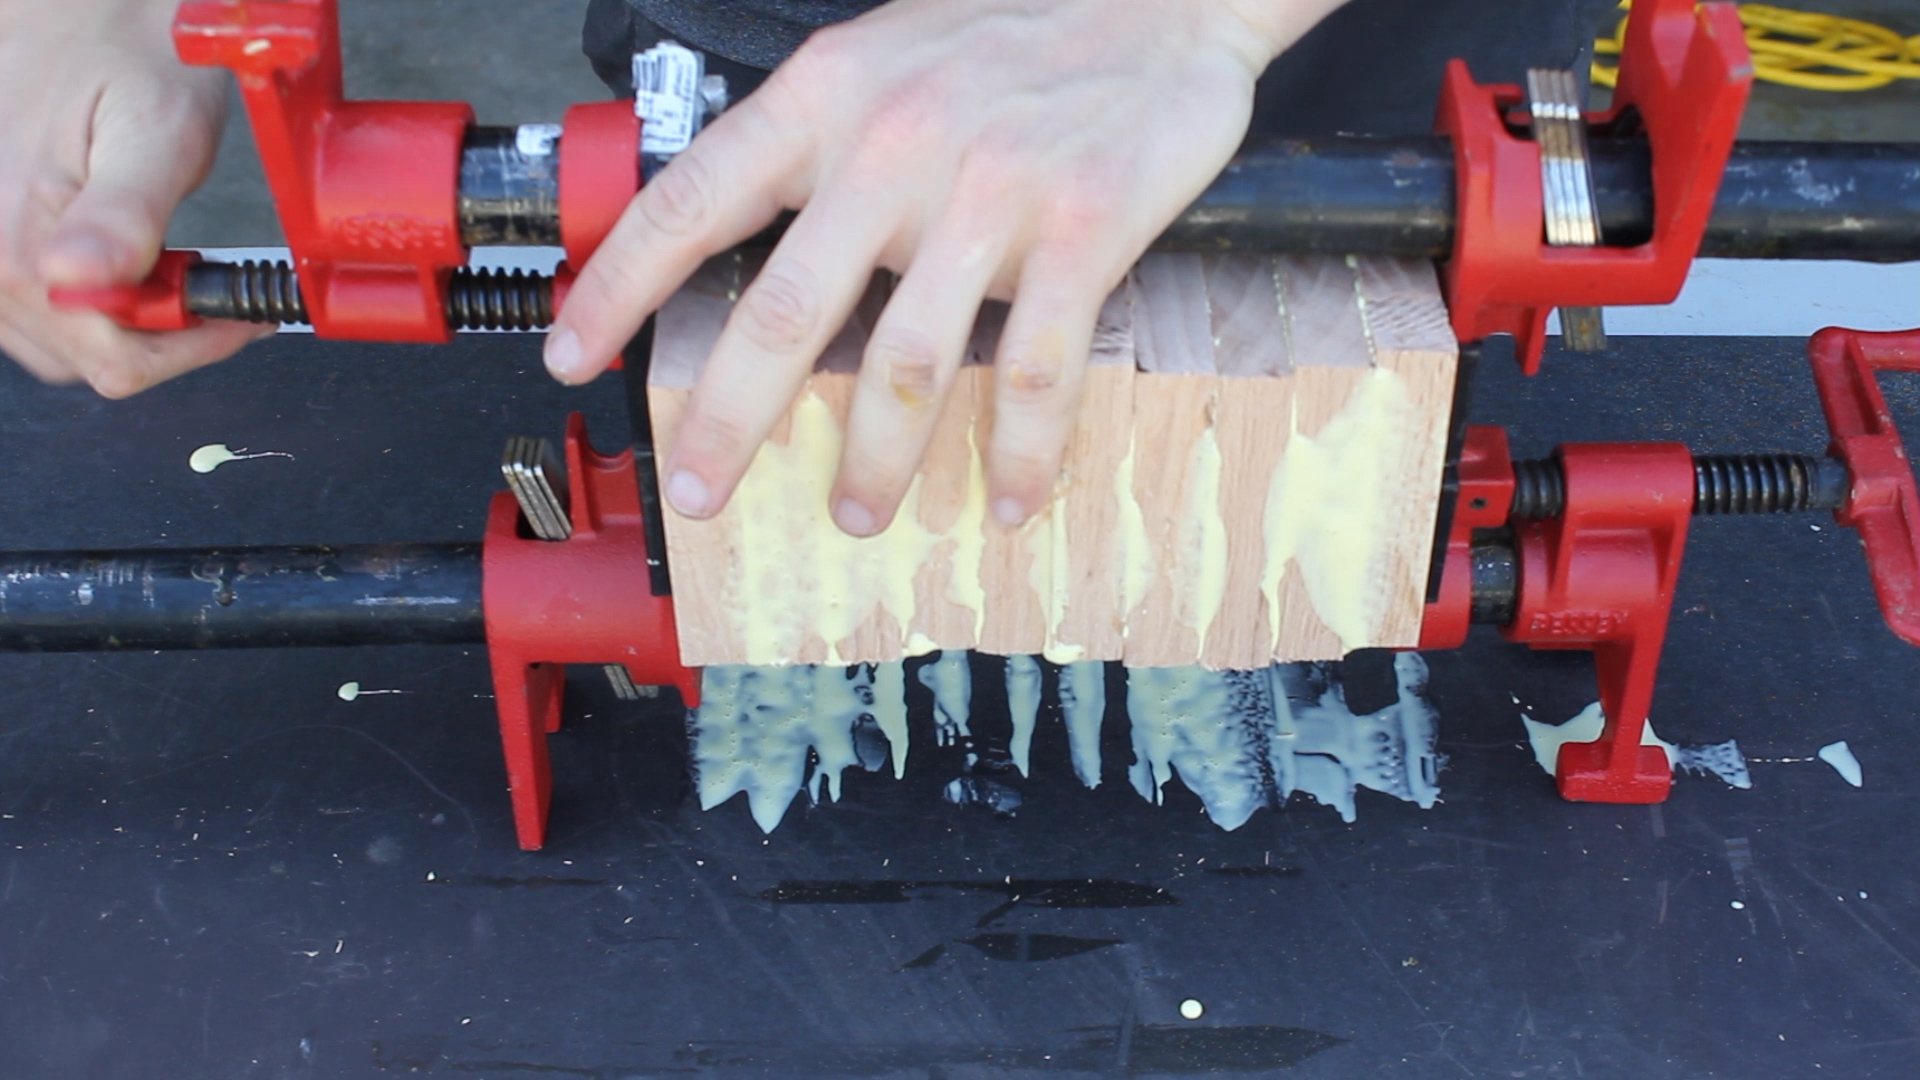
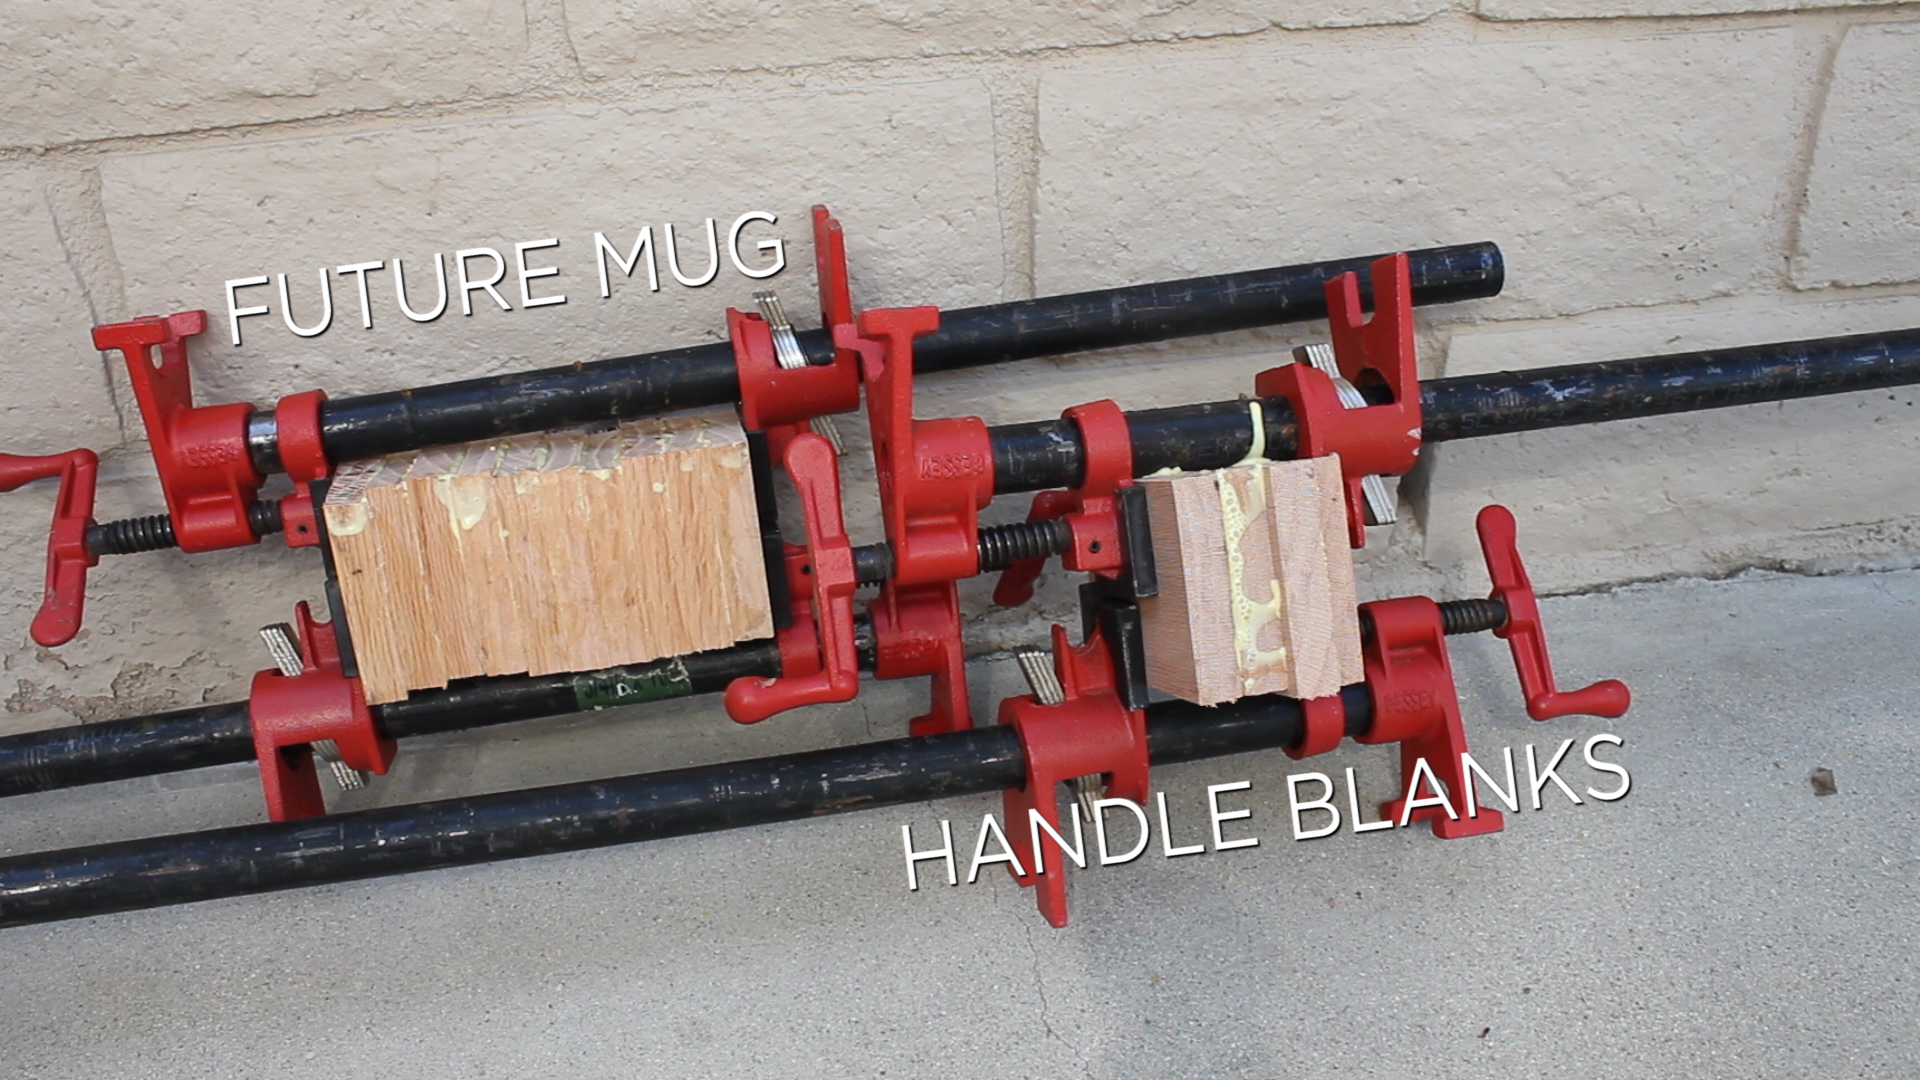
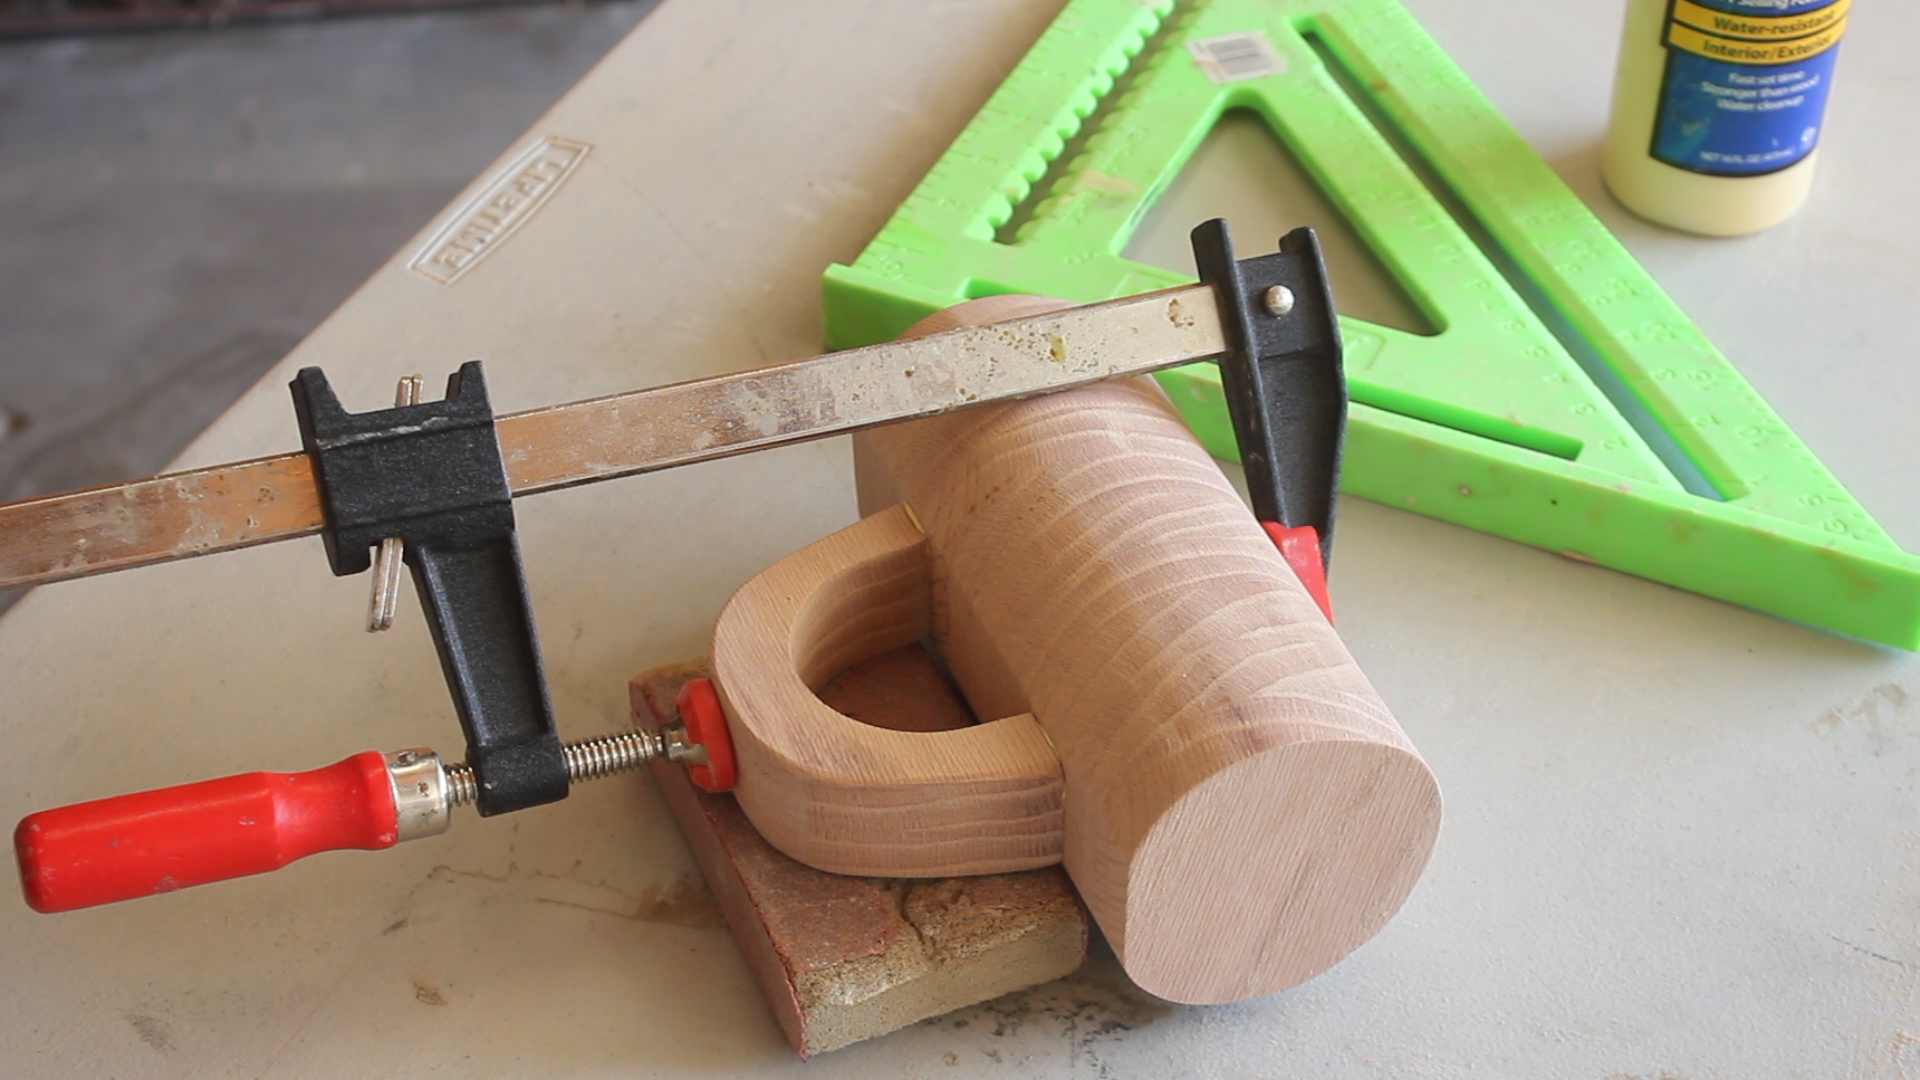
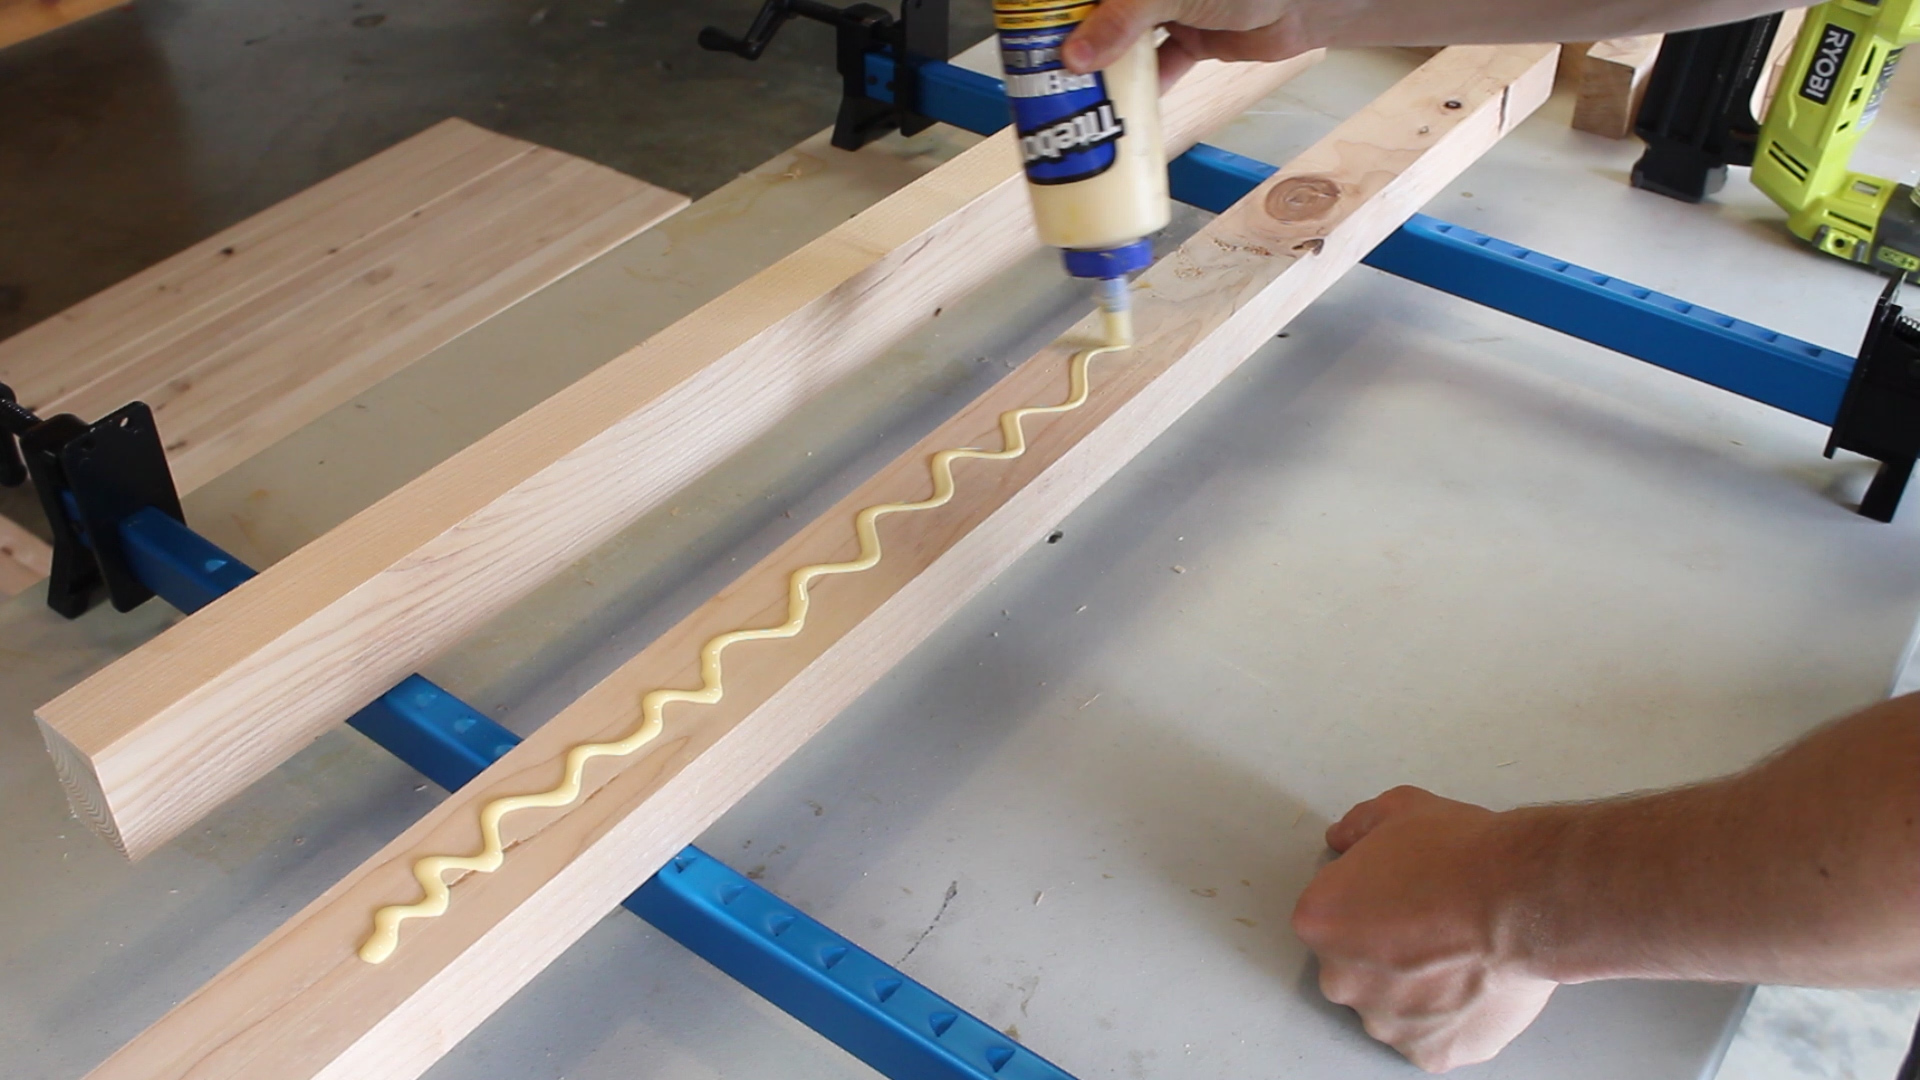
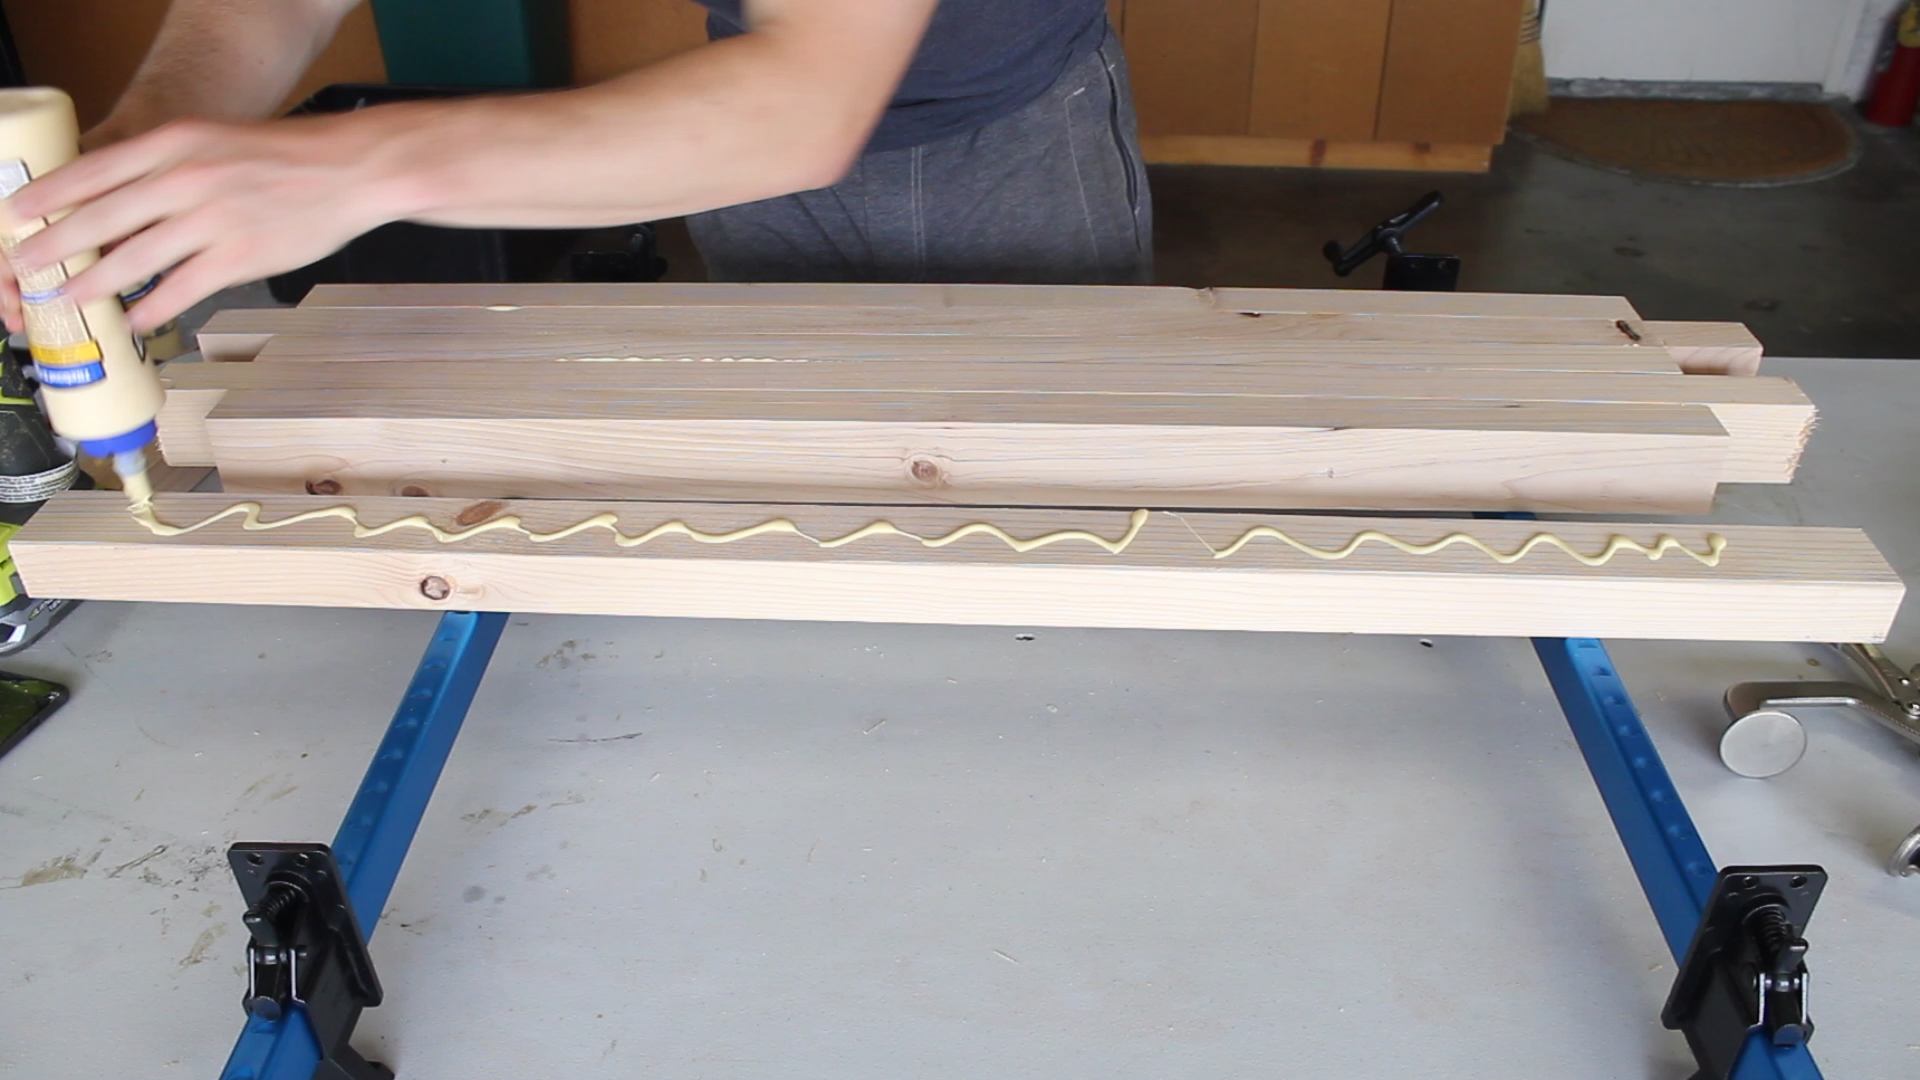
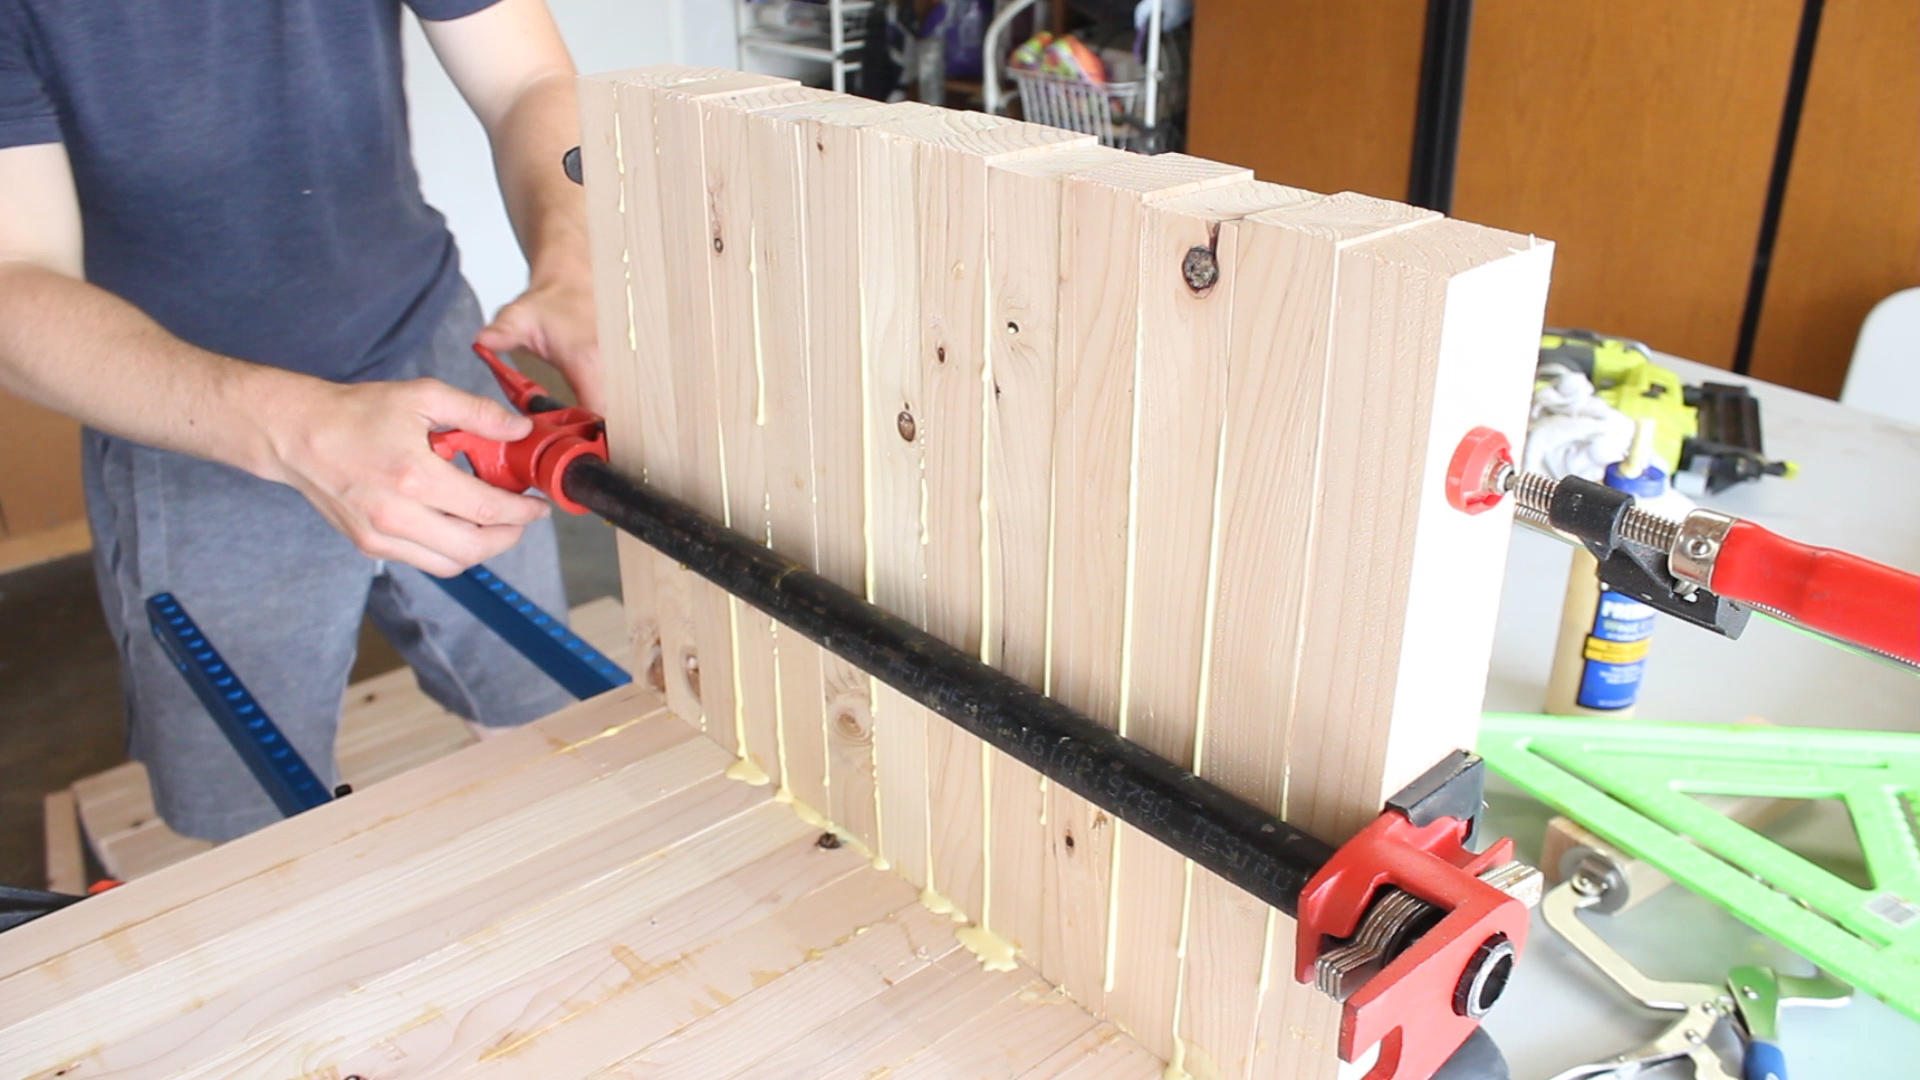
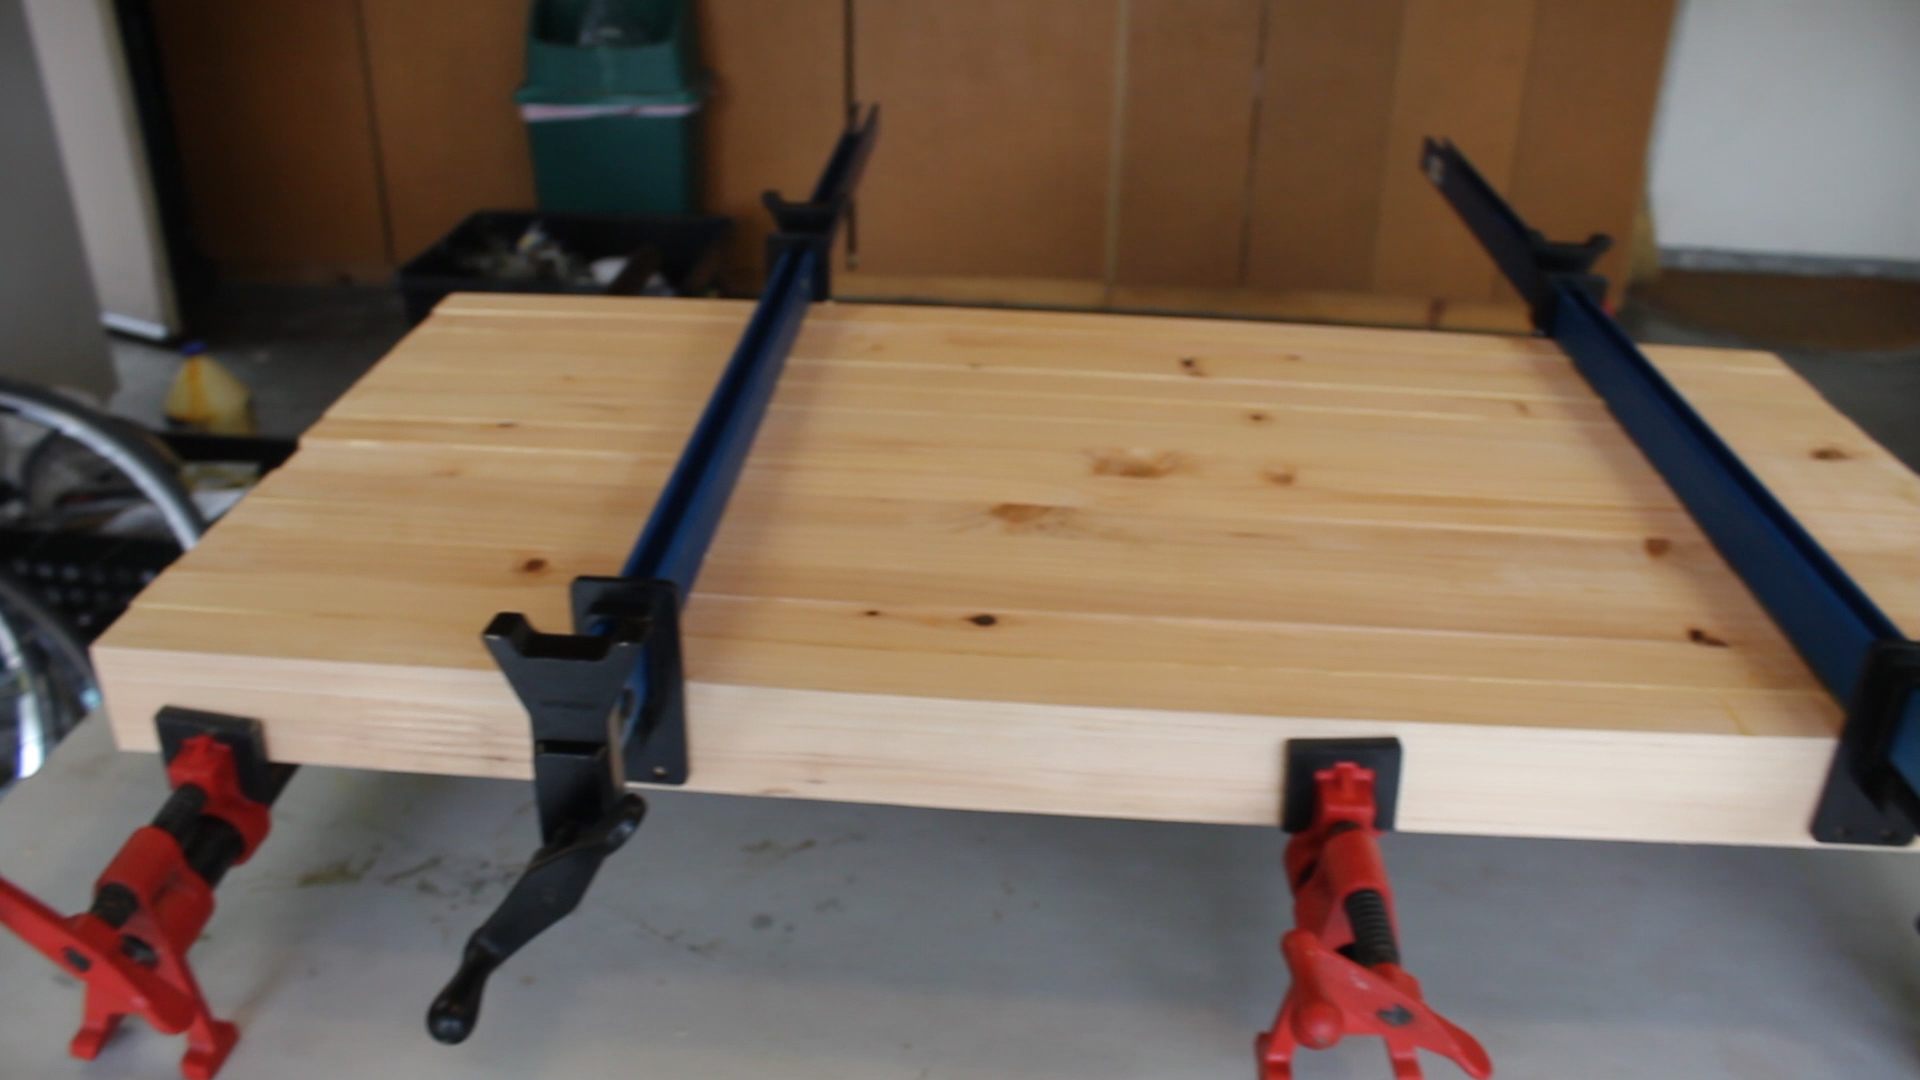
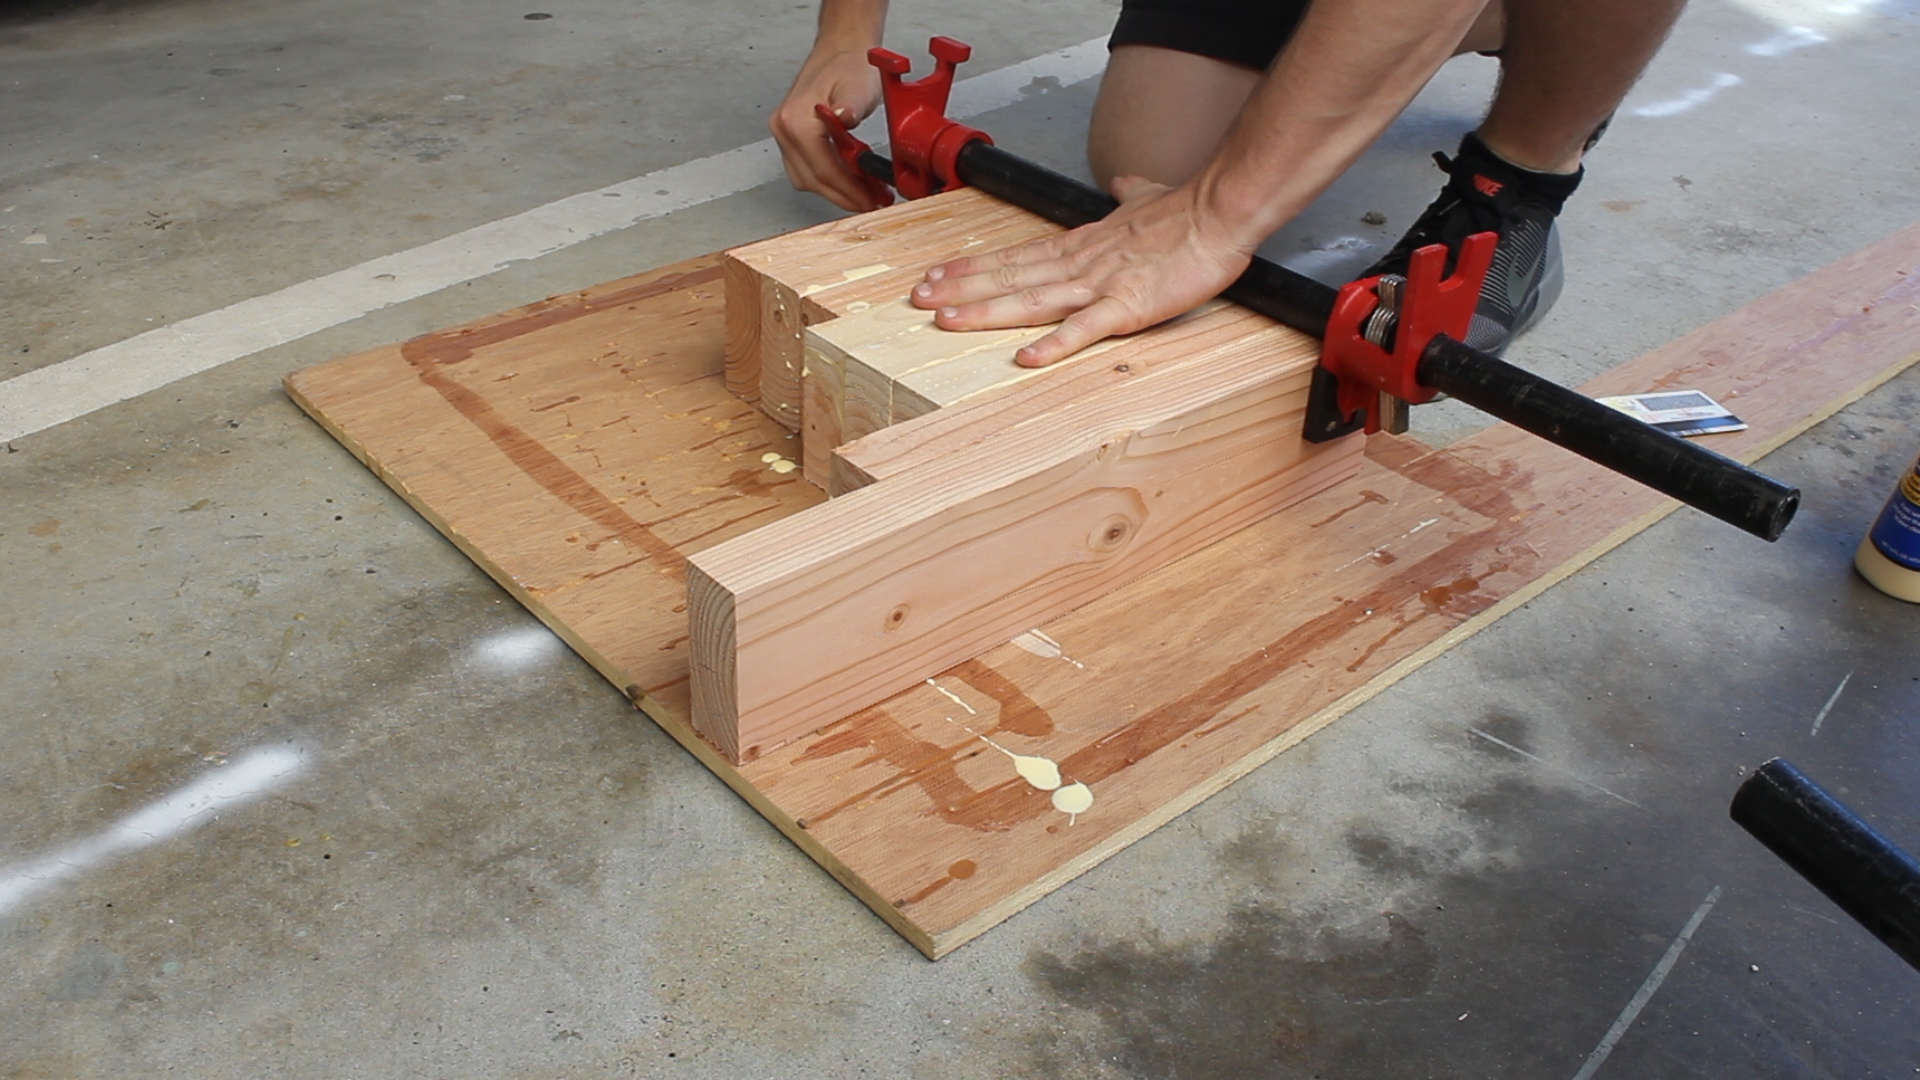
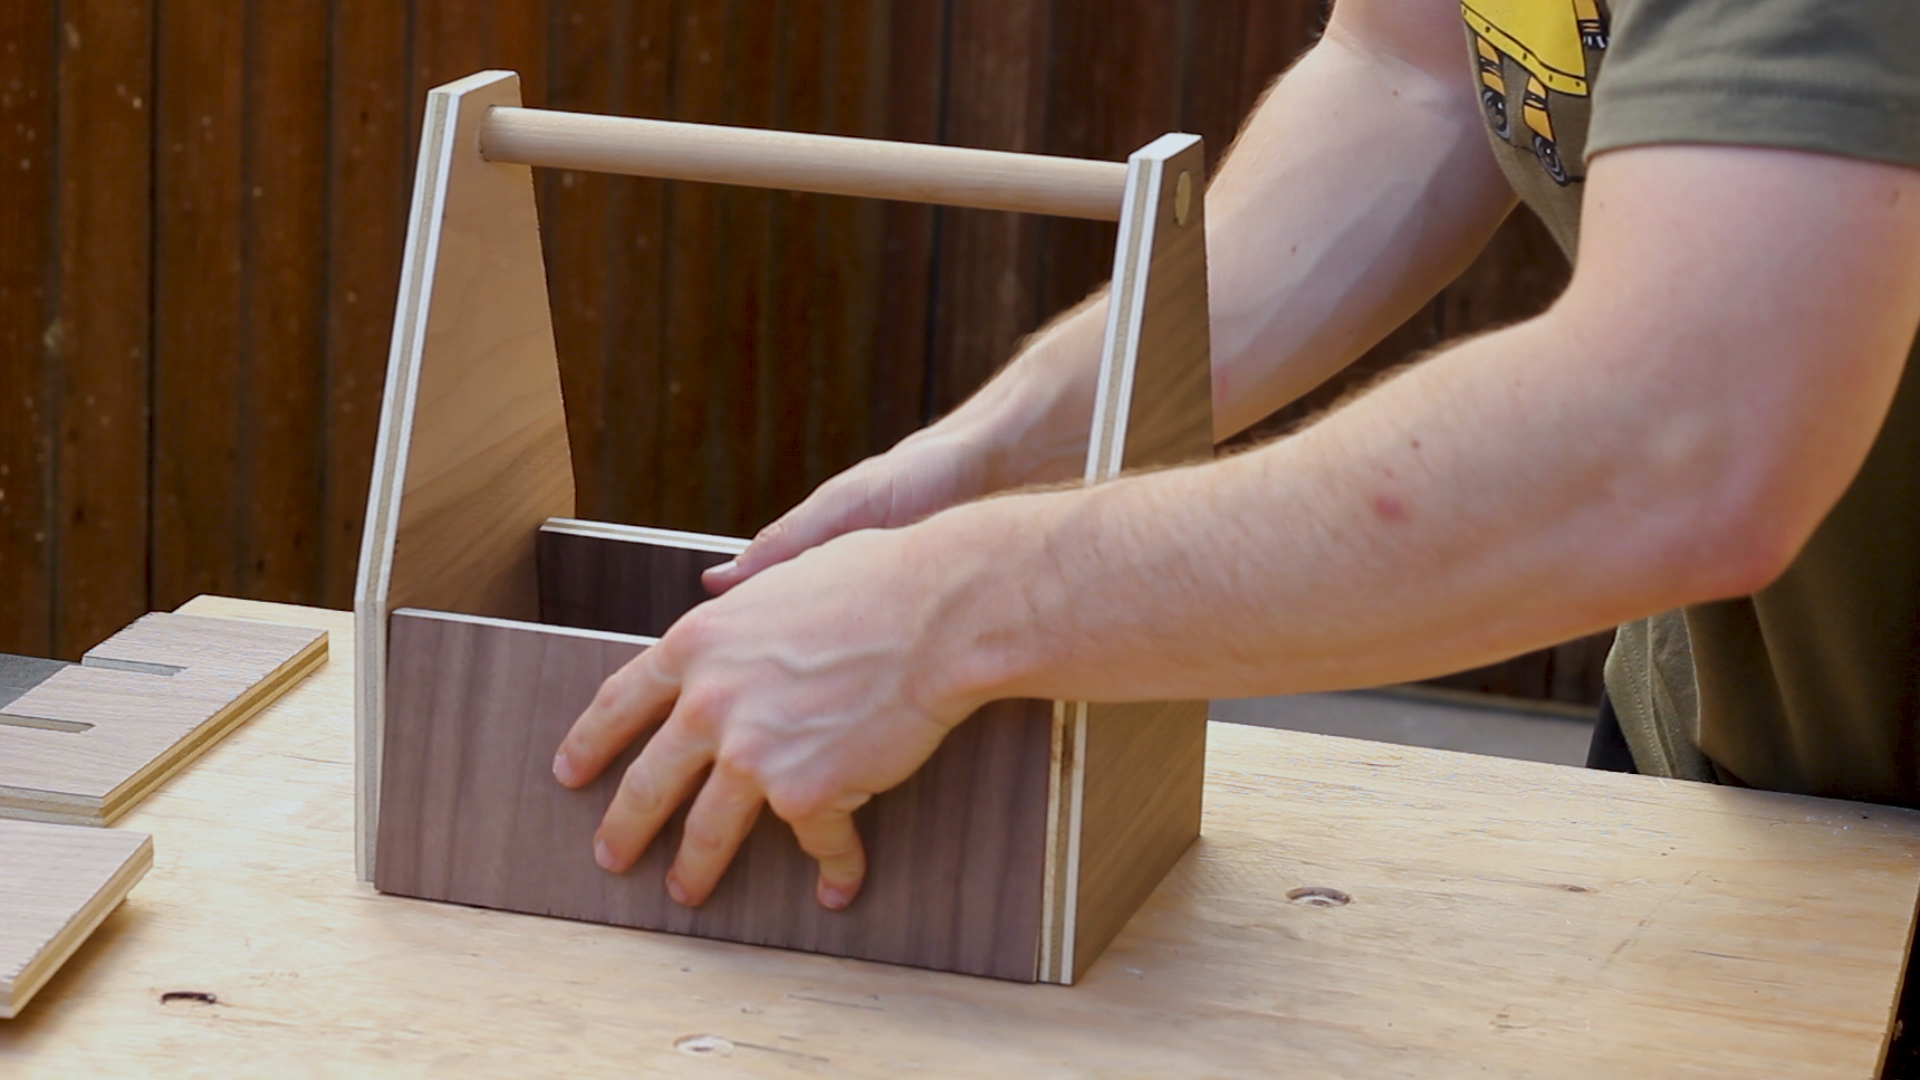
I then glued up all of my pieces in Pics 1-3 using wood glue.
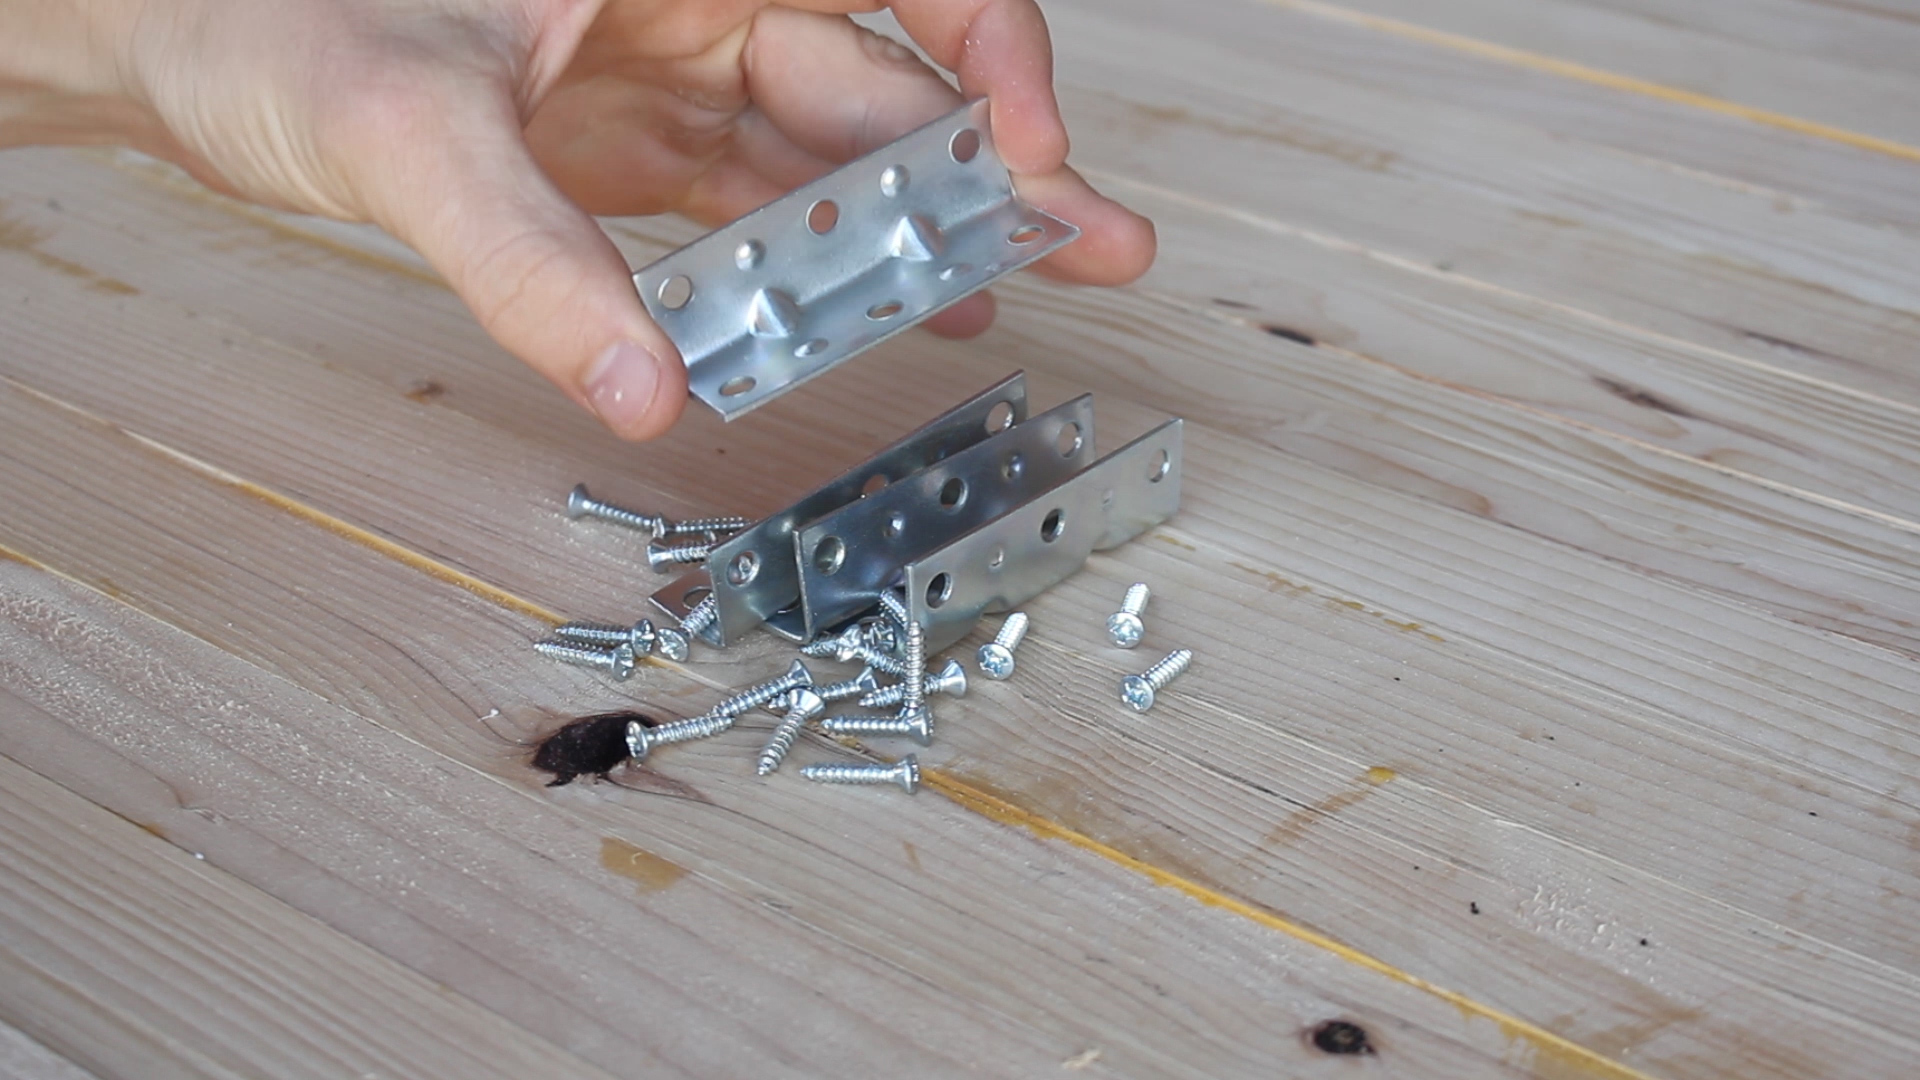
Few tips / notes here. Wood glue is plenty strong enough to hold this together, but you can add pin nails or dowels, etc. to help hold it together.
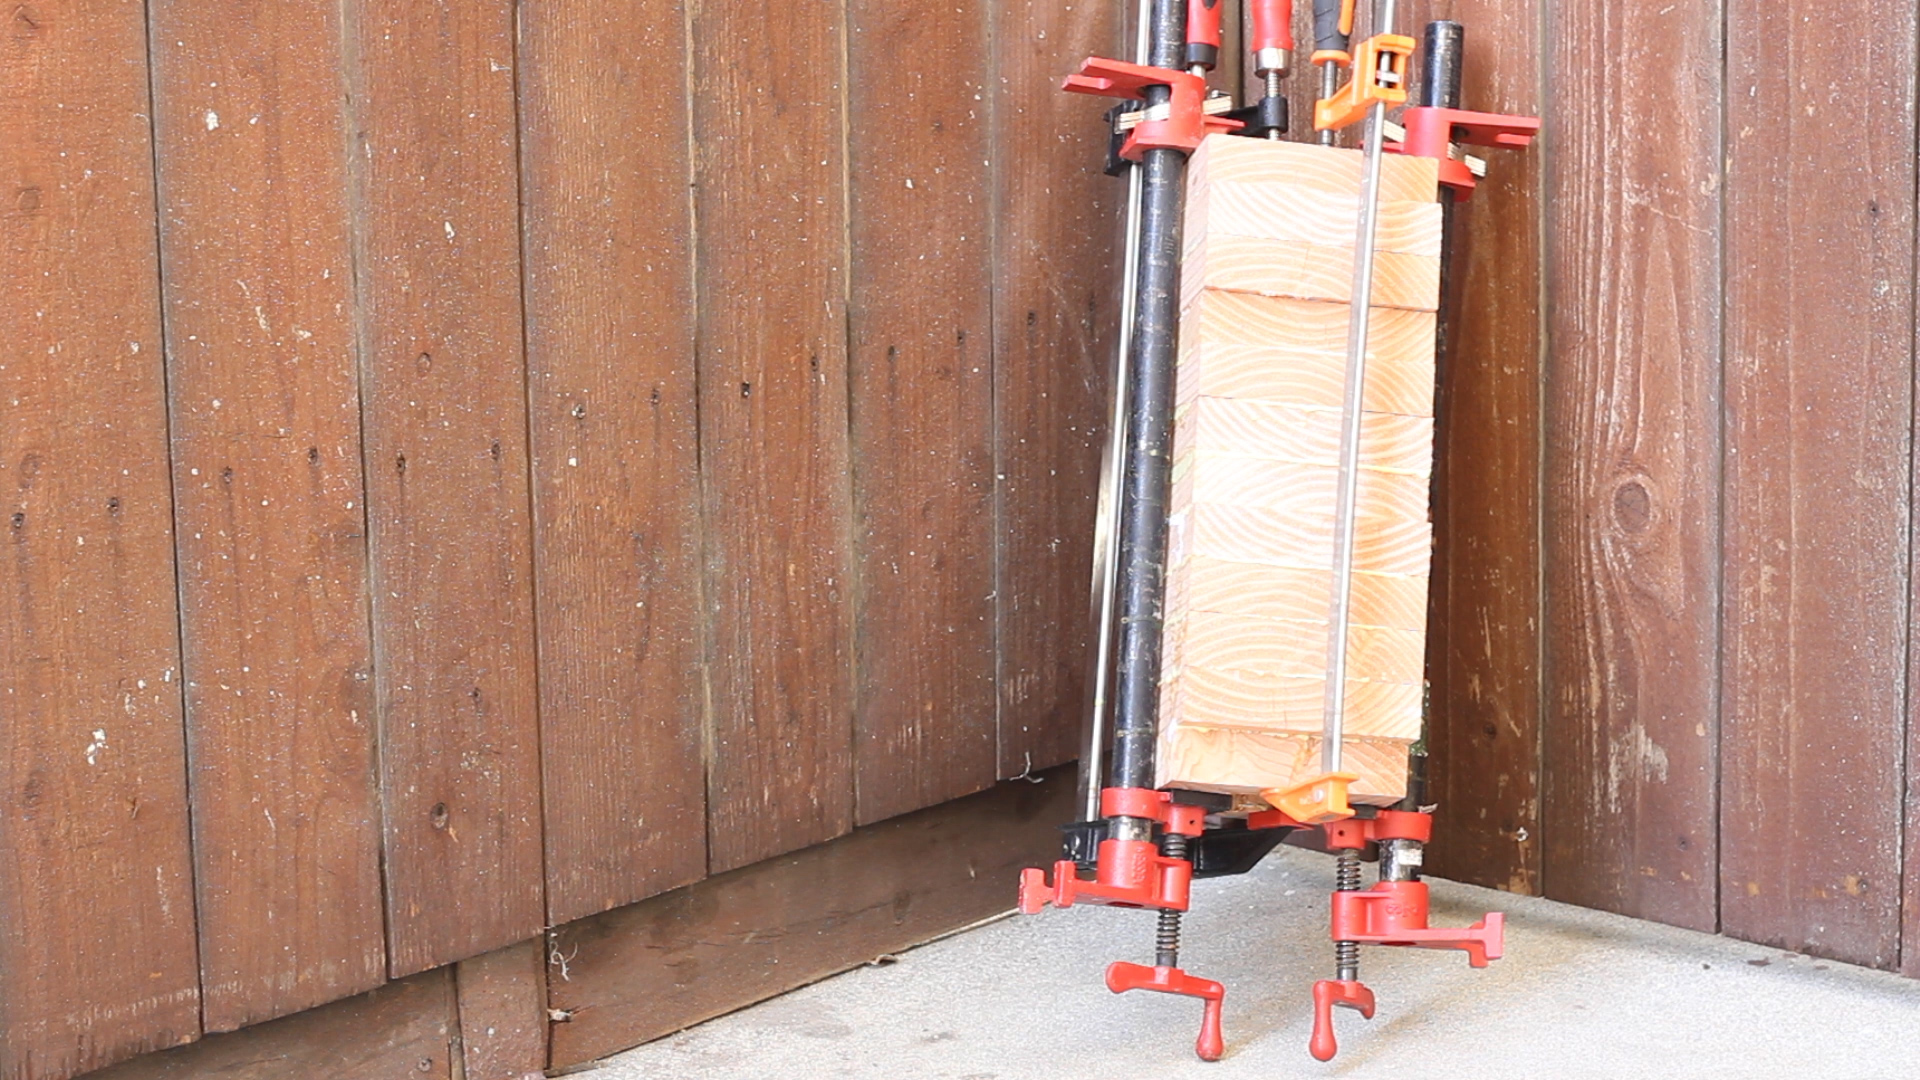
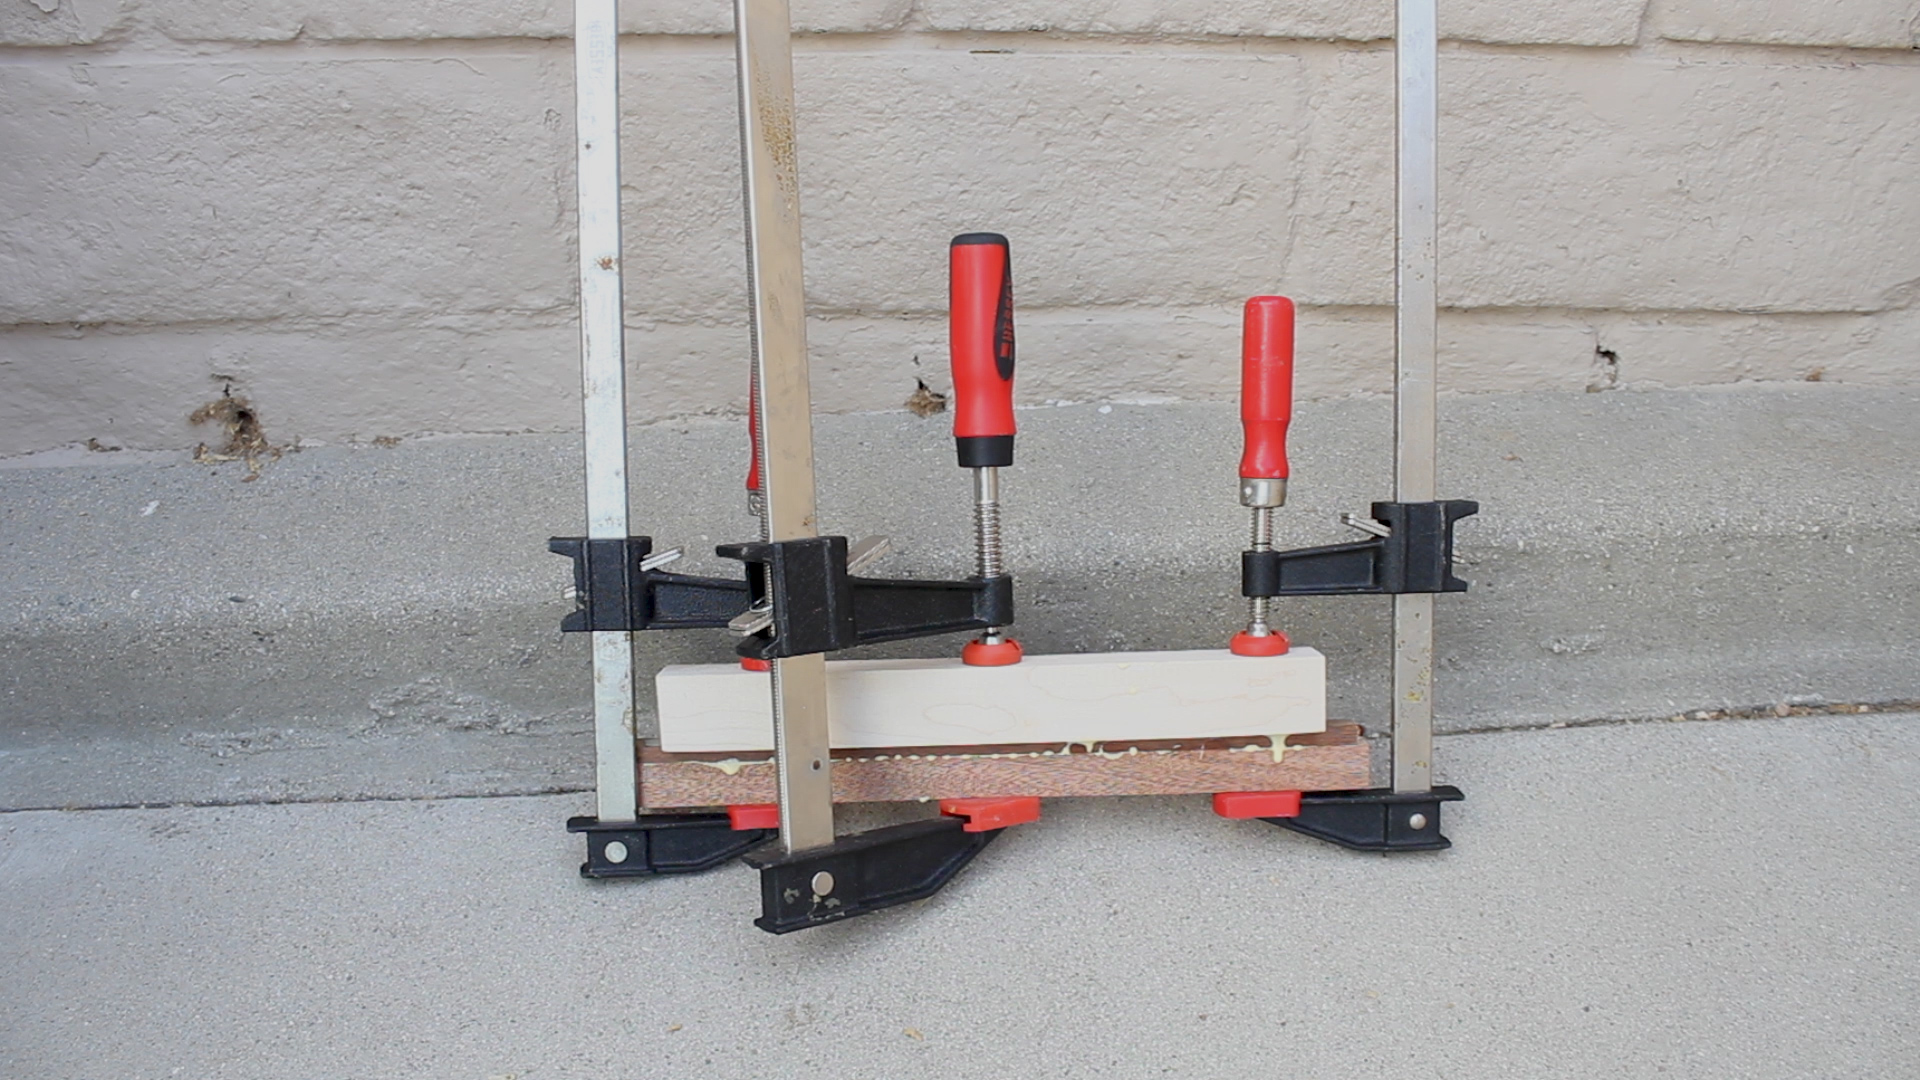
I recommend four squeeze quick clamps to hold it together while it cures for about 2 hours (Pic 4).


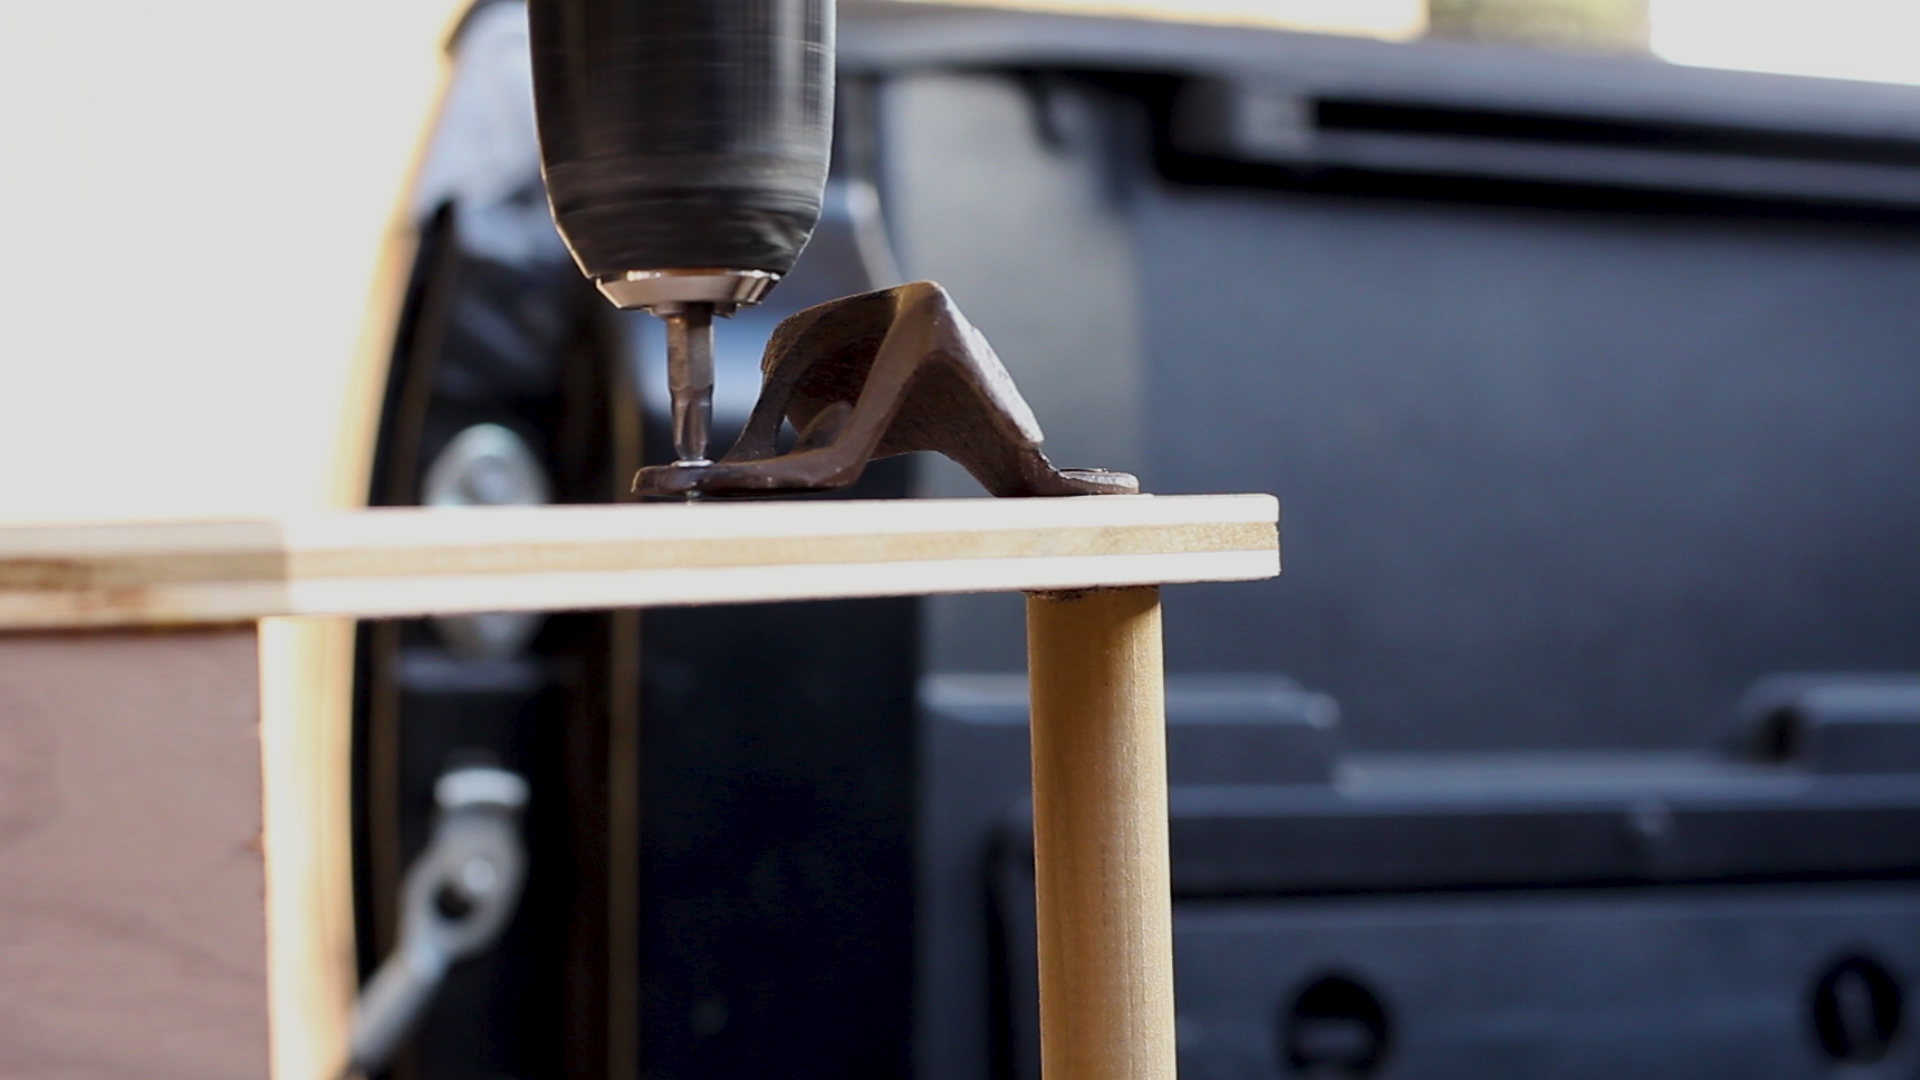
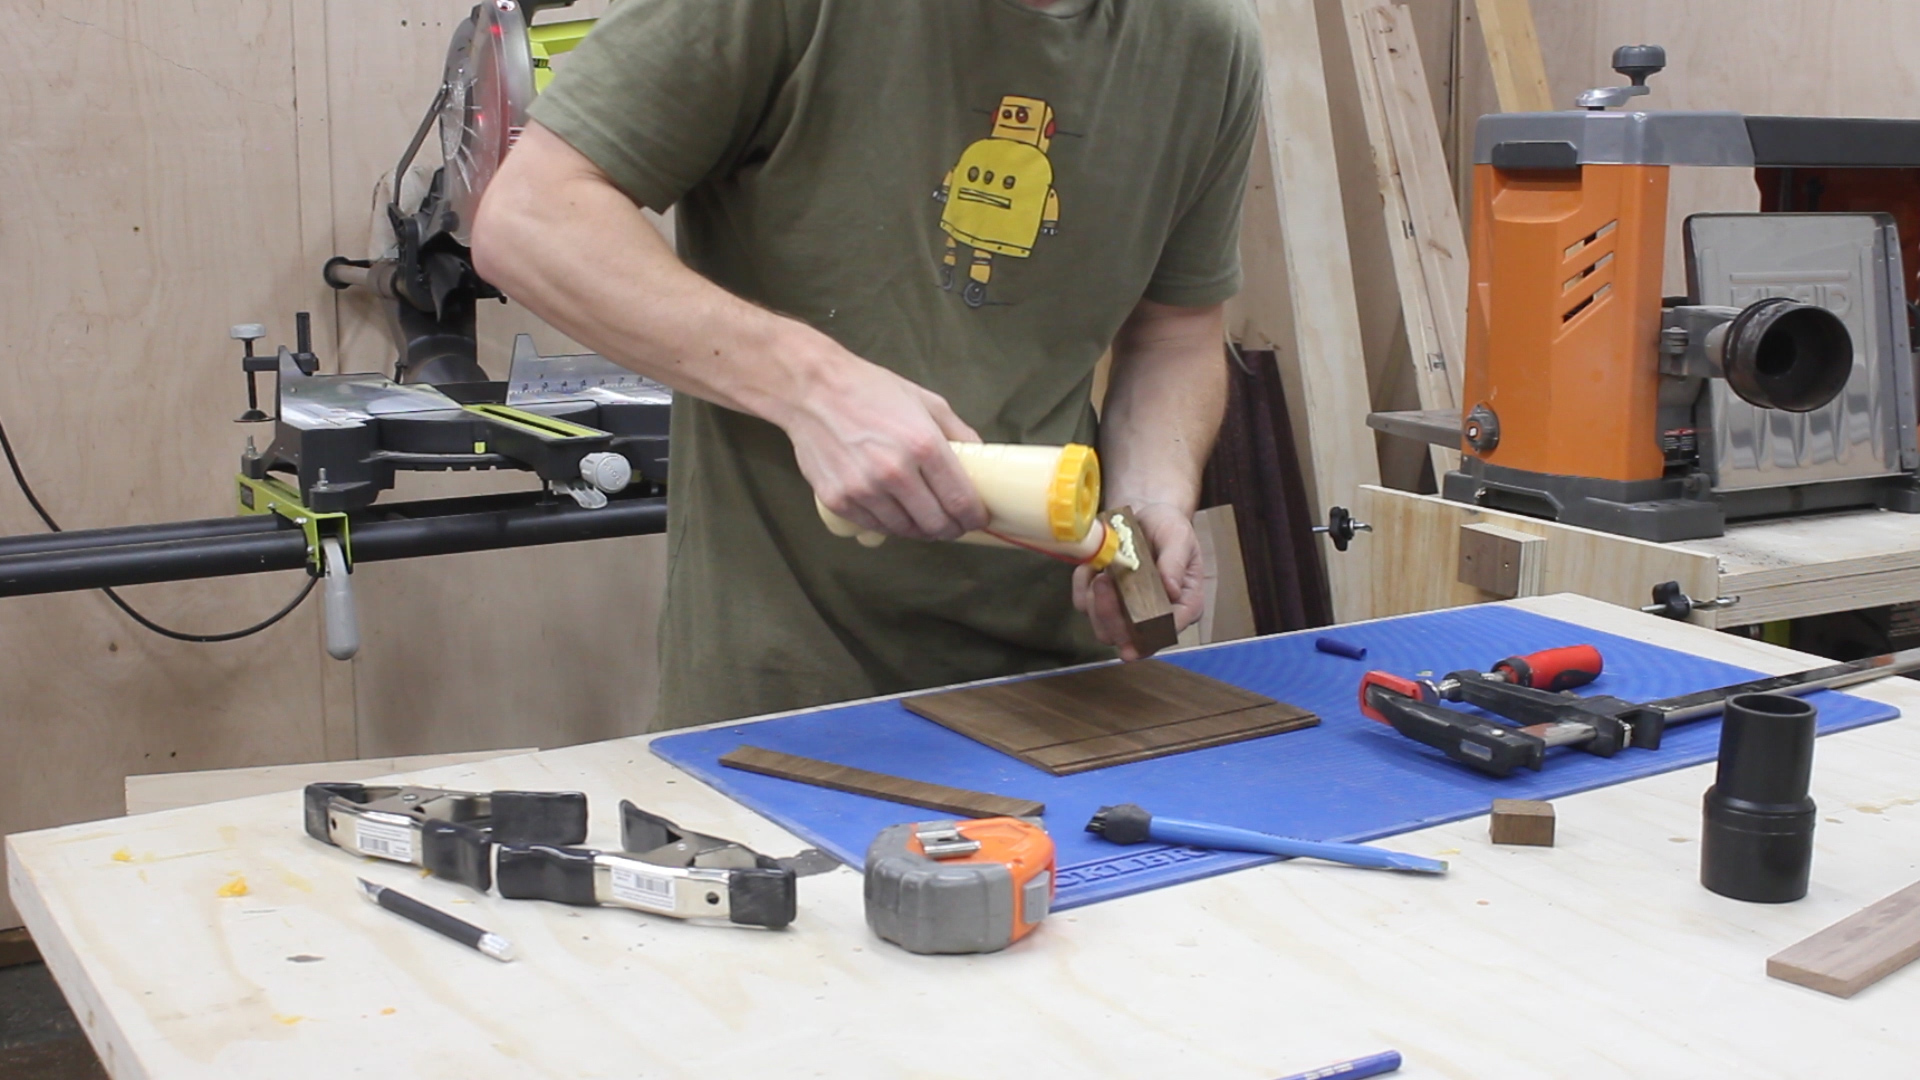
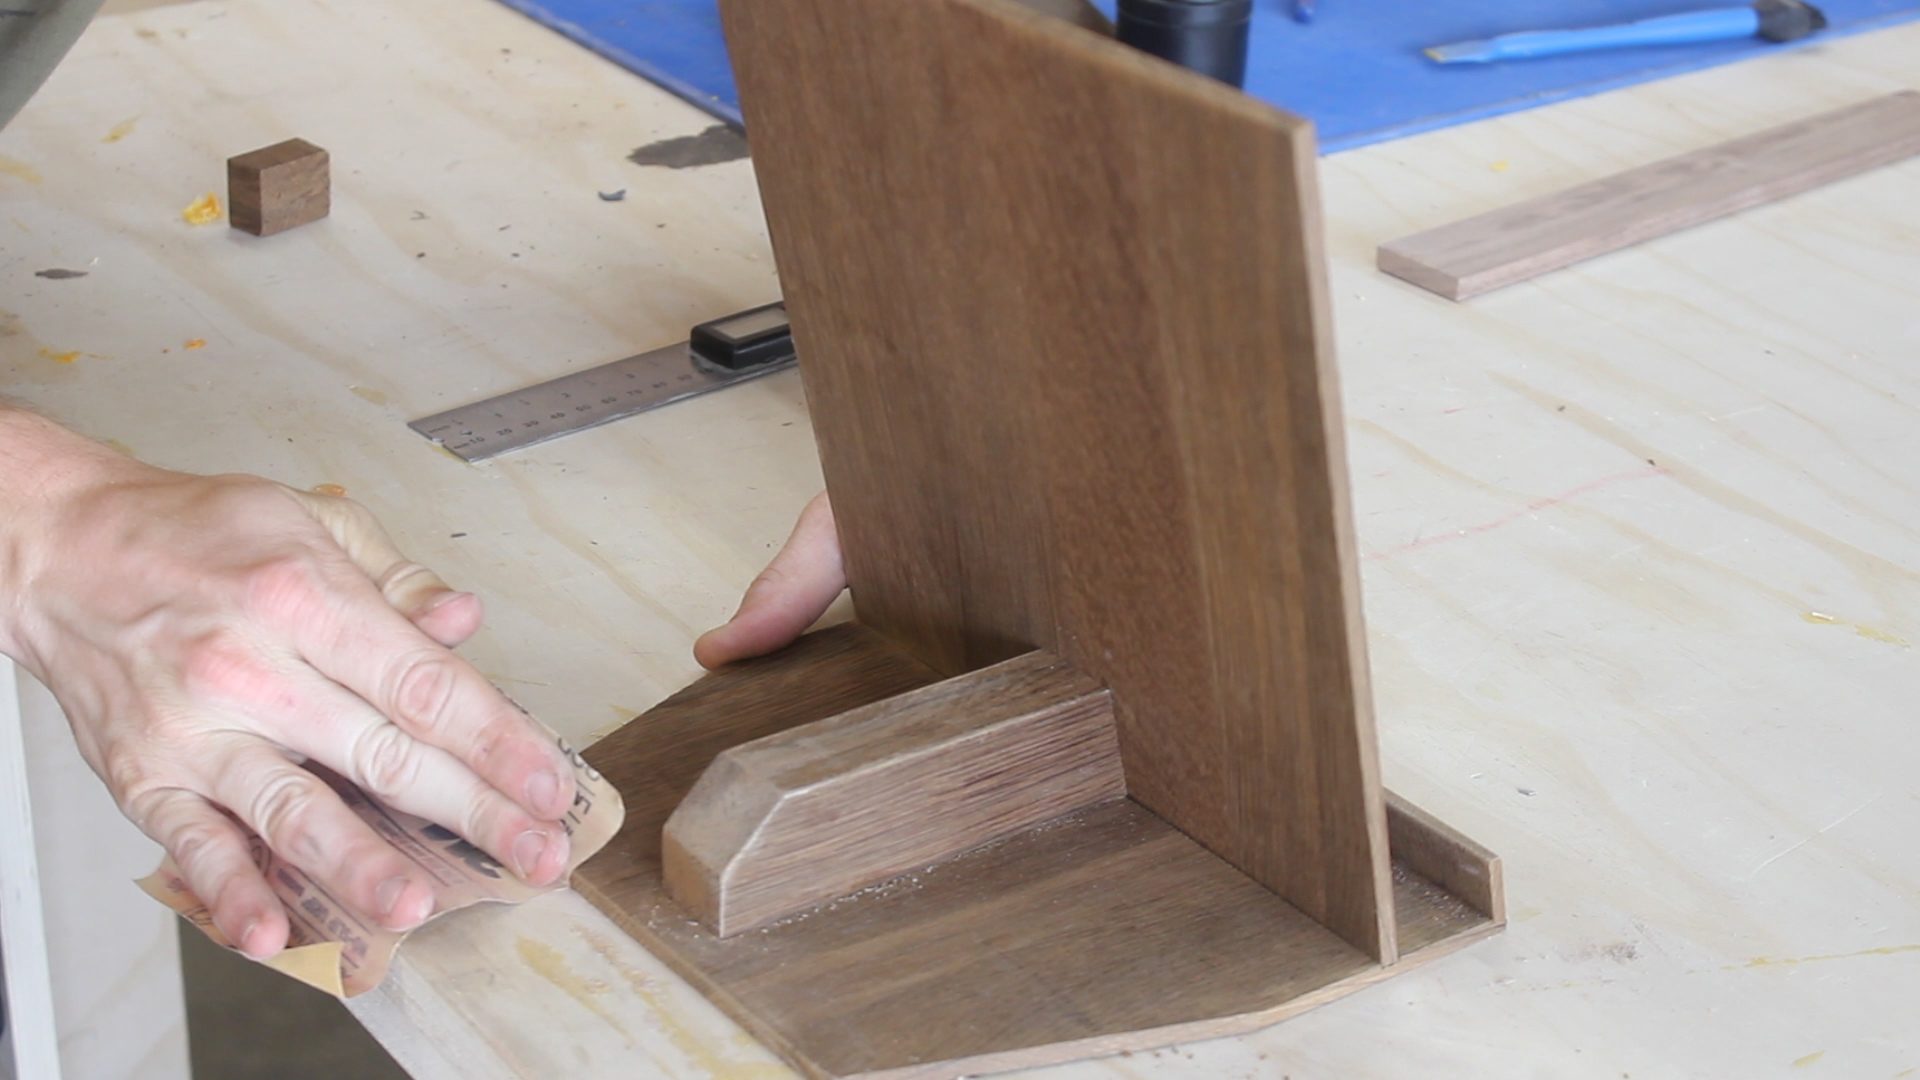
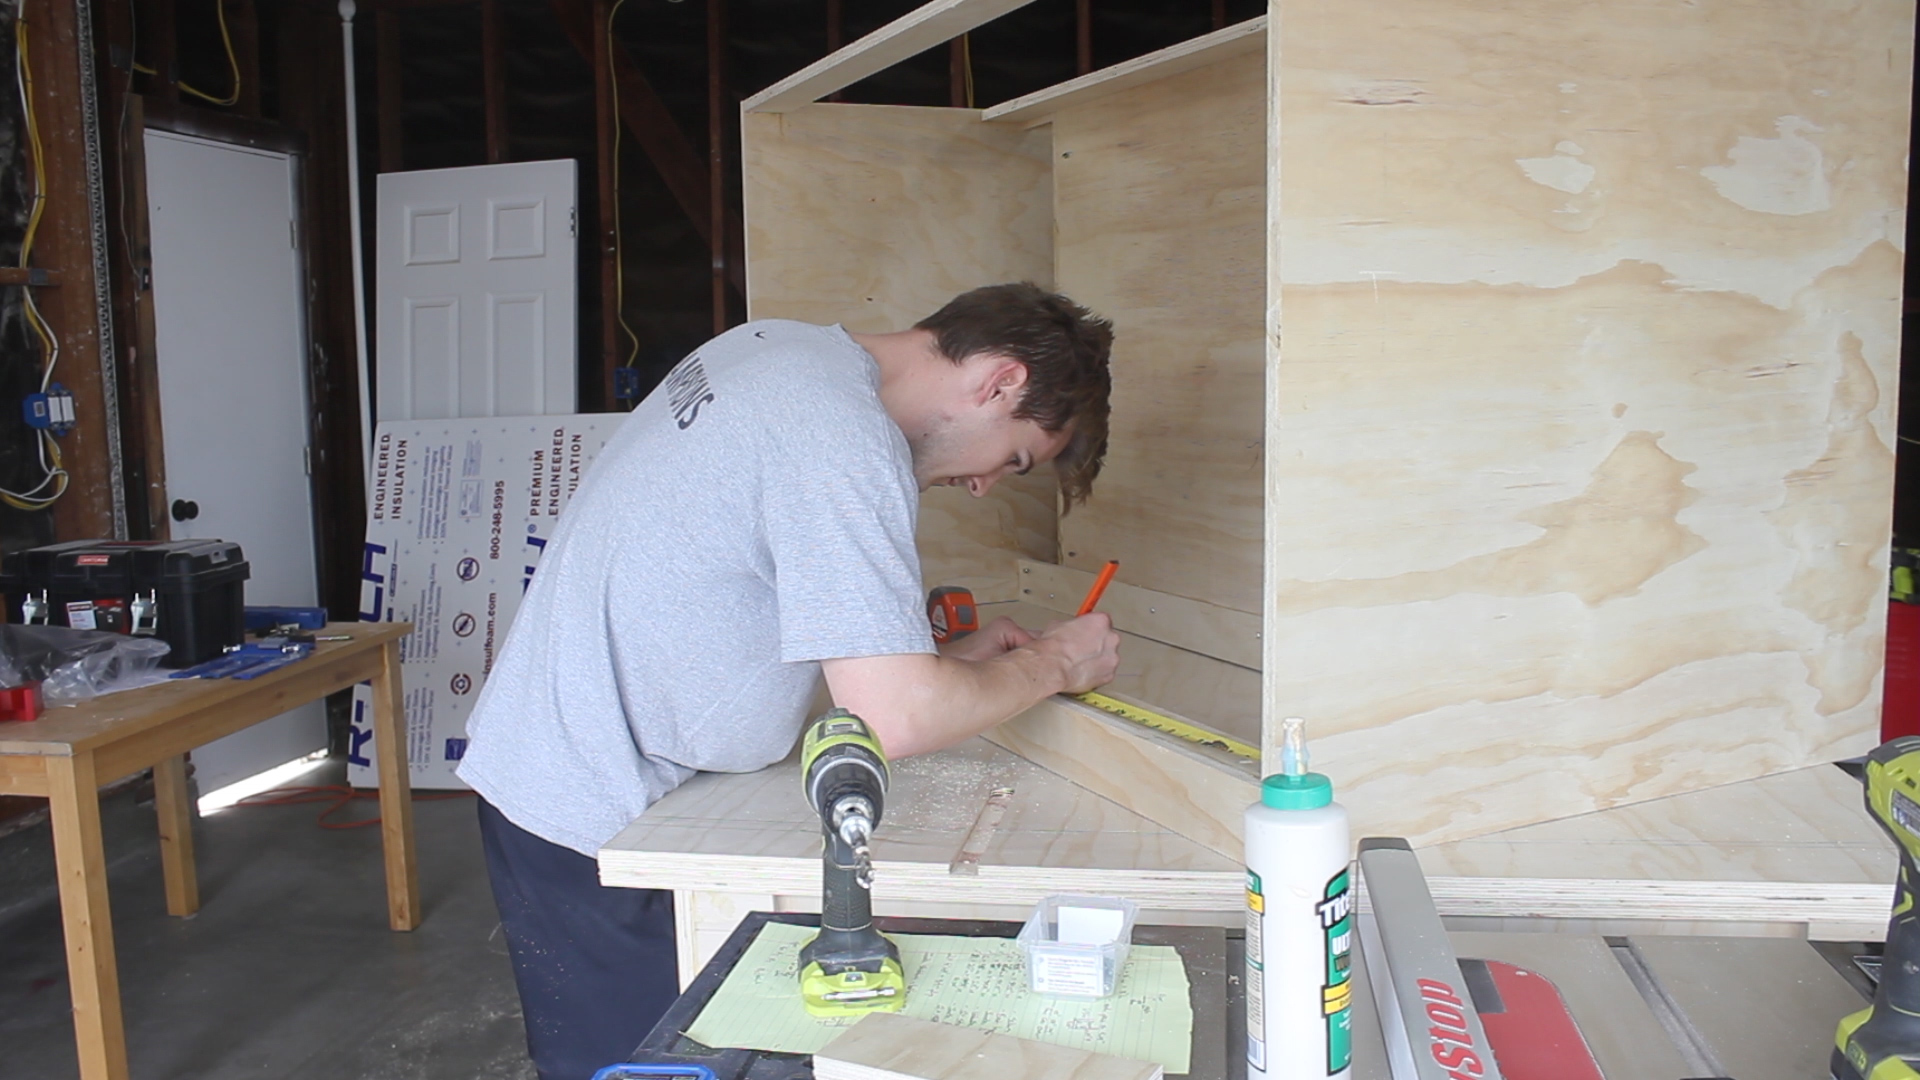
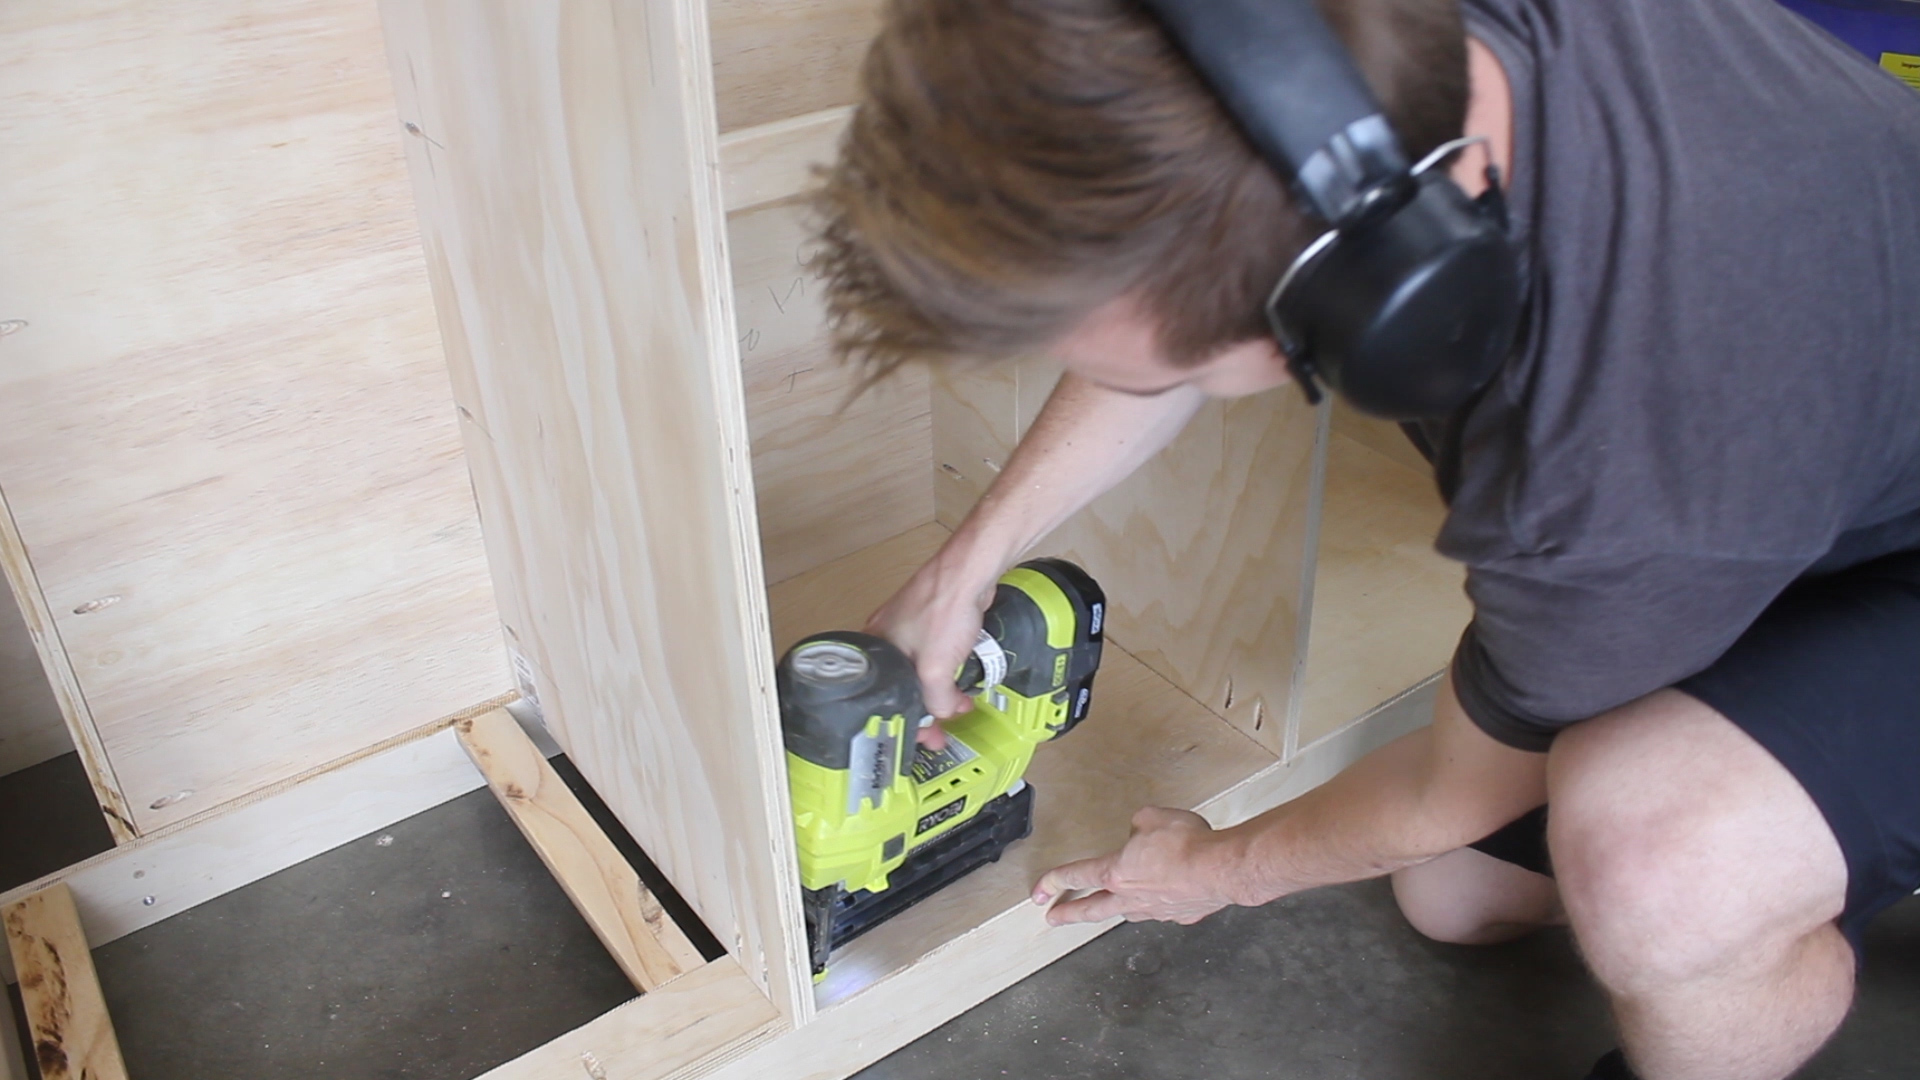
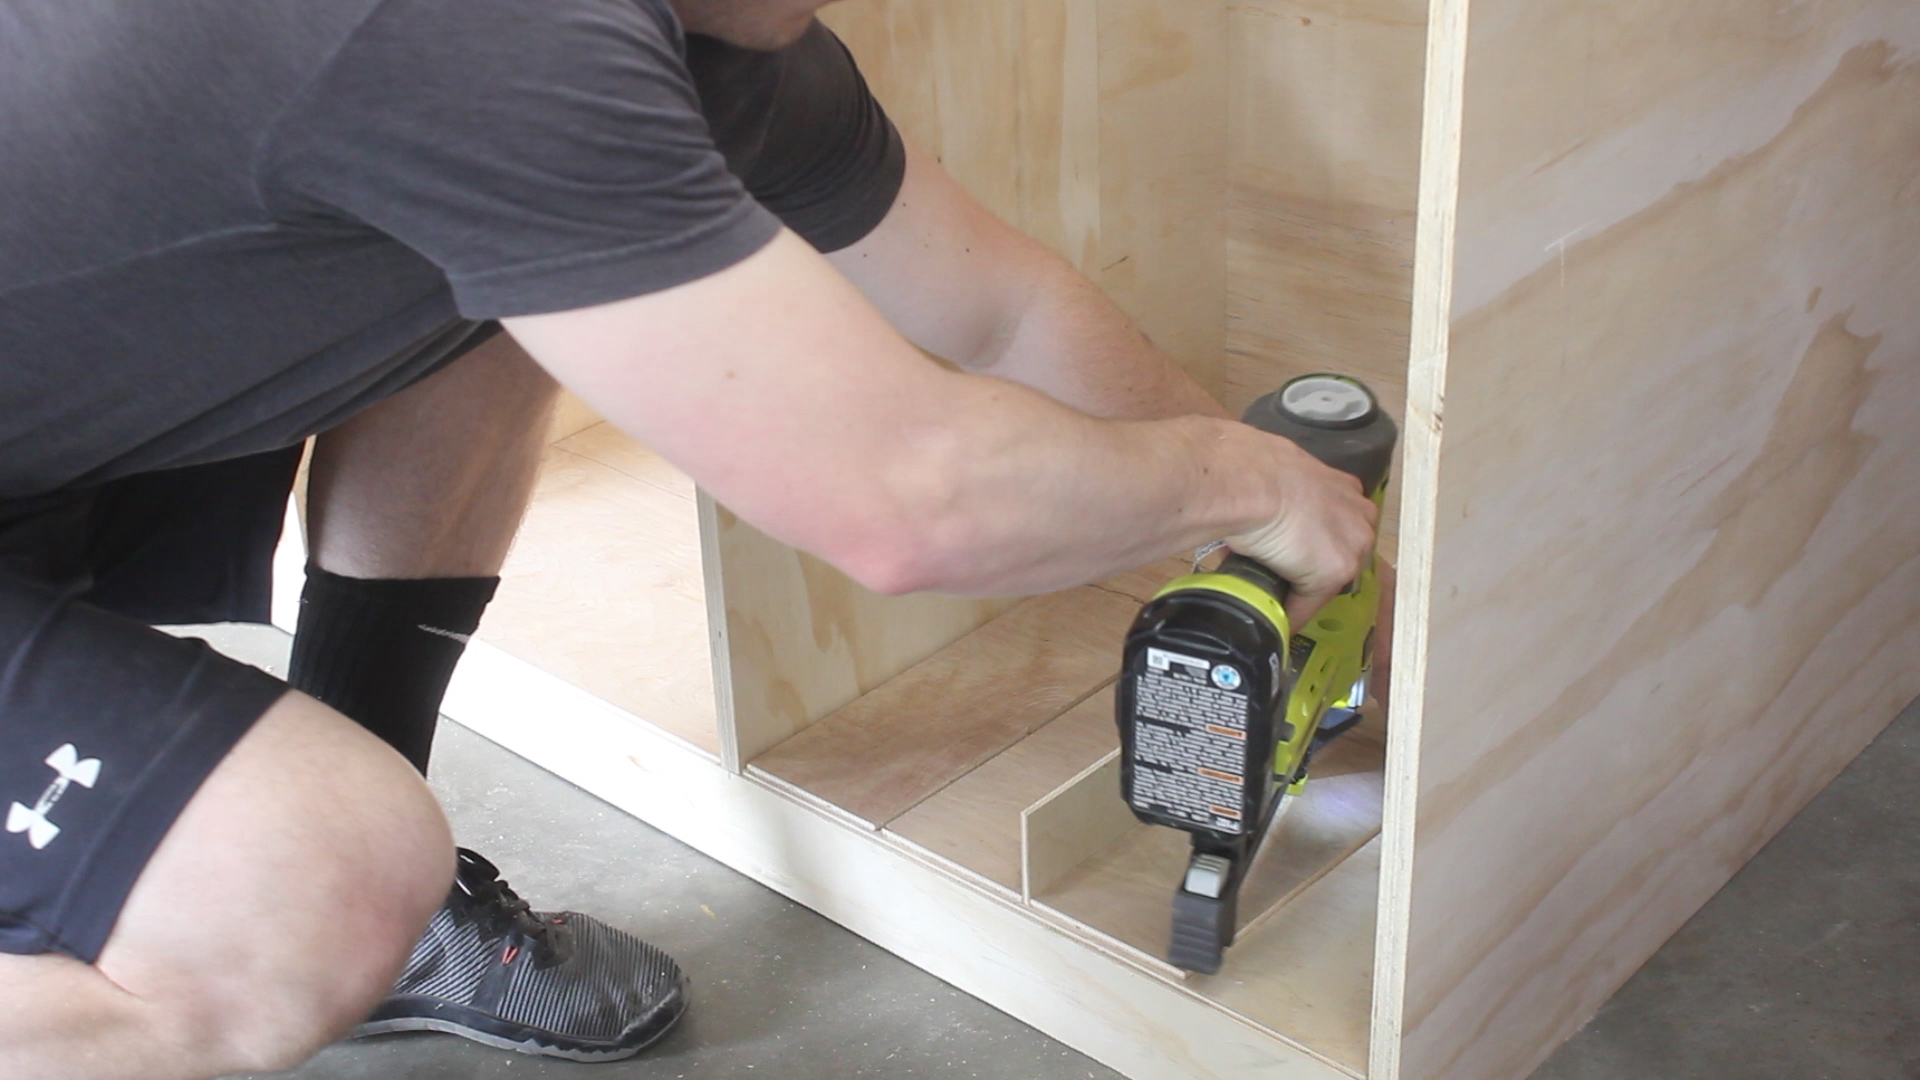
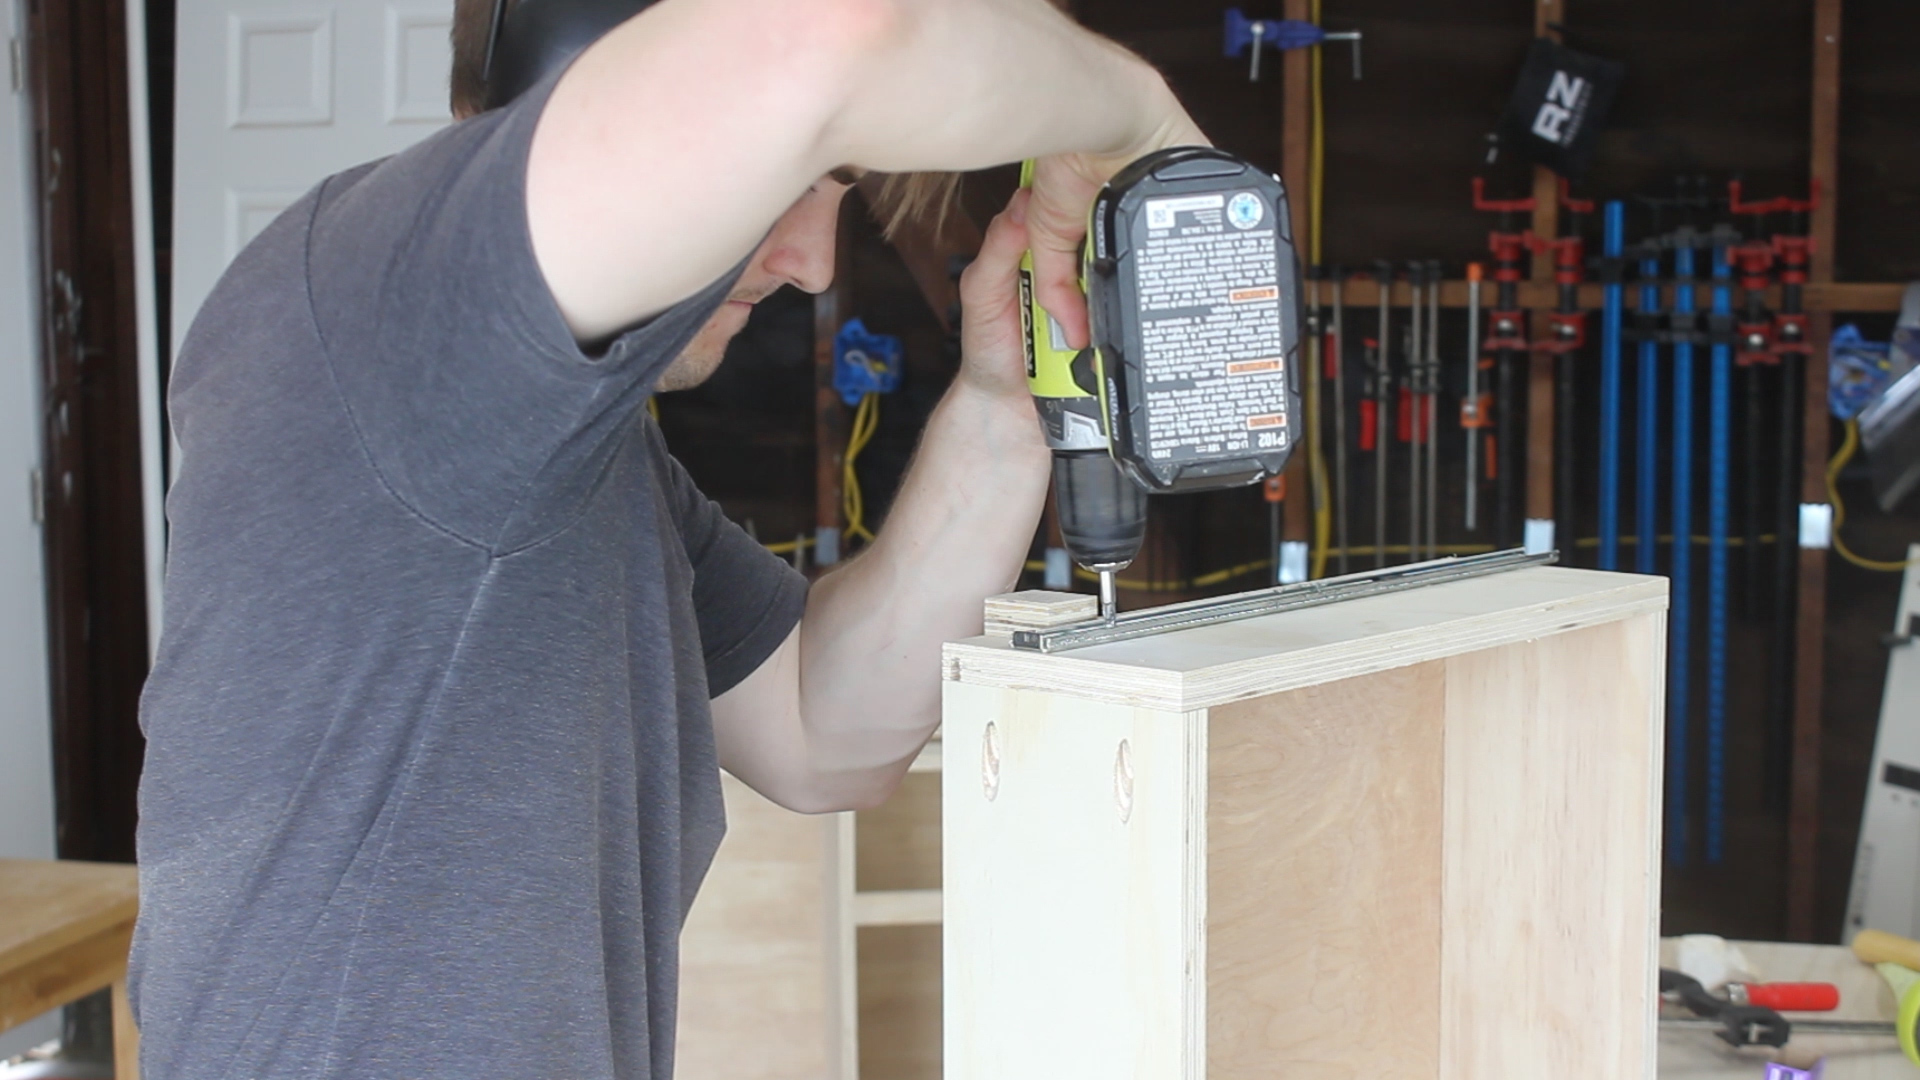
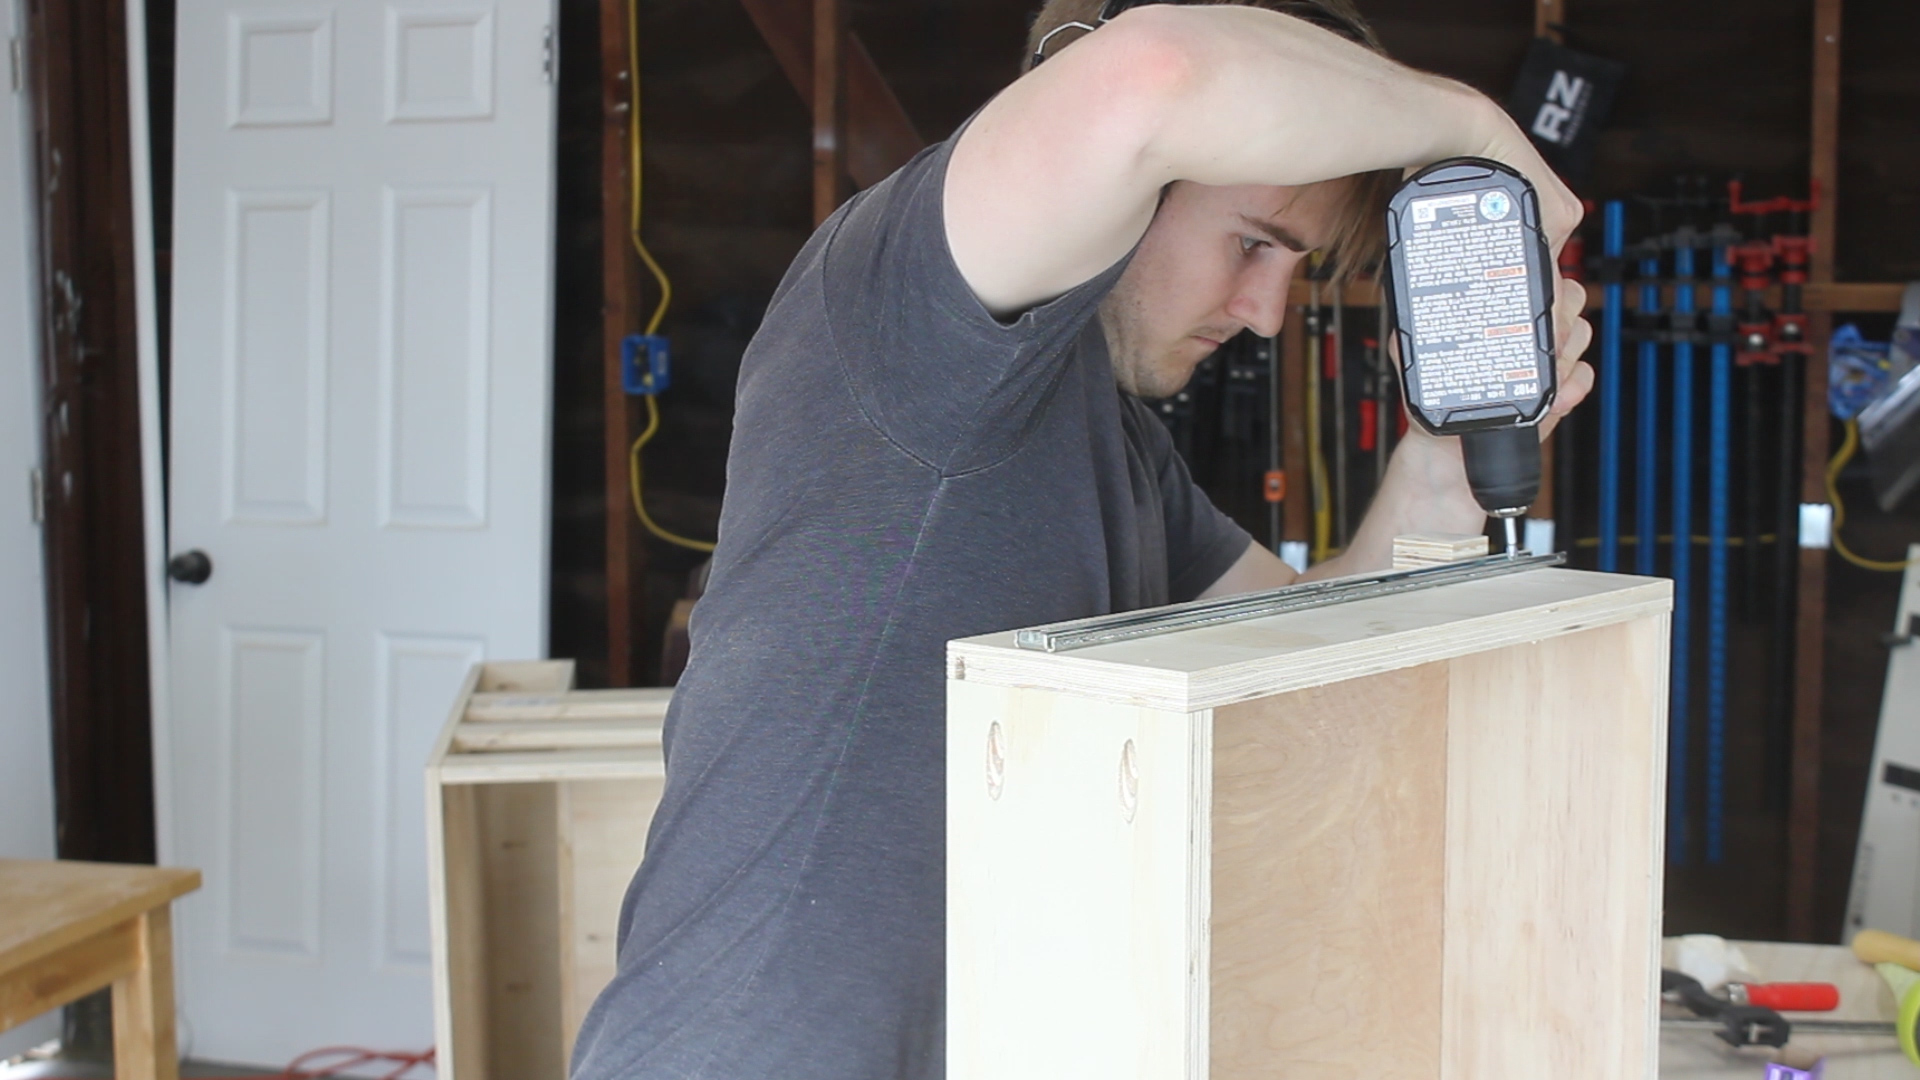
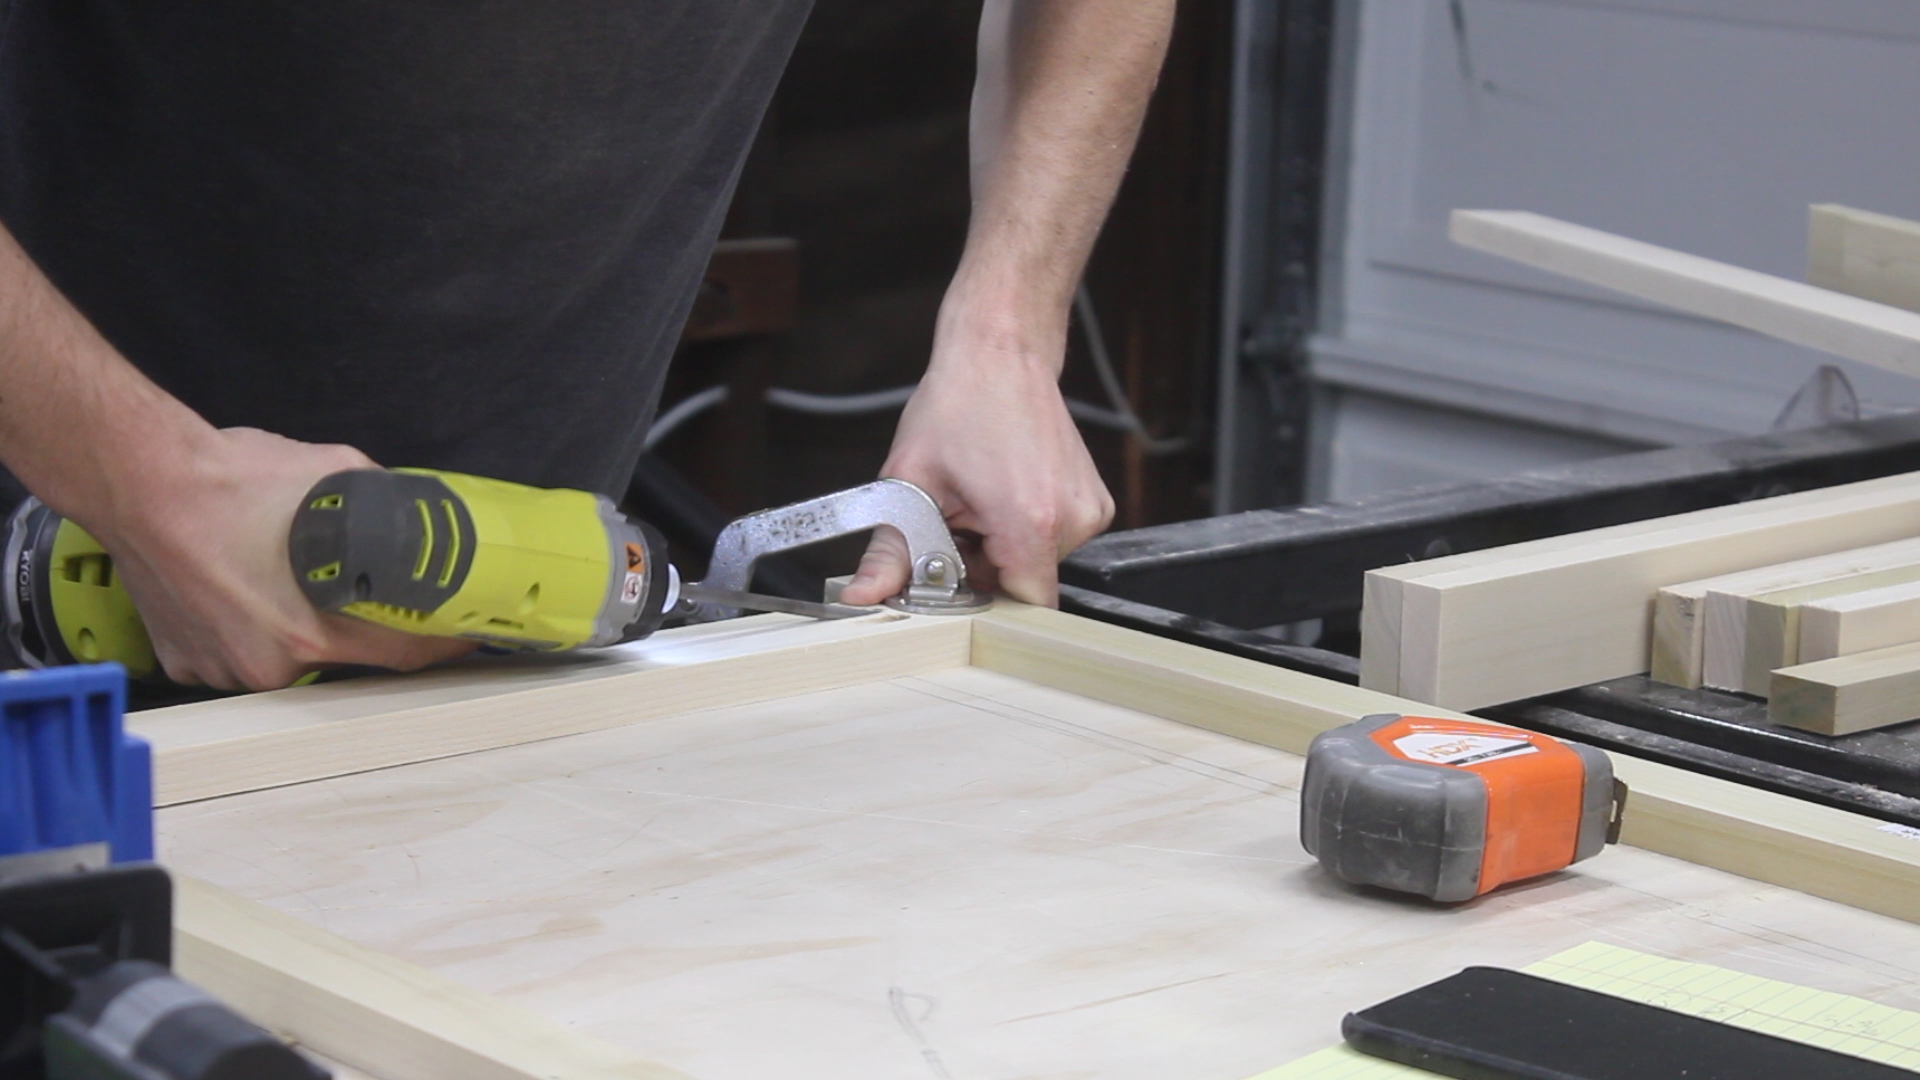
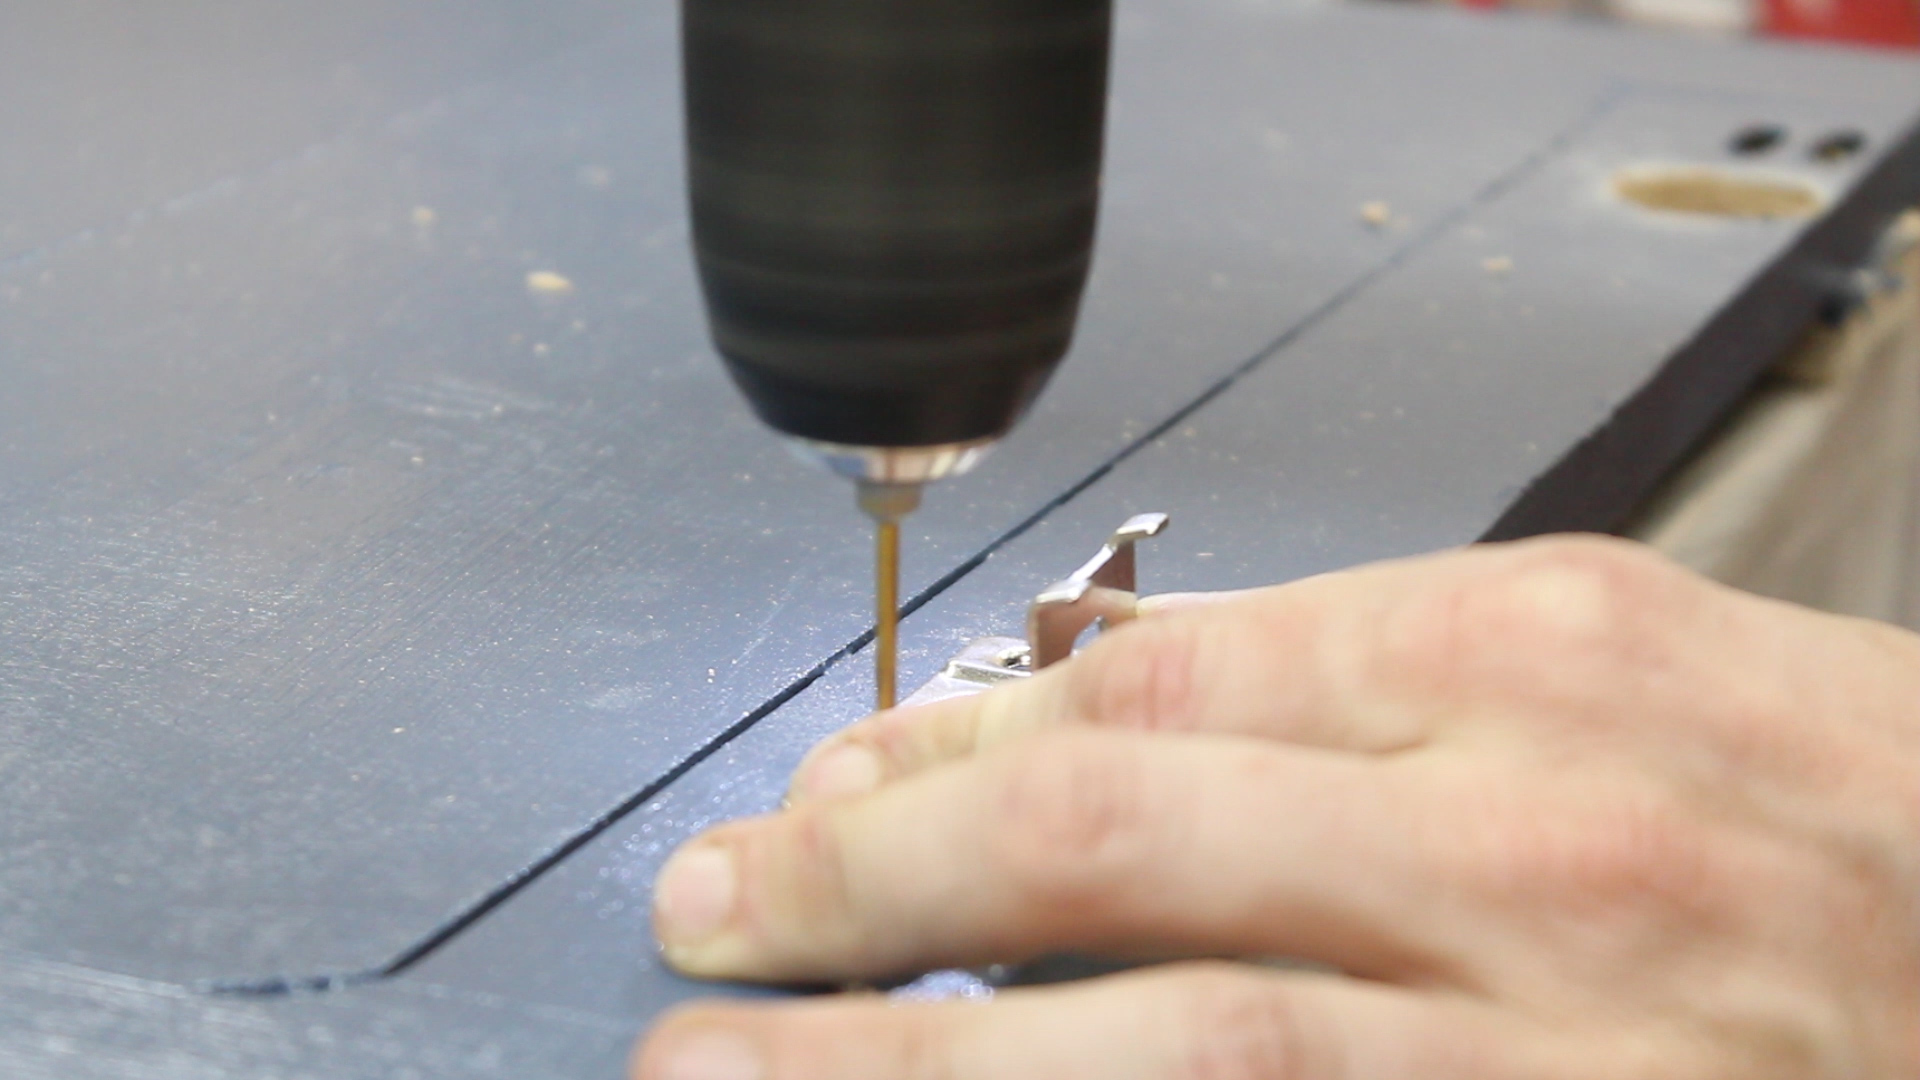
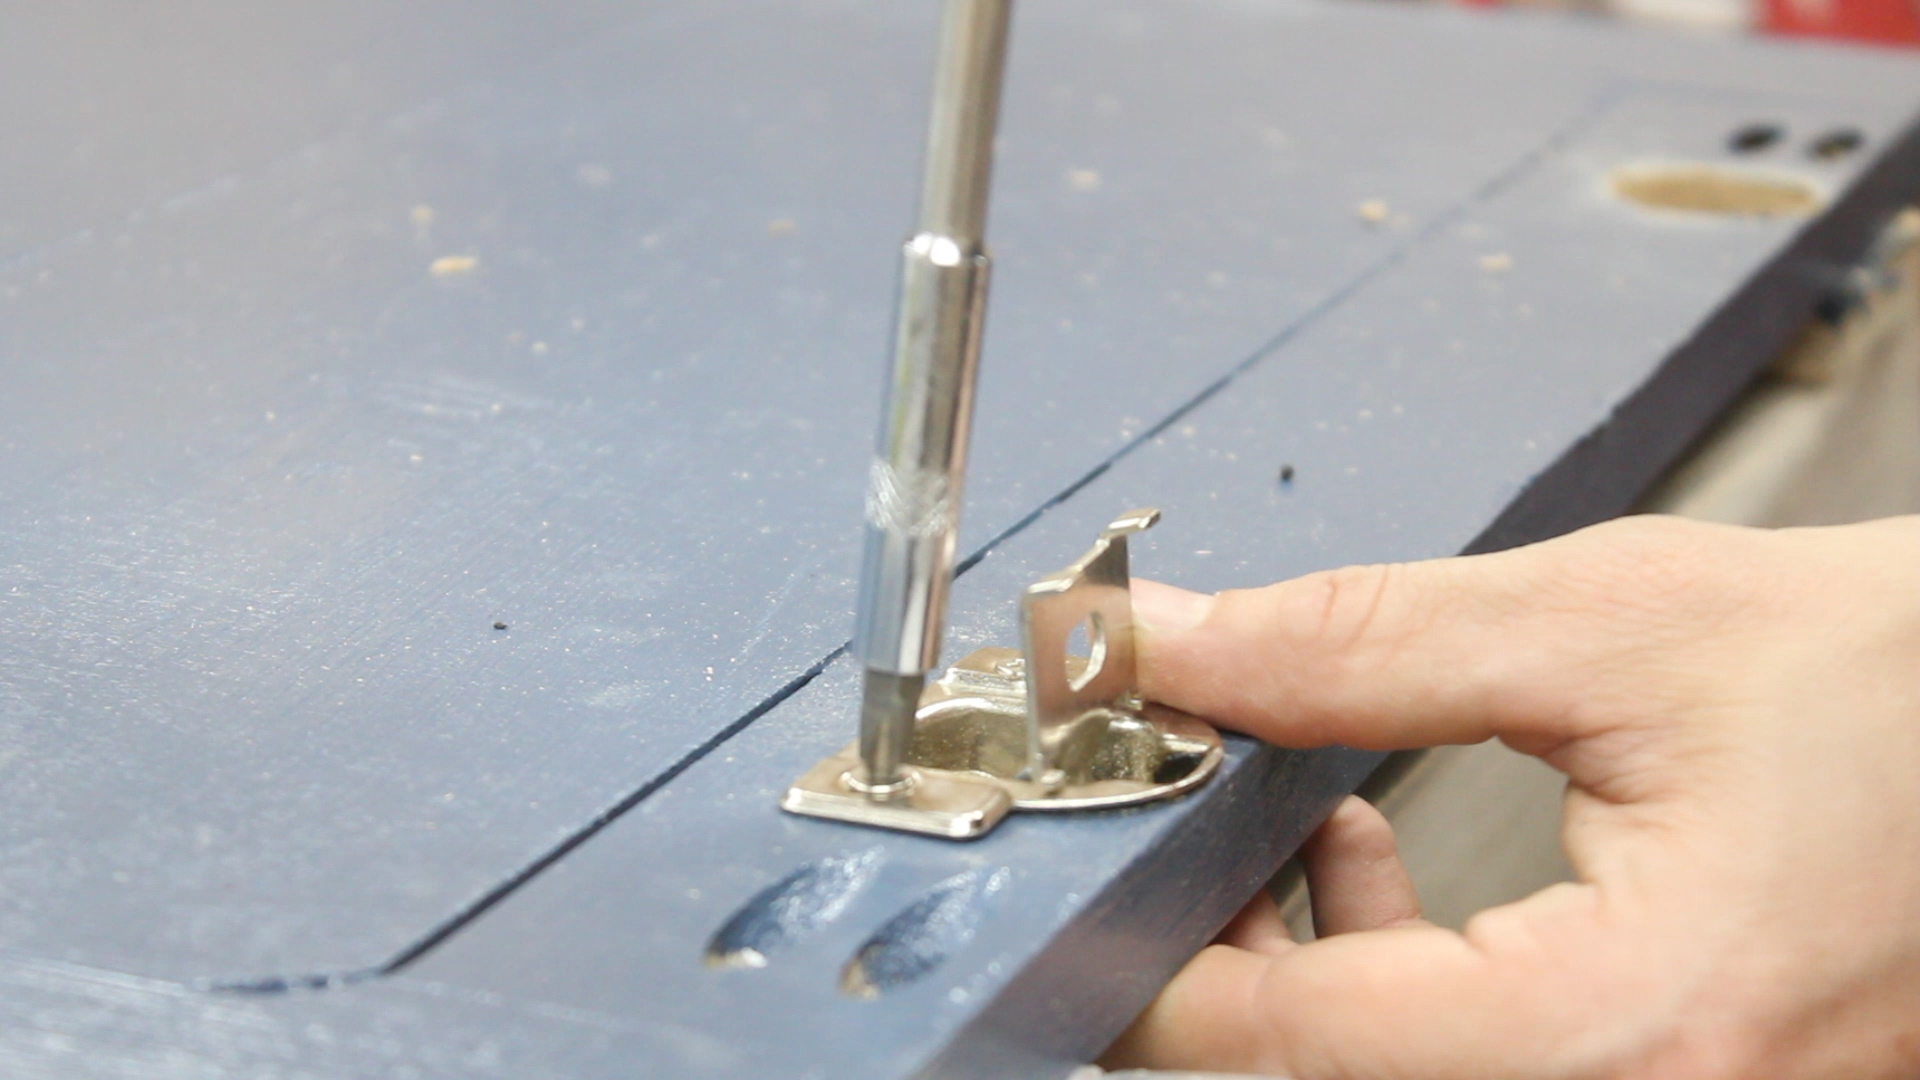
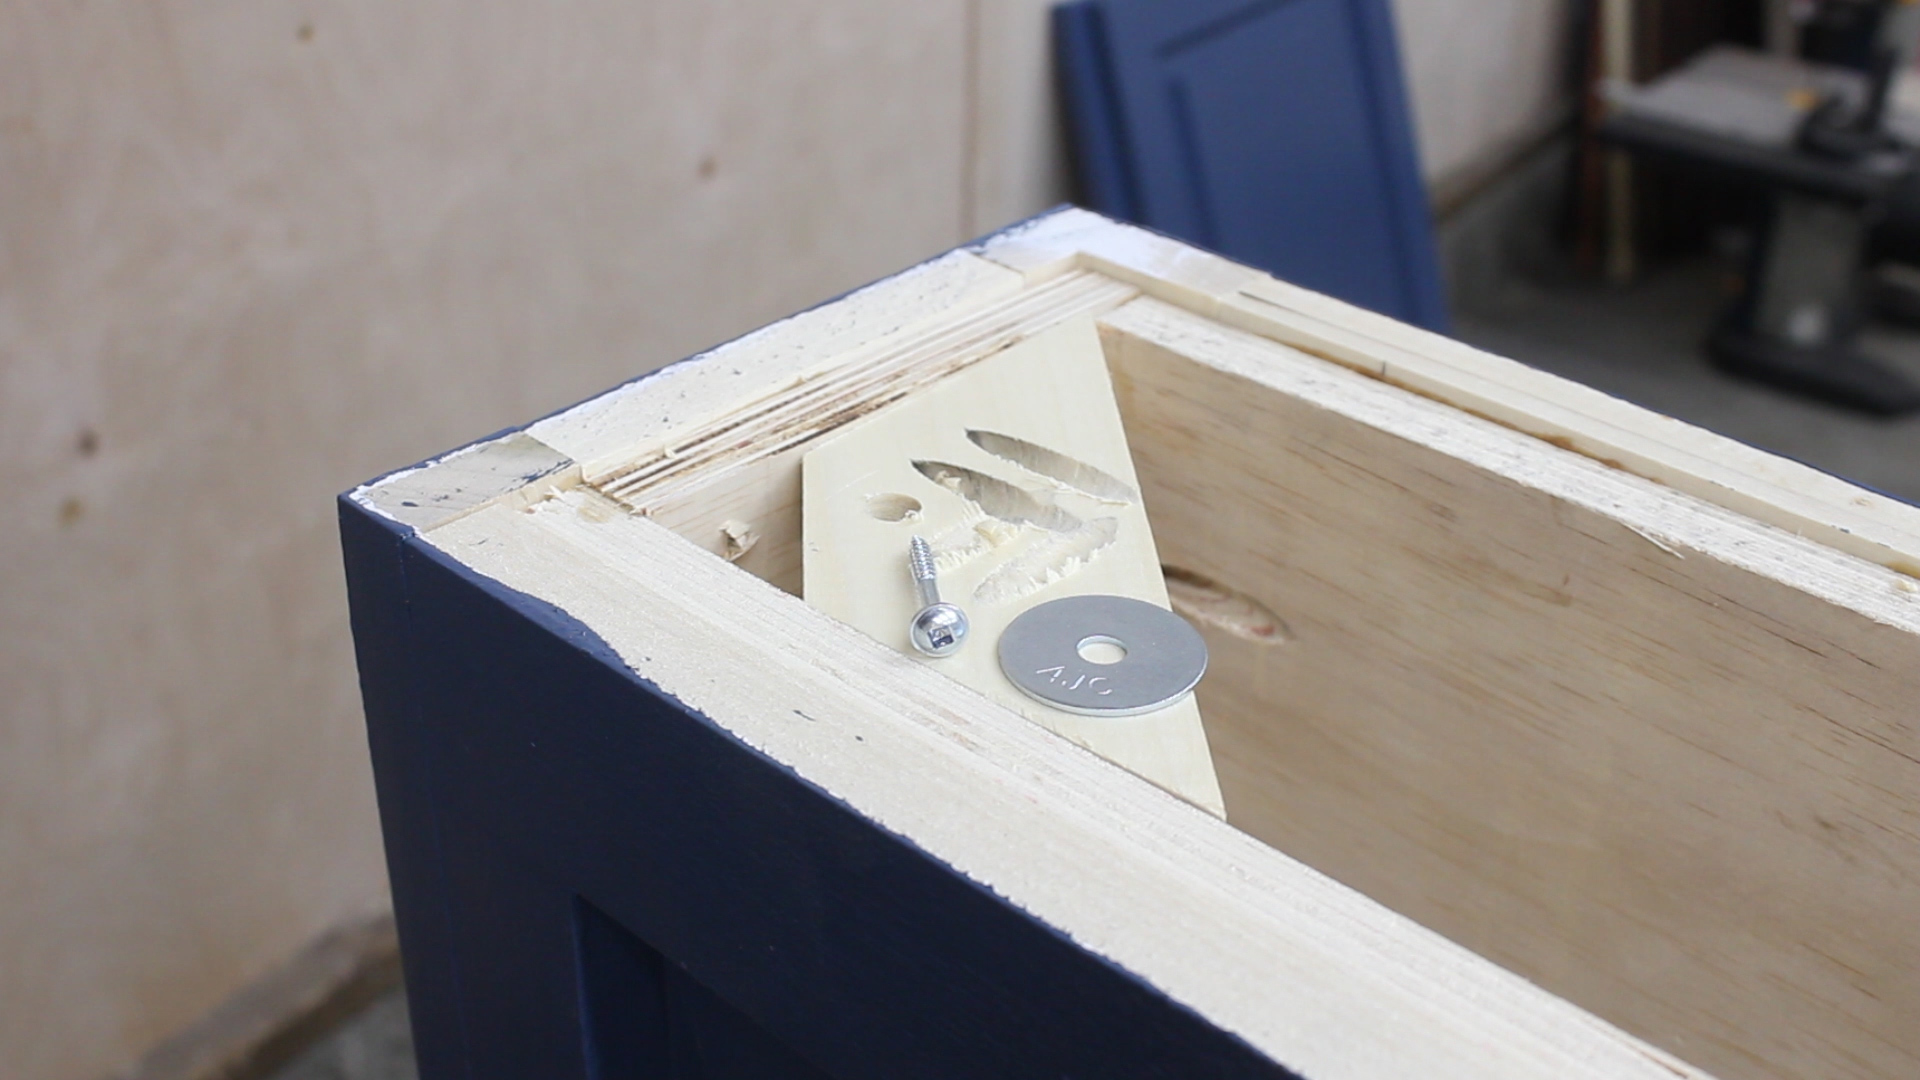
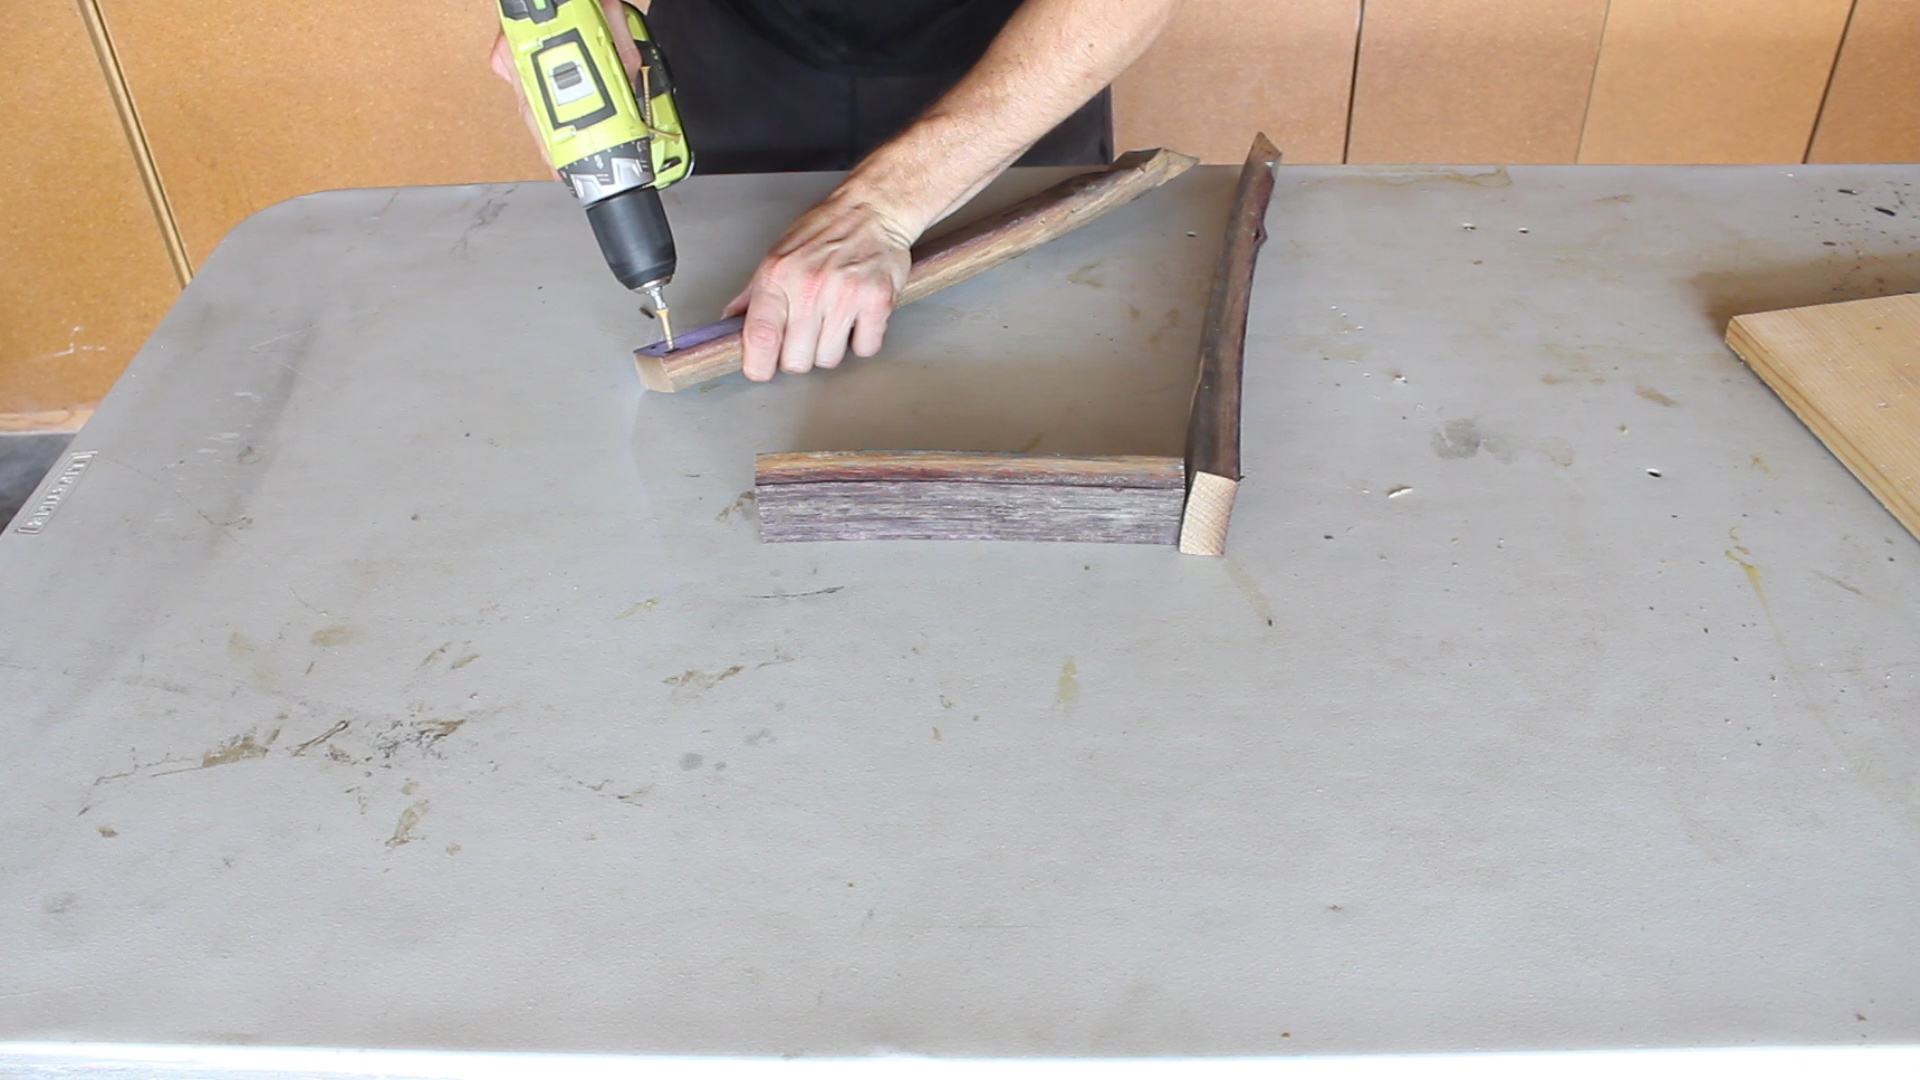
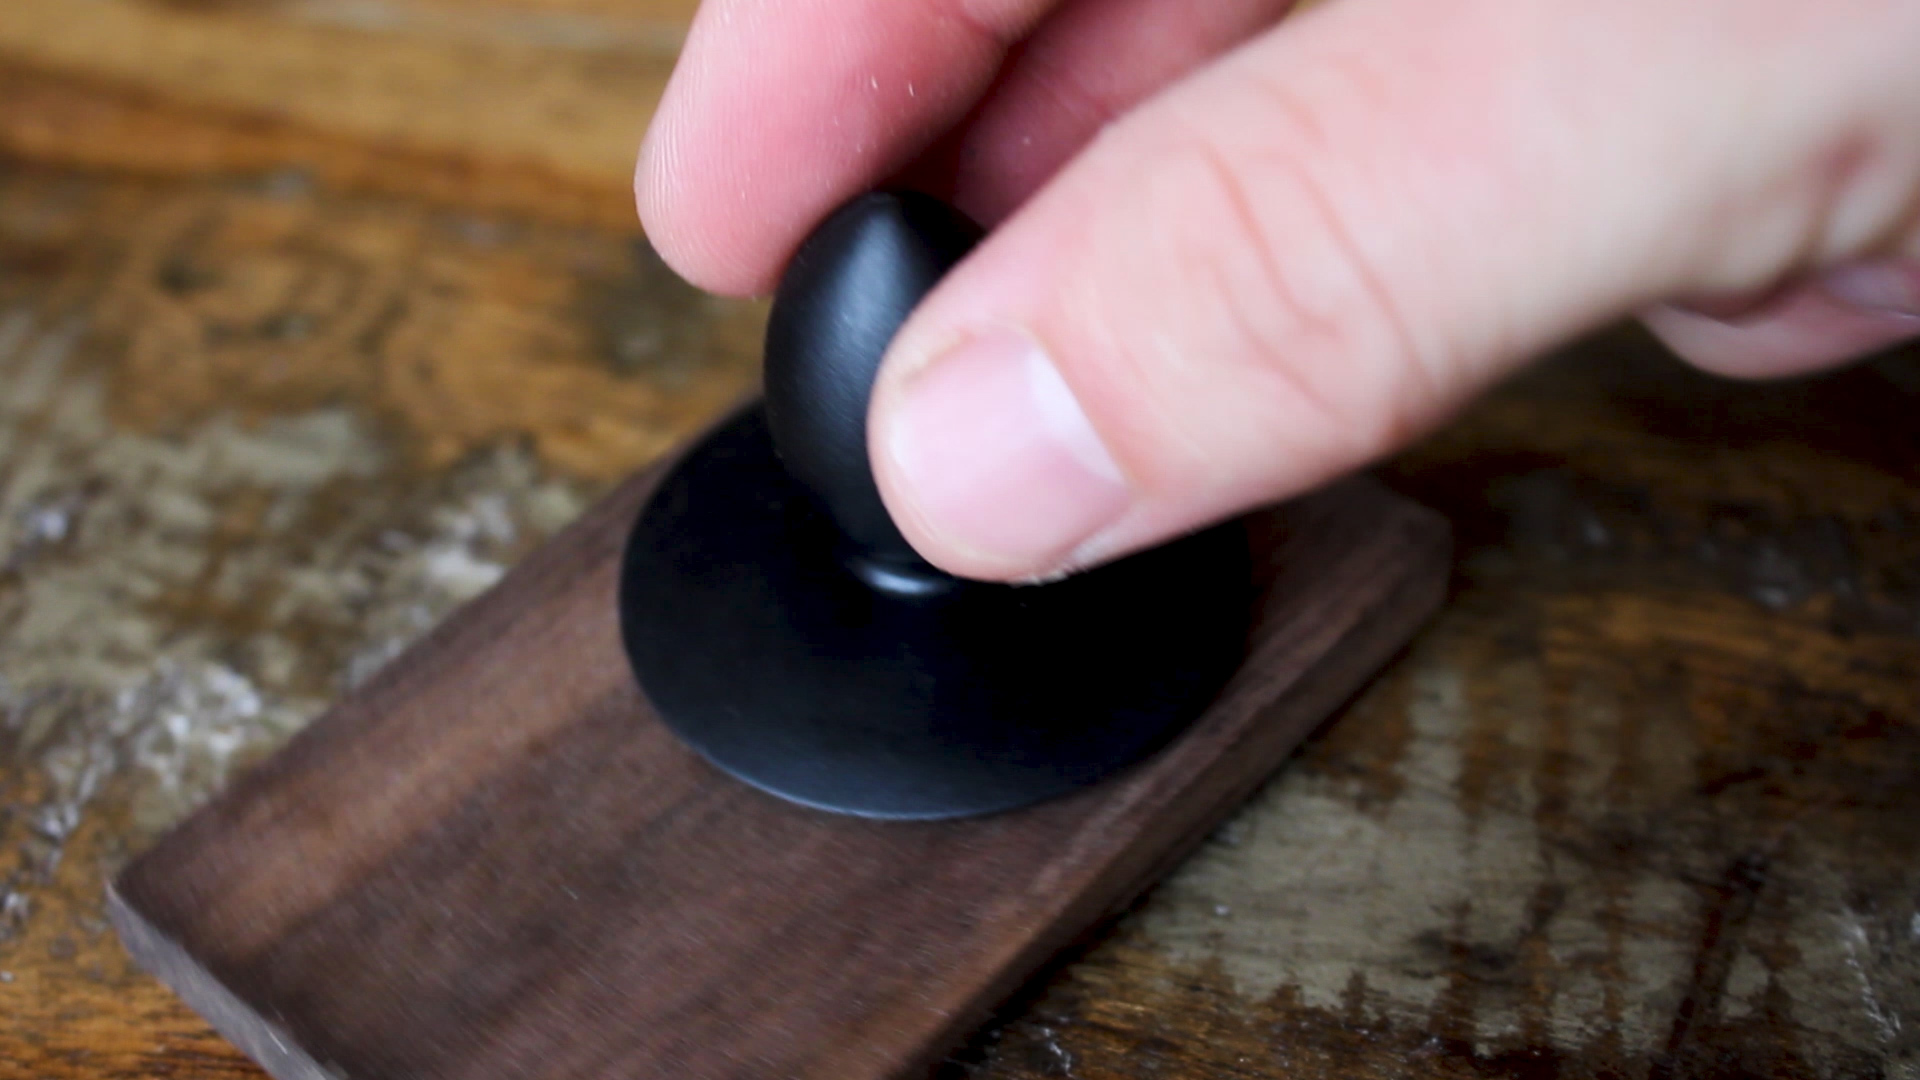
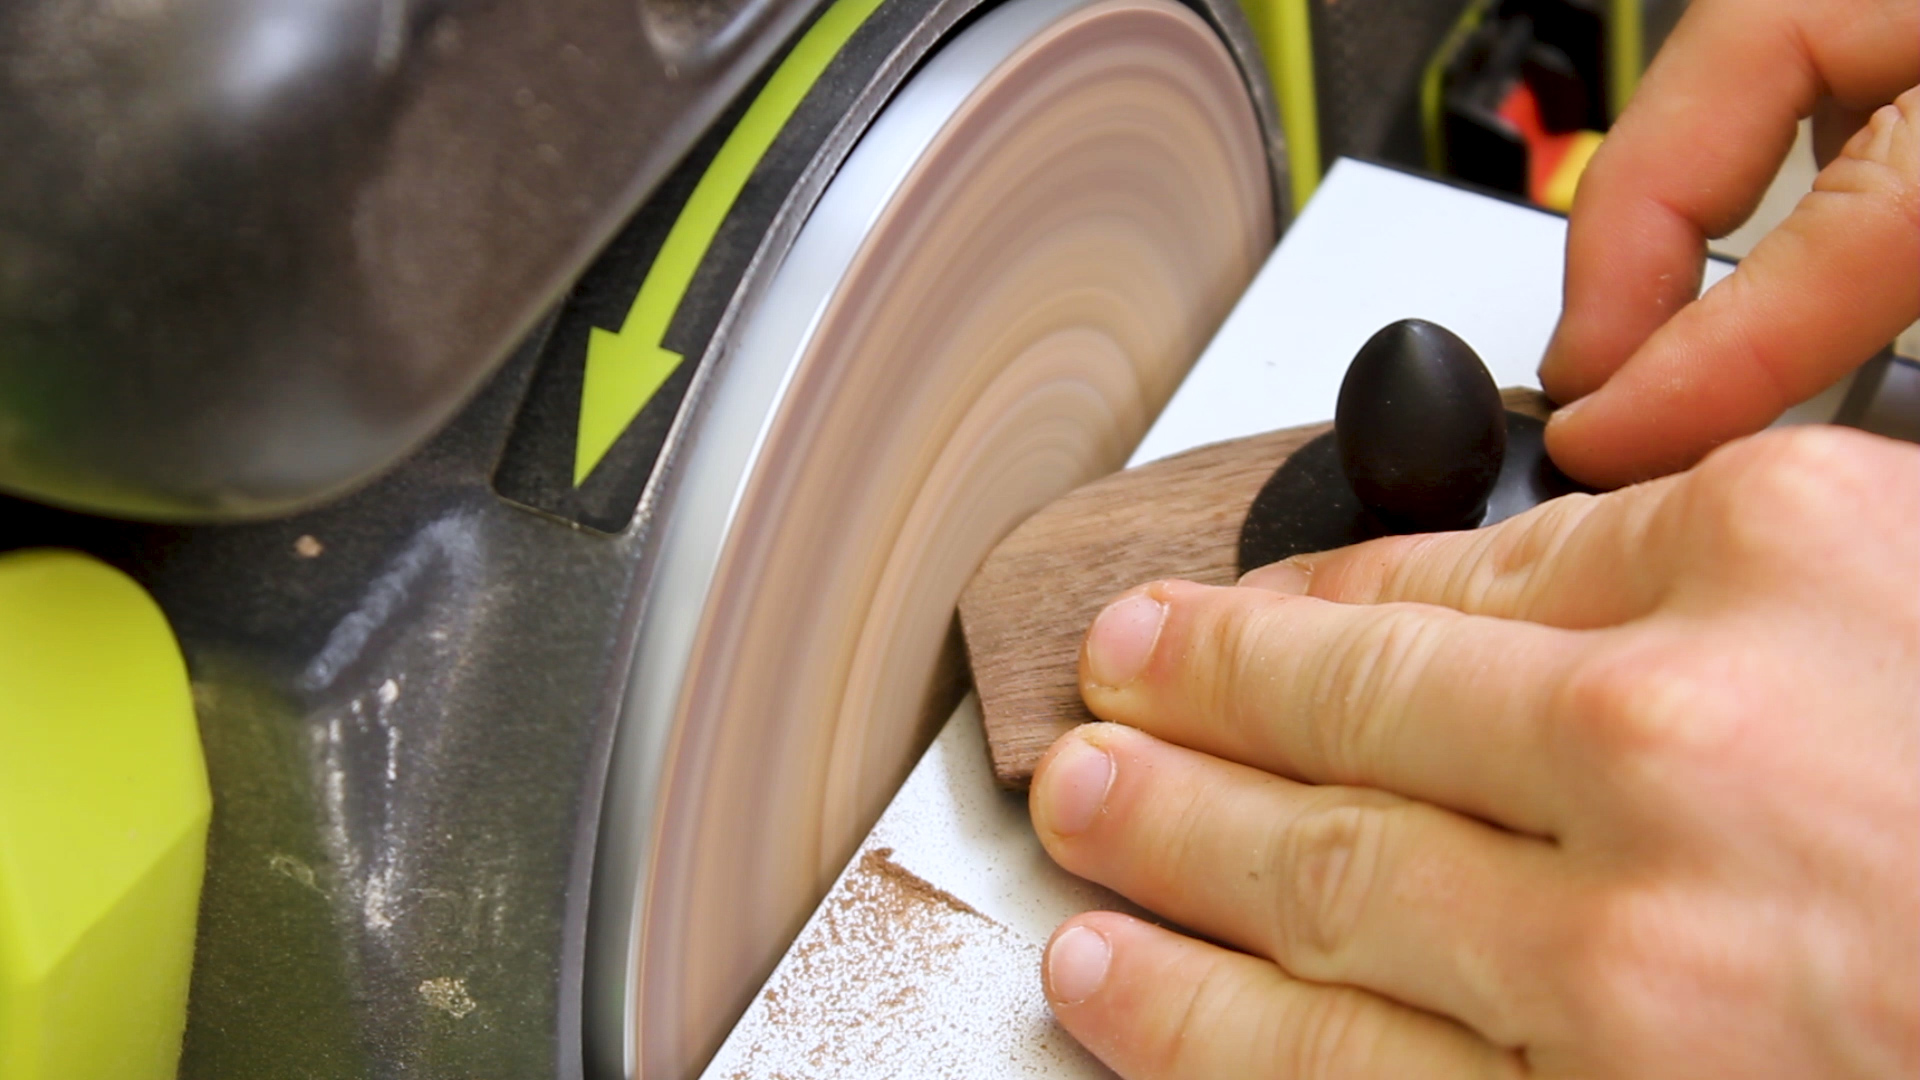
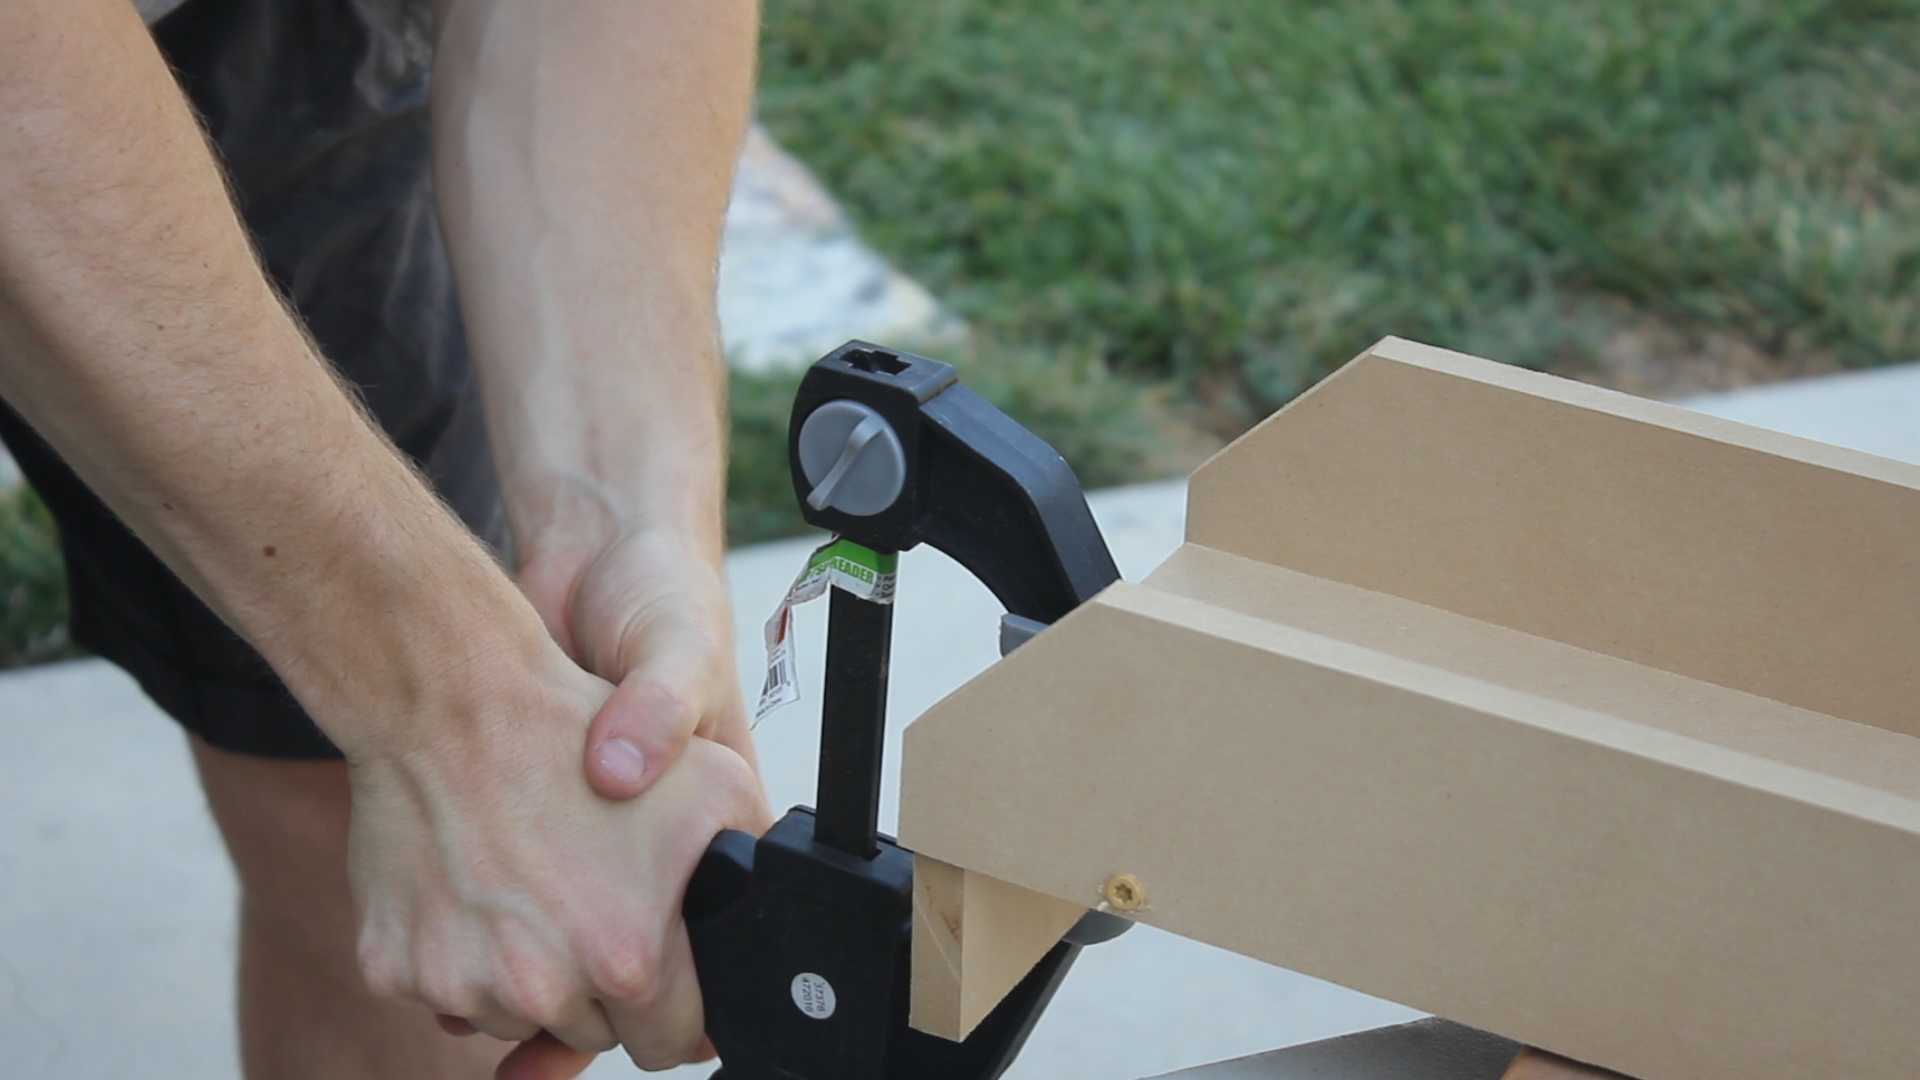
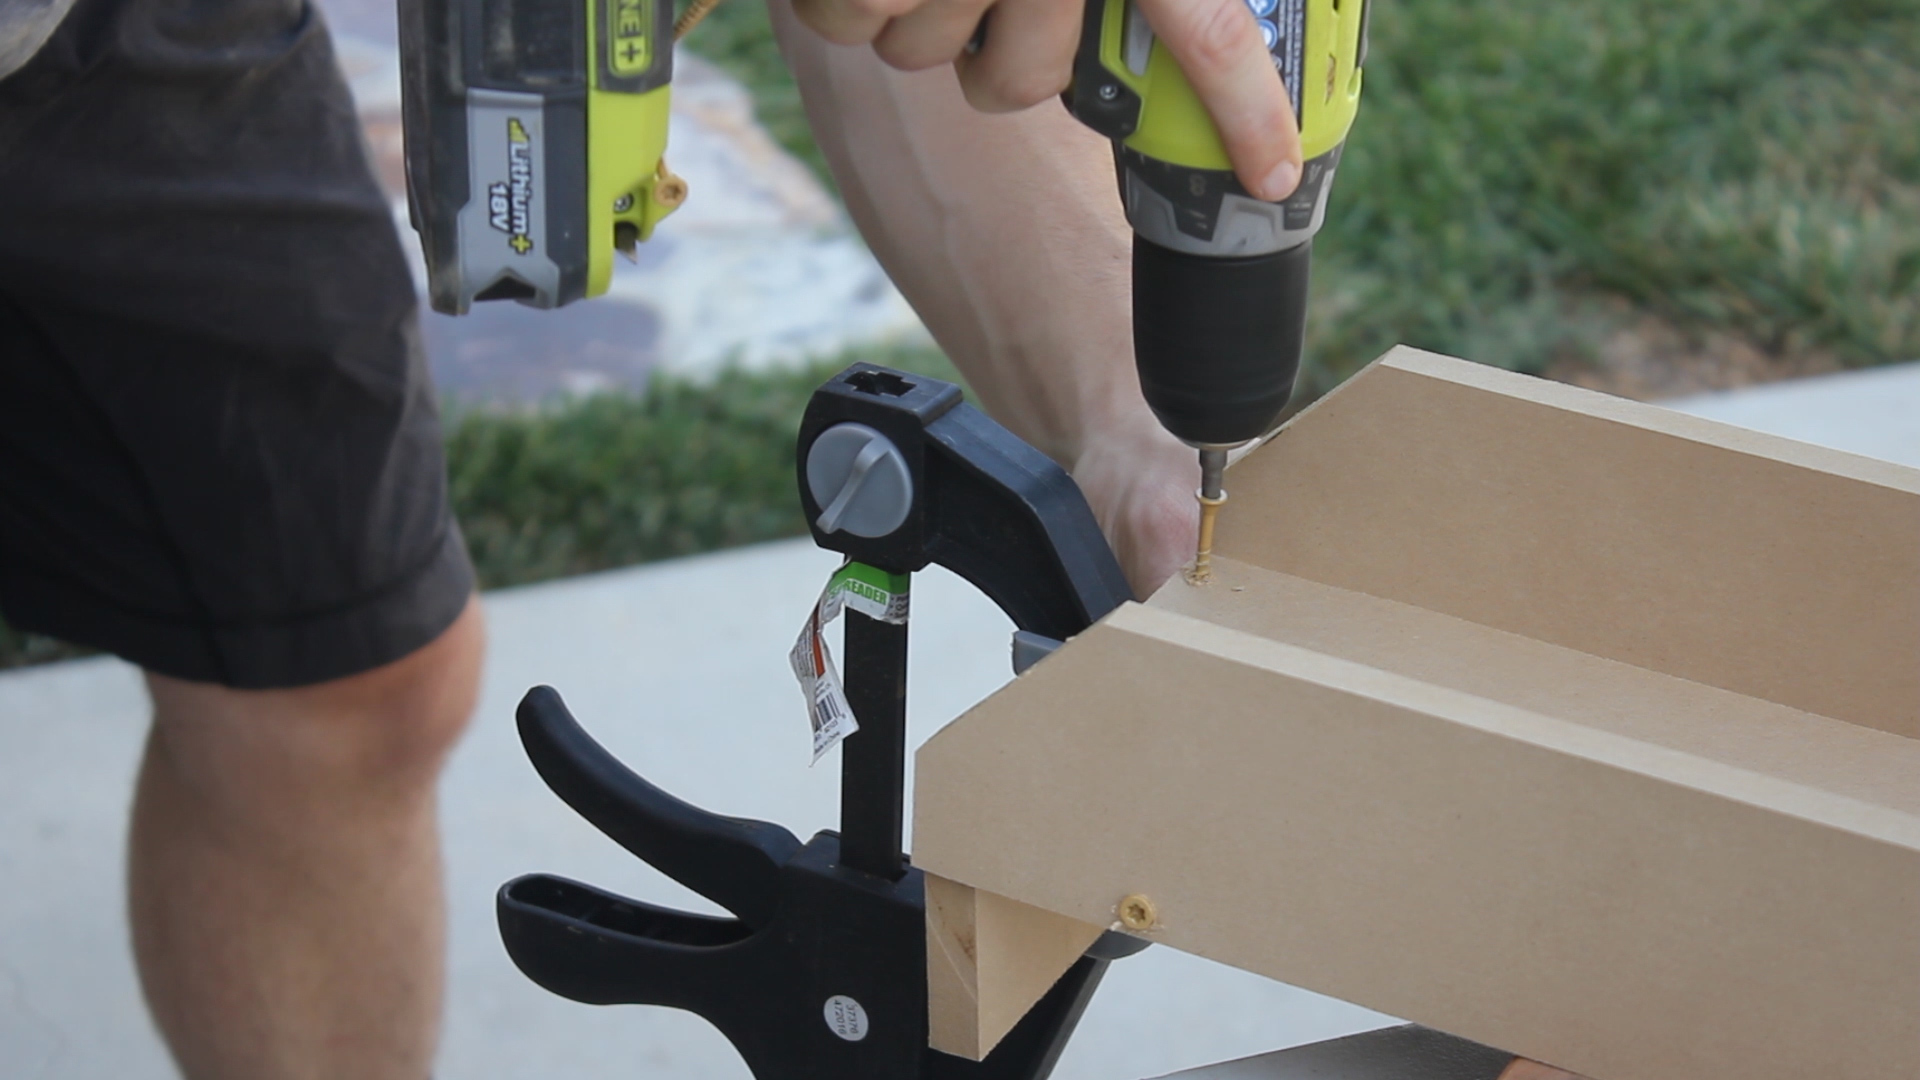
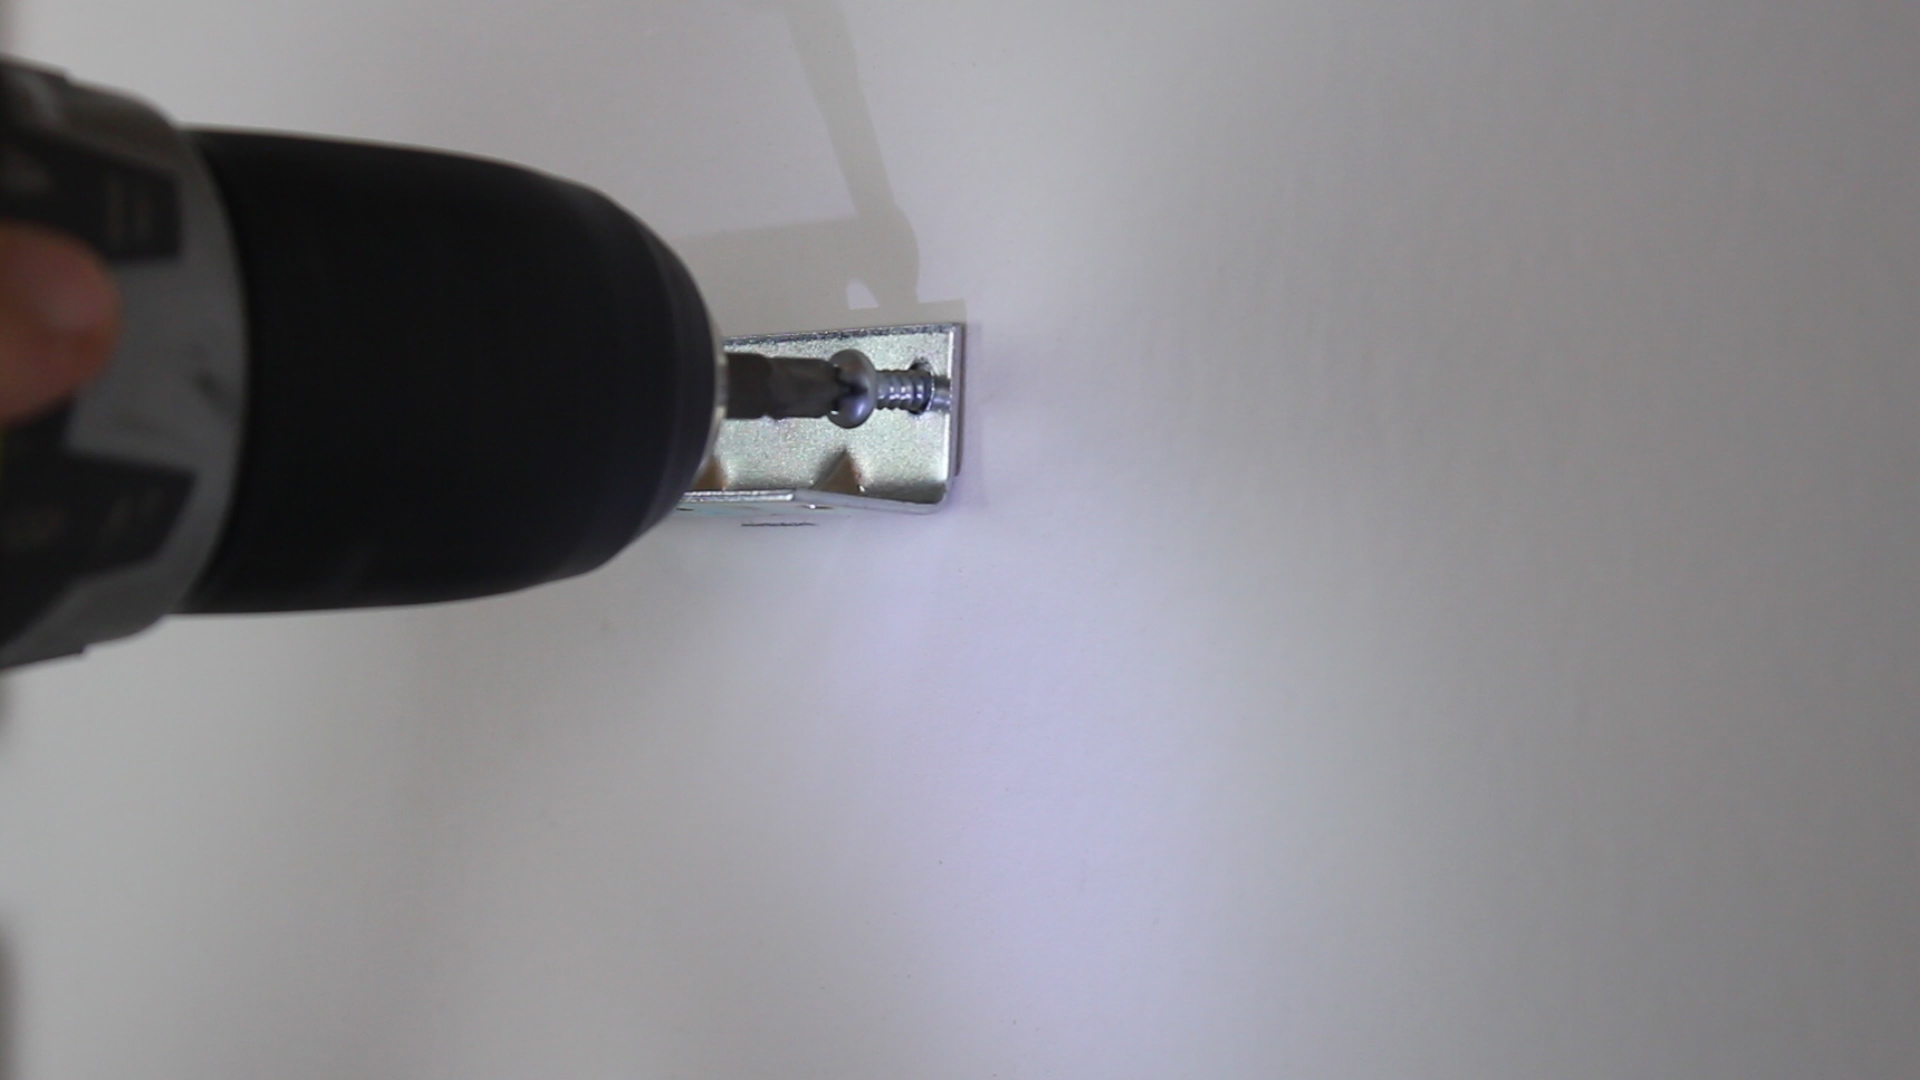
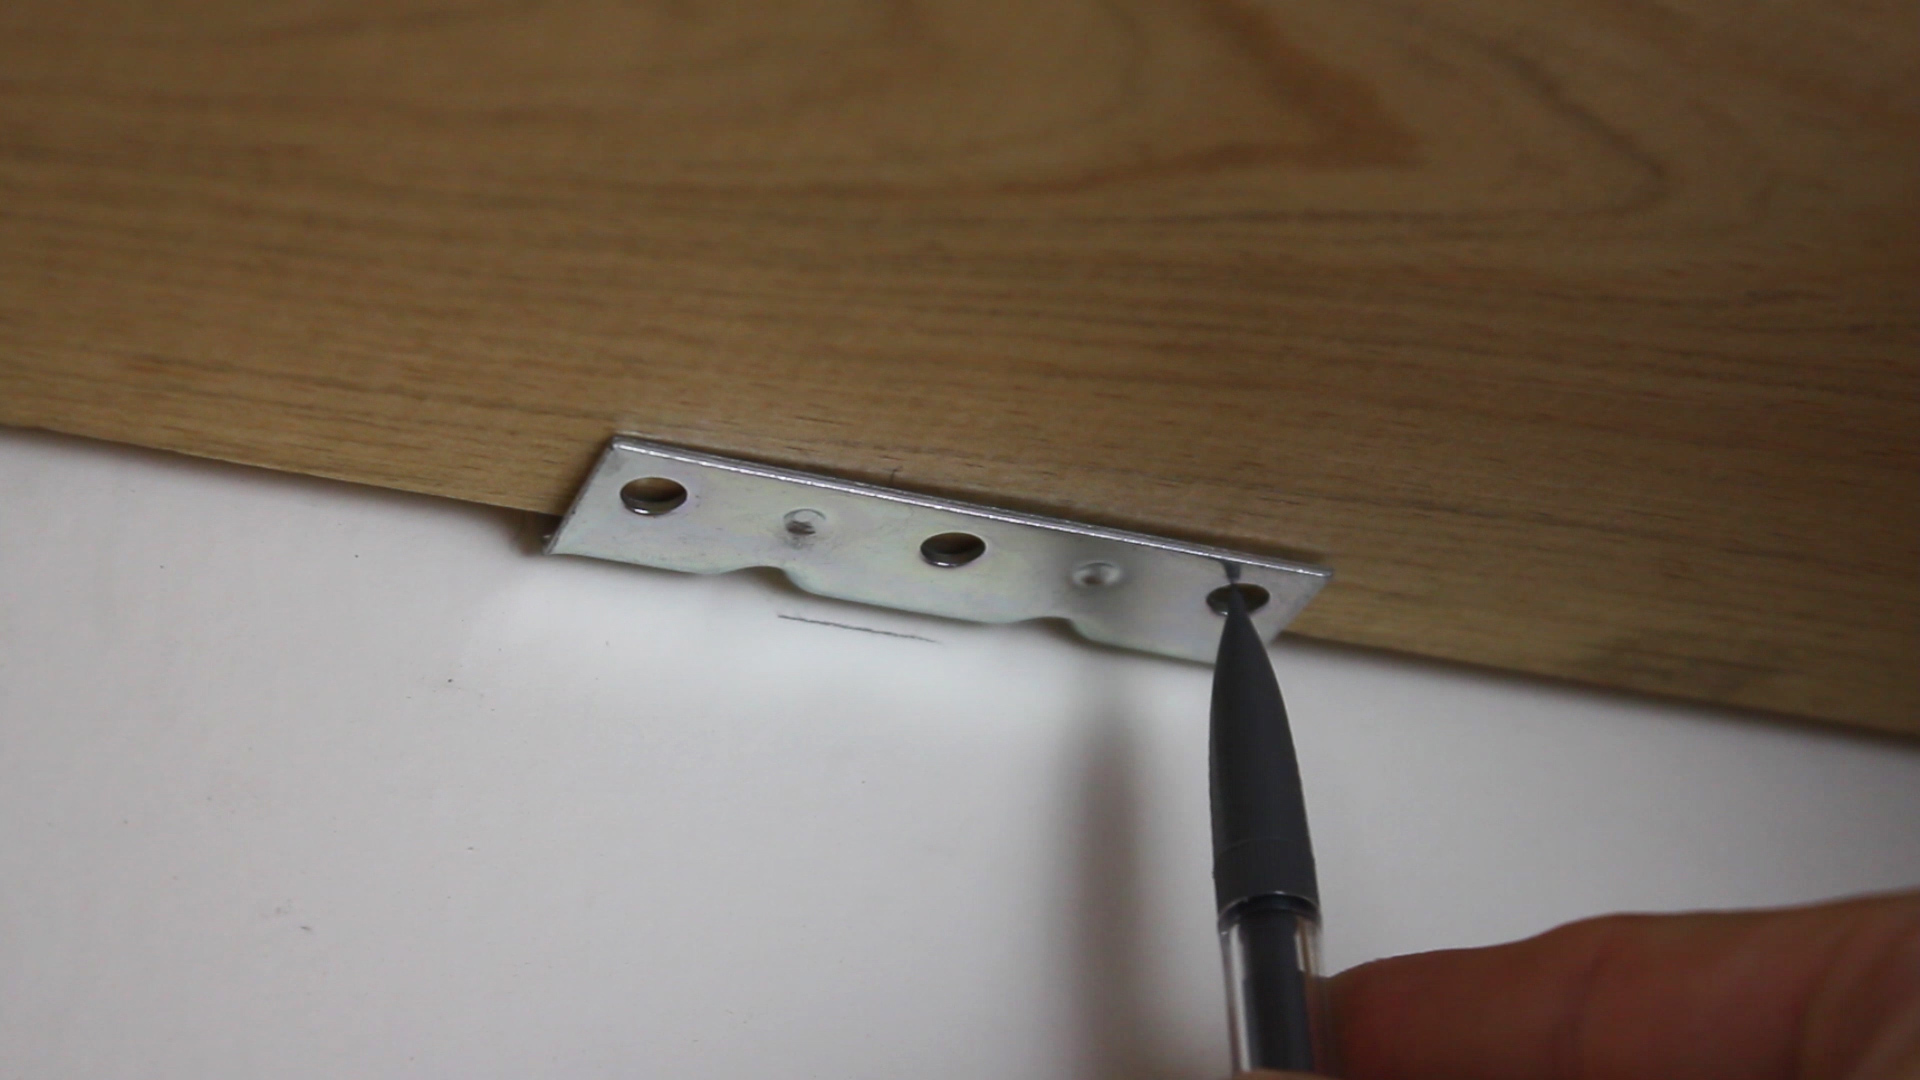
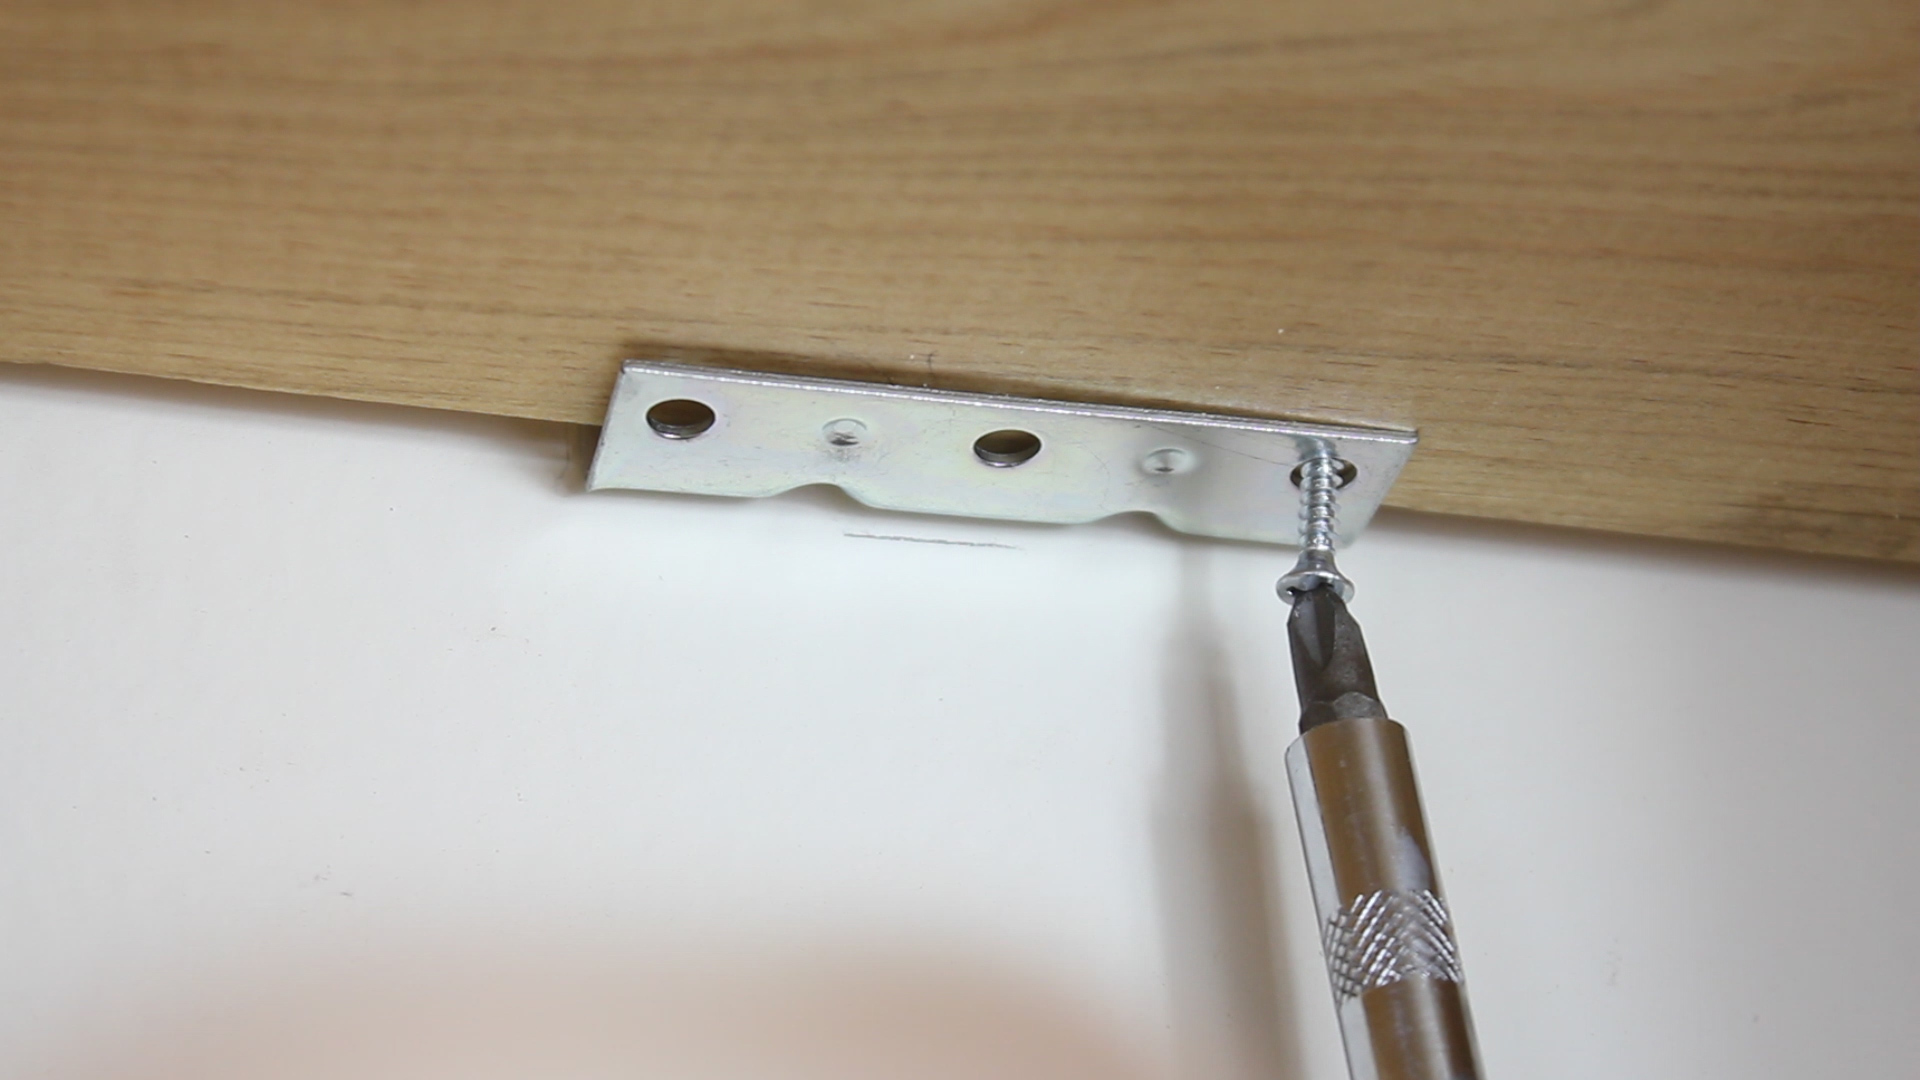
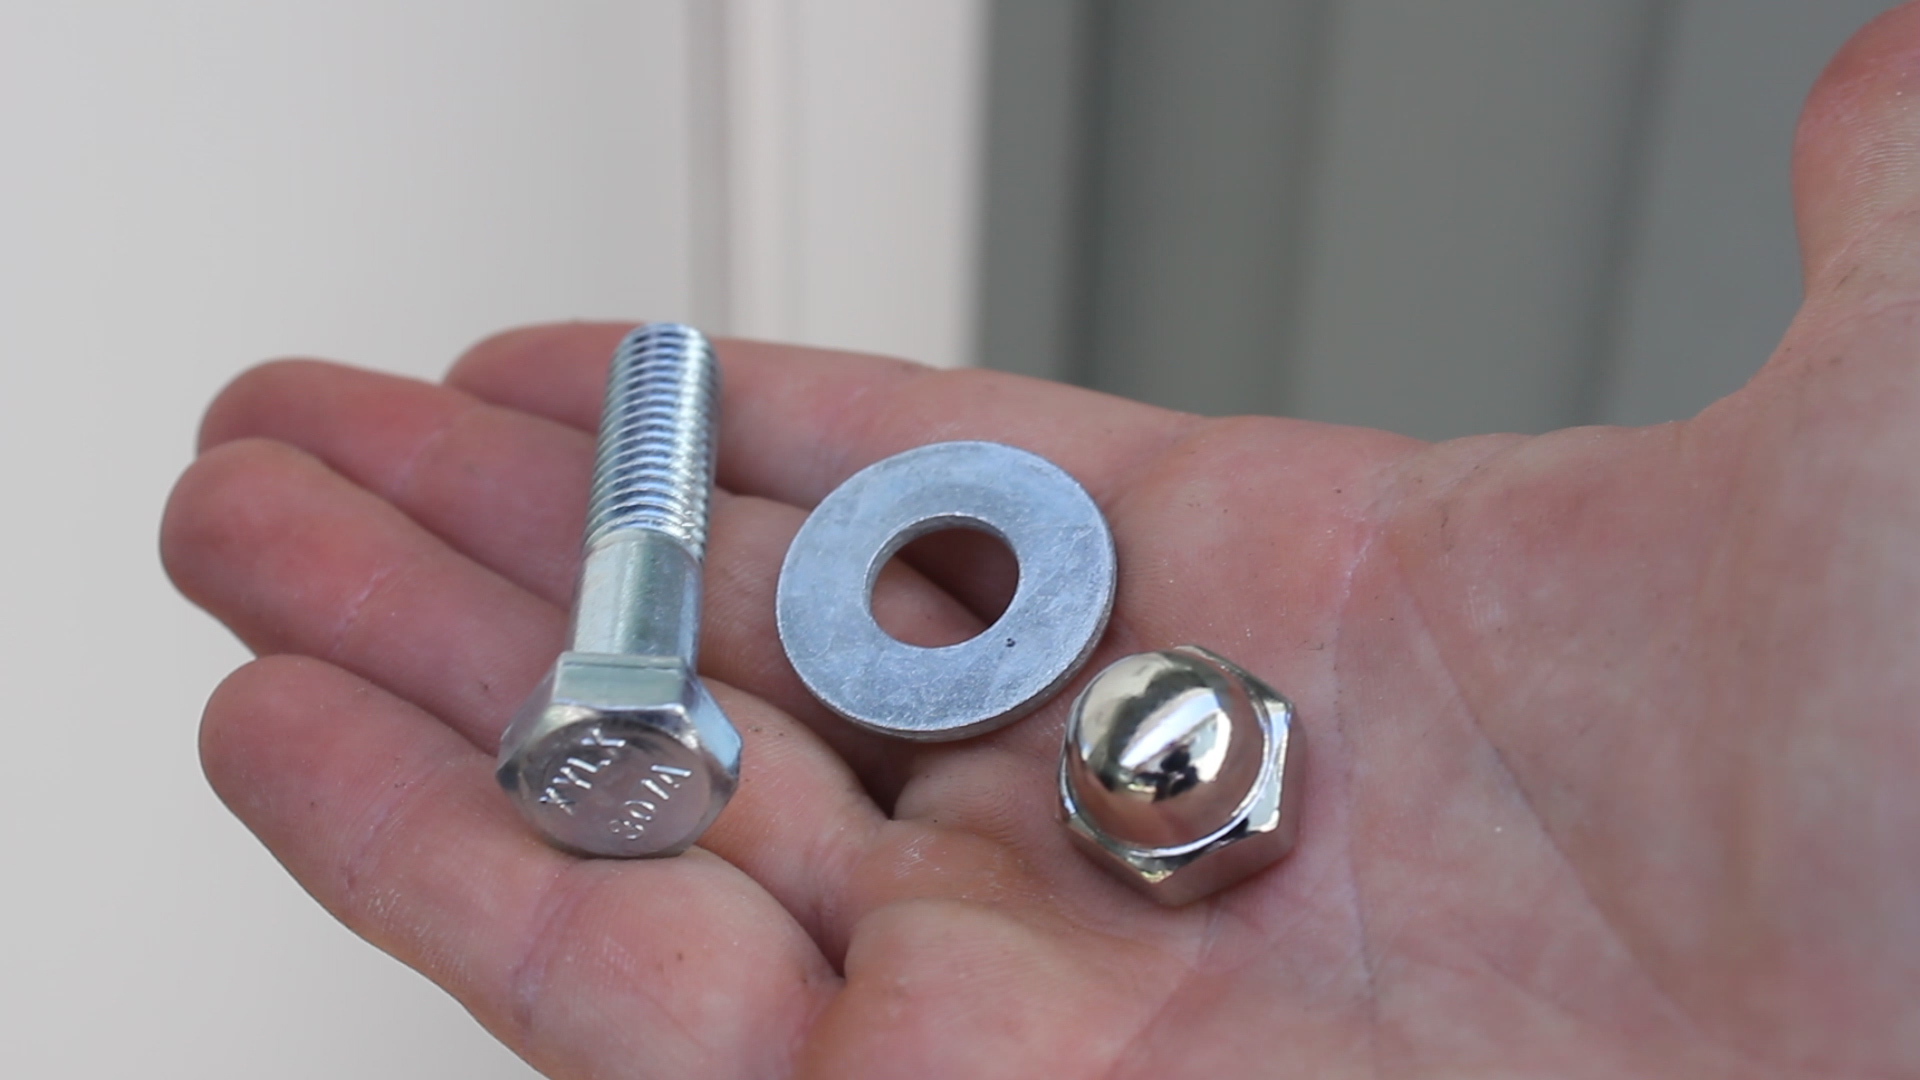
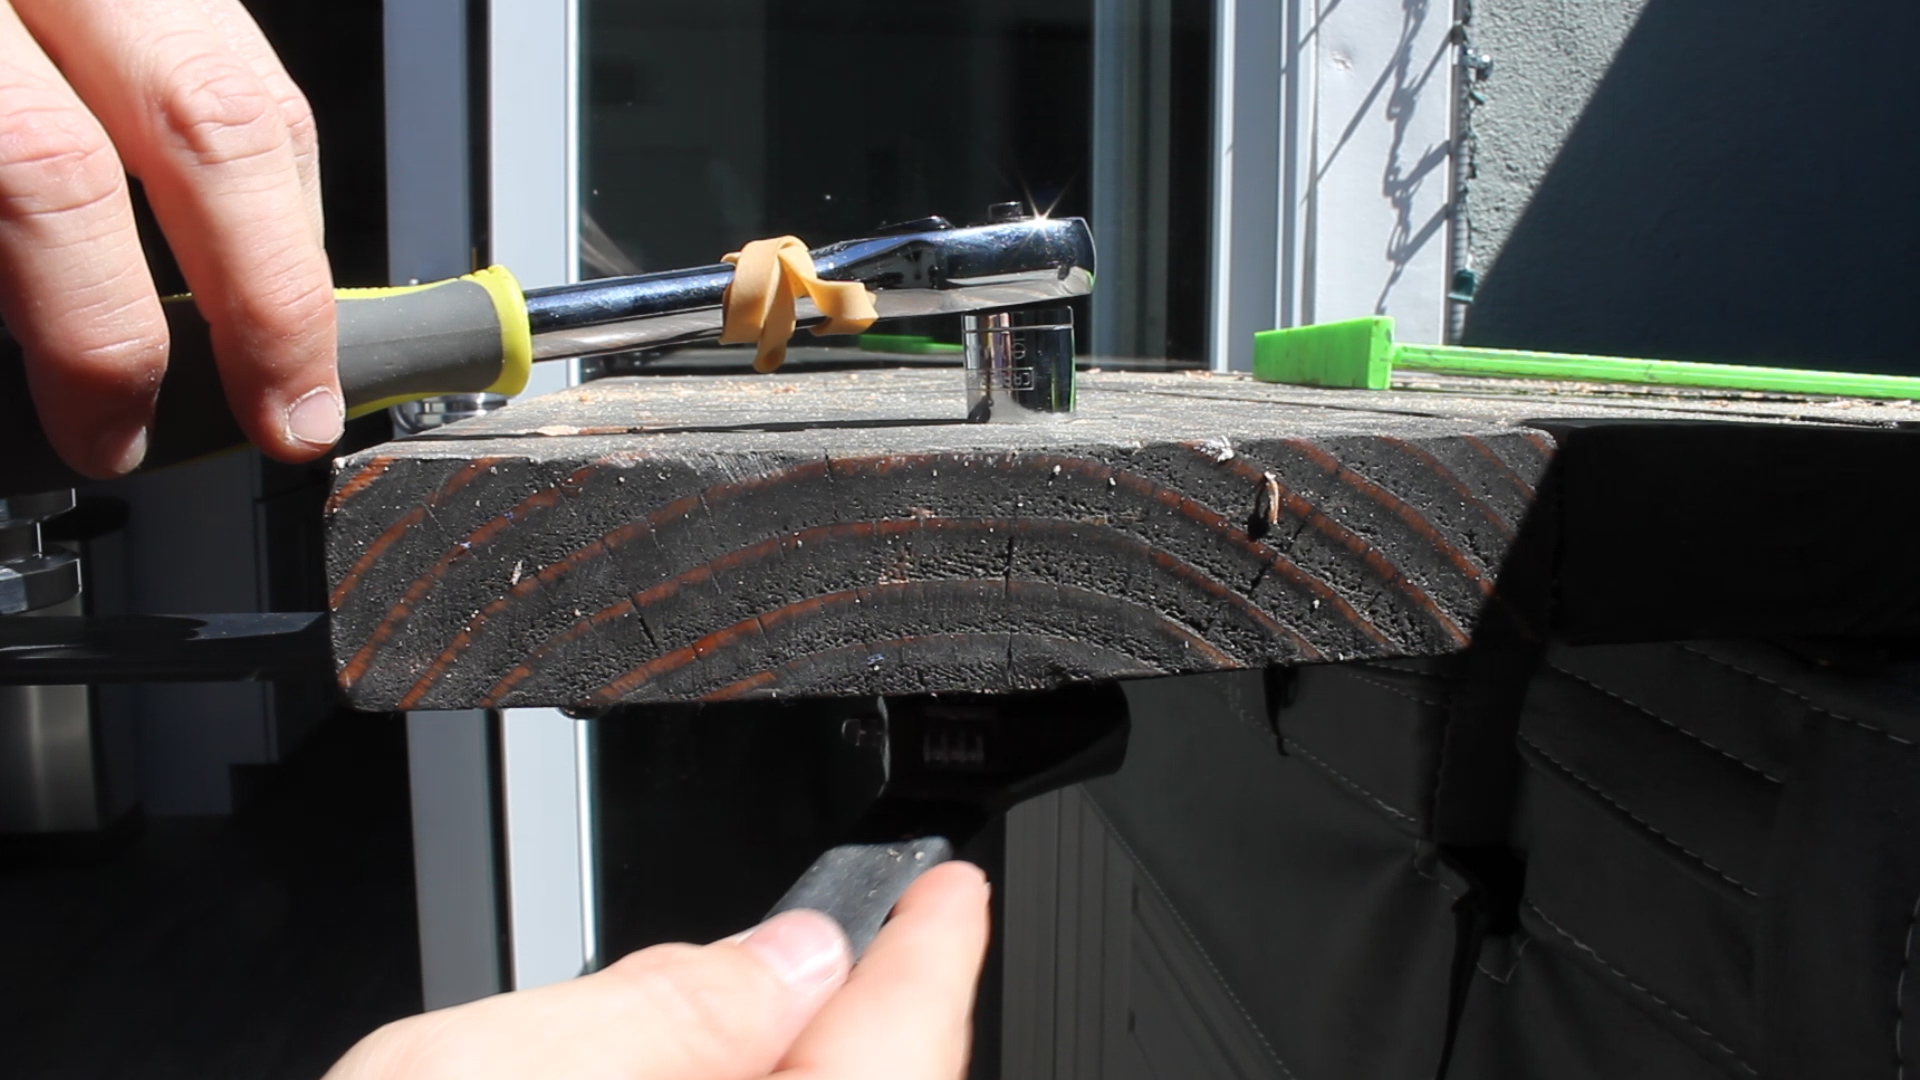
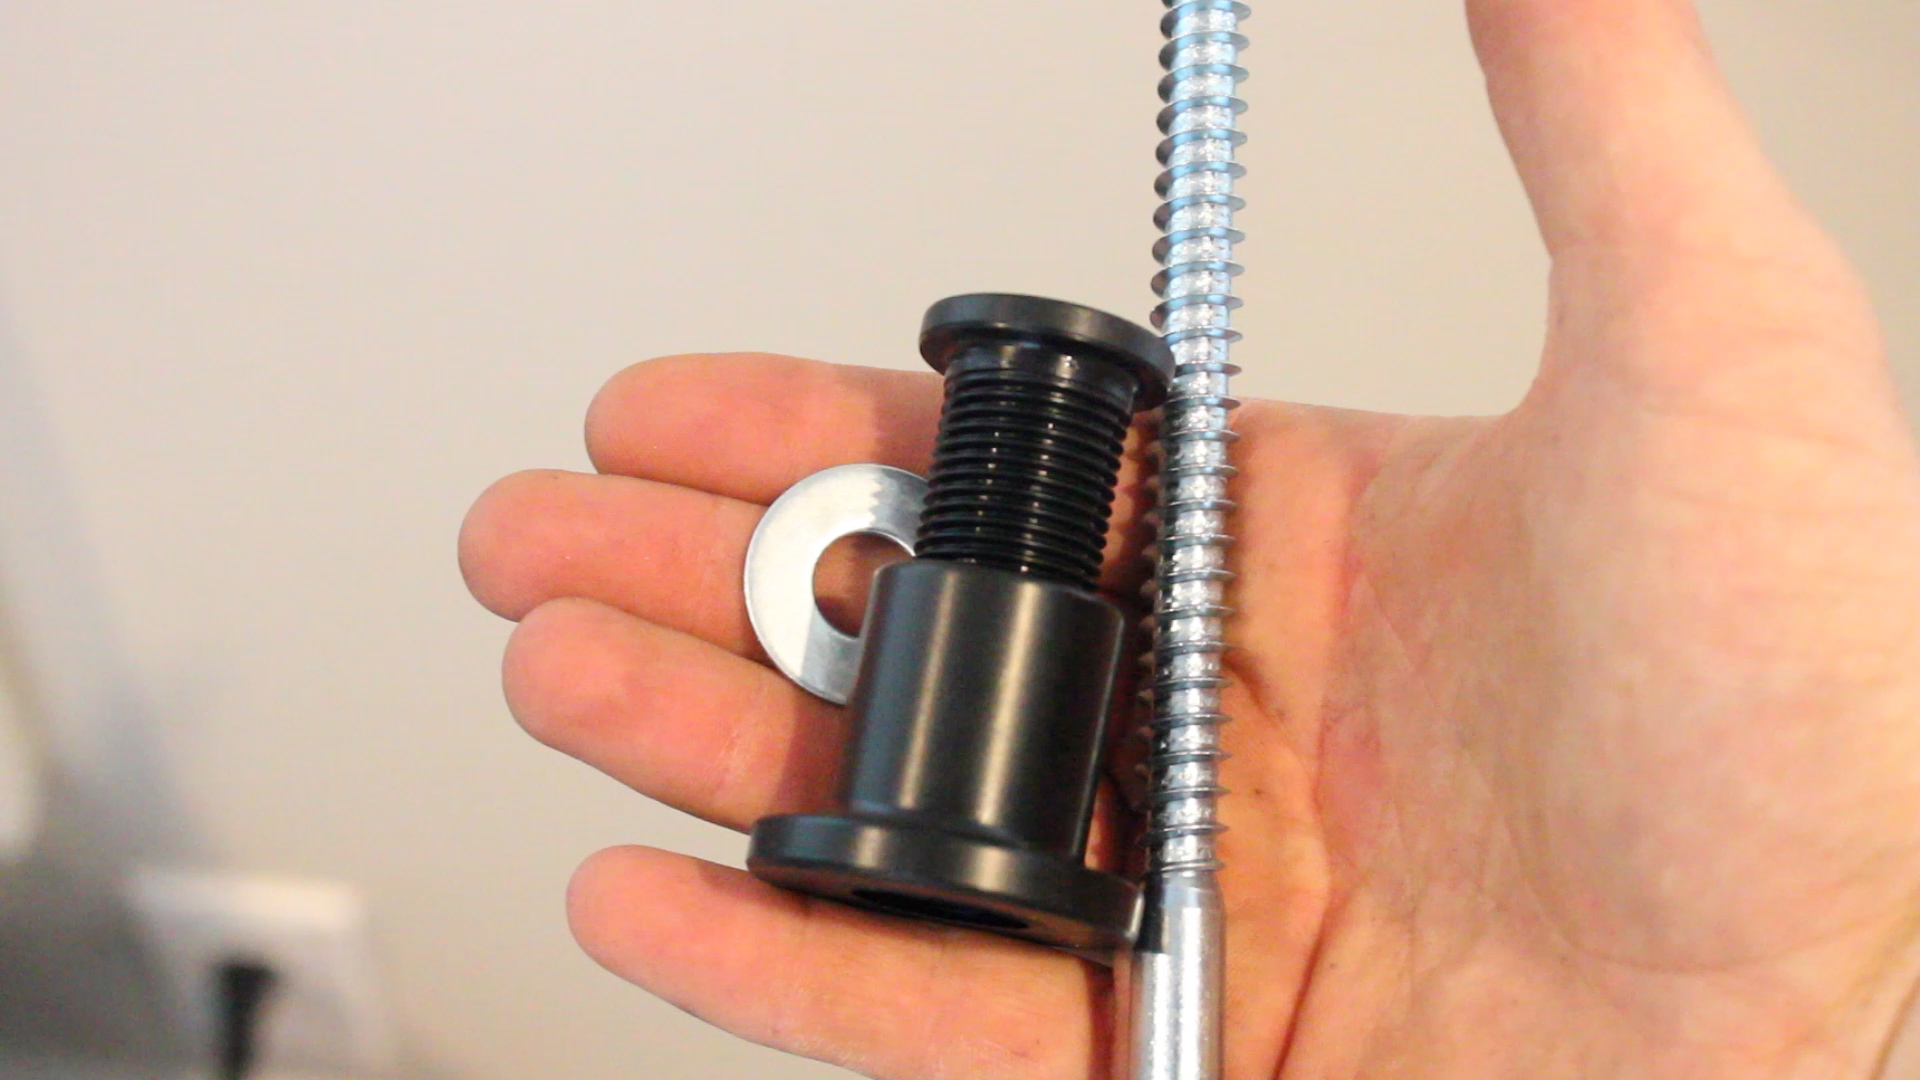
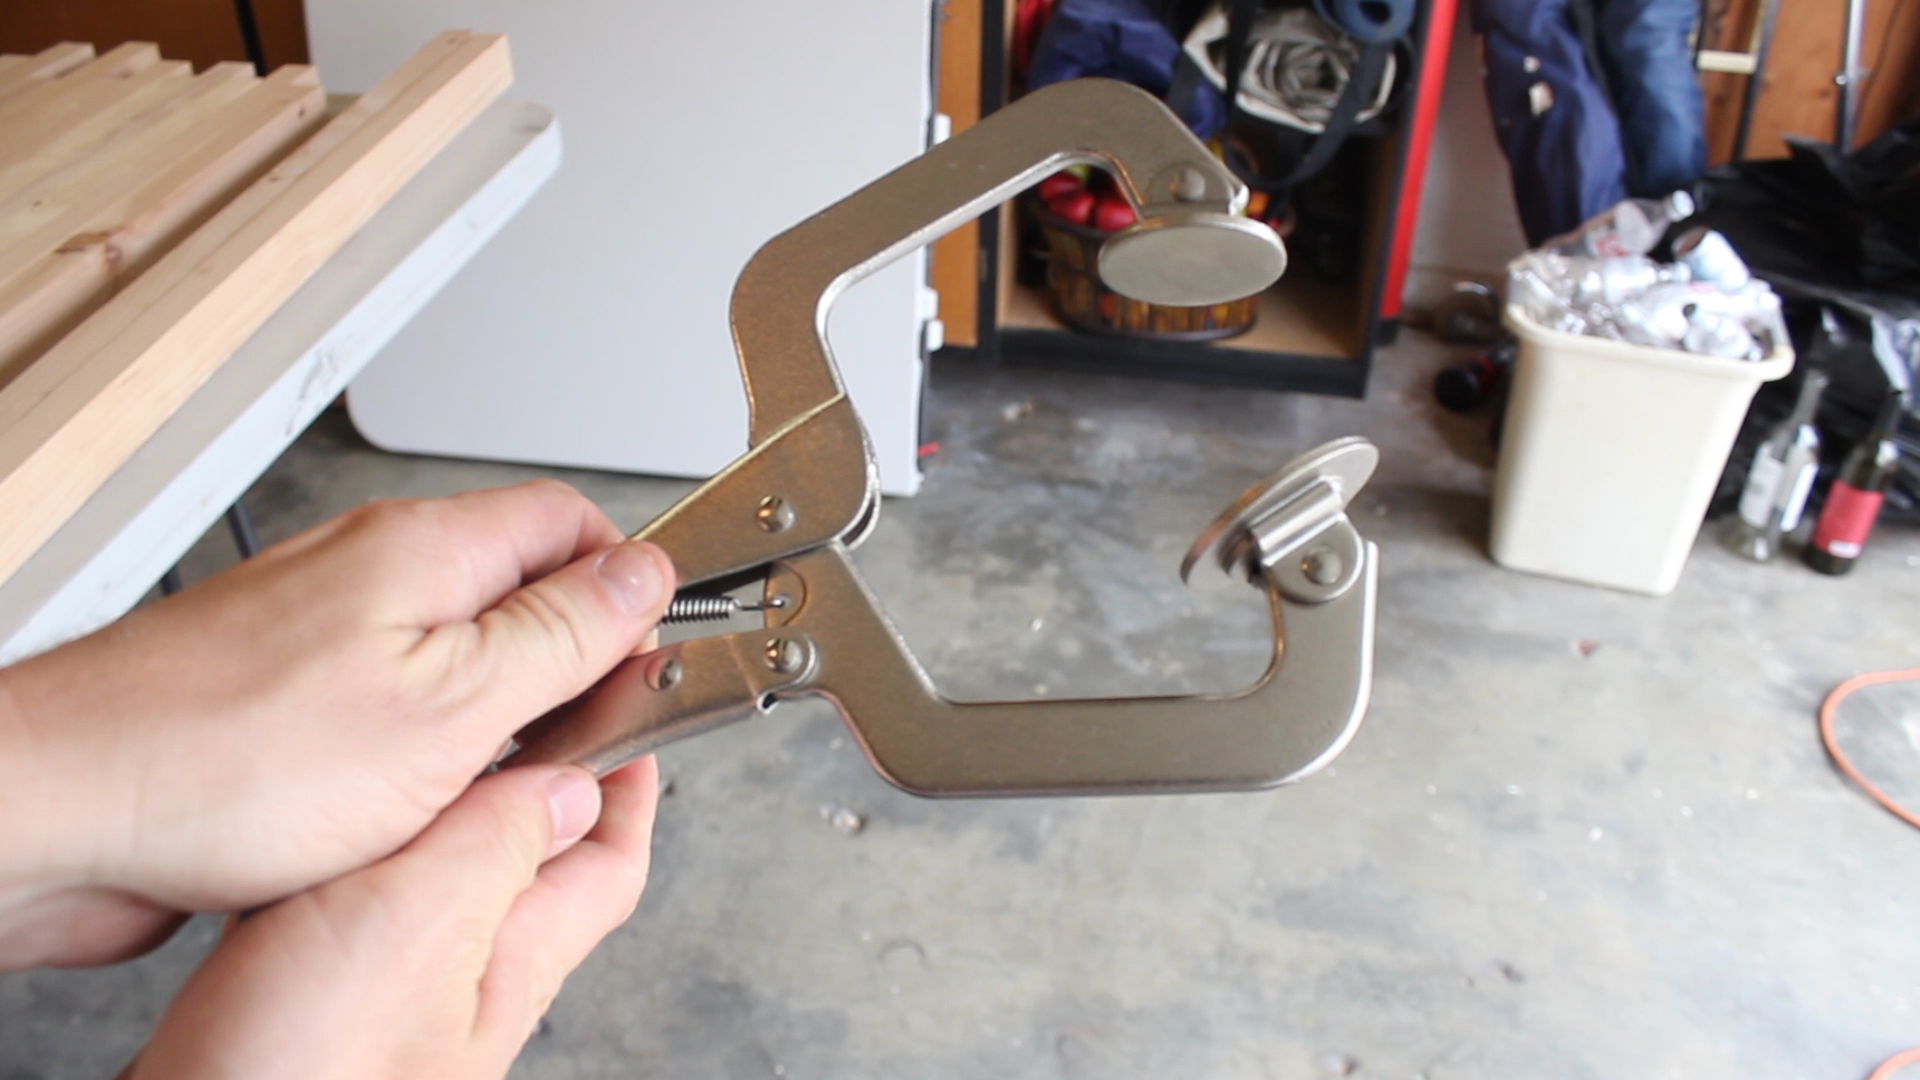
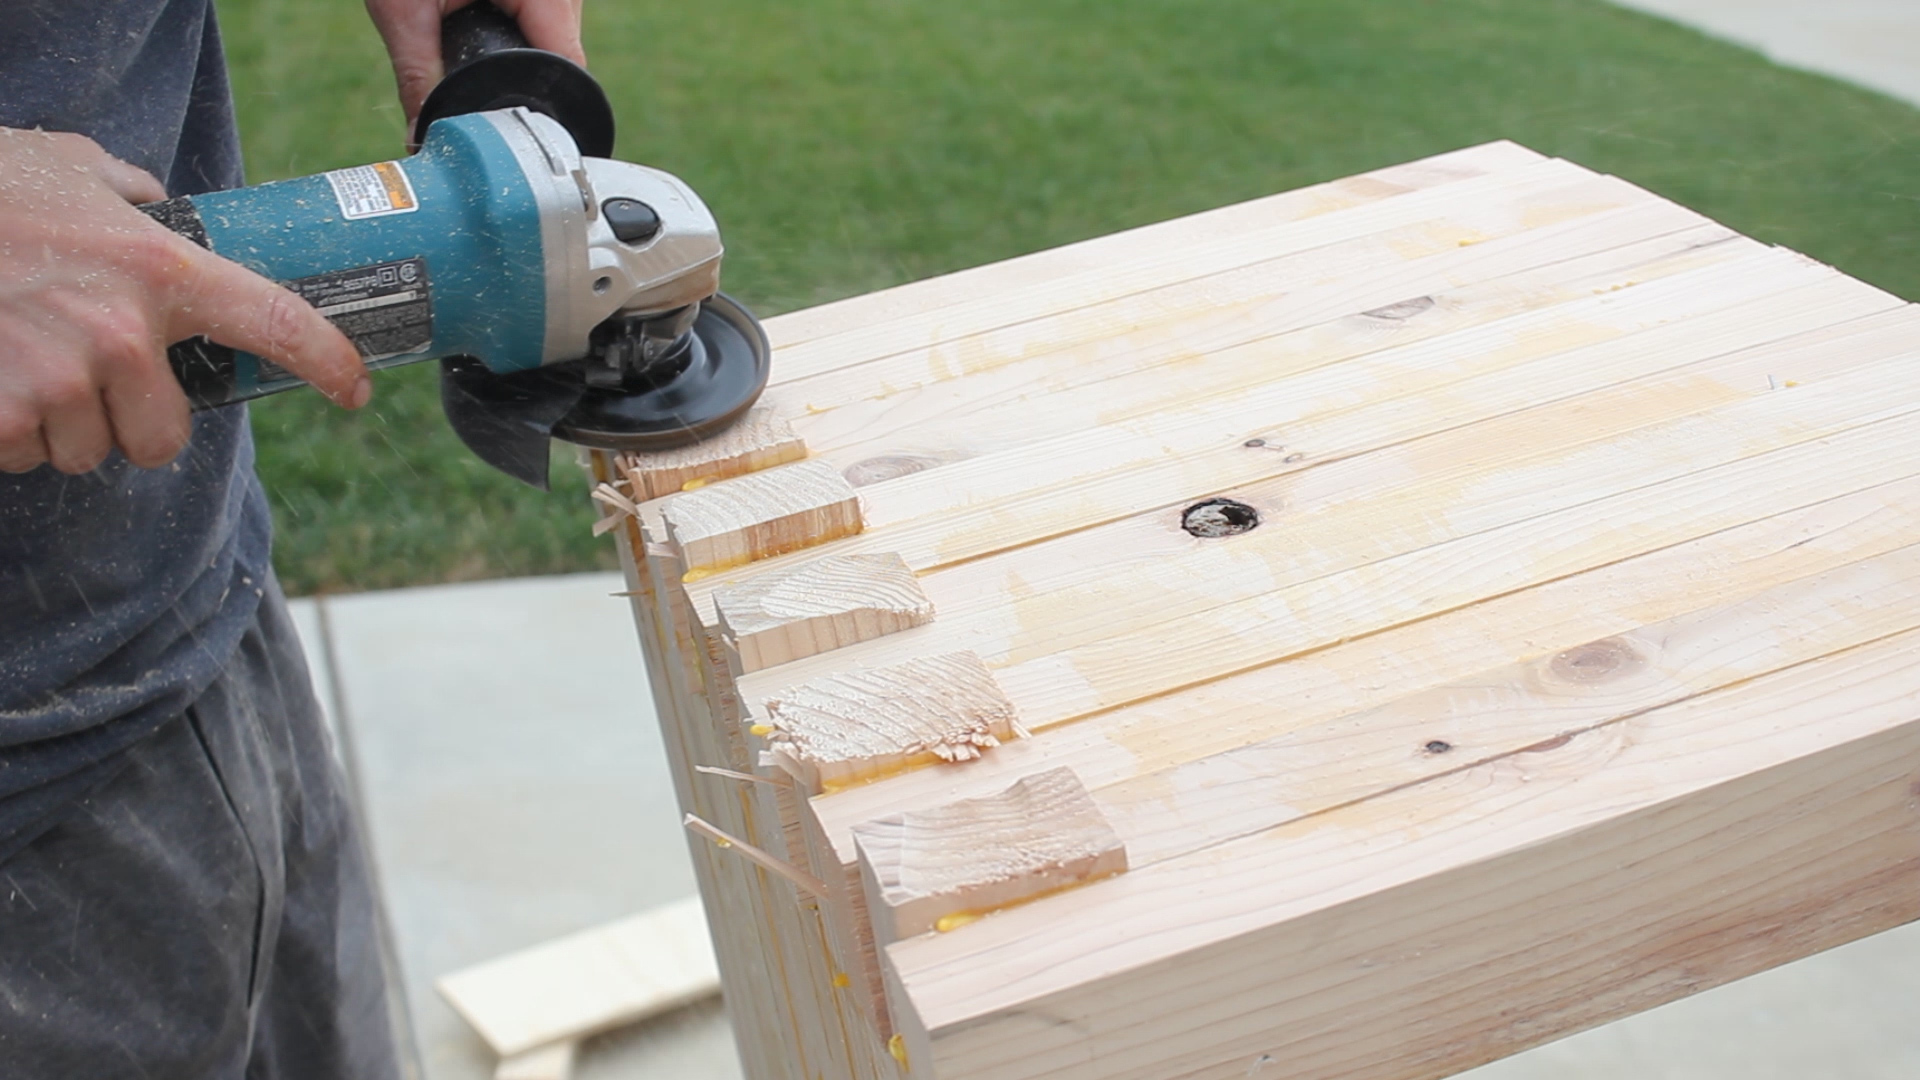
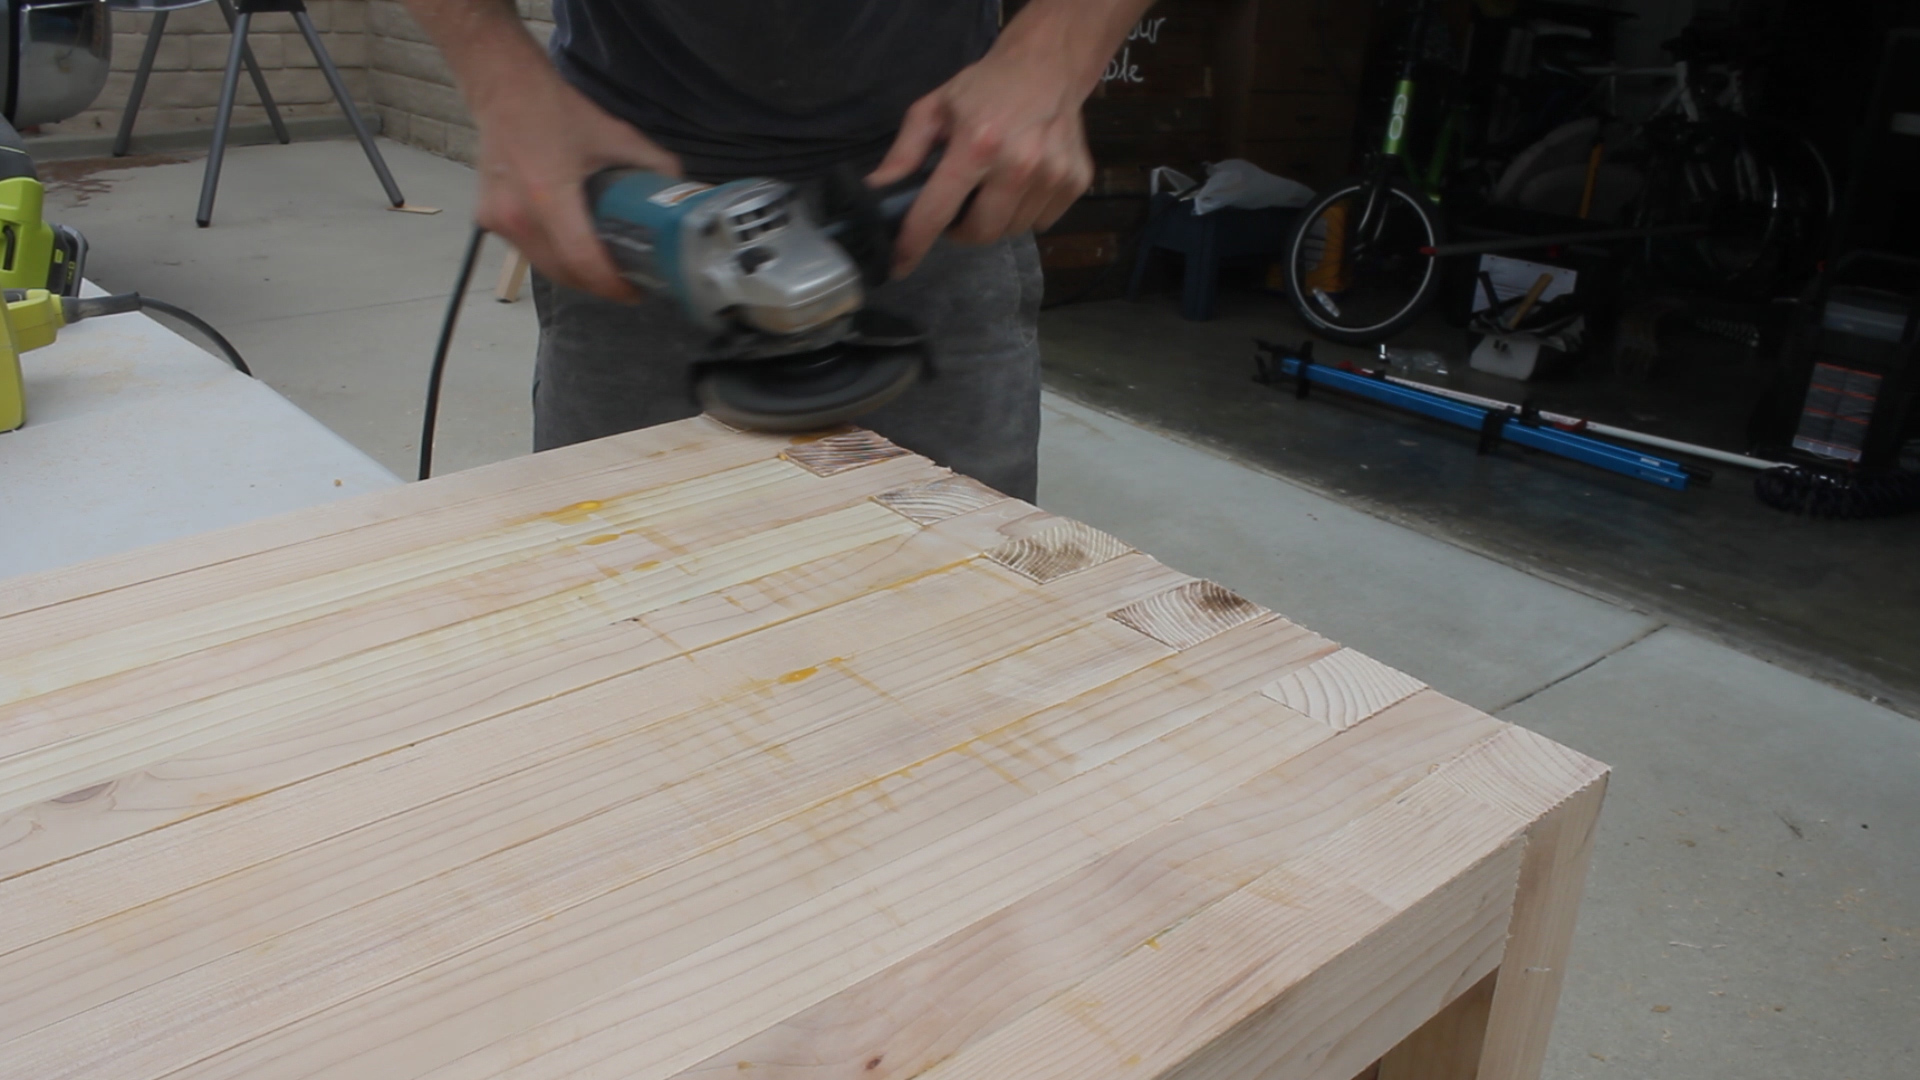
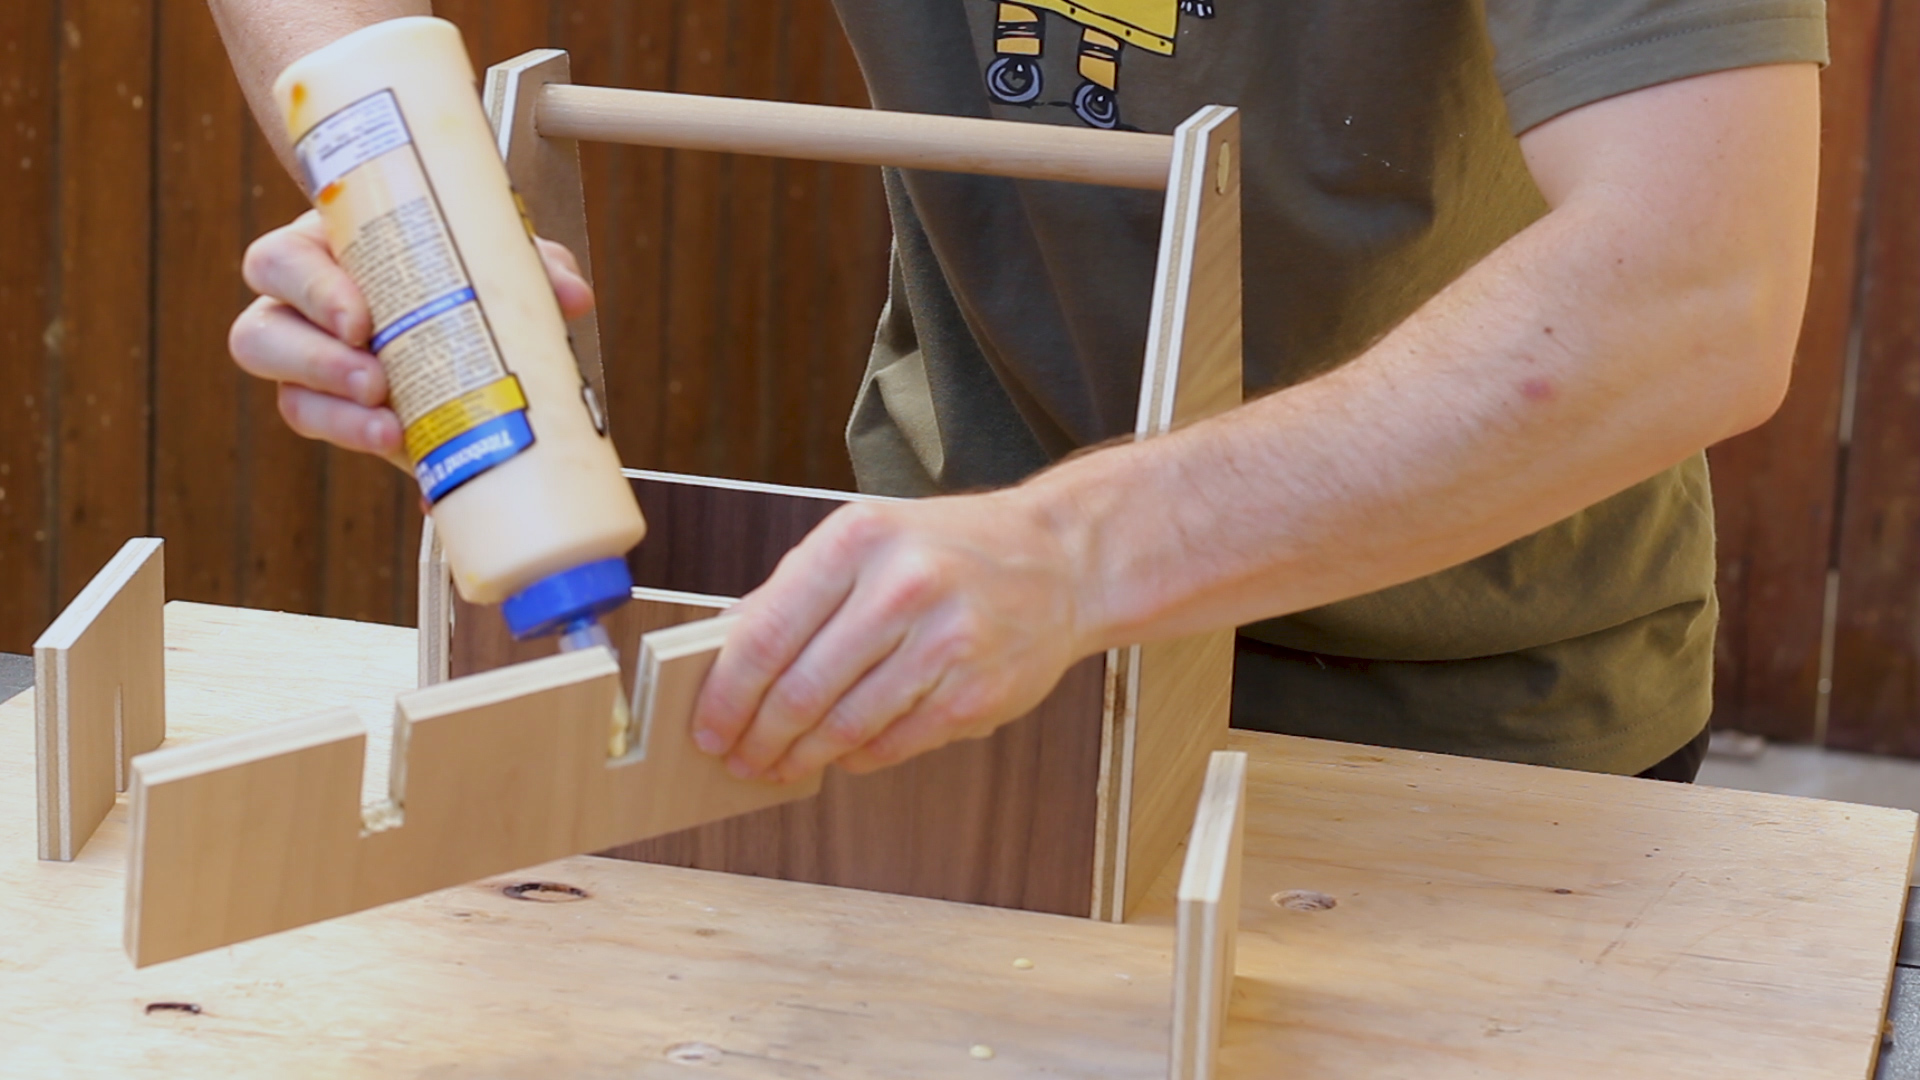
I bought $5 cast iron bottle openers (Pic 1) that you mount to a wall usually to attach to these. They also came with screws, but they are too long for the thickness of the material. You could cut them down, or just get smaller screws.
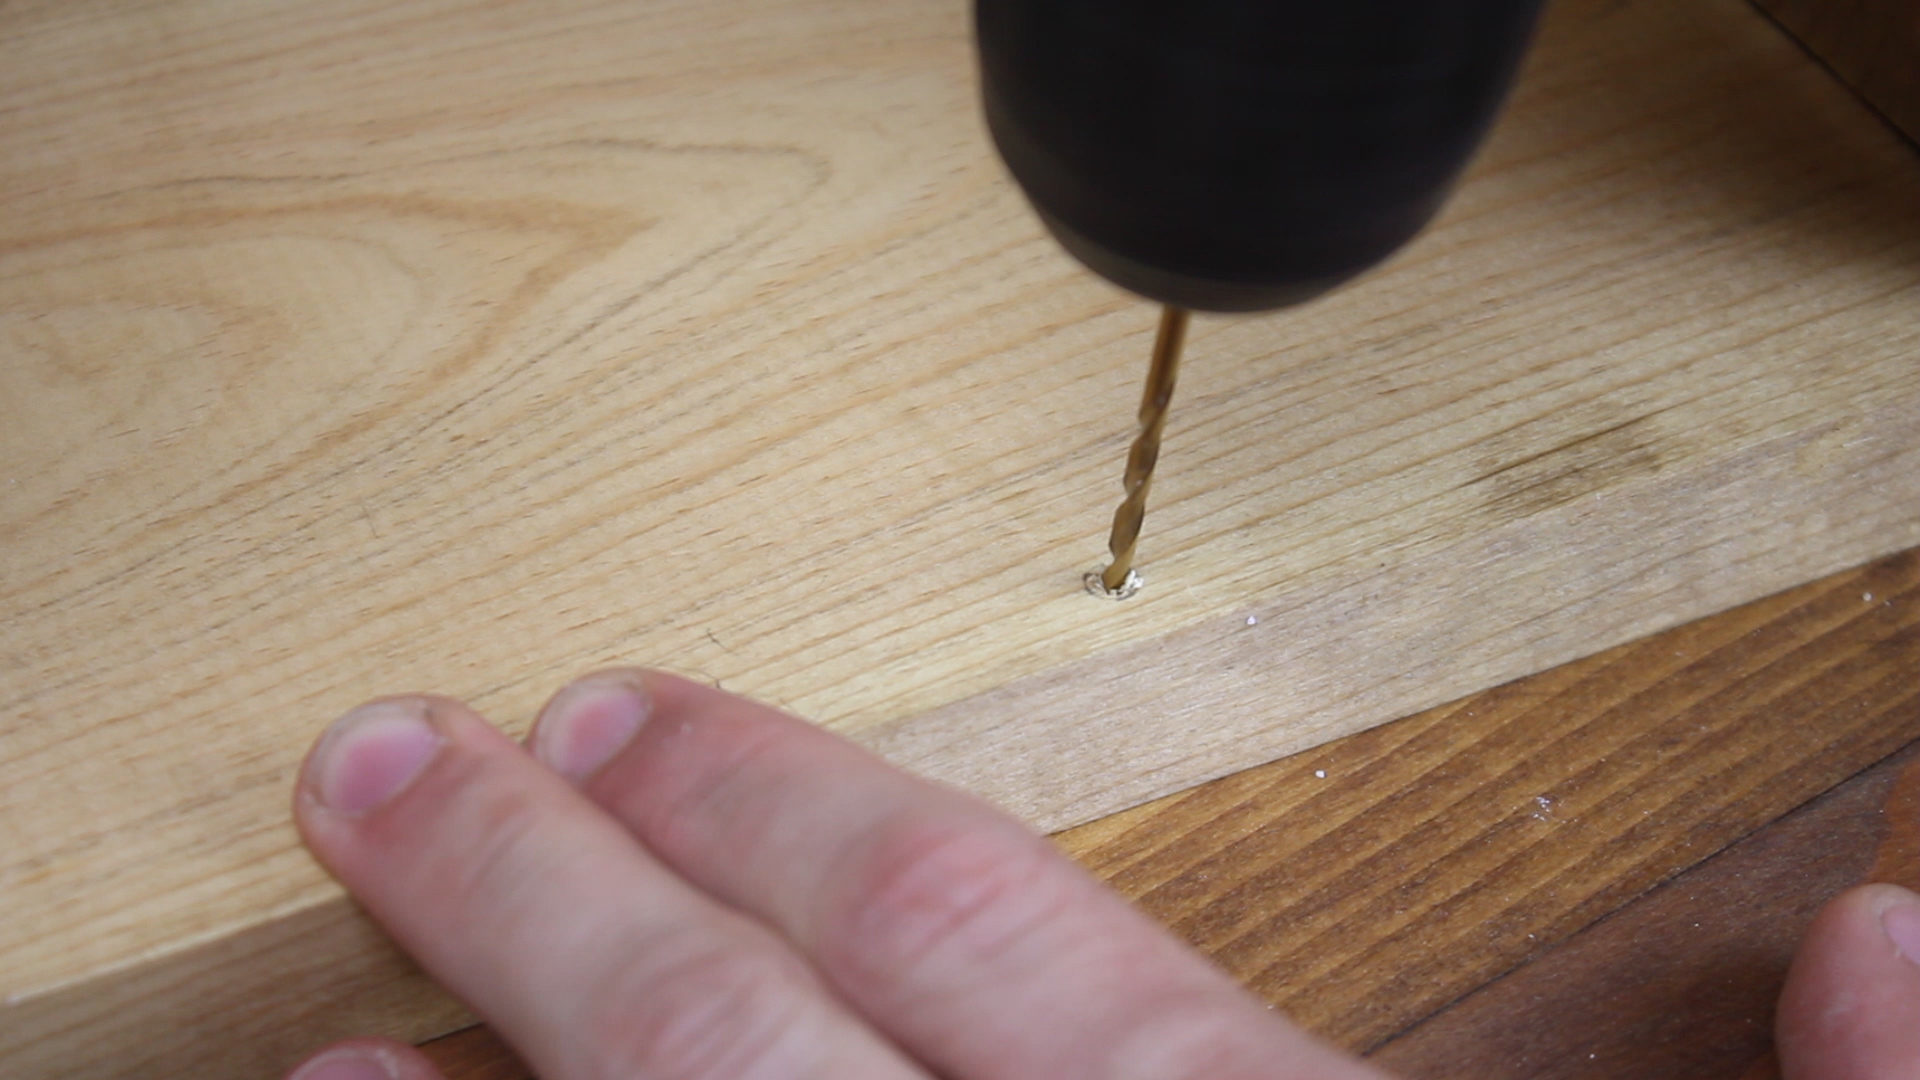
I don't have a means to cut screws, so my solve was as such: pre drill holes (Pic 2-3) for the two holes, with the bottom hole not going deeper than the thickness of the plywood, and with one that would go straight into the dowel so depth was not an issue. This also would allow the dowel to be further anchored to the tote (not necessary given the snug fit, but it only helped). Use a single smaller screw (Pic 4) that was smaller than the 1/2" thickness of the material.
These felt very secure to the final tote.
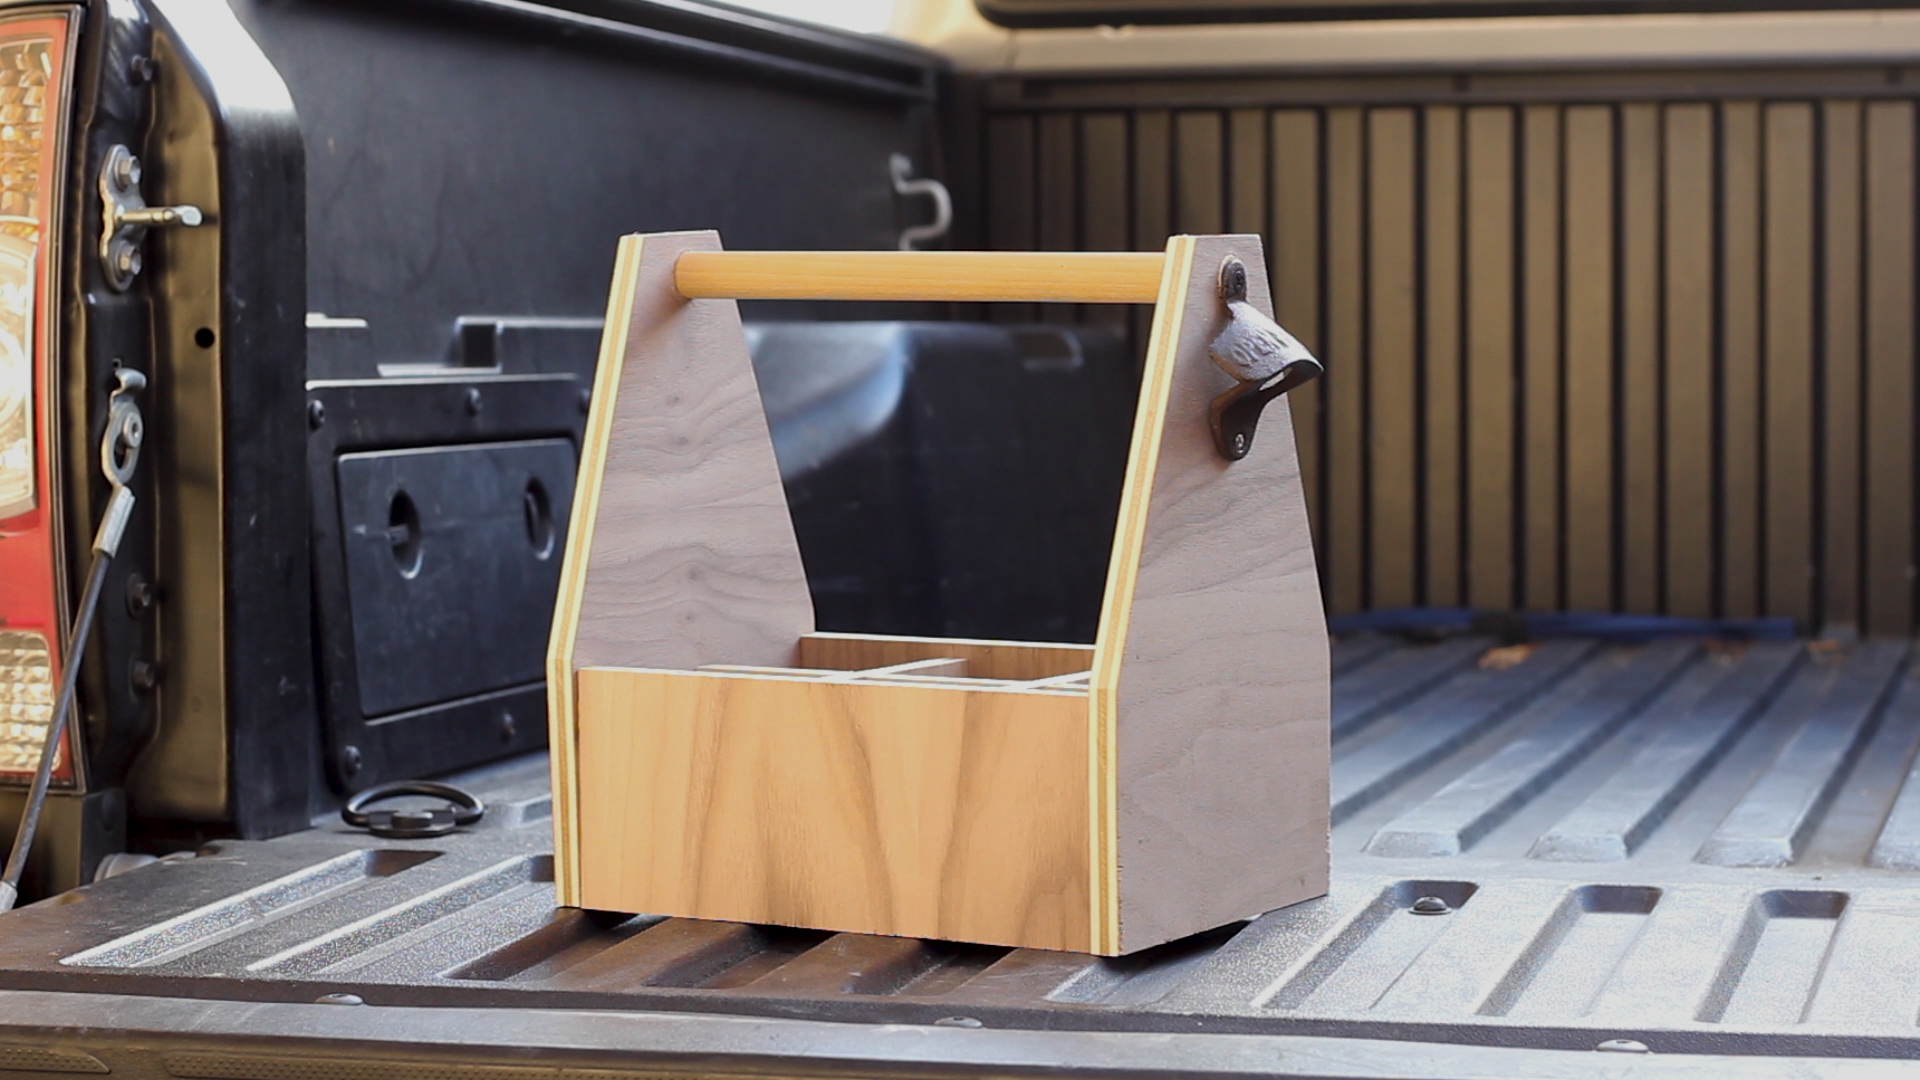
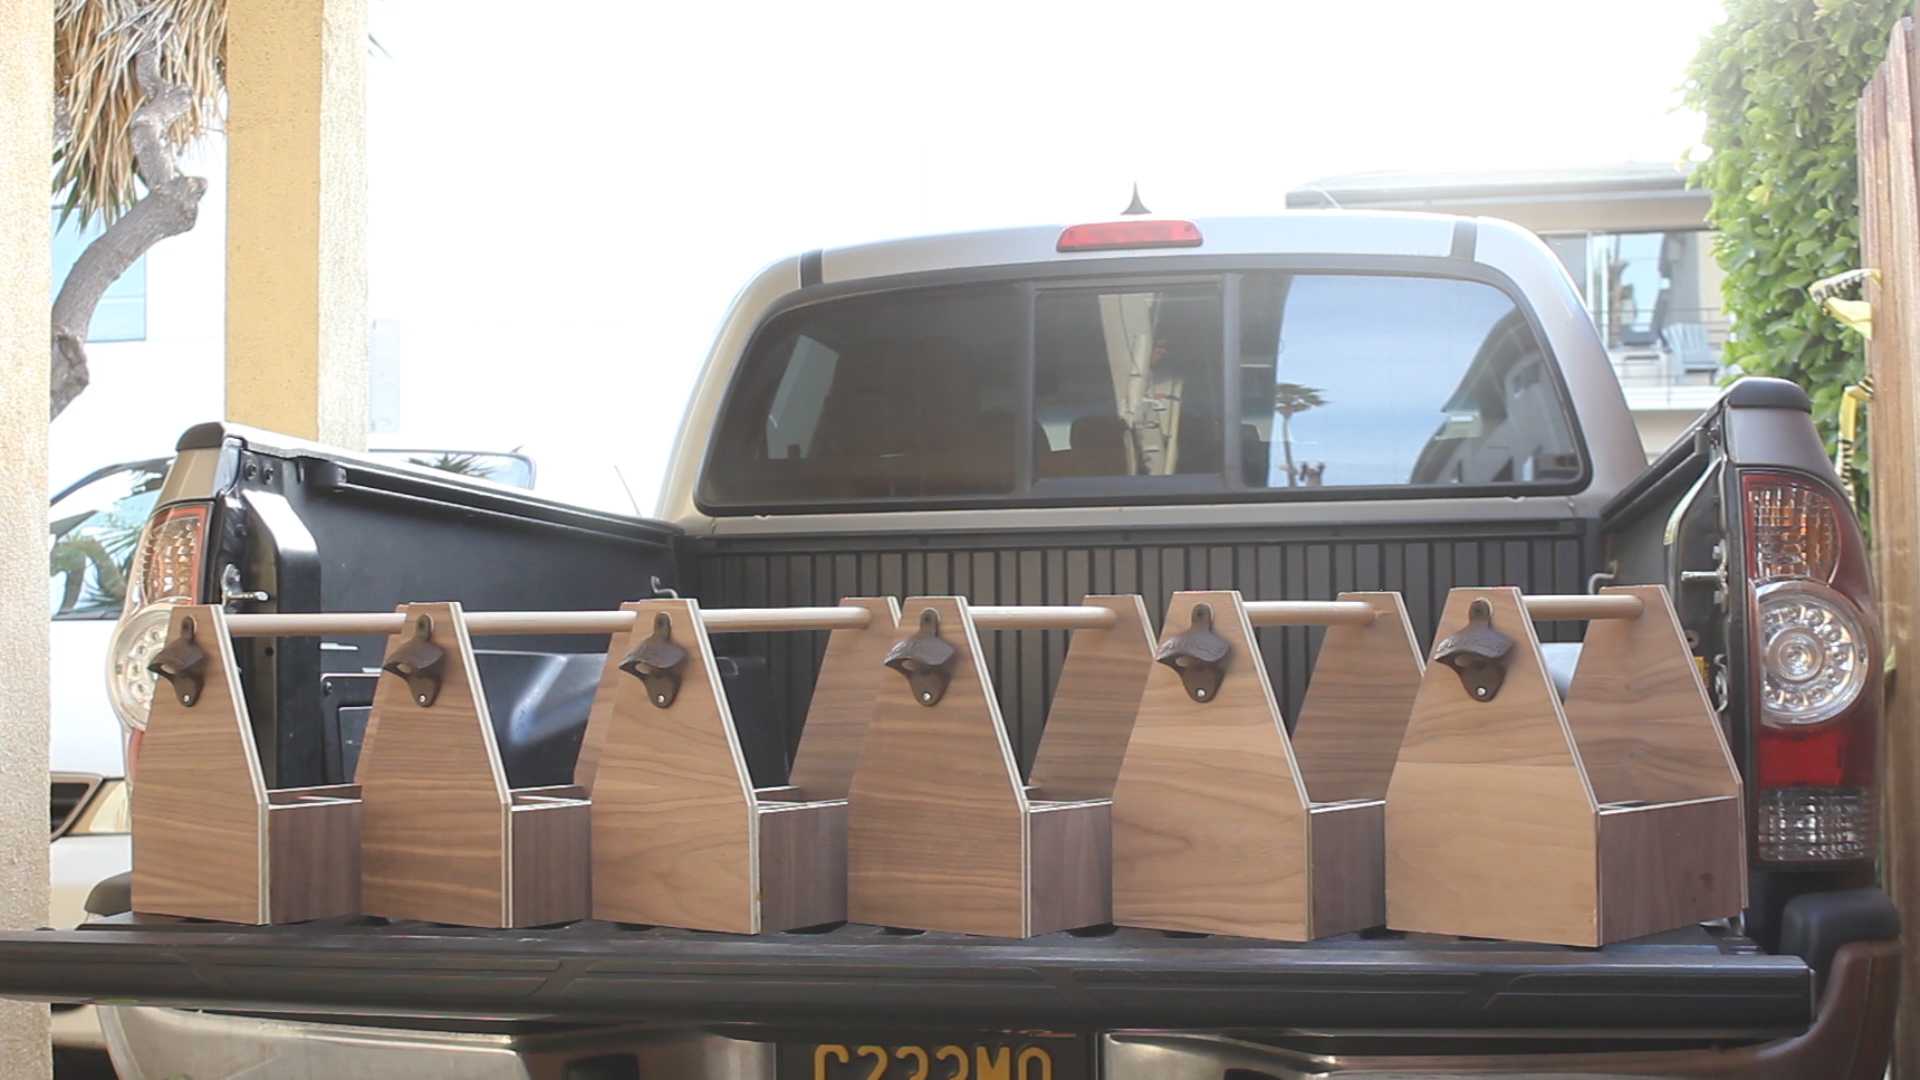
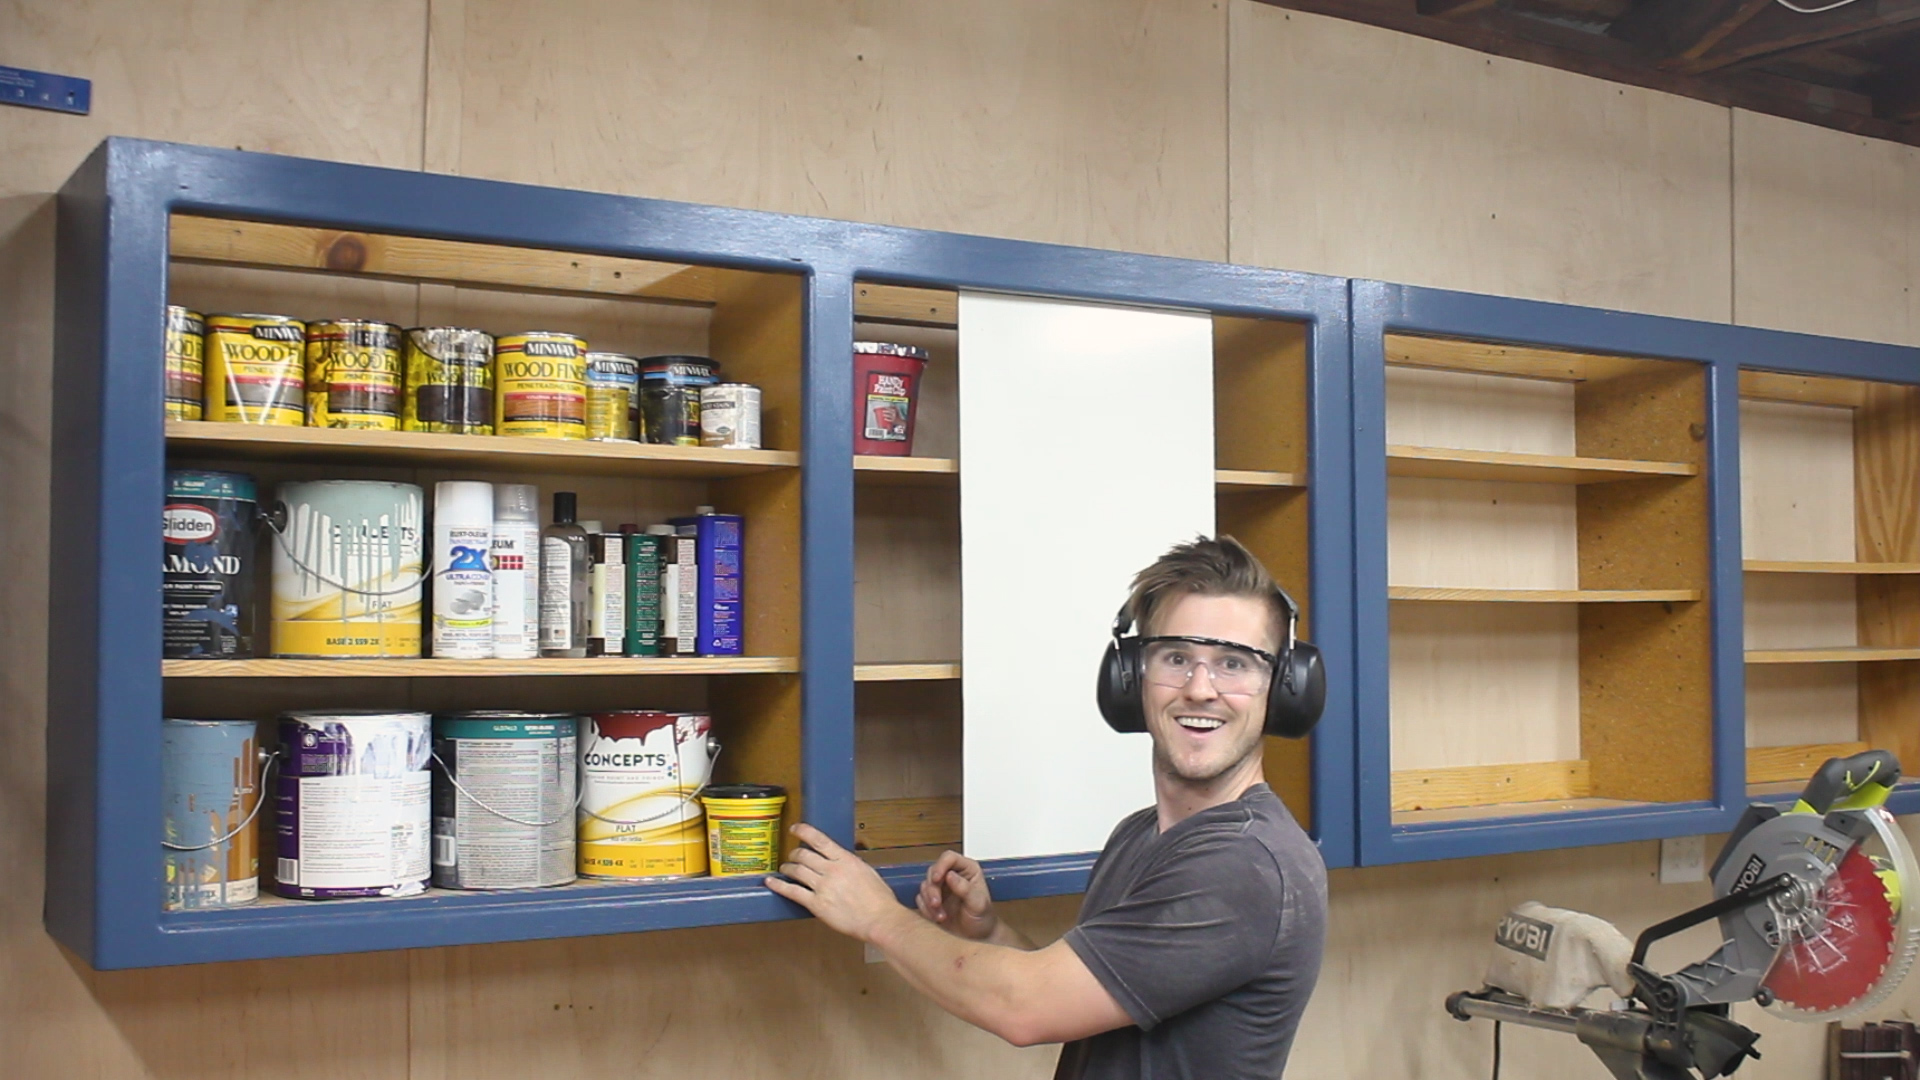
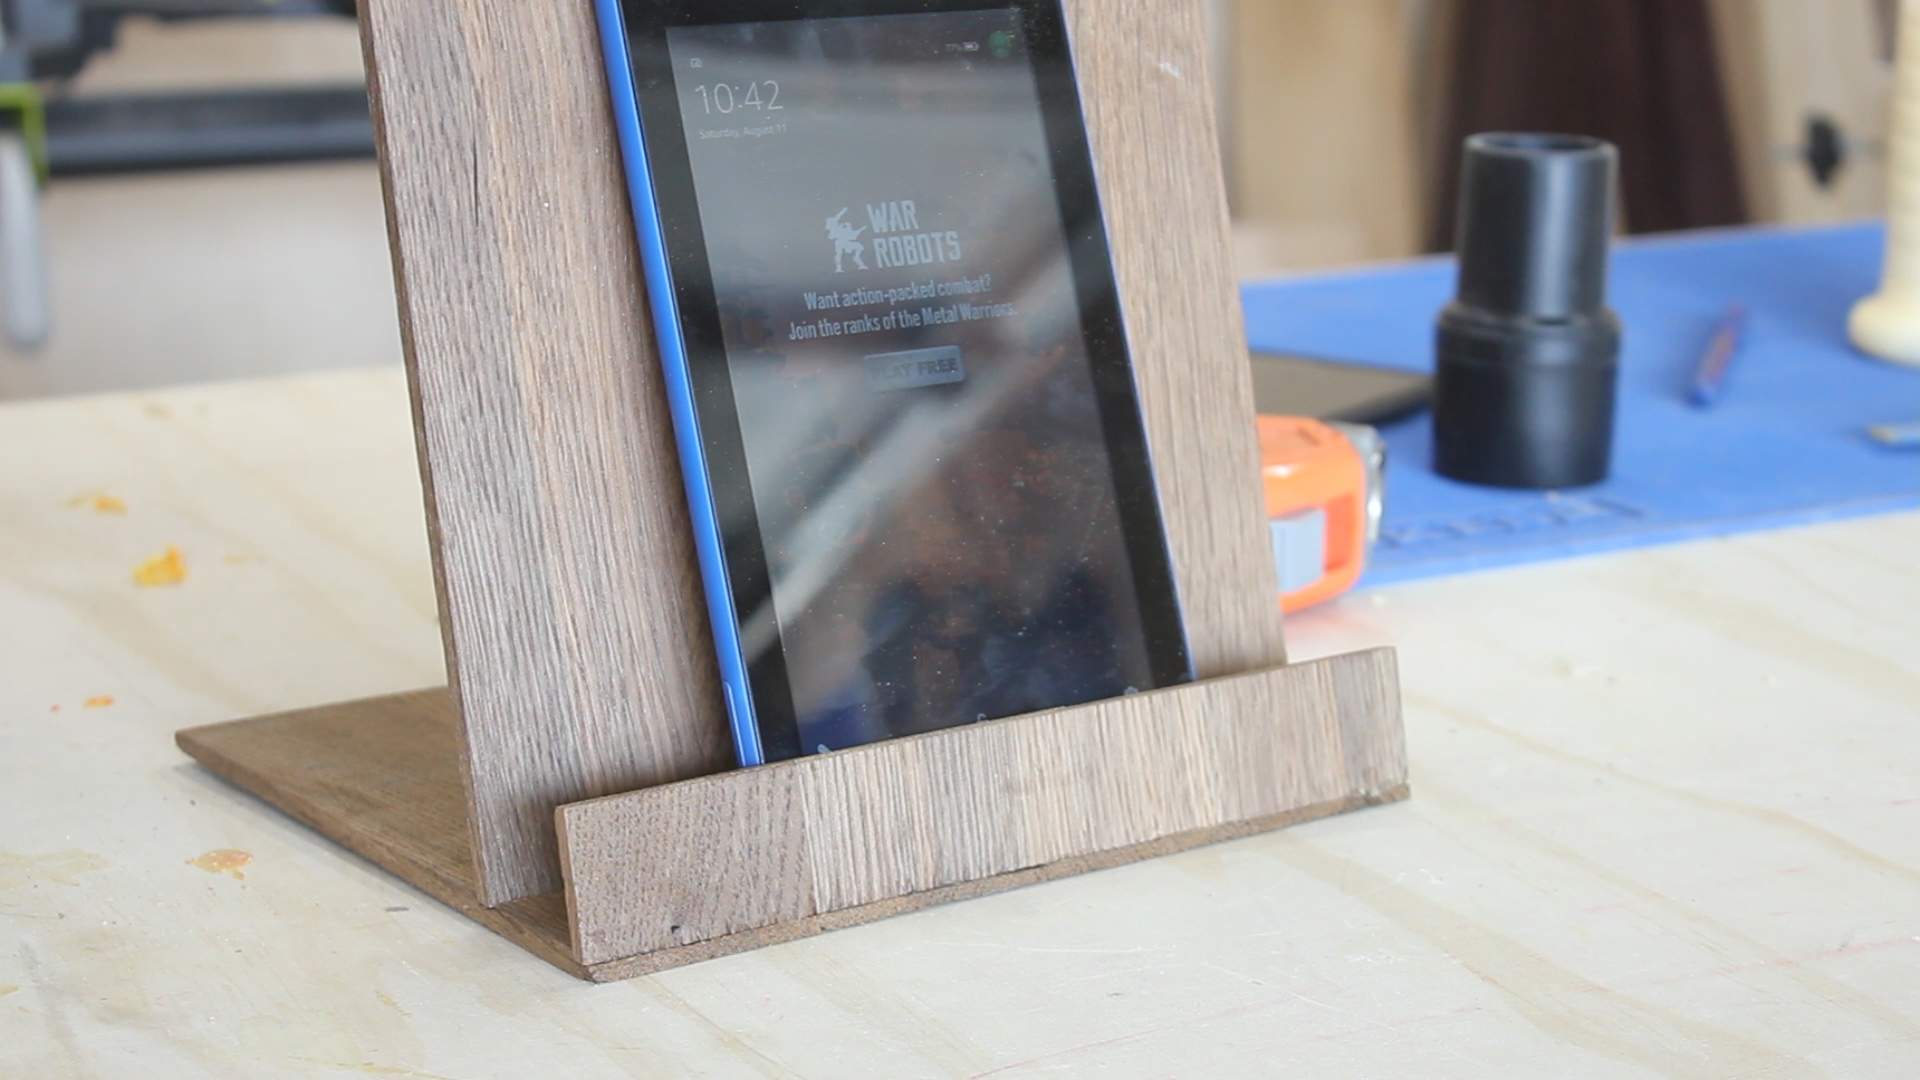
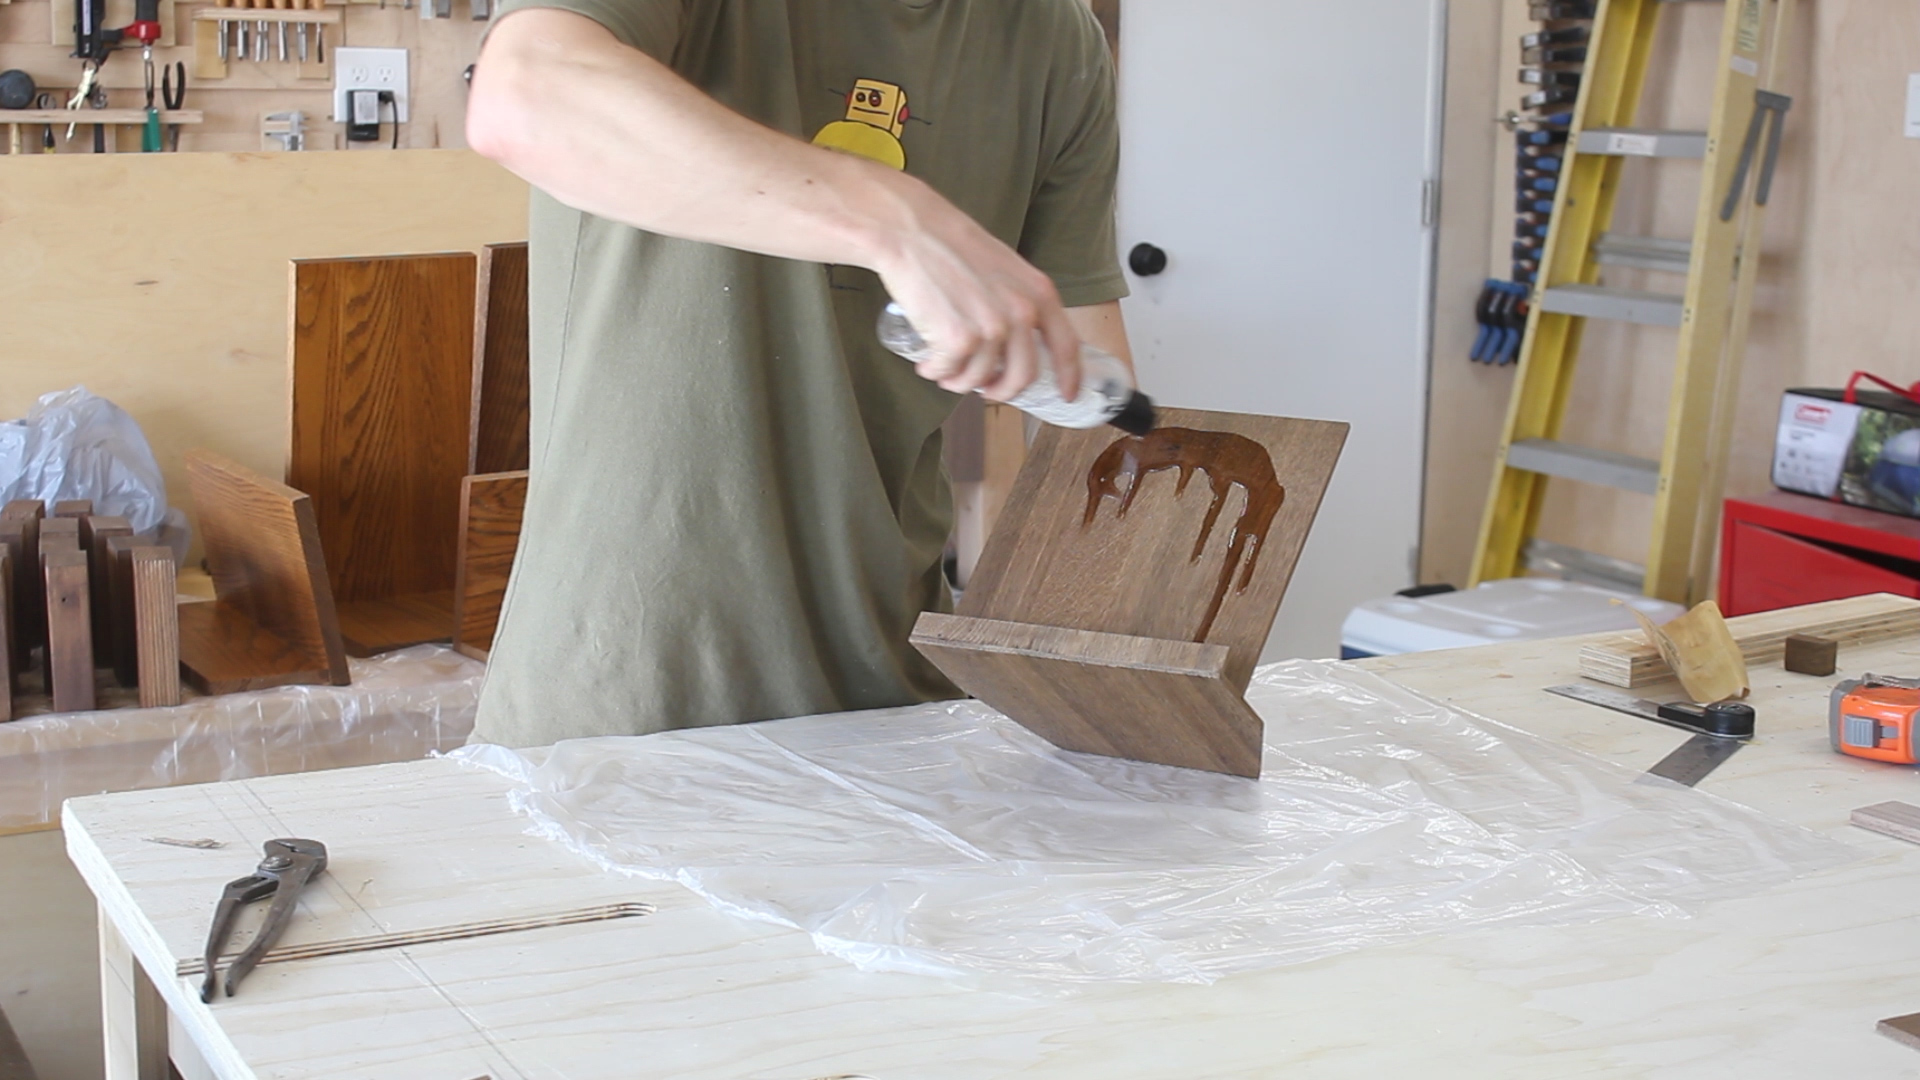
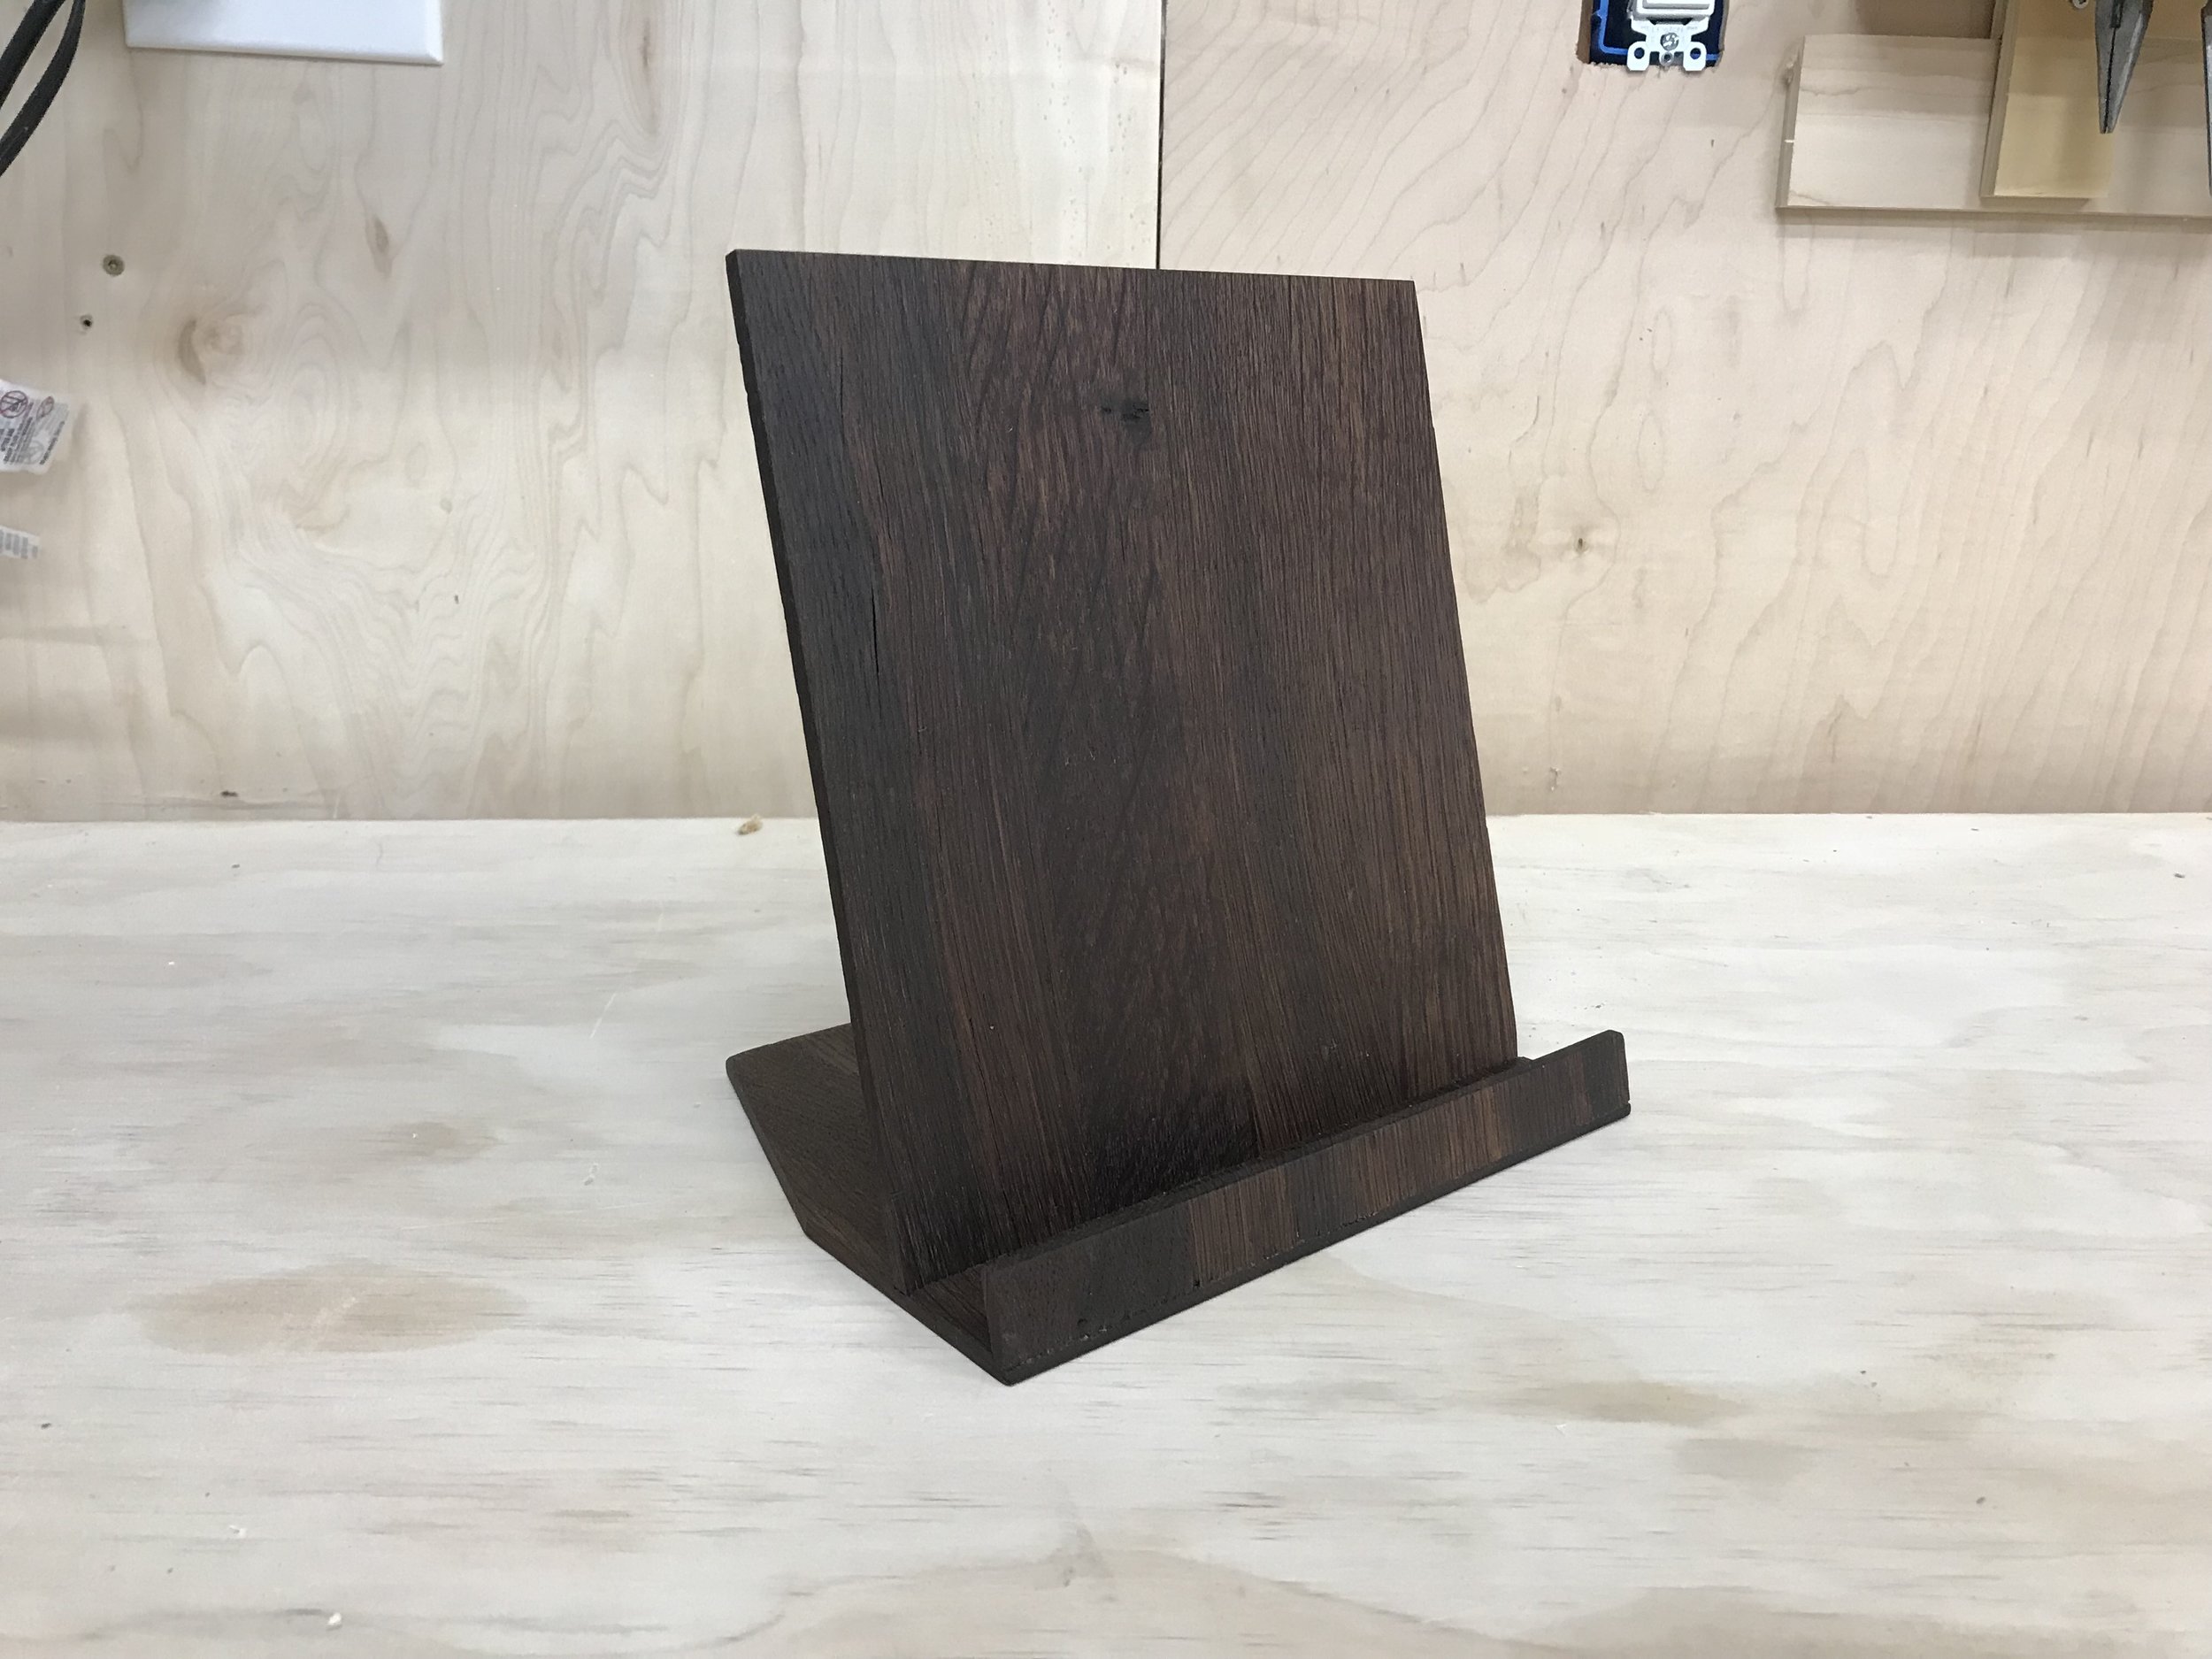
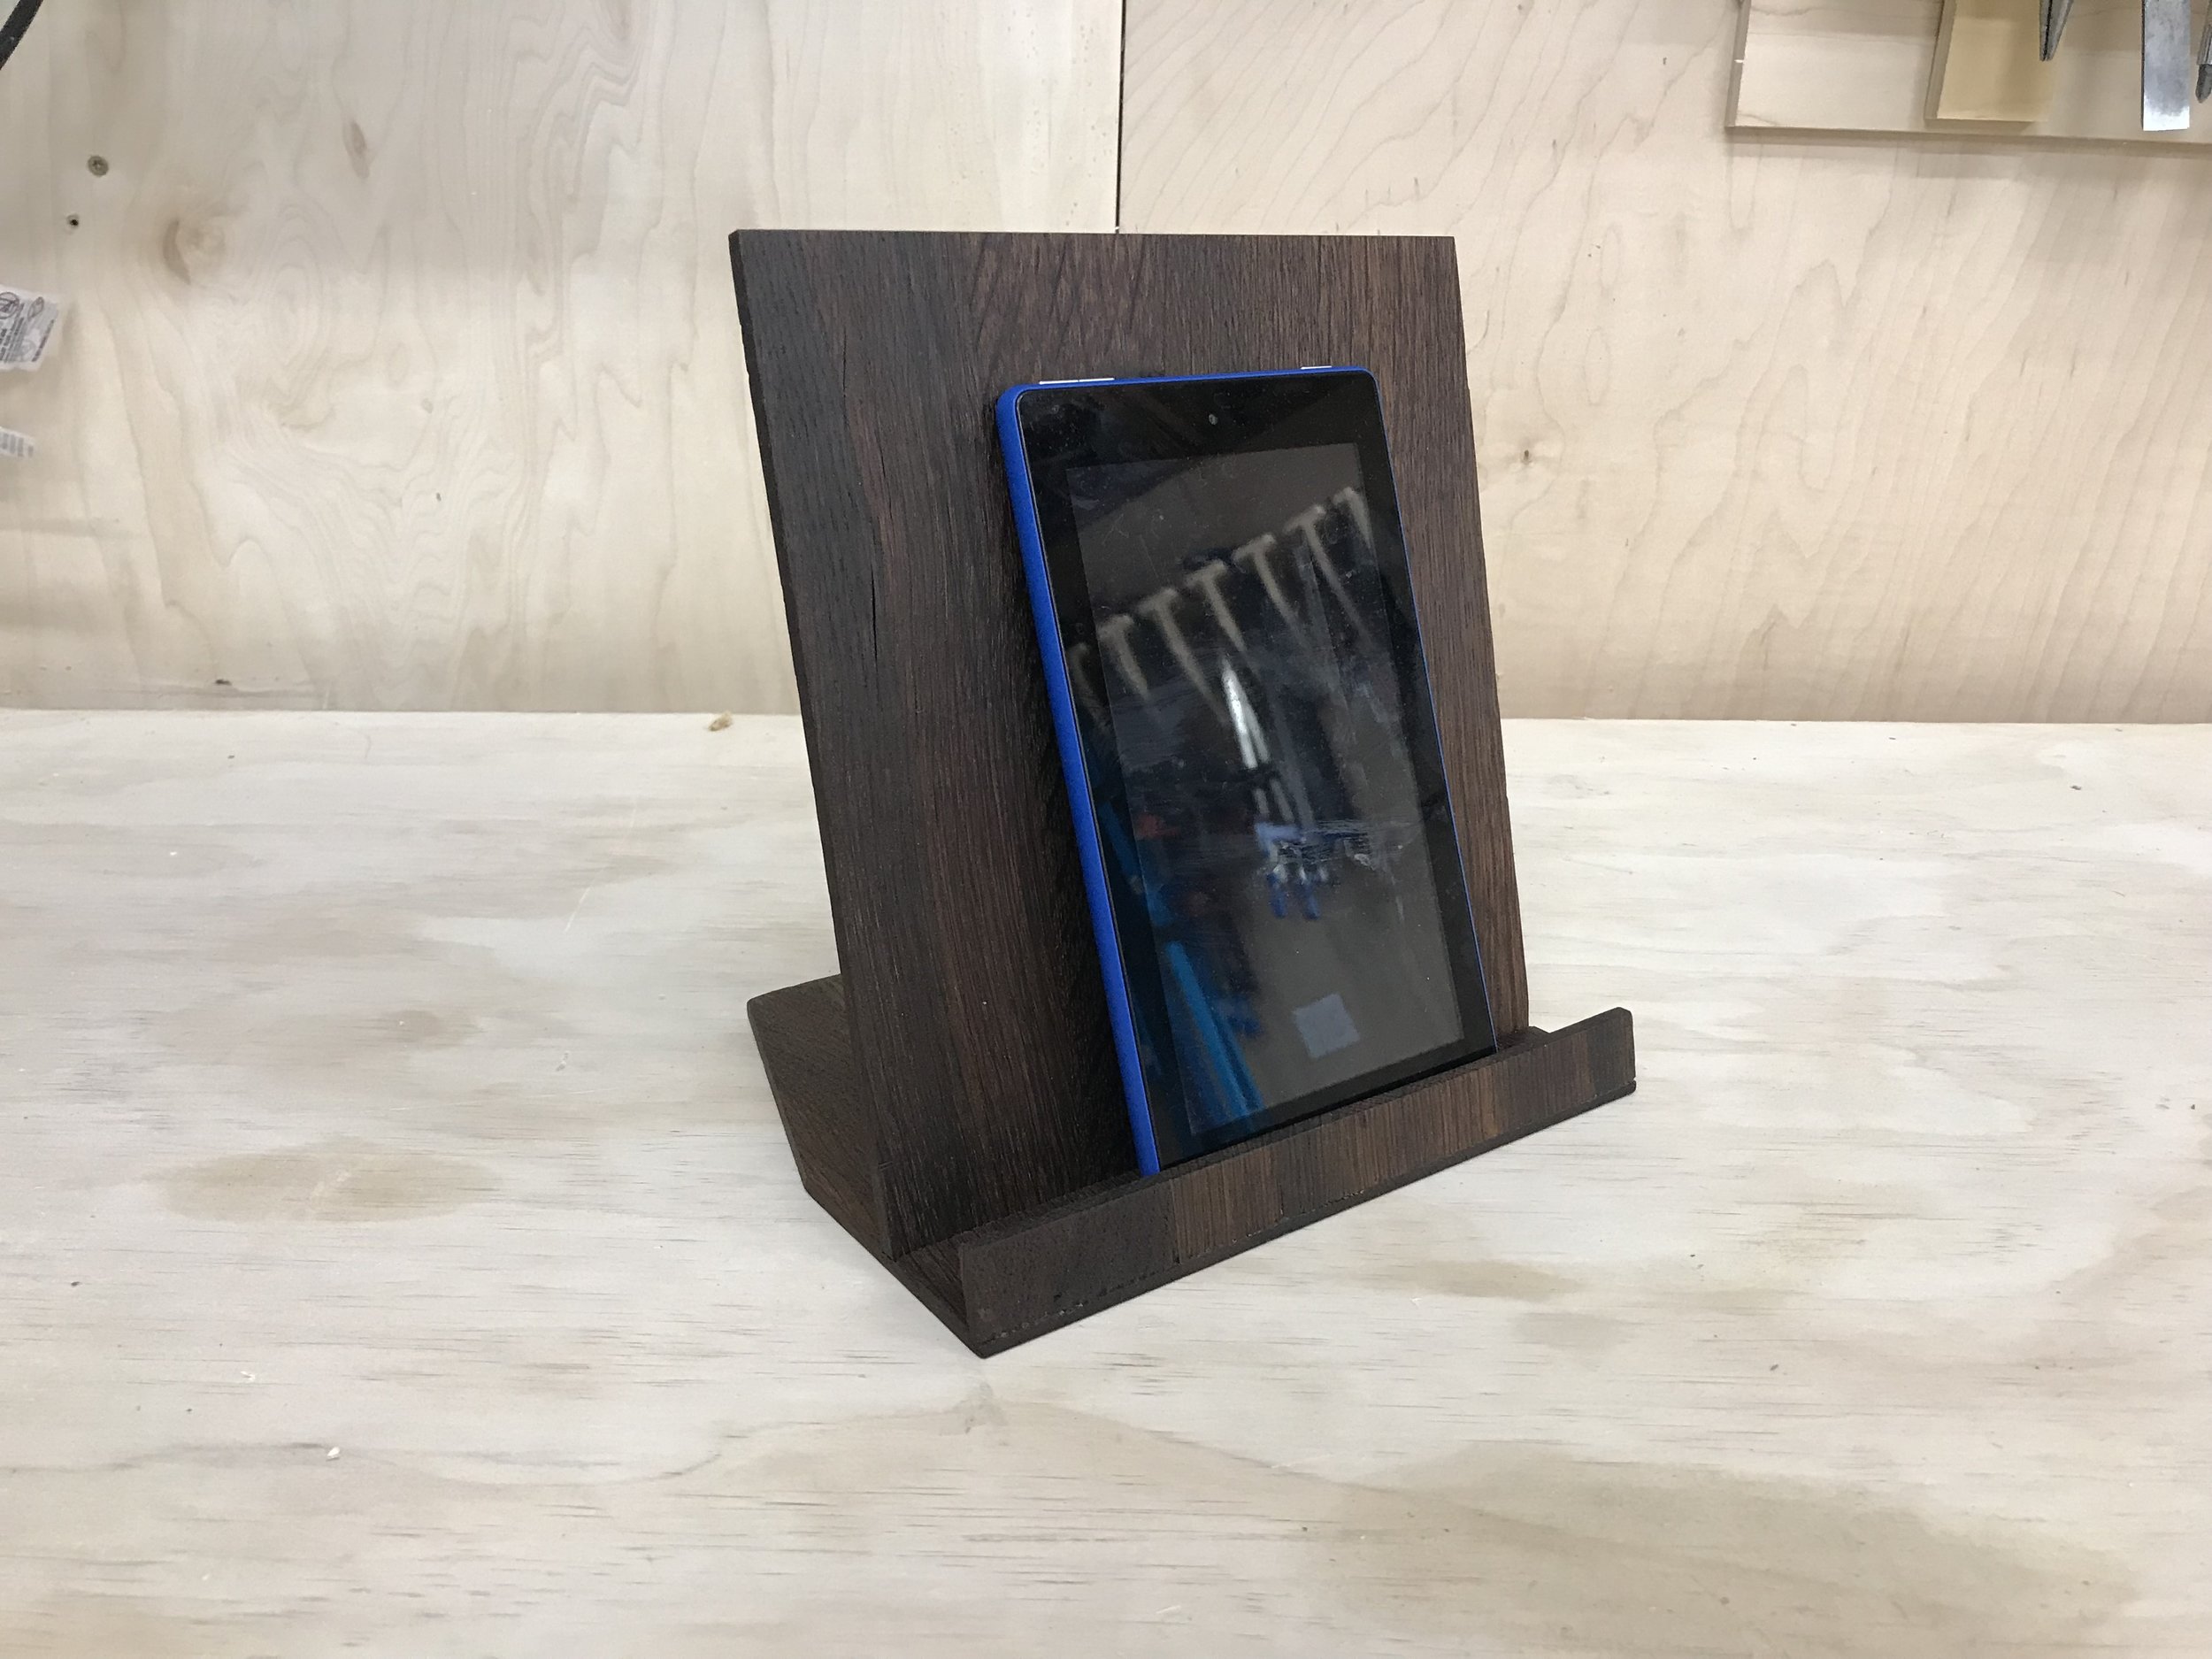
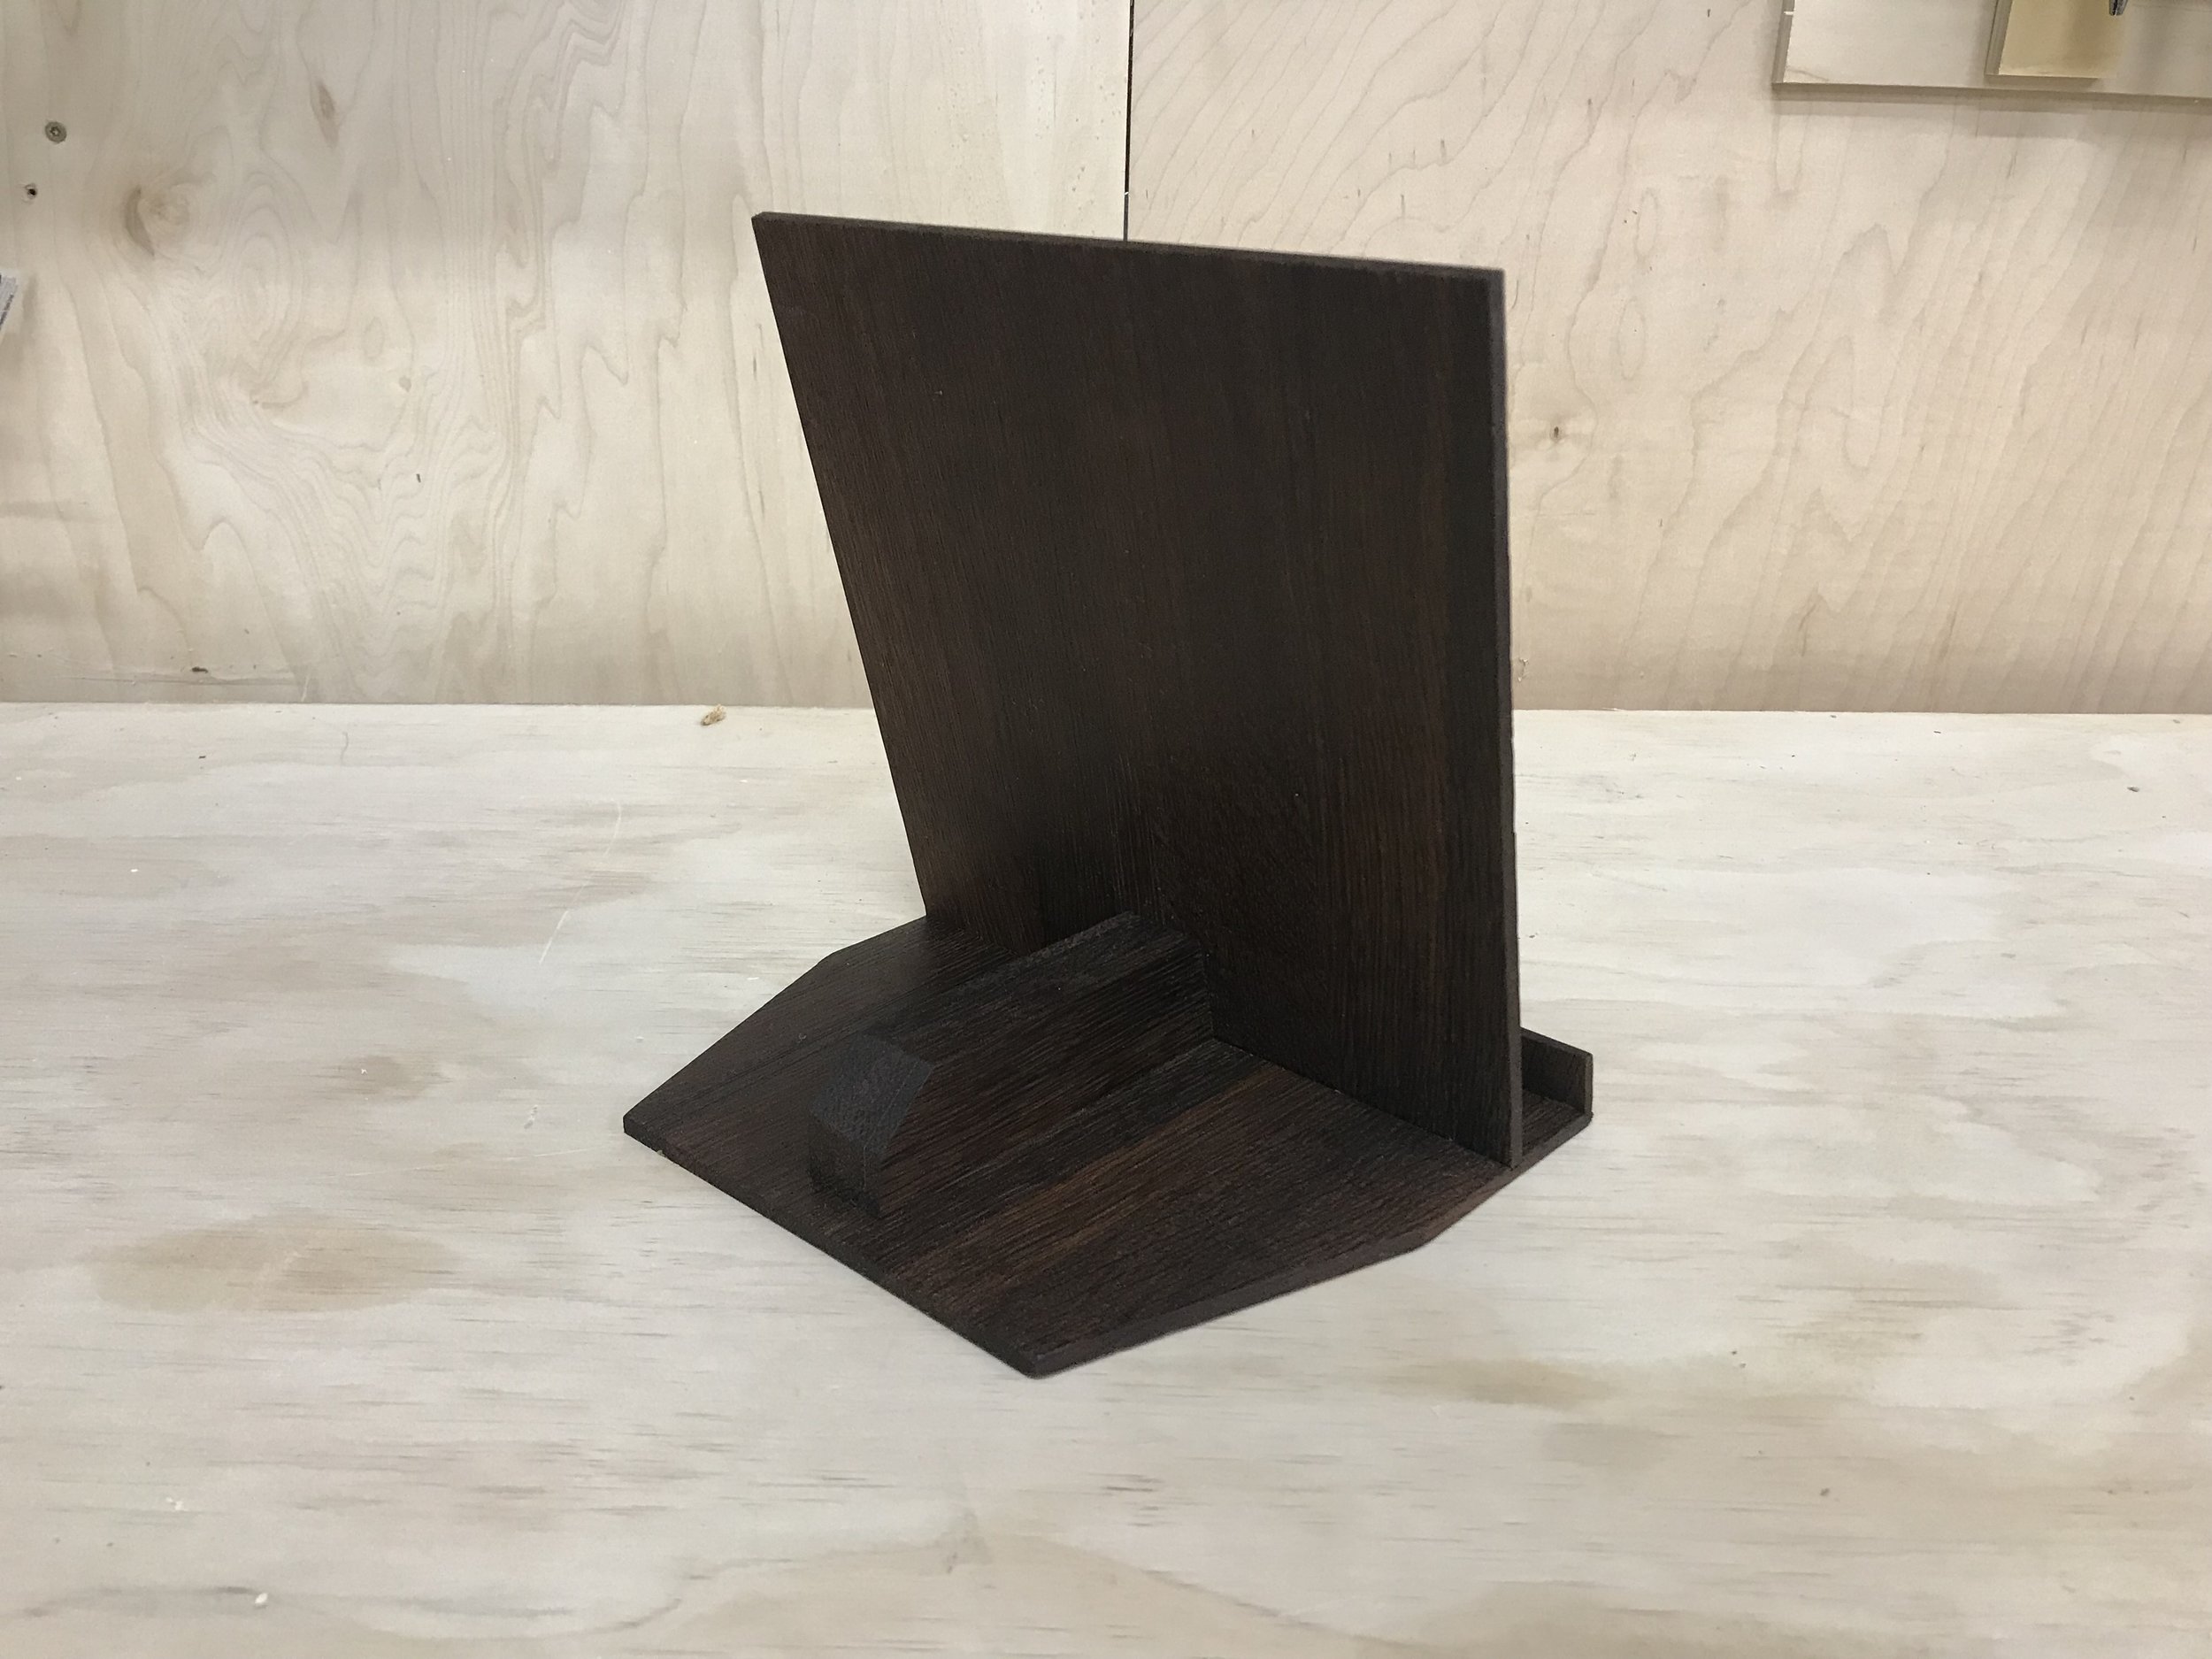
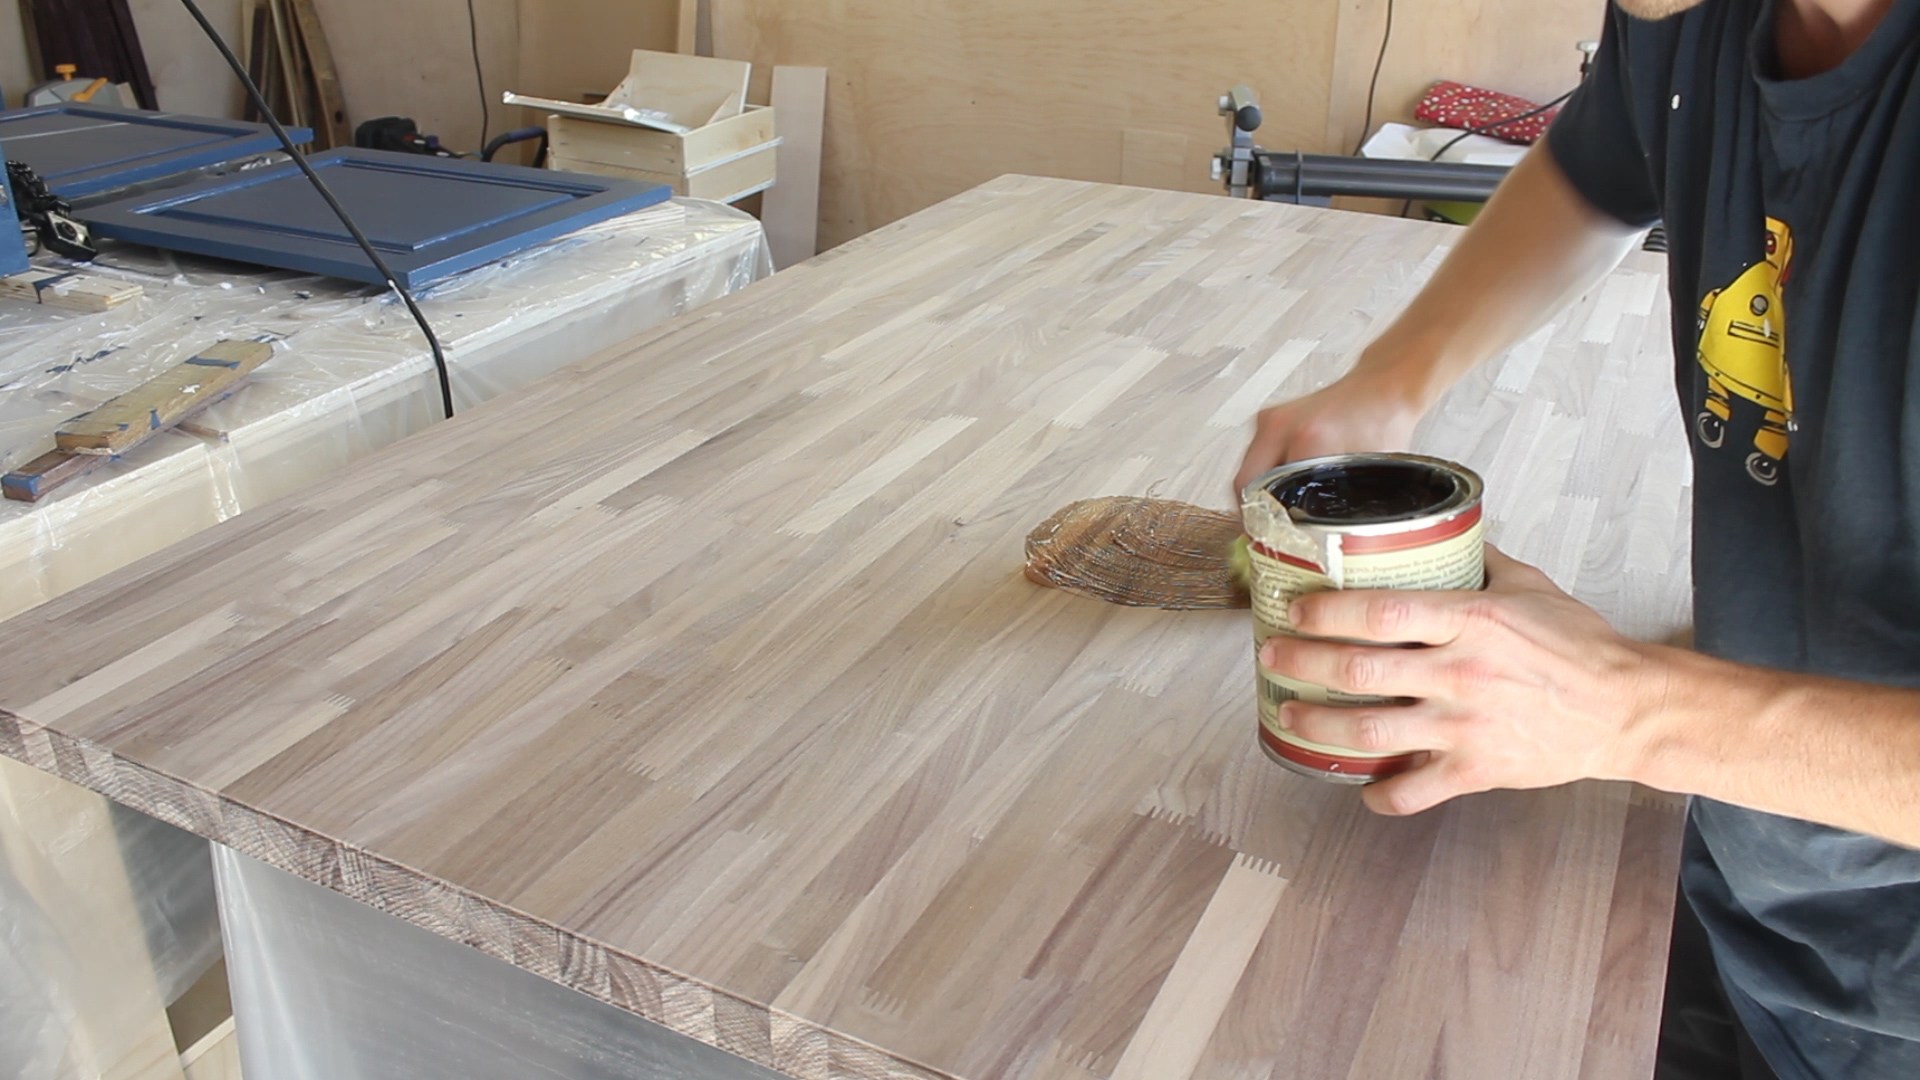
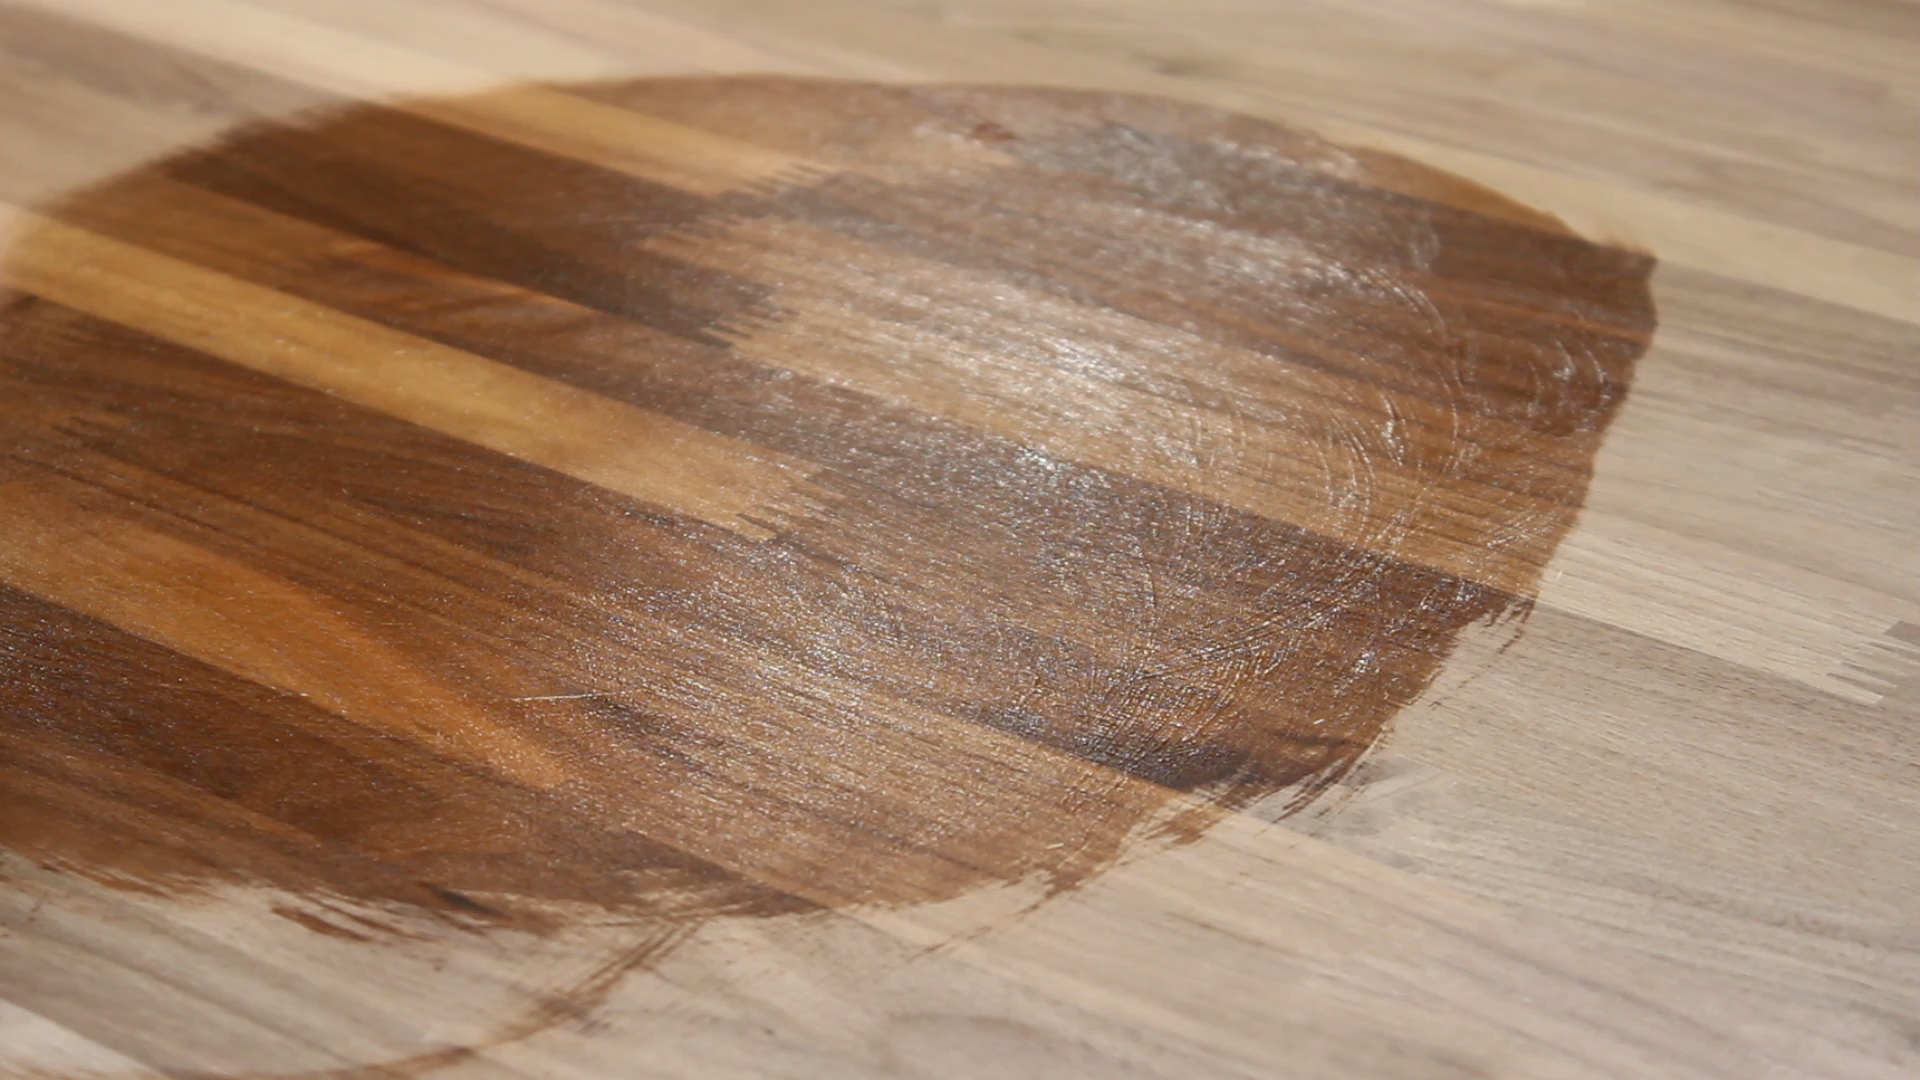
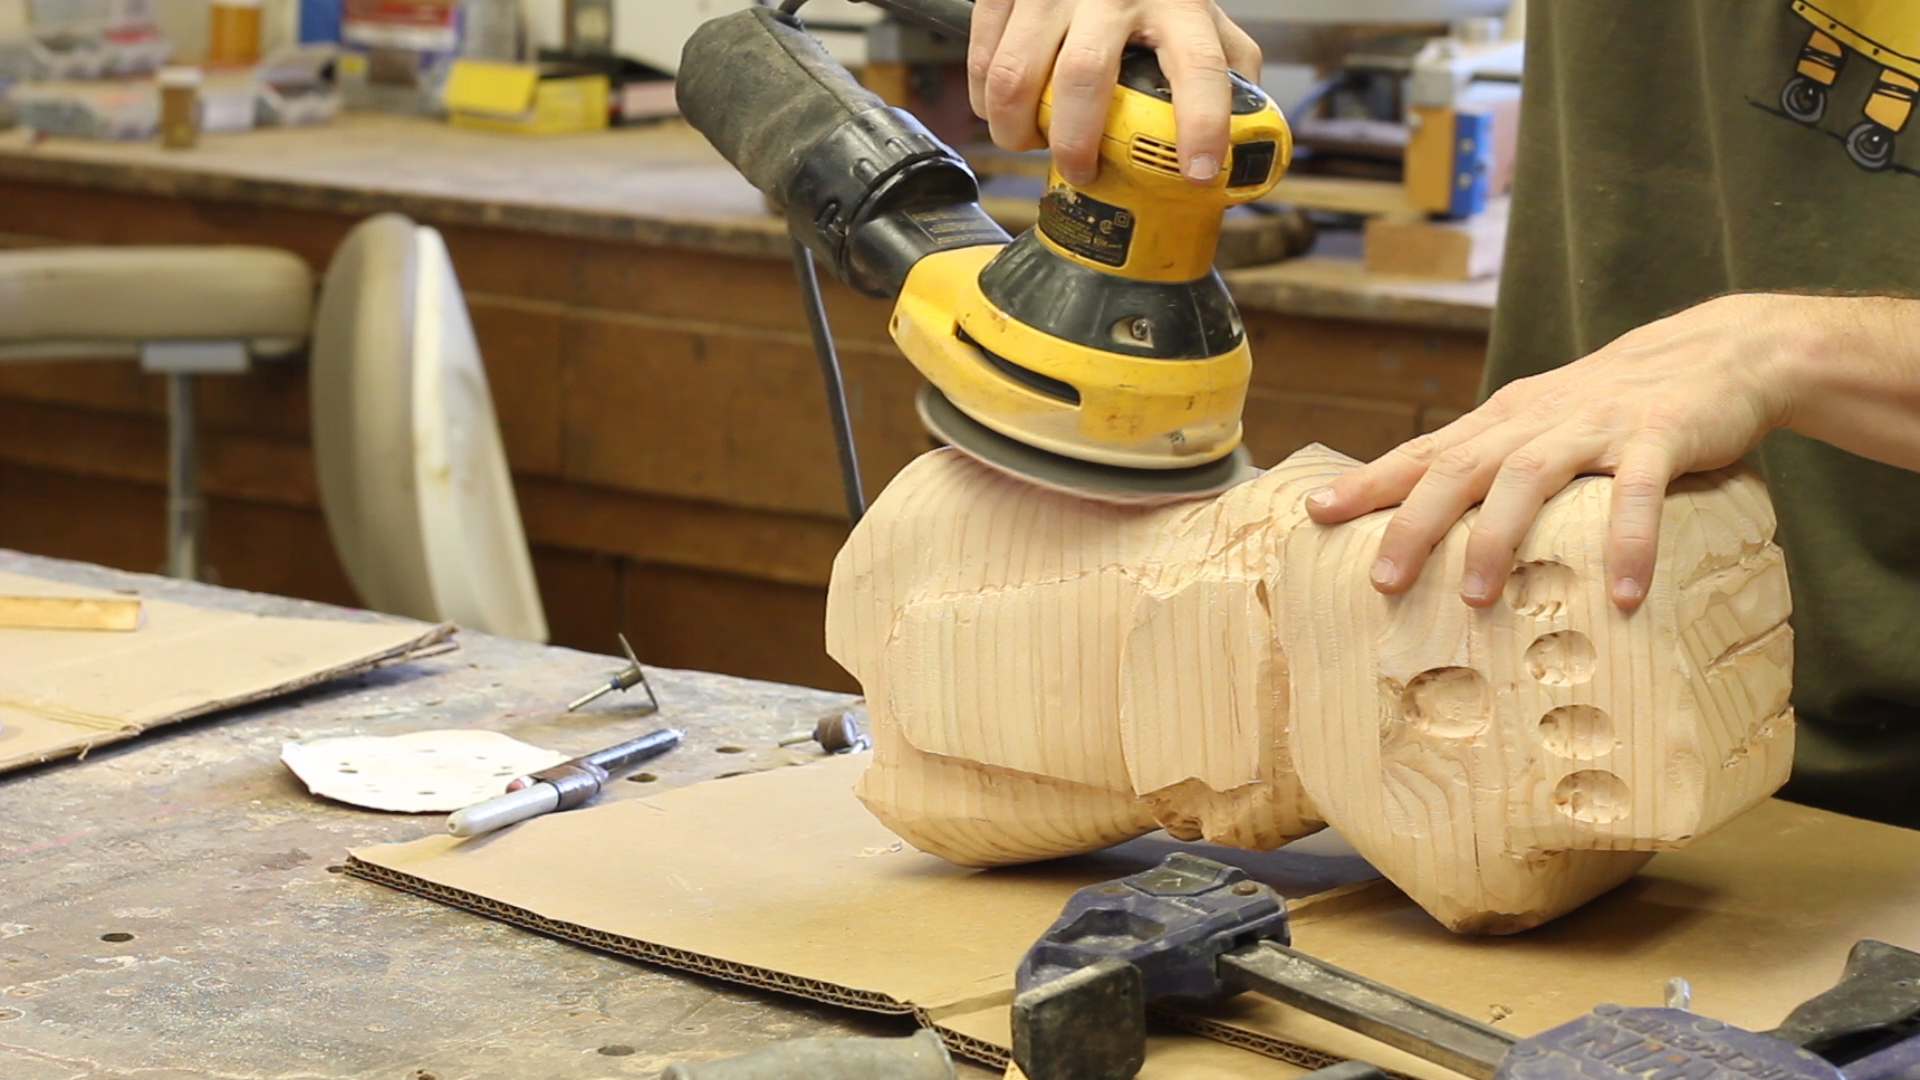
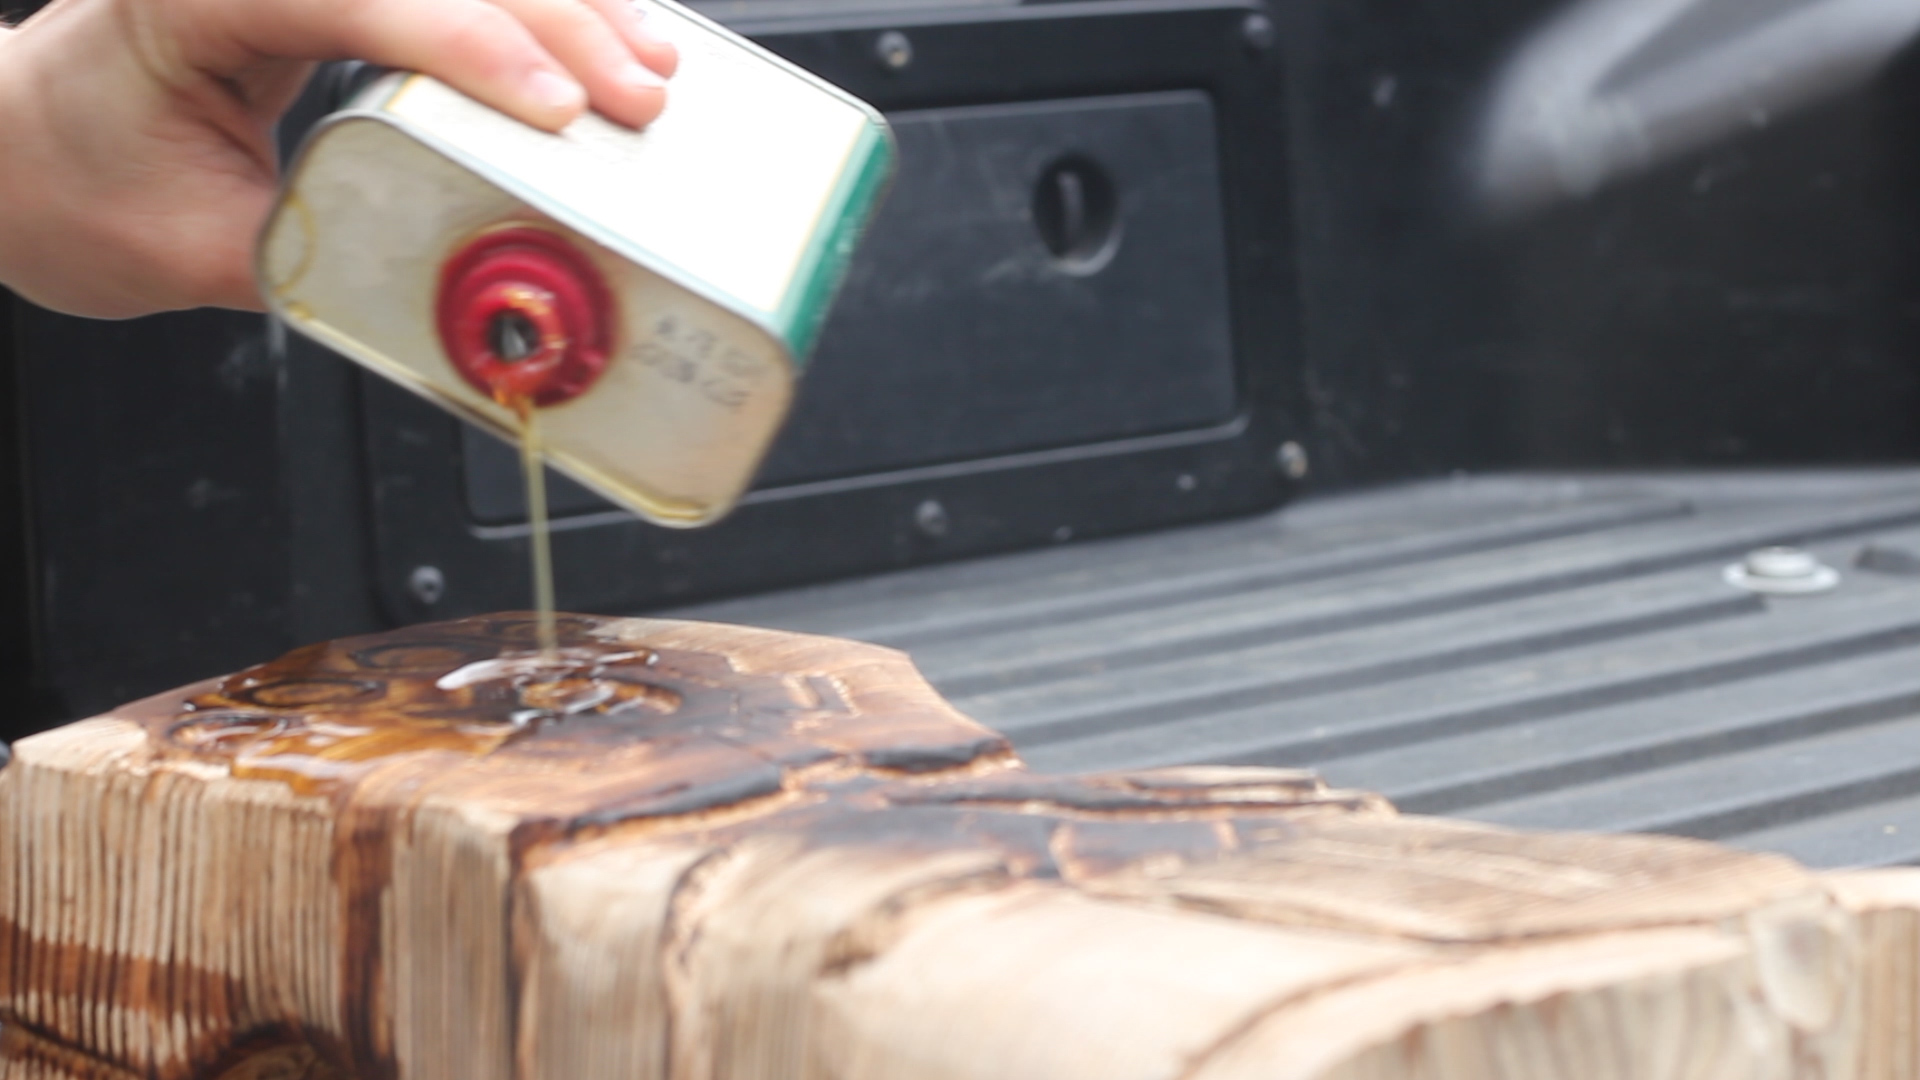
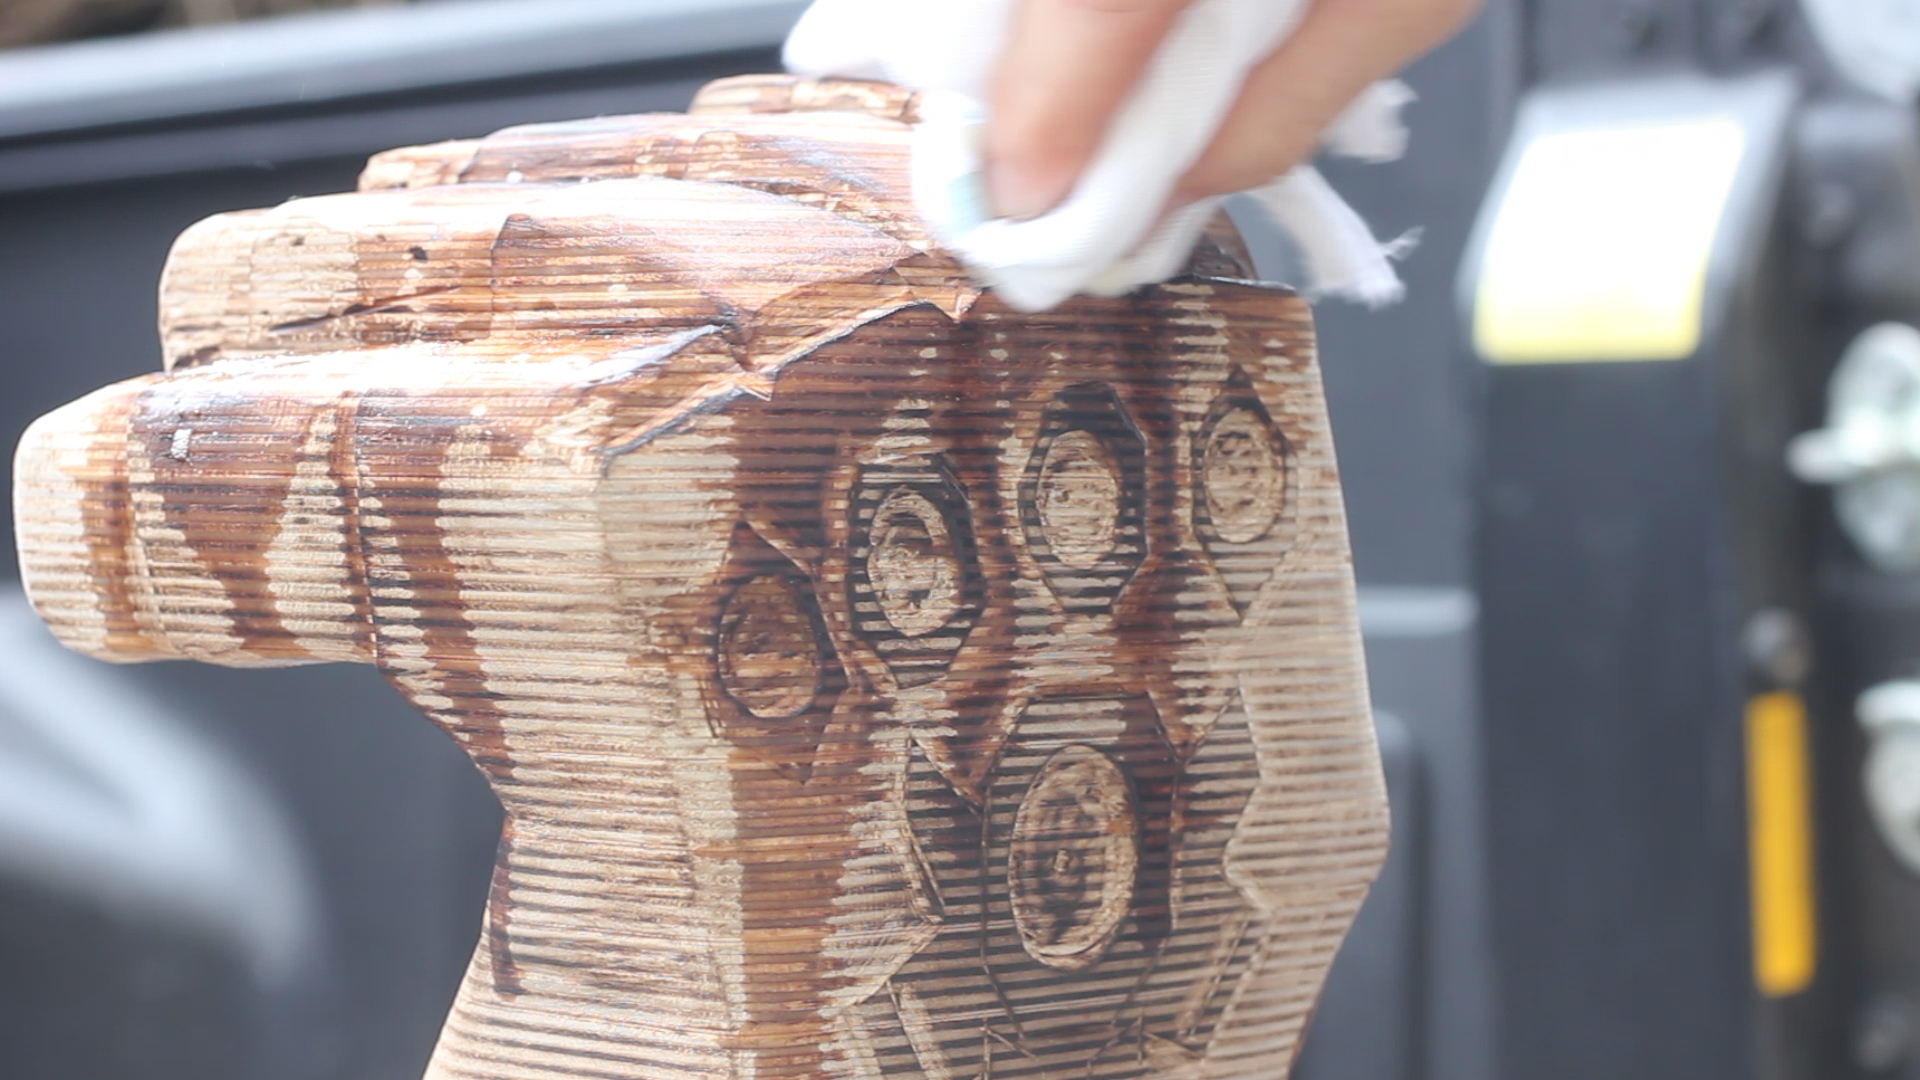
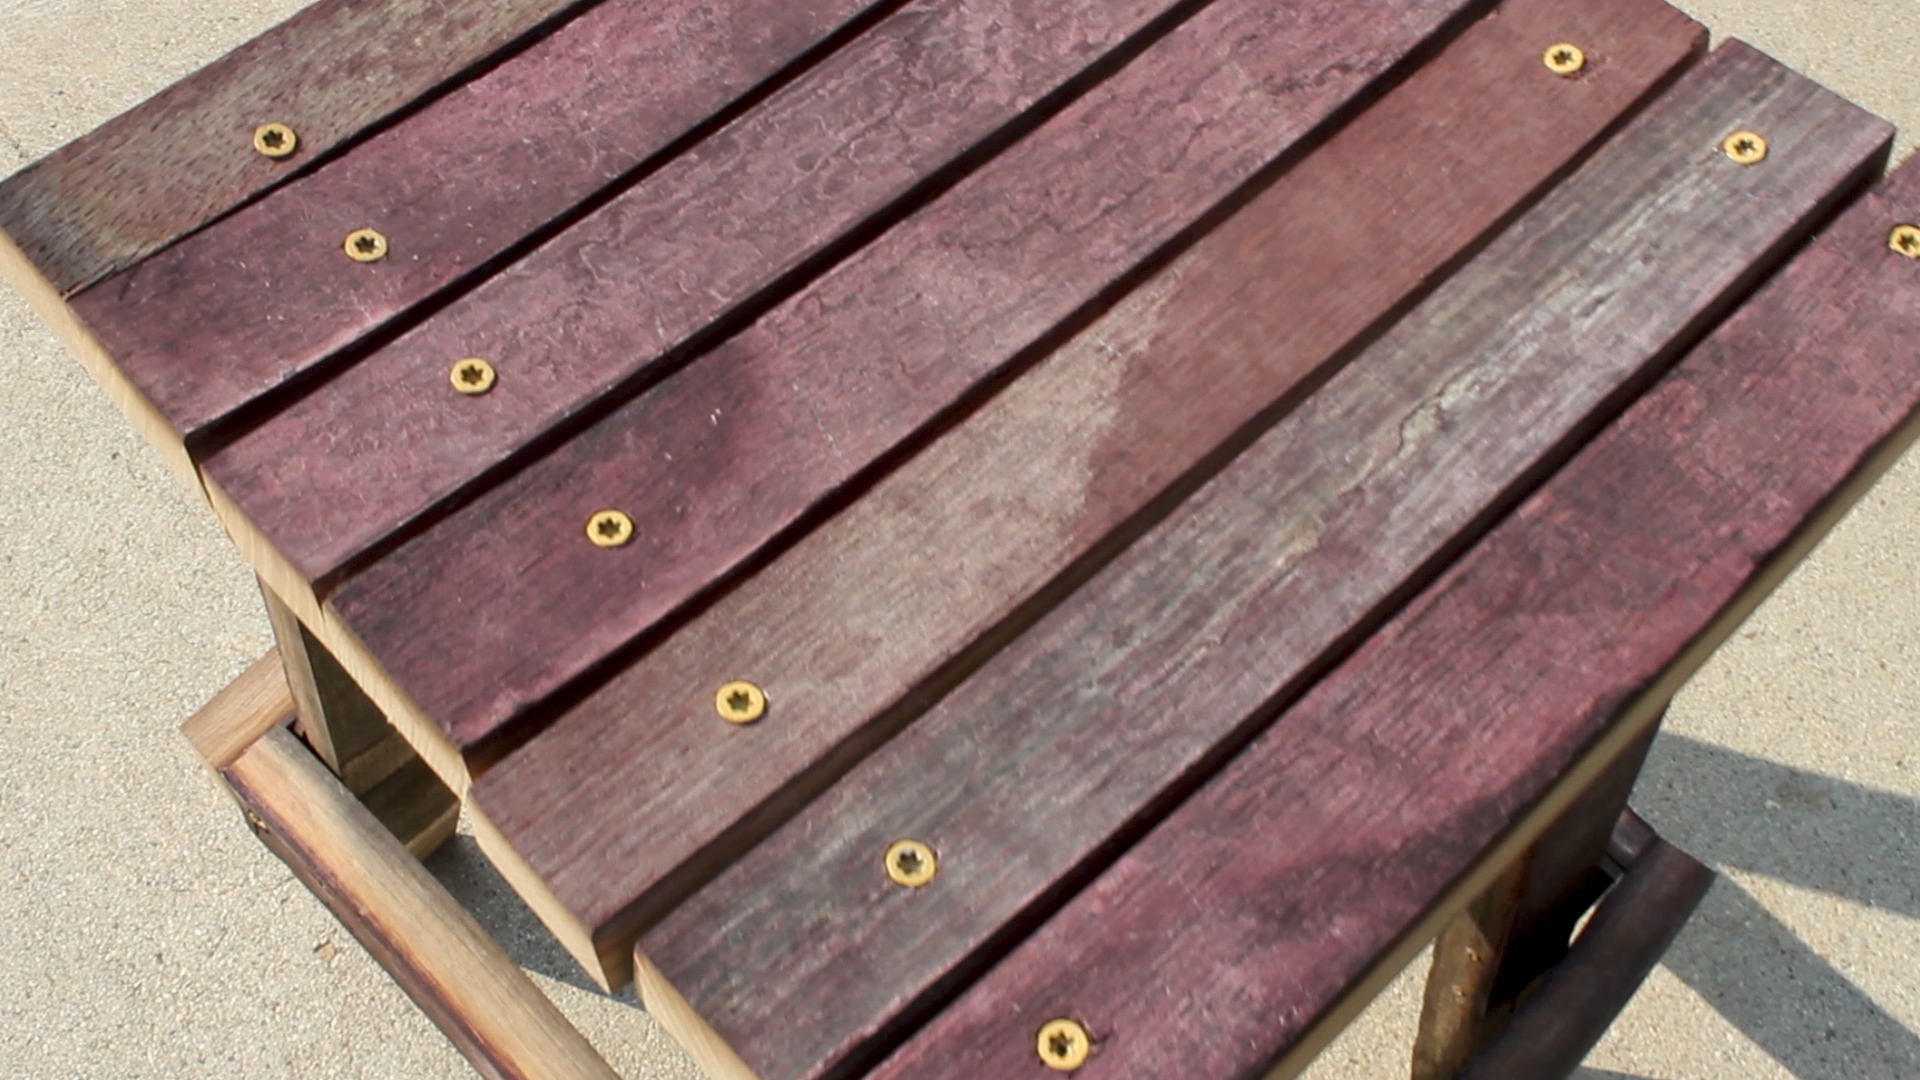
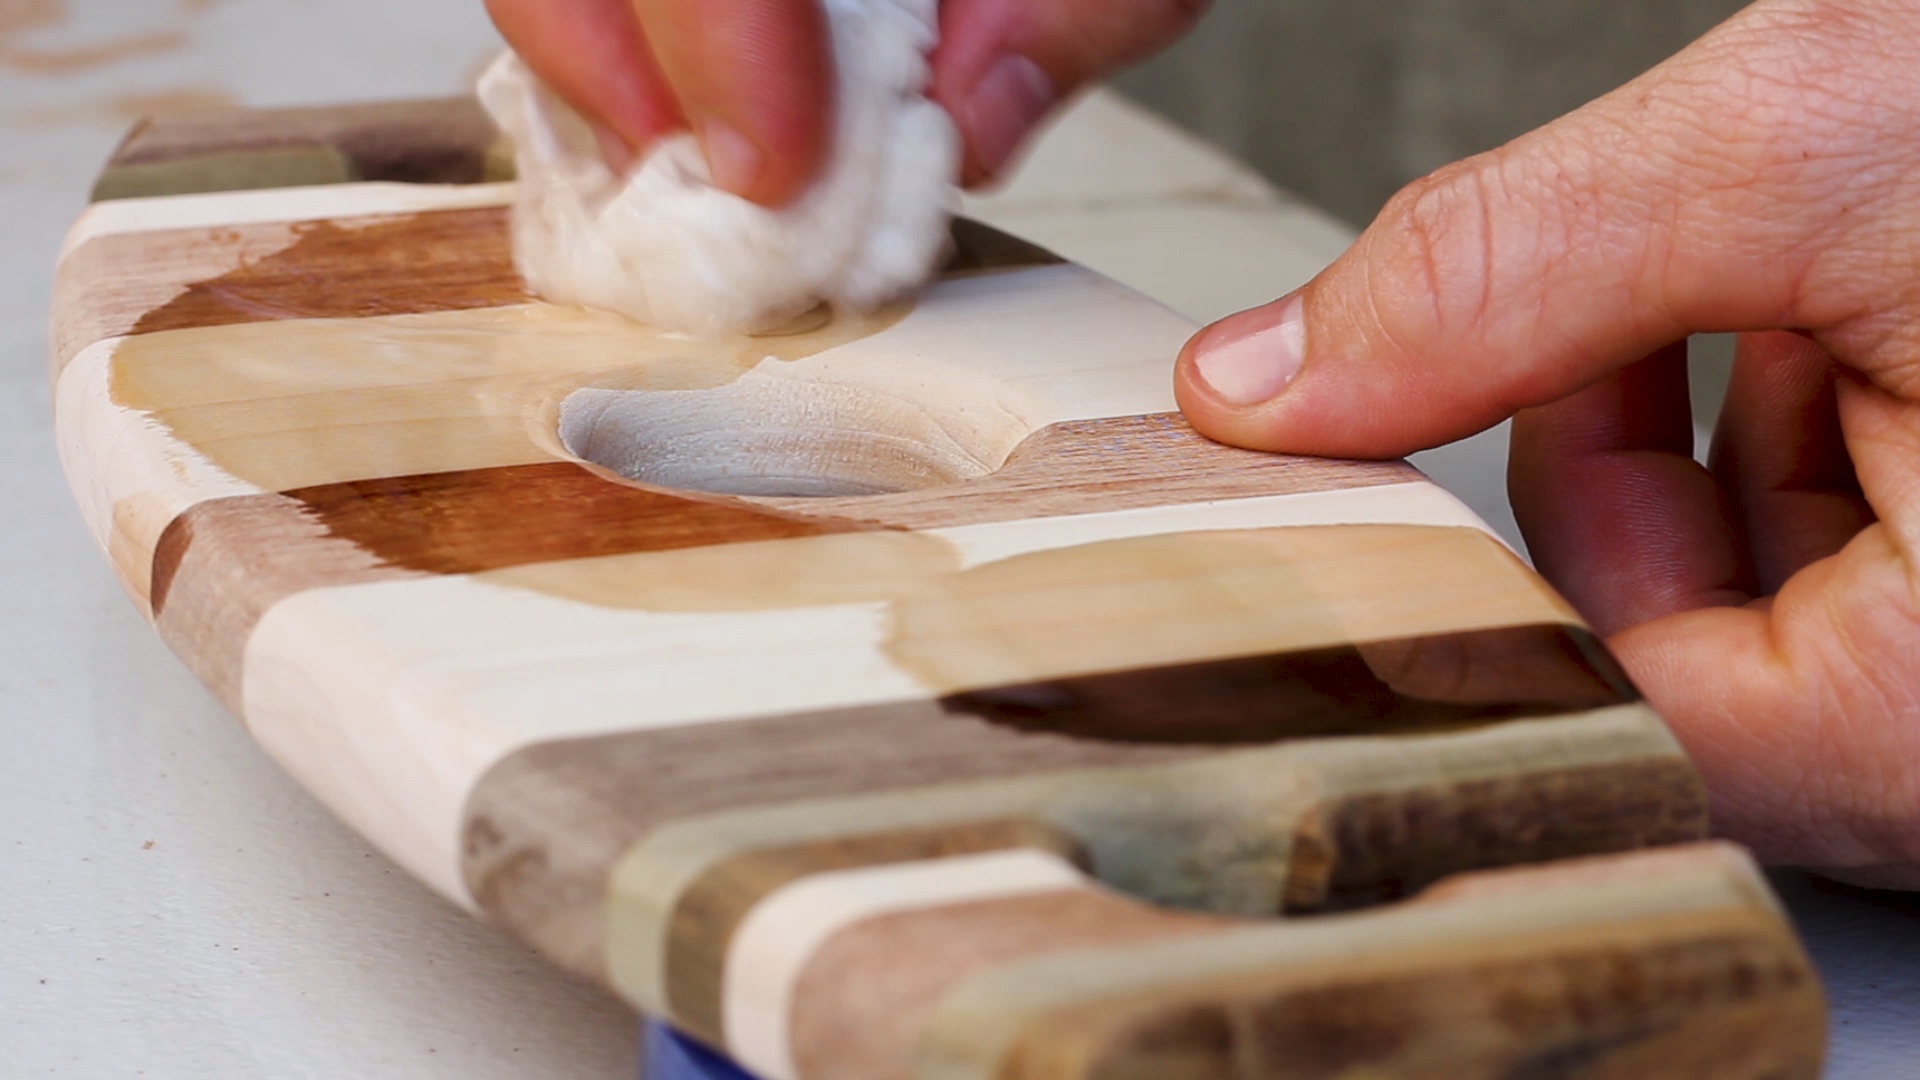
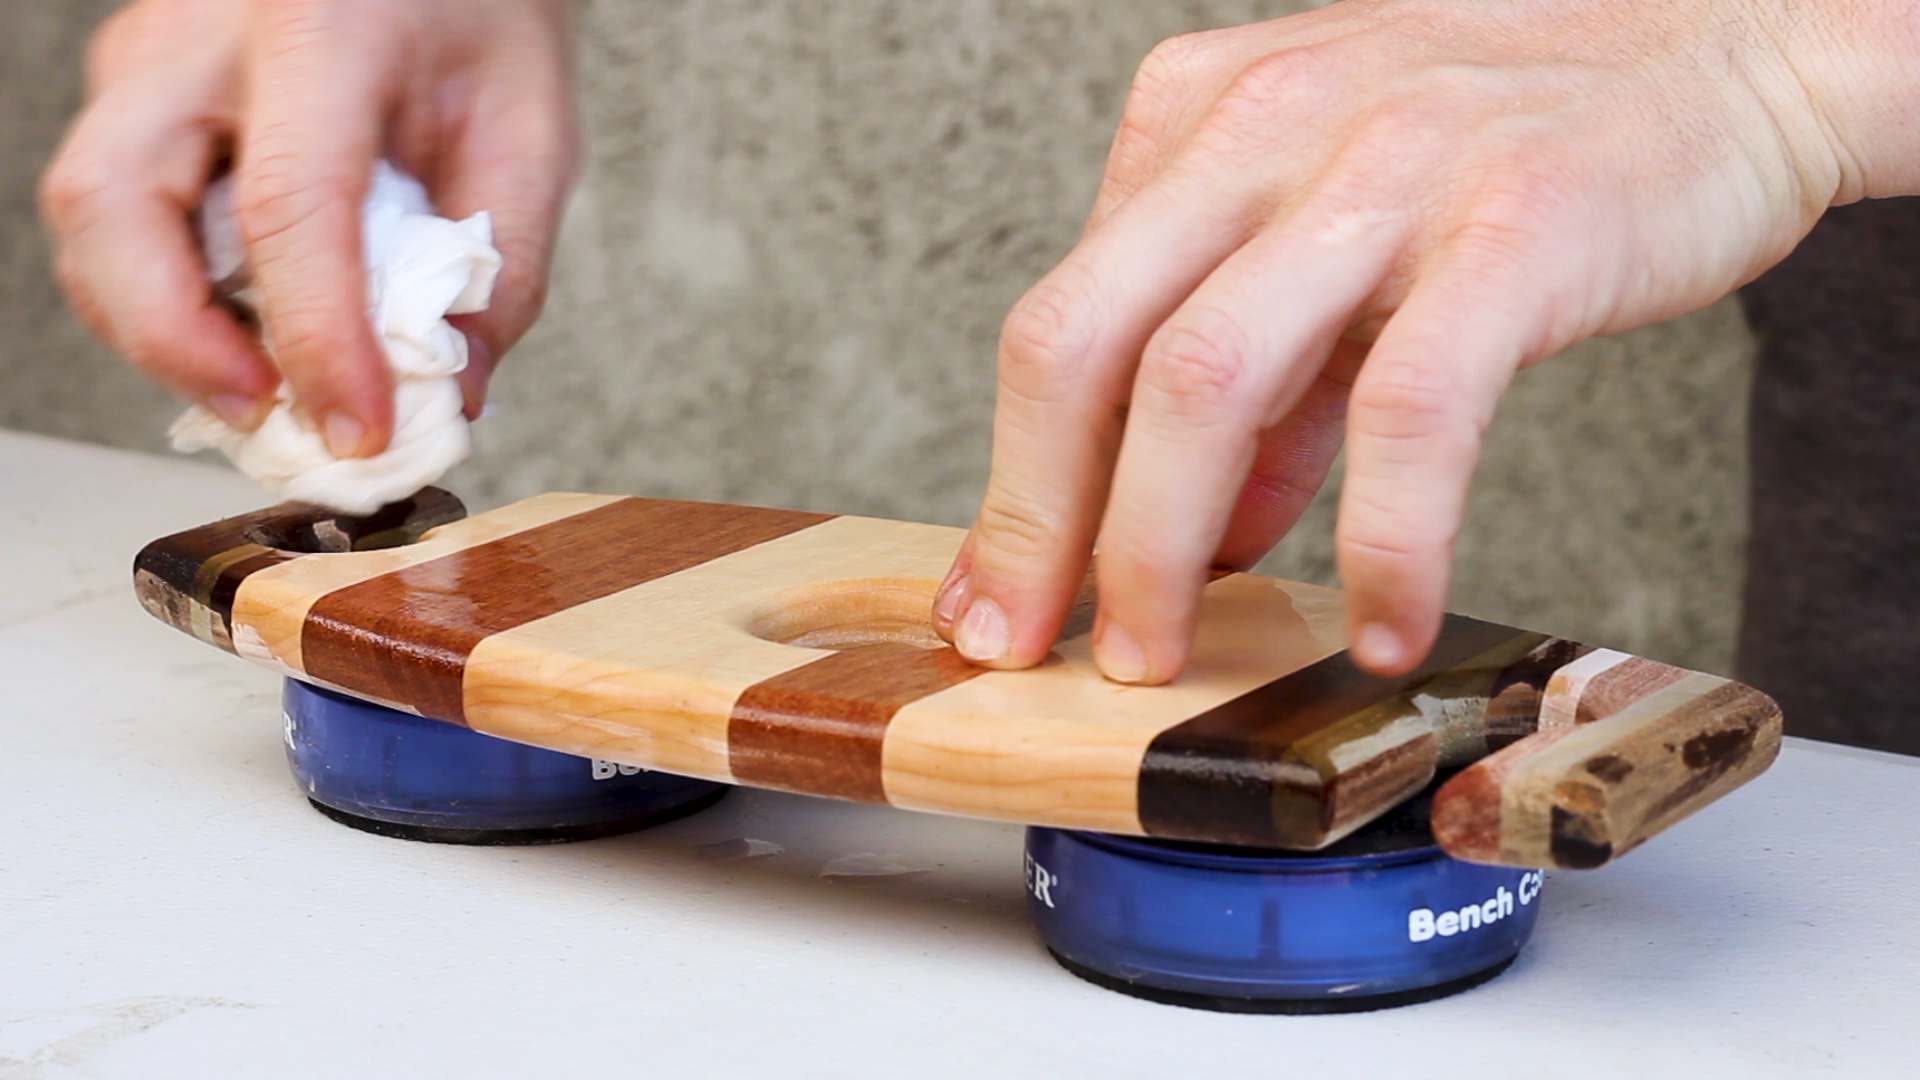
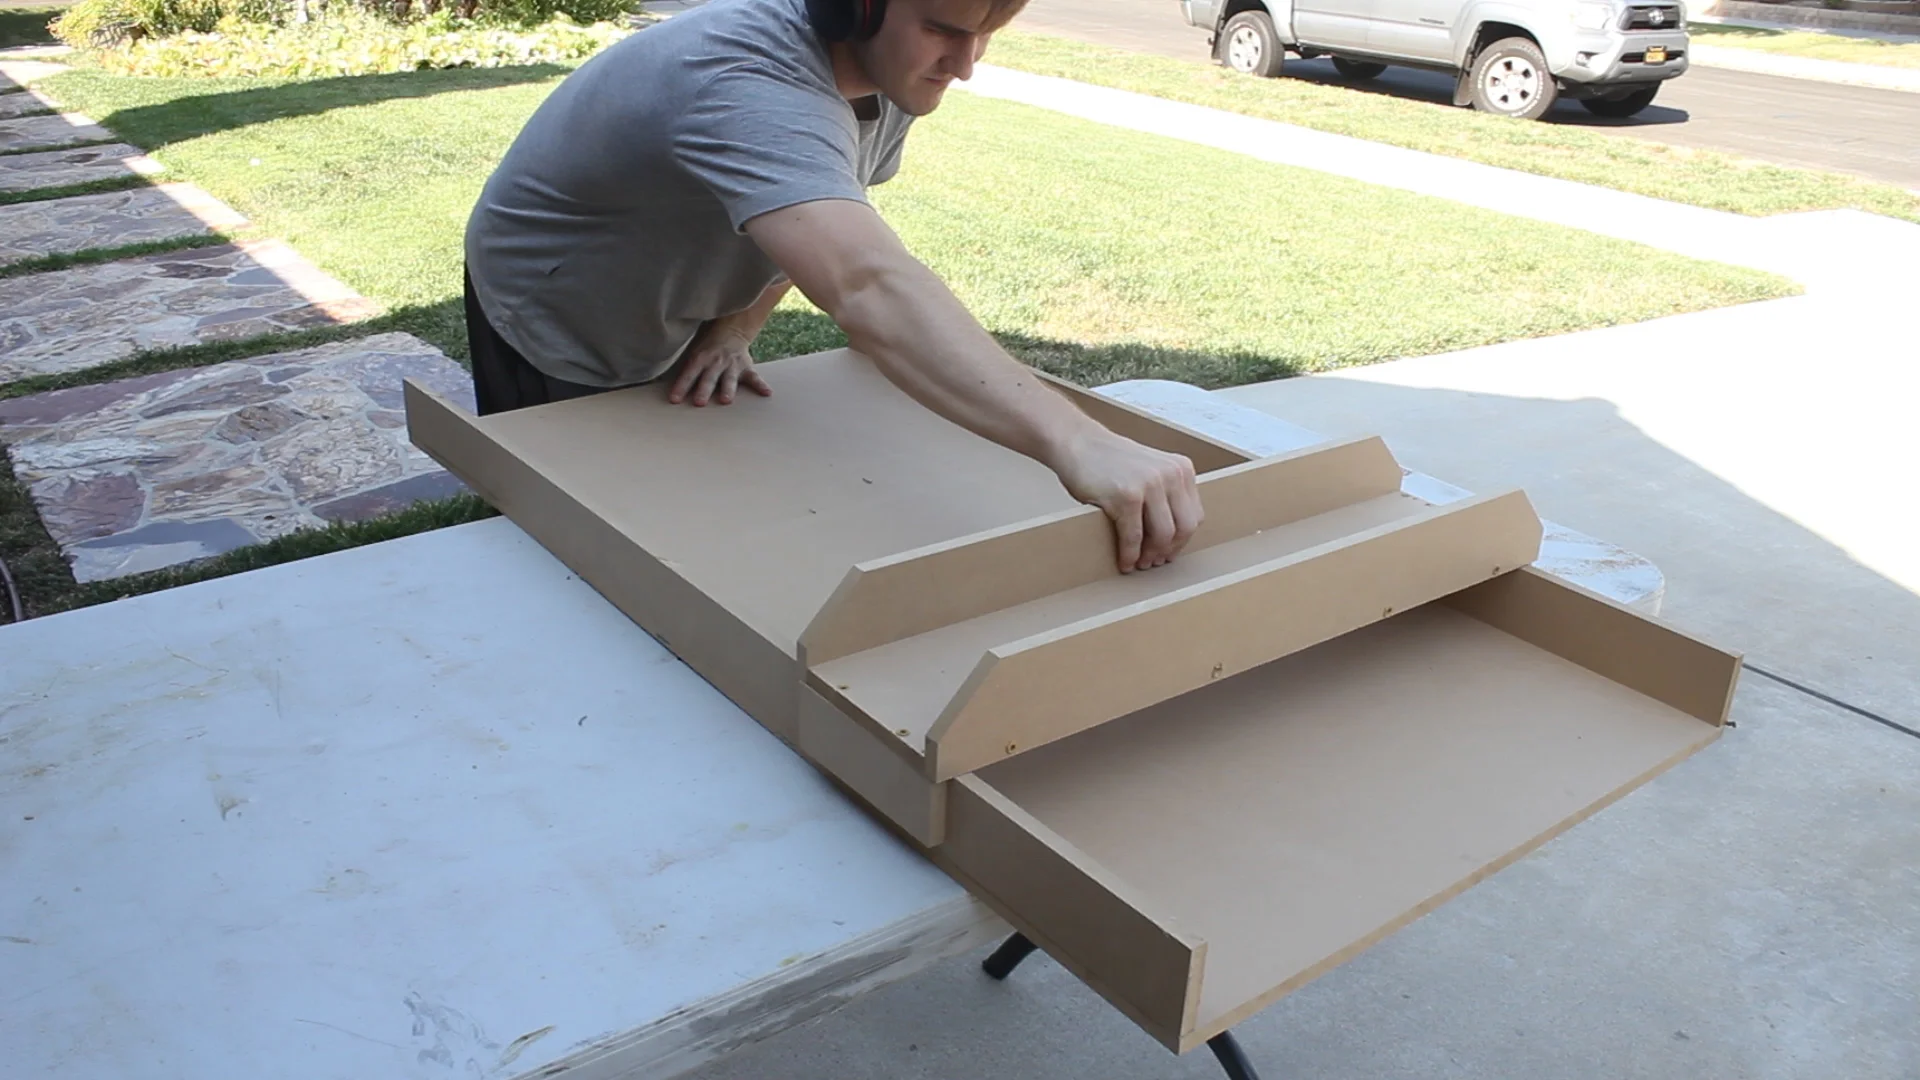
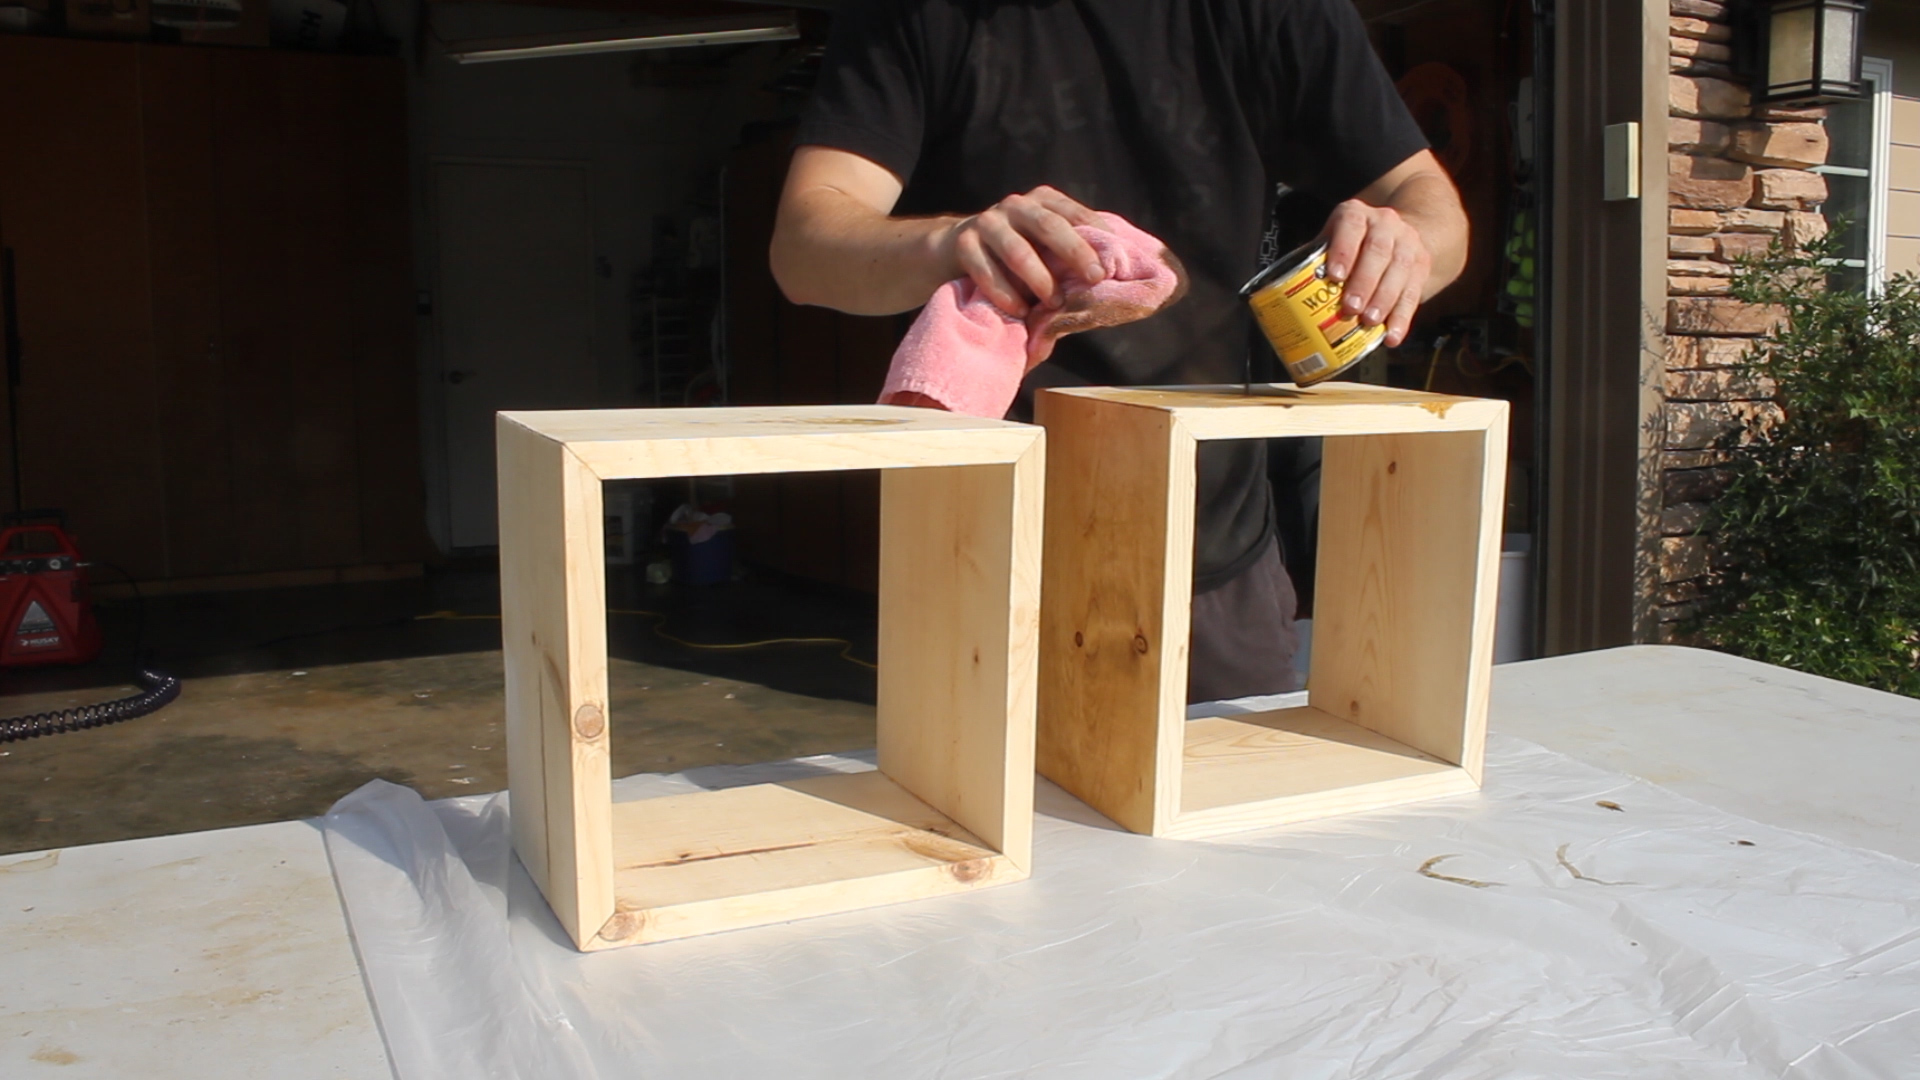
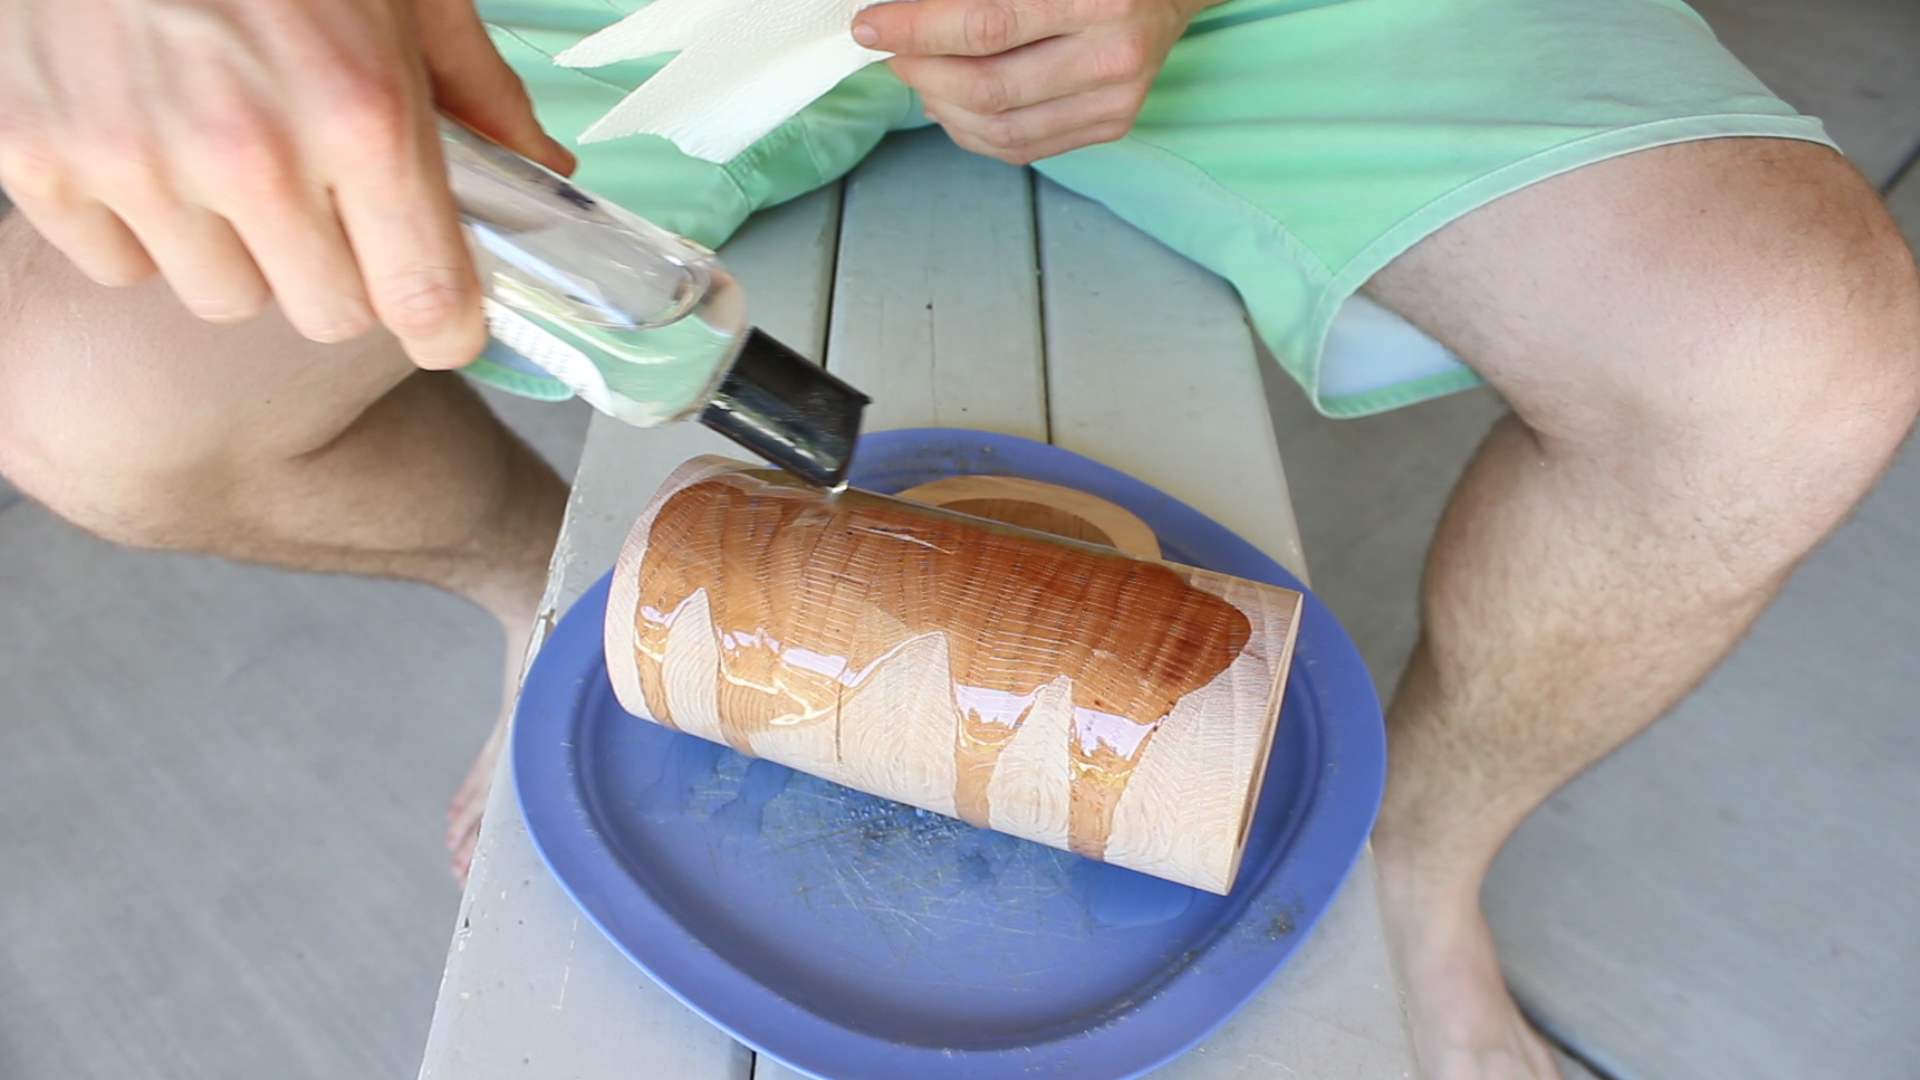
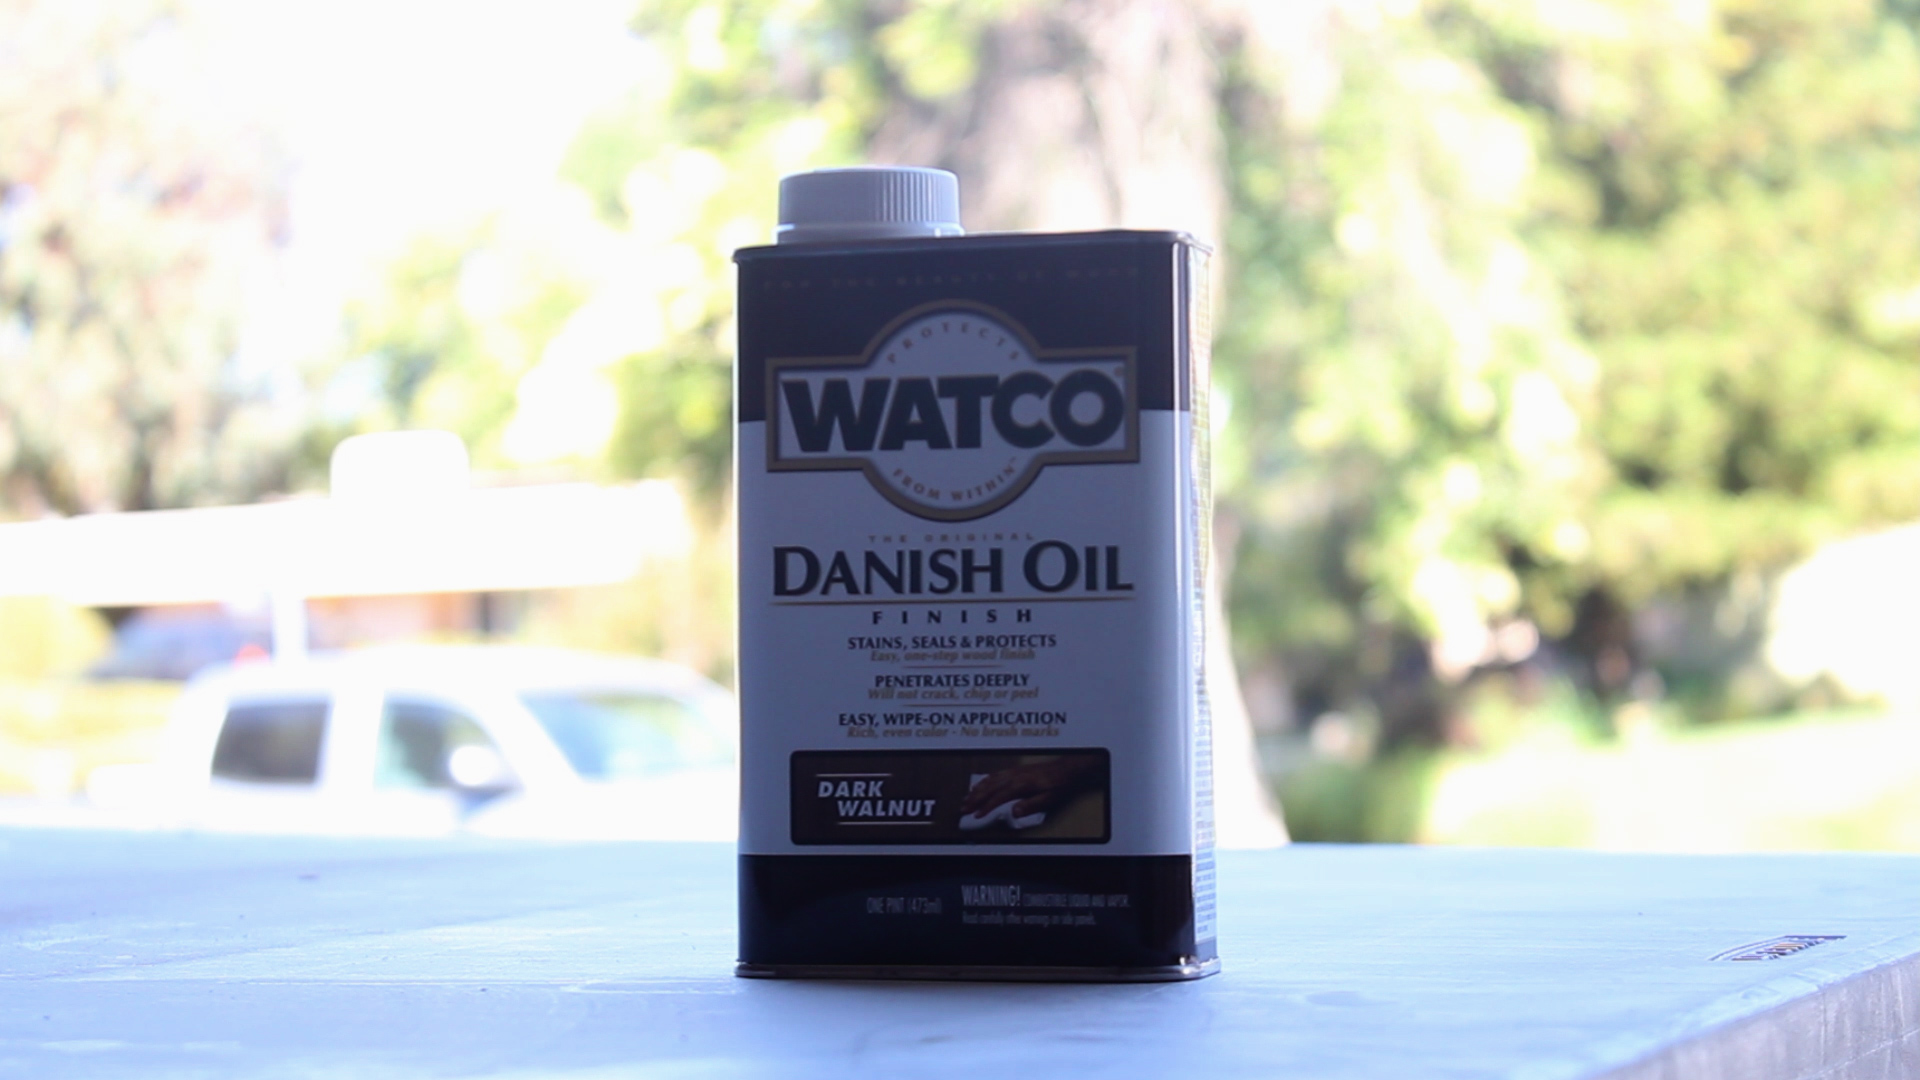
Now, I am very happy with how these came out - attached are some final photos for you to check out. I did go back and add some cutting board oil to them to bring out the grain (check out the video for that step!)
They look great with the walnut veneer, are very simple and easy to make (and could be with just a circular saw and drill), and will make awesome final gifts for my groomsmen. I think making six of them made me take a simpler approach, but if you just want to make one, then you will have much more time (and energy) to focus on making your design unique.
A few ways you could improve / change the design:
Use some sort of bleeding ink technique, stencil, or laser cutter to add text personalizations to each
Use a finish to bring out shine (I personally don't think it is necessary for these types of things)
Use other wood variations to make them appear more rustic or "thrown together"
Use additional types of joiner to make contrasting colors pop (dowels for joinery, etc.)
Alter the design to be something more specific to your use
As always, thank you for reading! I would be so grateful if you could please subscribe to my Youtube Channel for future projects. Thank you again to Purebond Plywoods for hooking me up with materials for this project.
I put out videos every few weeks.
Cheers! Zach